

puckotred
-
Posts
433 -
Joined
-
Last visited
Reputation Activity
-

 puckotred reacted to marktiedens in Nuestra Senora del Pilar de Zaragoza by marktiedens - FINISHED - OcCre - scale 1:46
Hi - finished up a couple more sub-assemblies today. The pumps were made using the kit parts - the pump bodies are wood with the brackets & handles metal,so they were painted red. There were no holes for the handle pivots,so I drilled them & used a small pin. A blackened eyebolt was used for the plunger rod. The capstan body is wood,with the whelps made from the supplied strip stock & also painted red. The ship`s wheel was made of bronzed metal & the brackets were plain white metal,so it was also painted red except for the wheel which I left as it was. The supplied axle for the wheel was way too small,so I used some larger diameter brass rod from my stash - still a little small for the holes in the brackets,but fit the wheel & drum good. The capstan bar holes were drilled using a square drill bit(just kidding - they were made with a regular drill & squared off with a small file). The black bands on the pumps & capstan were made from black card stock. Still need to do a little paint touch-up.
Mark
-
 puckotred got a reaction from yvesvidal in Orient Express Sleeping Car 1929 by James H - Amati - 1/32
I was referring to the cleanliness of your workplace.... 😊
-
 puckotred got a reaction from popeye the sailor in Orient Express Sleeping Car 1929 by James H - Amati - 1/32
Do you have one worktable for building and one for taking photos? 😁
-
puckotred reacted to Sjors in Nuestra Señora del Pilar by Anja & Sjors - FINISHED - OcCre - Scale 1:46
Paint is on it.
I have to do some touching up but that's for later.
The hull I'm not happy with so maybe there will be more sand paper or an other planking.
For now it's enough for the Señora and I will go on with the Sovereign.
Also give me time to see what I want with Señora.
Sjors
-
puckotred got a reaction from popeye the sailor in Orient Express Sleeping Car 1929 by James H - Amati - 1/32
I was referring to the cleanliness of your workplace.... 😊
-
 puckotred got a reaction from mtaylor in Orient Express Sleeping Car 1929 by James H - Amati - 1/32
I was referring to the cleanliness of your workplace.... 😊
-
puckotred got a reaction from mtaylor in Orient Express Sleeping Car 1929 by James H - Amati - 1/32
Do you have one worktable for building and one for taking photos? 😁
-
 puckotred got a reaction from Canute in Orient Express Sleeping Car 1929 by James H - Amati - 1/32
I was referring to the cleanliness of your workplace.... 😊
-
 puckotred got a reaction from J Harreld in Orient Express Sleeping Car 1929 by James H - Amati - 1/32
Do you have one worktable for building and one for taking photos? 😁
-
puckotred reacted to James H in Orient Express Sleeping Car 1929 by James H - Amati - 1/32
Firstly, my thanks to Amati for sending this kit out to be reviewed and built here at MSW.
The Orient Express 1929 Sleeping Car comes in a very large and heavy box which is chock full of laser-cut timber, brass/silver-nickel photo-etch, cast and turned parts, trip wood, brass section lengths, decals, etc. and two amazing glossy instruction manuals. You'll need a few basic tools for this, such as a good bench vice, craft knives, metal files and small drill bits, screwdrivers and pliers. Optional items are a soldering iron and a blowtorch. You will need some abrasive paper, superglue and some good wood glue.
Work starts by removing the two thick plywood chassis frames from their sheets and gluing them together.
From here, the photo etch chassis frames are added with superglue and bolted together amidships. You will find a lot of holes in the photo-etch, need to be drilled out for the two different sizes of bolt that are supplied in this kit.
Brass strip is added to each side of the chassis whilst the frame is dry-sat on the ply platform. This creates a recess into which the platform with later sit.
The platform is now finally glued into place and clamped so that it's totally flat.
A mixture of 50:50 PVA and water is applied to the underside of the chassis, sealing it in readiness for the paint.
Games Workshop 'Chaos Black' is now sprayed over the underside, using a rattle-can. I did try airbrushing this, but it was too big a job, and the coverage of this spray paint is amazing. It also dries very quickly.
It was now time to open up some of the small bags of fittings. Her you see the buffer suspension. These needed to be drilled out to allow them to plug together. As they are cast, this was an easy task.
The buffer suspension units are now fitted to the chassis ends.
Underneath the chassis are fitted a compressed gas tank and some battery boxes. You will find that heating up the brass for the tank will help it to be bent far more easily.
Here you can see the completed tank and battery boxes. Solder was used for the main joint, and superglue for the rest. Note that one box had to have ply feet added as the legs were too short.
The battery boxes and tank are now fitted.
The photo-etch in this model can be quite thick, and in some cases, almost 1mm thick. You will need a saw to cut through the main tags.
The first bogey took me 3 days to get to this stage. I found that adding heat to the part before bending made it WORSE! Don't do it! Learn from my mistake and use careful and selective bending techniques to make this. I went through this pain so you don't have to. Small nuts and bolts are used to fasten things together.
More cast parts for the suspension here, and yes, more drilling out to make the various pins etc. fit into place. Note with this first bogey, I was painting things as I went along.
...including the main frame:
Cast and turned parts are included for the wheels and axles etc.
More brass parts for the braking mechanism.
Complete with all paint chips, here is the completed bogie. Total construction time was ONE WHOLE WEEK!!
However, after learning from my mistakes, I built the second bogie in only SIX HOURS!
Both bogies were now spray painted in black.
Uschi van der Rosten steel weathering pigments were now used to weather the bogies and chassis. More weathering will be added when the track is complete.
Fitting the Head A & B ply floor sections proved troublesome as the underlying photo-etch made them too thick. I reduced the thickness of these by half.
Head A & B bulkheads were fitted by the temporary help of the carriage end bulkheads.
With these in place, the internal frames were now completed, and the side wall test-fitted.
Each cabin floor was now test-fitted:
...including the corridor floor:
Pritt Stick was used to affix the paper carpet parts to the floor sections.
And the floor sections finally glued into position.
More soon!!!!
-
puckotred got a reaction from popeye the sailor in Nuestra Senora del Pilar de Zaragoza by marktiedens - FINISHED - OcCre - scale 1:46
Nice!!!
-
puckotred reacted to marktiedens in Nuestra Senora del Pilar de Zaragoza by marktiedens - FINISHED - OcCre - scale 1:46
Not a lot of progress,but I have managed to get the guns on the quarterdeck installed. I hate rigging guns - I would rather do ratlines😉. The tackle ropes were simply glued to the deck,the ends were cut off,& rope coils were then glued to the deck on top of the rope ends. I did not do the inhauls.
Mark
-
puckotred got a reaction from Canute in USS Constitution by Jasseji - Mamoli - 1:93 - CROSS-SECTION - First Wooden Ship build
Good, there is a biiig difference between 2 and 3 mm blocks. only 1 mm but it's one third of the size difference!!!
If it's rounded blocks they appear even smaller than the square ones... (But you know all of this.... I'm just pretending being wise 😁)
-
puckotred reacted to Jasseji in USS Constitution by Jasseji - Mamoli - 1:93 - CROSS-SECTION - First Wooden Ship build
They are 3 or 4mm dont remember now but Daniel is sending me 2mm to try
-
puckotred got a reaction from Canute in USS Constitution by Jasseji - Mamoli - 1:93 - CROSS-SECTION - First Wooden Ship build
How many mm are the blocks?
You could always buy from here: clasic model
-
puckotred reacted to Dan Vadas in Bismarck by Dan Vadas - FINISHED - GPM - 1:200 - CARD and PE
Thanks very much guys .
No, I've had enough of this model .
Well, this is it - Bismarck is FINISHED . Here are all the final pics - enjoy :
Thanks to all those who followed this build, and especially those who commented. Now onto HMS Hood .
Danny
-
puckotred reacted to hornet in Working Comfortably on Upper Rigging
Hi Harvey
I solved this problem by using an old wooden desk (a school desk in fact) I chopped the legs down to the size that I felt comfortable with and added castors. The desk lives under my main work desk, which is an L shaped office desk. When I want to work on rigging, I just roll it out. I also fitted this desk with a hinged top so I can store scrap wood and clamps in it. I left the back of the desk open and I store strips and dowel in it. Hope this may give you some ideas.
Desk is stored under main desk - castors fitted
Desk rolls out when needed for rigging or for extra workspace
Desk lid lifts up for storing scrap timber and clamps.
Rear section of desk for wood strips and dowel.
For me the desk is at a comfortable height for working on upper rigging.
-
puckotred reacted to Ulises Victoria in Working Comfortably on Upper Rigging
Well, I shouldn't be responding since I just stand up when doing the upper rigging, and if I get tired, I take a break and sit for 5 minutes sipping my coffee and mentally doing the next step.
I know this isn't a solution to your problem. I'm sorry, but it's just what I do.
-
puckotred reacted to marktiedens in Nuestra Senora del Pilar de Zaragoza by marktiedens - FINISHED - OcCre - scale 1:46
Looks like they just grabbed the cannons out of some old drawers in their back room😀
Mark
-
puckotred reacted to marktiedens in Nuestra Senora del Pilar de Zaragoza by marktiedens - FINISHED - OcCre - scale 1:46
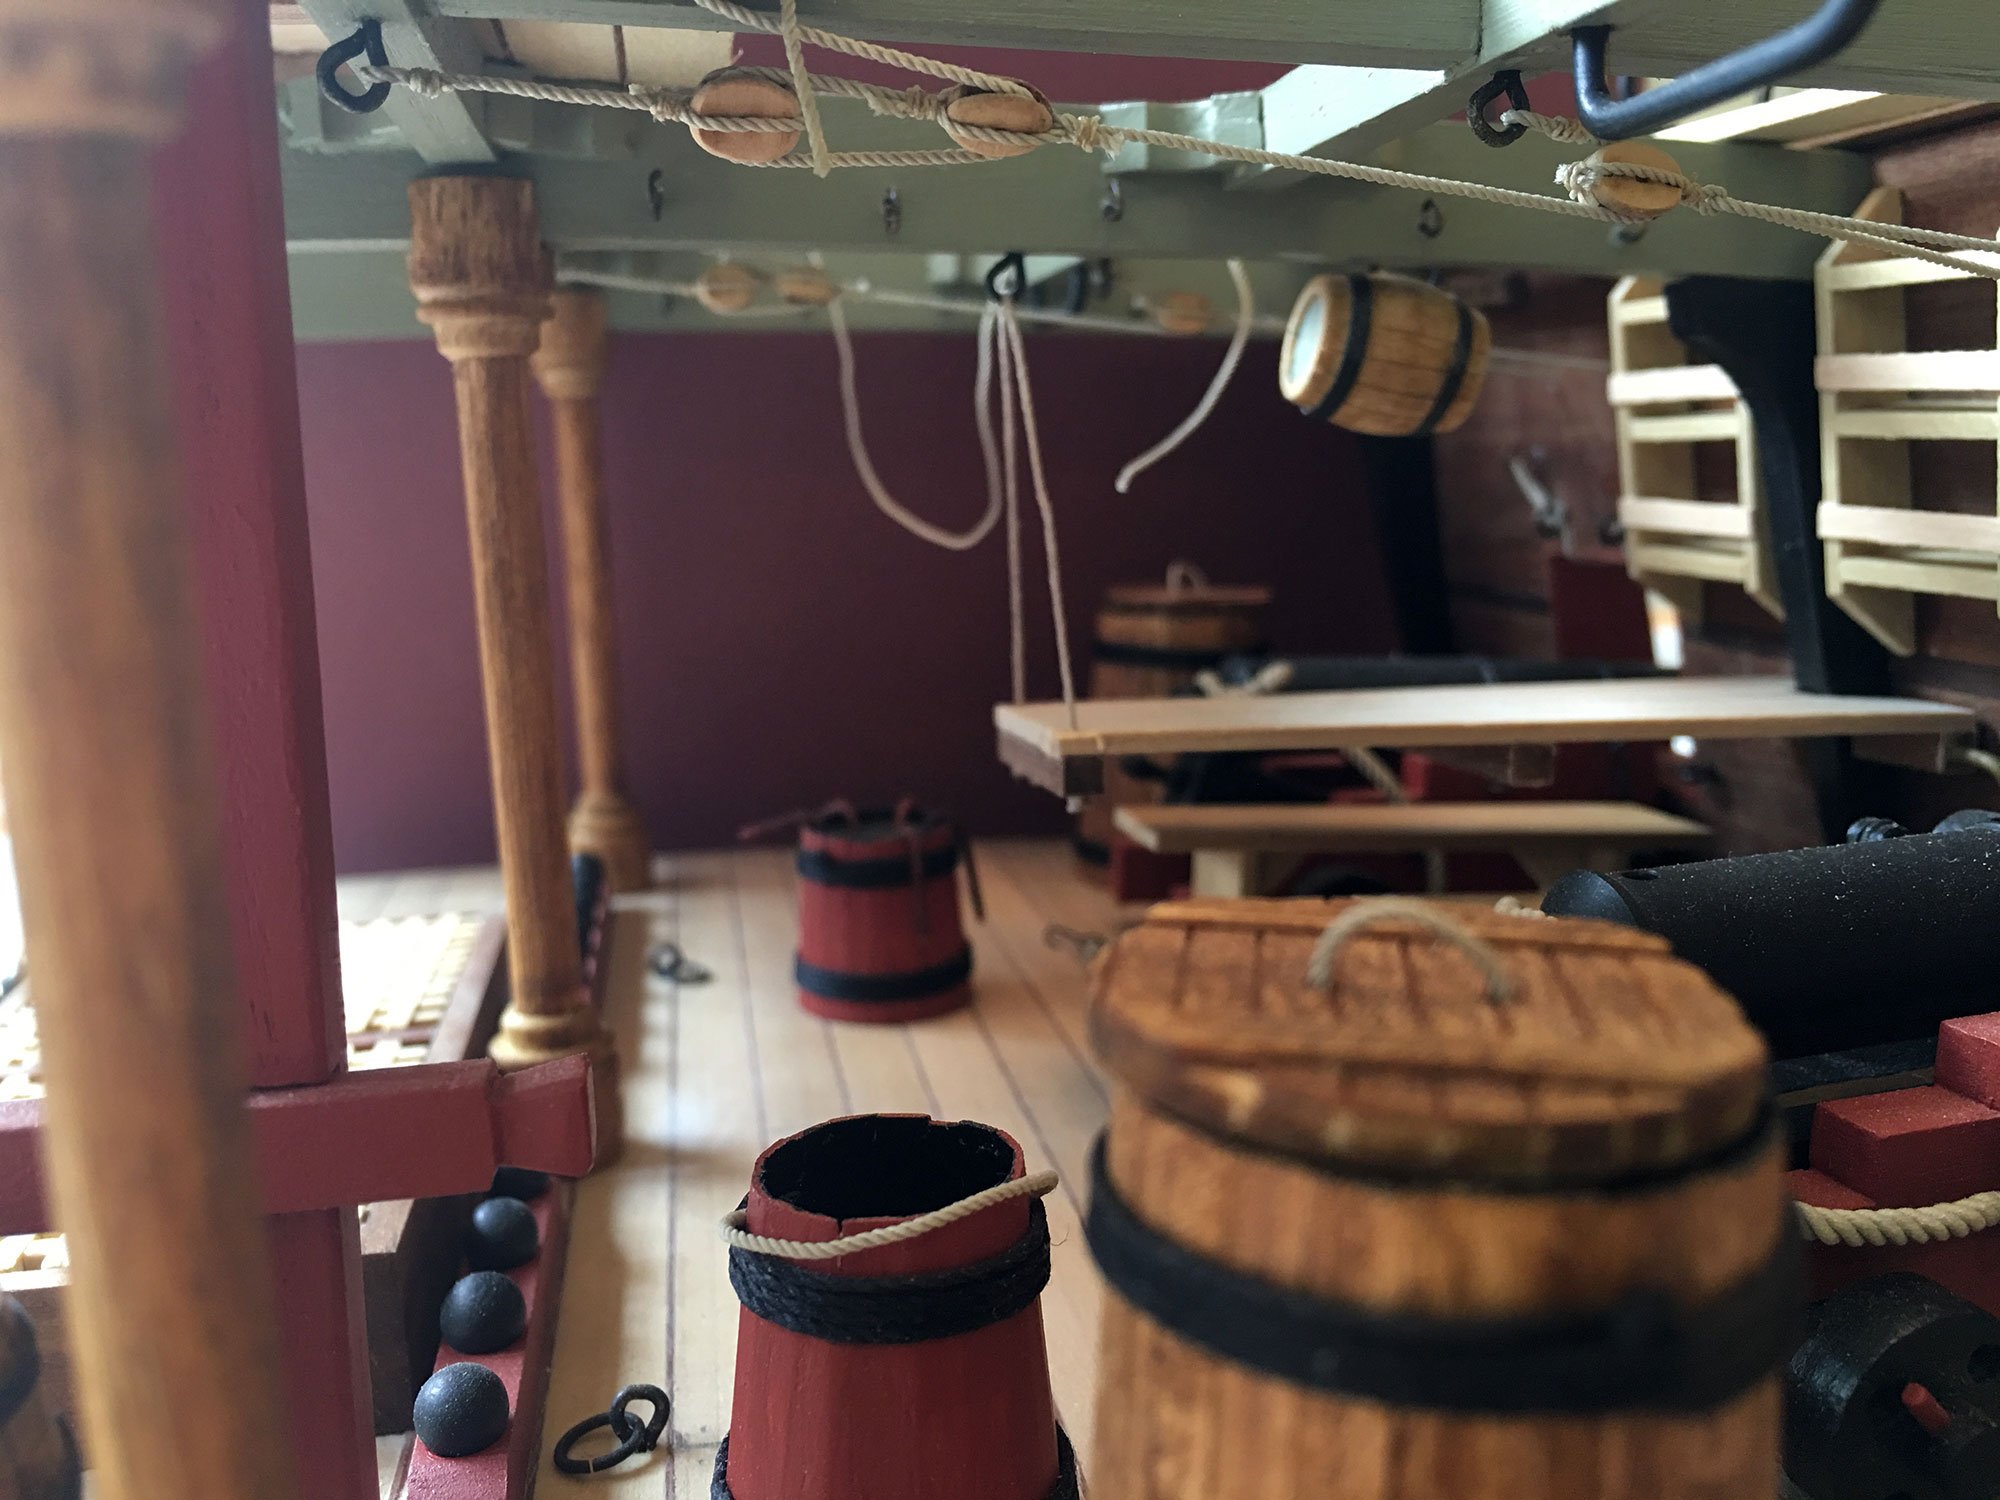
Well,anyway,I finished up the guns with carriages for the second gun deck. I forgot to take pictures of assembling them,but they were pretty simple - just 2 sides,a bottom,& a front piece along with axles & wheels. The axles & wheels were brass,which I blackened. Only the breech ropes were added since it would be near impossible to rig the tackles with the decks in place. The guns on the carriages were actually pretty well made. They were also brass,which I blackened,but I went ahead & painted them flat black because the blackening was a little uneven. The breech ropes are from Syren - great looking rope. Now I can start putting more "stuff"on the decks.....
Mark
-
 puckotred got a reaction from Sjors in Nuestra Senora del Pilar de Zaragoza by marktiedens - FINISHED - OcCre - scale 1:46
And I have different barrels from you... 🤨
-
 puckotred got a reaction from marktiedens in Mamoli model kits are back
No they're not.
No, it does'nt.
-
puckotred got a reaction from marktiedens in Nuestra Senora del Pilar de Zaragoza by marktiedens - FINISHED - OcCre - scale 1:46
And I have different barrels from you... 🤨
-
puckotred reacted to Sjors in Nuestra Senora del Pilar de Zaragoza by marktiedens - FINISHED - OcCre - scale 1:46
It’s a Spanish kit.........😝
Sjors
-
puckotred got a reaction from Sjors in Nuestra Senora del Pilar de Zaragoza by marktiedens - FINISHED - OcCre - scale 1:46
Well, now I'm starting to get annoyed with Occre... 😡