-
Posts
1,910 -
Joined
-
Last visited
Content Type
Profiles
Forums
Gallery
Events
Everything posted by catopower
-
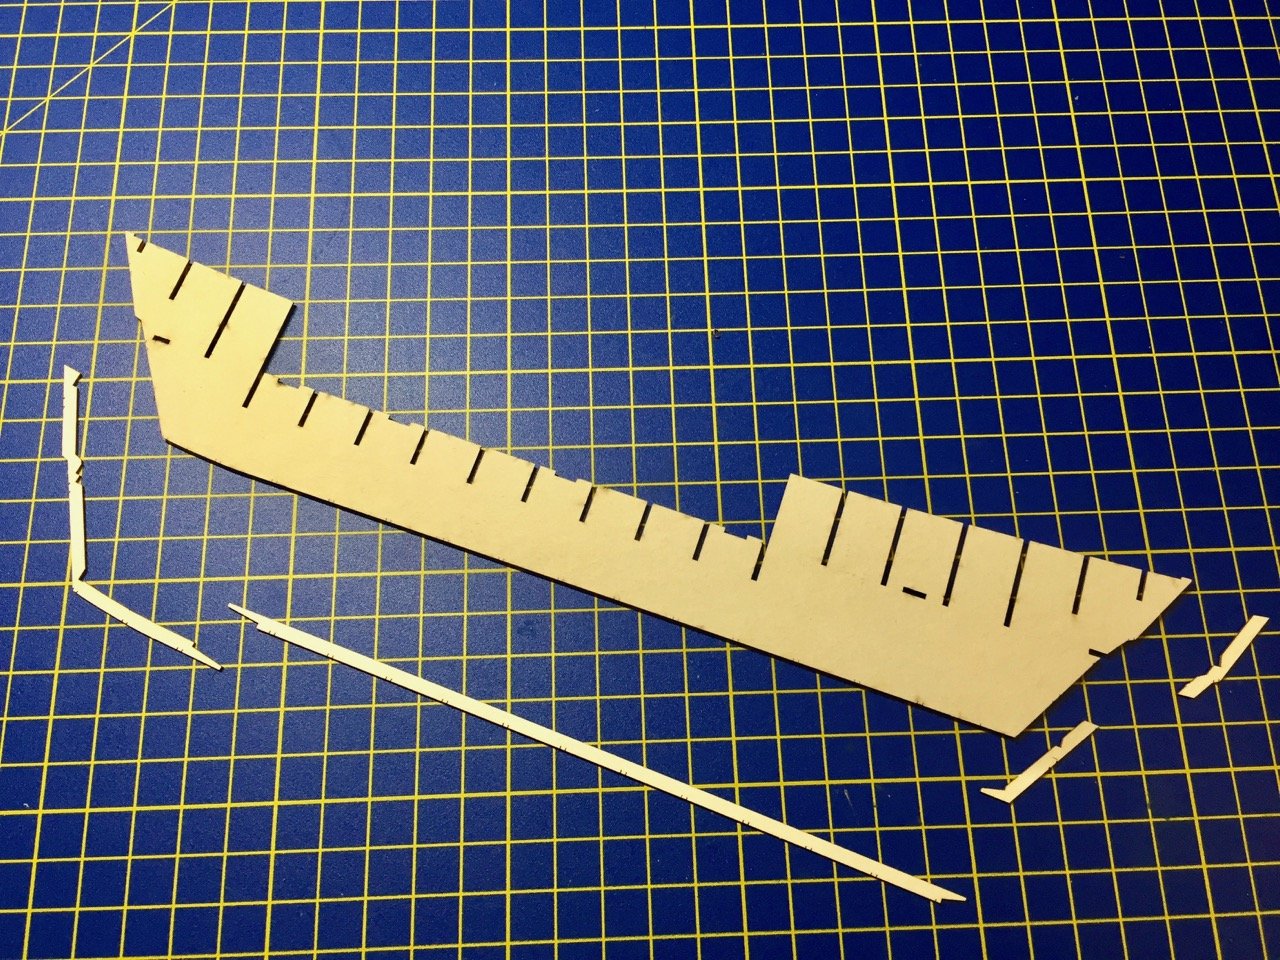
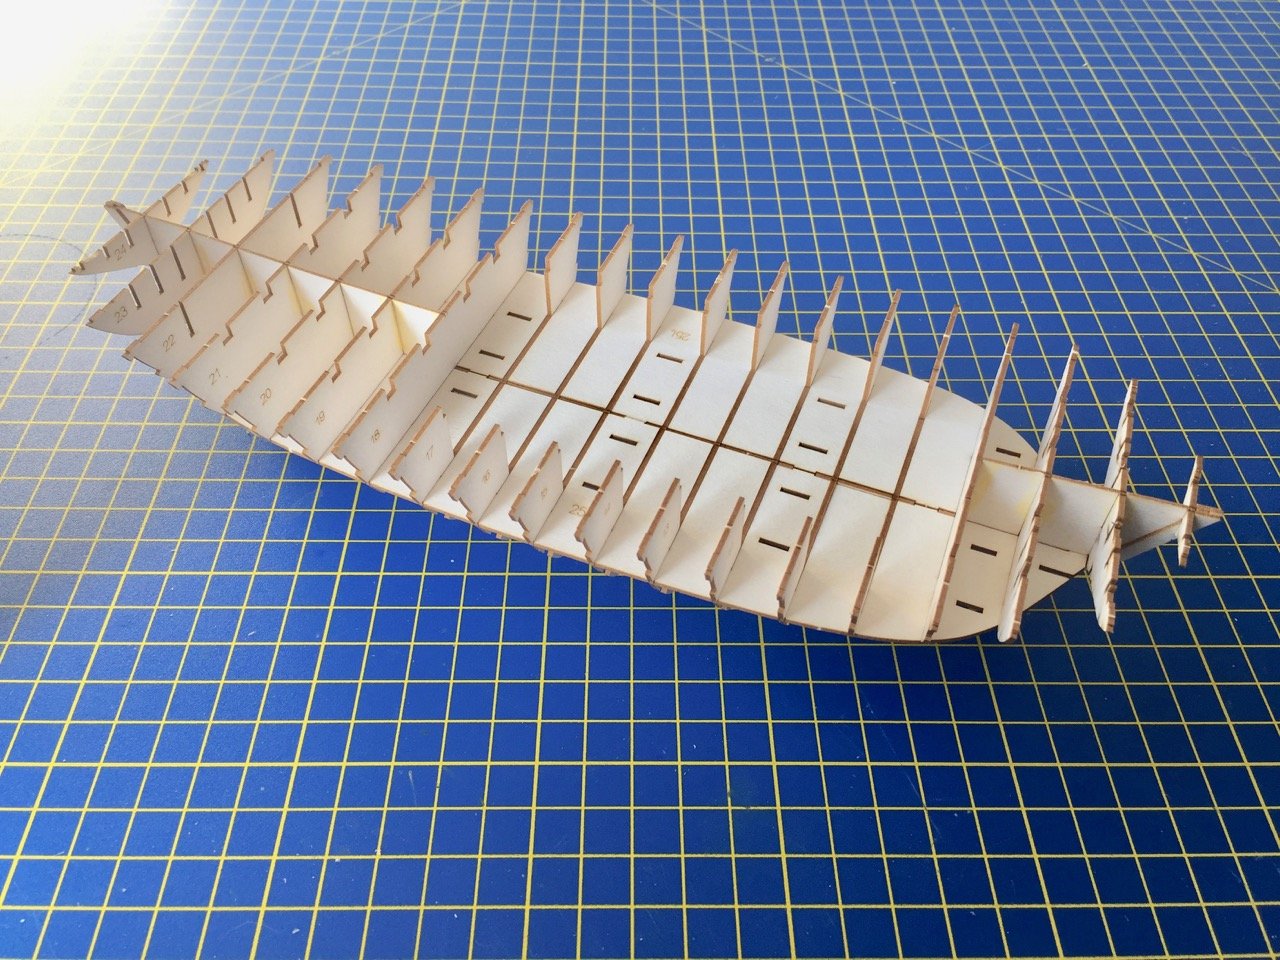
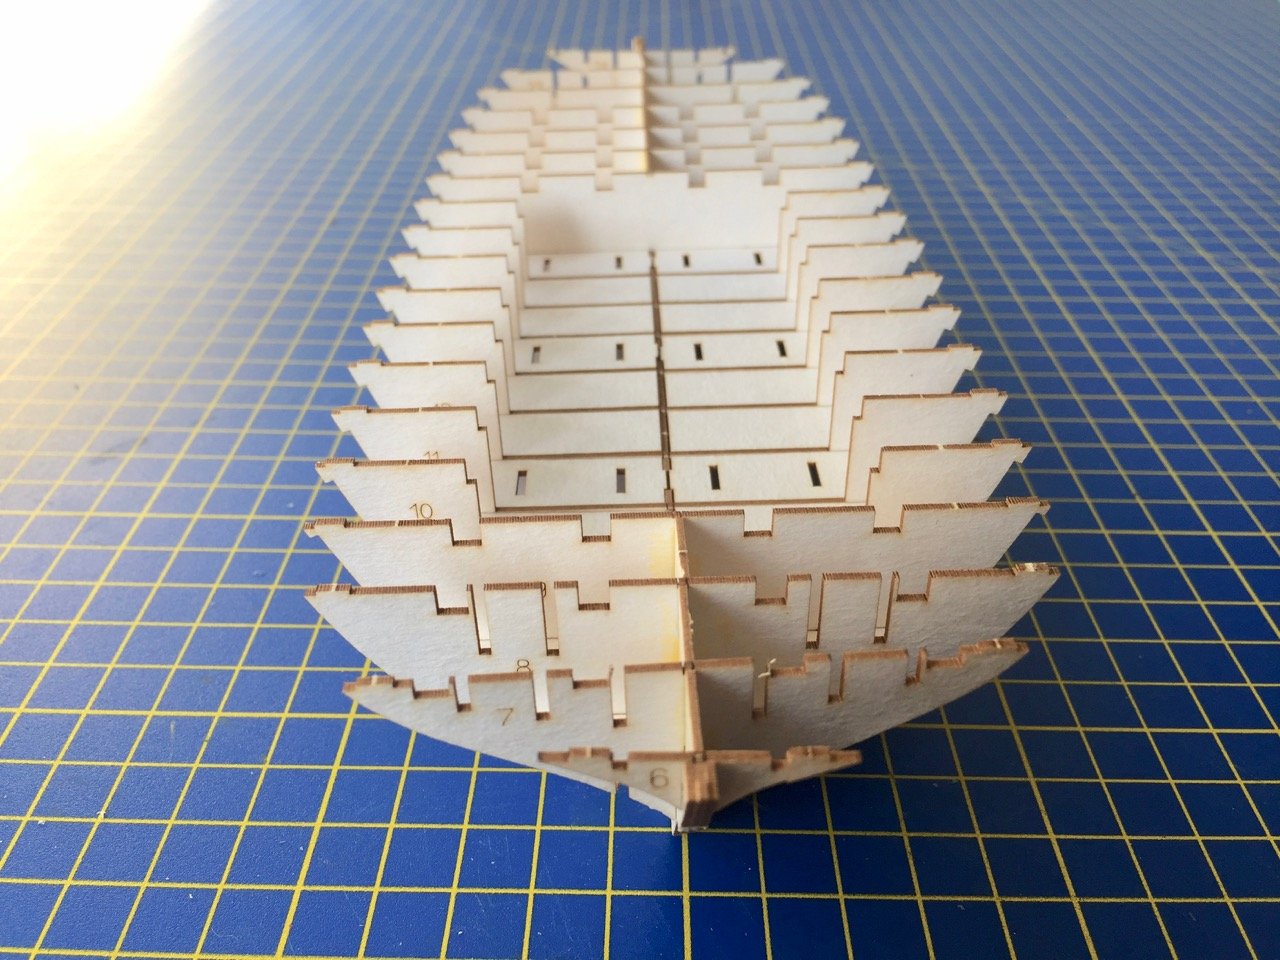
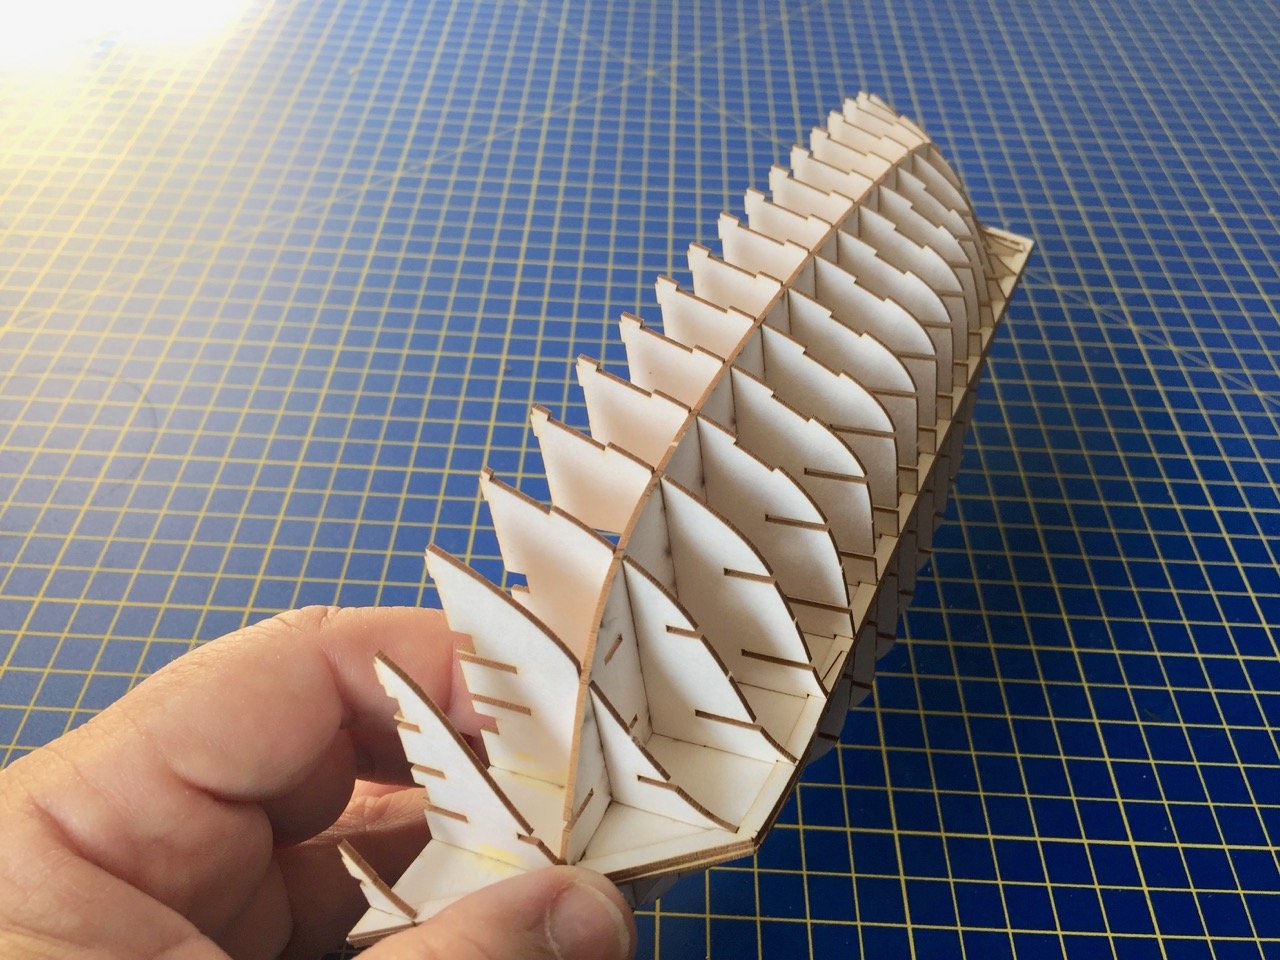
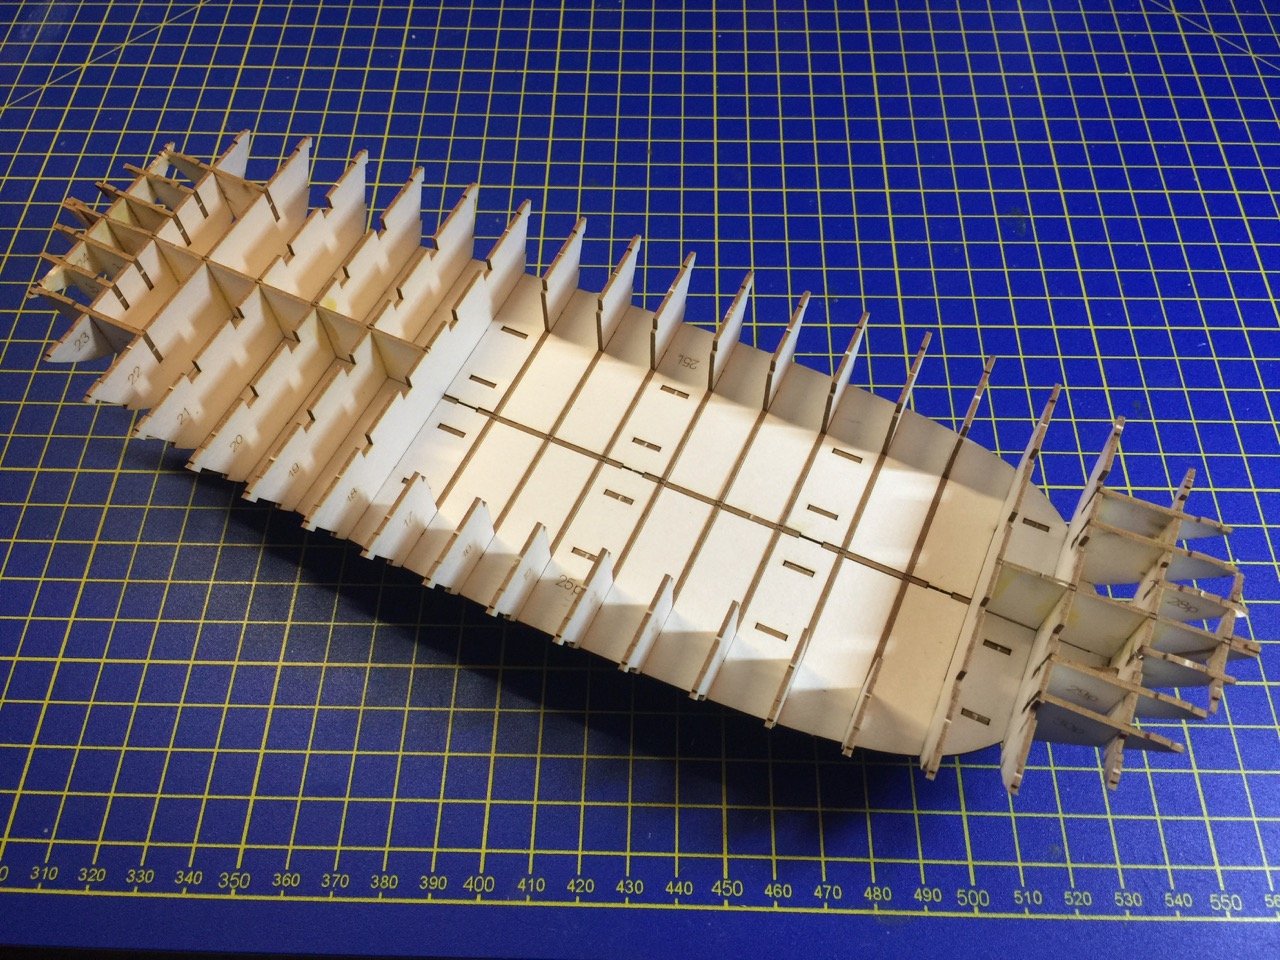
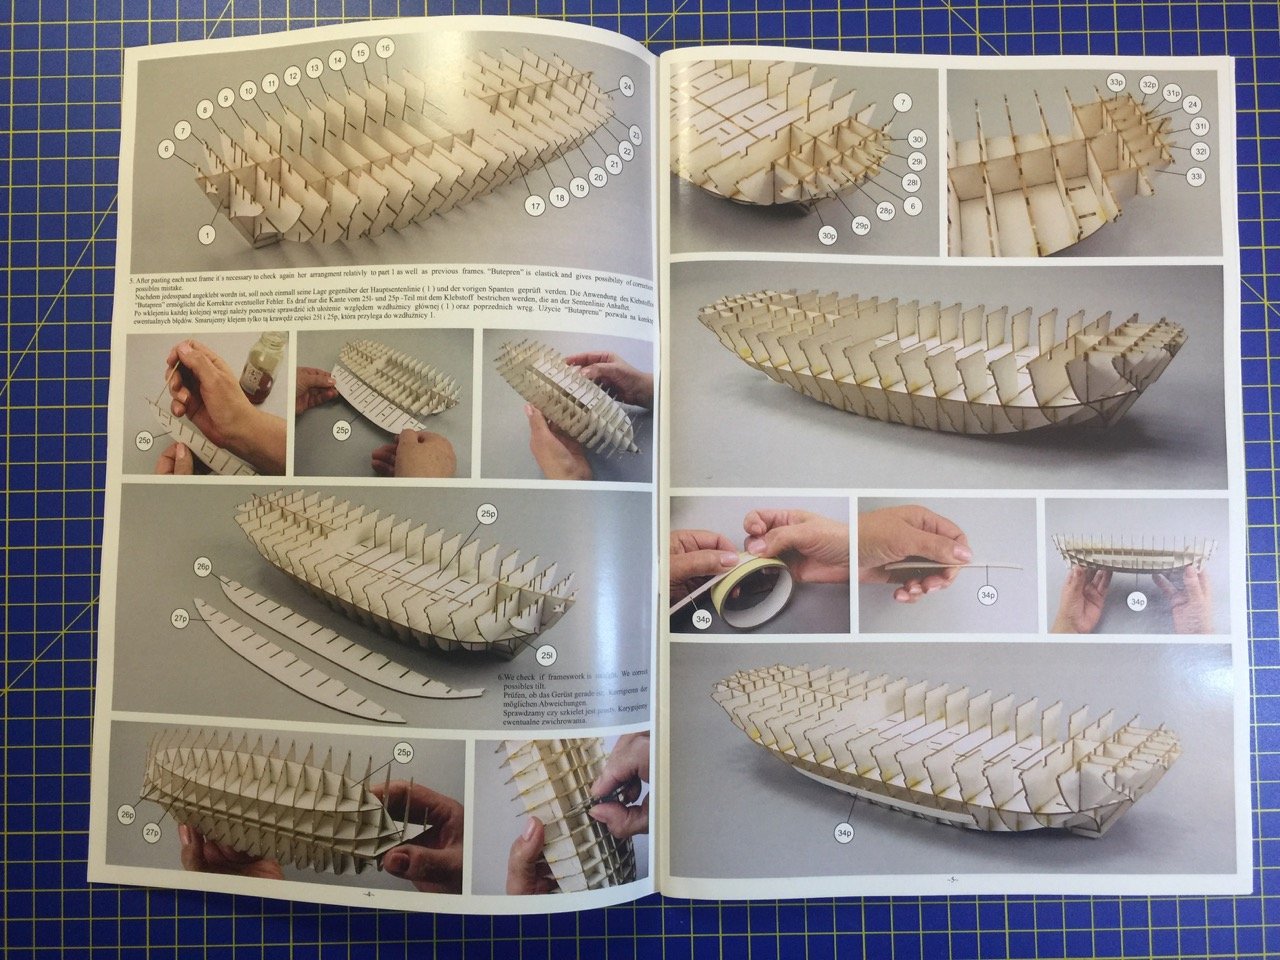
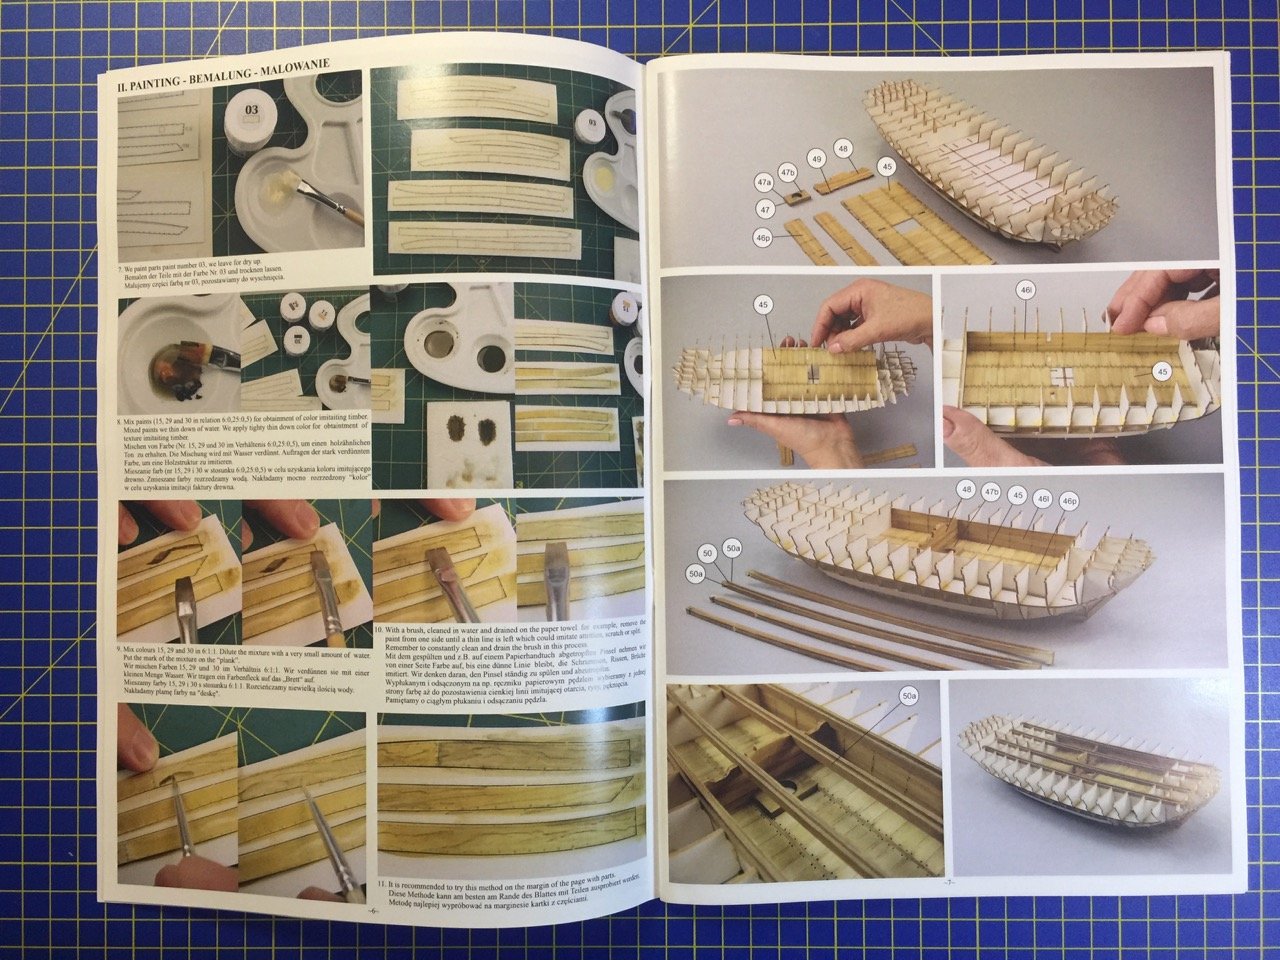
Chris, are you going to build the kit, or just do a review? Hope you build it. I'd love to see it going together. As for the Bremen Cog review, I'm thinking there is enough there to tell people what they want to know. One thing I'll add here, and as a disclaimer I should point out that this is kind of a plug for a company that I do some work for, but I kind of talked the owner of Ages of Sail into carrying the two laser-cut cog kits, plus a big order for their new wooden kit. So if anyone is considering building any of these, please consider buying from Ages of Sail! Now, on to the build... To start with, I used a scalpel to cut the needed parts from the laser-cut sheet. The instructions show a double-edged razor blade, but that seems a little dangerous. The scalpel works quite well. It is interesting that they laser-cut scarf joints. They look great, but they will get covered over later in the build. At this stage, I used simple Elmer's wood glue for these parts. It allows me some adjustment of the parts before the glue sets. In the photo above, it's a bit hard to tell, but the bow end is on the left side. The next step was to fit all the bulkheads and hull stiffeners into place. All the parts slip easily into place and no glue was used at this stage – I wanted to test fit everything first. Plus, I love how quickly the hull takes shape at this early stage. As you can probably see, once I was happy that I got everything into the correct places, I started adding glue to the joints. The close spacing of the bulkheads already gives the model a very solid feel, though the bulkheads at the ands are very delicate and they will buckle very easily, so a lot of care is needed in handling it yet. The above photo doesn't show the vertical stiffeners that are added next. There are two on either side of the keel. You can see the slots for them in the bottom of the bulkheads. There is also a piece that is added to the outer edge of the lower bulkheads. You can see the notches for them in the edge of the bulkheads below the lower deck. You'll see this in later photos. With the bulkheads all glued into place, you'll notice an interior space taking shape. This will be deal with in my next post. This takes me into page 6 of the 52-page kit instructions. The instructions here discuss their method of painting to give the model a wood-like appearance. Clare
- 175 replies
-
- hanse kogge
- shipyard
-
(and 1 more)
Tagged with:
-
Chris, Not a problem. I thought about posting in the review section. If it's editable, I actually have more photos of the contents I can add, as well as marketing photos from Shipyard. Robert, CDW, This really does seem to be a pretty awesome kit. I've built fully laser-cut wooden kits like the Japanese boats from Woody Joe, and it's a bit like that, but with parts that are more flexible than wood. The 1/72 scale keeps the model on the small side. But, with all the parts and laser-scribed features, I can tell it will be a very detailed looking model. My other paper projects have stalled. I have the 1/96 HMS Mercury and V-108 Torpedo Boat are sitting idly by. I'll get back to them both eventually, but they require a lot of cutting of parts. This was an opportunity to try one of Shipyard's laser-cut kits. I'd been drawn to their Dutch pinnace Papegojan and their HMS Wolf kits. But, when this opportunity came up, I had to jump at the chance. I'll post shortly about the actual construction, which is well under way. What I can say right now is that it's a lot of fun to see something come together so quickly and easily! Chris, I'm positive the Wütender Hund is going to be just as amazing a kit as this one. And, there's a wooden version out now! Exact same kit, but in thin wood. Ages of Sail has ordered a bunch of them, and they should be in the shop soon. Clare
- 175 replies
-
- hanse kogge
- shipyard
-
(and 1 more)
Tagged with:
-
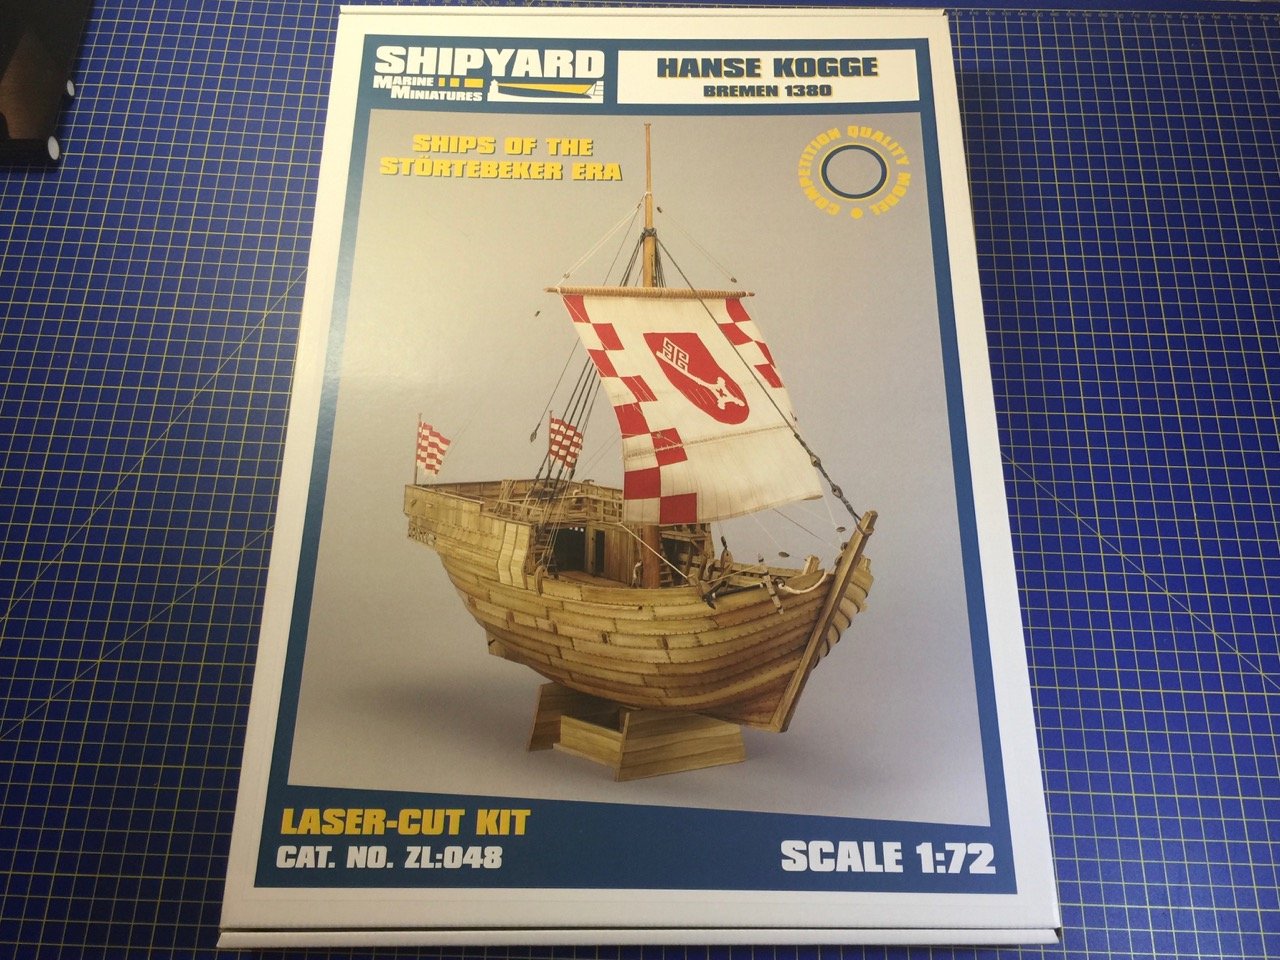
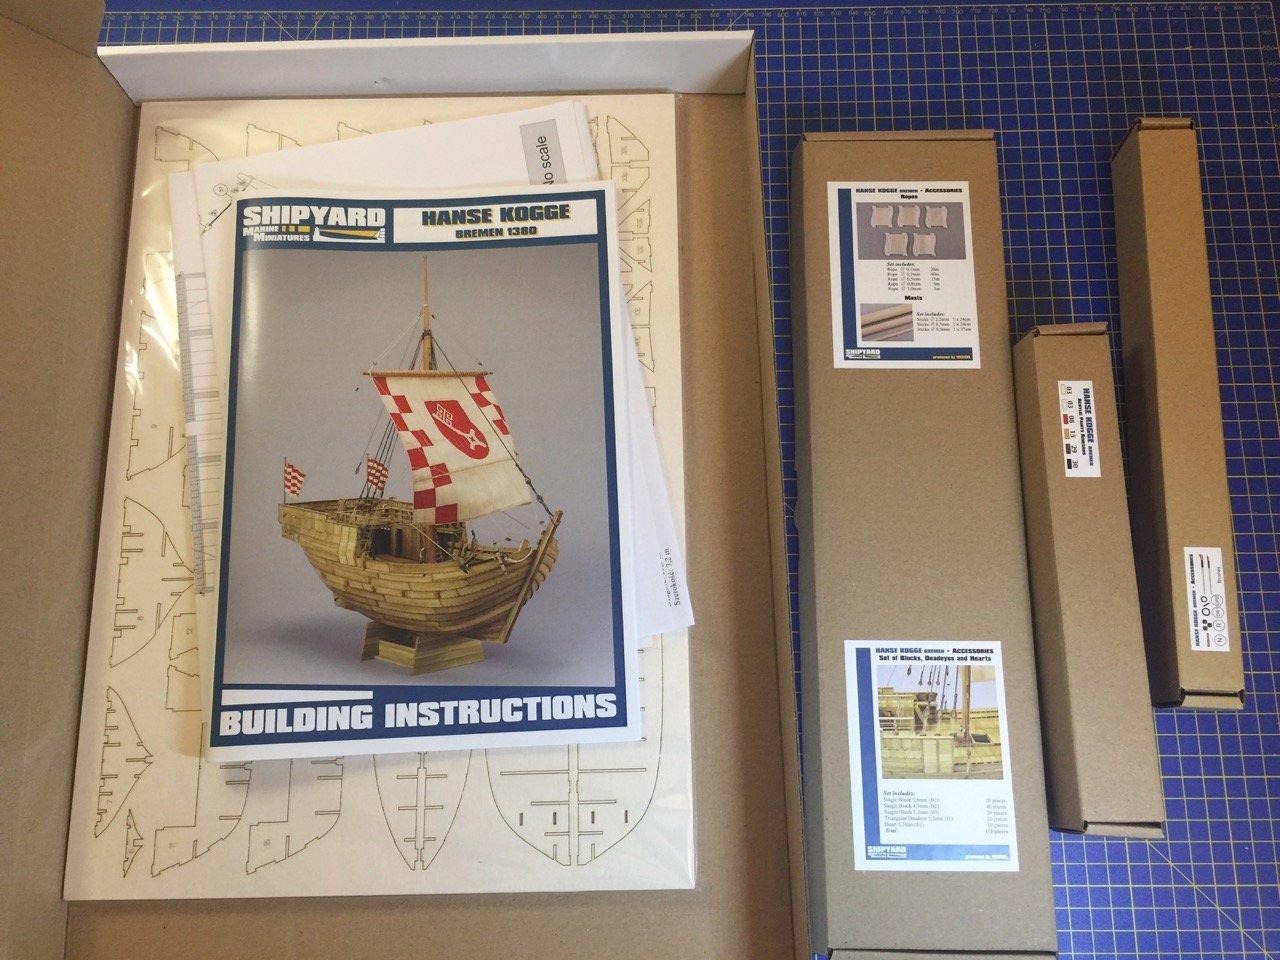
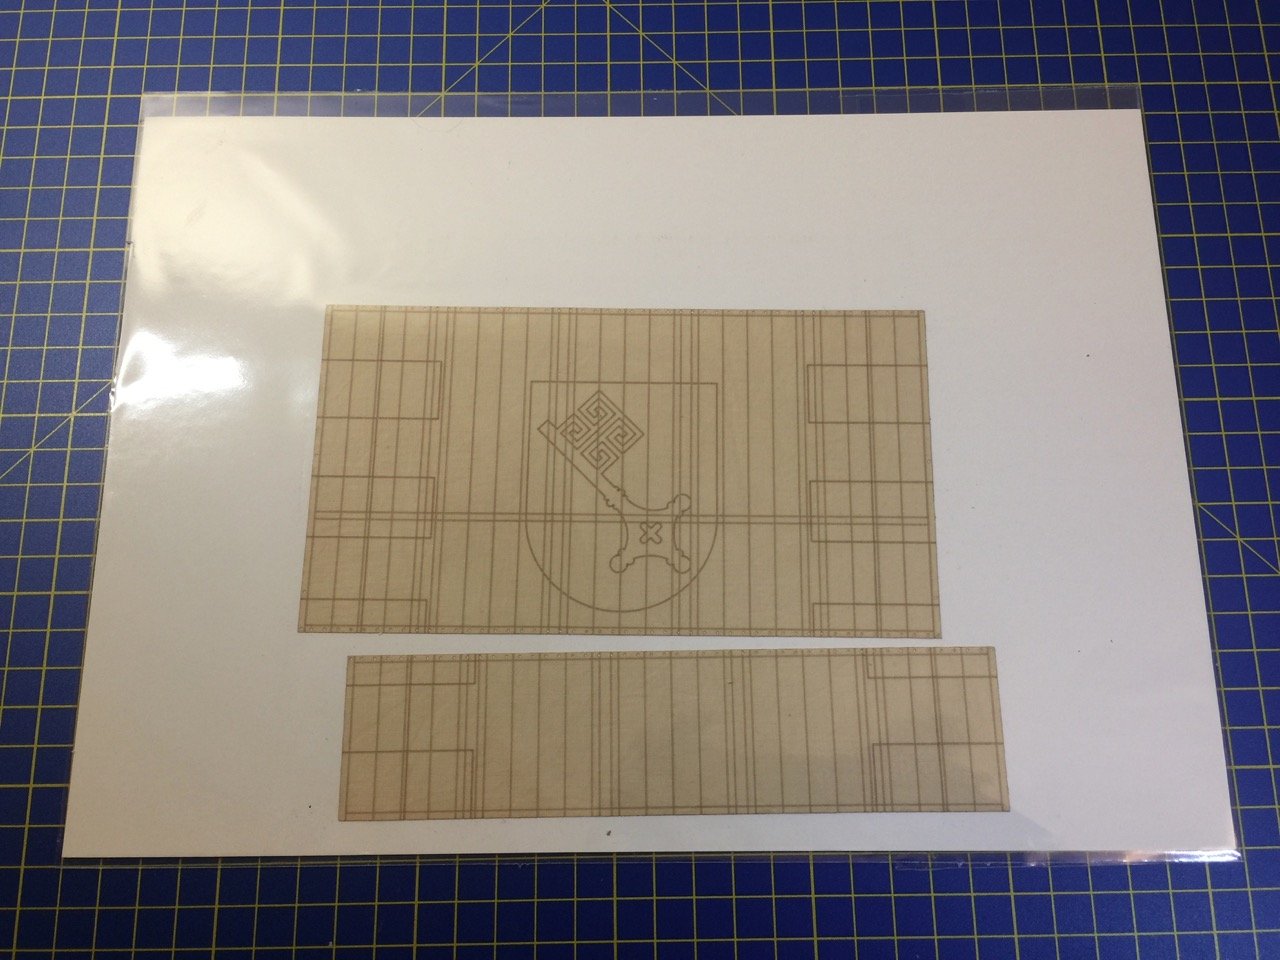
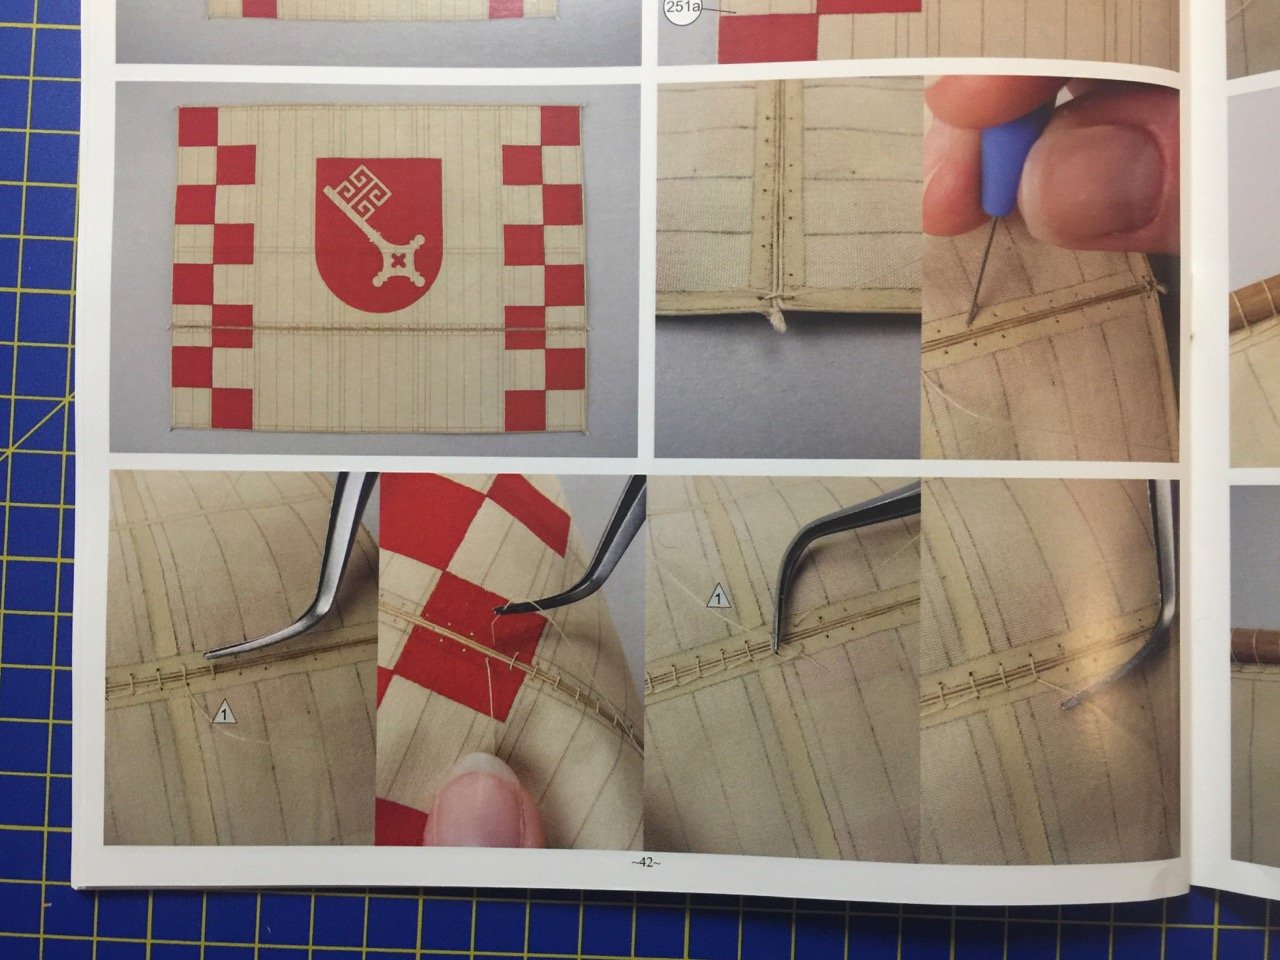
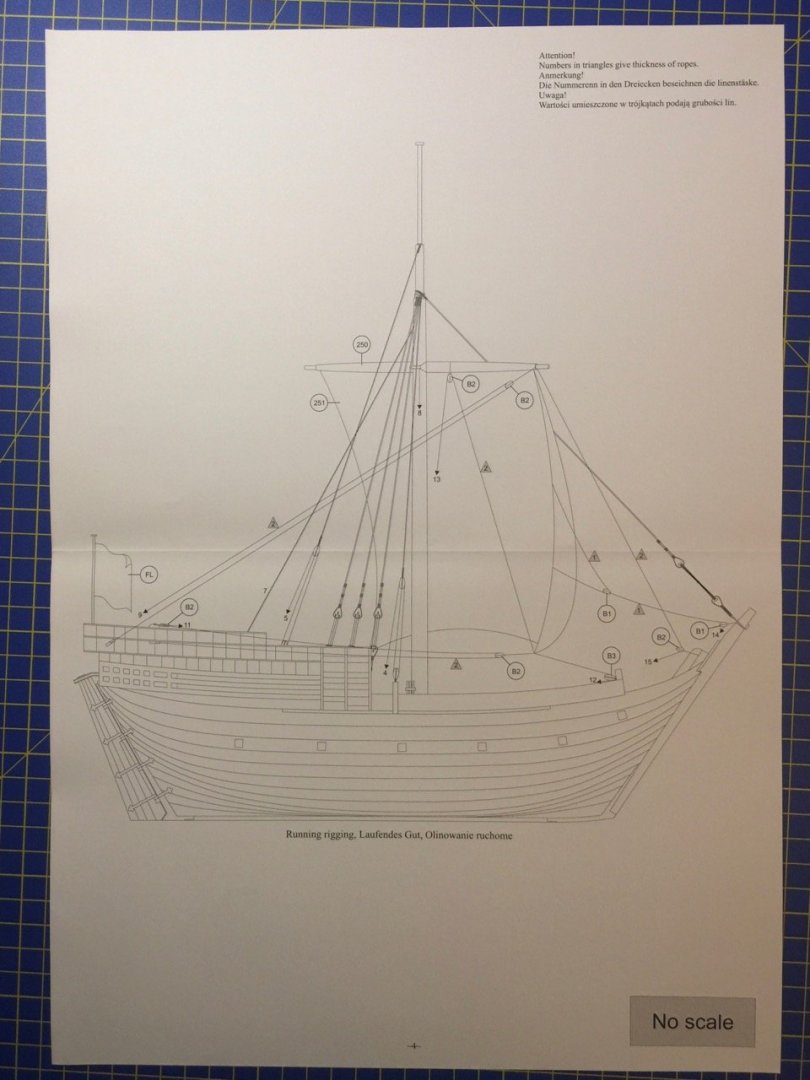
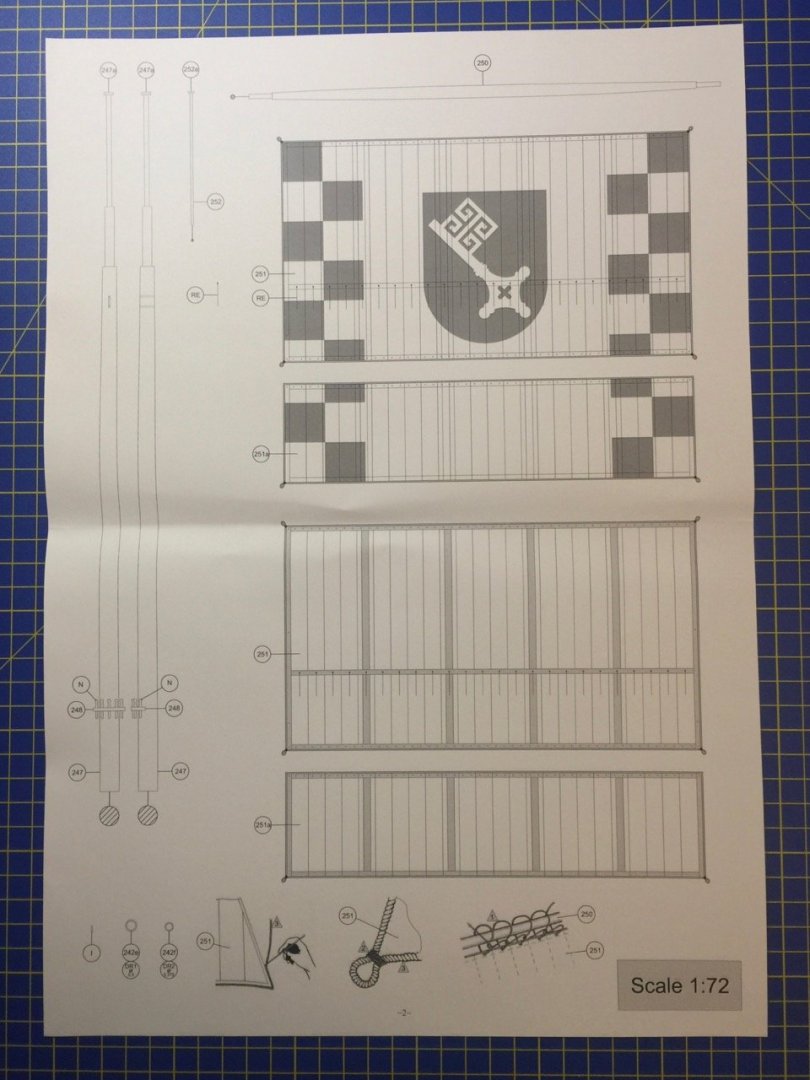
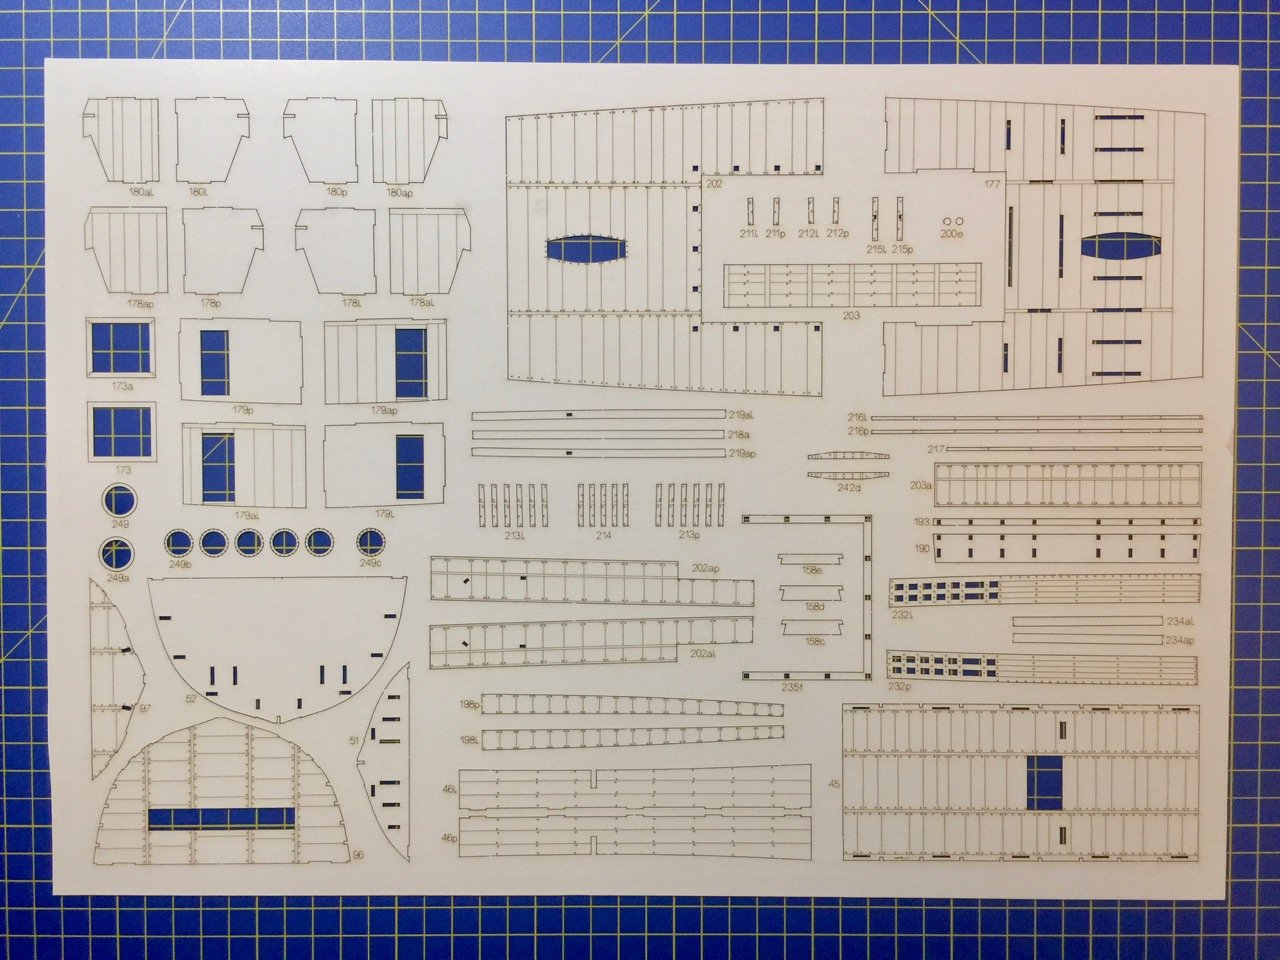
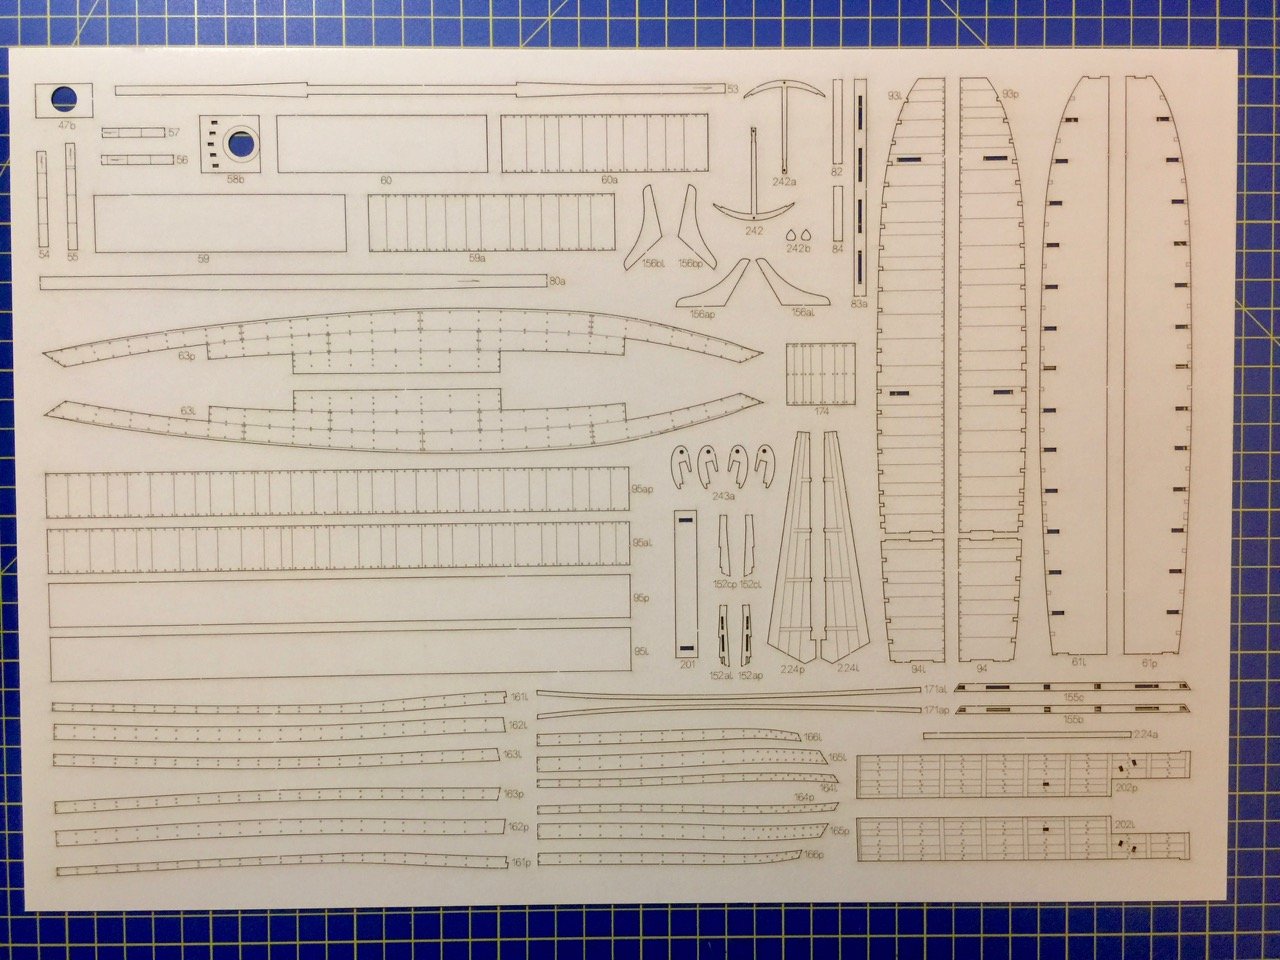
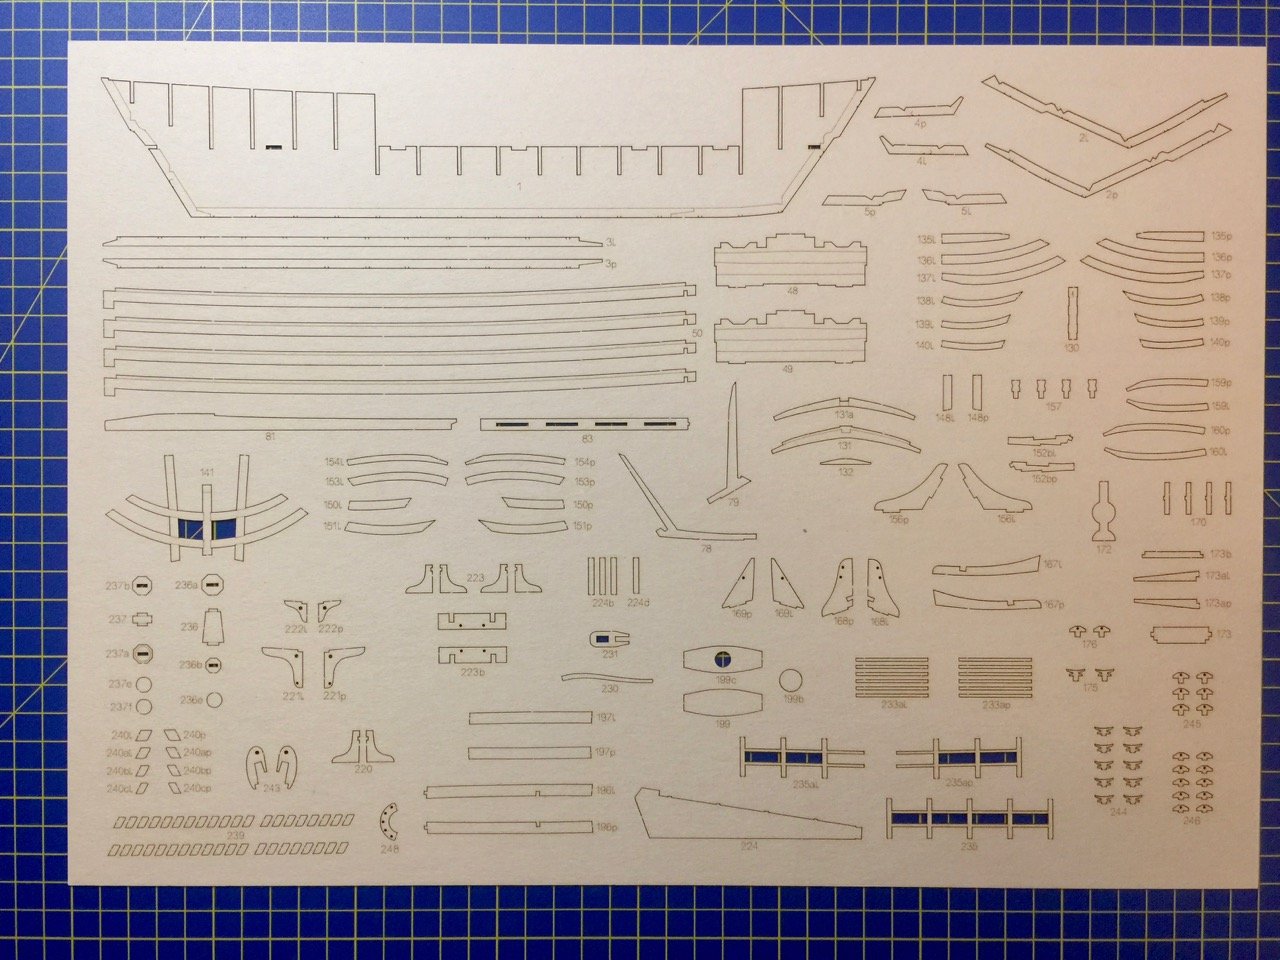
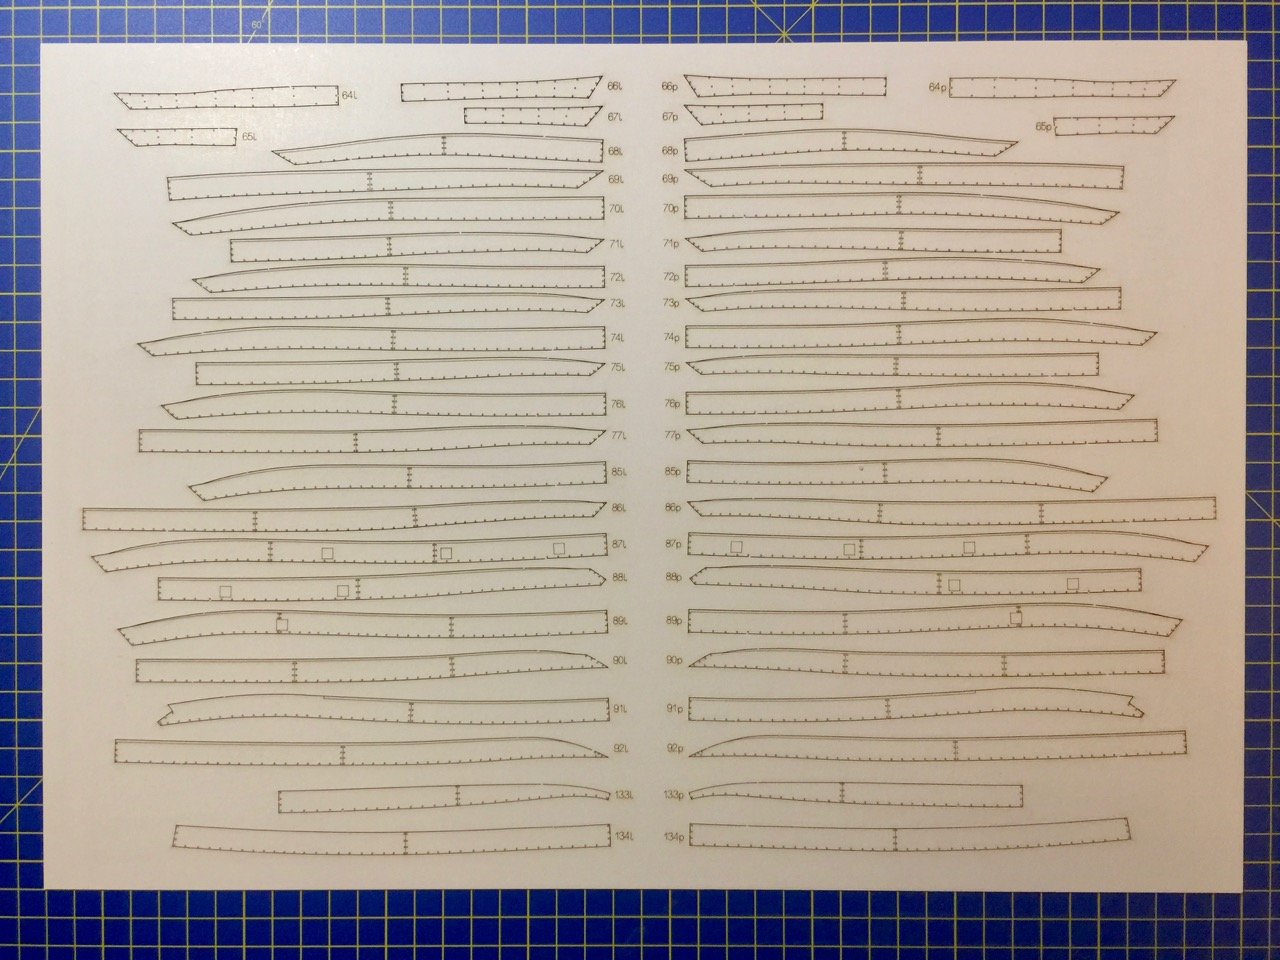
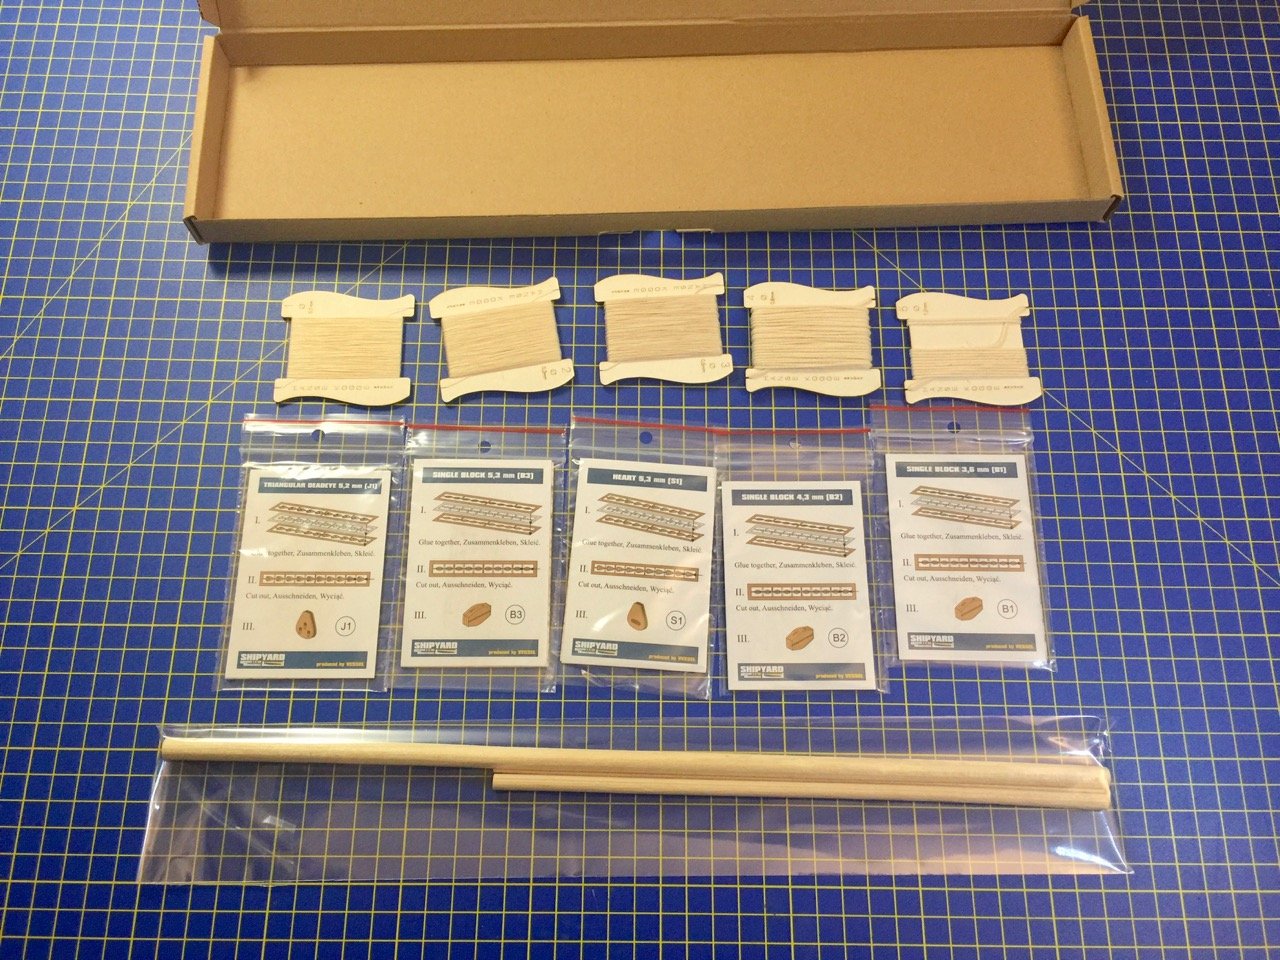
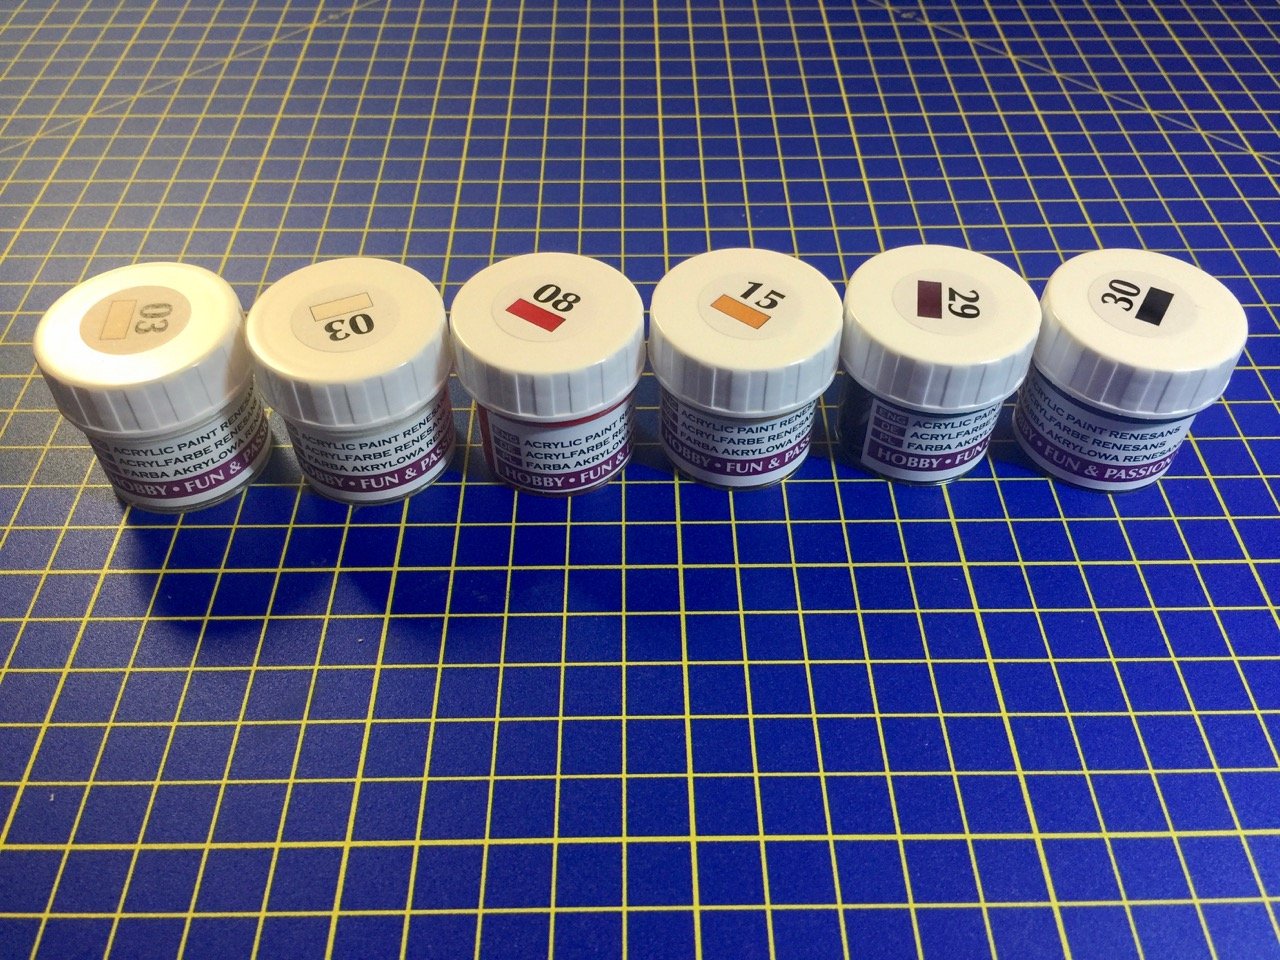
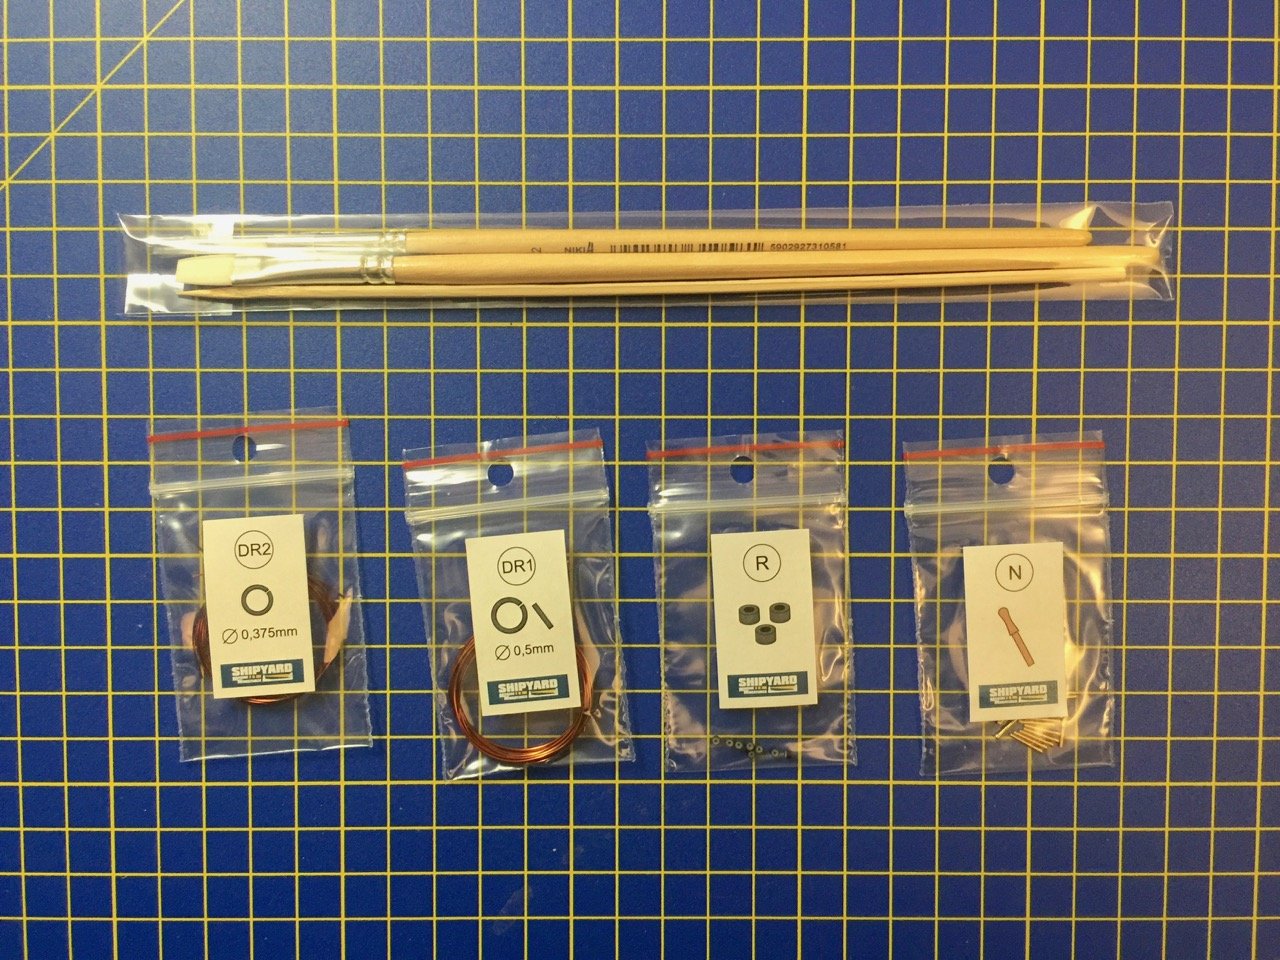
Earlier this year, I managed to acquire a relatively new kit produced by the Polish card model kit maker Shipyard. The kit is one of two that were released at least a year ago, maybe longer. Both kits represent medieval Cogs from the 1300s. Unlike other Shipyard kits I've worked on (yes, I only finished one paper ship model kit, but started a couple of them) which were paper kits and required cutting out pre-printed parts, this is a laser-cut card stock kit. Everything is already cut out in this type of kit, and the model requires painting. The kit I am building the kit listed by Shipyard as the Hanse Kogge - Bremen 1380. It is a 1/72 scale laser-cut kit based on the Bremen Cog. The completed model measures a little over 13" long and about 12.5" high. I decided to go ahead and take on this kit, though I have other projects, as the laser-cut design should make construction much simpler than the paper kits I've worked on. Ages of Sail, which is how I got my kit, sells this kit for about $125. There is a second Cog kit available called the Wütender Hund. It's a slightly bigger kit, maybe a little more complex, that sells for about $10 more. If you're interested in buying one, I'd really like to see other build logs! Here's a link to the kits on Ages of Sail: https://www.agesofsail.com/ecommerce/catalogsearch/result/index/?cat=72&q=Kogge So, taking a look at the contents of the kit... The laser-cut parts are in a cellophane envelope, individual carboard boxes keep things from knocking around in the main box and contain parts, paints, etc. The instructions make up a full-color booklet filled with photos. There's very little text, and what there is in multiple languages. Parts that aren't part of the laser cut sheets are provided in a couple cardboard boxes that include rigging line, laser-cut blocks and deadeye sets, paints, brushes, dowels, metal accessories, etc. The sail is pre-cut and pre-marked, but will need to be painted. There are several sheets of laser-cut card stock in various thicknesses and finishes. Some of the sheets have a glossy finish. Here are just some of the sheets. There are a couple sheets of plans included, which mostly cover rigging details. This looks like a very good kit and I'm pretty happy to be able to work on it. Next time, I'll post the start of construction. Clare
- 175 replies
-
- hanse kogge
- shipyard
-
(and 1 more)
Tagged with:
-
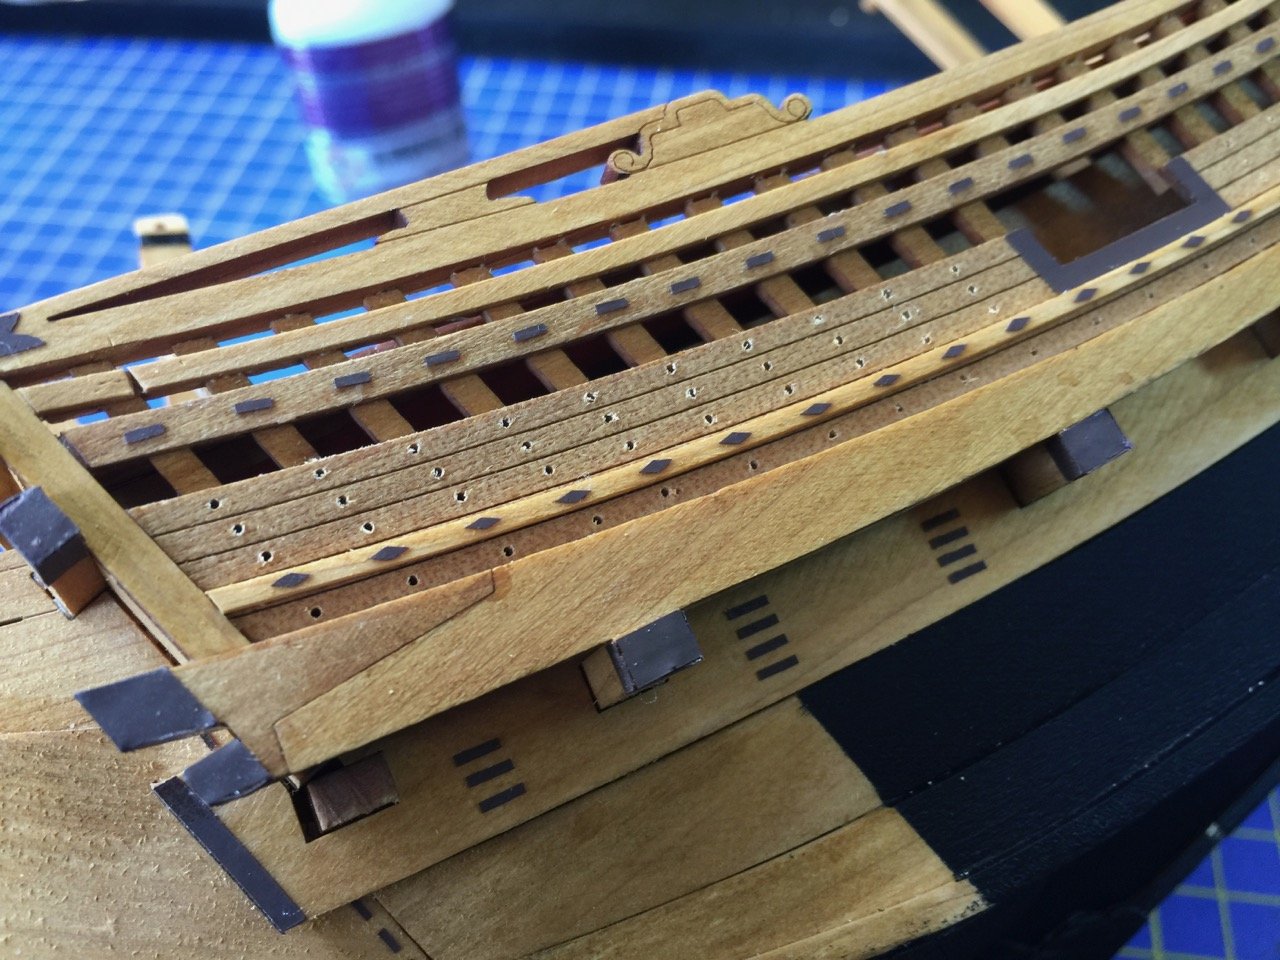
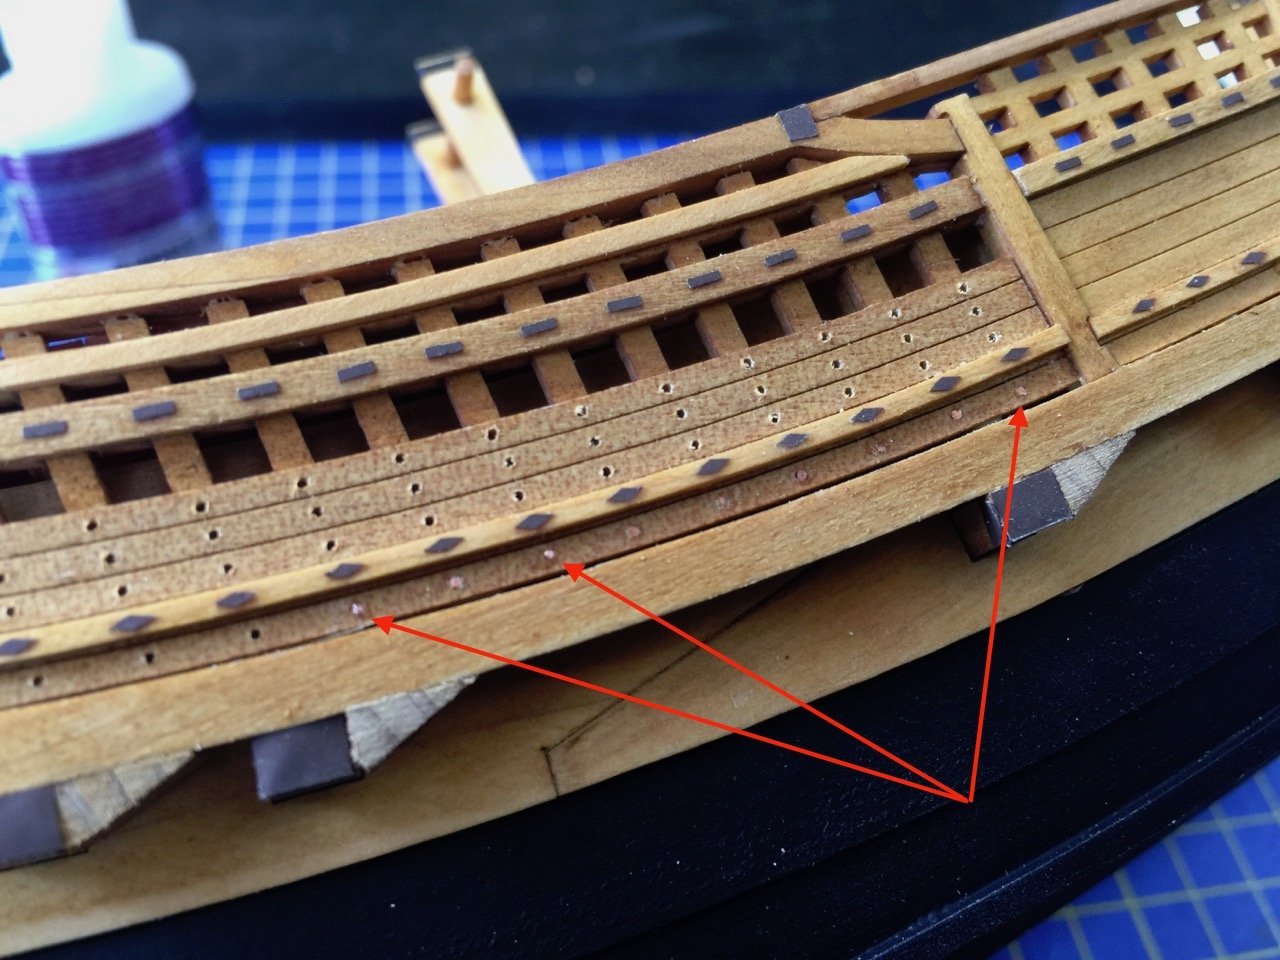
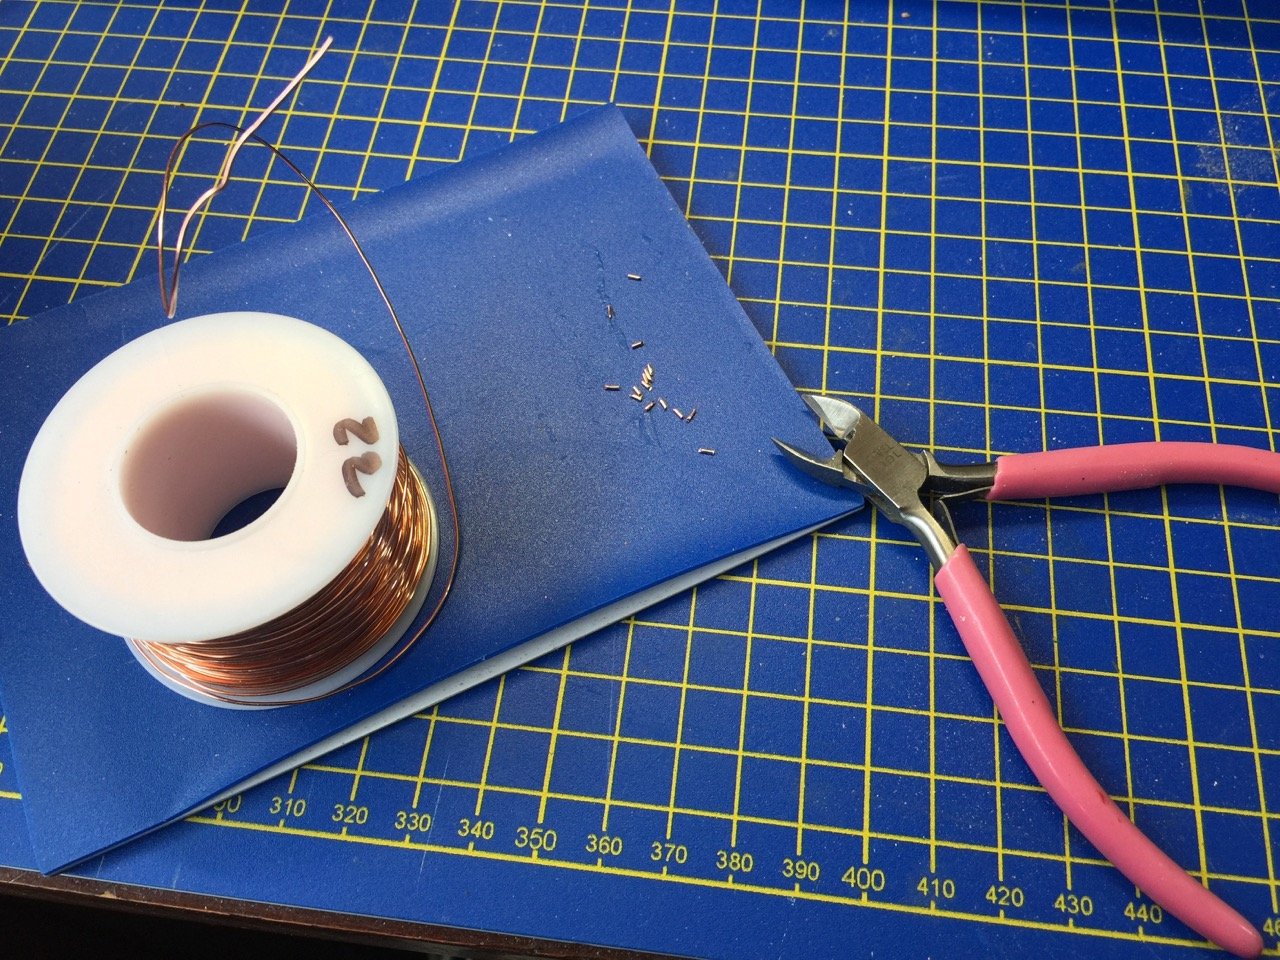
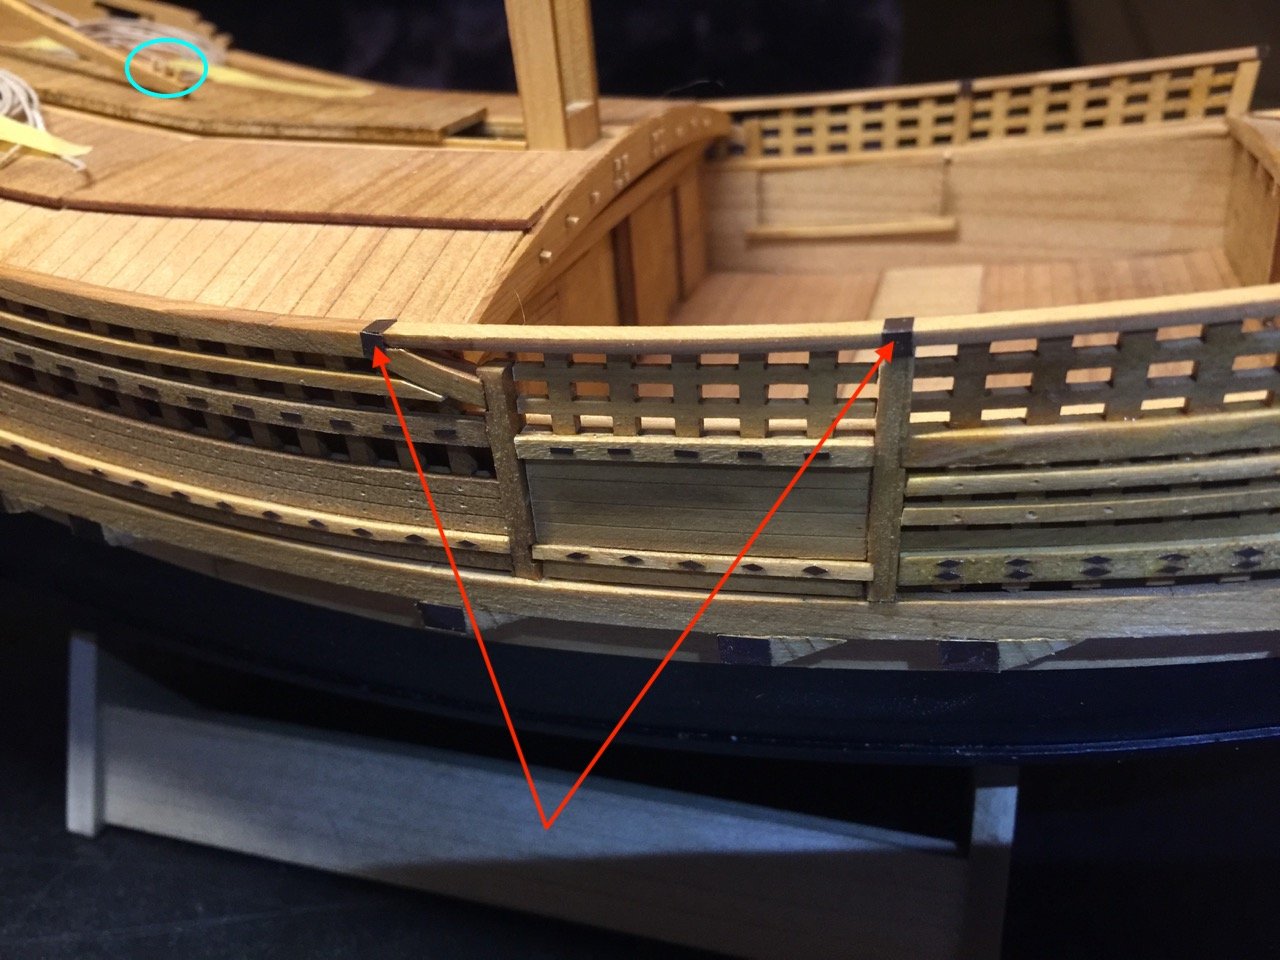
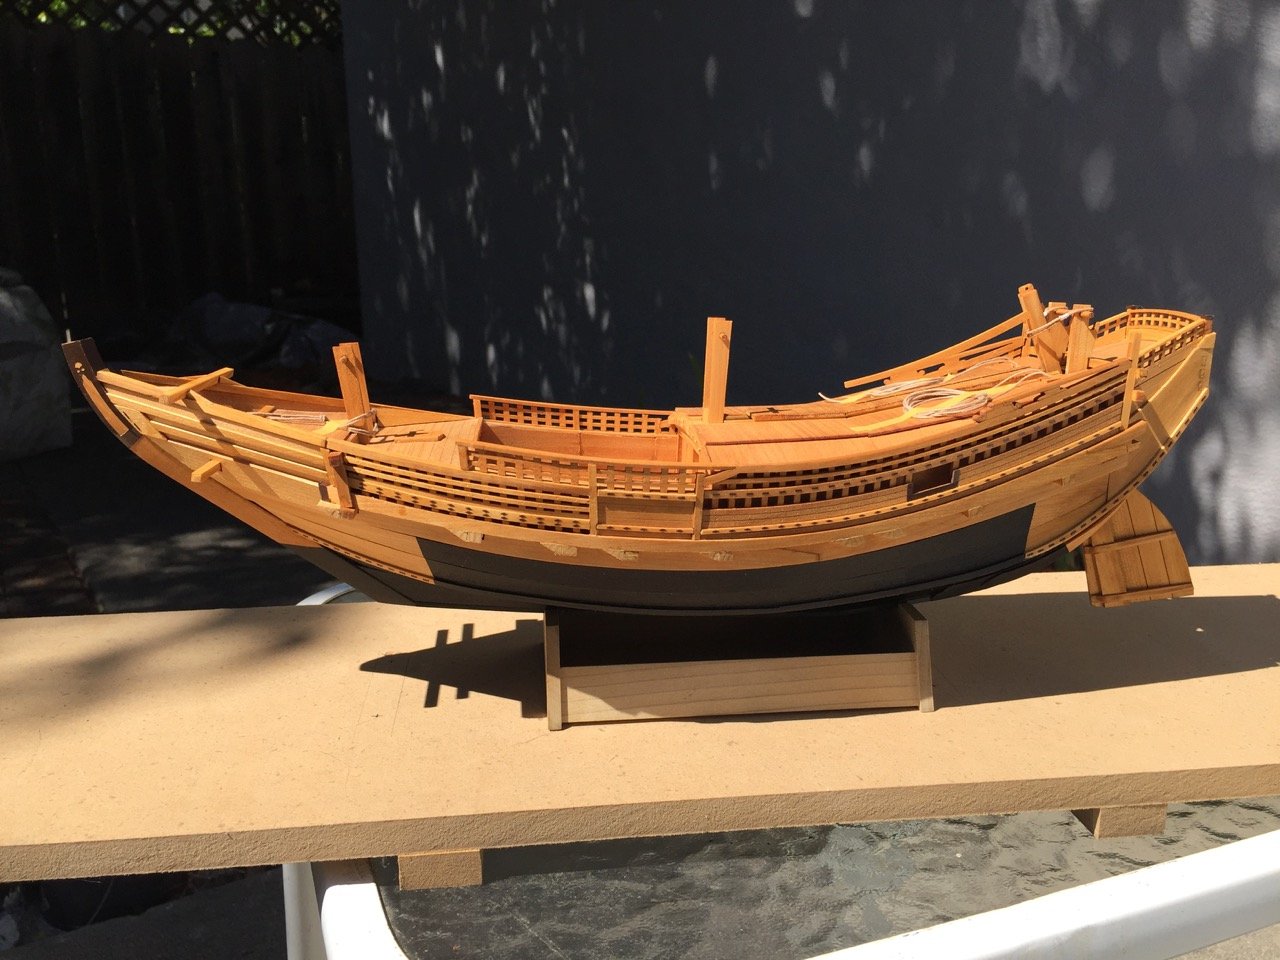
A quick update on the Kitamaebune model. With the completion of the vinyl "coppering" details, I started thinking about other non-kit details. The next item I decided is pretty straight forward and related to the vinyl "coppering" details. Often times, the coastal transports, known generally as bezaisen, are shown with nail heads in the bulwarks fences. Adding these at this scale may be a mistake, but I've started down the road – No turning back now. I drilled out all the necessary holes which will be plugged with some 22 gauge copper wire. I intend to blacken the wire using liver of sulfur. Holes were drilled out and I started the process of making copper "nails". The heads have to be flat, so I filed the end of the wire and then cut the "nail" off. I glued the finished nails into the holes and pressed them flat against the hull. The process seemed to work okay, though I won't really know how well I will like the results until it's all done. It's slow going, but there aren't really too many to do when you get down to it. In the photo above, the red arrows point to some of the copper nails after they've been place. There's a ways to go, but it's a start. As a side note, I'm going to need to start a build log for a card model that is connected with some new products that are being carried by Ages of Sail. Look for it in coming days. But, I will be pushing forward to finish the Kitamaebune fairly soon. Clare
-
Thanks Druxey! You always say the nicest things. Hi Kurt, I agree about the shape of the Honryou-sen. Most of the other boats I've seen of this style of construction are practically double-enders and don't have the nice "flowing look" to them, as you put it. At some point, I'd like to make a couple of them, but they are so simple looking with few details that they wouldn't be all that interesting to look at. Even the Honryou-sen is a bit simple looking, though I have a few small details I need to add to it. Plus, I need to make a kai, or paddle, for it. Clare
-
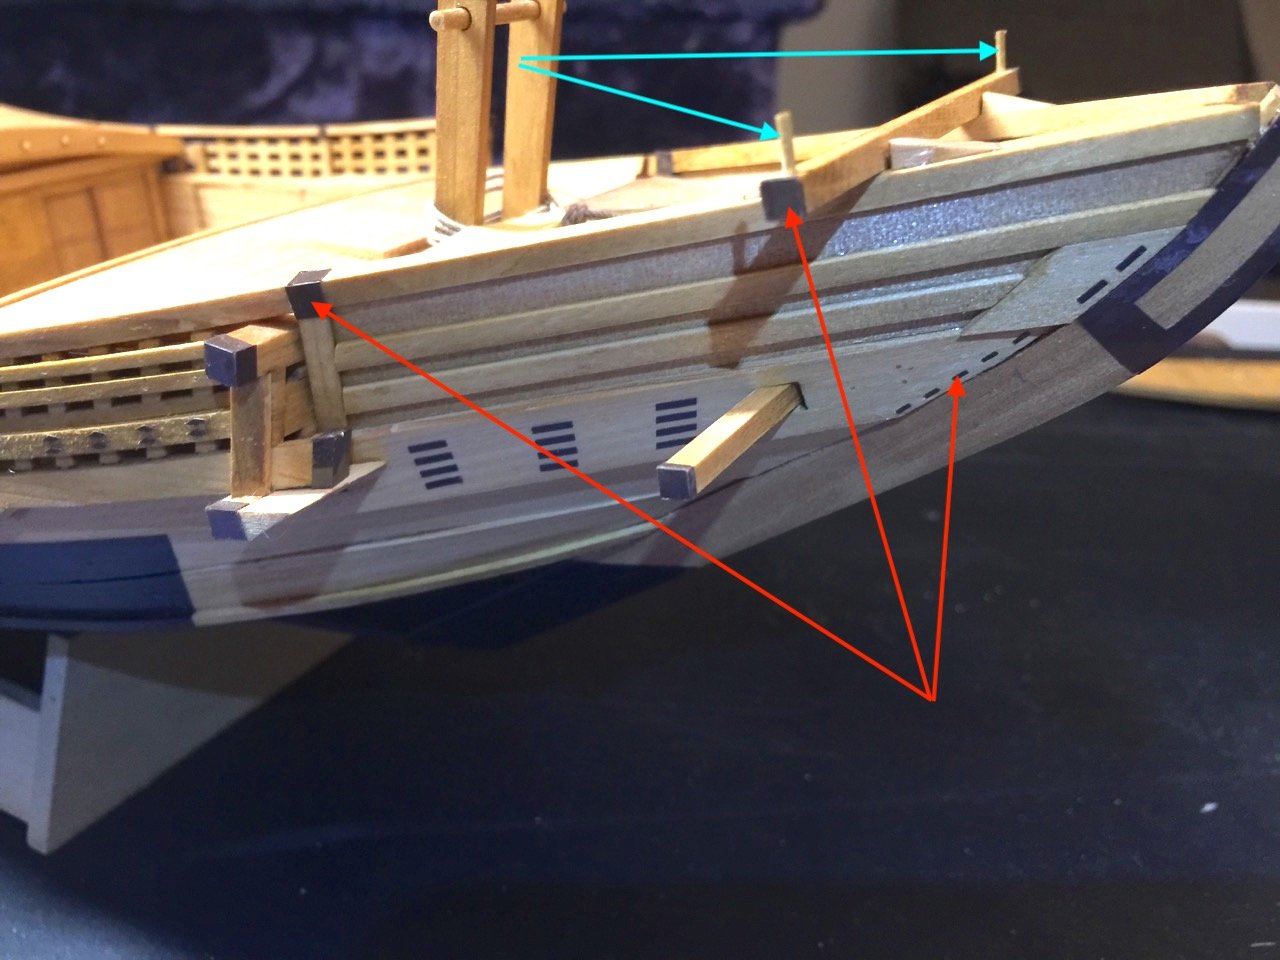
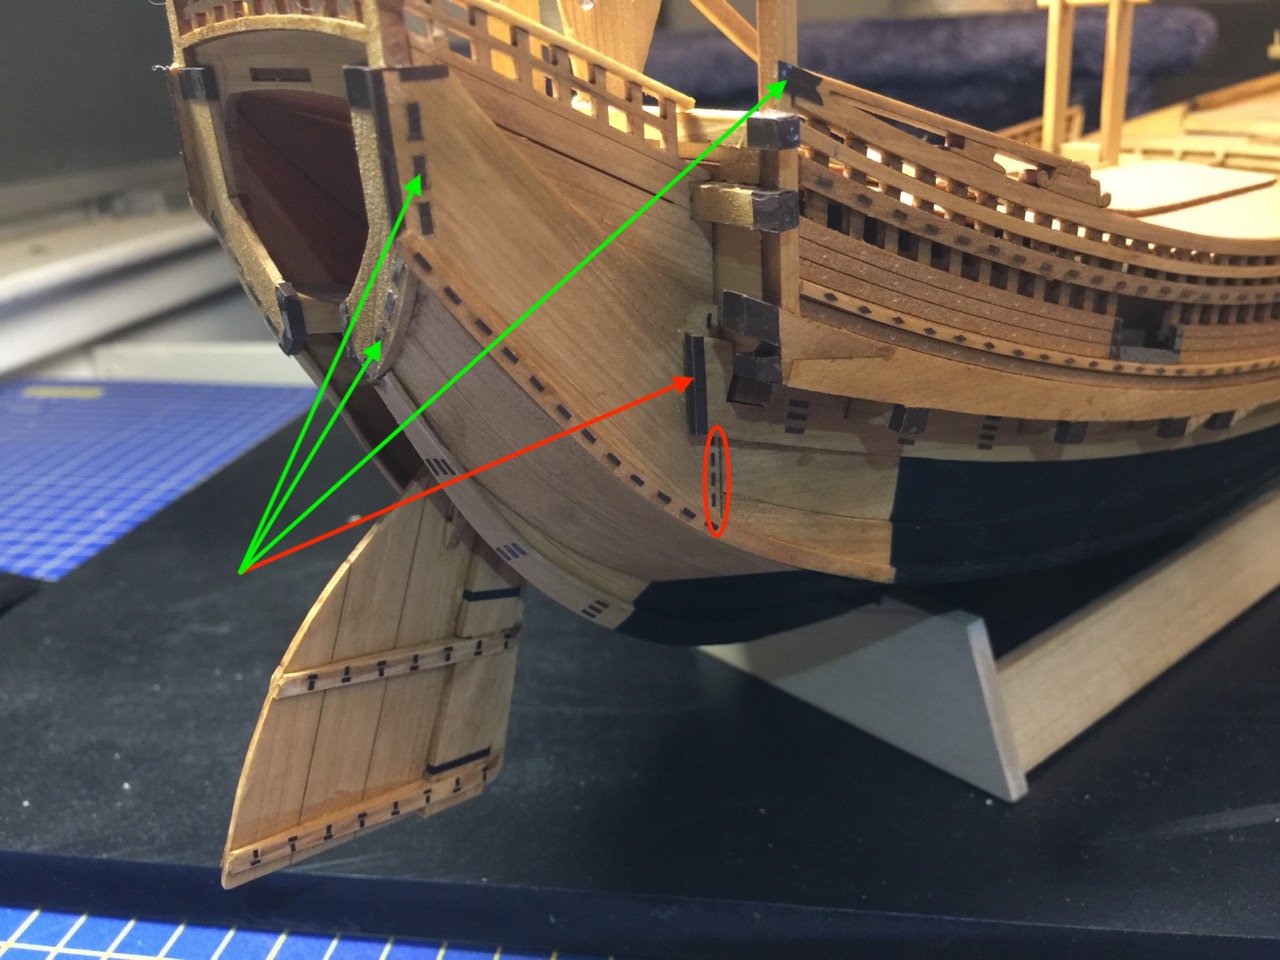
Getting back to the Kitamaebune model, I've finally made significant progress, though it doesn't really show. It's all in the small details – the simulated copper coverings are finally done! This took me a while as I kept thinking I was done. Then, I'd think some more and realize there was some other feature I wanted to add. I'd no sooner finish that, than realize I really should add yet another feature. This cycle has repeated itself many times, but I think it's over now. Kind of like getting sick and you think you're done – but nope... Of course, the end result with the model is a lot nicer imagery! In the images below, the red arrows and circles show newly added detail. The green show added detail that was actually based on kit part that I recreated in vinyl, as well as some small wooden posts I added to the beam at the bow and the end of the tiller. Still a lot of wooden details I need to add. But, this vinyl cutting phase looks like it's finally over, and I can put that equipment away. I'll be adding boat chocks, windlass handles, and will be considering adding the two small auxiliary masts that were often mounted on these ships near the bow. There are also a number of tenon joints that I want to simulate. I'd actually already done a couple, but found they were in the way of finishing the "coppering" detail.
-
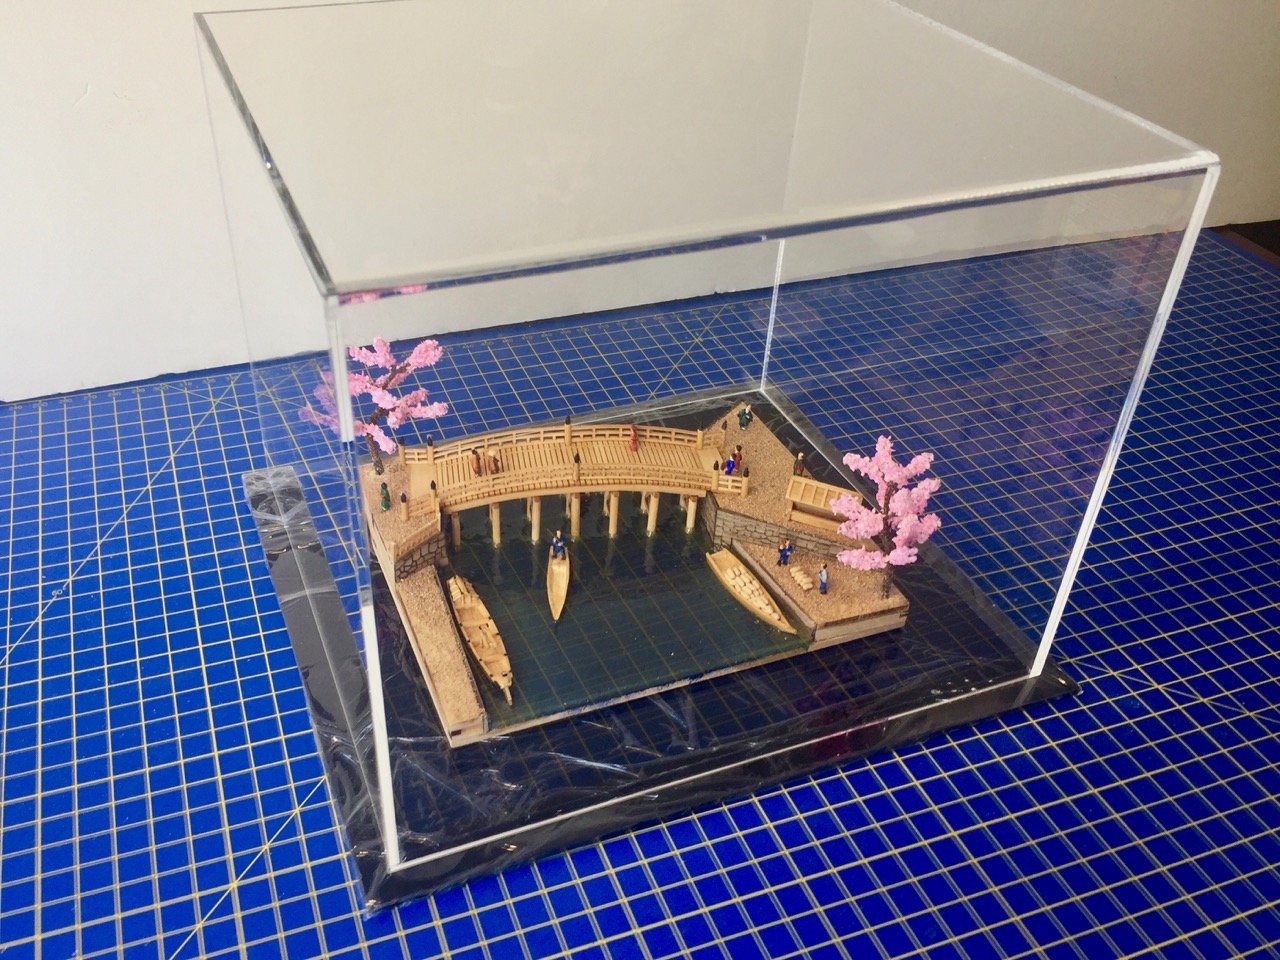
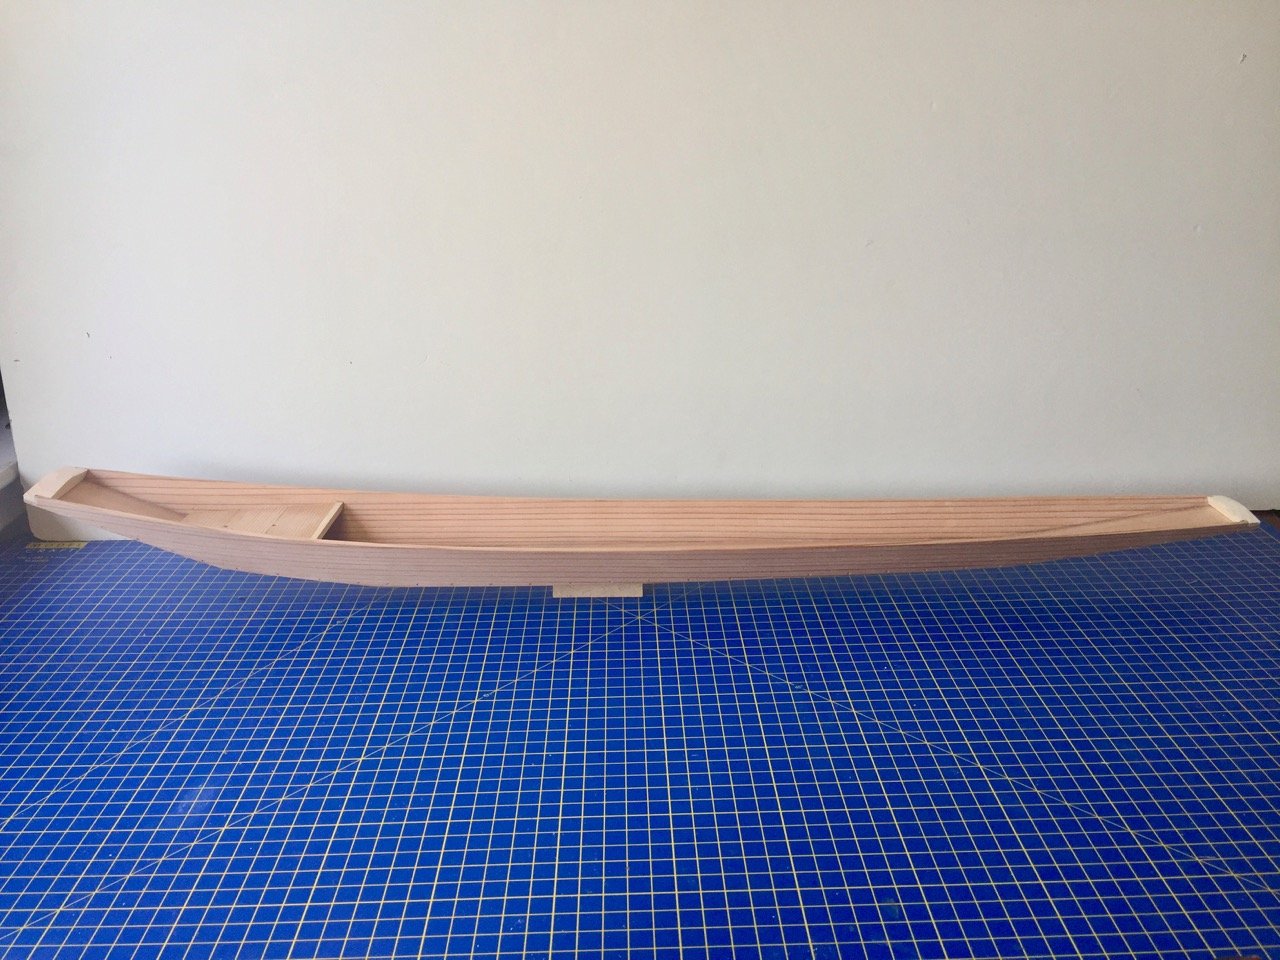
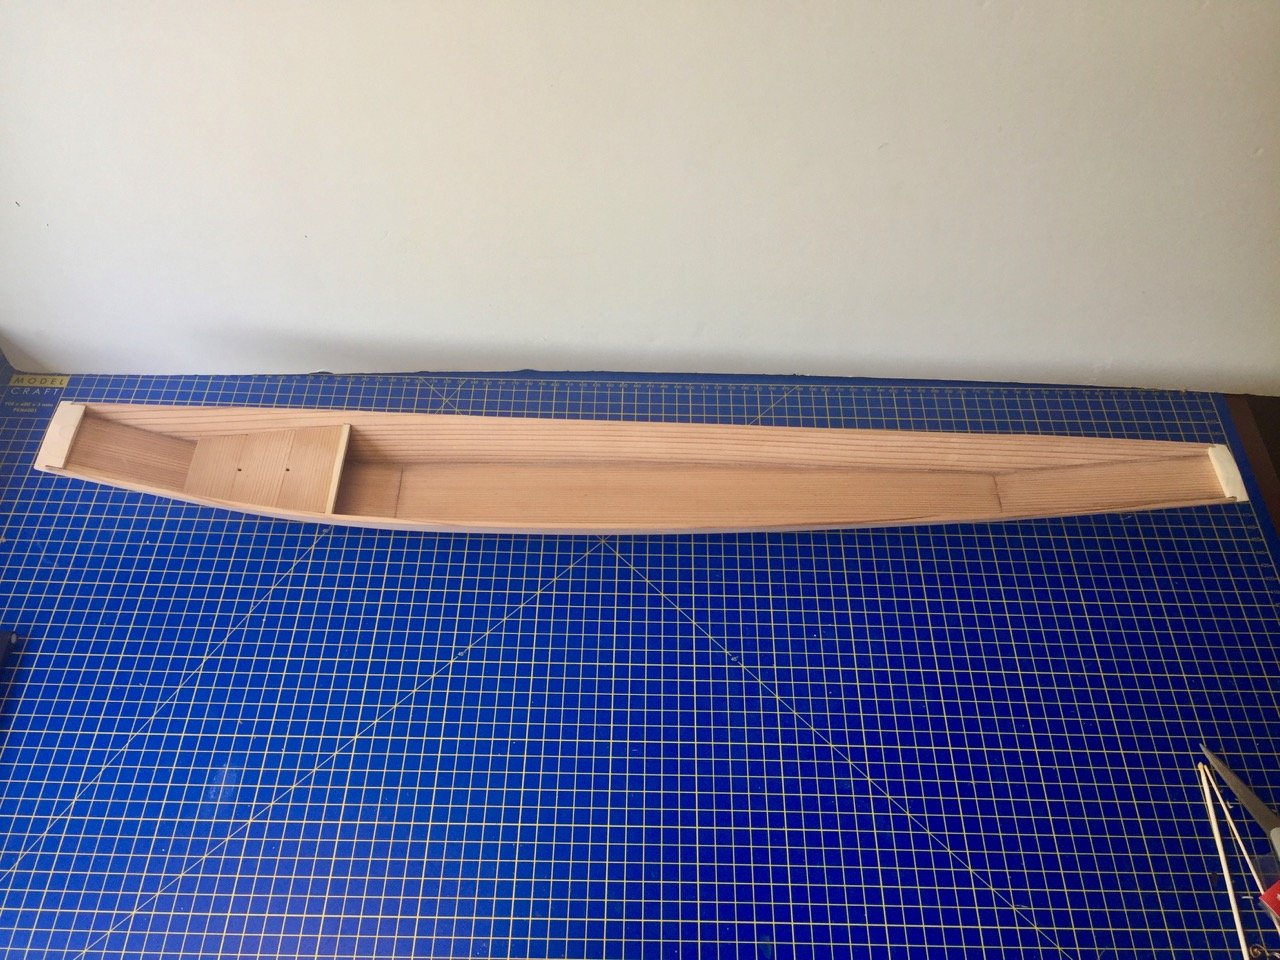
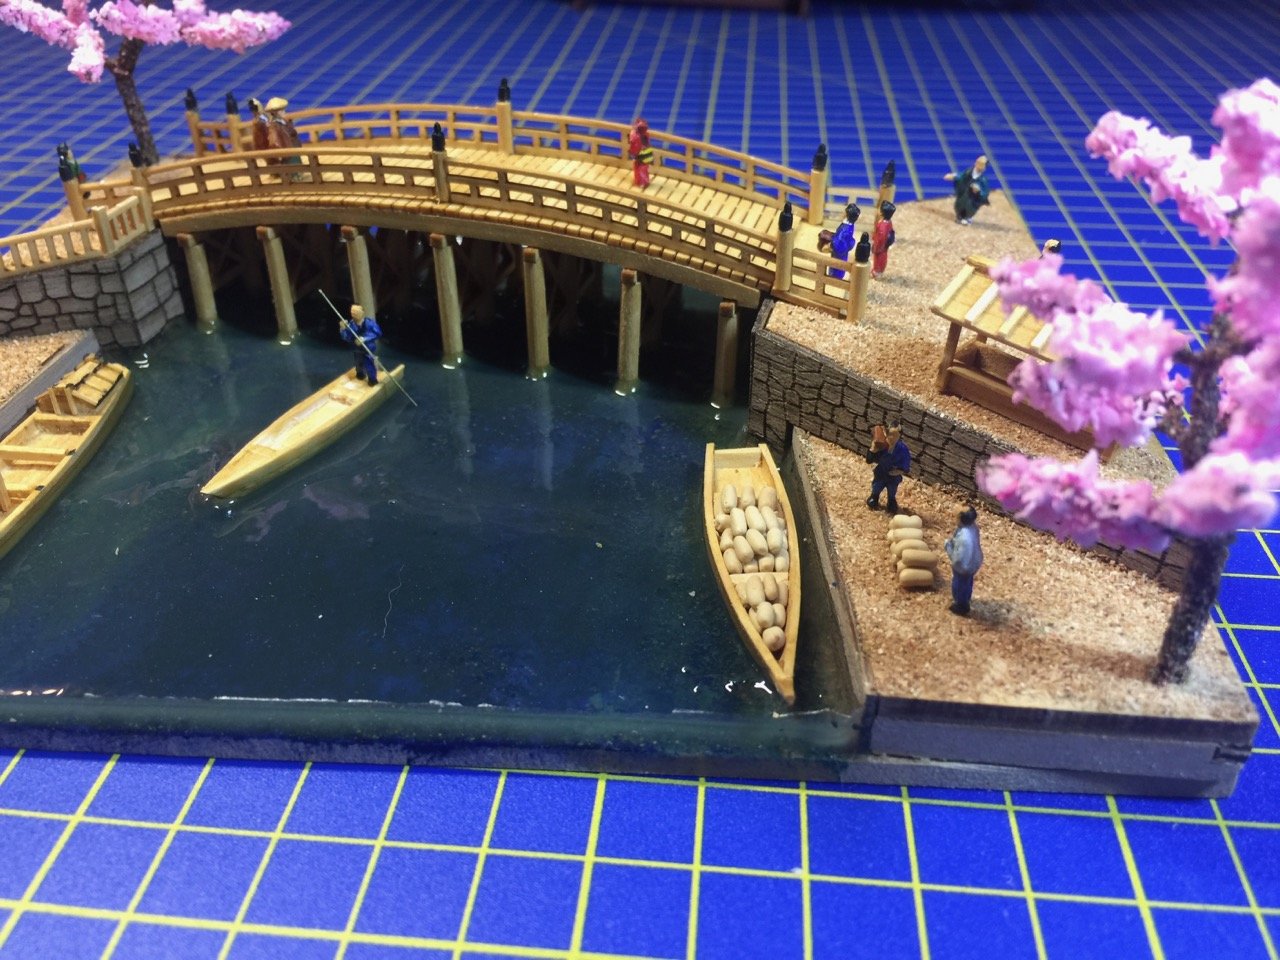
Here's a last aside. The little Nihonbashi Bridge diorama now has its case. It's a bit on the large side, but it was the closest standard sized case that would fit. I also recently finished a model of a 1-person riverboat from Niigata prefecture that was built by Mr. Nakaichi Nakagawa and Douglas Brooks last Fall. The model is a 1/10-scale model of a Honryou-sen, a type of fishing boat that was also used occasionally as a workboat for carrying gravel. It's a long model, and narrow. With no frames and only one beam, it was a bit of a task to keep it from twisting. There are two ringbolts that I may still add to it, one in the bow plank and one in the transom plank. It was propelled like a canoe, using a paddle. I have to make that too, still. I actually was making two in parallel, but got ahead with this one, so I could get it finished. Clare
-
Tim, which kit is it that are you building? Last I recall, you were interested in Woody Joe's Hacchoro. Thanks again for the whaleboat photos. I printed up a plan in the same 1/10 scale as the one in New Bedford, rolled it out at a club meeting, and realized it's GINORMOUS! It would really be a memorable model, but I might need a bigger car to transport it... and a bigger house. But, it's nice to have a big model, so I'm considering moving to yet another odd scale of 1/15. I just wish I could build models at a consistent scale, or even two scales. At minimum, I need to finish one other project first! Clare
-
He didn't spile the planks at all because, as he stated up front, they're pre-cut planks. They're pre-spiled. Your artwork is showing the area he hasn't done the second planking on. They will pretty much look like you've drawn when he's done. Or at least, they're supposed to. The problem is those upper five planks are all laid just a tad short of the actual stem. So, what to do? Kalakukko, personally, I think you're better off redoing those planks with new ones from Master Korabel, if they'll provide them. Sorry you ran into that issue. The hull is looking very nice otherwise. Clare
-
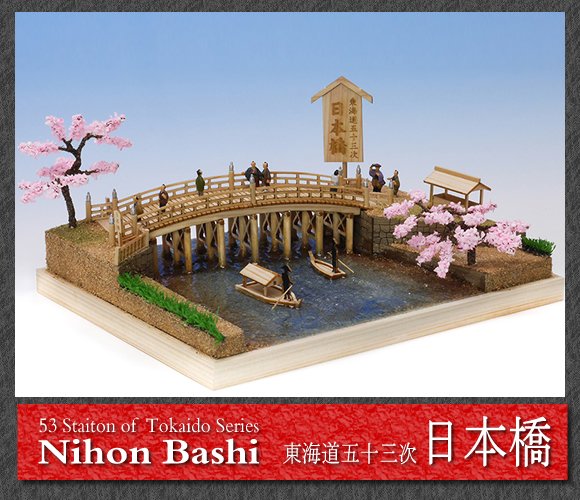
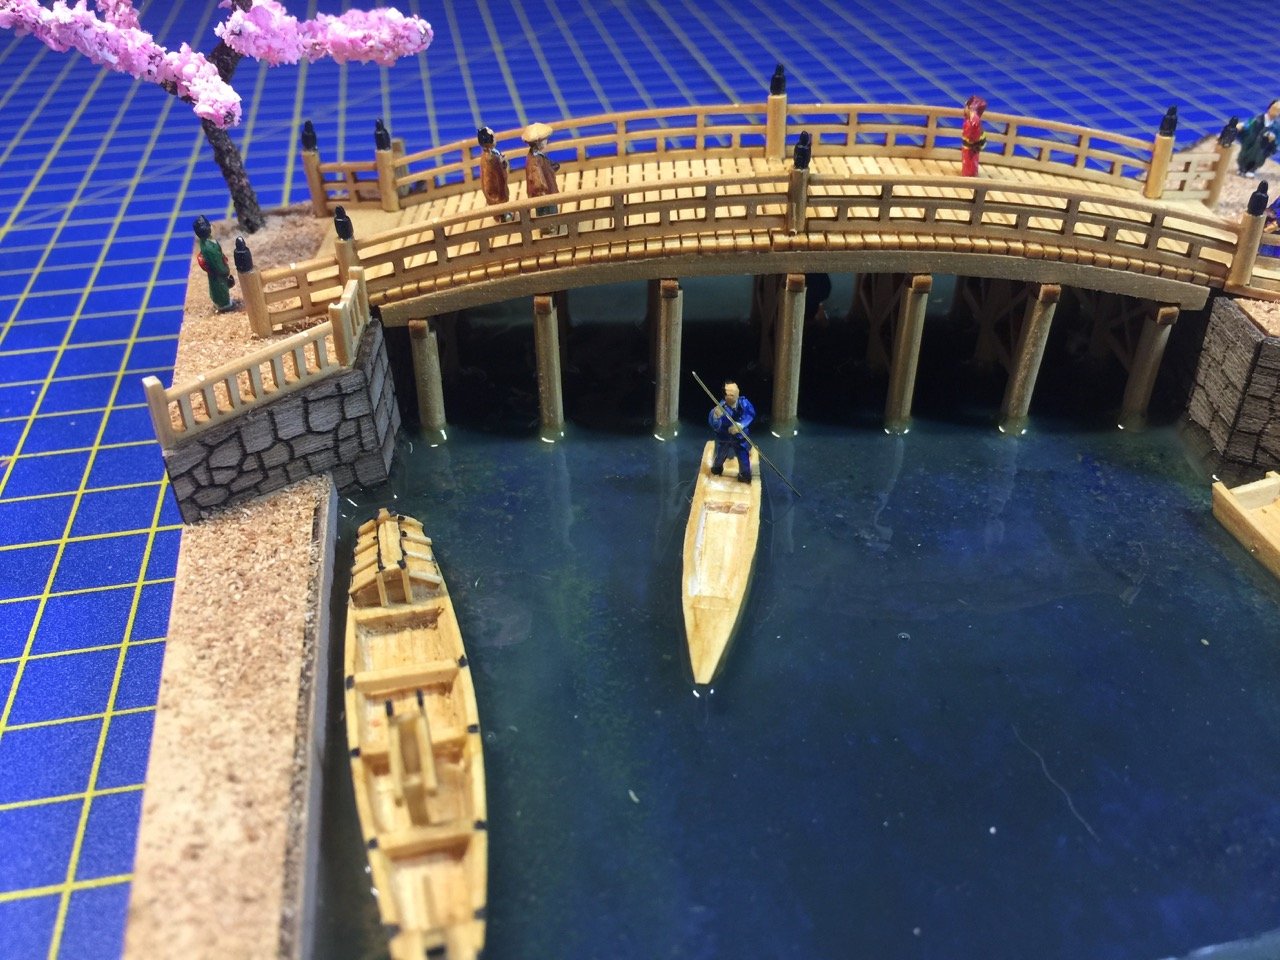
Thanks Chris! Hope others try out the kit – it's a fun build. VTHokiEE, structurally, it's pretty easy. The kit has some very basic representations of boats, so I made my own. But, besides that, the only thing special was the use of some small figures. You can either get some and paint them, or just buy one or two sets of pre-painted figures. Of course you pay more for them if they're pre-painted, but they seem to look really nice. Also, the figures at 1/150 scale are really tiny to paint. I ended up painting some, but I needed to buy some nicer colors. I probably spent more on the unpainted figures and paints than if I had just purchased a couple sets of pre-painted figures! The water is just Woodland Scenics Realistic Water with a few drops of their Moss Green Water Tint poured over a painted river bottom. You can get the Nihon Bashi Bridge kit from Zootoyz.jp: https://www.japan-wooden-model-kits-zootoyz.shop/contents/en-us/p24828_Nihonbashi-Wooden-Mini-Bridge-Model-by-Woody-JOE.html And the figures here: https://www.japan-wooden-model-kits-zootoyz.shop/contents/en-us/d2045761182_Edo-period-figures-Diorama-products-by-Woody-JOE.html I hope you build it, or one of their other kits. They have a lot of castle and temple kits that would look nice in a diorama format with figures and all. Clare
-
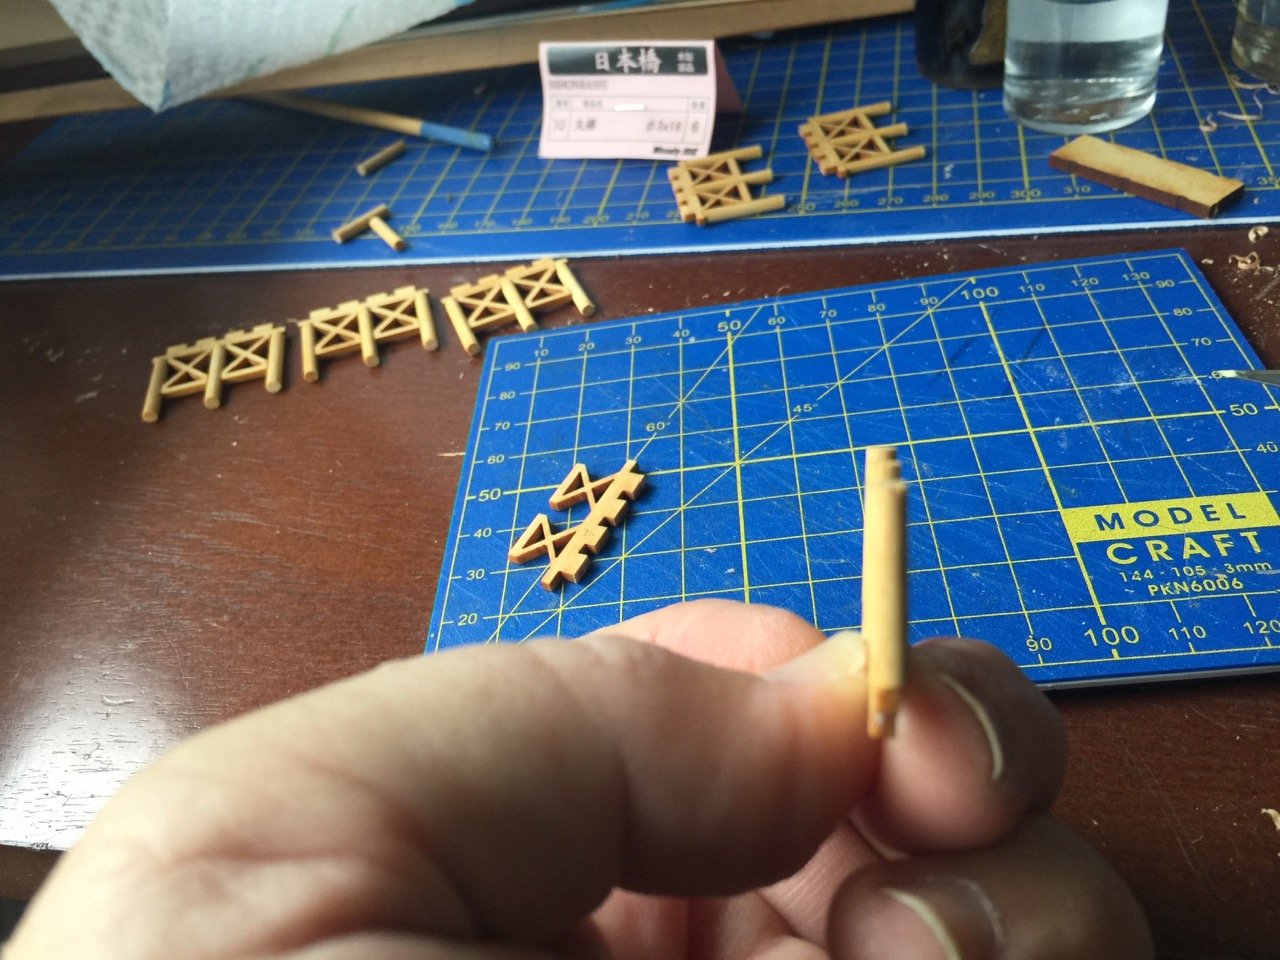
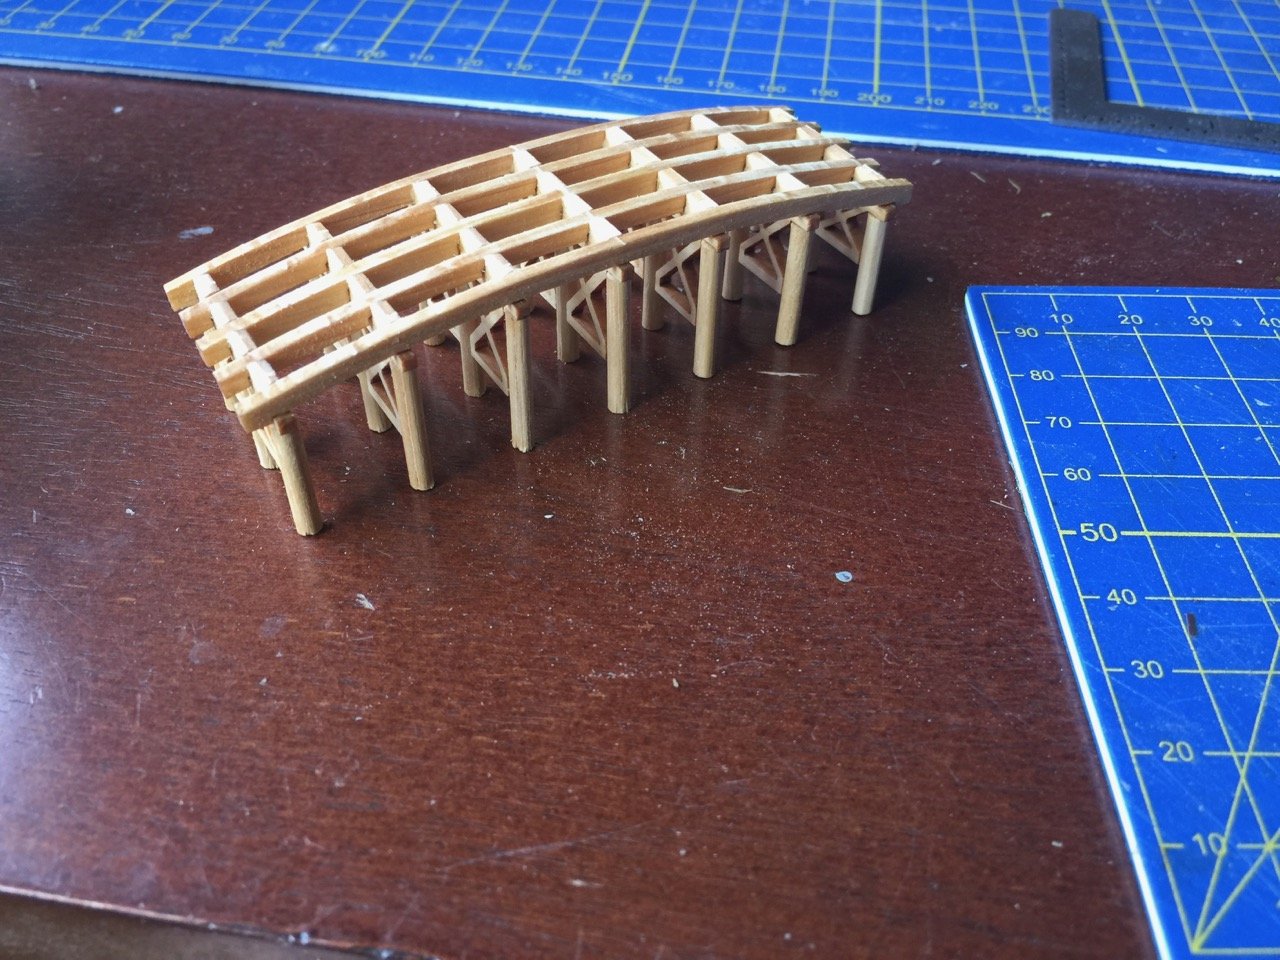
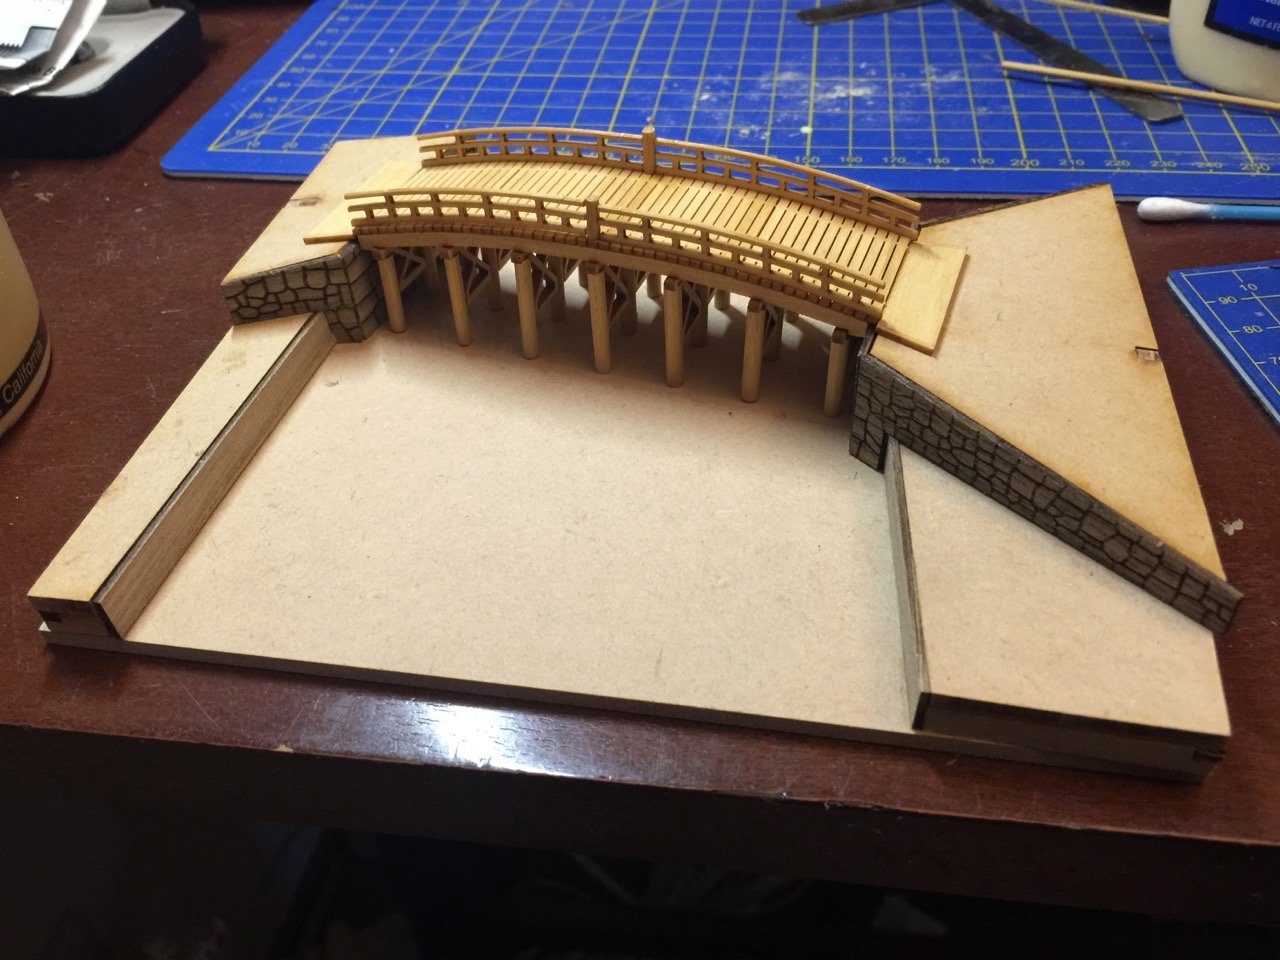
Hey, while I'm at it, I might as well litter my own build log with something else I finished up as a quick side project – this is Woody Joe's Nihonbashi Bridge kit. I've had this kit in the stash for about a year. I decided I needed to make something simple over the holidays, so I pulled this one out. It was a really fun and pretty easy build. Would have been easier, except I wanted to add figures. Also, I wanted more realistic looking boats than what was in the kit. So, I scratch built some... I added some small details and I did have fun painting the figures, though I decided to buy some new Vallejo paints for the job. The water is from Woodland Scenics. The cherry blossom trees are made by Woody Joe and included in the kit. Okay, now back to our regular programming! Clare
-
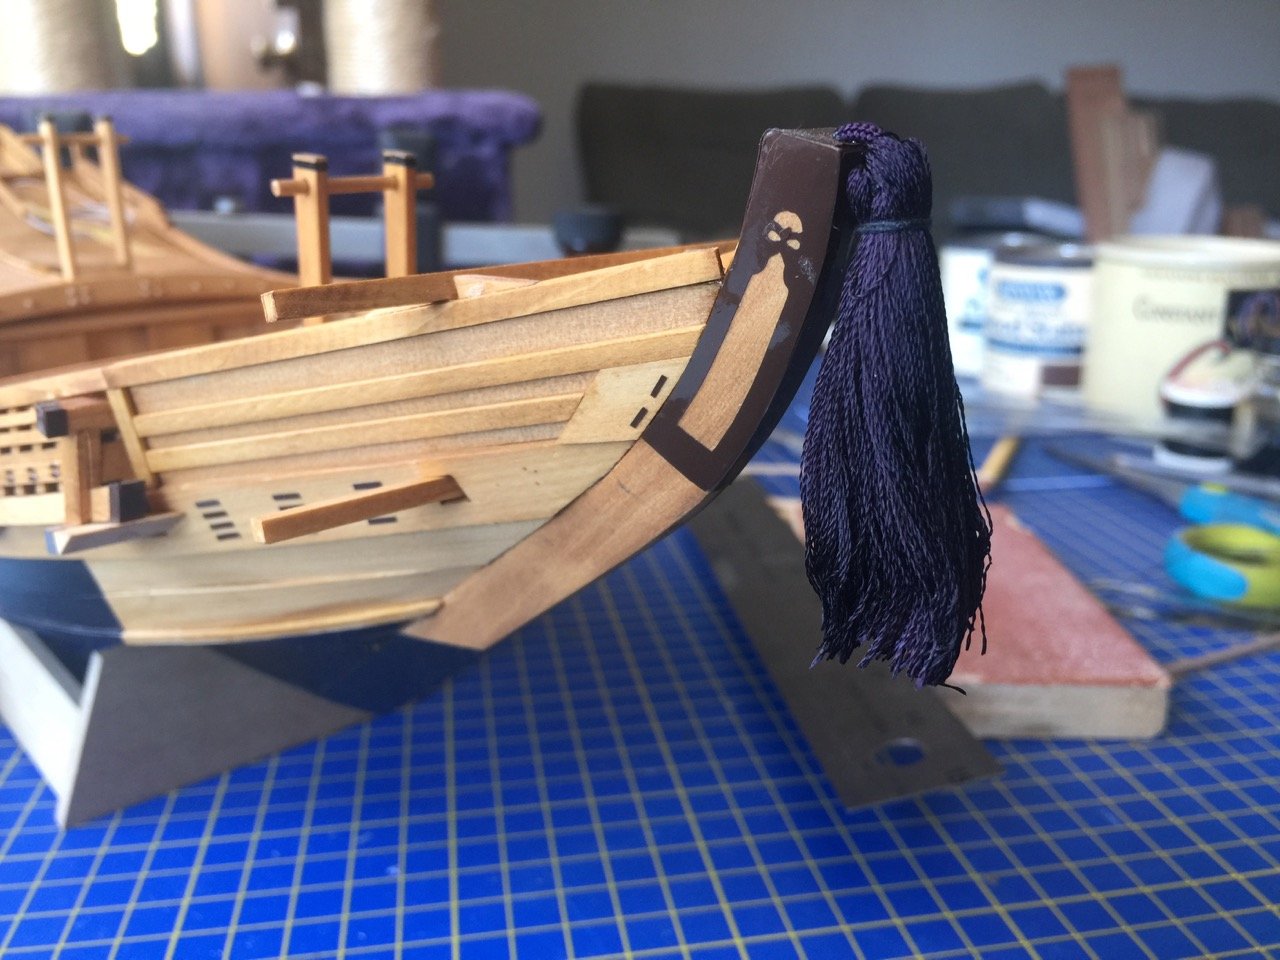
Been a while since my last post! I set the model aside to deal with other things, but also to take a break from all fiddly design work that I'm dealing with now on the Kitamaebune model. Up to now, I've been mostly adding simple rectangular pieces of vinyl. Now, I'm at the stage where I'm having to deal with more unusual shapes. This requires scanning, drawing, adjusting, cutting, testing, and repeating. But, I decided to get back to it, since I'm not far from completion. Added a few more custom pieces at the stern... Attached the tassle-like piece called a sagari, which functions much like a figurehead. Still more custom vinyl pieces to draw up and add to the hull, but I'm close to being done with this phase of construction. Clare
-
I actually have a lot of LEDs, resitors, and the like. I did a pretty neat LED lighting of a space model kit many years ago. But, even in the dark, it's nearly impossible to see it. Lots of time and effort for that. With all the internal controls and panel displays, in the EVA pod kit, I think I'd much rather rely on something already designed for it. I think it would actually be worth $150 to not have to re-learn all the details. Then again, I understand there's a big Aries 1B kit coming out maybe next year(!). By then, I may have rekindled my desire (need?) for custom lighting... Clare
-
Yves, I don't want to coopt your thread, so I'll just post a couple links to the pod kit (1/8 scale) and lighting kit. There's other things that would probably need to go with it as well, making it a kind of pricey project. Also, an astronaut figure in 1/8 scale is supposed to be coming out early next year. So, maybe I can purchase it in stages and not do any building until it's all gathered... https://www.culttvmanshop.com/2001-EVA-Pod-18-scale-from-Moebius_p_4208.html http://www.voodoofx.com/product/2001-eva-pod-lighting-kit/ Of course, I have so many projects to work on. Do I need another distraction??? Probably. Clare
-
Yves, I love this model, and the job you're doing on it is really great. As a kid growing up in the 70s, I dreamed that model kits like this would be available, and here they are! I remember the Aurora Models' Moon Bus and Pan Am Clipper kits and built them both. That was a long time ago, but your build is making me think about taking on one of these newer kits. My geek side and my love for this film (that my older sister took me to see when I was 6!) won't let me rest until I comment that the AE-35 device wasn't really the reason HAL did what he did – it was their discussion about effectively giving him an electronic lobotomy that pushed him over the edge. You probably know this, but I saw some other comments, so I had to say it. Also, that photo of the airlock you chose not to detail wasn't actually the airlock – it was the storage compartment that contained the spare AE-35 unit. Okay, I know it wasn't that important, but I had to say it – I feel much better, thanks. And, thank you for sharing this awesome build. Now, you've got me looking online, where I found a Space Pod kit... drooling over the thought of building that... Clare
-
Yes, the Mastini planking method is fine for anyone, unless you really want to simulate actual practice, which most of the posts I've seen on this forum seem to espouse. But, when you get down to it, I would venture to say that the majority of ship modelers I have known (not online, but in person), have built models using Mastini's method or similar, which is essentially what is described in nearly all ship model kit instructions. Many extremely beautiful models have been built this way – and not painted over. Hull planking, and for that matter deck planking, fastenings, scarf joints, knots and serving in rigging, fittings, even hull framing, it's all a matter of what you want the model to be, and how badly you want that. Especially when starting off, choose the path that leads to your greatest enjoyment of ship modeling!
-
For this model, I'd recommend just sticking with Mastini's book on the left. Lots of very useful material there. It's the book I usually recommend to new ship modelers. Of course, there's lots of info on this site, but it's nice to just thumb through a book...
-
Definitely a good kit to get started on. It was one of my first builds, oh so long ago... Good hull form for fairly easy planking, simple rigging, relatively quick to build and learn on. I would suggest following the kit's design and plank it like they tell you in the instructions, though I know the instructions are pretty sparse. Just have a fun introduction to ship modeling! Clare
-
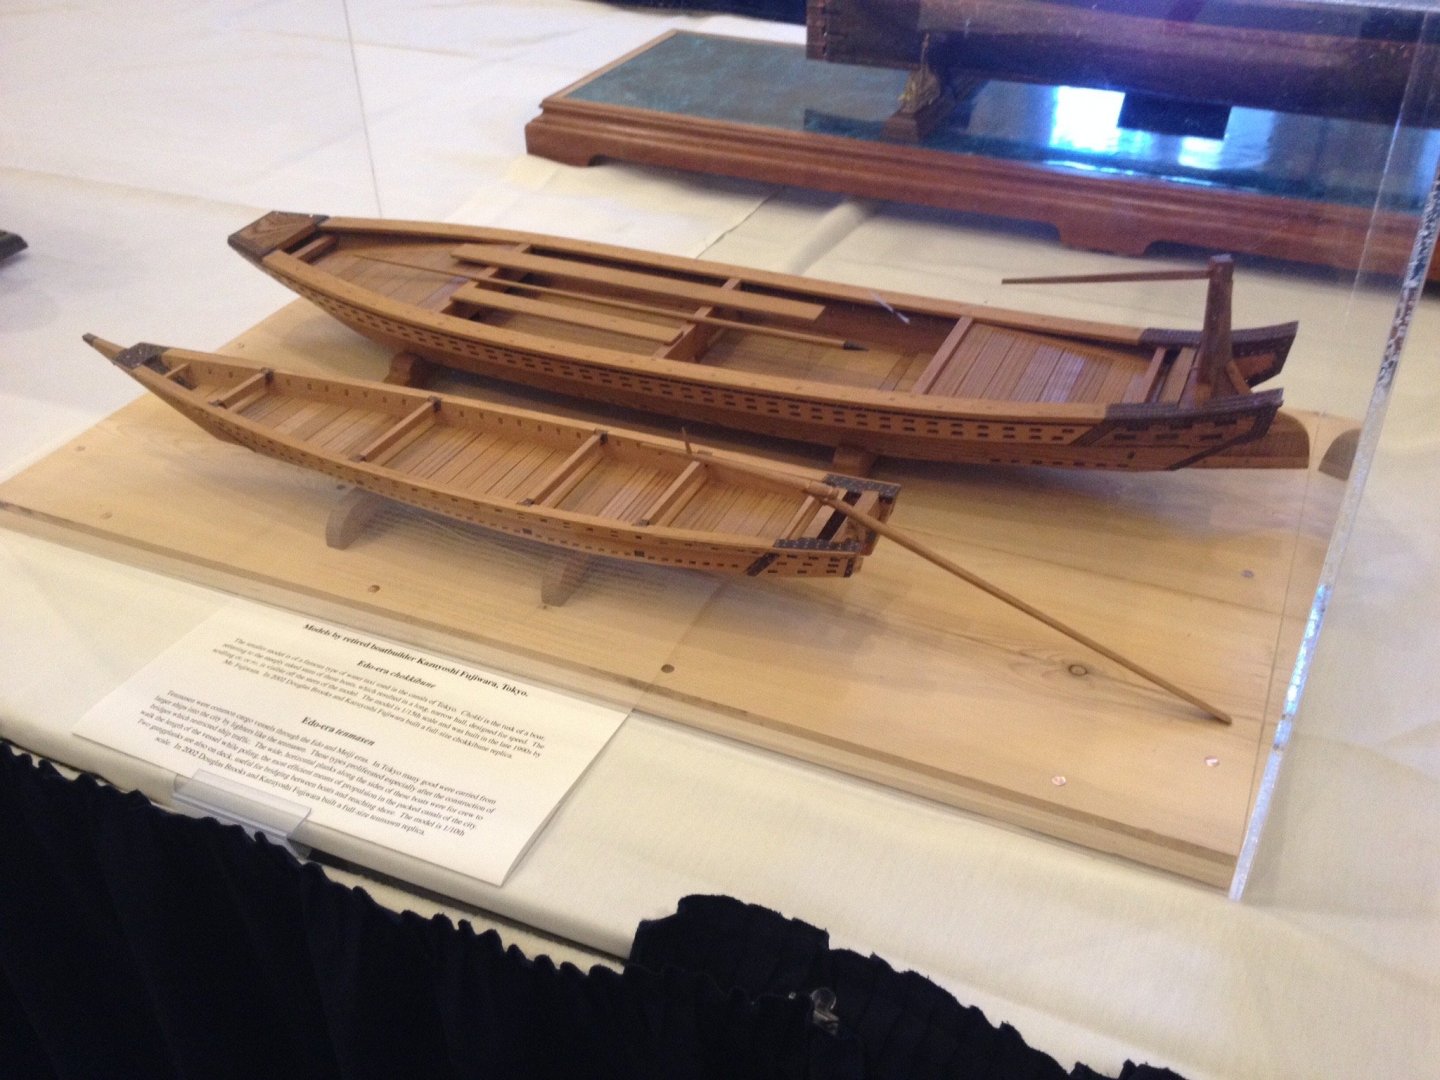
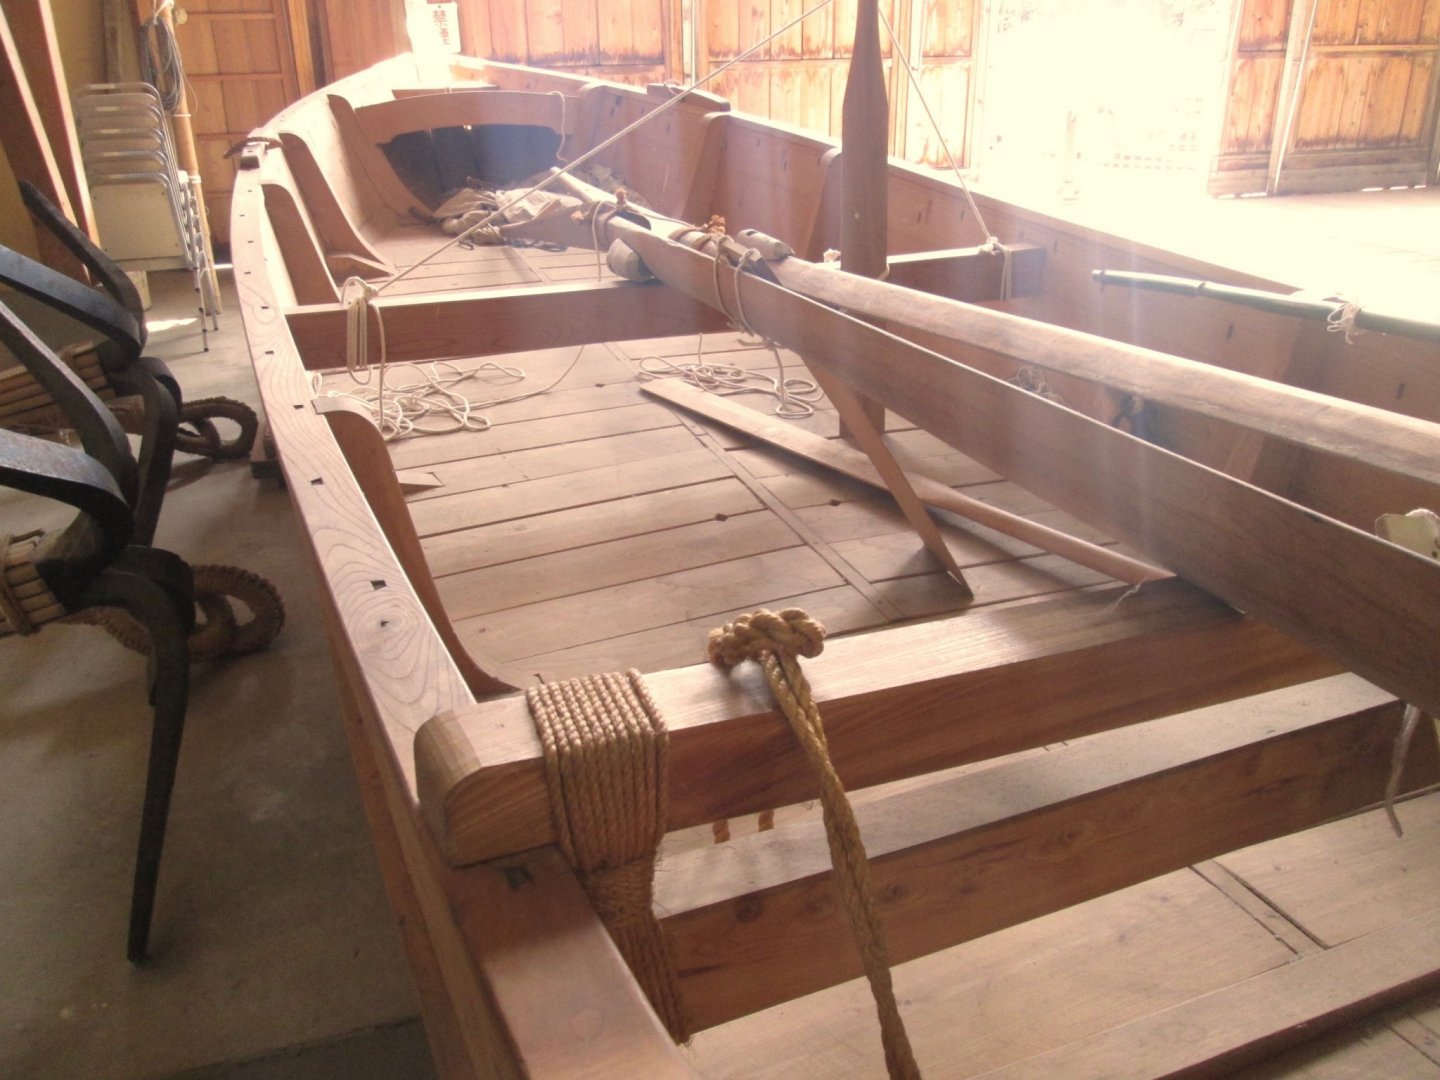
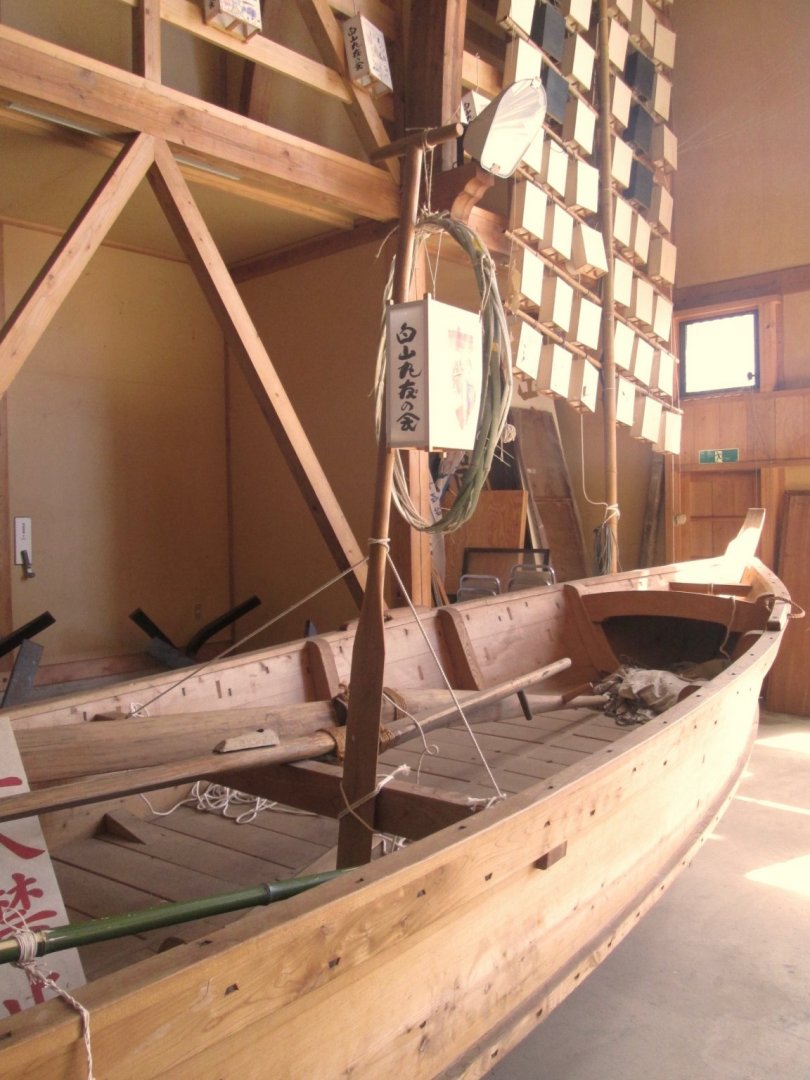
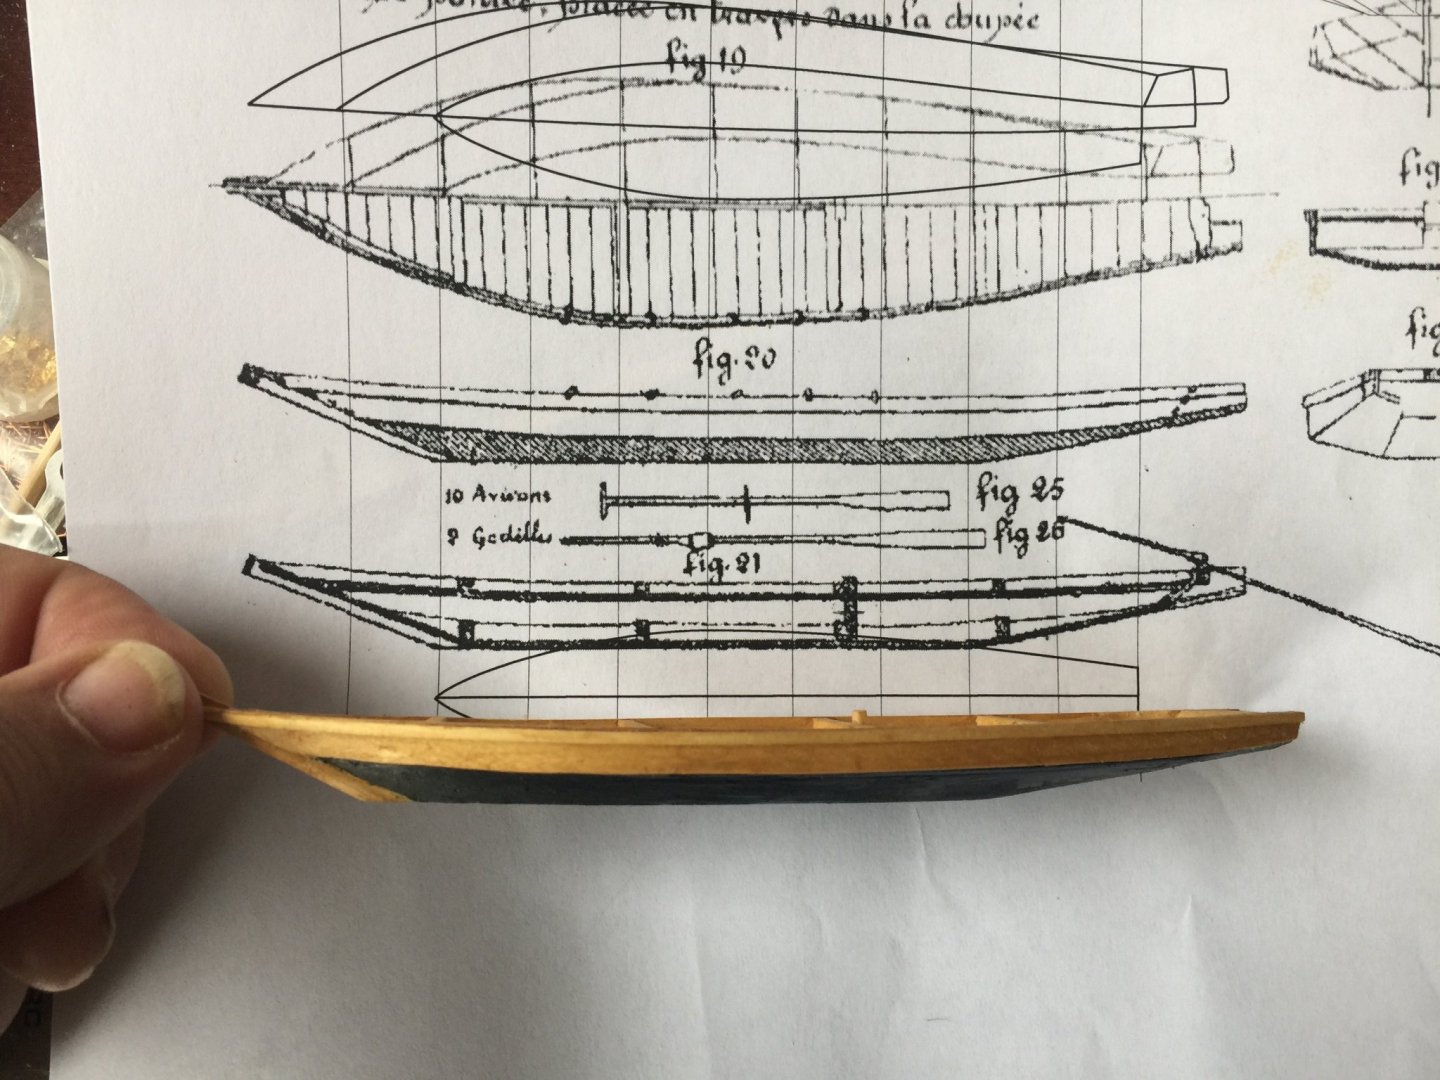
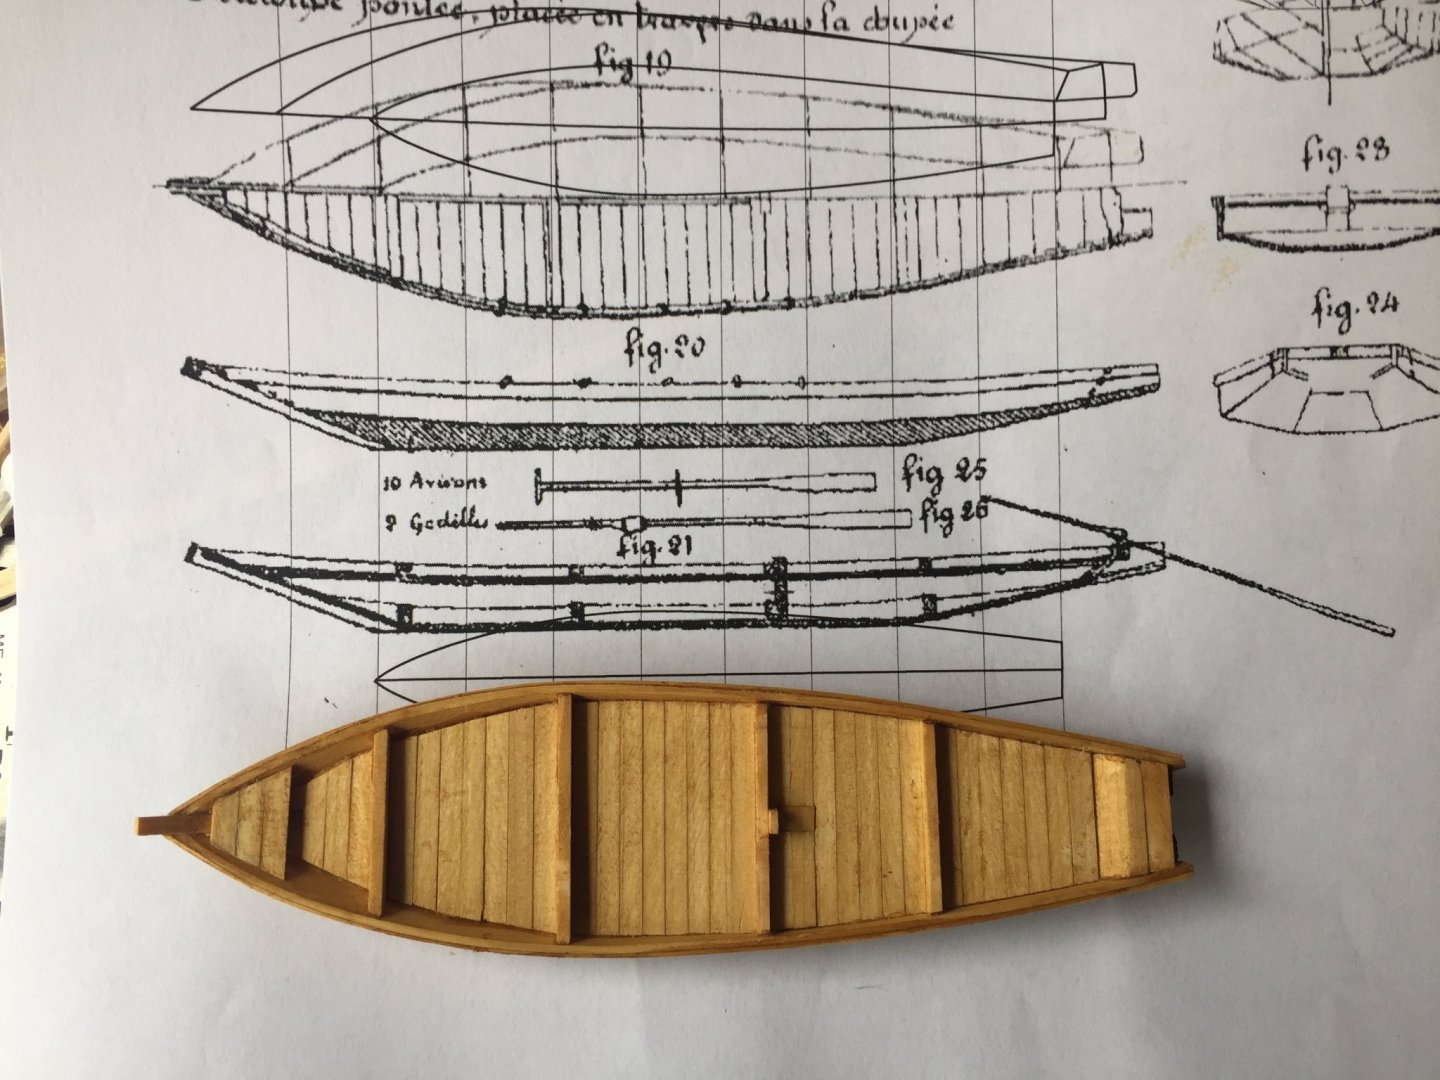
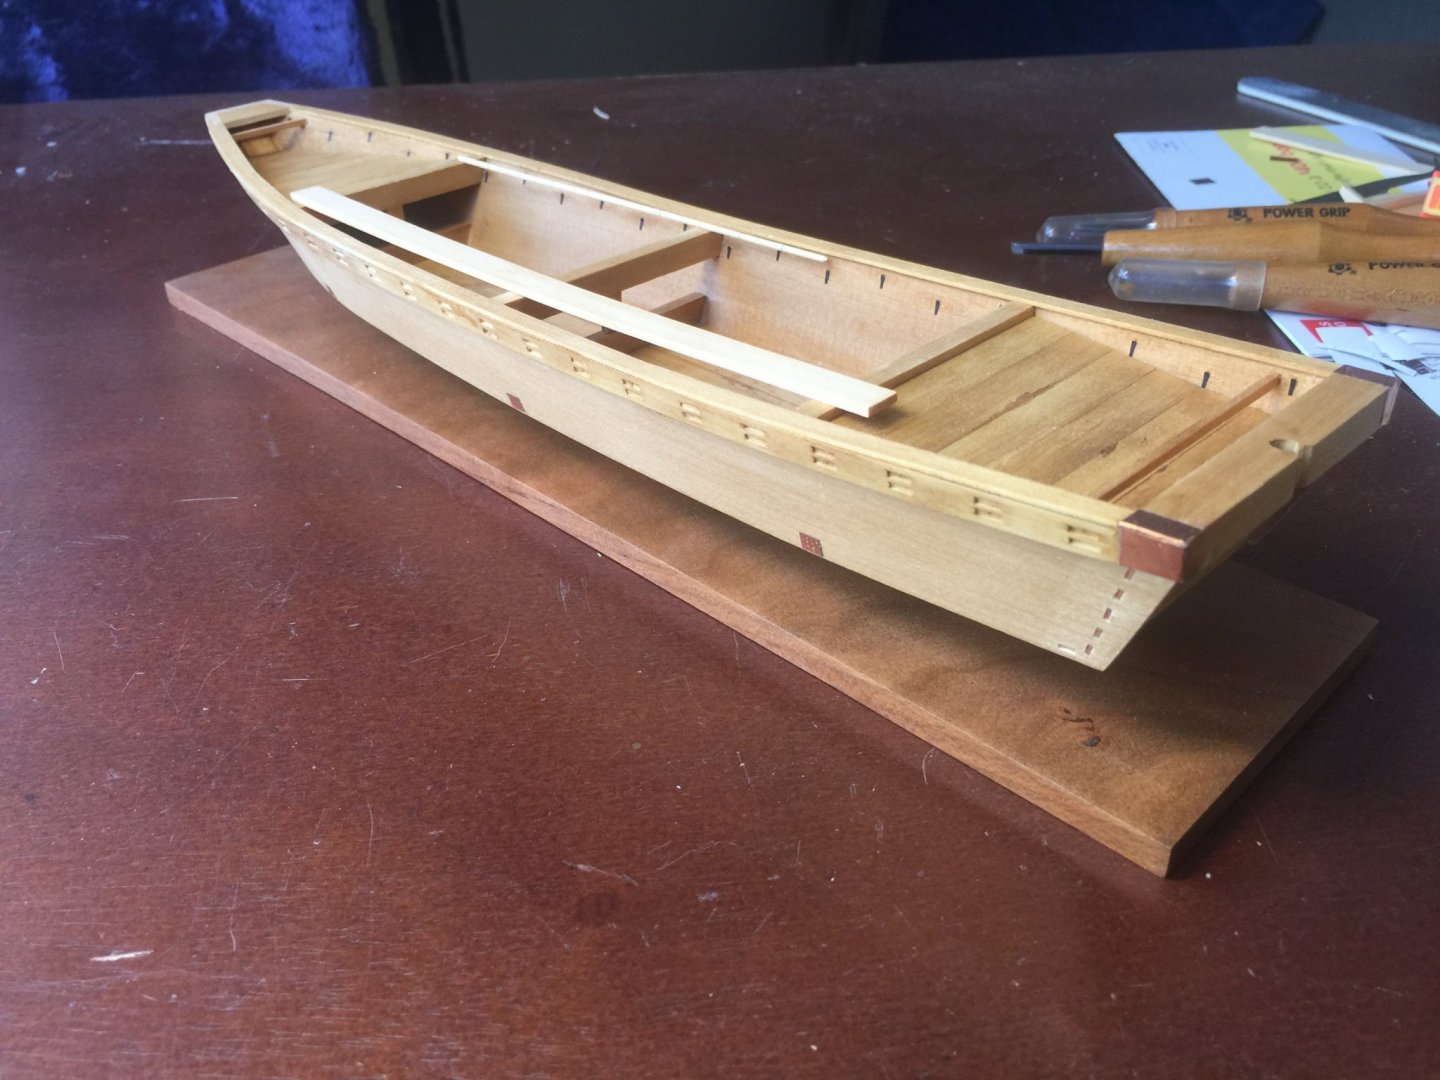
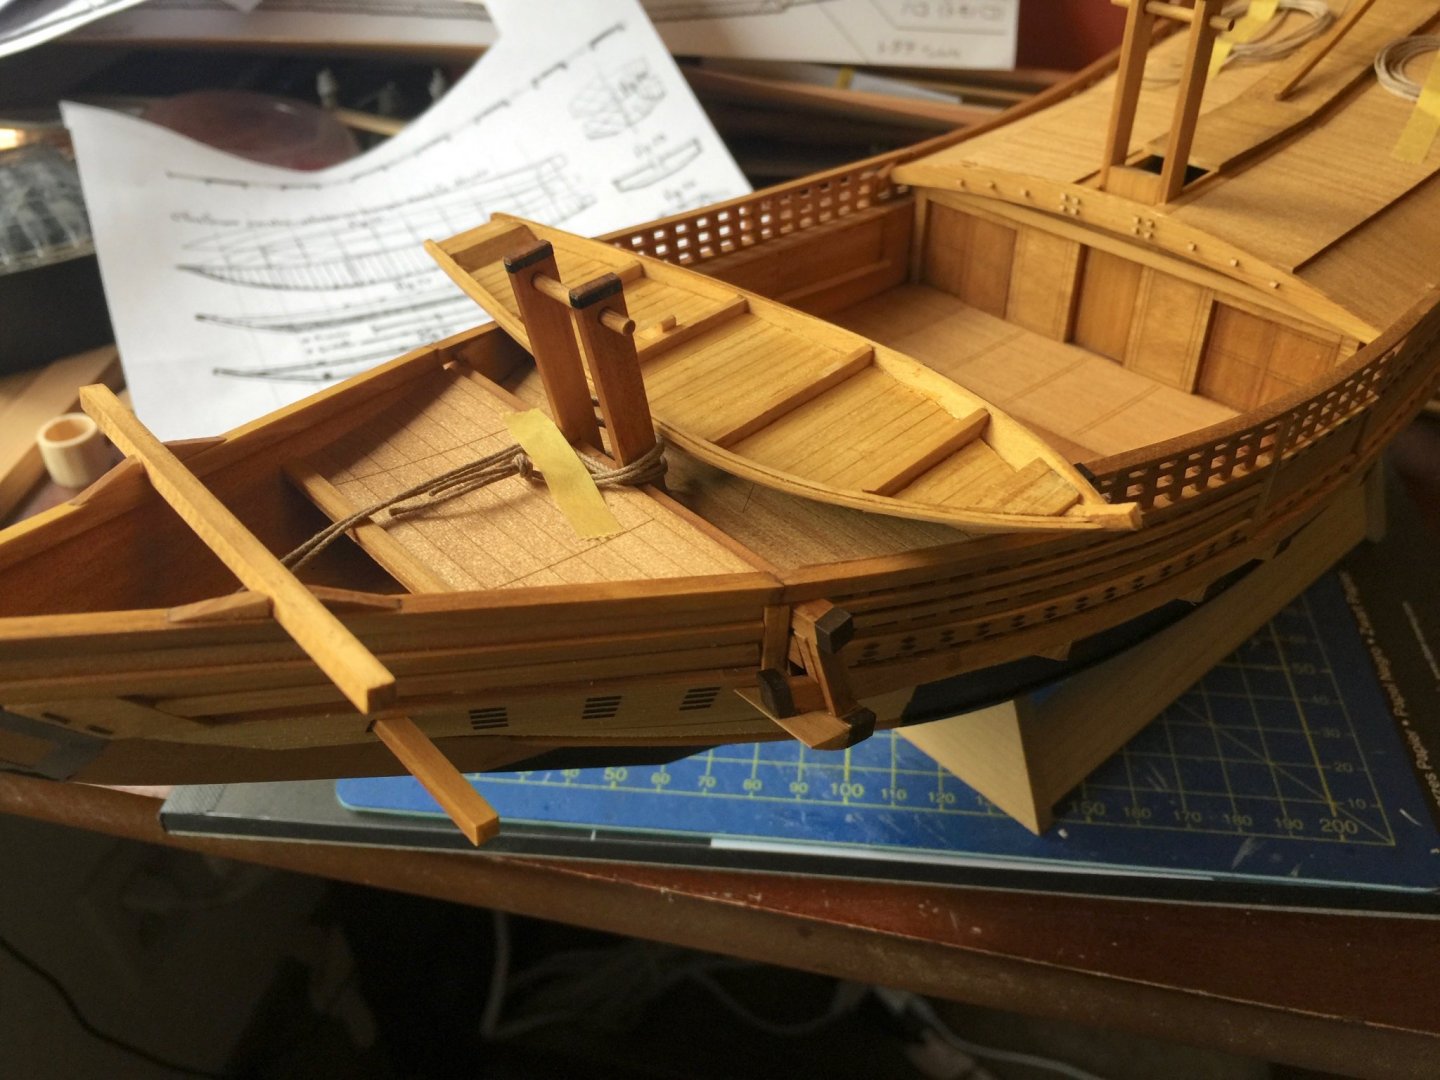
Scratch-built Tenmasen from Paris drawings Something that I tried, but failed to do on my previous Japanese coastal transport, the Higaki kaisen, was to make a Tenmasen, a small lighter that was carried aboard these ships. Since the ships were too large to travel up waterways, they'd anchor close to shore, and this small boat was used to ferry crew and cargo to and from shore. The term Tenmasen (ten-mah-sen), or simply Tenma, seems to be used across Japan to refer to different types of workboats. My 1/72-scale Tenmasen was based on drawings by Paris, made in the late Edo or early Meiji periods. It differs from what I've seen in most Japanese references. It seems a bit simpler. Maybe more functional and a little less elegant than versions I've seen in books or the reproduction I saw on Sado island. I had a time trying to build this as a planked boat at such a small scale, so I broke down and carved the lower hull, then added the beams and upper hull planks and such. There is still some work to do on it, but all the structural work is done now. The boat is interesting in that it is very shallow draft and very wide. It's clear in the drawings, but you don't really realize it until you see it in 3D. Boat Builder Douglas Brooks brought a model of a Tenmasen to the NRG conference at Mystic. It's the upper model in the photo below. That one was made by his teacher, and appears to represent a canal boat, as it was poled, and had no fittings for a sculling oar. The Tenmasen replica I saw on Sado Island, Japan, was very different, and had sawed frames added for strength. It had a pair of Ro, or sculling oars, but had a couple paddles, probably just to aid in manuevering. I find it interesting that at the time Paris made his drawings of this small boat, unlike all the Japanese representations, this boat had 11 oars, and only one of them was a sculling oar. Whereas, all the Japanese representations show boats that are primarily sculled. Some, like the one on Sado, had paddles, but no apparent way to rig them to use as oars. This is something that bothered me a bit when I went to work drawing up and building a model of an Edo period boat from 1803 and earlier. This boat was illustrated in a kind of book used by tax assessors. The boat, called a Tenma-zukuri chabune, or Tenma-style "tea boat", and was one of many illustrated boats that showed no fittings for the use of sculling oars. When I drew up my plans and built my model, it seemed that most of my knowledgeable friends in Japan felt that the illustration was wrong and that it should have fittings for a sculling oar. I'm not one to ignore the only piece of actual historical evidence, but people were insisting that it have the fitting for a sculling oar, so I drew the plans with the fitting, but couldn't bring myself to build the model that way. The photo below shows that 1/20-scale model, mostly finished, but with a few details I've been neglecting. By the way, I made use of the vinyl cutter here to make those nail ends you see on the inside of the hull. I also used it to make templates for cutting those mortises in the rub rails. But, more about this particular model another time. Anyway, the point being that I'm not sure if the use of the sculling oar was as widespread as people believe today. I have yet to find anyone who knows its history of use in Japan, though I think it's widely accepted that it was a technology that was imported from China, where it is called a yuloh. In any case, the Kitamaebune looks like it will be equipped with a tenmasen. Clare
-
Actually, I've read recently that someone was able to cut styrene up to .015" on the same machine I have. Any thicker required him to separate the parts manually with a knife. But, the Cricut Maker can definitely cut thicker. Regarding the software, I went on both manufacturer's sites and downloaded their software for free to try them out to learn how to work with it first. Being on a Mac and not a PC, I was cautious about it. As I said, I preferred the Cameo software. Though both were free downloads, I ended up paying $50 for an upgrade to the Cameo software, primarily to allow me to import files that I could create in Adobe Illustrator, since I already know how to do a lot with that software. As for the uses of the vinyl cutter, this is great for creating vinyl lettering, which one of the members of the Hyde Street Pier Model Shipwrights group in San Francisco introduced us to some time back. One of the members of my ship model club asked me if I could cut his ship's name for the transom on his model, which I did. It can cut pretty amazingly small details, though it is cutting vinyl, which can flex a bit. So, applying the cut vinyl requires a lot of care. I've recently some templates in vinyl, which gave me regularly spaced rectangles, which I used as a guide for cutting mortises on another Japanese wooden boat model I made. Saved me some time and kept me from drawing a lot of pencil marks, which are hard to remove from the soft wood. I've also considered using it to cut masks, so that the final product on the model is just paint, rather than vinyl. Haven't tried that yet, though. Of course, you can cut other material, like paper. And for that, it works very well. I do wish this machine were a bit tougher, though, as I would like to cut thin copper foil. Clare
-
Hi Gary, Thanks for the nice comments. My own cutter is a Cameo Silhouette. The vinyl I use it .003" thick. It can certainly handle thicker, heavier material, but I don't think you could cut styrene with it. A more powerful cutter is the Cricket Maker. It can cut with much more pressure and can cut thin wood. I've seen mention on the Internet of someone using multiple passes using a Cricket Maker to cut 0.040" styrene. So, yes it's definitely be possible with that machine. I specifically bought the Cameo machine to cut vinyl and paper. Also, I chose it because I much preferred the drawing software that comes with it. I tried the Cricket software, but it stores drawings on the Internet, and you need an Internet connection to use it. That's certainly not a problem, but I don't like that I can't just use the machine anywhere with drawings I store on my computer. Clare
-
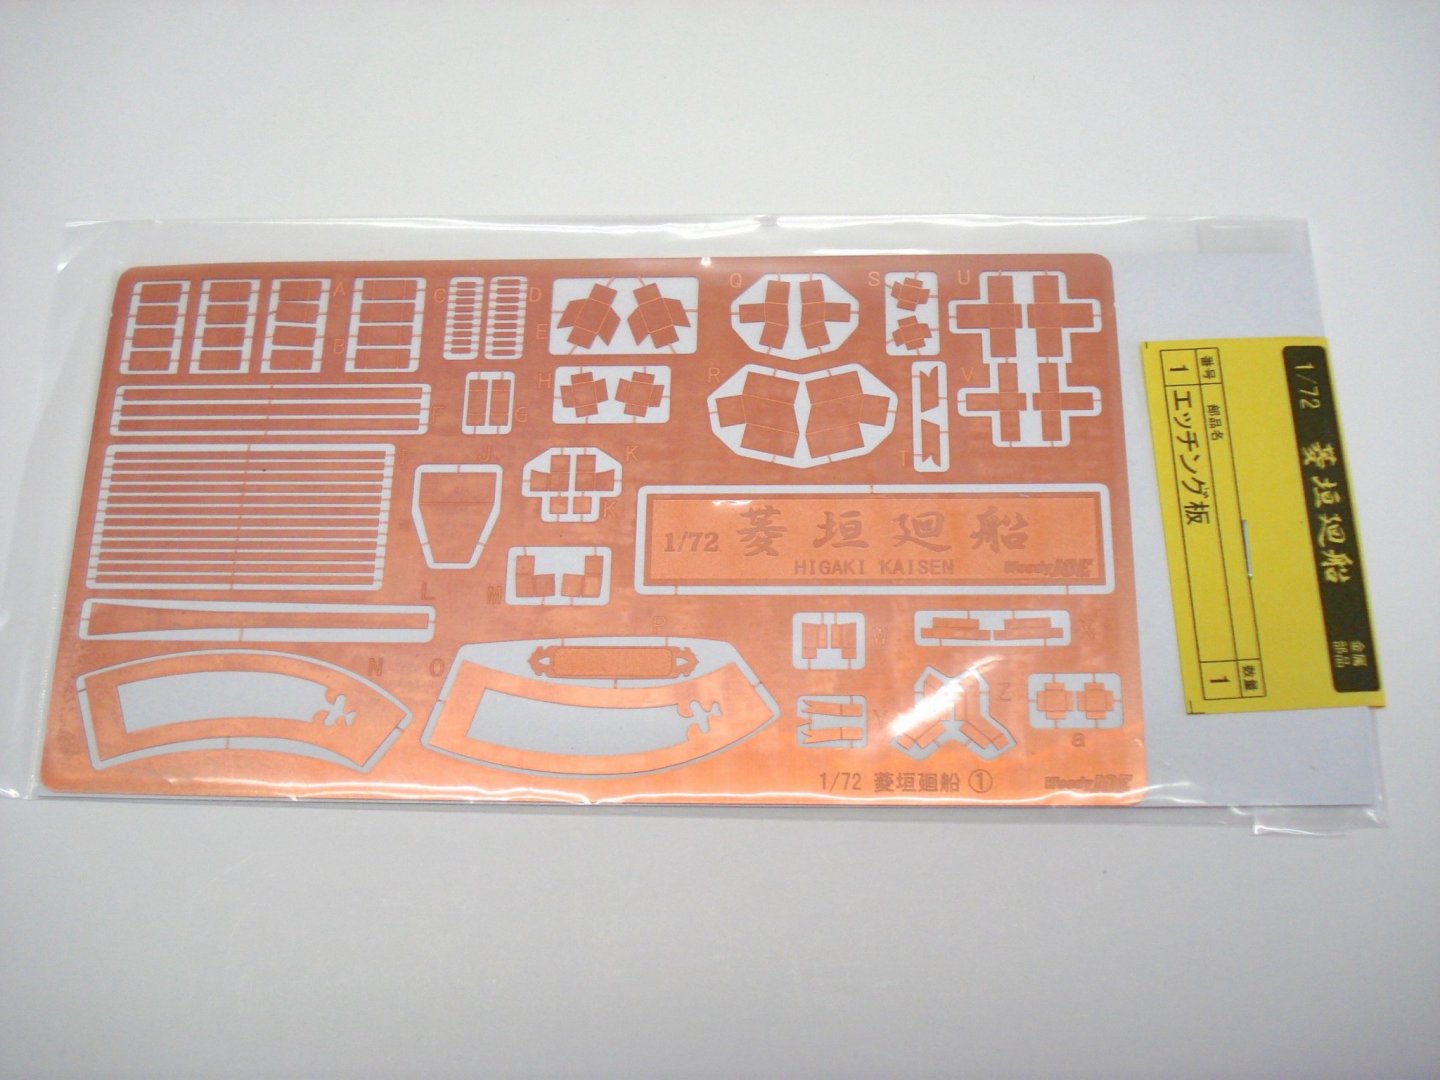
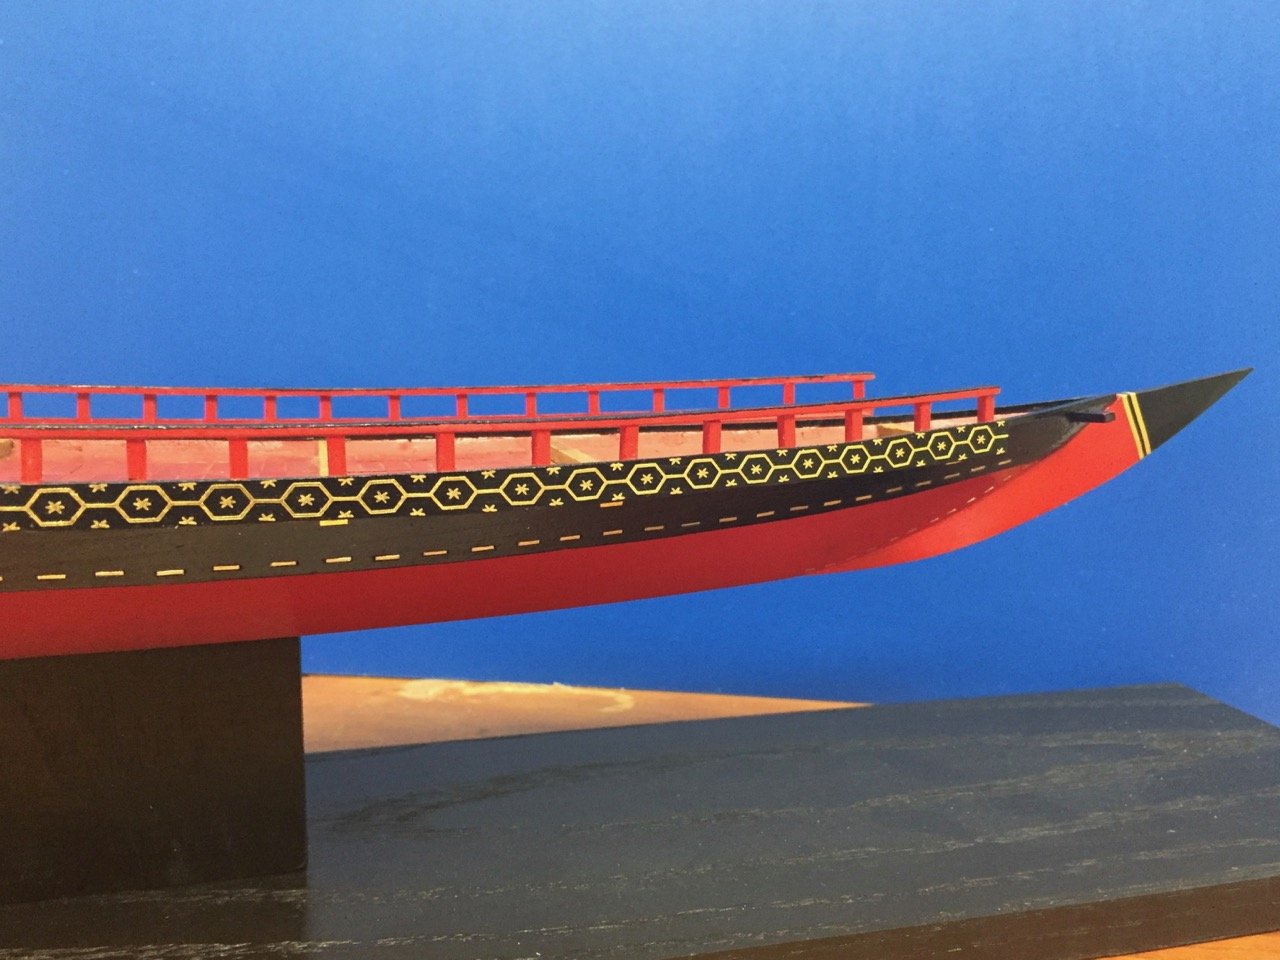
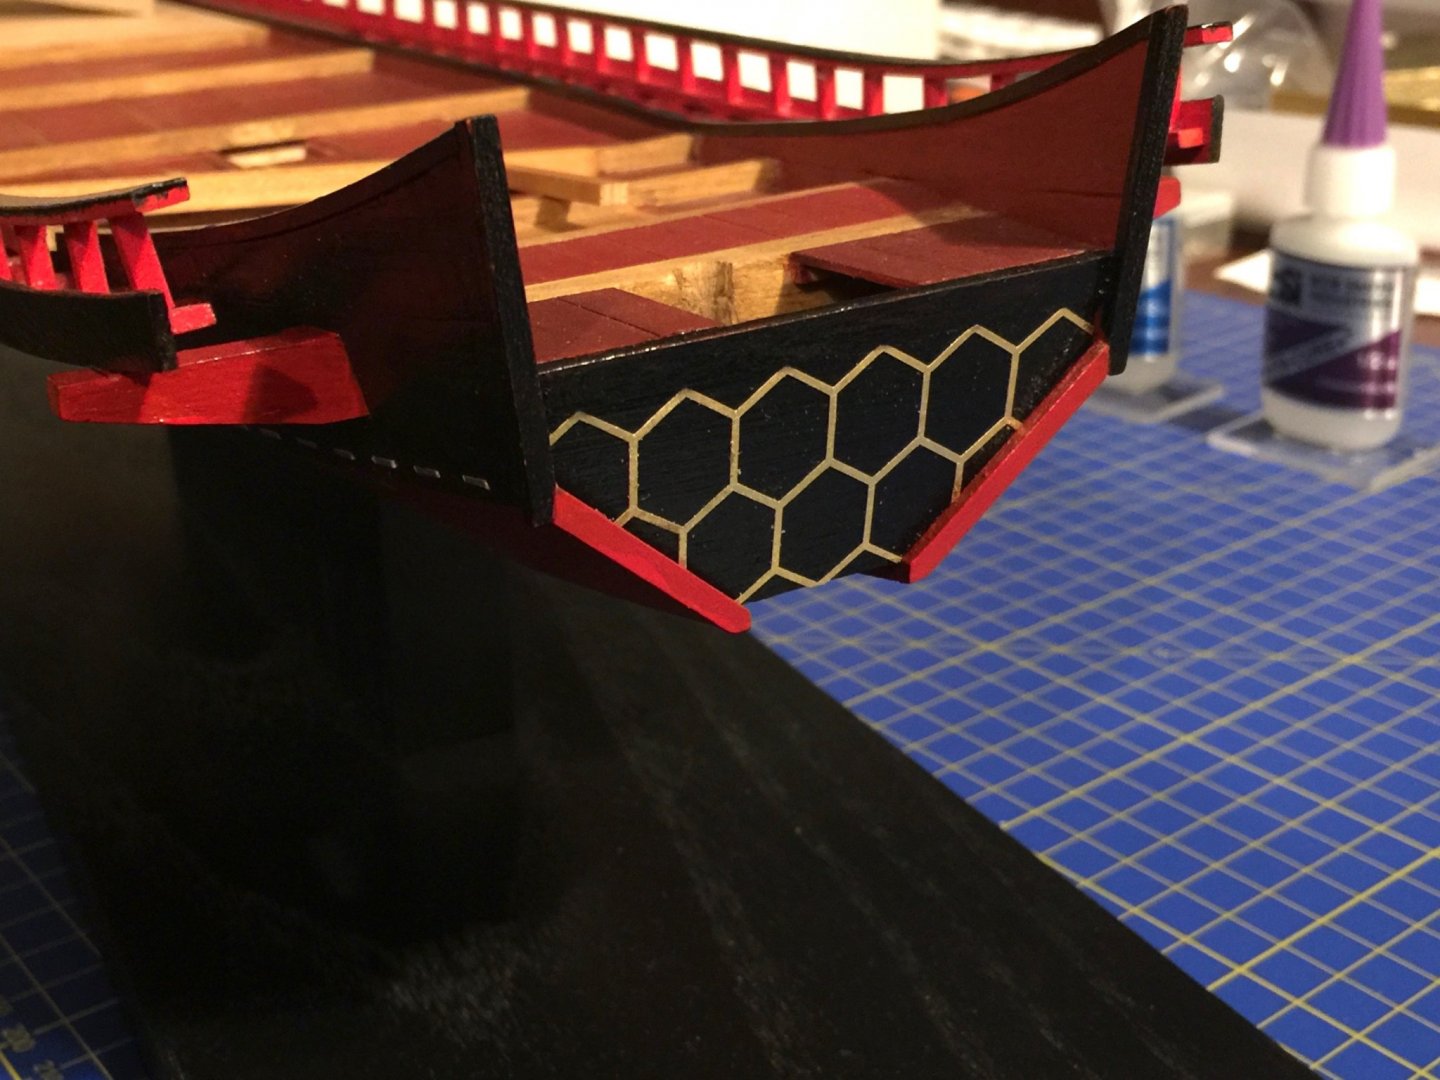
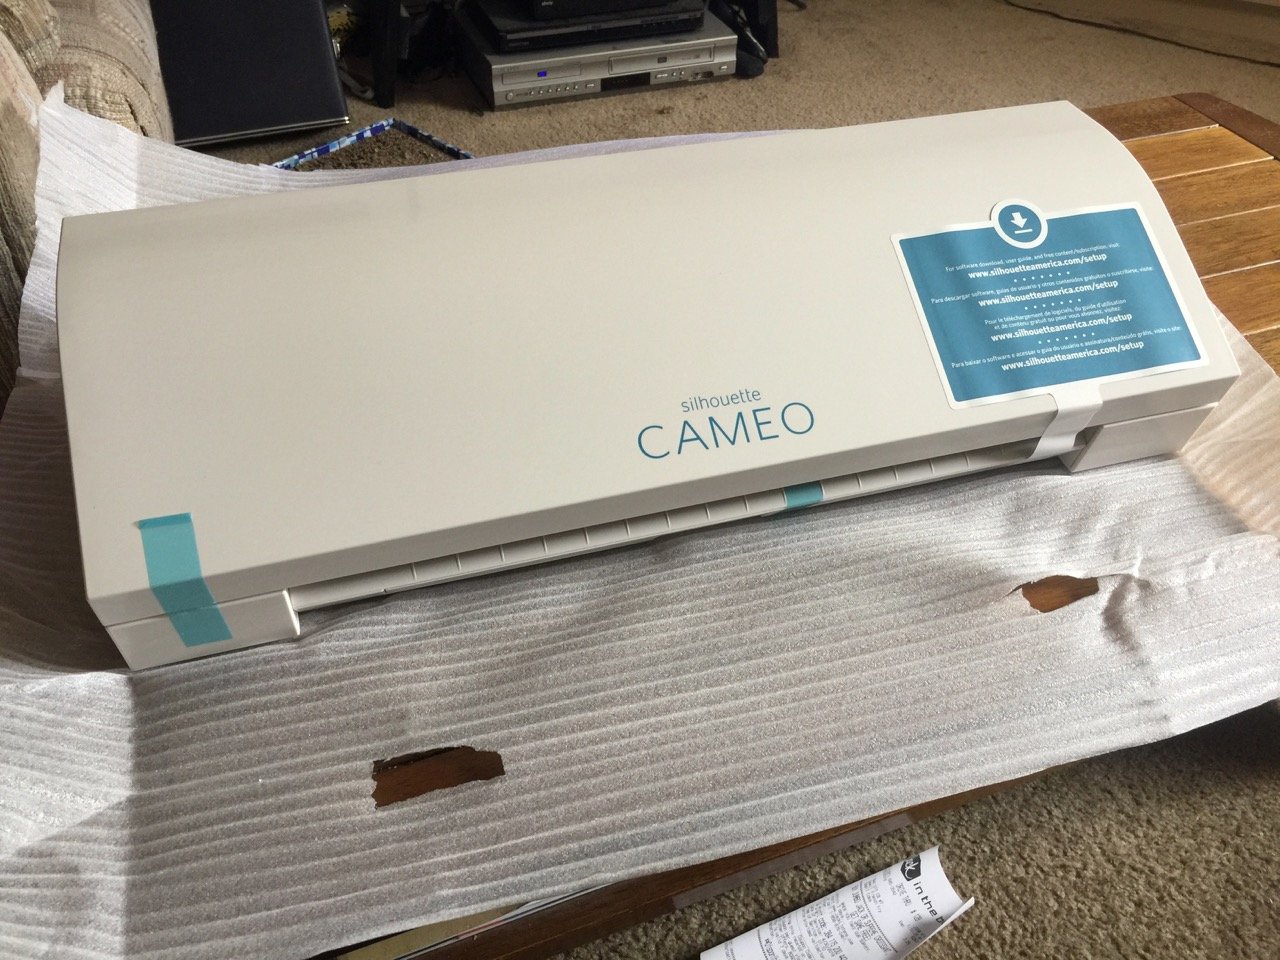
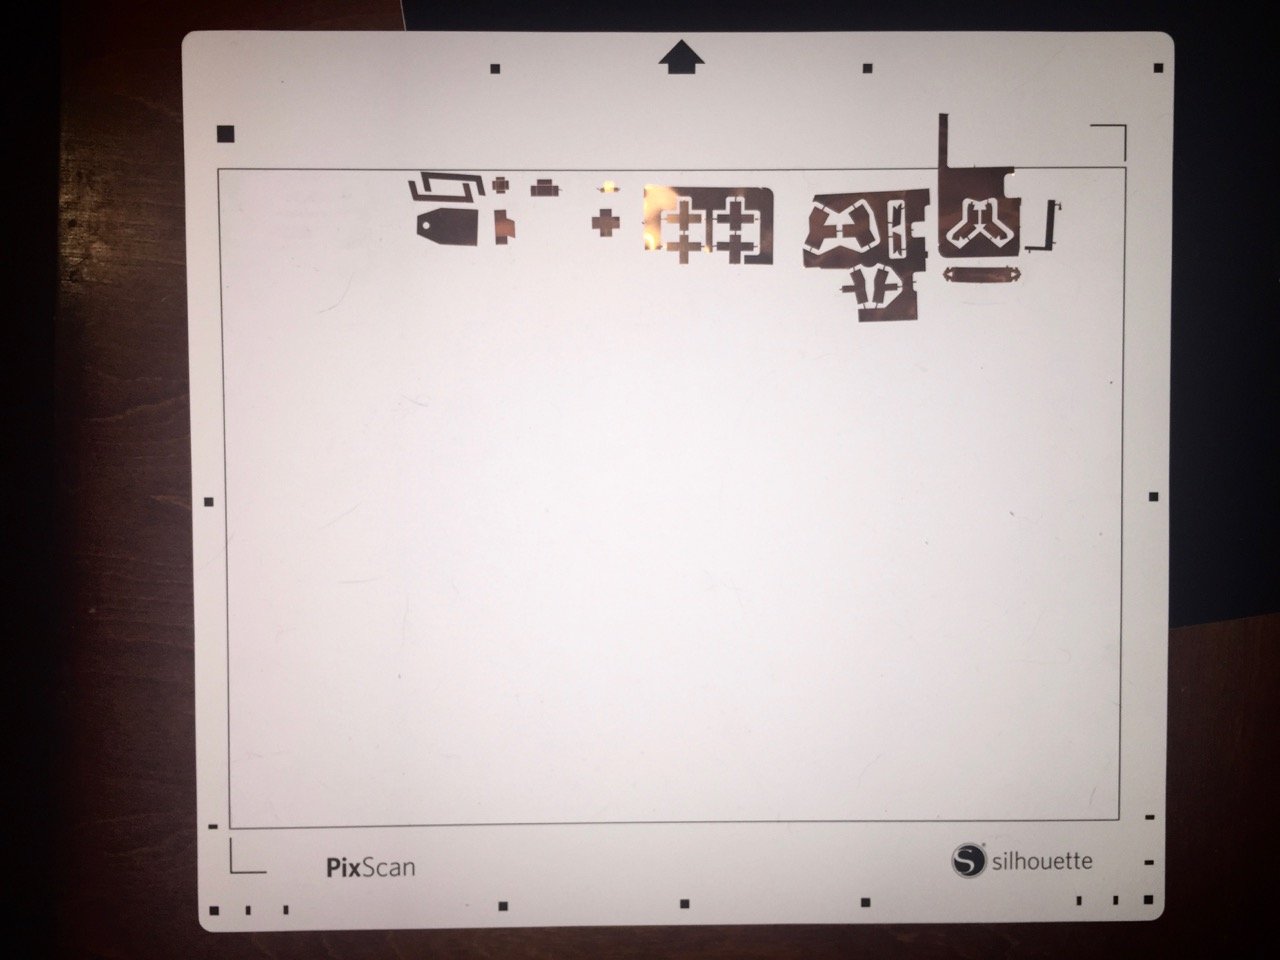
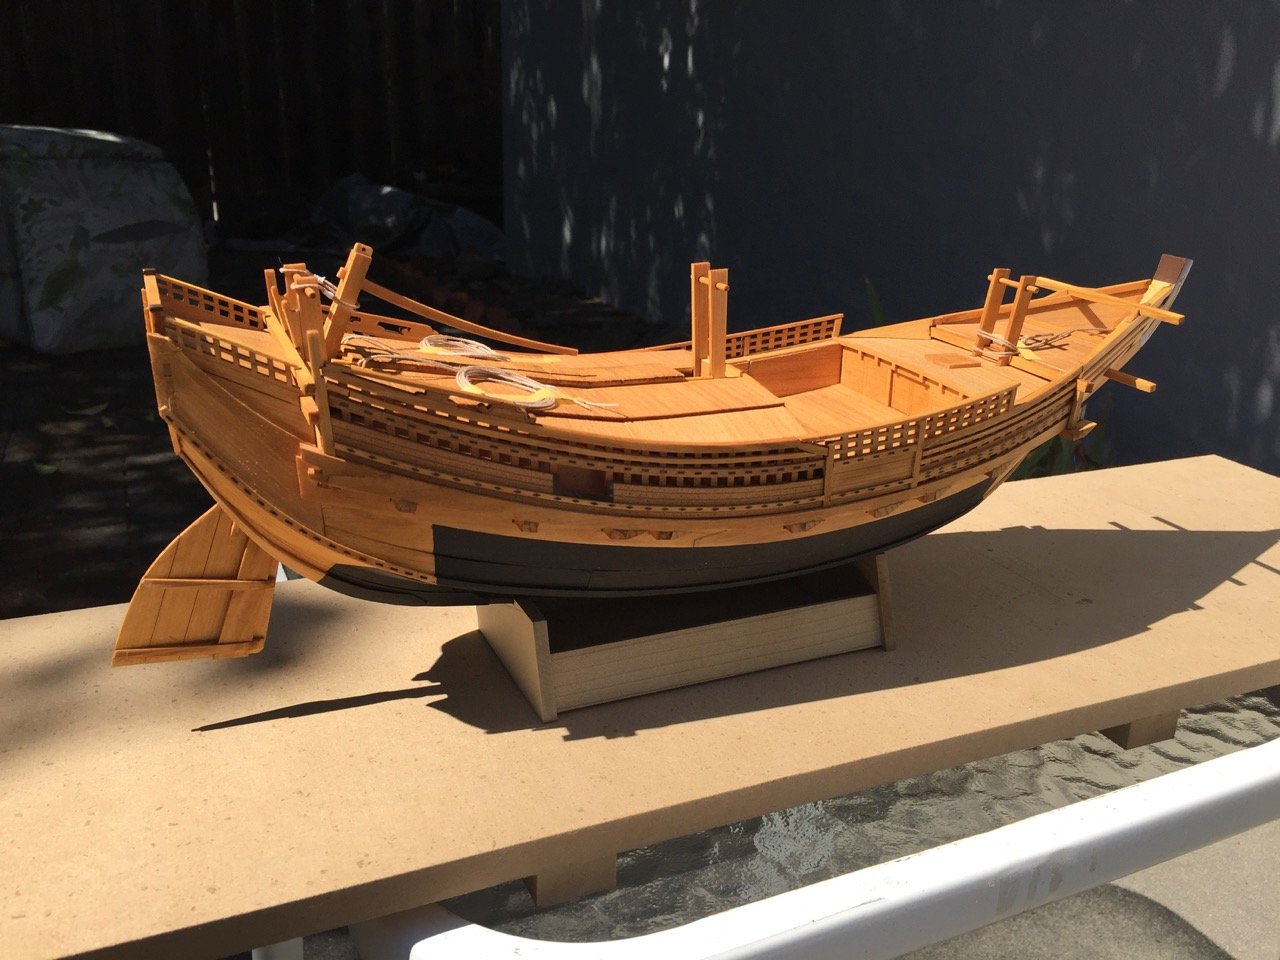
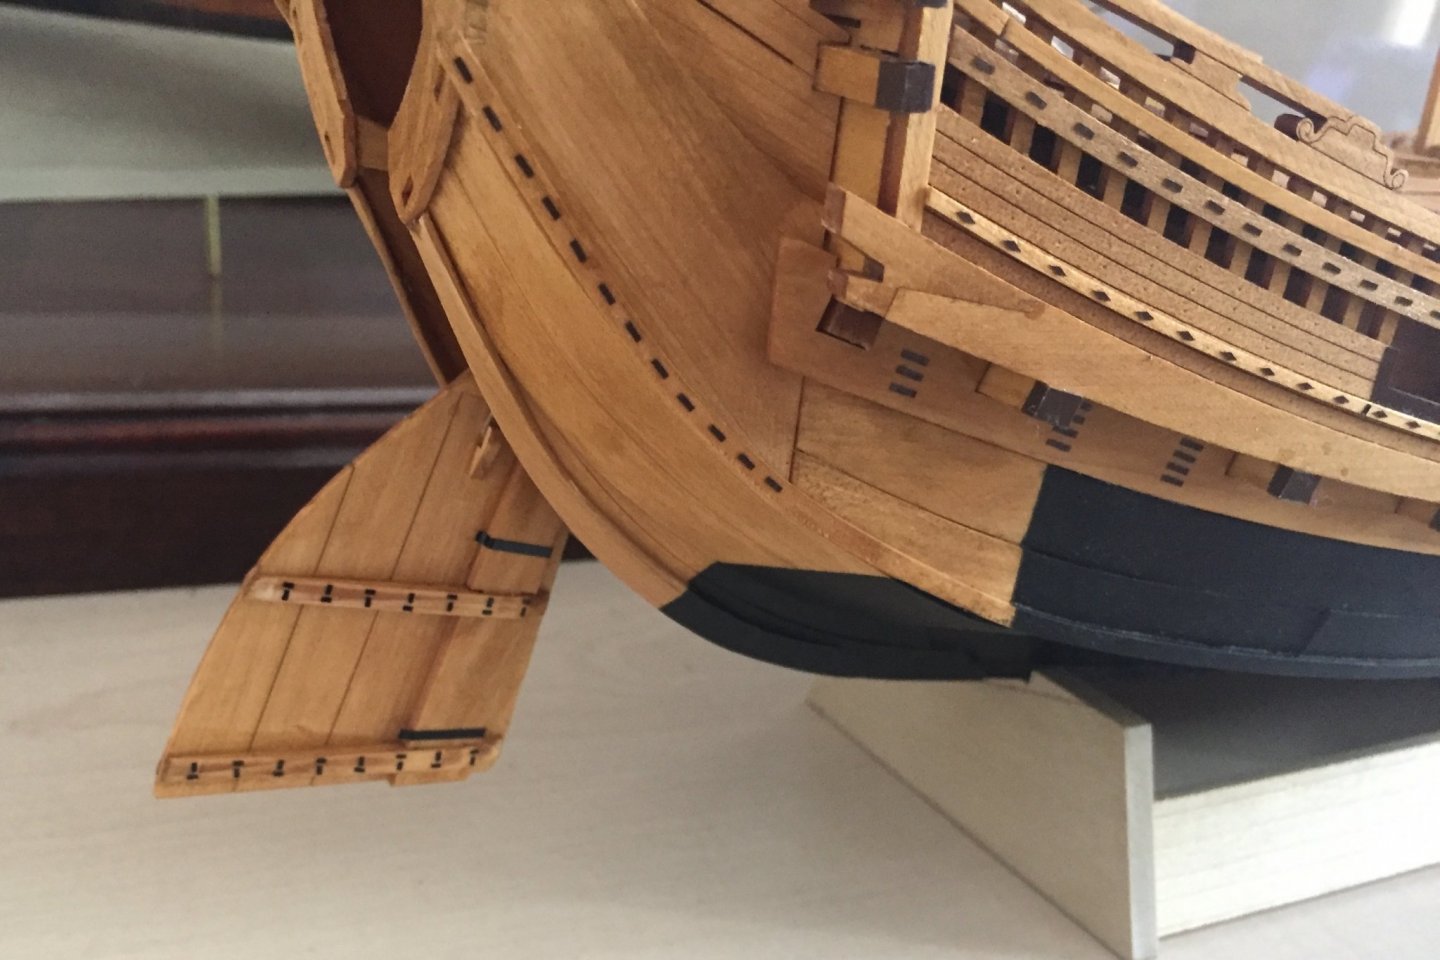
At this point, it's time to look at the copper coverings on the beams and mortises, etc. The Woody Joe kit provides a photo-etched copper sheet, which must be some kind of copper alloy, as it doesn't really tarnish. Below is a photo of the one from the Higaki Kaisen kit, which is very similar. These look fine, but the metal is very bright. As you can see from the photos of the Hakusanmaru, the copper is well tarnished. It's probably very green on the ships on the ocean, but I wanted to simulate simple tarnished copper. I considered using thin copper, which is readily available on the Internet, but thought I'd try something different using a machine that I made use of to solve a recent model dilemma. In that case, I needed to make a very regular decorative pattern. I won't go into a lot of detail on that, but here is a photo of what I was able to accomplish. These are photos of an in-progress model of Edo period Kobaya, or small, fast ship that belong to the Shōgun. The decorations were made using a Silhouette Cameo 3 vinyl cutter – the poor man's laser cutter. The machine is pretty much just a computer plotter (remember those?) with a knife blade in place of a pen. The device connects to any computer, which controls it much like a printer. Included software allowed me to create the designs and to control the cuts. The above photo was taken during unpacking. I got this earlier this year, specifically for solving my decoration issues with that model. Since then, I've found a number of used for it. For the Kitamaebune, I tried out a feature of this unit, which allows me to take a photo of a pattern I want to cut out, and to import it, process it, and create the pattern in permanent, adhesive backed vinyl. The process requires the use of a special cutting mat which is created with registration marks. Unfortunately, I don't have any photos of the intermediate steps. But, the cut vinyl is then applied to the model using a transfer material, which is basically adhesive backed, clear plastic. The cut vinyl will stick to it, allowing you to apply the vinyl to the model, after which the transfer "paper" is peeled off. All those brown colored rectangles and diamonds were cut using the machine. The tip of the stem is also covered in this material and was creating using the PixScan mat and photographing the existing parts. The rectangular and diamond shaped mortise covers, however, were designed by myself. They weren't copies from existing copper. In the below photo, you can see that I've covered the beam ends and added many more detail pieces in vinyl. This includes the black iron parts on the rudder. Like all the rectangular mortise covers, these weren't part of the kit, so I had to draw them up myself. More of this detail yet to come! Clare
-
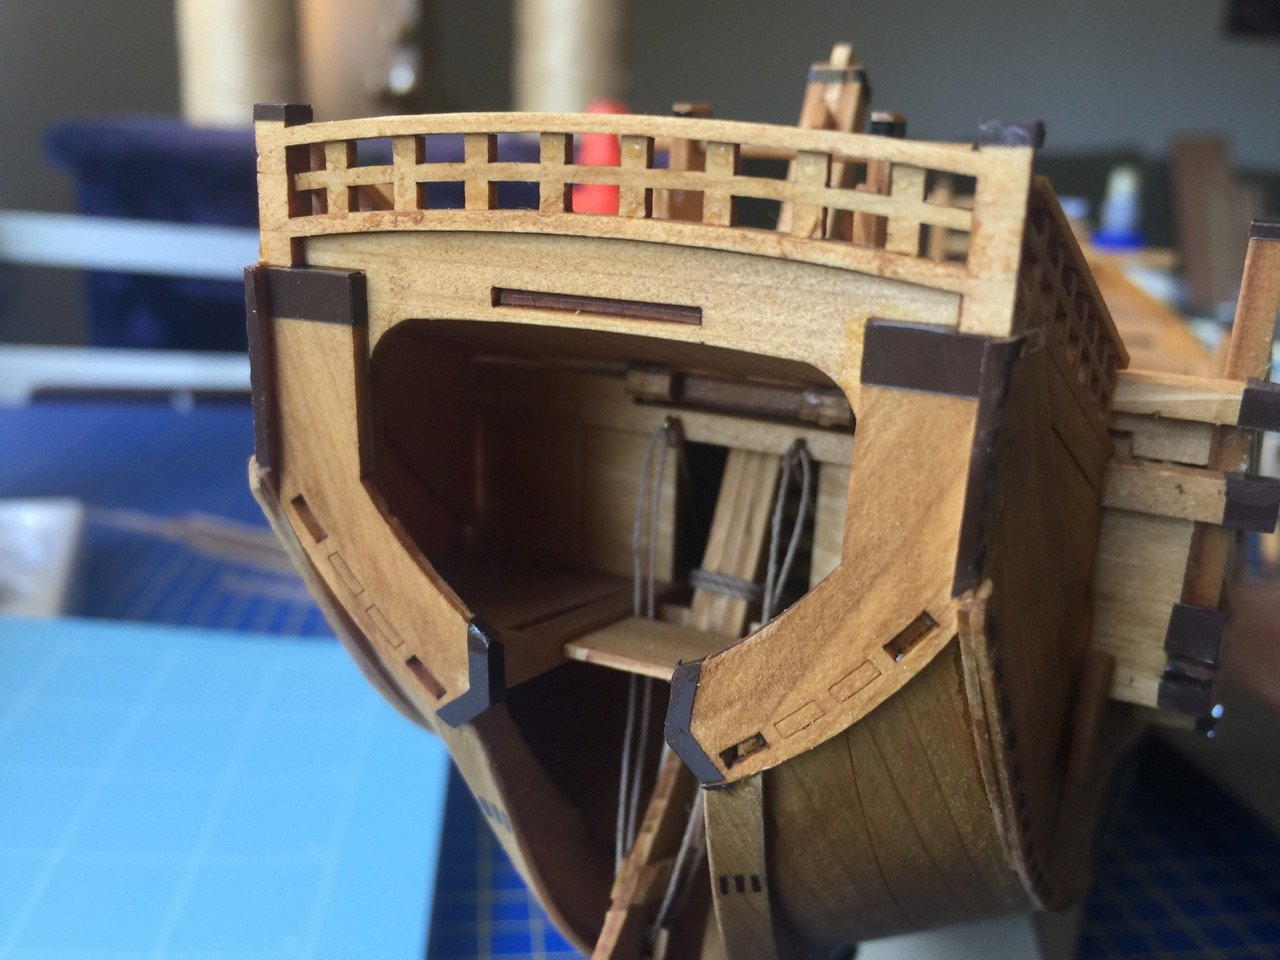
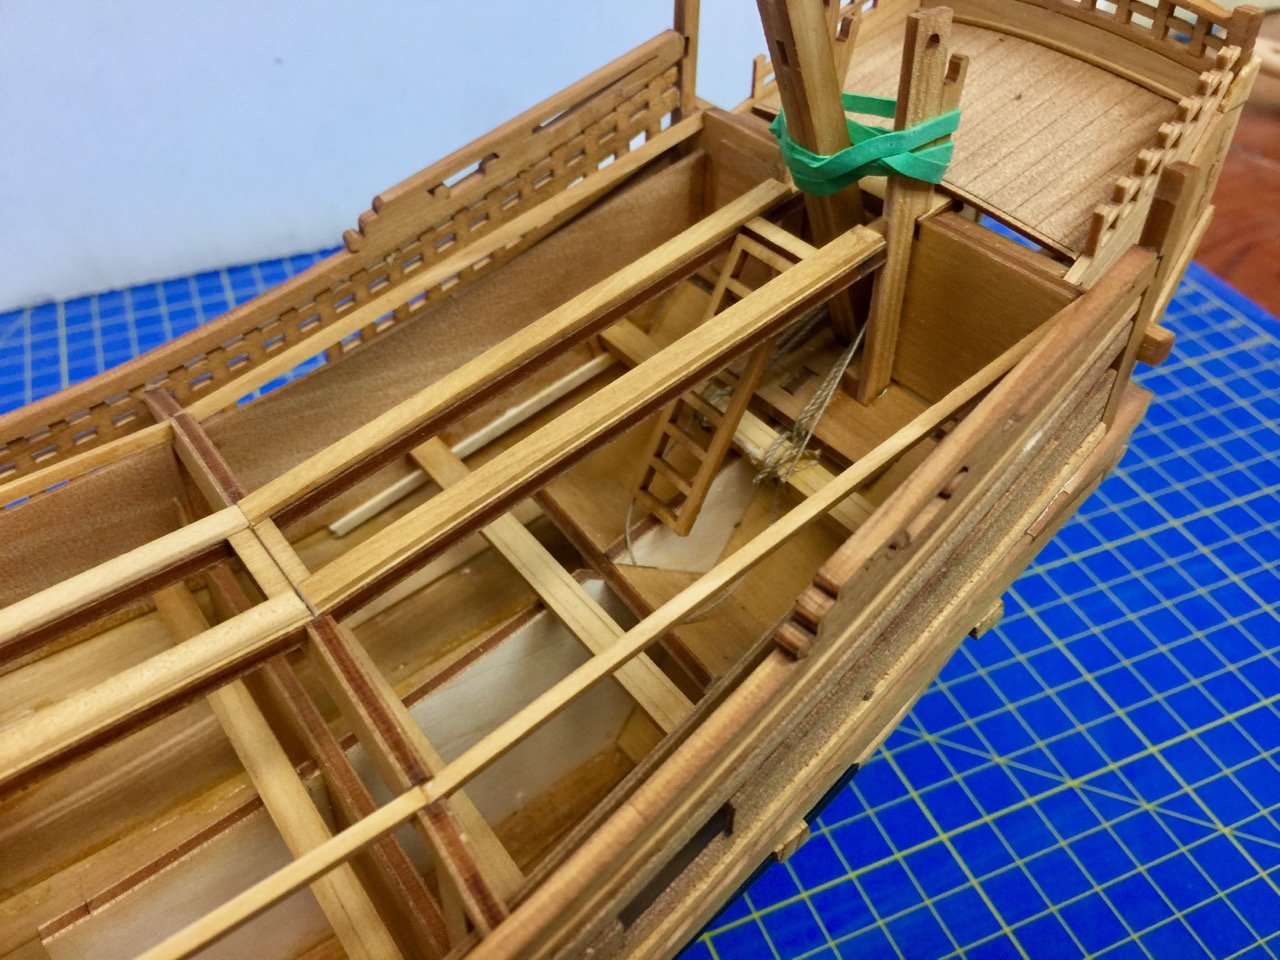
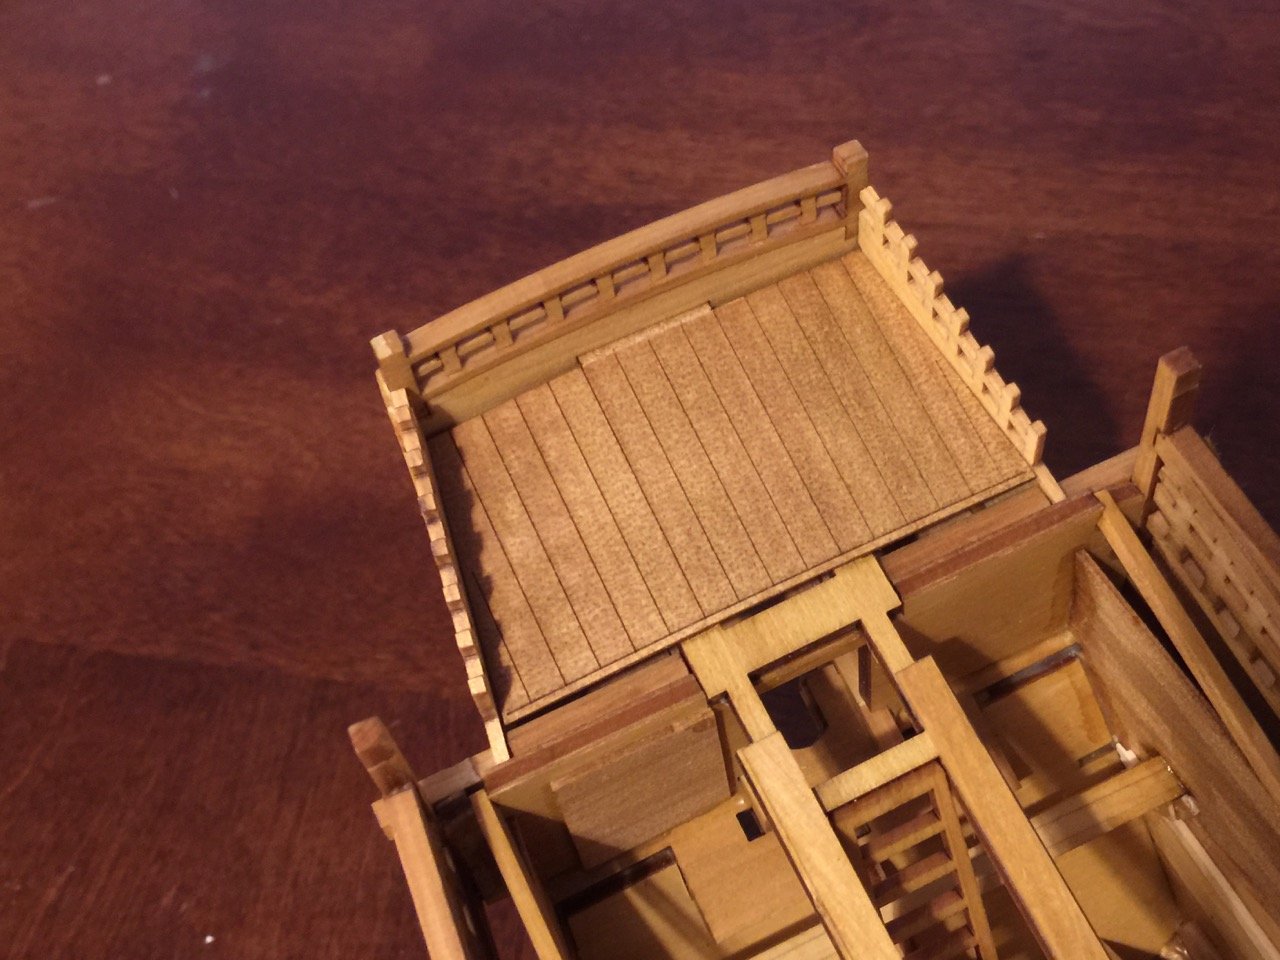
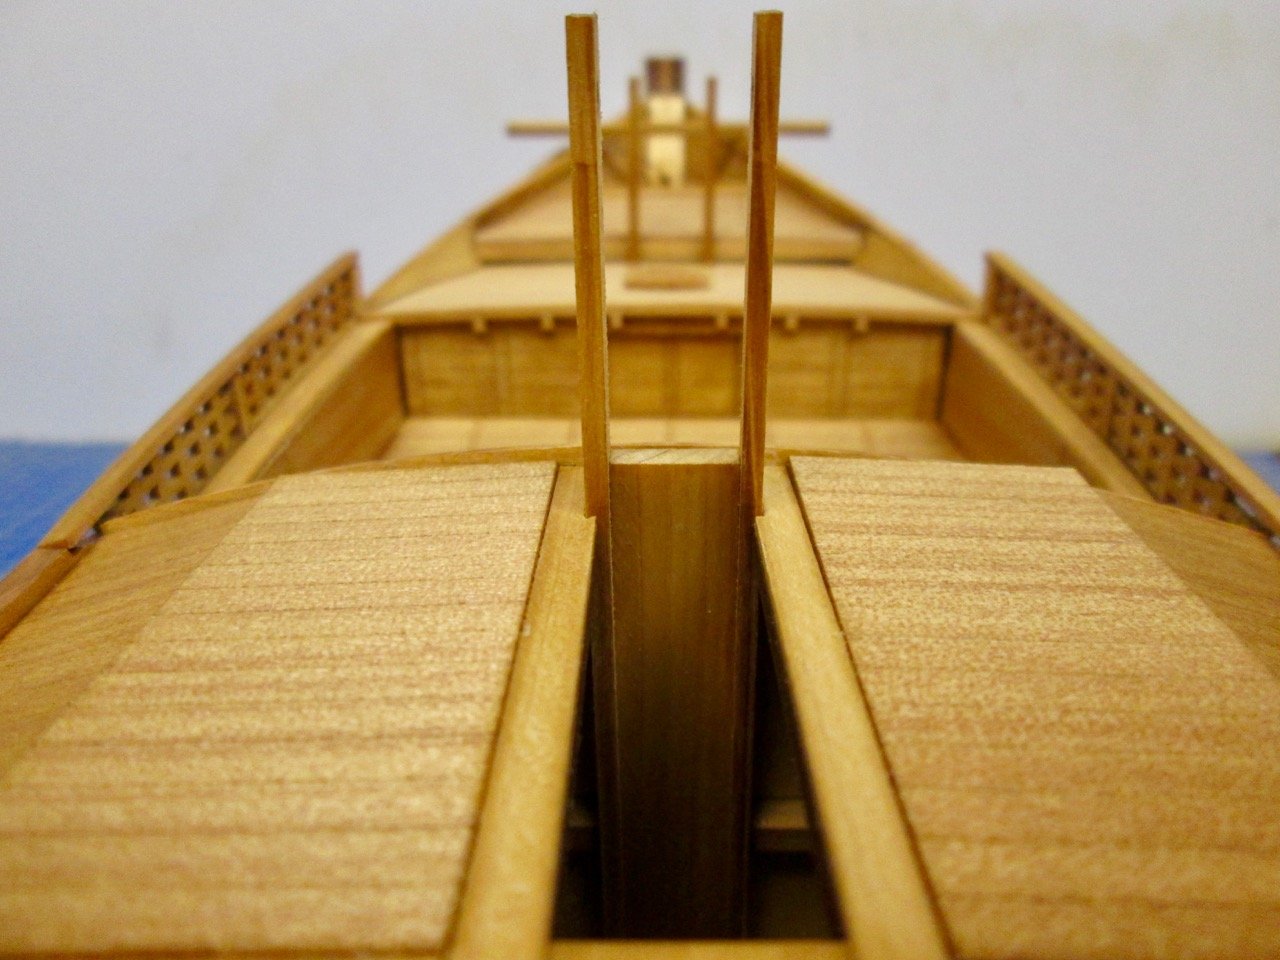
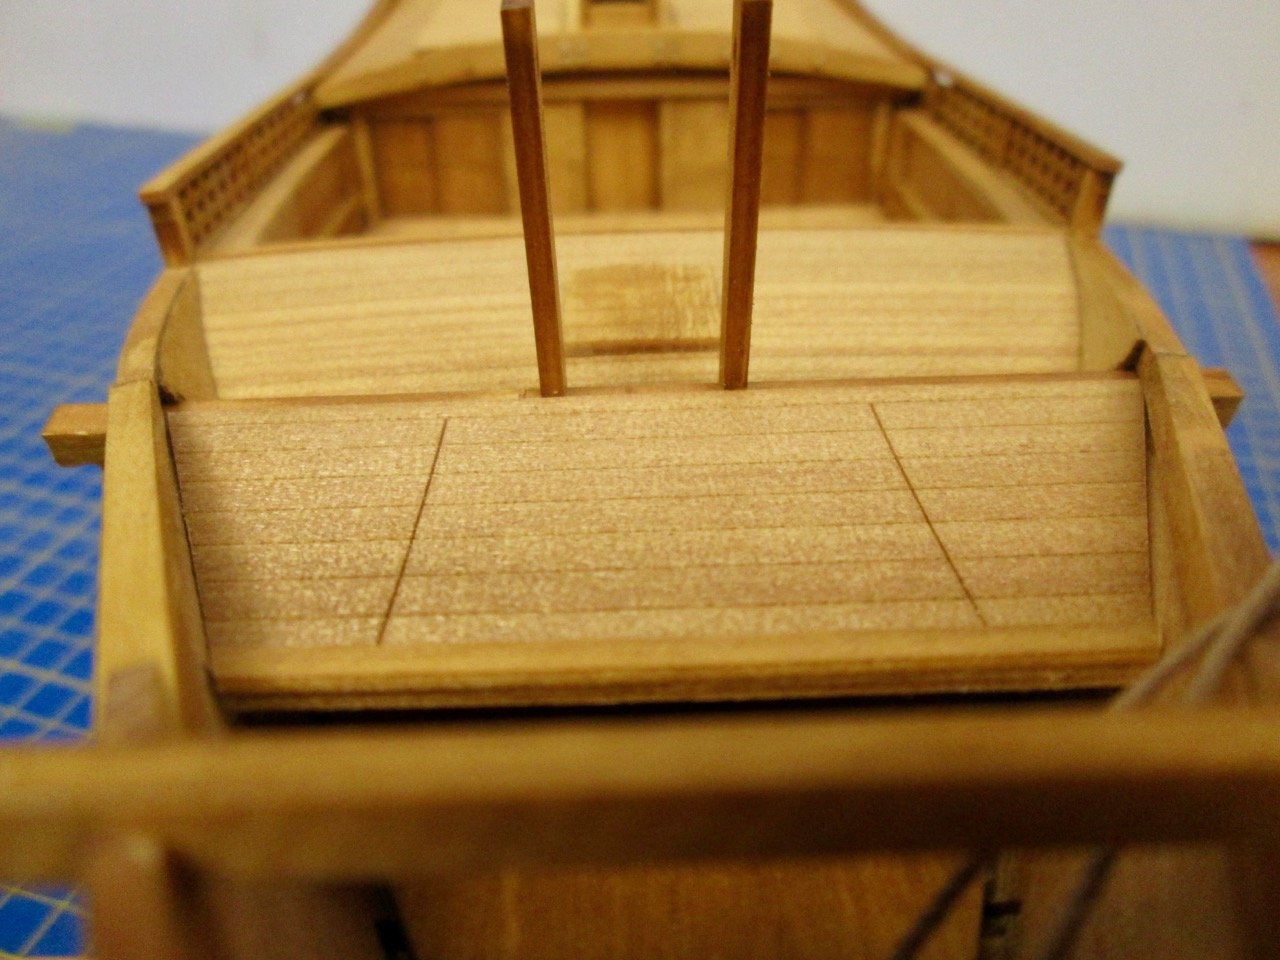
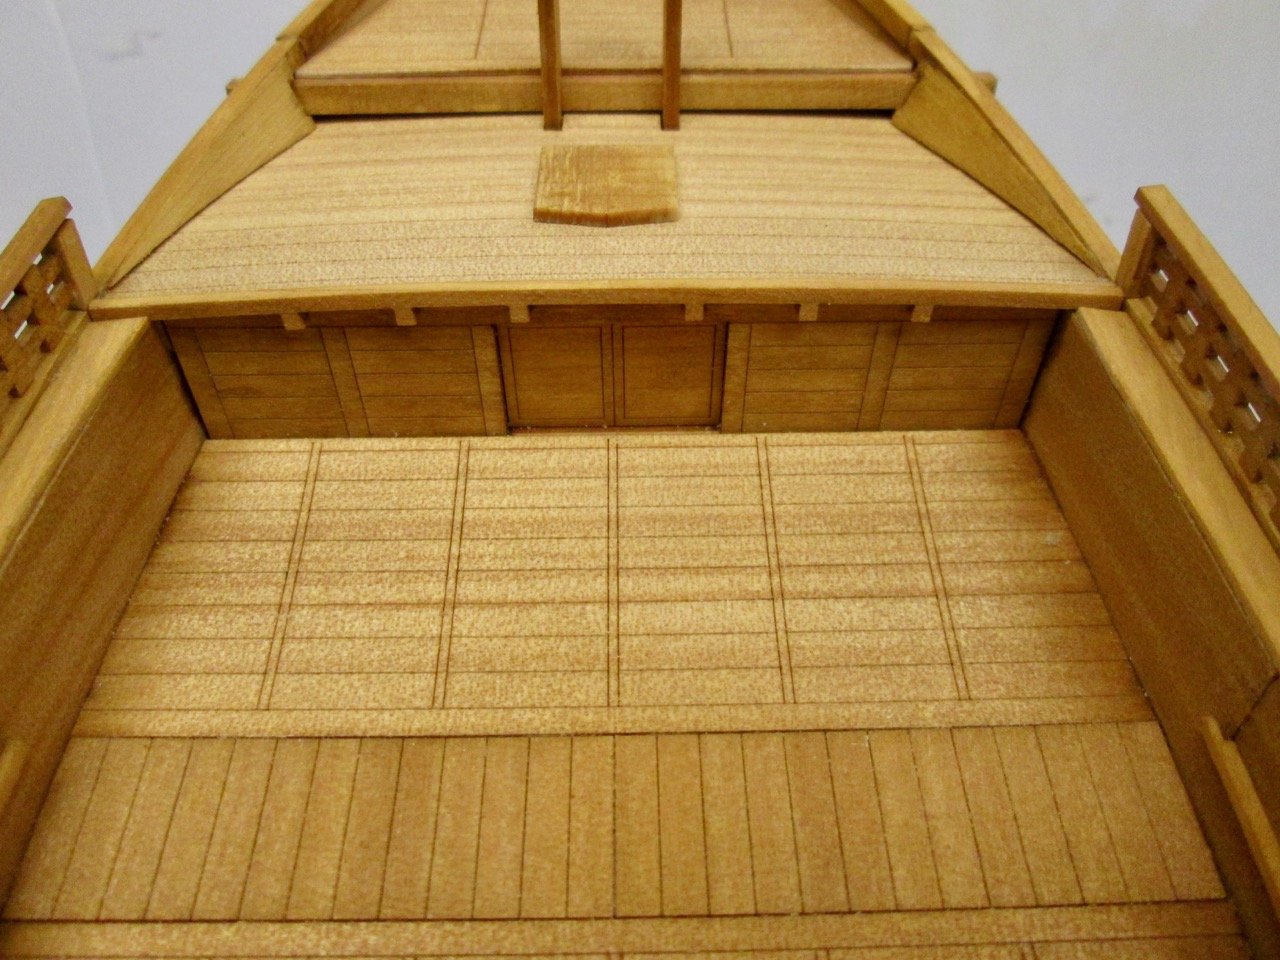
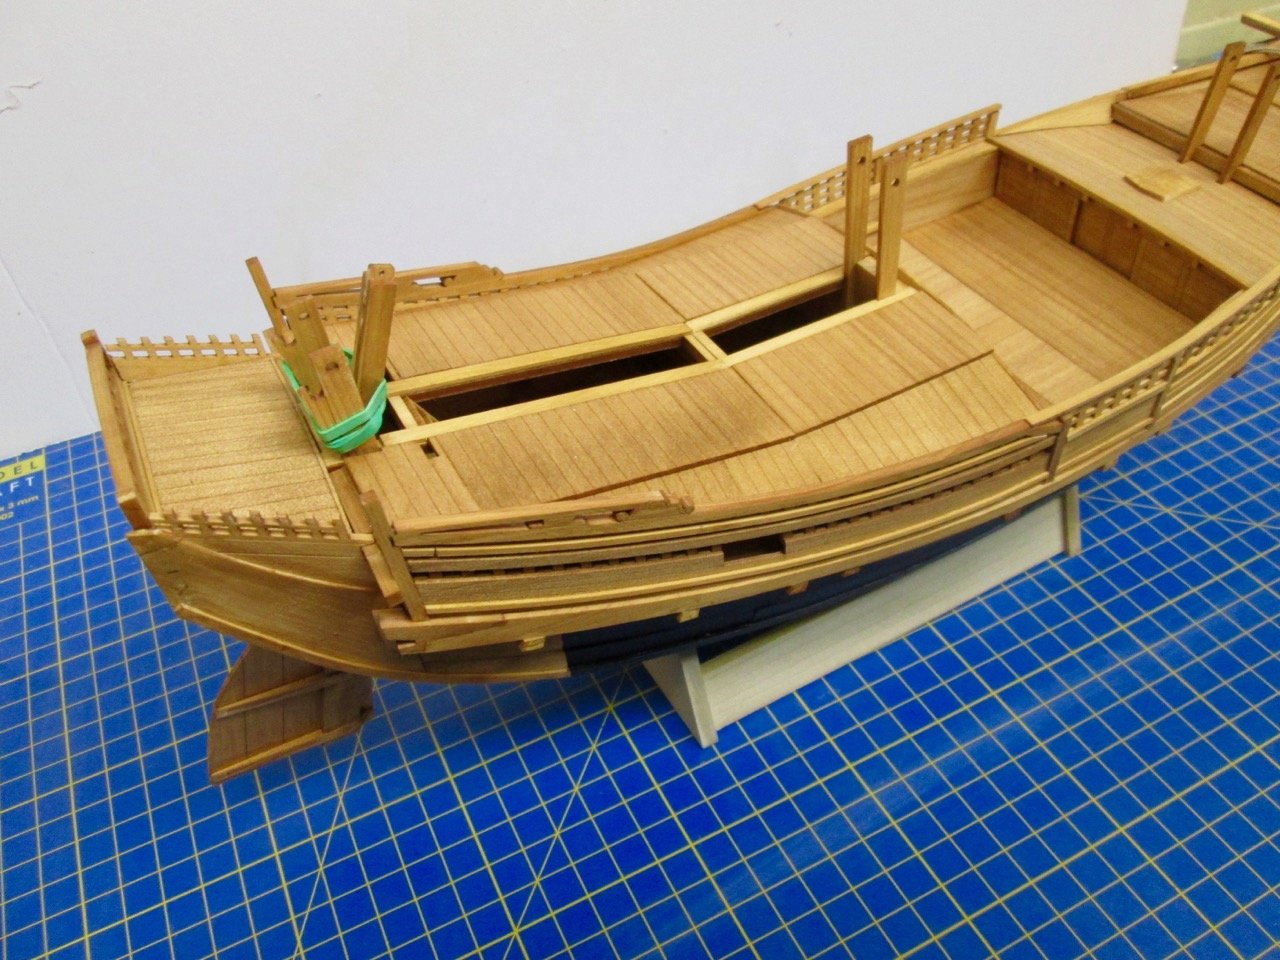
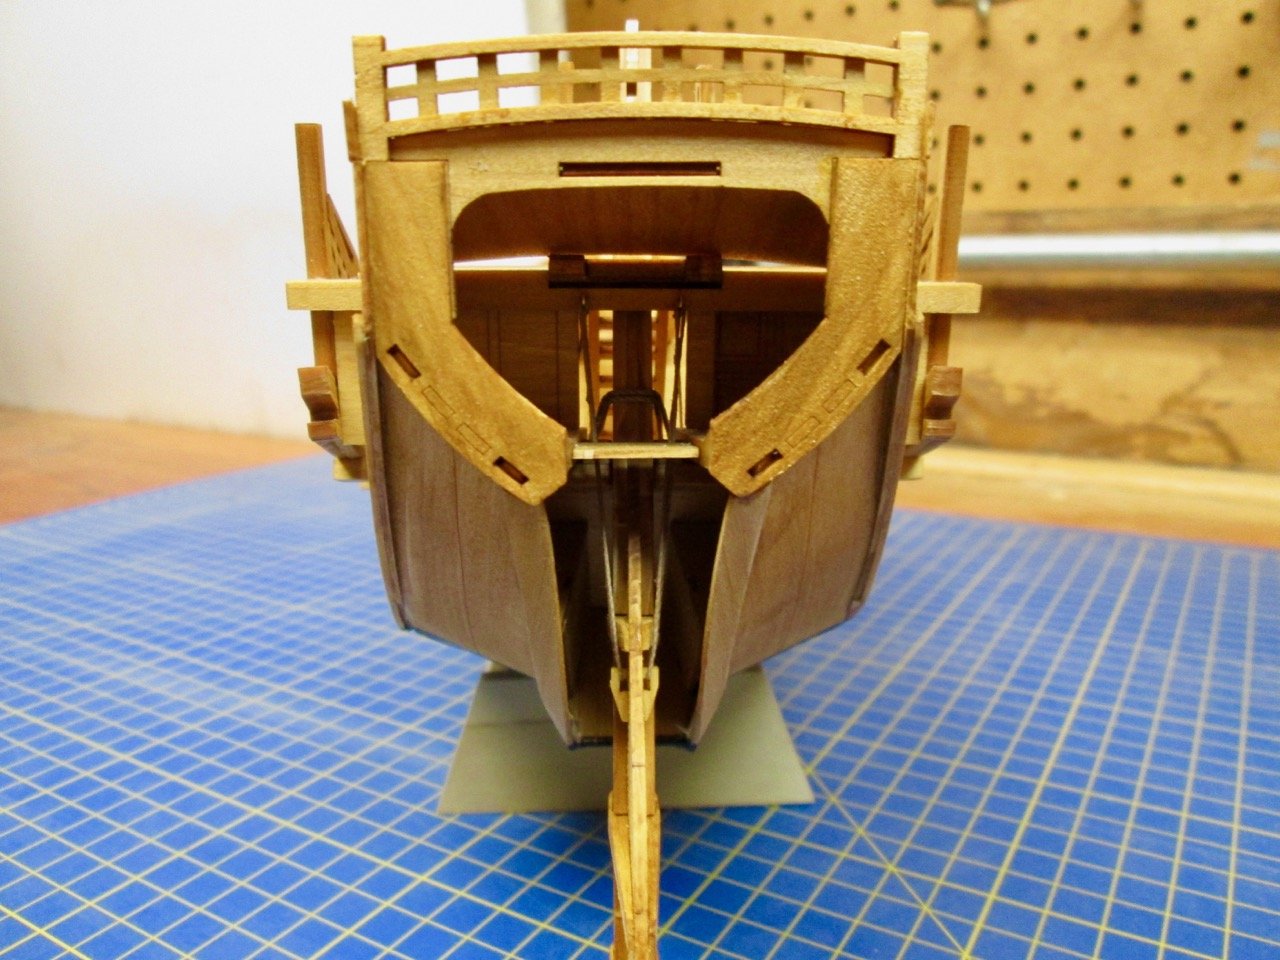
Thank you for the supportive comments, Druxey. The shape of the upward sweeping stern always reminds me of a duck's tail. 🦆 Well, the main cabin gets covered over by deck planking, but not before I get the rudder installed. On this model, the rigging of the rudder is much simplified (like much of the kit). I want the model to stand up to a certain amount of scrutiny. On the Higaki Kaisen model, there is a rope that wraps around the back of the tiller, helping to hold it in the notch in the "great beam" or ōtoko. The rope is doubled and I simply tied it around one of the beams inside the cabin. The rudder's weight is supported by ropes that thread through wooden sheaves on either side of the rudder. The instructions have you hang the ropes from eyelets installed in a beam over the rudder, to be threaded through each side of the sheave, glued, and trimmed off close to the sheave. So, you basically have two rope ends terminating inside the sheave hole. This is expedient, but not a very satisfying rig for a ship modeler. I chose to use the eyelets to tie one end of a length of thread through, run it down through the sheave, back up through the eyelet, back down inside the cabin, and to tie it off to a beam inside the cabin. This much more closely resembles the actual rig. I considered hanging a block in place of the eyelet, but I would have had a hard time fitting the block inside the rudder well at this stage. In any case, the rigging is there and I'm satisfied. In all honesty, it probably doesn't look any better than what the instructions said to do. But, it's more satisfying for this ship modeler. With the rudder in place, I could cover the cabin with the provided pieces of pre-scored planking. I again find the pre-scoring of the planks a bit unsatisfying. But, it does make for a perfect appearance of planks. The biggest downside is that if anything is off in the area of the planking, there's no way to extend the planks to cover a gap. Or, if there is an error in construction and you have to re-make a piece, it may be next to impossible to make a piece that will blend in with the others. So, it's important to check and re-check all assemblies before gluing a piece into place or cutting something. You HAVE to follow directions, or you run the risk of screwing up the build. In the above photo, which I actually took during a test fitting of parts, I noted that the tab at the end of the deck piece is totally visible. That won't do. While it's not very authentic as far as I know, I'll probably just cover that edge with a thin strip of wood, like a covering board. It'll look better than that eyesore tab. The remainder of the planking went fine, though there is a slight gap at the back end of the cabin, next to beam. It's not all that noticeable except, of course, that my eye goes right to it. I will cut a thin strip to drop in there, which will help. The green rubber band you see in the first and last photos helps keep the rudder from lifting up. Later, a rope will fit in its place, as per the kit's instructions. Also, that long slot down the center of the cabin will be covered. This slot is a real part of these ships, though I believe it's continuous and not blocked by that bulkhead piece. This slot allows the mast to be stepped and un-stepped by the crew. The mast was lowered and removed when at anchor, to stabilize the ship. It was then laid across the tops of those three supports.
About us
Modelshipworld - Advancing Ship Modeling through Research
SSL Secured
Your security is important for us so this Website is SSL-Secured
NRG Mailing Address
Nautical Research Guild
237 South Lincoln Street
Westmont IL, 60559-1917
Model Ship World ® and the MSW logo are Registered Trademarks, and belong to the Nautical Research Guild (United States Patent and Trademark Office: No. 6,929,264 & No. 6,929,274, registered Dec. 20, 2022)
Helpful Links
About the NRG
If you enjoy building ship models that are historically accurate as well as beautiful, then The Nautical Research Guild (NRG) is just right for you.
The Guild is a non-profit educational organization whose mission is to “Advance Ship Modeling Through Research”. We provide support to our members in their efforts to raise the quality of their model ships.
The Nautical Research Guild has published our world-renowned quarterly magazine, The Nautical Research Journal, since 1955. The pages of the Journal are full of articles by accomplished ship modelers who show you how they create those exquisite details on their models, and by maritime historians who show you the correct details to build. The Journal is available in both print and digital editions. Go to the NRG web site (www.thenrg.org) to download a complimentary digital copy of the Journal. The NRG also publishes plan sets, books and compilations of back issues of the Journal and the former Ships in Scale and Model Ship Builder magazines.


