Bedford
-
Posts
1,297 -
Joined
-
Last visited
Content Type
Profiles
Forums
Gallery
Events
Everything posted by Bedford
-

15' Dinghy by Bedford - FINISHED - 1:1 scale
Bedford replied to Bedford's topic in Non-ship/categorised builds
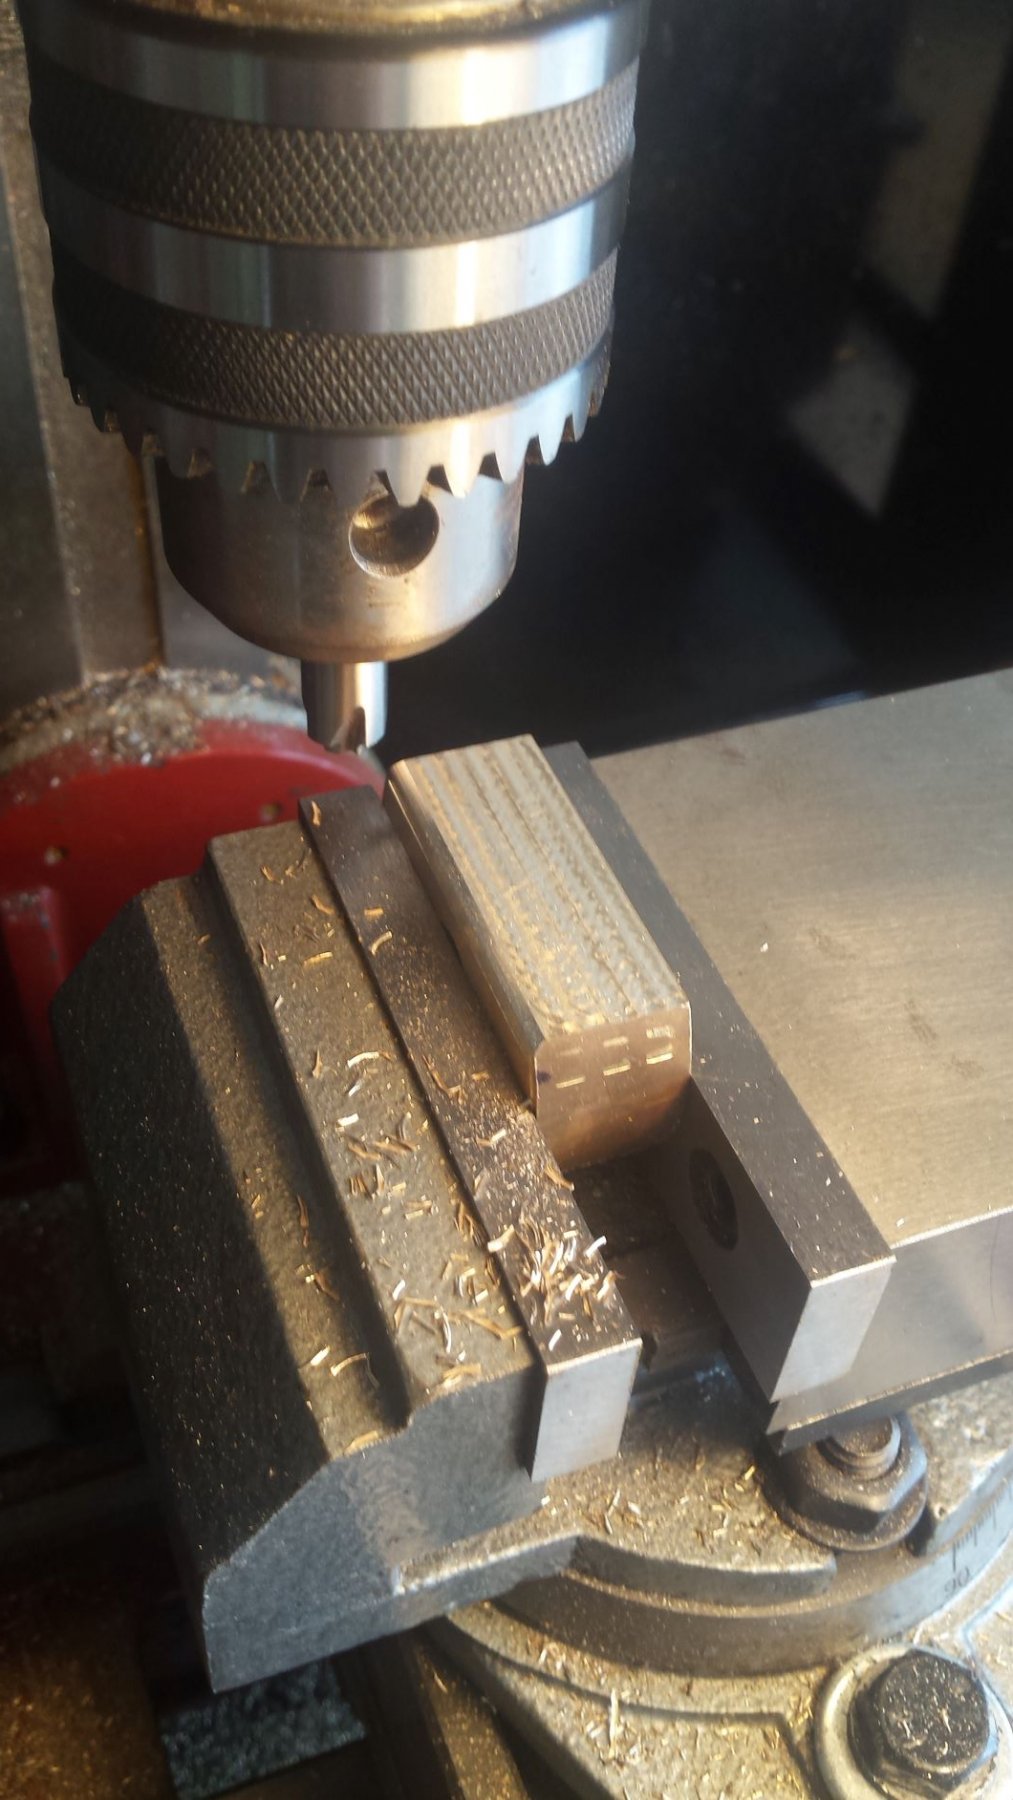
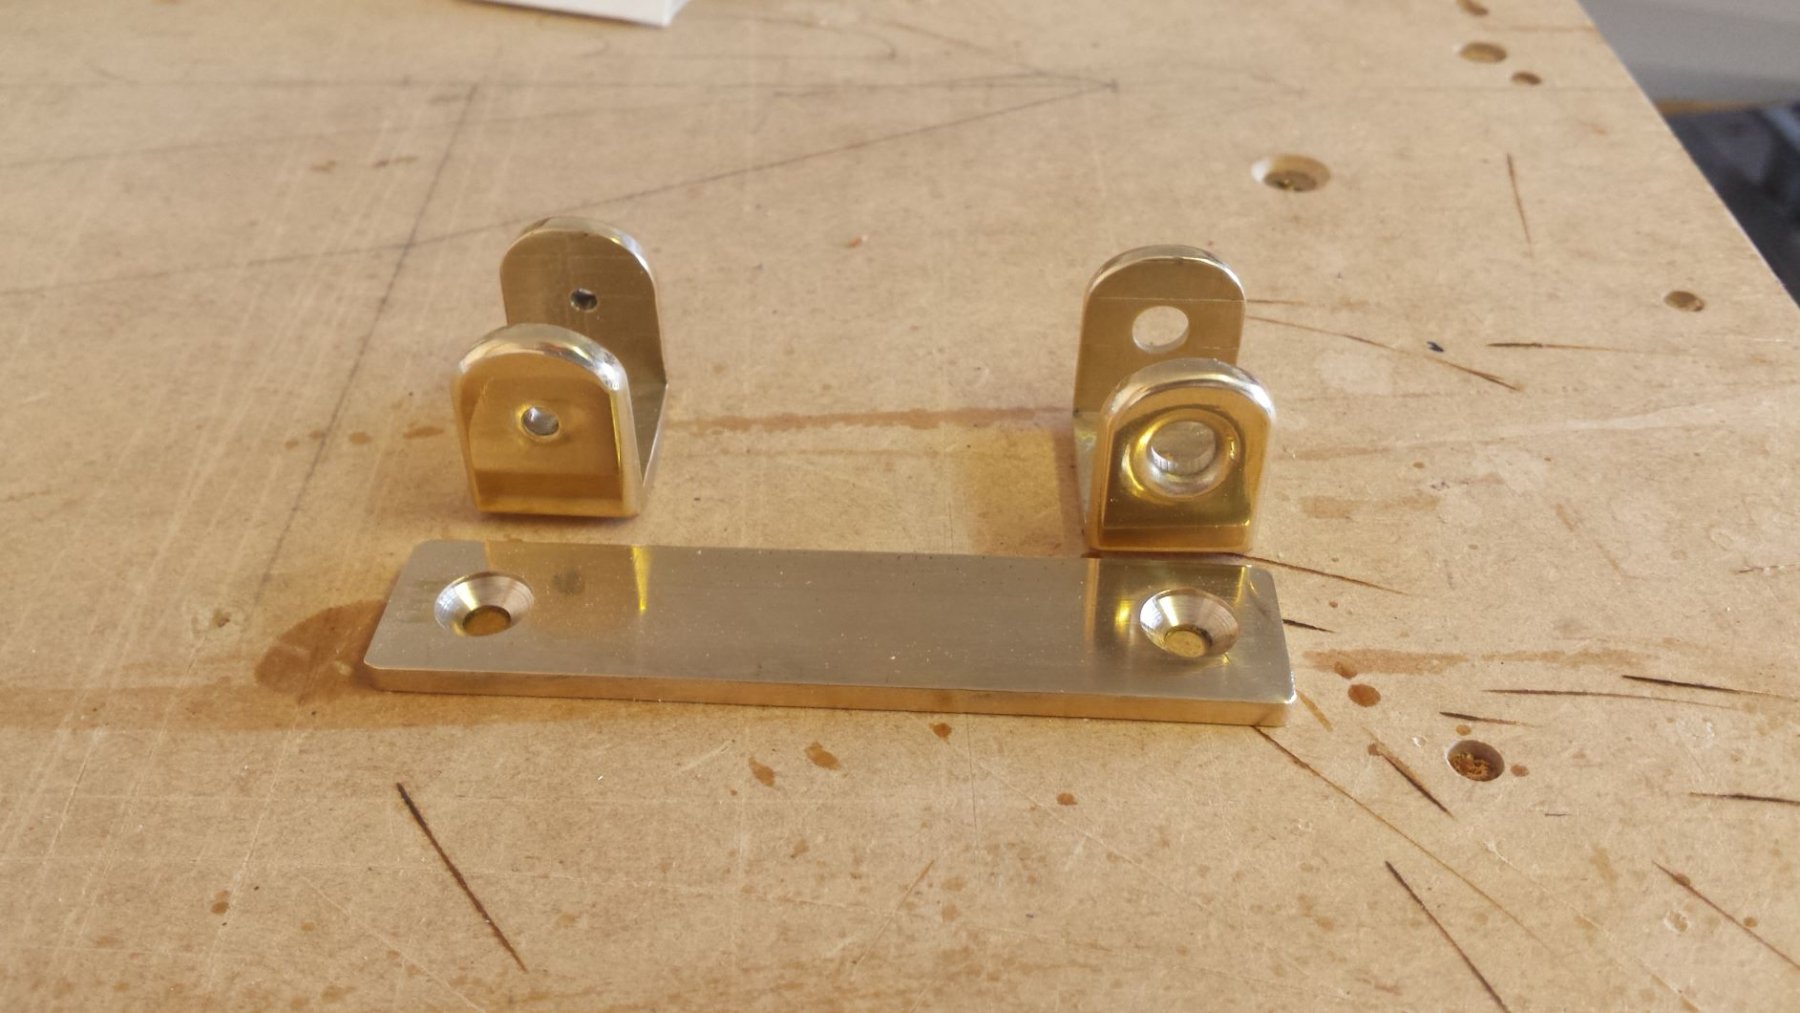
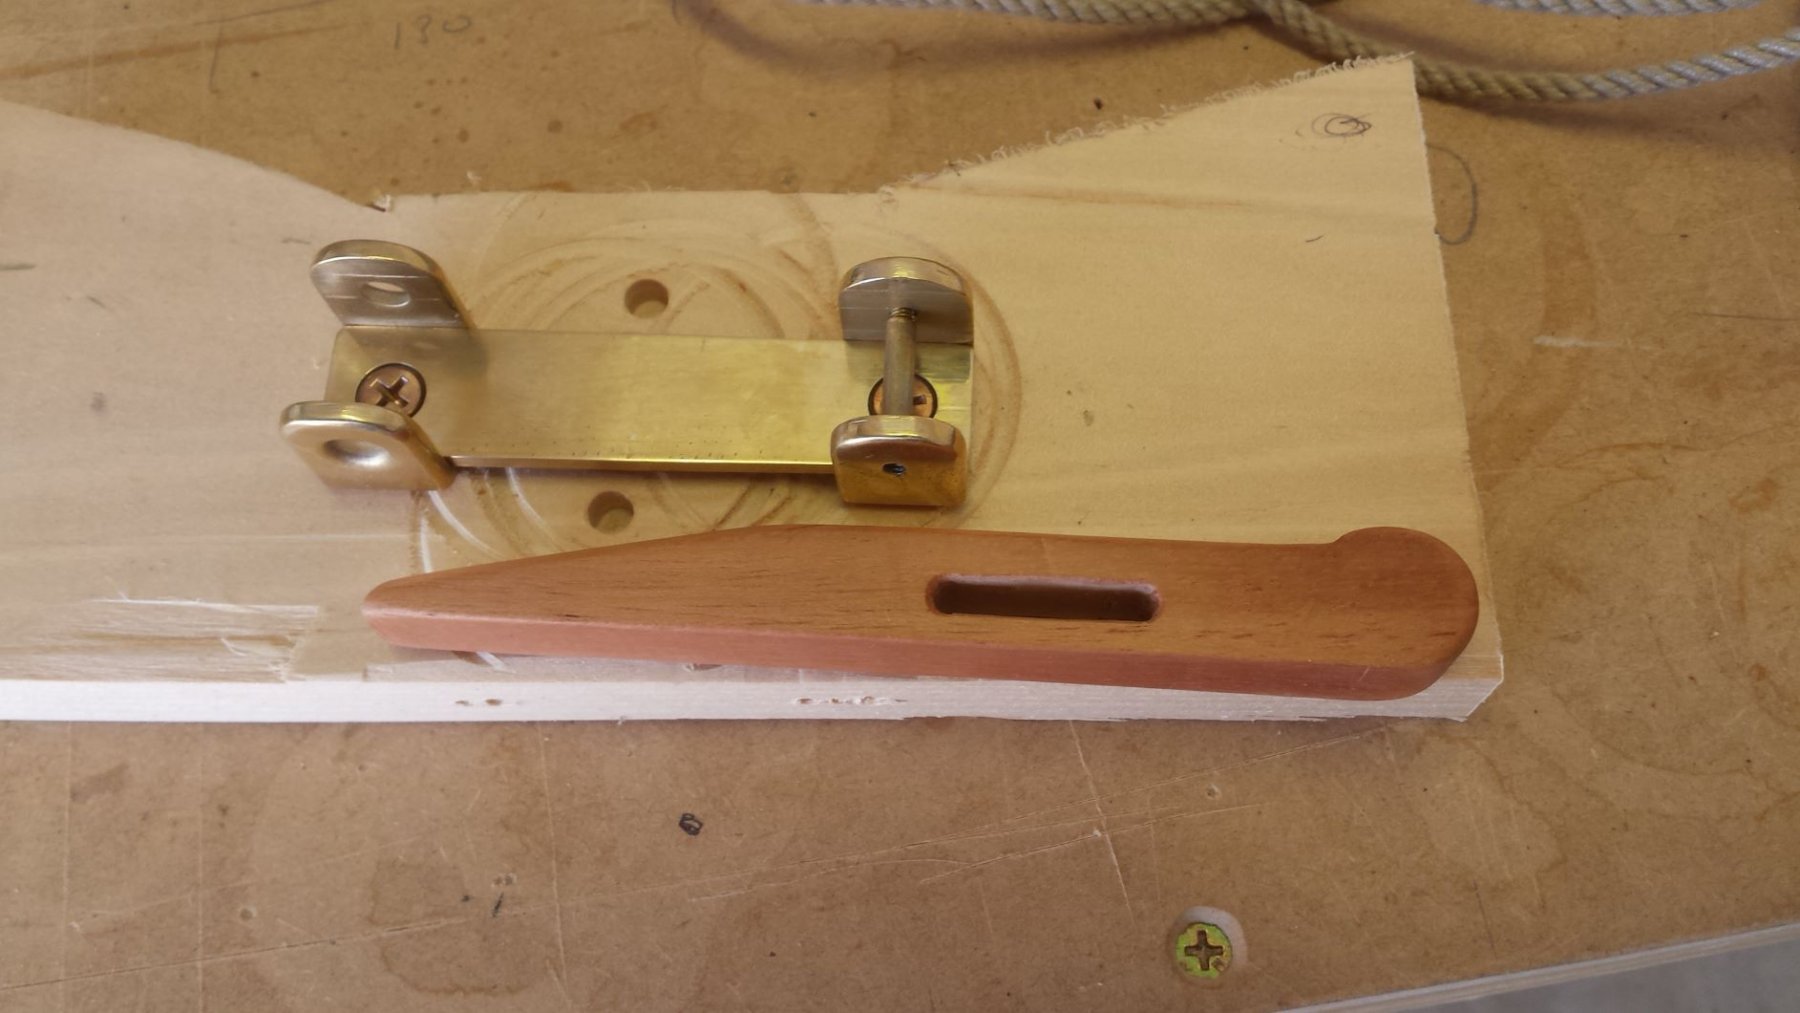
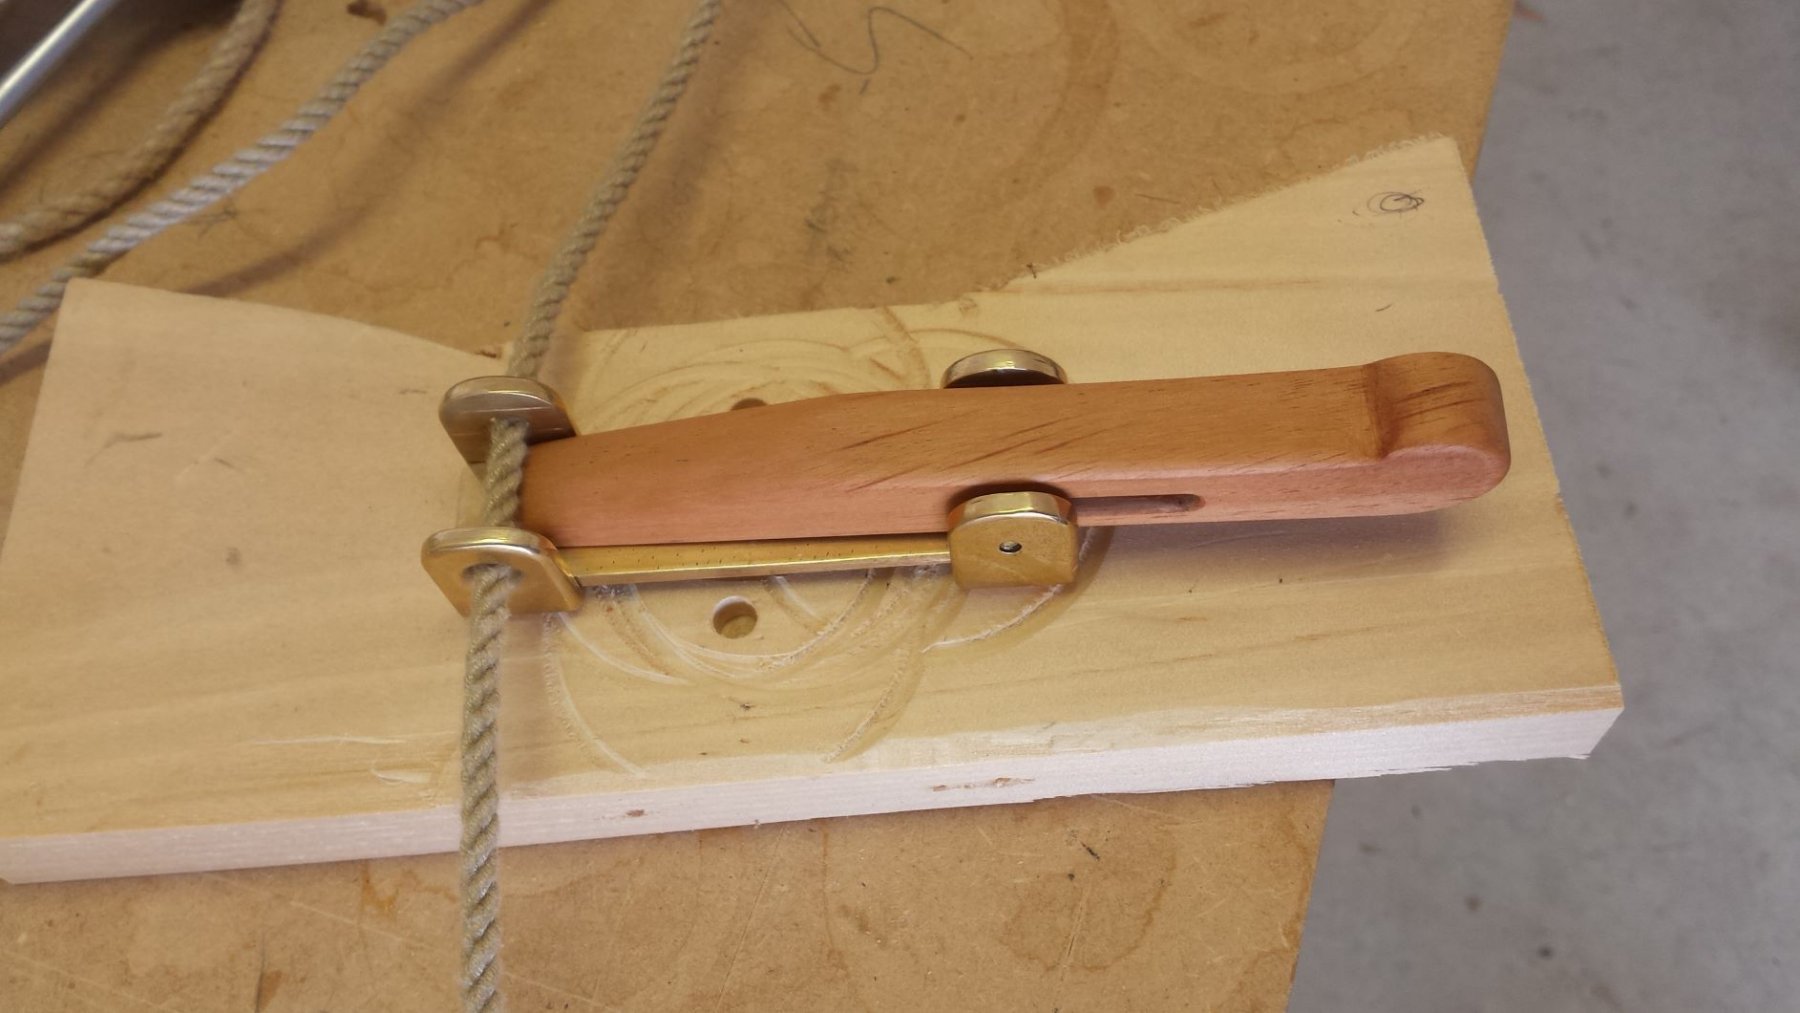
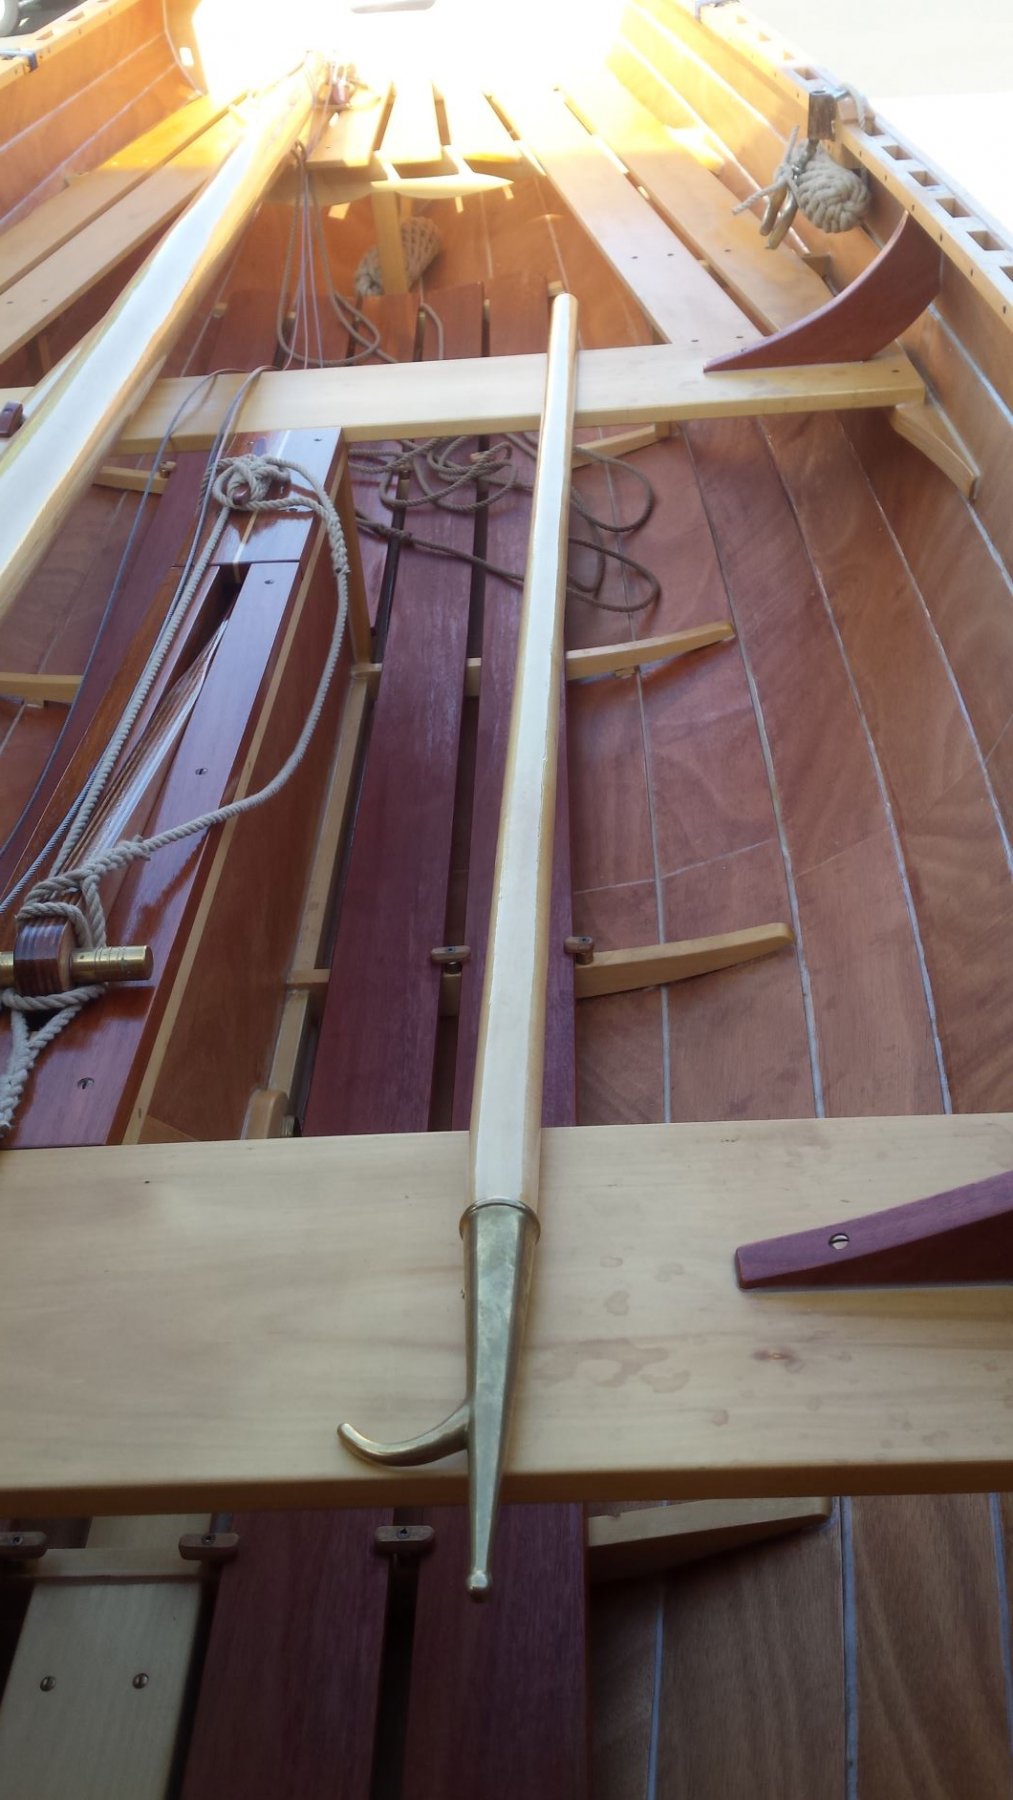
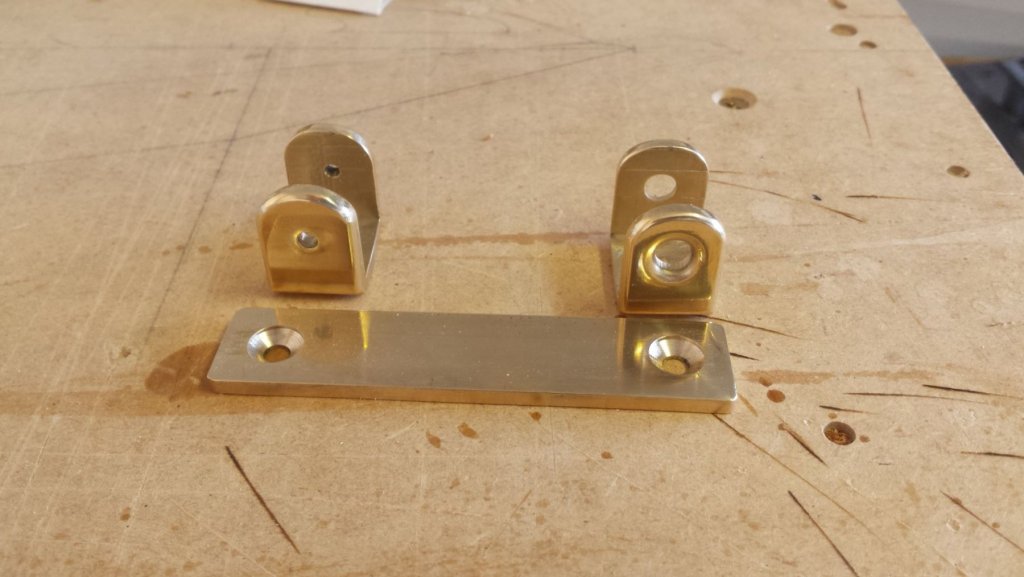
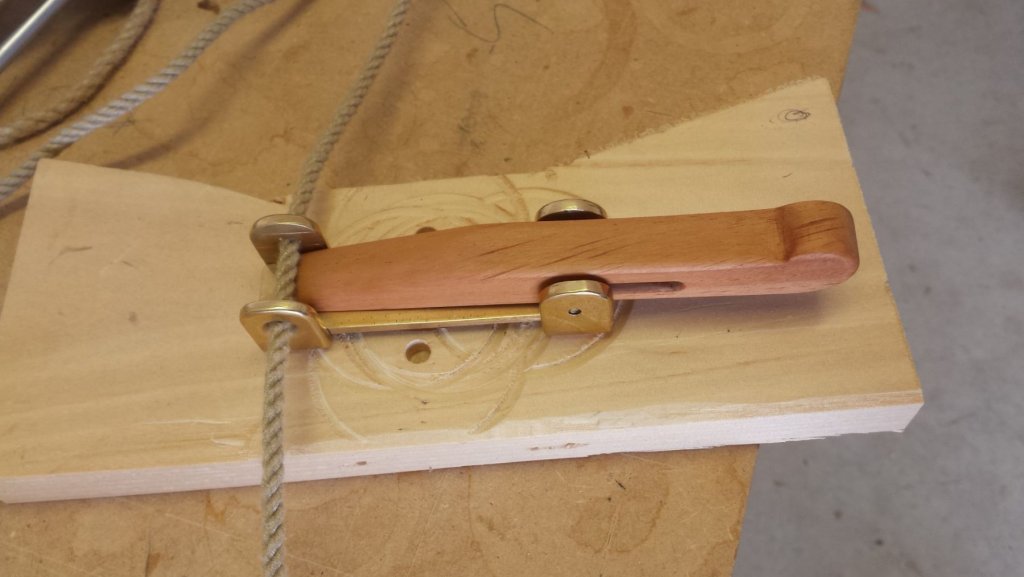
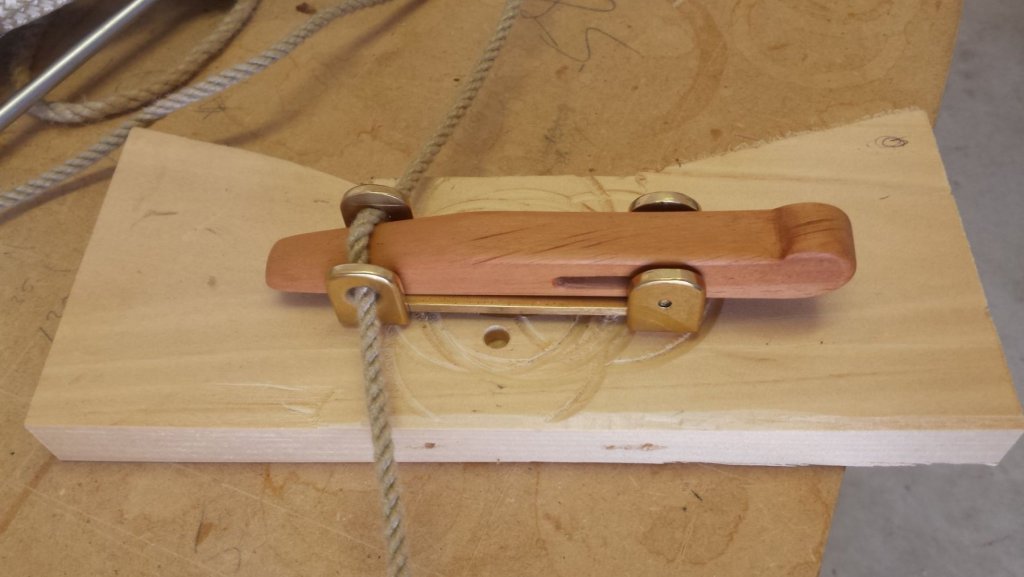
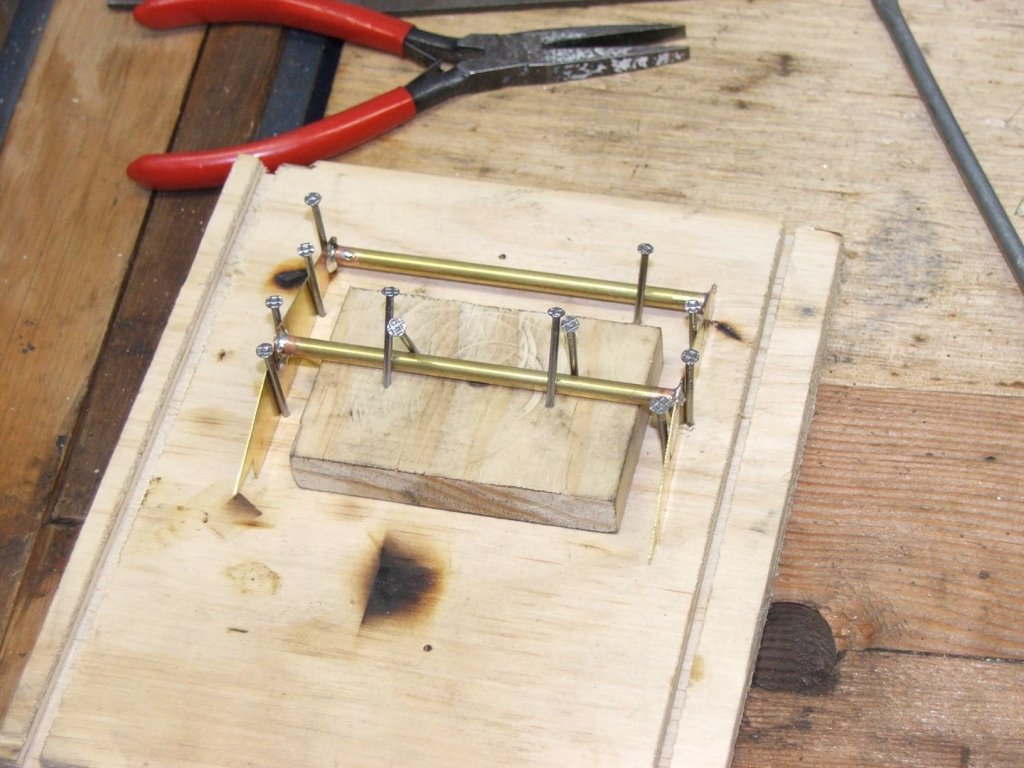
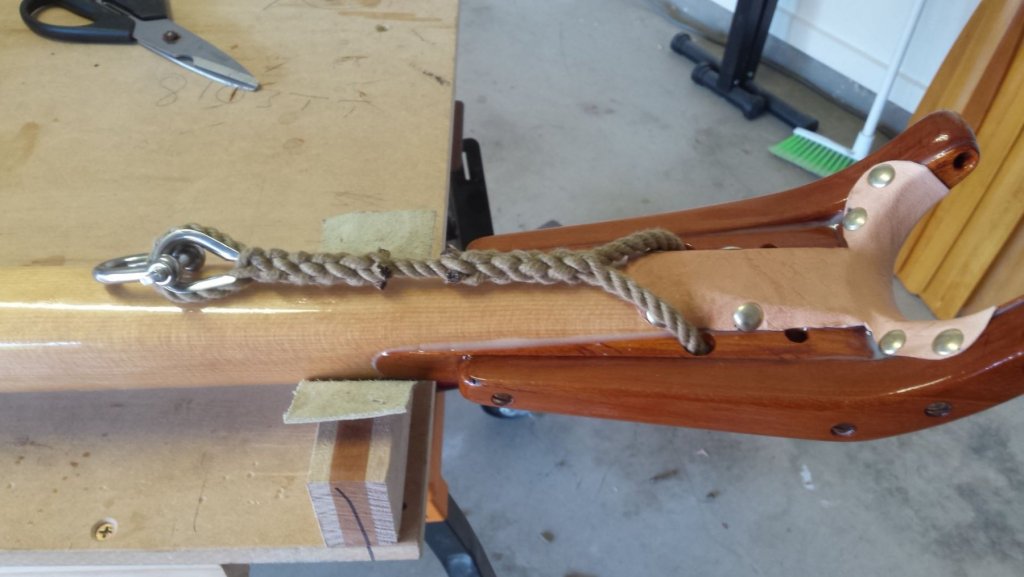
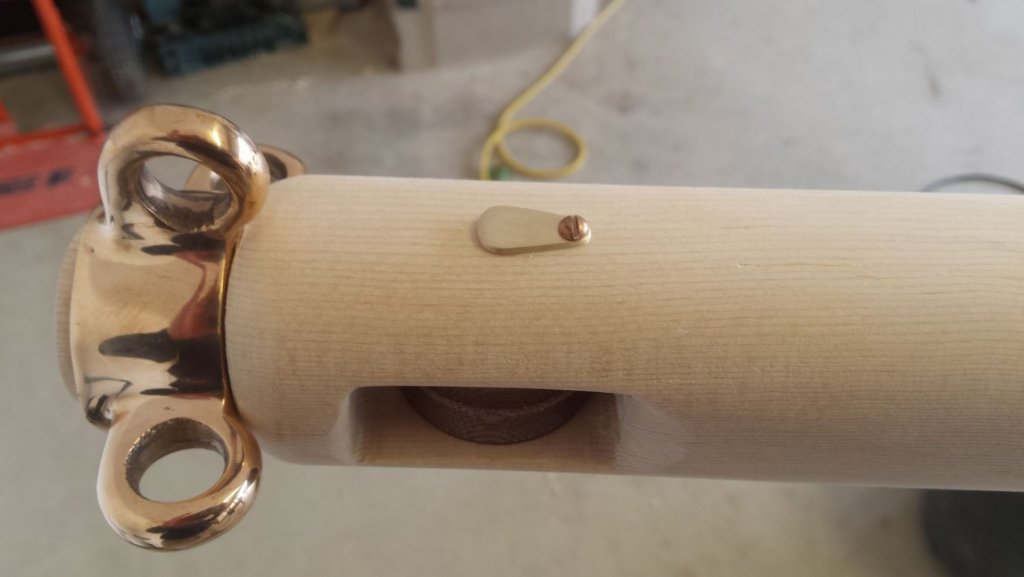
I still haven't found buoyancy that I'm happy with but I reckon since I'll be sailing her single handed most of the time I'll need a third hand, a way of holding the tiller for a few minutes now and then. I milled a piece of scrap brass left over from turning another part to make up a sliding jamb, I'll run a line across the boat via the tiller "lock" The mill in the first pic is 10mm diam with a 2mm external radius, I used it for the edges of the brass and the fair leads in the though block Simple 3 piece brass assy and you can see the fair lead in the right hand block Fitted to the tiller, I mounted it on the boat and it seems to work well, the only concern is that the wedge may slide back accidentally causing friction while steering but if that happens I'll slip a couple of magnets into the woodwork to hold it in place.


- 109 replies
-
- 11
-

-
15' Dinghy by Bedford - FINISHED - 1:1 scale
Bedford replied to Bedford's topic in Non-ship/categorised builds
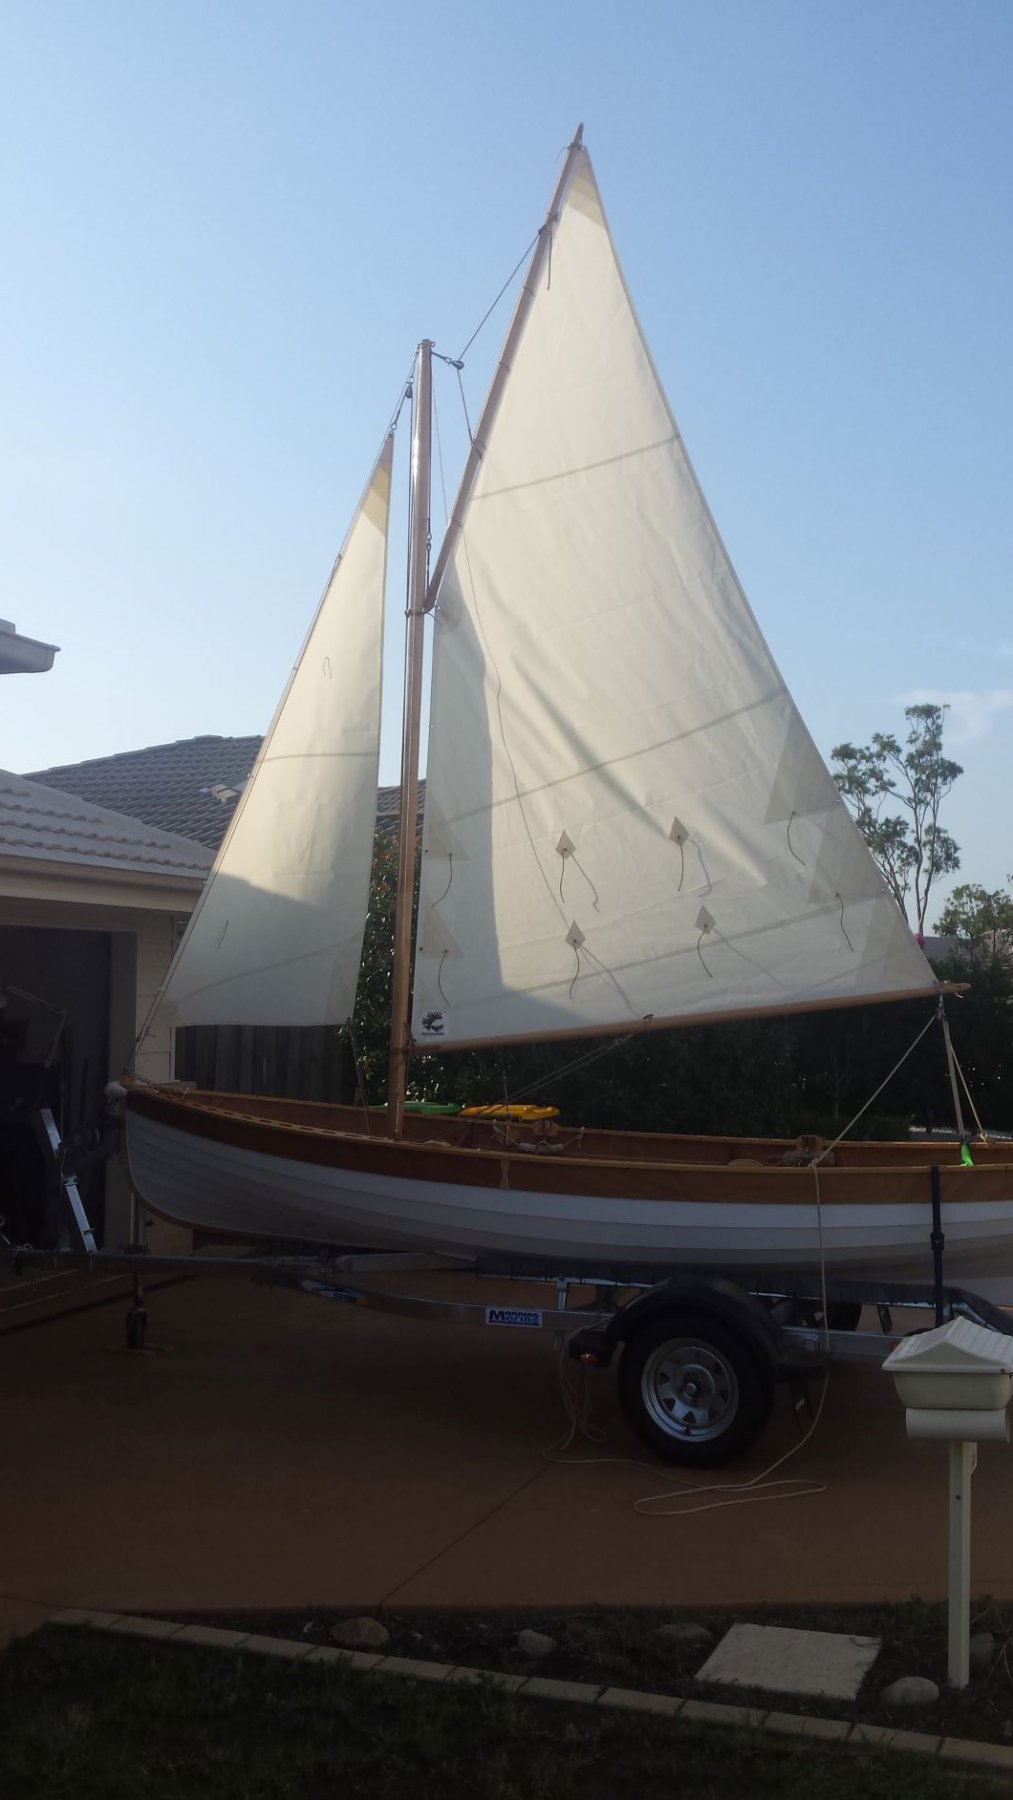
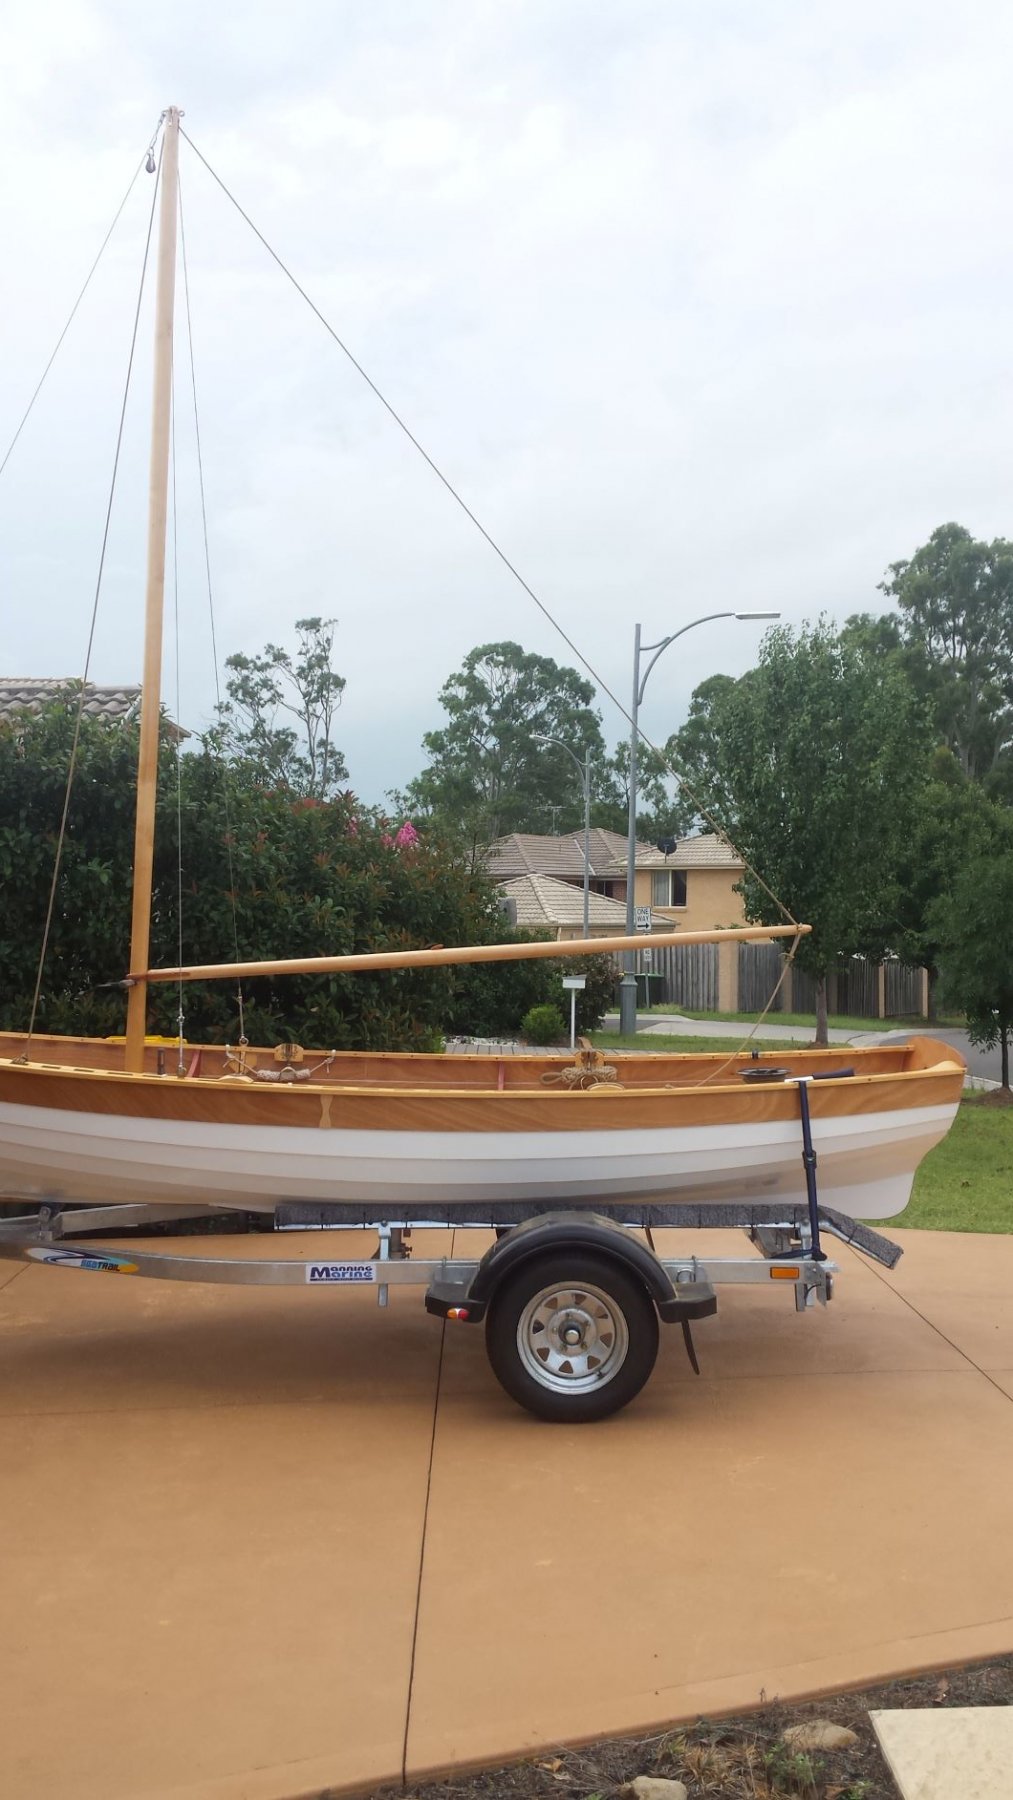
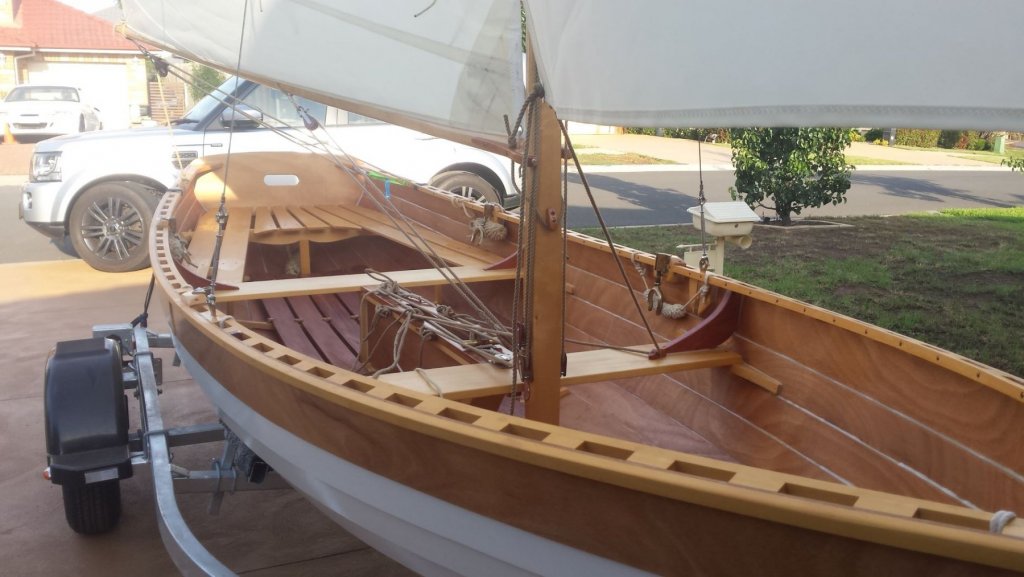
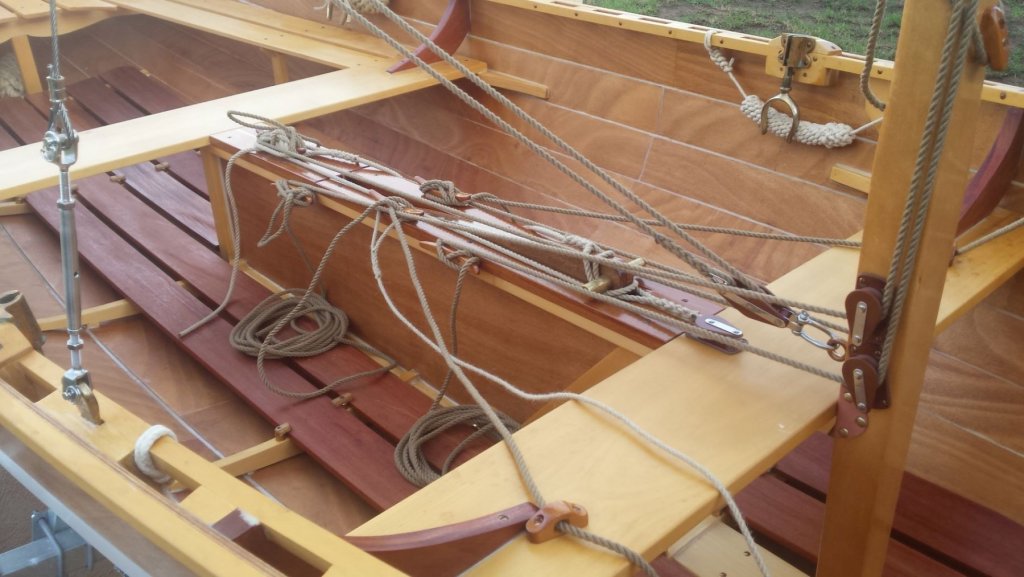
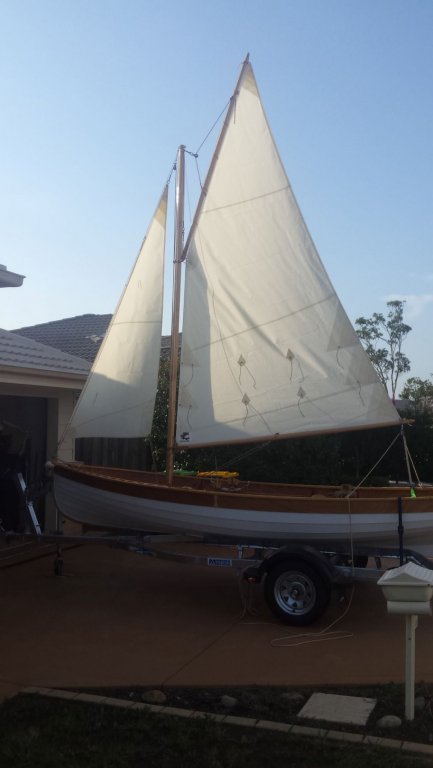
Finally she's a sail boat, almost, still fine tuning to do and buoyancy to organise. It's getting crowded on the centre board case

- 109 replies
-
- 20
-
-
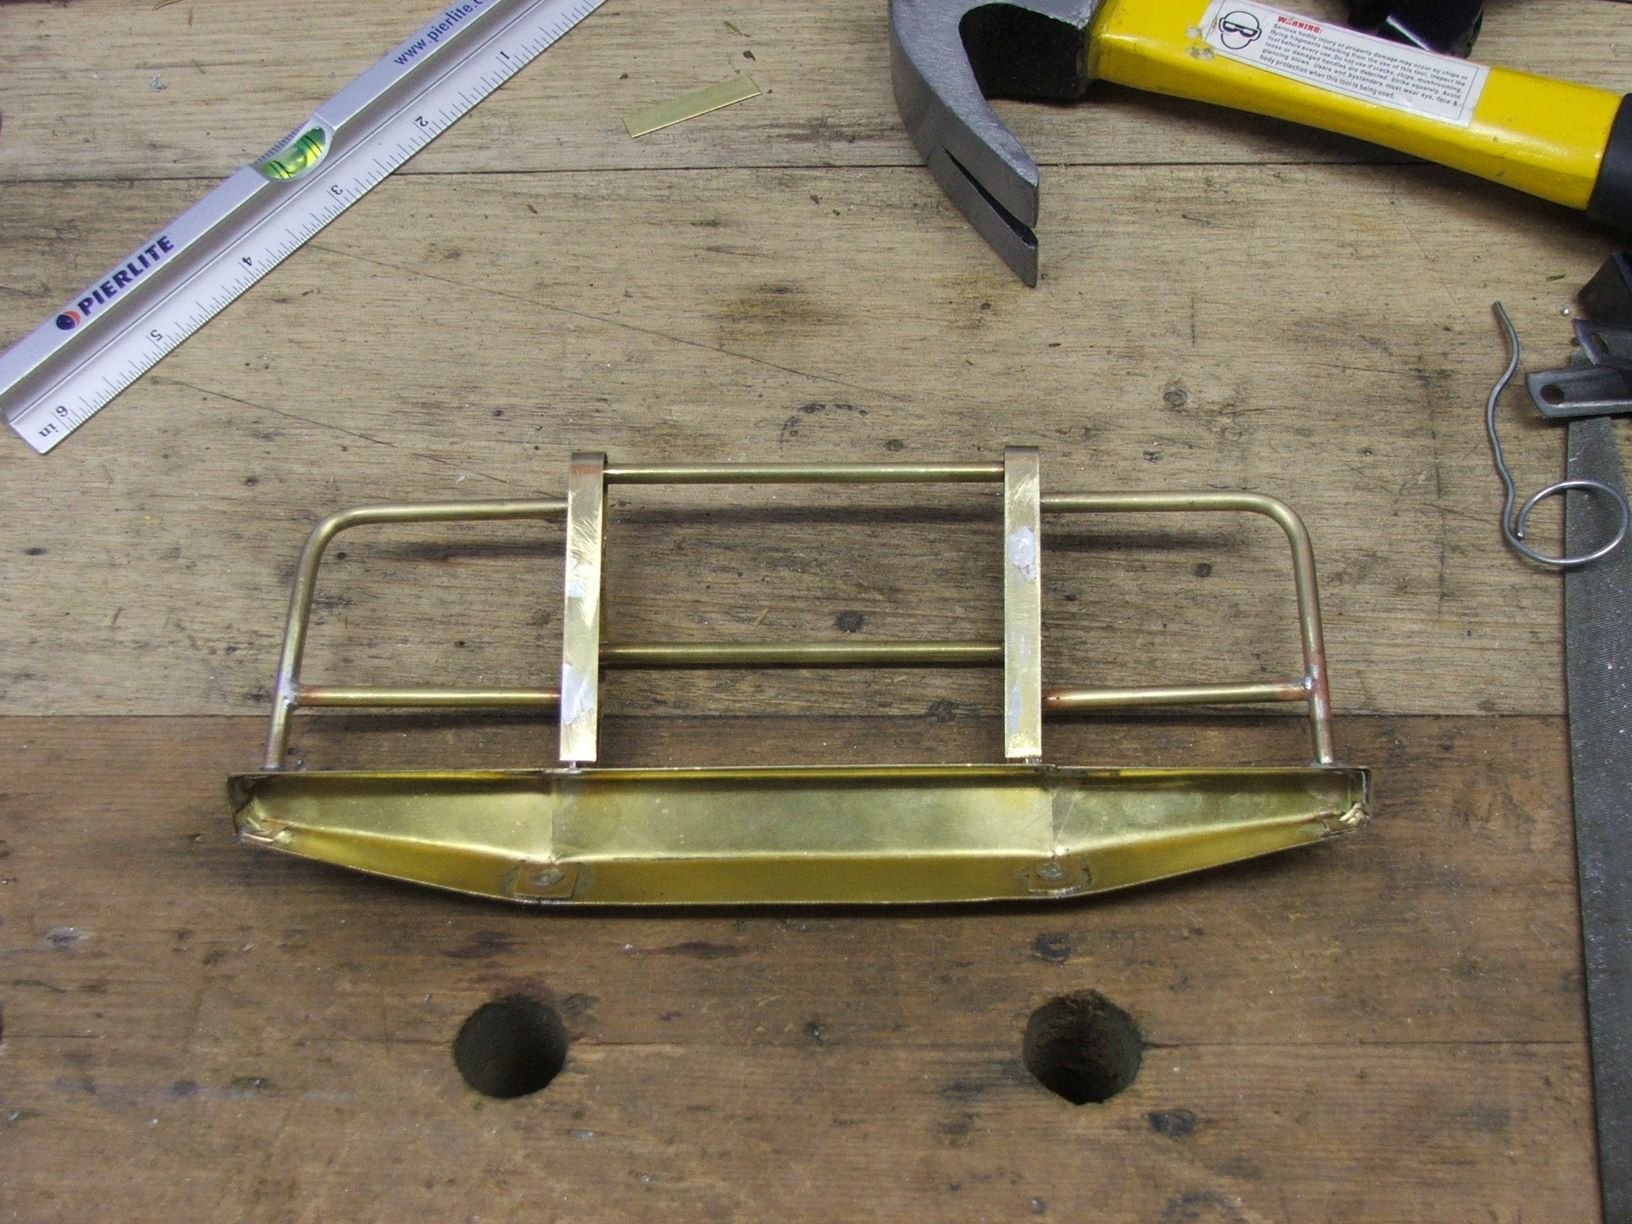
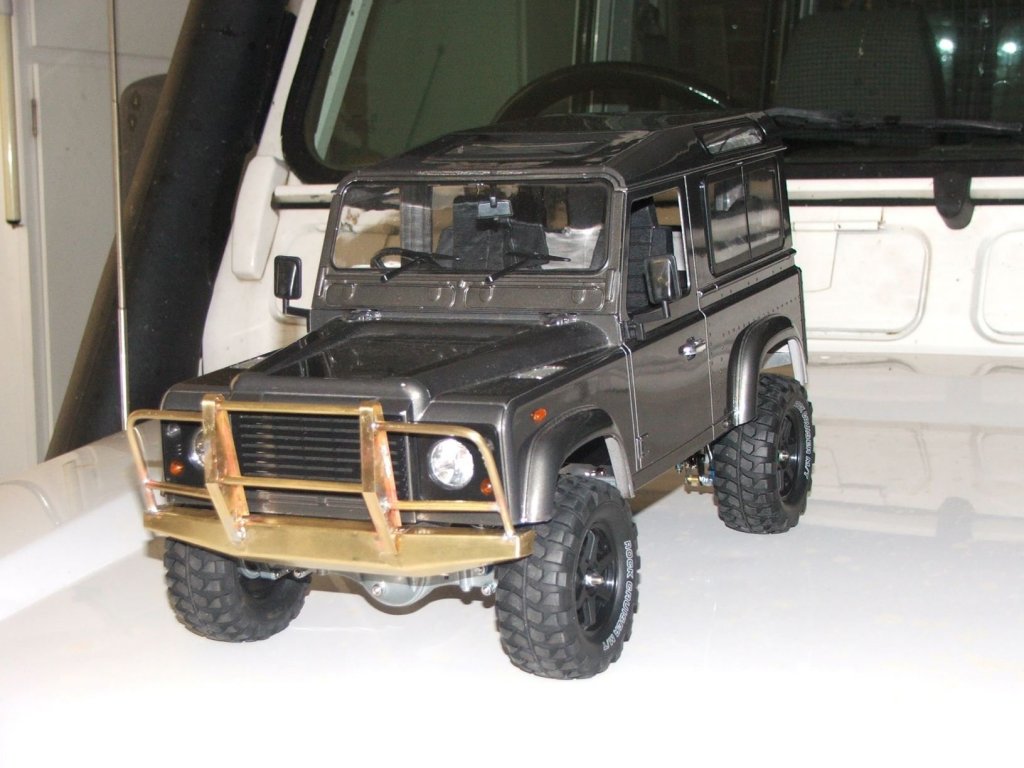
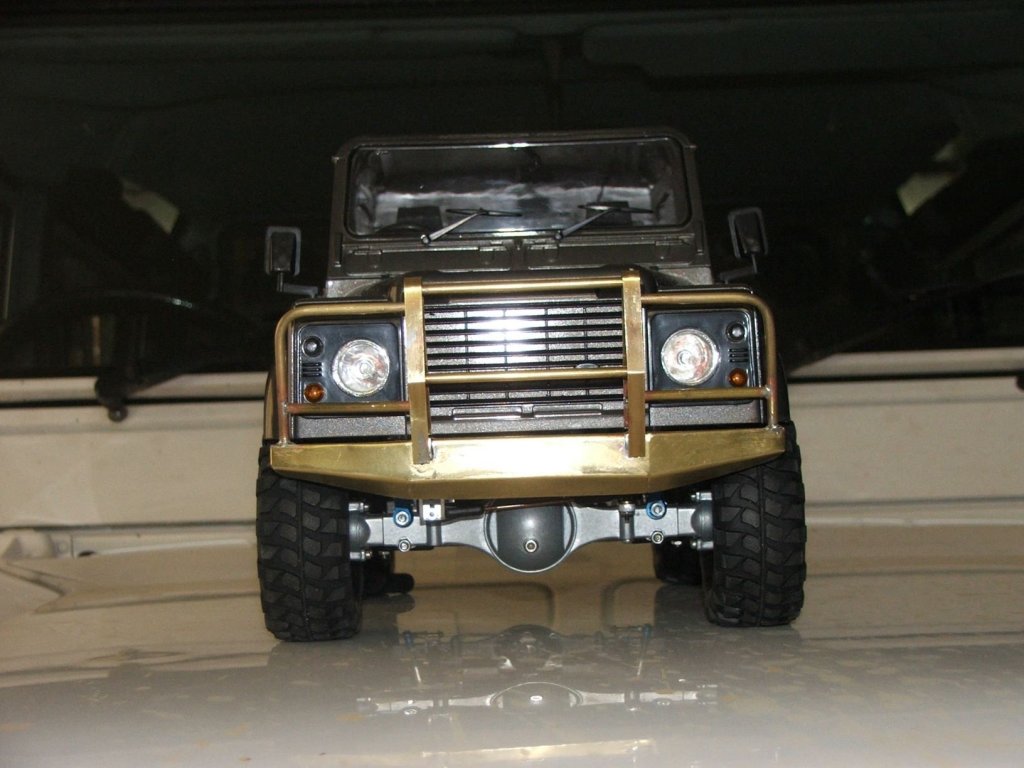
Valeriy I've just caught up several pages of this build and all I can do is repeat the praise so many have given. As for soldering, I'm always trying to convince people that it is not the demon they think it is. I've been doing it for years. I must admit that I thought my 1/8 scale bullbar was pretty good but you're making me look very amateur. This was all done with 40/60 resin cored solder and a 40 Watt soldering iron and a small gas torch.

-
15' Dinghy by Bedford - FINISHED - 1:1 scale
Bedford replied to Bedford's topic in Non-ship/categorised builds
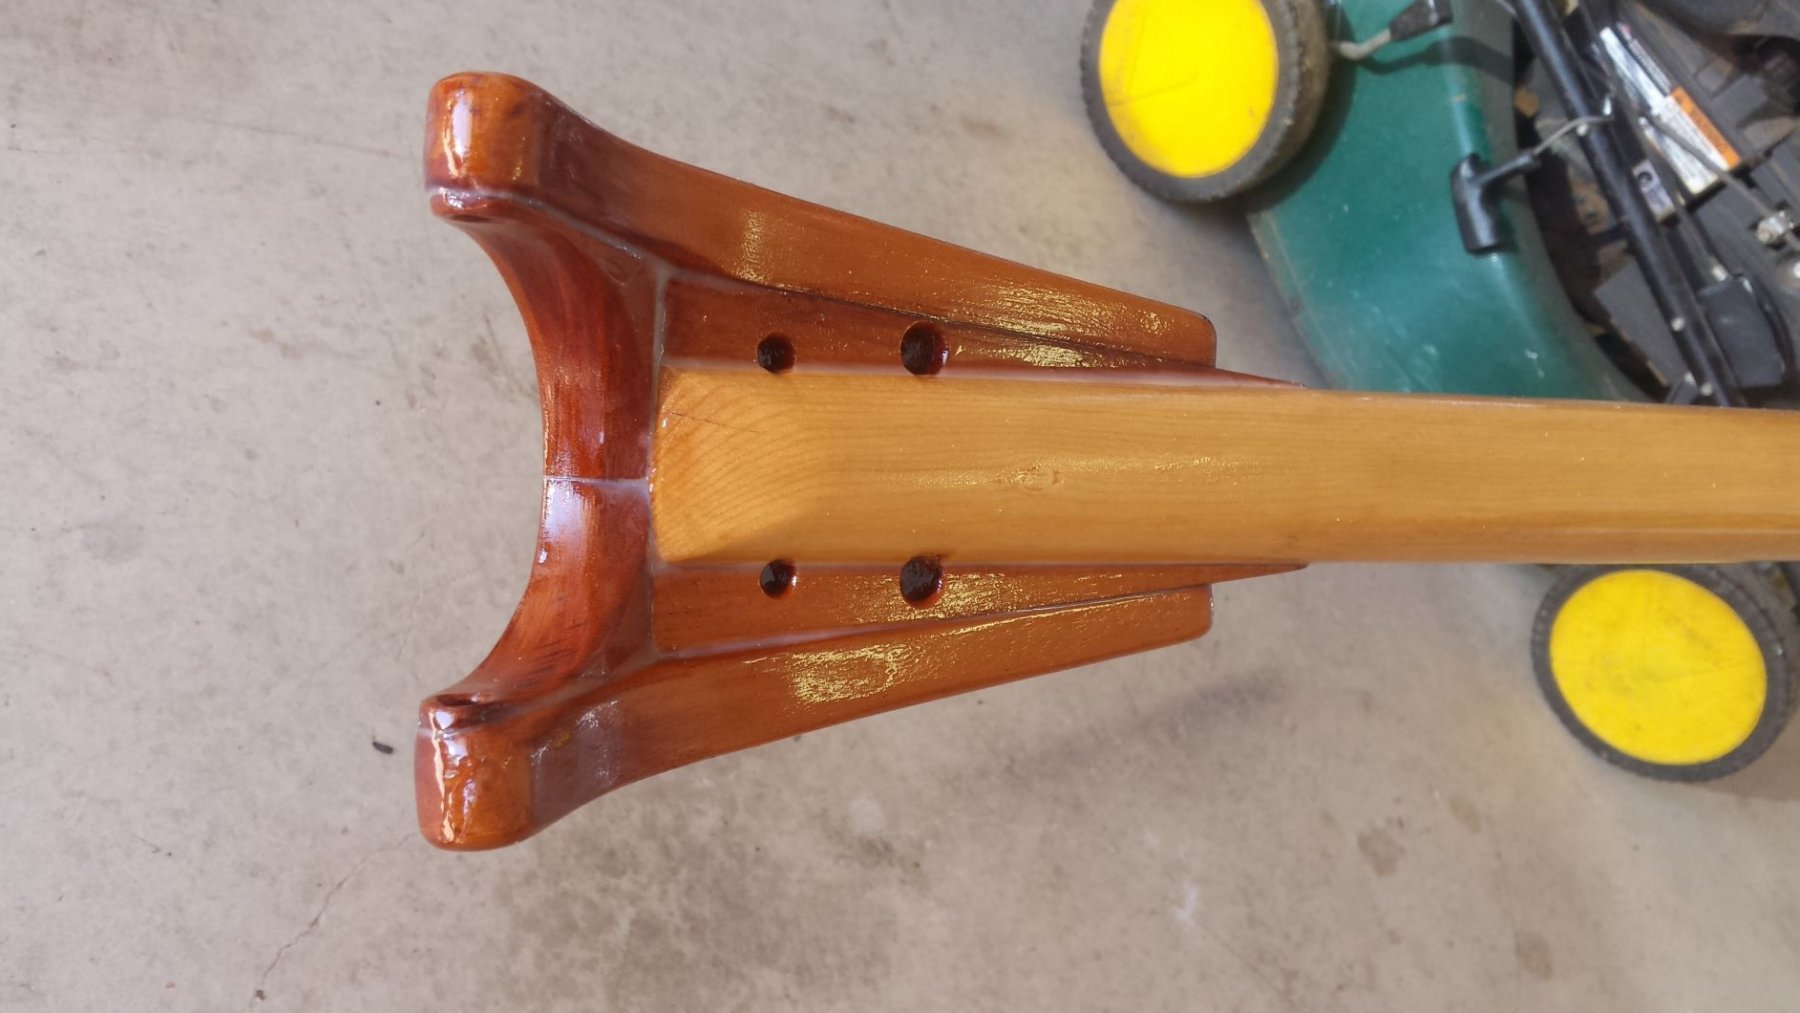
Mark the tack and clew are made off to each end of the boom leaving the foot free while the head is secured along the full length of the gaff. In the pic above you can see the two empty holes in the gaff yoke and there is a hole through the other end of the spar to tie it off to, the boom is the same. -
That's an interesting challenge Mark Just a thought, perhaps set the sails in front of a fan and spray with dilute PVA or perhaps even spray starch, I know it's available, not sure if it would hold.
-
15' Dinghy by Bedford - FINISHED - 1:1 scale
Bedford replied to Bedford's topic in Non-ship/categorised builds
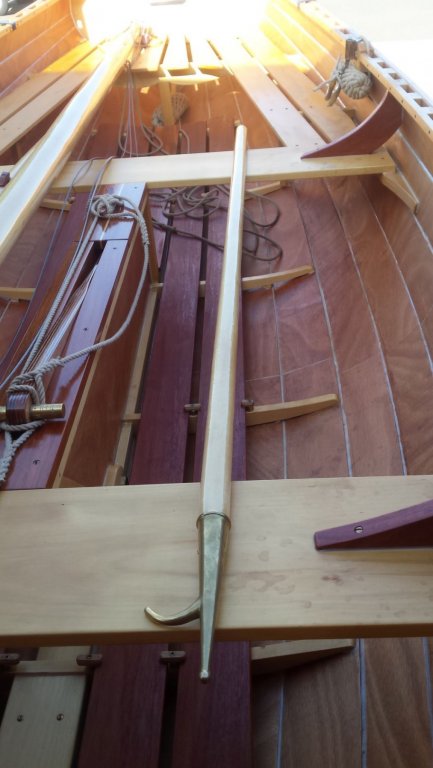
A little more progress on the spars, both yokes are leathered now and some rigging done, I've even had time to make a boat hook out of left over spruce.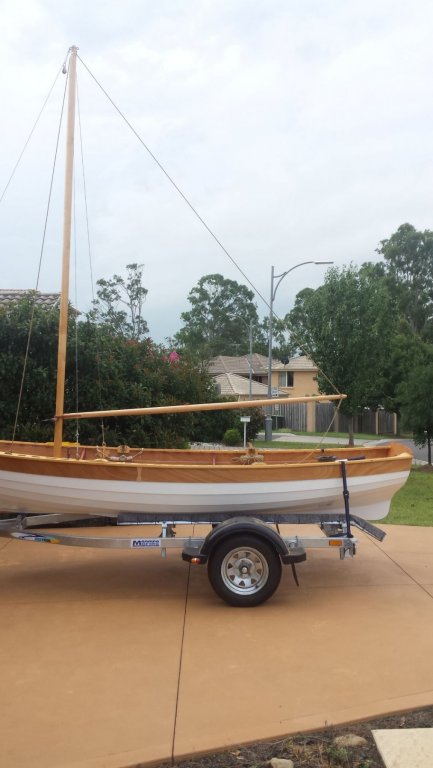
- 109 replies
-
- 10
-
-
Hi Paolo, I'm just over the hill near Camden. Welcome aboard, there's lots of helpful knowledge here.
-
Hey Keef, what he said!
-
John, somehow I've missed all that's been going on in your life but glad you're back on deck
-
15' Dinghy by Bedford - FINISHED - 1:1 scale
Bedford replied to Bedford's topic in Non-ship/categorised builds
Yes the leather will have to be sealed with dubbin polish and greased with something. The plans call for leathering both yokes, the gaff because it slides up and down the mast and the boom because it's height is set by the tension between the luff and a downhaul that circles the mast to a thumb cleat below the boom on the fore face of the mast. With the boom moving up and down with the setting of the sail it's more convenient to leather the yoke than the mast. -
15' Dinghy by Bedford - FINISHED - 1:1 scale
Bedford replied to Bedford's topic in Non-ship/categorised builds
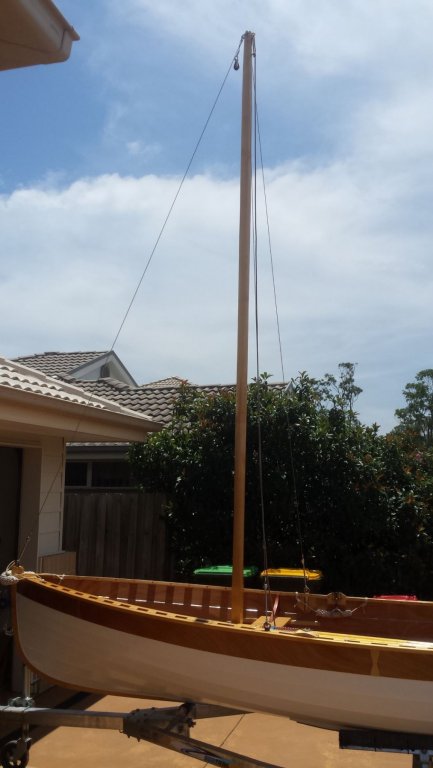
Work is progressing slowly on the sail rig Boom yoke in mahogany Gaff yoke in mahogany Finally the mast is rigged and standing It's been about 40 years since I did a little leather work in school and one of the few things I remember is to wet the leather, kangaroo in this case and it shaped very nicely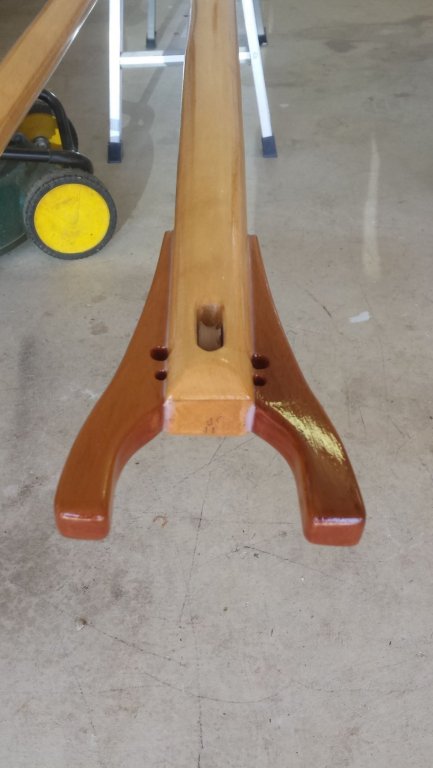
-
15' Dinghy by Bedford - FINISHED - 1:1 scale
Bedford replied to Bedford's topic in Non-ship/categorised builds
Wow Joe, that kit is very interesting. Just a side thought on the ship itself, she has tiller steering and having had the helm on the Bark Endeavour which is a 6ft diameter wheel that acts on the tiller I have to say she would have taken a strong man or two to steer because with two on the wheel of Endeavour she was hard work at times! -
15' Dinghy by Bedford - FINISHED - 1:1 scale
Bedford replied to Bedford's topic in Non-ship/categorised builds
Thanks so much Joe, I'll have a look at both. The Caroline is going to be bit of a challenge as I need to be in the right place physically and emotionally to undertake that build but one day I'll do it. I've always planned to have a portrait of my girl hanging in the Kings cabin. -
Michael, I think most of us with the best aptitude for this kind of work don't have the aptitude for standard education techniques, I certainly didn't do anything stunning at school with the exception of anything that involved mind and hand, in which case I did quite well.
-
15' Dinghy by Bedford - FINISHED - 1:1 scale
Bedford replied to Bedford's topic in Non-ship/categorised builds
She's going to be in Wooden Boat Magazine in March under "Launchings" but I haven't written much in that. I'll have to check out this "offspring" It has been a joy to build and very rewarding, every time I take her out someone always comes up to me and comments or wants to talk about her. If you have the desire and the skills, do it! -
15' Dinghy by Bedford - FINISHED - 1:1 scale
Bedford replied to Bedford's topic in Non-ship/categorised builds
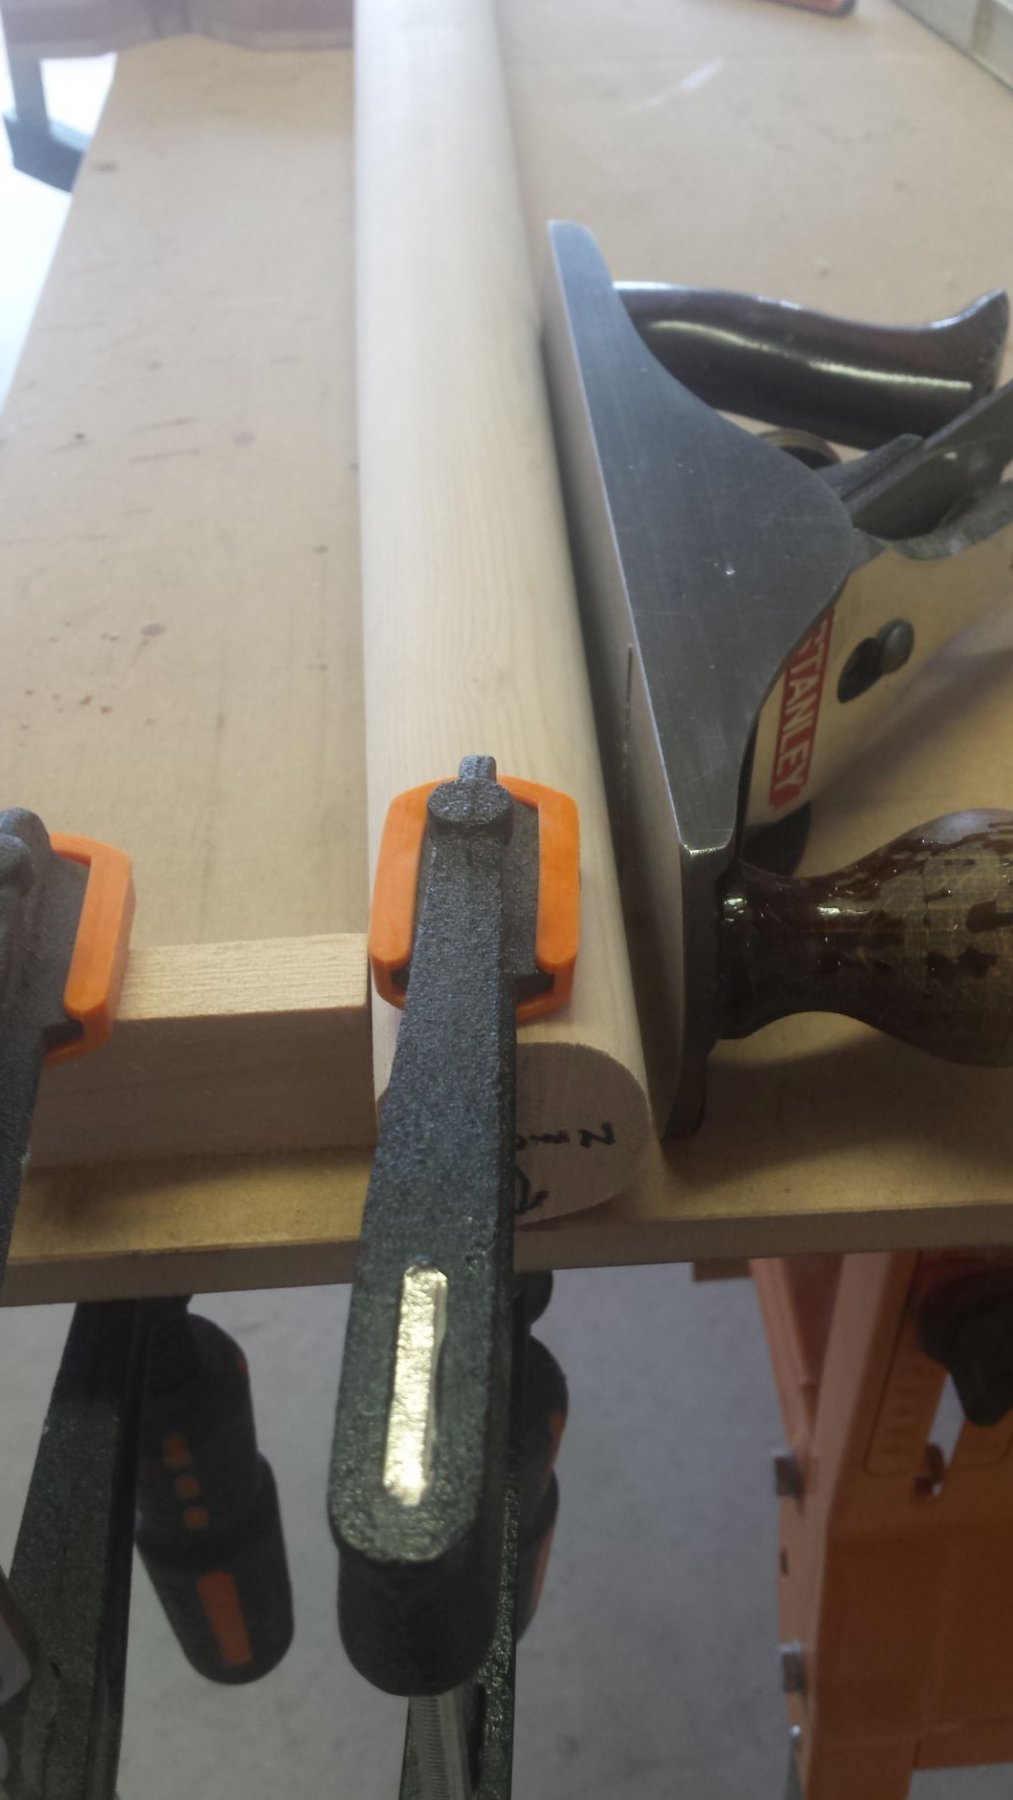
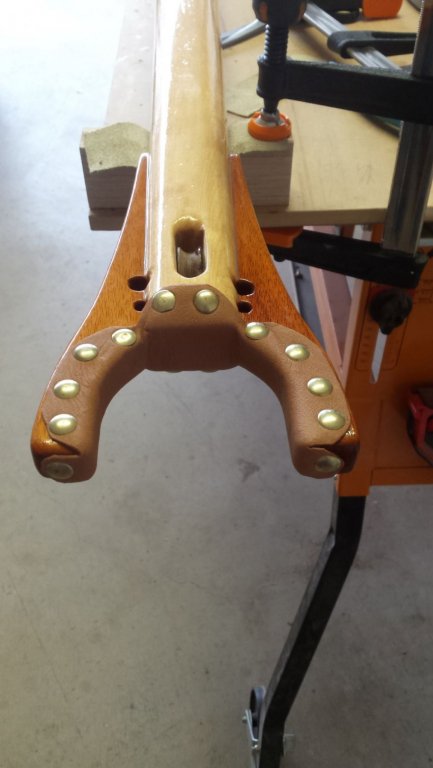
Another day in the workshop has resulted in the boom now having a yoke and reefing sheave fitted. This sheave axle required no fancy machining as it is captive once the yoke is attached. The first pic is for anyone who wonders how you get two parallel flats either side of a spar. It's simple really, the sides of the bench plane are perpendicular to the sole therefore if you clamp the spar securely so it can't move at all then lay the plane on its side and plane the first flat you can then swap to the other side to plane the second flat, even if the blade is out of square with the sole the flats will be parallel because the error is repeated equally on the other side.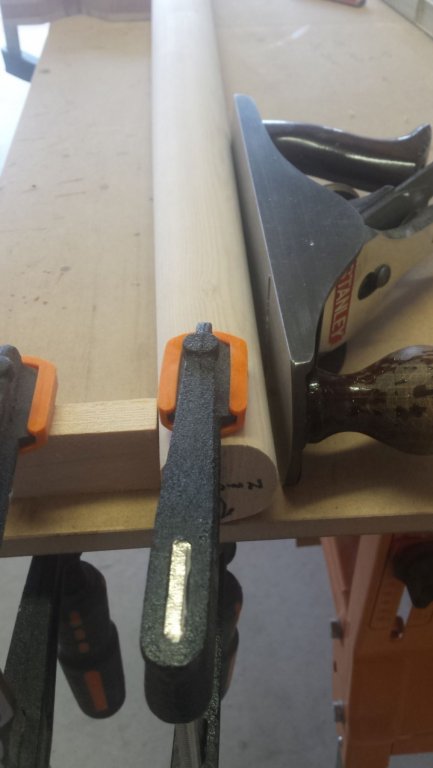


- 109 replies
-
- 10
-
-
15' Dinghy by Bedford - FINISHED - 1:1 scale
Bedford replied to Bedford's topic in Non-ship/categorised builds
Thanks geoffs, I've seen the ones tied up under cover outside the Wooden Boat Centre next door to LBT They're just a nice boat that looks right aren't they. -
15' Dinghy by Bedford - FINISHED - 1:1 scale
Bedford replied to Bedford's topic in Non-ship/categorised builds
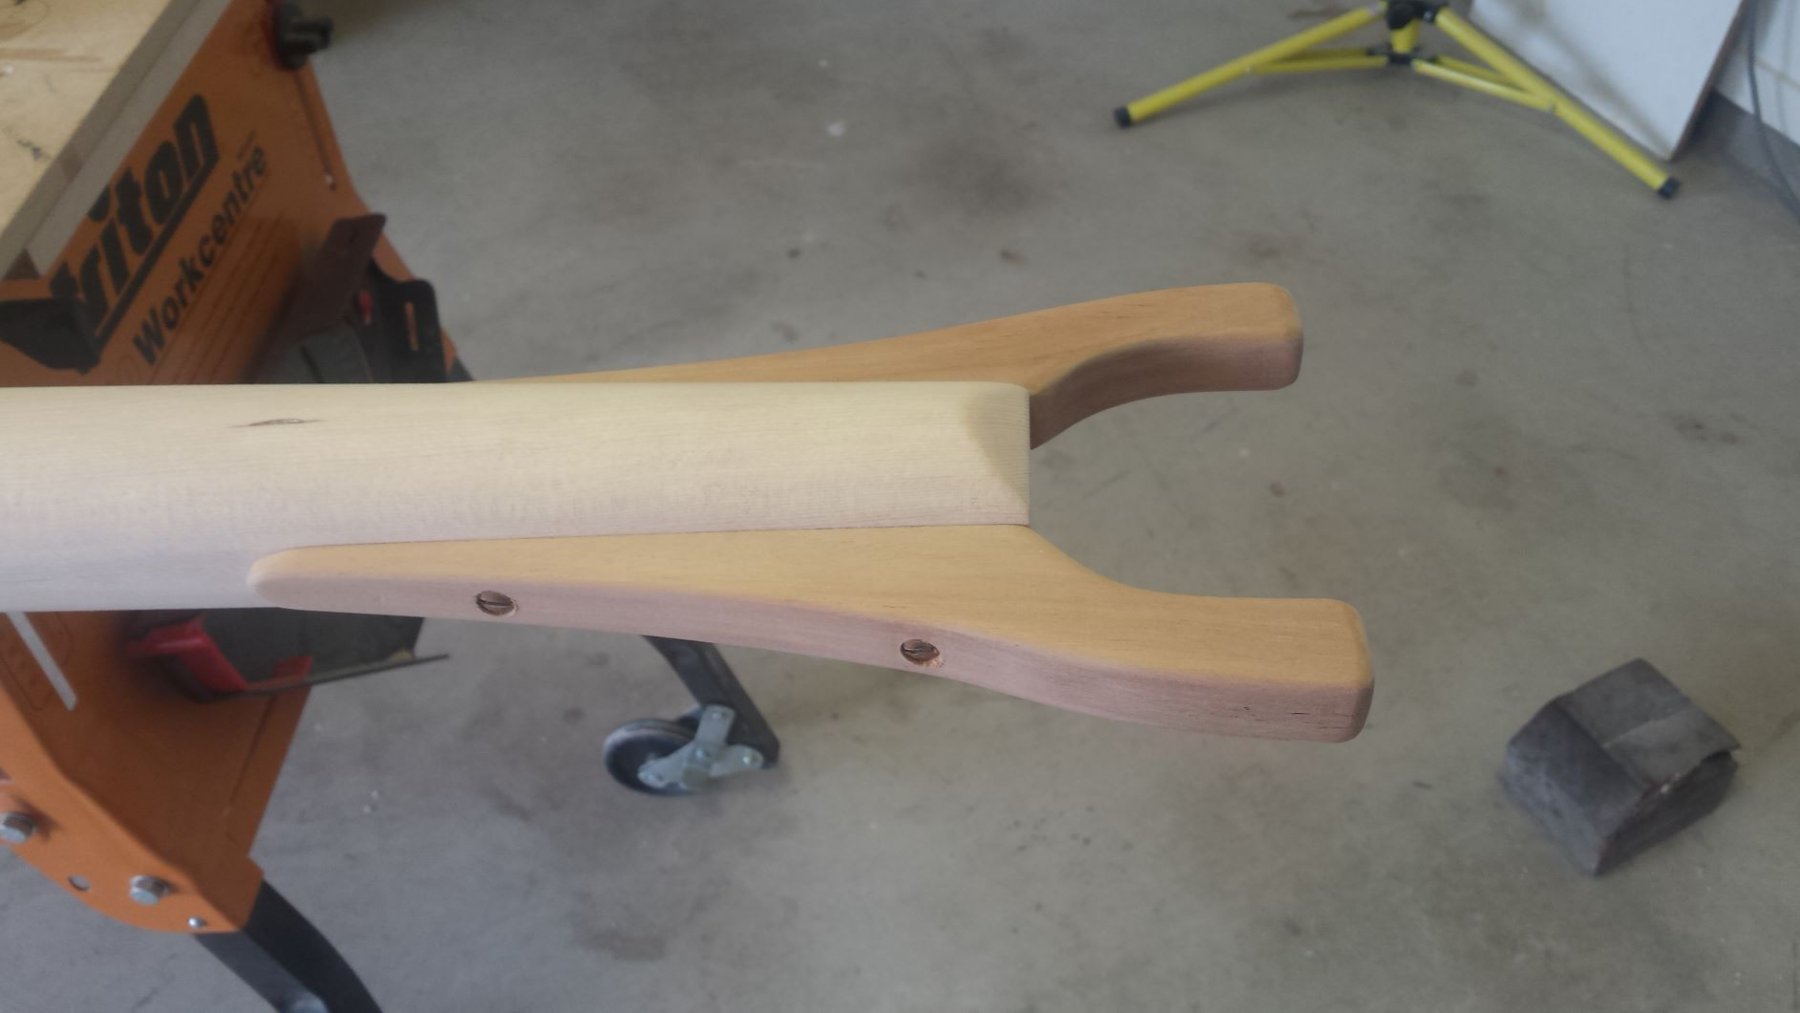
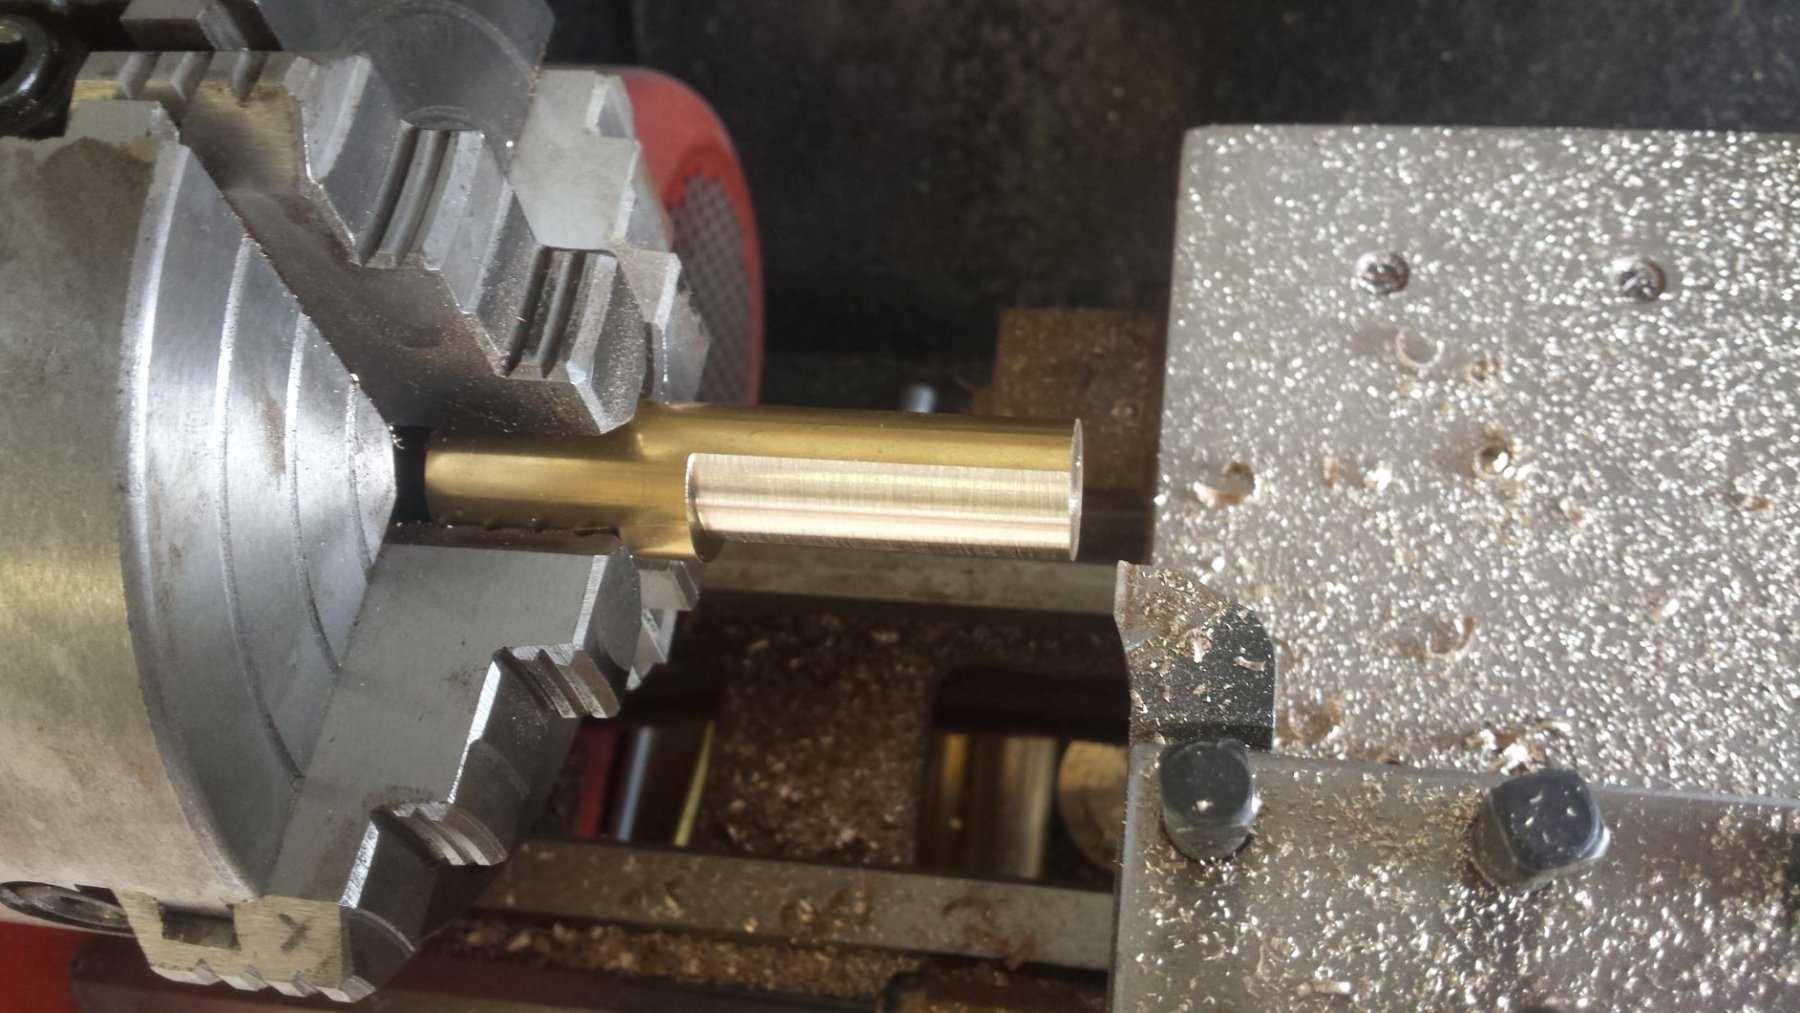
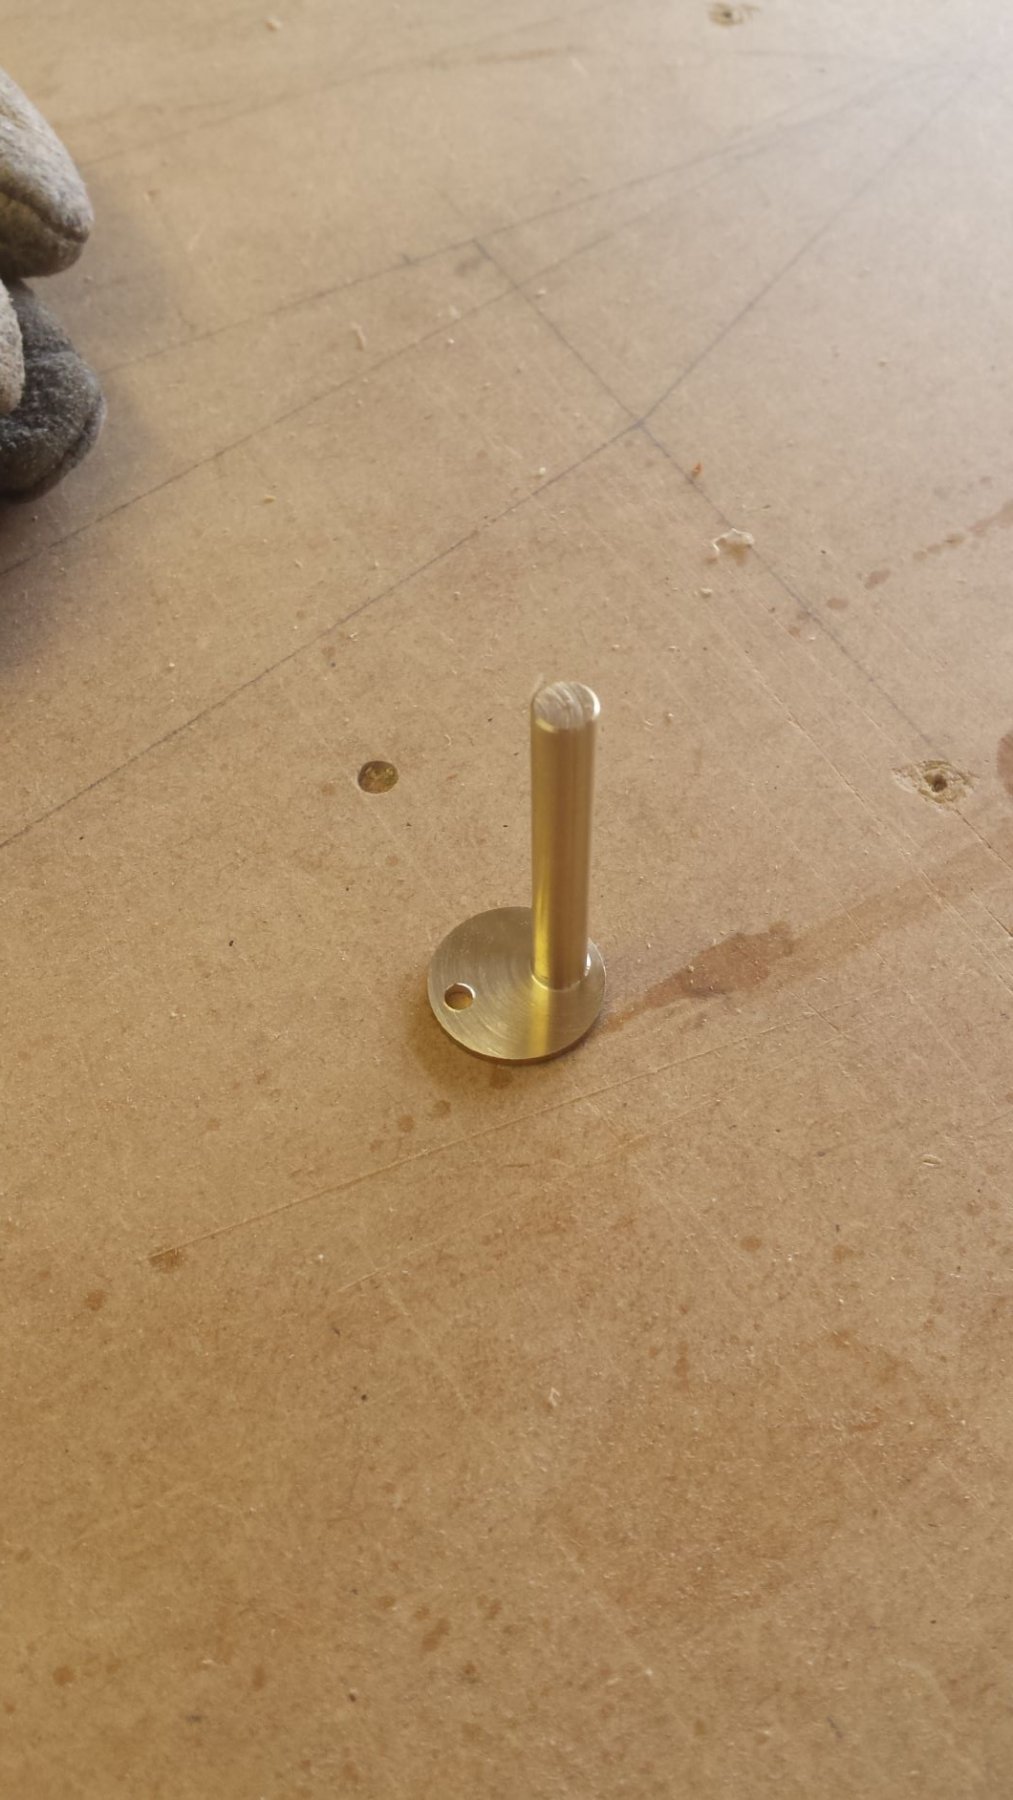
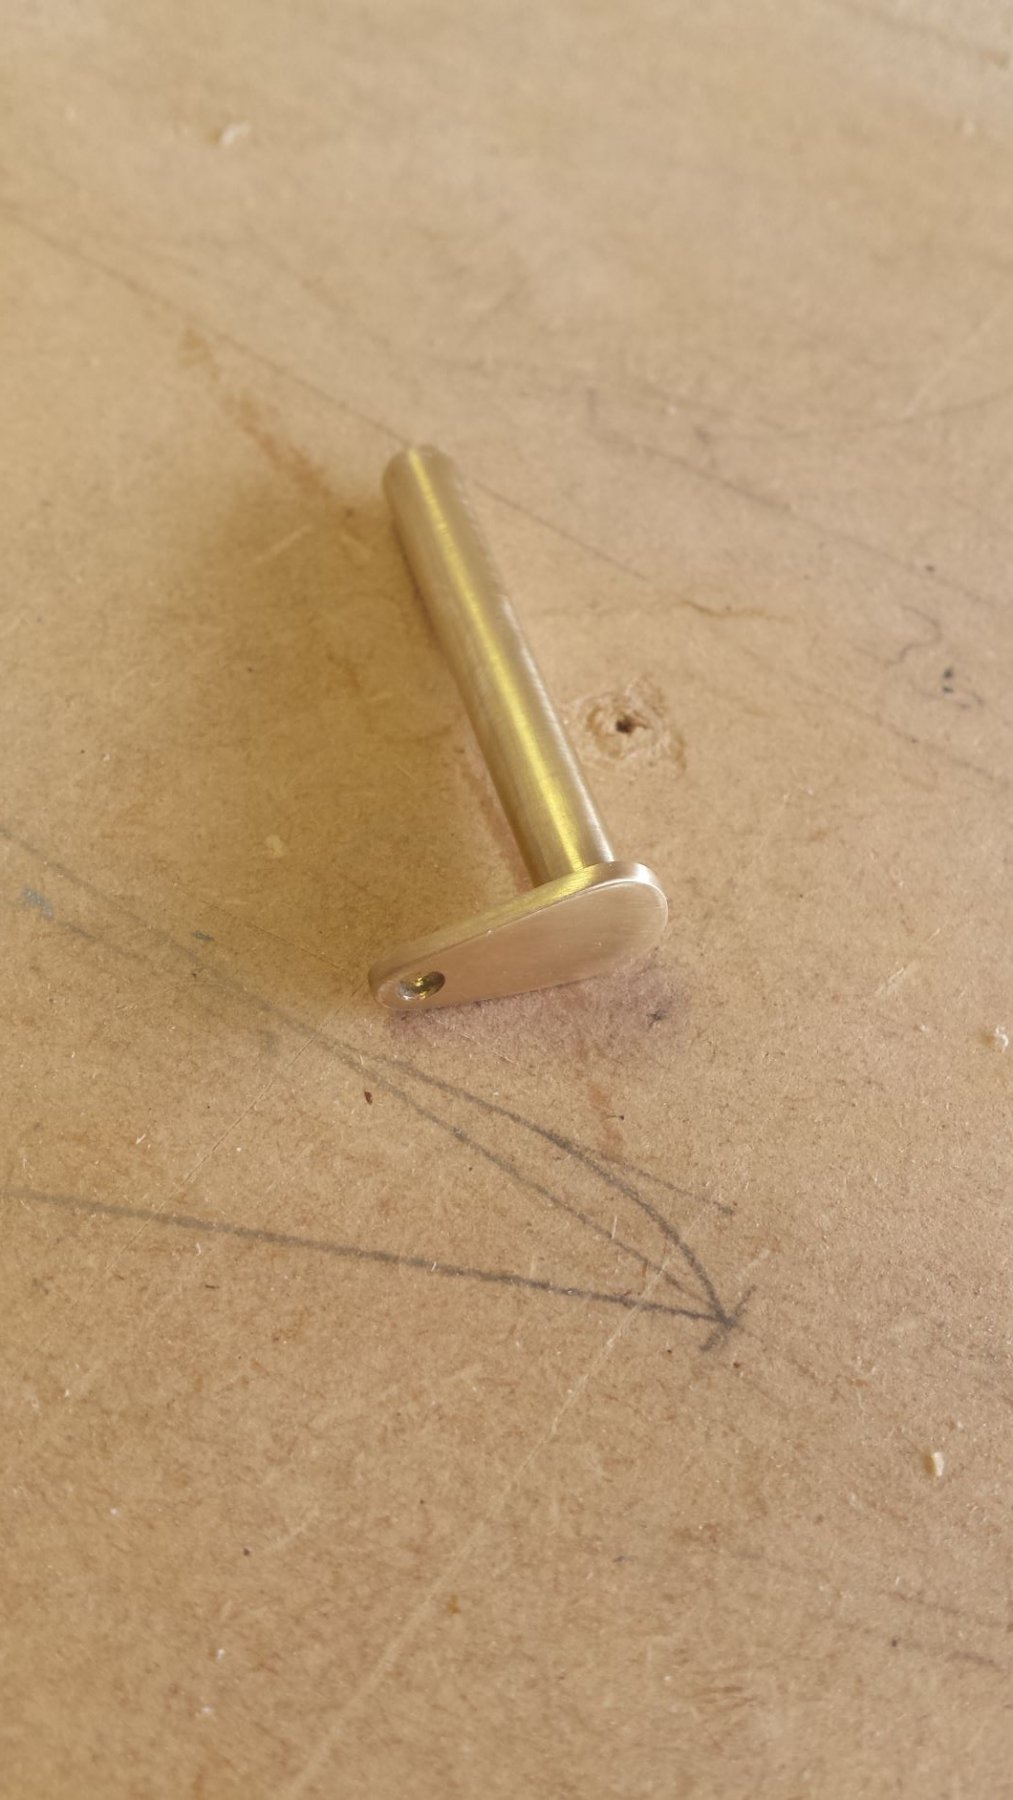
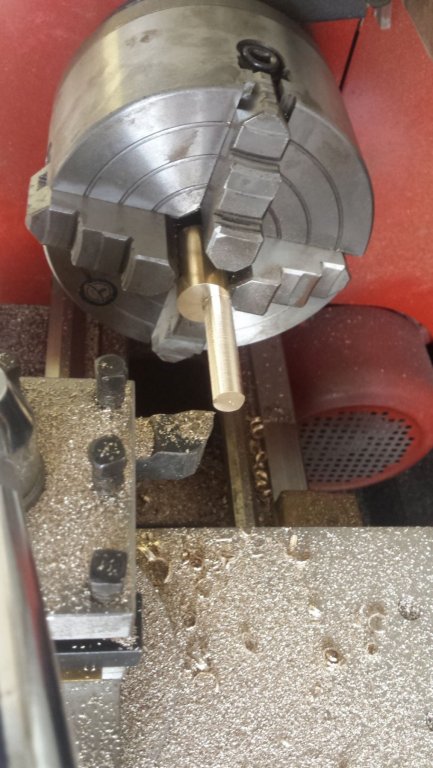
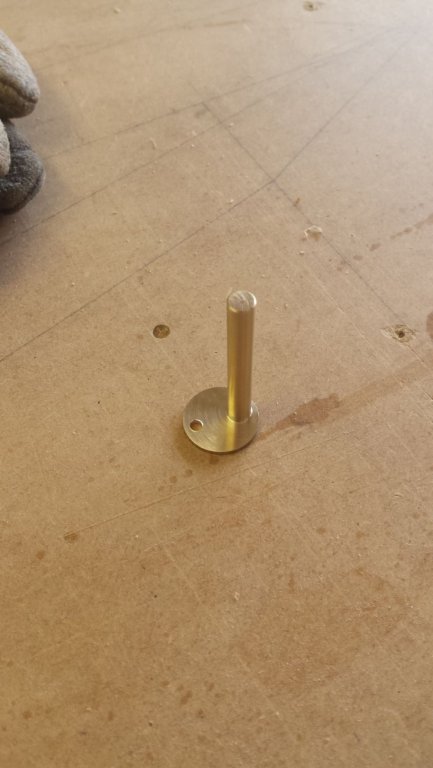
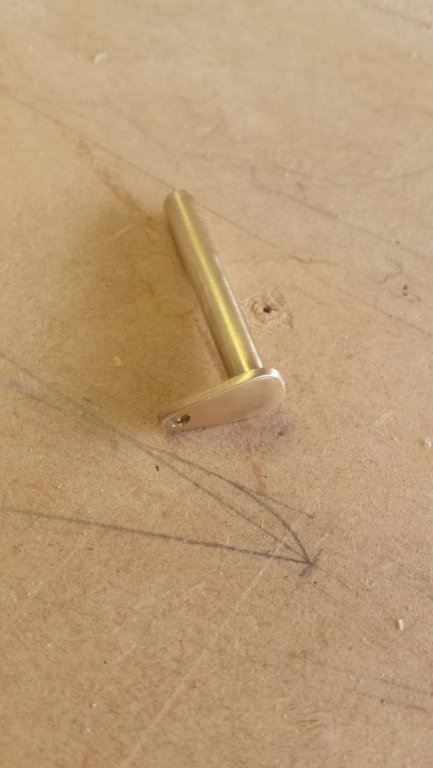
I'd be lost without the lathe, it's been so useful in so many ways in this build, the latest is the sheave axle in the mast. It's easy to put a bit of 6mm brass rod through the mast but how to secure it? Solution, start with 20mm brass offset in the 4 jaw chuck. Turn down to 5.95mm then part off with 2mm of the original stock then a little bit of hacksaw and a touch of file and wet&dry and it's sorted.
- 109 replies
-
- 12
-
-
15' Dinghy by Bedford - FINISHED - 1:1 scale
Bedford replied to Bedford's topic in Non-ship/categorised builds
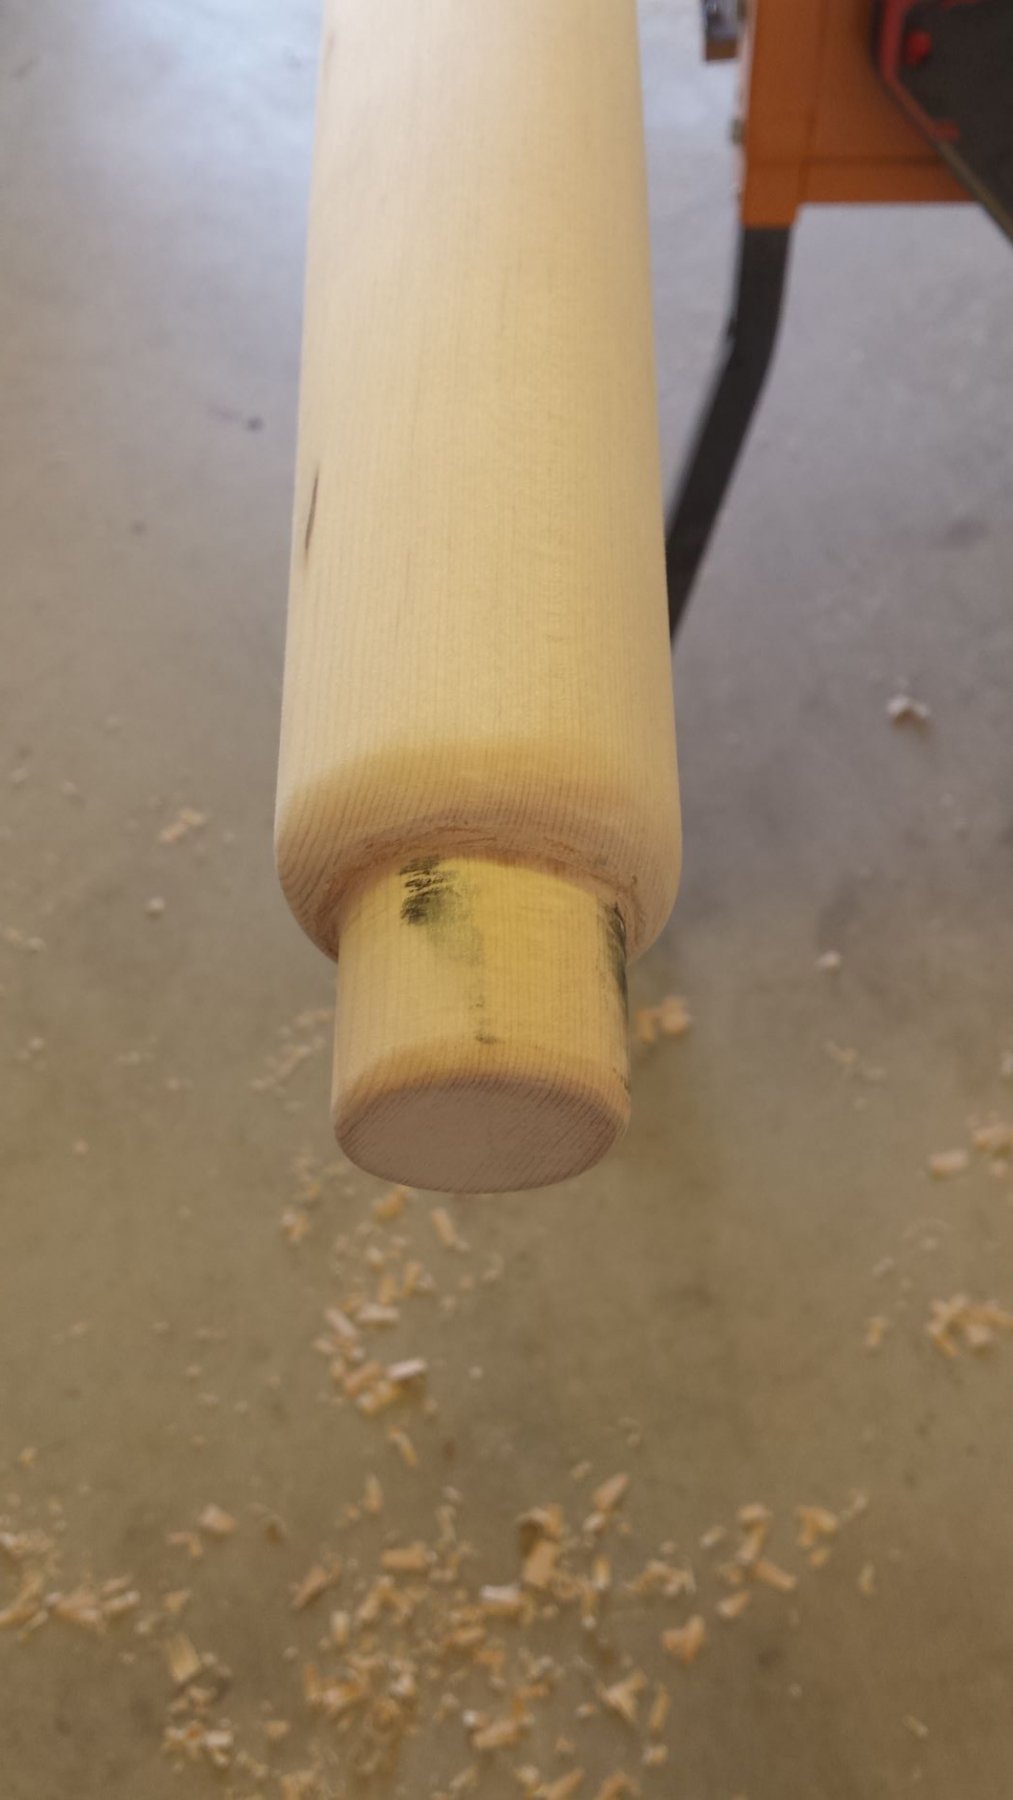
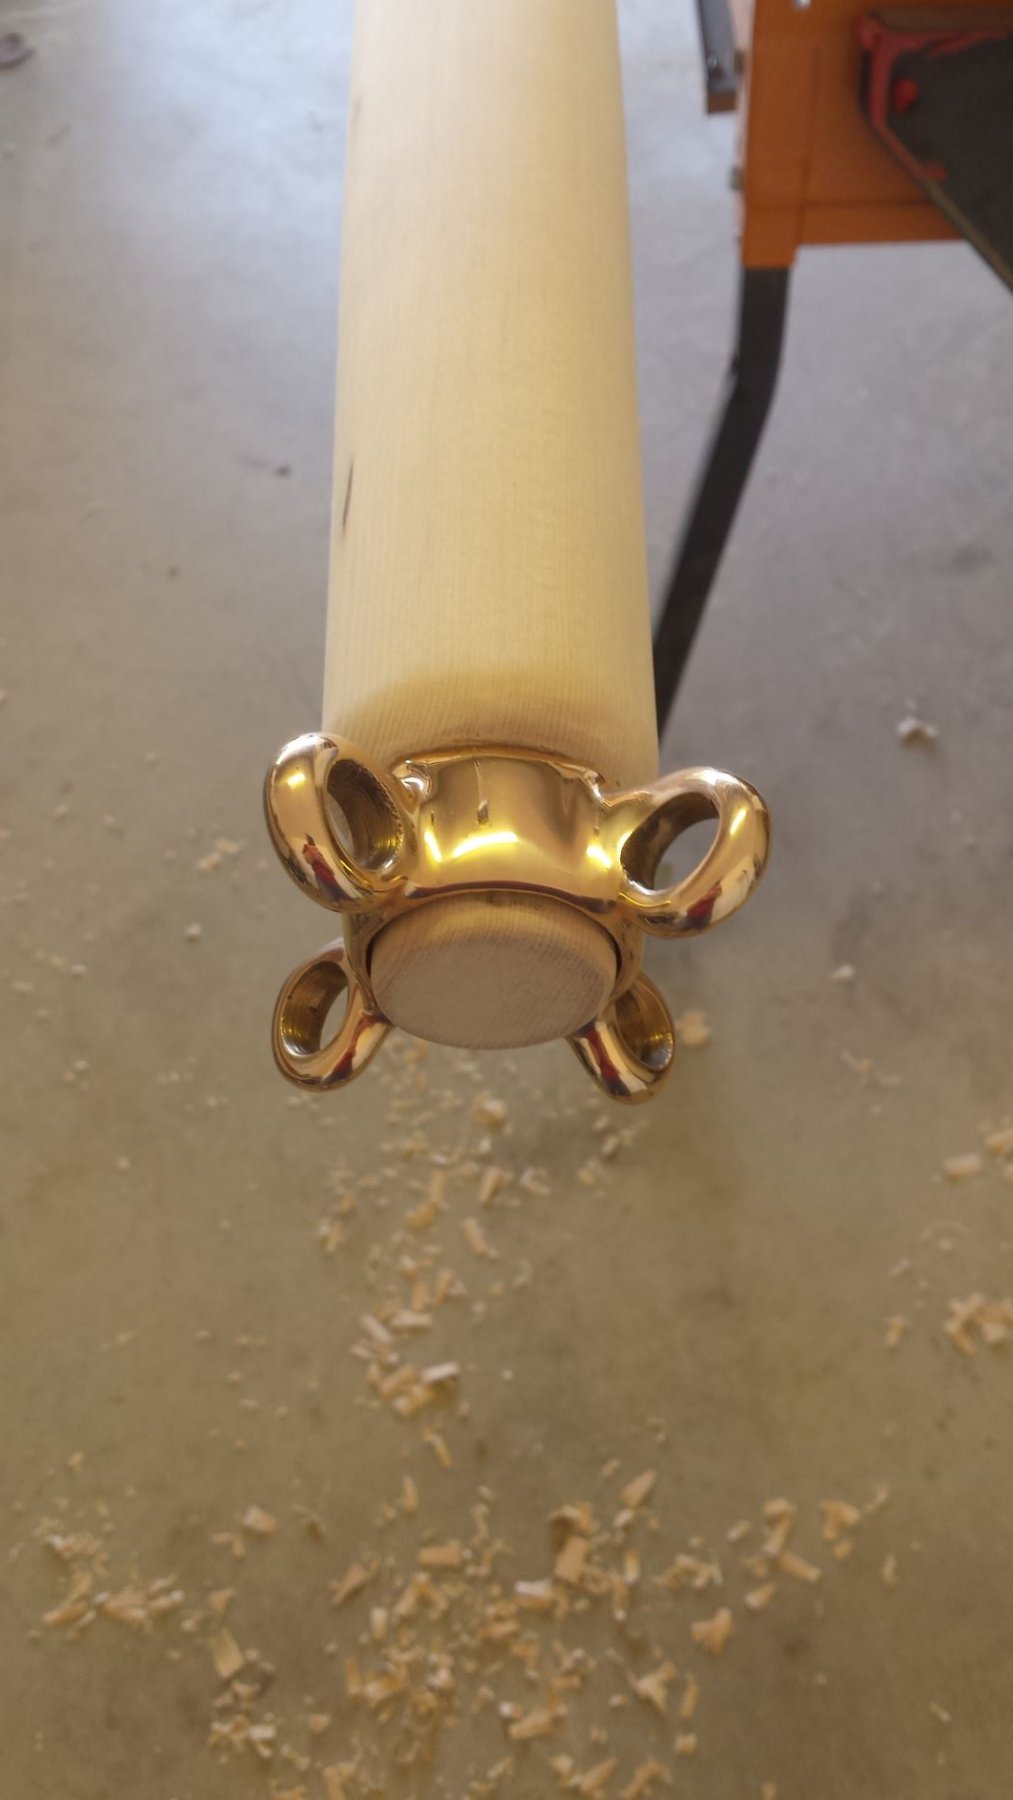
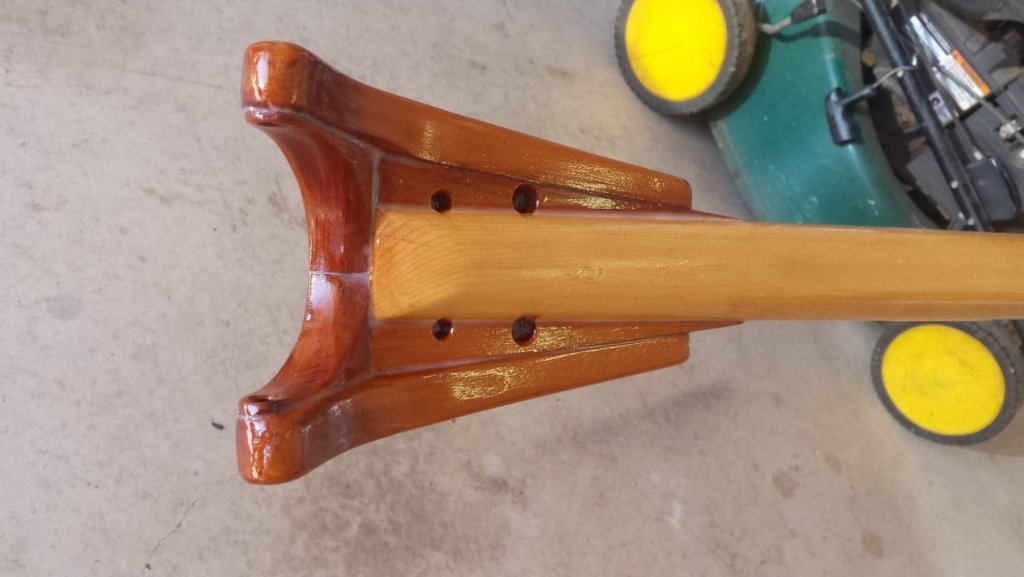
Yeah Mark that's what I was thinking. Today I finished the sanding and stepped the mast head to accept the mast band, I had to go with this size, 32mm I.D. because the next size up was 51mm I.D. which is the O.D. of the mast at that point. When I set it up I'll see if I need to put a more gentle taper on the shoulder. So armed with a nice sharp chisel and a compass I was able to come to the end result shown, the mast band fits on very nicely. The next step is to decide if I will use 40mm diameter sheaves in the mast for the halyards or turn up some 50mm ones in brass. I'll do the 40mm first and see how it all feels.

- 109 replies
-
- 11
-
-
15' Dinghy by Bedford - FINISHED - 1:1 scale
Bedford replied to Bedford's topic in Non-ship/categorised builds
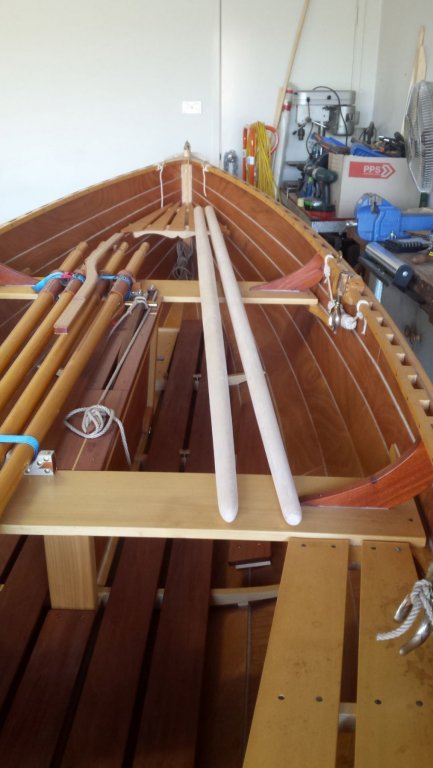
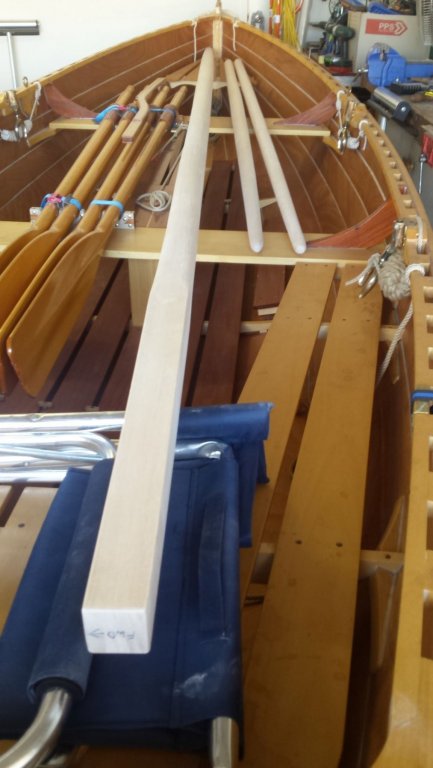
Work is proceeding on the rig, the sails are ordered and should be available mid January while the hardware is in the garage and the spars are slowly taking shape. I've planed enough shavings off the spars in rounding them to fill a 240ltr bin! I've been sanding for a few days and now only have the 240 grit to go on the mast and they're done. I came to the realisation that I could either have three near round spars or three perfectly round toothpicks! I opted for the near round spars.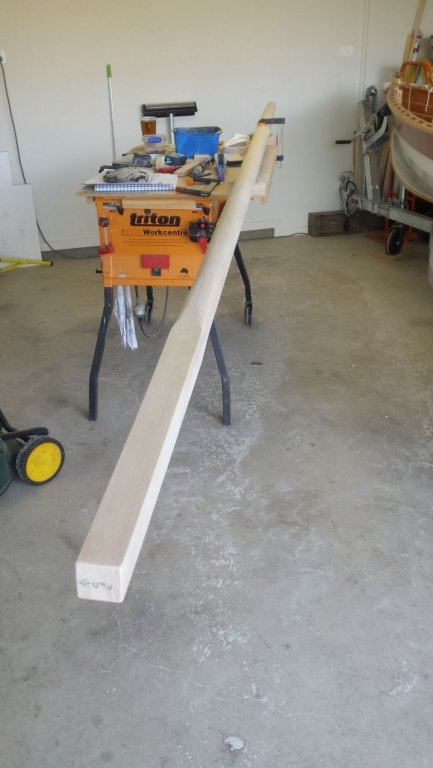

-
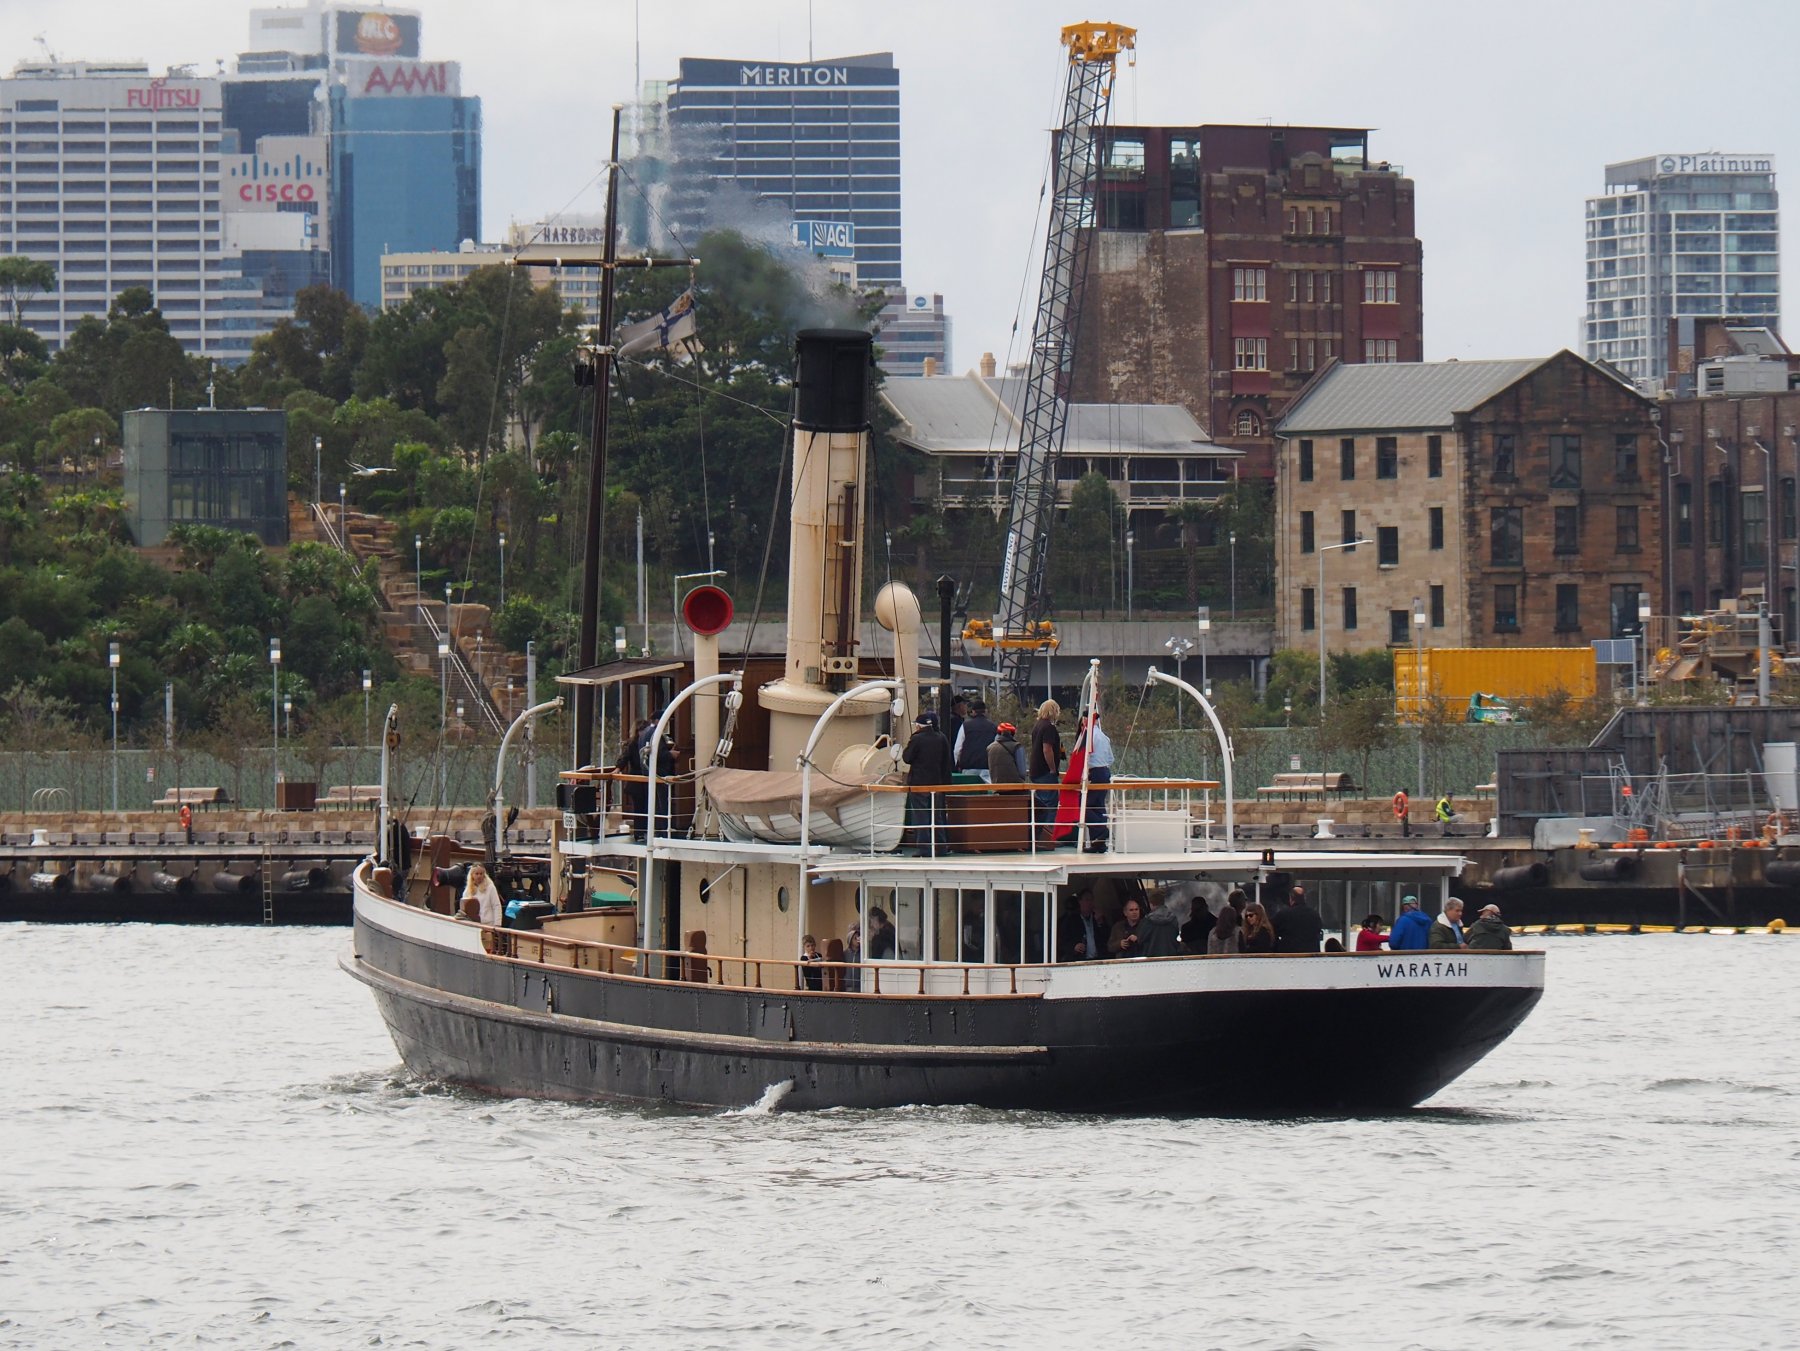
Mark, it's interesting how the old boat builders knew how to make them that way but we don't today. The Waratah is the same, 160 tons, 33mtrs long and no wake to speak of. Granted she's going slow in these pics but she never makes much more wake