Bedford
-
Posts
1,285 -
Joined
-
Last visited
Content Type
Profiles
Forums
Gallery
Events
Everything posted by Bedford
-
 Well I was right, now that I've worked out how to make the rowlocks it became quicker, 1 hour each but they still need a touch of sanding
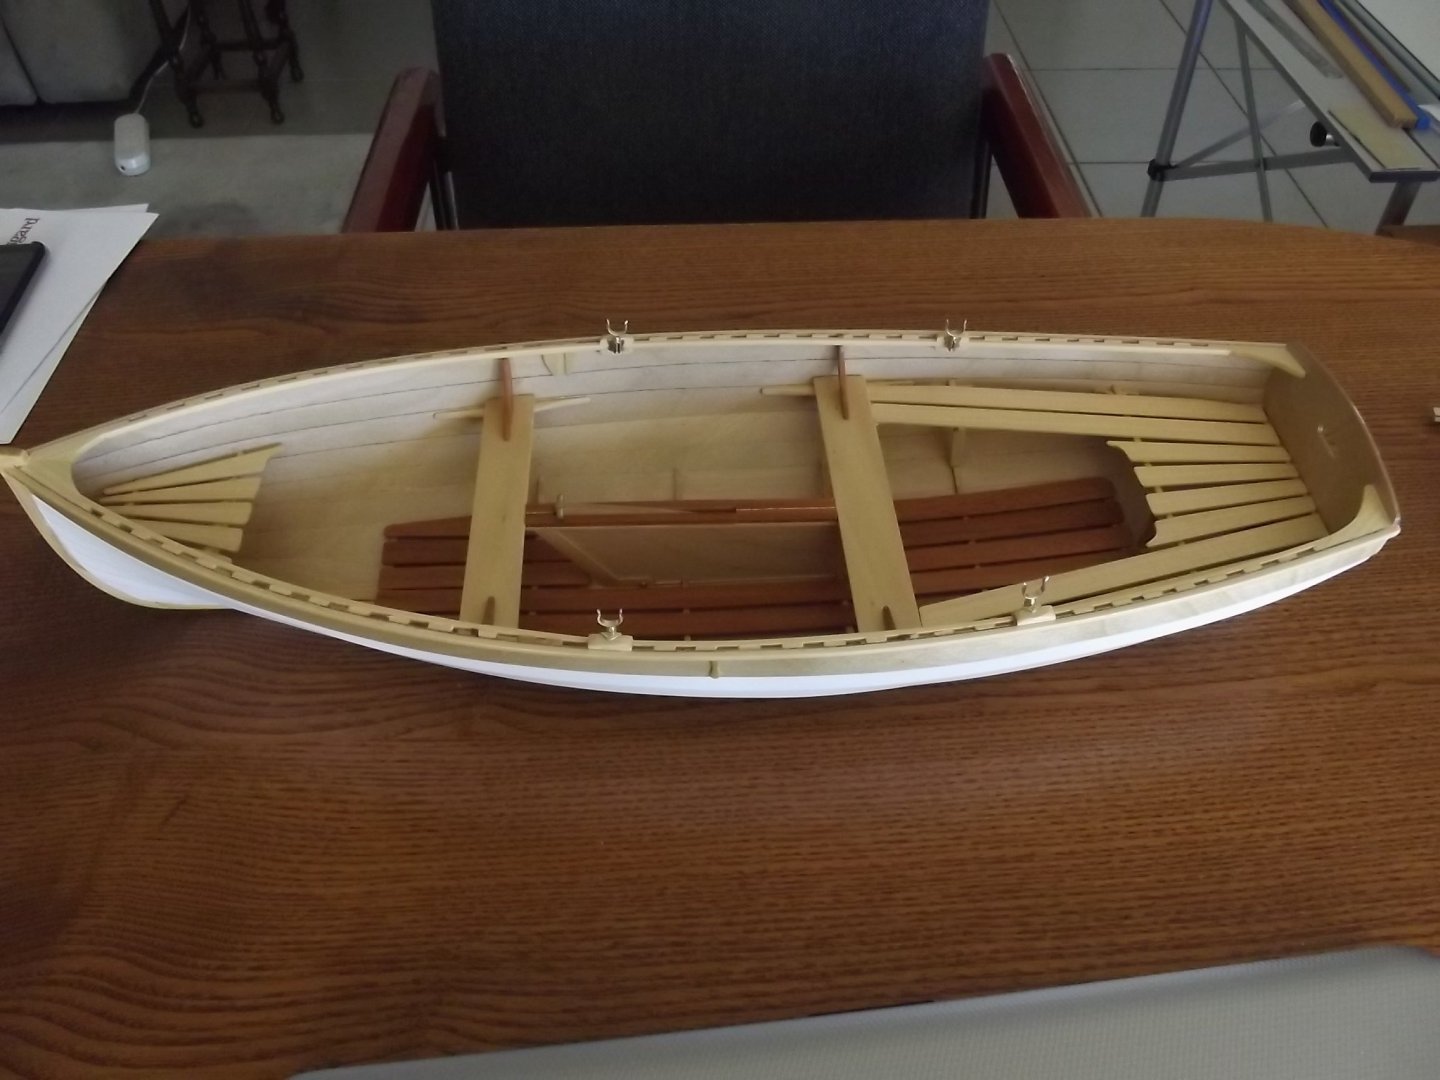
-
At $20 an hour, and that's cheap here, that'll be $960 for the rowlocks and $240 for the bases!
-
Thanks Keith, I was unaware of those but a quick google and I think I'll be buying some!
-
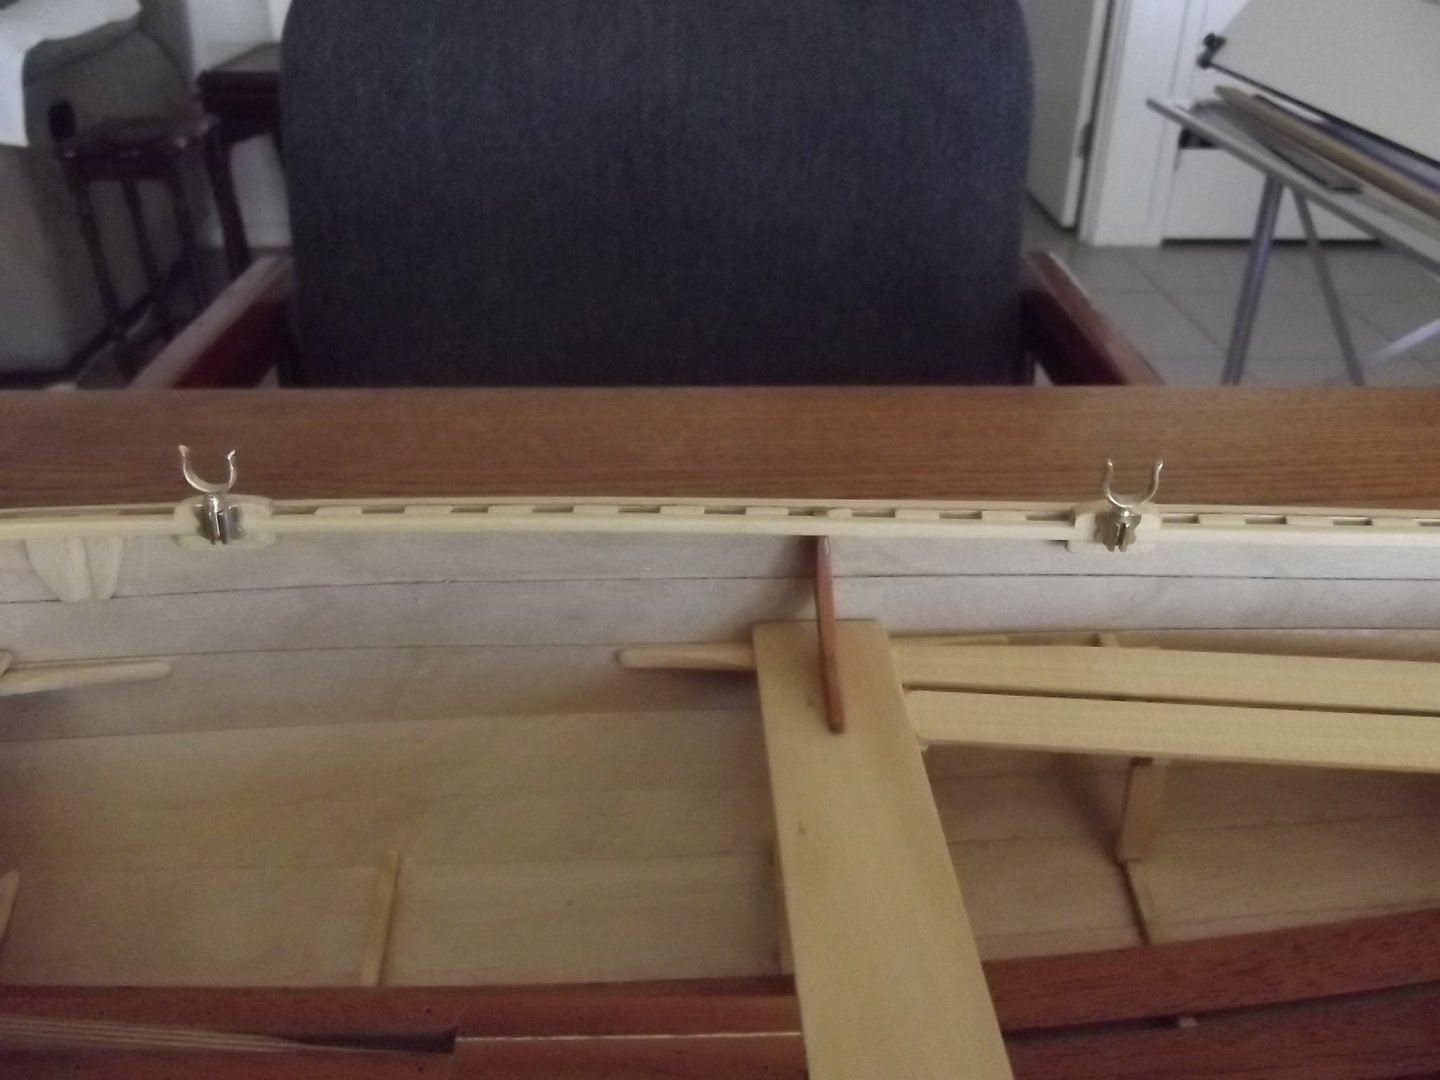
That took 4 hours Mark and it isn't polished yet! Hopefully now that I've worked out the process the remaining three will be quicker to make. When I sail I tend to row out then set sail so I sail with forward rowlocks in the stowed position and the aft ones in the working position so I might display the model that way because I intend to put the sailing rig on her.
-
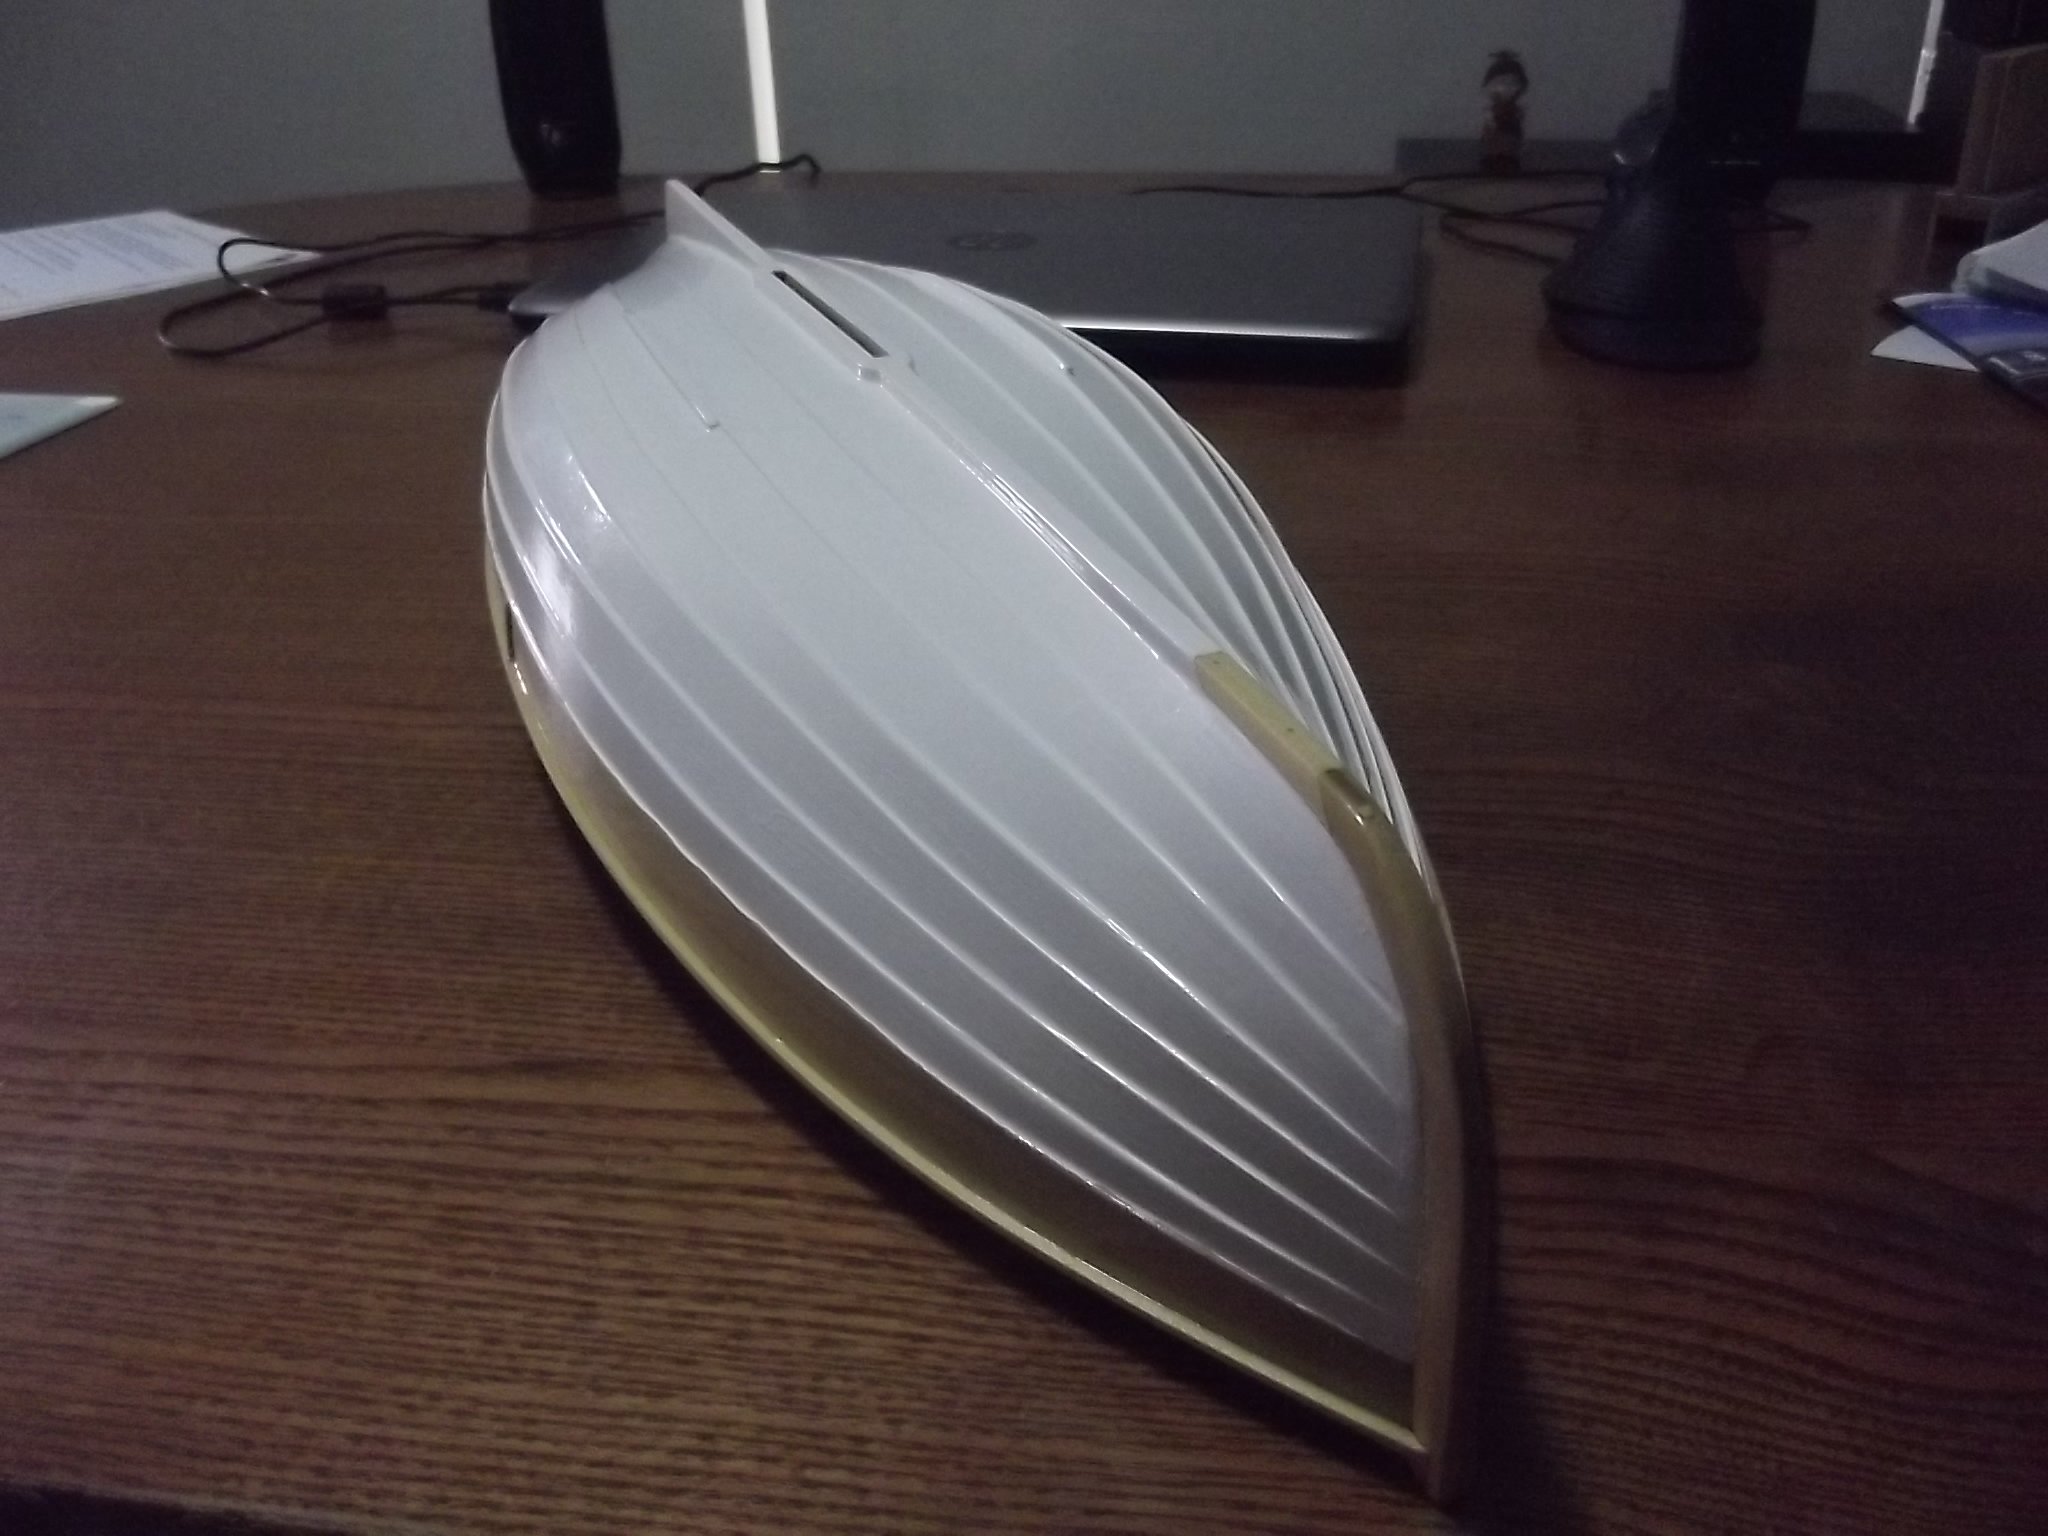
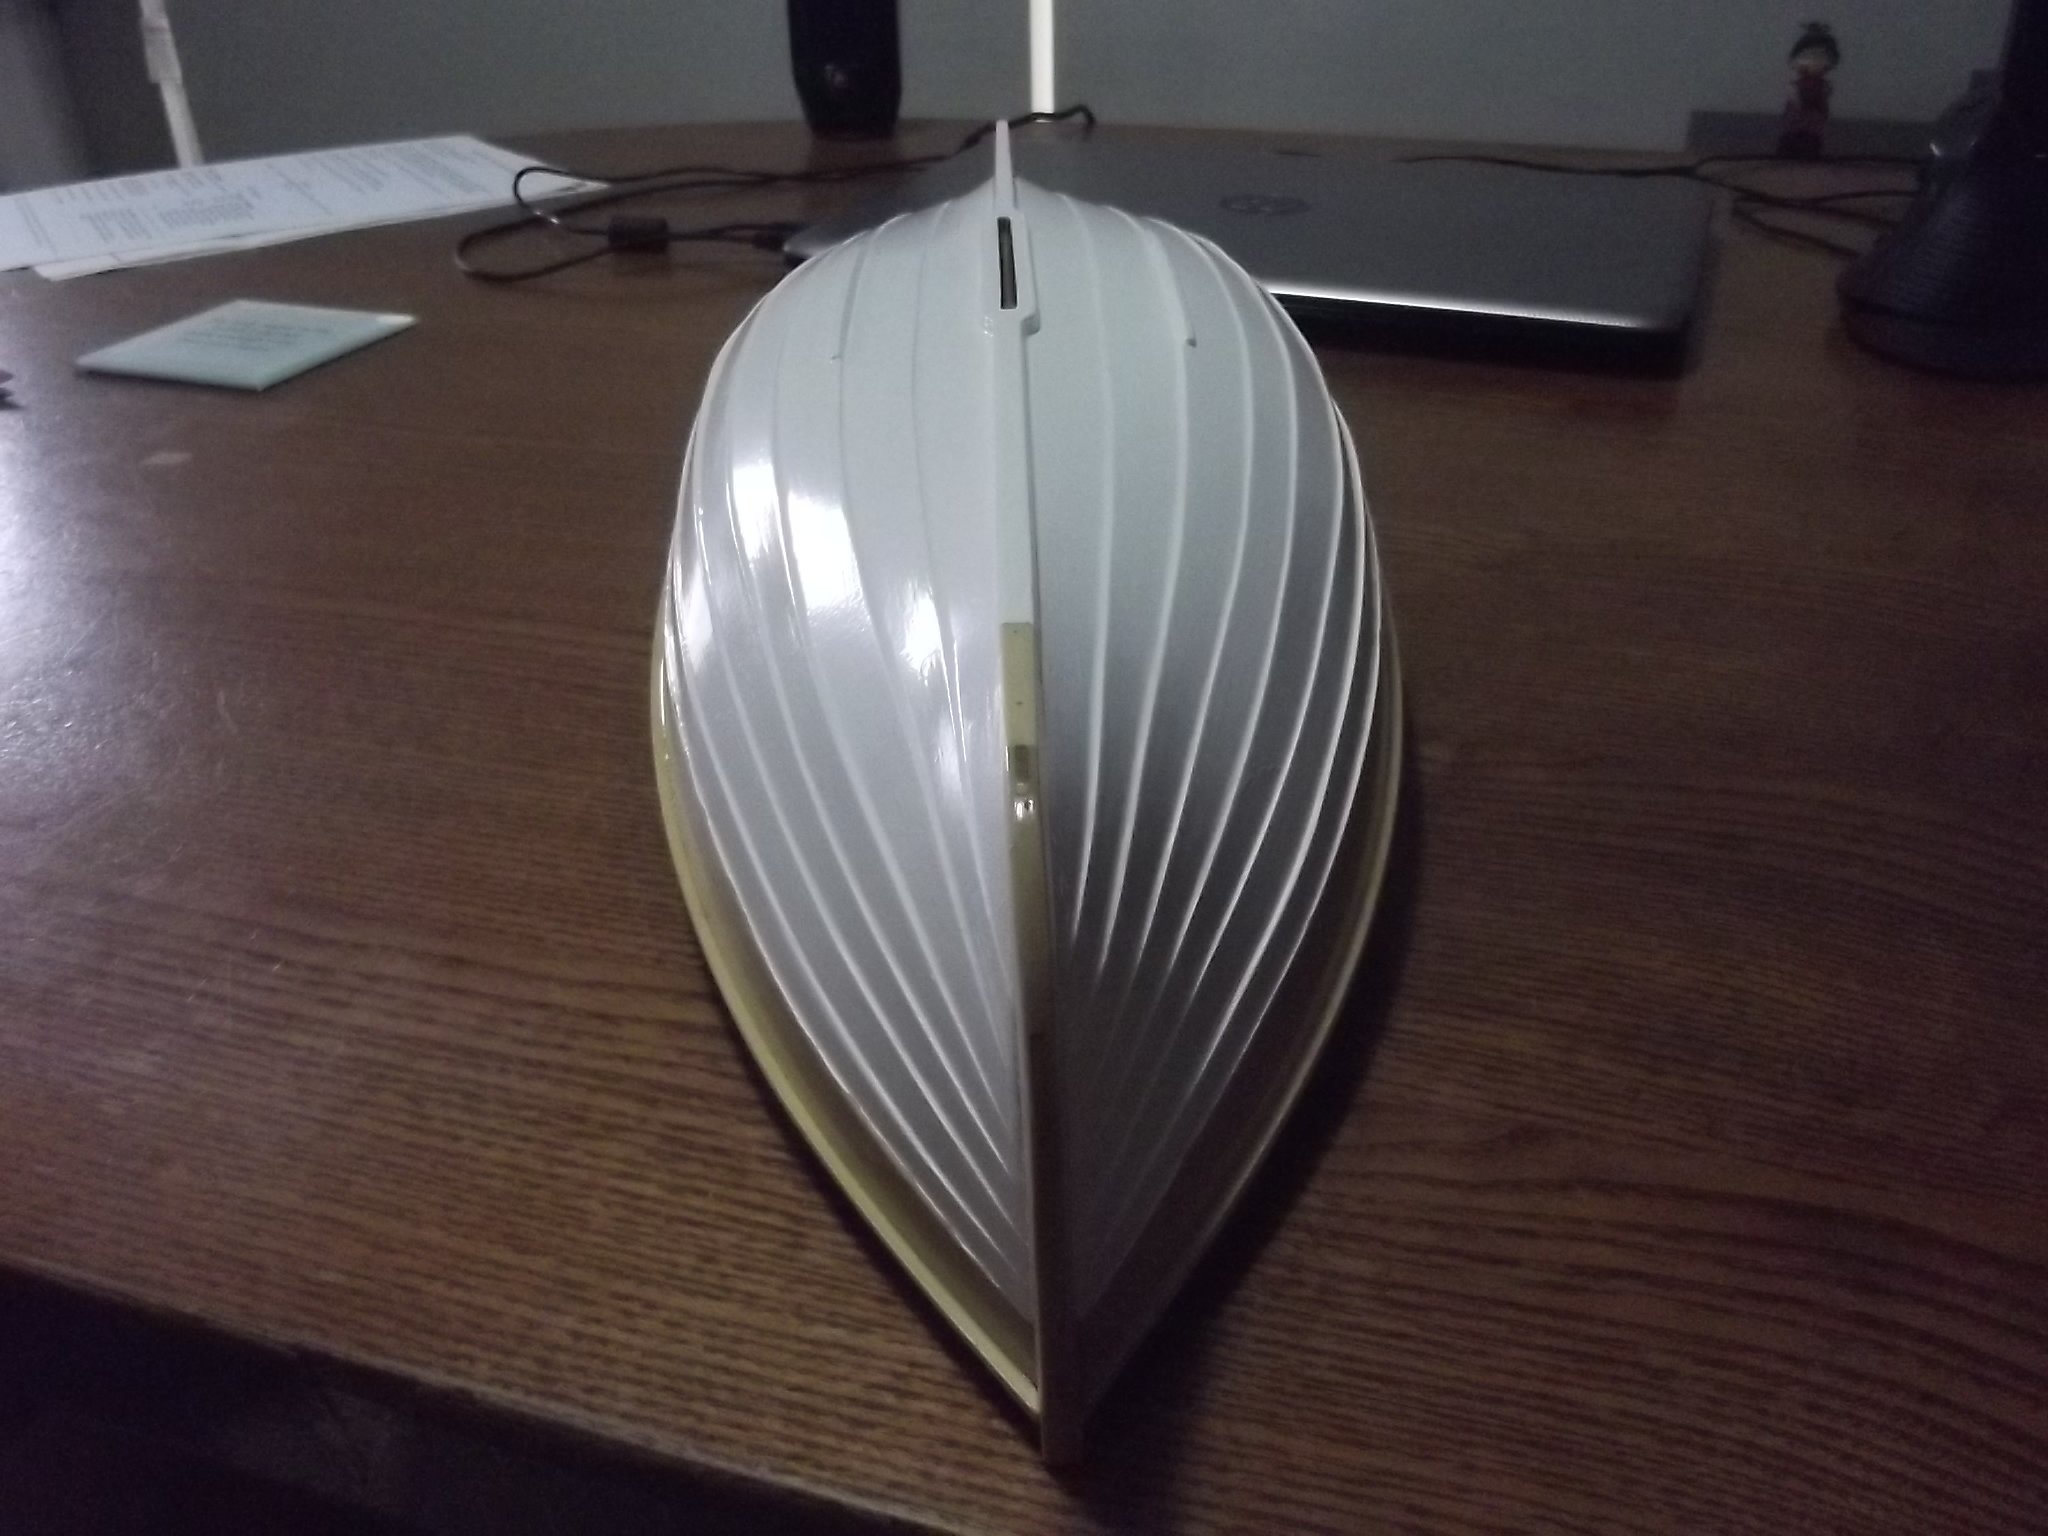
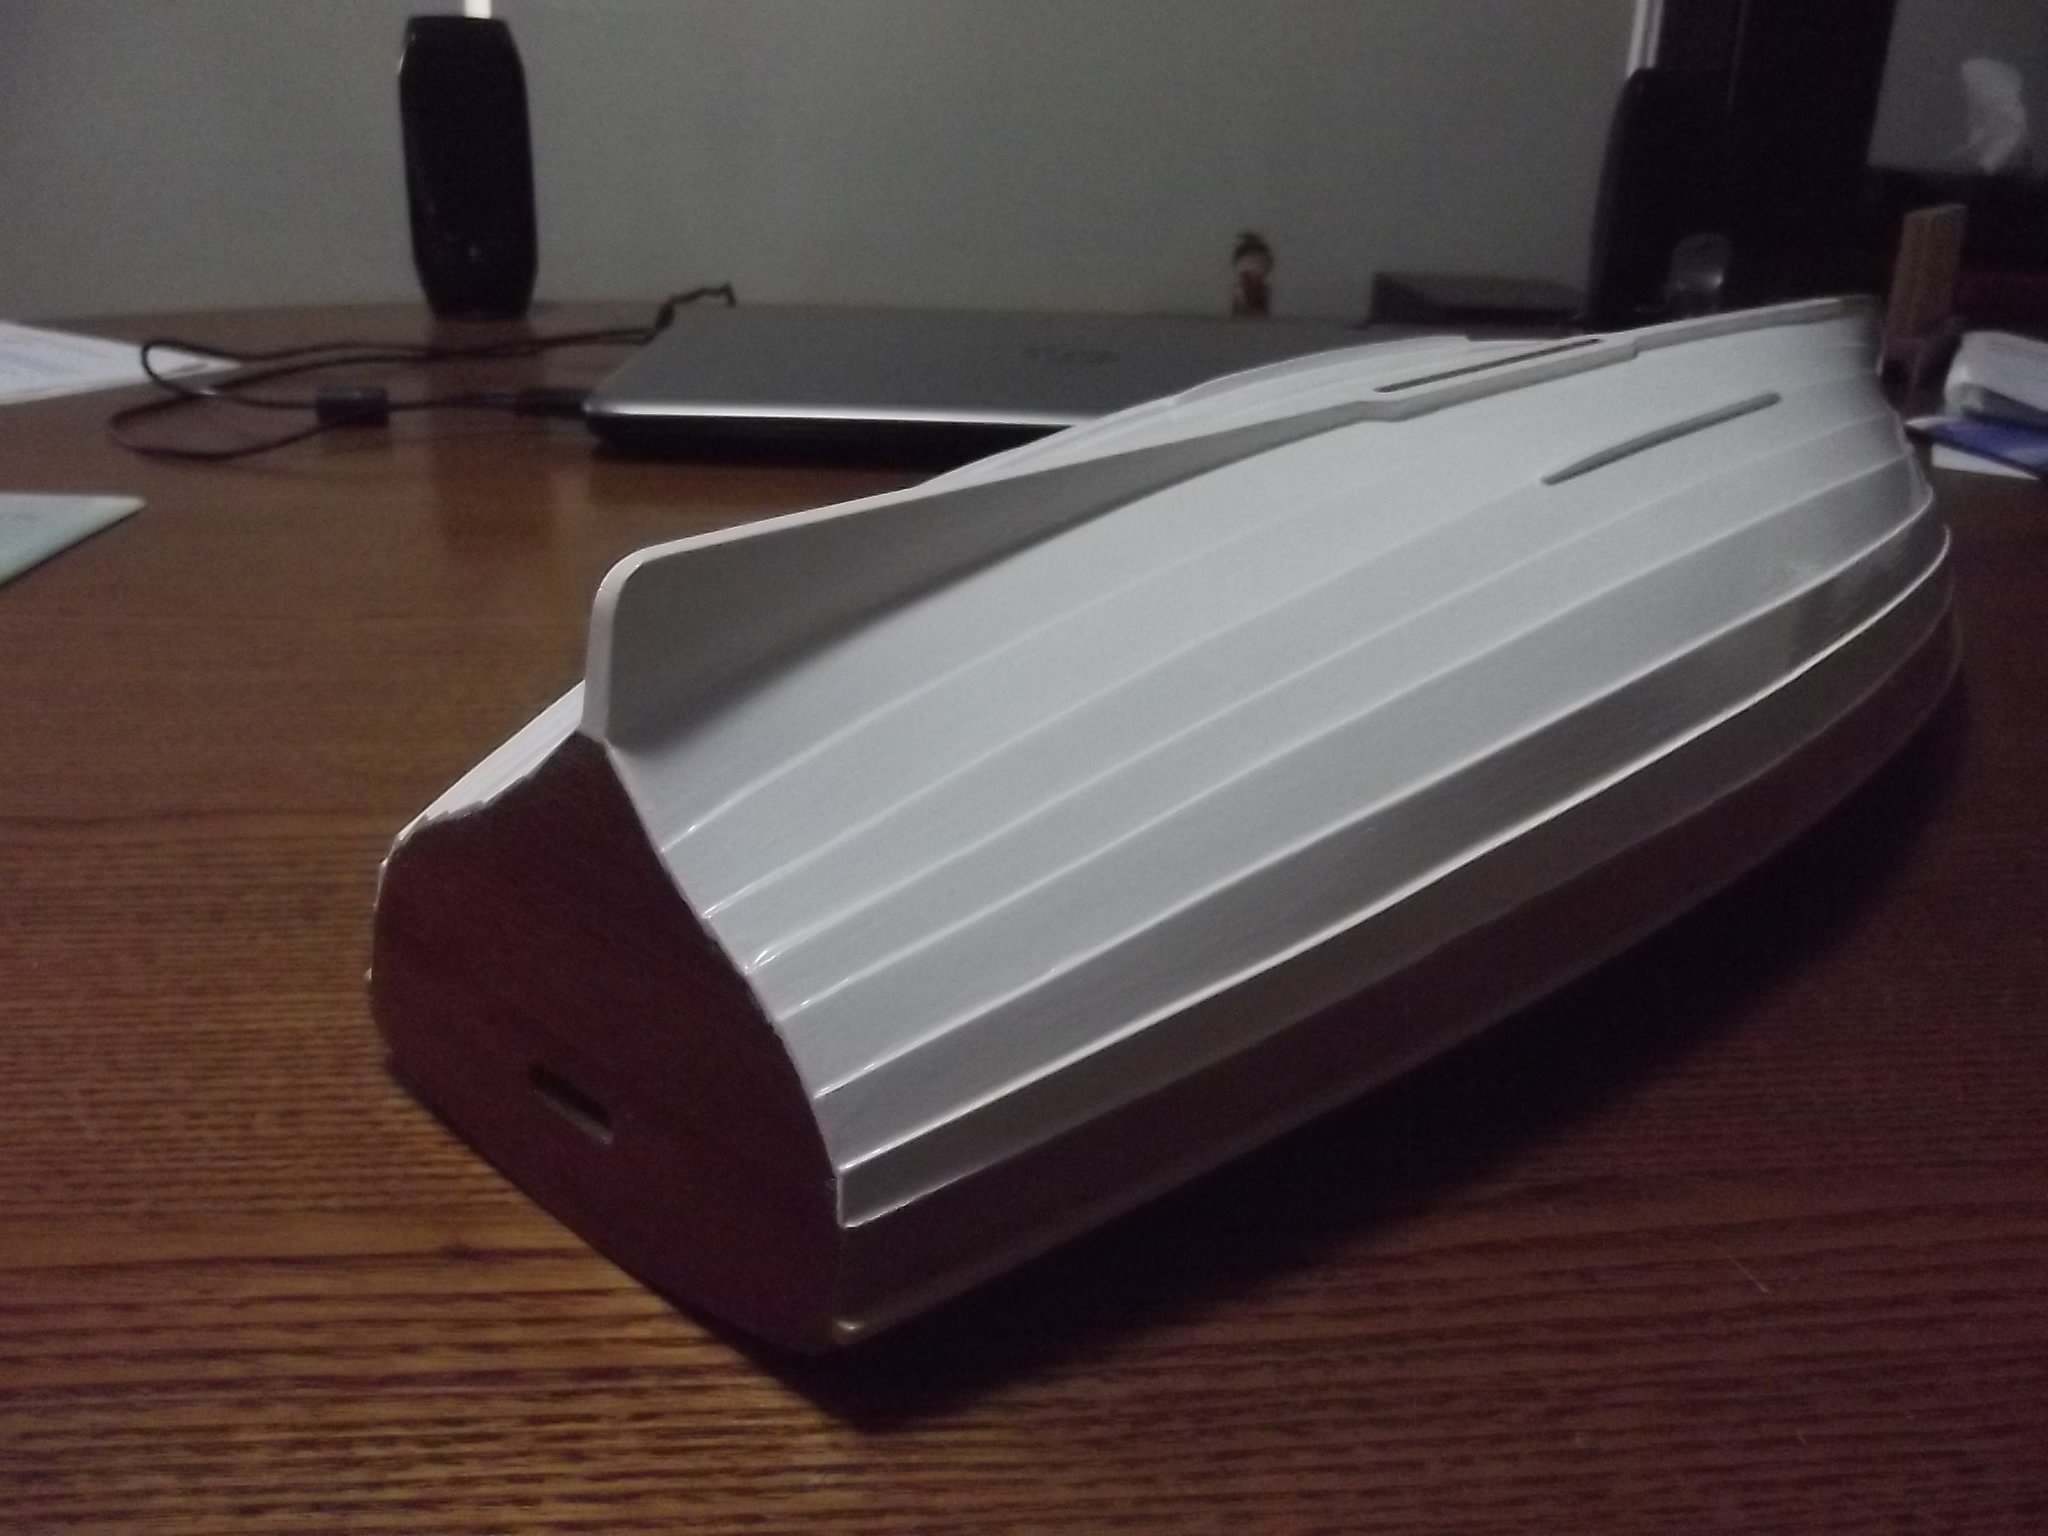
I'll let the pics talk


-
That sounds interesting but I'm crewing Waratah that day. I am however taking the boat to the Davistown regatta this weekend
-
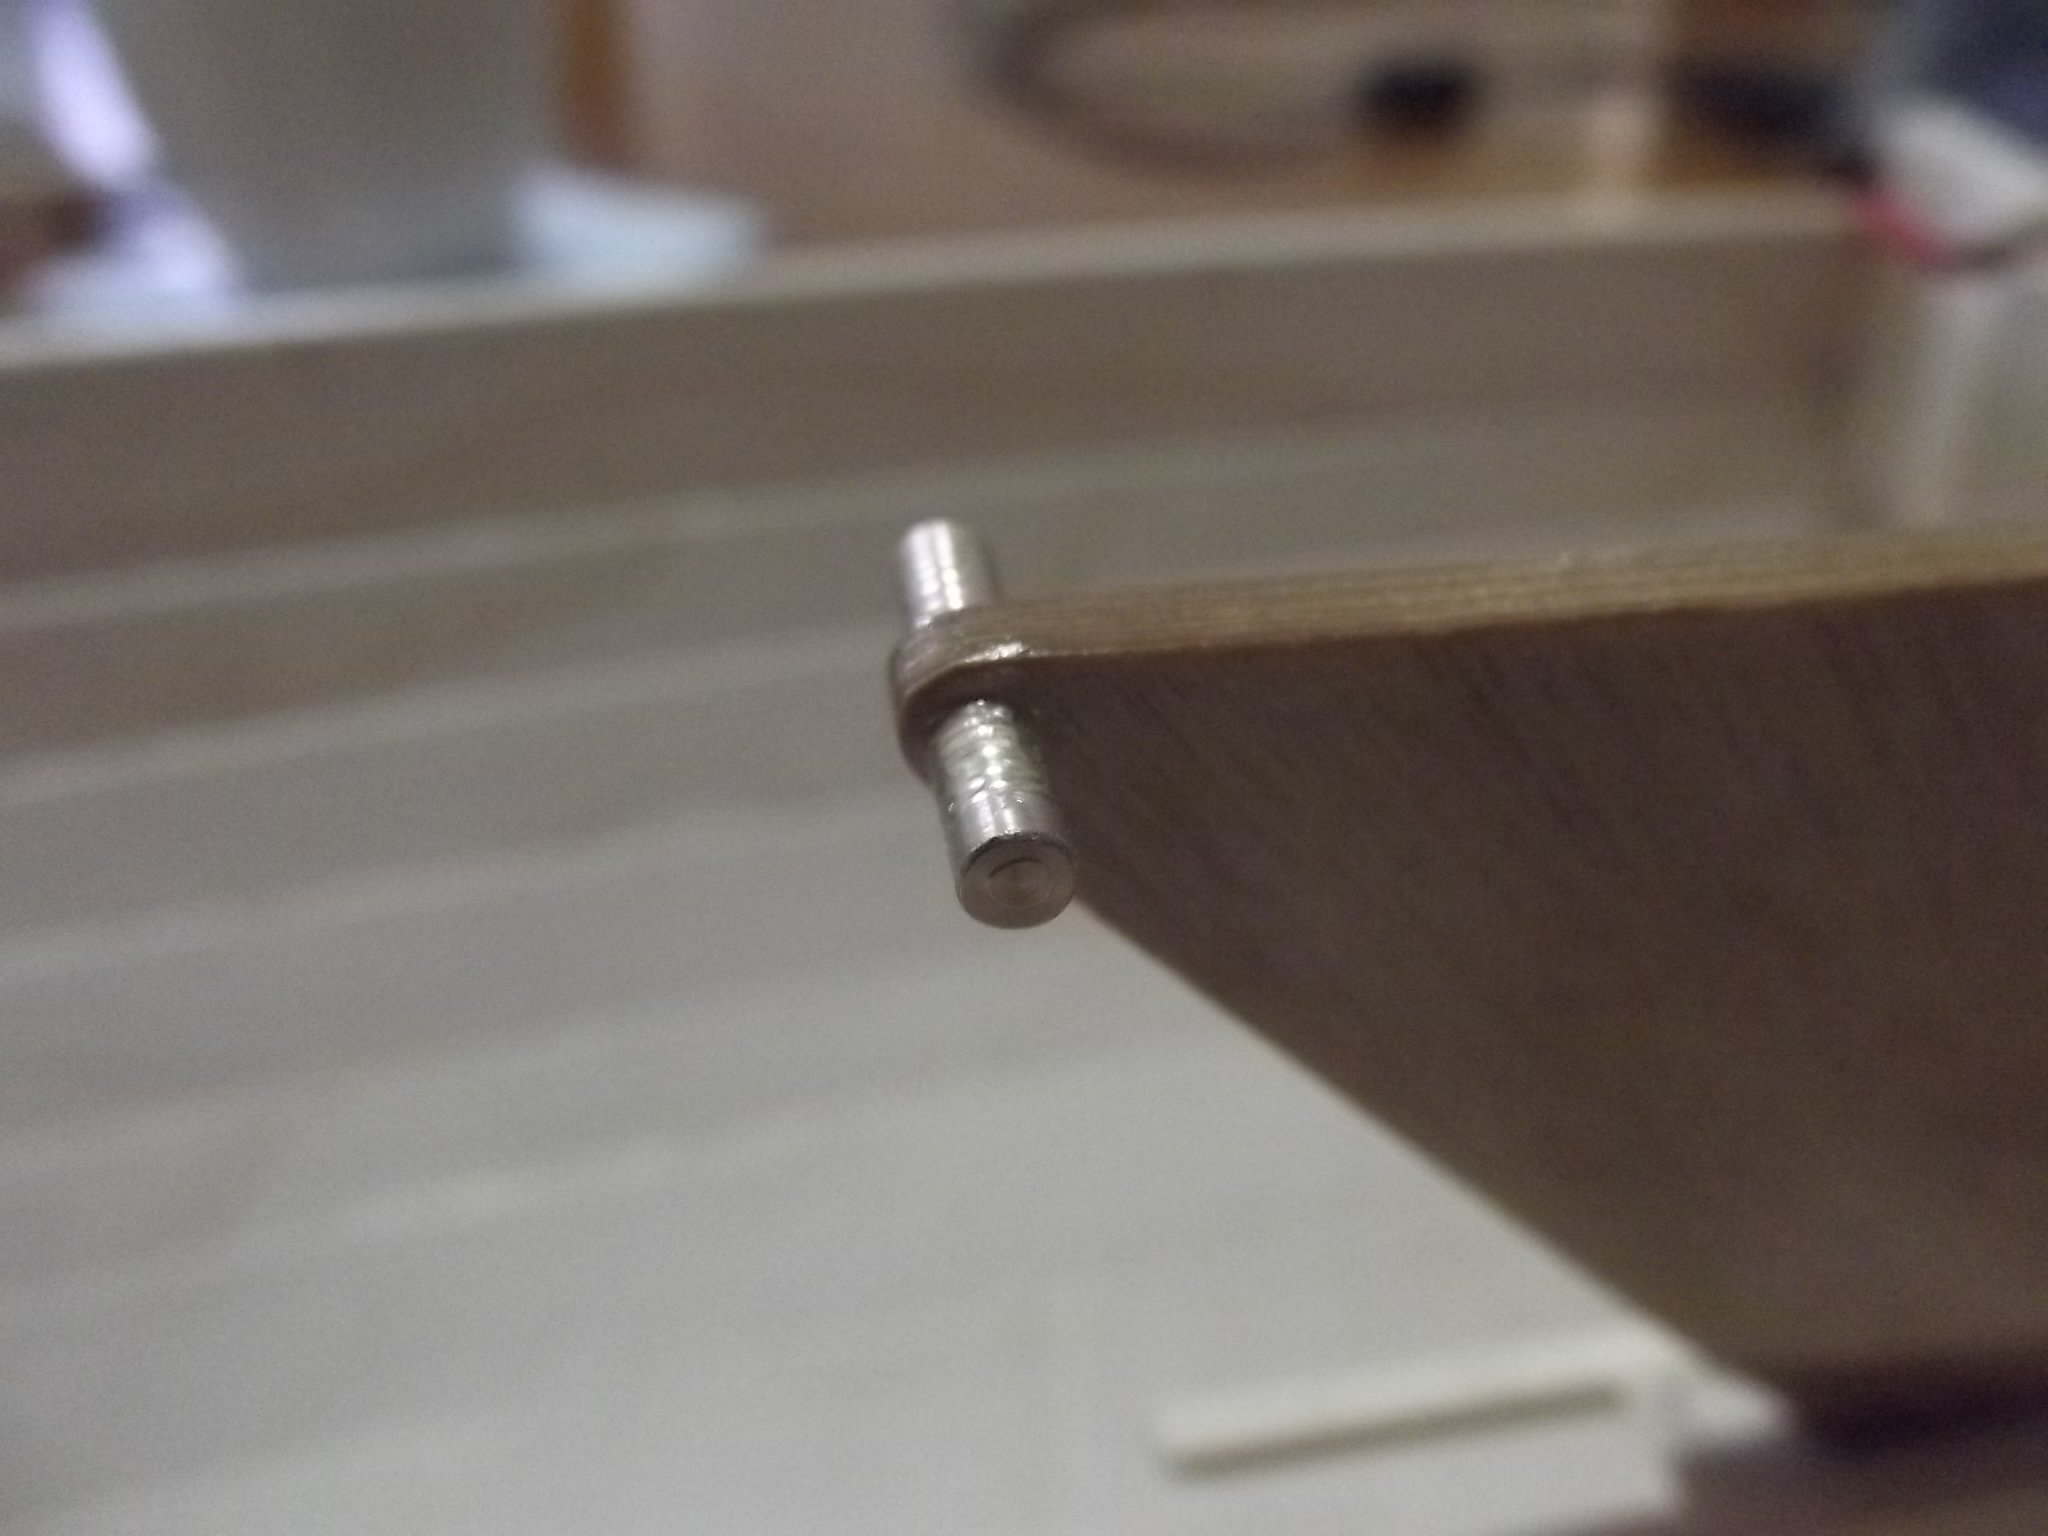
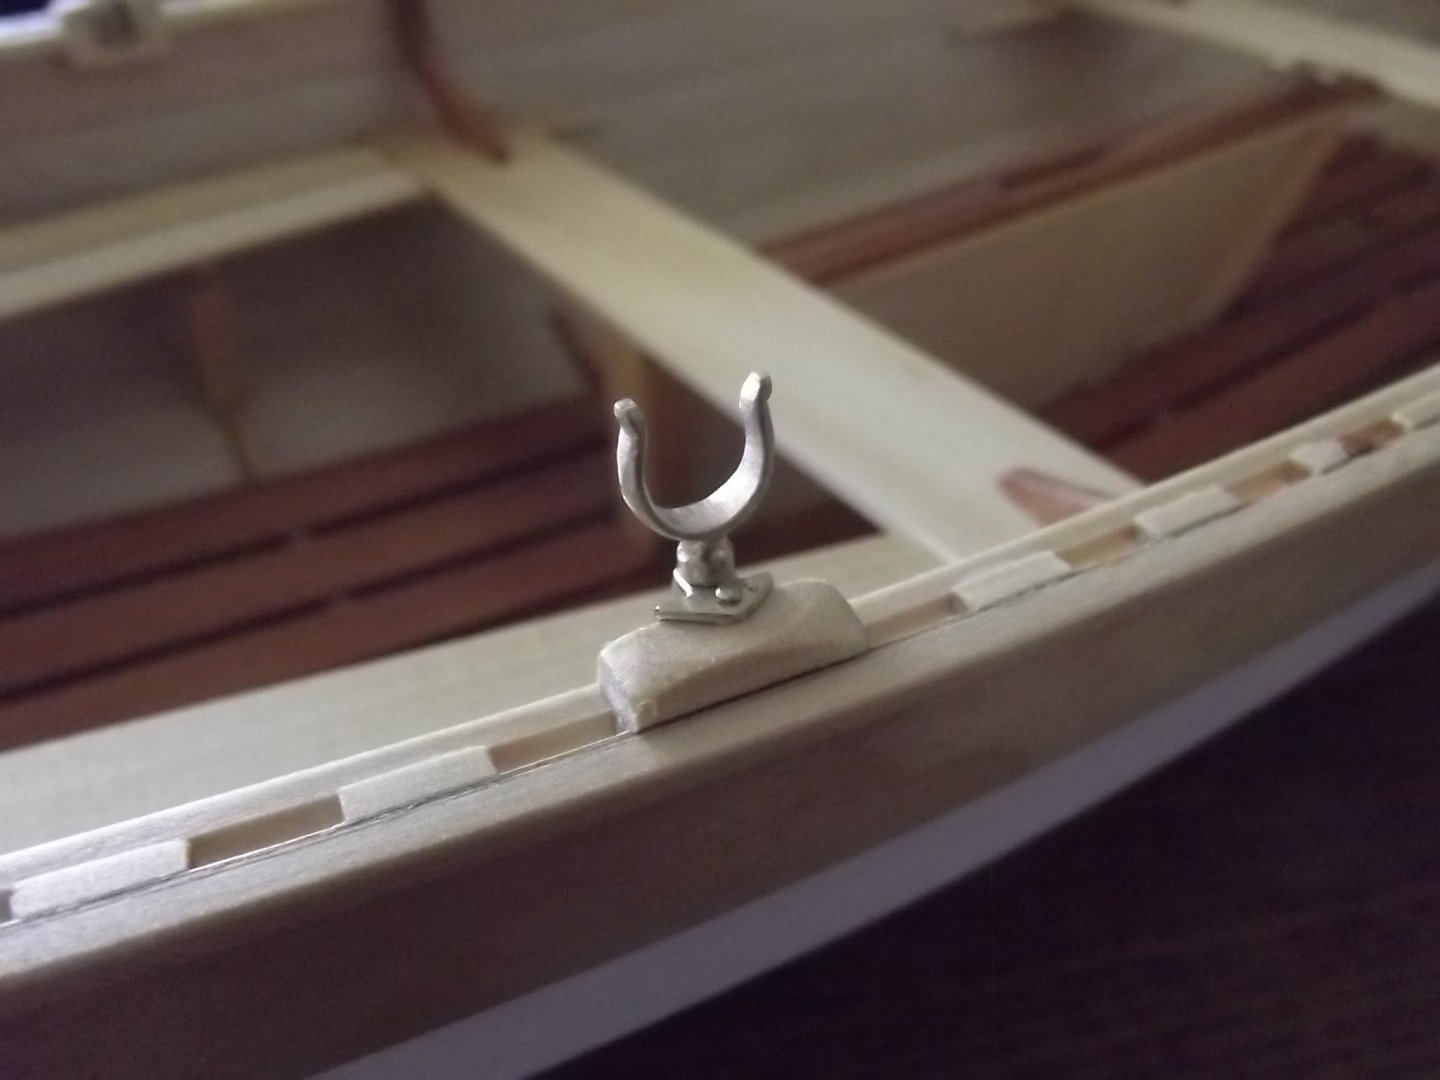
Thanks, I've now pulled the pins and reduced the size of the heads so it looks better. The pics made them look huge!
-
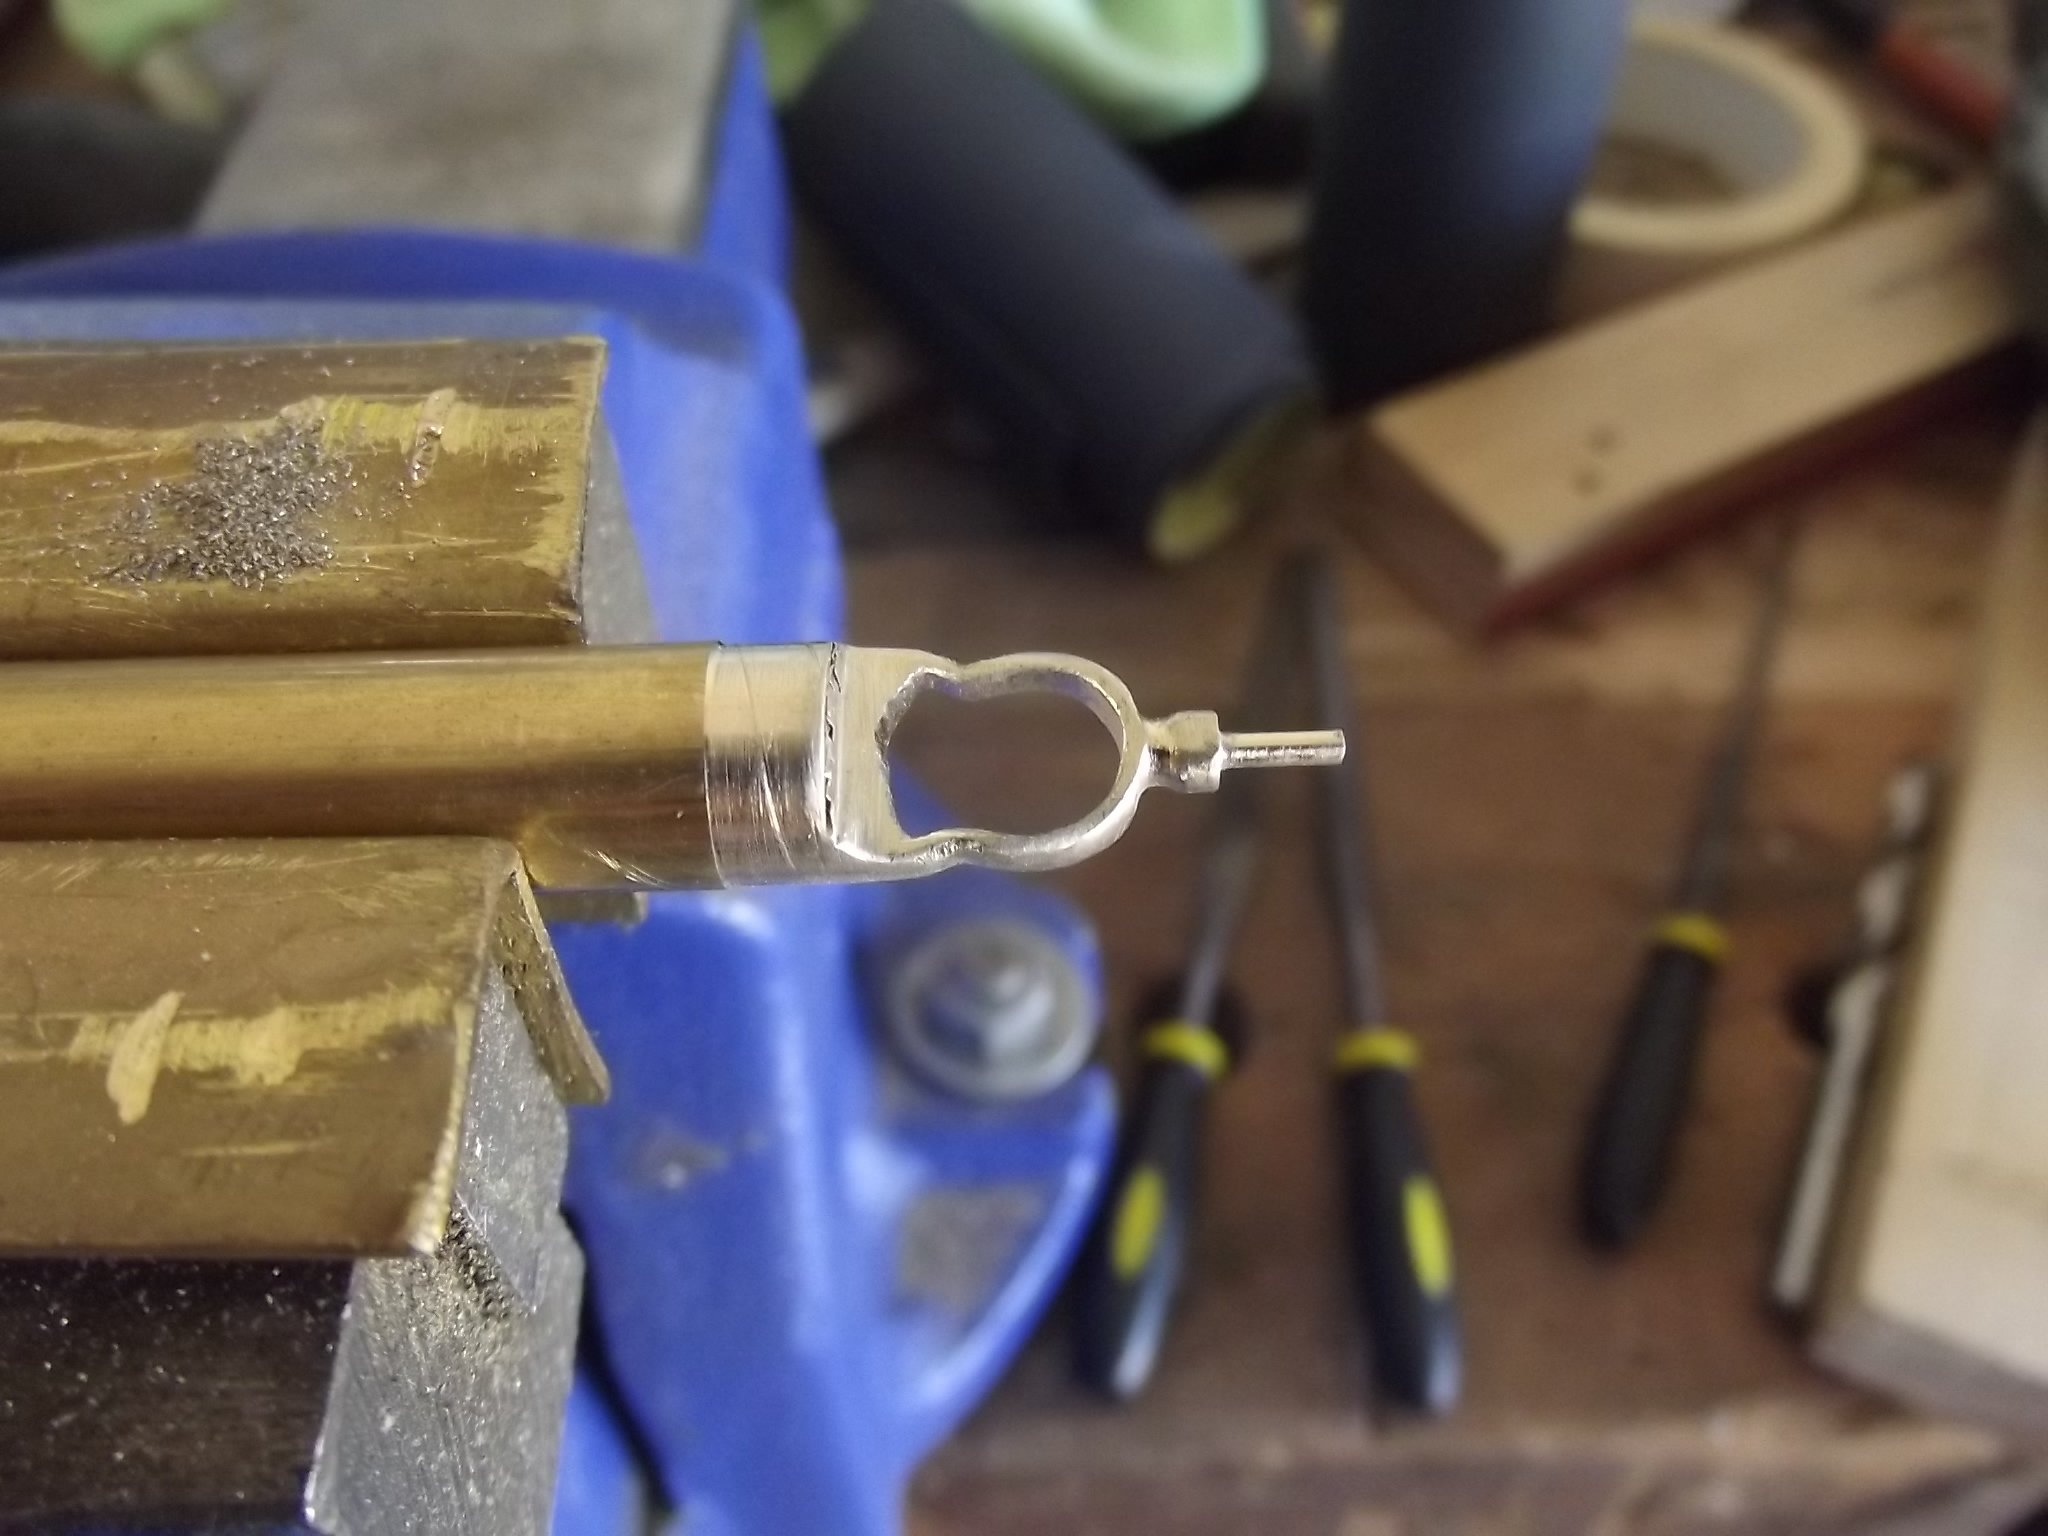
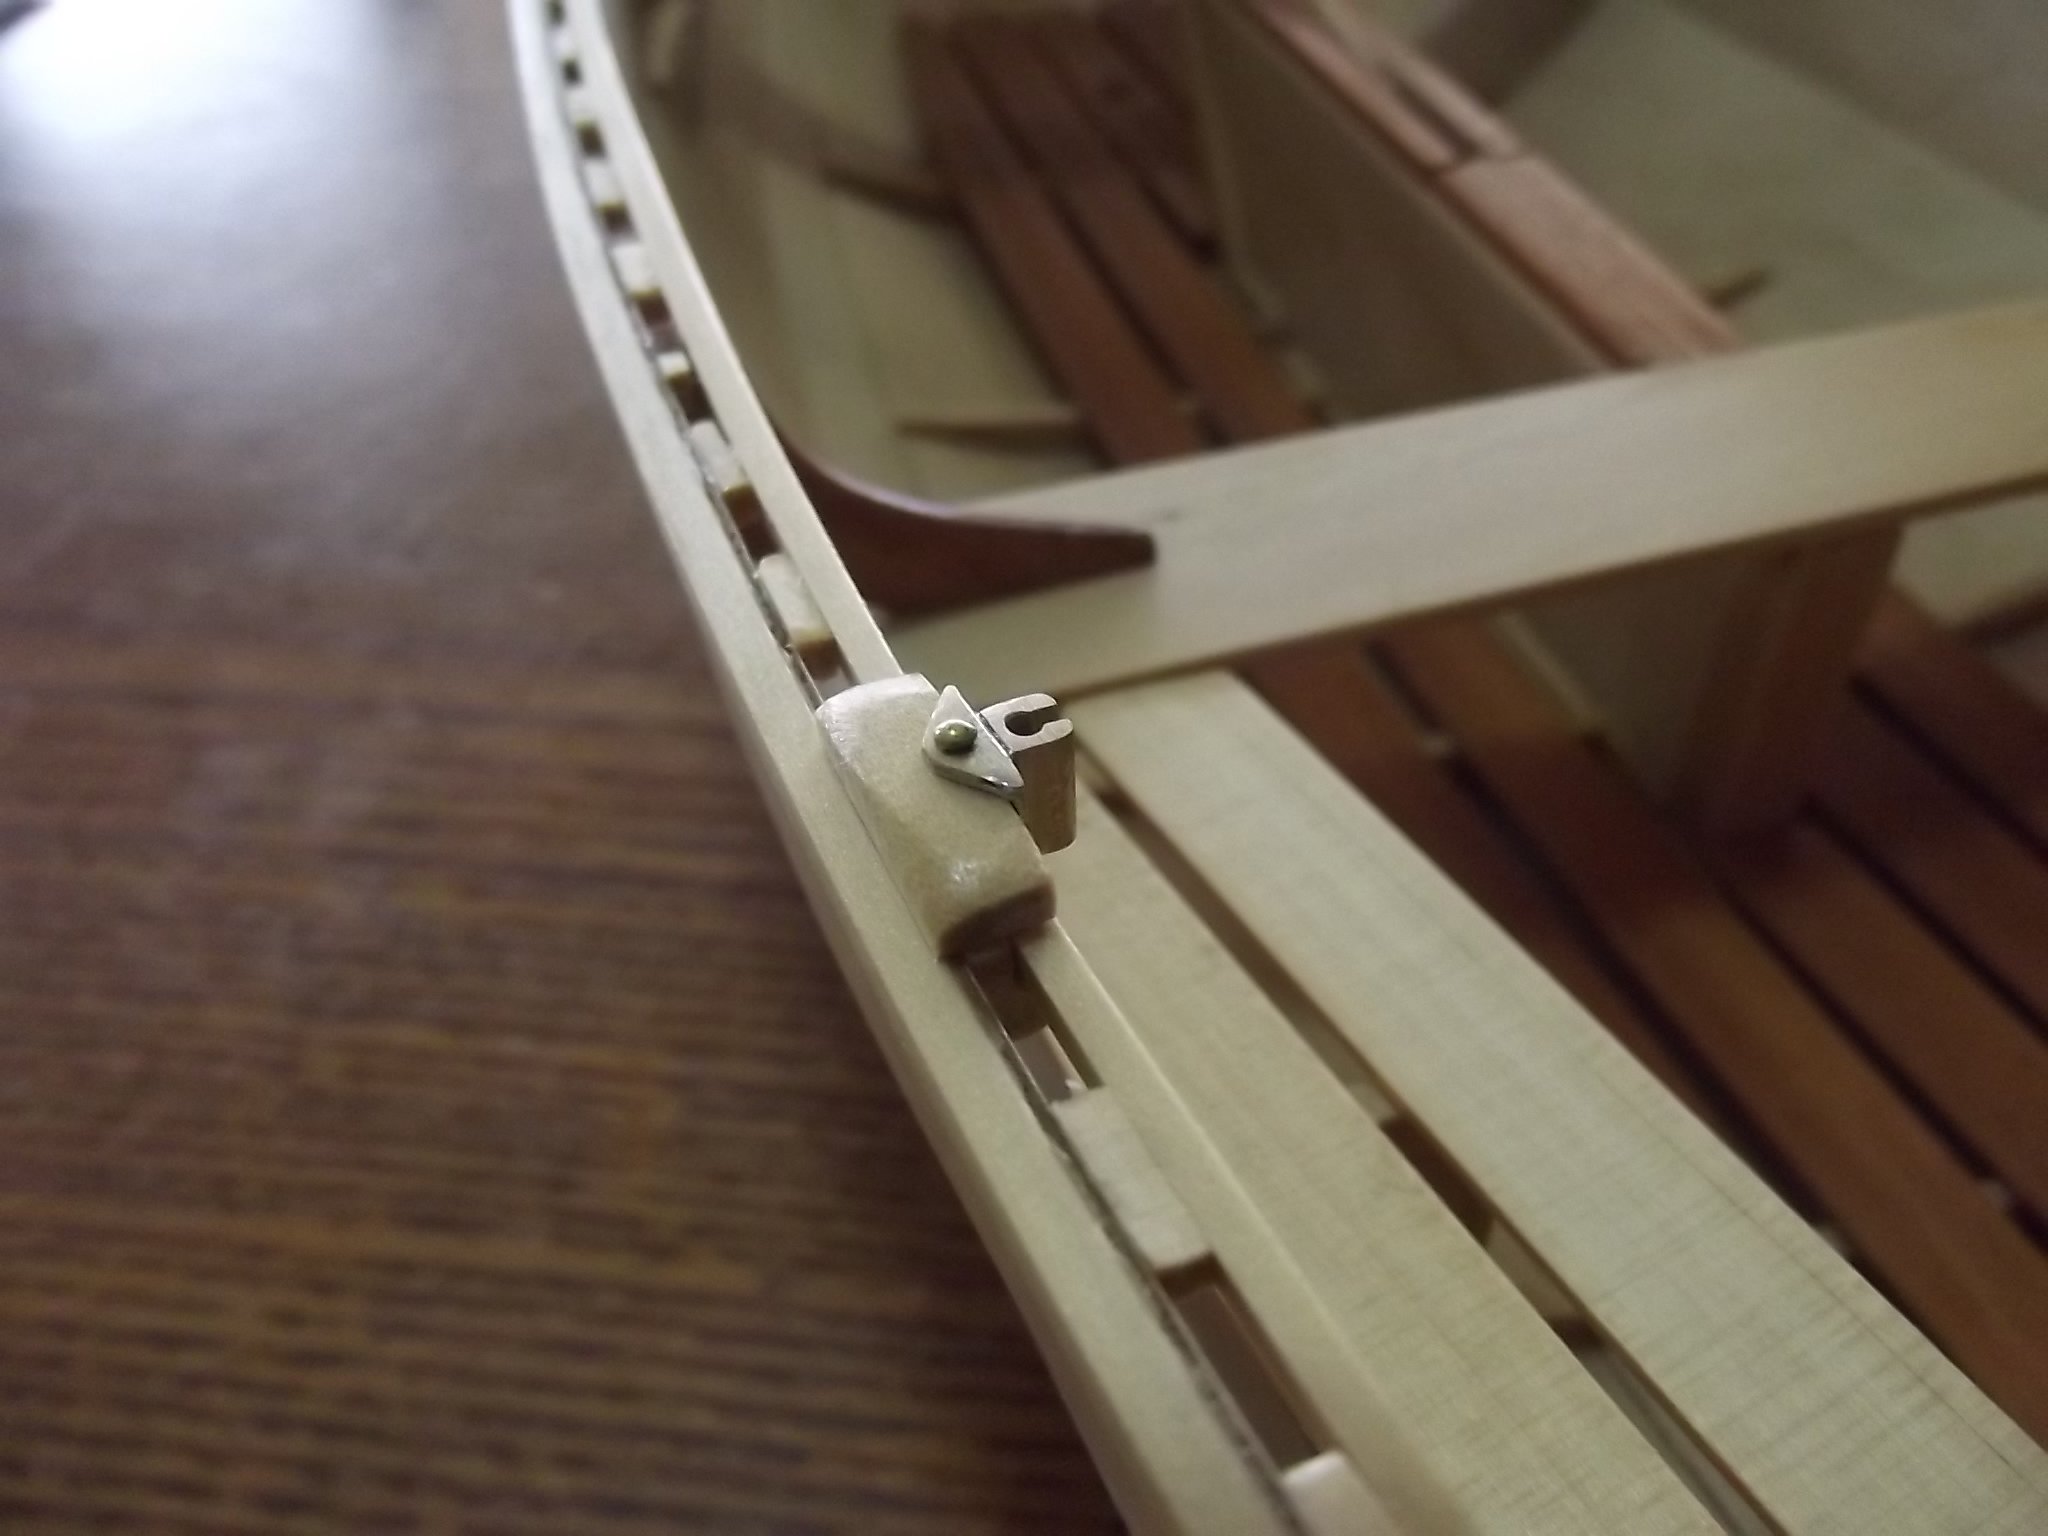
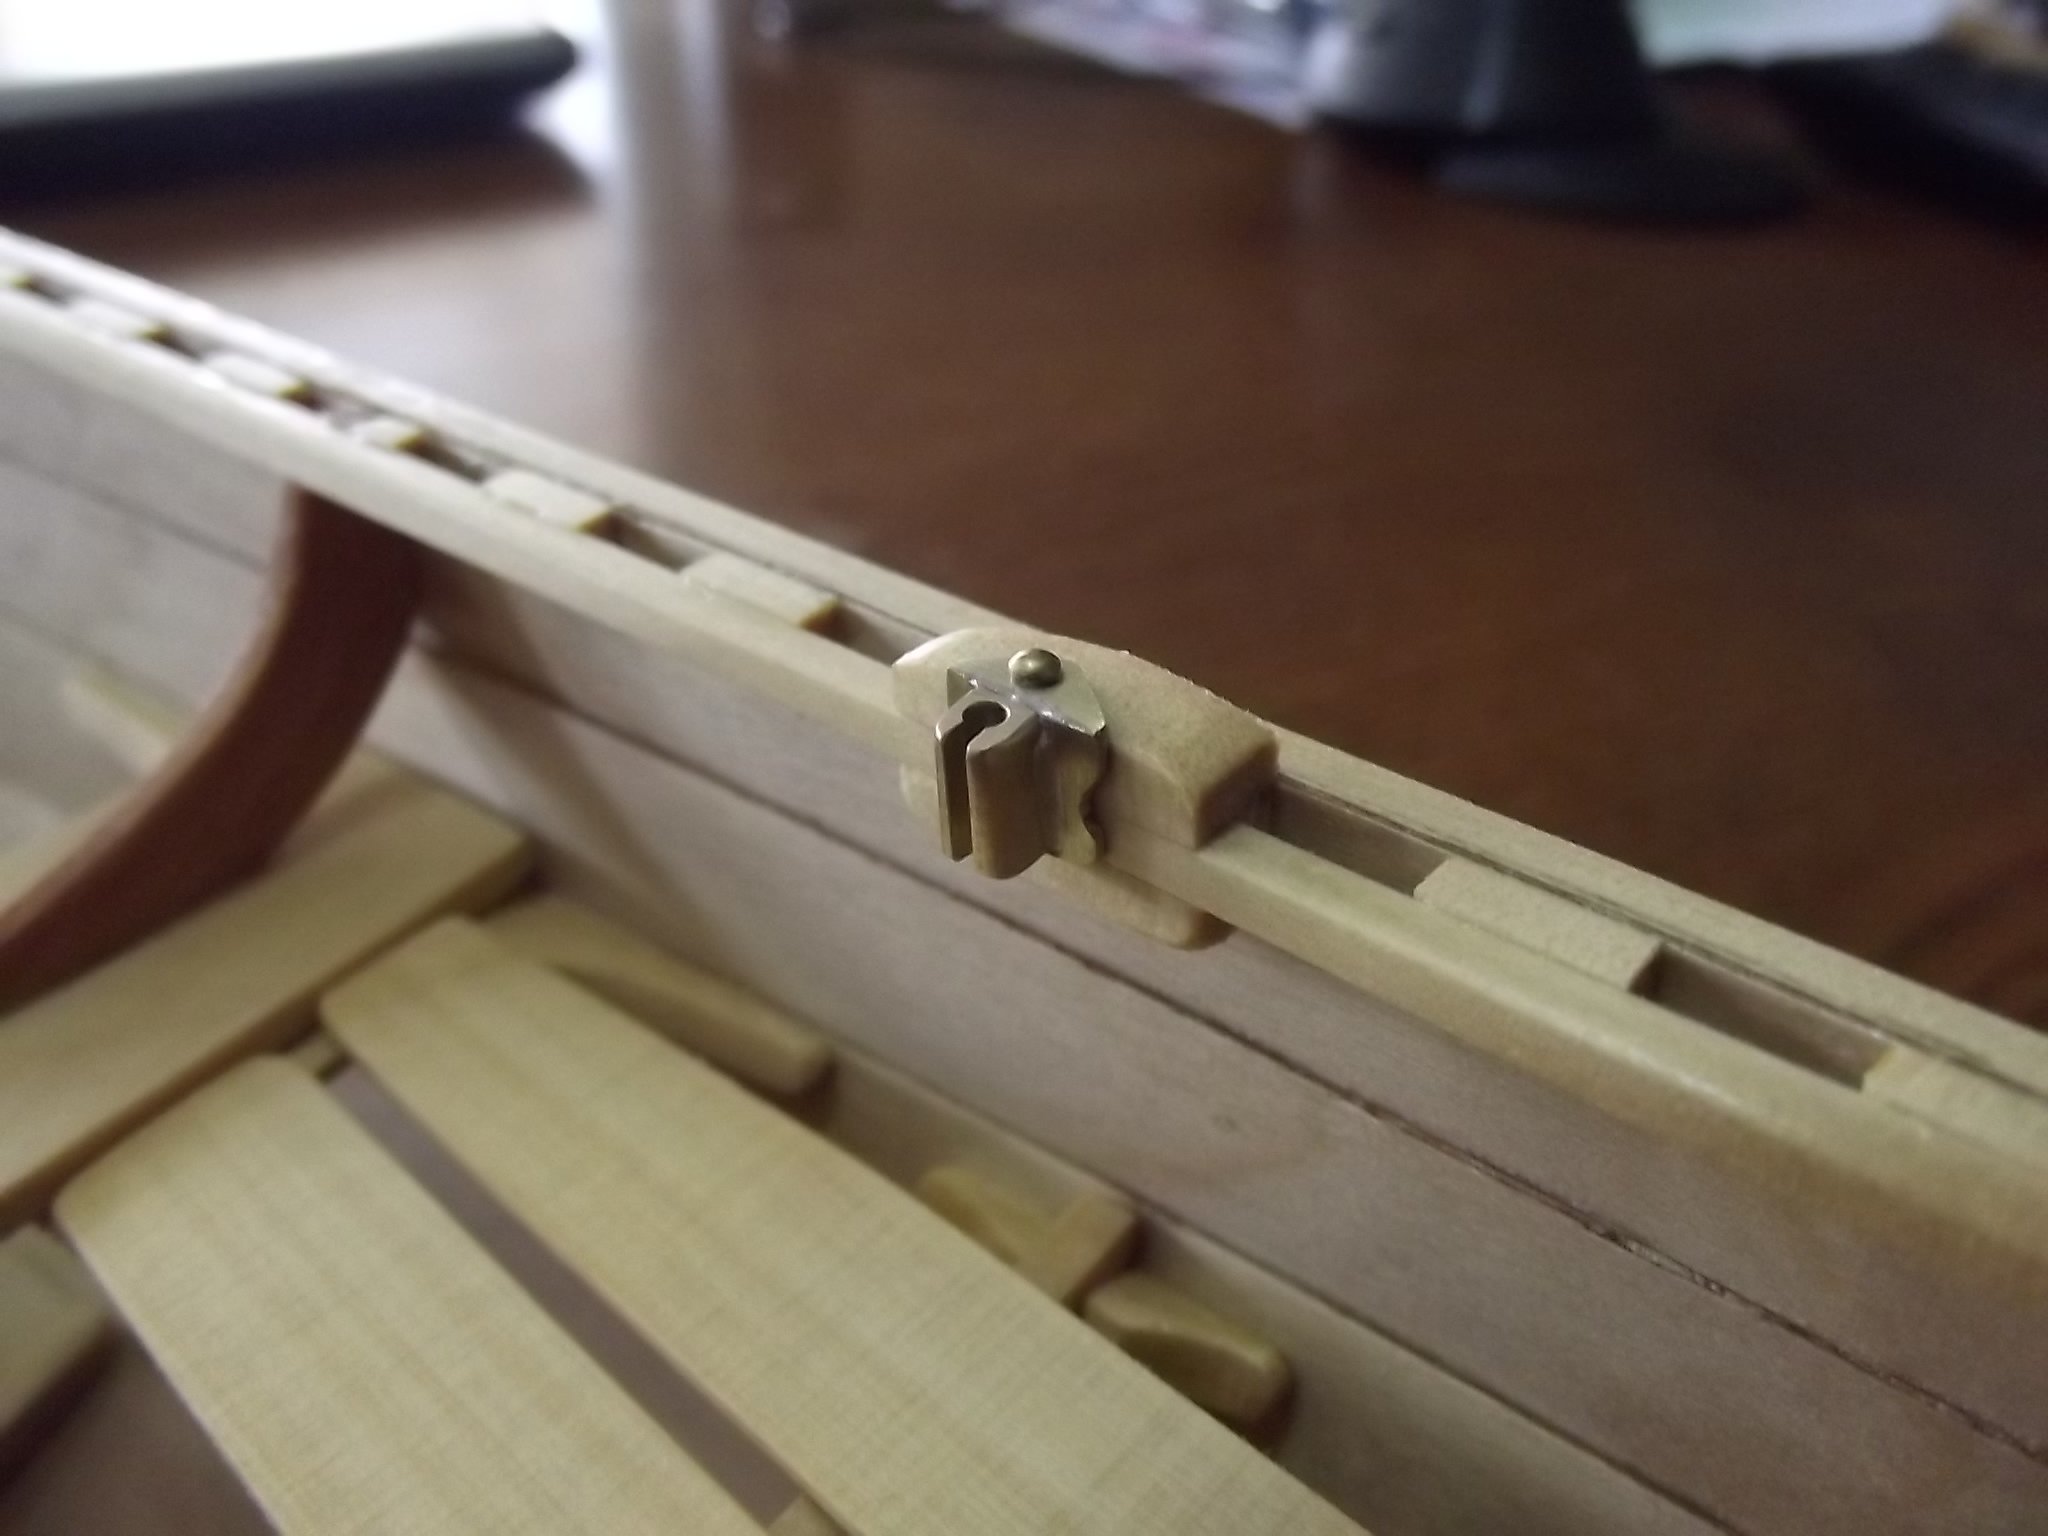
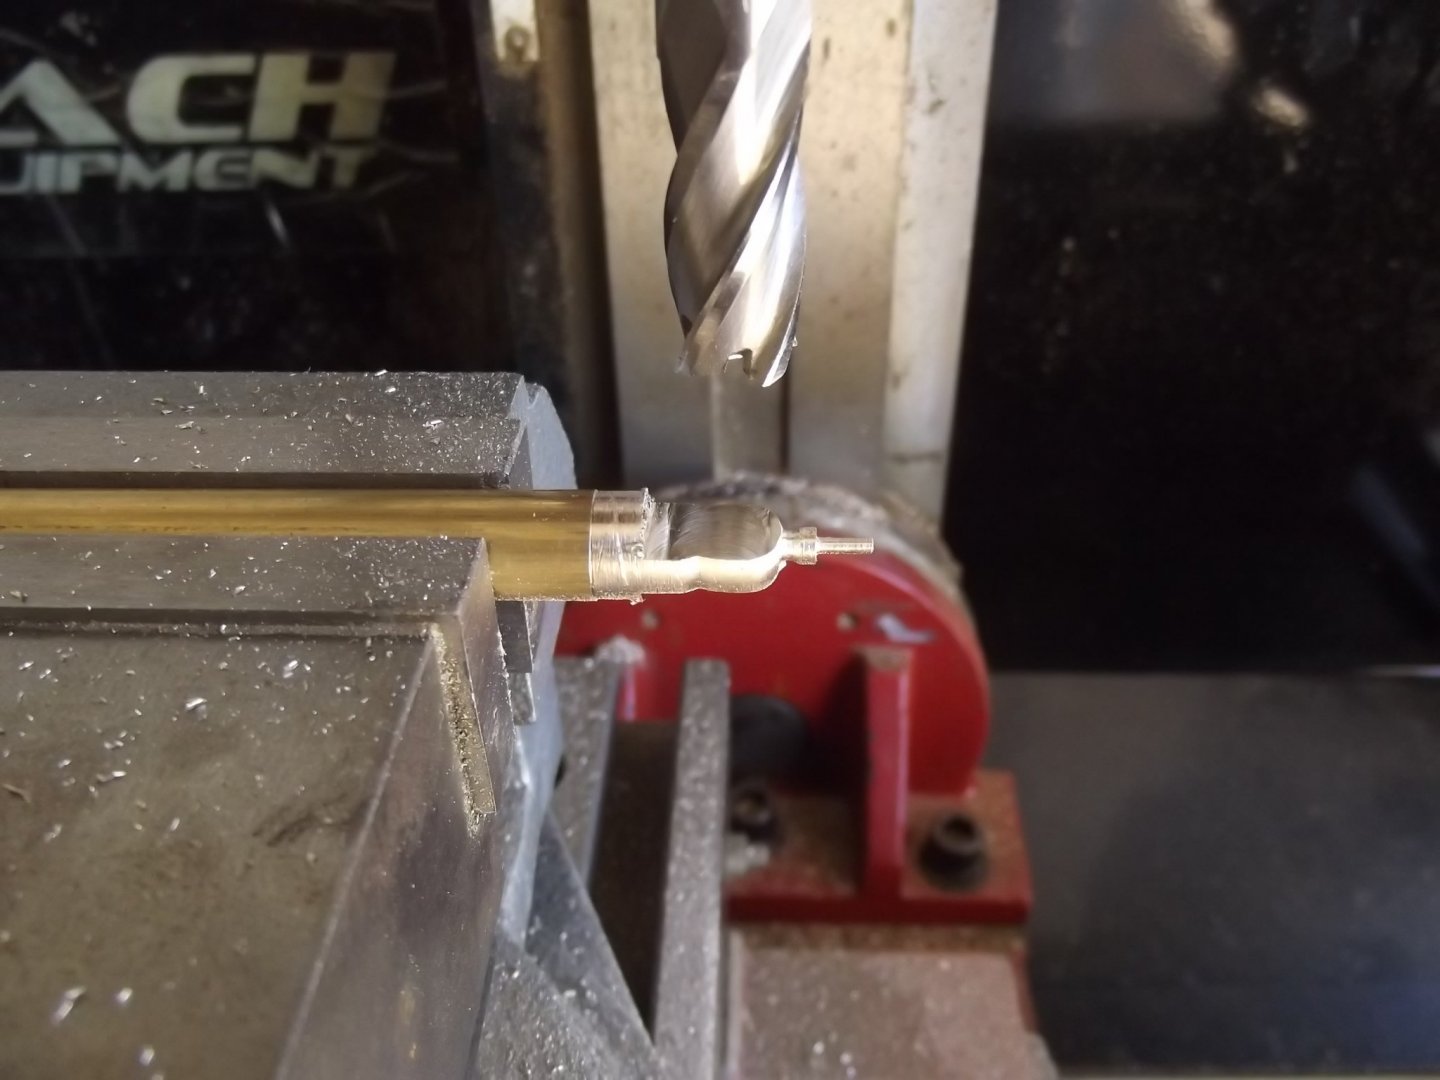
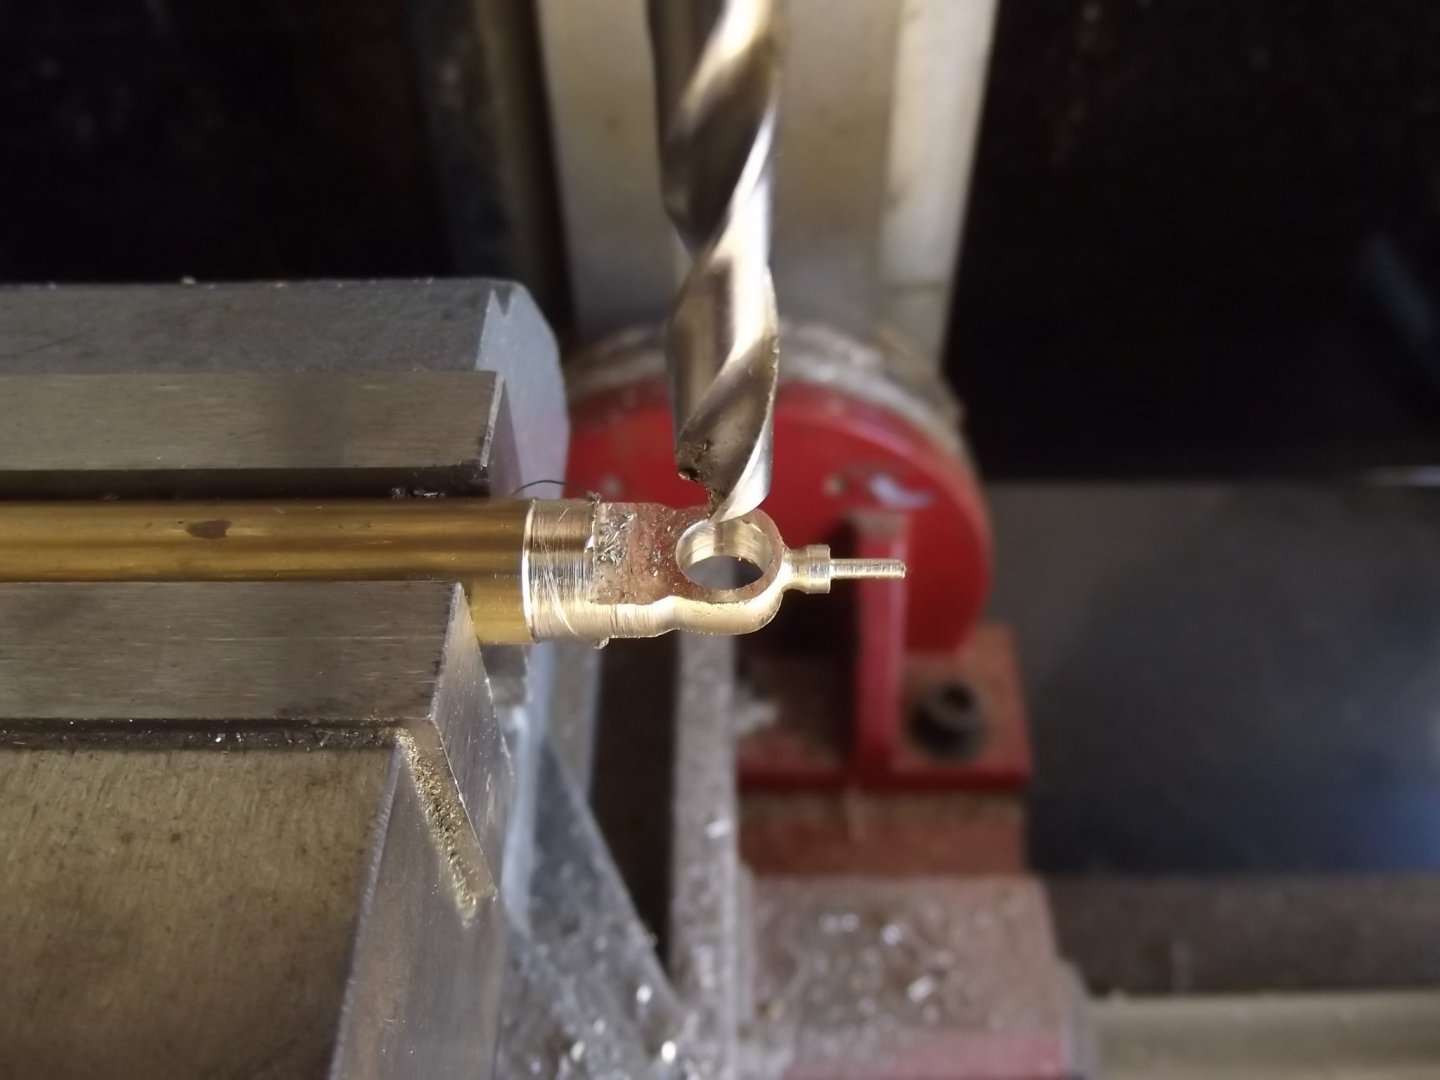
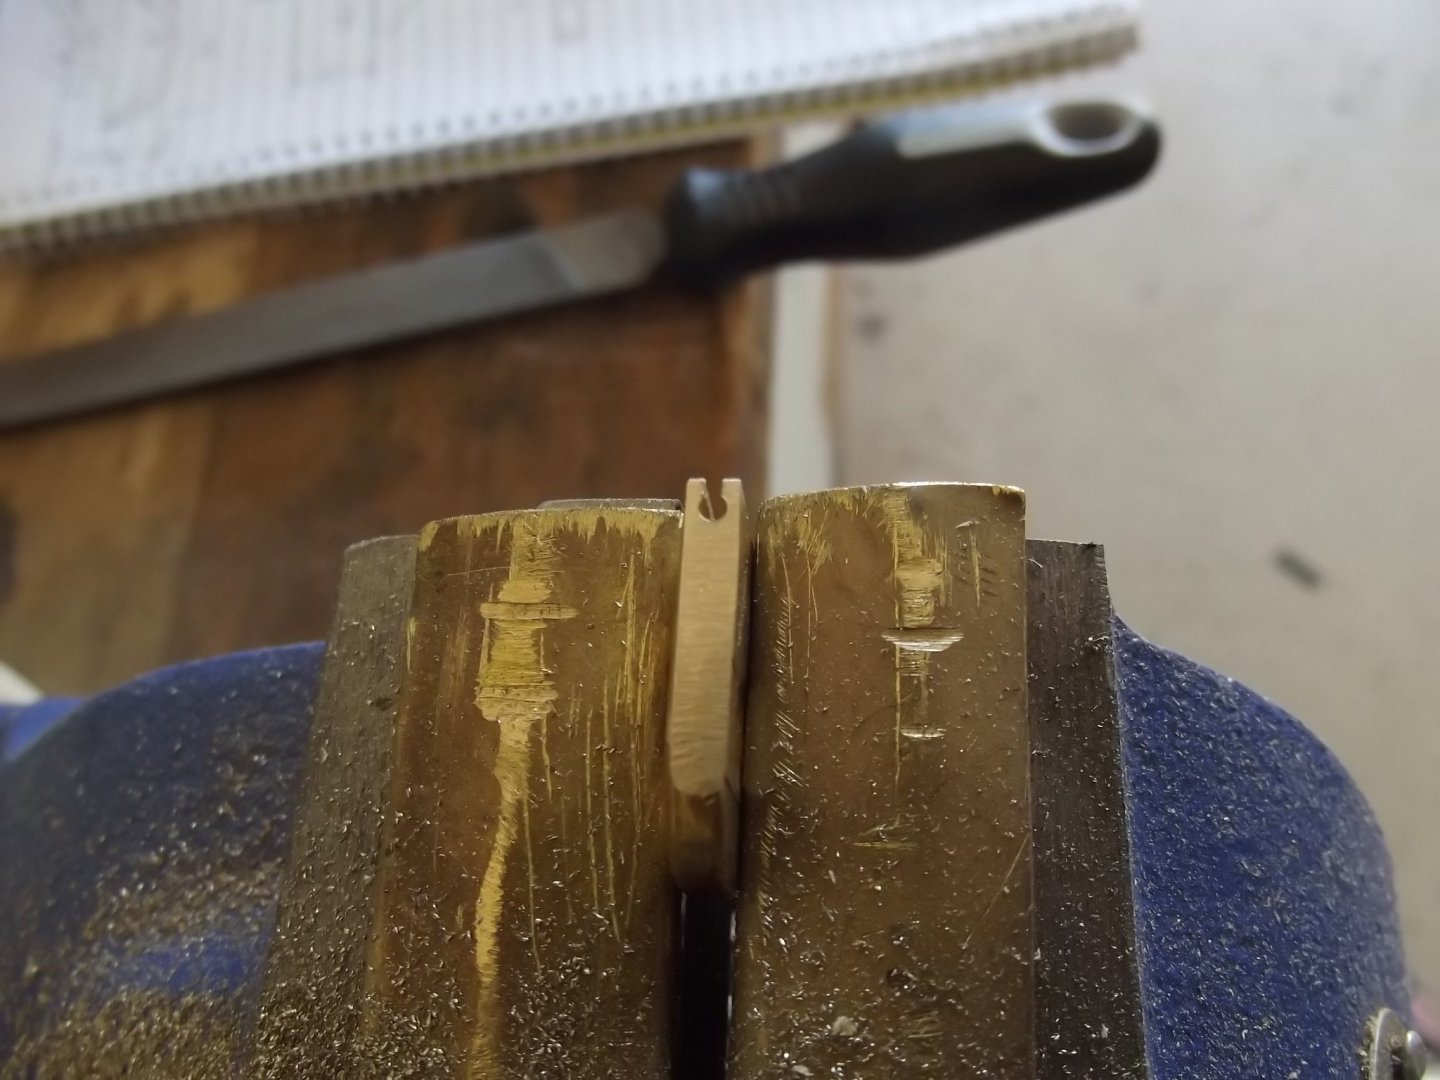
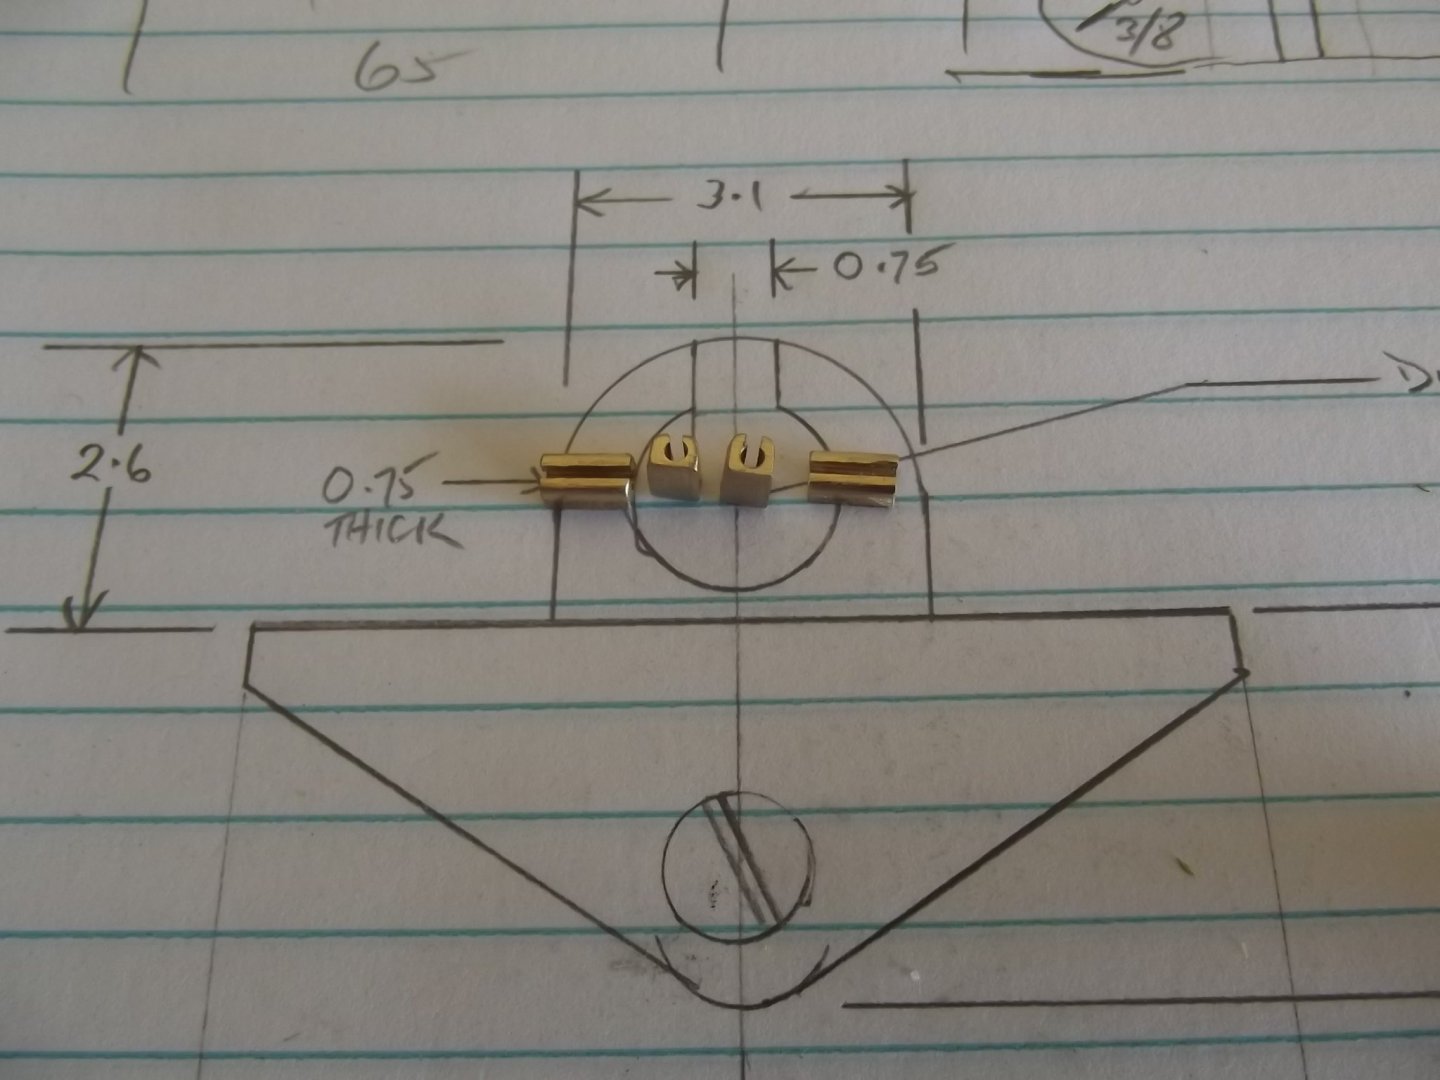
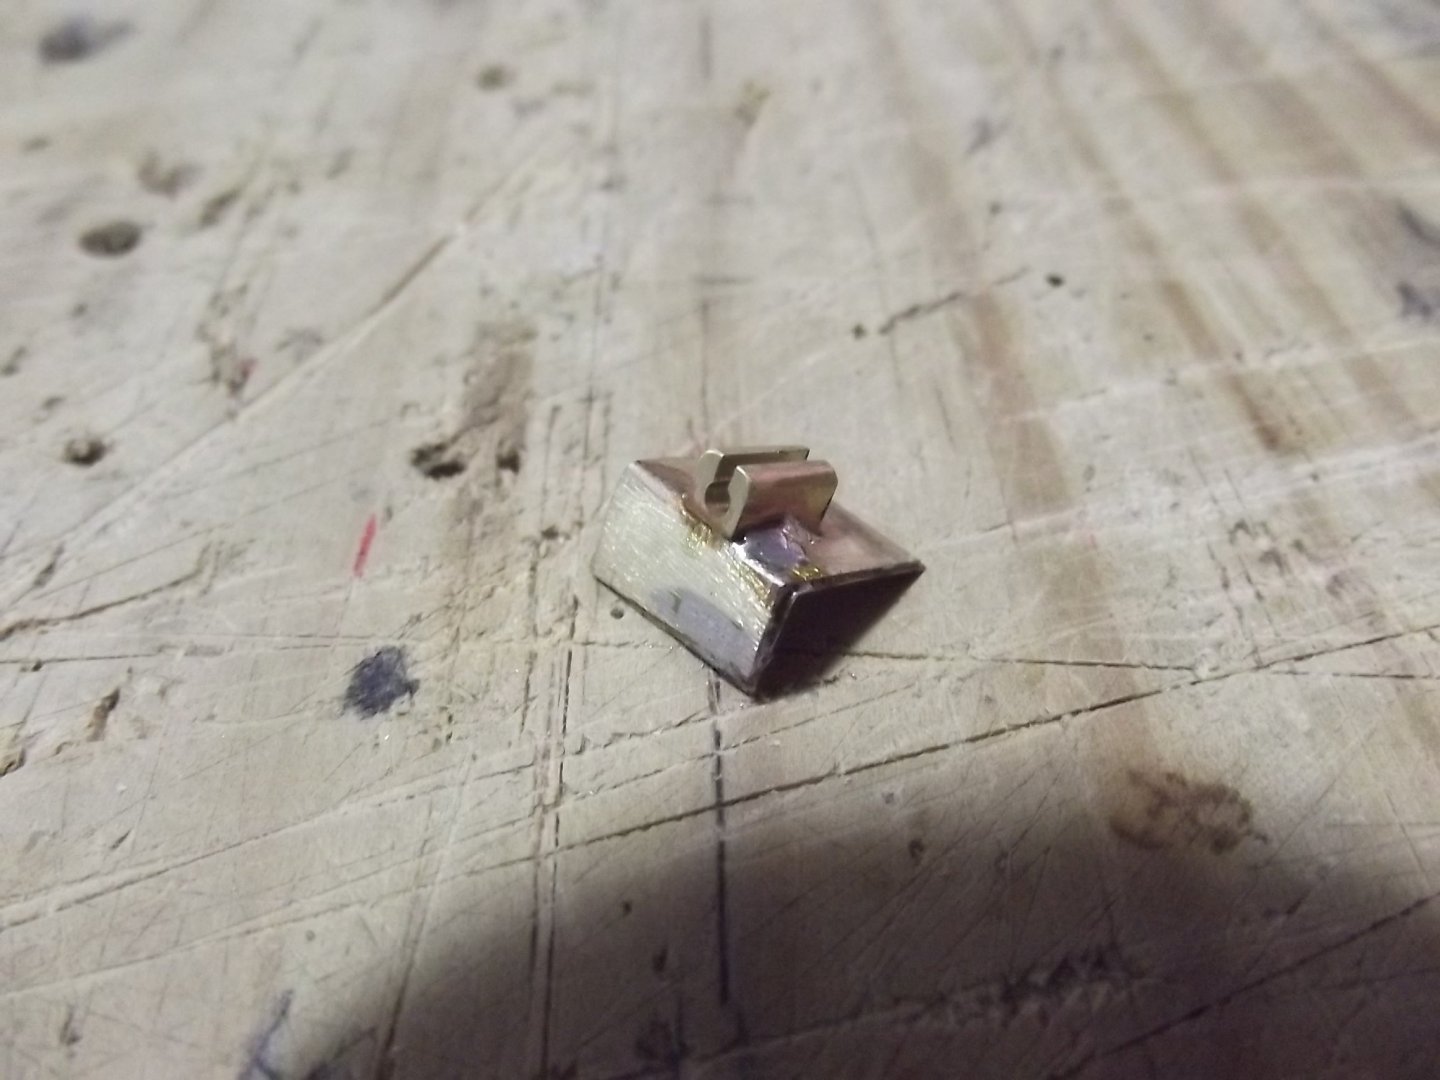
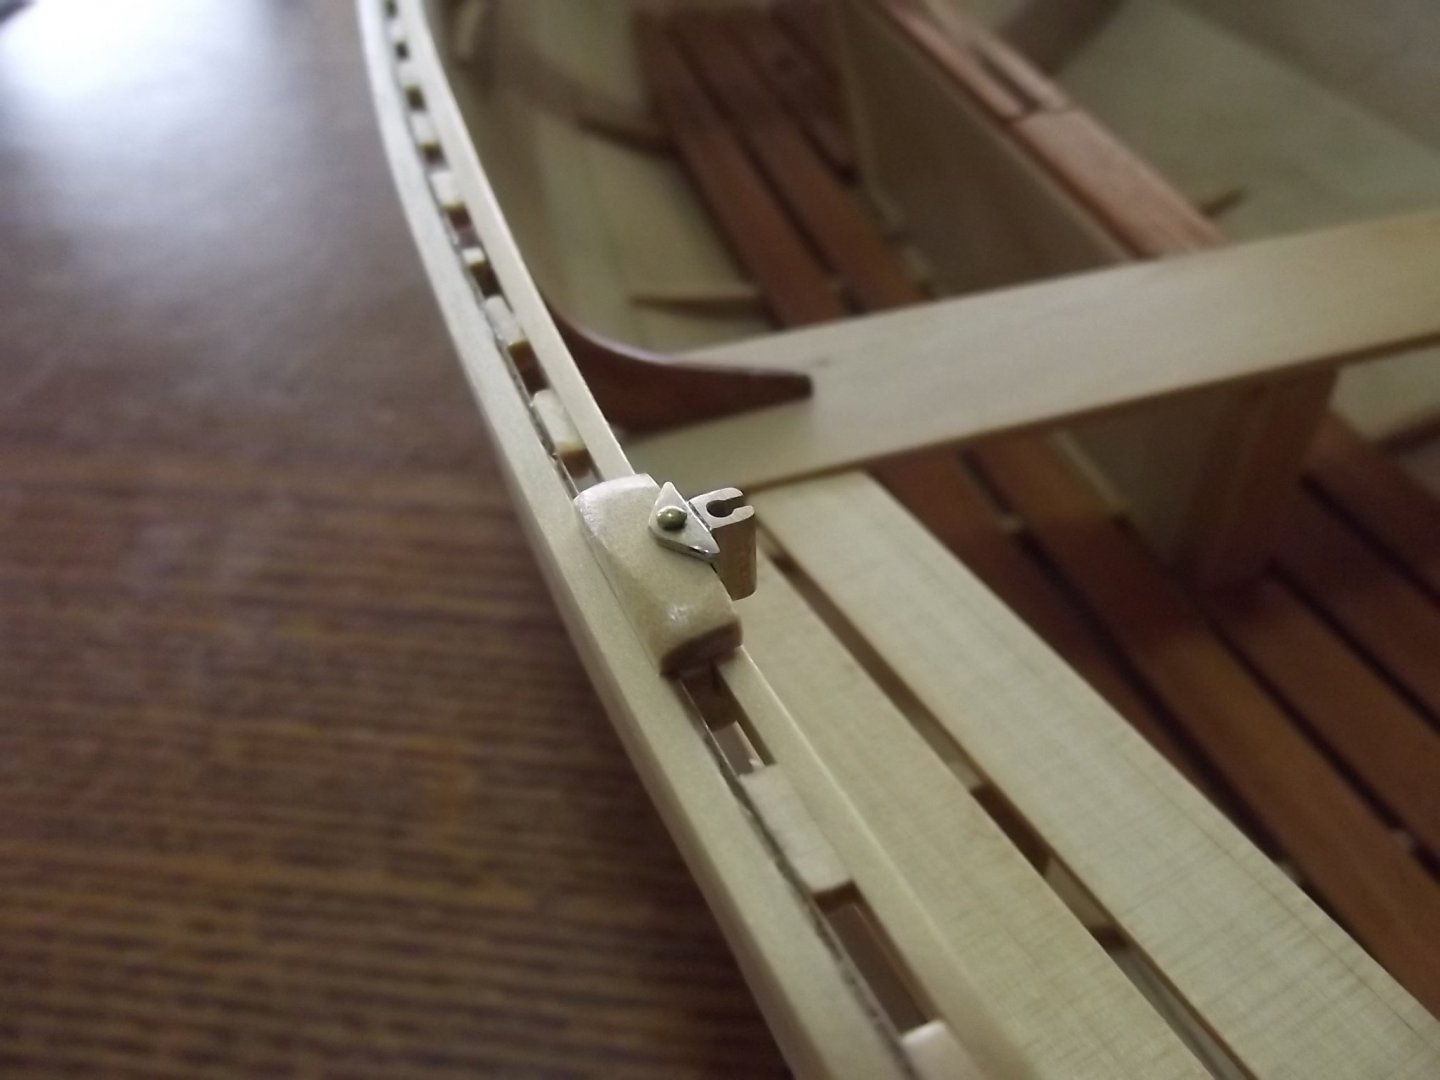
The rowlock bases are made and fitted, it's moments like this I really wish I had much smaller and more accurate machining capabilities. I was able to do some on the machine thankfully but the final shaping was done by hand and even at this scale the bases are too small to drill all the screw holes and fit brass nails as screws but after fitting them I realised I could have just drilled small holes and put the shaft of the pin in to represent the screw heads. Too late now. I drilled a 1.5mm hole down through a piece of 3mm brass then used the Dremel cutting wheel in the mill to open the hole up then using the same wheel I cut that edge off the stock and into 6mm lengths for the pivot holes which were then soldered to two layers of 0.25mm brass plate bent at right angles then soldered together to give the 0.5mm thickness required. Next onto the rowlocks themselves

-
There's more to come but I think it will slow down now because I have to make a lot of fittings before I can build the sailing rig
-
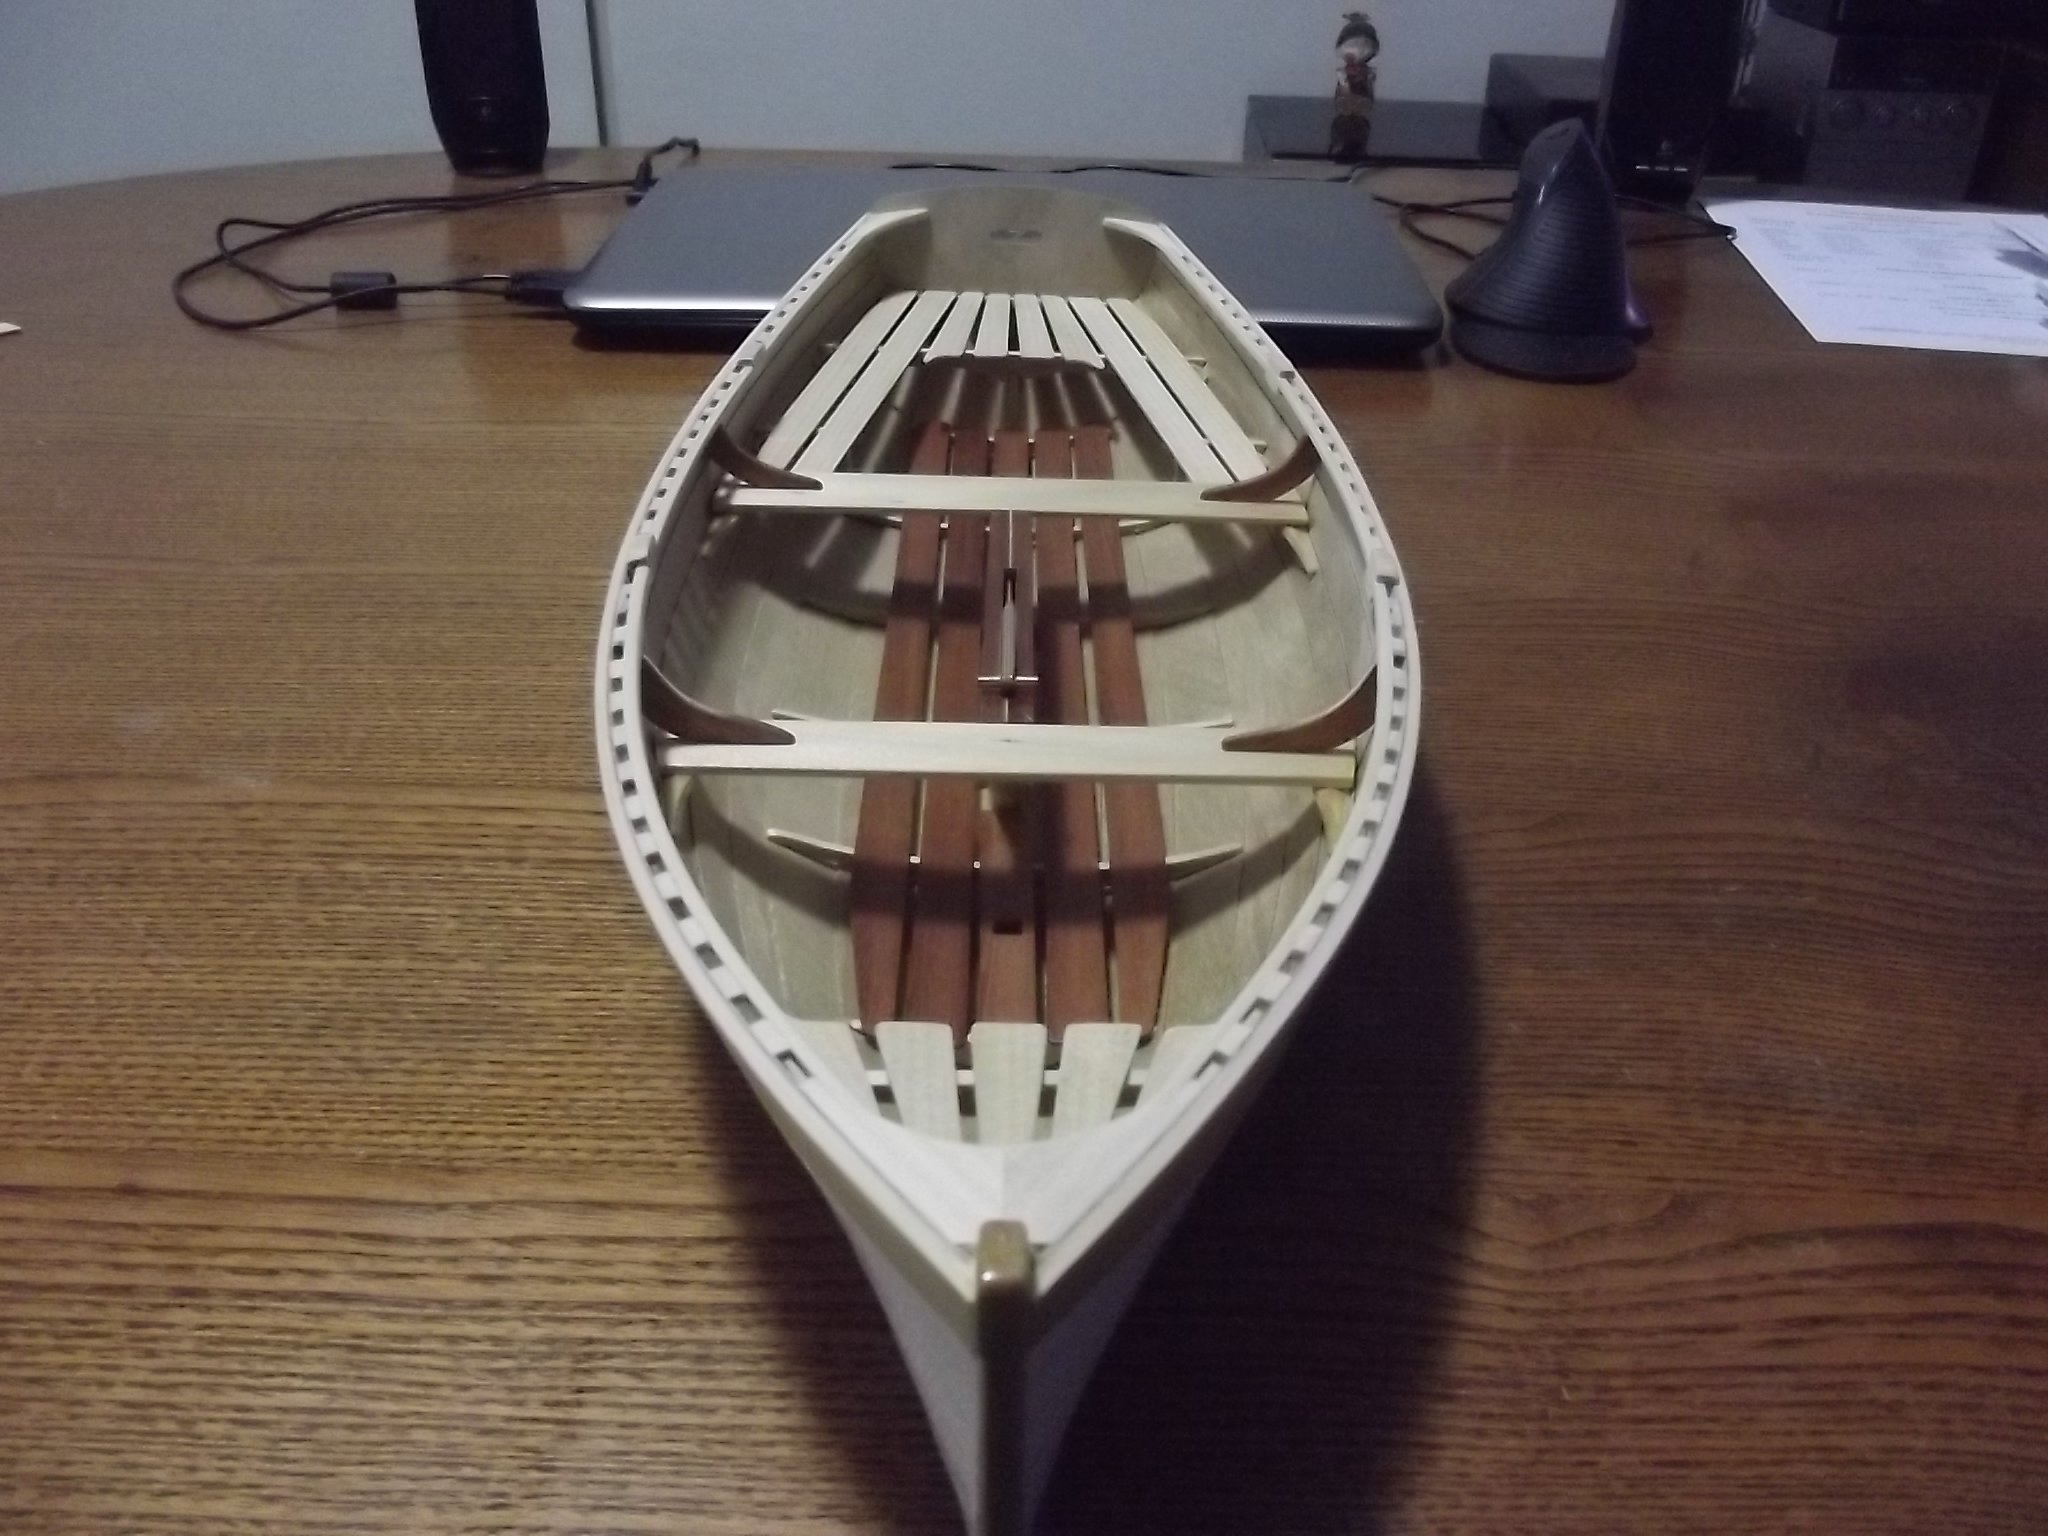
And with that the last of the woodwork on the boat itself is finished!


-
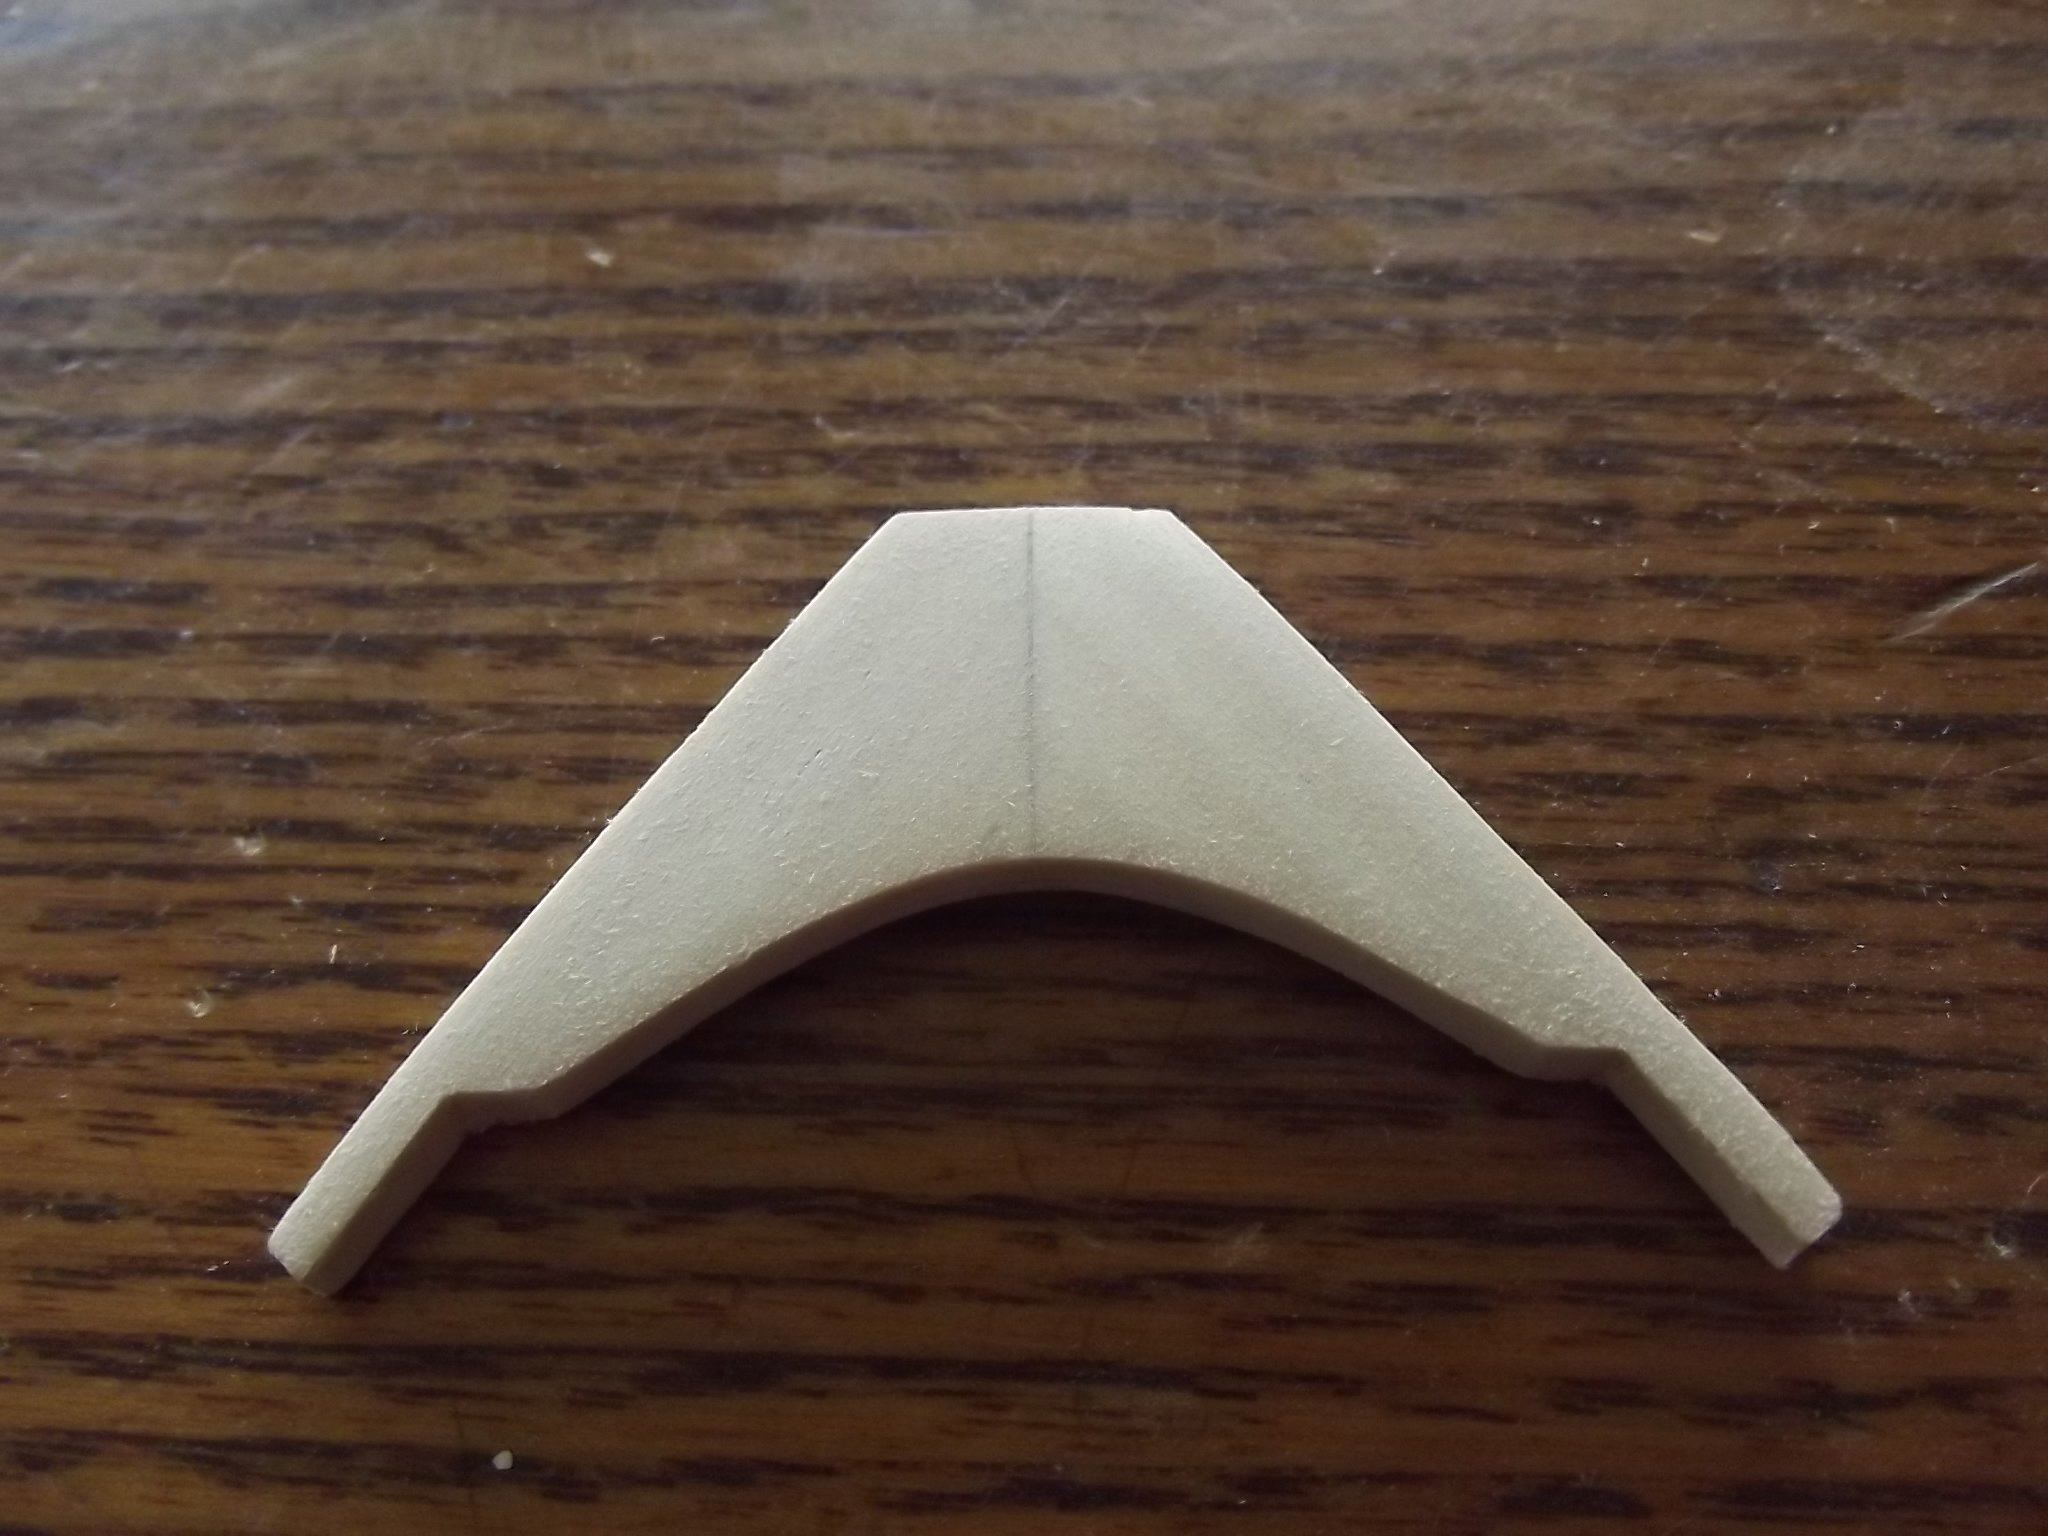
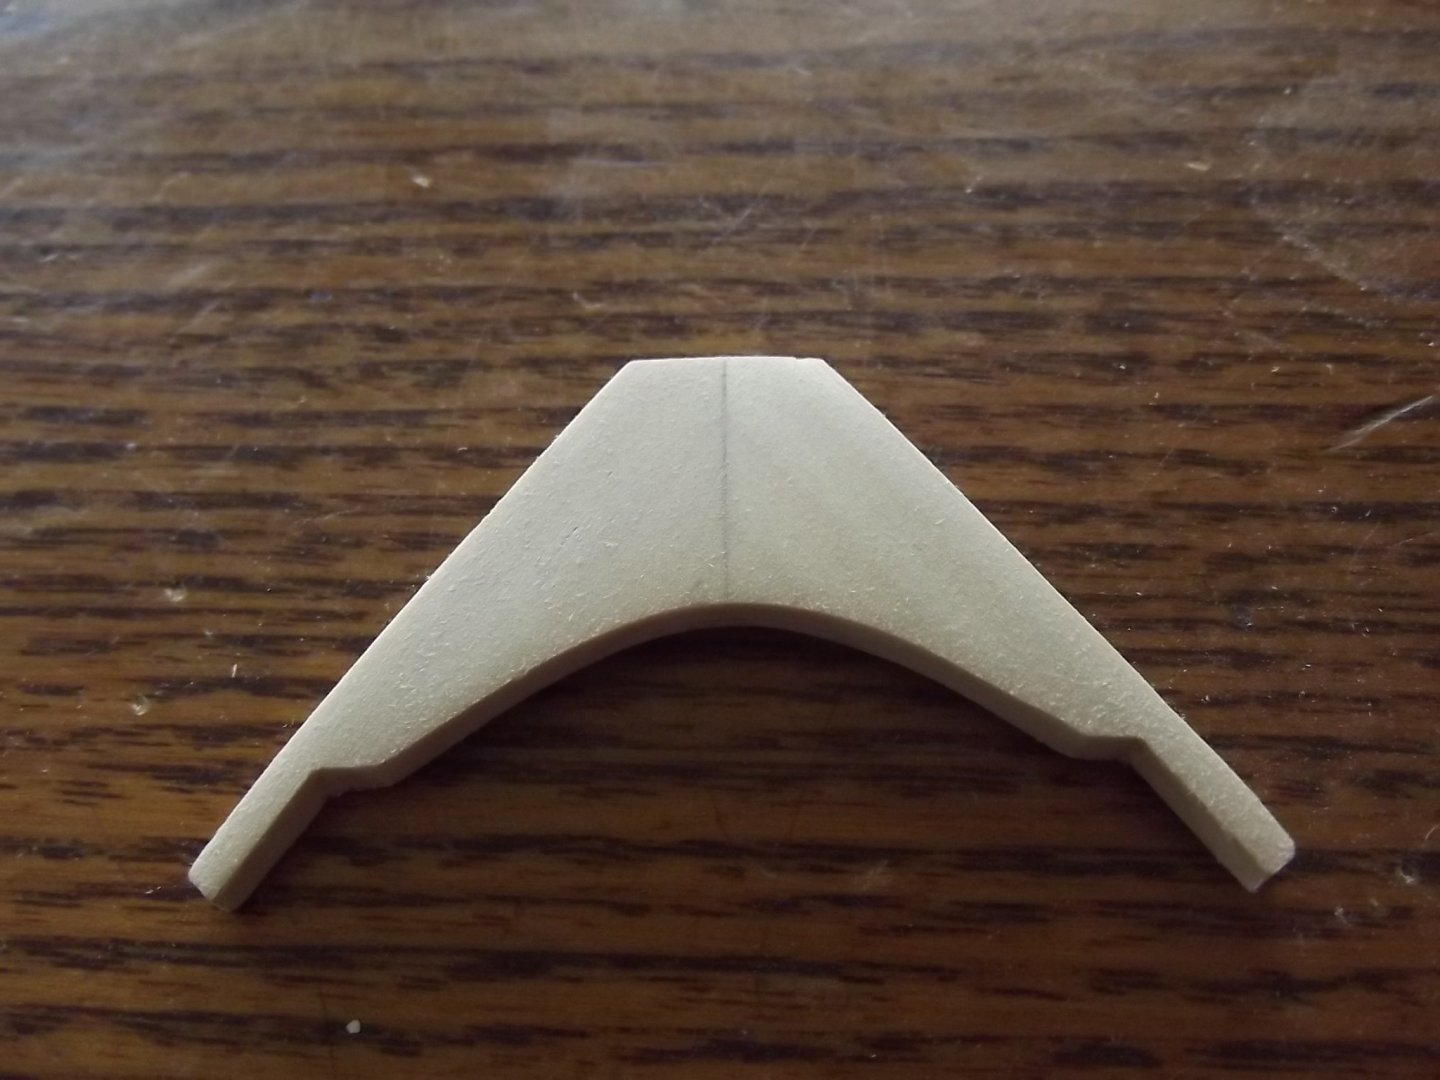
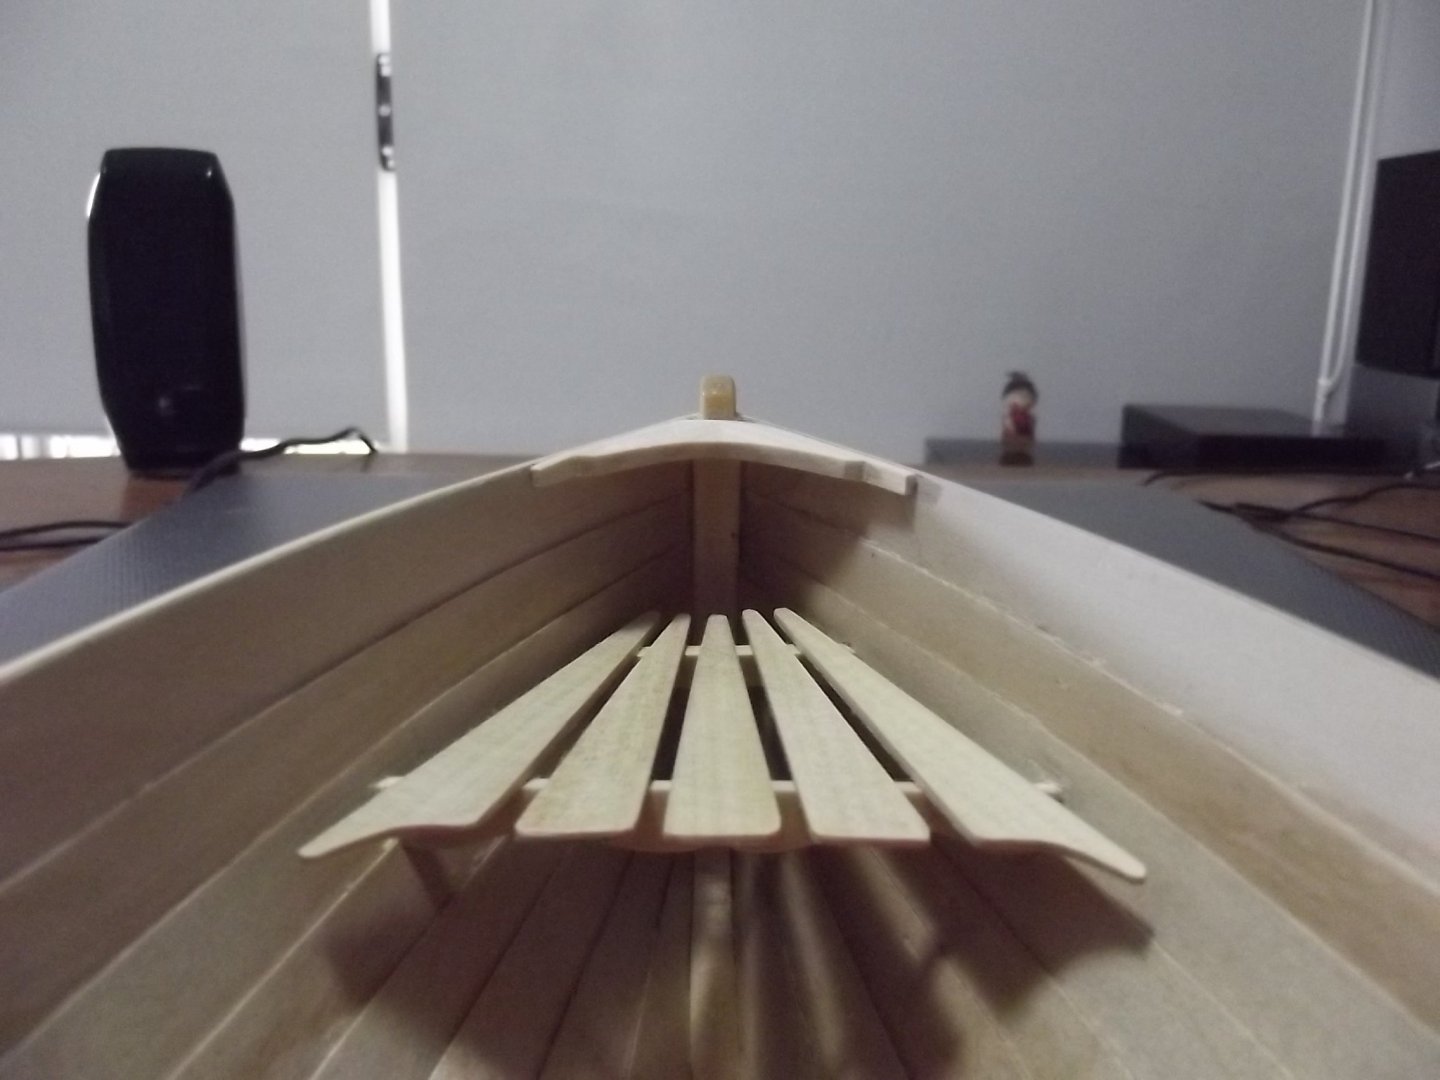
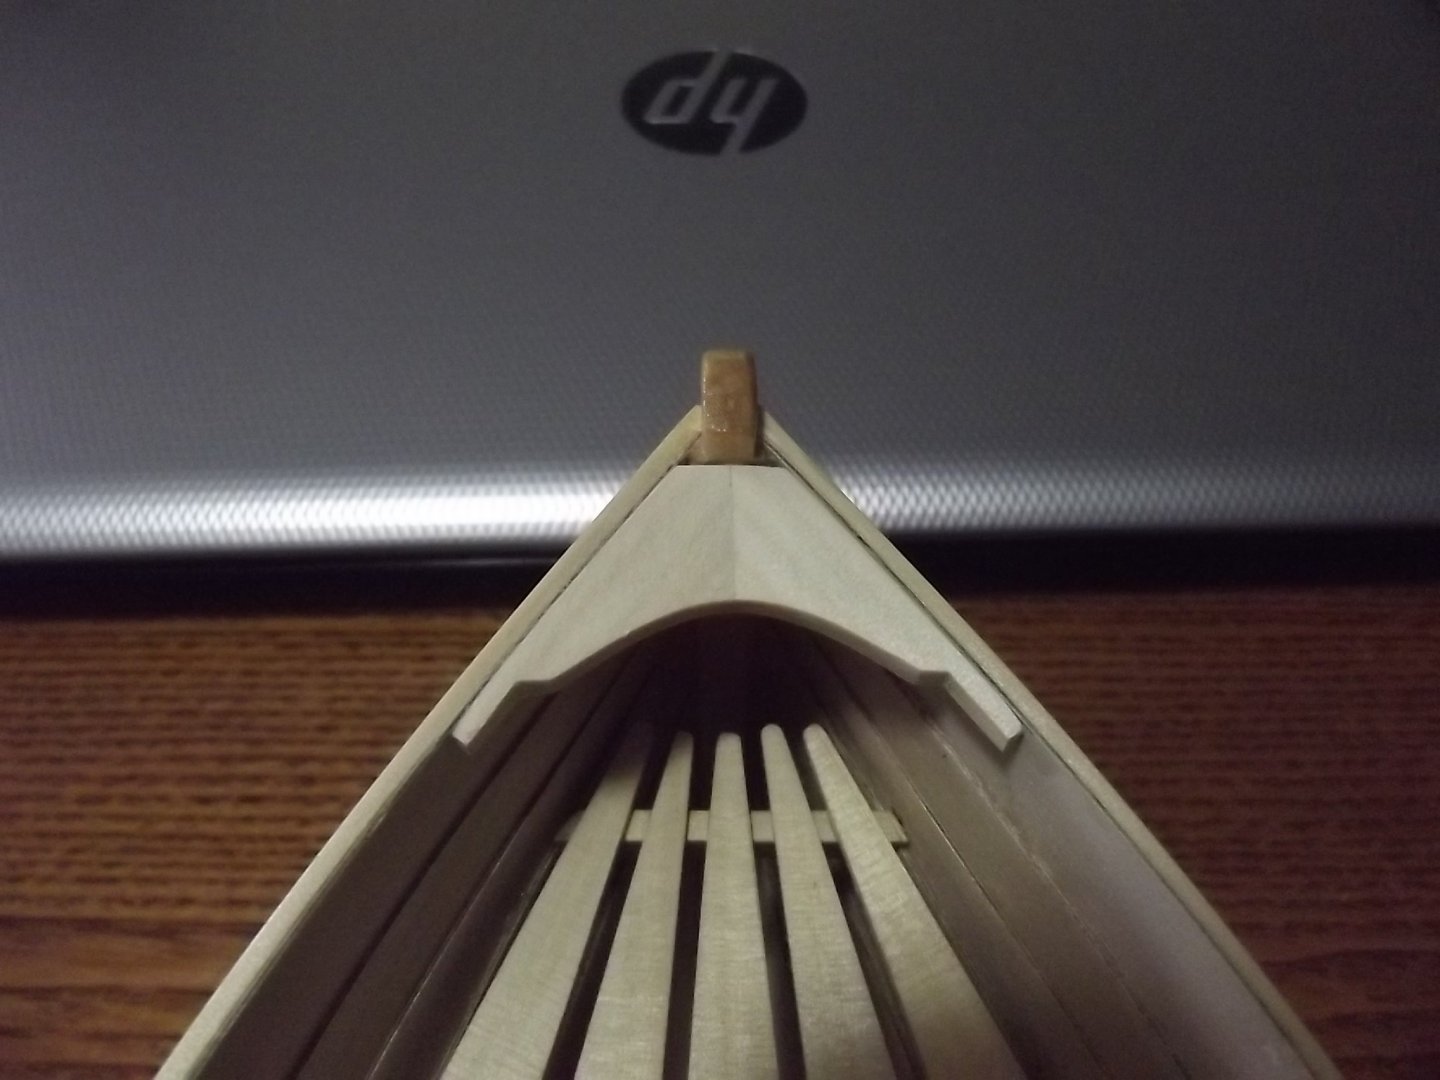
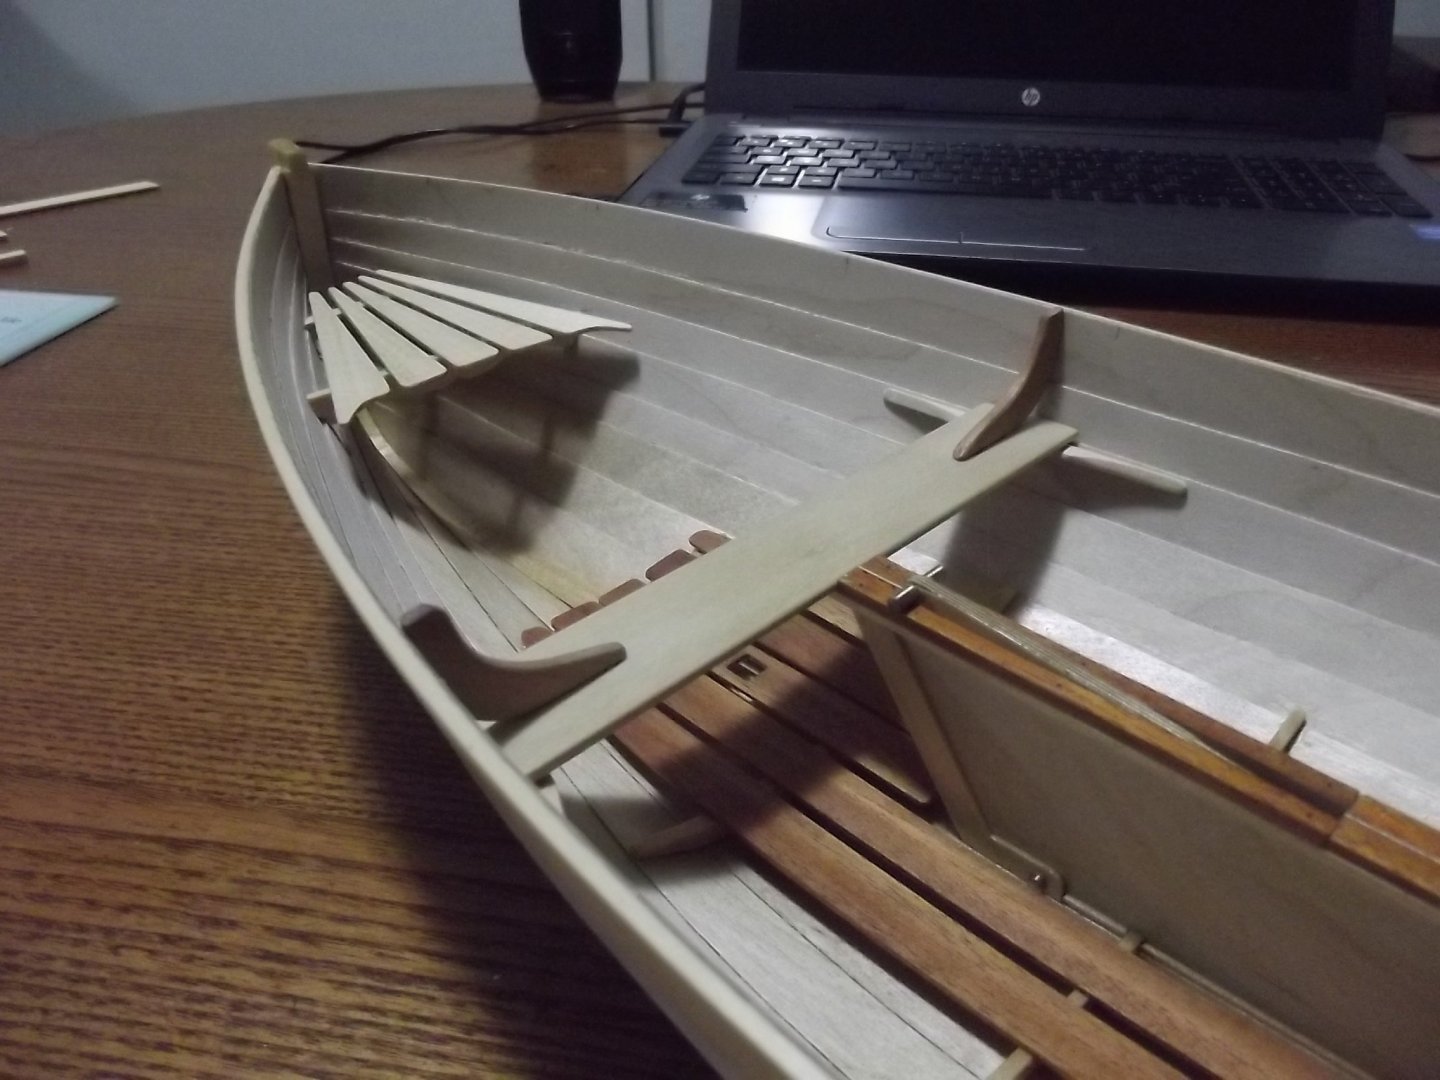
Breast hook made and installed, interior is getting there!
-
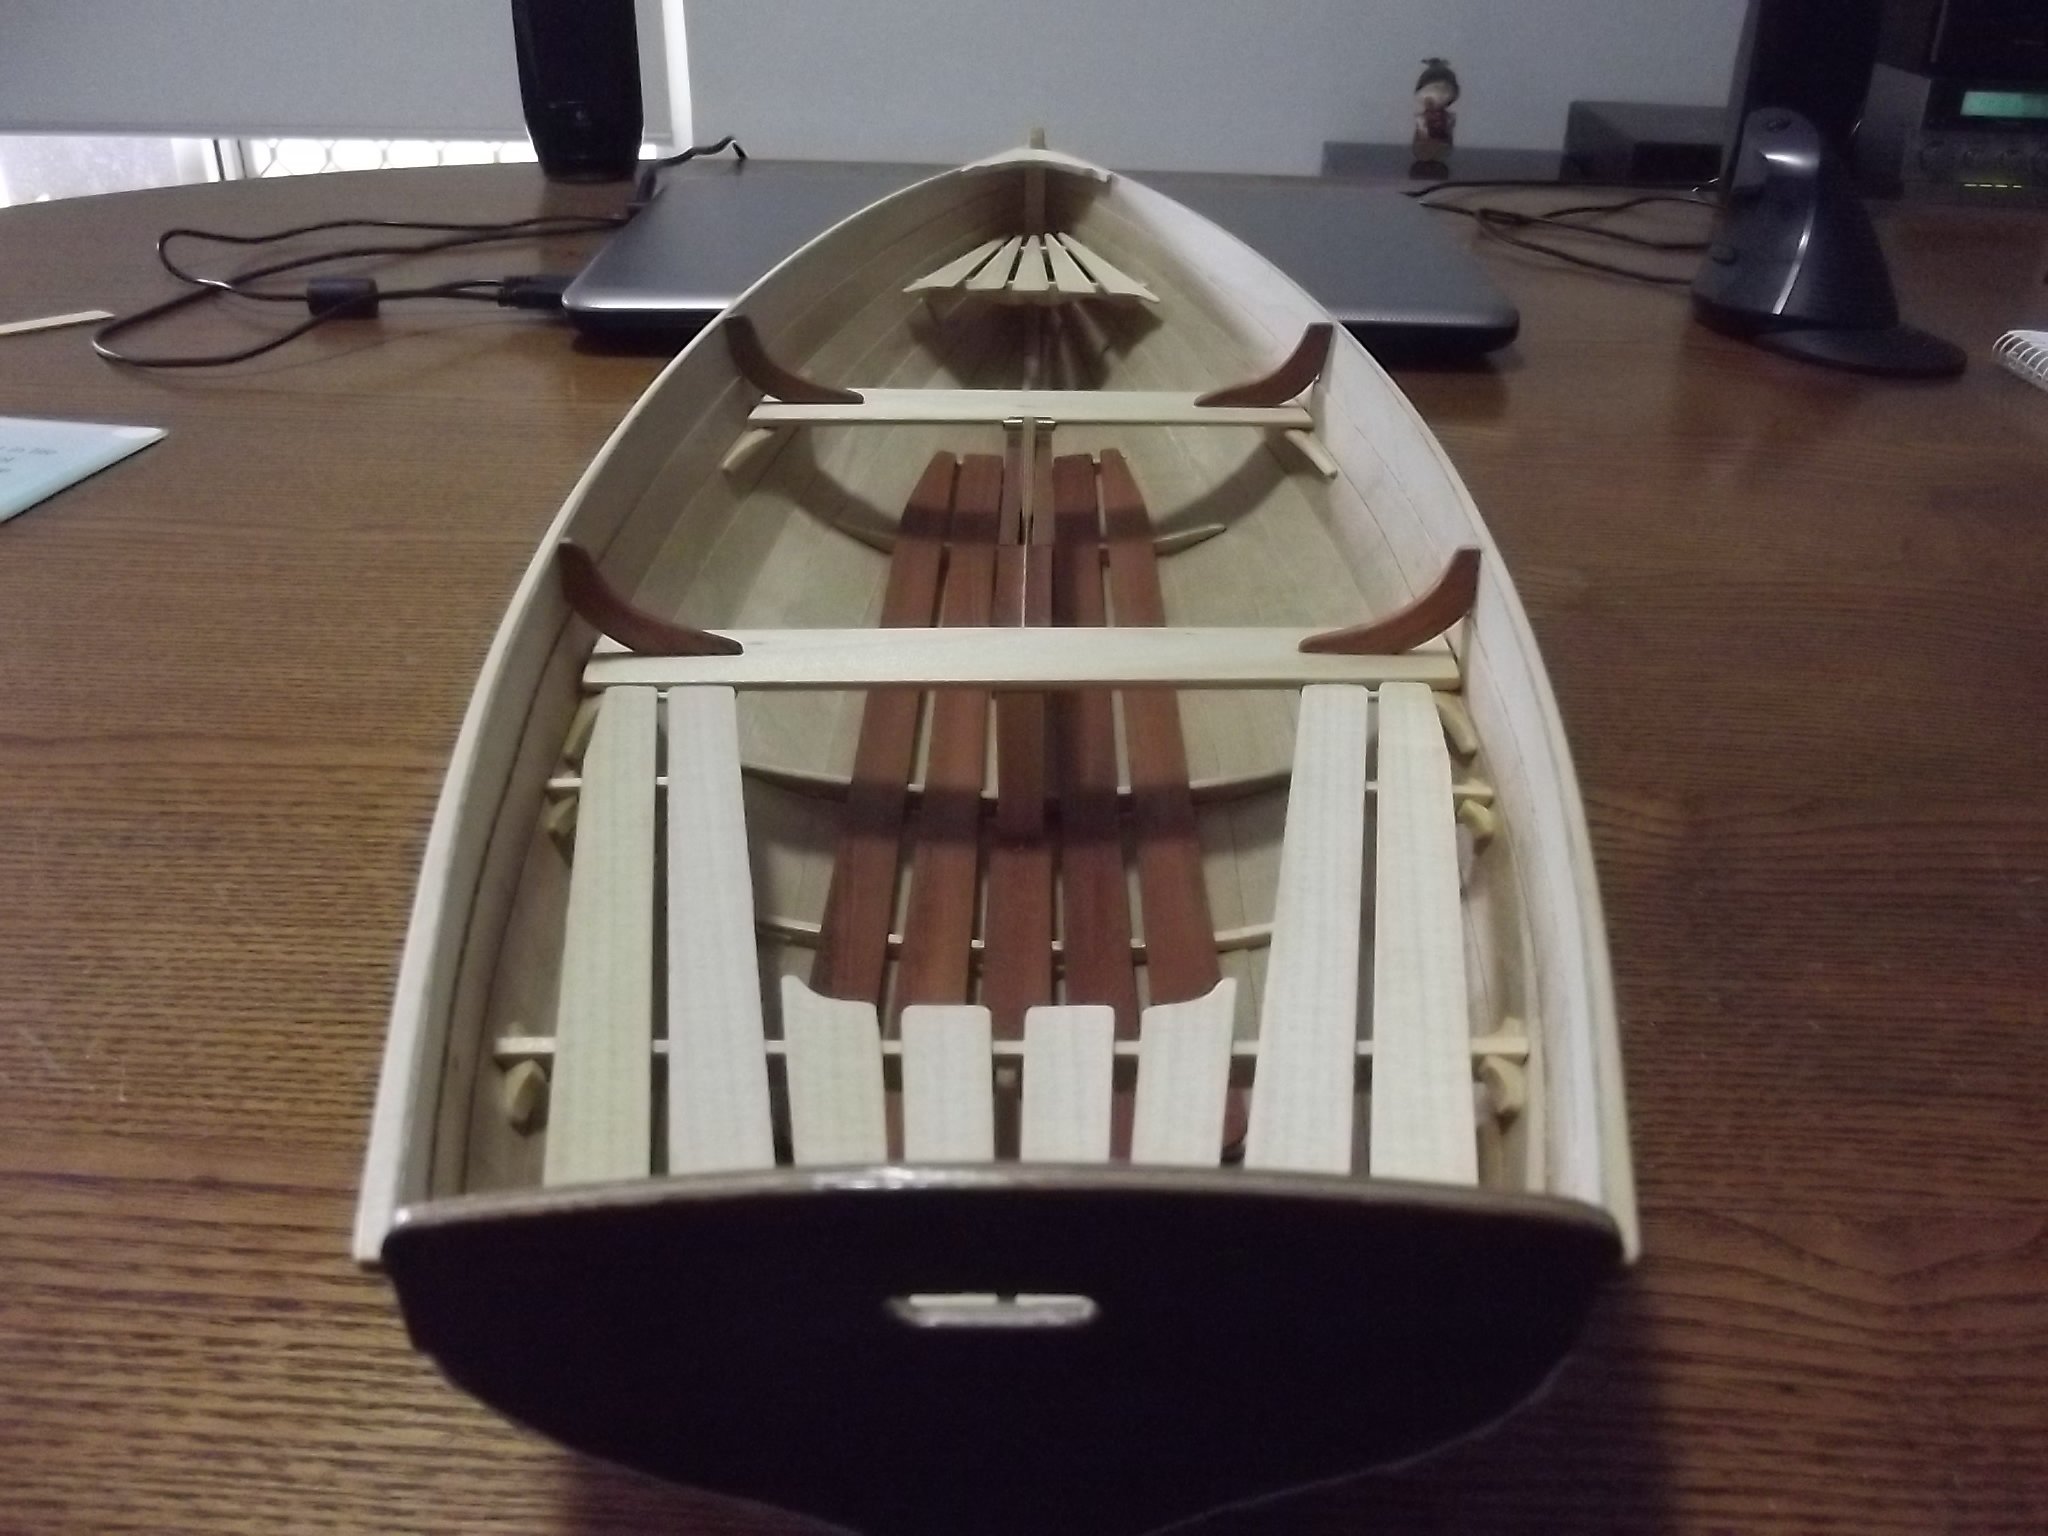
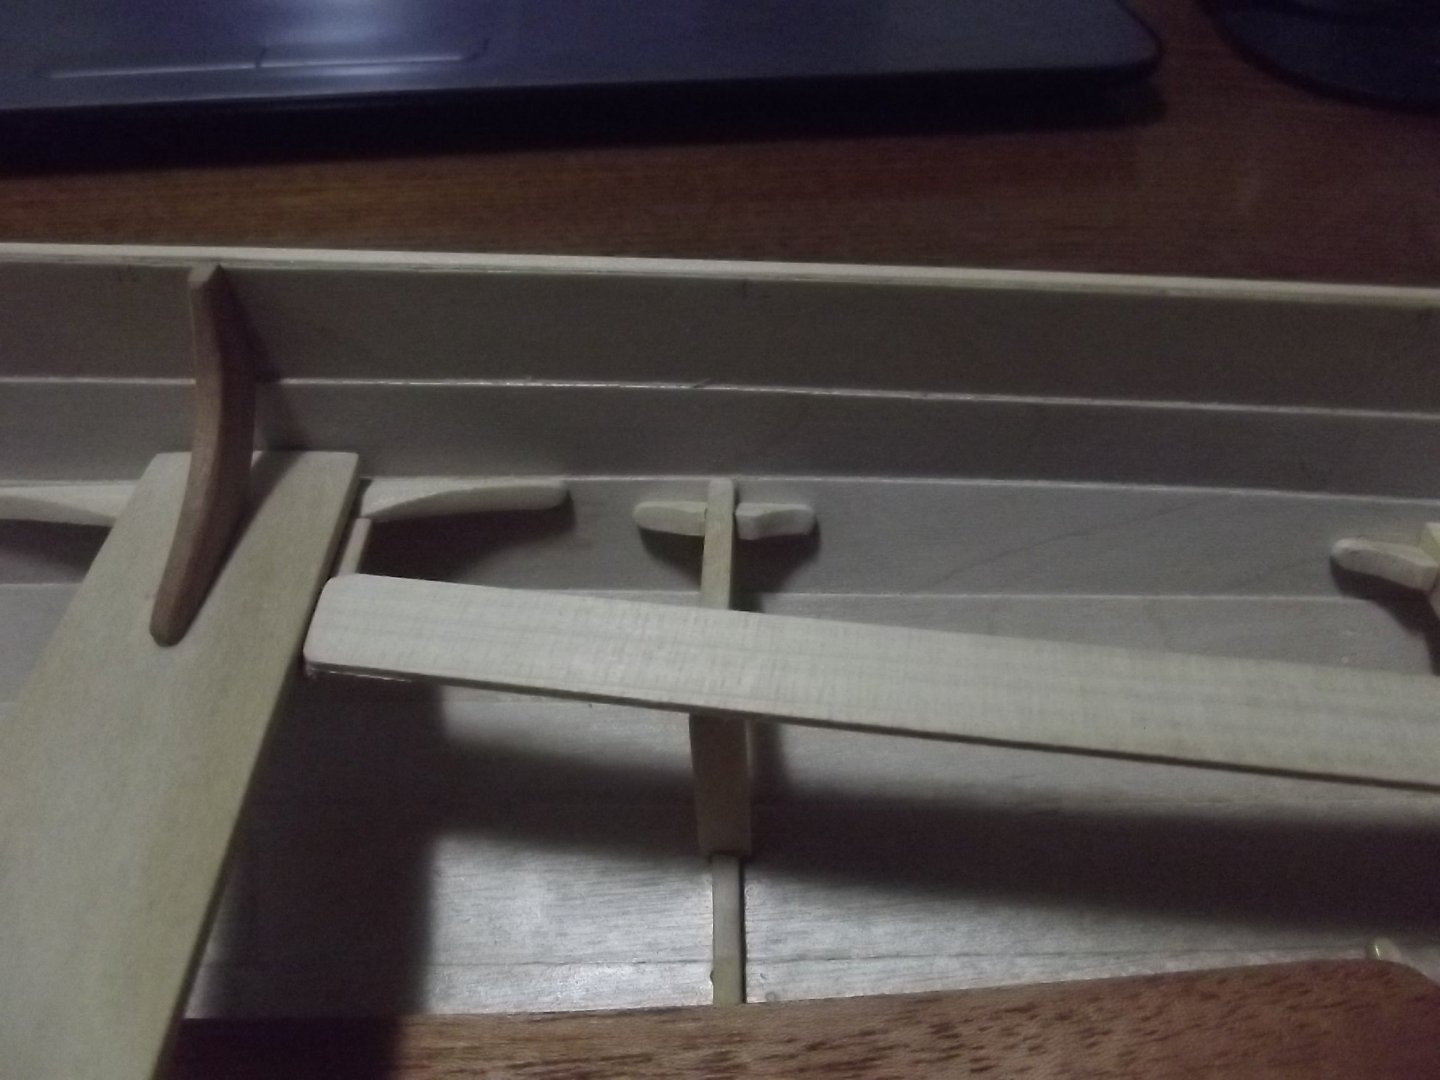
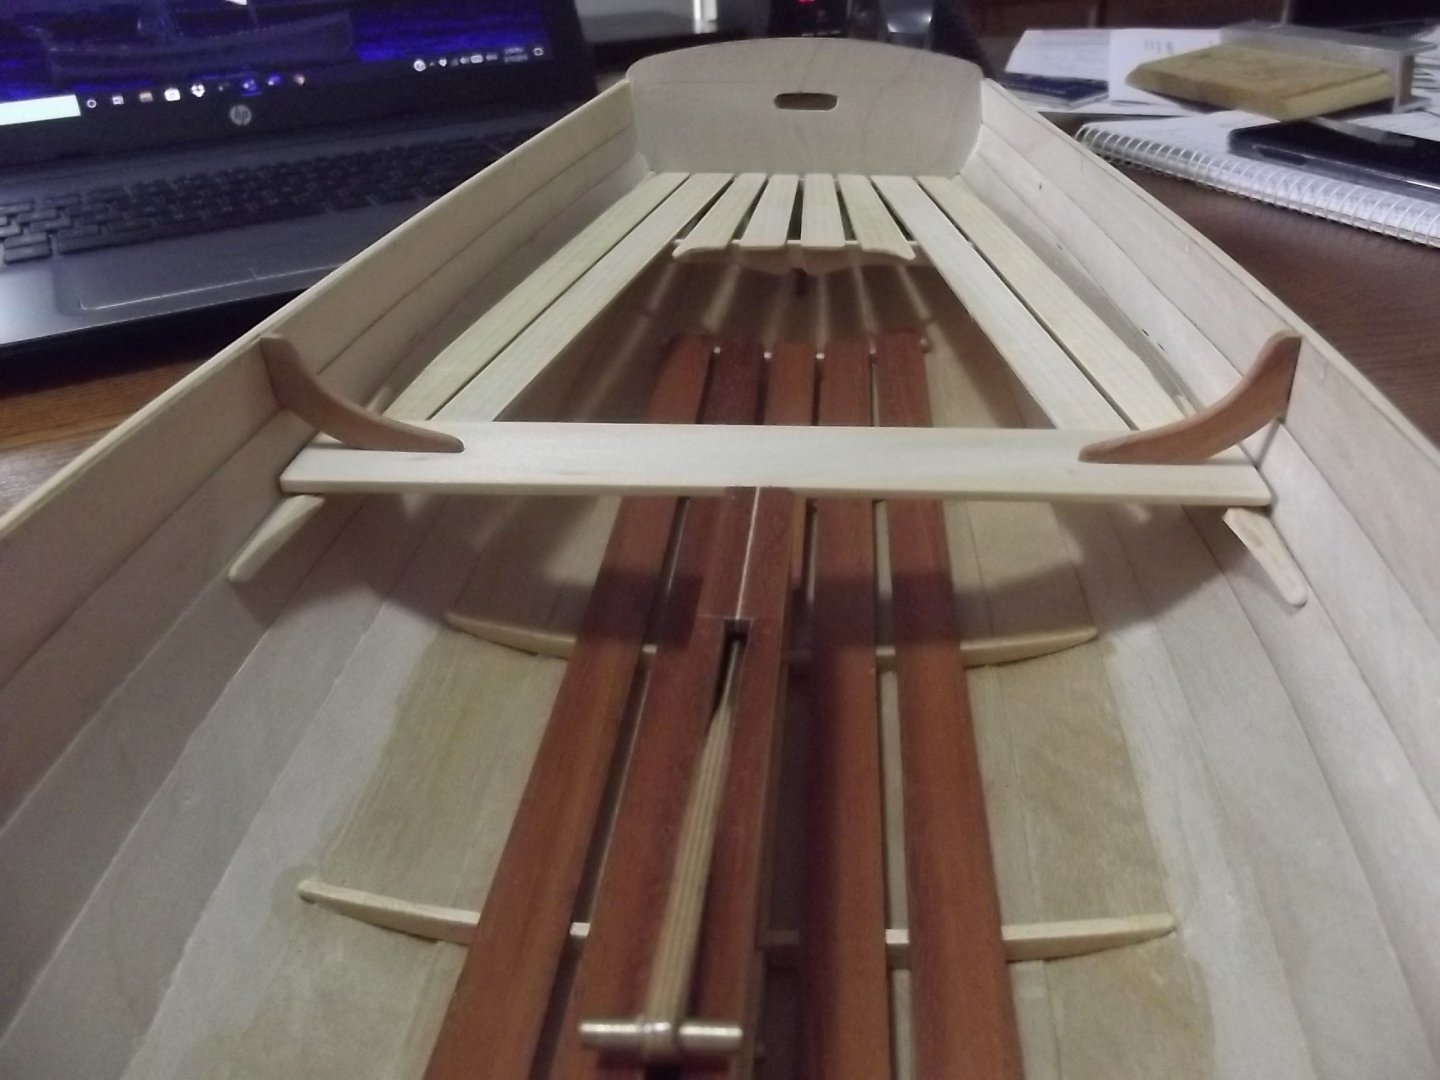
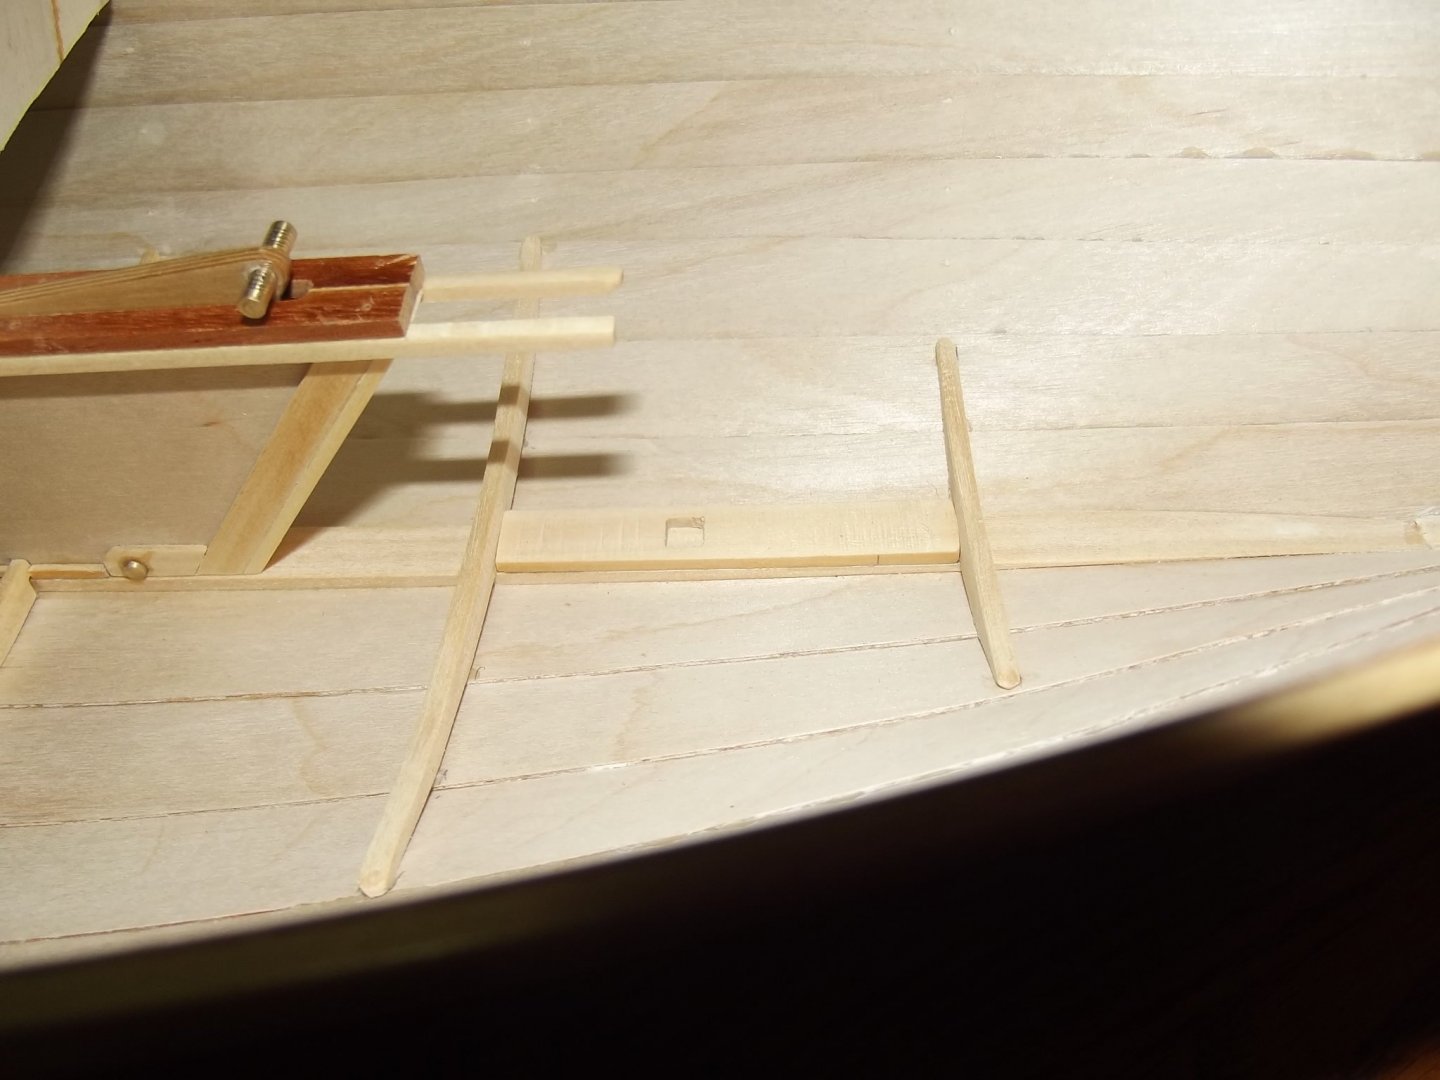
The stanchions, bearers and cleats for the stern sheets are now in so the next job is varnishing everything I won't be able to get to once the planks are glued down
-
Thanks Michael, I'll have to see what I can find in leather! You've been pretty quiet lately, nice to see you back on deck.
-
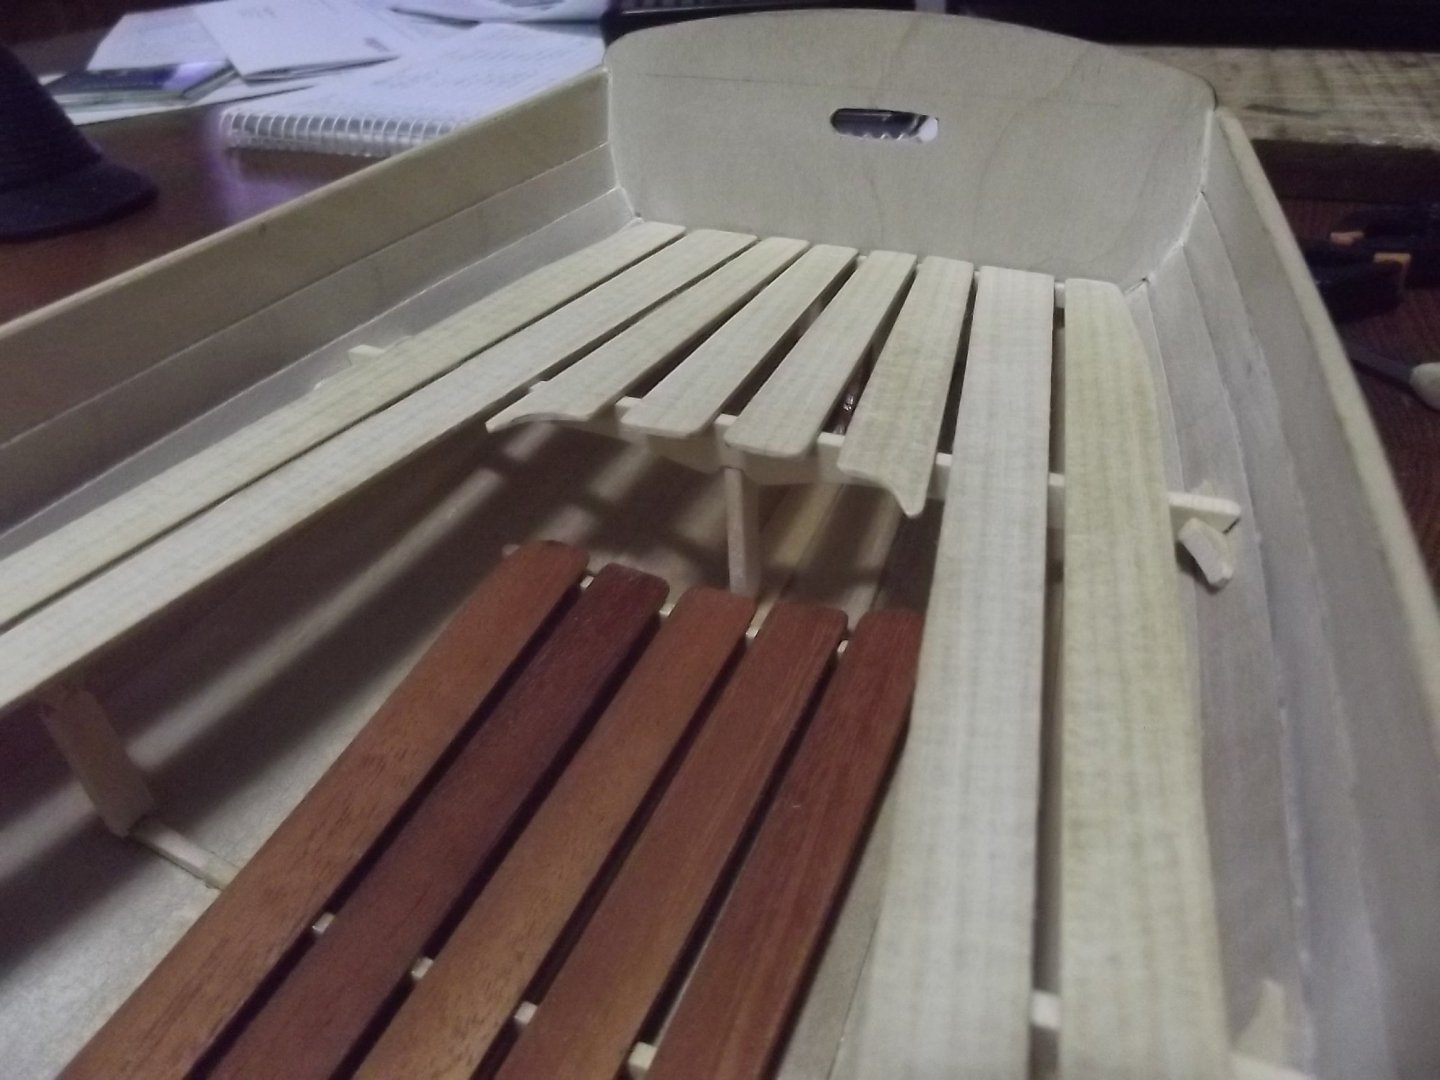
Stern sheets made, now to do 4 more cleats for the sheet bearers then I can finish of this part of the build and varnish out the hull then glue all the sheet planks in. Then onto the breast hooks etc.
-
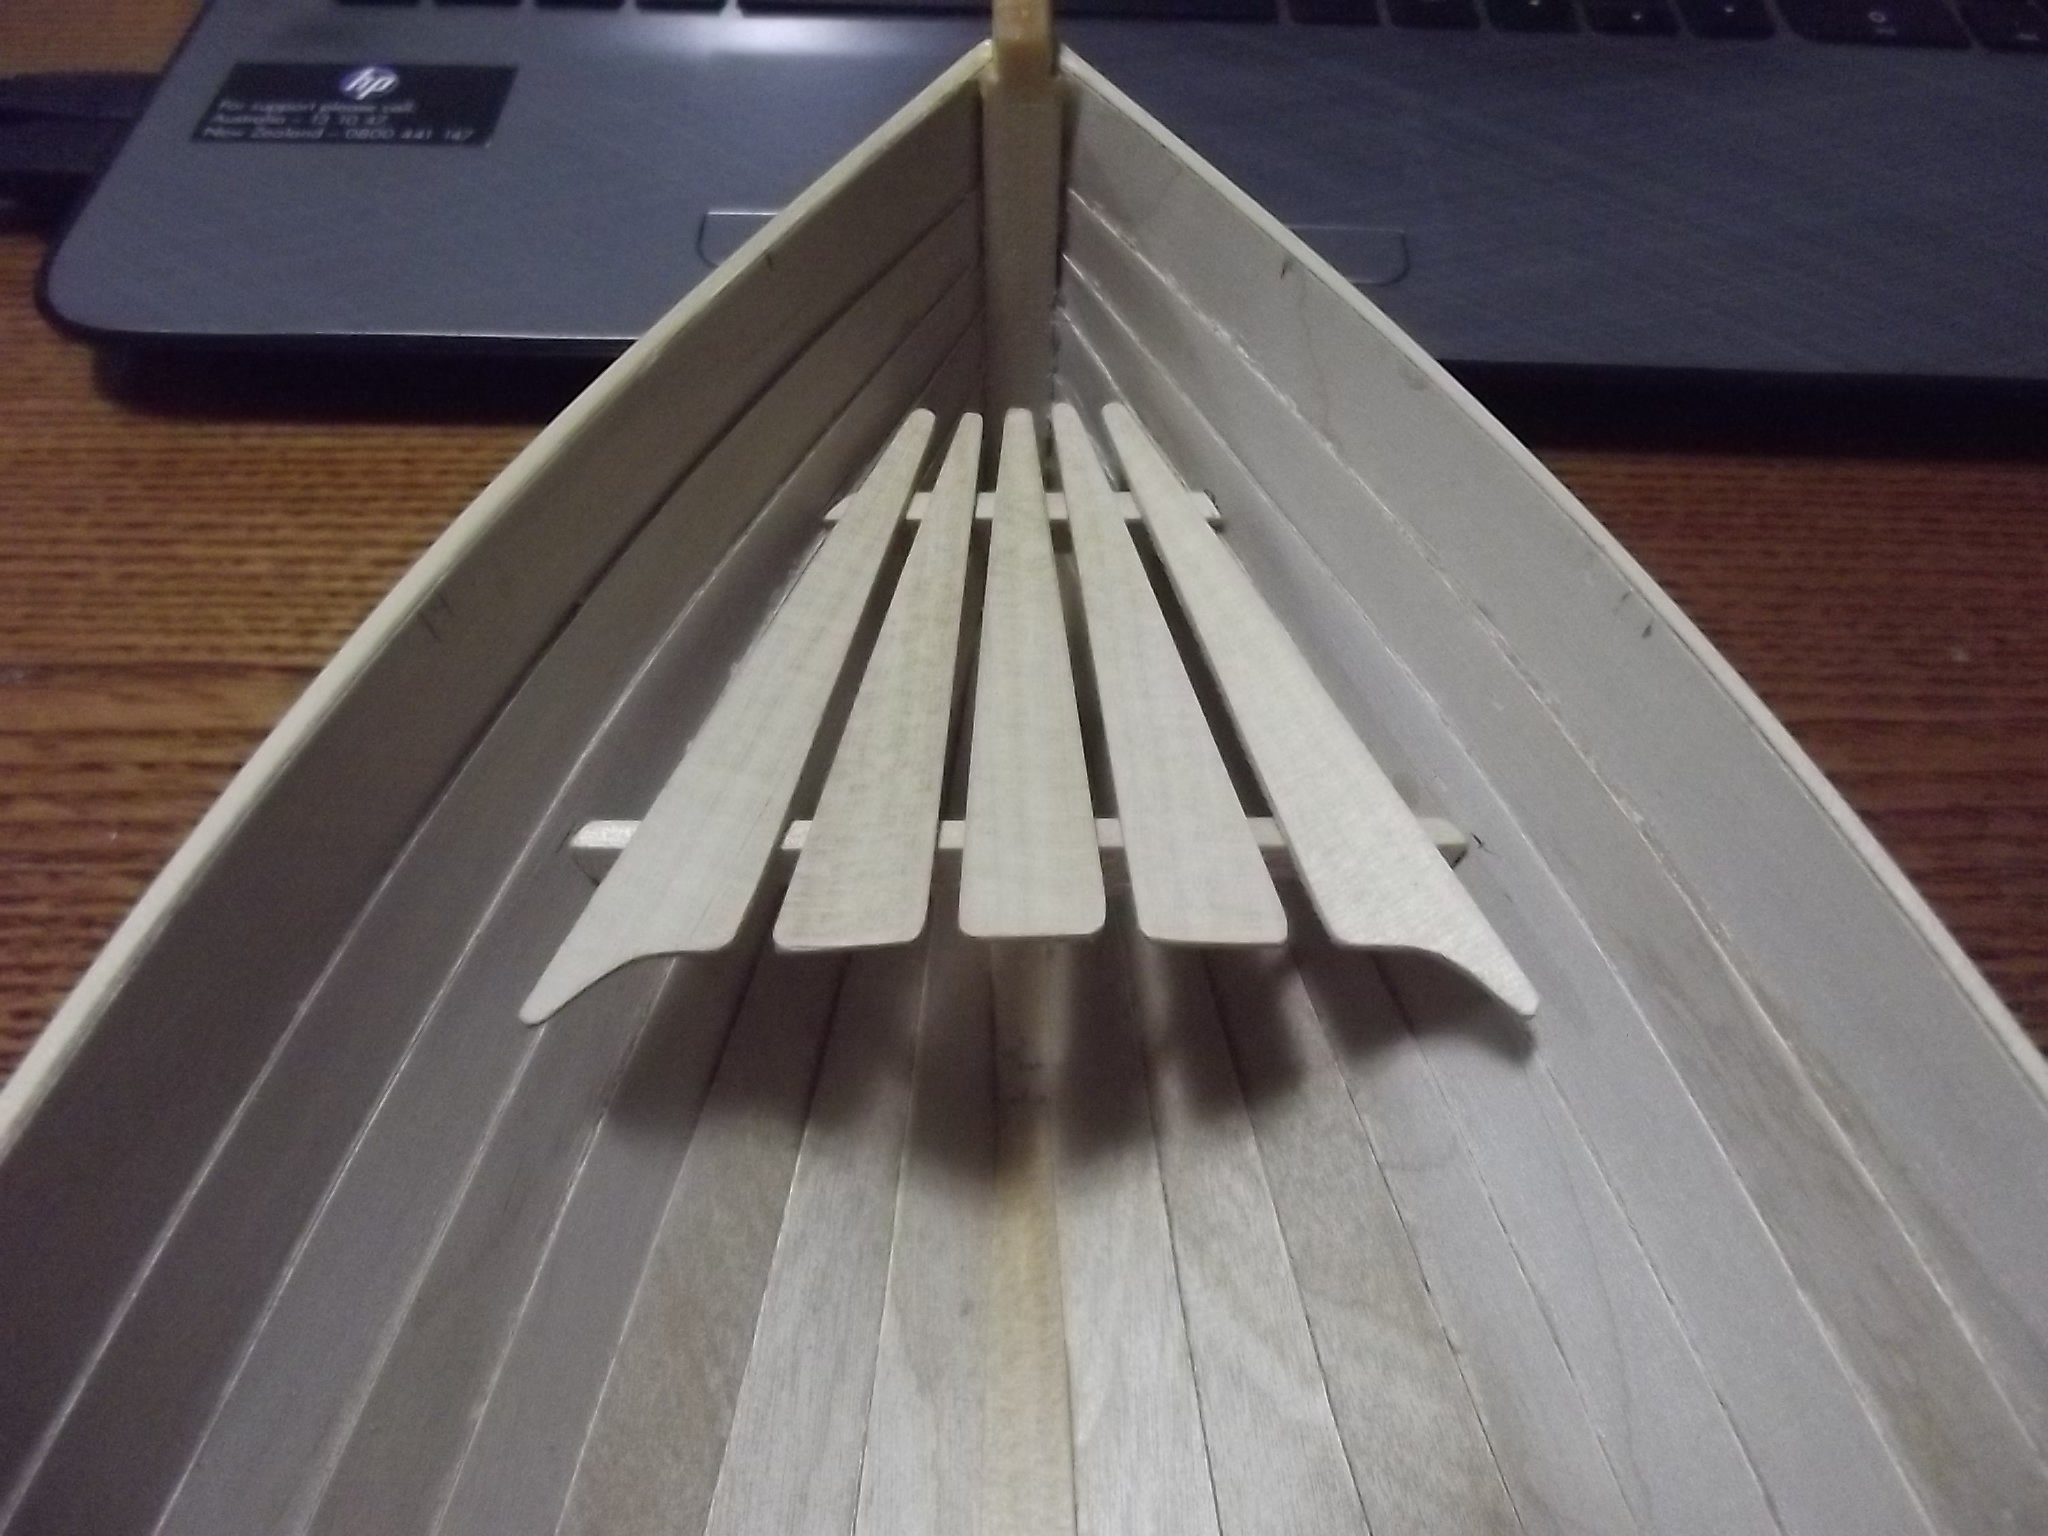
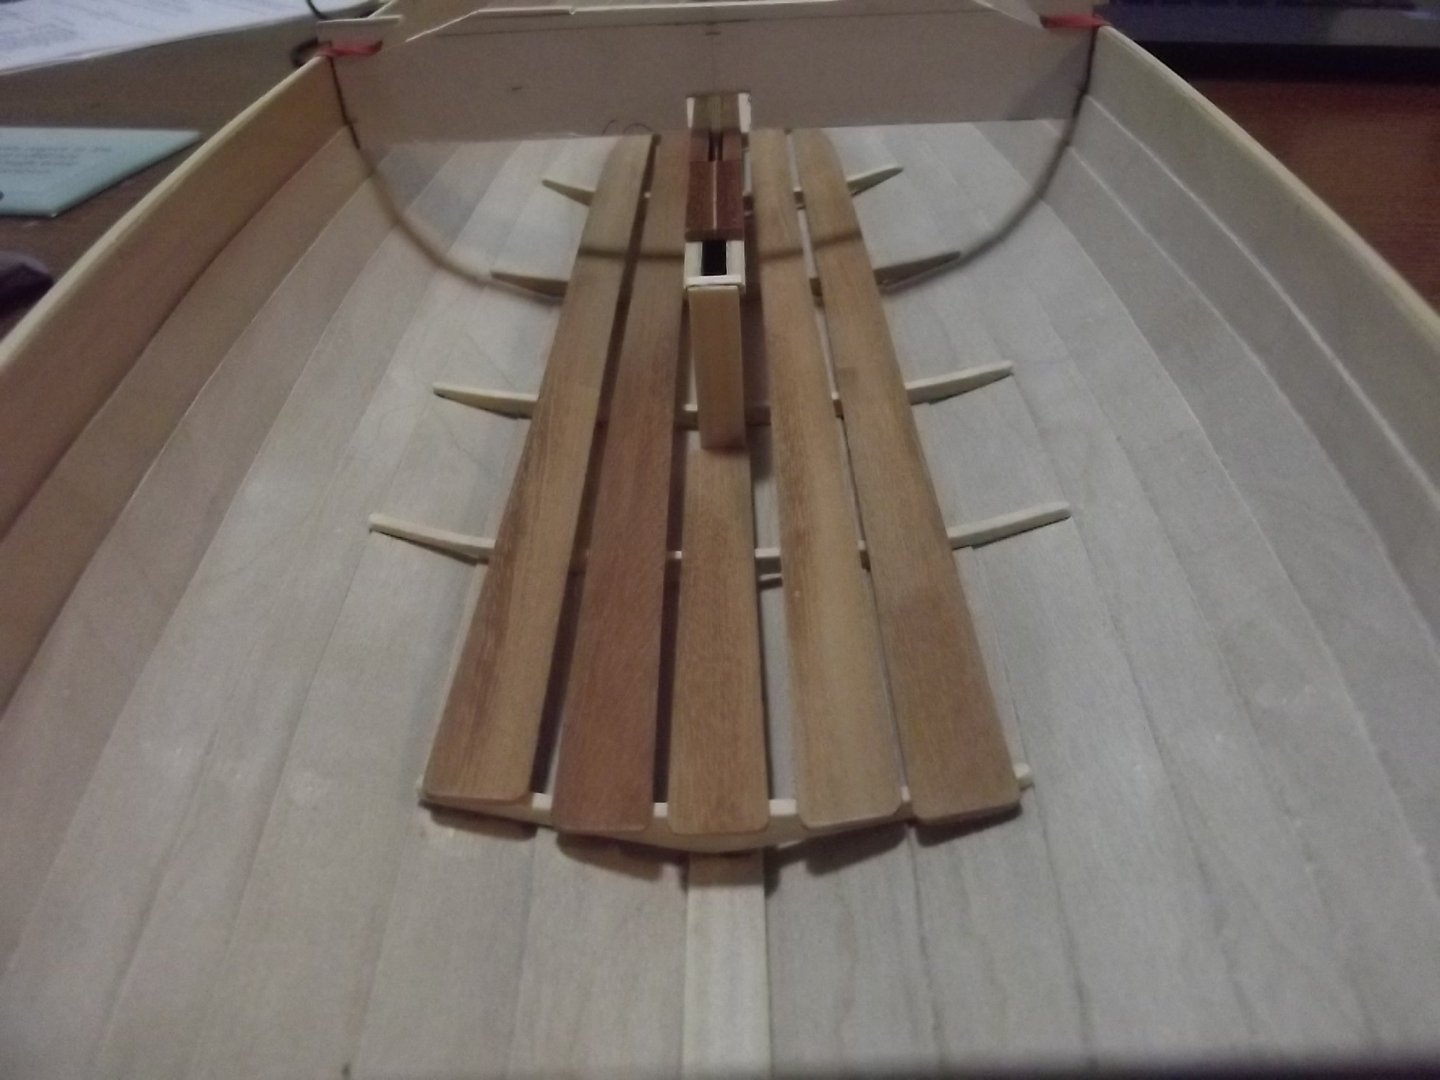
Bow sheets cut and bearers glued in, I have to varnish under the sheets before I can glue them in

-
It feels like building the real boat, I'm doing pretty much everything the same way only it's nice to be able to pick it up and turn it over or around!
-
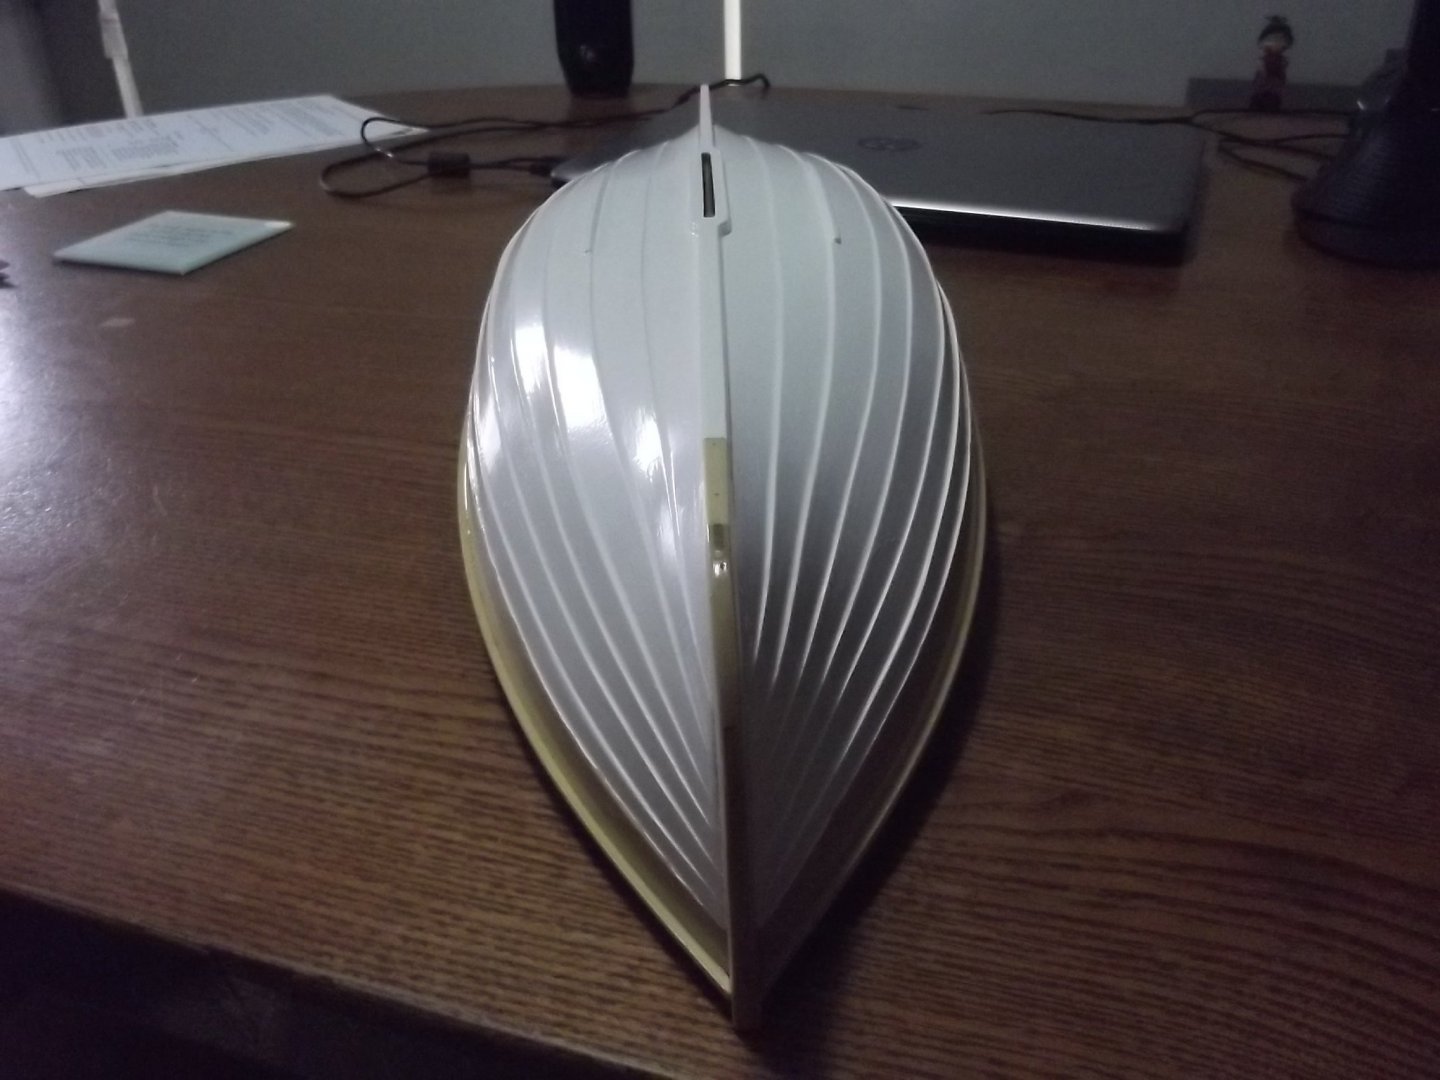
I scraped the hull of the full size version while getting it on the trailer when I sailed it on Tuesday so I had to get the white paint out to effect the repair so while it was out...........


-
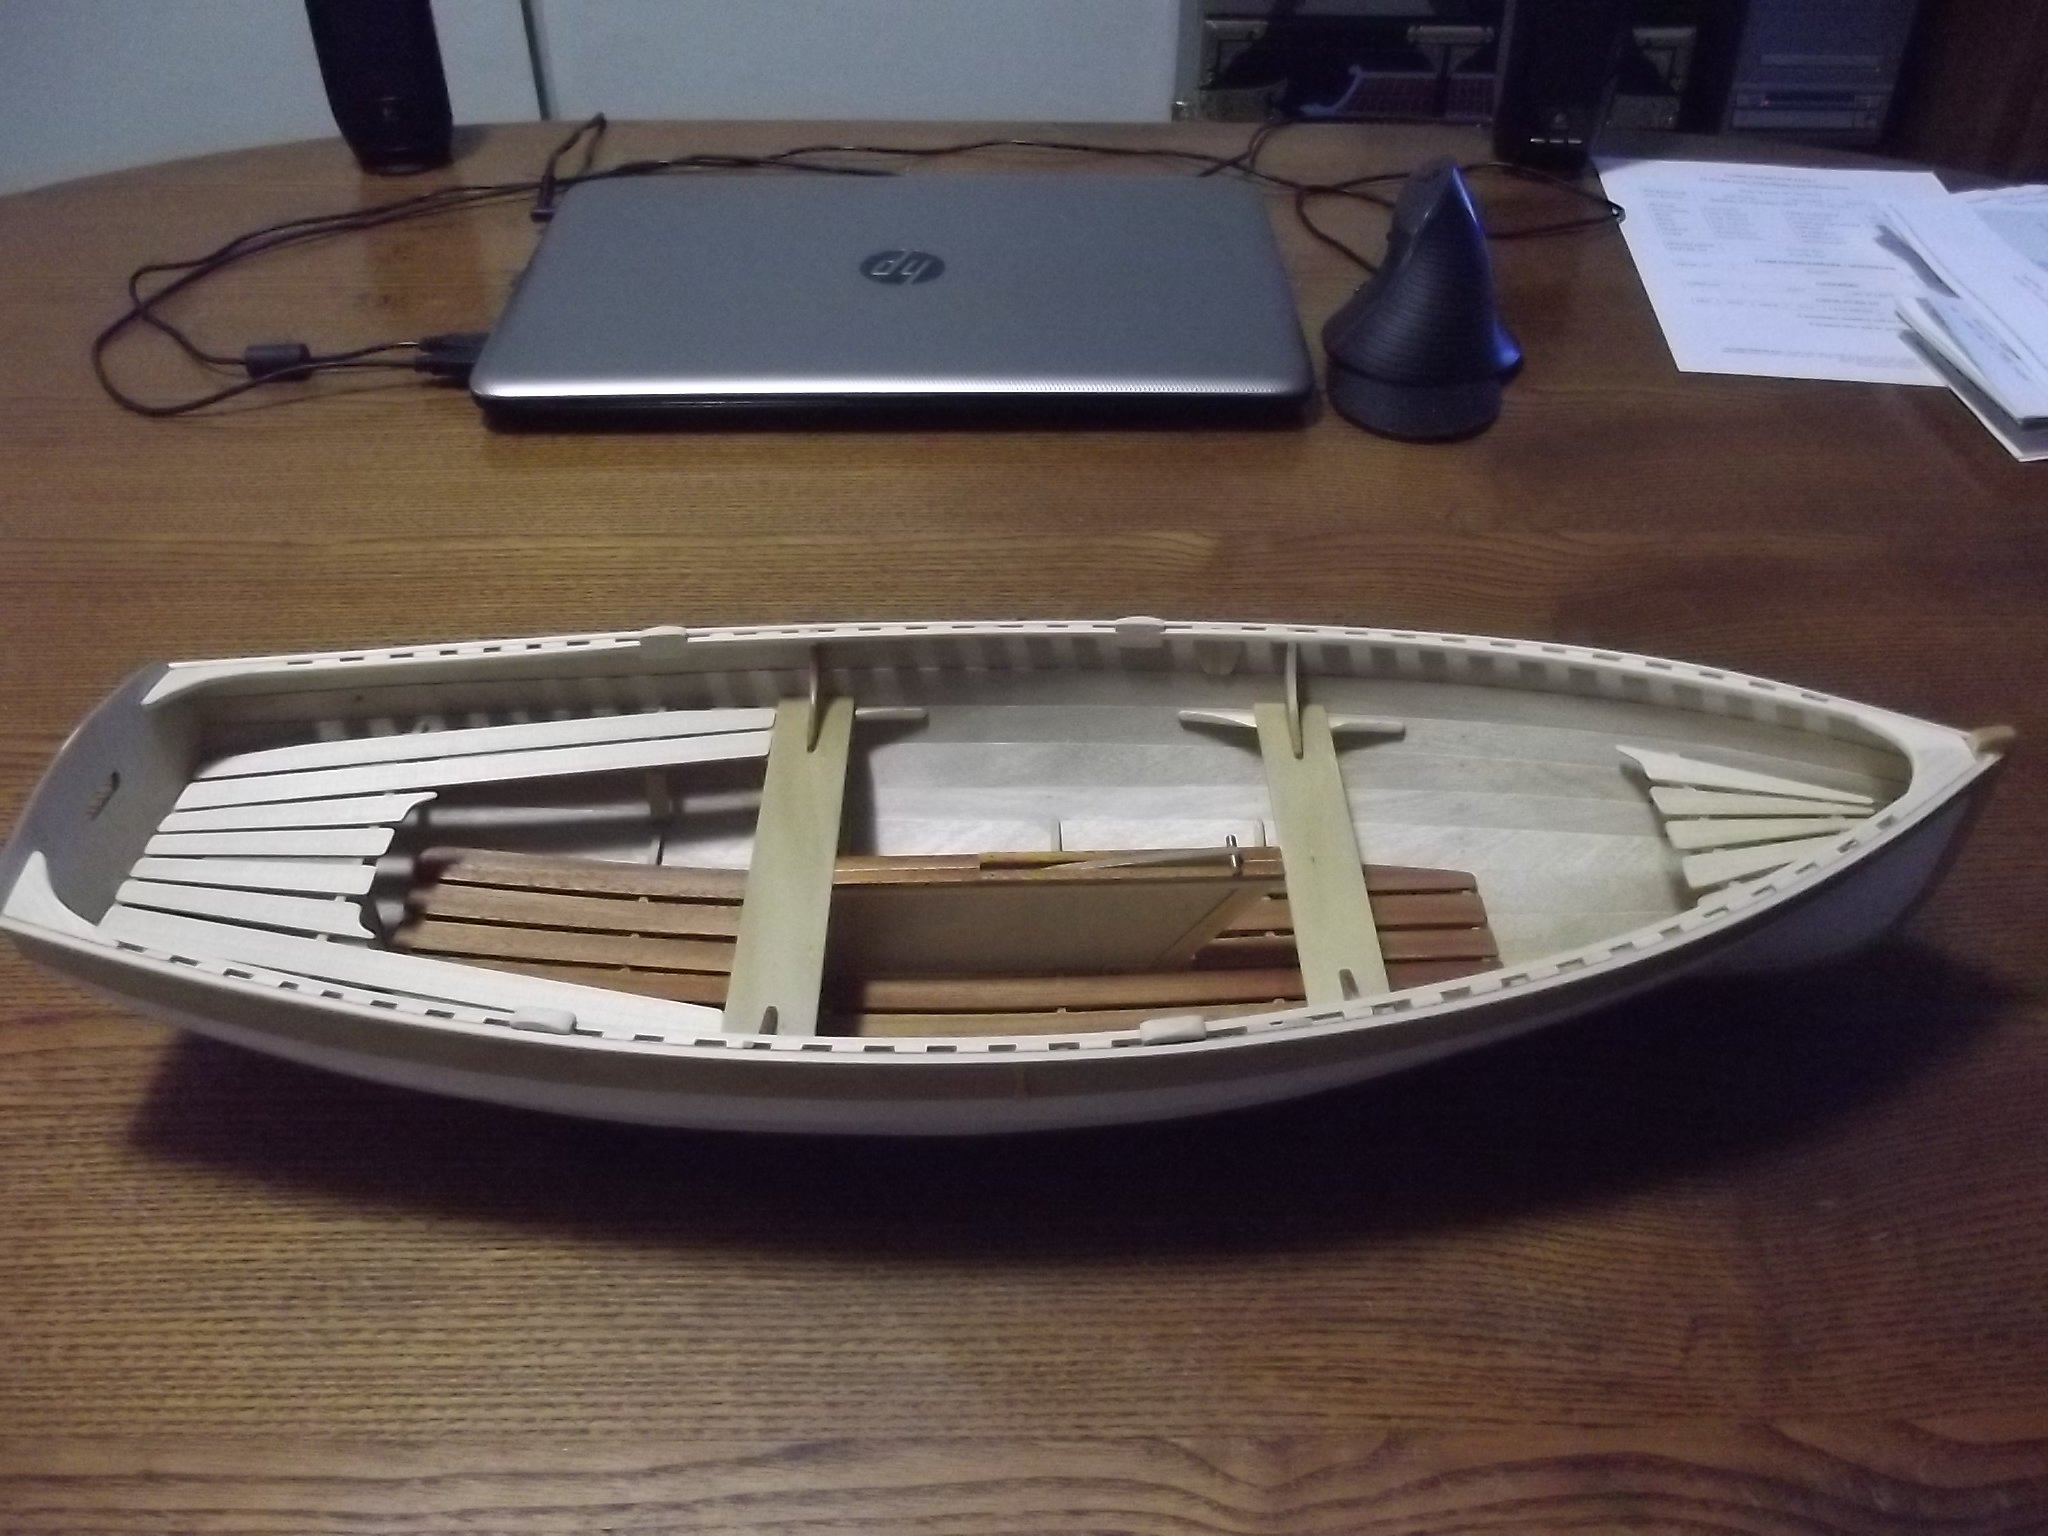
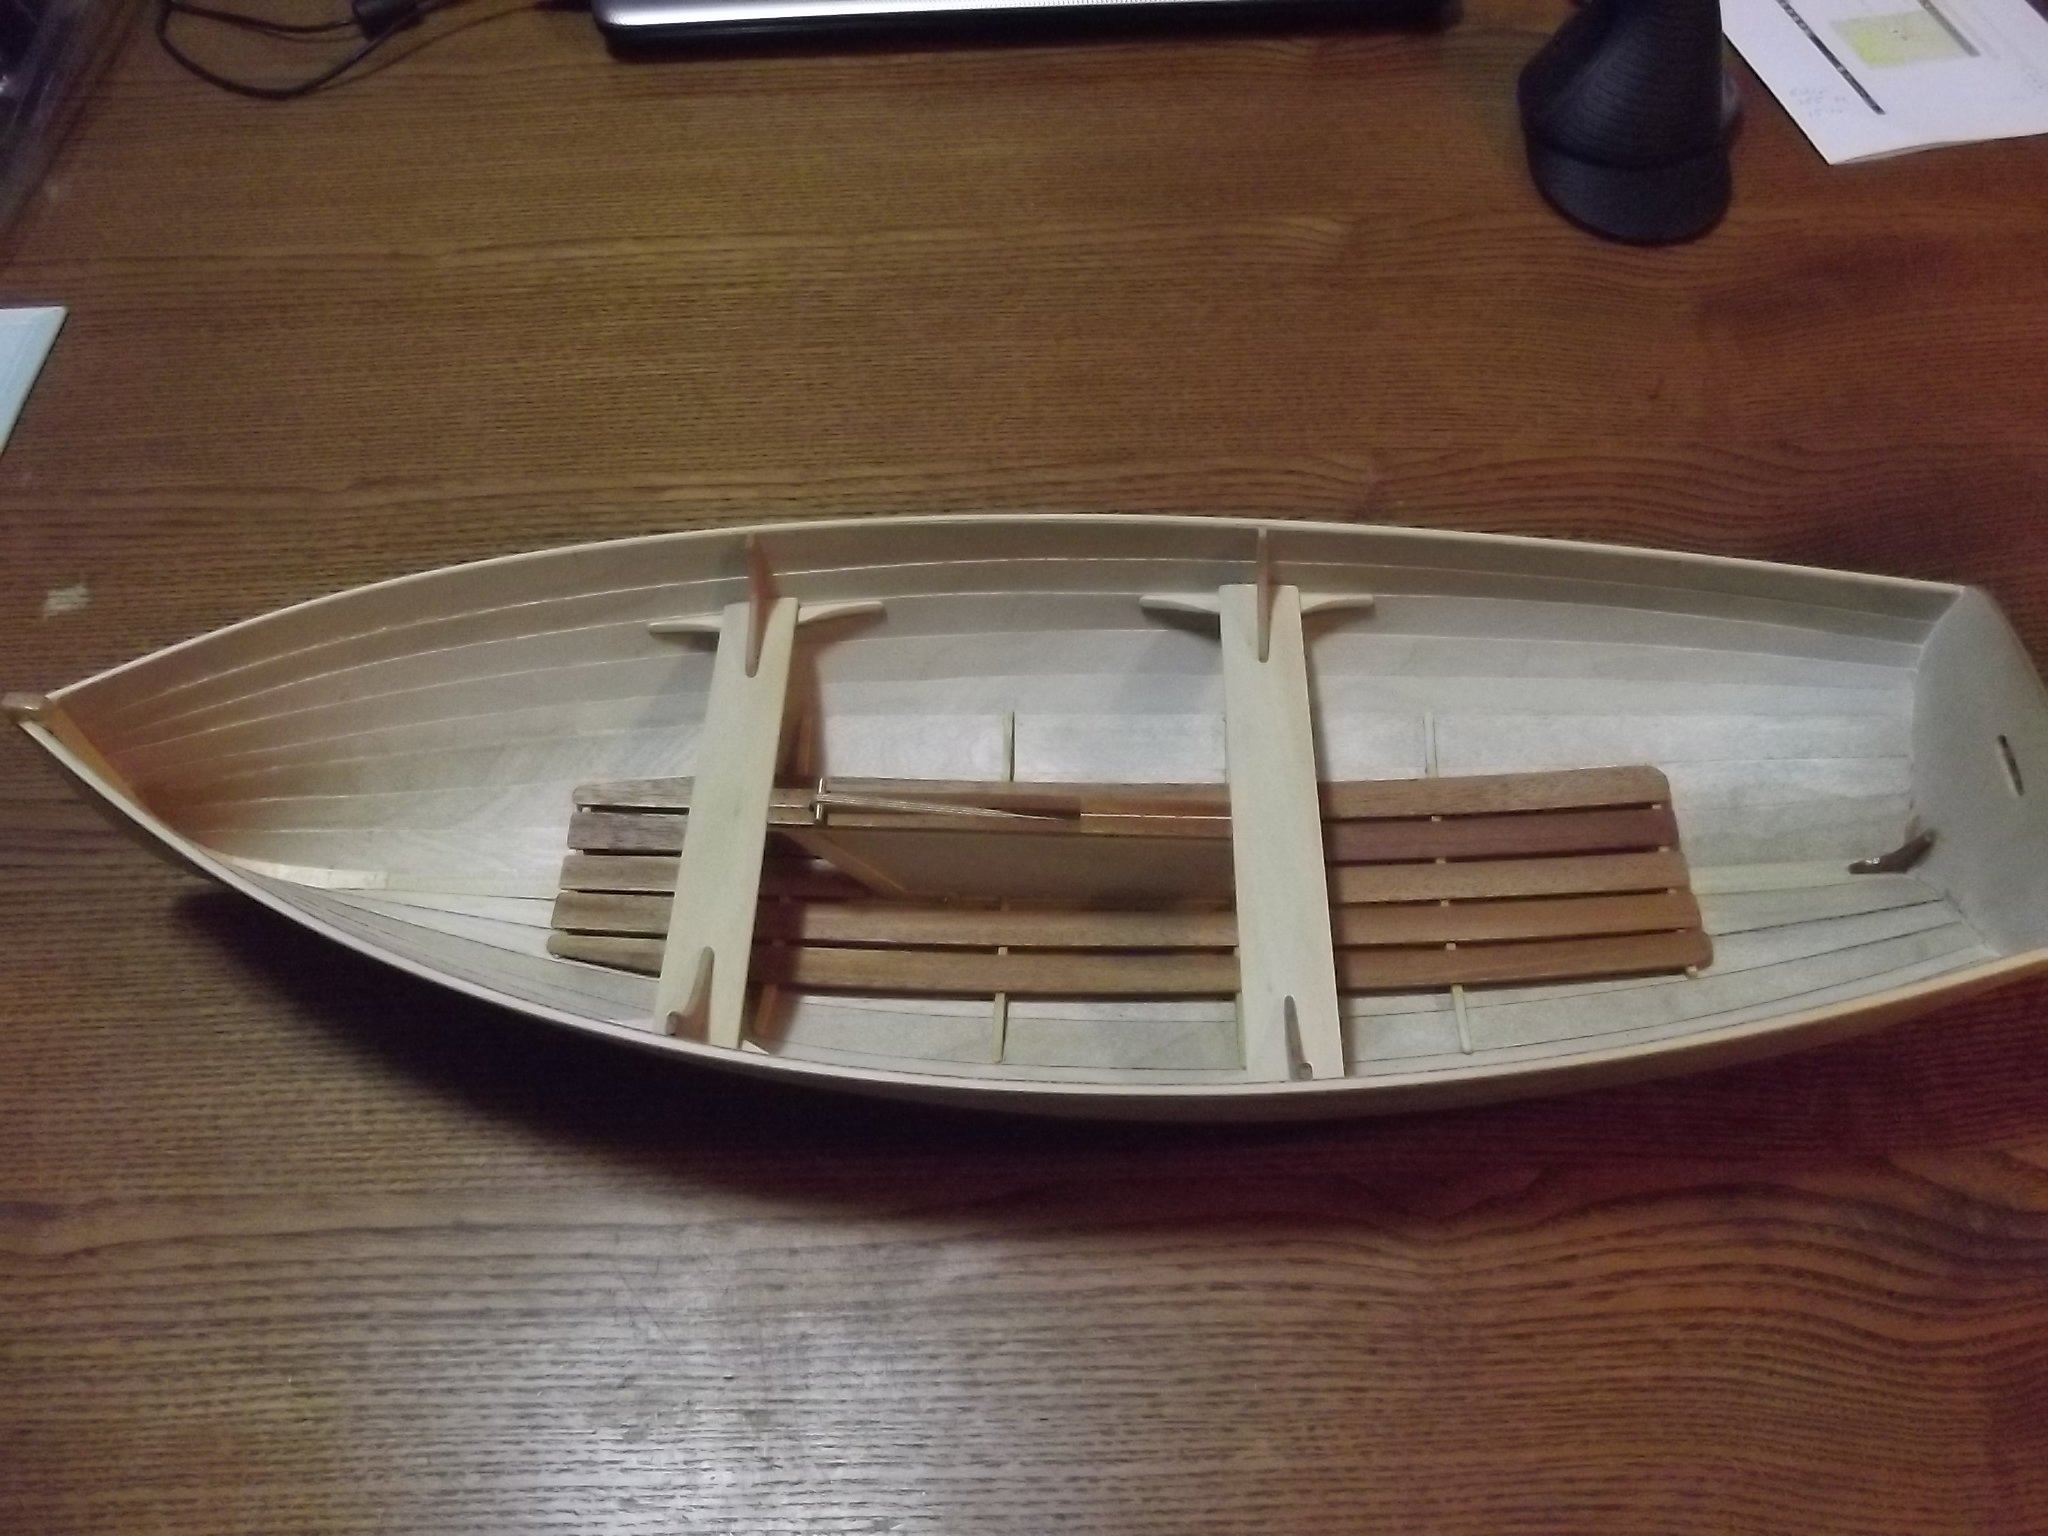
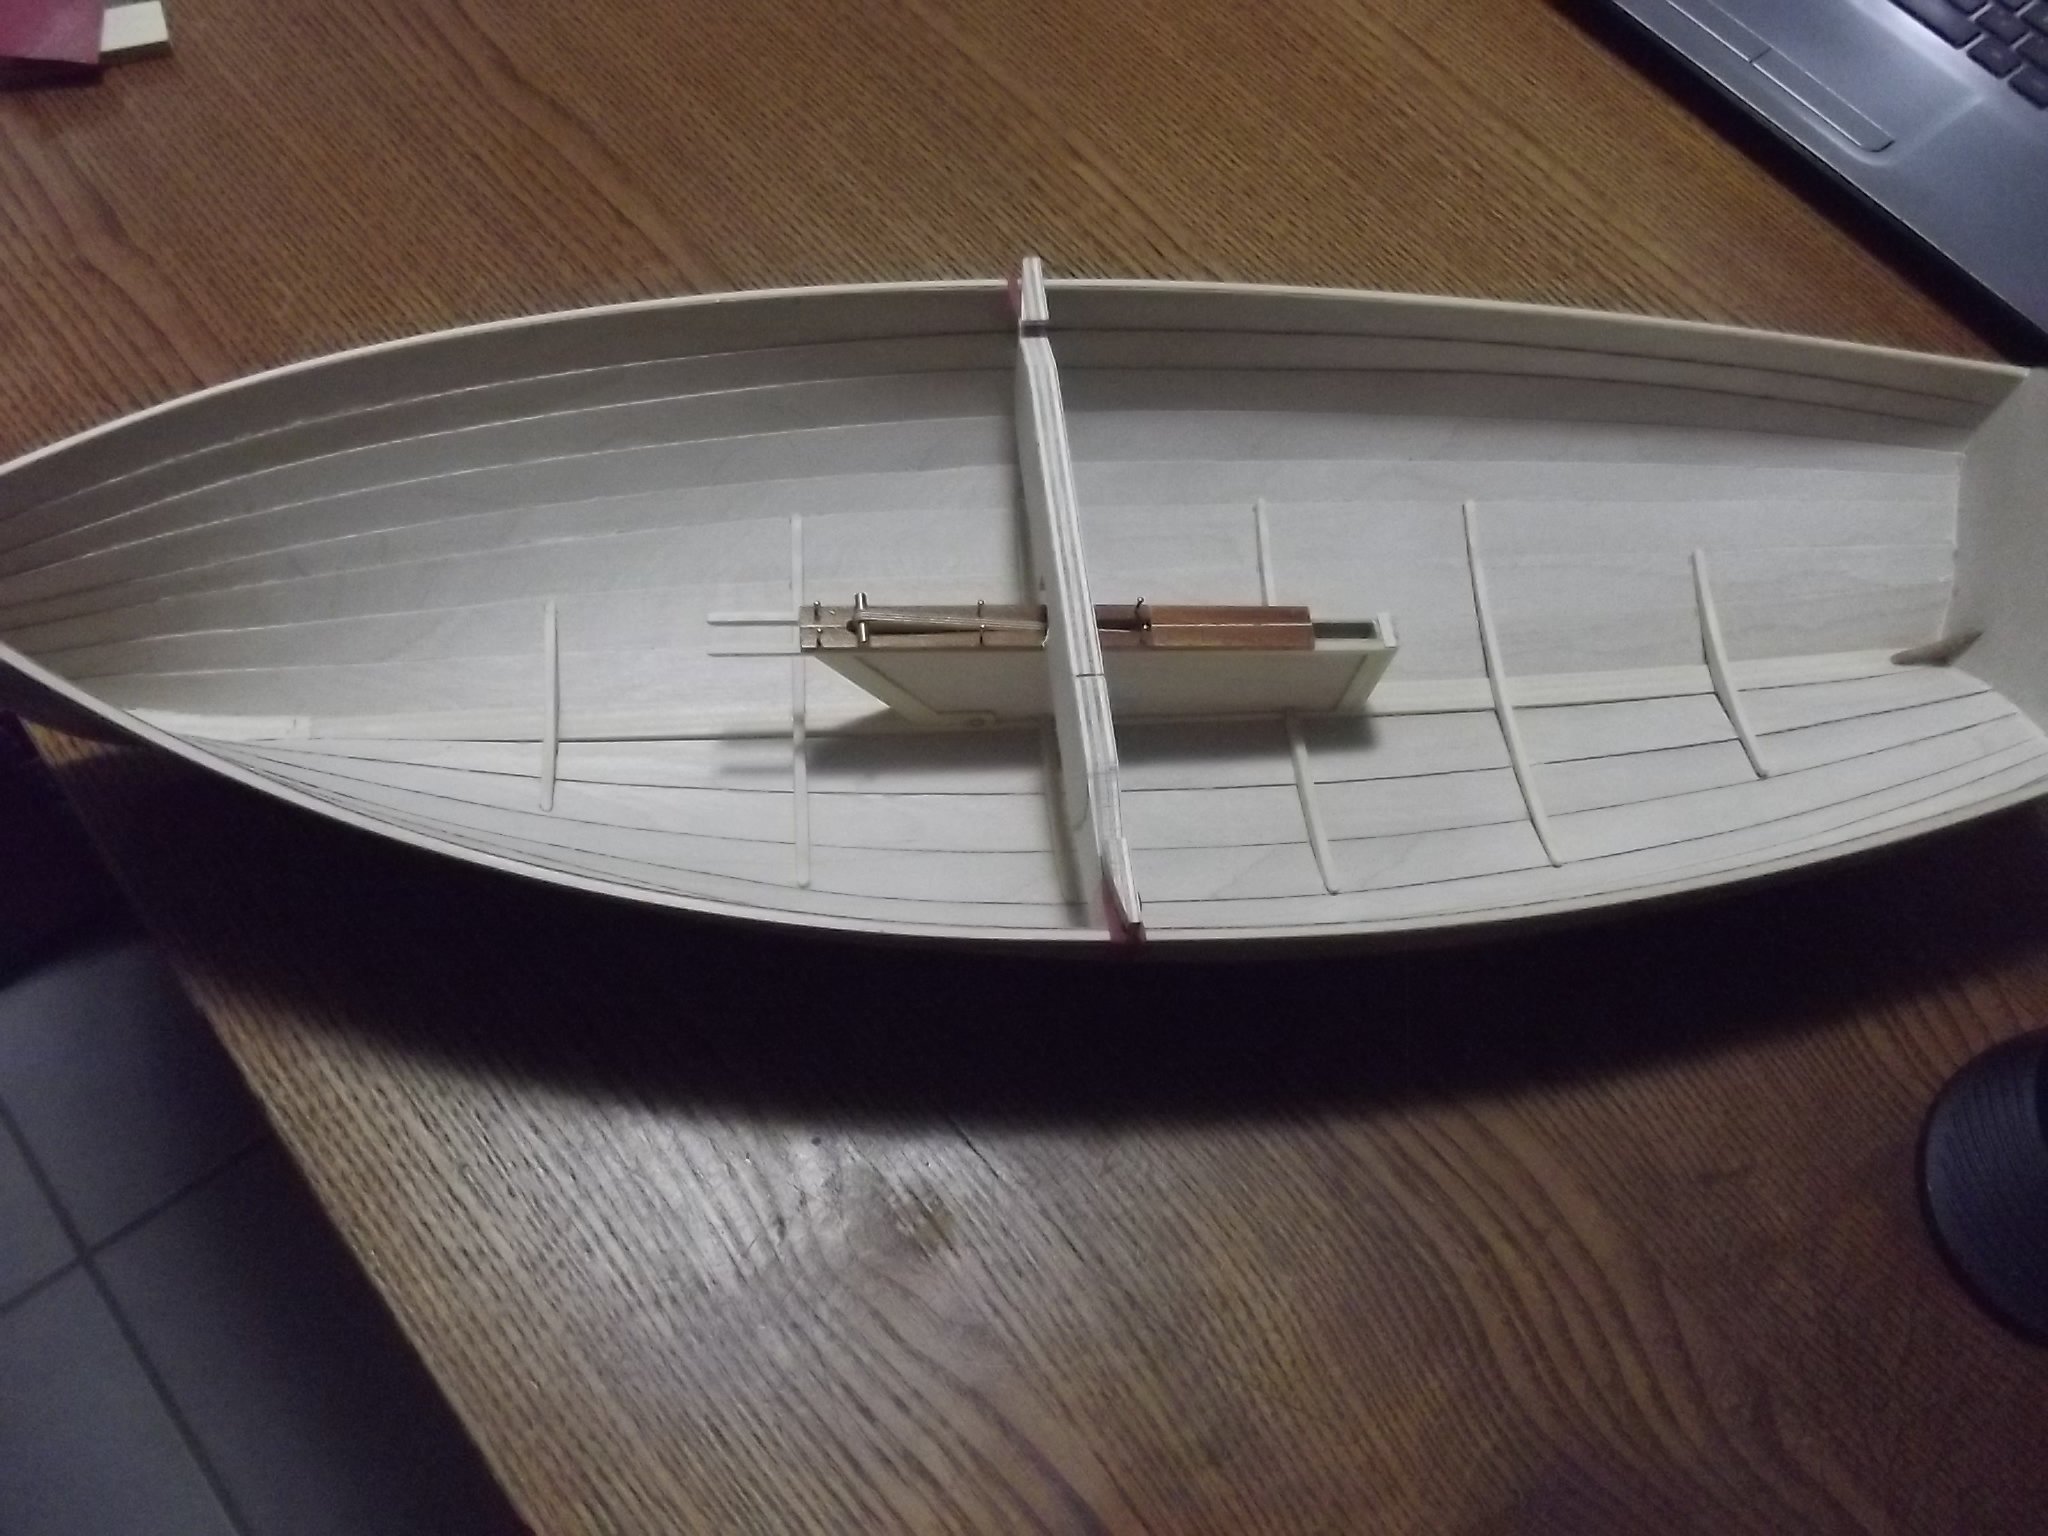
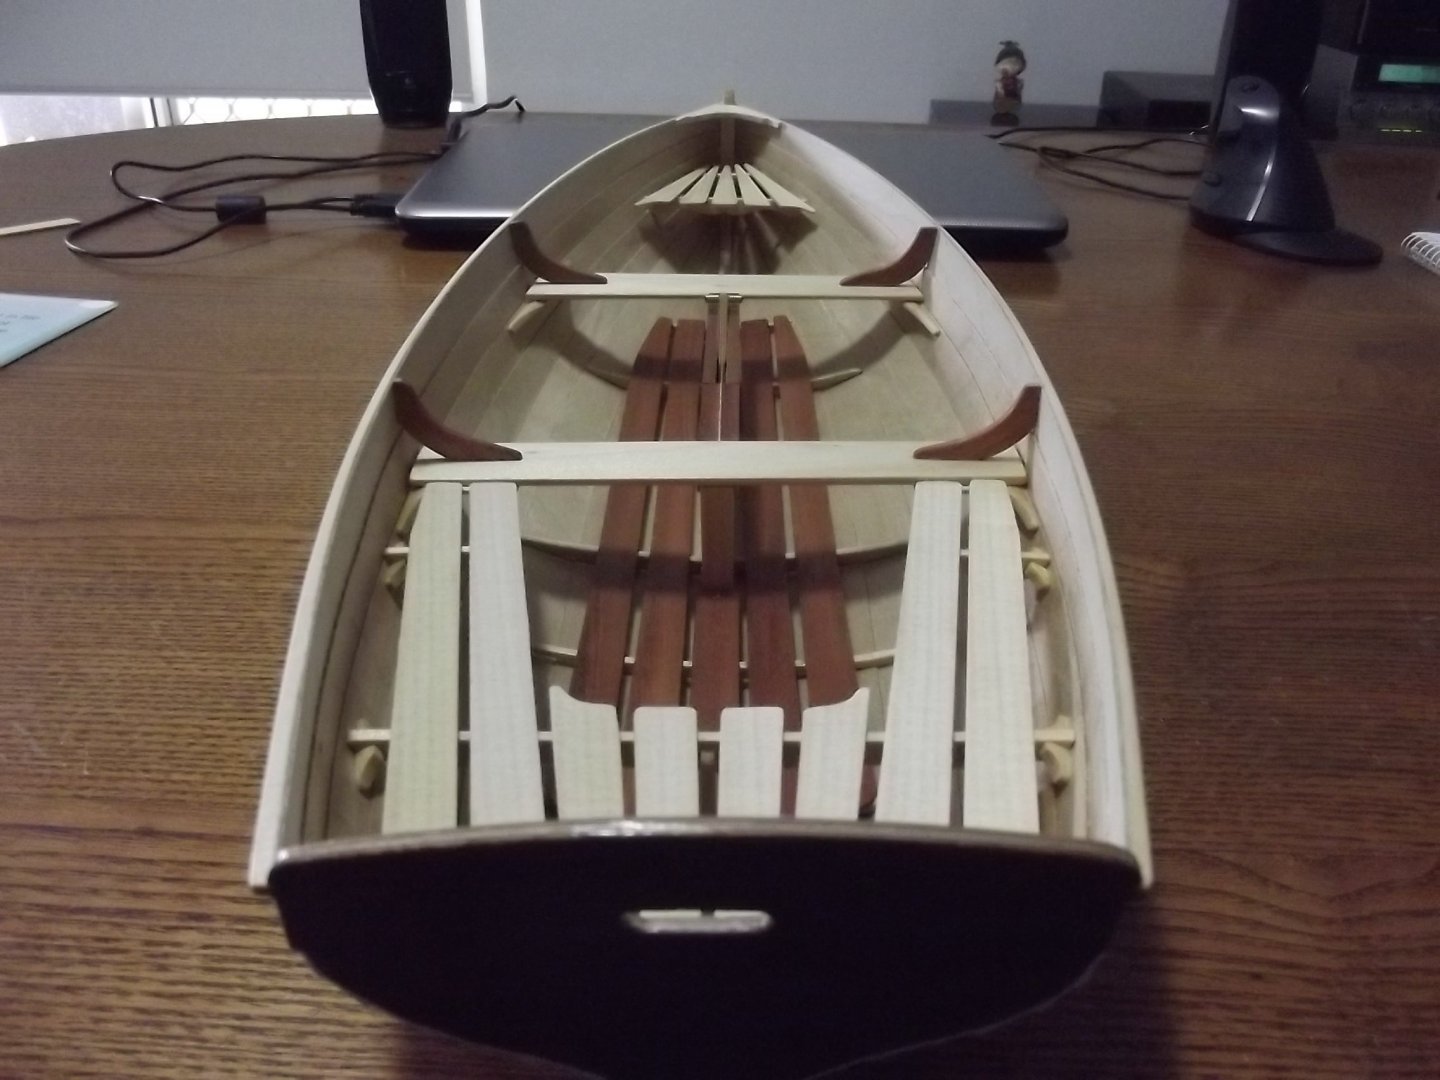
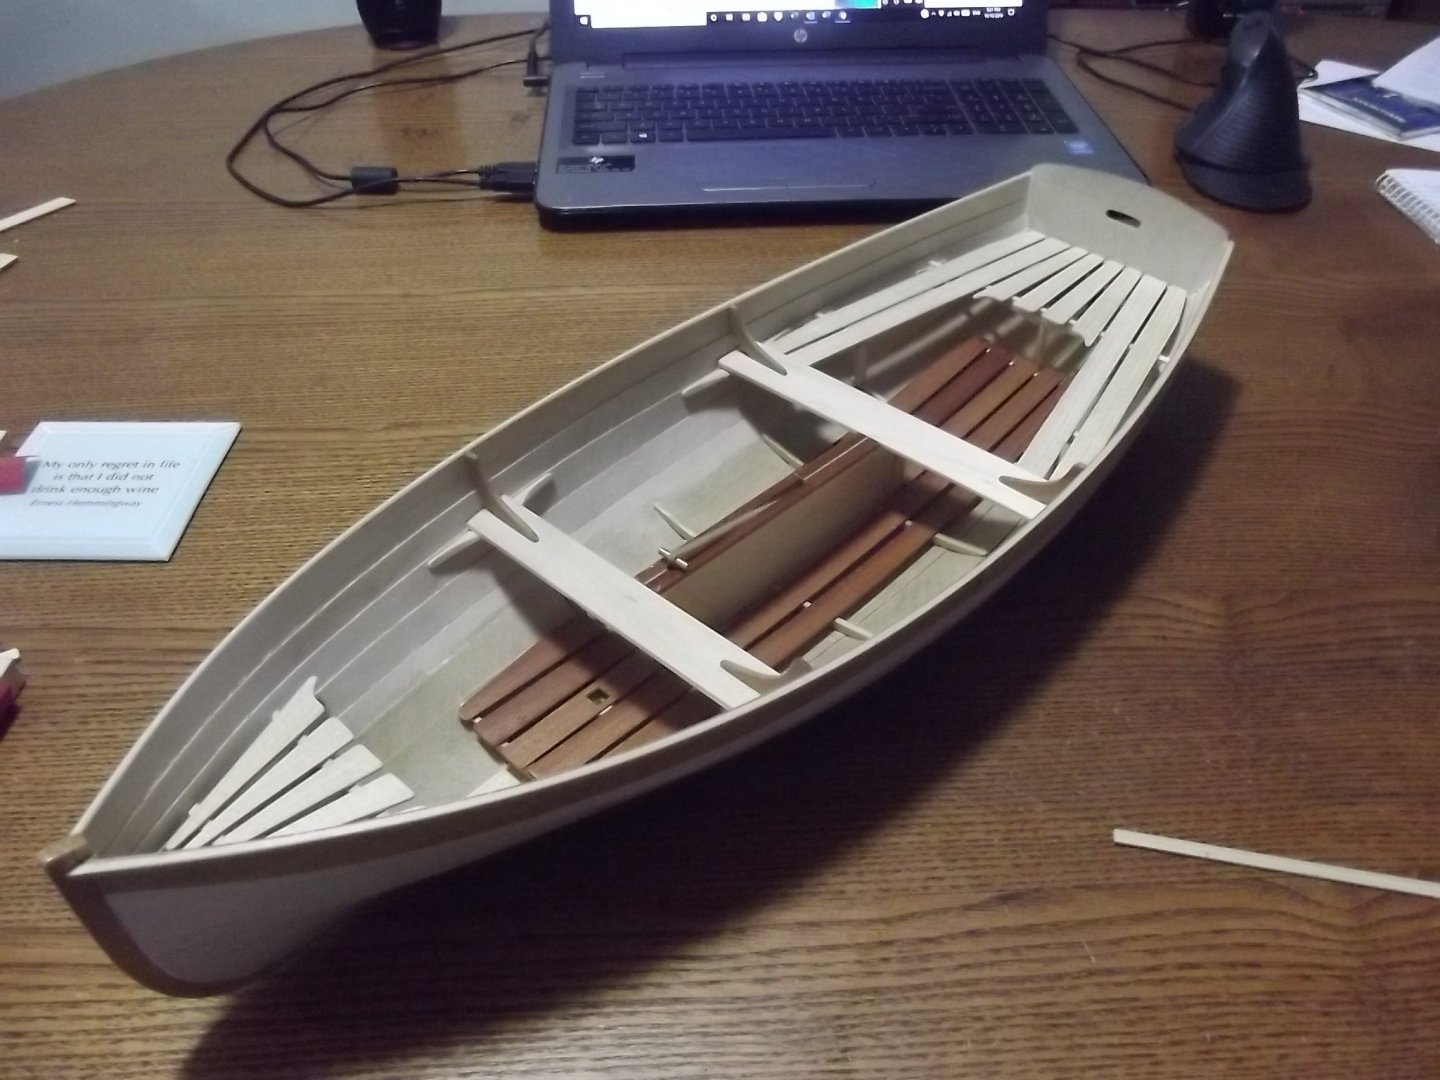
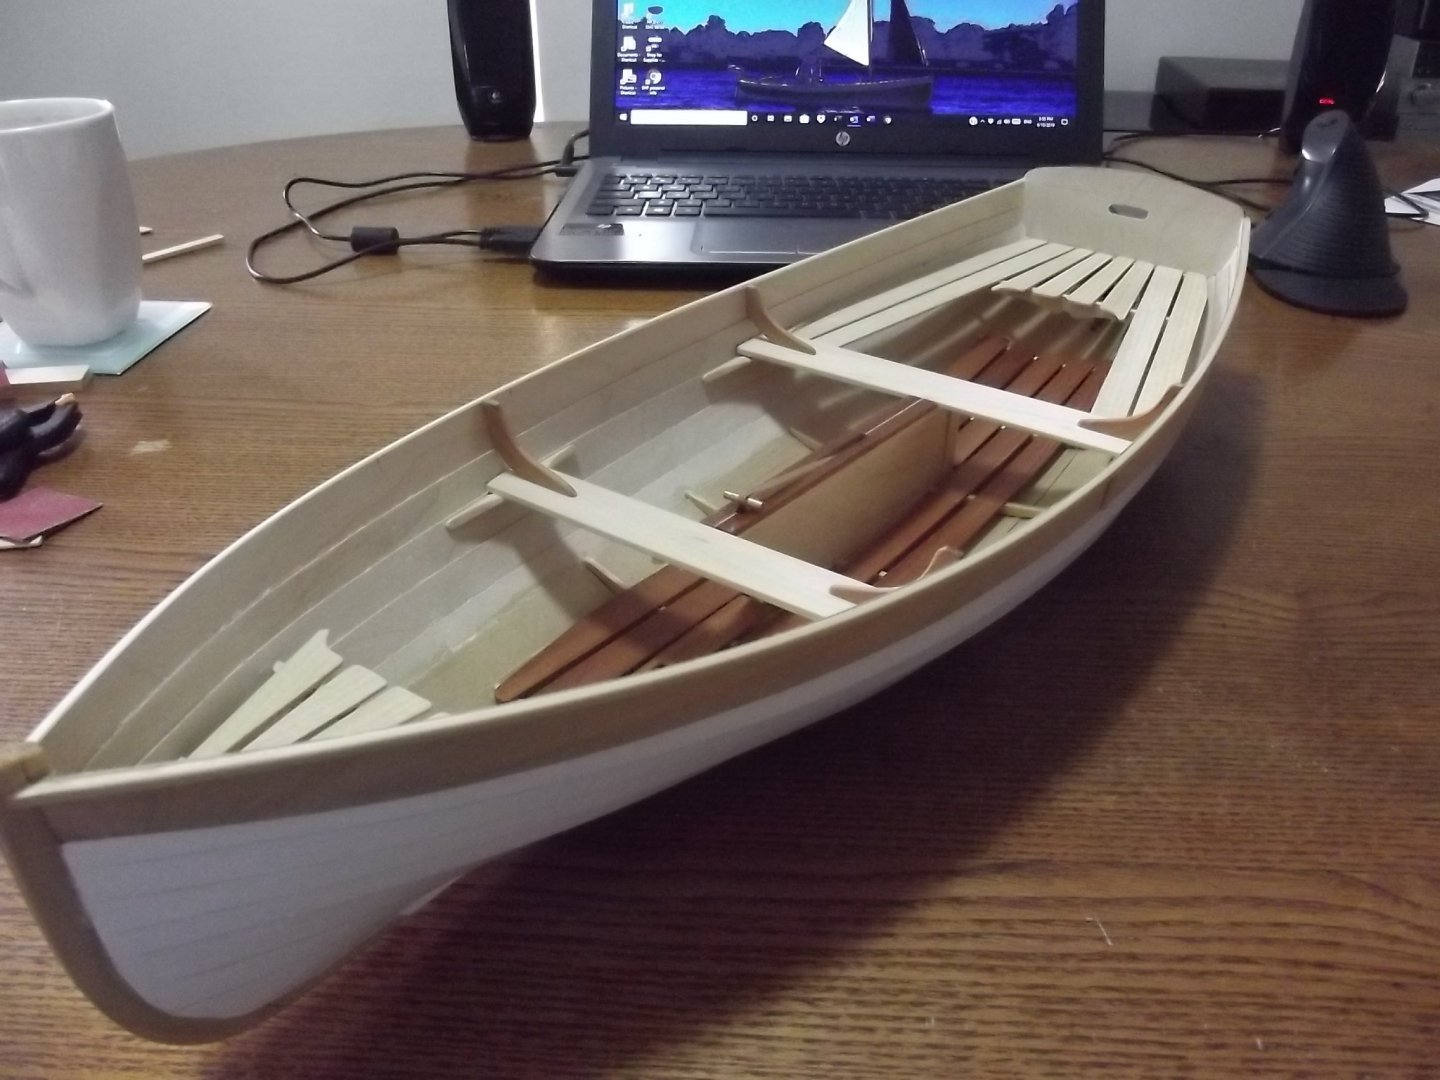
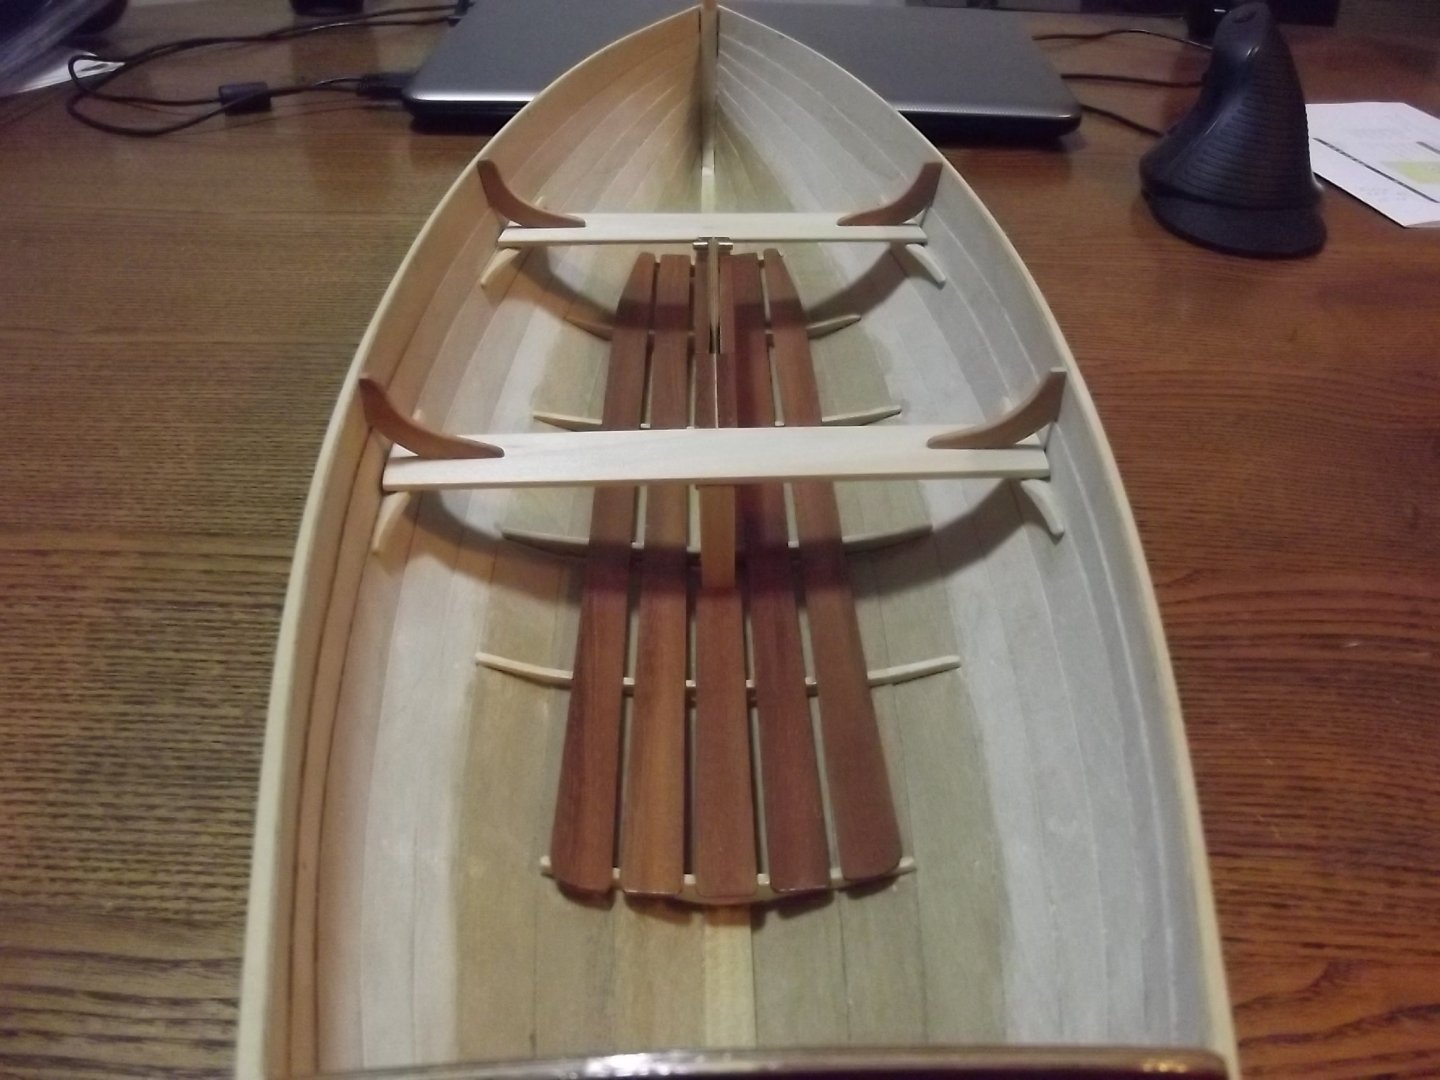
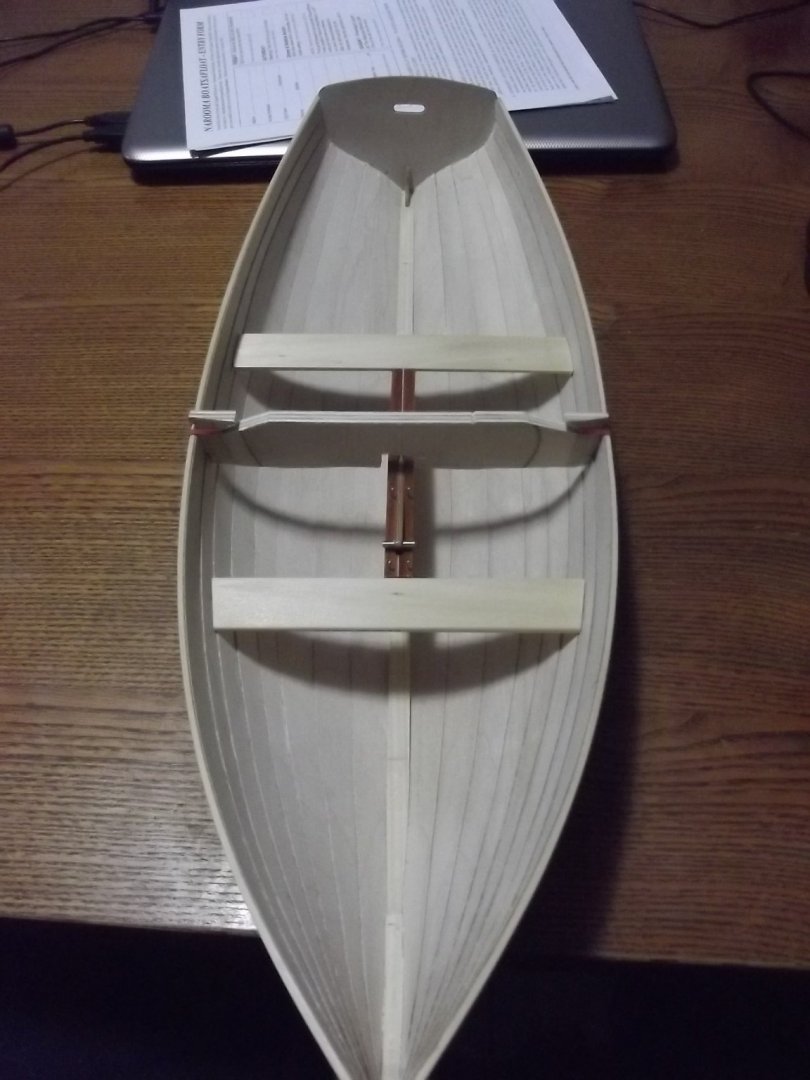
Floor boards glued down and varnished, thwarts, cleats and knees done.

-
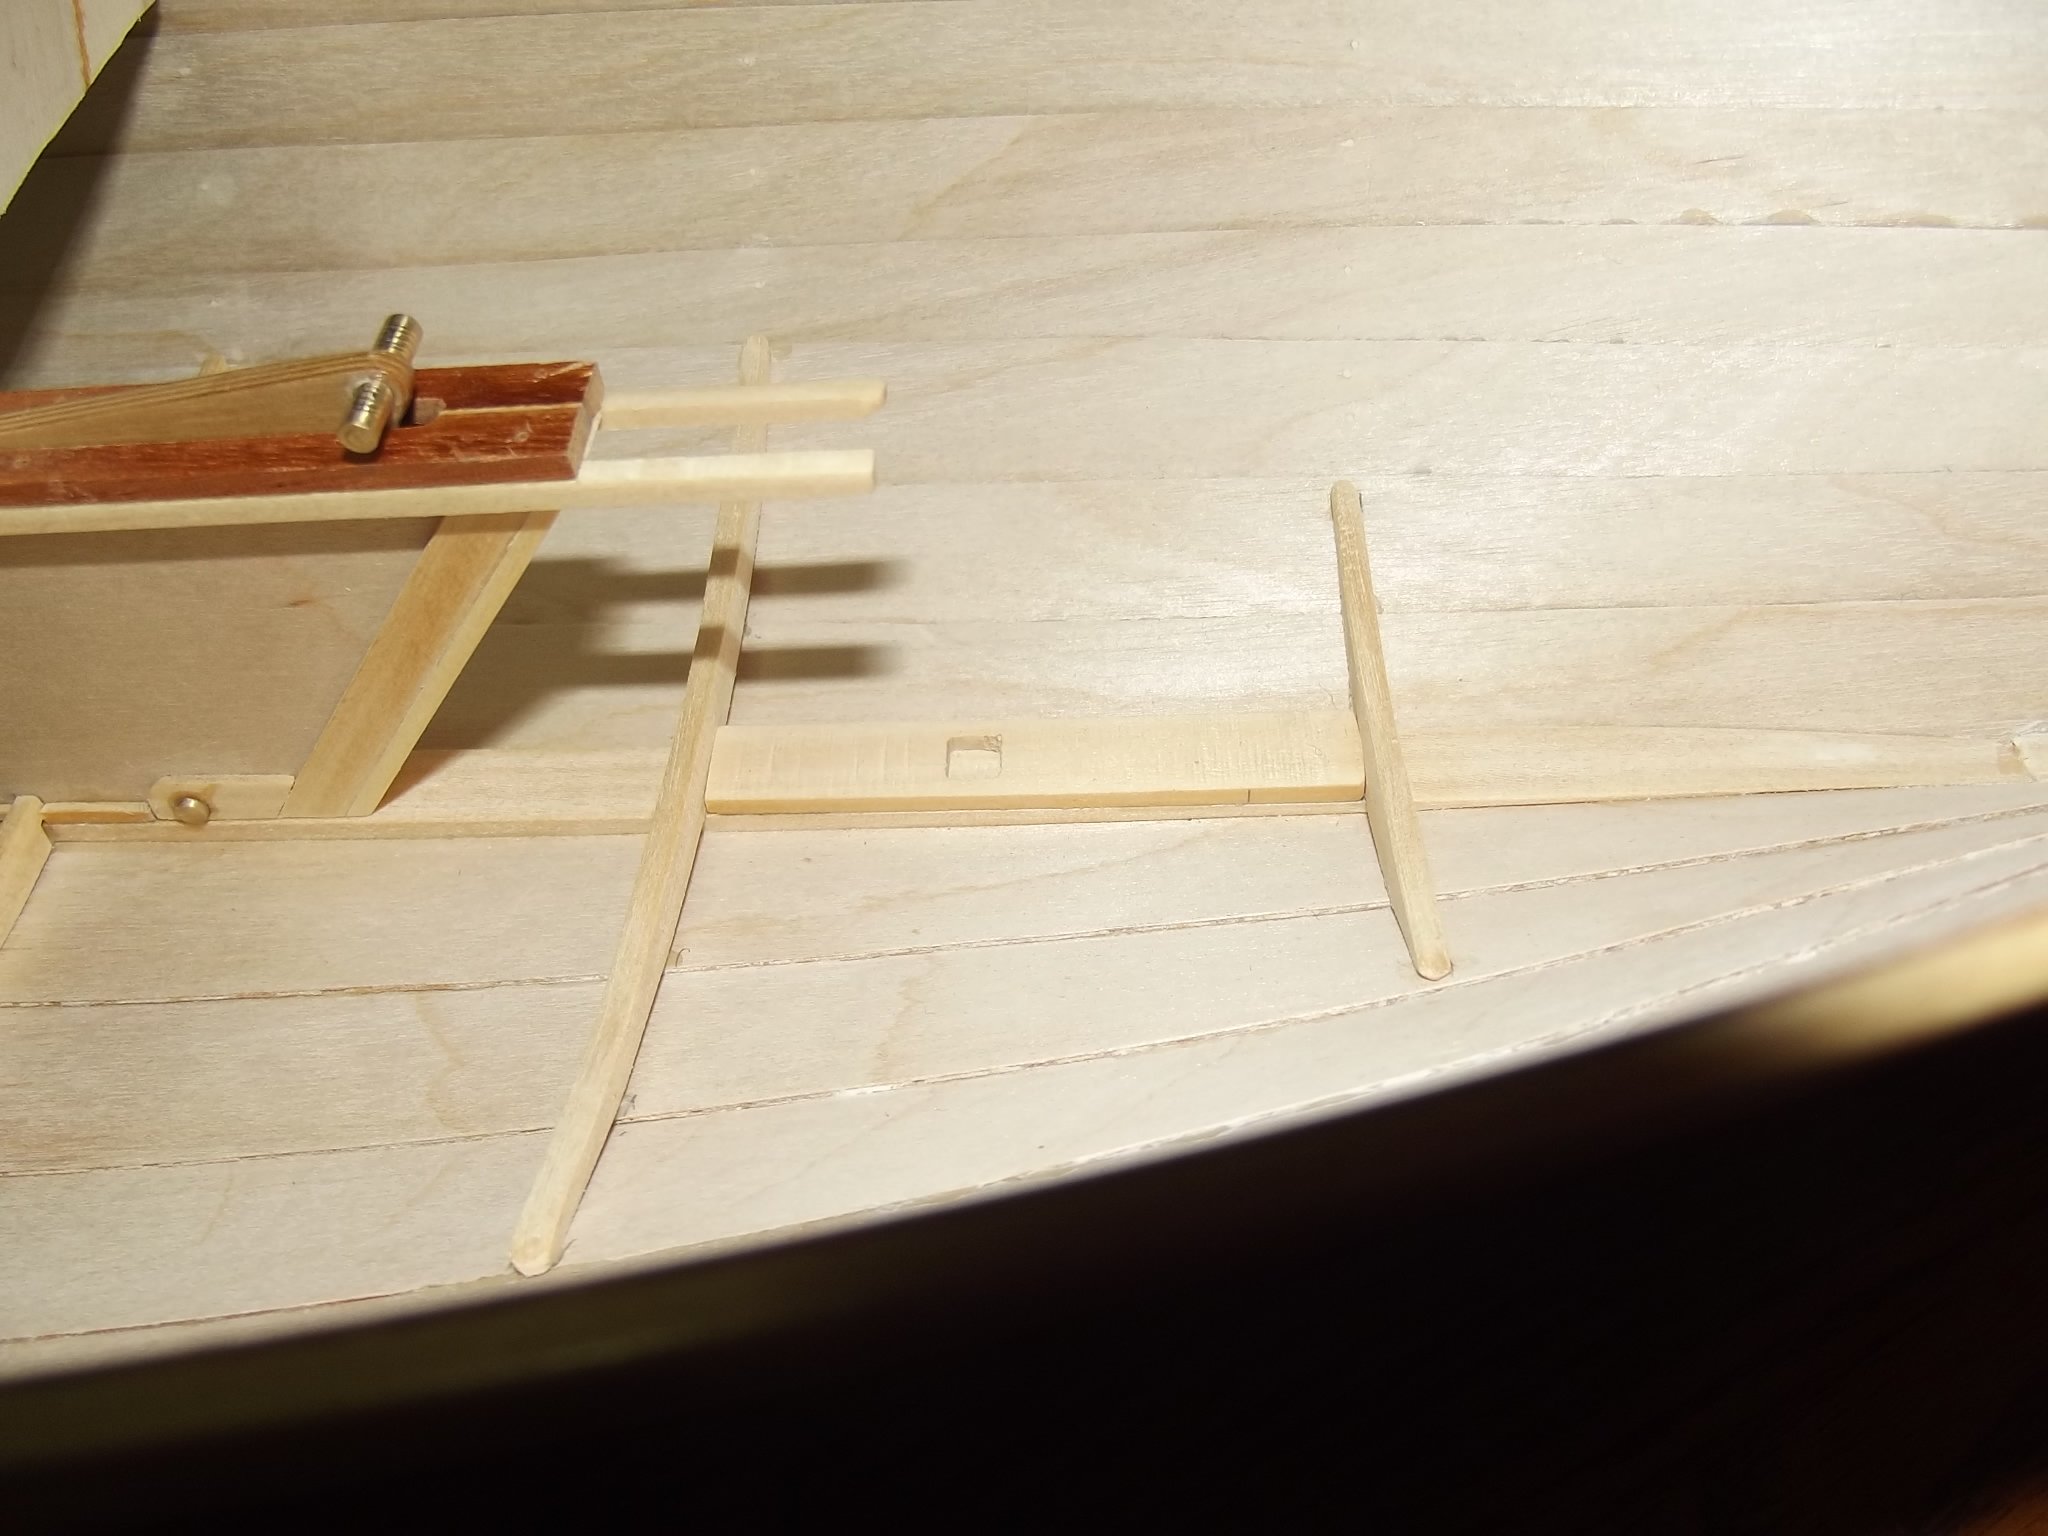
Thanks Keith, she's no Germania but she's going to be a nice model of a knock about dinghy. The mast step is in and the floor boards are cut from left over mahogany. I've been trying to cut small blocks to go between the planks and toggles to hold them down but the wood keeps splintering so I'll glue the planks down and make individual "T" shapes to replicate the original setup, hopefully that will be easier.

-
Thanks Peter, draw filing is a good option, I'll try milling it first as suggested above but your idea is filed in case that fails. I am no stranger to the (as some see it) mystical world of soldering so I could easily do it in short lengths and solder together.
-
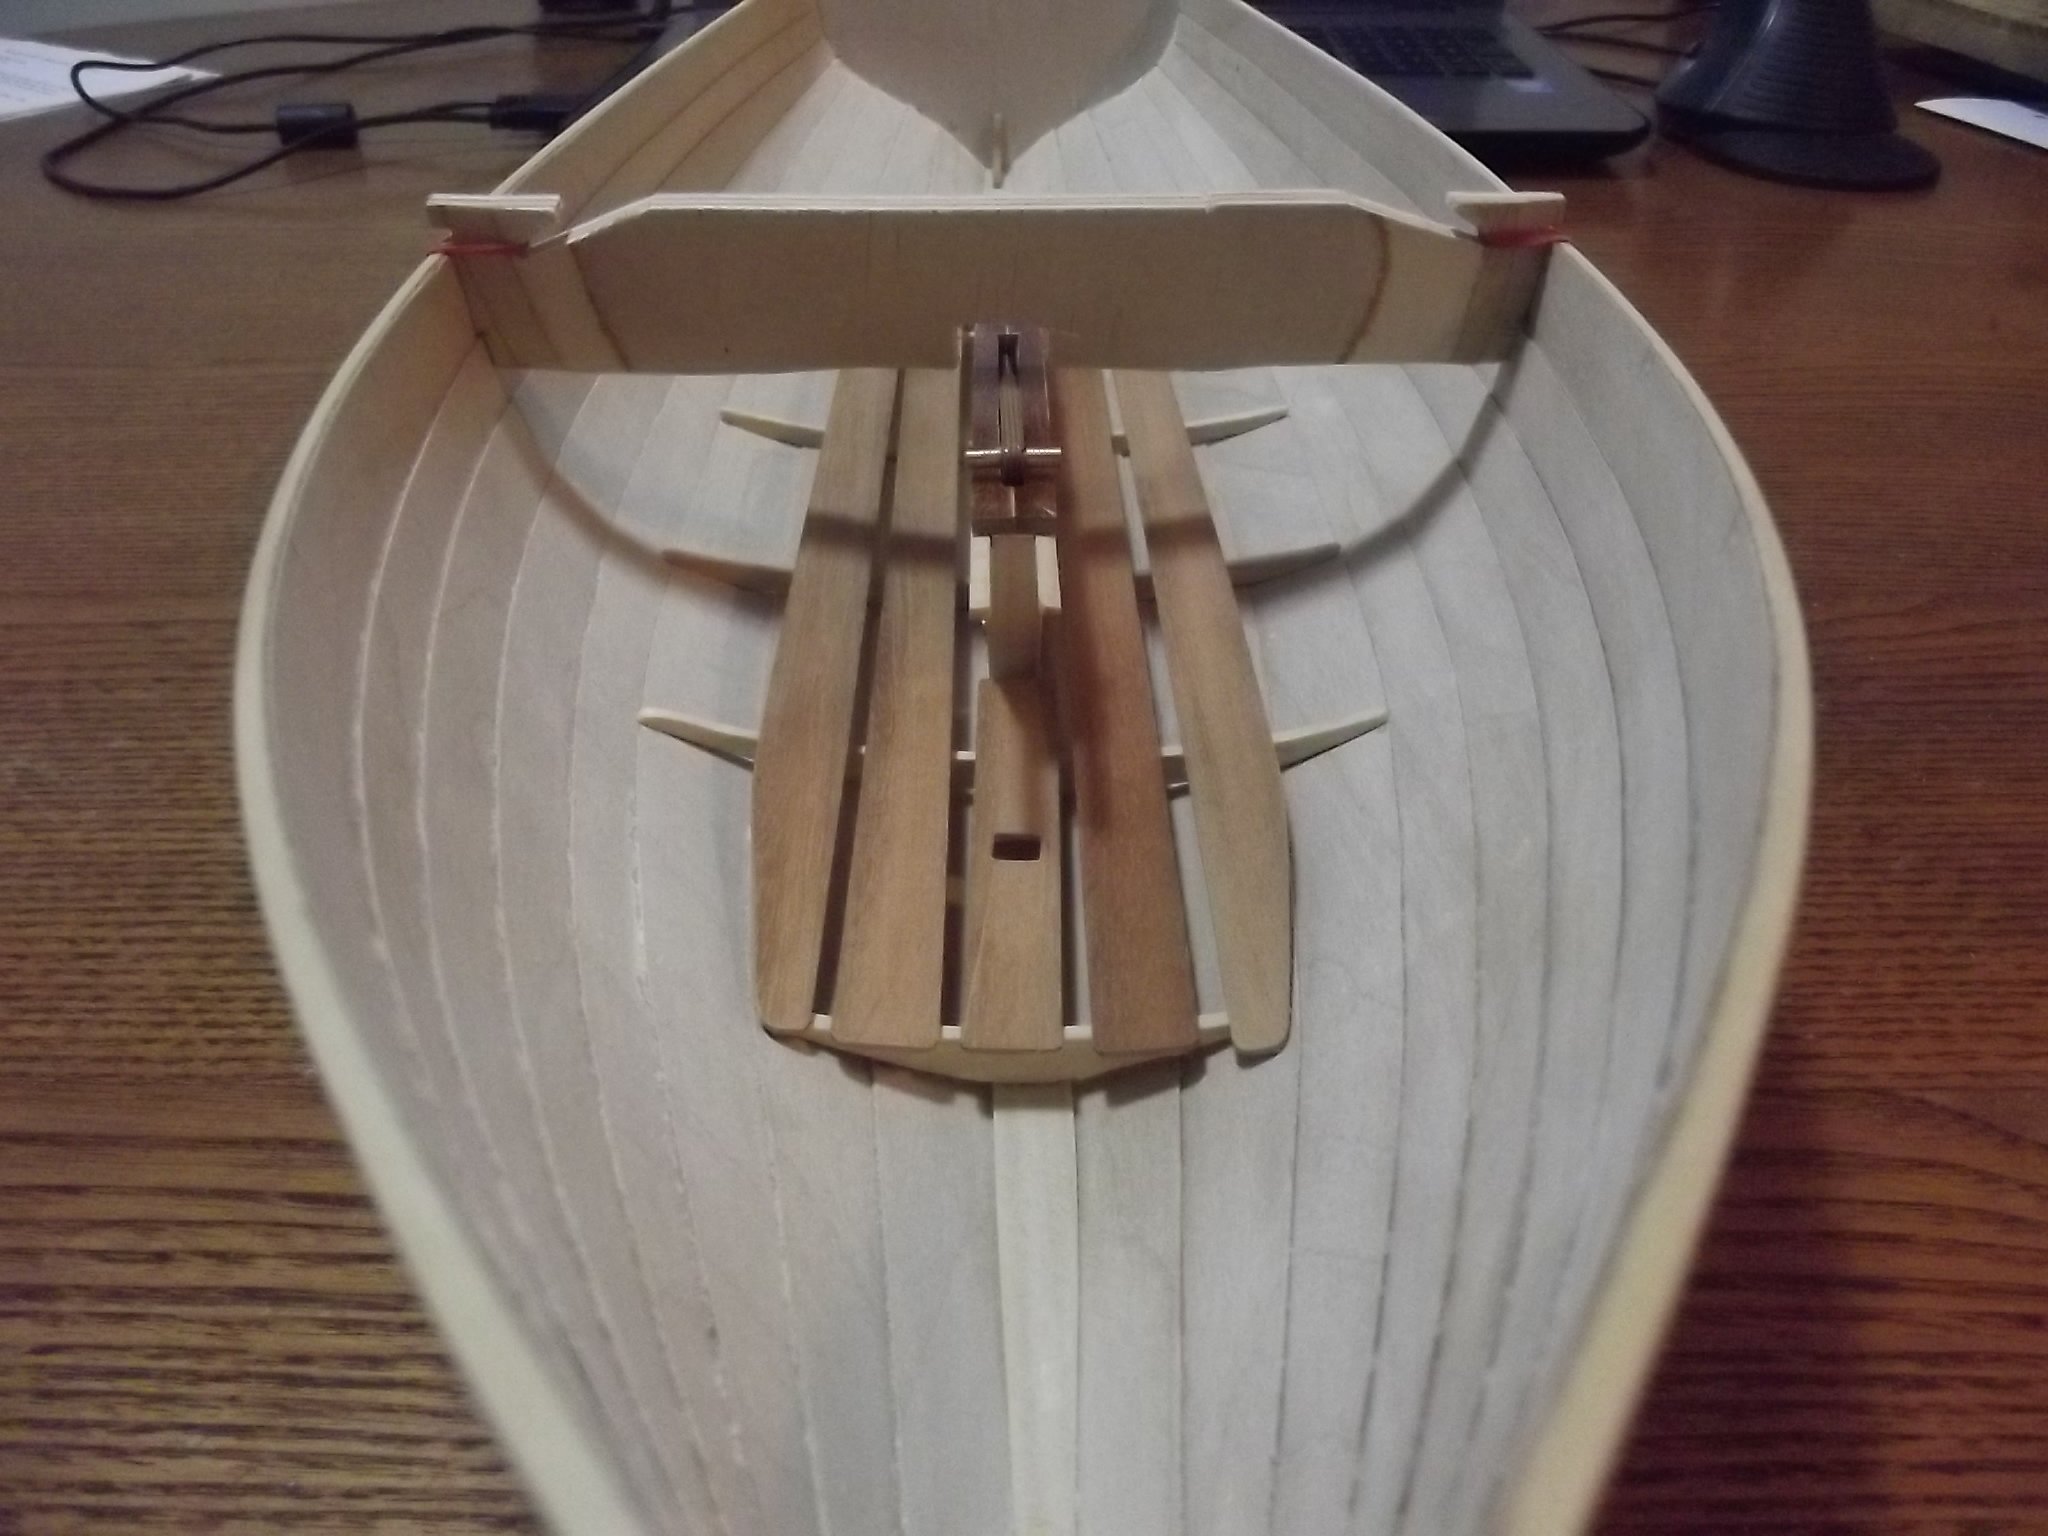
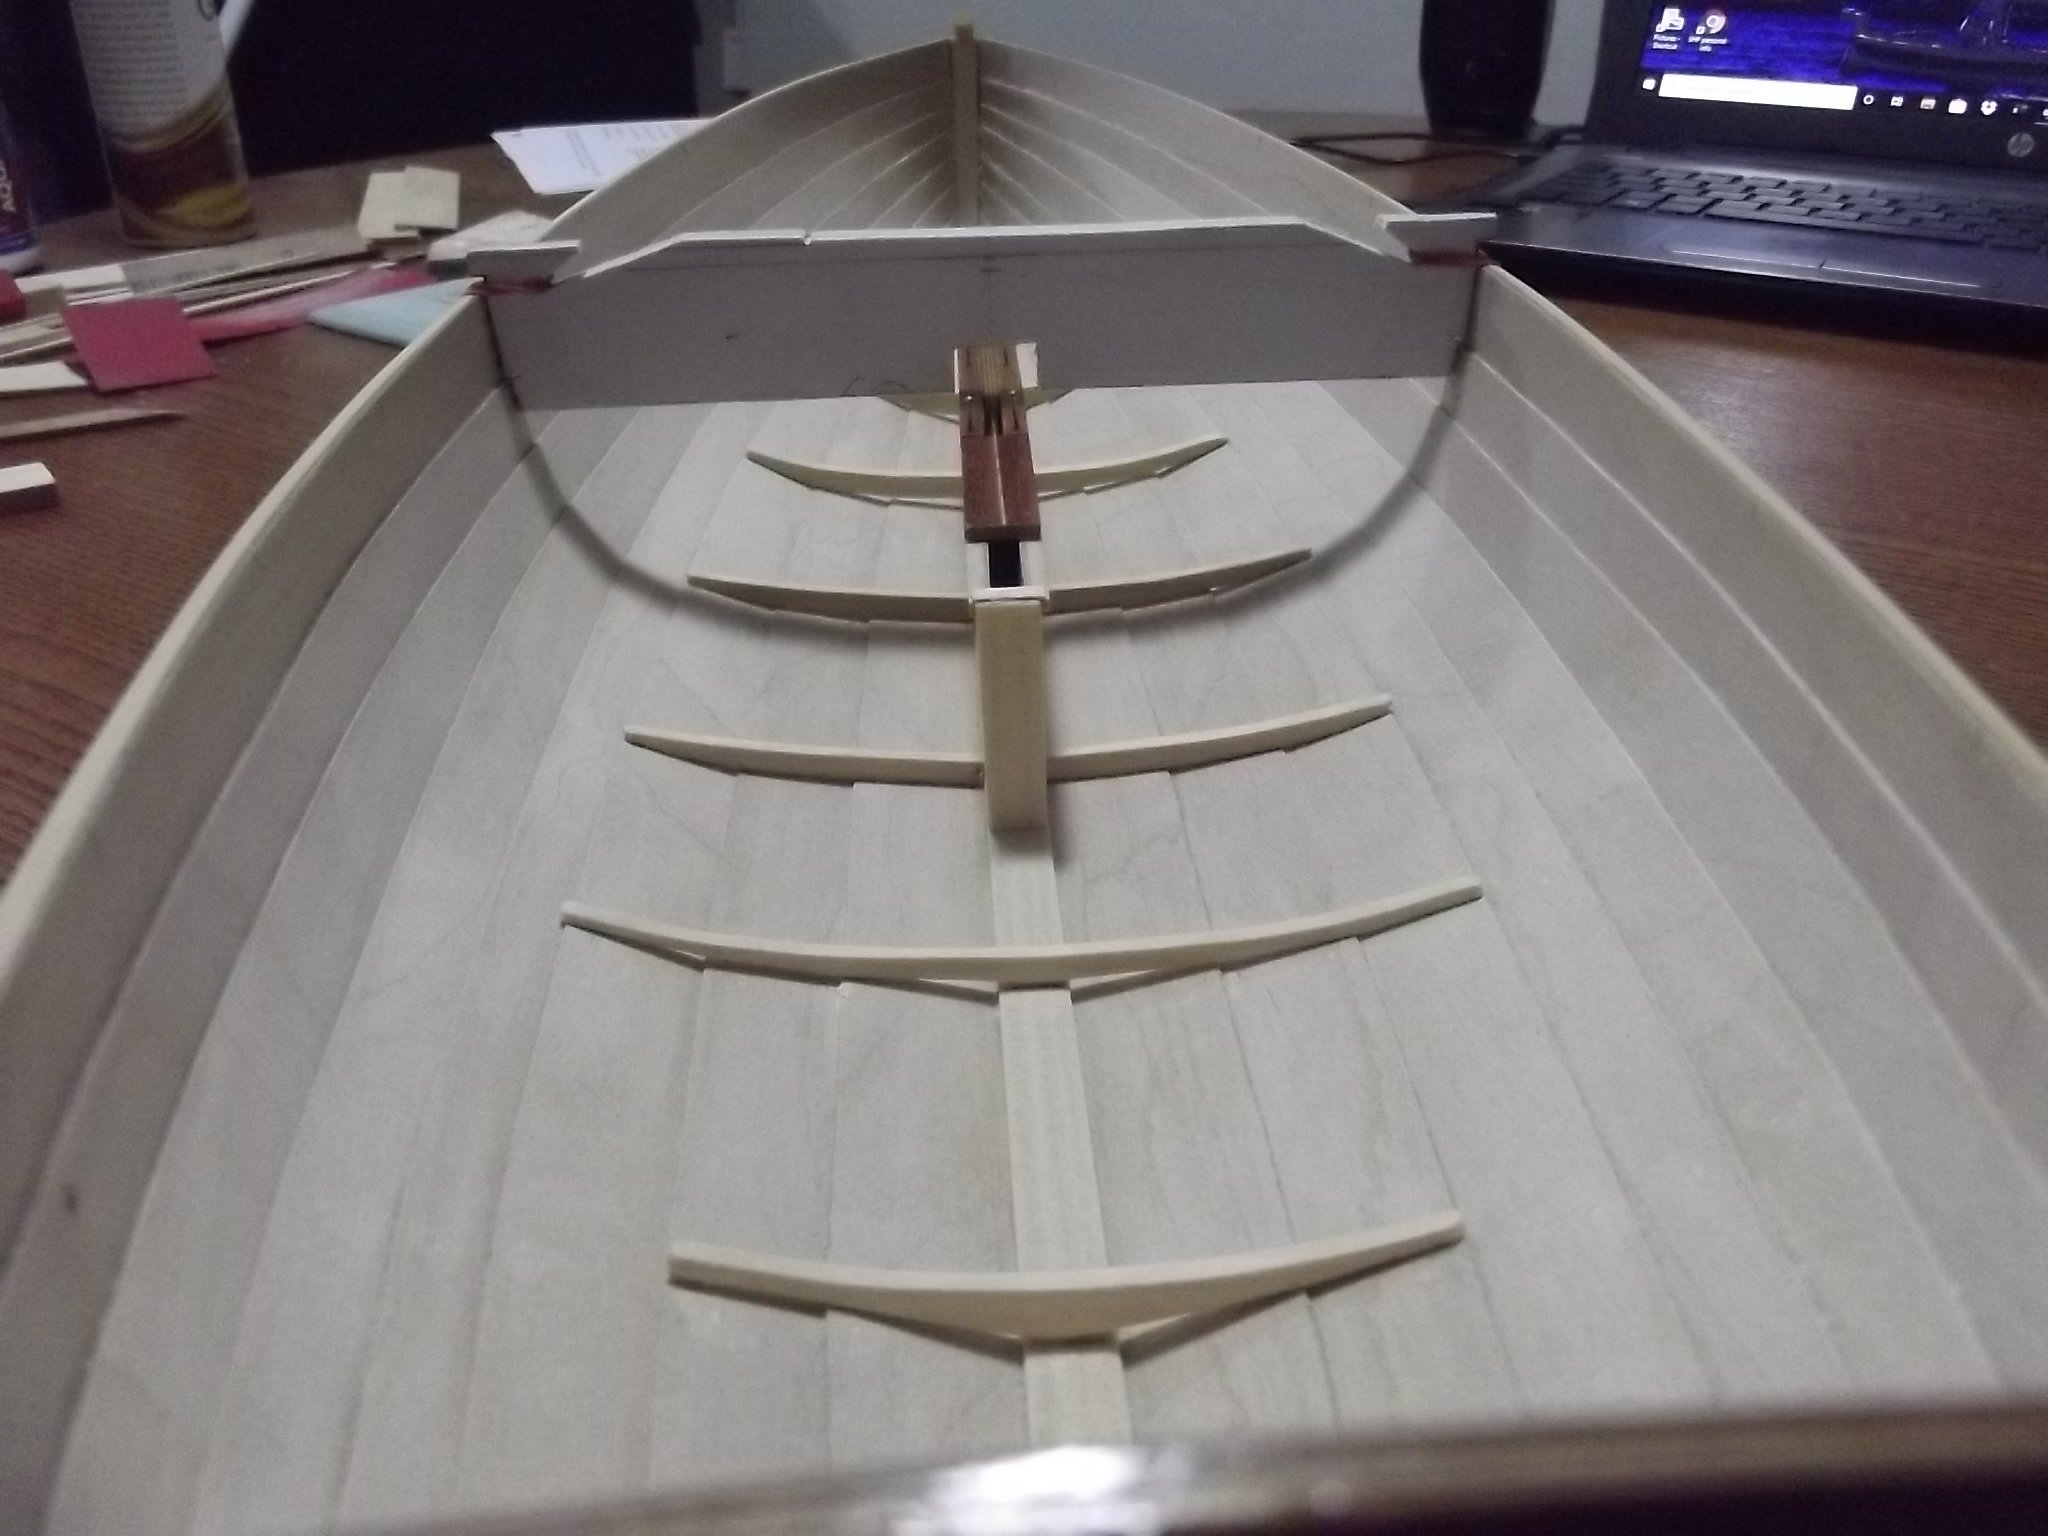
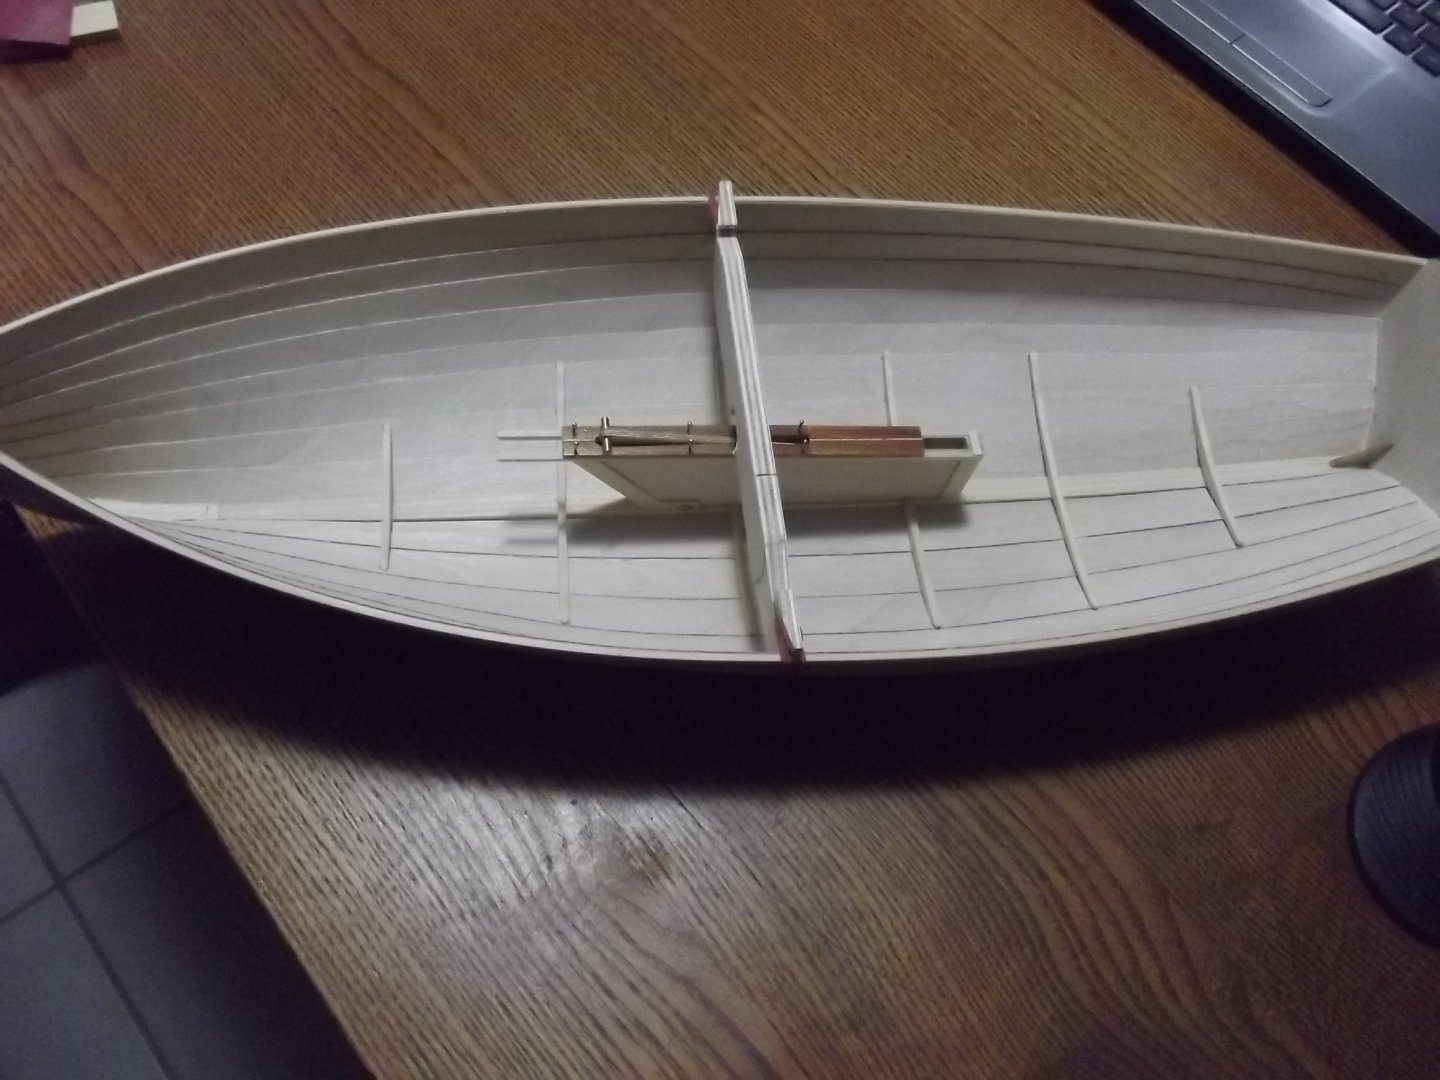
Thwarts are cut and floors are in, and the floors were every bit as fiddly as on the real thing!

-
I've been a bit busy with other things lately but I've finally spent a little time on the lathe and made the handle for the centreboard, the original full size one was much easier!