HOLIDAY DONATION DRIVE - SUPPORT MSW - DO YOUR PART TO KEEP THIS GREAT FORUM GOING! (89 donations so far out of 49,000 members - C'mon guys!)
×


Bedford
-
Posts
1,297 -
Joined
-
Last visited
Content Type
Profiles
Forums
Gallery
Events
Everything posted by Bedford
-
 Yes Carl but if you look at Marks post about racing his boat you'll see that it wins in light and heavy weather, I think most of it comes down to "cost effectiveness" most owners will want the cheaper boat without considering the extra fuel bill during ownership. This is of course not the case with the pure bread racing yachts like we see in the Sydney-Hobart, they are built for all out speed with a big dose of gambling on the weather hence there are always some that don't finish.
 -
Yeah I find it amazing that modern designers no longer seem to understand those design principles, hull efficiency seems to have gone out the window on power boats and sail boats can't cope with a bit of weather. The designers of 100 years ago had it all over the modern ones.
-
Michael the Harbour can get quite choppy due to weather and marine traffic, especially under the bridge which is a pinch point. I don't think I'd ever take my boat under the coat hanger. Once while "crossing the heads" just off middle head onboard Waratah (33mtr 160ton steamer) we caught some waves that sent the main anchor half way across the fore deck. Upstream of the bridge is normally much smoother.
-
Yeah I remember when I moved down here I went to Blues Point for a walk and it was pretty blowy and all the modern boats had reefed or taken in sail altogether and were motoring while the older ones like yours were flying full canvas and looking magnificent. I want to sail my little boat on the harbour but I'll be pretty picky about the weather.
-
Keith at this point I am reminded of the case of the missing rudder on your last build. If you make the rudder for this build and put it somewhere safe might I suggest you tell the rest of us where it is so we can help you find it.
-
And just like that, her beautiful lines come to life
-
Mark in my RC schooner build I used sail winch servos with a max 12 turns and 12Kg force
-
Me being me and the keel bulb being at the bottom of the boat, out of direct view, I'd laminate some planks and carve the bulb.
-
Well I've just found this beautiful build and I'll definitely be tagging along. As for "up the coast" as a fellow New South Welshman I'd say still in NSW but north of Sydney. As Banyan said, the distances involved here catch a lot of people out. I was hiring a car in the airport at Cairns one day and the German couple in front of me were hiring a car to drive to Sydney to catch their flight home in two days. The hire car guy looked at me with a look that said "Do you they know it's 2431K's"
-
15' Dinghy by Bedford - FINISHED - 1:1 scale
Bedford replied to Bedford's topic in Non-ship/categorised builds
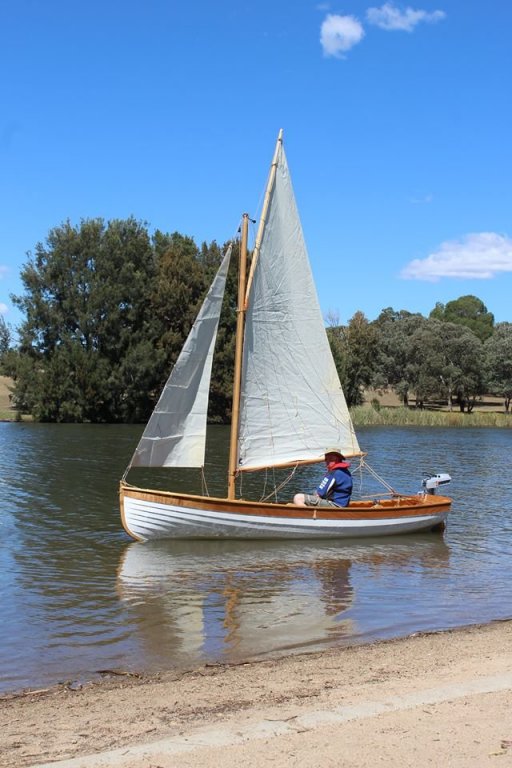
Thanks Mark, the Gunter sloop rig was chosen for it's ability to windward and aesthetics, it just looks right. Having said that I realise it's harder to sail single handed but I'm finding or inventing ways to simplify it. One thing I found straight away is that by holding the main sheet you can feel when it's pulling well, you don't need to look at it much. The jib on the other hand will require some learning. There were two old dears out there for a picnic, both in there 80's and the used to sail a lot when younger. They took a keen interest in Miss Caroline and watched me sail her. They gave me a few pointers when I got back. -
15' Dinghy by Bedford - FINISHED - 1:1 scale
Bedford replied to Bedford's topic in Non-ship/categorised builds
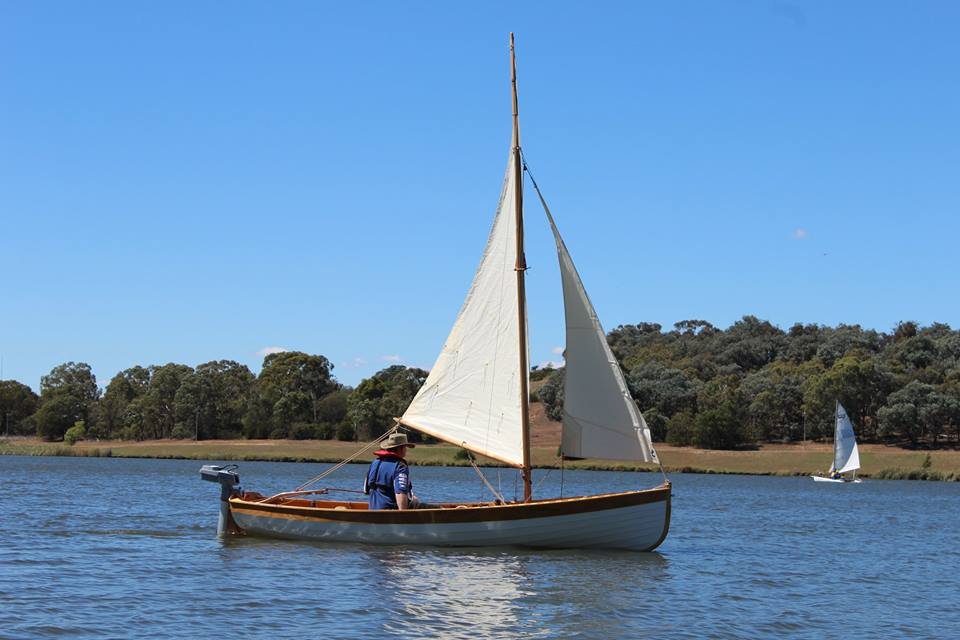
Well folks, finally I have sailed Miss Caroline! I took her to Canberra last weekend and put her in Lake Ginninderra. I had my sons girlfriend at the helm for a while and my son took the pics. I grant you I need to learn about sail trim but I got her out, about and back. The last pic shows a catamaran, they got there before me but I was rigged, launched and sailing before them and sailed much better than they did but I'd say they were first timers too. I thank youtube and a good understanding of the physics for my better performance! The pics with the motor down are because I forgot to lift it! Lesson learned - be methodical.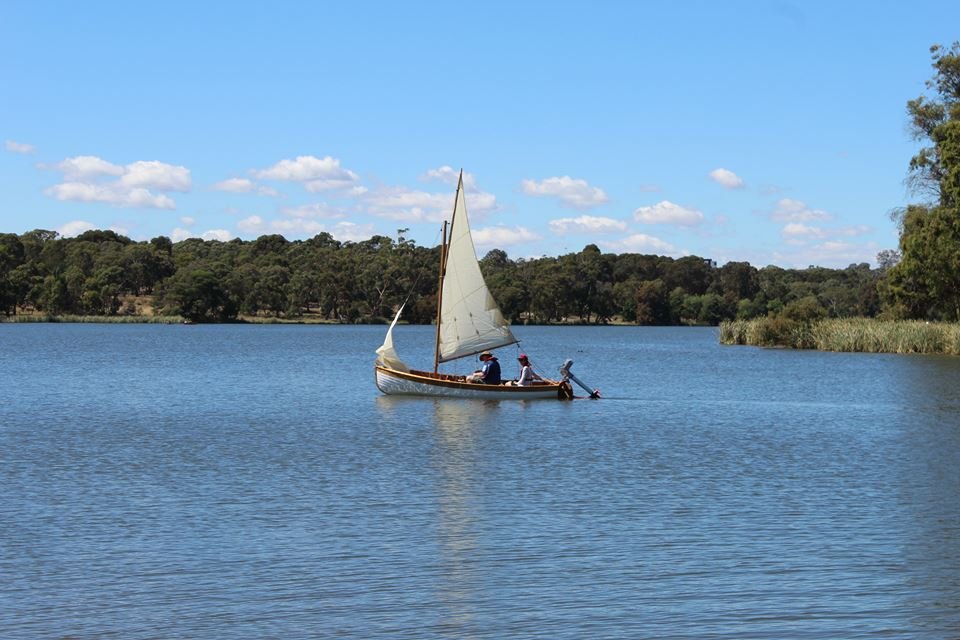


- 109 replies
-
- 12
-

-
Because sawdust is good medicine
-
15' Dinghy by Bedford - FINISHED - 1:1 scale
Bedford replied to Bedford's topic in Non-ship/categorised builds
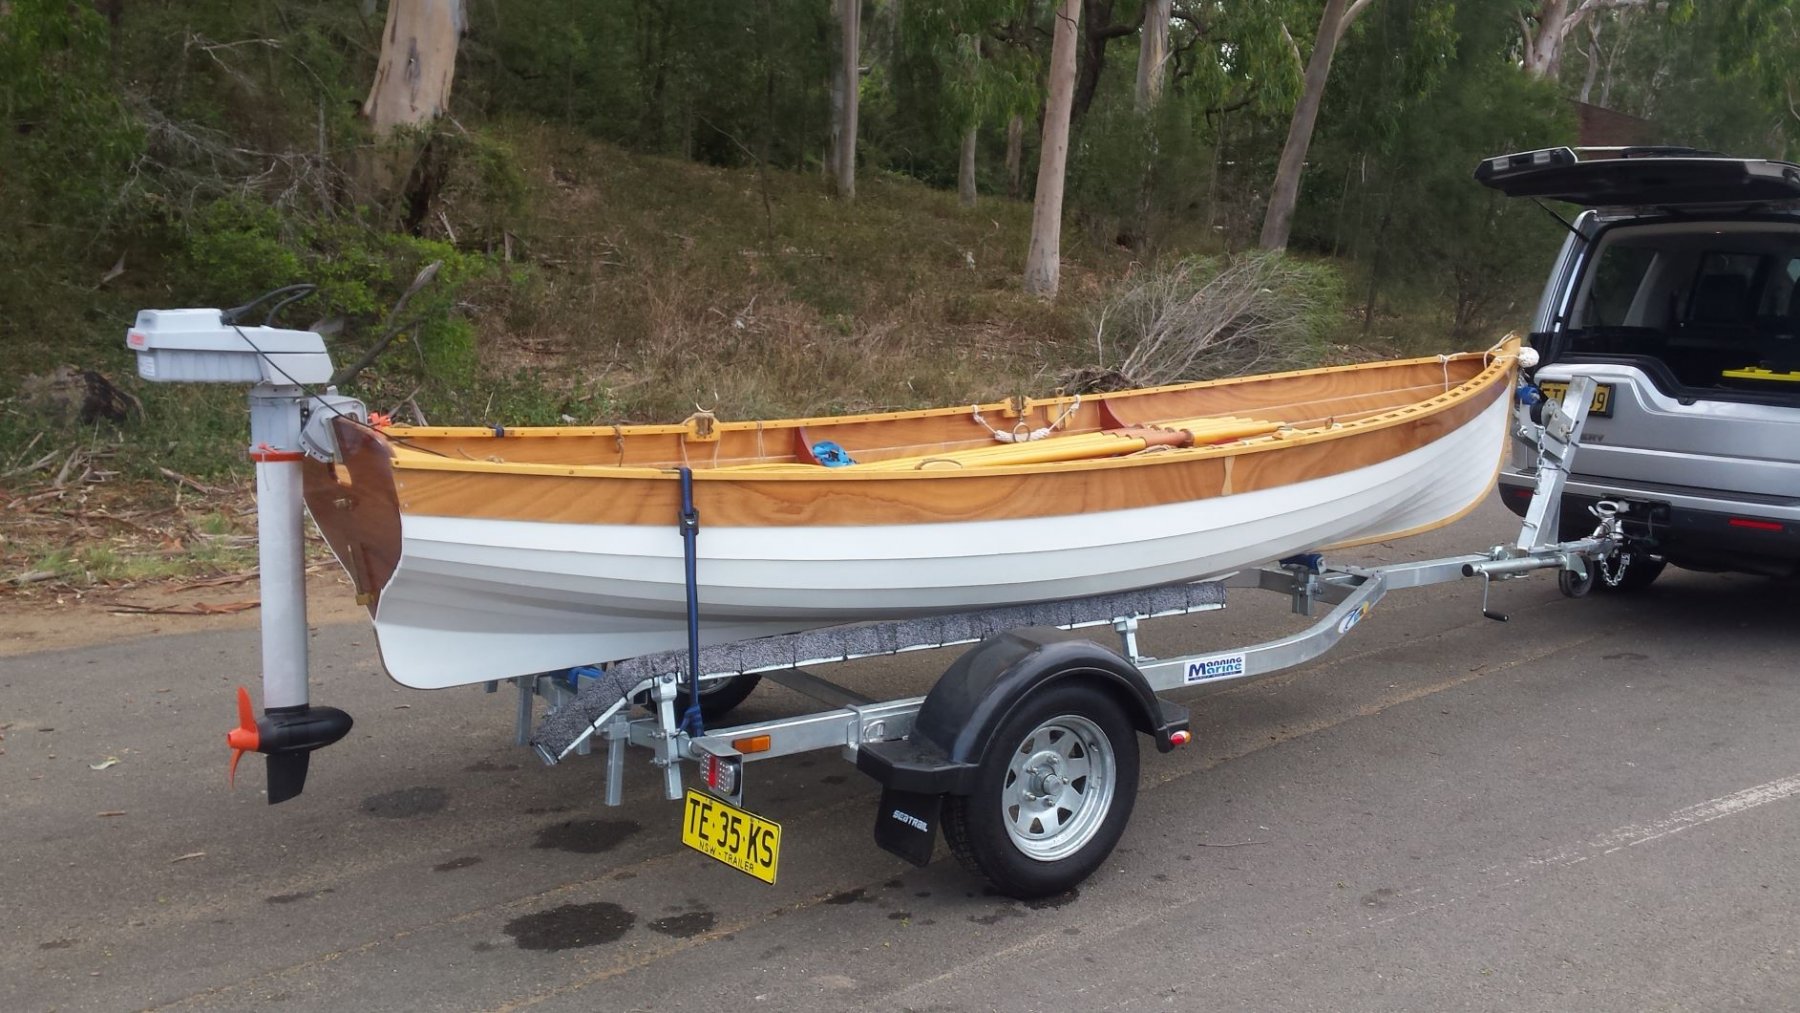
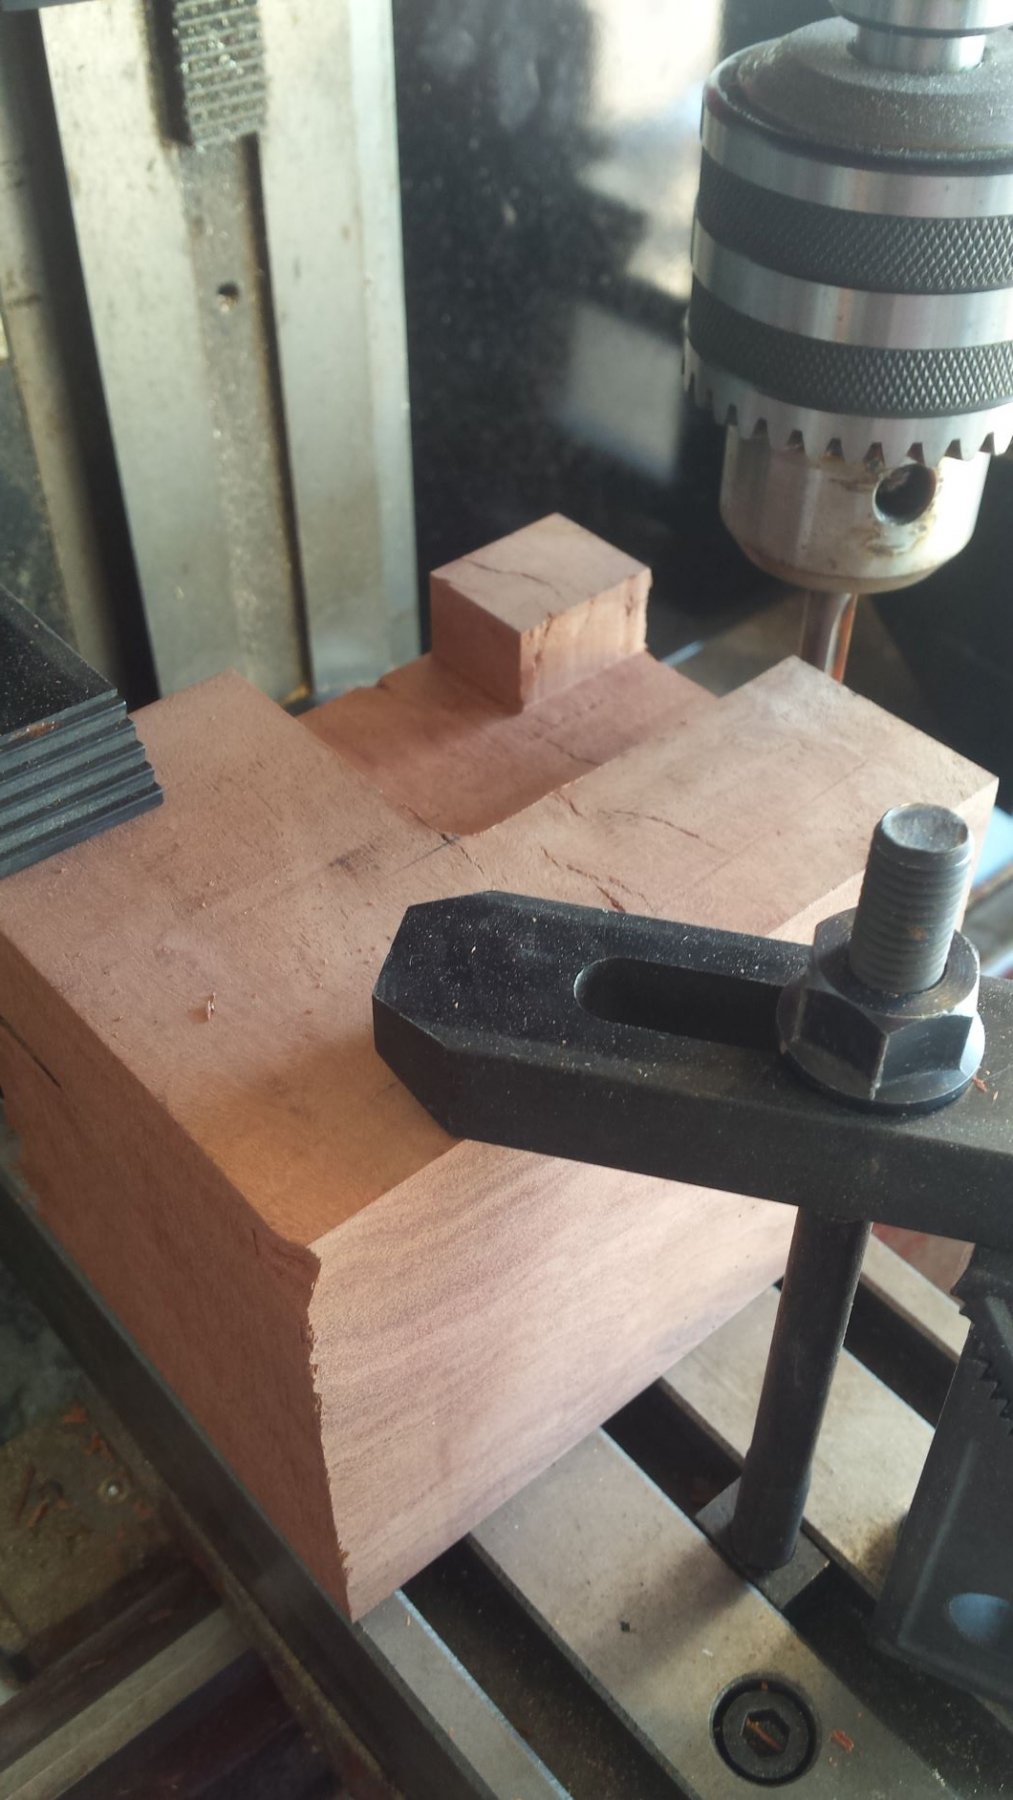
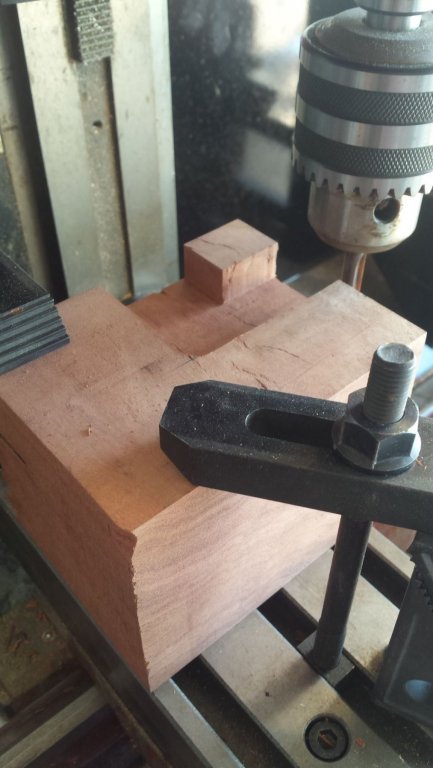
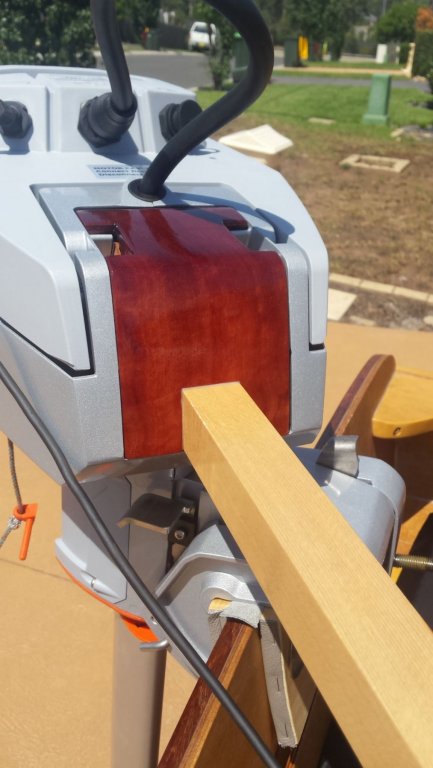
Nice pick up Michael, indeed, guilty as charged. Thanks for the compliment Michael, I take that as high praise given the source. I formed a friendship online with one of the guys from Wooden Boat Magazine and he told me to make sure I submitted Miss Caroline to "launchings" so now a Facebook encounter with a bloke in America has lead to a boat built in Sydney Australia being published in a magazine from Brooklin Maine and seen by a bloke in Edmonton Canada. Small world isn't it! On another note I've bought my Torqeedo outboard and it's working really well but how to tie an ultra modern motor in with a classic wooden boat? Well Michael may remember a piece of river red gum I used for the base of my schooner build, I said the timber was so beautiful there was no need for fancy shaping, well I realised I hadn't used any of that wood in my boat so I made the extended tiller handle from it and some left over sitka spruce. I think it ties in very nicely. Milling the red gum for the tiller head I reckon that looks pretty damn good While I'm proud to have this sticker I'm not sure I want to apply it to the transom

- 109 replies
-
- 10
-
-
Michael, I reckon the lamp probably looks in better condition than most real ones would by now. Well done.
-
Mark, I have a feeling everything about this build will be elegant, especially given the lamp and engine
-
Just beautiful
-
You never stop teaching Michael
-
I'll be interested to see how you make some of those parts
-
Very nice thinking outside the square, I would never thought of a knurling tool, I have one but it's diagonal, guess it would make nice helical gears
-
I've just found this build and have to say it's very impressive. You've got a very nice machine and tooling setup too I'll be keeping this build for further reference.
-
15' Dinghy by Bedford - FINISHED - 1:1 scale
Bedford replied to Bedford's topic in Non-ship/categorised builds
The tiller is large enough that used with the outrigger stowed my hand will rest over the top and sides without really touching the device.