


Katsumoto
-
Posts
419 -
Joined
-
Last visited
Content Type
Profiles
Forums
Gallery
Events
Posts posted by Katsumoto
-
-
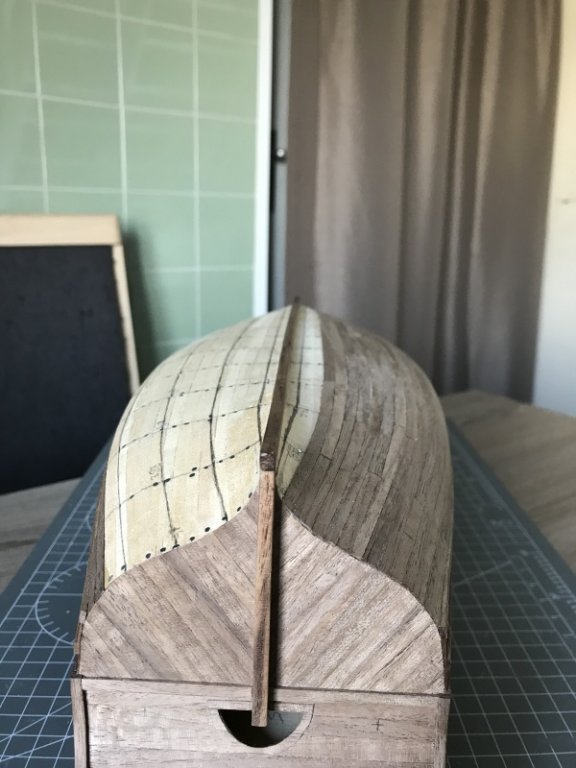
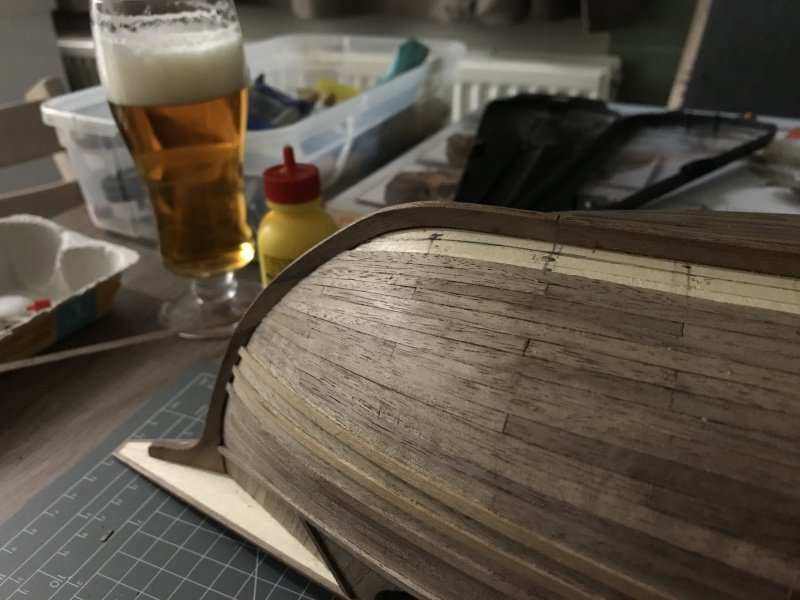
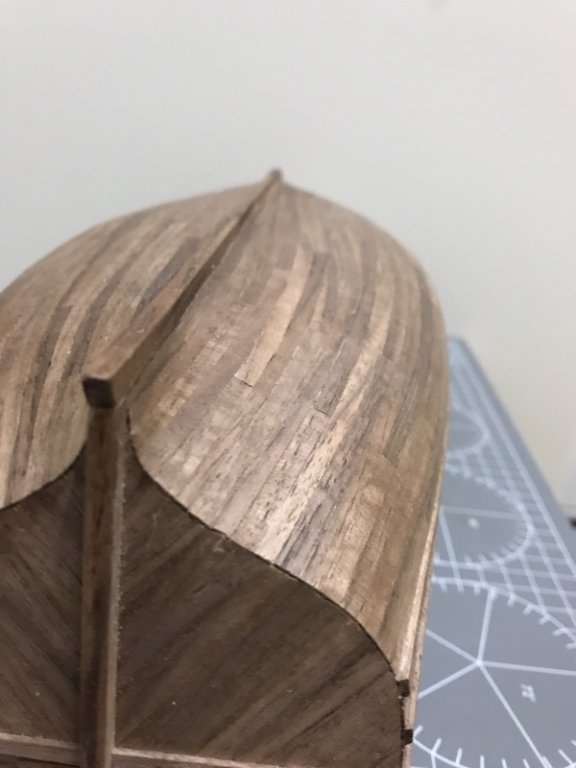
When it's all about the rudder...
Hi friends,
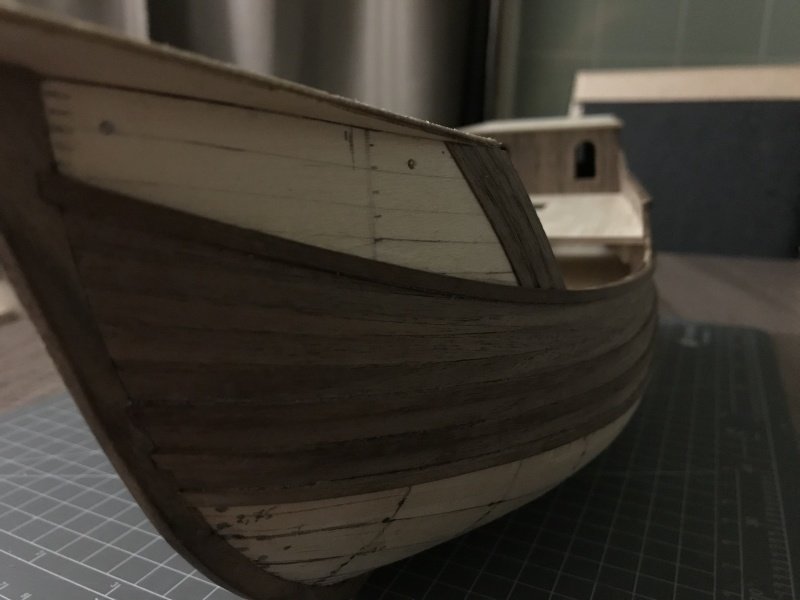
Today I finished a simple task....constructing the rudder! However, Columbus set sail for the Indies and ended up in current America. So the rudder is part of keeping the right course and is pretty significant for this ship.
Before I'll show you the steps of constructing the rudder, first some other work I've done this weekend...
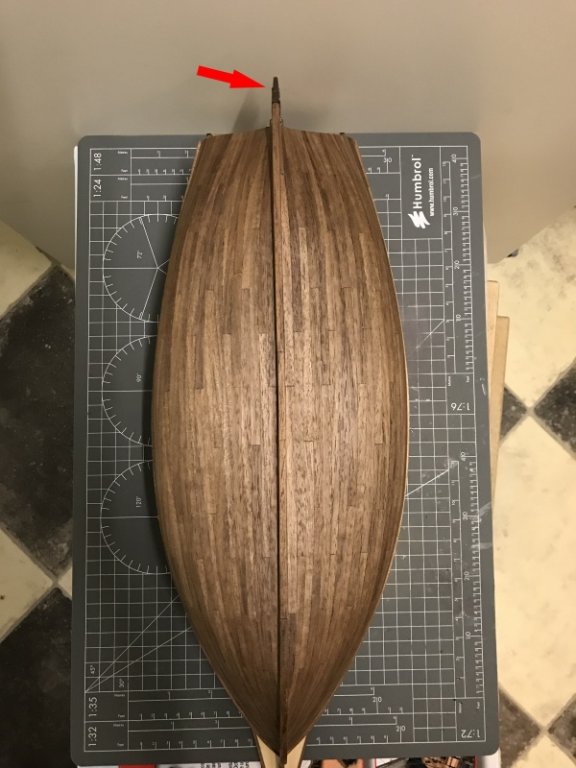
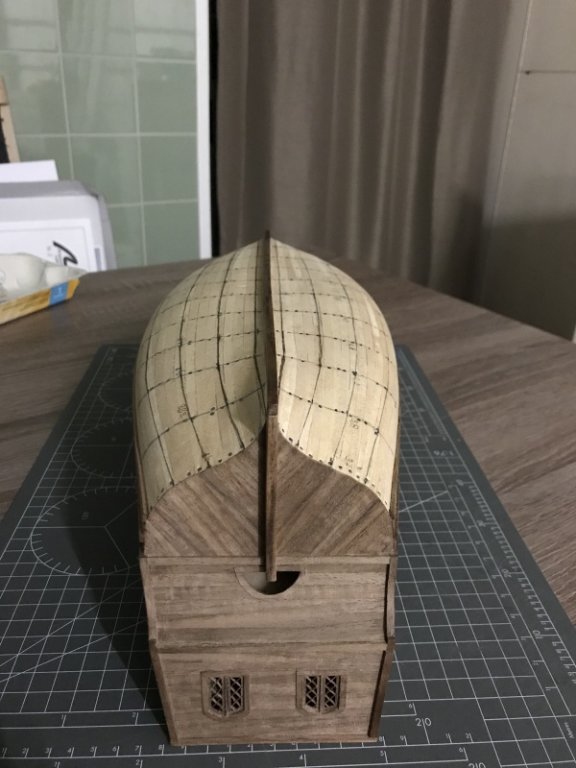
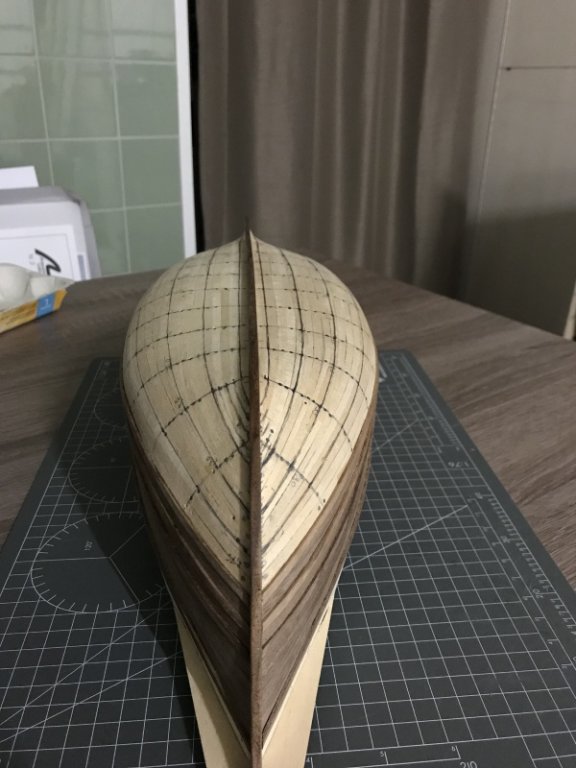
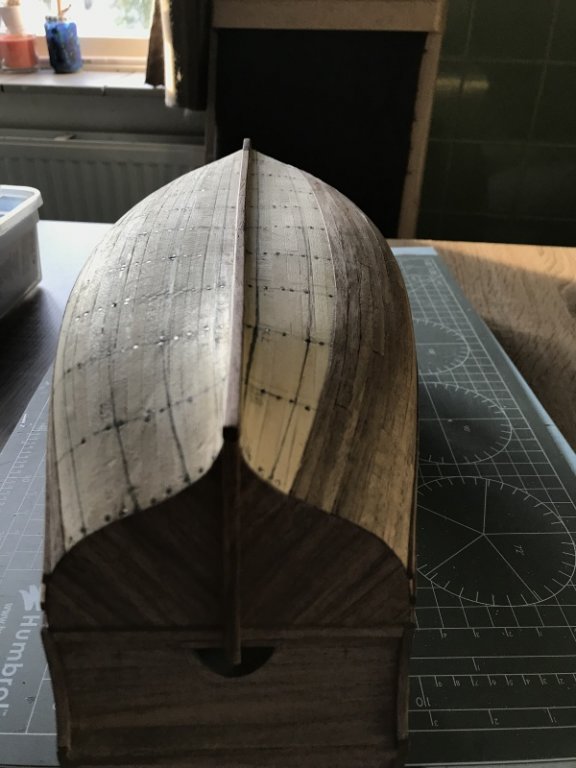
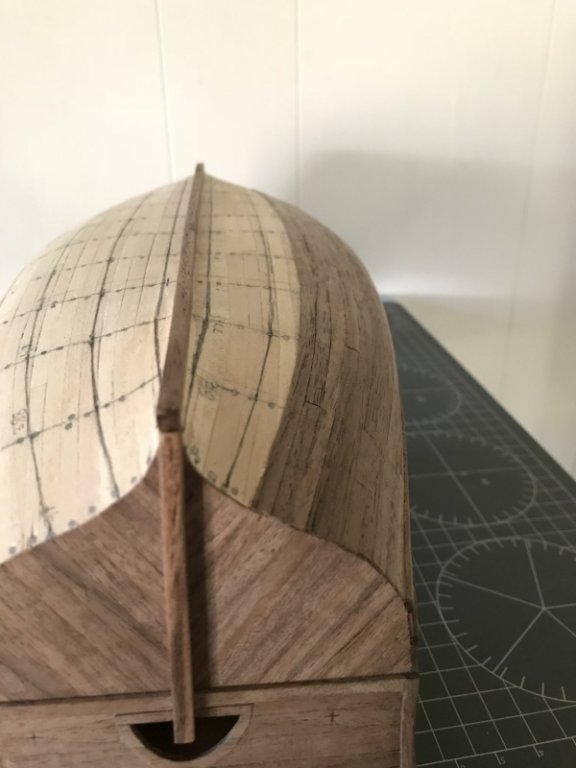
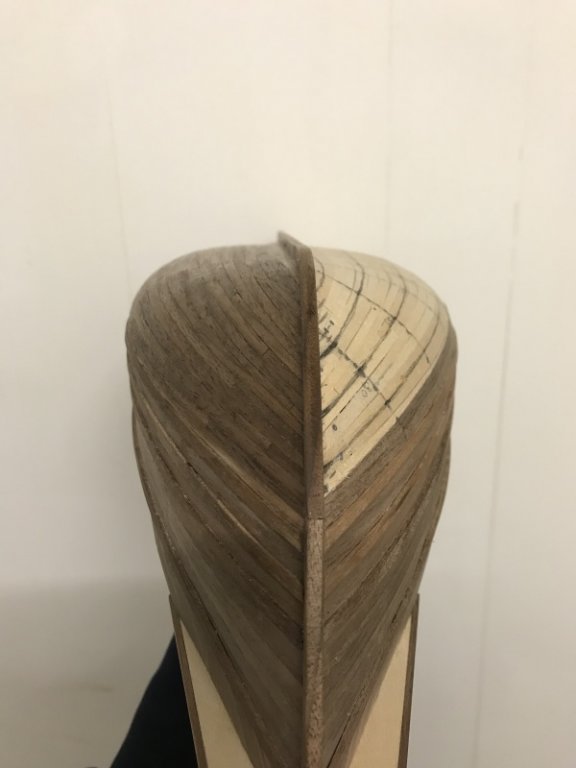
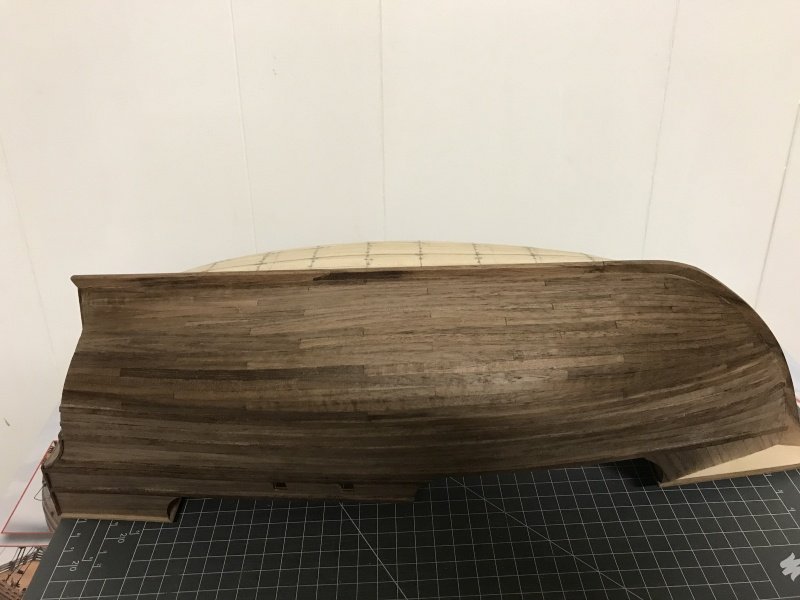
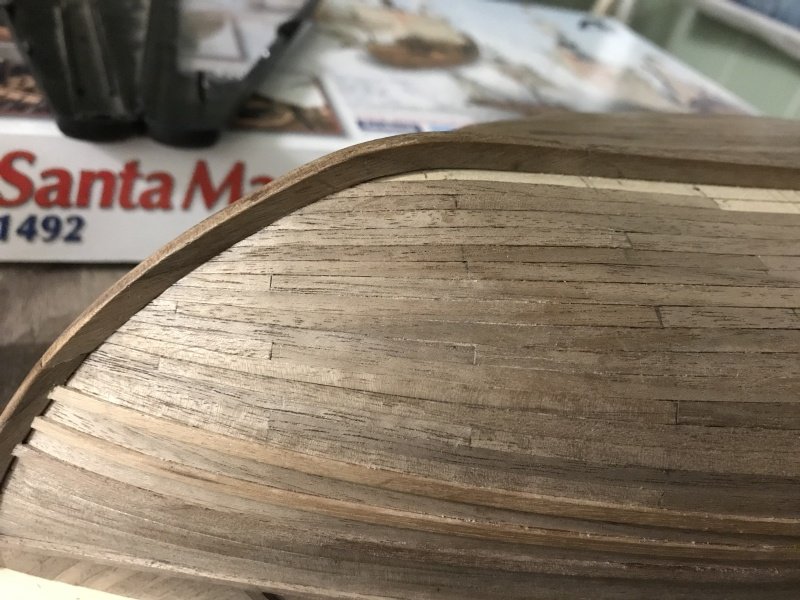
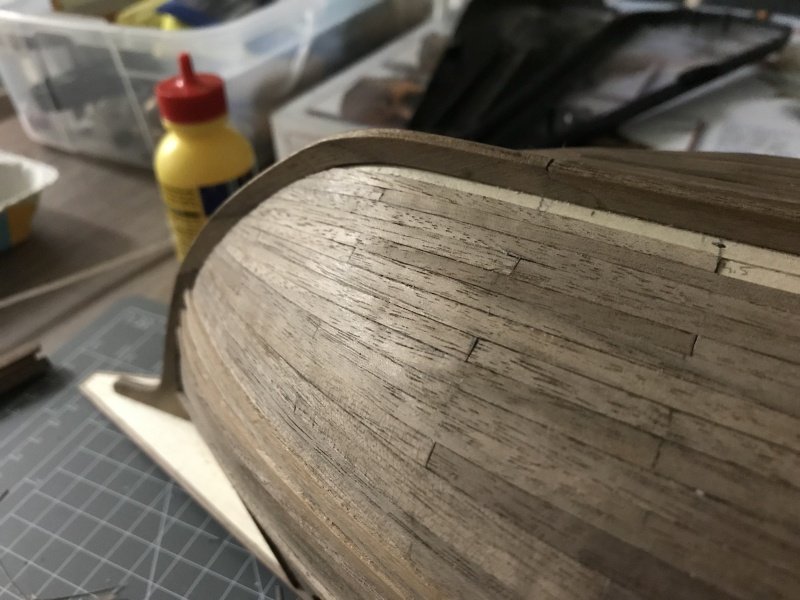
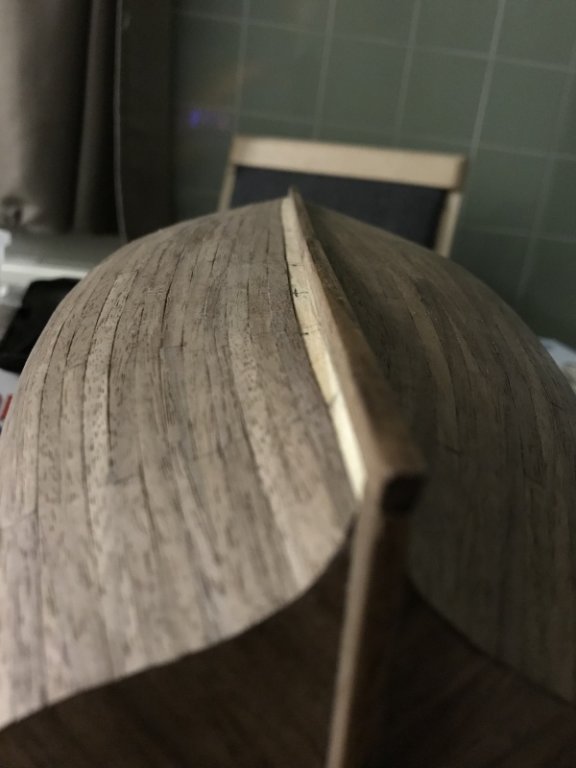
Step by step she turns into a nice ship...
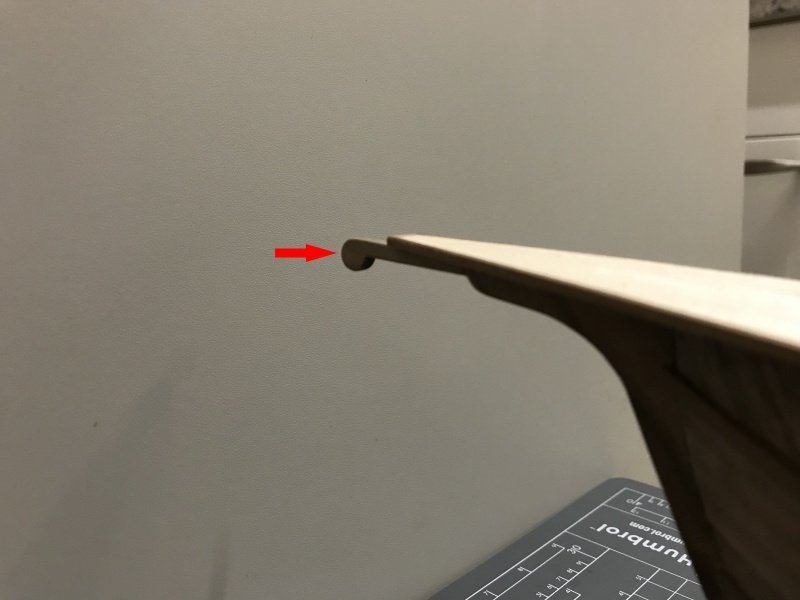
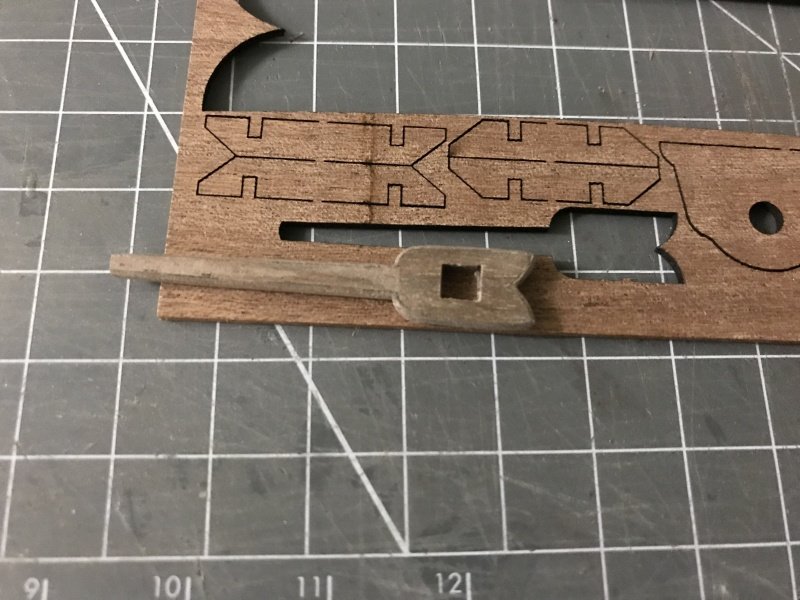
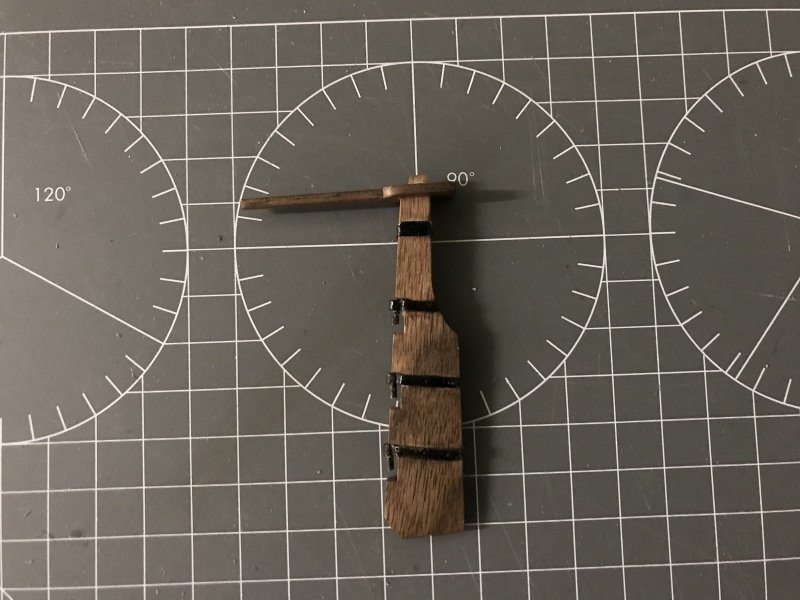
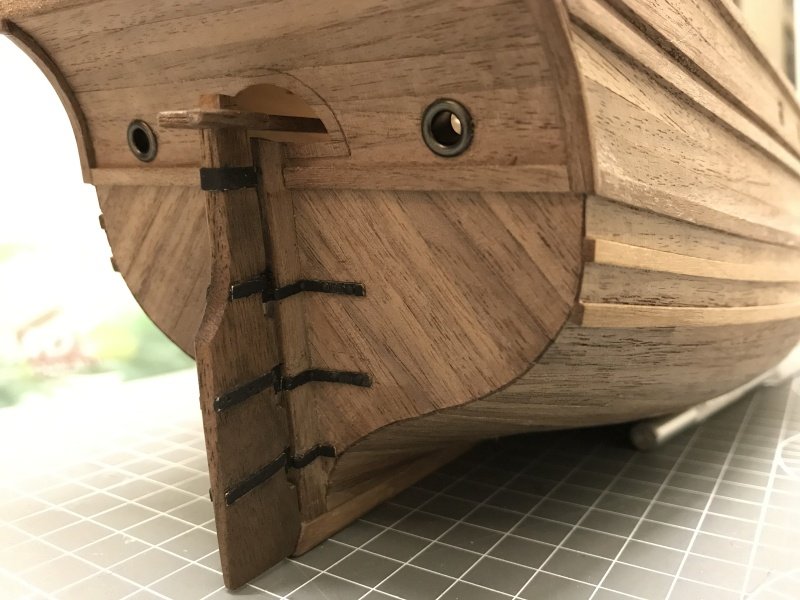
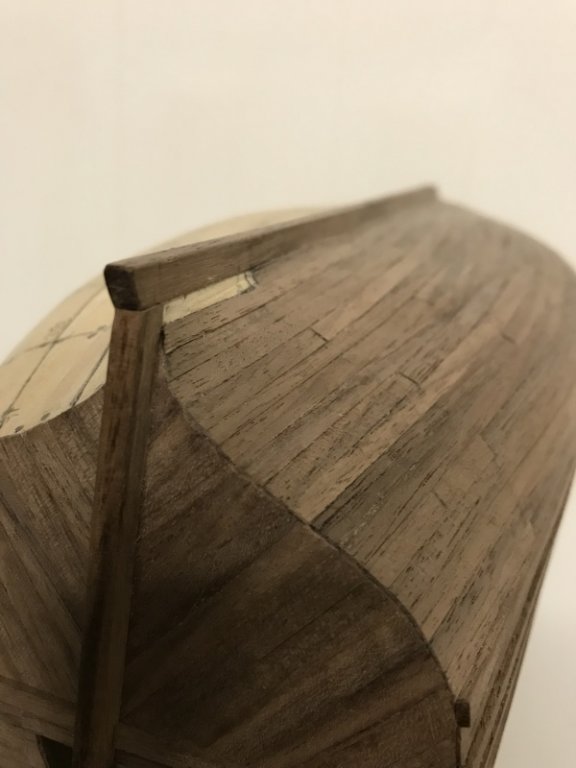
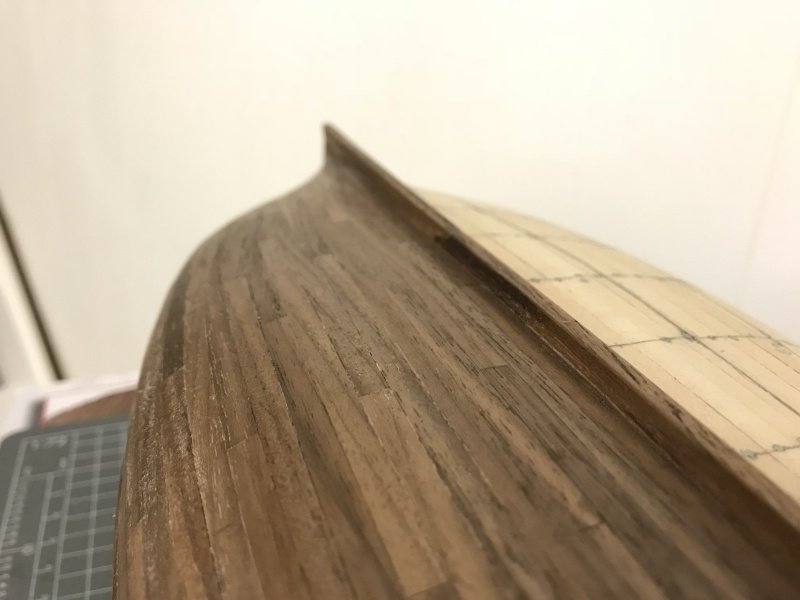
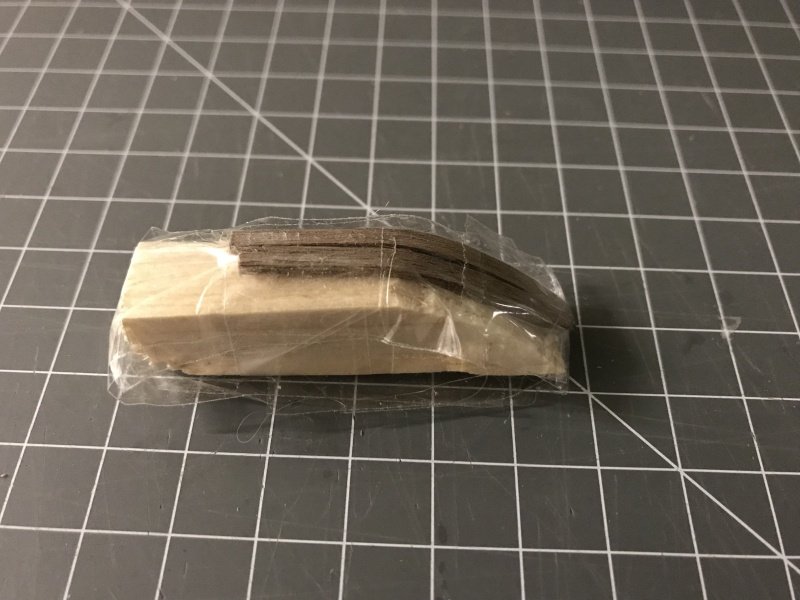
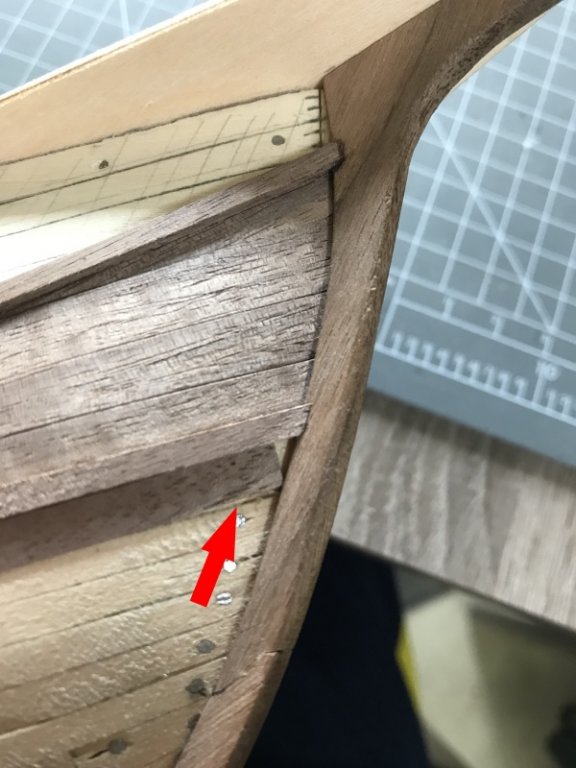
Back towards the rudder then. It comes with the kit pre-made from walnut and all I had to do is some sanding to get rid of the laser burns.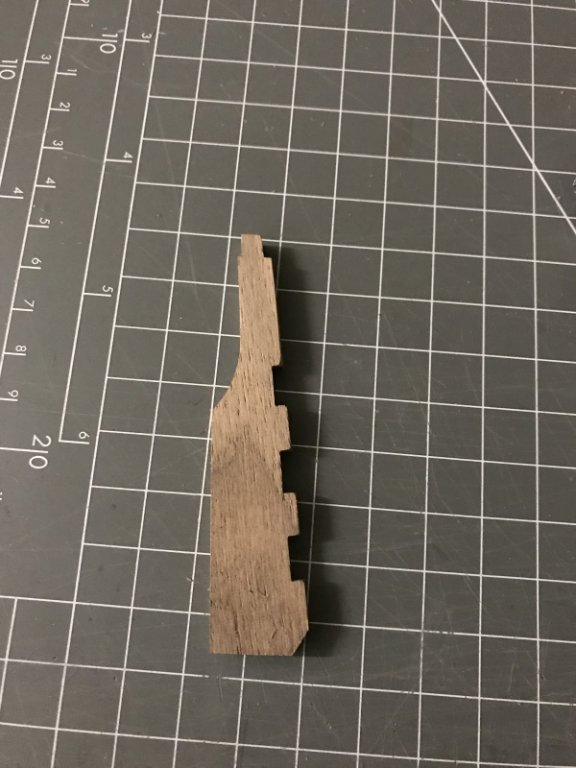
I didn't liked the thickness of the wood, it felt to bulky to me and I was wondering what was wrong. So after a while I decided to taper the end part of the rudder.
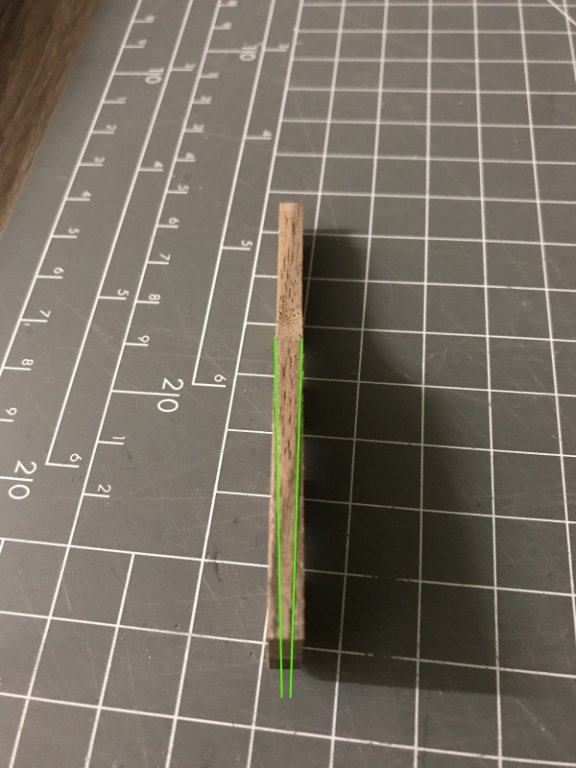
Much better result so to say. Less bulky!
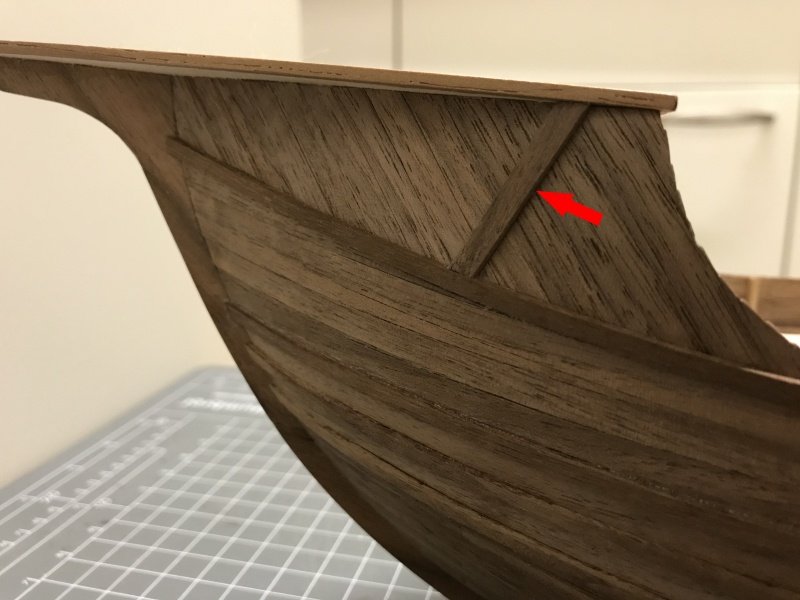
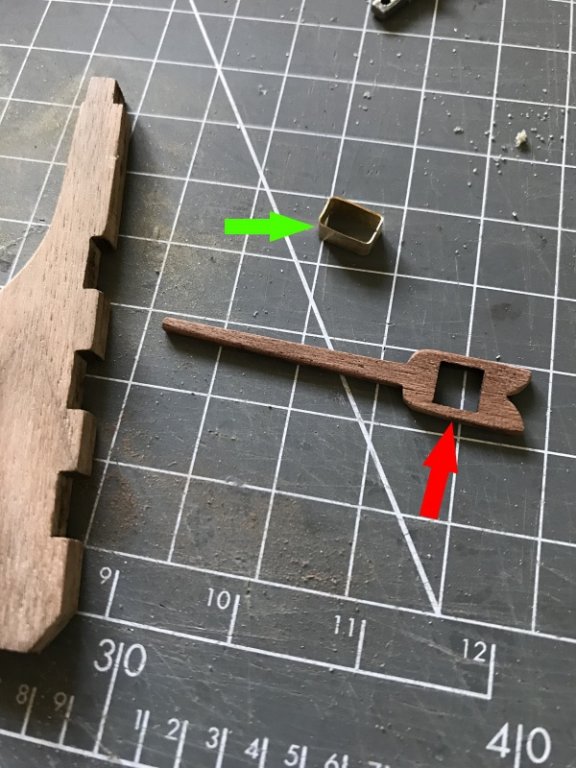
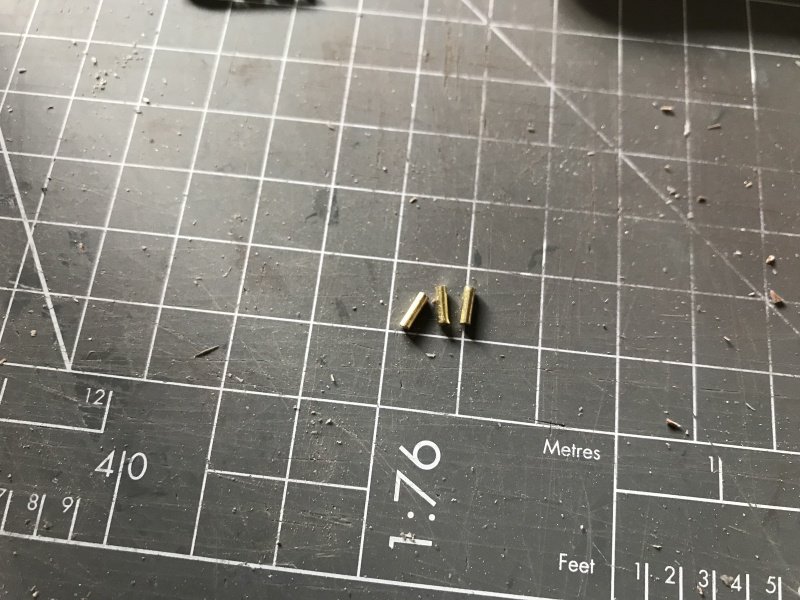
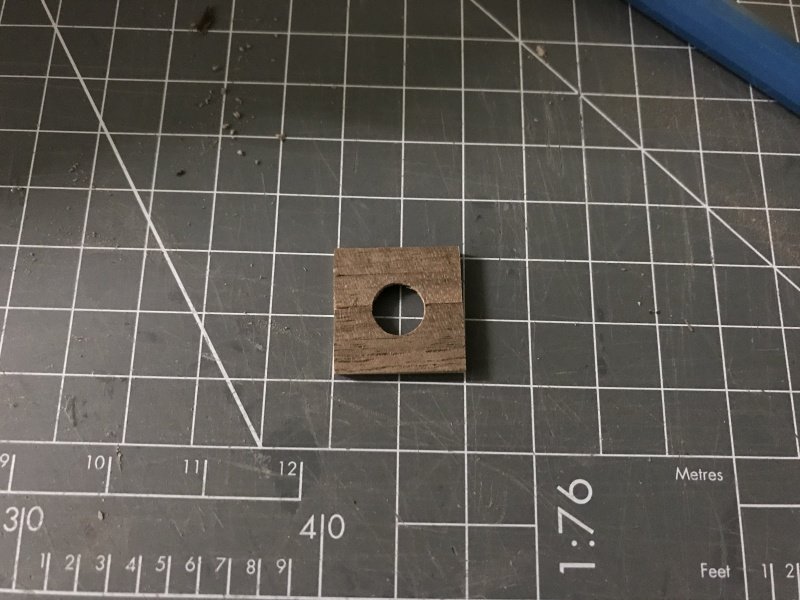
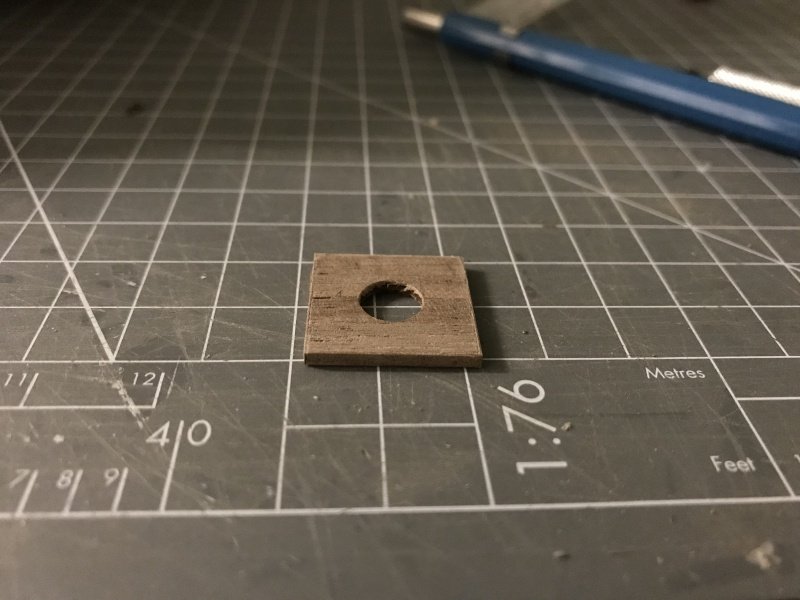
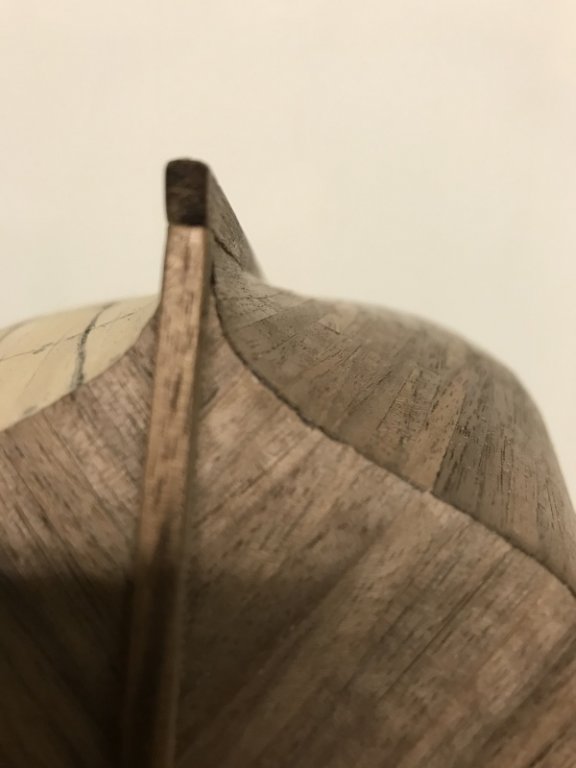
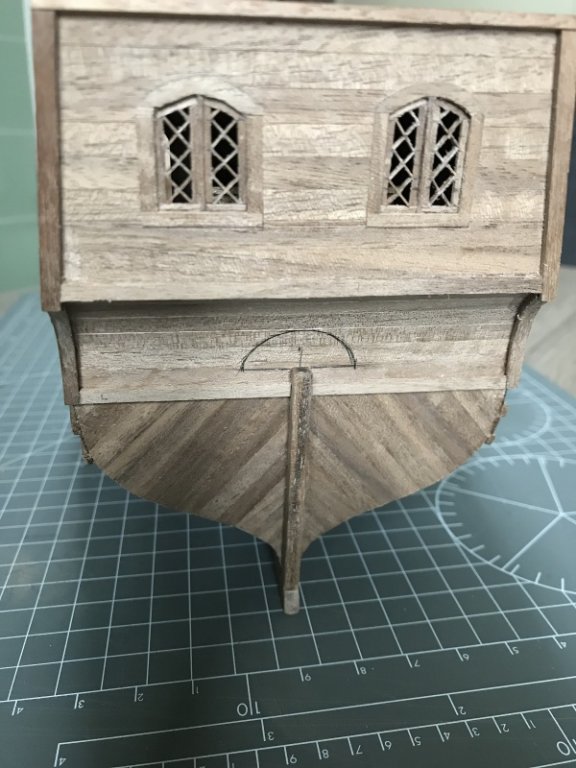
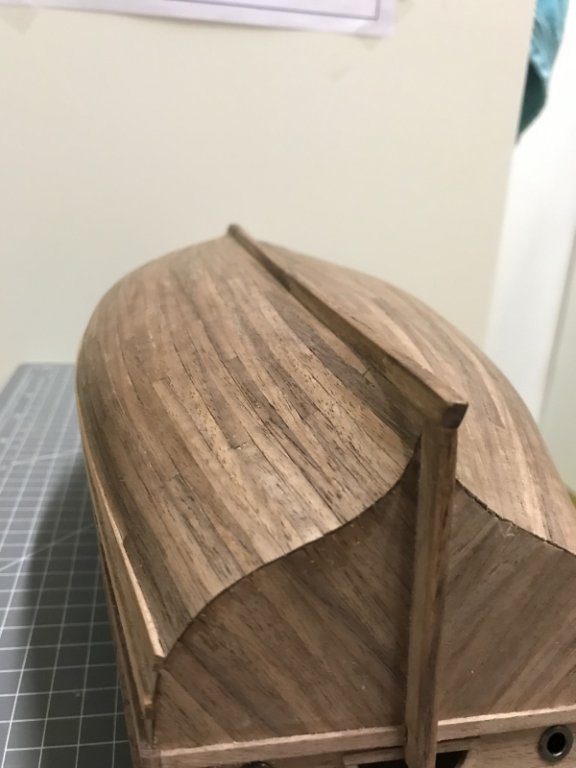
So in the next picture, I'll show some parts. The rudder, the helm(stick) (red arrow) and a metal band which is made from a strip of brass. (green arrow)
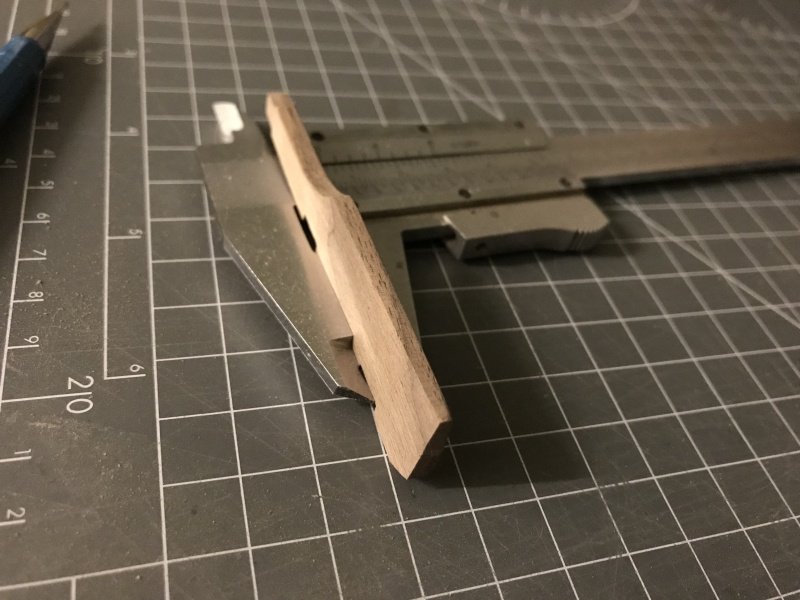
I decided to use some walnut veneer to cover the reddish wood because I didn't like the color. Also the hole is to large for the rudder to fit so I changed that as wel and made it smaller.
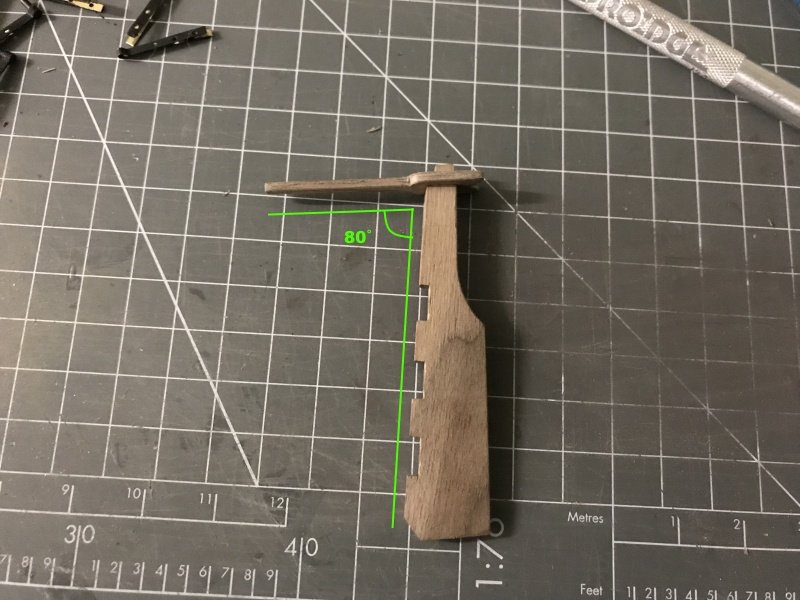
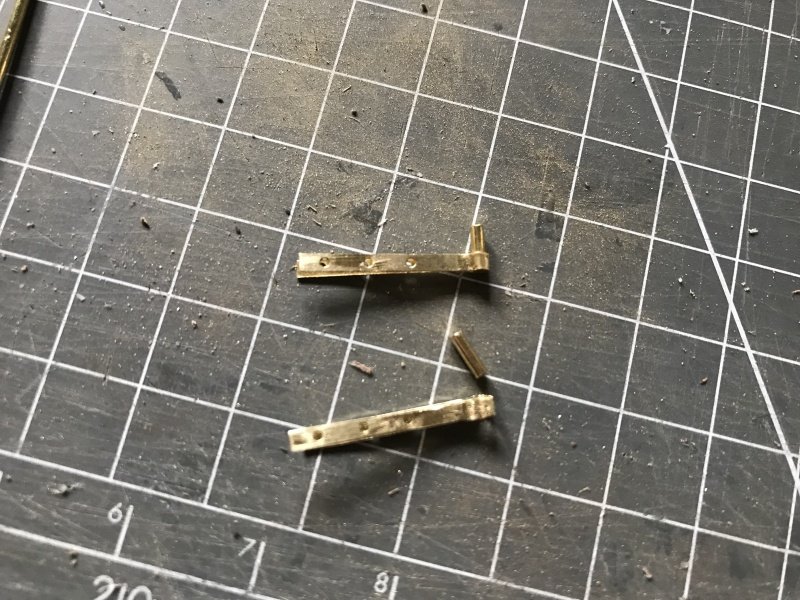
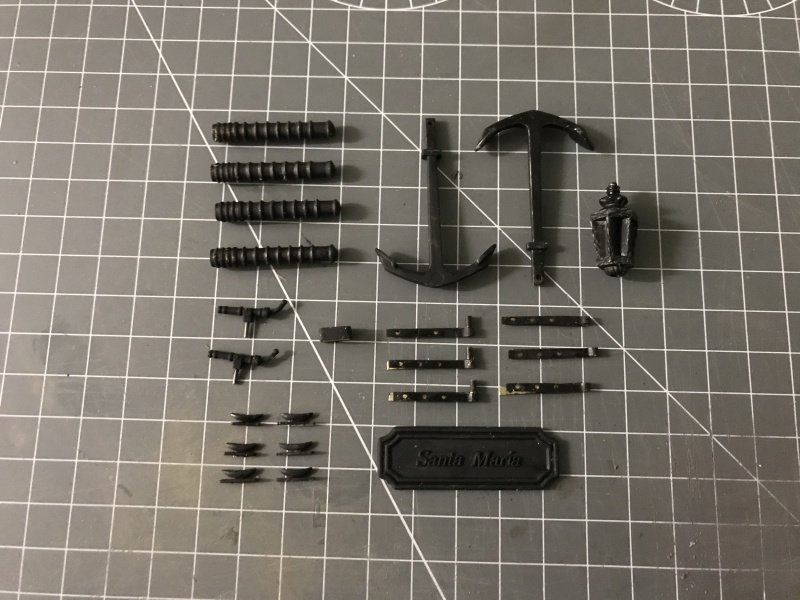
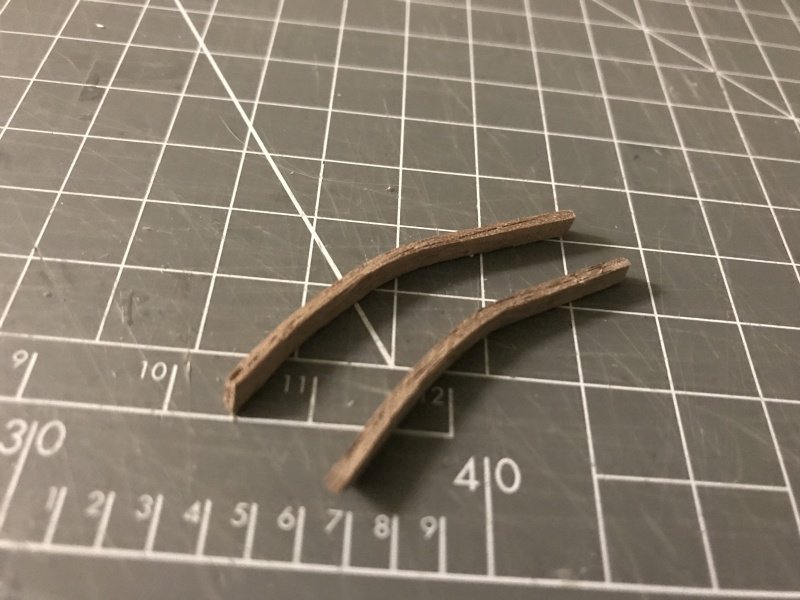
Next step is constructing the hinges. The premade hinges are way to big for this type of ship. So I changed it and made them a bit less bulky.
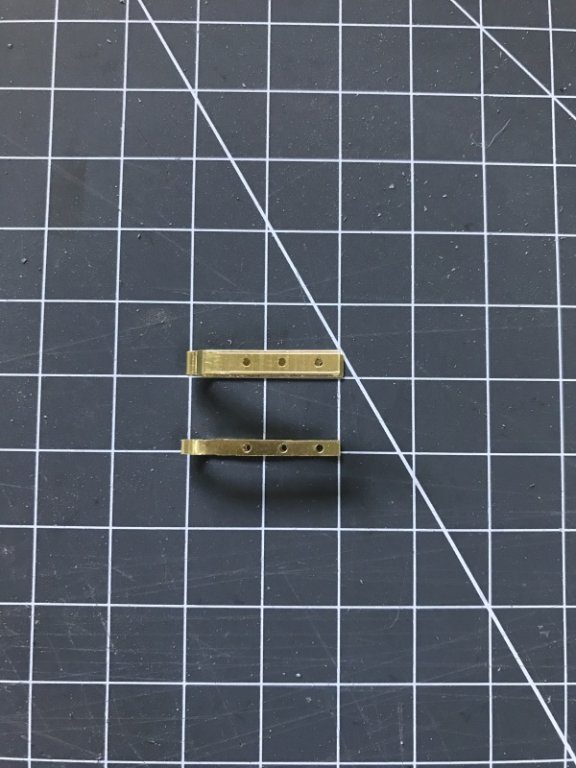
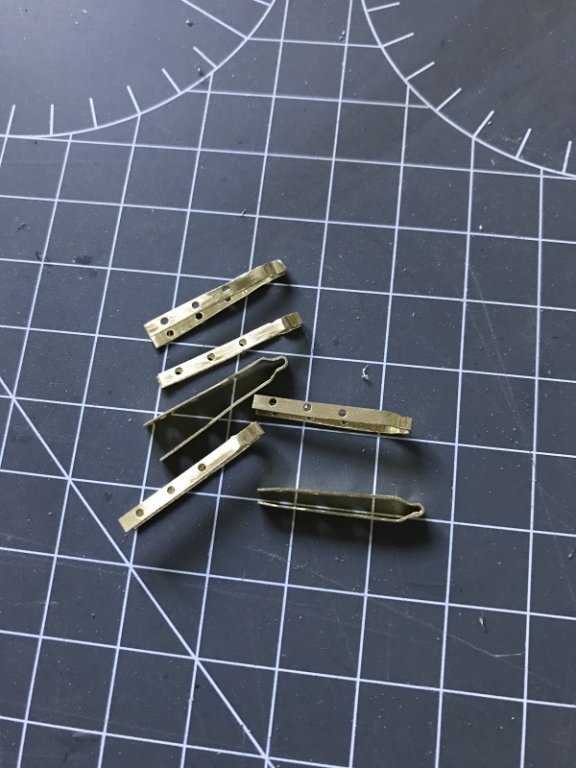
The pins are made of some 1,5mm brass roundbar.
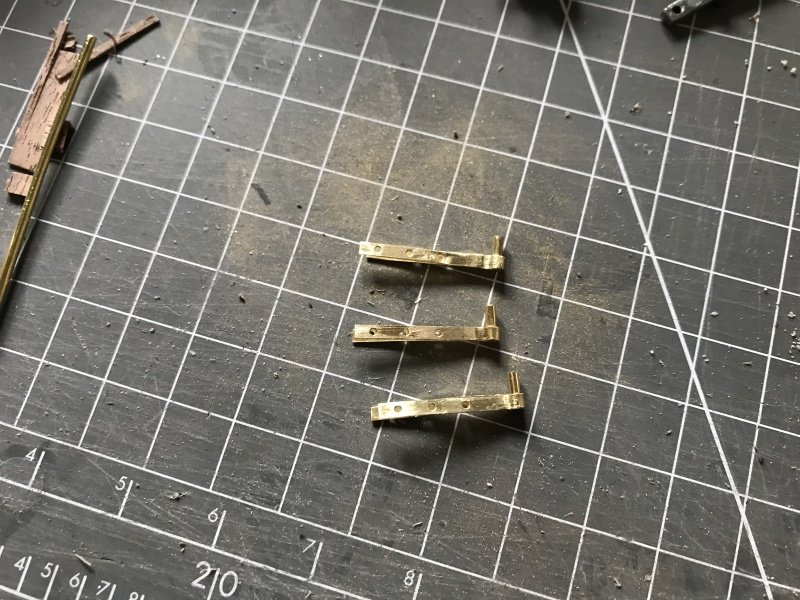
So, normaly I use Brass Black of Birchwood Casey to blacken my brass. This is packed into a container and stored for the move to another house. So a new bottle costs about 25 USD over here in The Netherlands. I had some black paint on the shelve so I used that in stead.
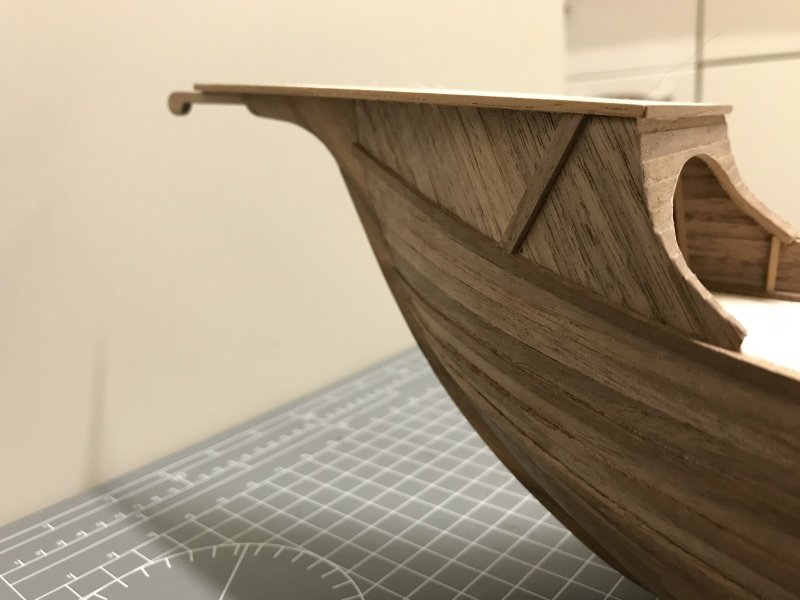
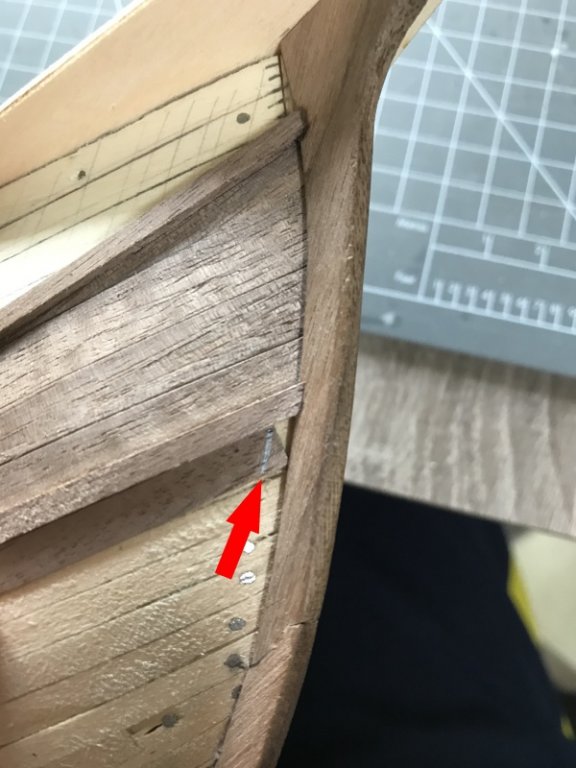
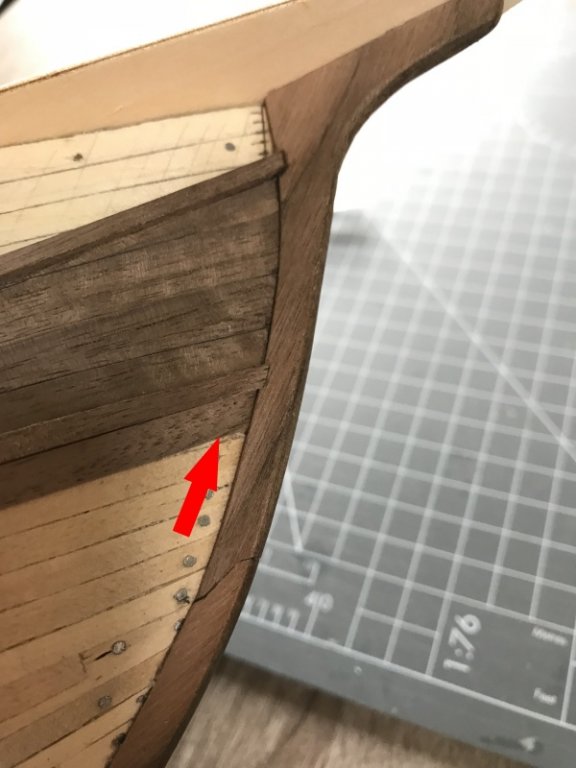
Continuing the assembly of the rudder...
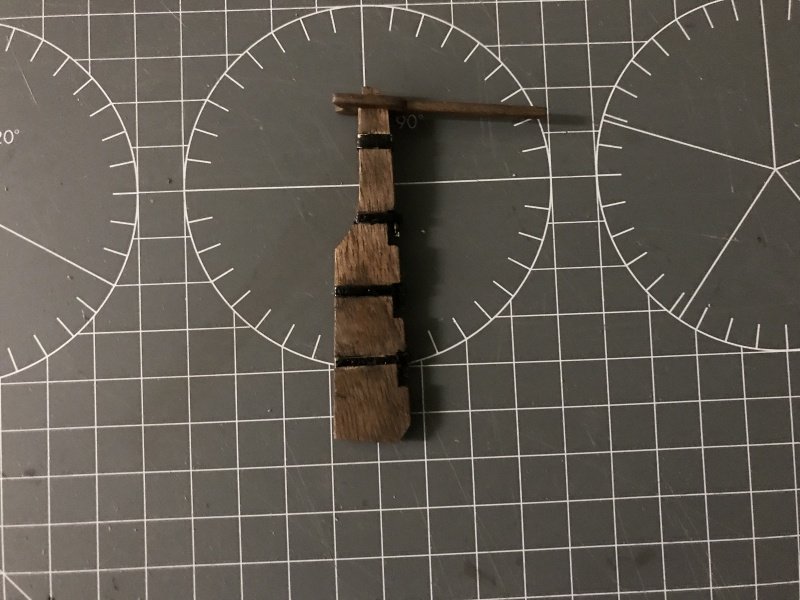
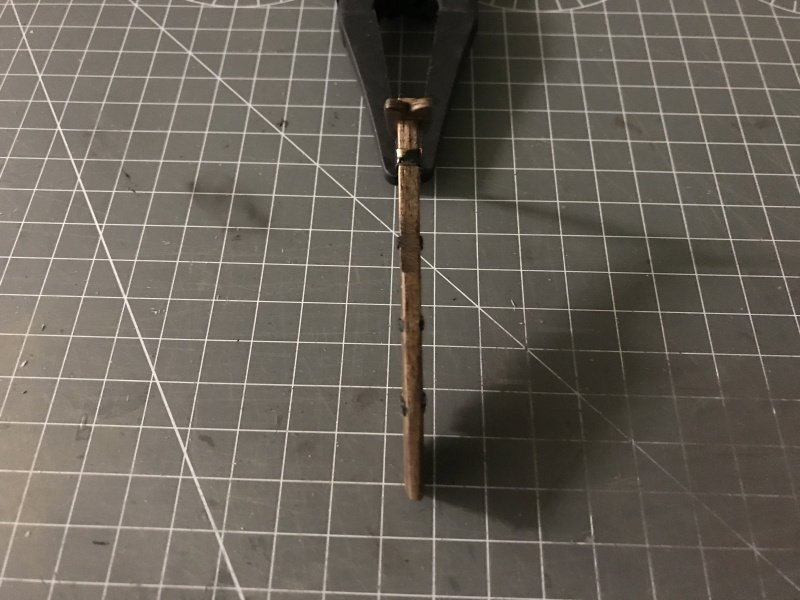
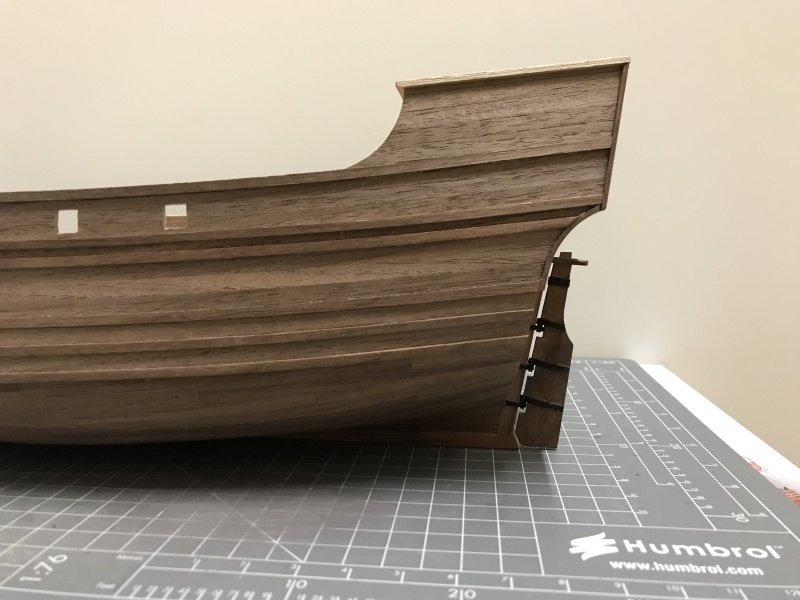
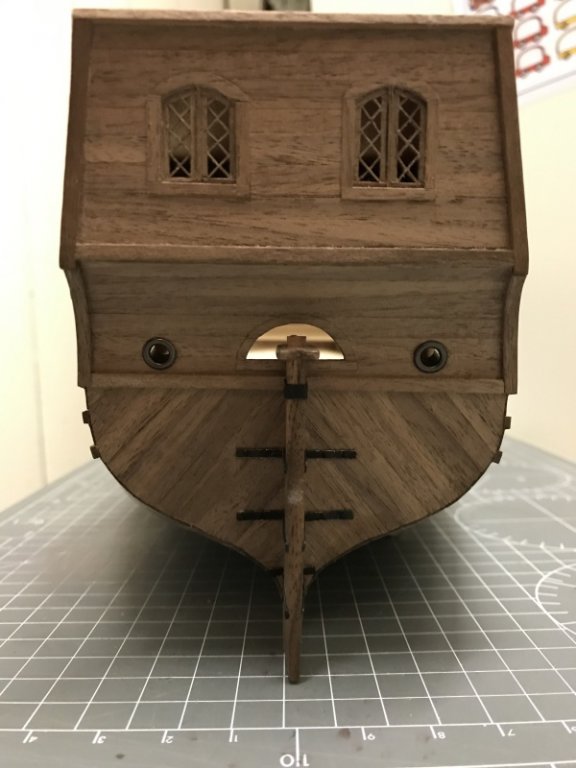
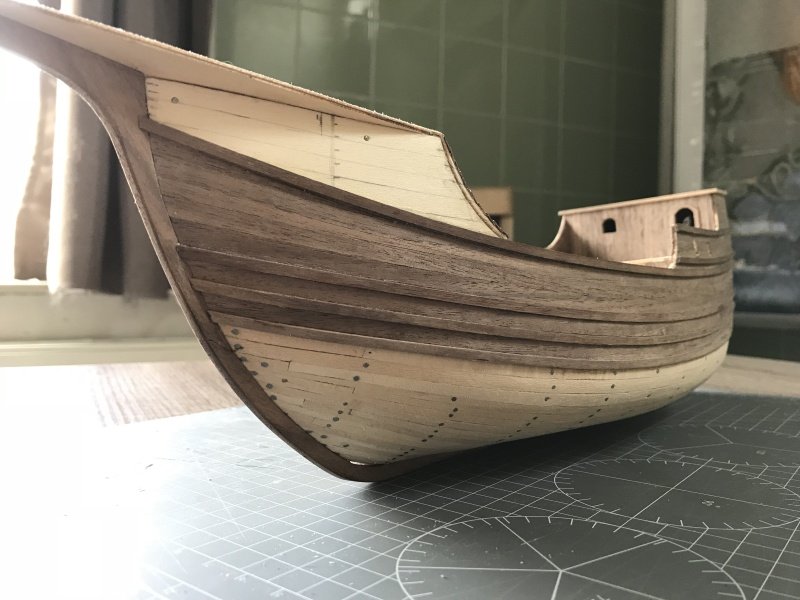
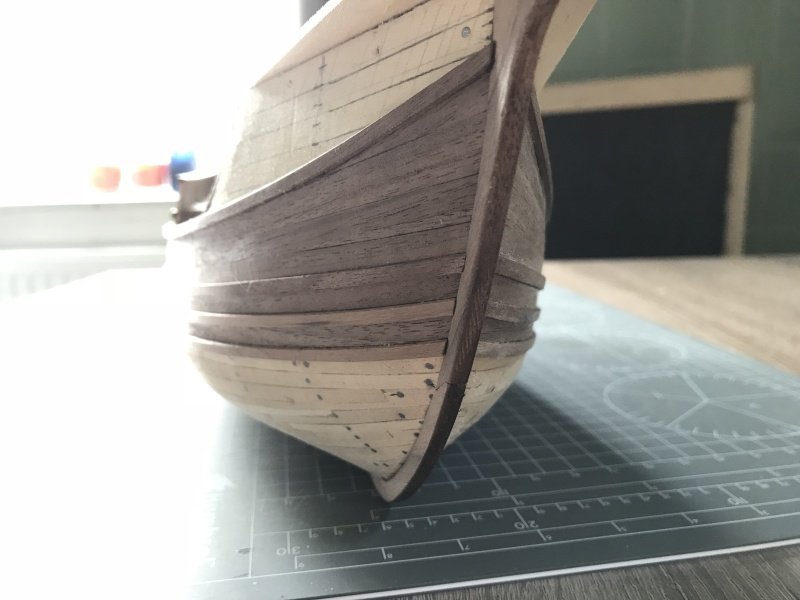
And placed the rudder on the ship...

So far so good, until the next episode / update. I wish you a very nice day and thank you for reading and replying on my log. I highly appreciate it!
regards,
Pter- Scottish Guy, FingerSticker, ccoyle and 7 others
-
 9
9
-
 1
1
-
7 hours ago, MESSIS said:
Planking Verdict: PERFECTO!!!!!!
Am anxious of what is to come.
Still long way untill embarking to America Dutch Colombus 😎
Christos
Thanks Christos. I’ll set sail for the new world and probably end up in Greece. 😎
maybe you’re in to be first lieutenant and we will start a new Oddessy!
-
6 hours ago, paulsutcliffe said:
Beautifully planked petr, a few coats of sanding sealer followed by some tung oil and that wood will look awesome
Regards
Paul
Hi Paul, thanks and it sure does after Some rubbing with tung or Danish Oil. 👍🏻
-
1 hour ago, Backer said:
Congratulations. Beautiful planking.
Which brand of beer do you drink inbetween
")
Hi Patrick, it was a Belgium IPA! Only the best... 😉
thanks!
-
4 hours ago, Wallace said:
Those pre-cut strips do not deter from the beauty of this hull. You have done a masterful job sir. Perhaps this is a method that could be adopted for my build? (at least for the first layer of planking. It would make things a little easier maybe......) I will have to give that some serious thought. Thanks also then for the inspiration
")
Thanks Wallace. I’m sure your hull of the Victory will be a beauty as well.
You can apply this method to almost any hull, but sometimes an other method is needed depending on the ships timeperiod and origin and how accurate of the timeperiod you want to represent.
-
-
-
-
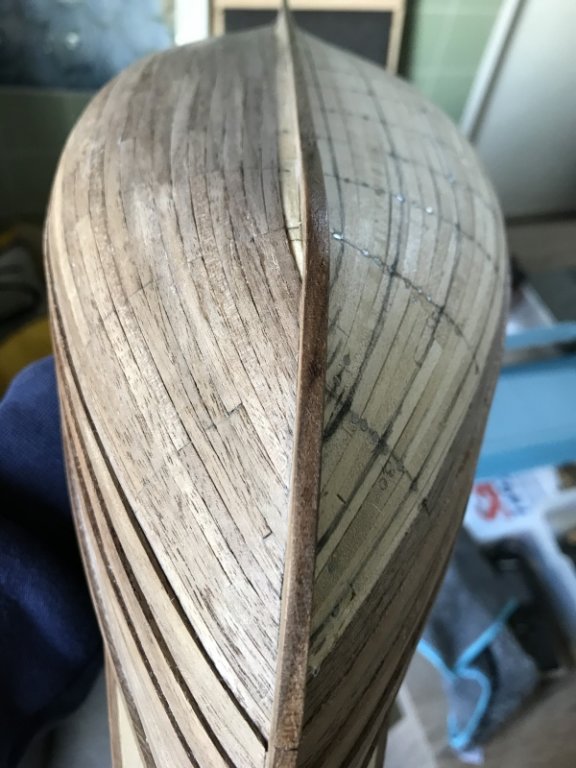
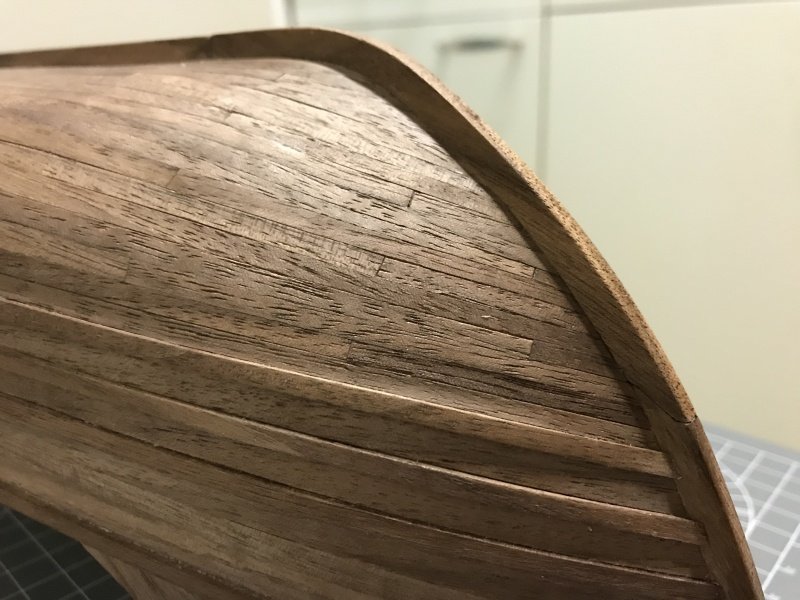
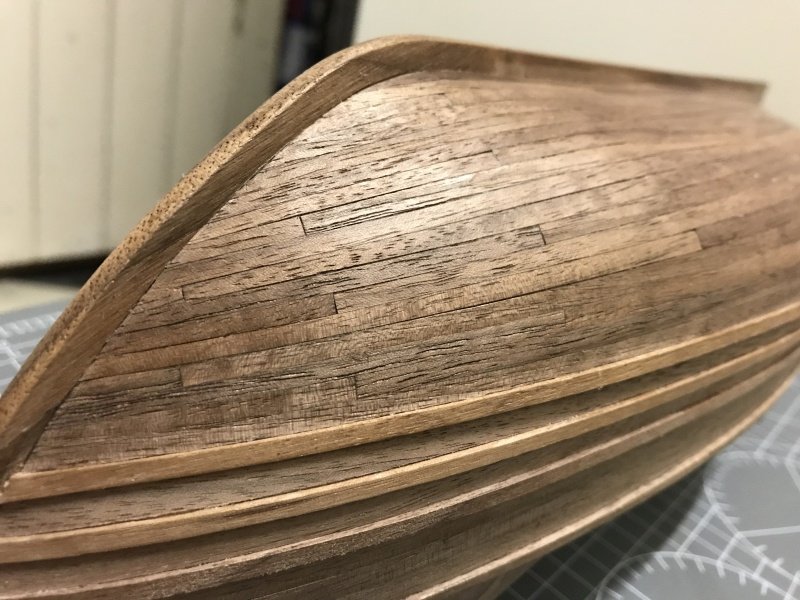
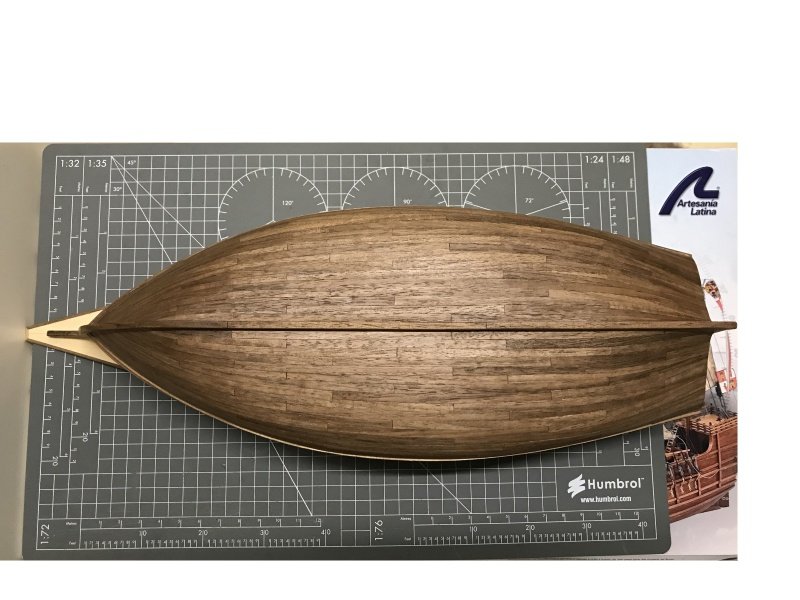
Hi guys,
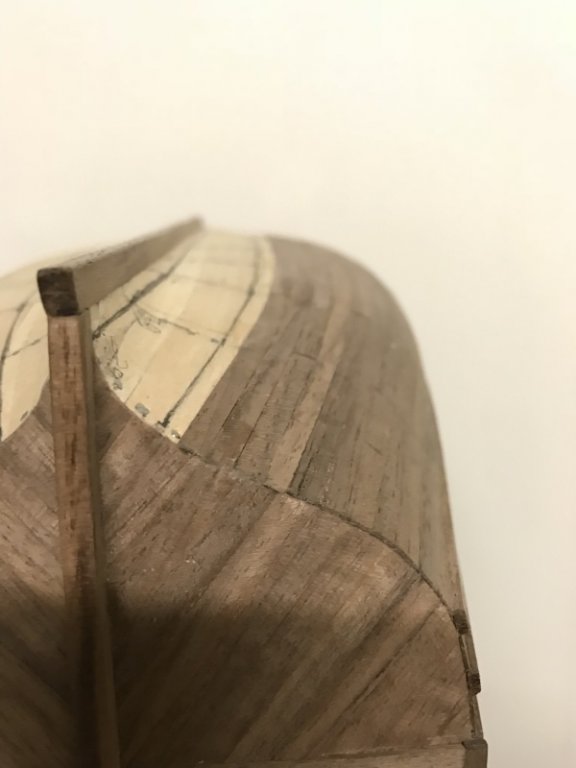
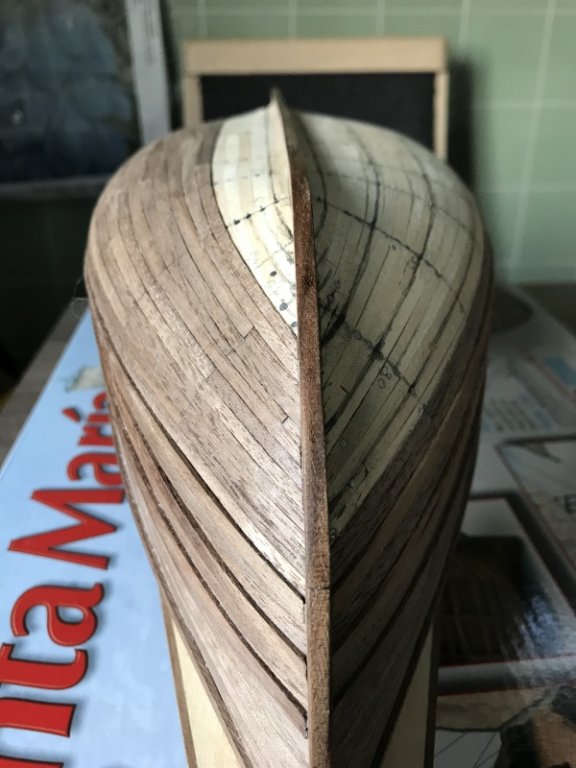
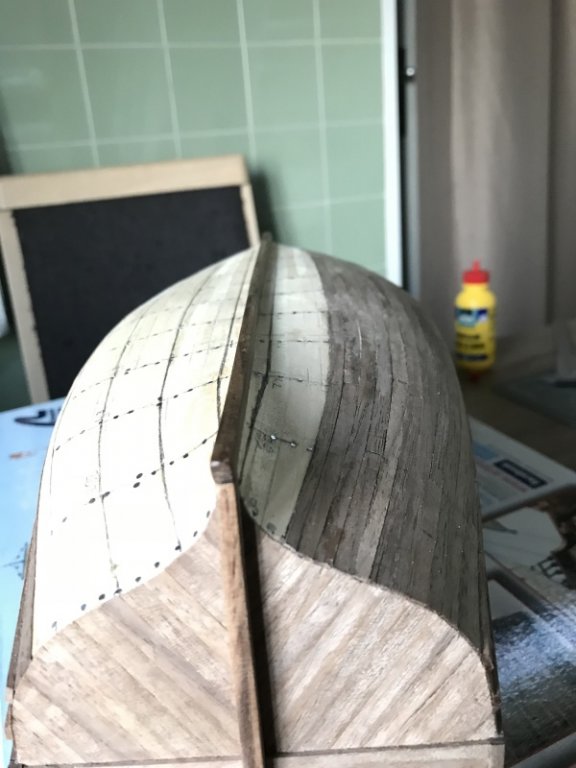
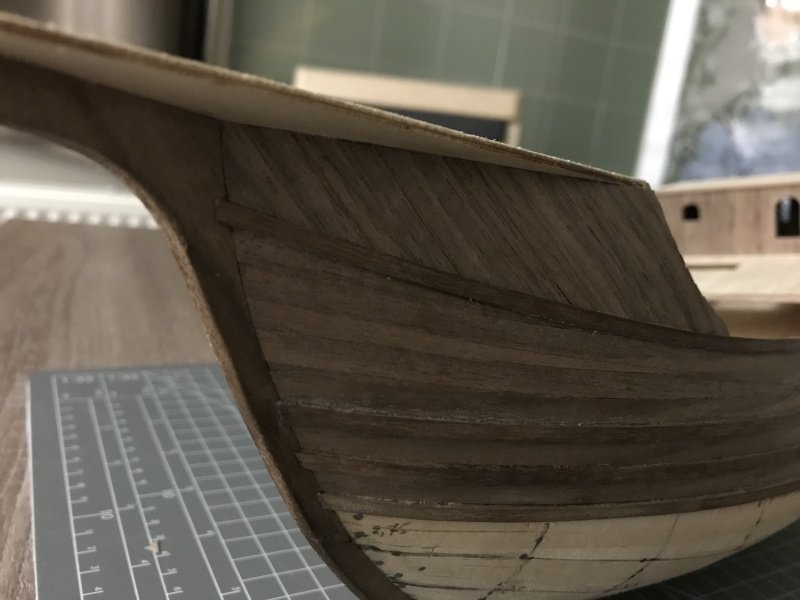
Today nothing special to show, only my progression of the planking proces.
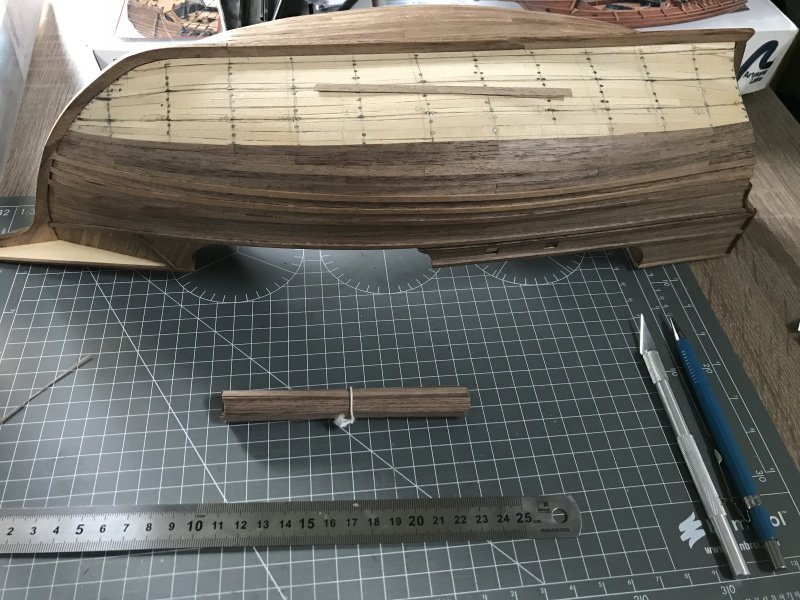
So, on the picture below you can see the different line the second layer takes in comparison of the first layer.
Probably I will finish the hull somewhere next week or so...almost there....
So long,
Pter- Scottish Guy, Baker, nikbud and 3 others
-
6
-
12 minutes ago, MESSIS said:
Well done Dutchman! Sharp and clean.... thats good craftsmanship.
Christos
Thank you Christos! I’ll do my best 🙂
-
4 hours ago, Wallace said:
That certainly is an interesting way to get the hull planked, and it looks decent too. Nicely done.
Thank you Wallace. I am pretty pleased with the result as well
-
-
Hi Mustafa,
just read your great log of your SM. She looks lovely and unique! You show great skill and good luck with the rigging part.
cheers,
Pter
-
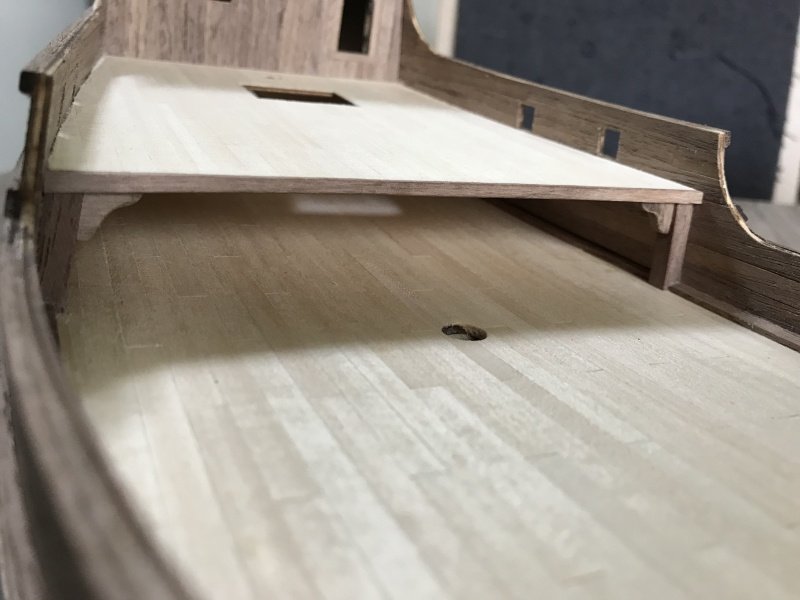
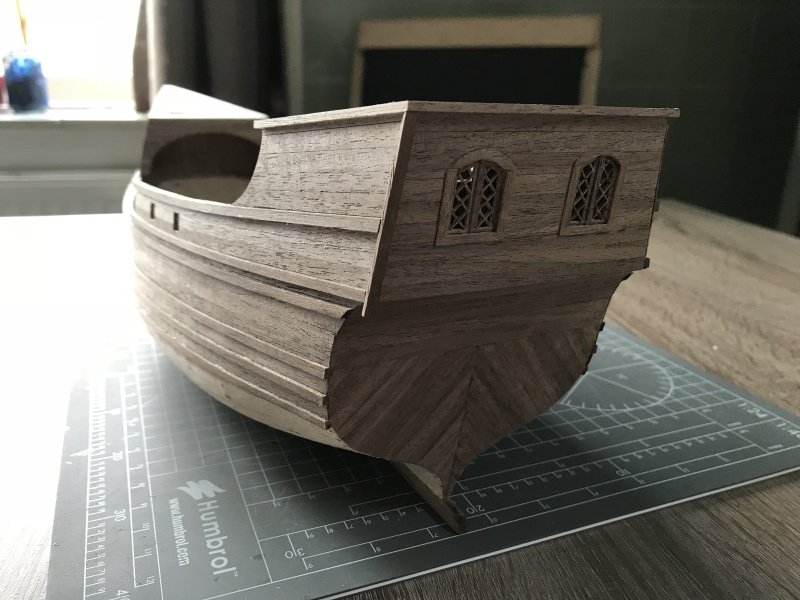
Hi guys,
Today a small update on some other things. Planking of the hull continues slowely...
So, I made the base of the main mast.
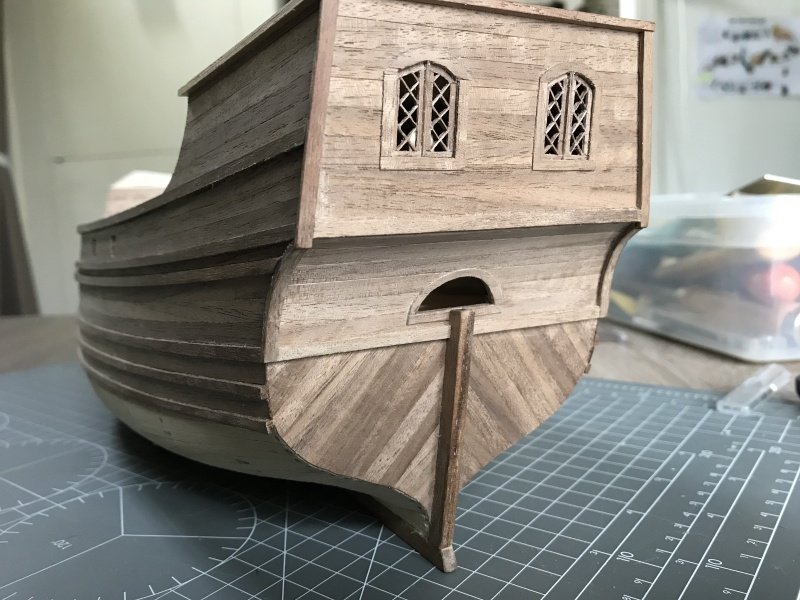
Drilling some holes at the stern of the ship...
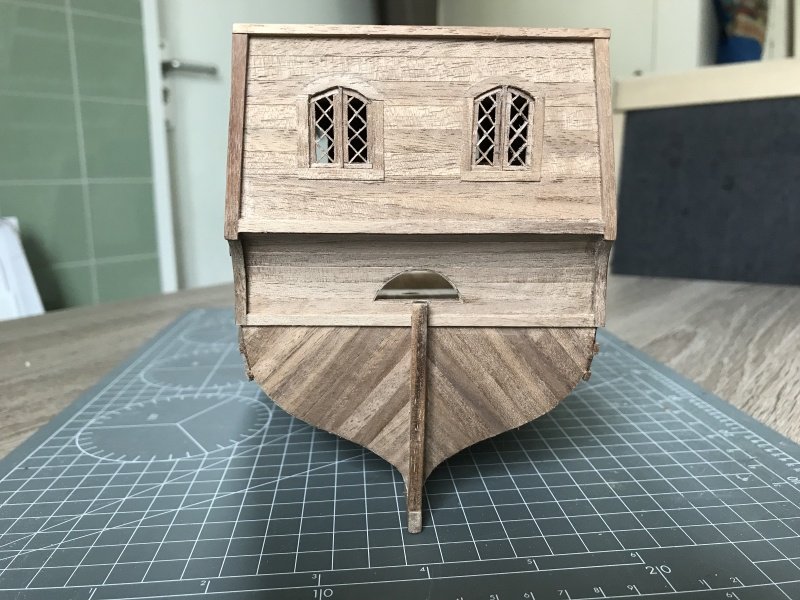
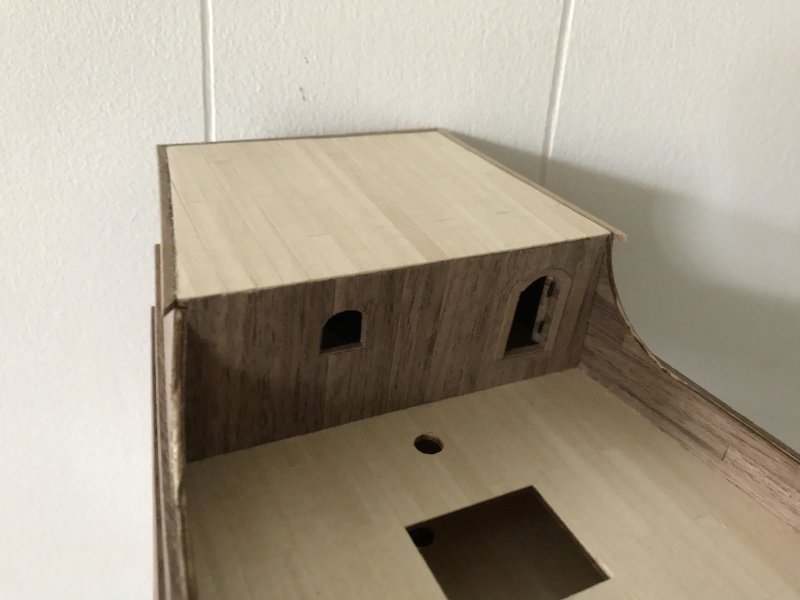
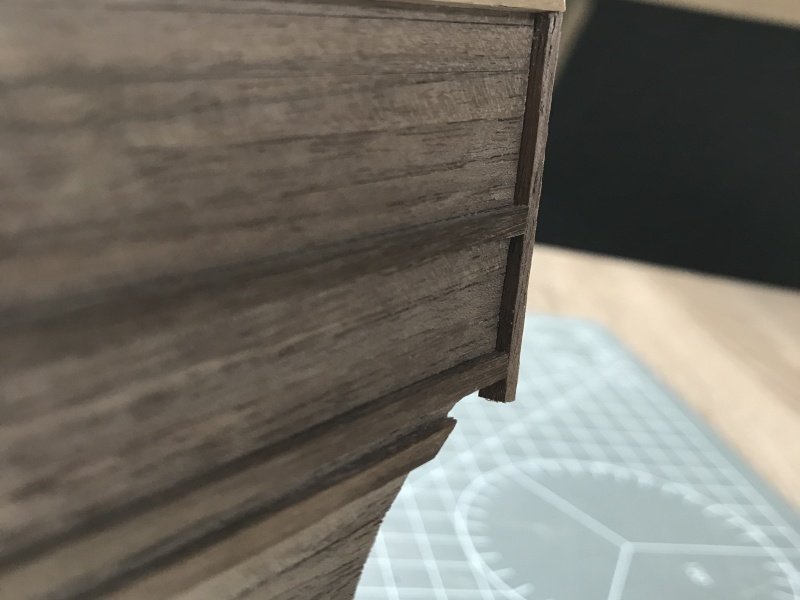
Some work on the hatch...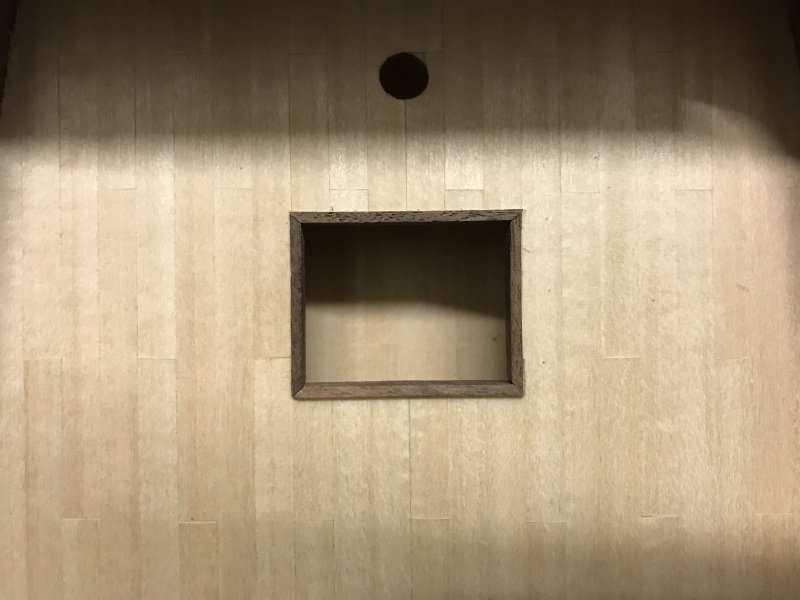

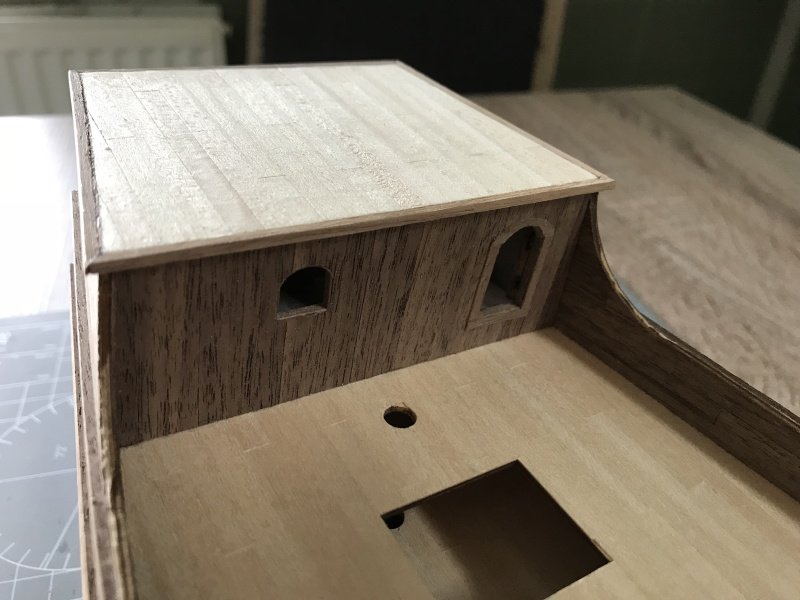
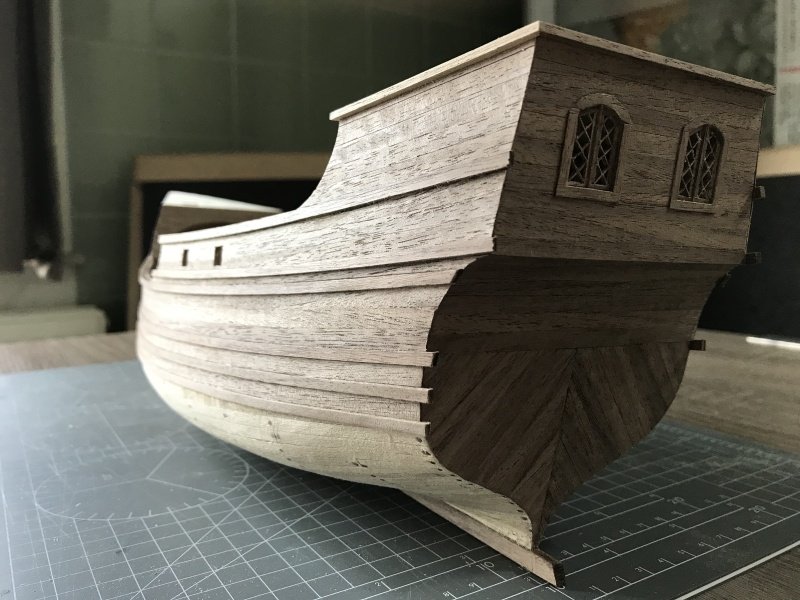
After the hatch I completed the work on the captains cabin.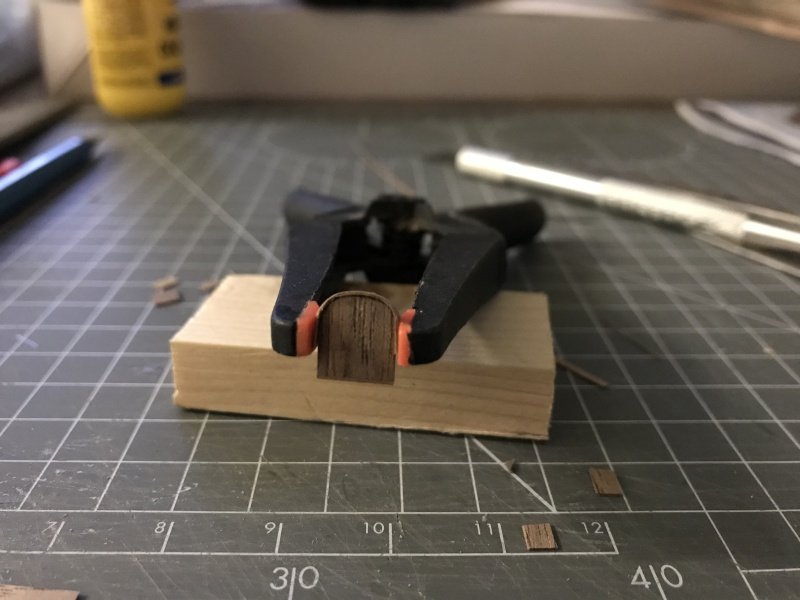
Pter
- Nikiforos, Scottish Guy, mtbediz and 1 other
-
4
-
2 hours ago, nikbud said:
Lovely work, I really like the look of the walnut hull planking.
Thanks man, I really like the look of the walnut strips as well
-
3 hours ago, mtbediz said:
Very good job Peter. I tried to build Santa Maria last year as well. You can check if you want. May i ask which method you are using for tapering the strips at the bow? Do you cut or sand them? Thanks.
Thanks, I cut them with a knife along a steel ruler. Works very well. I didn’t know others like yourself already build the SM, I go and look into your log for sure.
-
Apparently I have an older kit. There should be a newer one with better instructions. The kit itself is easy to build, so yes!
-
It’s not a very difficult ship to make actually. As a first or second build I even recommend it! Because of the double planked hull you can practise on the first run and correct mistakes on the second run. There is not much rigging, only the basics you need to learn anyway. It is a pretty straight forward build.
thanks for your reply, really appreciate it!
- Scottish Guy and mtbediz
-
2
-
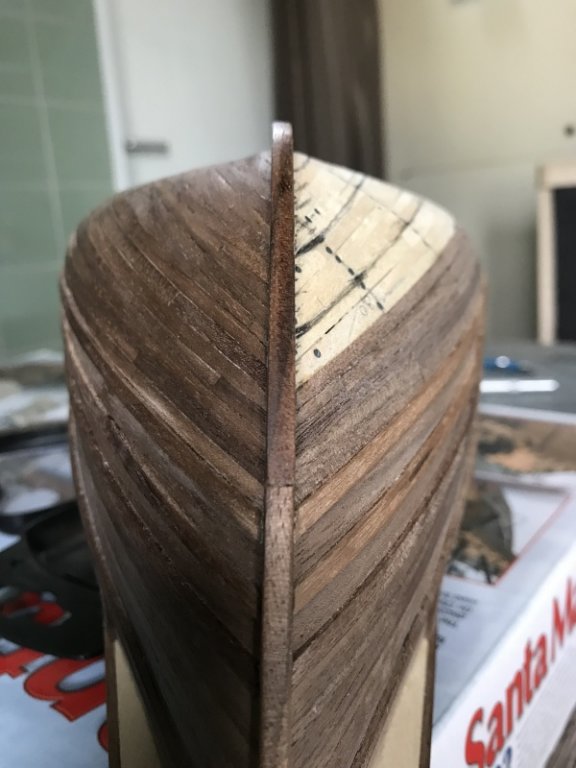
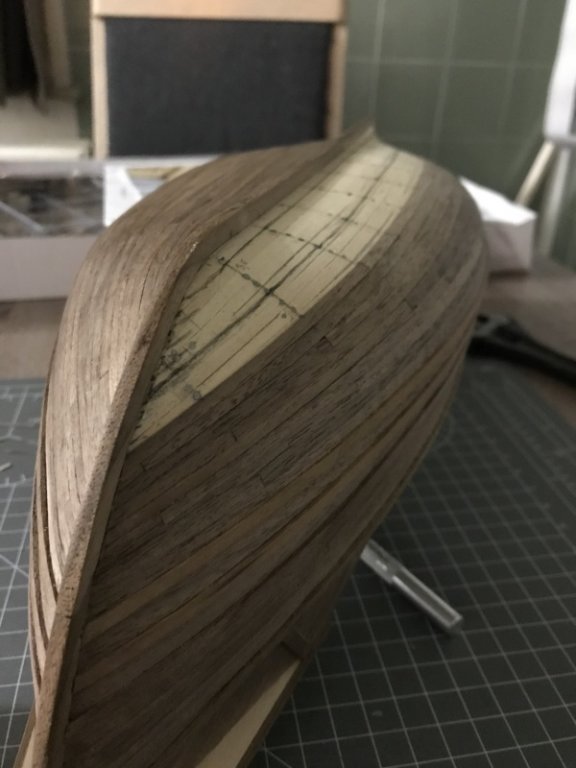
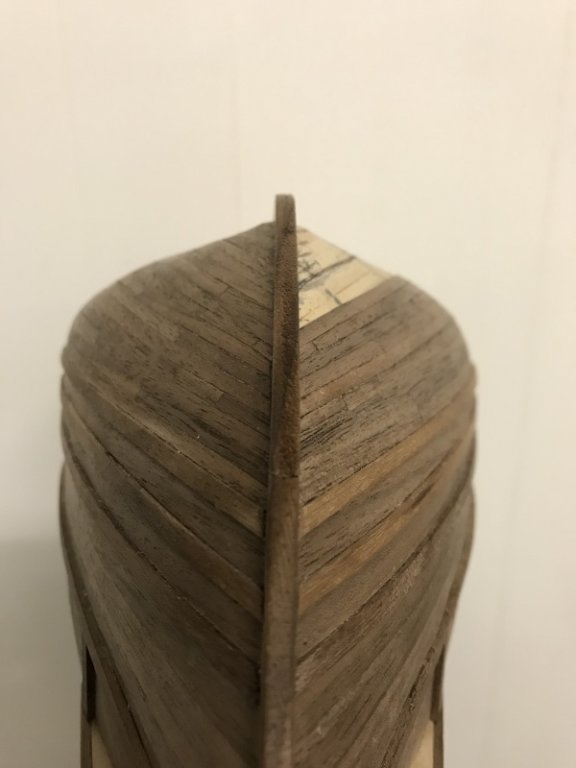
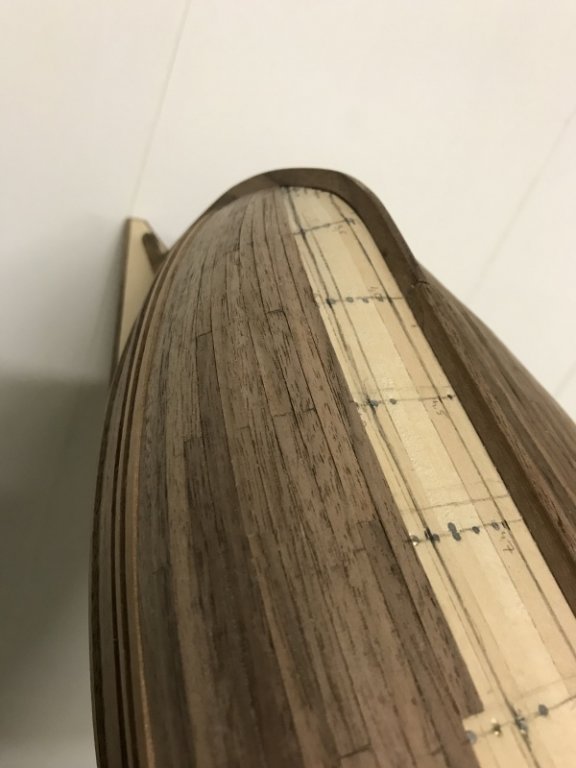
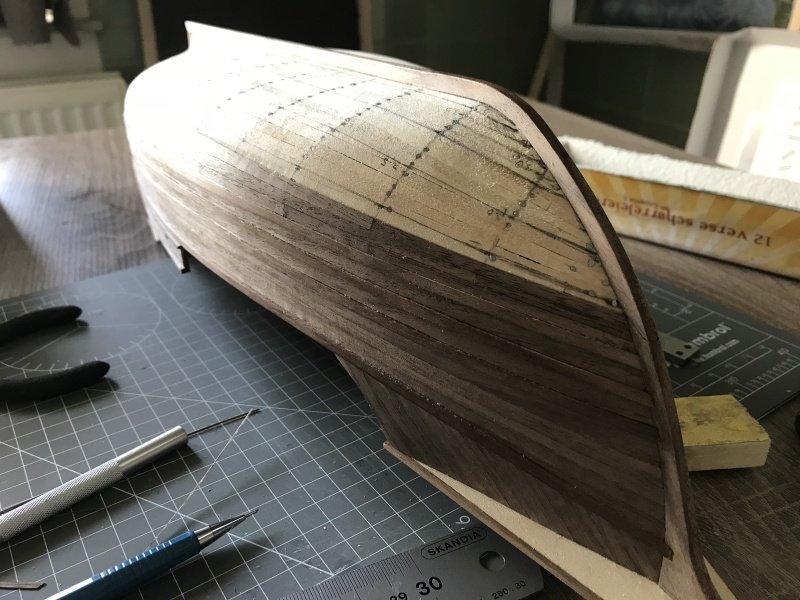
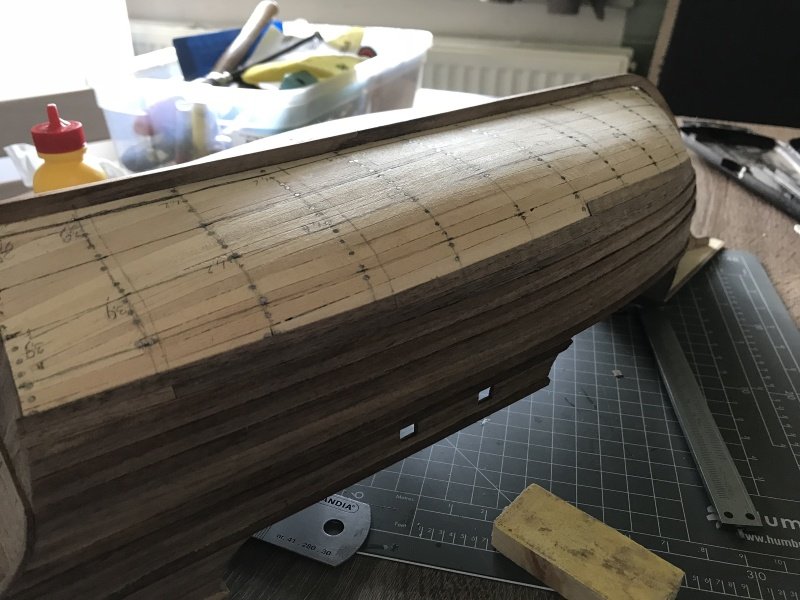
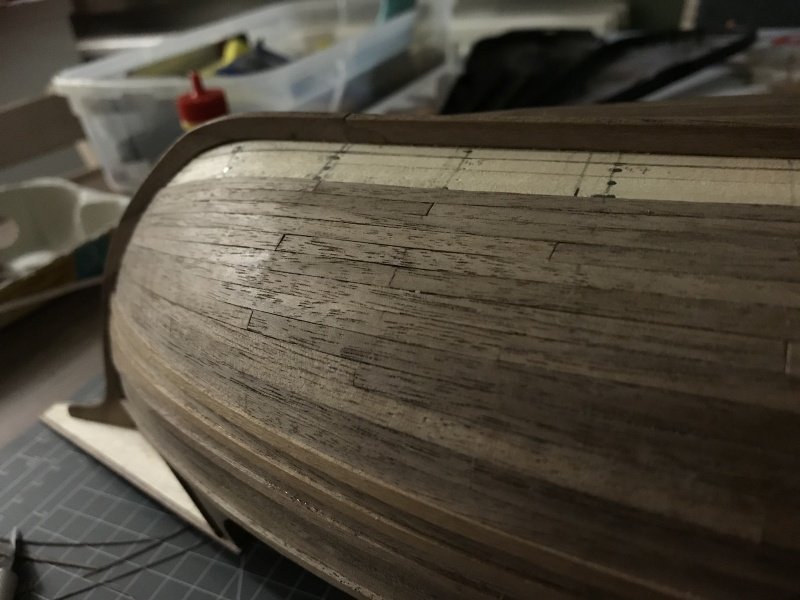
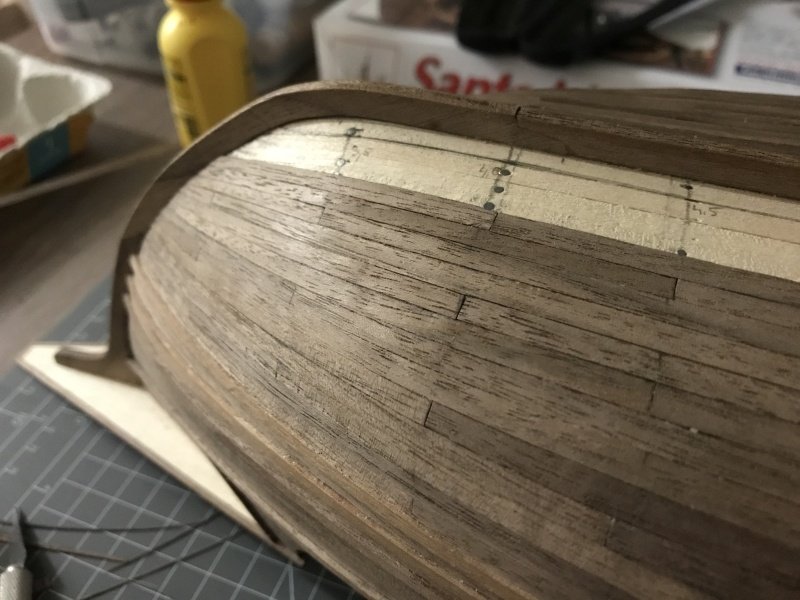
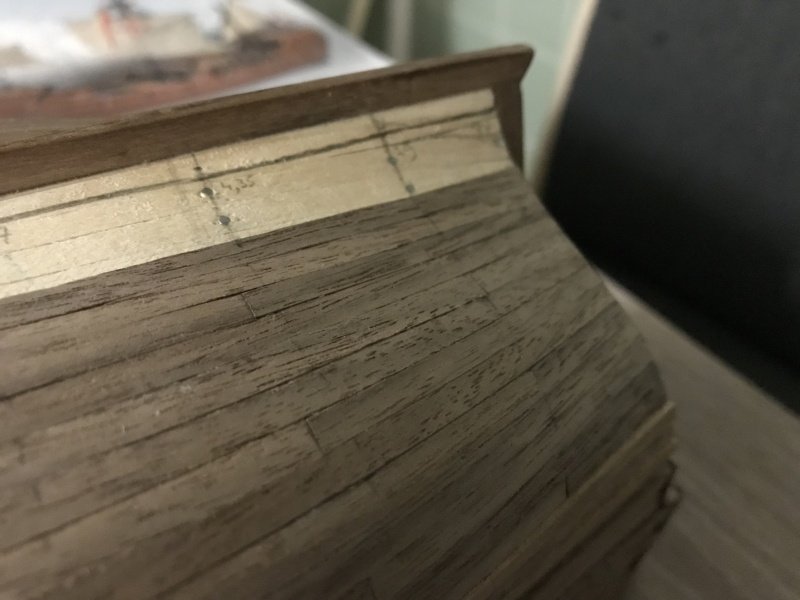
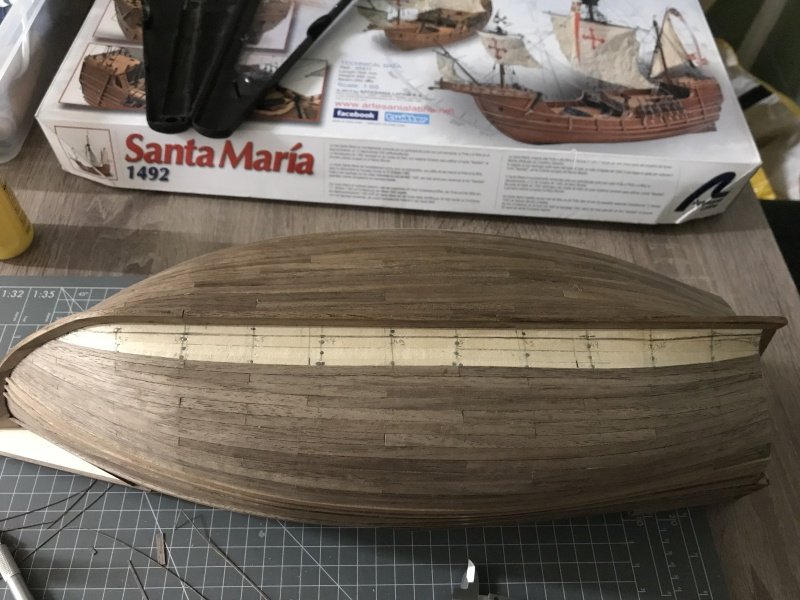
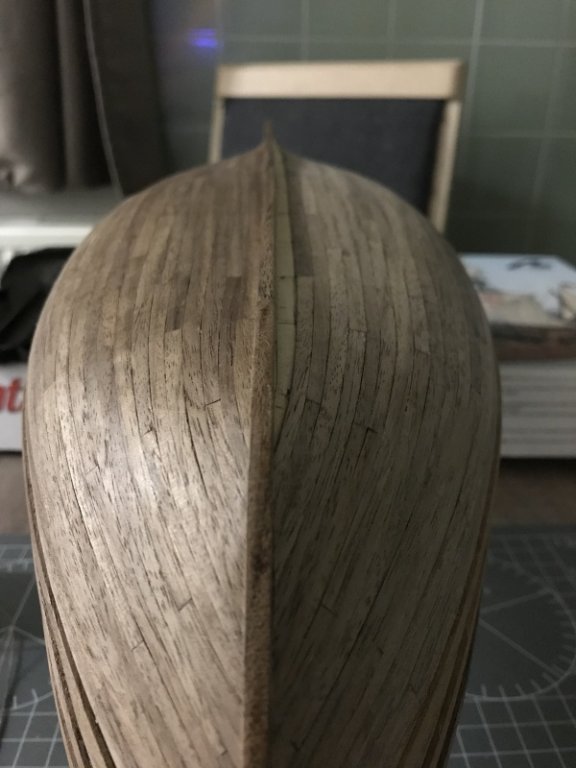
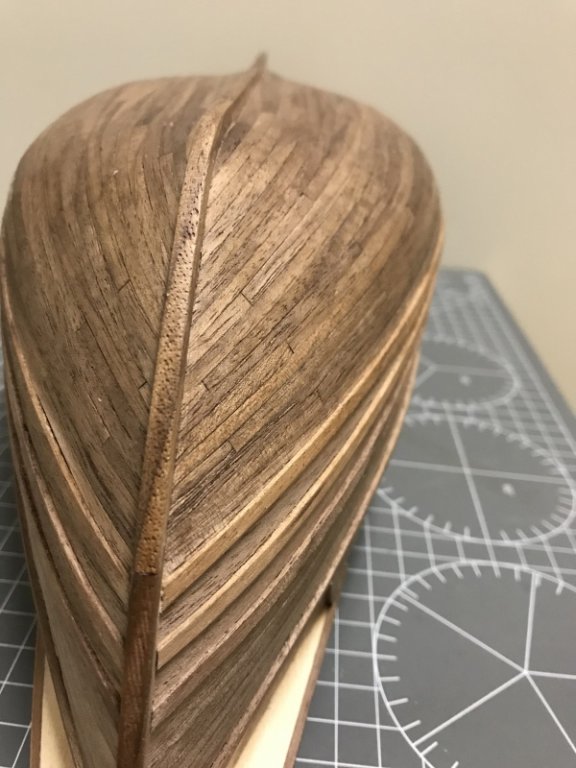
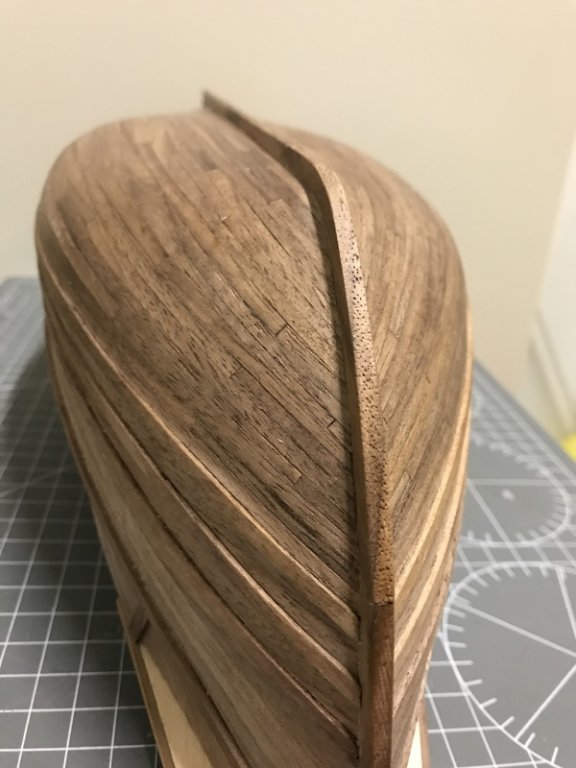
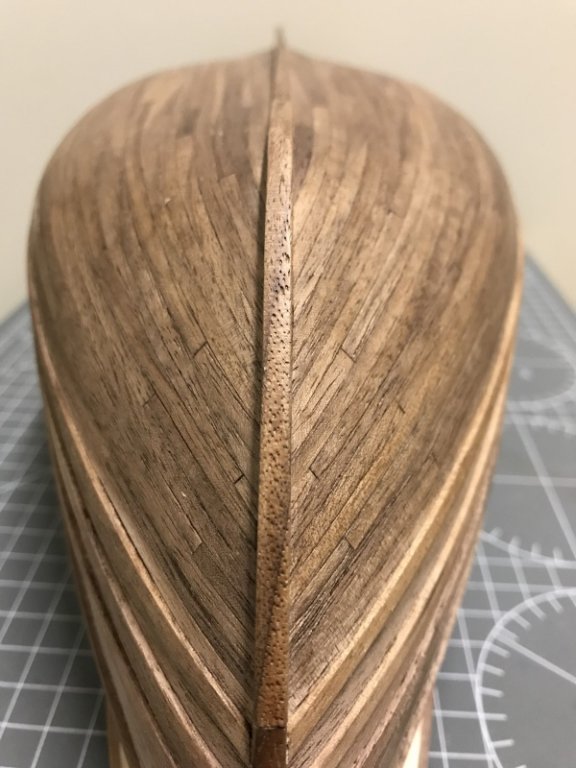
***Hullplanking part 1***
Hi friends,
I would like to share my progress so far on the second layer of hullplanking.
As mentioned in my previous update, these are my preperations before I start with the planking job.
I've done my measurements, and drawn the lines on the hull.
I have cut all my planks in the same length..
So I repeat the proces until I reach the first line!
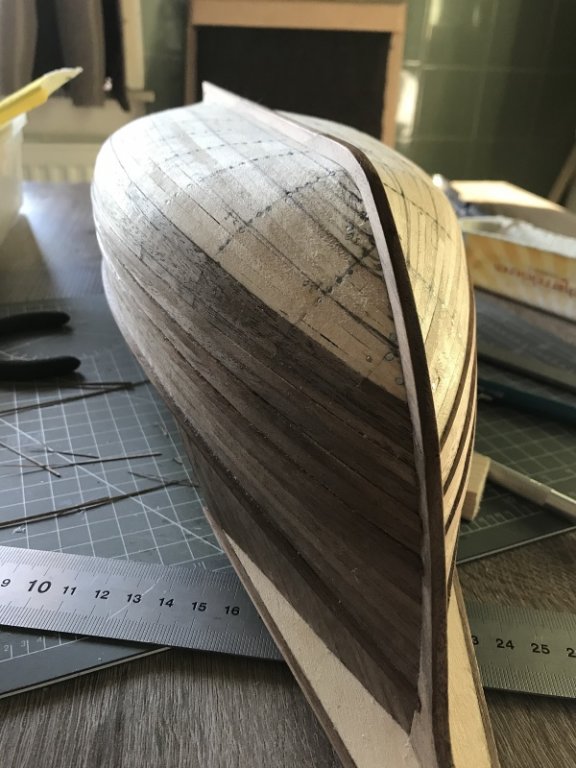
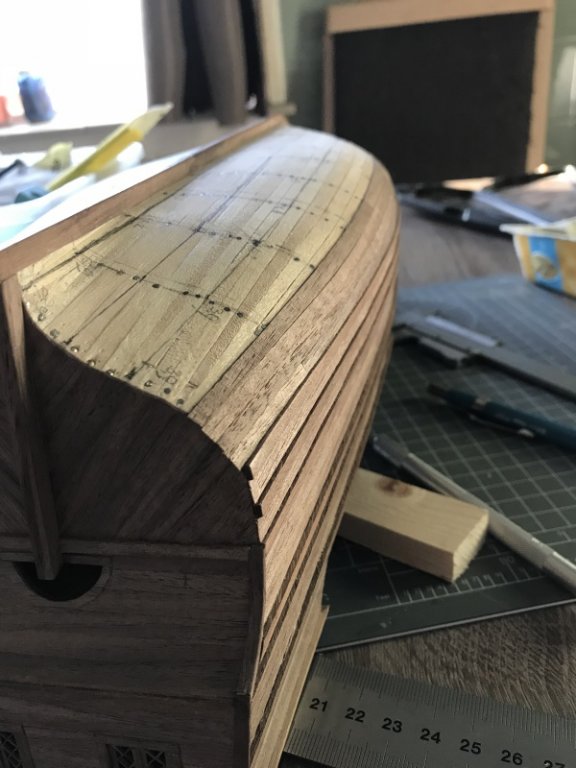
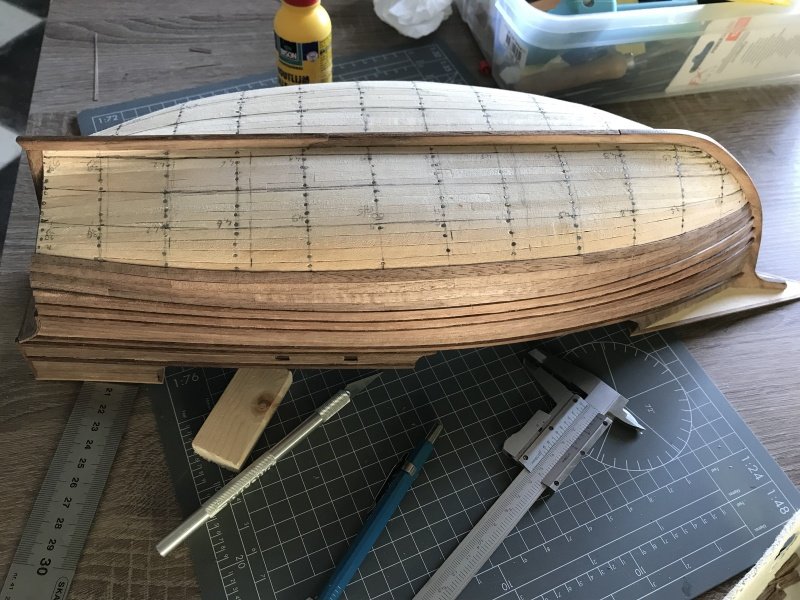
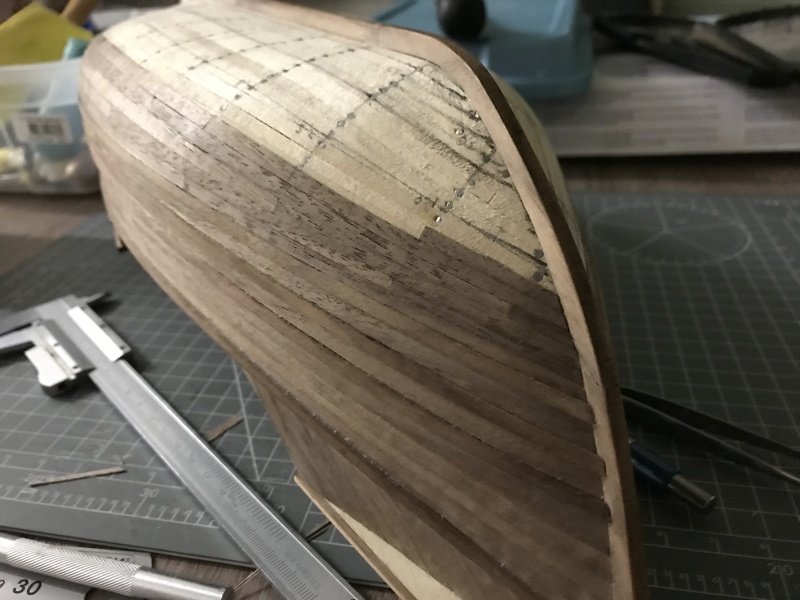
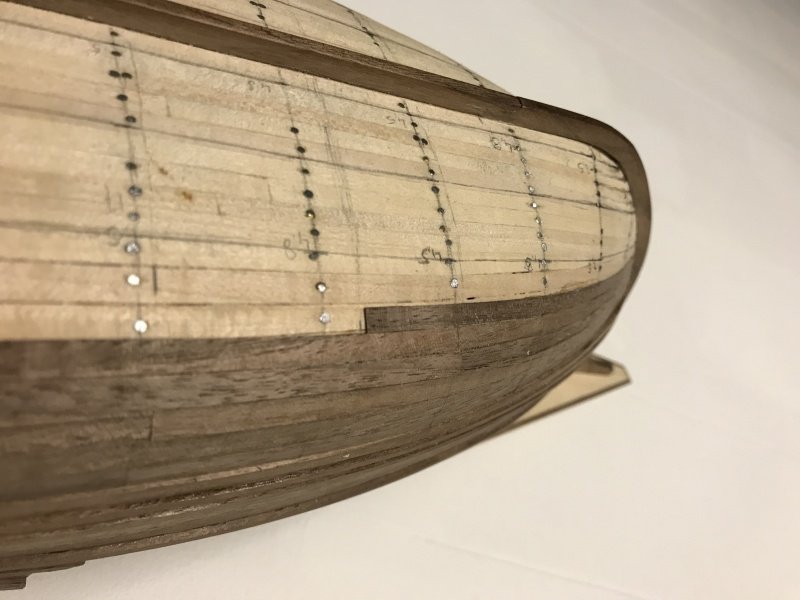
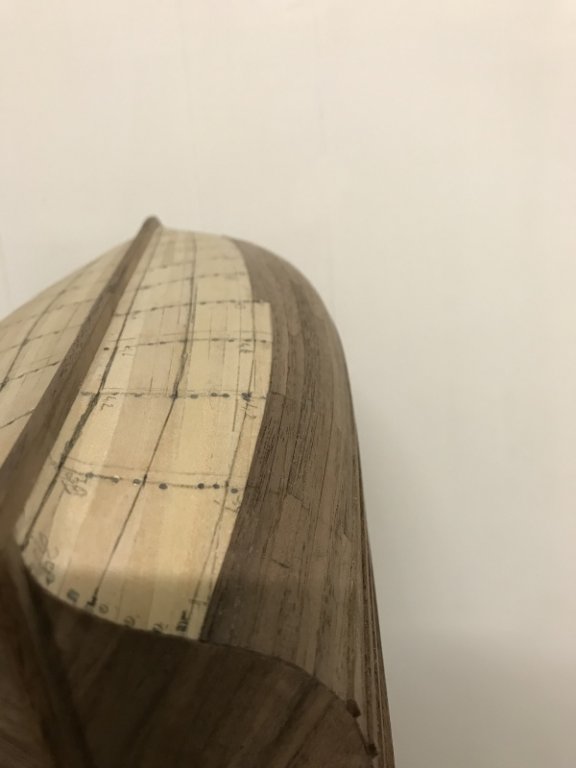
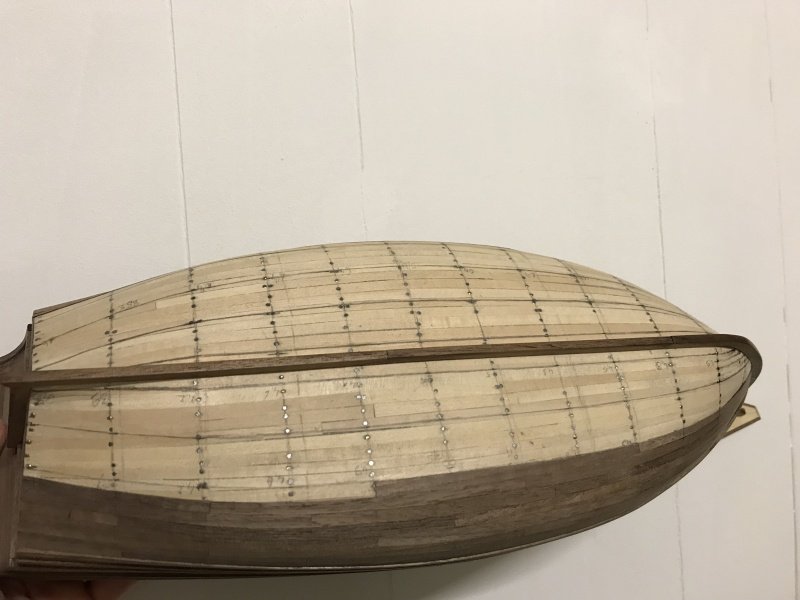

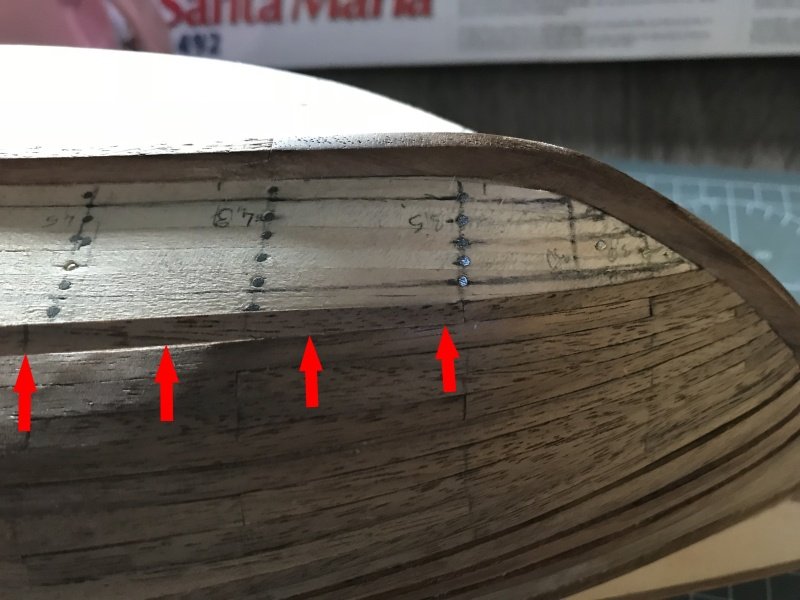
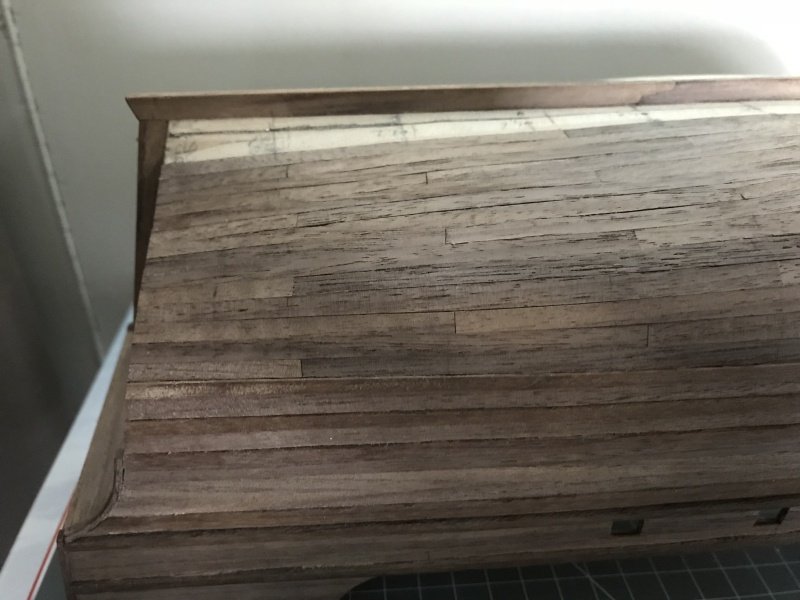
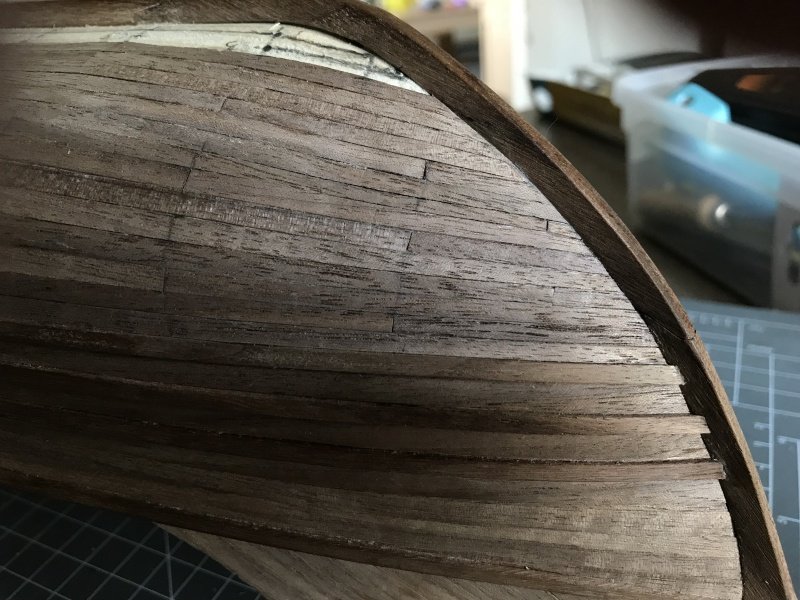
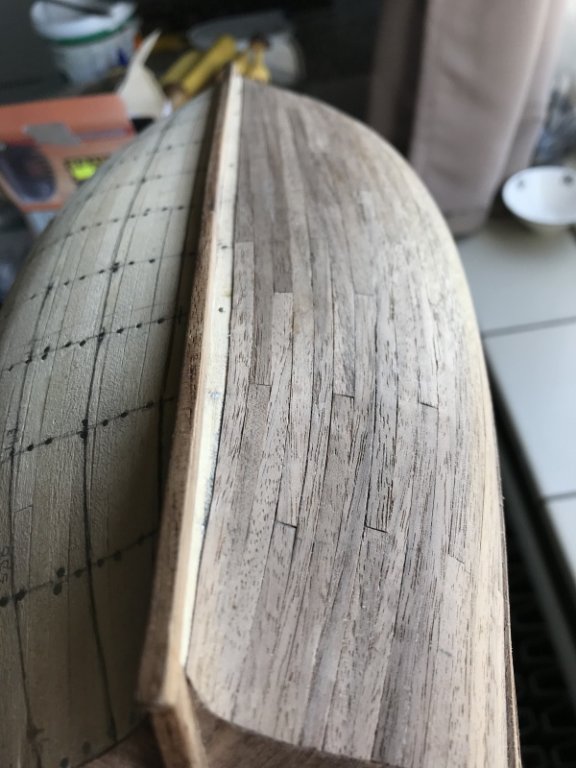
So, the first part is done!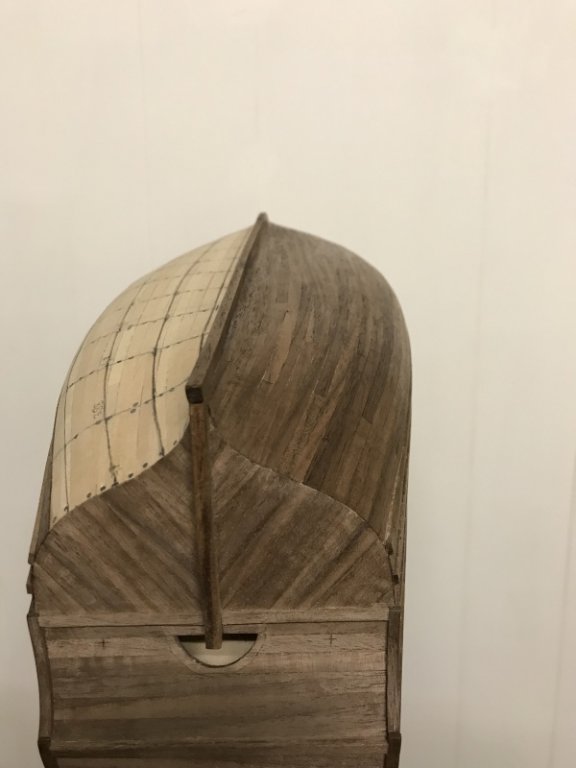
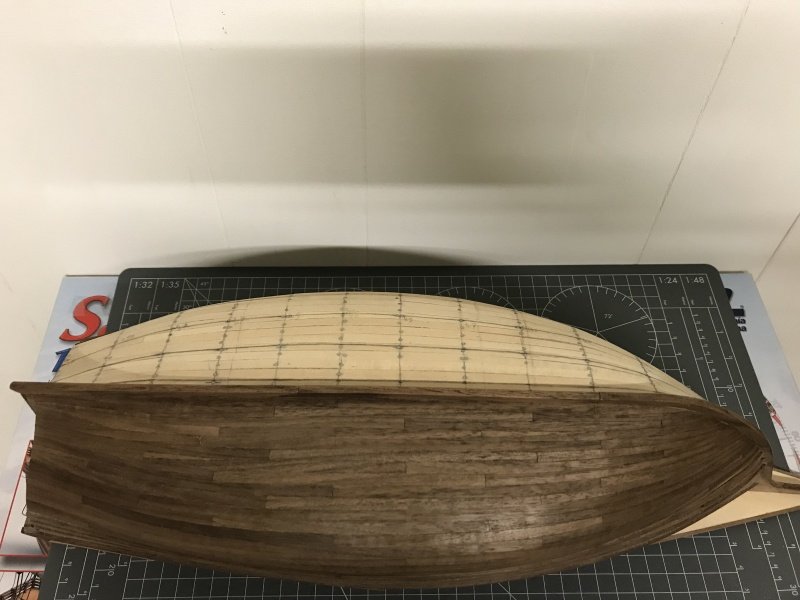
So no stealers were used or were necessary.
Now I need to copy this on the other side to complete the hull. This is for the next update.
until next time, take care!
Pter
-
Calculations, measurements, again calculations and again maesurements...
Hello everyone,
Today some progress on the quarterdeck, sterncastle and my measurements of the hull so I'll be ready for the planking job!
First the quarterdeck, I've put a "beam" into place...
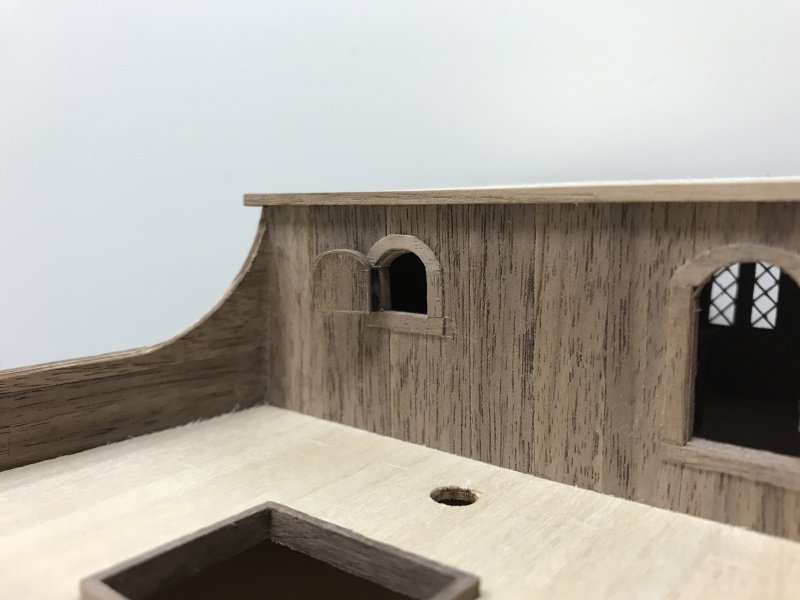
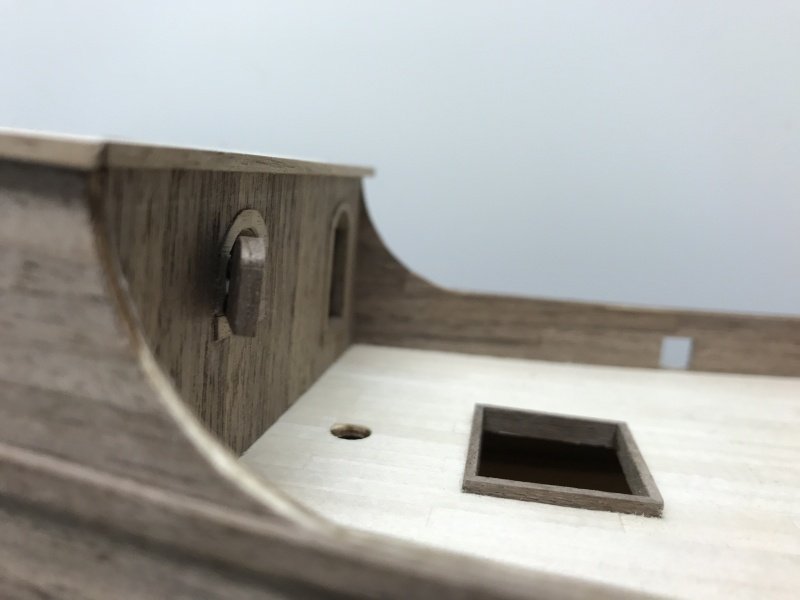
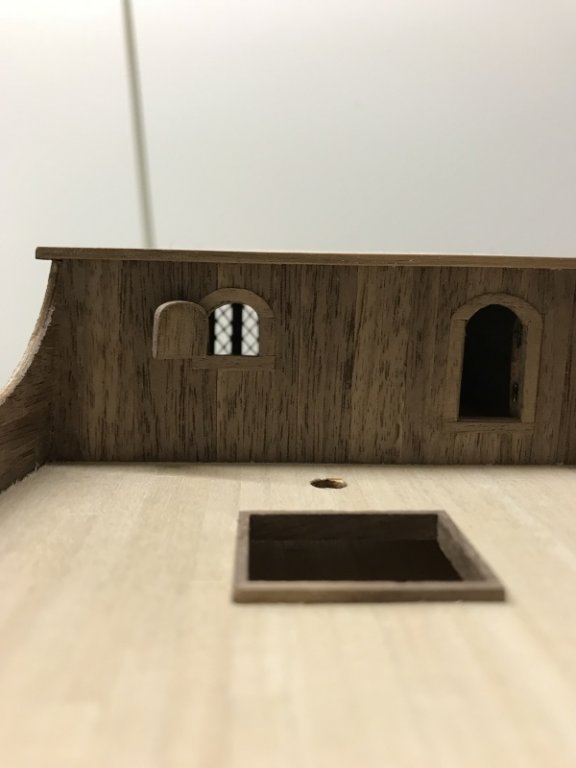
After this I went back to the sterncastle of the ship. I soaked some wood in warm water and used a jig to bend the wood in the desired shape.
I've placed them against the ship (red arrows) with some other items as well.
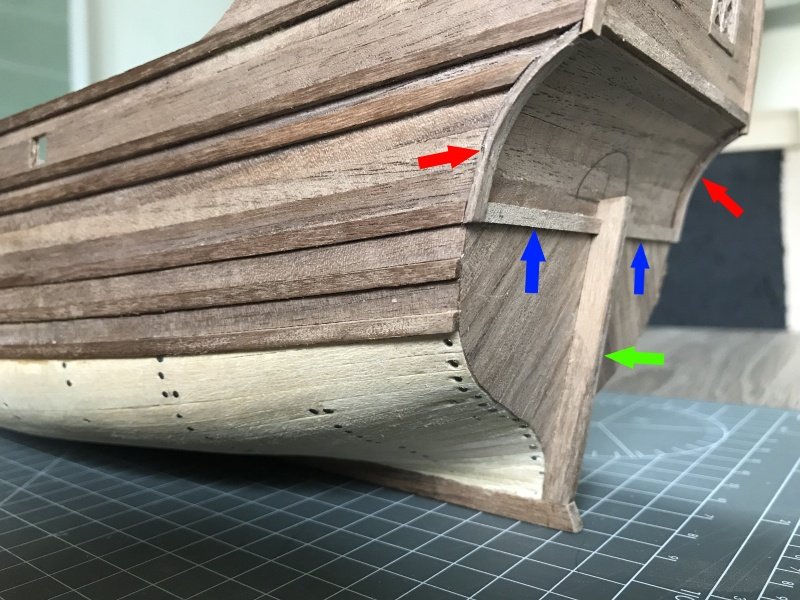
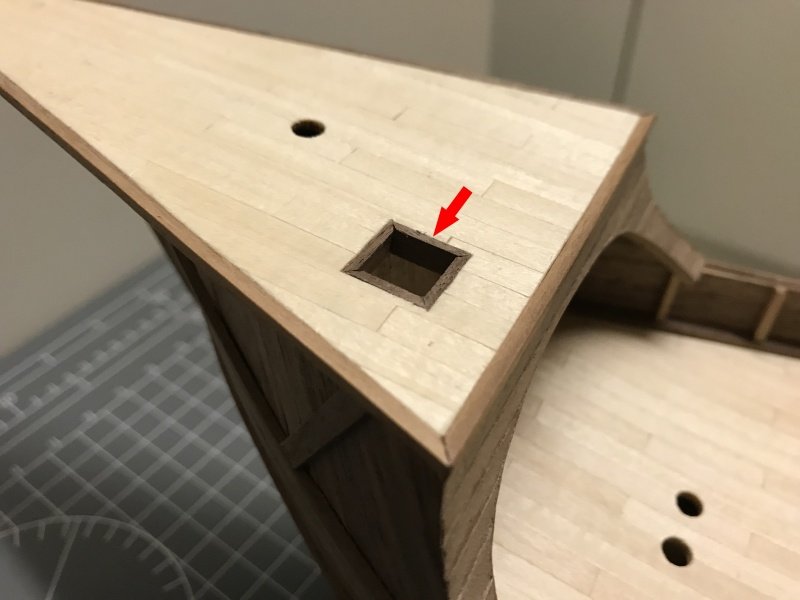
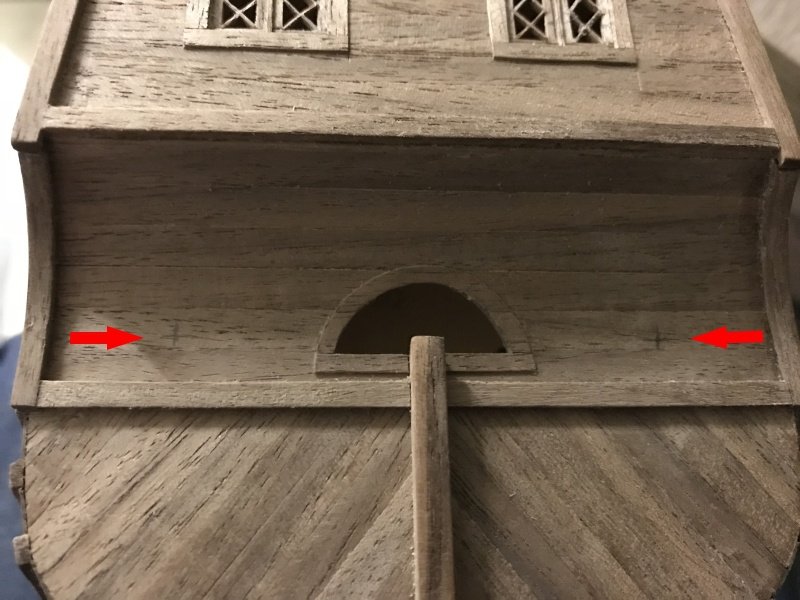
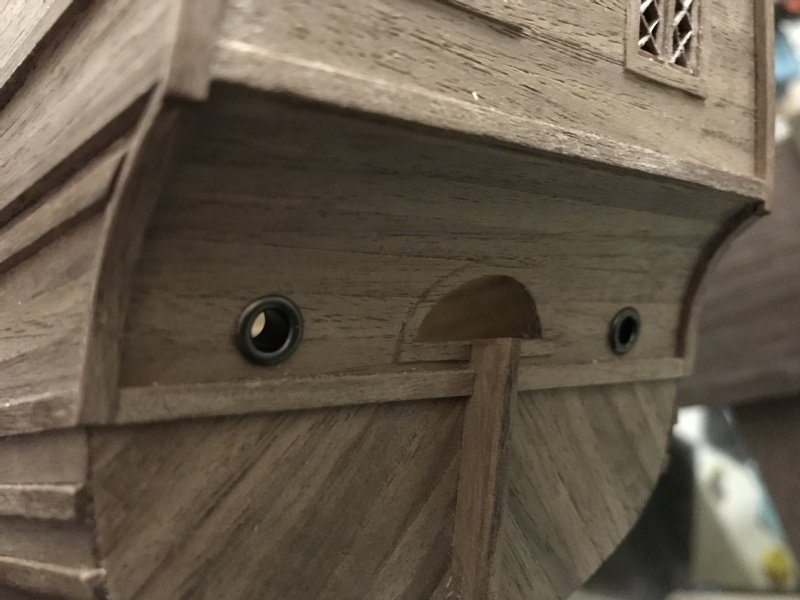
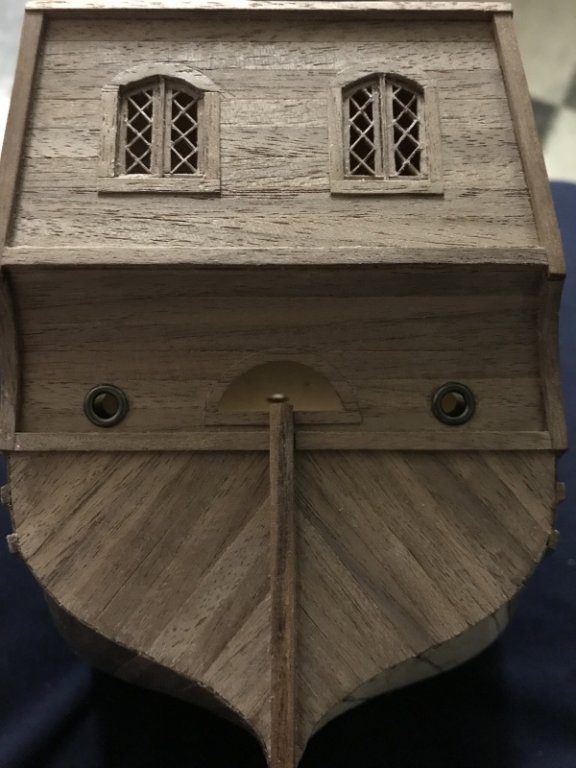
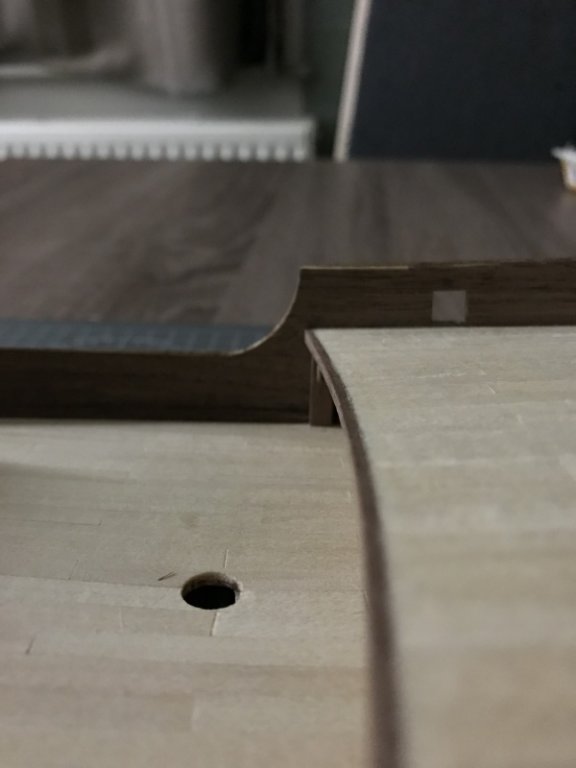
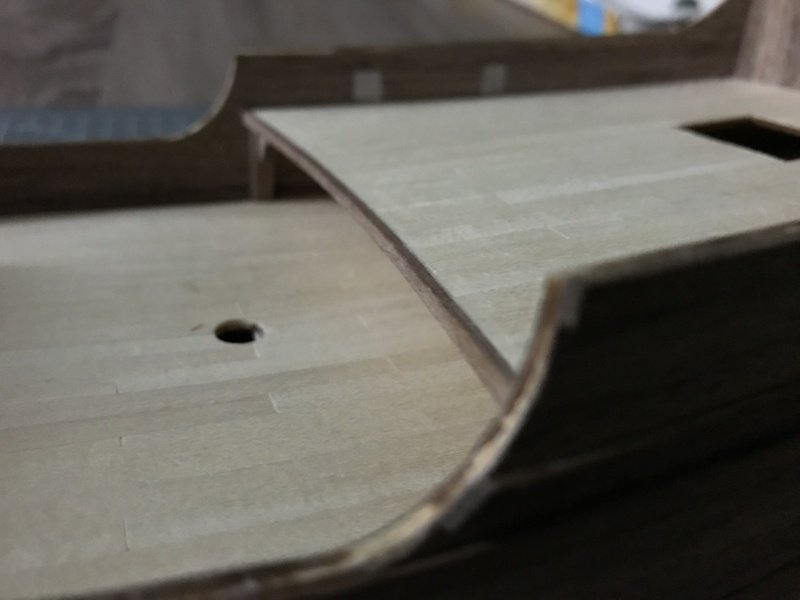
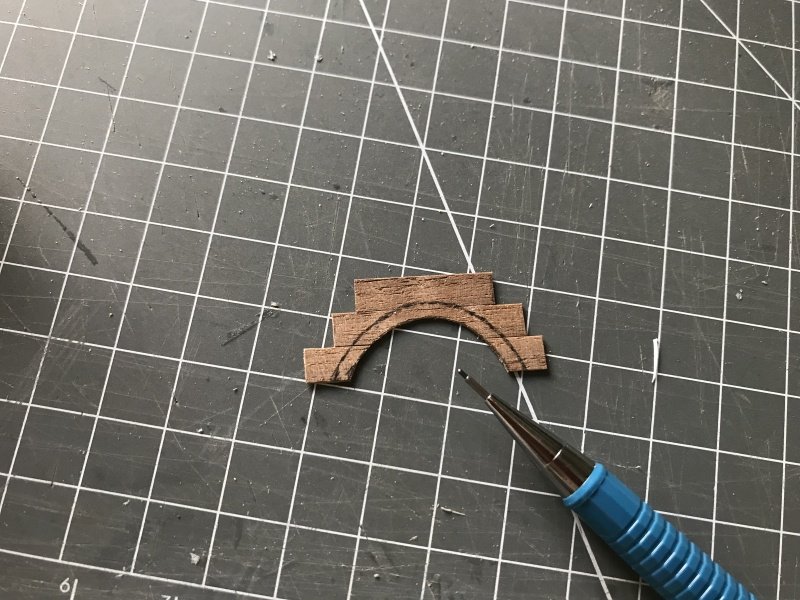
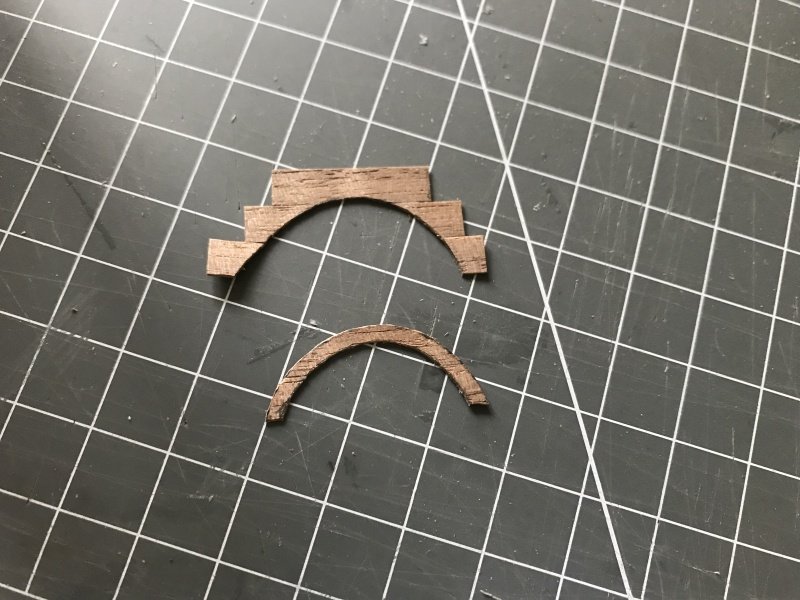
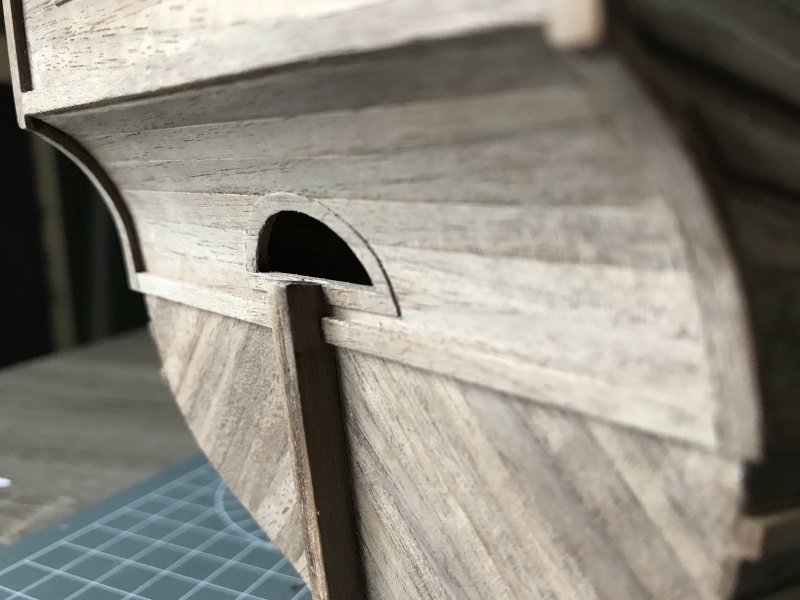
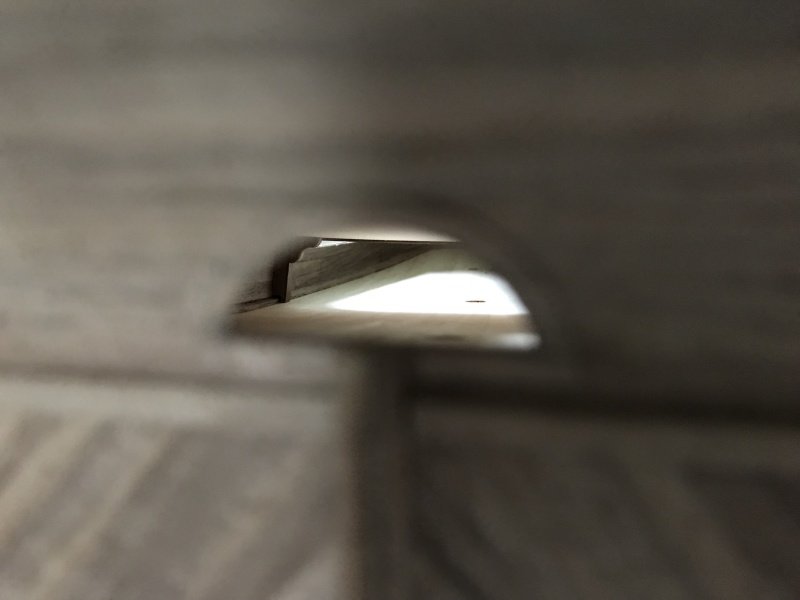
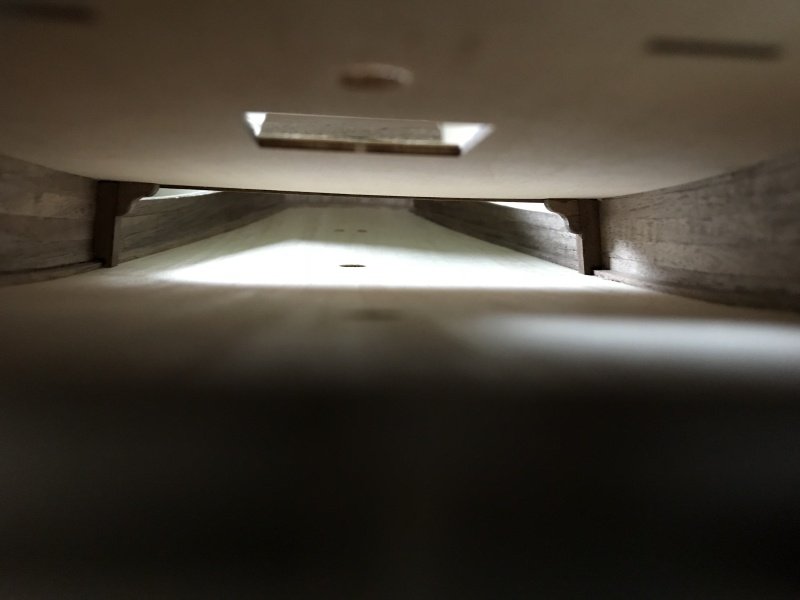
In the next pictures I made an opening so the rudder can be moved from inside the ship


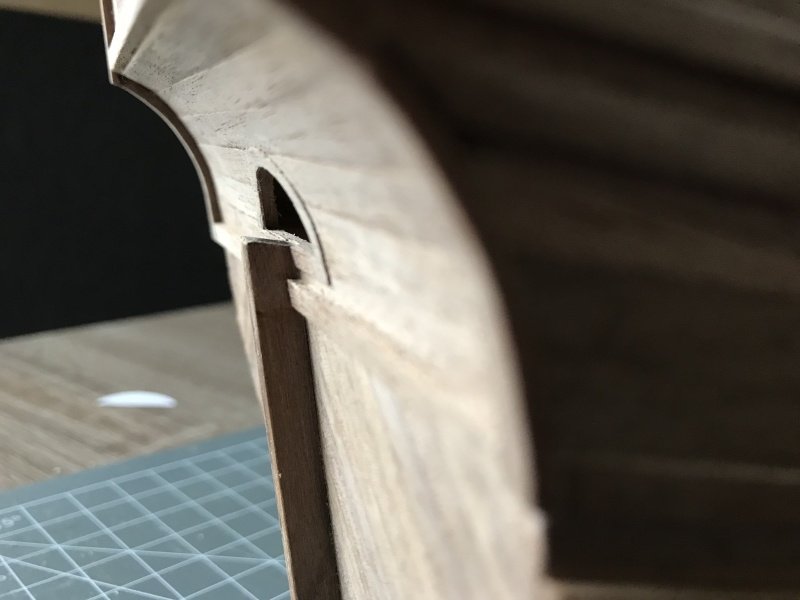
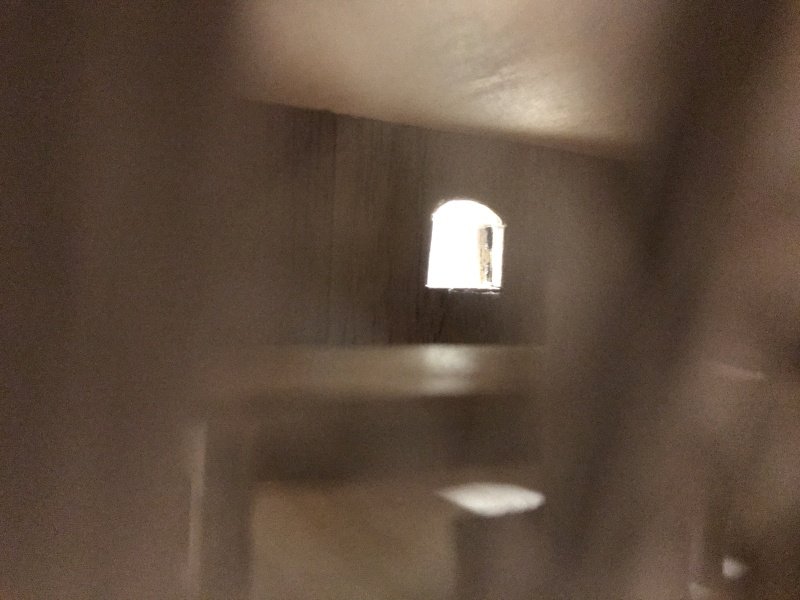
Some nice views inside the ship...
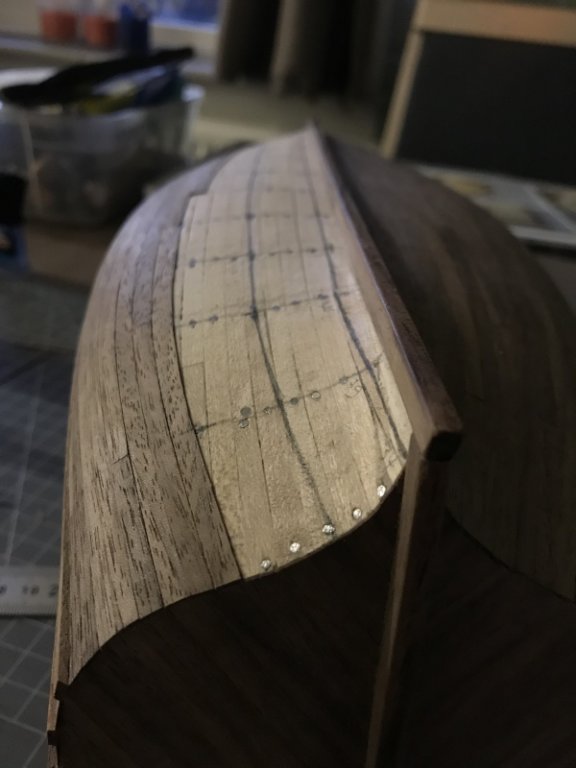
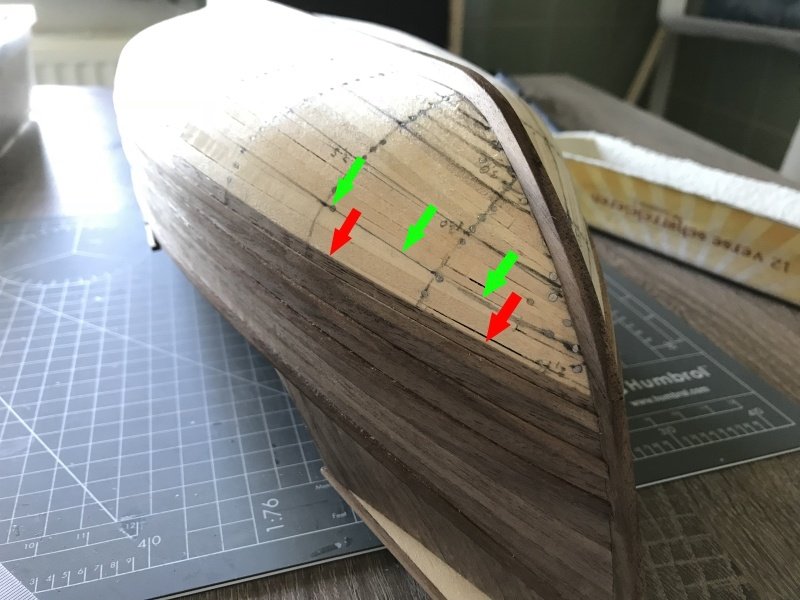
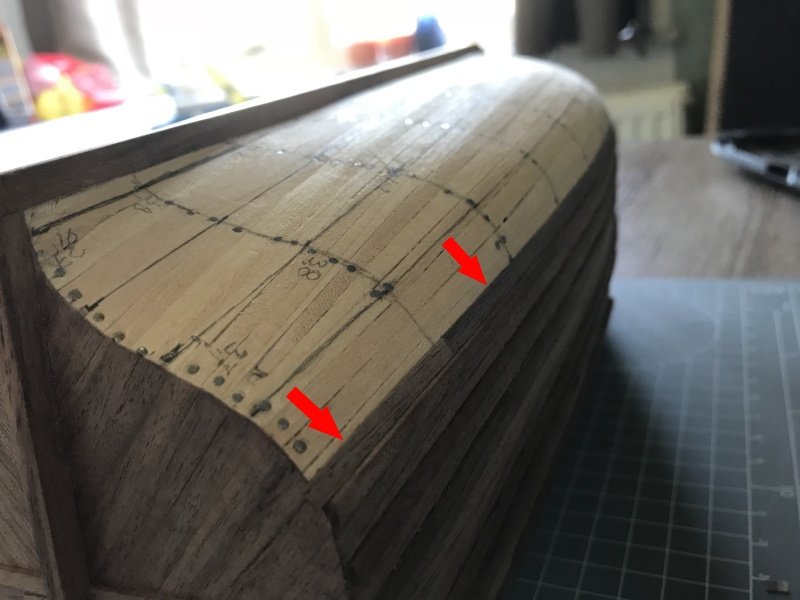
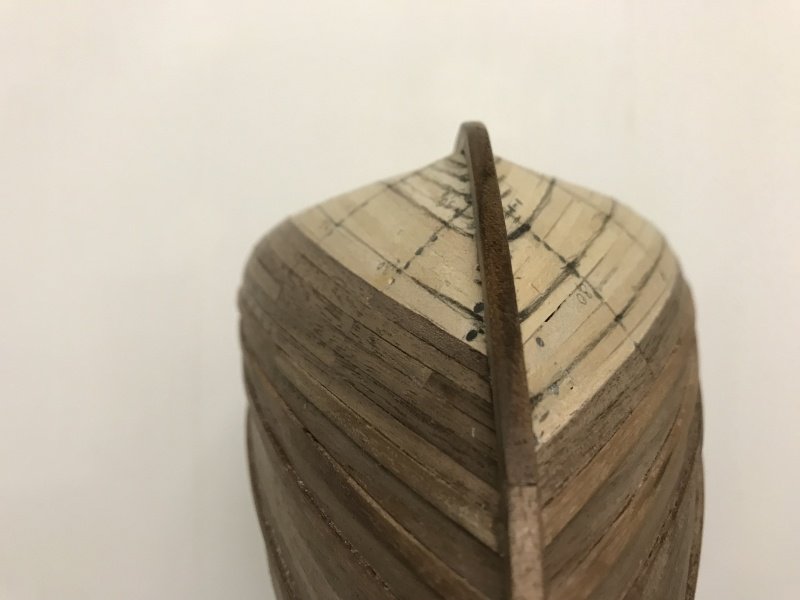
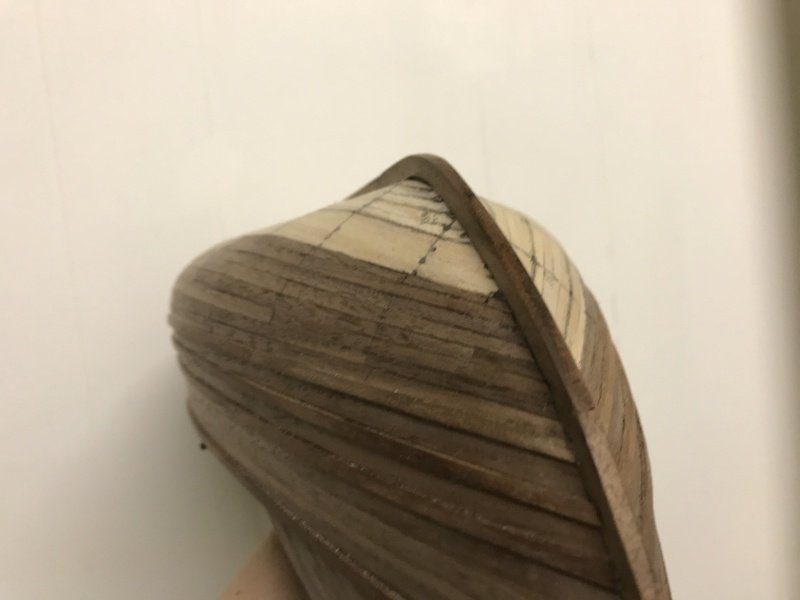
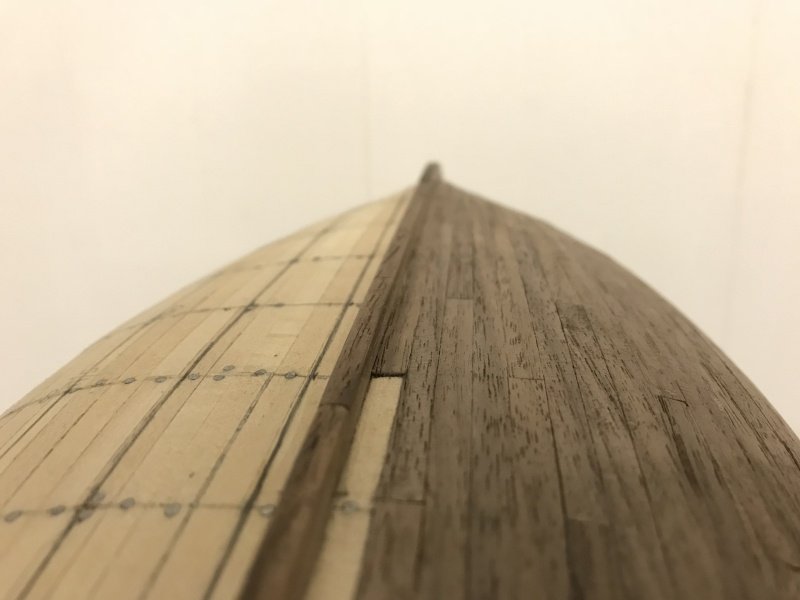
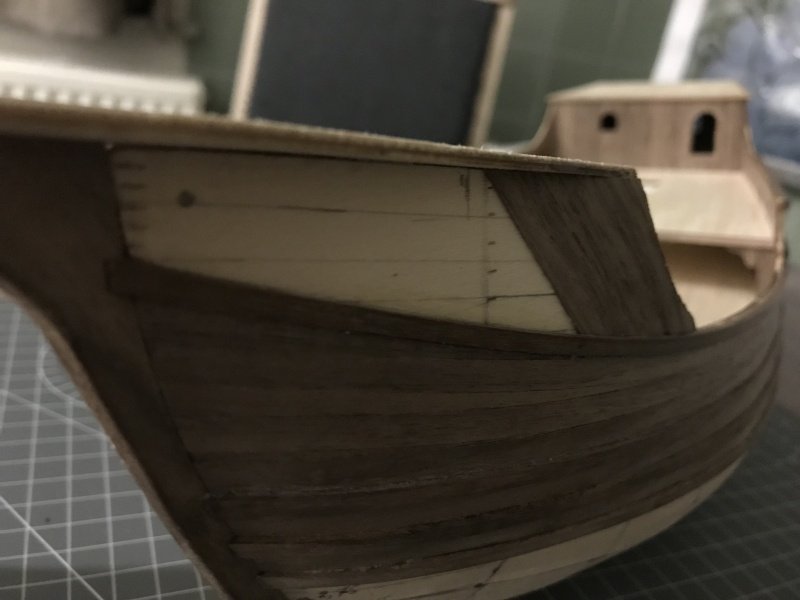
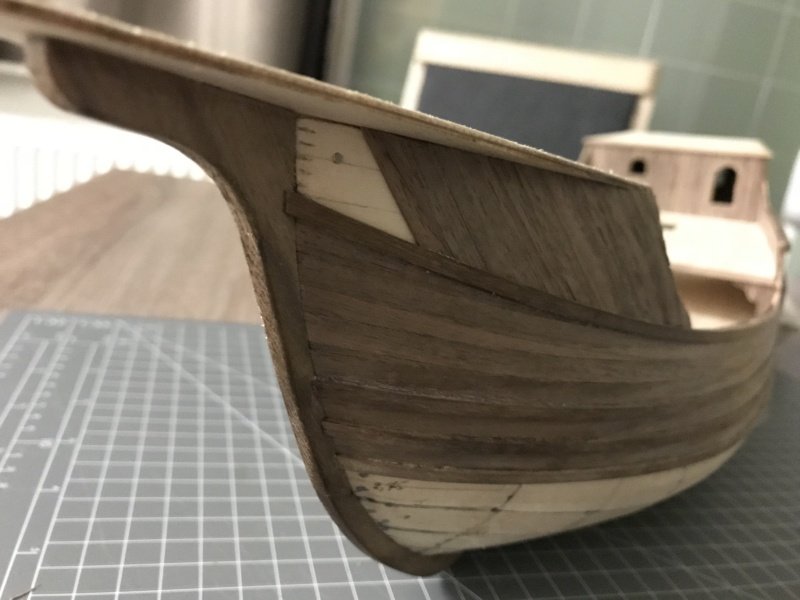
So, the next part is an important one. I've made all my measurements and done my calculations on how to plank the hull.
I devided the hull into 4 equal parts / sections, which contains 4 planks per section. After checking everything I drawn the lines on the hull.
With this method it should be possible to do the planking job without stealers. Fingers crossed so to say...
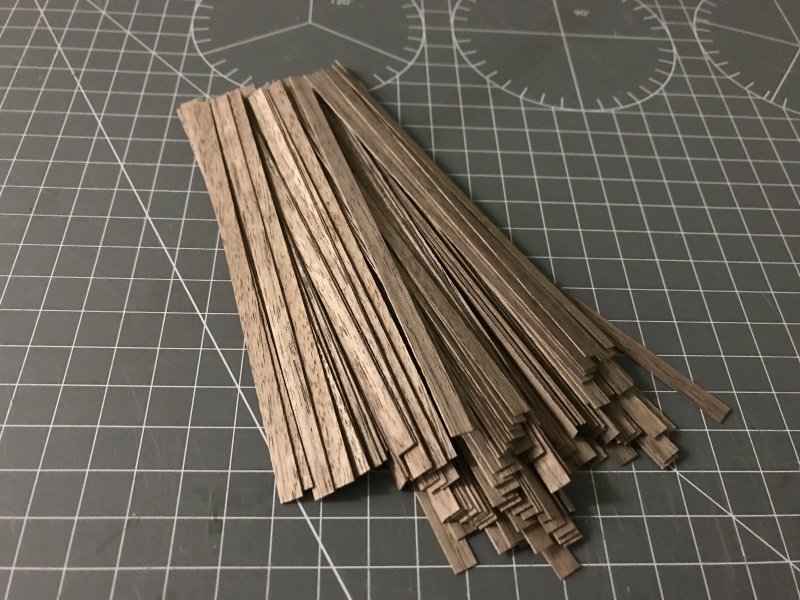
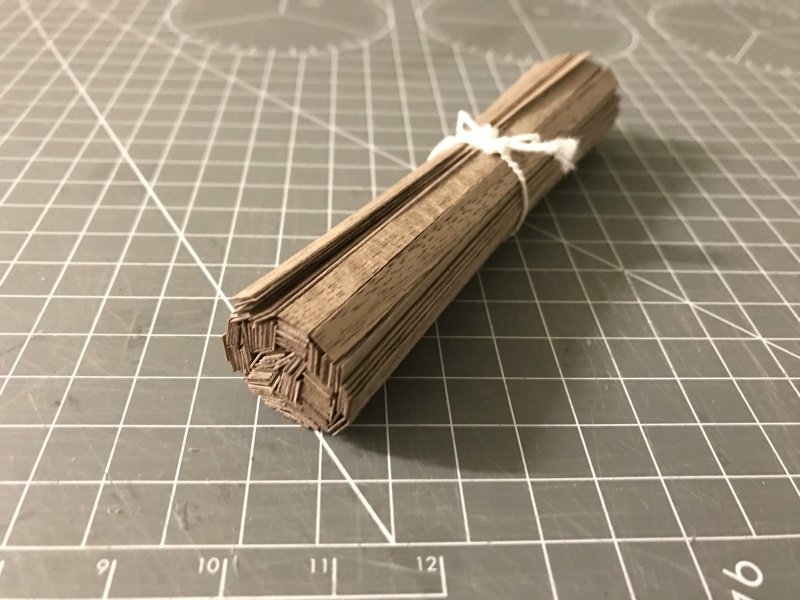
As a preparation I cut 2x 17 strips of veneer into 12cm long planks. In total 136 plank of 12cm.
These will be my planks that I'll use on the hull.
putting the planks I've cut aside. I needed to finish the bulwark part on the front section of the ship. These planks are placed in an angle because of the weard shape of this section of the bulwark.
I need to do the other side as well, but that will be for the next update.
Good night!
Pter
-
I thought I was bashing a kit, but it seems you're gone ballistic mate!
Great job doh. Think 5 steps ahead before you make a decision or you'll regret it later. You're making fundamental changes to the kit so you are right about 90% thinking, 5% building and the rest is swearing...
good luck and I will follow your progress!
regards,
P
-
Thank you Mark for following my journey on the Santa Maria and your kind words.
Vriendelijke groeten terug!
pter
-
Much appreciated Nikbud sir, thank you!
-
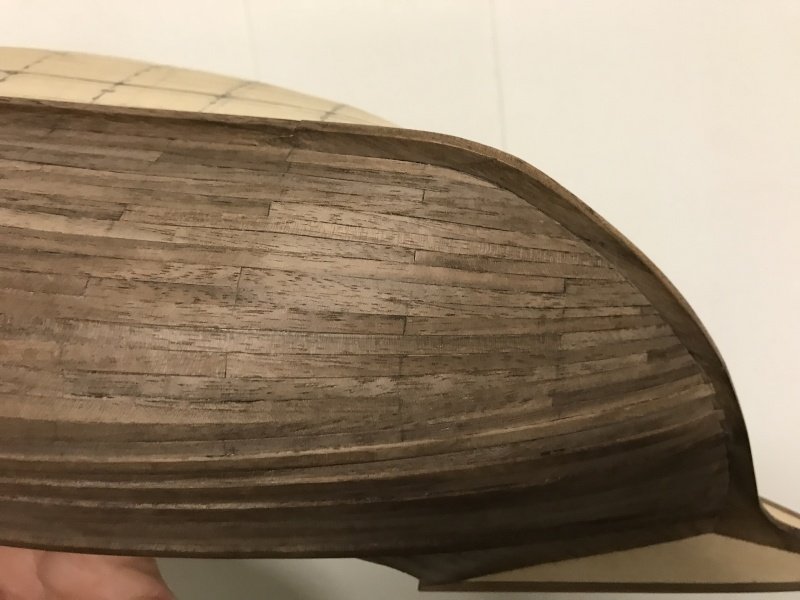
wales continue...
Hello shipmates,
Today I made some progress on the wales. Also some other small things but you'll see that in the following pictures.
Now I finished the wales, I can measure the distance between wale and keel on the bulkheads so I can calculate the width of my planks.

On the next pictures the progress of adding the lower wales is shown...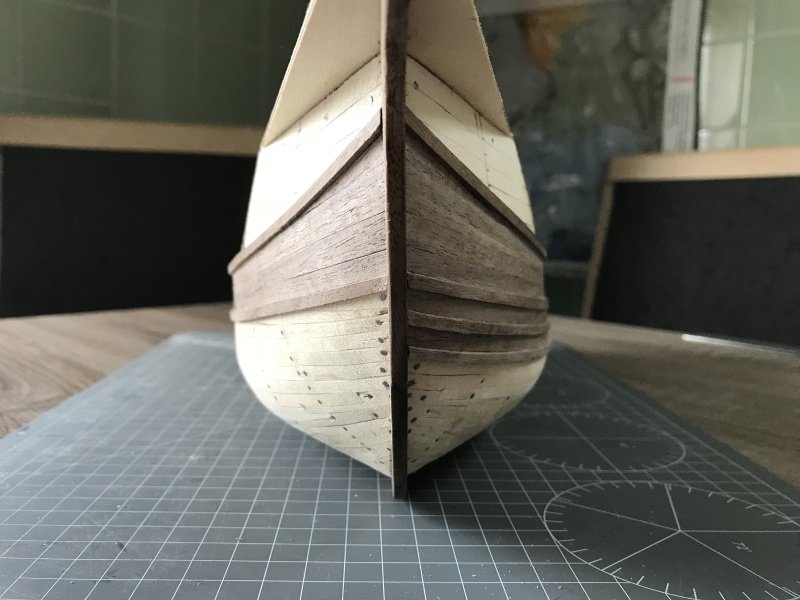
Just some steps of the progress of planking between the wales on the other side of the ship...
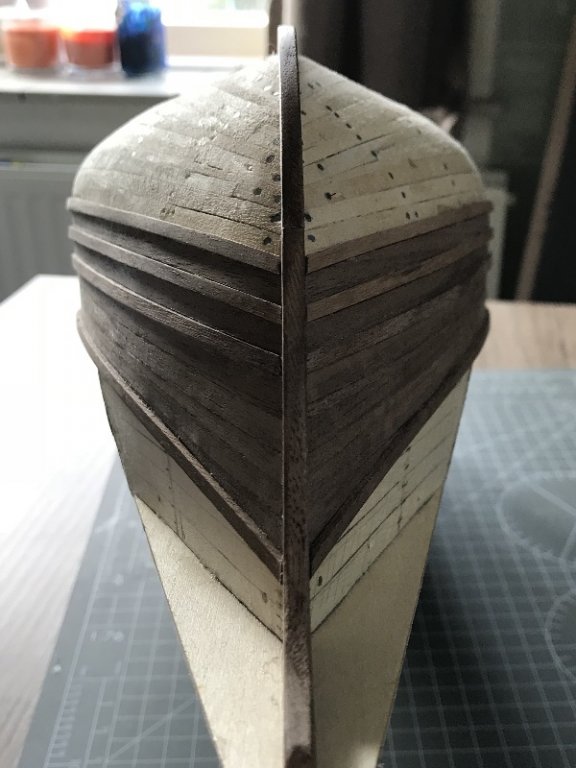
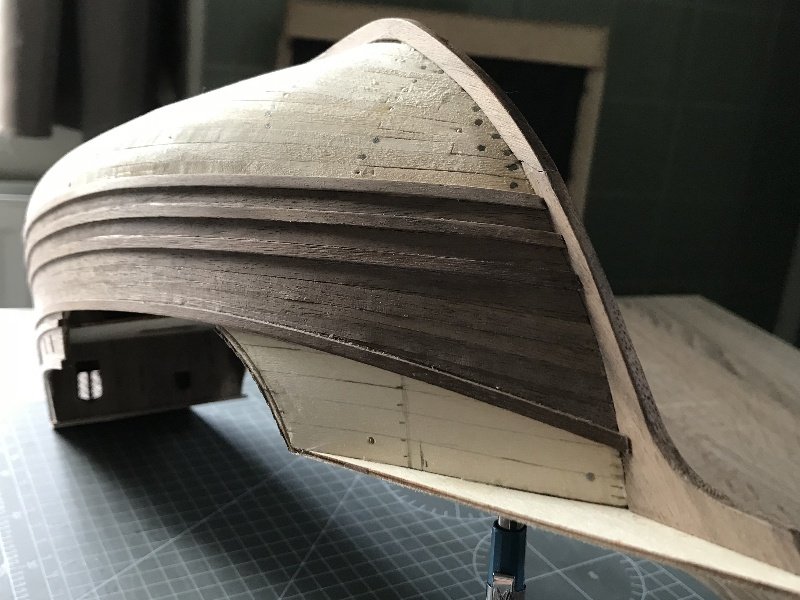
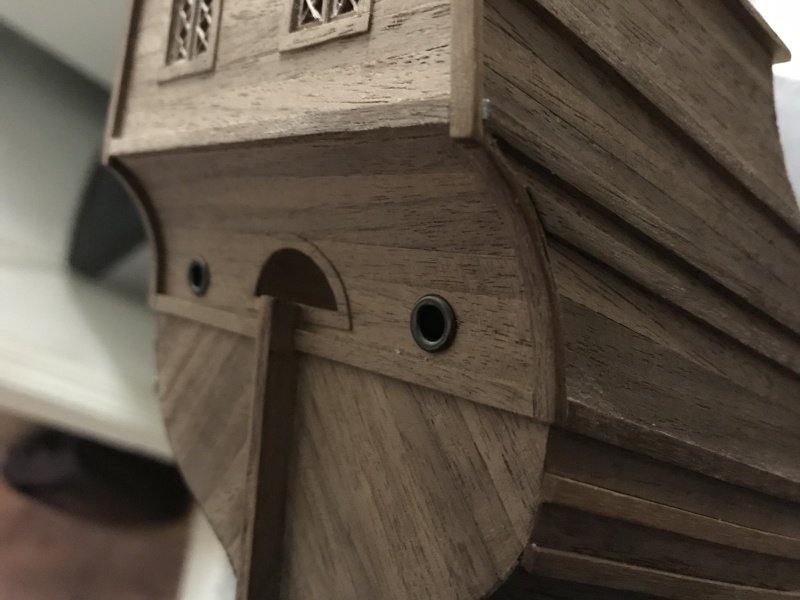
Some progress on the stern...nothing fancy just basic construction work...
So, a lot of close-up pictures. Next steps is to finish the stern a little bit and start with the second layer of the hull...The last one will be an exciting one I hope...
regards,
Pter
Santa Maria 1492 by Katsumoto - FINISHED - Artesania Latina - scale 1:65
in - Kit subjects built Up to and including 1500 AD
Posted
Thank you Sir! Keep repeating 😄