


McSpuds
-
Posts
29 -
Joined
-
Last visited
Content Type
Profiles
Forums
Gallery
Events
Posts posted by McSpuds
-
-
-
Made a trip to my printer today. I wanted to get the plans printed on their equipment because it would give me a chance to look at the scale I wanted.
WOW is about all I can say about 1:24....
I had the 1st frame printed in three scales, 1:48, 1:32, and 1:24. After seeing the size, I have decided on 1:32
Now that I have the scale picked out, time to figure out sizes and types of wood. I hope somebody out there can help me with the amounts needed..... this is going to be so fun.
-
On 4/5/2019 at 7:49 PM, ChadB said:
Just a reminder then that the wood list I made is for 1:48, so if you go bigger you will need to remeasure and make a new list..... which would probably be a nice addition to to forum and give you something to work on until wood is available! 😉
Chad
I am not sure yet on scale, but I will go a little bit larger than 1:48. My Arthritis doesnt like stuff too small. I will definitely try to make a list for the larger scale. At least in sheets. I have a good mini table saw to rip my stock. If the two sources here in the US stay closed too long, I will have to buy larger stock and invest in a drum thickness sander.
-
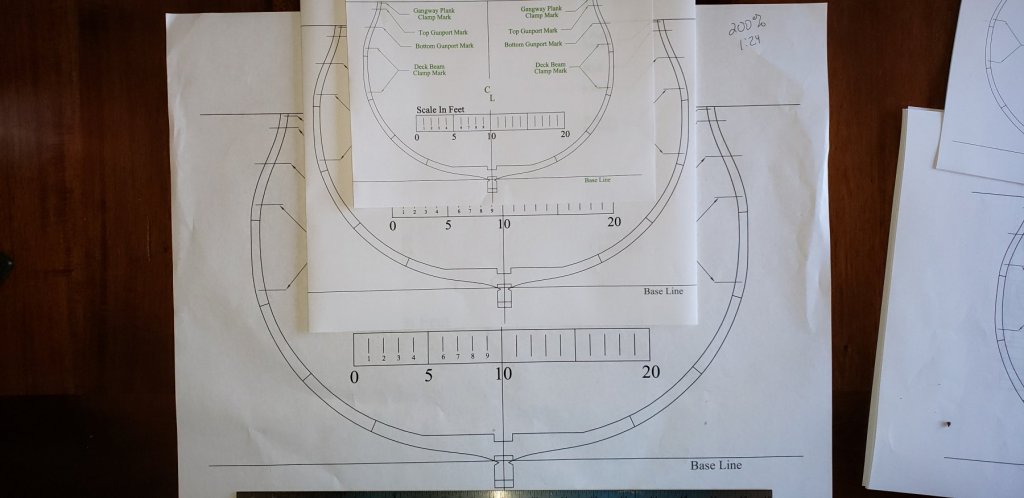
To be sure on my scale, and on proper plan size when printed... I am not sure if the plans are metric or standard,
The plans for the Triton are 1:48, so.... On each sheet, The distance between any given number on the "scale in feet" diagram on each frame sheet should relate to the actual scale of model. IE... If 1:48, the distance between #1 and #2 should be 1/4" ?
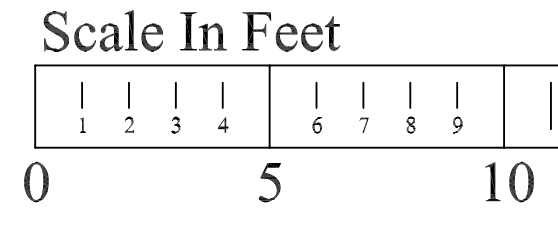
If true then scales are as follows?
1:48 - 1/4" between numbers
1:32 - 3/8" between numbers
1:24 - 1/2" between numbers
correct?
-
Now to decide on scale. I wanted to go larger as my hands would feel better, but 1:24 is large... Maybe 1:32? not too sure yet.
-
Thanks kind sir...
-
Just a little guidance needed on files before I print most.
I printed two Frame sheets. I used no "fit to sheet" option and 100%.
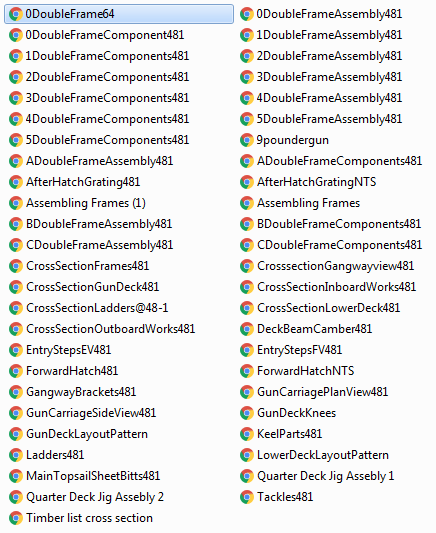
Two sections are different scale. I am assuming that the 0DoubleFrame64, selected above, is WHAT? it definitely is not the same scale as the 0DoubleFrameComponent481, of which I think is 1:48 scale at 100%
The KeelParts481 is the same scale as the 2nd file. So where did this 0DoubleFrame64 come from? and what is it used for?
-
Headed to my favorite blueprint shop today. Will make a build board this weekend. Any suggestions for which style or type?
-
Thanks Chad. I have a very nice dewalt scroll saw and decent sander. I also use my drill press with a small drum sander attachment for inside curves... I just cant find any sources for pre cut wood right now. They are all closed.
-
@Pete38 You live about one hour from me. BTW I can not see any of your photos on your cross section build.
-
Ok, I am a new builder so this has confused me a little. I plan on building the cross section at 1:48 wich I presume is what the drawings are set to. "I have downloaded them, but not looked at them yet."
Which wood list should I use? I was going to order a Byren sander but will wait, so I need tl order my wood pre milled. Hopefully I can order wood today.
I am sure there will be a few mistakes and do overs so a little extra never hurts. Plus if all goes well, I will use the extra on another build anyway.
-
OK I was looking at a Brynes Sander, have been for some time, but I think I will get pre-milled wood for this build and get my sander later.
Issue is that both Crown Timberyard and Wood Project Source are CLOSED!
I hope not for long!
-
Here we go.... I have finally got back in the saddle again. Although my experience in POB or POF is not much, I do have extensive experience with scratch building 1/144 scale WWI and WWII vessels for RC.
I joined Chuck's Syren build years ago and loved it, but I had to eventually drop the build after a time.
When I get this one completed I hope to build cross section that includes a mast section. One of my favorite builds in the past I have seen included a cross section with a couple of marines in the crows nest, firing back down into the melee.
Like other new builders, I have been looking at some of the other builds and I am definitely a little intimidated! I look forward to seeing how well I can do this.
Not sure, but here is a quick question, is it possible to move the cross section forward or aft to include a mast? and how would I perform that?
- CaptainSteve, Jolley Roger, Pete38 and 3 others
-
 6
6
-
Yep, Taylor, my Syren was coming along good, then life got in the way. My injury had a relapse. Three surgeries later and two moves later, I think we have things fixed. This time around I am going to work on a smaller project first. The Triton Cross Section looks like a good build to learn some techniques on.
-
Syren ran aground years ago (fell off the top shelf and bounced into the fire place)
Going to start a Triton Cross build I think.
-
Hi all. I have been here many times in the past, but life had me take a break from building for some time. I am now able to return to building and looking forward to possibly getting in on the Triton build.
It is good to see the site full of activity as usual.
- CaptainSteve, J11, Fernando E and 2 others
-
5
-
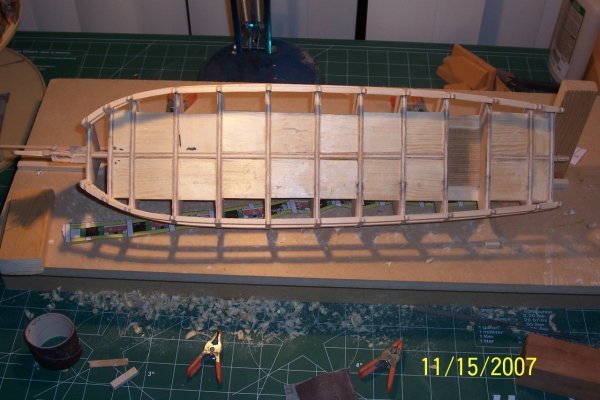
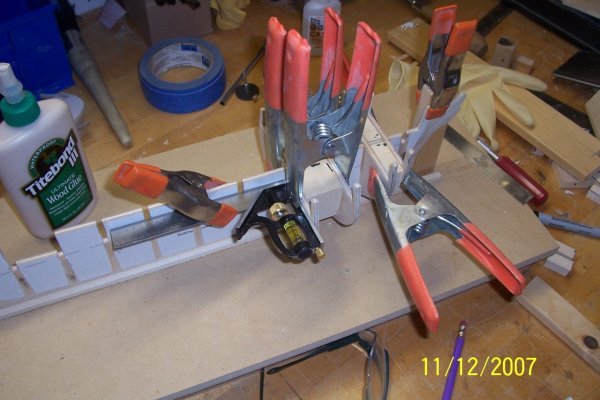
I did as one author did. I did most of my sanding before adding any glue... I then did the final sanding, and sanding, and more sanding after I had glued the bulkheads into place and had my filler blocks in place. This also seemed to be stiffer and gave a more solid base to sand with.
-
Slow start, LOL 2007.. this has to be one of the oldest builds here.
-
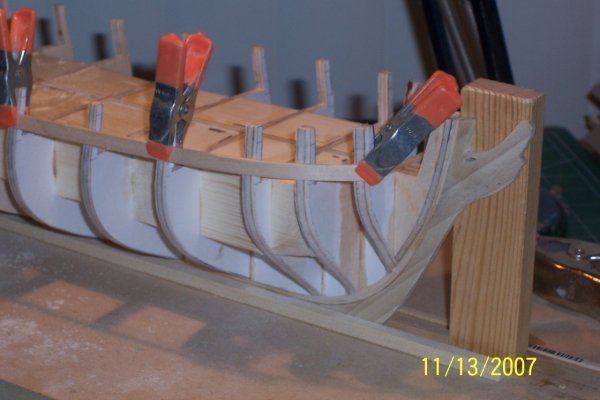
Now the planking begins.....
Shortly after this I deployed, and then sadly was unable to continue upon my return due to an injury.
Then work and life kicked in hard and I had decided to shelf my boat till I could take more time with her.
Now that I am retired, and my injury has been corrected enough to allow me to enjoy my hobby, I once again continue on the build!
I hope the brief explanations above are ok, it was a long time ago and I can not remember all the details on why I took each photo. From here on out there will be more detailed involvement in the explanations...
For a larger view, click here!
For a larger view, click here!
-
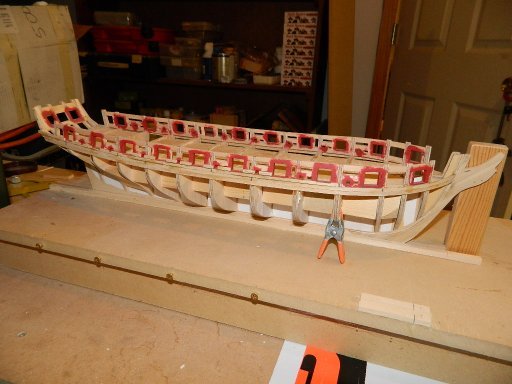
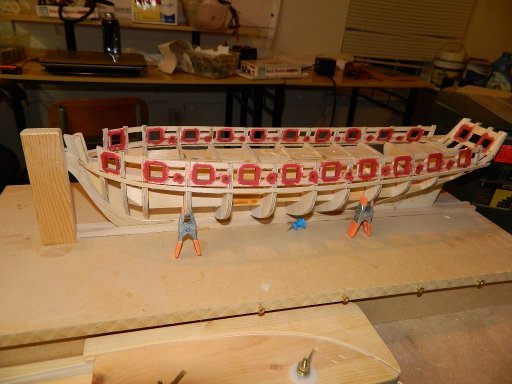
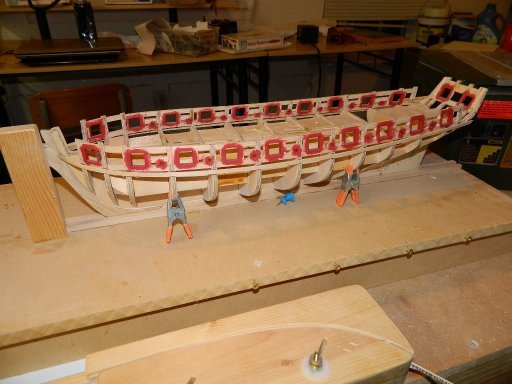
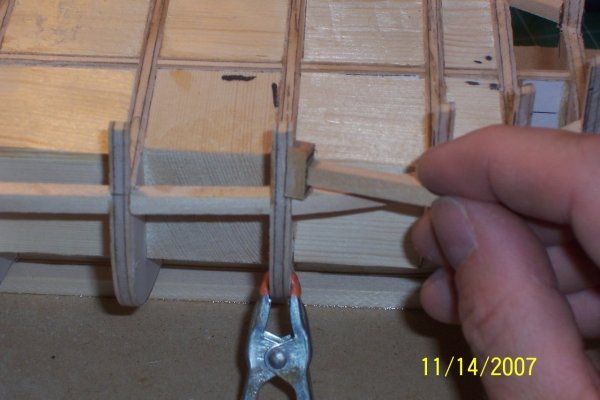
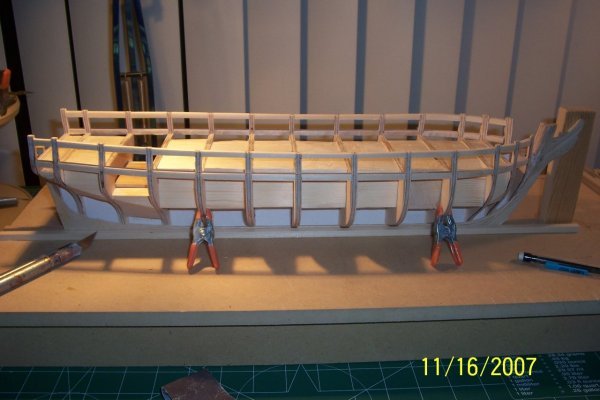
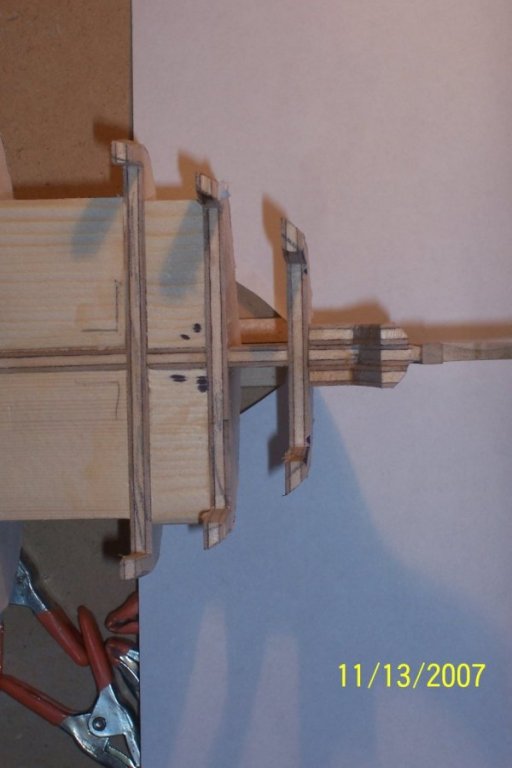
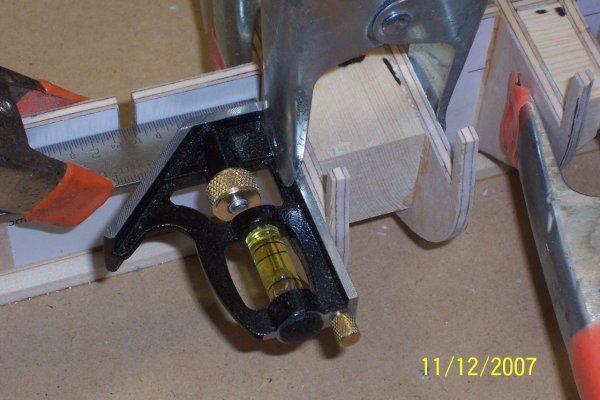
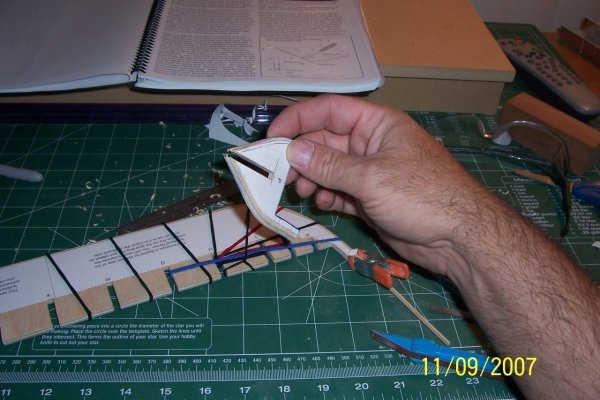
Framing in the gun and sweep ports now began...... I used a jig to cut some of the peices, but still a lot had to be sanded...
For a larger view, click here!
For a larger view, click here!
For a larger view, click here!
For a larger view, click here!
For a larger view, click here!
For a larger view, click here!
For a larger view, click here!
For a larger view, click here!
For a larger view, click here!
For a larger view, click here!
For a larger view, click here!
For a larger view, click here!
For a larger view, click here!
For a larger view, click here!
-
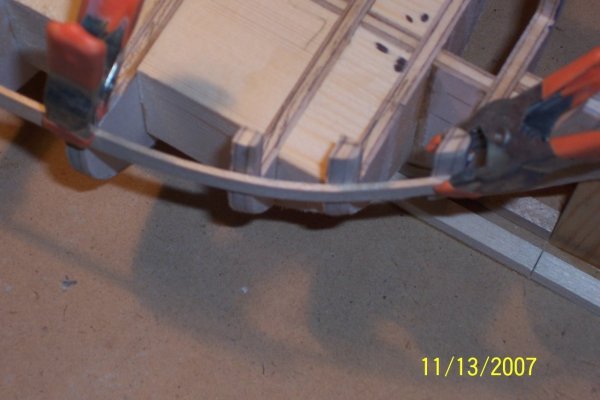
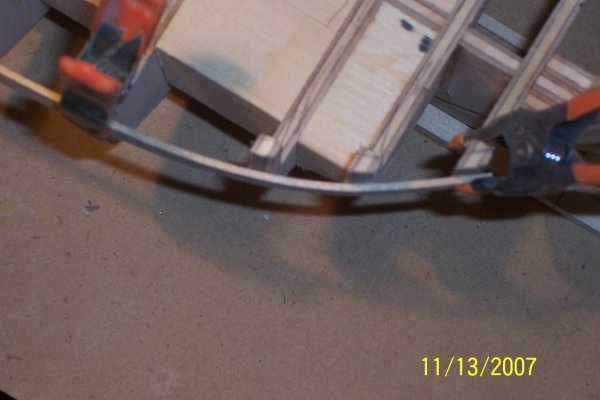
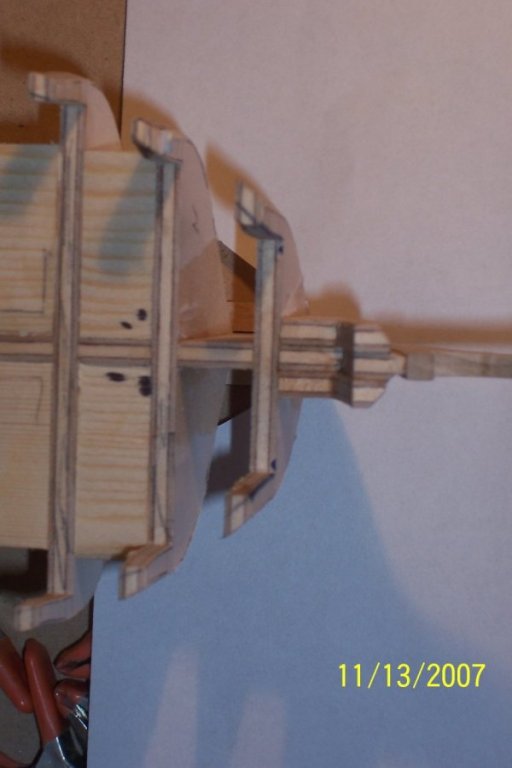
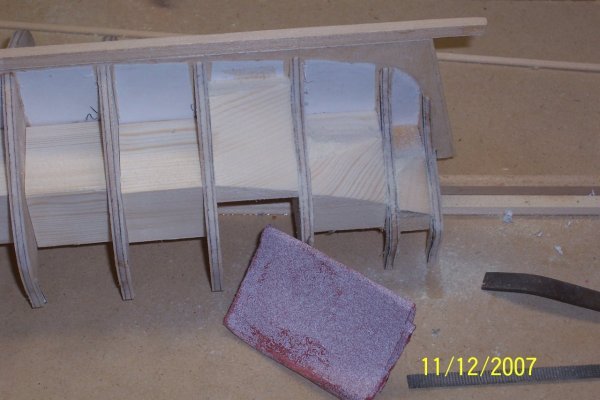
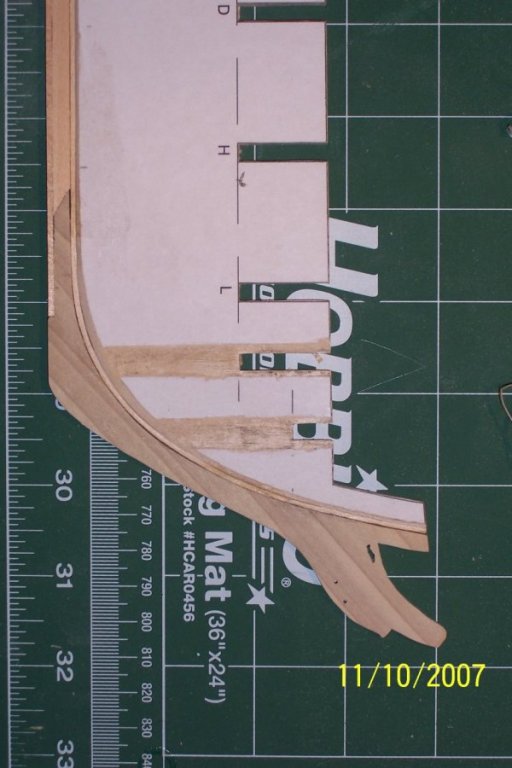
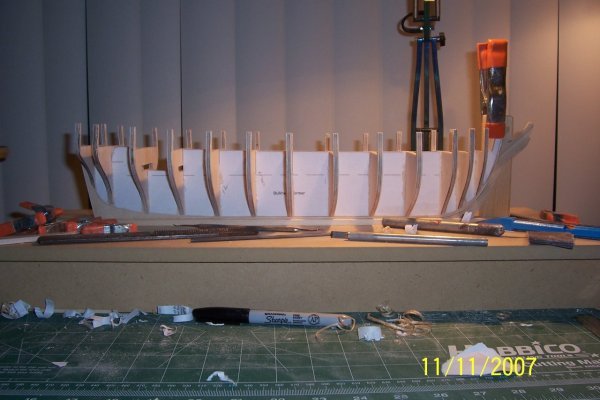
I so hated this part.... flaring the bulkheads... ugh!
For a larger view, click here!

For a larger view, click here!
You can see the runner I used to help flare the bulkheads.....
For a larger view, click here!
For a larger view, click here!
For a larger view, click here!
For a larger view, click here!
-
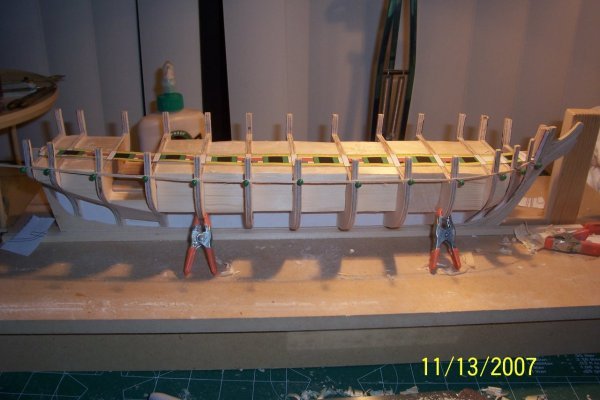
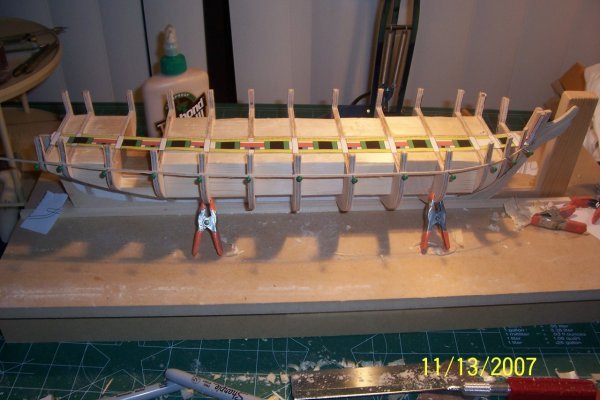
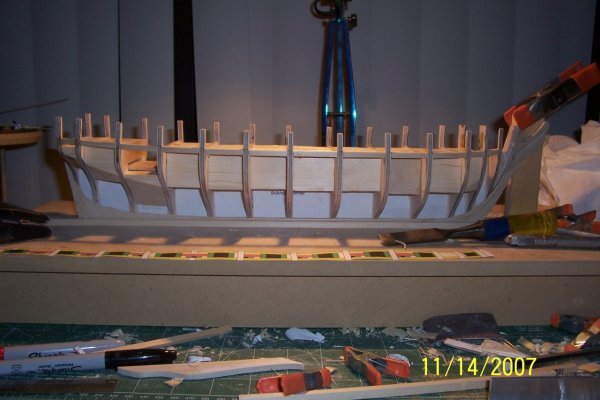
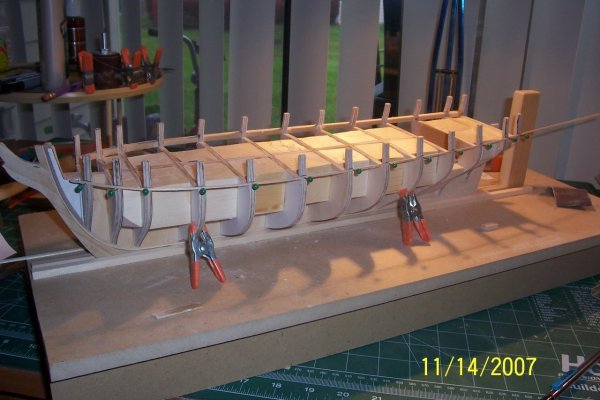
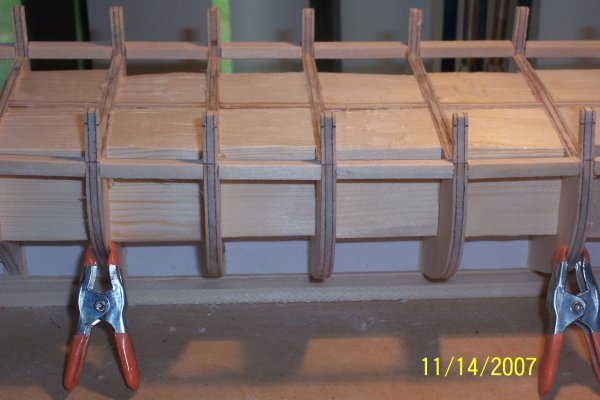
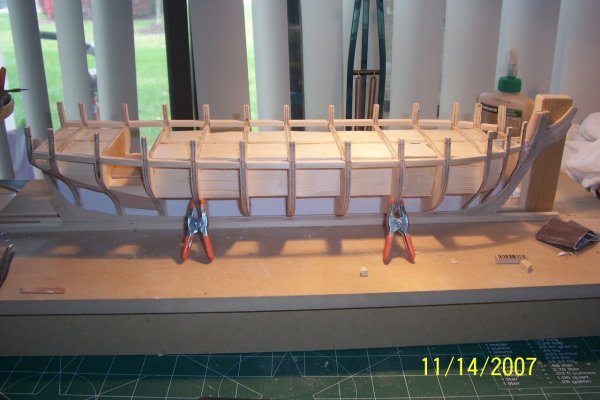
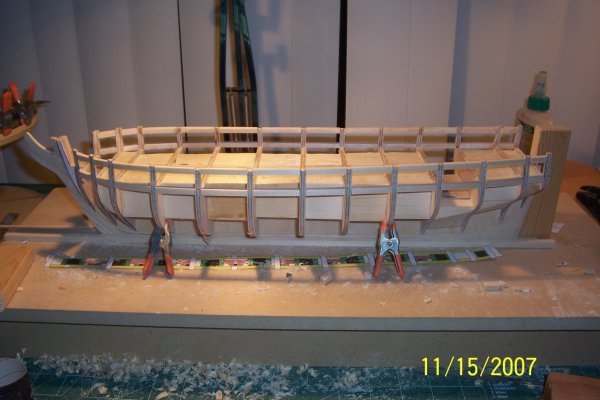
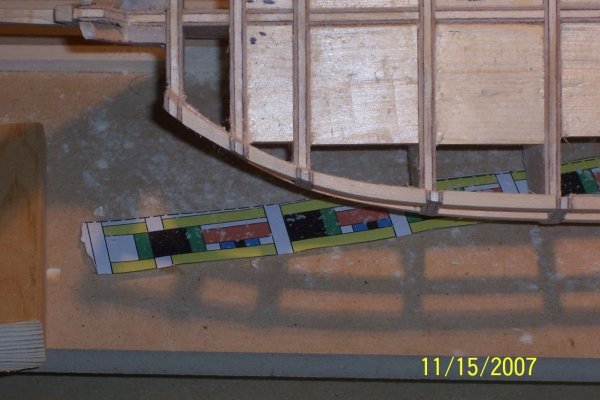
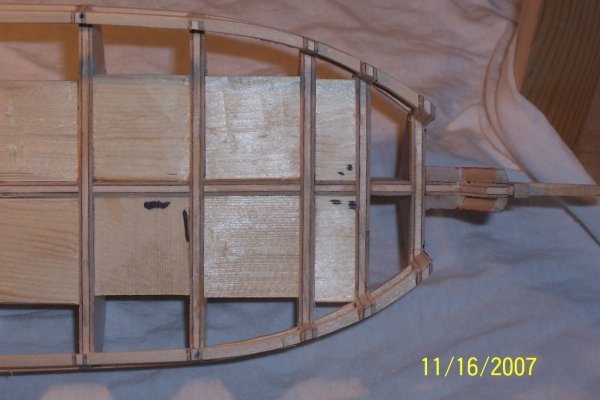
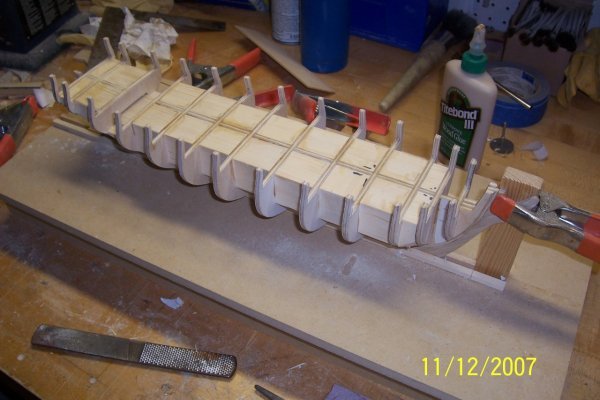
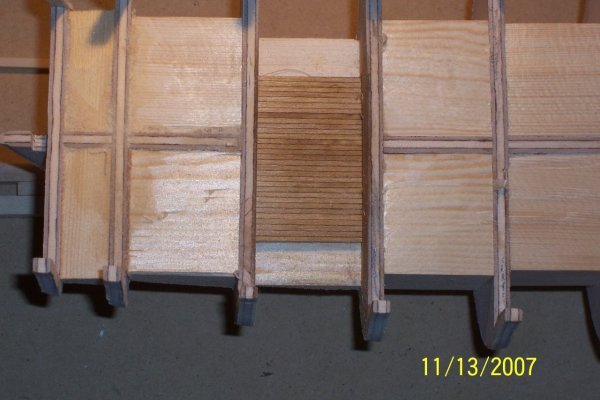
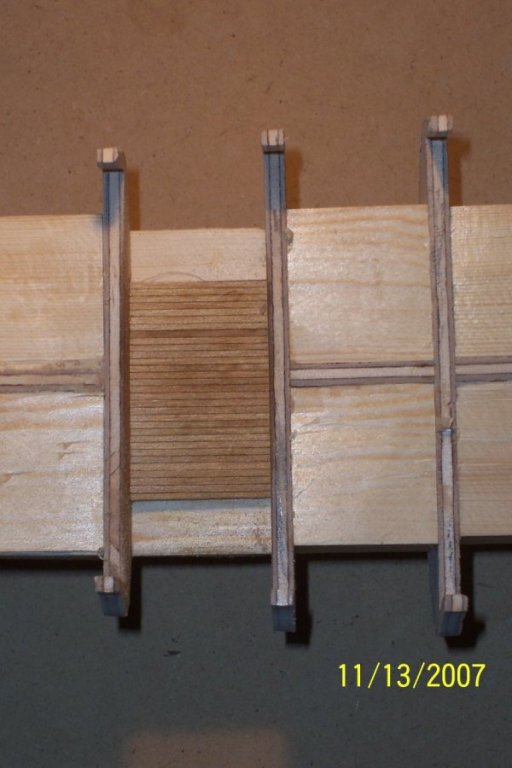
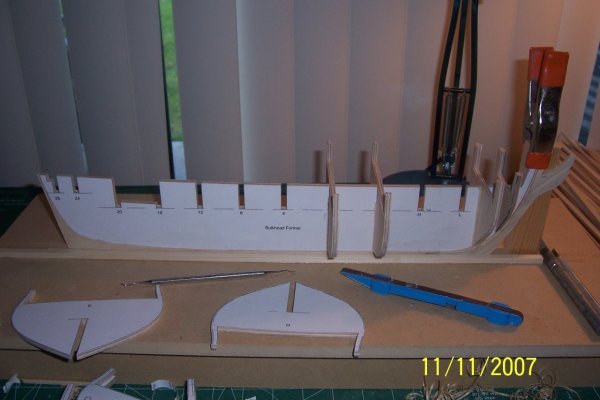
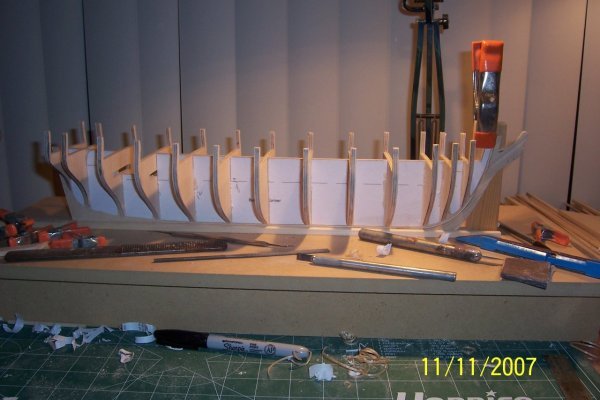
I then placed filler blocks in between the bulkheads.
I also did the planking between 16 and 20.
For a larger view, click here!
For a larger view, click here!
For a larger view, click here!
For a larger view, click here!

For a larger view, click here!
For a larger view, click here!
For a larger view, click here!
-
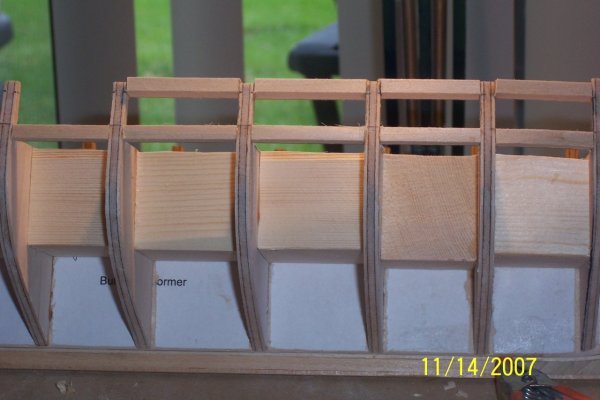
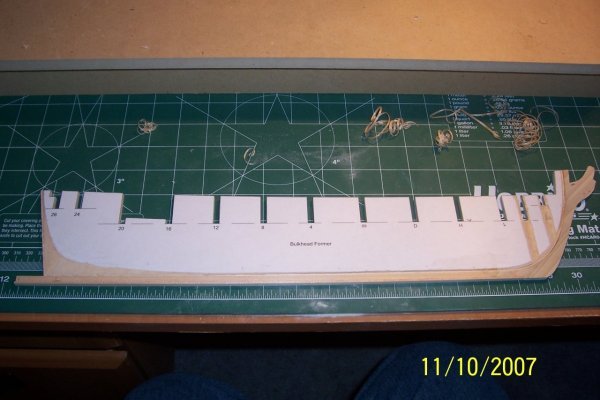
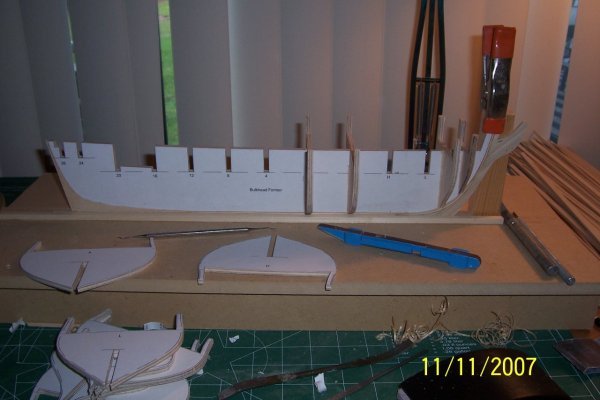
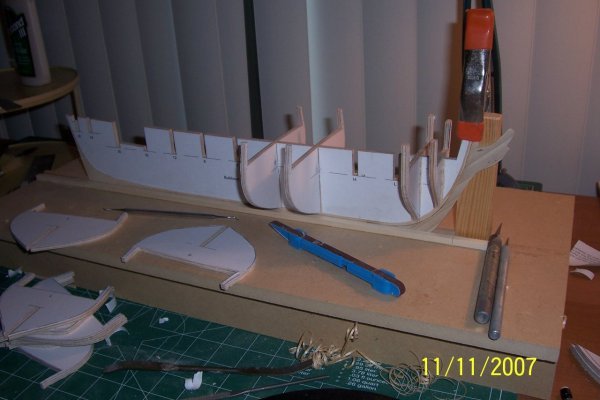
Now on to the bulkheads. Some of these where so tight I had to shave the paper off of the bulkhead former.
For a larger view, click here!
For a larger view, click here!
For a larger view, click here!
For a larger view, click here!
For a larger view, click here!
For a larger view, click here!
For a larger view, click here!
For a larger view, click here!
For a larger view, click here!
-
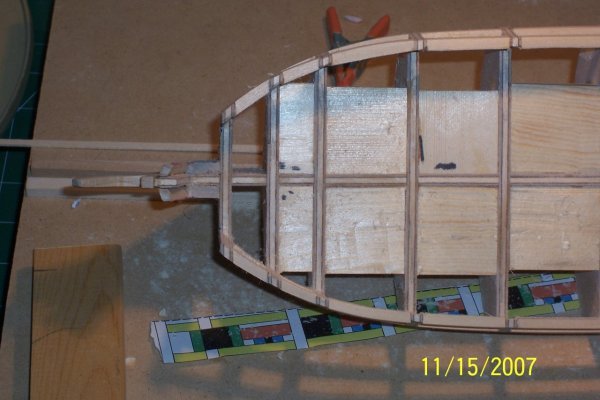
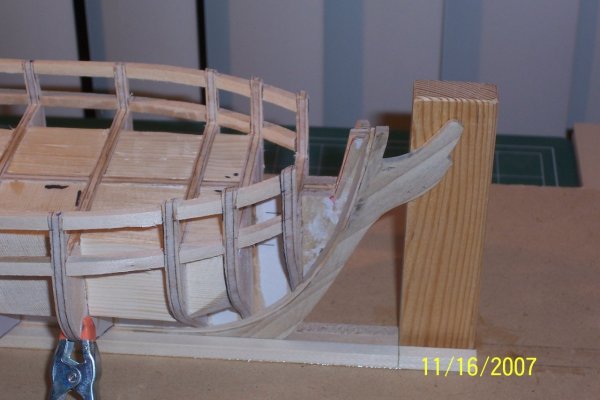
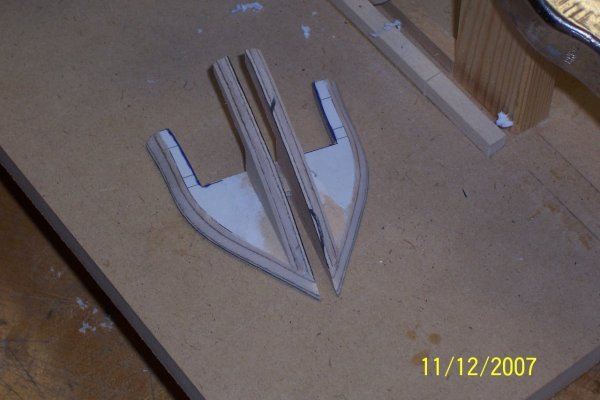
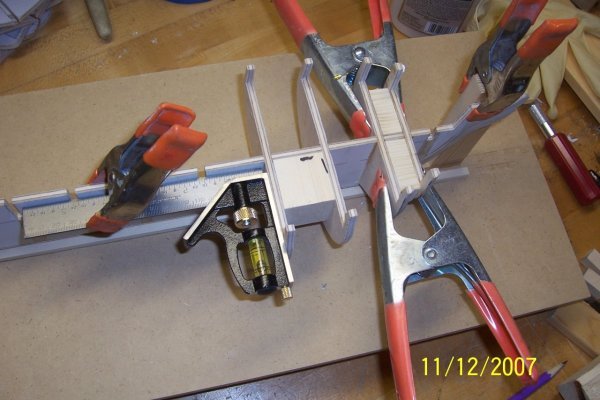
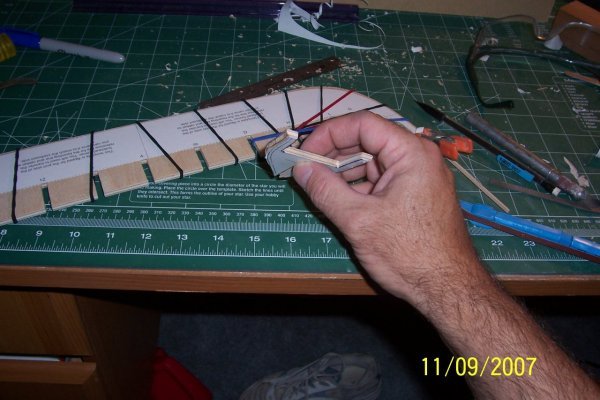
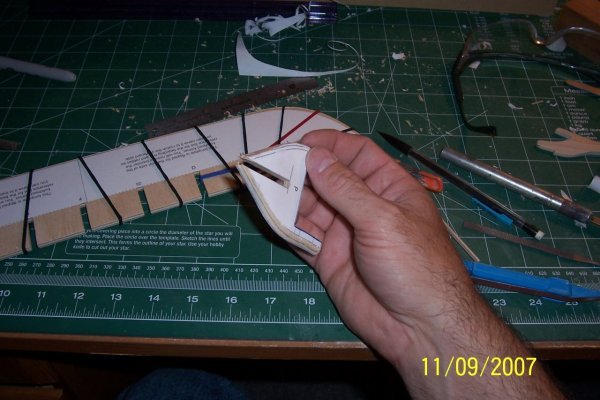
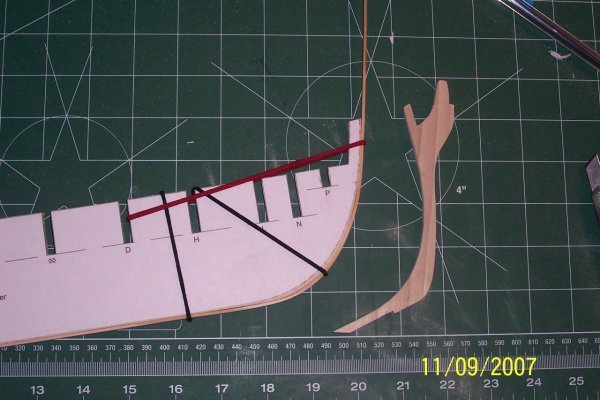
After prepping the lines I then shaved the bearding line and added the rabbet strip as wel as the stem knee and keel.

HMS Triton (cross section) by McSpuds - 1:32
in Cross Section Build Logs for HMS TRITON
Posted
Looks like I will need to get a thickness sander.. been wanting too for awhile anyway.