HOLIDAY DONATION DRIVE - SUPPORT MSW - DO YOUR PART TO KEEP THIS GREAT FORUM GOING! (Only 24 donations so far out of 49,000 members - C'mon guys!)
×
SGraham
-
Posts
538 -
Joined
-
Last visited
Content Type
Profiles
Forums
Gallery
Events
Everything posted by SGraham
-
 Wow, J, that's some fiddly little work. Good idea with the mini clothespin. The rats are looking good! Steve
- 258 replies
-
- 3
-

-
- harriet lane
- model shipways
- (and 1 more)
-
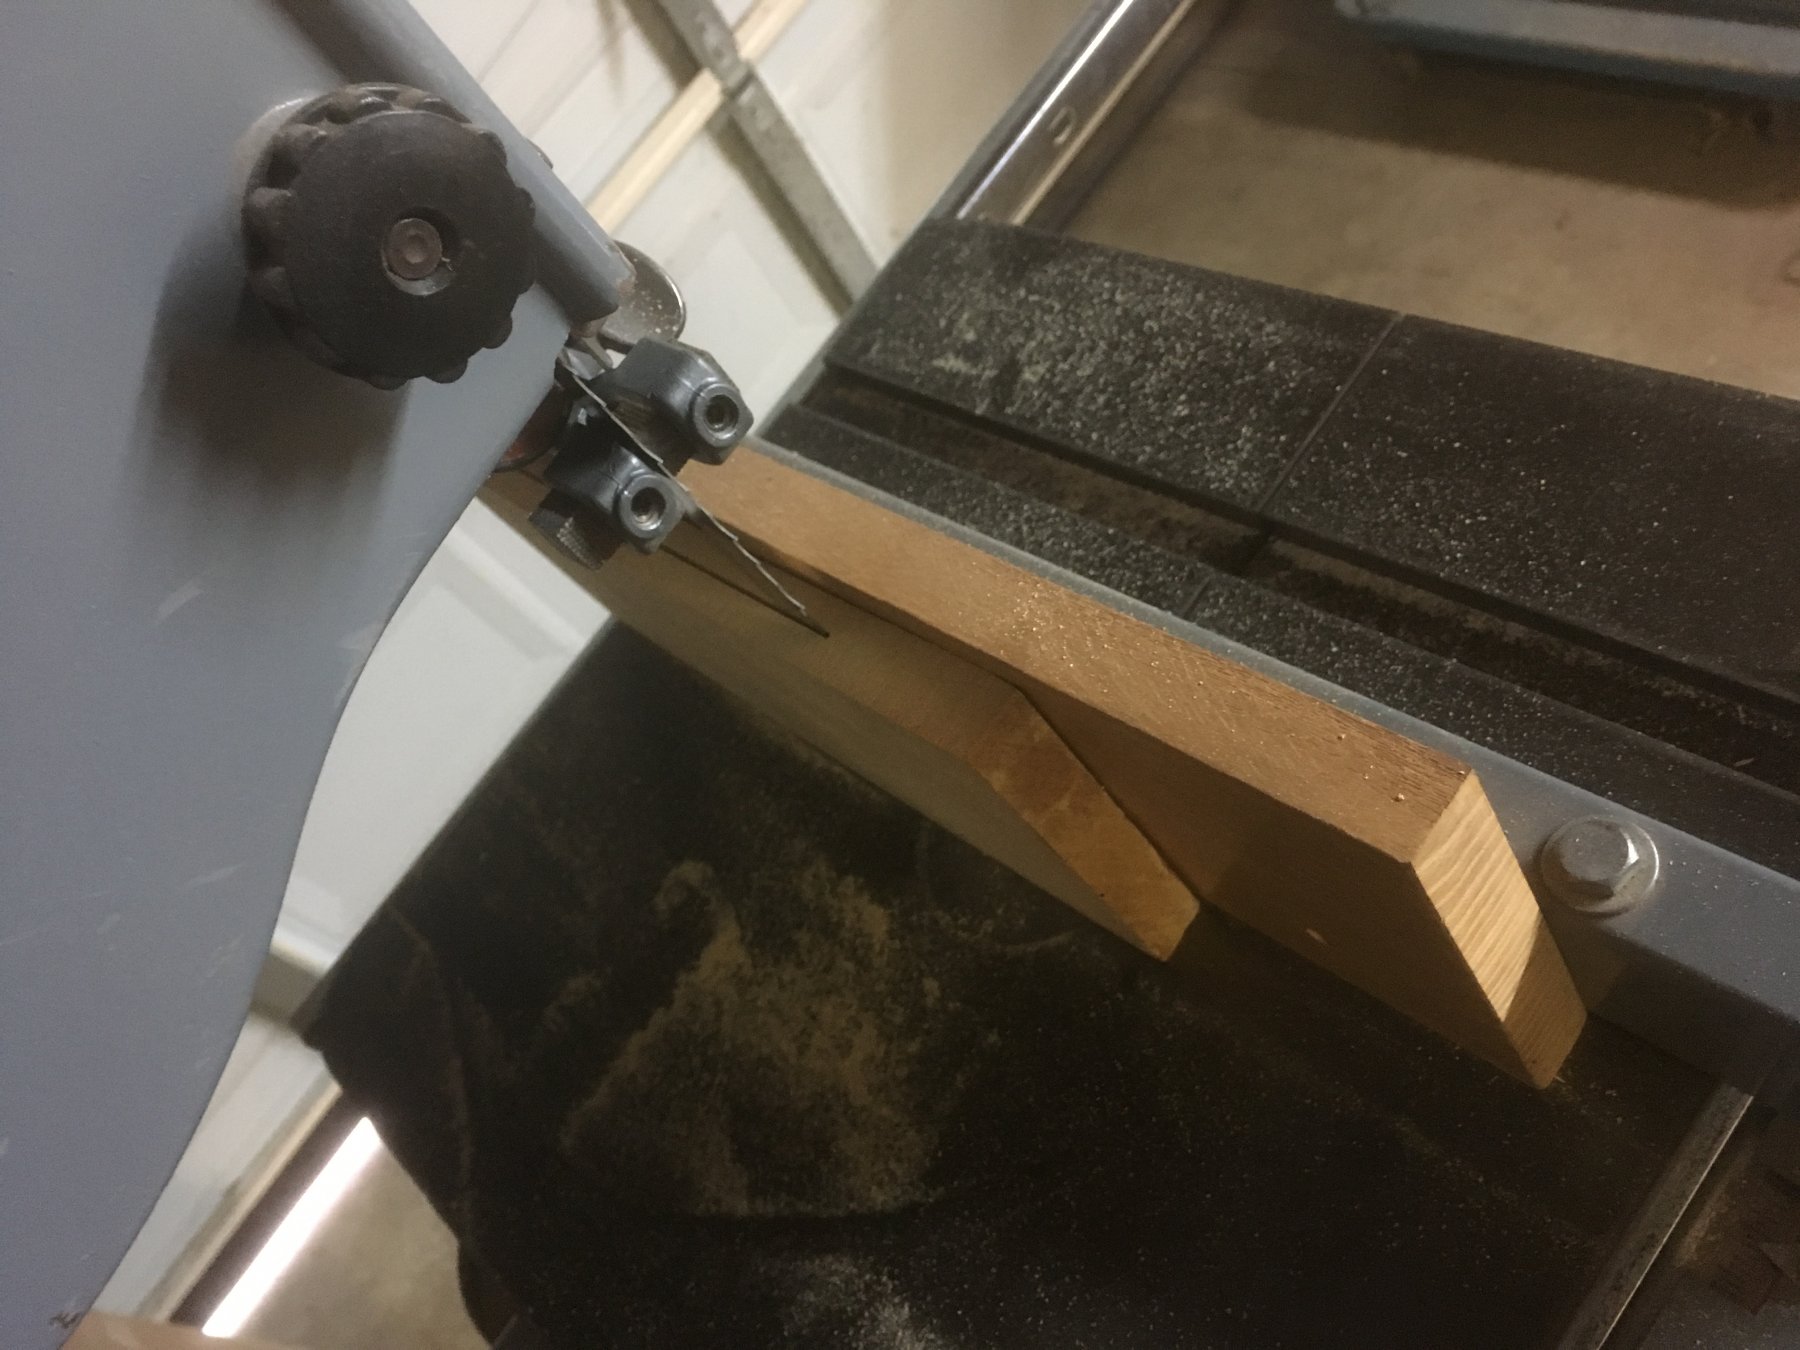
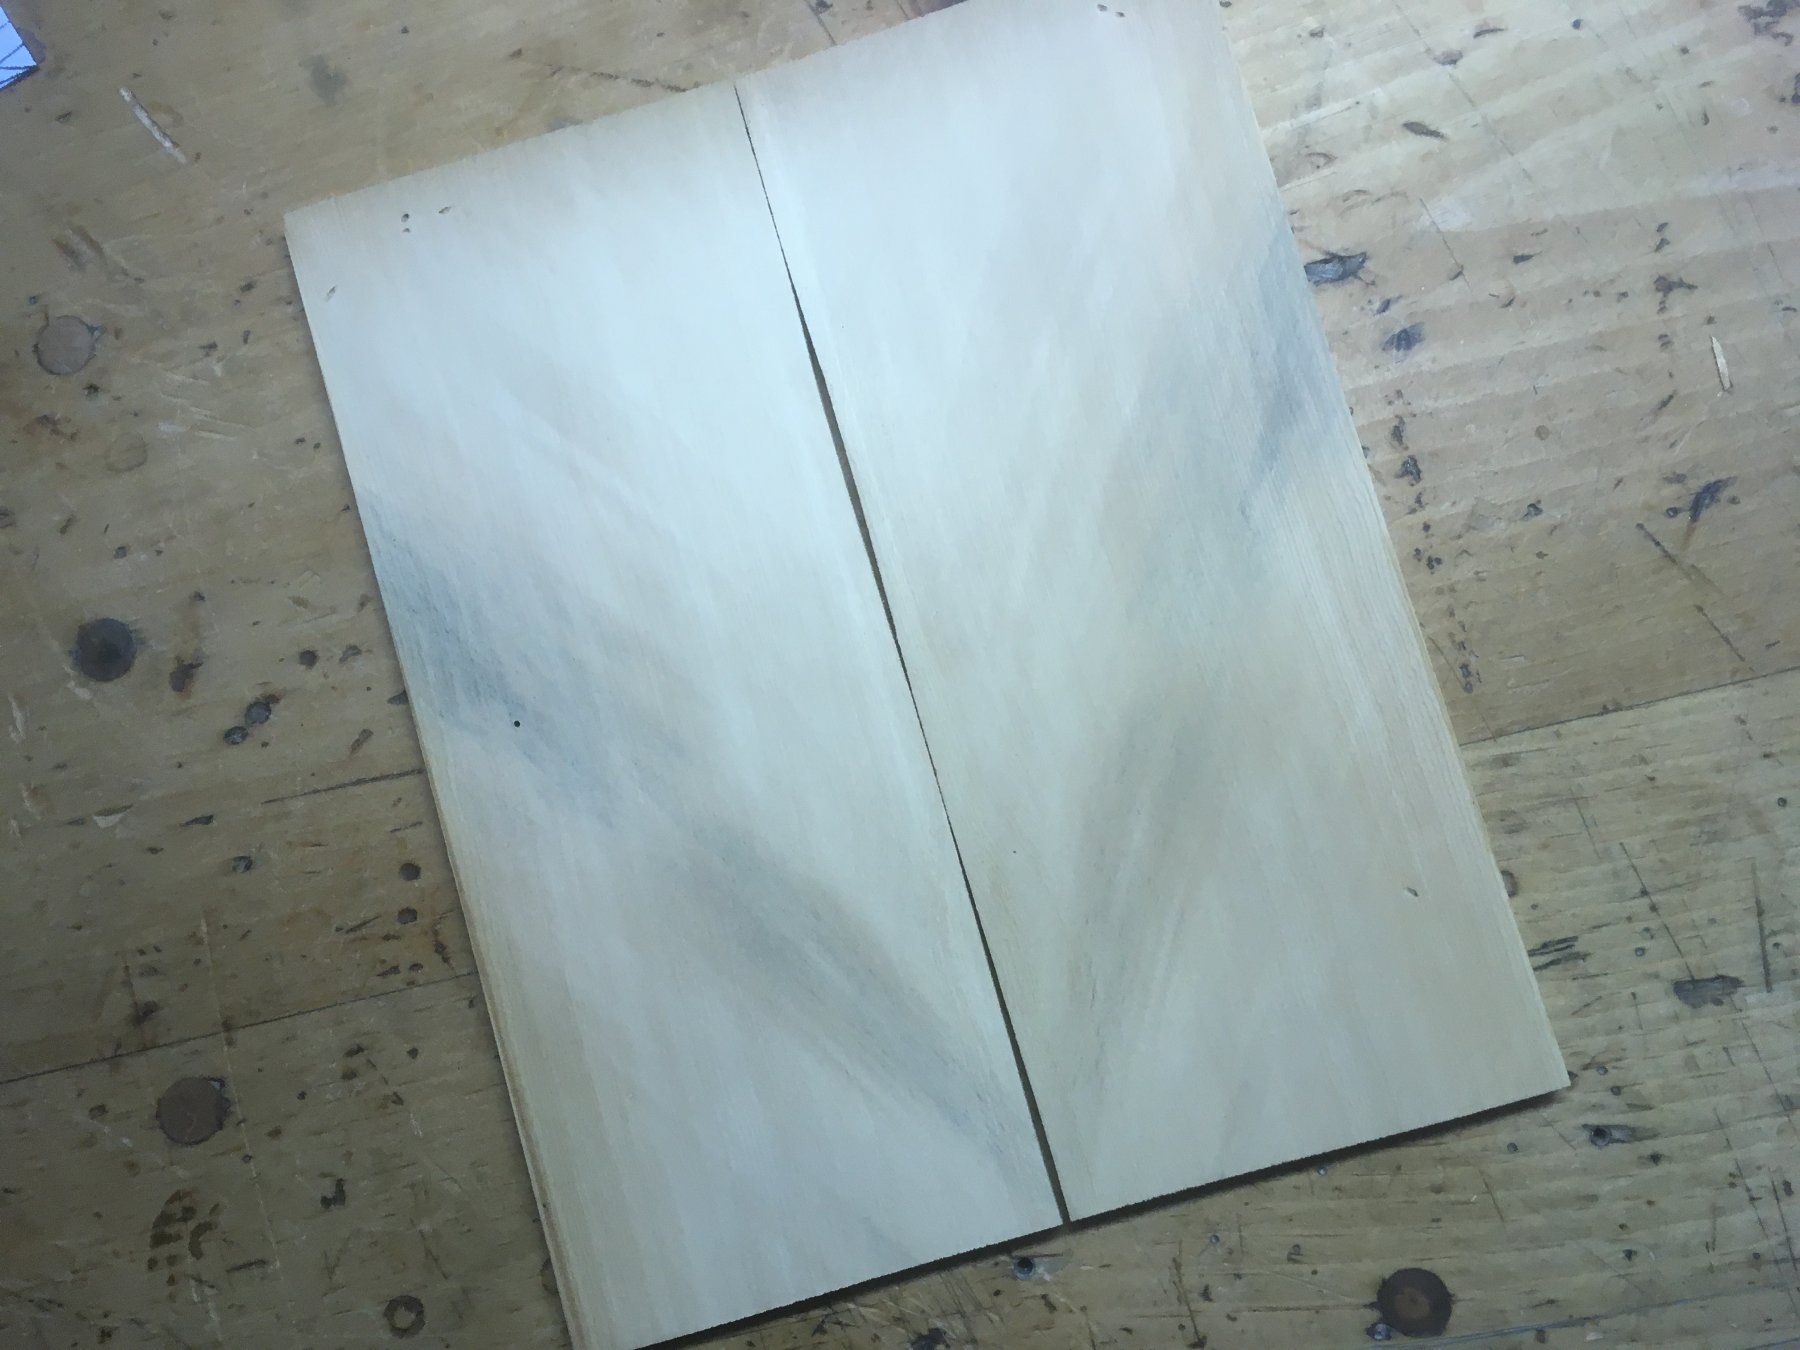
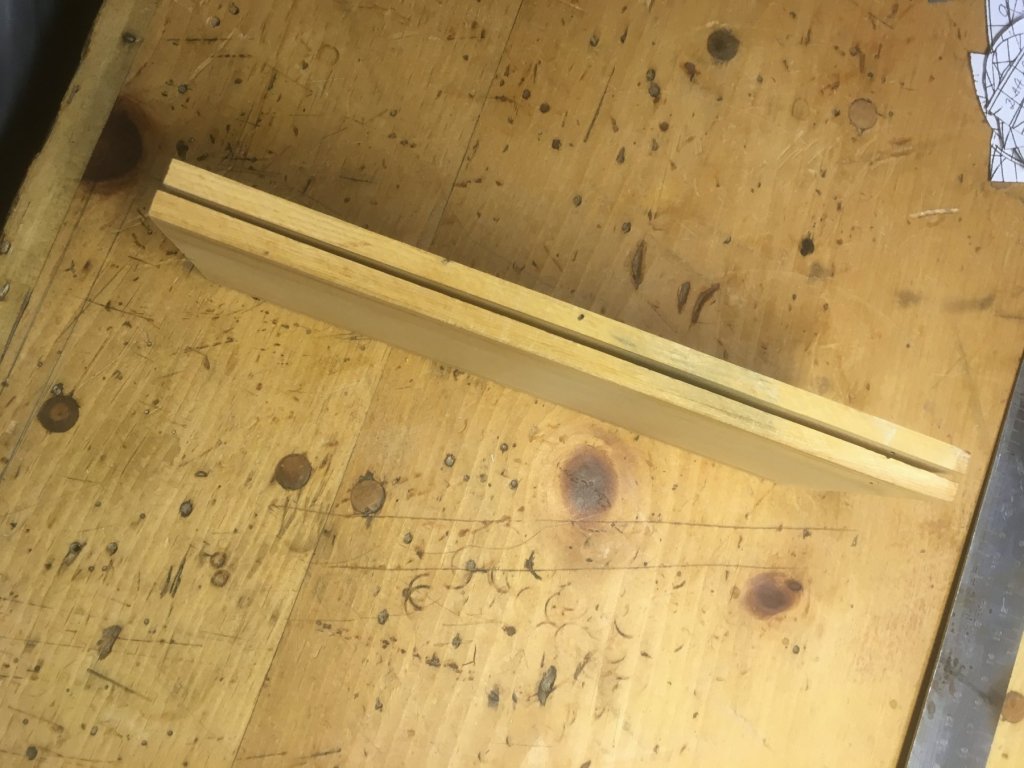
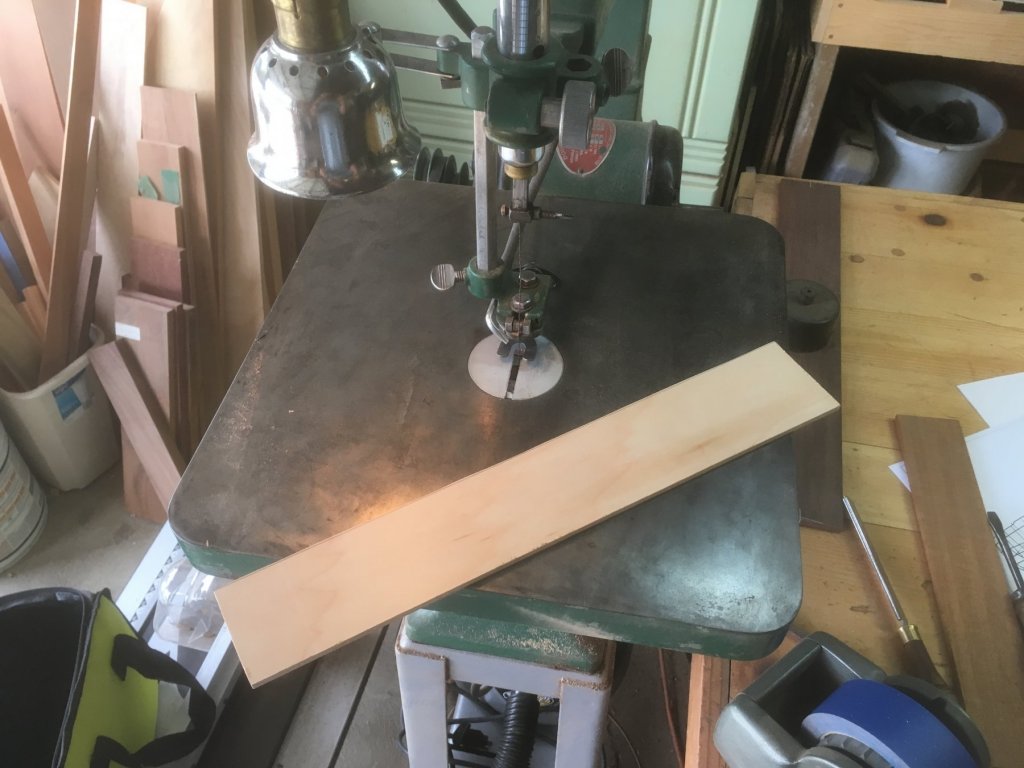
I got just a very little bit more done. I put together a temporary building stand. I also found a basswood board that was just about twice the thickness of what I wanted to make the frames. So I resawed it and ran it through the drum sander. And here is my bookmatched framing stock. I've got the cutout frame stations glued to the board and will hopefully cut them out and clean them up this evening. Thanks for looking. Steve


-
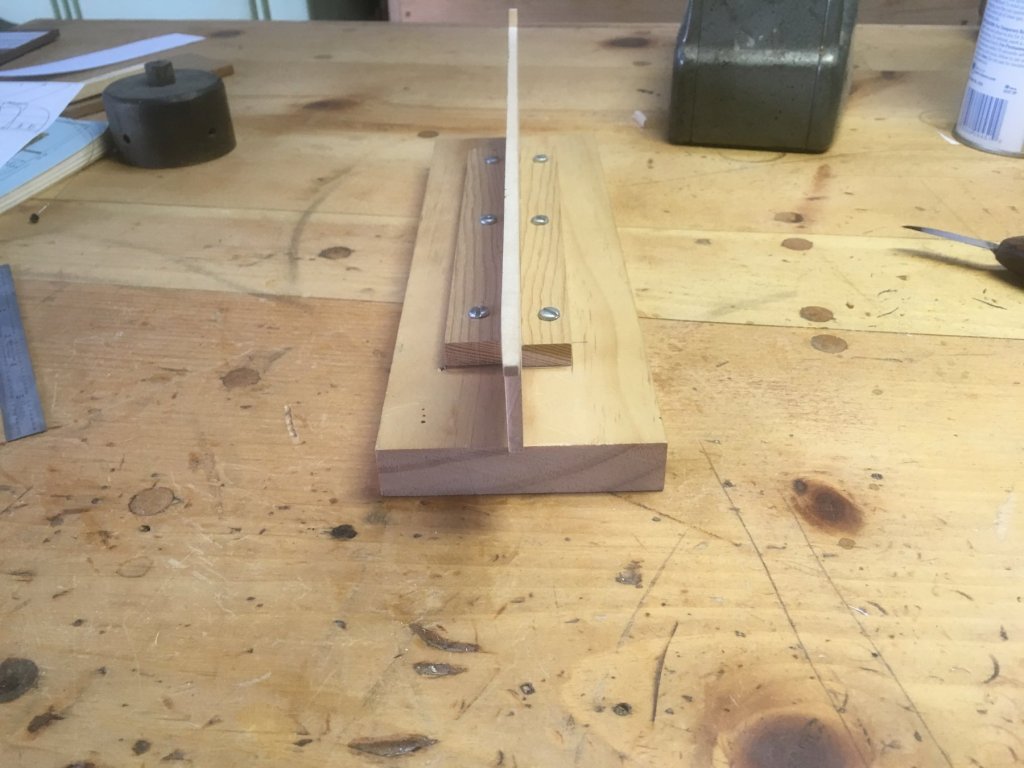
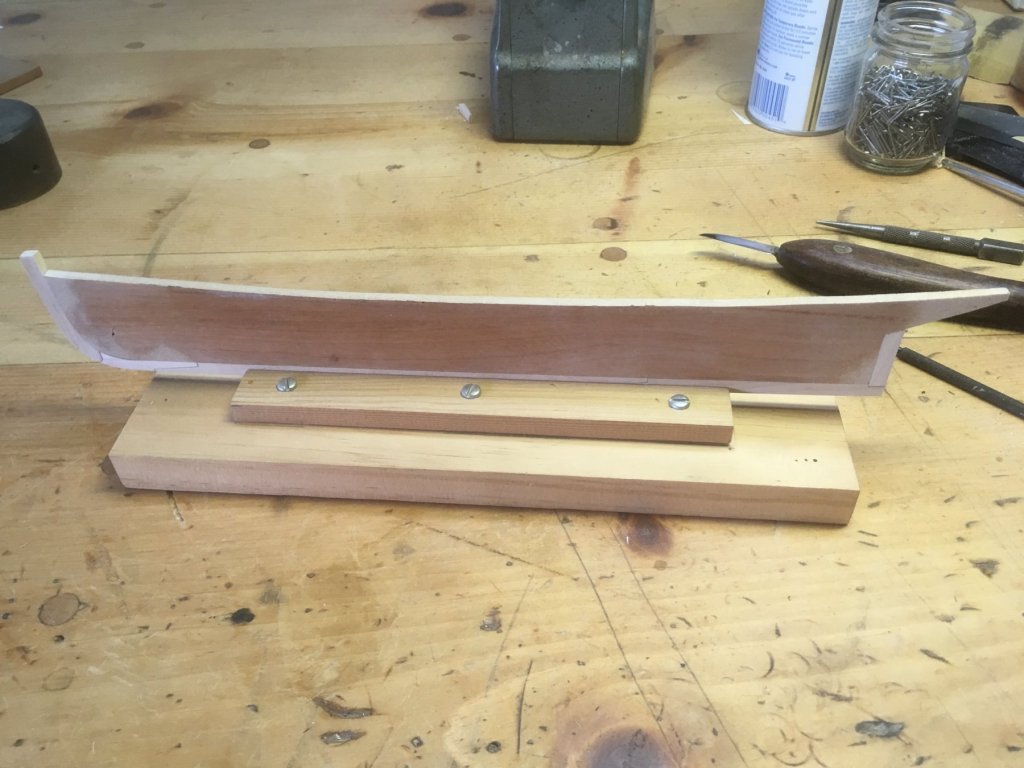
Well, here is some progress. An infinitesimal amount, but I guess it still counts. I've finished the keel and added the stern post. None of it is bevelled yet. I'll leave that until I get the hull planked. When I was building Shenandoah, I called my shop the Glacial Progress Shipyard, and I think I'll stick with that name. Next step is cutting the rabbet. Thanks for looking! Steve
- 60 replies
-
- 10
-
-
Thanks J. Yes, I think that with my nearly nonexistent paint skills I'll leave it natural, or nearly so. Steve
-
Here comes a very little bit more on the waterboat. I added a piece of the keel and decided for the sake of strength that I'd pin the stem and keel to the false keel. I think I overdid it with the size of the wooden plugs I used. They're toothpicks about 1/16" in diameter. This would work out at 1:30 scale to a bit under 2" in diameter. They look pretty big, but I haven't bevelled the stem yet, so maybe they'll recede from view when there's some more detail added. I hope so, at any rate. I hope to get some time in at the bench this weekend and perhaps get the rabbet cut and some frames sawn out. Thanks for looking!

- 60 replies
-
- 11
-
-
Beautiful intricate work, J. I really like the clamp setup you made with the alligator clips. I'll have to make myself one of those... Steve
- 258 replies
-
- 3
-
-
- harriet lane
- model shipways
- (and 1 more)
-
Thanks for the kind words, G.L. J, my plan is to cut the rabbet into the false keel after I mount the stem, keel, and stern post pieces. I want to get a good glue joint there first before I go thinning it down. Steve
-
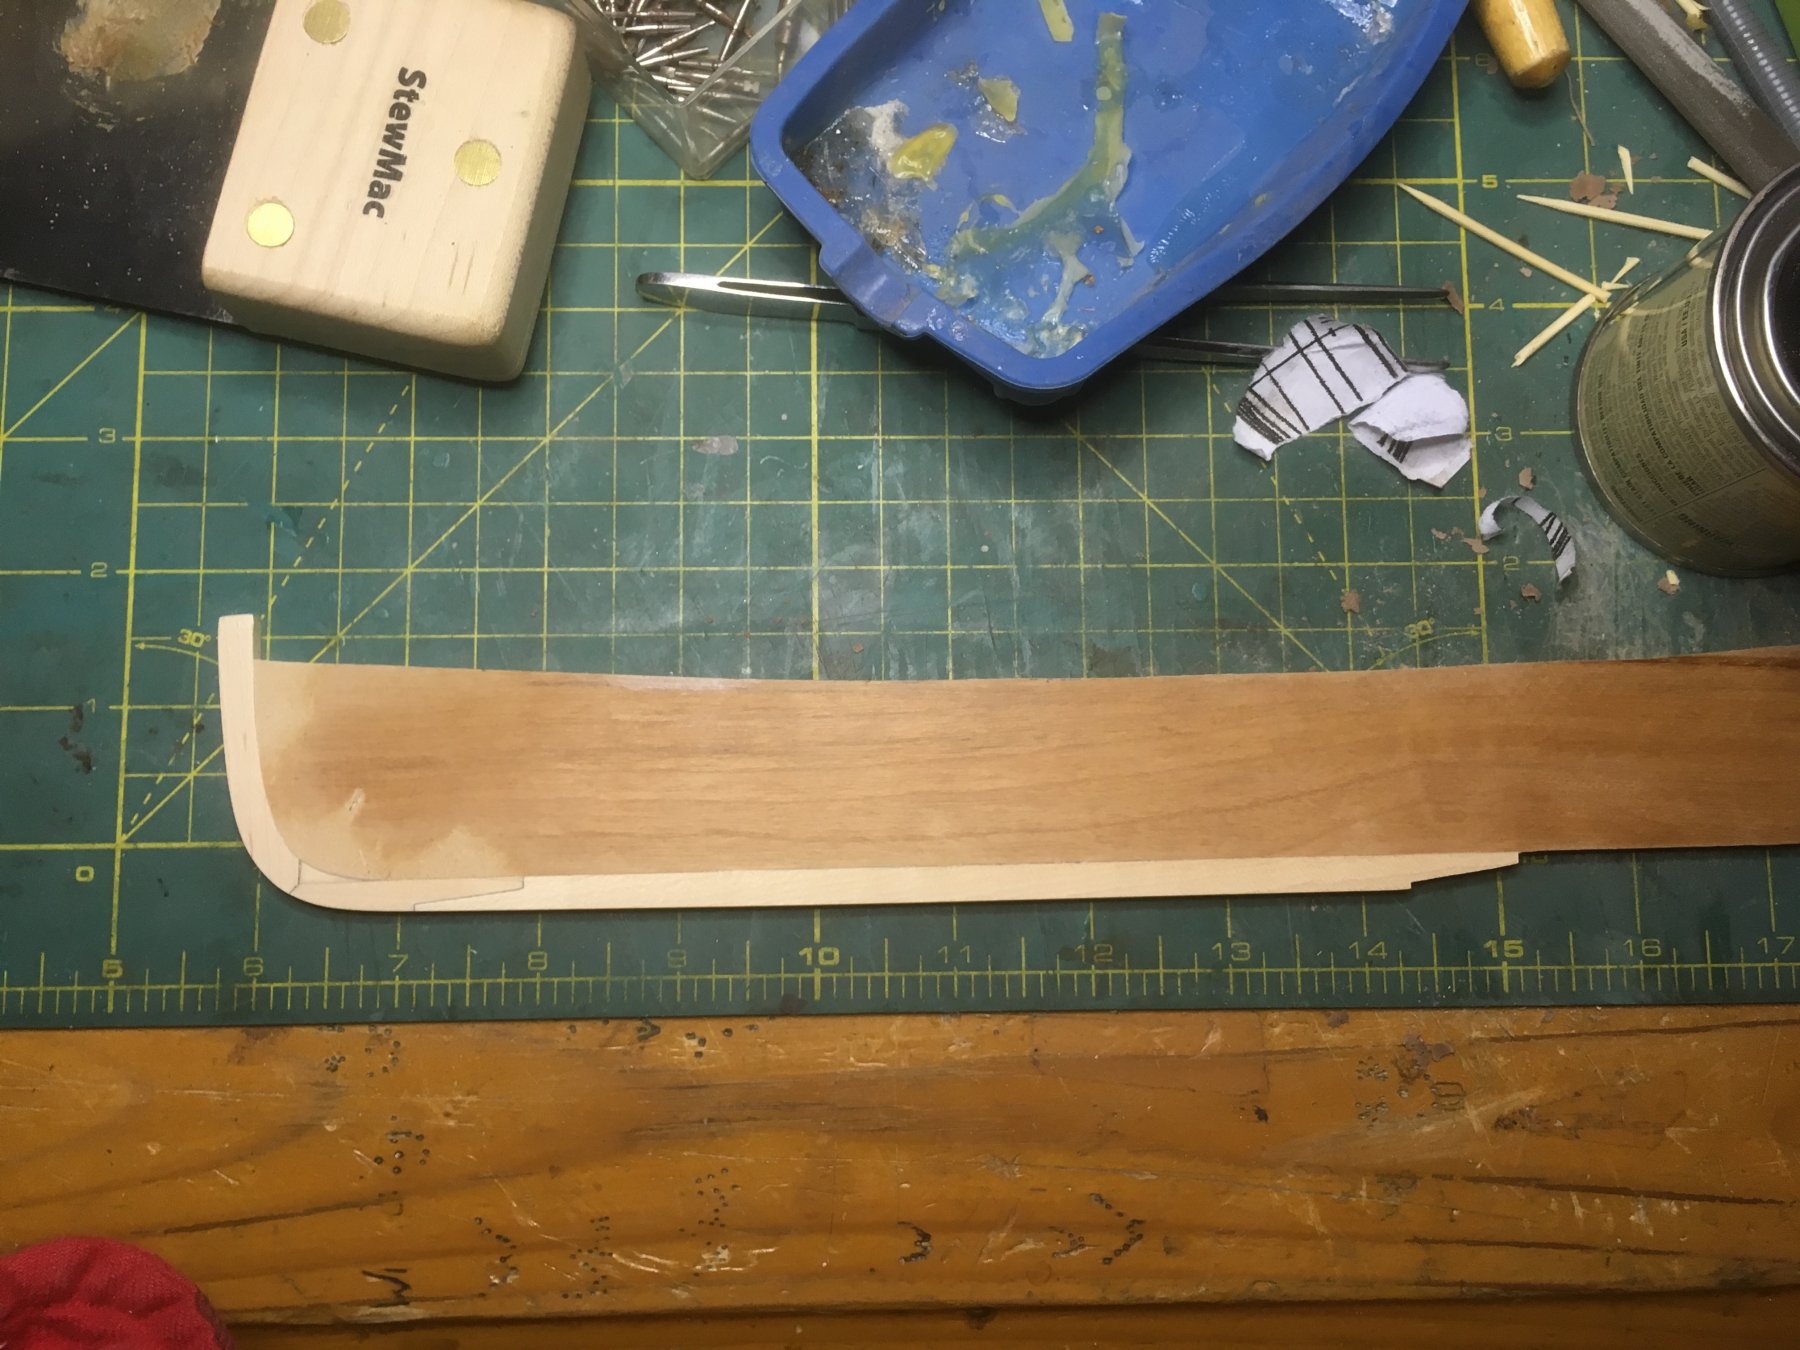
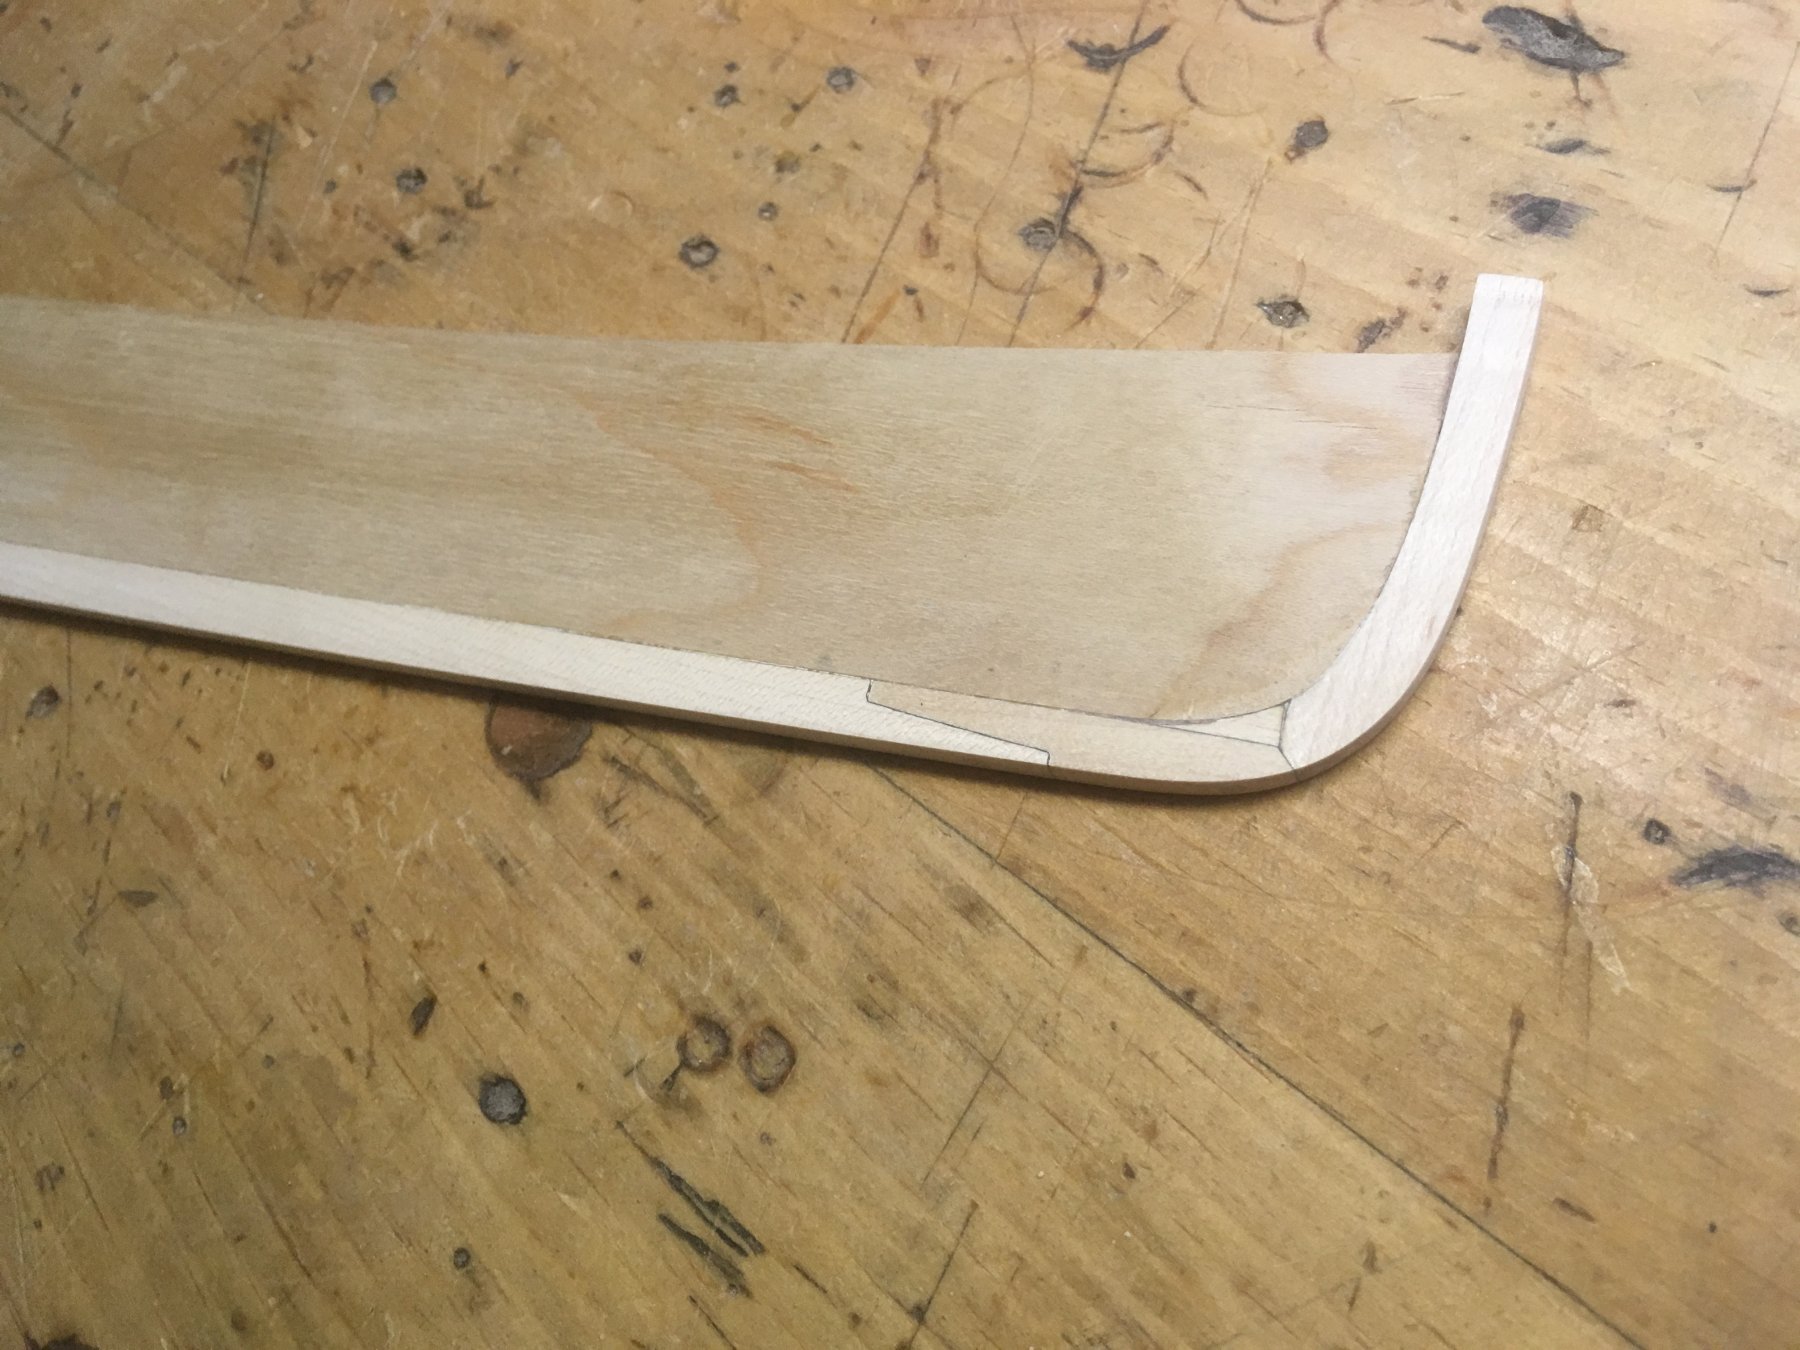
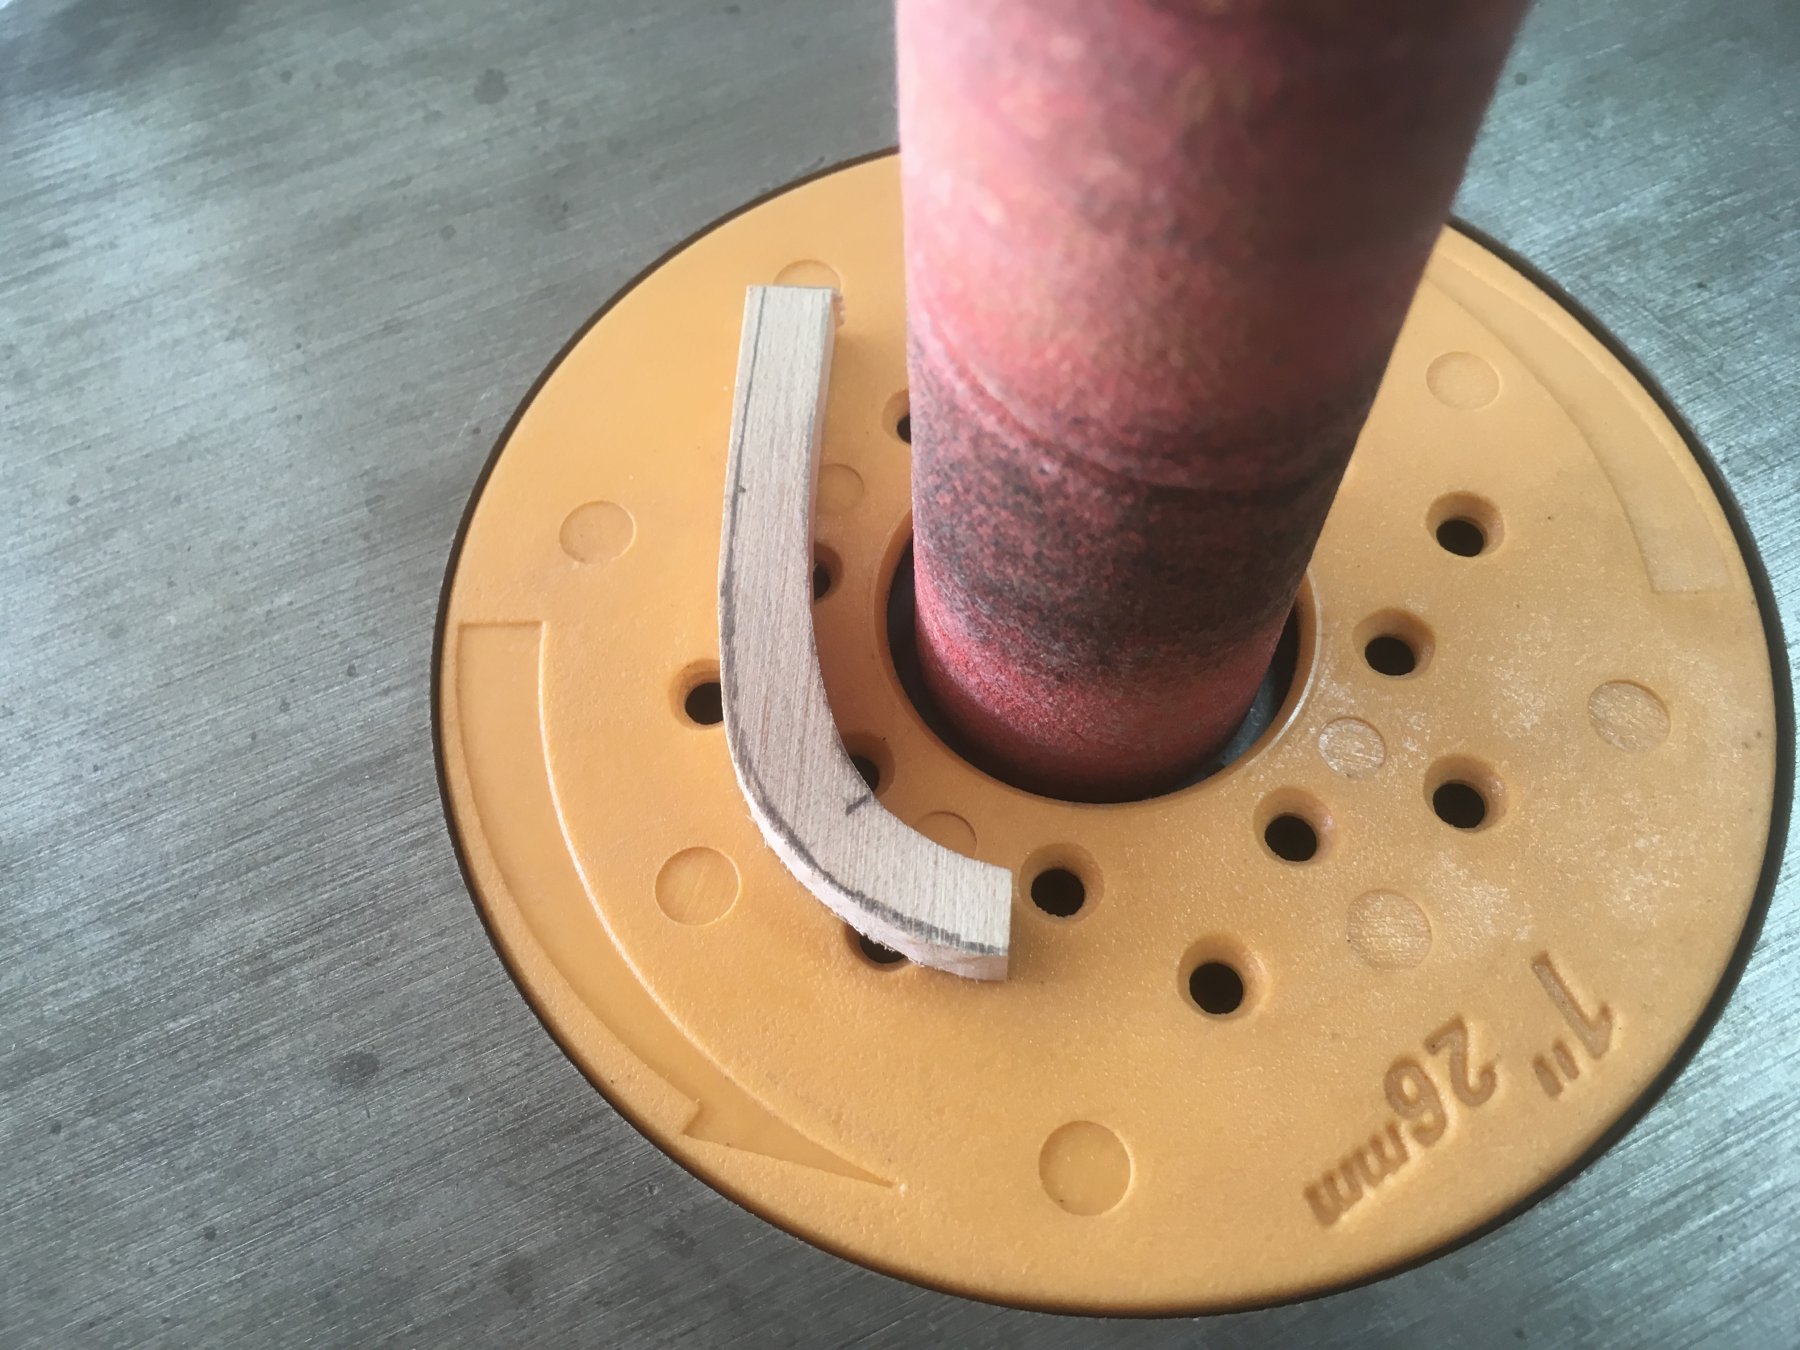
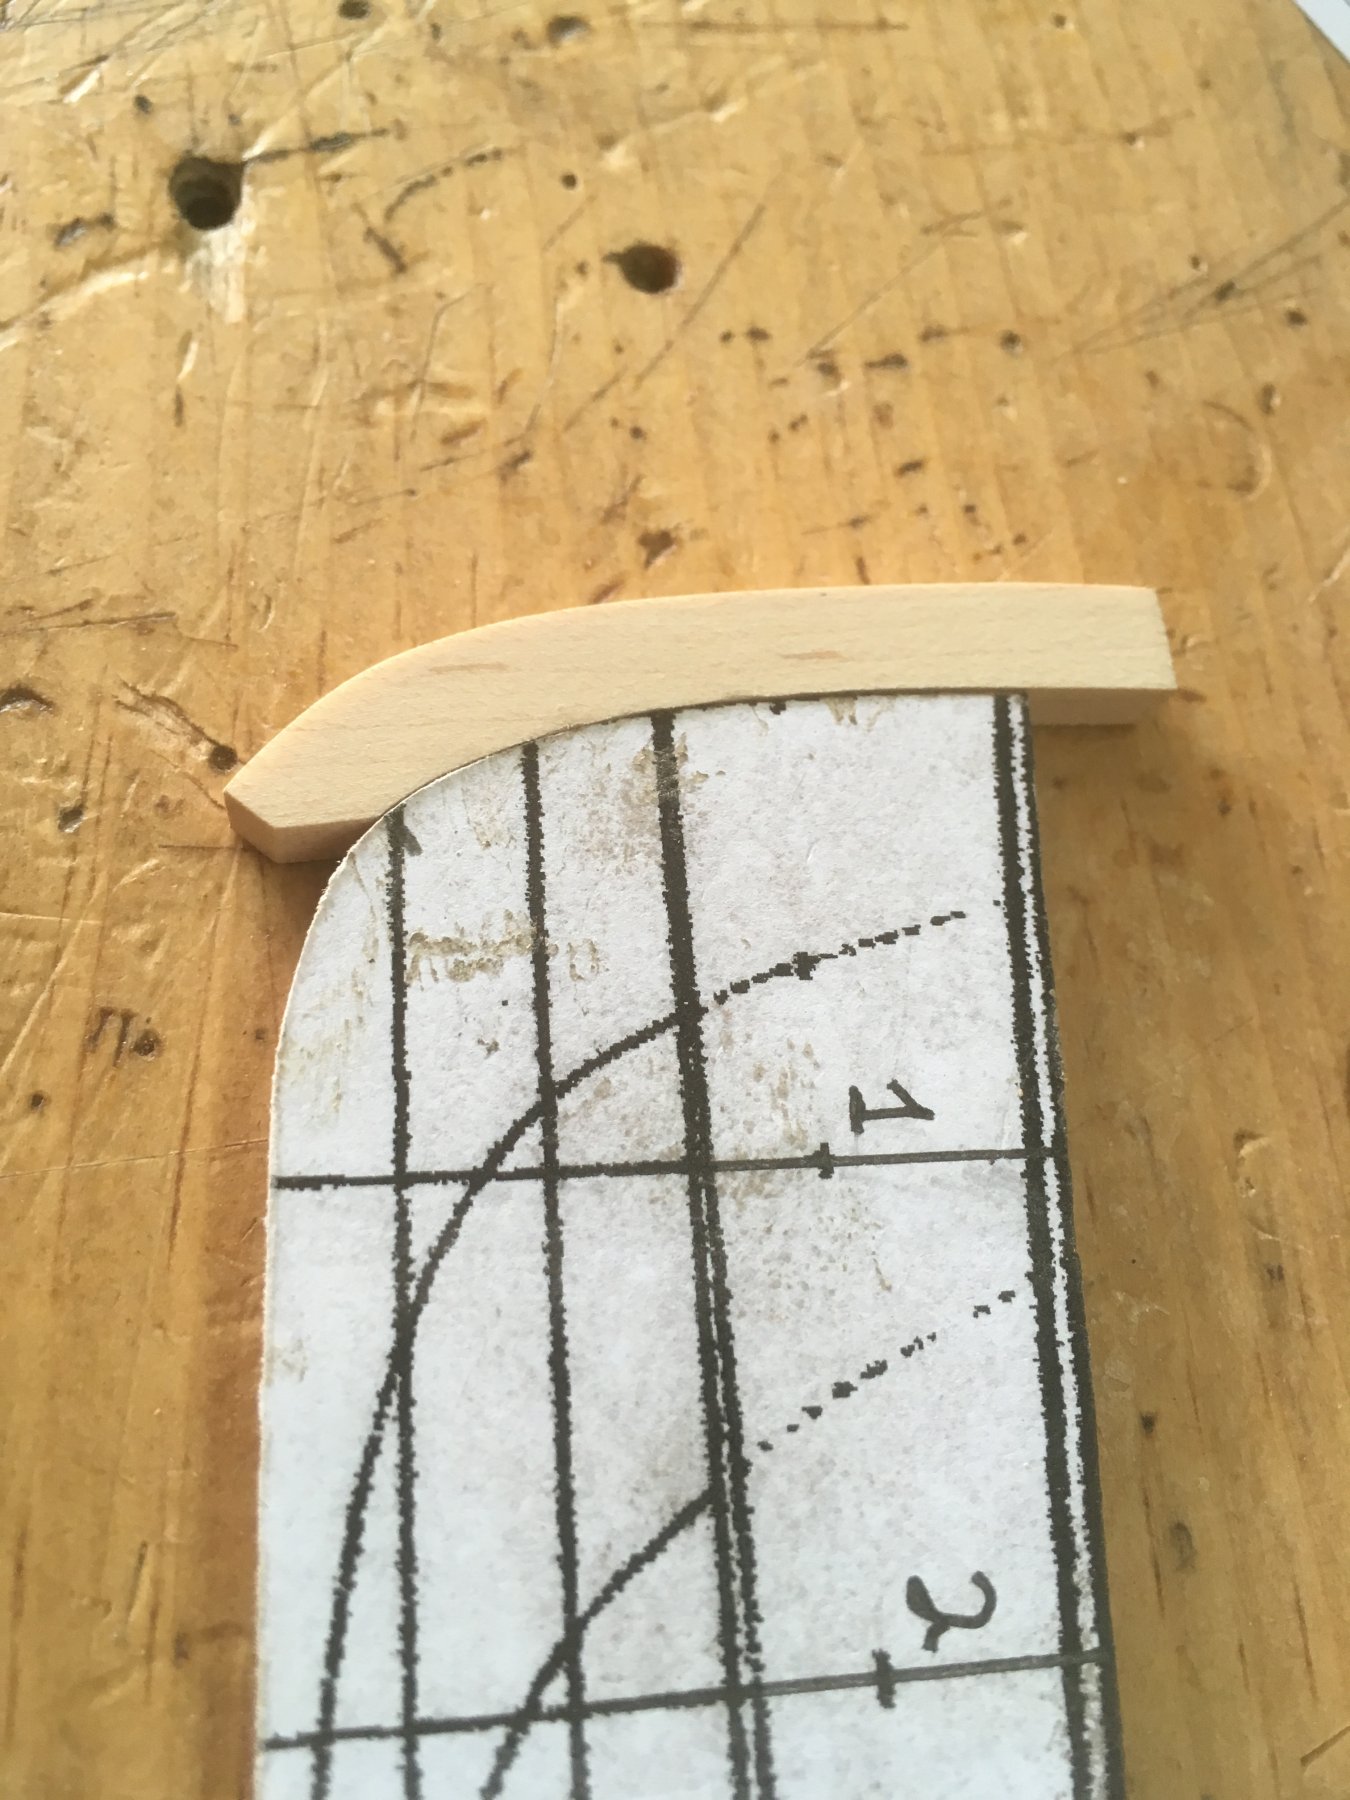
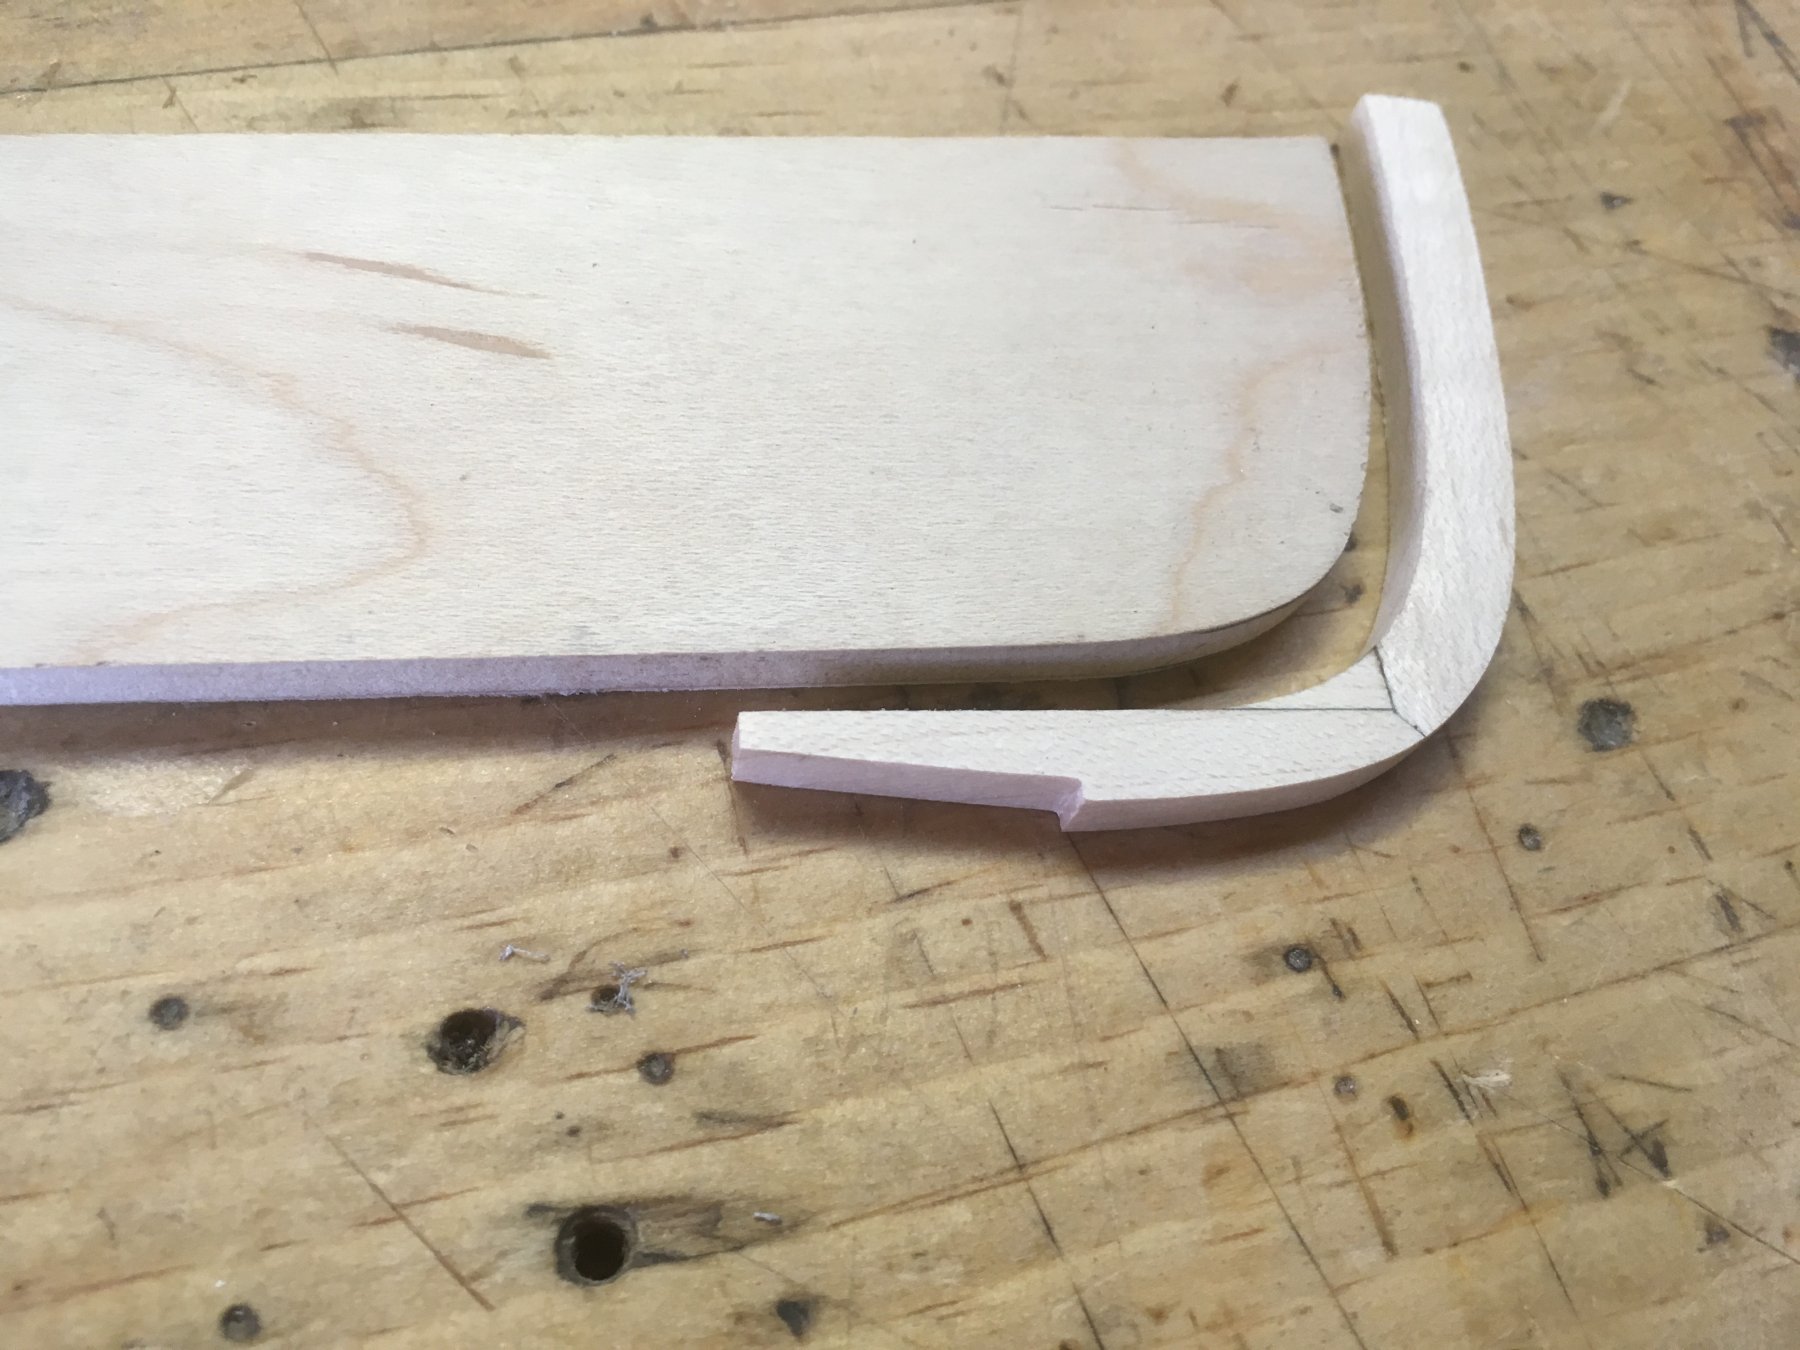
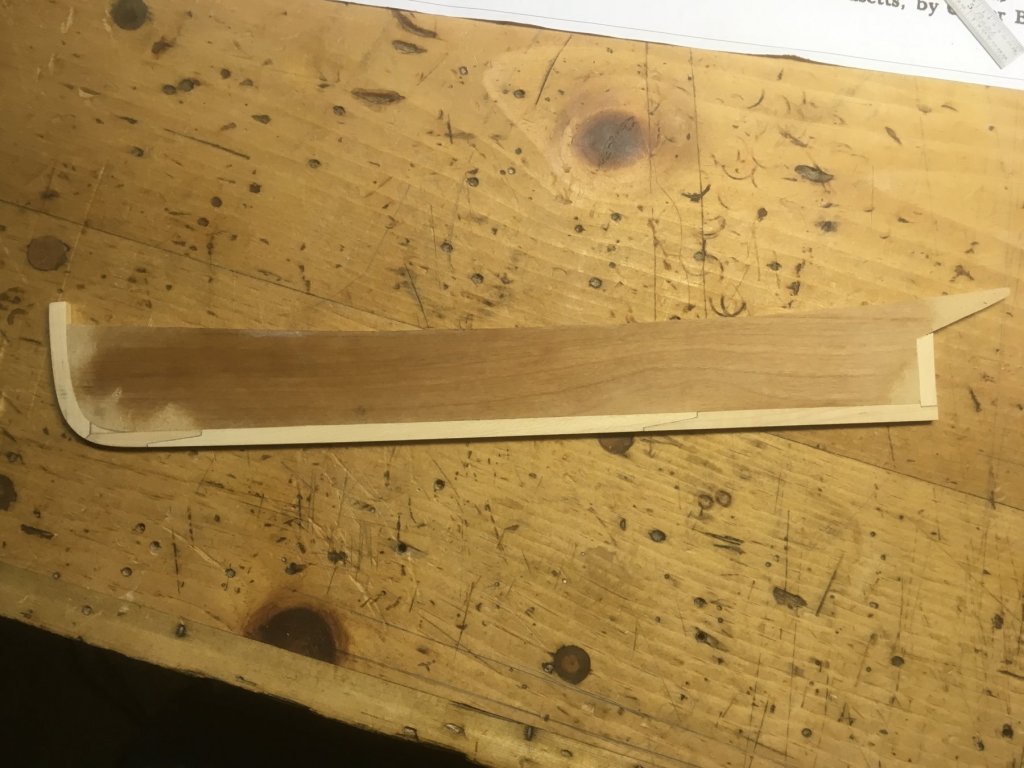
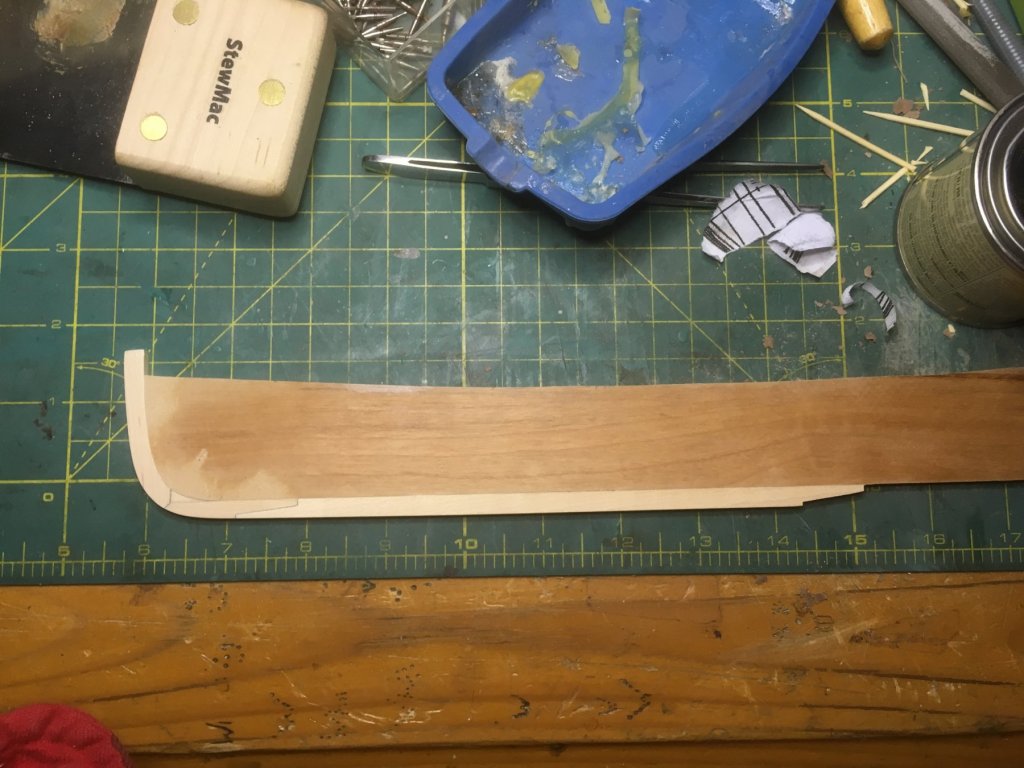
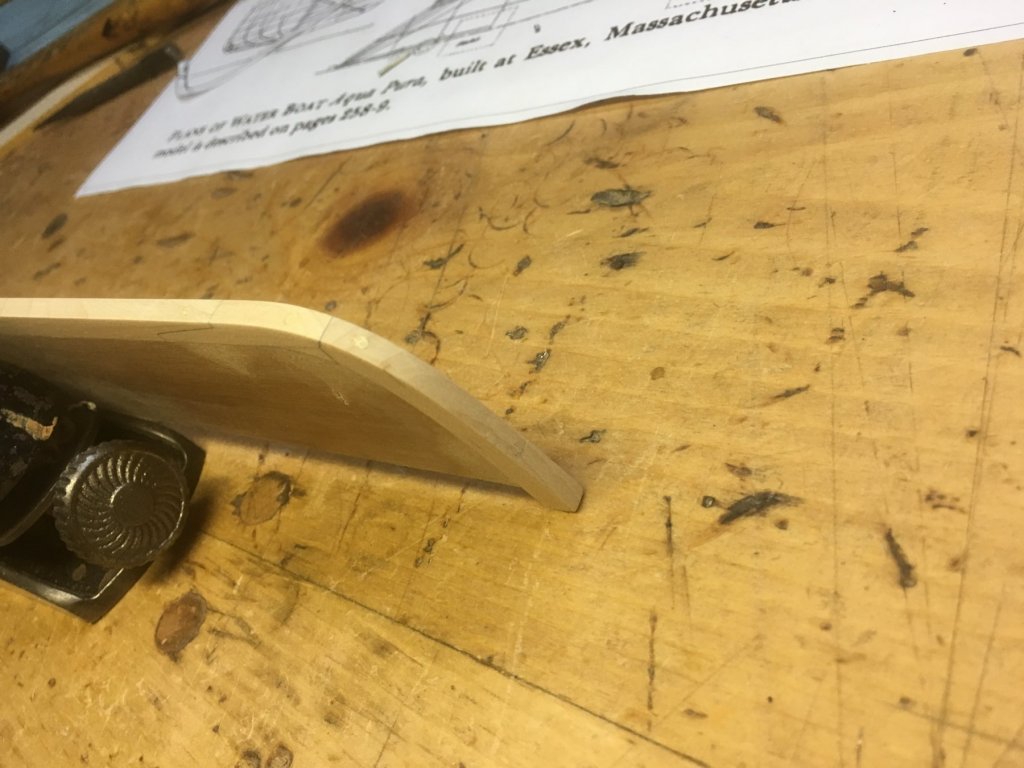
So, here's what I've done so far on the stem. I'm using maple. I spent some time looking at the stem assemblies on the plans of a few classic New England catboats and tried to simulate what would be seen outside of the planking. I penciled inside of the joints before gluing using Titebond red label. I used an oscillating spindle sander to get a nice smooth curve on the inside of the stem. First piece all ready to go. Here are the next two pieces with the pencilled-in seams visible. And here's half of the scarph joint cut to take the next piece of the keel. And the other side. And that's all I've got so far. I'm thinking I'll bevel the front of the stem after it's attached to the false keel. Thanks for looking! Steve


- 60 replies
-
- 10
-
-
Jesse, this build is absolutely breathtaking. Steve
- 1,306 replies
-
- 6
-
-
- syren
- model shipways
- (and 1 more)
-
Thanks Ben, and welcome aboard! I'm building the stem and keel right now out of maple and will hopefully get some pics posted tomorrow or Friday. Steve
-
Congratulations, Sam! And your Enterprise is looking spectacular! Steve
-
It is oxymoronic, isn't it? Like saying that you're building an air-airplane. I started the log yesterday. The waterboats supplied fresh water to the fishing fleet back in the old days. Just a simple harbor craft that looked like a good scratch build for a newbie. Steve
- 258 replies
-
- 3
-
-
- harriet lane
- model shipways
- (and 1 more)
-
Thanks for the suggestion, Mark. That's exactly the kind of input I was hoping to get! Steve
-
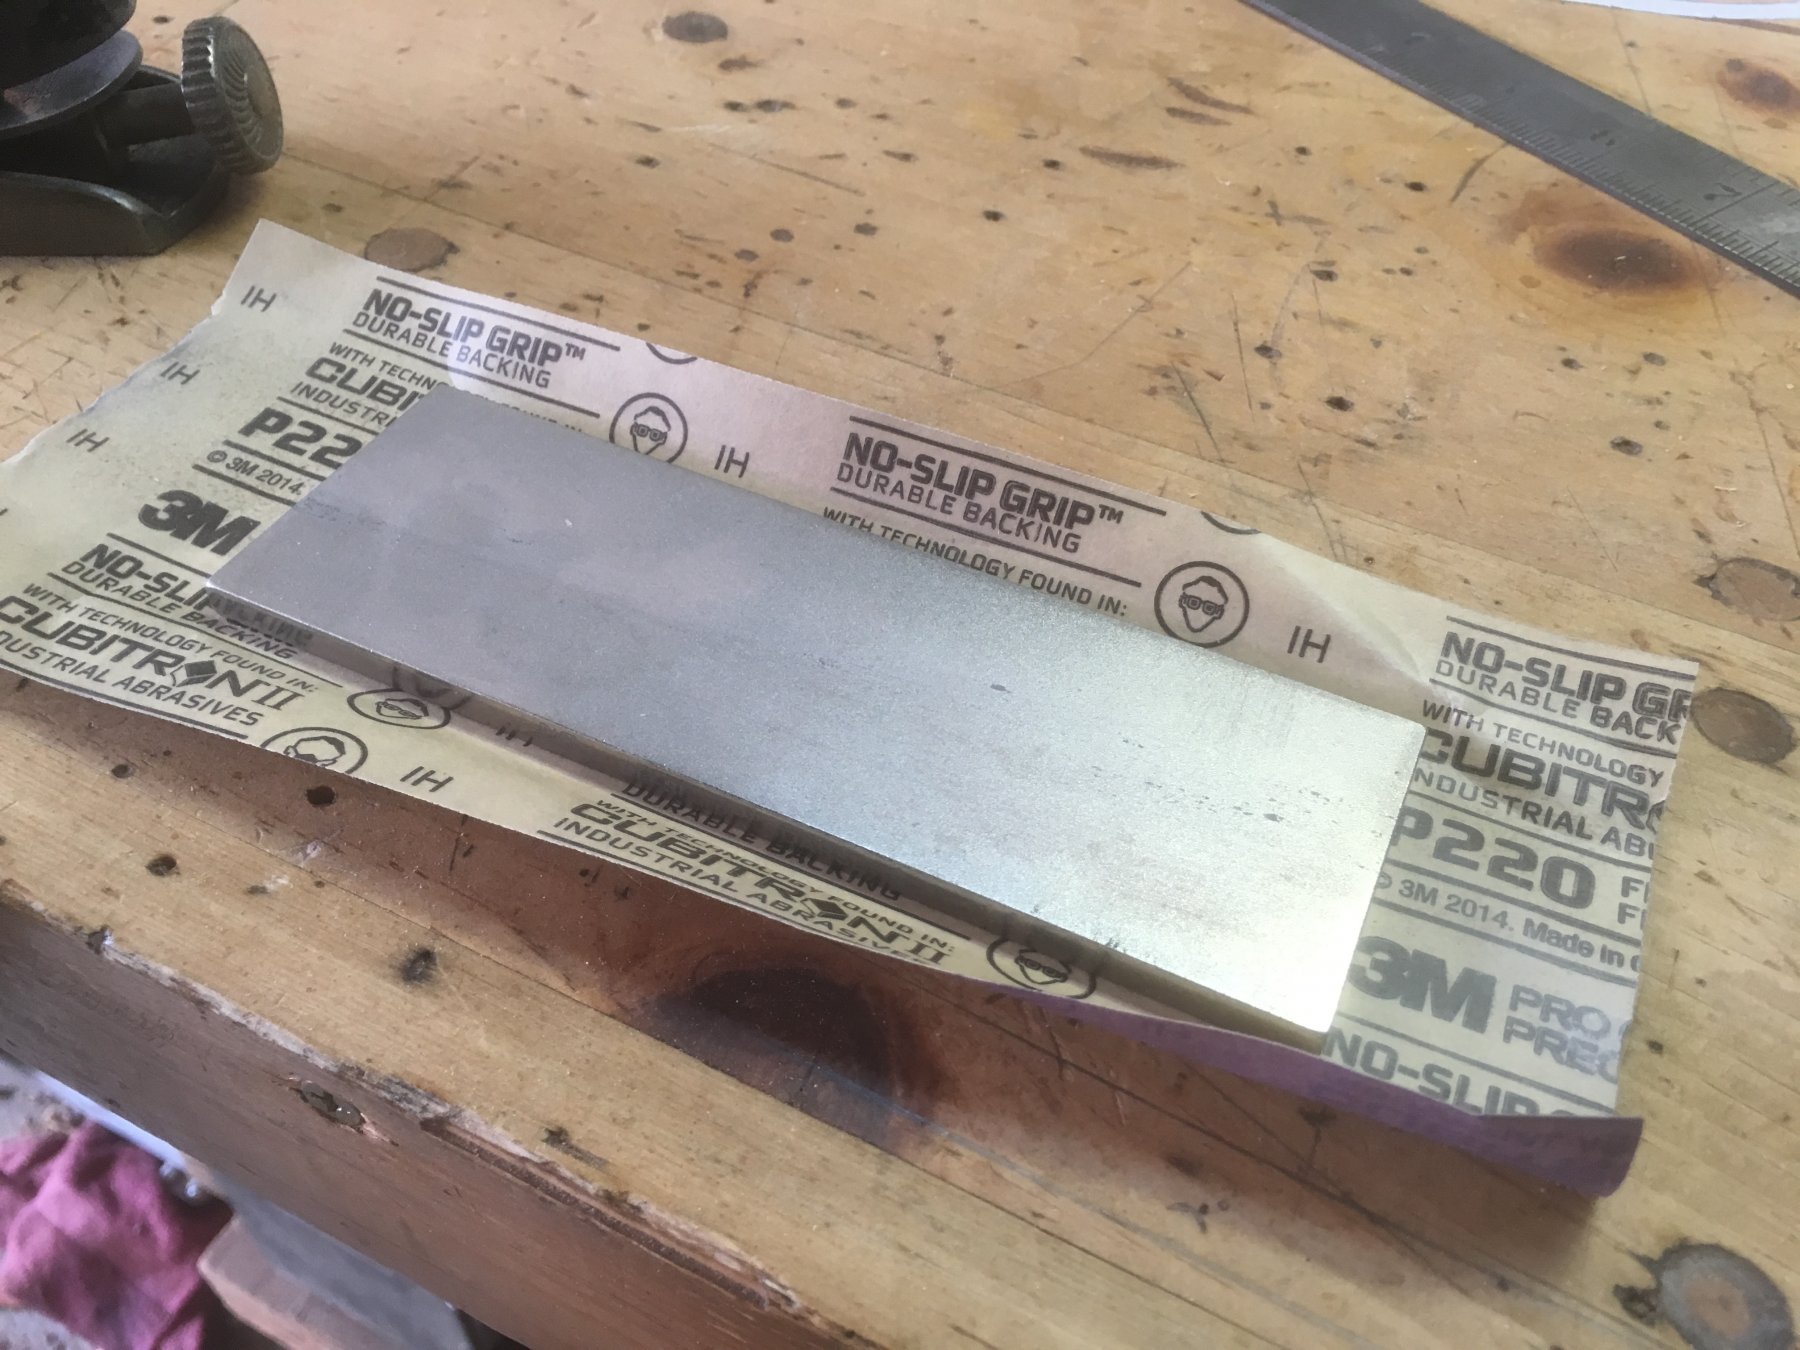
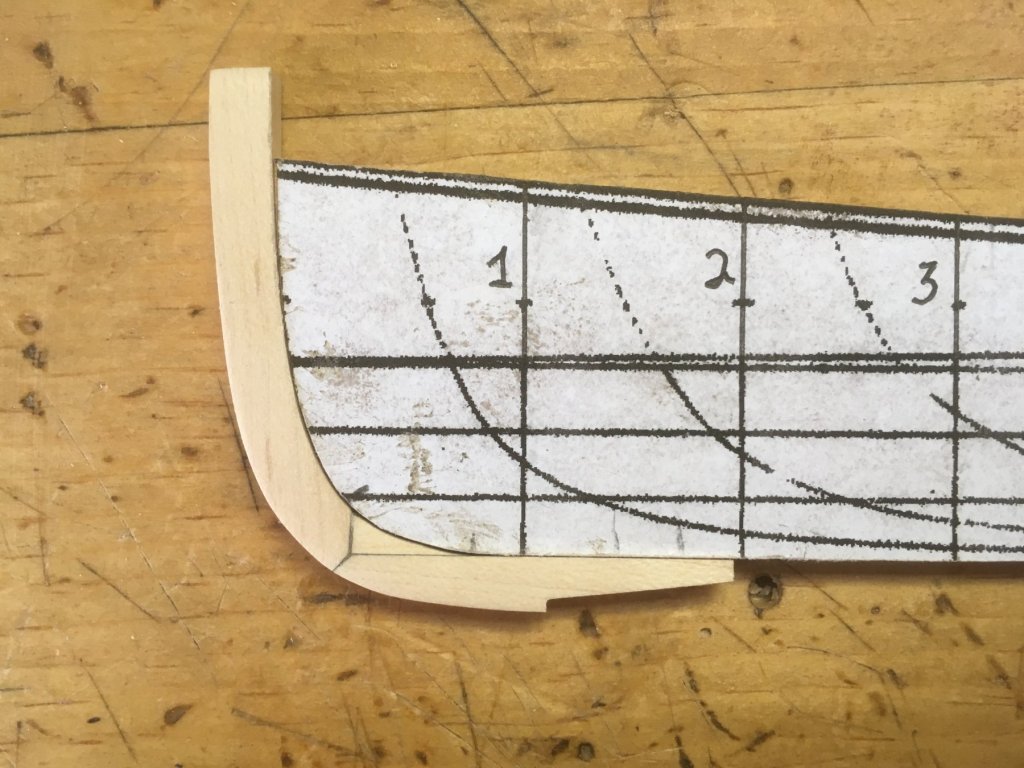
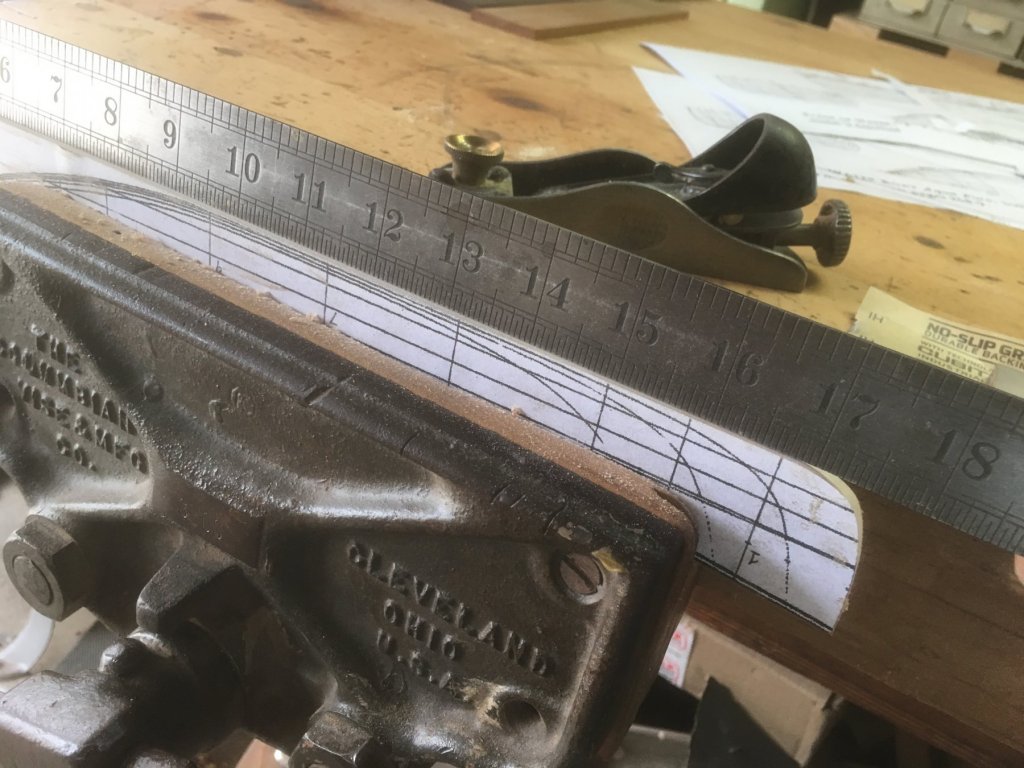
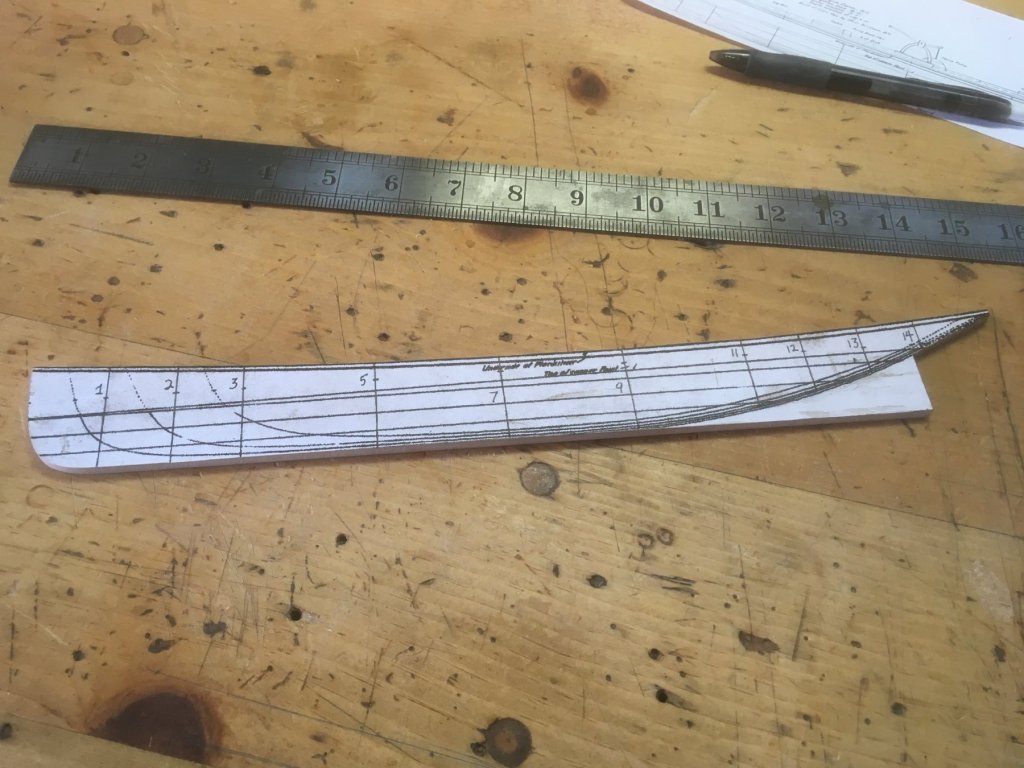
So, I'm planning on building this hull plank-on-bulkhead style with balsa or basswood blocks in between the bulkheads. I've never done this before, but I'm going to feel my way along. I'll be using scraps and cutoffs from my musical instrument building. I decided to enlarge the scale to 1:30, giving me a hull of about 14.75". To form the false keel, I cut out the profile drawing of the hull up to the bottom of the planksheer on the top, and minus the keel, stem, and sternpost. This I glued to some 5/32" plywood. After cutting it out on the scroll saw, I noticed that the bottom edge that will mate with the keel wasn't quite straight. A little touchup with a low-angle block plane got it nice and straight. I used a sharpening block wrapped in sand paper to sand lightly around the perimeter to make sure the edges were square. And here's what I've got so far. It's not much, but it's a start. I think the next step will be to cut out my bulkheads and notch them to fit the false keel. I'm thinking of notching them with a router to get clean cuts. Thanks for looking! Steve

- 60 replies
-
- 11
-
-
Funny, I hadn't thought about the storage issue, having only finished one model...Now that you mention it, it's a compelling reason to build at a small scale. I've got the old Model Shipways kit of the Gjoa at the scale of 5/32" = 1 foot, which seems quite tiny to me. I may give it a go if I work up the courage and maybe get a new pair of glasses. In the meantime I'm trying my hand at what I hope will be a simple scratch build of an 1870s New England waterboat. Steve
- 258 replies
-
- 1
-
-
- harriet lane
- model shipways
- (and 1 more)
-
Wow, J, old Harriet is really looking fine! What do you think about working at this small scale? Is it something you'd do again? I'm not sure my eyes work well enough to get the detail you're getting on this build. Steve
- 258 replies
-
- 3
-
-
- harriet lane
- model shipways
- (and 1 more)
-
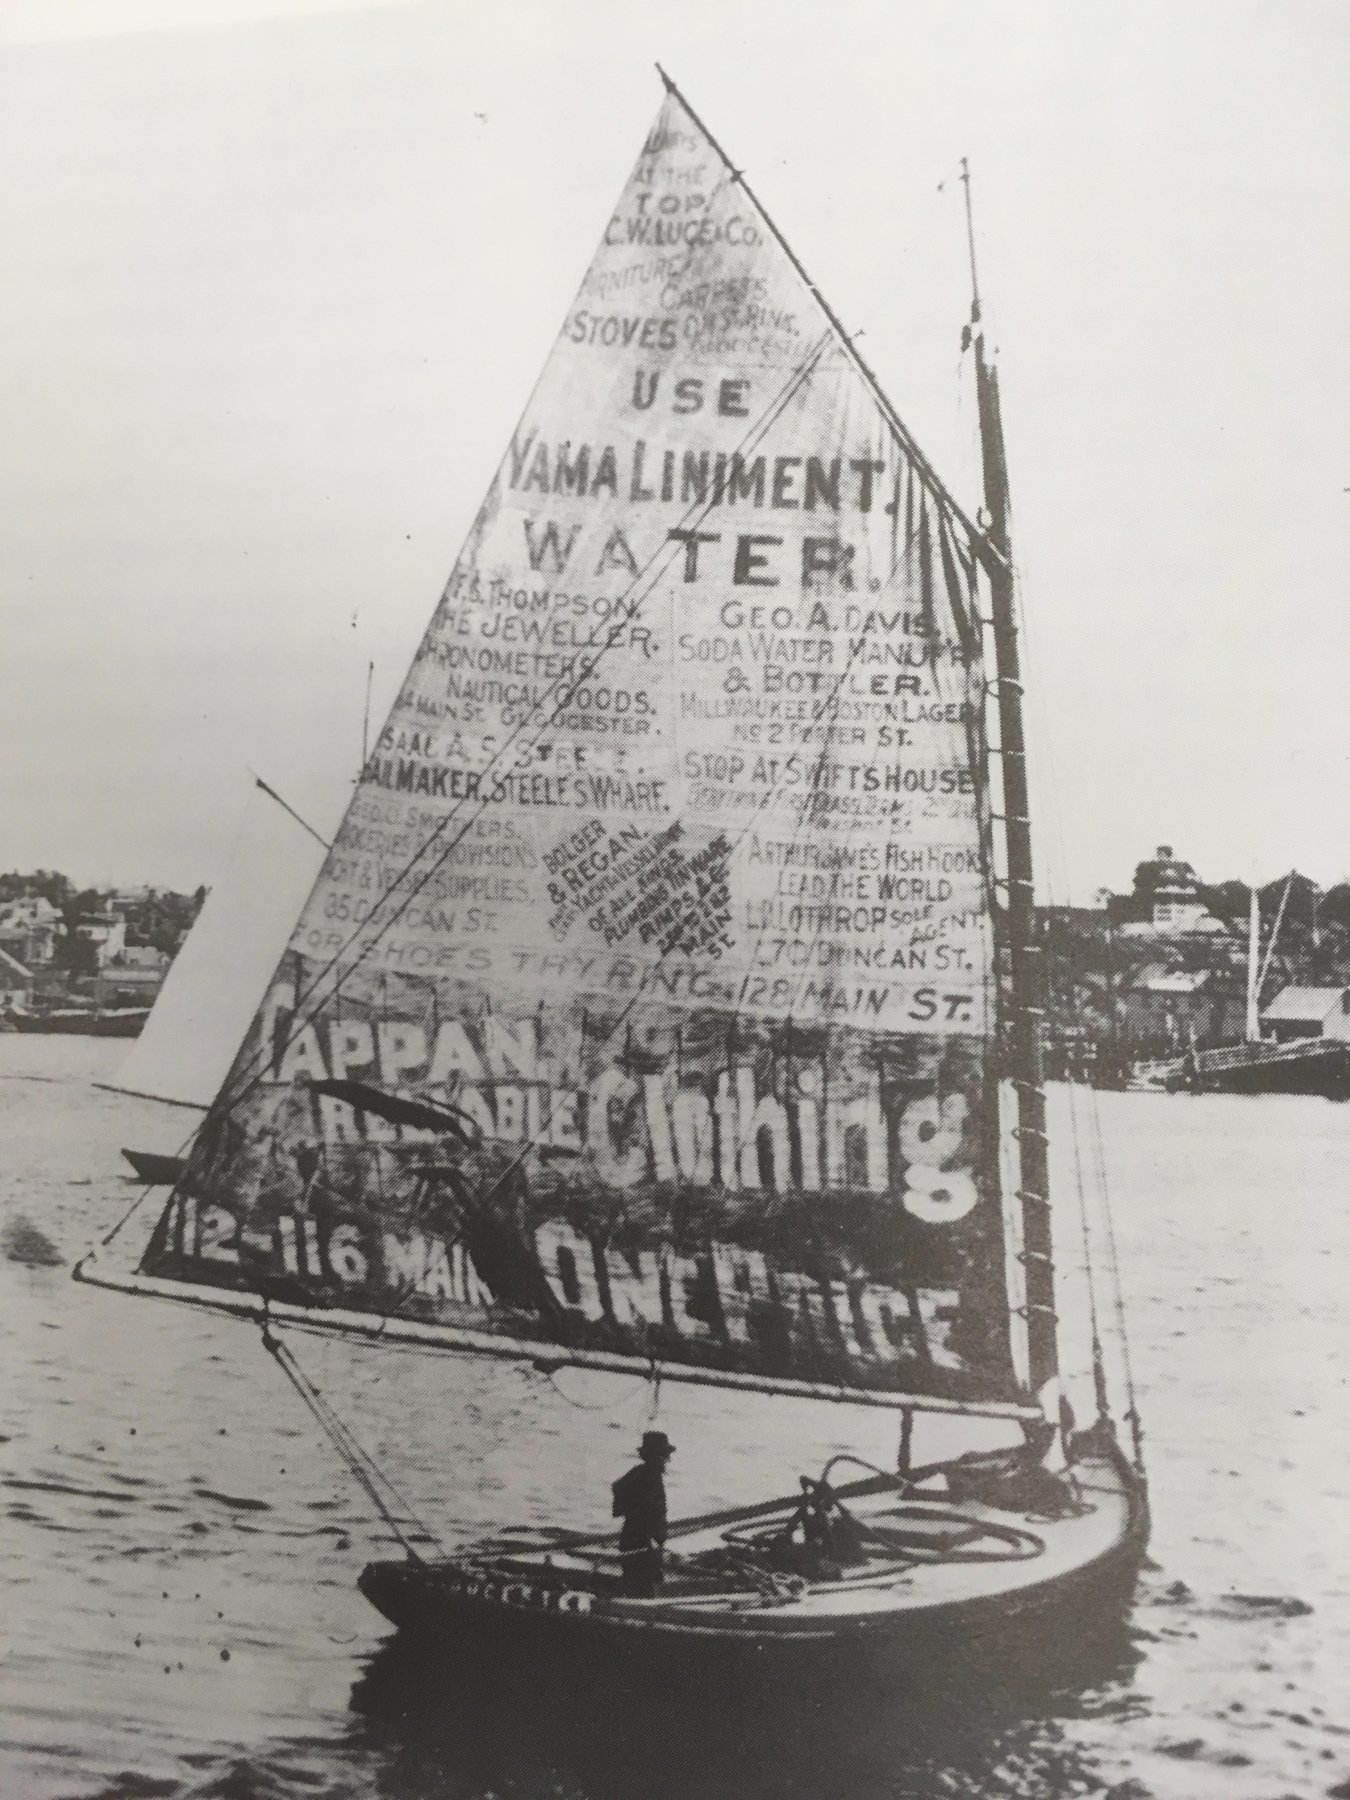
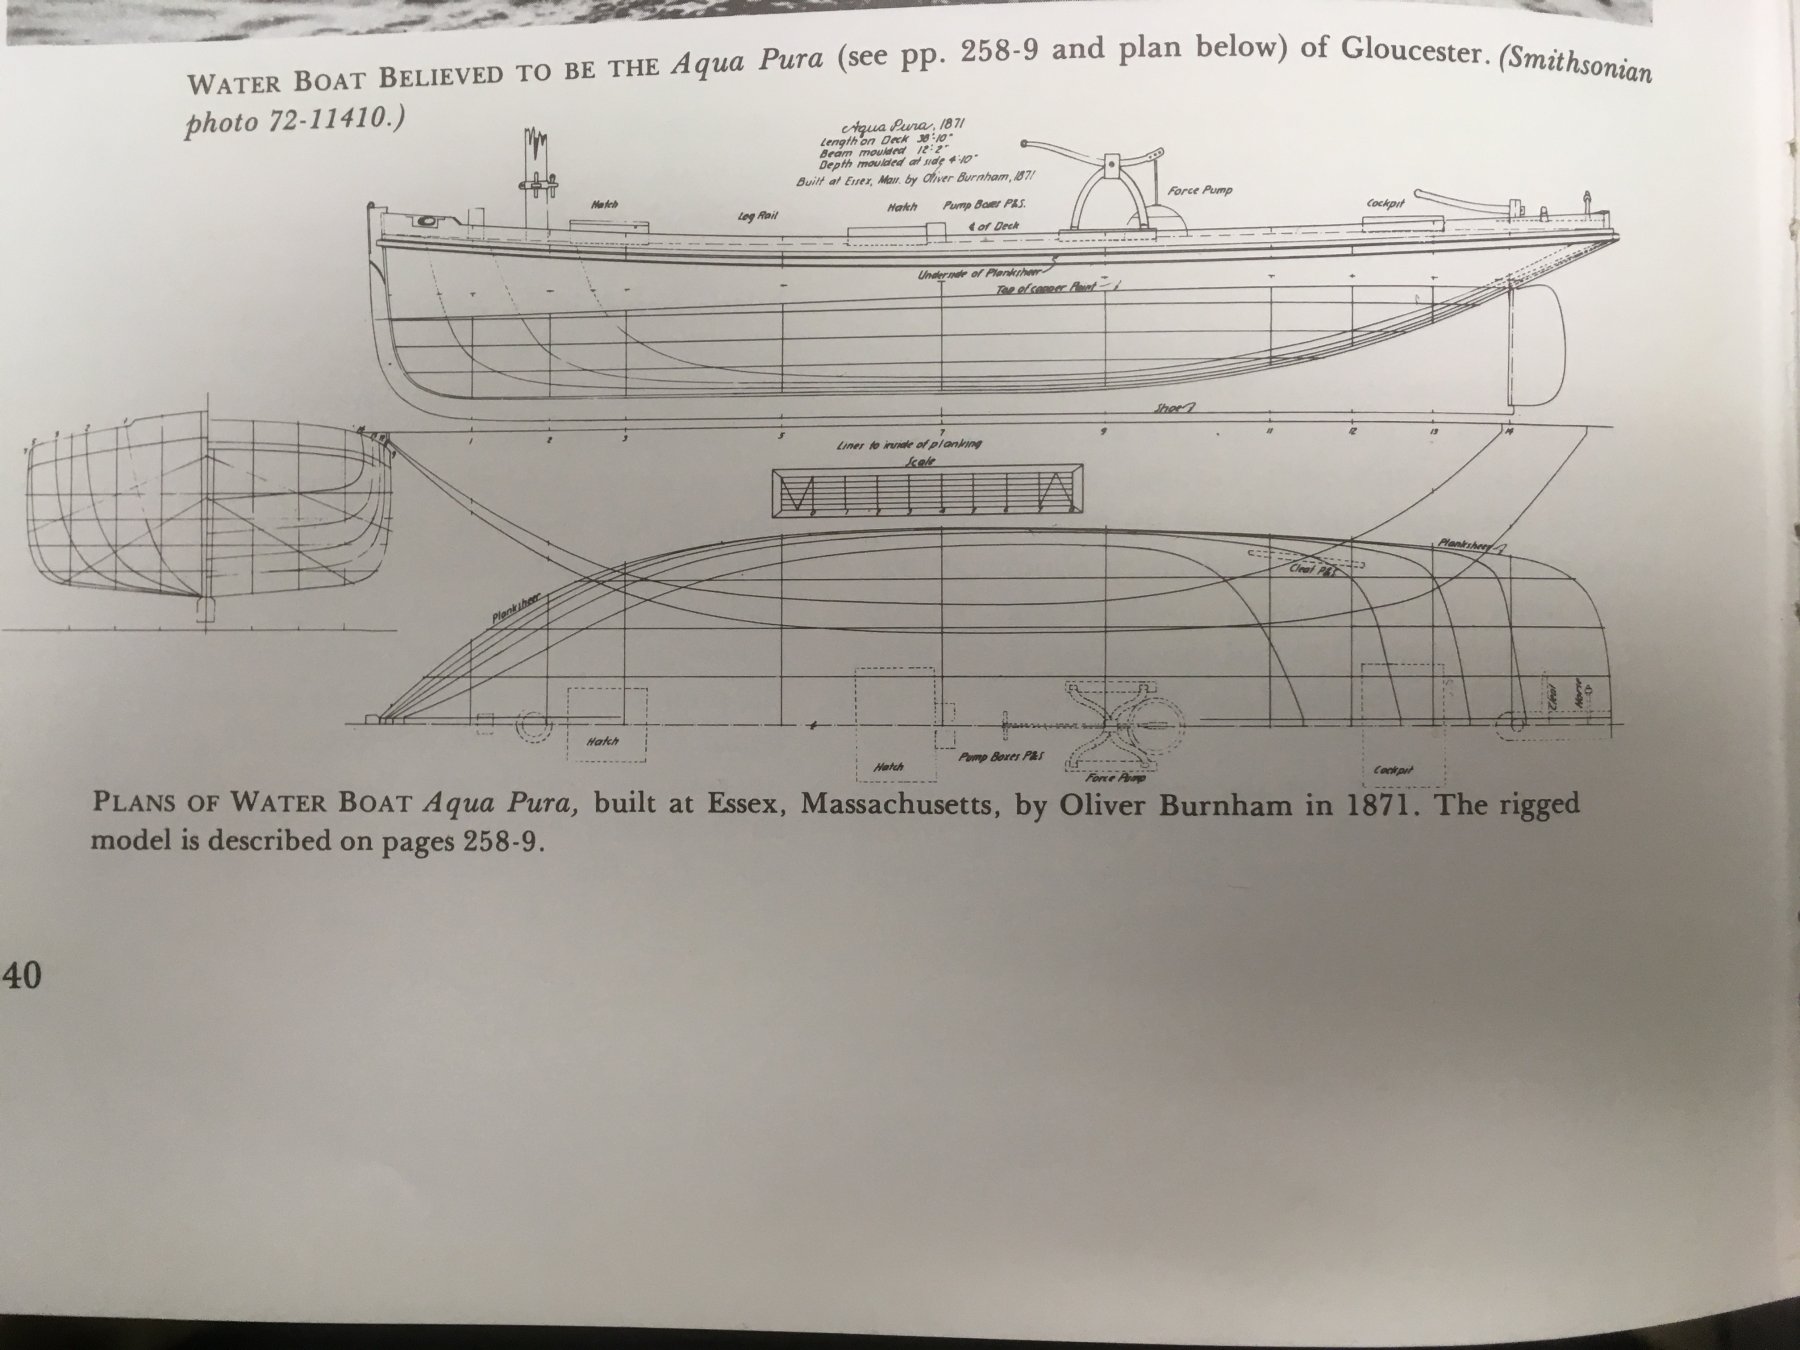
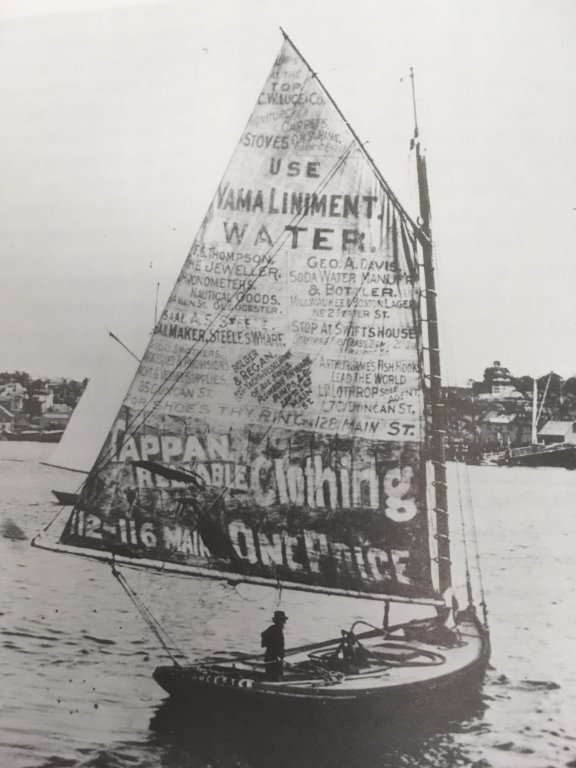
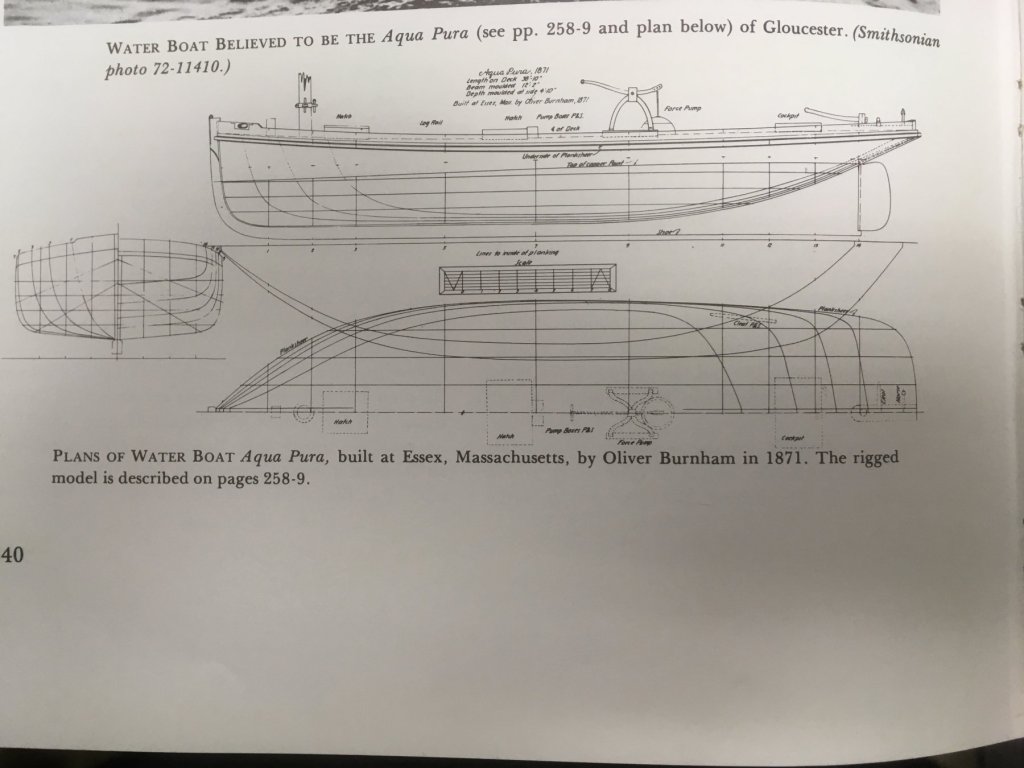
I found an old copy of Howard Chapelle's The National Watercraft Collection on the $2.00 rack at the local used bookstore. In it I saw the following photo of a catboat in Gloucester harbor. Needless to say, the sail caught my attention. This photo is most likely of Aqua Pura, a waterboat that supplied the Gloucester fishing fleet with fresh water. These boats were commonly catboat-rigged and could carry about 150 barrels of water in a wooden tank located under the deck amidships. The water was discharged into fishing schooners' water barrels via a hand-operated pump and a long hose, both of which are visible in the photo. In 1850, one waterboat operator in Gloucester sold $7,700 worth of water to the fleet at ten cents a barrel. Aqua Pura measured 36' in length and 11.4' in beam. She was crewed by a single owner/operator who painted advertisements for local merchants on his sail. Some of the waterboats carried a limited number of 50 - 100 lb cakes of ice covered in sawdust as well. Chapelle gives the hull lines and deck arrangement here: I just finished building Corel's kit of the Shenandoah, and this will be my first scratch build. The reason I want to build this craft is a bit nostalgic. My dad was a watchmaker who had a family-run jewelers in Southern California. I grew up in the shop. My dad and grandpa and brother all repaired watches, while I repaired clocks and did engraving and simple jewelry repairs. If you look at the sail in the photograph, you'll see an advertisement for a jewelers. I lost my dad last January and miss him pretty badly. I'd like to build this boat and put him and his shop up there on the sail. I may make some other changes to the text as well. That's why I'm calling this build a fictitious waterboat. I'd also just plain like to try my hand at scratch building. I've been watching other people's work and it looks like fun. I guess we'll see. I have very little idea of how to go about this, other than that I'll be attempting a plank-on-bulkhead version of the hull. I'm sure I'll be asking lots of questions. Thanks for reading! Steve
- 60 replies
-
- 16
-