HOLIDAY DONATION DRIVE - SUPPORT MSW - DO YOUR PART TO KEEP THIS GREAT FORUM GOING! (Only 24 donations so far out of 49,000 members - C'mon guys!)
×


overdale
-
Posts
354 -
Joined
-
Last visited
Content Type
Profiles
Forums
Gallery
Events
Everything posted by overdale
-
 I would imagine the 3d printers coming online now should make it far easier to produce high quality prototypes of elaborate carvings. I agree resin is certainly the best option for detailed castings. This is an interesting thread on the subject. http://modelshipworld.com/index.php?/topic/1990-stern-gallery-of-santissima-trinidad/?hl=printing
 -
Nice to hear you are considering Restoration period ships Chris. They are so elegant, but appear to be very under represented in terms of kits.. Is there a marketing reason for that?
-
Does it have to be 18th century..? There are some truly beautiful mid to late17th century small warships and that period seems to be seriously neglected by manufacturers.
-
Lovely work Michael.. a pleasure to watch. Dan.
-
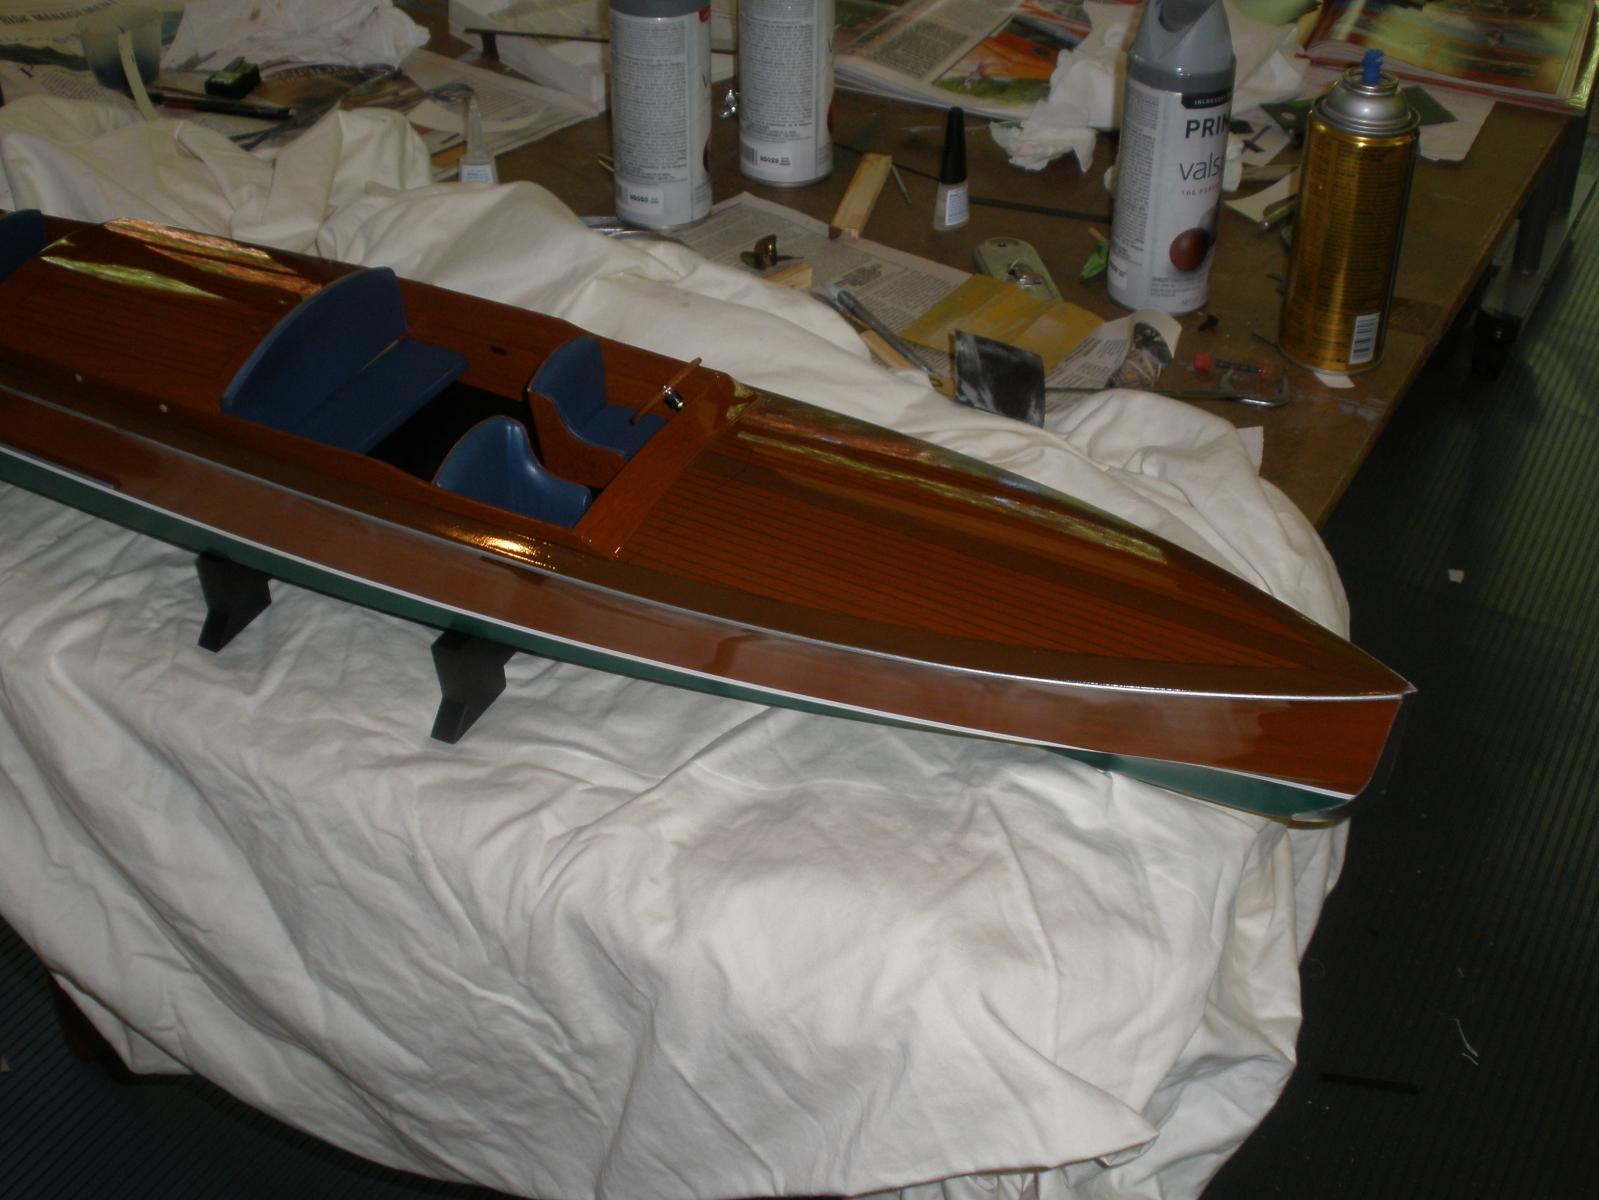
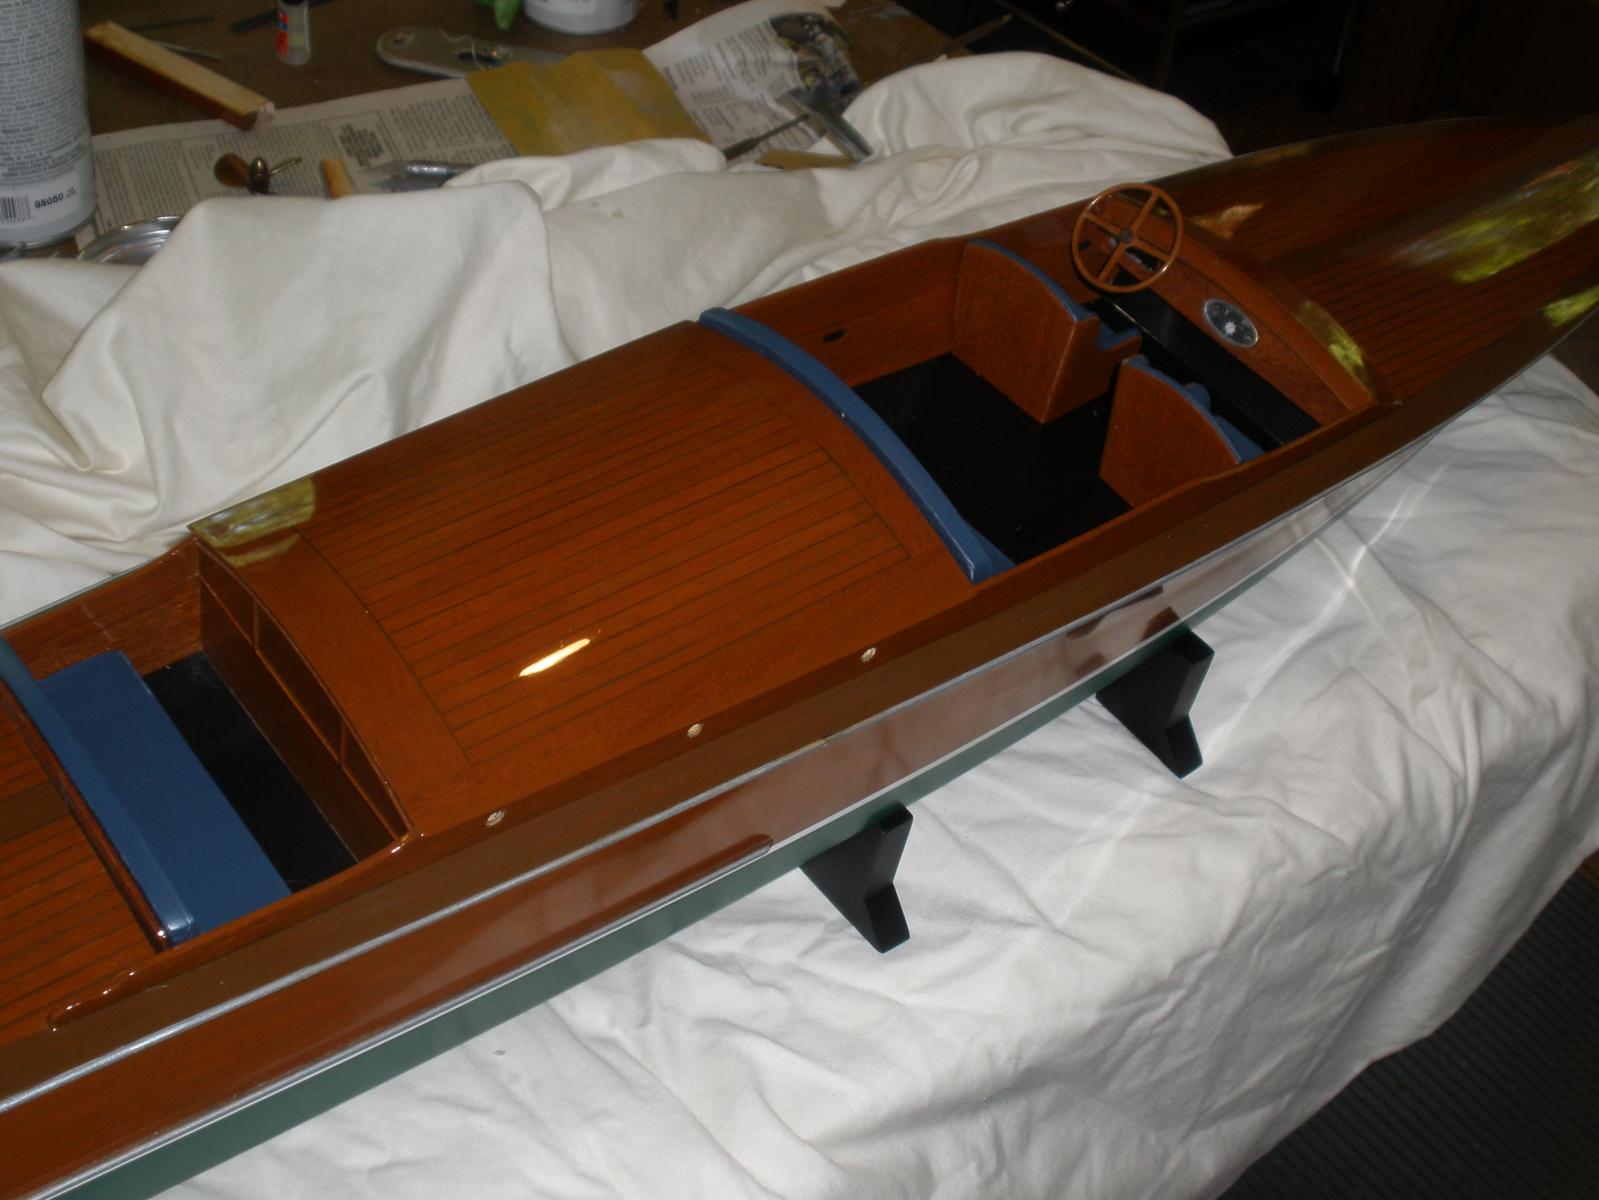
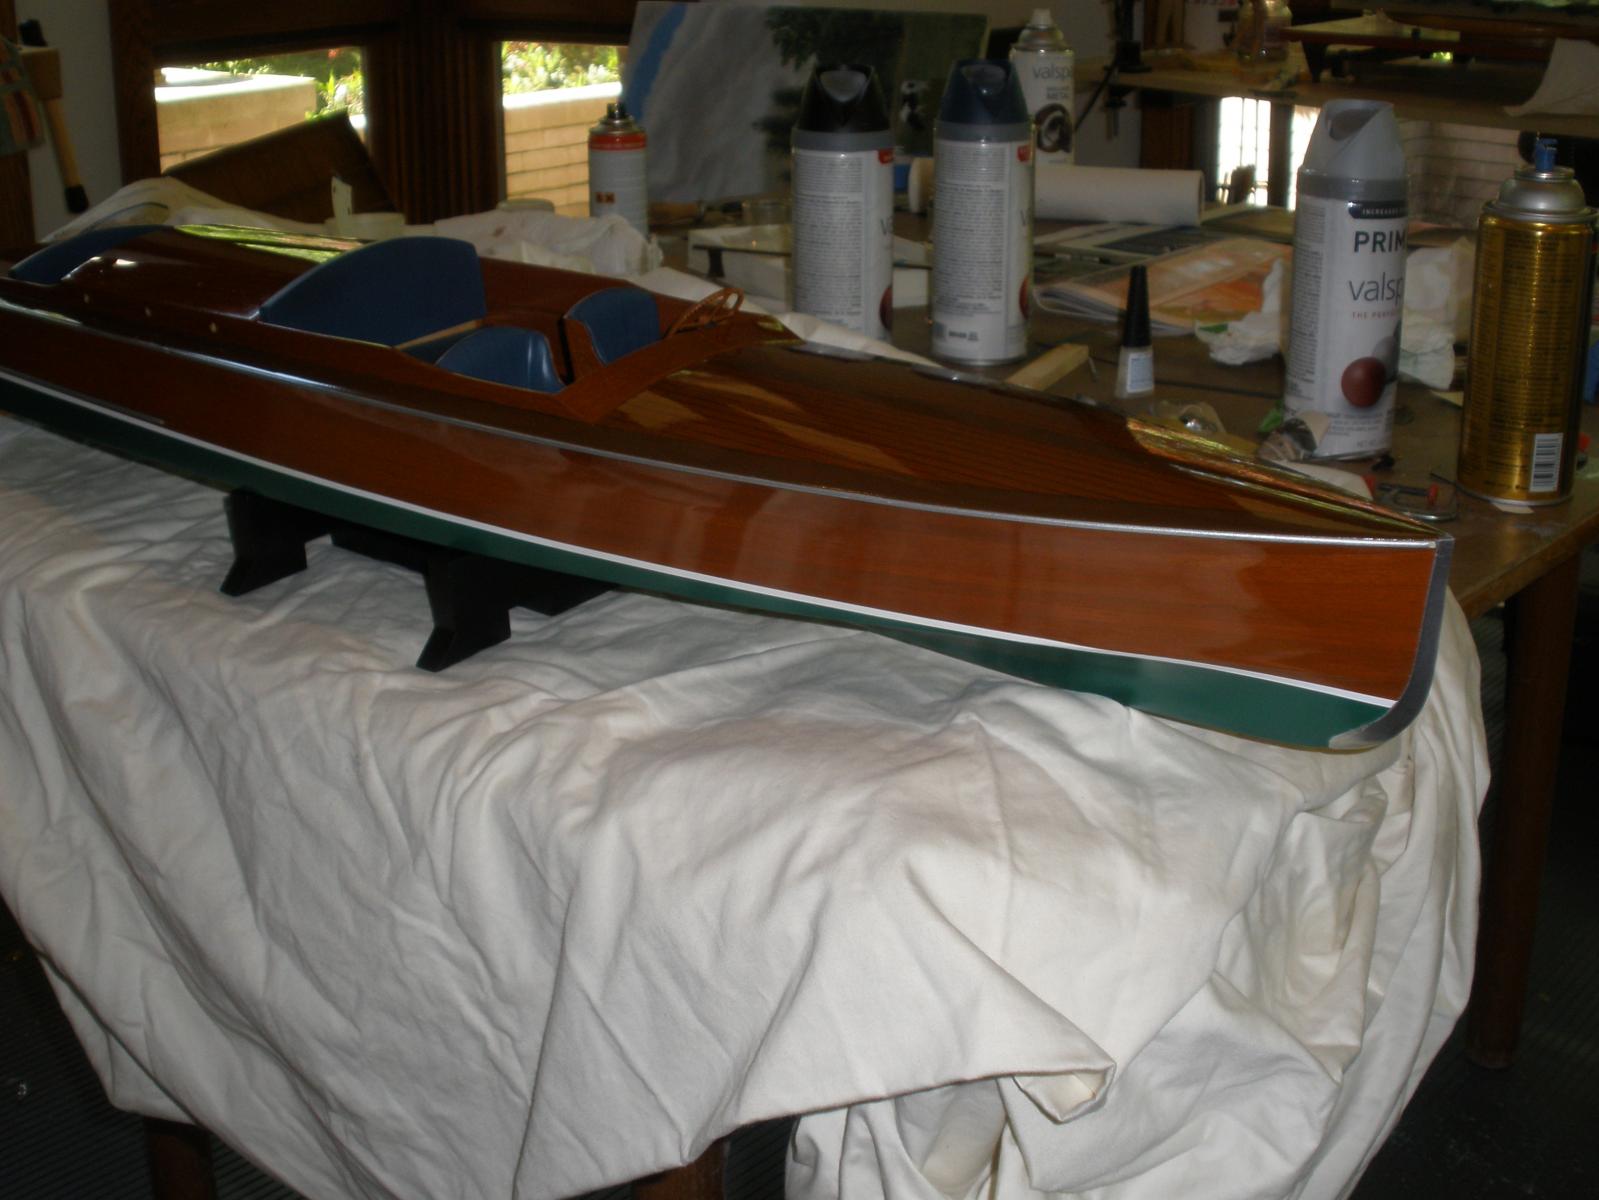
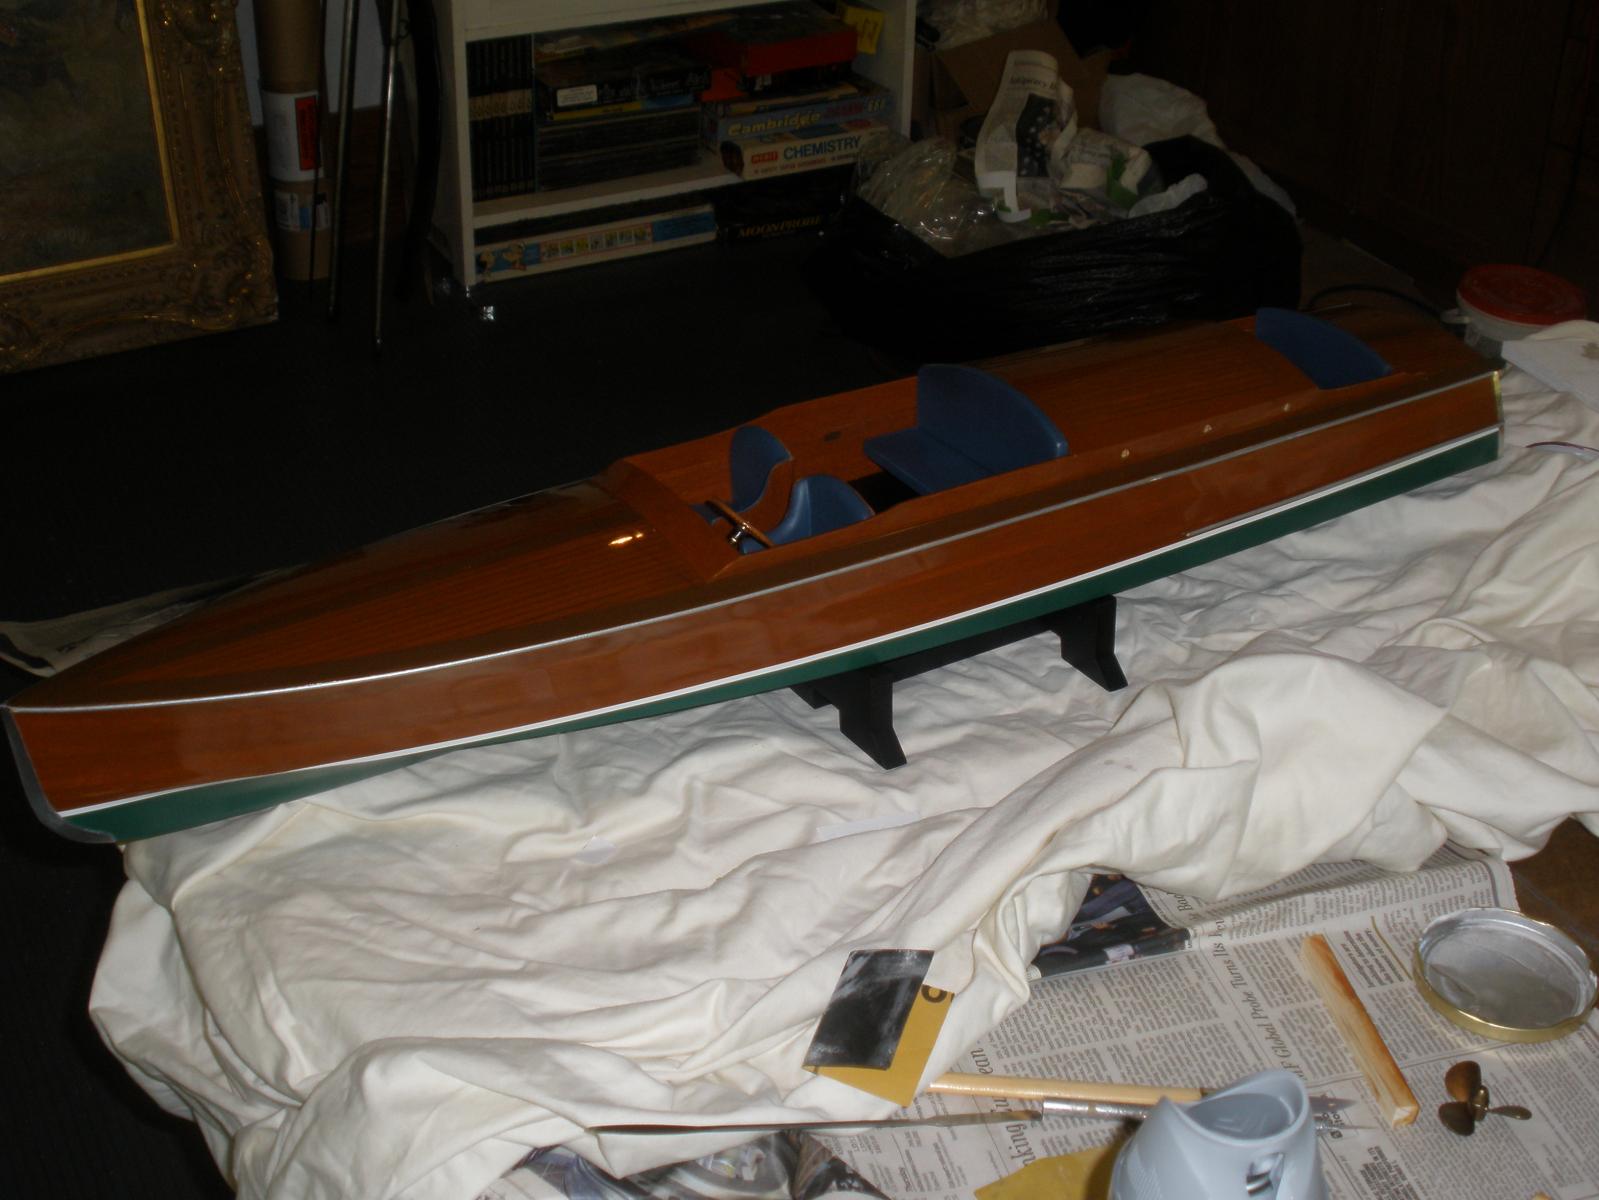
Hi Michael, no, sadly it's just for looking at. The client has the real thing.! I would love to see it perform though. I am currently fitting all the chrome trim, windscreen propeller and rudder etc. and then it goes into the case. The only thing holding me up is the name. He hasn't come up with one yet so I can't get my decal guy to print something.. Then it's off to Connecticut to deliver it and see what he has in store for me next! Dan.
-
Jay, a set of seriously good blocks for a large ship would take quite a chunk out of $60.00. The blocks the tumbler would produce would not be top quality but a whole lot better than the standard issue square variety. Using the the appropriate grit, it's also possible to polish metal parts and 'age' wood with the tumbler too. So I don't think $60 is too much of a gamble.! Dan.
-
Nicely done Bob, the boat is offset just the right amount and the water works very well indeed. I hope you aren't going to stop there now you have the hang of it..! Looking forward to the next one. Dan.
-
Looks like it's mains powered Brian, I can't see a space for batteries.. Dan.
-
I'm glad you said that.. I'll look into Shapeways.. I think a 3d scanner would be more useful to me anyway.. Are there any decent (and inexpensive) ones on the market yet?
-
I agree with you. I am thinking of investing in a printer myself as it would make my work a lot easier for me but I'm not sure my computing skills are up to it.!
-
Interesting concept. You could always plank over some of the larger areas with strips of wood veneer to make the entire thing REALLY more wood like.
-
Coppering wear
overdale replied to drtrap's topic in Building, Framing, Planking and plating a ships hull and deck
I love the verdigris color too. My argument to those that say it should be brown because copper only turns green when it's exposed to air is that it's on a stand and no where near any water so of course it's going to turn green! -
Jared, If I might make a suggestion.? You could get the windows and doors printed on acetate. The type used for overhead projectors. You can get it done at Staples etc. The 'glass' effect is very good if you surround them with a wooden frame and much neater than trying to make the mullions from wood at that scale. Dan.
-
Yes, that's the guy I was talking about.
-
Be careful, there is one russian outfit on ebay that is selling Chinese made pirated kits from other mainstream manufacturers. Presumably as a front.
-
Coppering wear
overdale replied to drtrap's topic in Building, Framing, Planking and plating a ships hull and deck
It looks to me like the copper wasn't de-greased well enough before you started polishing. Some of those marks look very much like fingerprints. Skin oils are notorious for staining highly polished metal. I'm not sure I can recommend a perfect solution, but I would remove the layers of polish. I would clean with something like acetone to try remove the grease. Be very careful you don't use too much as it will loosen the adhesive of the copper tiles. Sorry I can't be more help, don't rush into anything, wait a day or two and perhaps there will be others here with a better suggestion.. Dan. -
decals question
overdale replied to PopJack's topic in Painting, finishing and weathering products and techniques
Wefalk has it right. I would just add that I tend to give the whole area a coat of gloss paint before I add the decals. if you just put gloss where the decals are, it can sometimes darken the area behind the decals and make it look worse. Spray a light coat of gloss then apply decals with a decal 'setting solution' When dry, spray over with matt or satin or whatever you want your finish to be. The decals should blend pretty much completely. -
Mighty Mite Mini Table Saw Good or Bad?
overdale replied to DSiemens's topic in Modeling tools and Workshop Equipment
Daniel, I agree with the others, I have heard the mighty mite is very underpowered and quite crude. The Dremel table saw is not a bad alternative to the higher priced, but superlative Byrnes saw. They are no longer made but they are regularly on Ebay. If you can, get one with the custom fence. I have one for emergencies and it works very well. Dan. -
Many happy returns for tomorrow Michael, and smooth sailing for your retirement..
-
A multi decked warship is a lot of work. I would suggest something like HMS Fly for your next project. A huge hull that takes ages with lots of repetitive work before any progress is seen can be very intimidating and disheartening. If you can manage HMS Fly, then you will cerainly be prepared for something bigger.
-
Thanks for that picture. I have been trying to explain how lumber is quarter sawn to a budding young woodworker and that will save me the trouble.
-
A drill press is useful. Adding a cross slide vice and some cutters will allow you to some easy milling and repeat/complex hole drilling and they aren't too expensive.
-
What finish are you using.
overdale replied to Snowmans's topic in Painting, finishing and weathering products and techniques
I always use a solvent based finish. Water based may be better for the environment but their results are too unpredictable on 1000 hours plus of work to risk it. (One large model covered in a ghostly white film was more than enough for me) I have found a satin finish most useful. if you stand the aerosol can in some hot (not boiling) water for a minute or two before spraying. This increases the pressure (be careful!) in the tin. The increase in temperature makes the solvent thinner, so when the varnish is sprayed, the solvent evaporates much more quickly and the varnish goes on much smoother, more even and not as 'satiny' It works well for spray paints too, giving a much finer finish, but do be careful if you try it.! If you use an airbrush to spray oil based paint, try mixing in some cellulose thinners with the paint. It has the same effect as the heated aerosol. The thinner evaporates much more quickly than the oil base, especially mixed with matt paints, the finish is flawless. -
Thanks Tom and Eric, I wonder what a combination of tumbling grit and sandpaper would do?