HOLIDAY DONATION DRIVE - SUPPORT MSW - DO YOUR PART TO KEEP THIS GREAT FORUM GOING! (Only 24 donations so far out of 49,000 members - C'mon guys!)
×


pete48
-
Posts
2,132 -
Joined
-
Last visited
Content Type
Profiles
Forums
Gallery
Events
Everything posted by pete48
-
 Hi Sailor1234567890, All my Prior lofting has been done on full scale, I can relate my first full size was a simple Windtward Sabot (like a Pram) this had to be over 25 years ago, I set up the building jig and started putting the plywood on and relized I had made a mistake when nothing lined up . I had to redo the entire building jig Big lesson learned . The boat ended up turning out beautiful Best Regards, Pete
 -
Thank you ZyXuz, I greatly appreciate it , It has been alot of fun building these Boats Best Regards, Pete
-
Hi Harvey, The fish wells are not per spec. I have just been having fun trying things out on this boat. (keel 2 ) so its kind of a free build. Best Regards, Pete
-
Thanks Keith, Originally I was thinking of a bigger scale , I then decided to build the boat I've always wanted (The Herreshoff Buzzards Bay) and build it in a 3/4" = 1'- 0" Scale so that if I choose I could take it for a sail. ( I will be building a display version with all bent frames) HI Harv, The frames are not to scale (about a 1/16" to large) the spacing in the cockpit is correct(Chapelle Drawing) (I still have to glue them in so at least the rib spacing will be accurate)
- 153 replies
-
- 1
-

-
- musongus bay
- sloop
- (and 1 more)
-
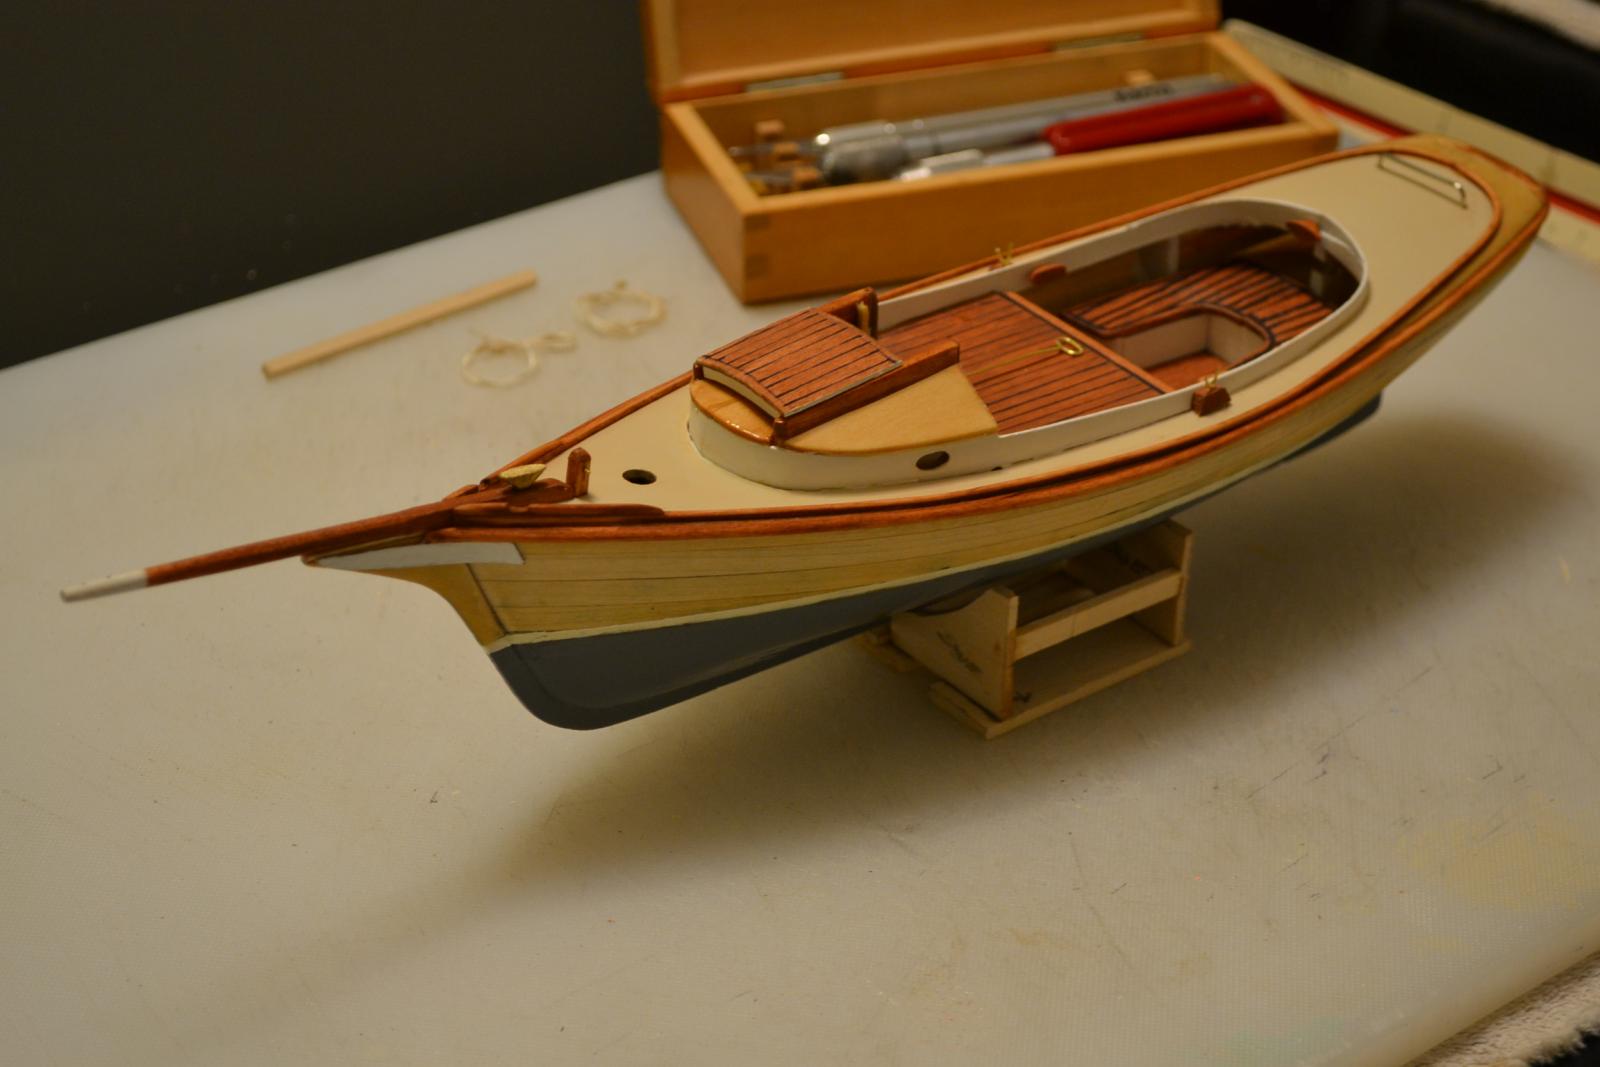
I have not got around Rigging Keel 1 yet, Primarily because I am having fun working on Keel 2 , This is one of those builds that just goes smooth , so I painted the deck , did a two tone stain on the grate and installed the Cockpit/ Cabin Coaming. Here are the results


- 209 replies
-
- 1
-
-
- muscongus bay lobster smack
- midwest products
- (and 1 more)
-
On Keel 3 I took some strips that I had stained a few days ago, I soaked them in rubbing alcohol (about 30 minutes) and bent in Ribs between the frames. They have not been glued yet. Here are the results


- 153 replies
-
- 4
-
-
- musongus bay
- sloop
- (and 1 more)
-
Hi Druxey, You are Correct, Thats why it was only adjusted on top 2" ( Scale ) Best Regards, Pete
-
Hey Keith, The centerboard was worked out in Posting #24 on the Keel 3 build log Best Regards, Pete
-
Thank you John, It should be a fun build.
-
Hi Russ, It was lofted from the plans , I just needed to add 2" (scale) to get the curve on top correct.
-
Thanks Shawn, I am thinking the same thing it would be very cool
- 76 replies
-
- 1
-
-
- fantail launch ii
- midwest products
- (and 1 more)
-
Thank you Russ and Shawn , It was fun to make and was the first one I ever made
-
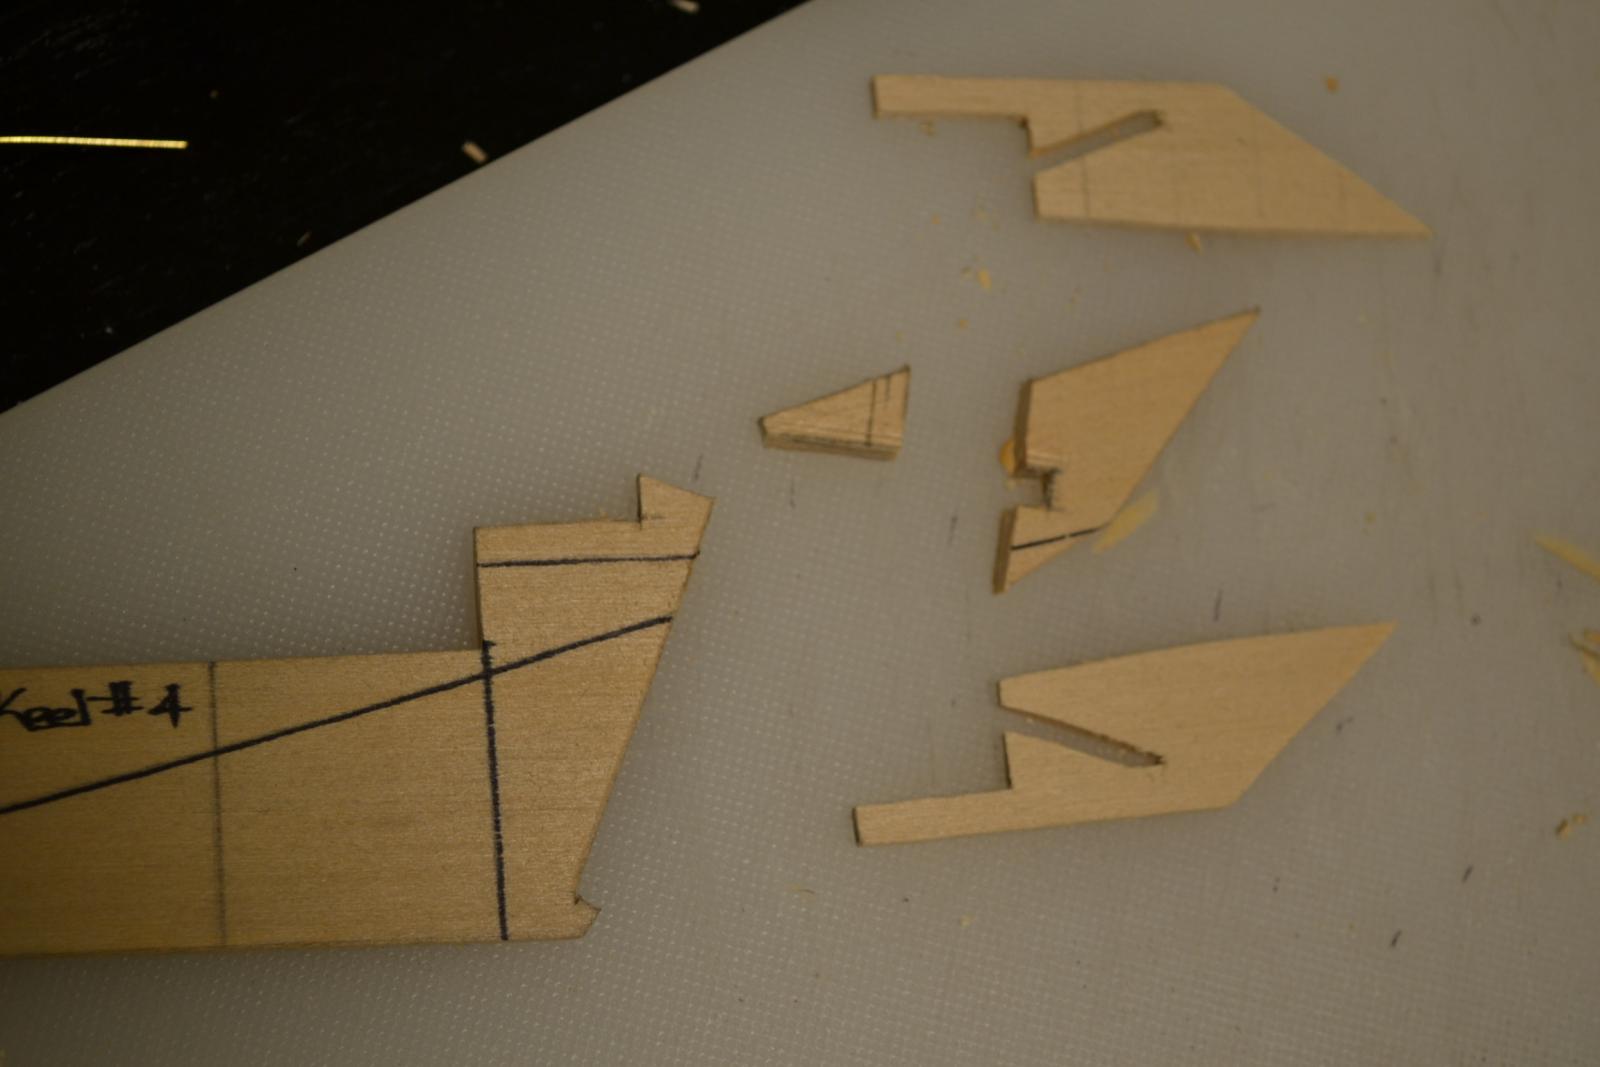
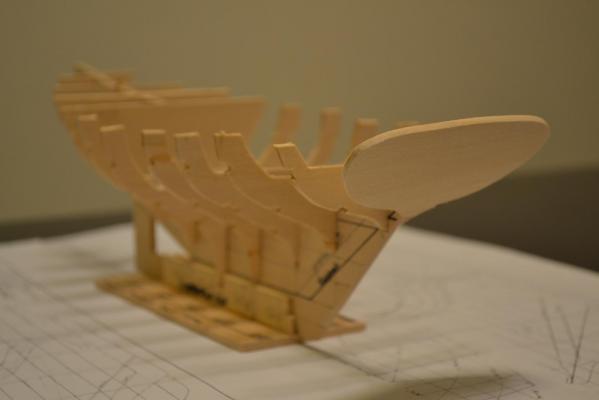
This afternoon I finished cutting all the frames , I re lofted the Transom and changed it out so that it will line up better with the Cockpit Coaming. To this Point nothing has been glued, and the new Transom is being held on with masking tape, I still have to true up all the frames and finish sanding the new frames. Here are the results

- 296 replies
-
- 9
-
-
- herreshoff
- buzzards bay
- (and 1 more)
-
Hey Shawn, Will the R.C unit fit in your Lobster Smack, I am thinking about an R.C. version
- 76 replies
-
- 1
-
-
- fantail launch ii
- midwest products
- (and 1 more)
-
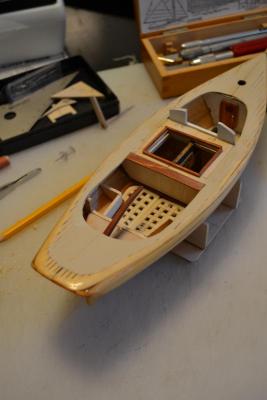
After yestedays Planking Marathon on Keel 3 ( Scratch built Build Log) I decided to have a little fun with Keel 2 (The Blue Boat), I made a Door for the bulkhead in the Cabin, Painted the Bulkhead a Flat White, as well as the cockpit seat benches . I made a Grating for the cockpit floor wich will still need to be stained, (and will be able to be lifted out as to gain access to the Bilge)some molding for the Fish wells and a Tiller. On Keel 1 I had to make new Blocks for the Rigging ( I accidently threw them away) Here are the results

- 209 replies
-
- 5
-
-
- muscongus bay lobster smack
- midwest products
- (and 1 more)
-
Thank you Russ, I belive youre right,
-
Thanks Shawn, I was pretty Happy with the results , It's almost finished
- 209 replies
-
- 1
-
-
- muscongus bay lobster smack
- midwest products
- (and 1 more)
-
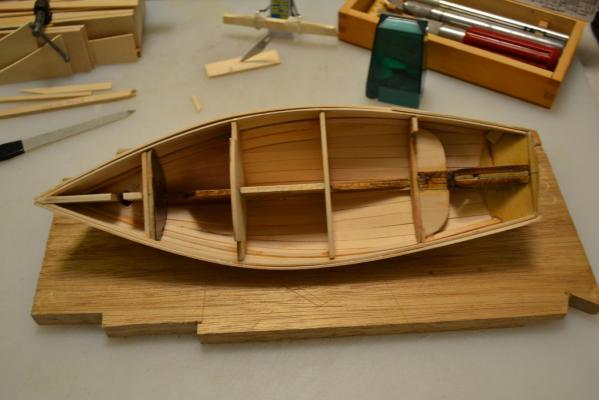
I woke up early this morning (about 5 am) and just got finished planking Keel 3 (8 pm) there were breaks in between . and managed a basic fairing of the Hull. There is tumblehome that starts just aft of the fish wells so the top planks are basically untouched untill the deck is on, so that it (the tumblehome) can roll over the top . Here are the results


- 153 replies
-
- 5
-
-
- musongus bay
- sloop
- (and 1 more)
-
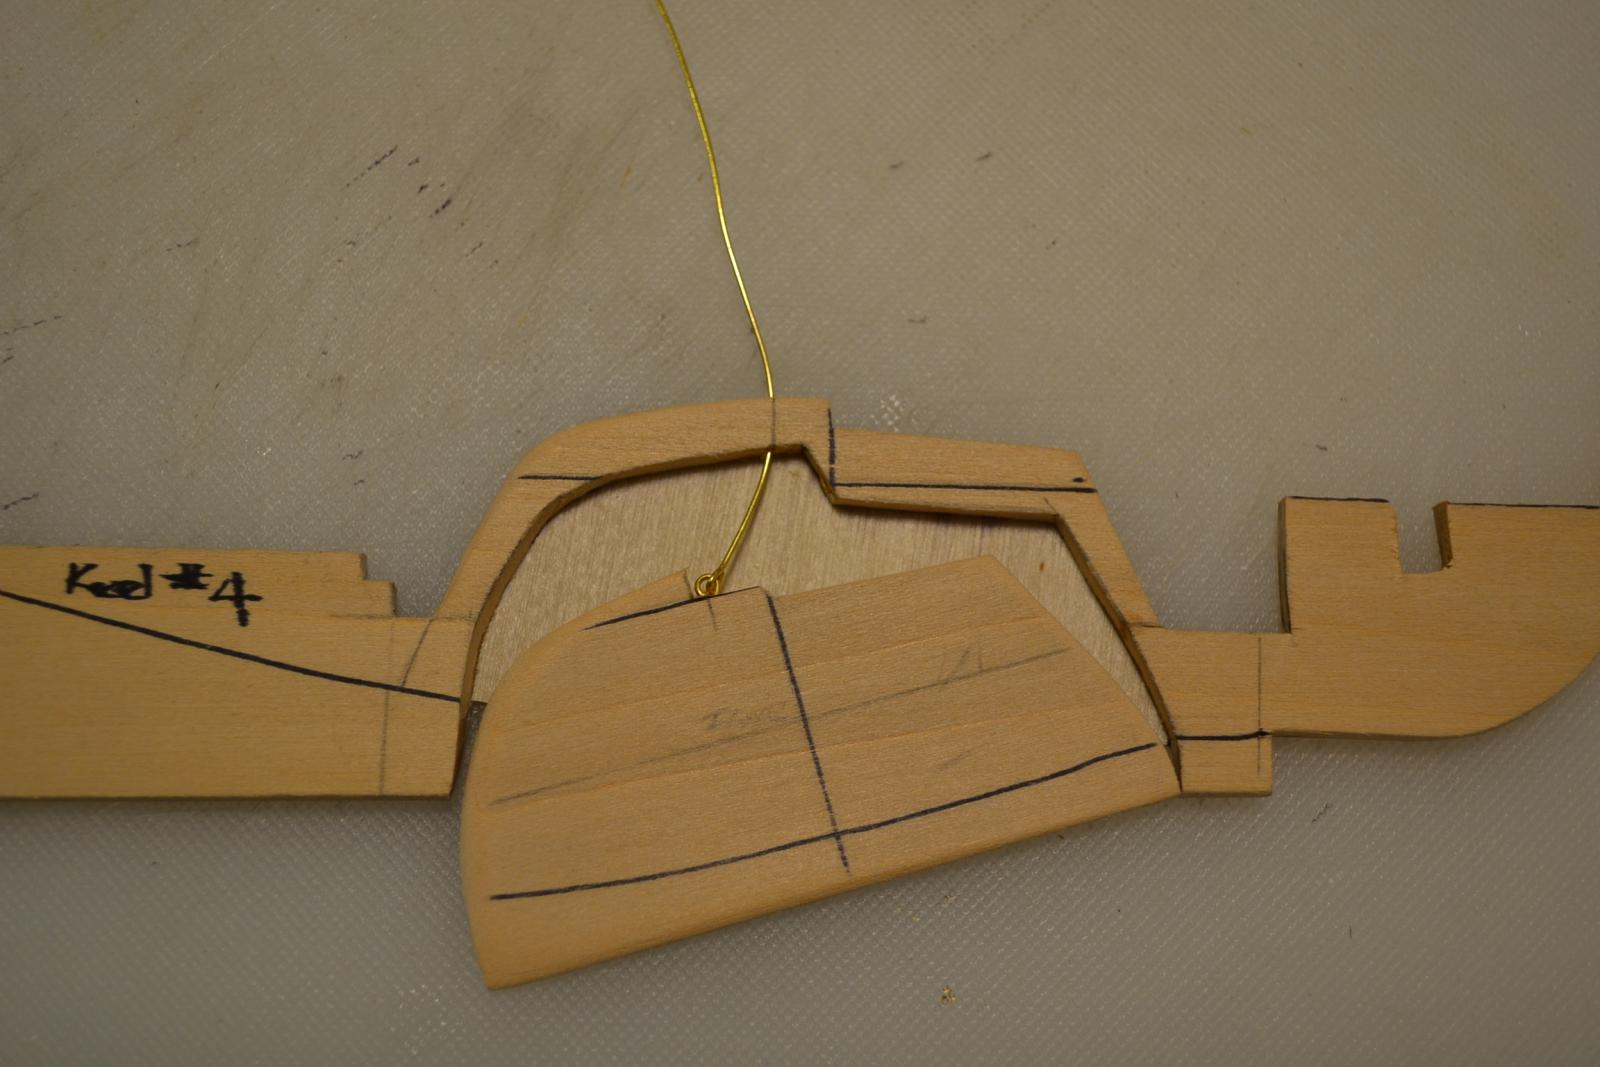
Hi Russ, Thats what I was originally thinking ,( I made several mock ups) the last pic in post #25 is the way its shown in the drawing s (down posistion) wich made the hinge point lower than I had hoped. This configuration actually works and the rod does go thru the top of the center board trunk as it should. Every thing lines up this way : Board up or Board down. Heres a pic with the rod comming thru the top of the trunk. I spent alot of time figuring out this one Best Regards, Pete

- 153 replies
-
- 2
-
-
- musongus bay
- sloop
- (and 1 more)
-
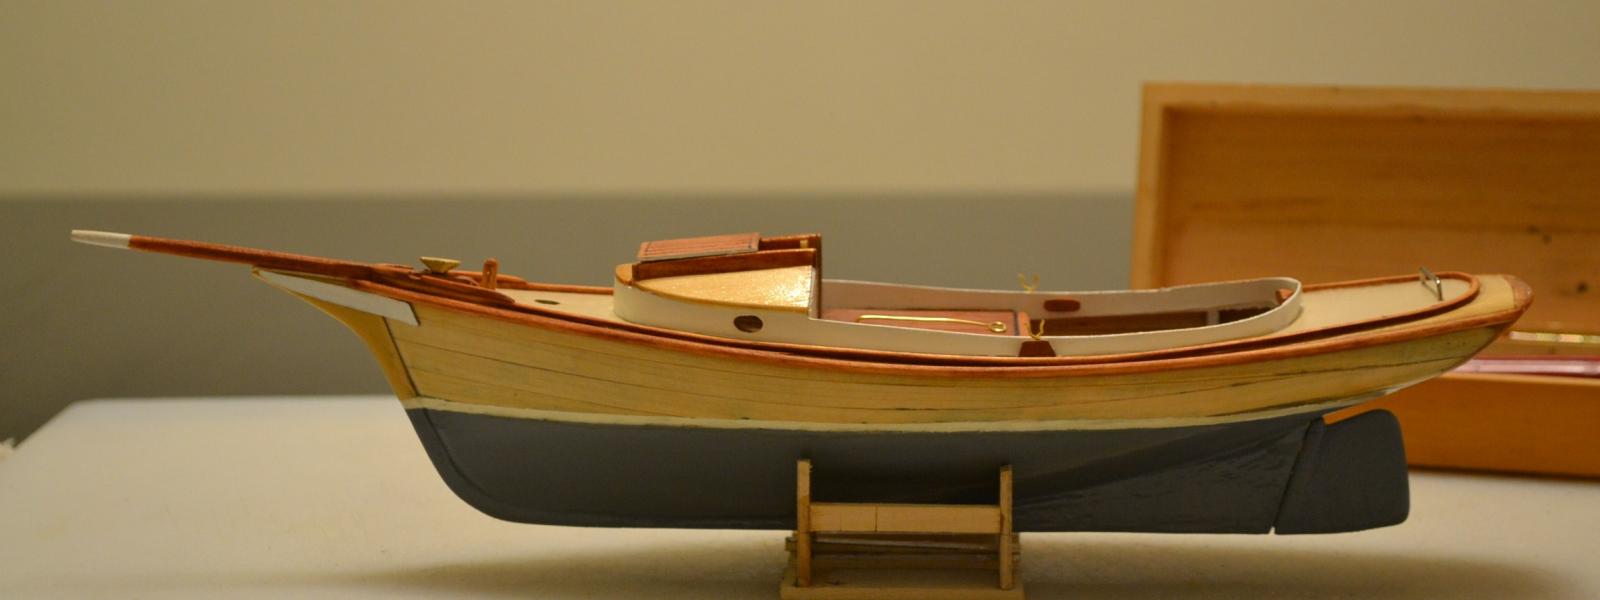
Today on Keel 1 , I started doing the finish work, installing the cleats, Center Board Rod,Samson post, Oar locks and the Trail Boards. I then Painted the Trail Boards Flat White and did some touch up work, Now Shes off to the Masting shop. Here are the results


- 209 replies
-
- 6
-
-
- muscongus bay lobster smack
- midwest products
- (and 1 more)
-
I have to say that I just stumbled on to this build log. Very Impressive , Great job putting it together ( with the movie pics) Best Regards, Pete
-
Looks Fantastic Tim, I have to say that is Beautiful
-
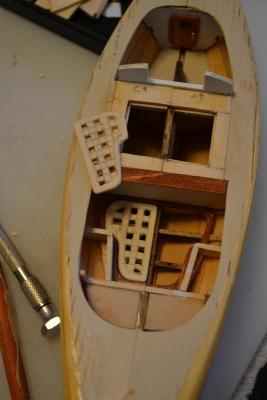
Here are the rest of the pics to go with the previous post


- 153 replies
-
- 3
-
-
- musongus bay
- sloop
- (and 1 more)
-
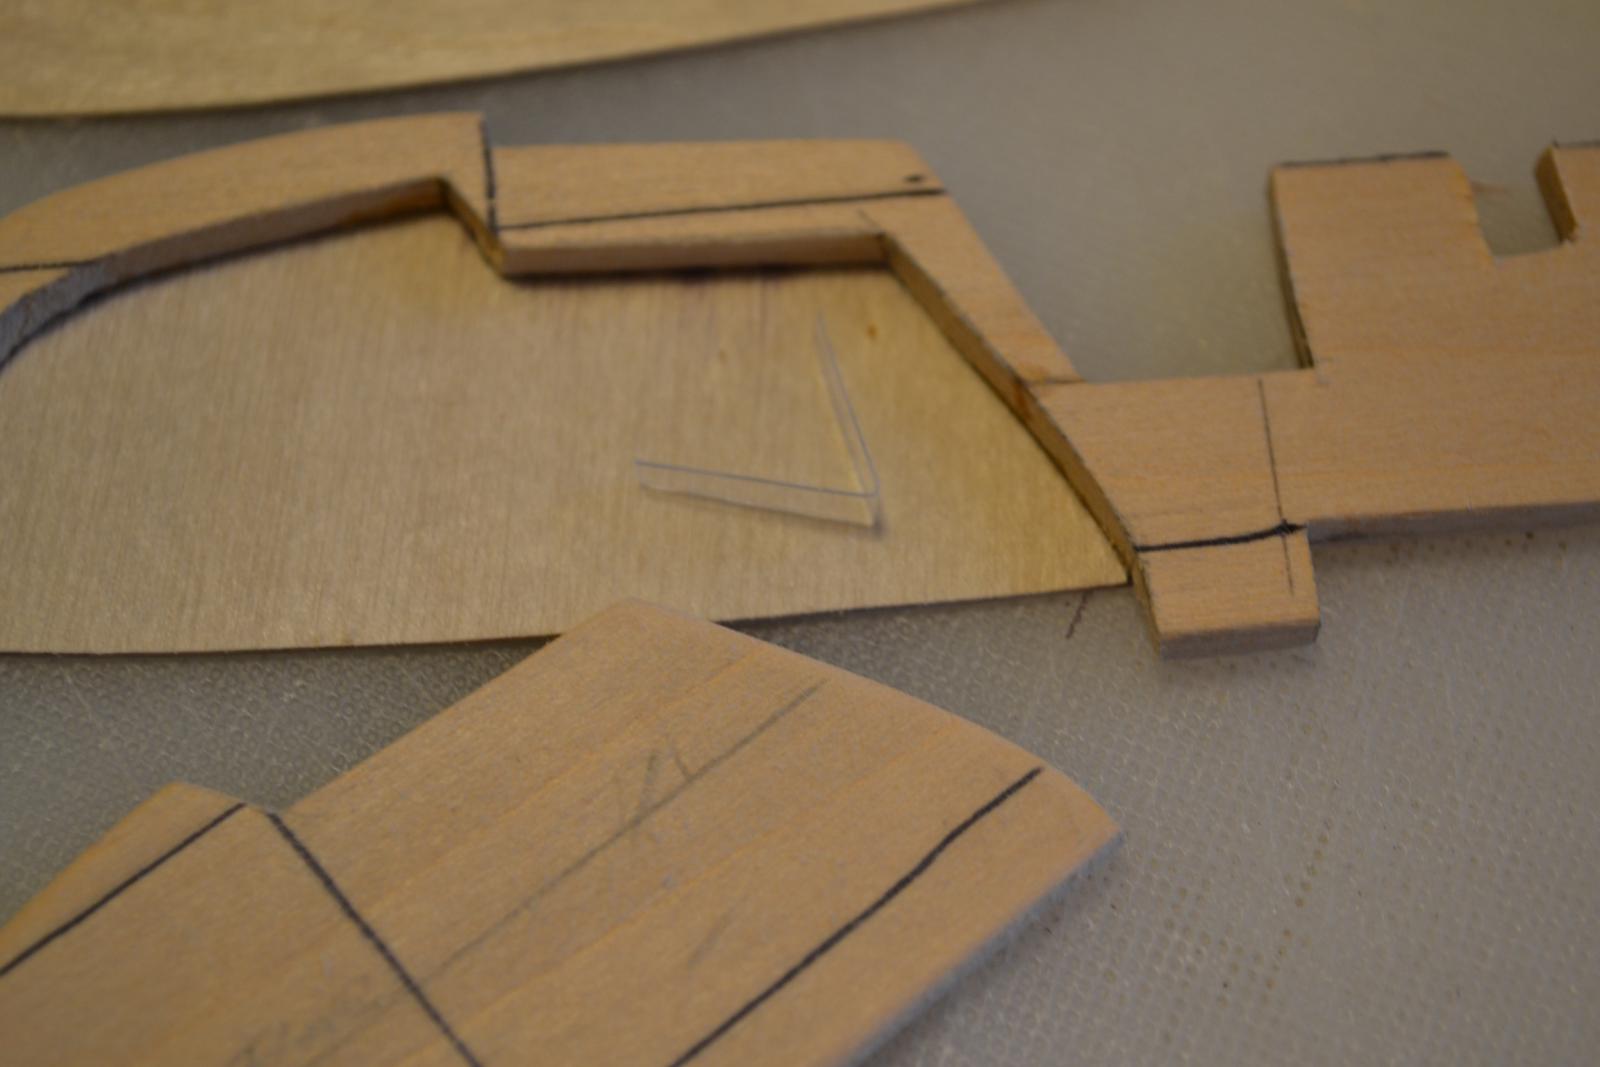
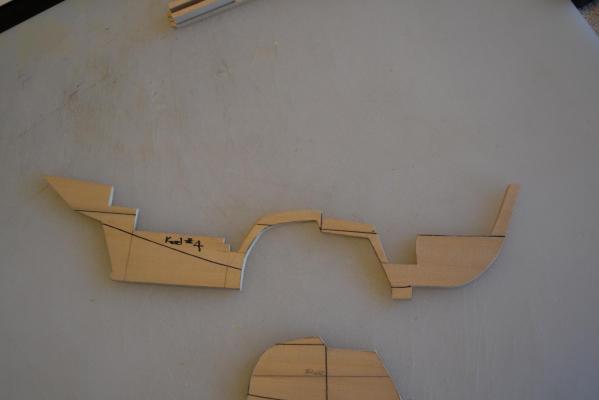
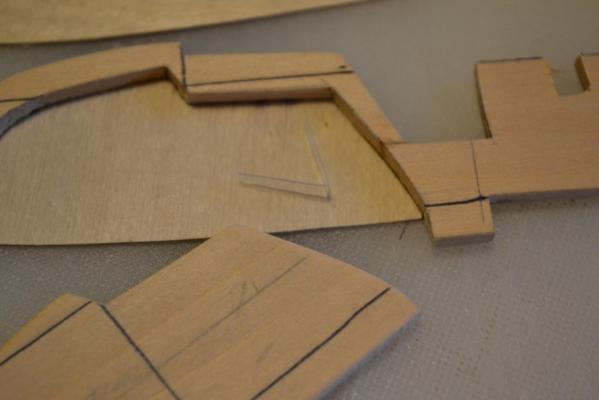
Today I got to work on Keel 4, I figured out the centerboard & Trunk. I first cut out the centerboard (this made the keel very weak) I had made up 2 pieces of 1/32" birch plywood to cover the trunk.I attached one piece of the ply on to hold the keel together, I then took a piece of thin plastic (from the exacto package) folded it in half and cut it to 1/8" wide strip. Then I drilled a hole thru the top of the Trunk into the centerboard so that a wire could pass thru, On the centerboard I added a loop so that it would connect to the first wire. I then cut the transom off similarly to what I had done on Keel 3, and put it together. Here are the results

- 153 replies
-
- 3
-
-
- musongus bay
- sloop
- (and 1 more)
-
Looks Good Shawn, I have to point out that Sanding is part of the game
- 76 replies
-
- 1
-
-
- fantail launch ii
- midwest products
- (and 1 more)