HOLIDAY DONATION DRIVE - SUPPORT MSW - DO YOUR PART TO KEEP THIS GREAT FORUM GOING! (Only 36 donations so far out of 49,000 members - C'mon guys!)
×


pete48
-
Posts
2,132 -
Joined
-
Last visited
Content Type
Profiles
Forums
Gallery
Events
Everything posted by pete48
-
 Thank you Bob, Hopefully before spring
 -
Wow Richard, She's taking shape pretty fast, Looks Great
- 55 replies
-
- 1
-

-
- mercury
- victory models
- (and 1 more)
-
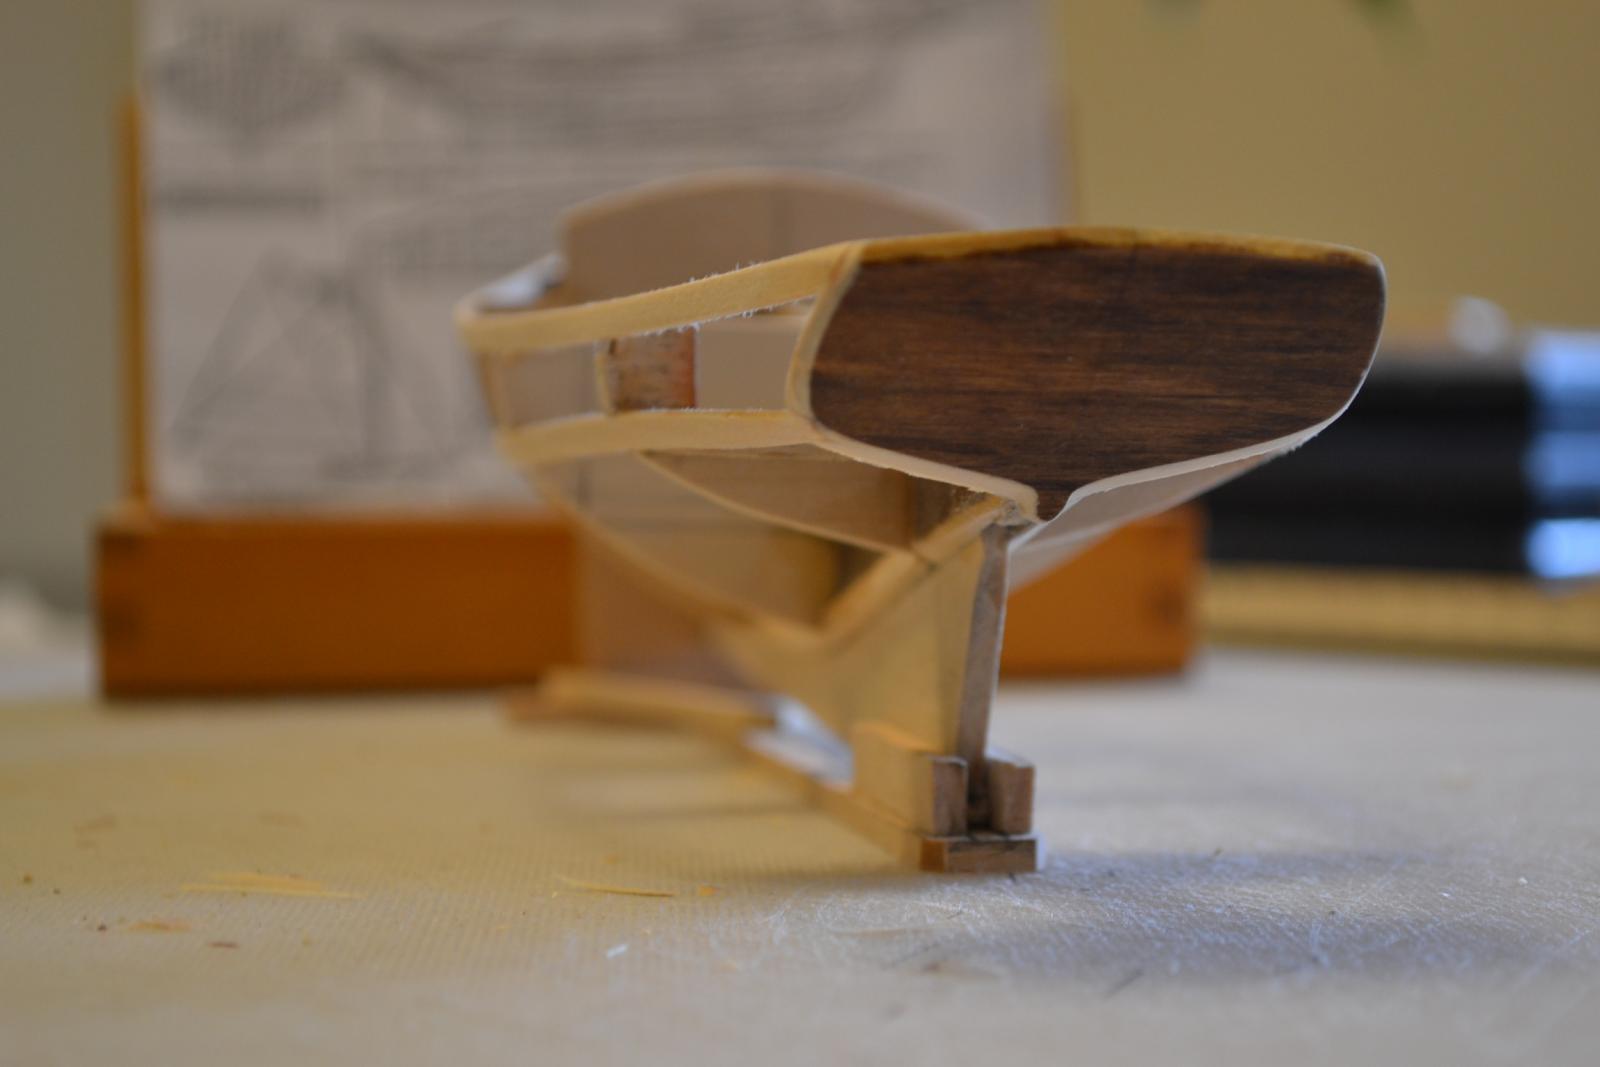
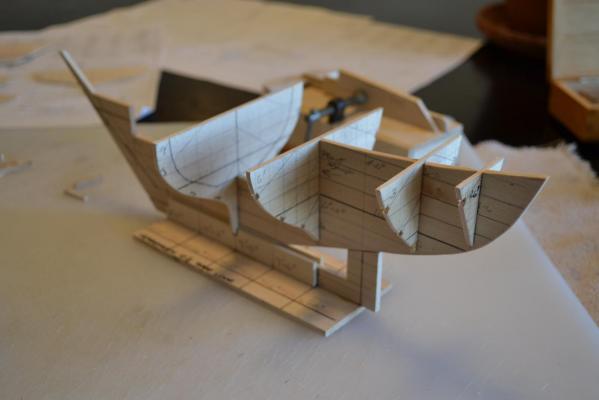
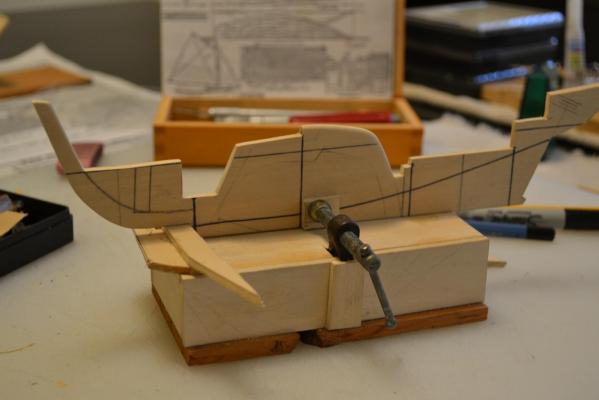
Last Night I was able to squeeze in a few hours , So I finished cutting the frames that I had laid out, ( I cut out the frames that will give me a basic shape first) I only have to make 5 more frames . Nothing has been glued together and I used a piece of masking tape to hold the Transom on (its crude but hey it works ) To this point everything has gone smoothly. Here are the results
- 296 replies
-
- 6
-
-
- herreshoff
- buzzards bay
- (and 1 more)
-
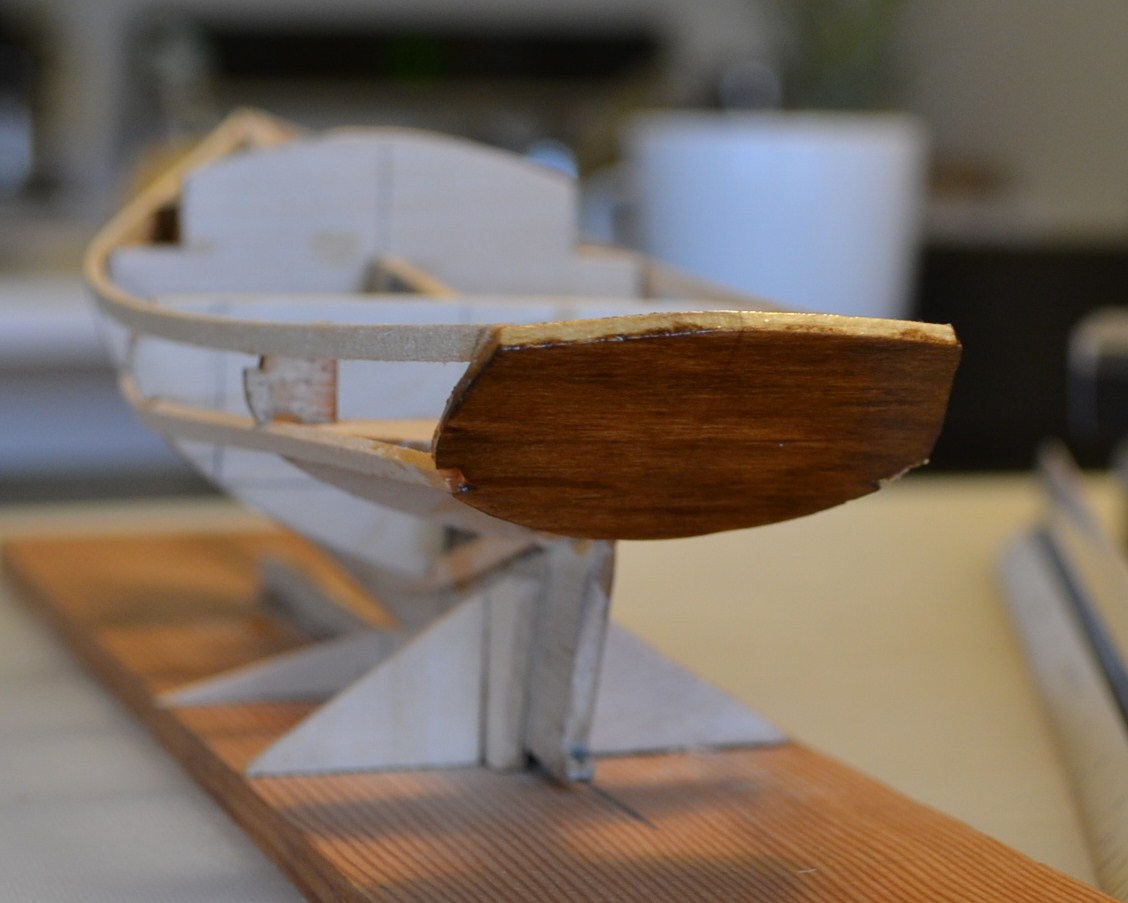
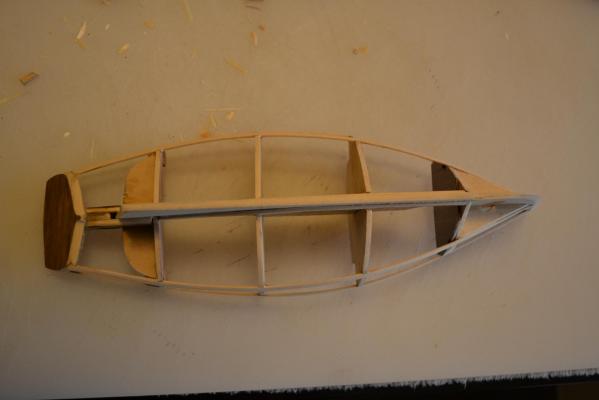
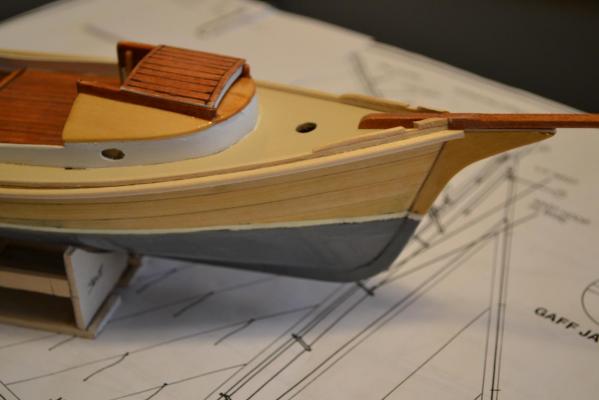
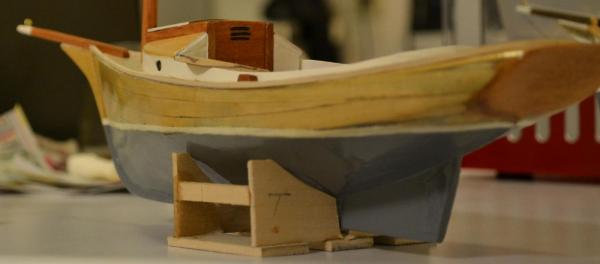
Today on Keel 3 all the frames were faired and she is now ready for planking. Here are the results

- 153 replies
-
- 1
-
-
- musongus bay
- sloop
- (and 1 more)
-
Hi Tom, There is a kit build along with Keel #1 & #2 on this Build log (Keel 2 was built to get the planking correct and is not an official build) Keel 2 is so that I can try out things and see how they work out. ( and if they do I share them ) Best Regards, Pete
-
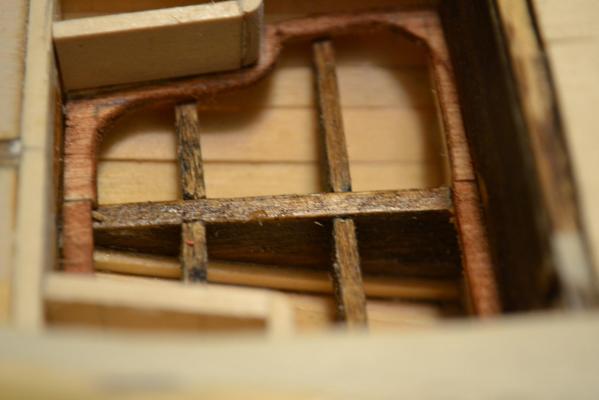
Thank you Tom, Frame 1 is visible when the companion way hatch is open . I actually strengthened aft of frame 4 (it was a weak spot on the previous builds) after fairing the frames. I also had cut off the stern and re attached it , to allow for the working rudder As far as CDA Freinds and family understand Best Regards, Pete
- 153 replies
-
- 2
-
-
- musongus bay
- sloop
- (and 1 more)
-
Looks great Micheal
-
Thank you Russ and Richard, I have better understanding of how this boat goes together, as far as Full size, you never know Best Regards, Pete
-
Thank you Russ Shawn and Richard, It has been alot of fun adding all the detail to keel 2, Hopefull I can get the cockpit/cabin coaming on today Best Regards, Pete
-
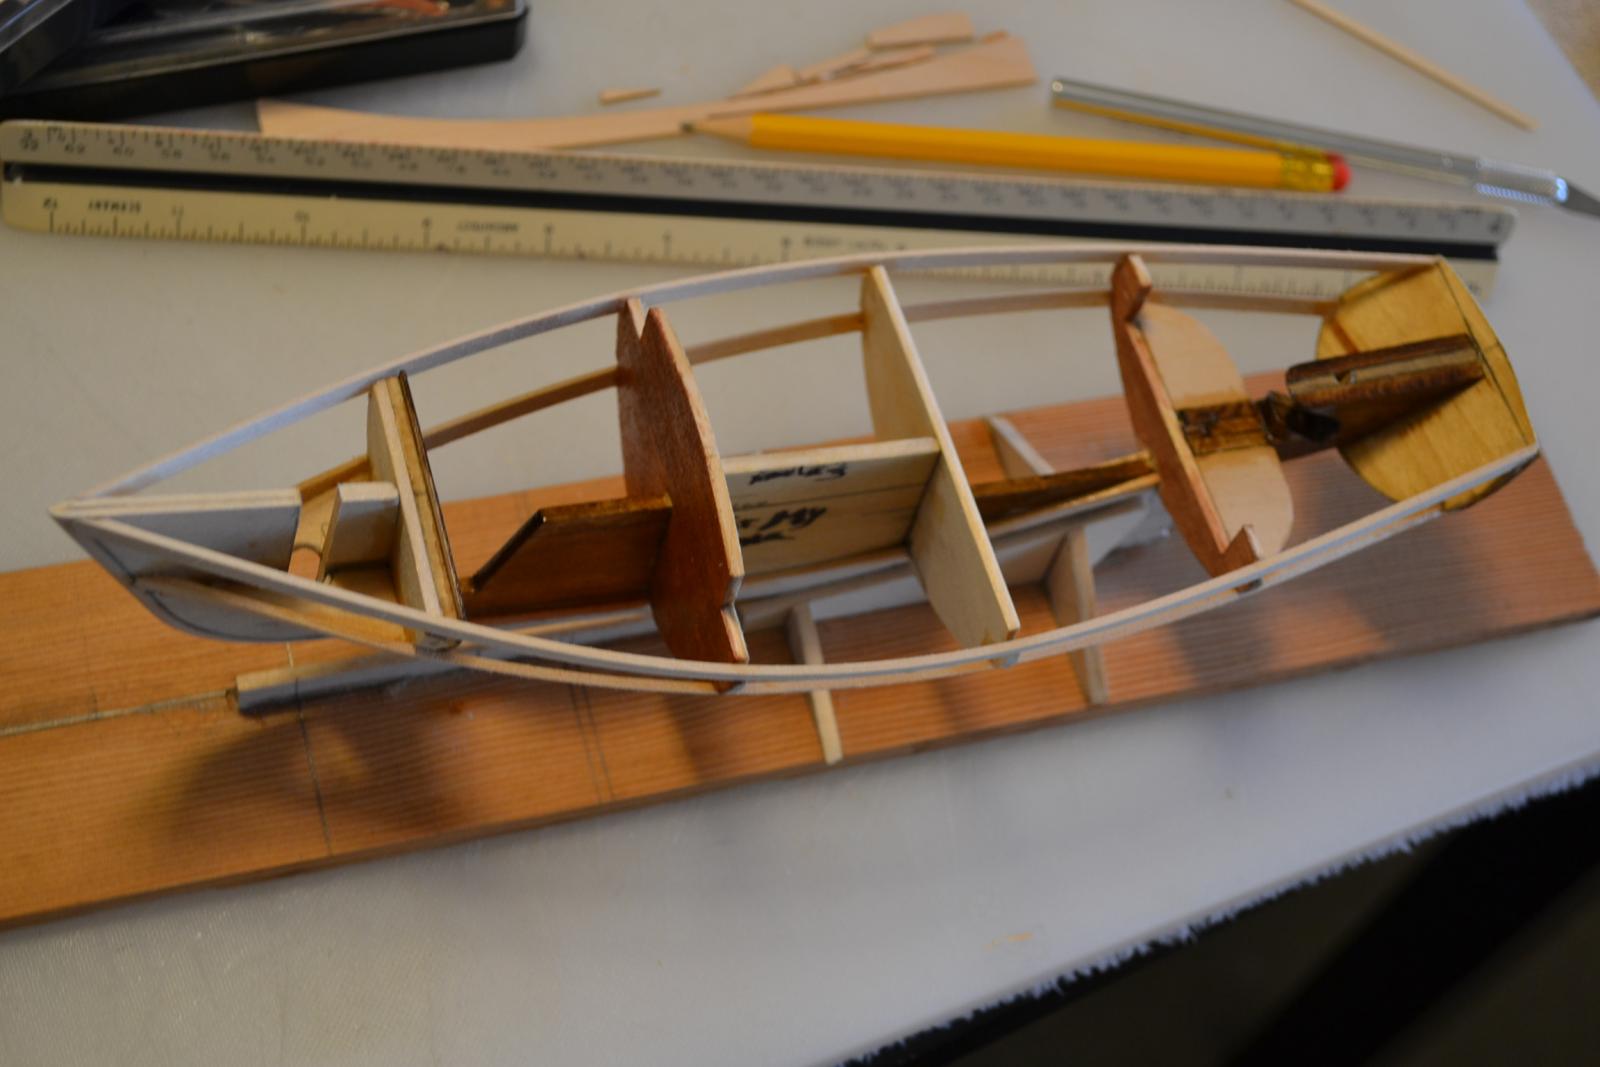
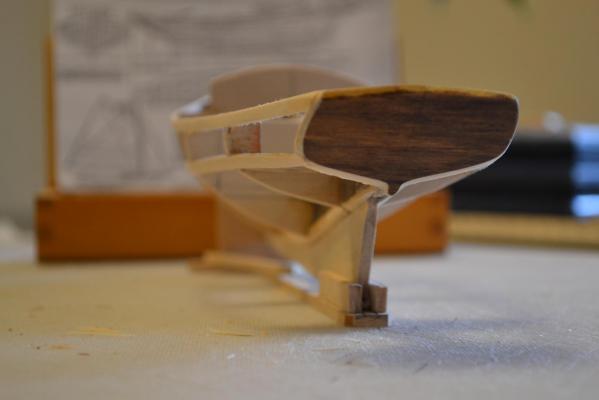
Today on Keel 3, I got all the frames squared up and the rib bands installed, Now she's ready for fairing the frames. Here are the results


- 153 replies
-
- 4
-
-
- musongus bay
- sloop
- (and 1 more)
-
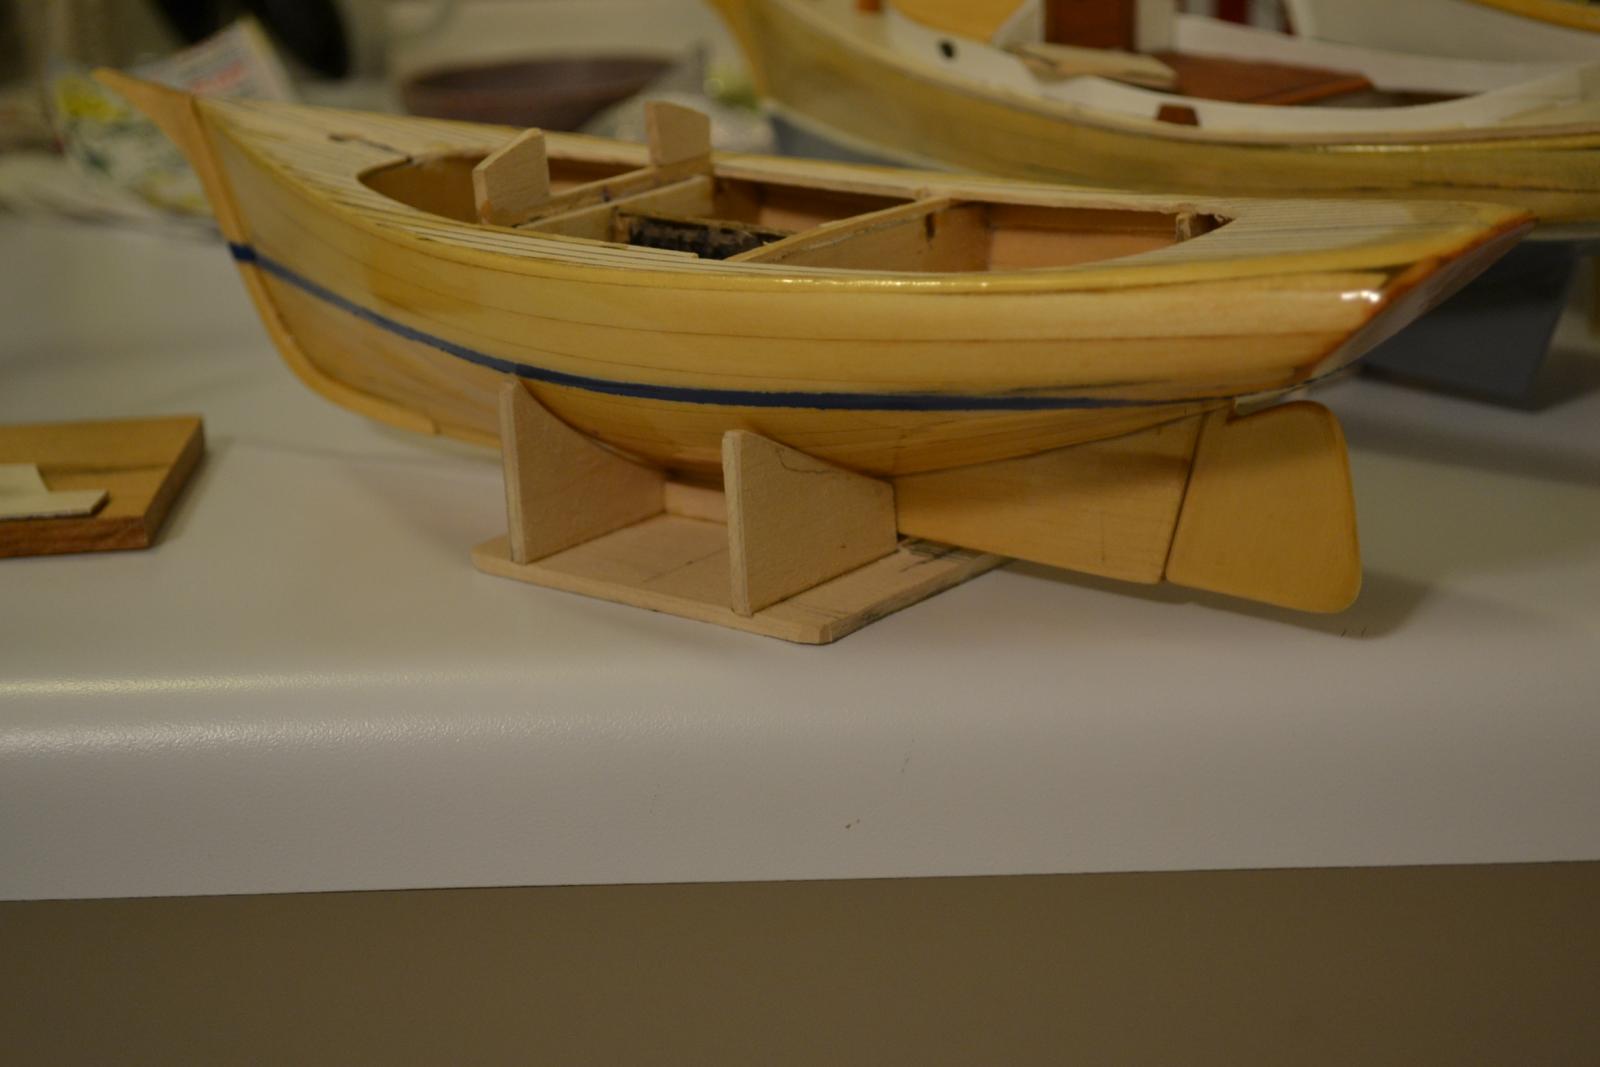
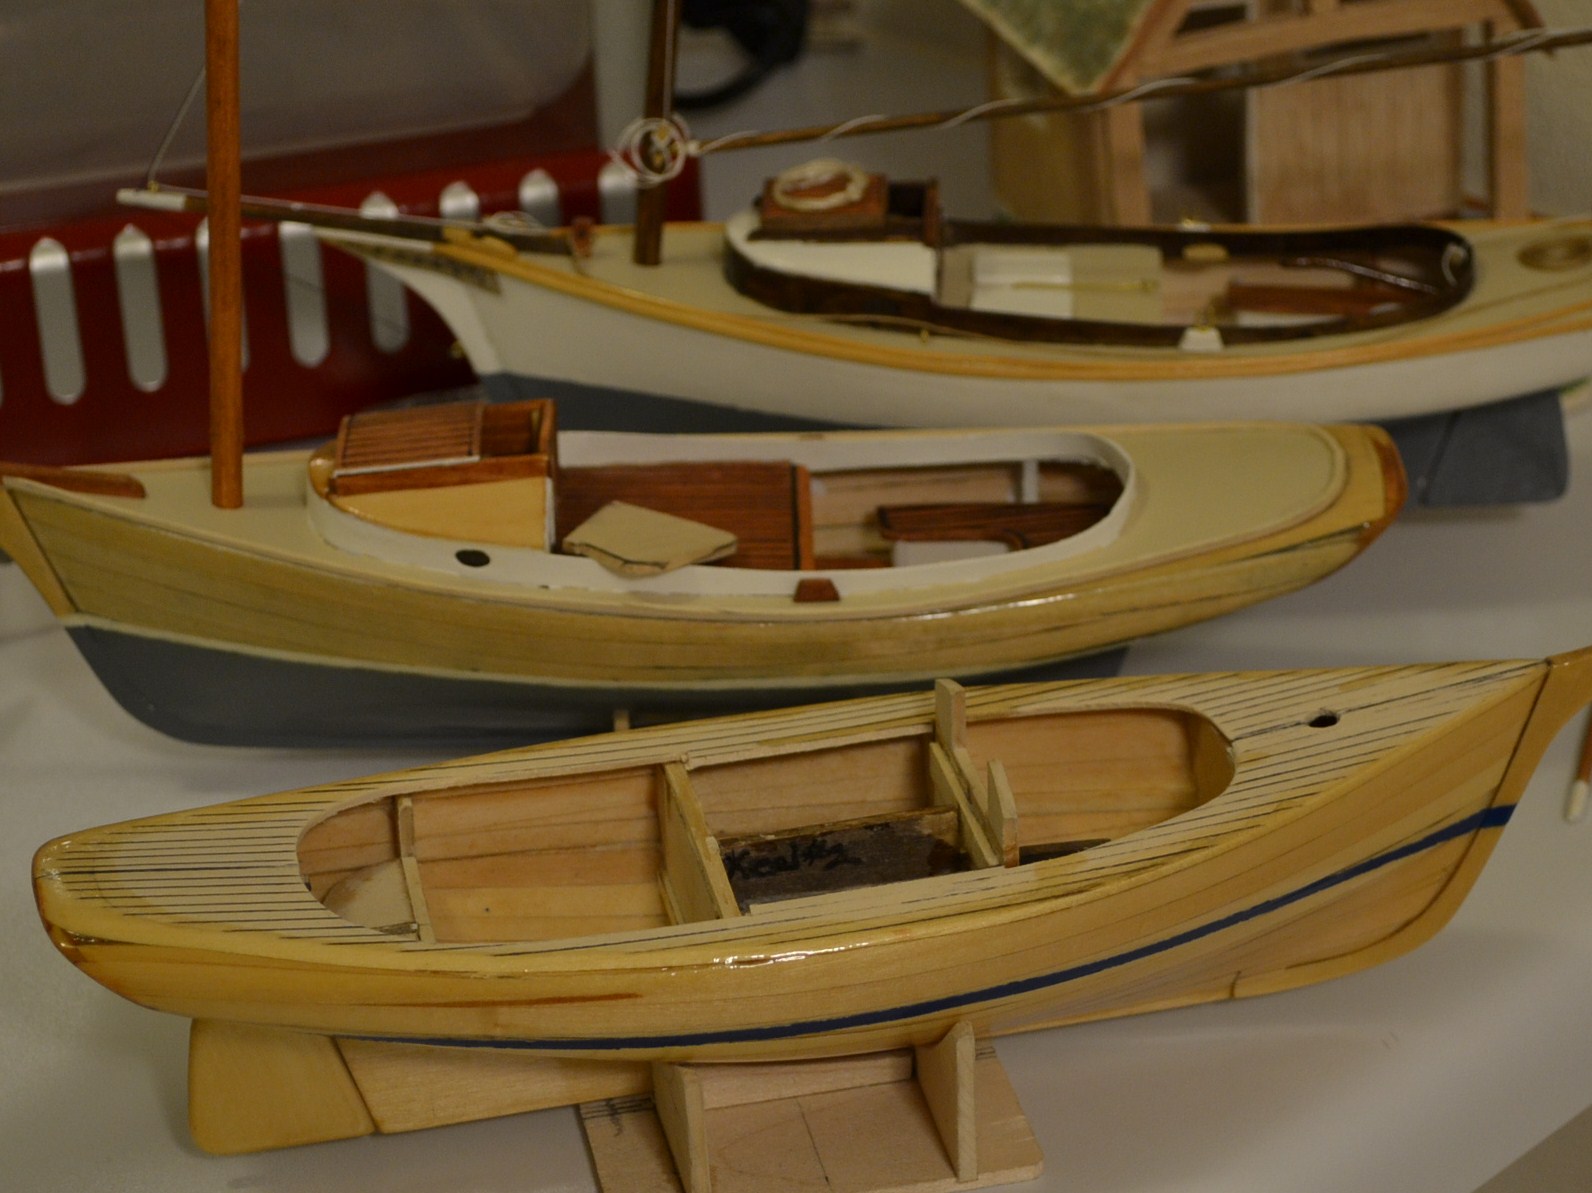
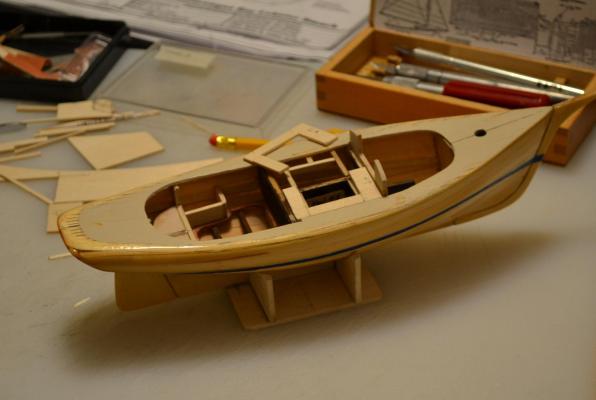
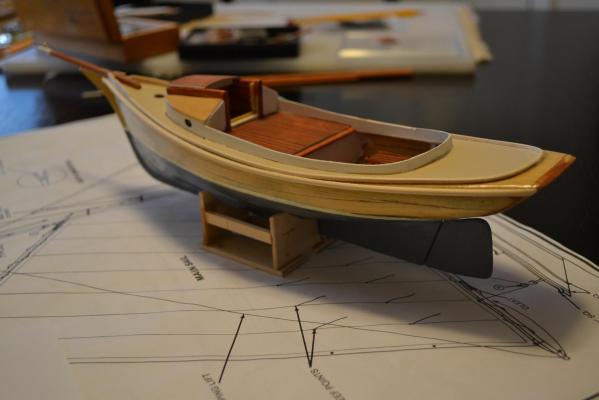
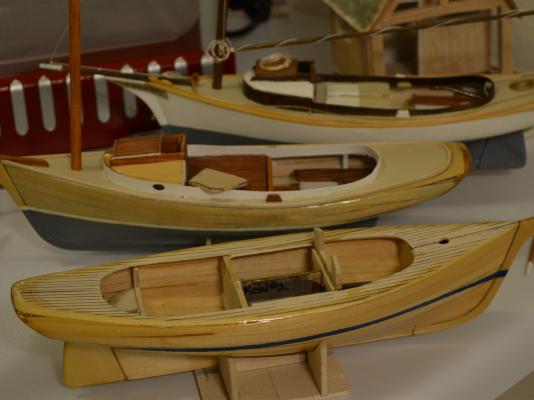
This Morning I thought about doing some detail to the cockpit of keel 2 . My Wife started calling it the "Blue Boat" a few days ago its starting to catch on (with me anyway)I wanted to add detail under the cockpit floor as well as enclosing the bench seats, after that I went for the fish wells . on Keel 1 I did get the railings stained and made a temp boom rest. Here are the Results

- 209 replies
-
- 5
-
-
- muscongus bay lobster smack
- midwest products
- (and 1 more)
-
Thank you Keith , I am Actually building 2 more , One with a retractable keel. Best Regards Pete
-
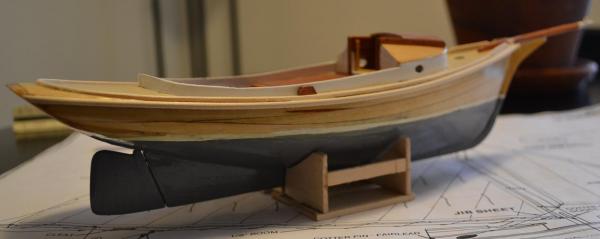
Today on Keel 1 I installed the fairleads , I then Started making the cleats, Blocks Oar Locks, I then decided to go with 1/8" X 1/8" Basswood for the rub raill , I then rounded it off along with the toe rail and fair leads. Next it will get Stained. Here are the results
- 209 replies
-
- 4
-
-
- muscongus bay lobster smack
- midwest products
- (and 1 more)
-
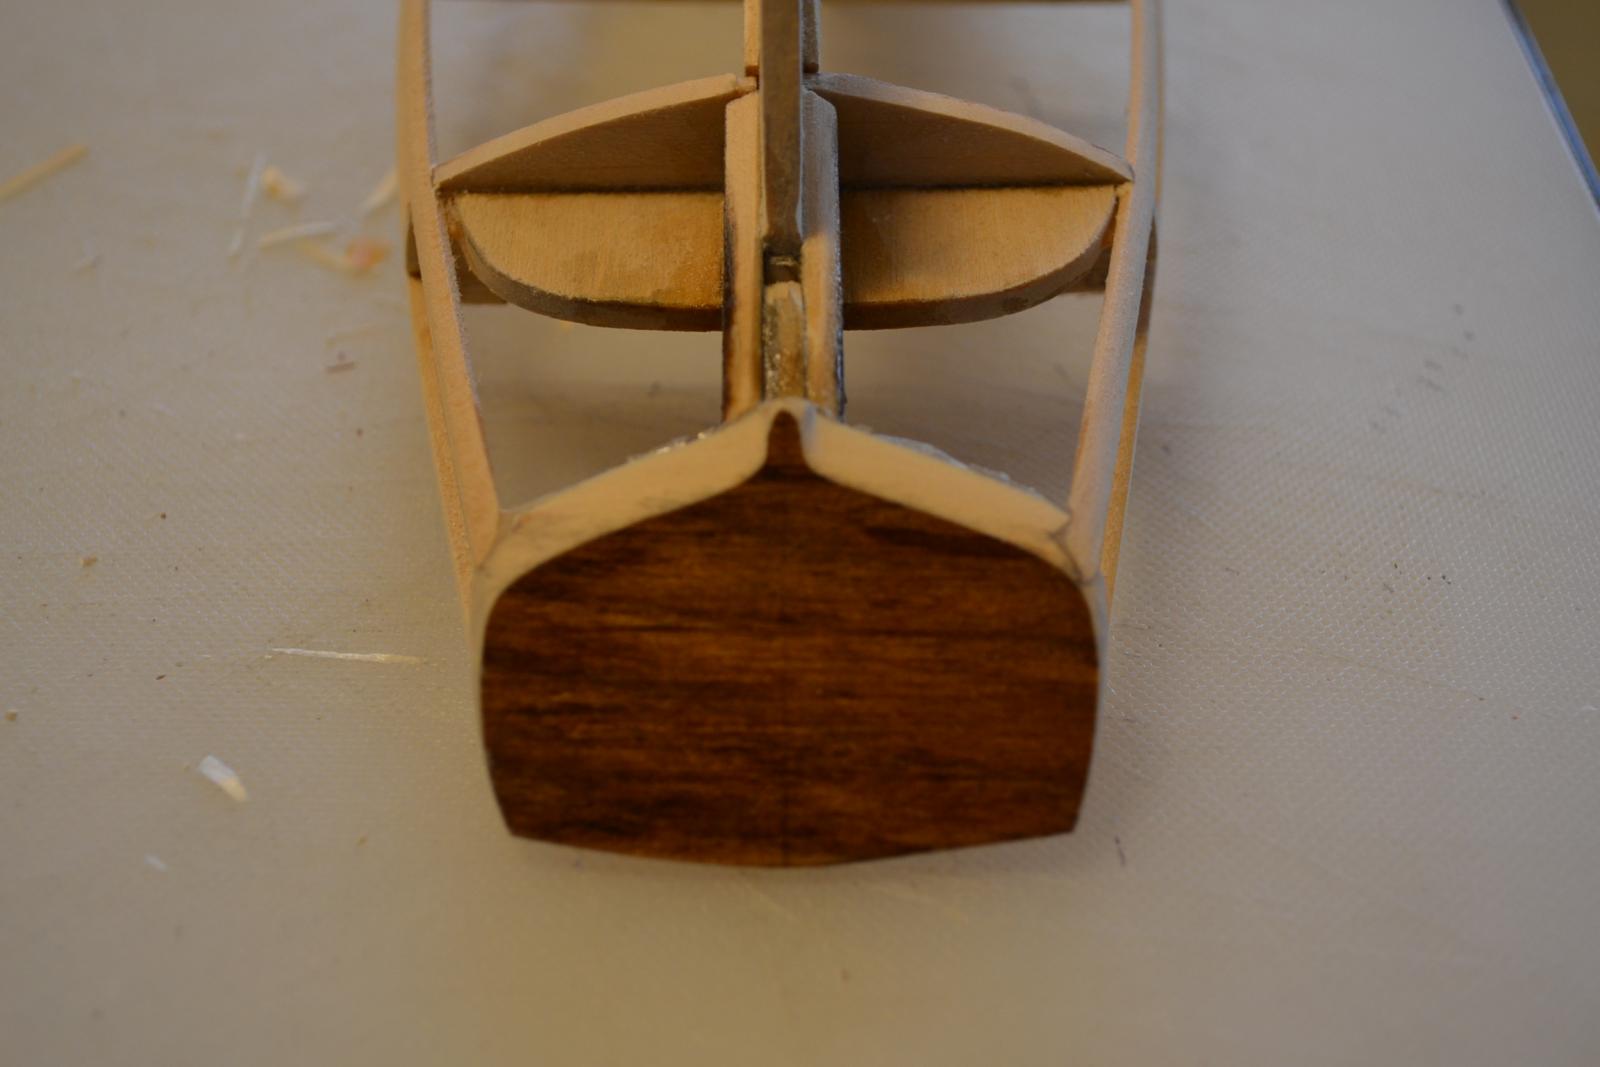
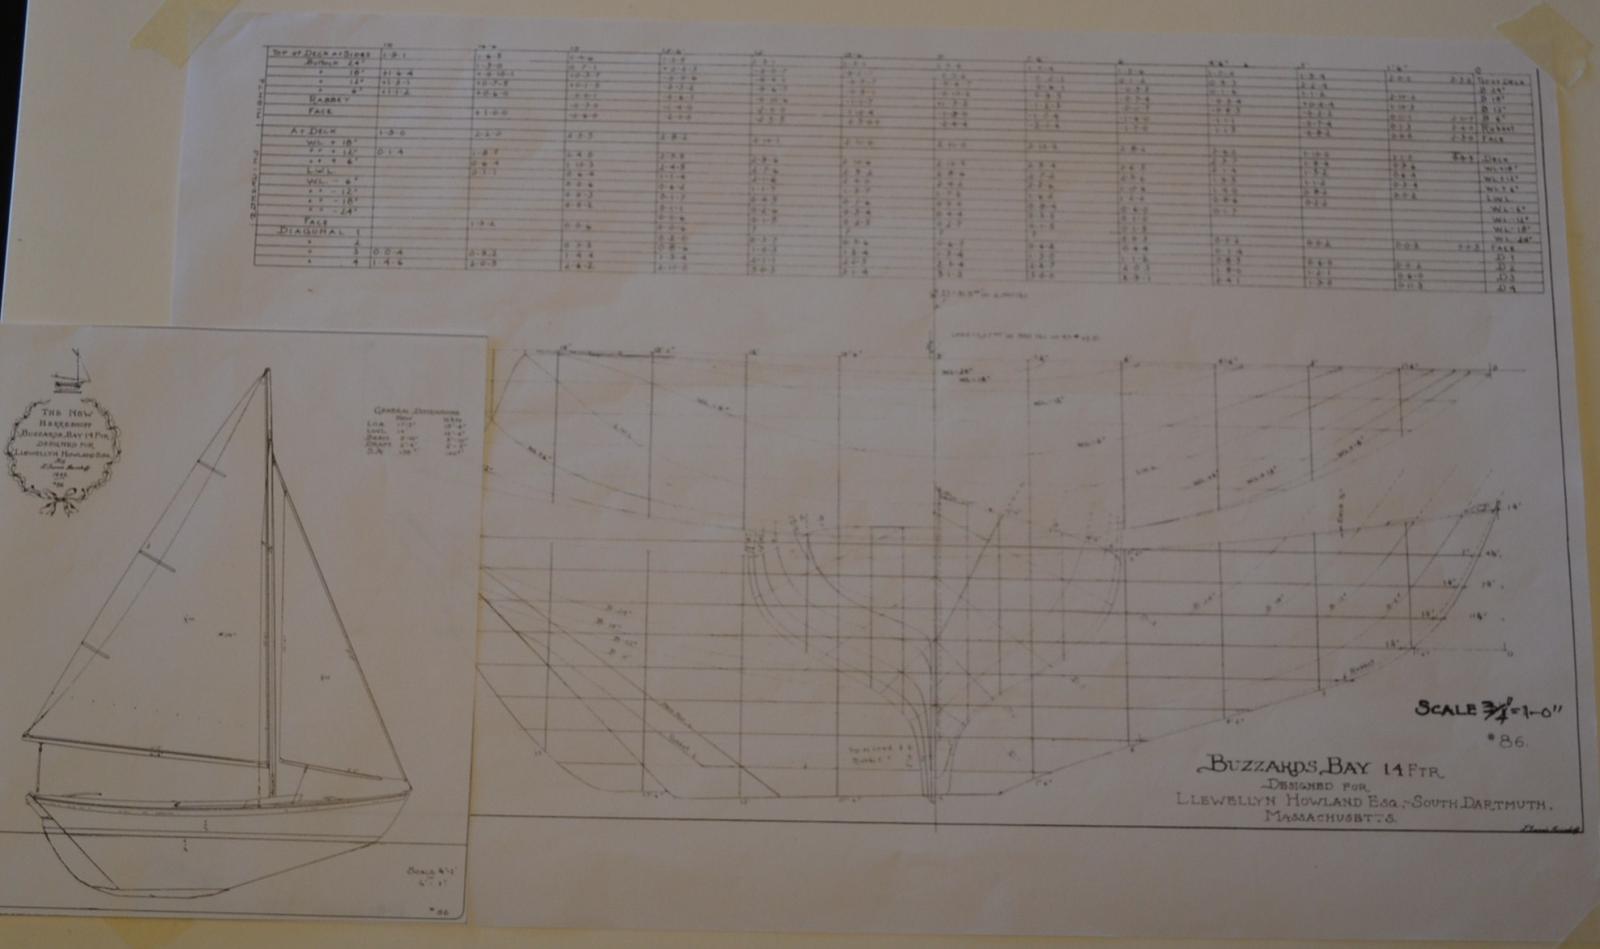
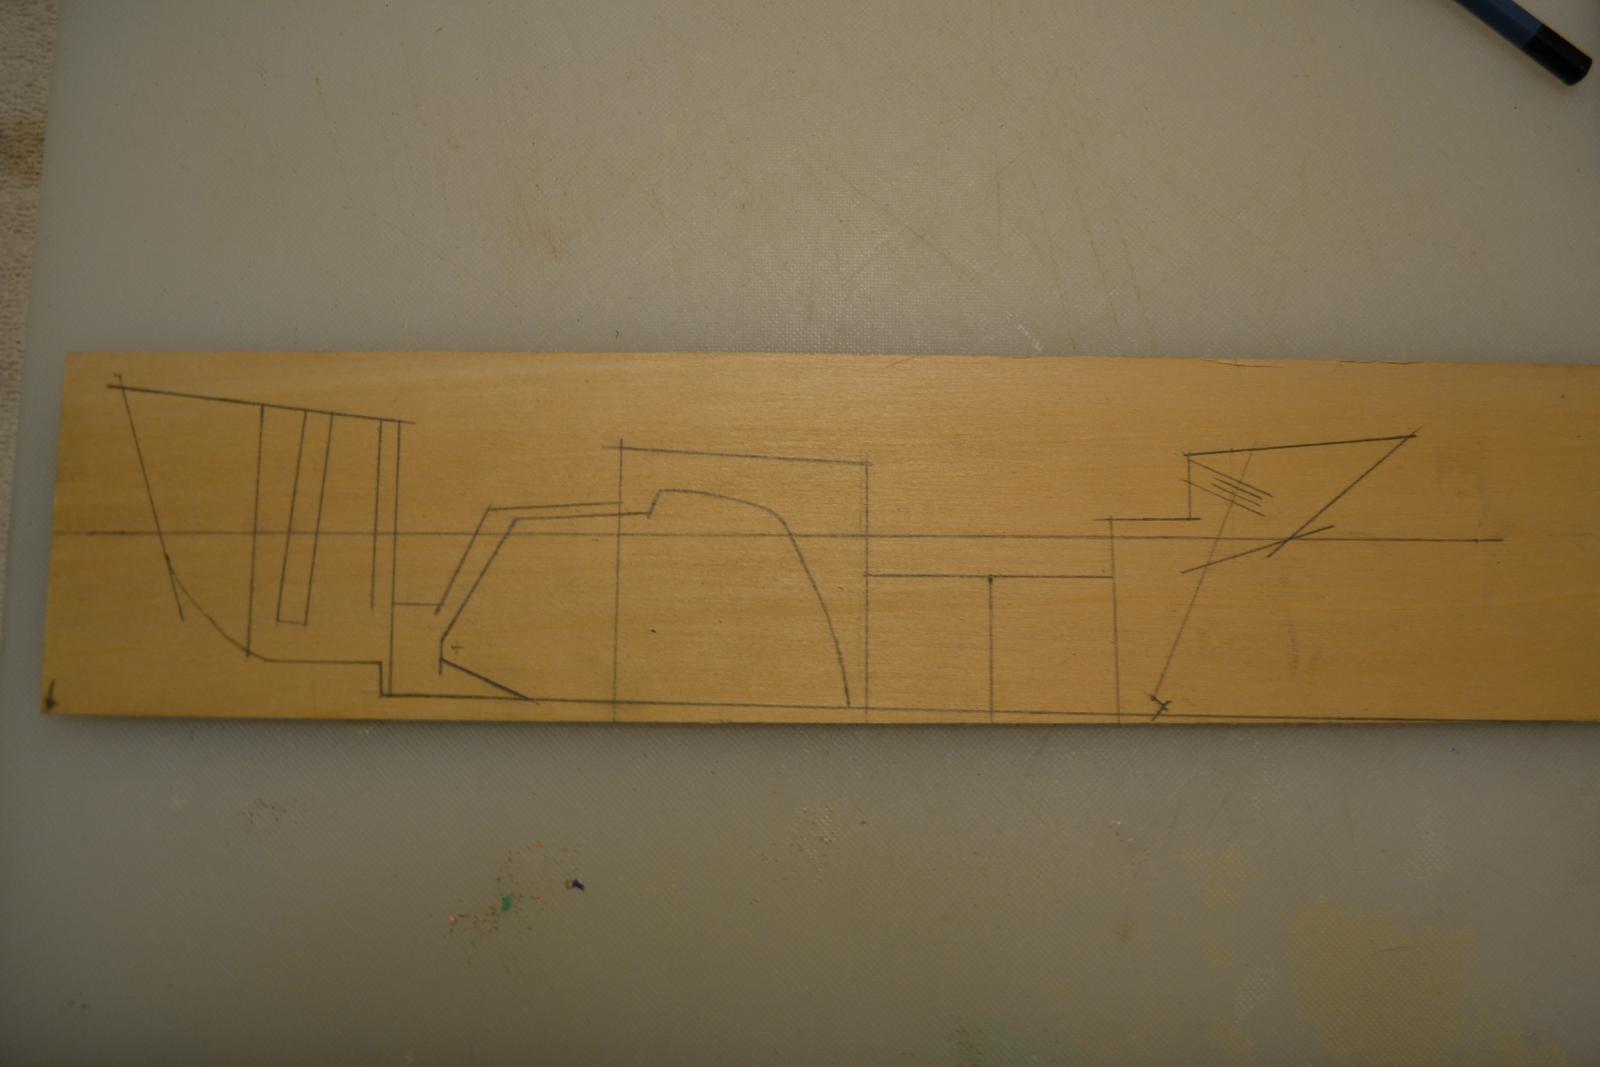
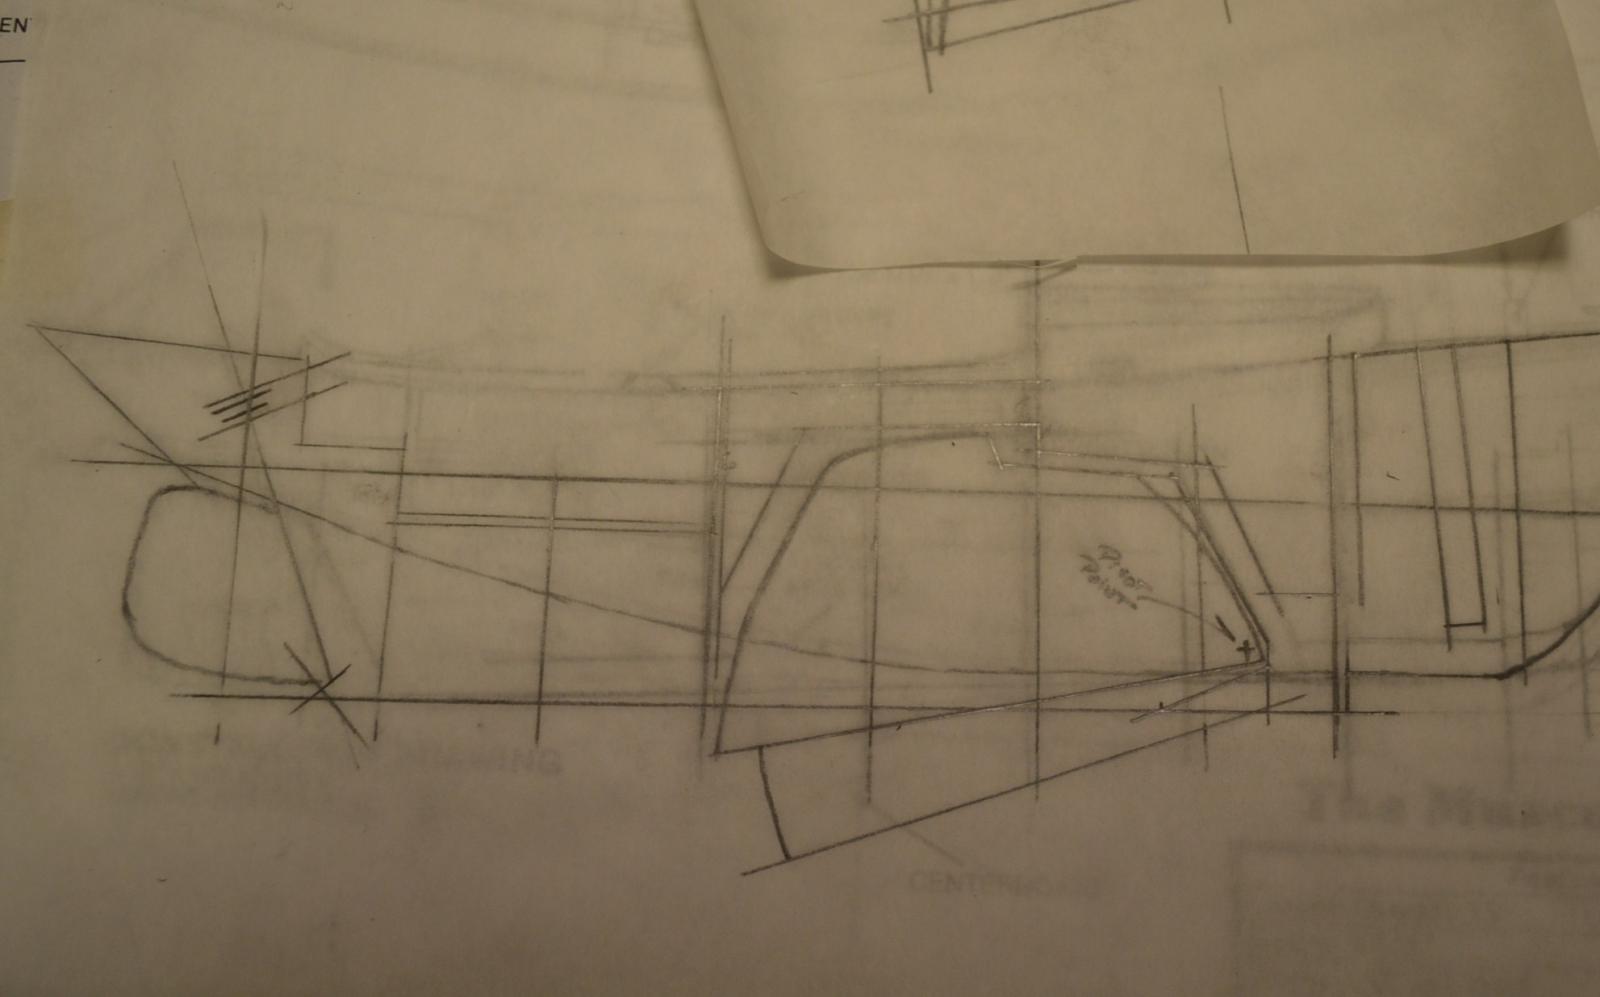
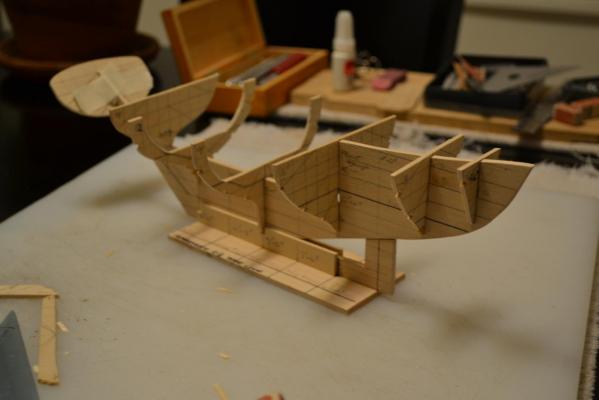
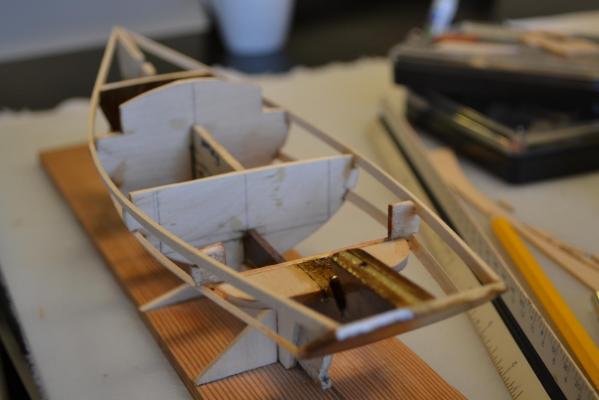
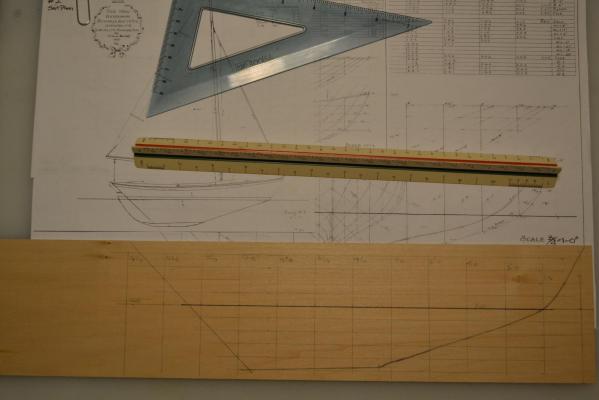
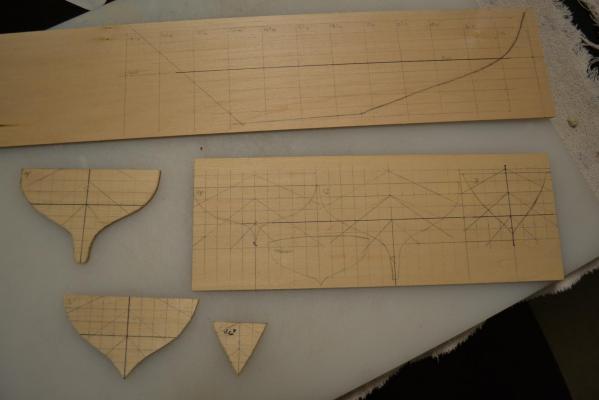
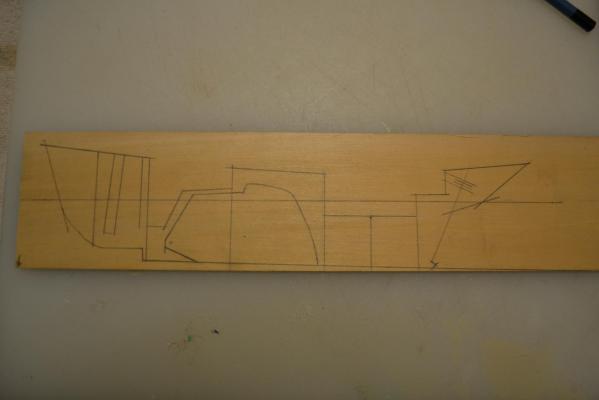
I Started by Taking 1/8" X 4" Basswood and lofting the lines (profile ) drawing on it. And I am using 3/32" X 4" for the frames and started lofting them out as well , I did get a few frames cut ( I see myself going thru alot of #11 Blades) Here are the results
- 296 replies
-
- 4
-
-
- herreshoff
- buzzards bay
- (and 1 more)
-
Looks great Michael, Very nice setup you have there Best Regards, Pete
-
Thanks Tom, Its a beautiful Boat, one I have always wanted . Now that I have gotten my feet wet again,( I had a 11 year break from Boat Buildiing.)( Full Size and Scale models) and now have a few Lobster Smack's under my belt . I am ready to Build This Boat. I am going to build her with cut frames and a strongback. ( that way I can R.C. her if i decide) I like the idea of being able to sail her. Best Regards, Pete
-
Hi Yambo, Although at first glance they look the same, The Sakonnet daysailer has a Hard Chine hull,and The Herreshoff has a rounded bilge. if you were to compare them side by side they are 2 completly different boats Best Regards, Pete
-
Thank you Michael, This should be alot of fun to build
-
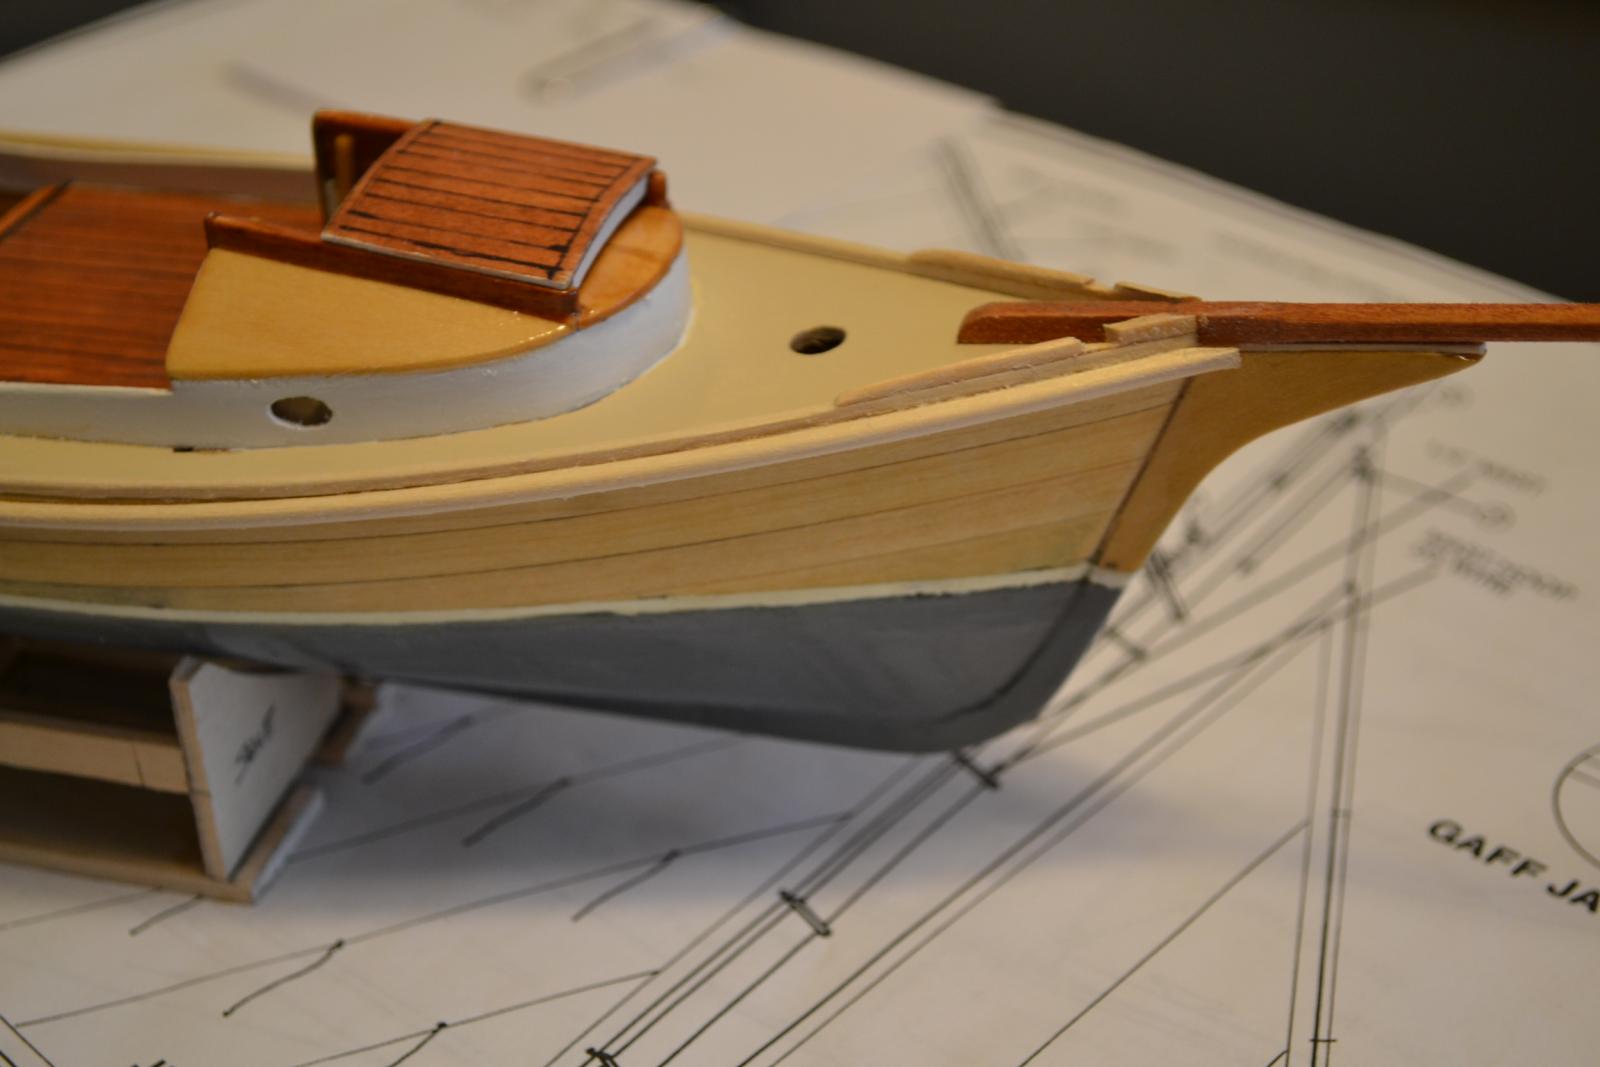
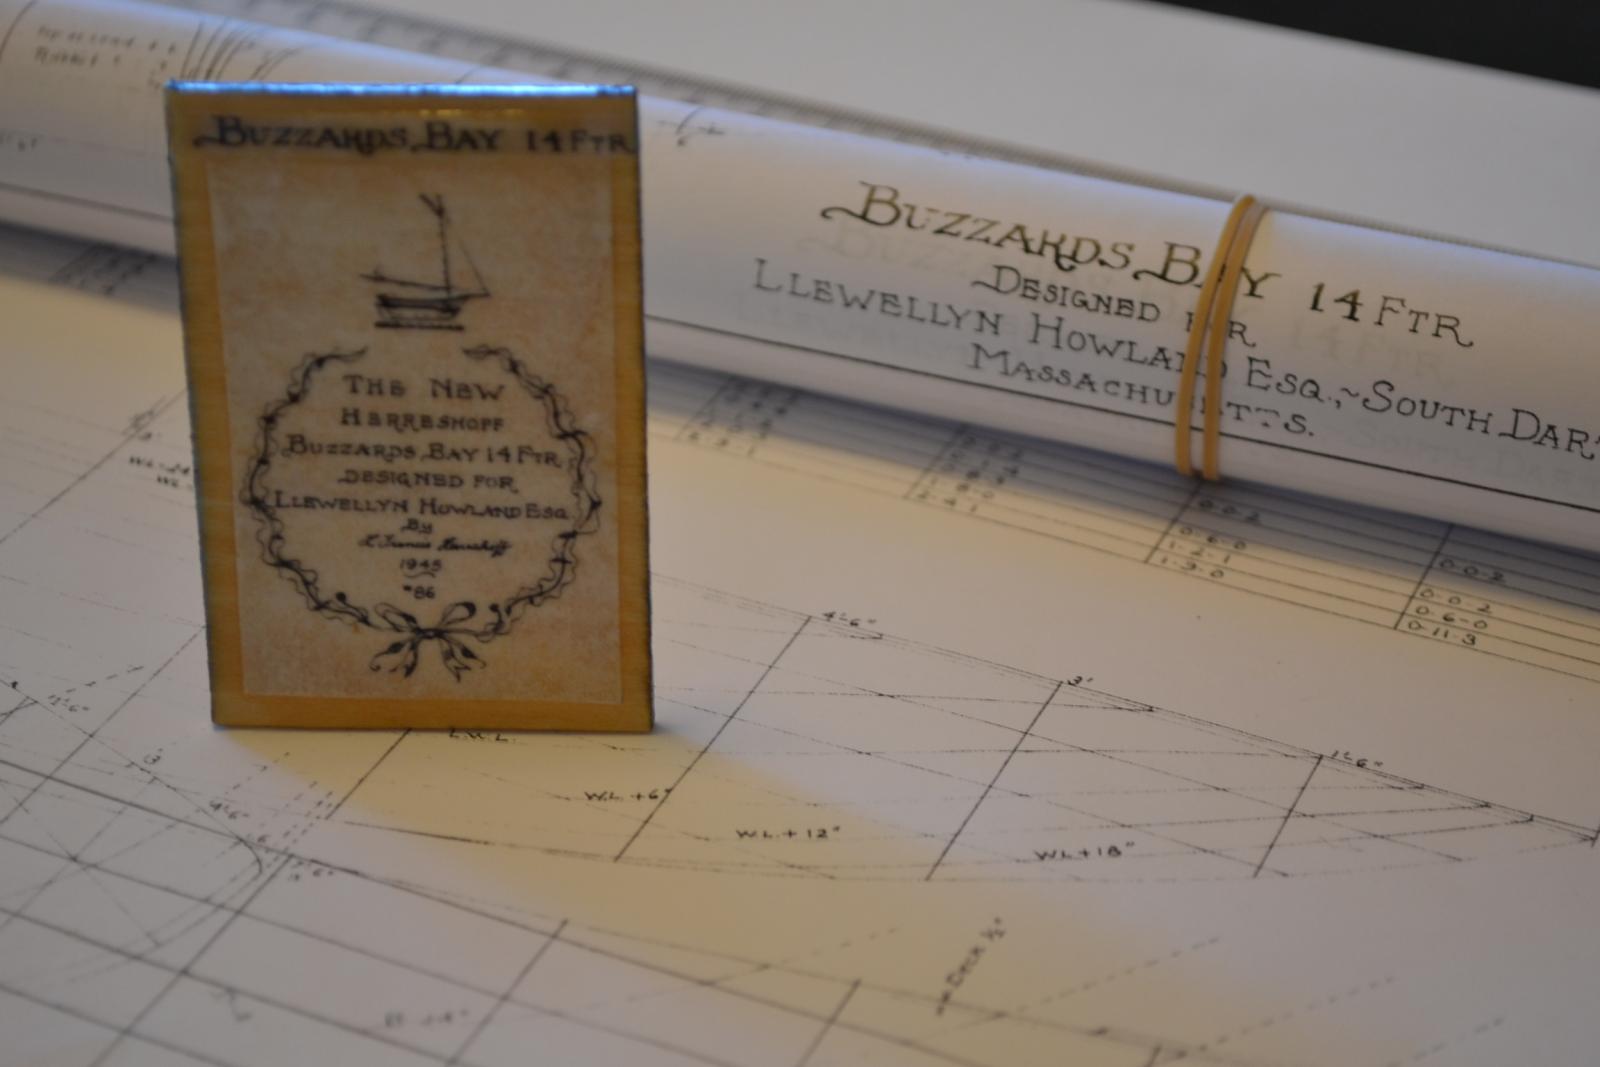
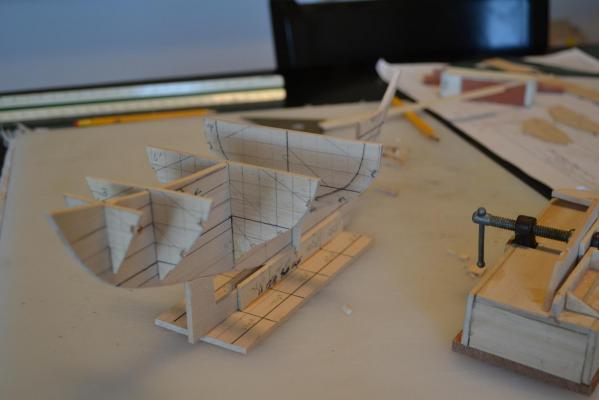
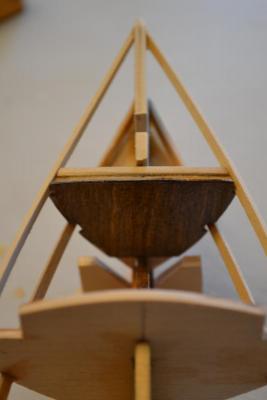
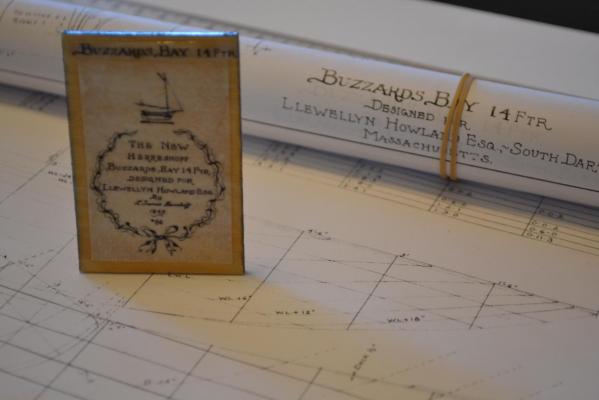
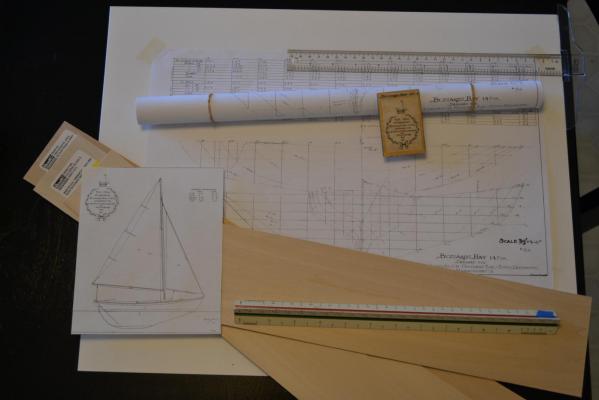
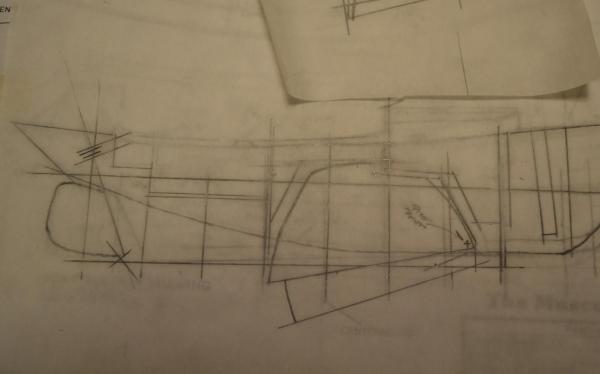
This morning I woke up and Deciced that I would start the Buzzards Bay 14 ftr . I was originaly planning on building Capt Nates 12 1/2 , However I cannot find the plans for it (the last time I saw them was when I was planning on a full size build) anyway, I do have the plans for the Buzzards Bay 14 ftr. wich was designed by Francis Herreshoff (son of Nathanael Herreshoff) a slightly larger version of the 12 1/2. (12 1/2 is the water line length) The Buzzards Bay has a 14 foot Waterline. I still plan on building the 12 1/2 in the future. Here is what I have so far

- 296 replies
-
- 6
-
-
- herreshoff
- buzzards bay
- (and 1 more)
-
Thank you Shawn and Richard, I greatly appreciate it
-
Today on Keel 1,I got started by doing all the small touch up work. I then decided to paint a blue water line on Keel 2 ( I could not get it to work on Keel 1 ) it worked out on this one. I then removed the deck over the fish wells to gain access to the bilge( I may float this one) Here are the results

- 209 replies
-
- 7
-
-
- muscongus bay lobster smack
- midwest products
- (and 1 more)
-
Hi Tom, Looks Beautiful, Fantastic job , I like the Barrels
-
SS Vinal Haven by TBlack - FINISHED
pete48 replied to TBlack's topic in - Build logs for subjects built 1851 - 1900
Looks Good Tom , Great job on the smoke stack -
While I keep adding Varnish to Keel 3 , I started on Keel 4, This one will have a working Retractable Center Board, a working Rudder and I am going to open the frames up in the cabin area. Here are the results
- 153 replies
-
- 2
-
-
- musongus bay
- sloop
- (and 1 more)