Glenn-UK
-
Posts
3,169 -
Joined
-
Last visited
Content Type
Profiles
Forums
Gallery
Events
Everything posted by Glenn-UK
-
 Great work and I will follow with great interest as I'm in the early stages of my Pegasus build
- 64 replies
-
- 1
-

-
- pegasus
- victory models
- (and 1 more)
-
Hello Doug I've just found your build log and it looks like your are doing a really nice job of your build. I will follow your build with interest as you are a bit further on than me with my HMS Pegasus build (just finished the 1st planking). Glenn
-
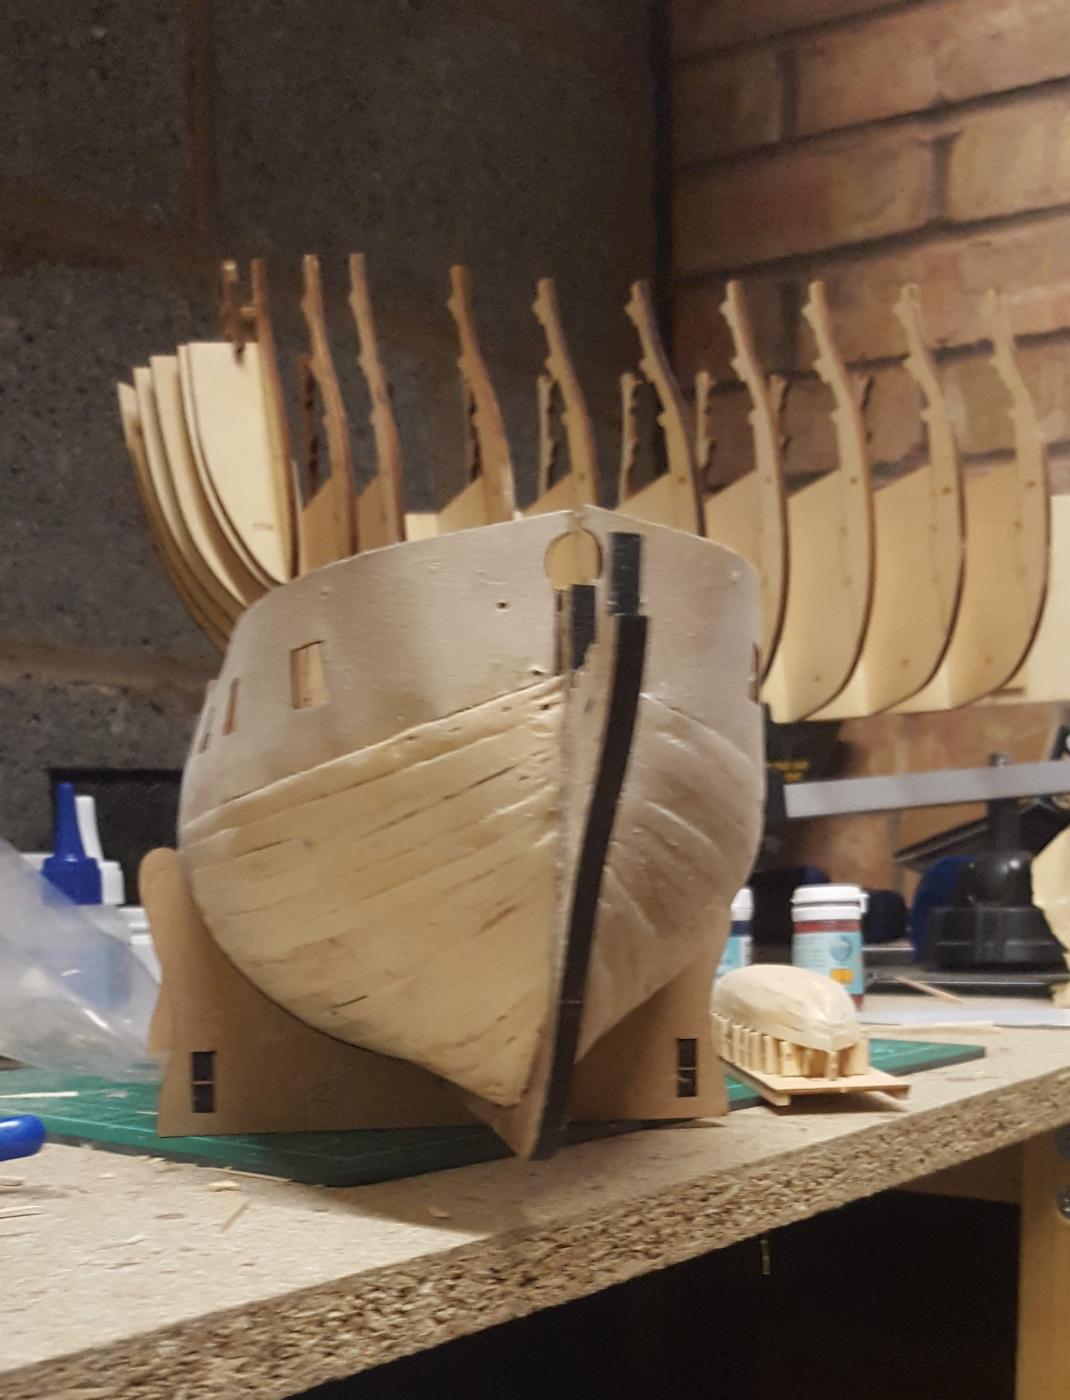
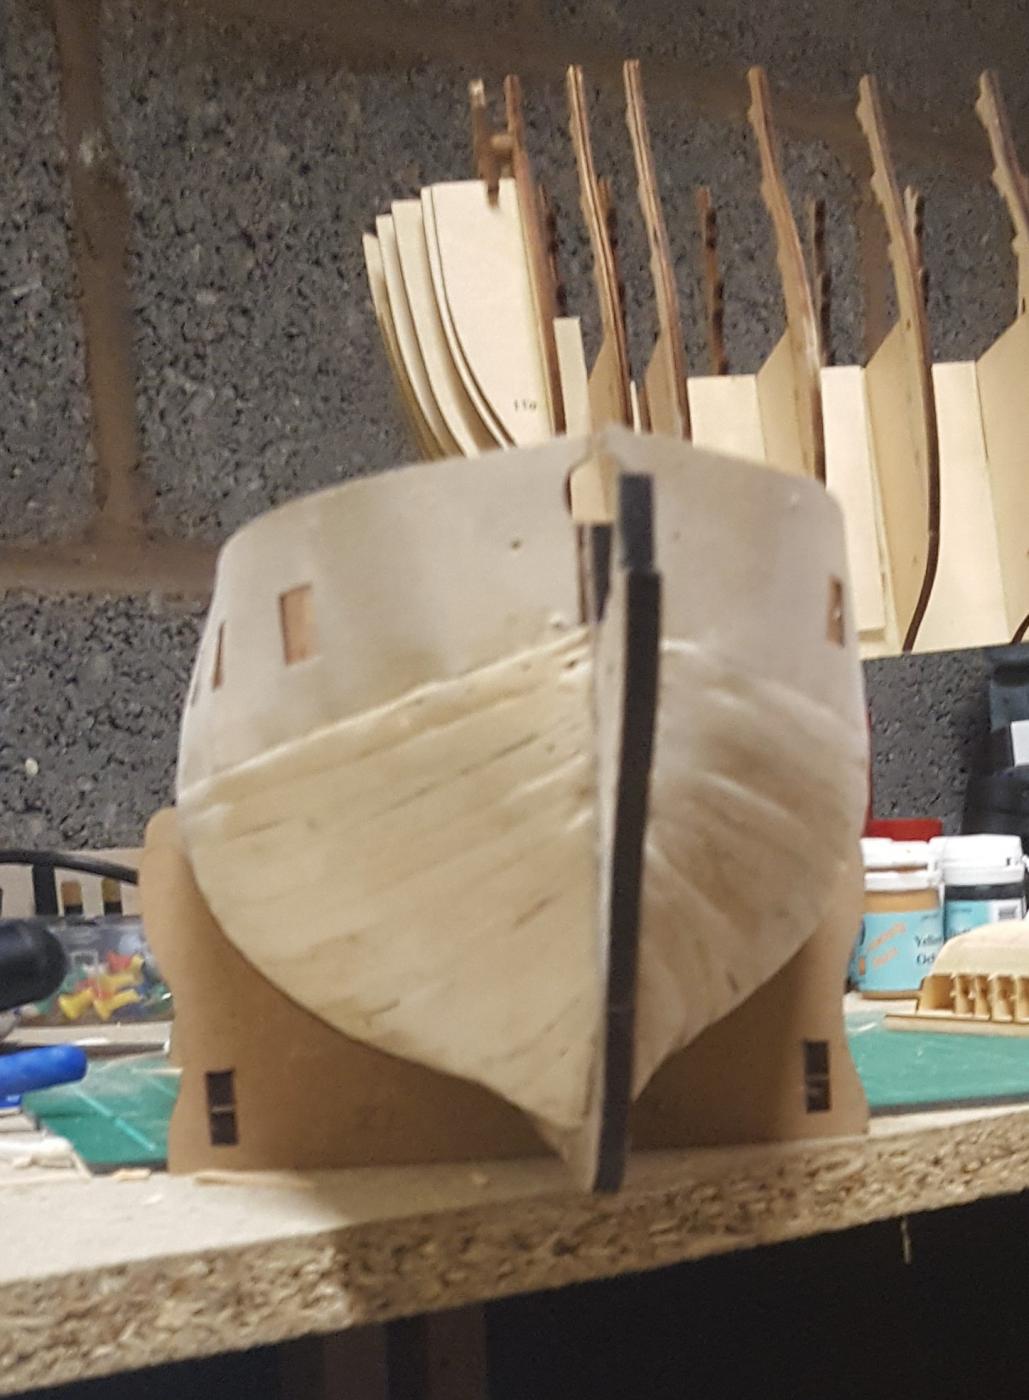
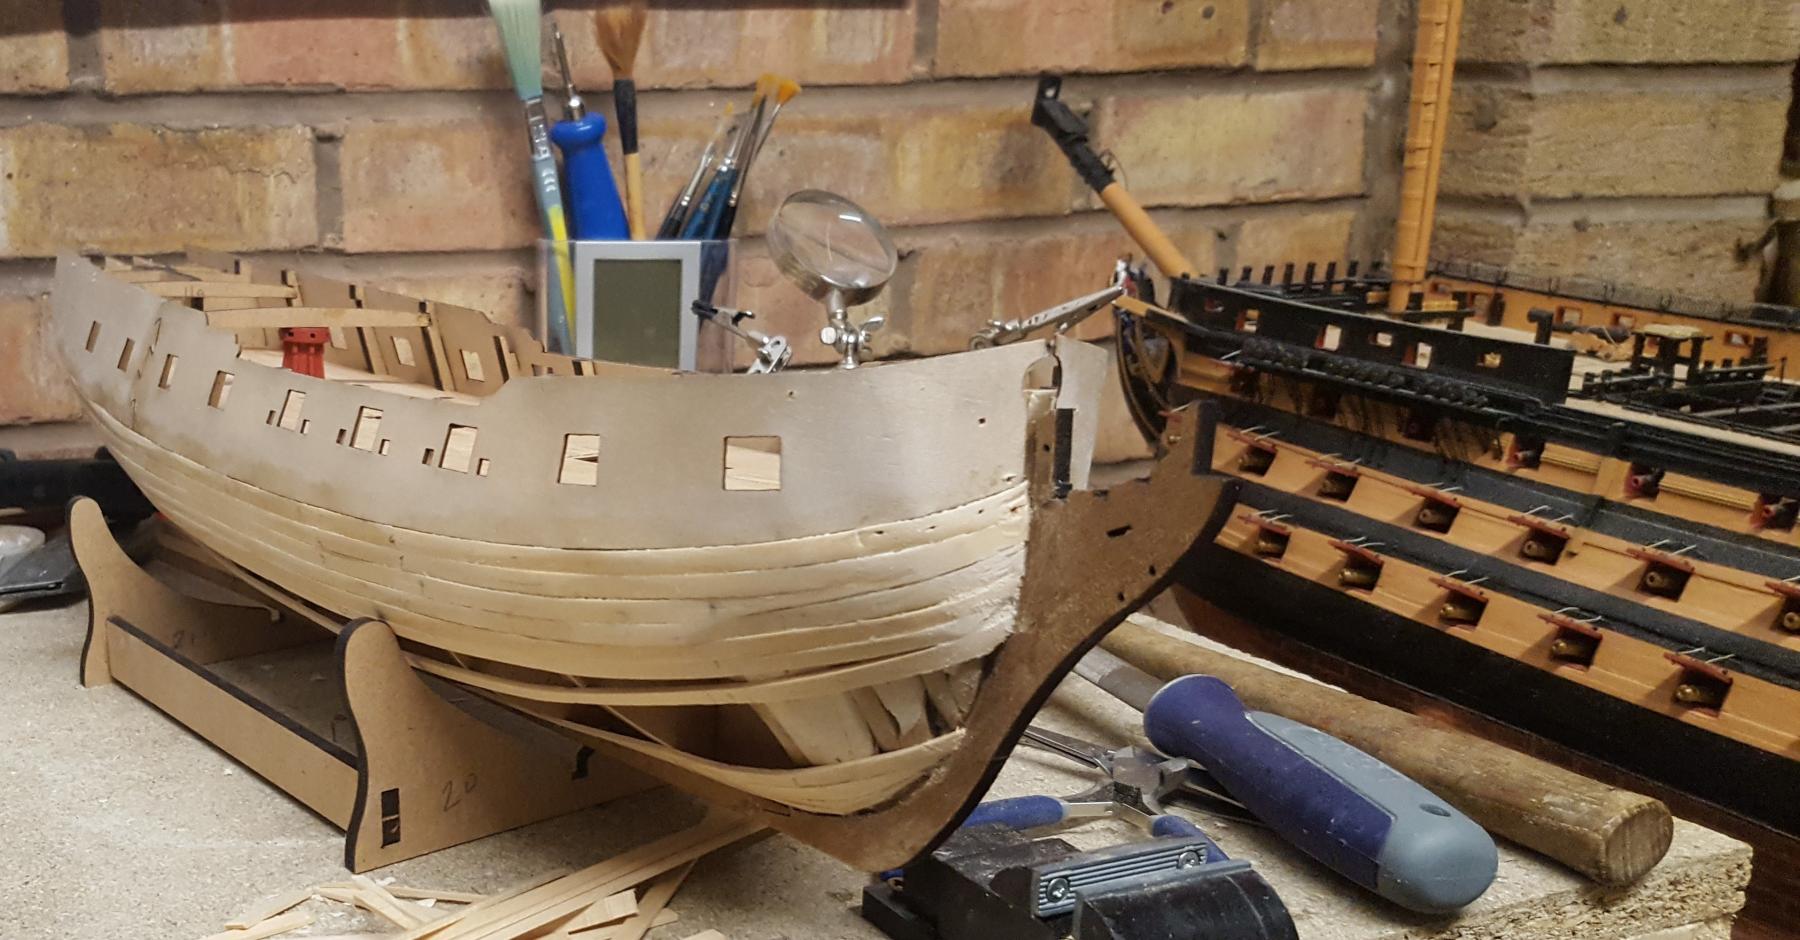
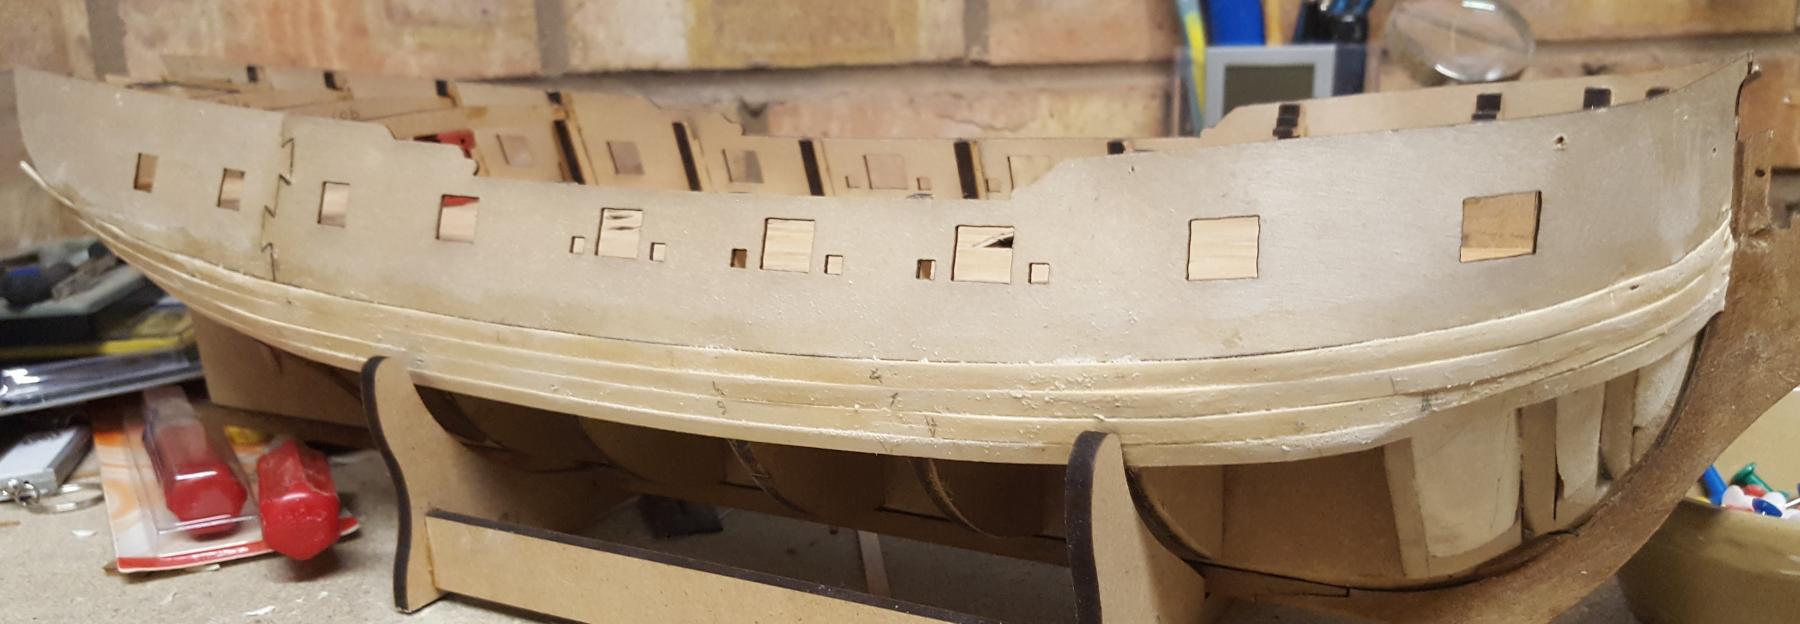
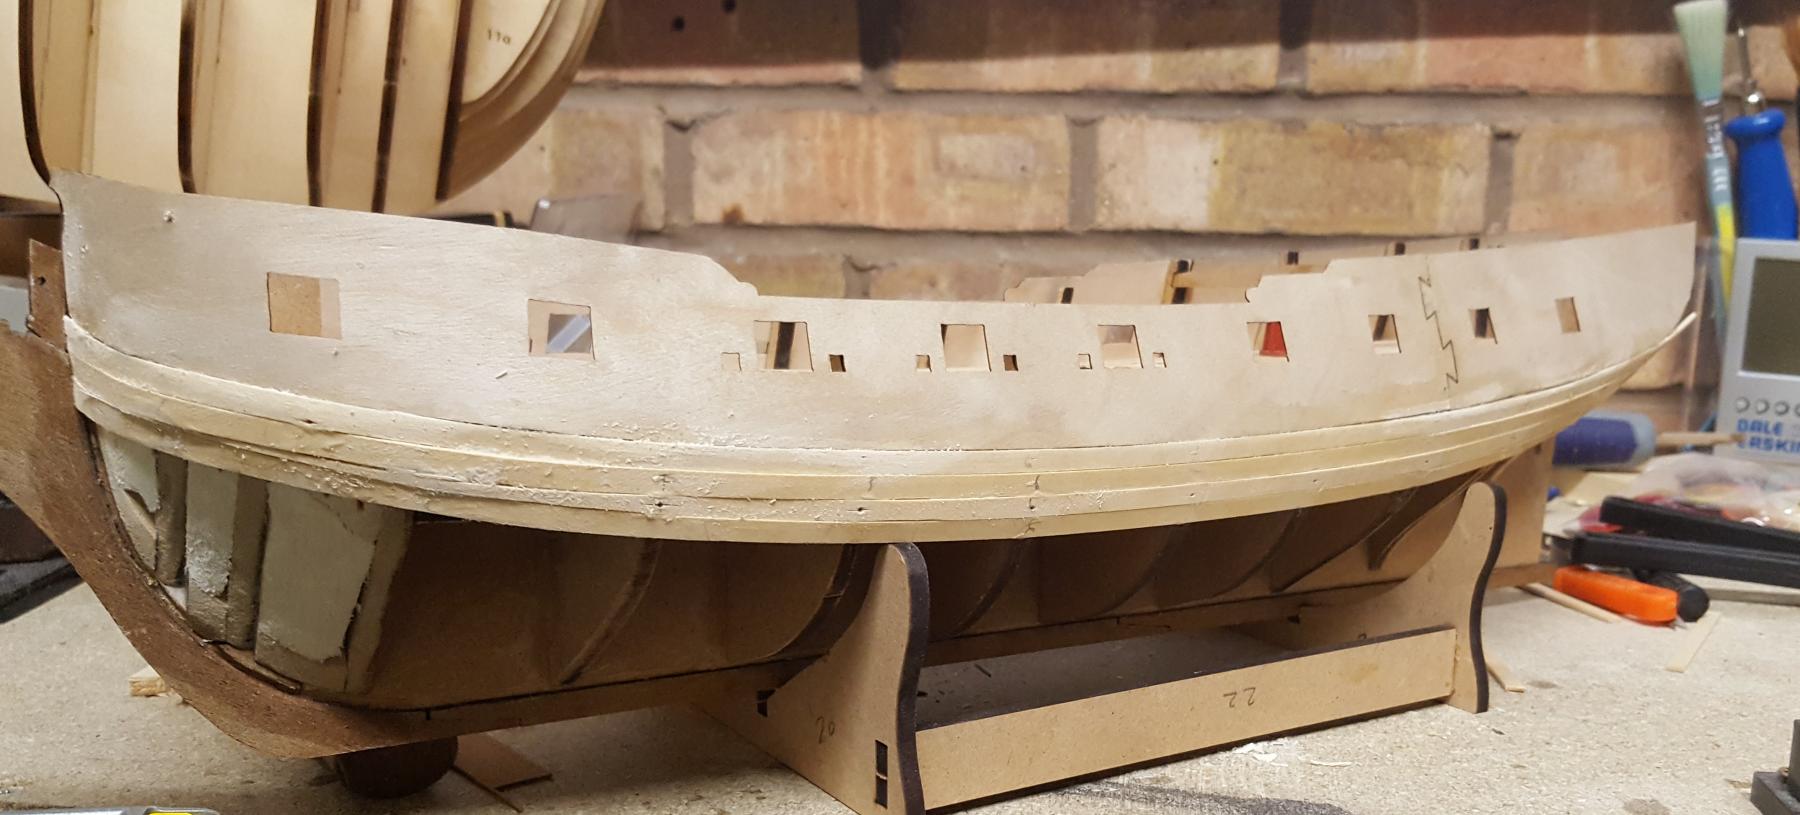
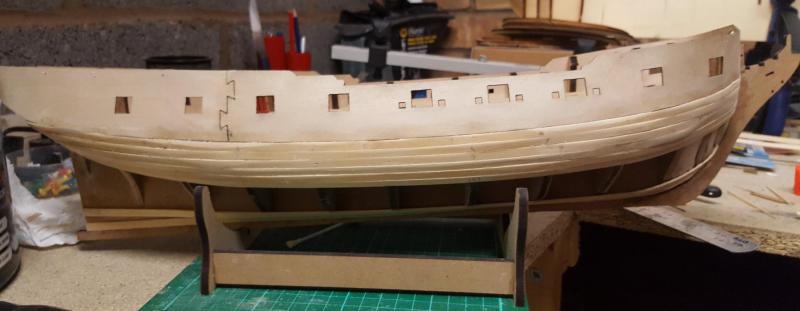
Build Log Index I have finally finished the first planking and I'm reasonably happy with the end result. It's not perfect but its more than good enough to accept the second planking. I have also completed the initial sanding and the hull is now quite smooth, however there are still a couple of small areas to be filled and sanded before I'm ready to start the second planking. I'm just waiting for a delivery of some squadron white putty to complete this activity. Here are some pictures


-
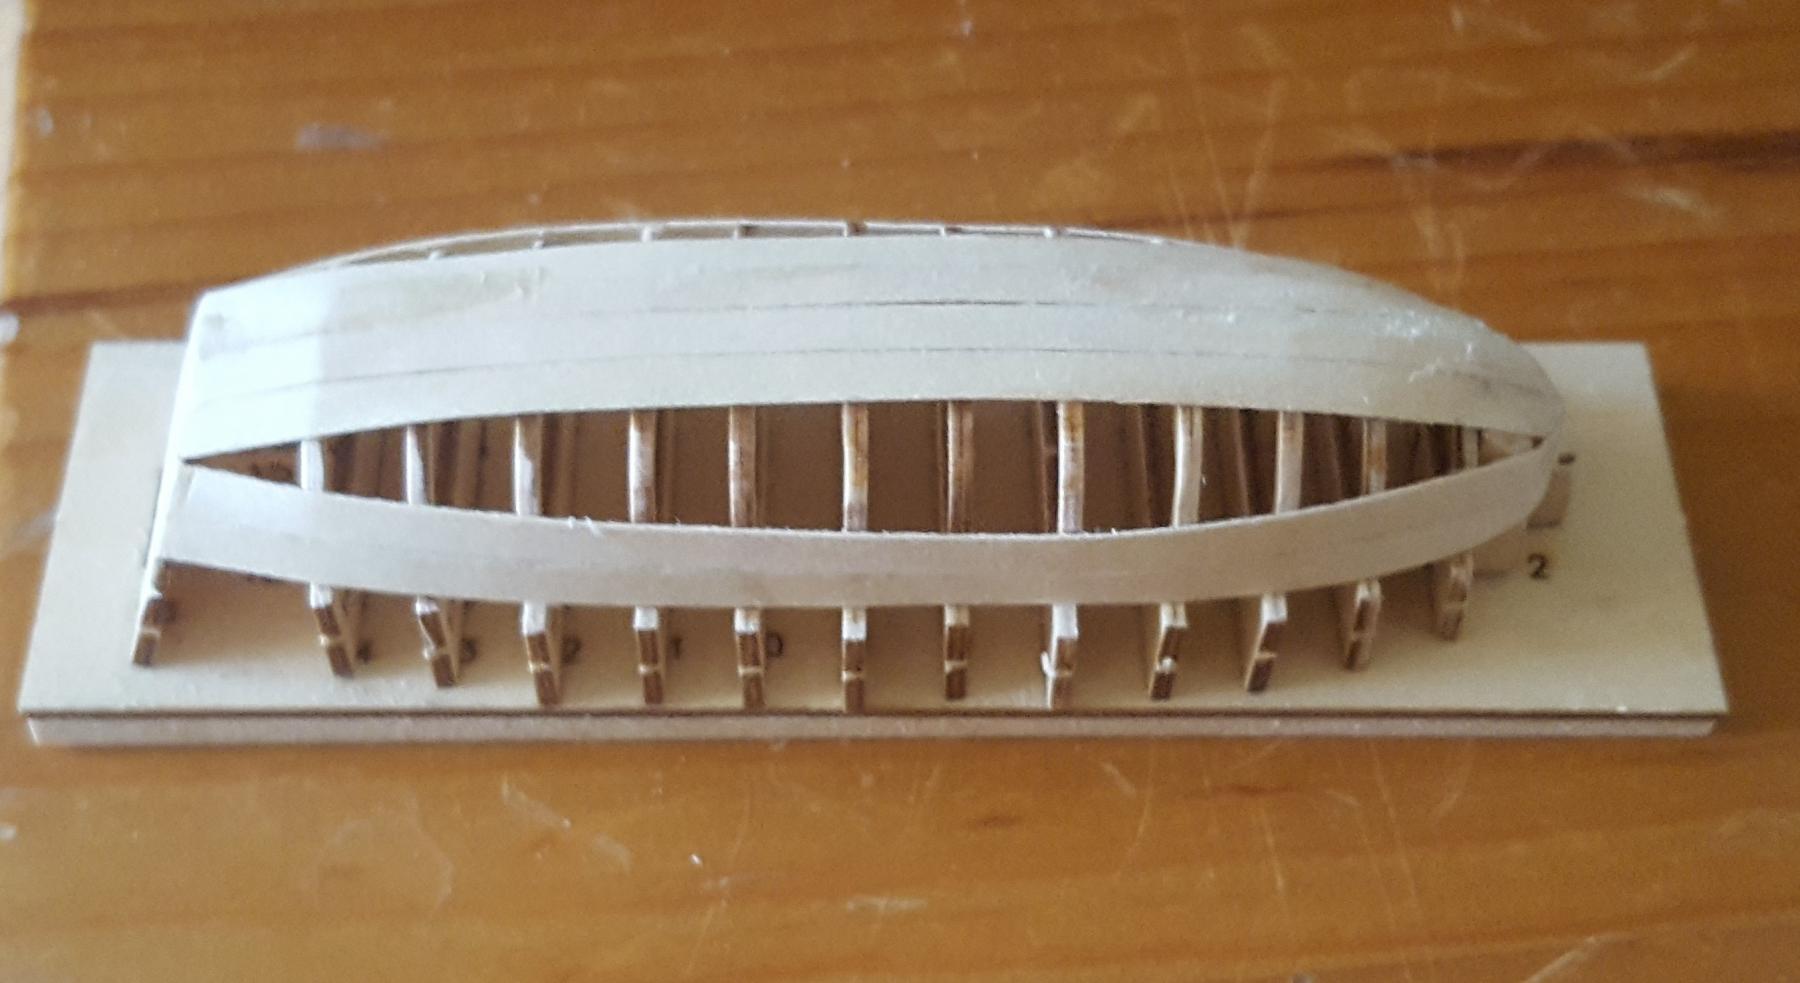
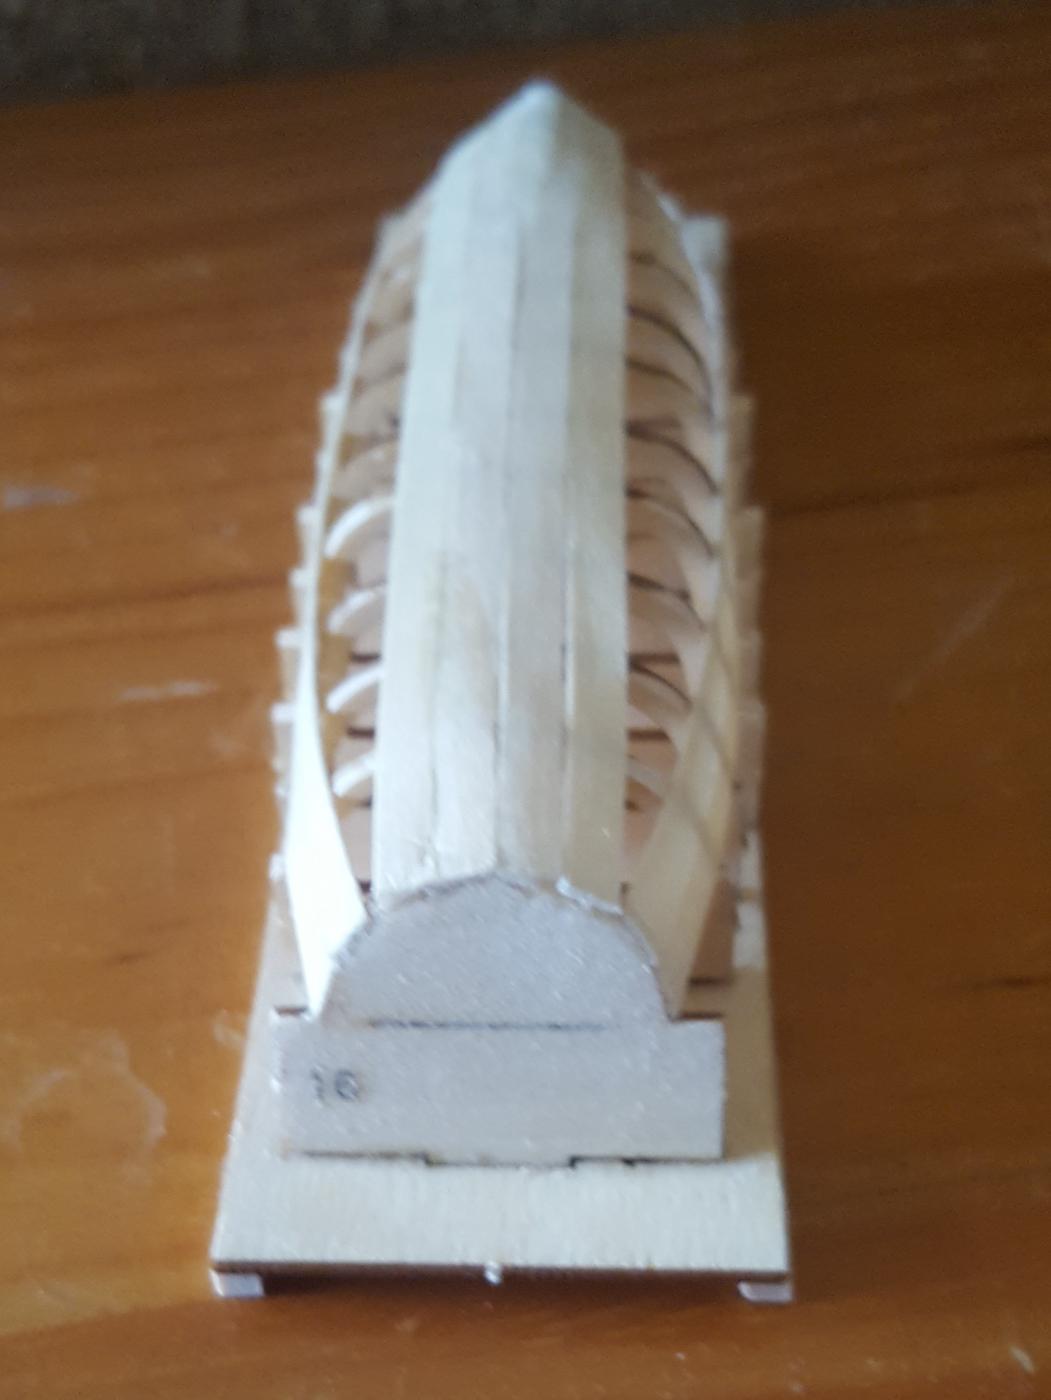
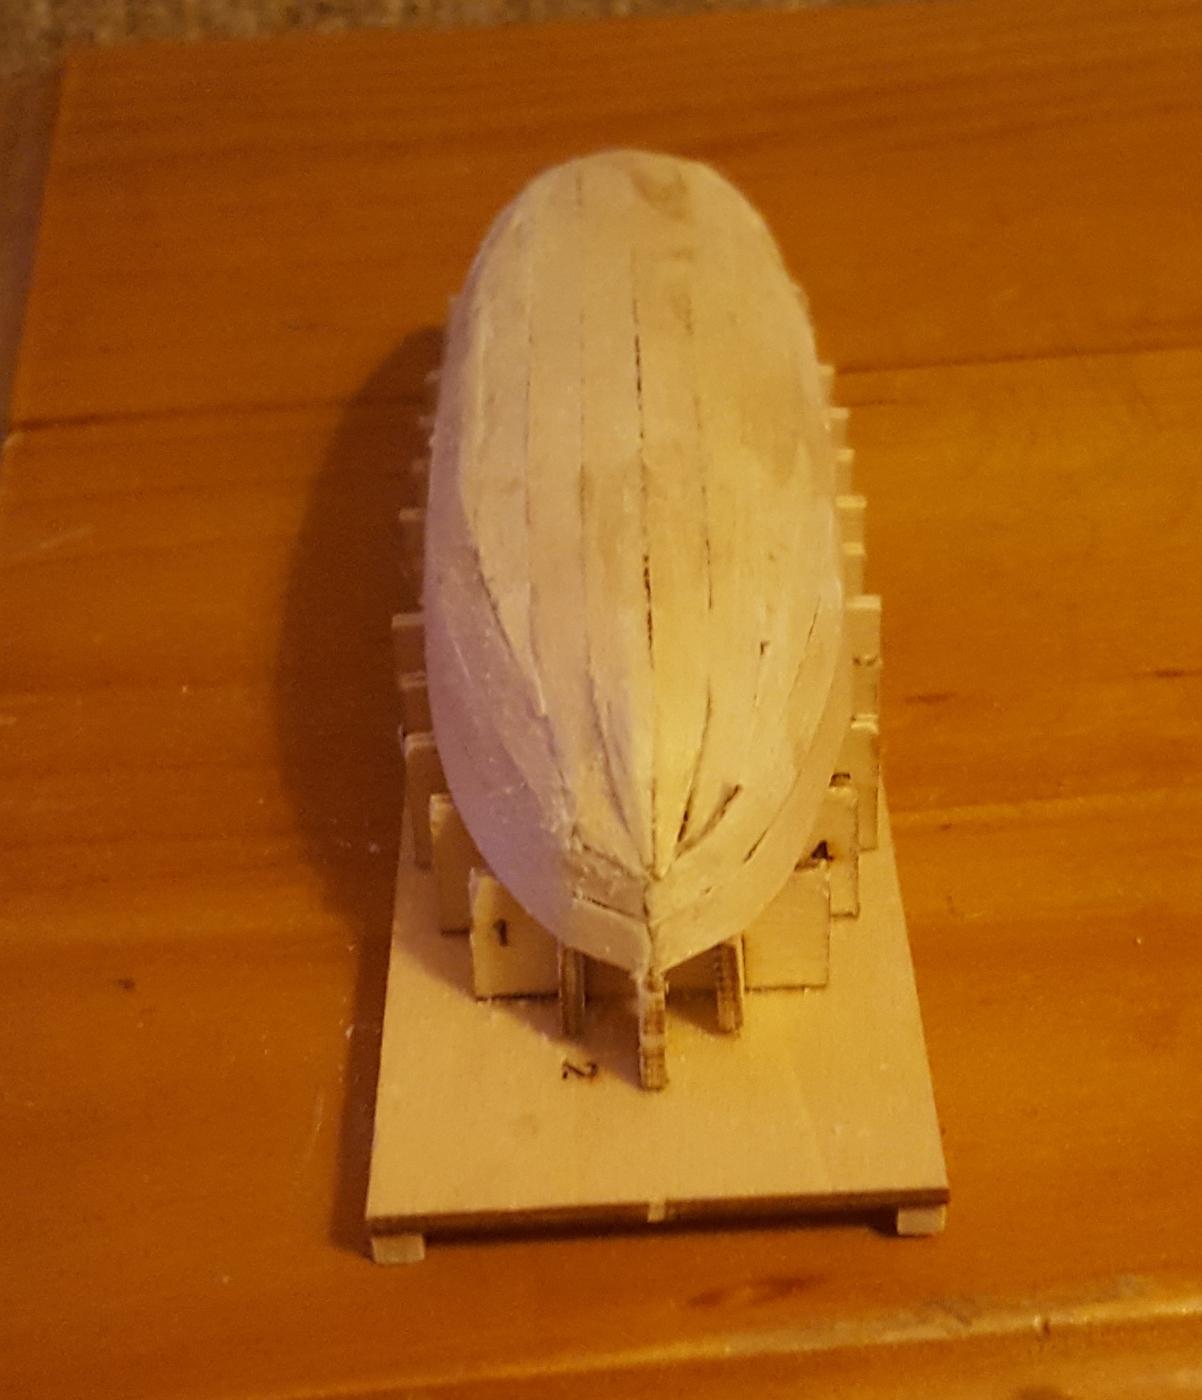
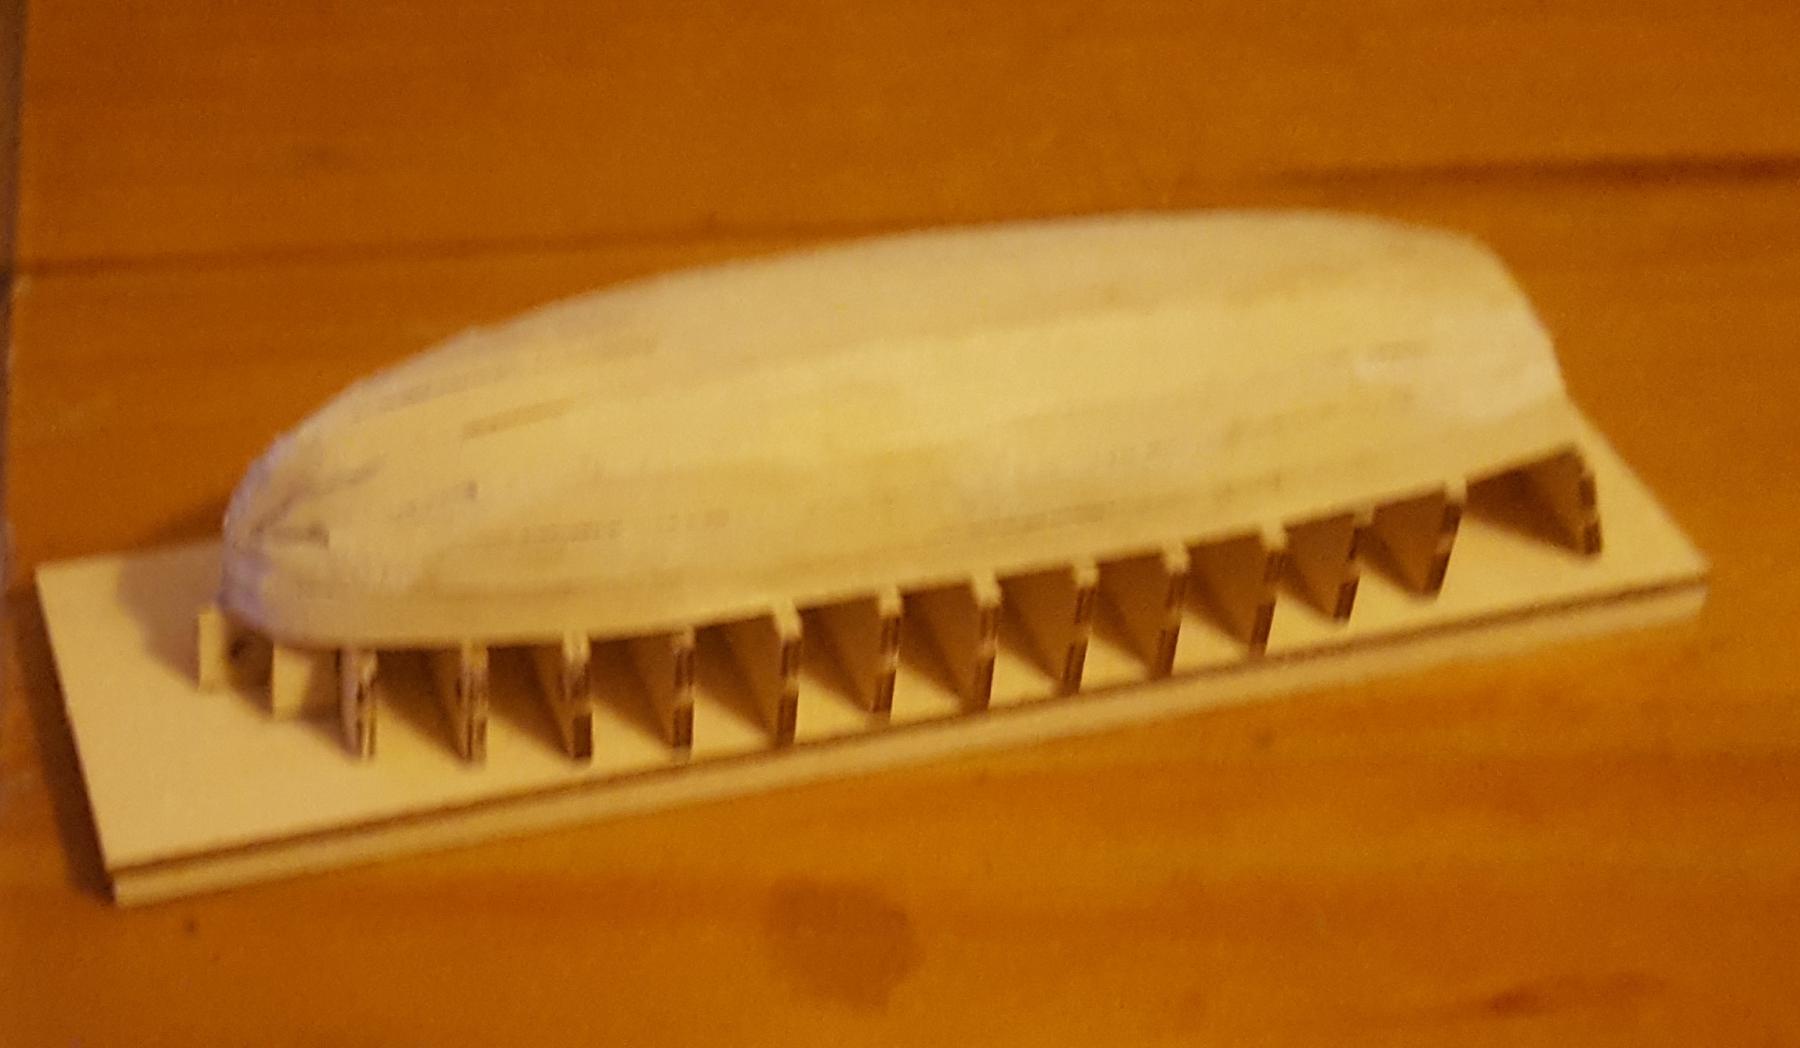
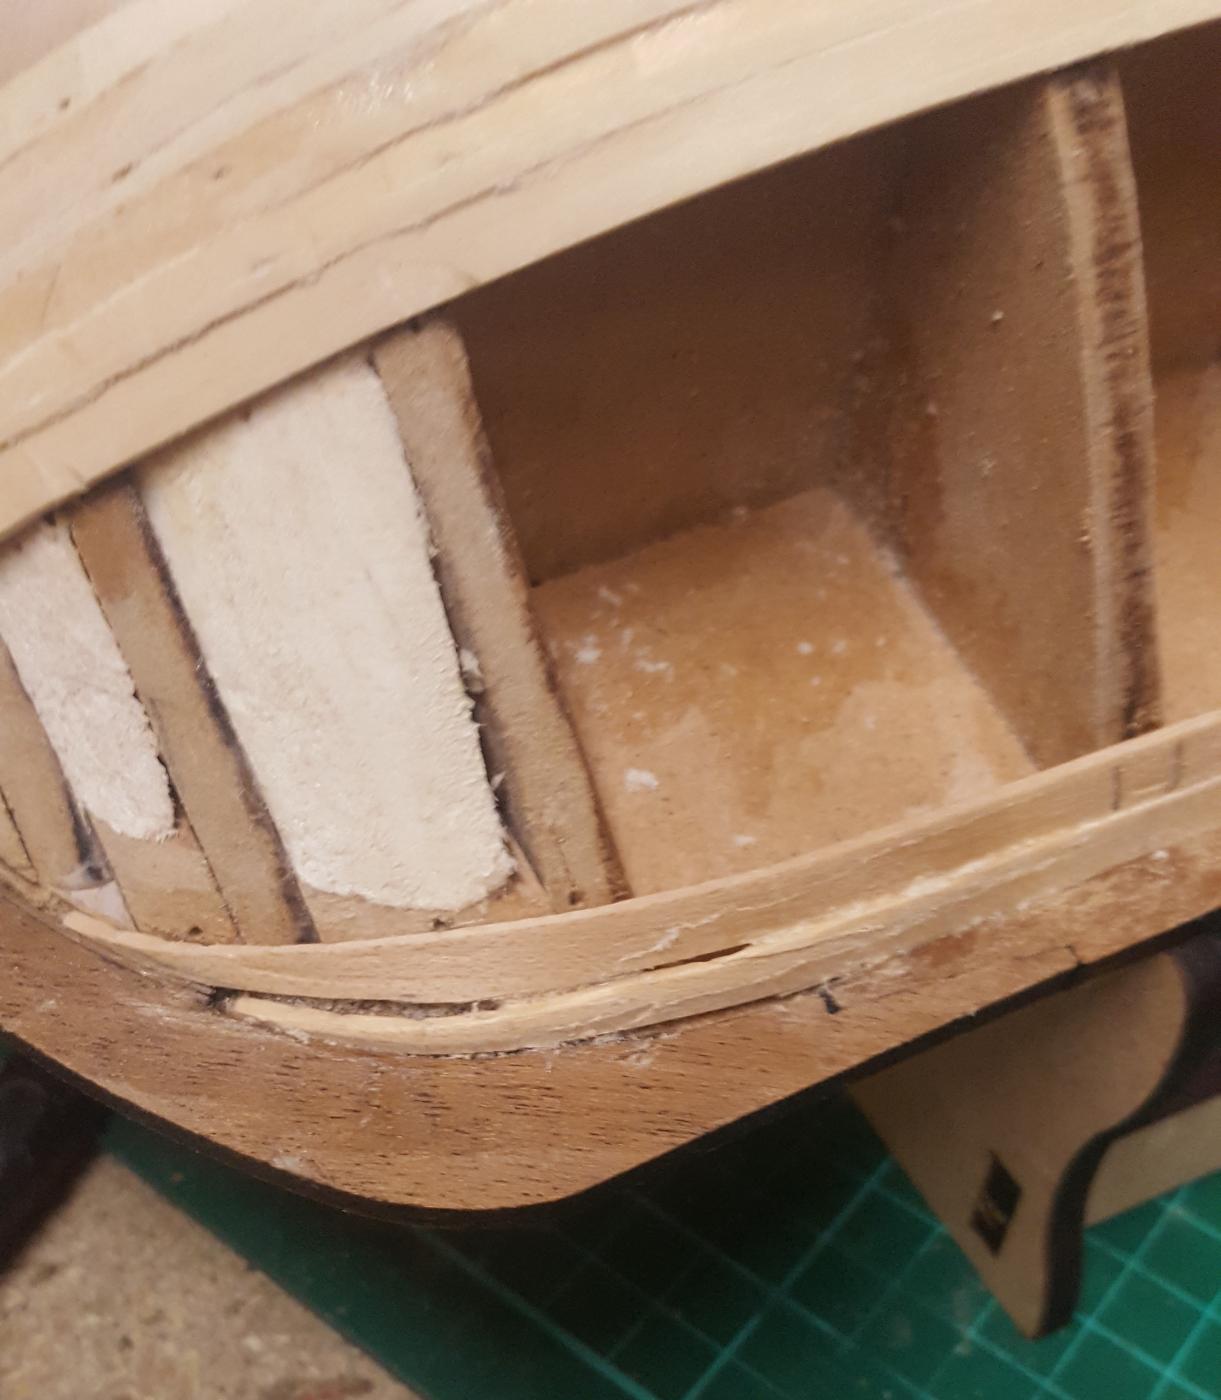
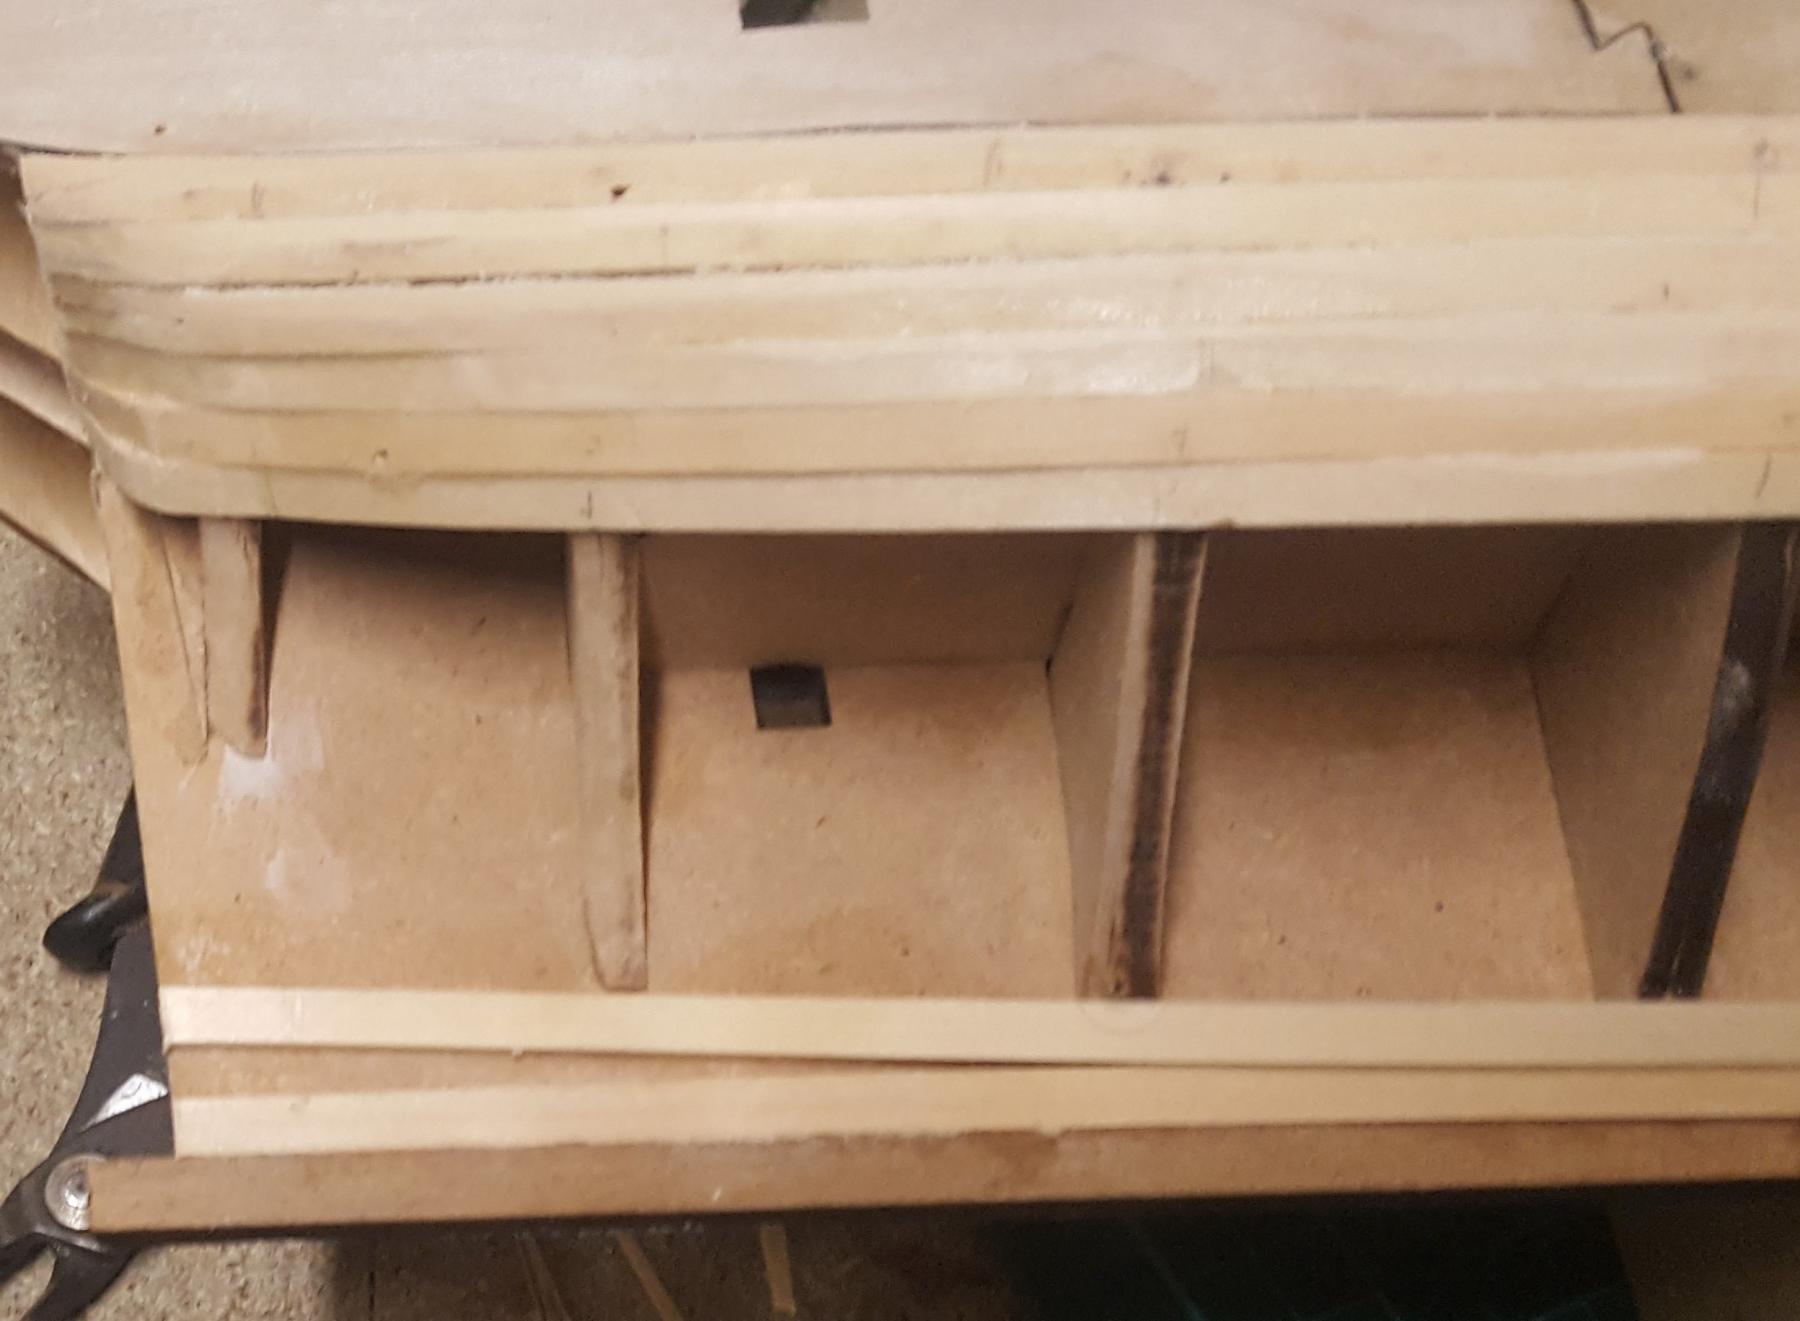
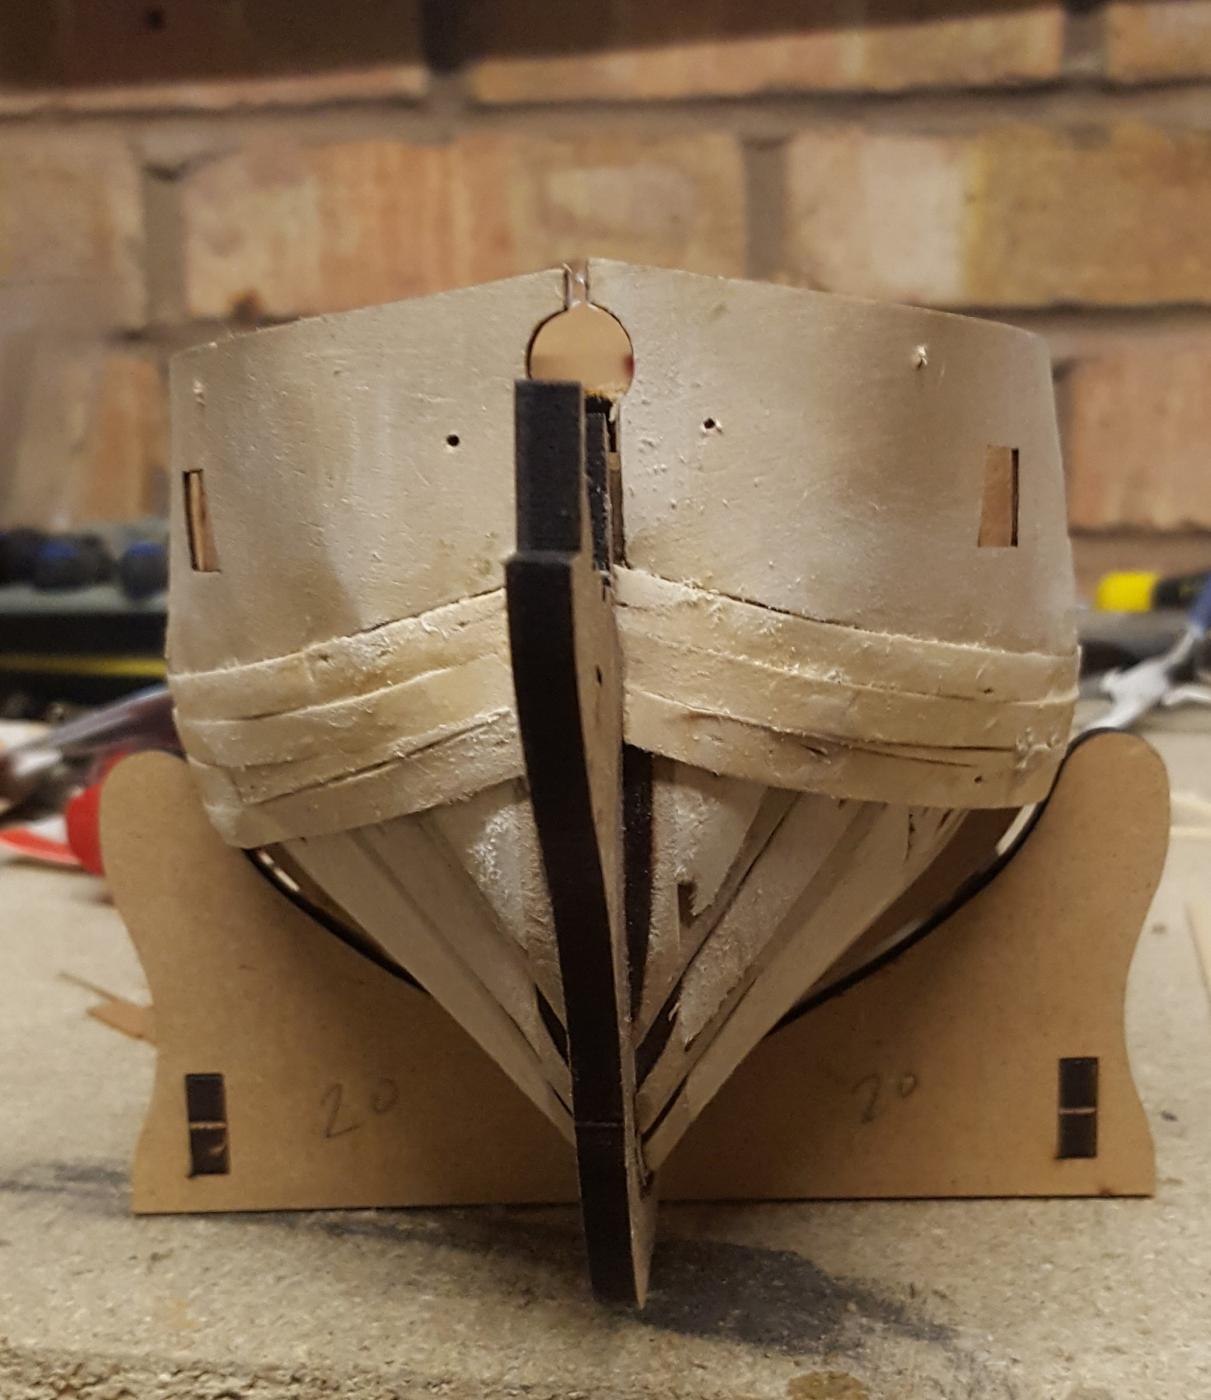
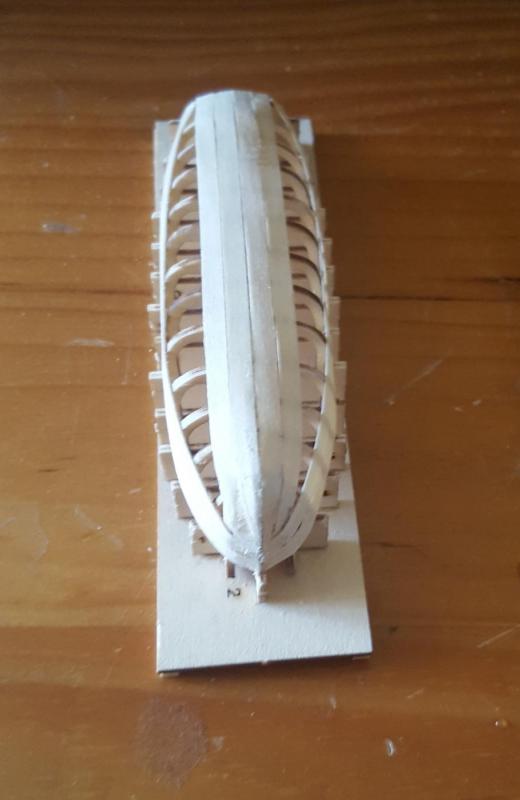
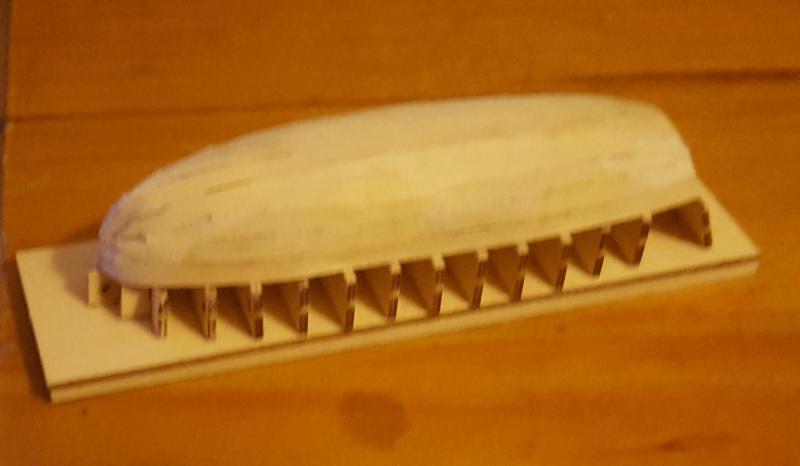
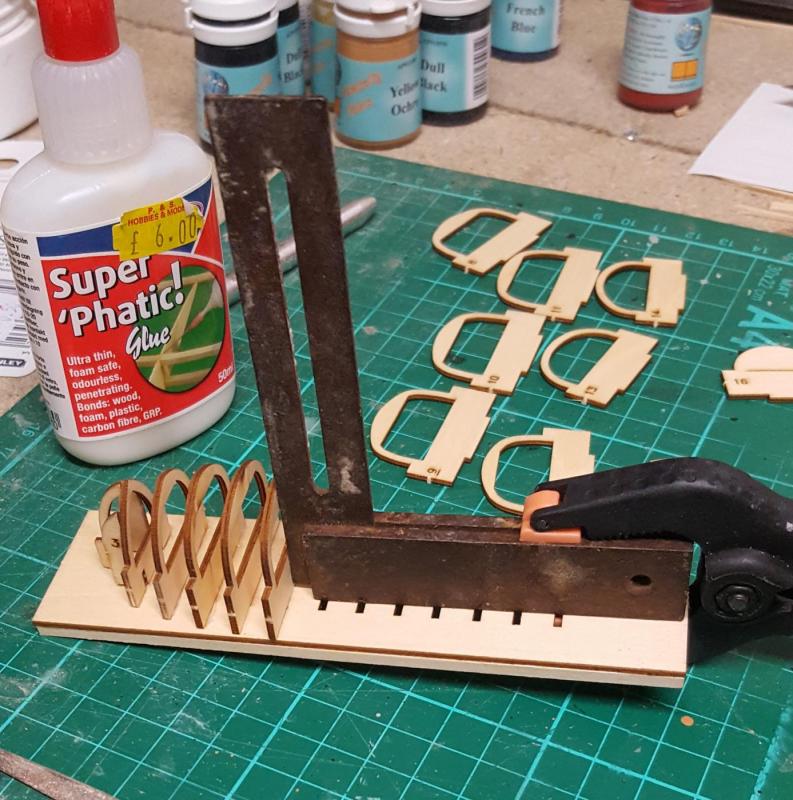
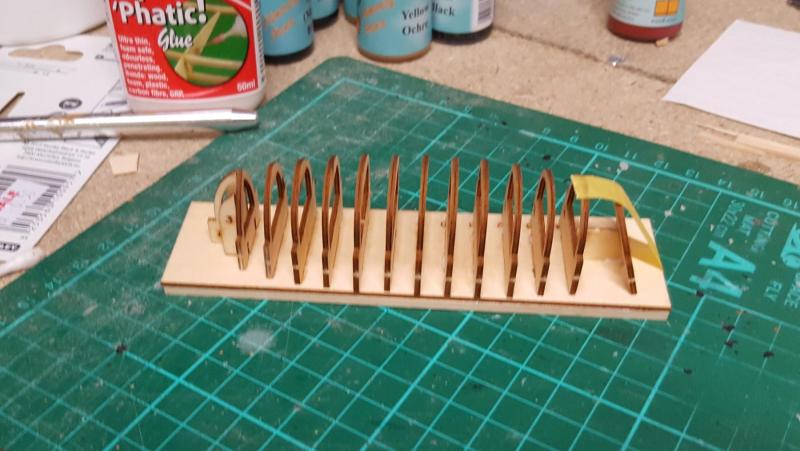
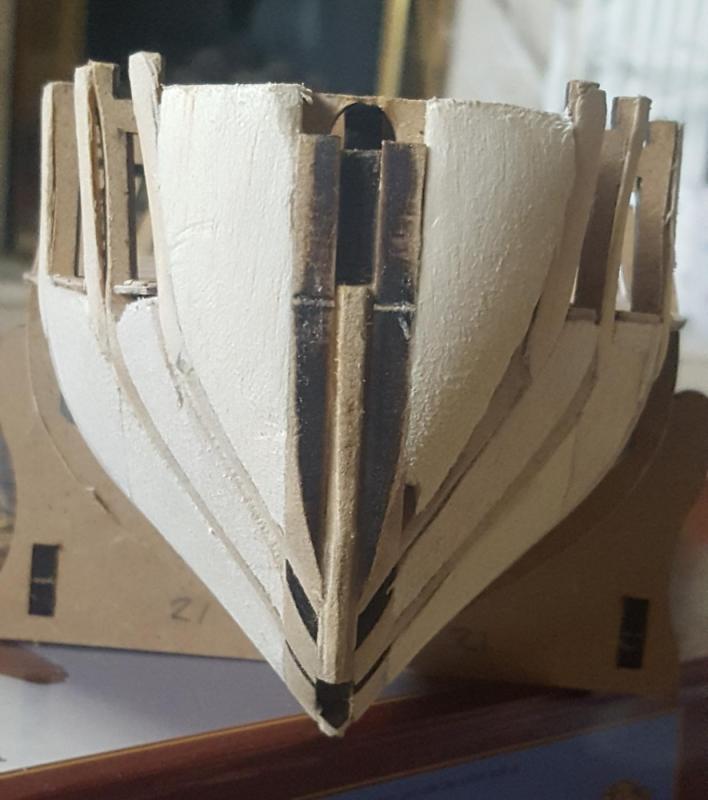
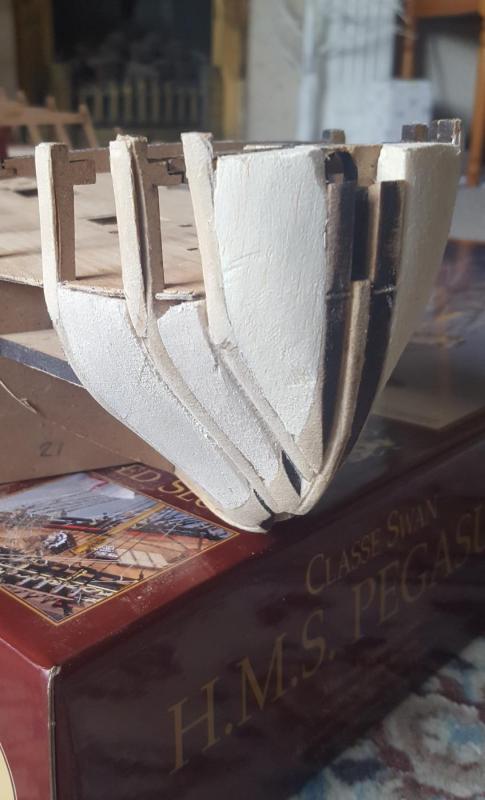
Spent today planking the launch. It was reasonably easy, and I found it best to use CA glue. I started with two planks at the top, and added two planks from the keel The hull is now ready for sanding. Before I start the sanding process I intend to mix some watered down wood glue with planking sawdust to fill in the gaps. I have also ordered Mr. Primer Surfacer 1000 which I will use to prime the hull before painting.


-
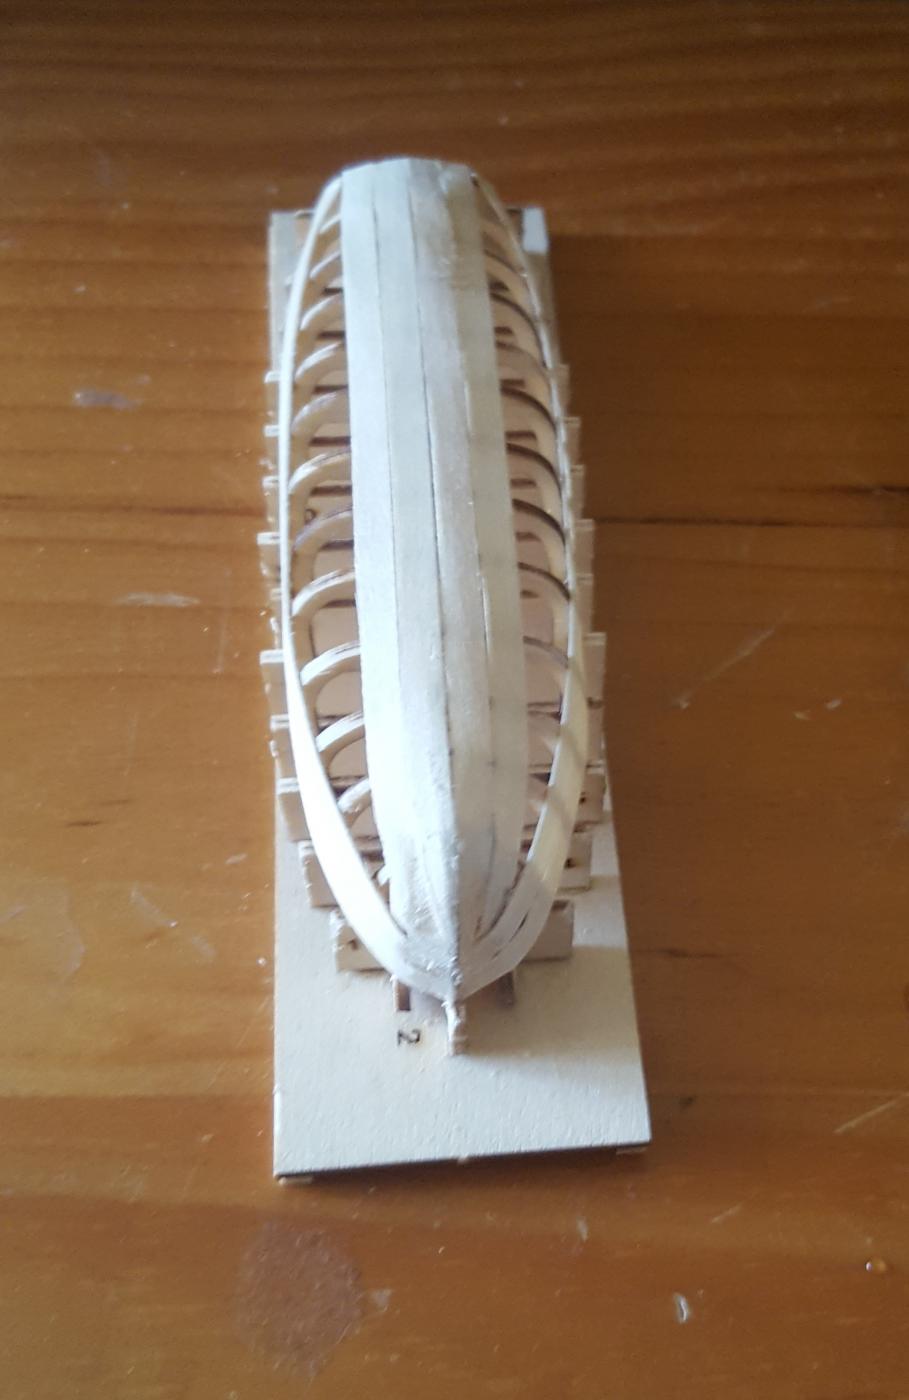
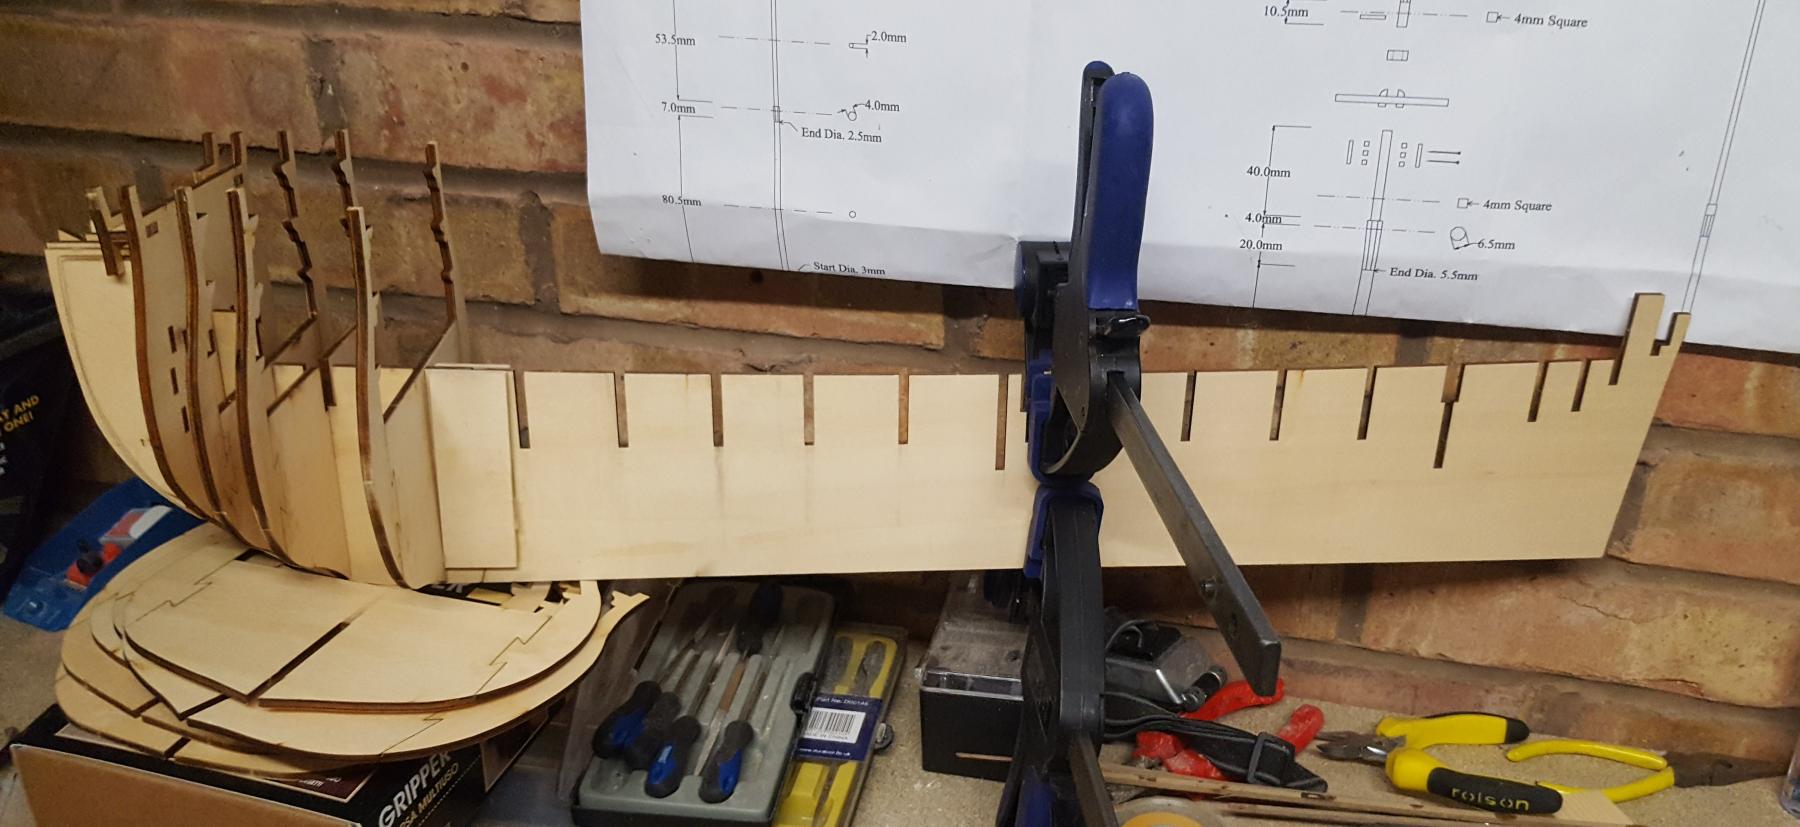
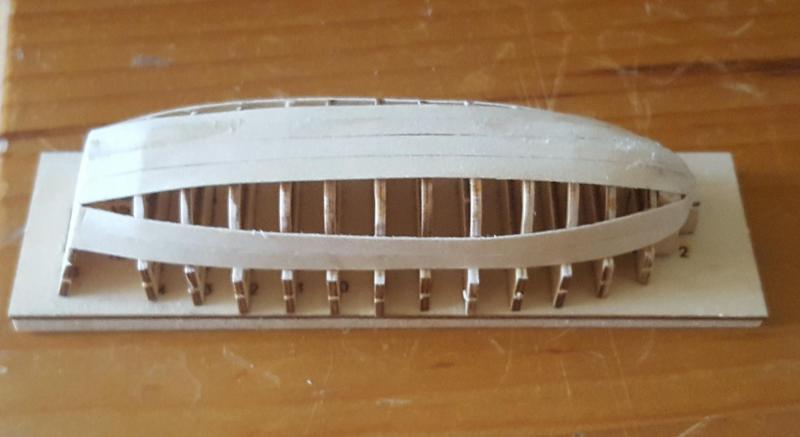
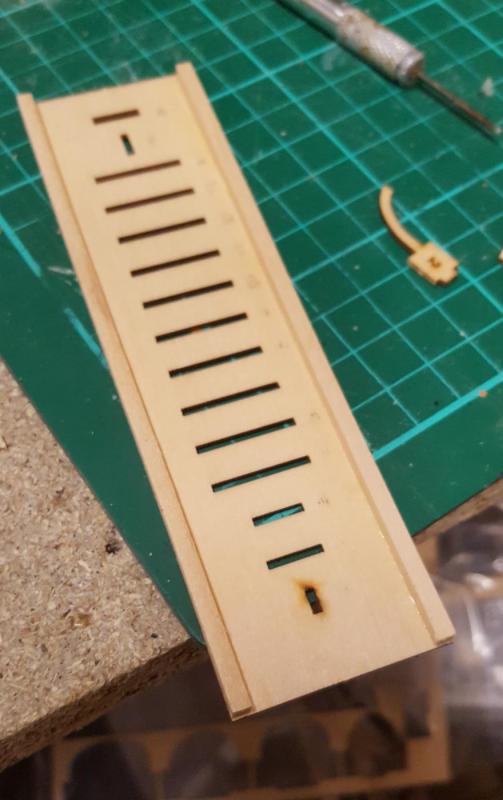
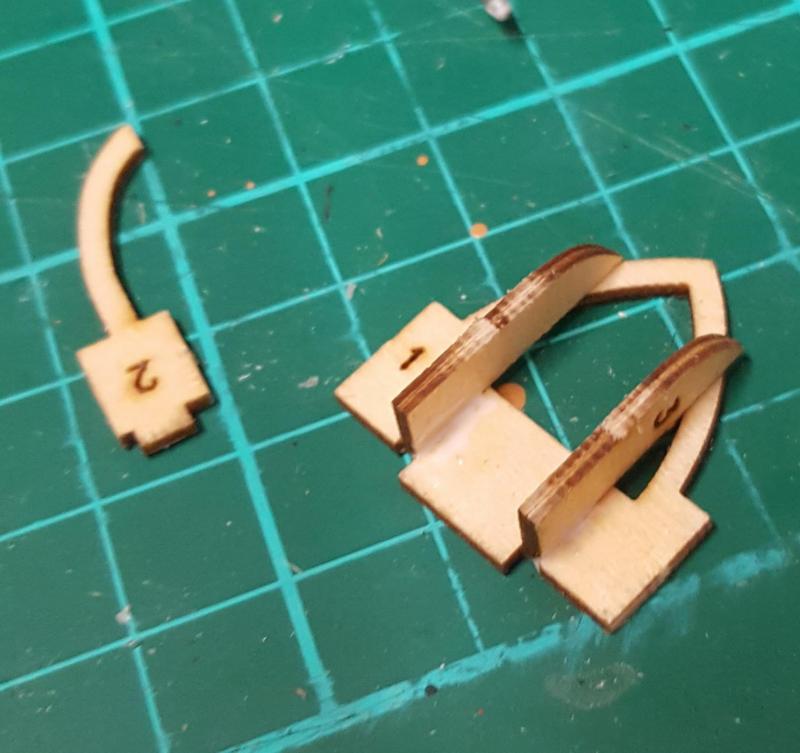
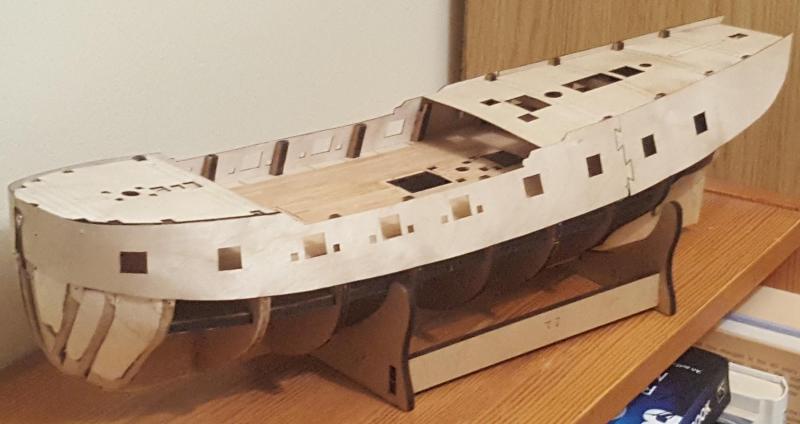
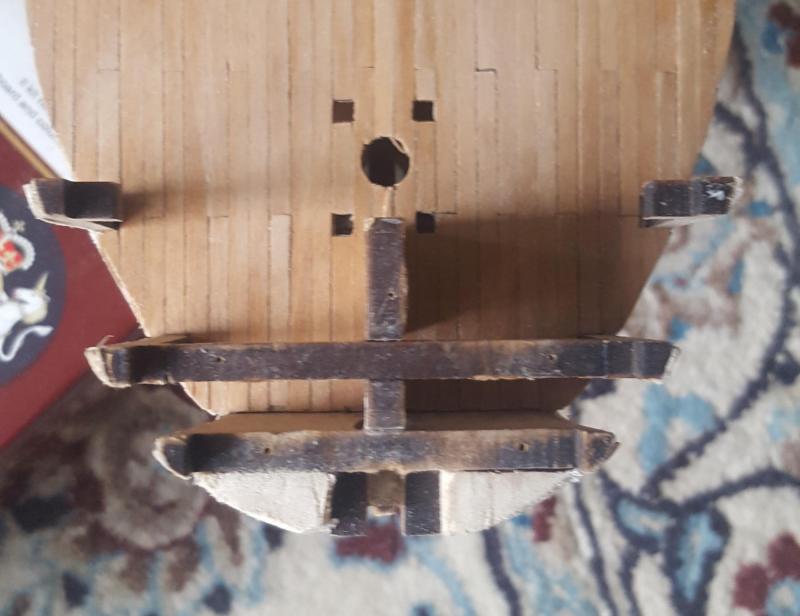
I've made a little bit more progress on this build. First of all I have attached the final keel section. Here are the before and after pictures I have also made a start on assembling the launch. The first task was to add two supports to the launch jig I then assembled the bow frame assembly Finally I added the launch frames to the jig, ensuring each frame was set square.


-
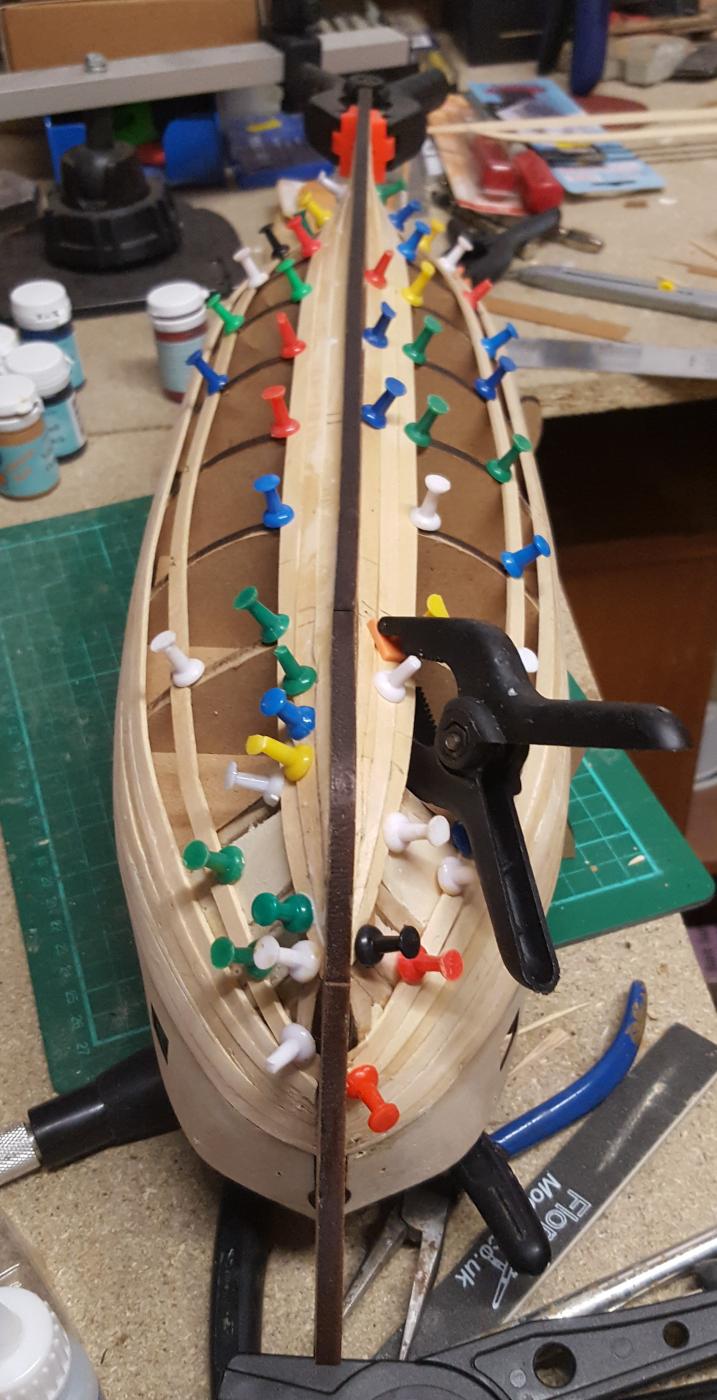
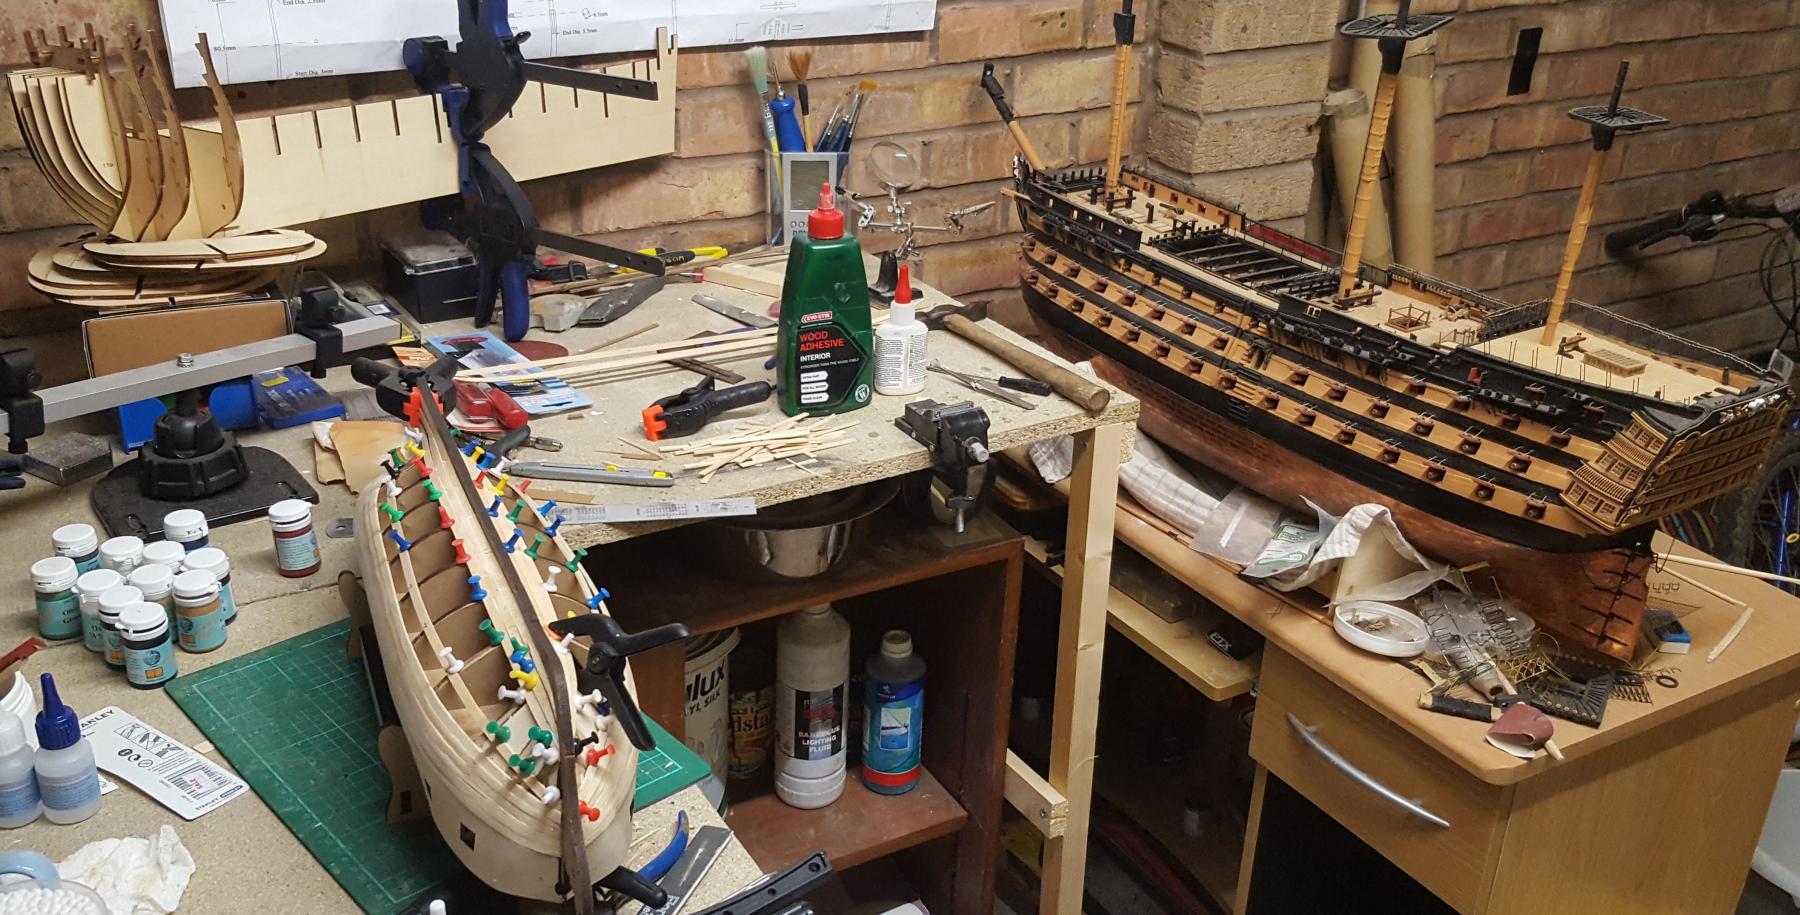
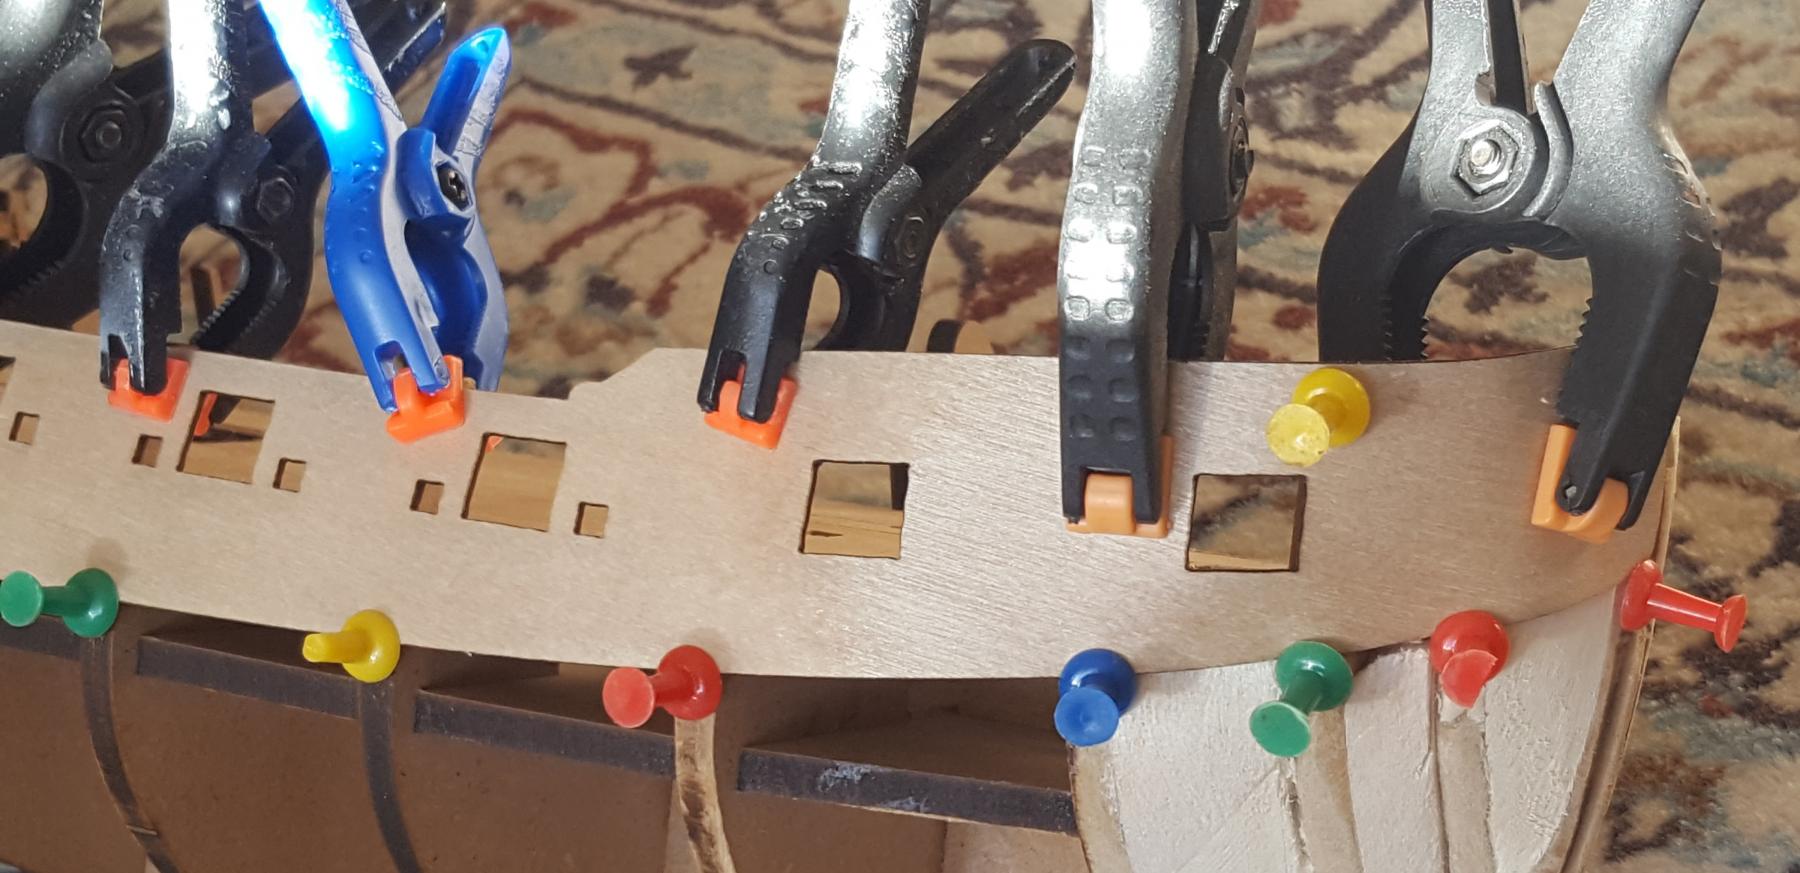
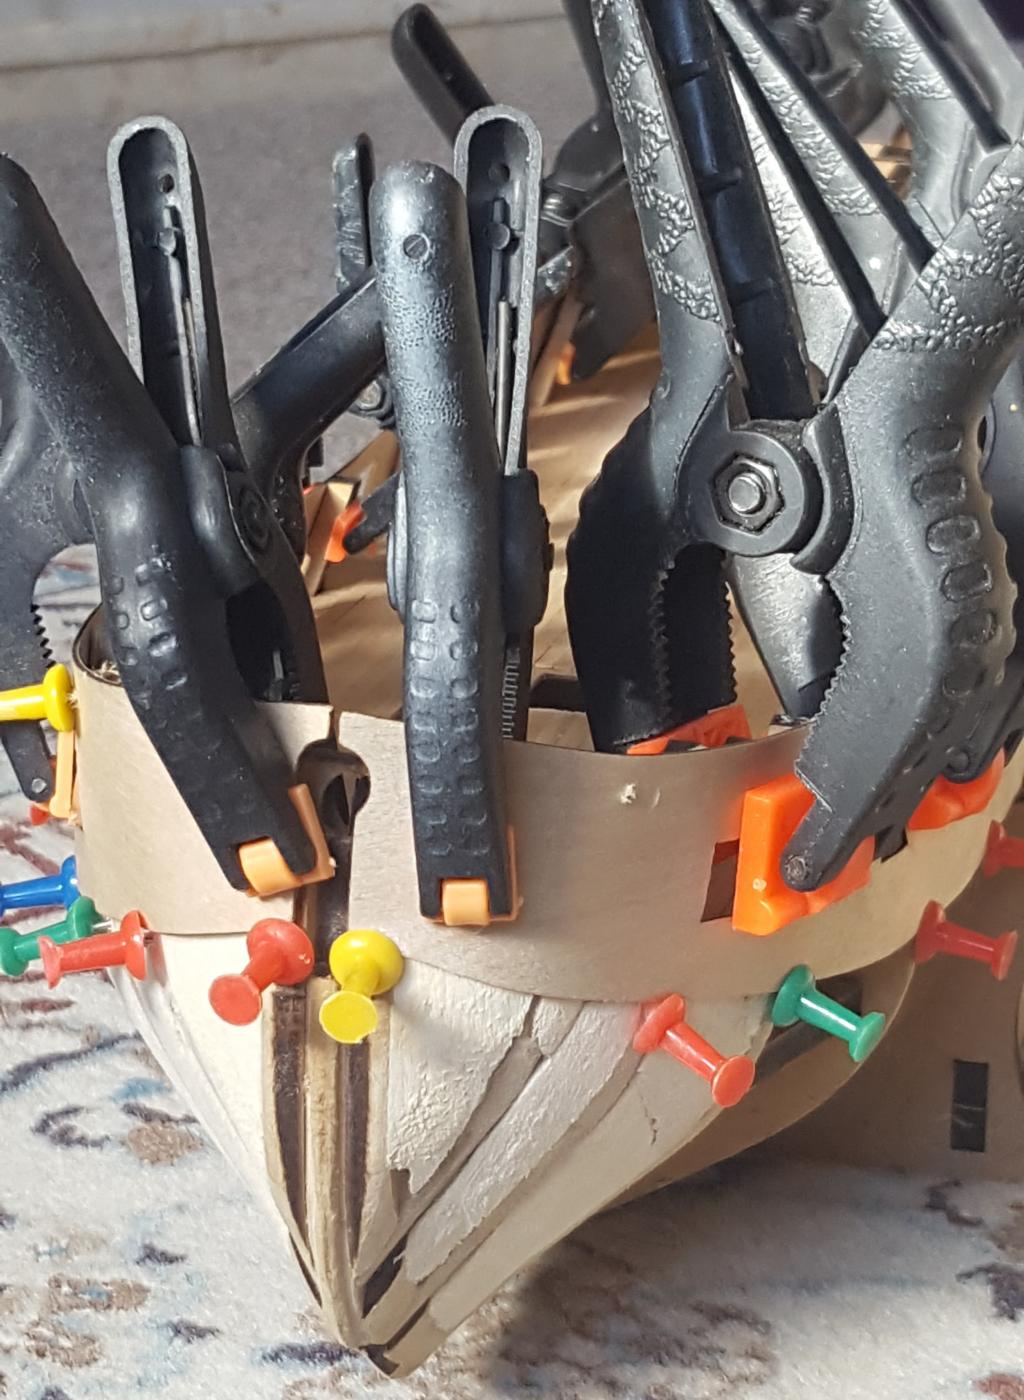
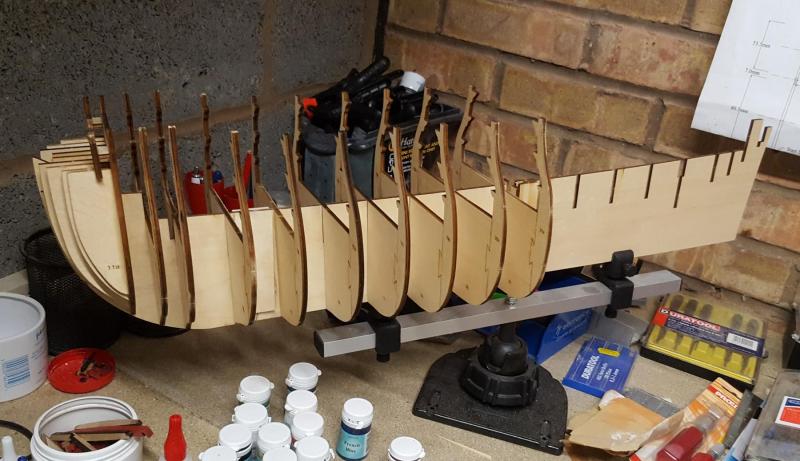
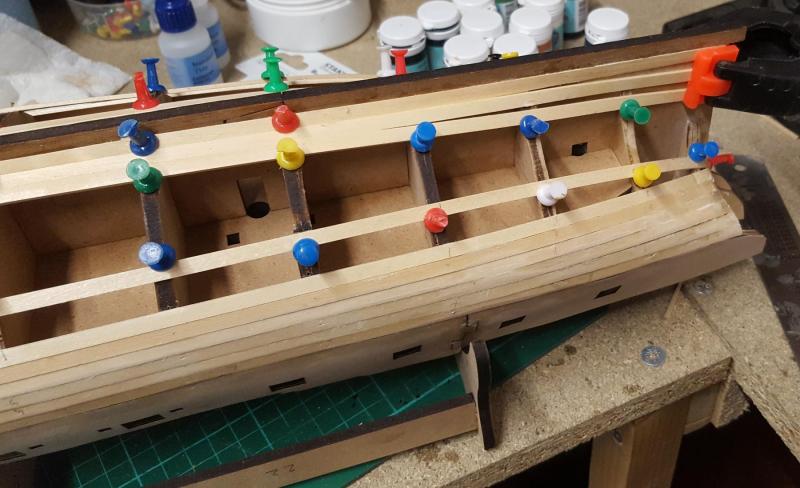
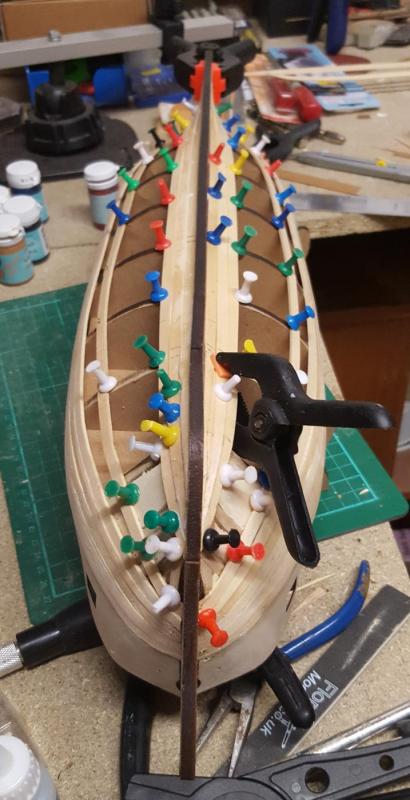
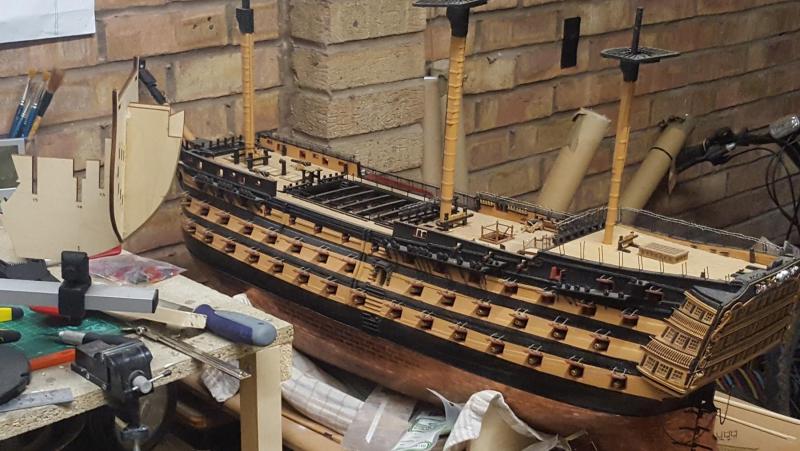
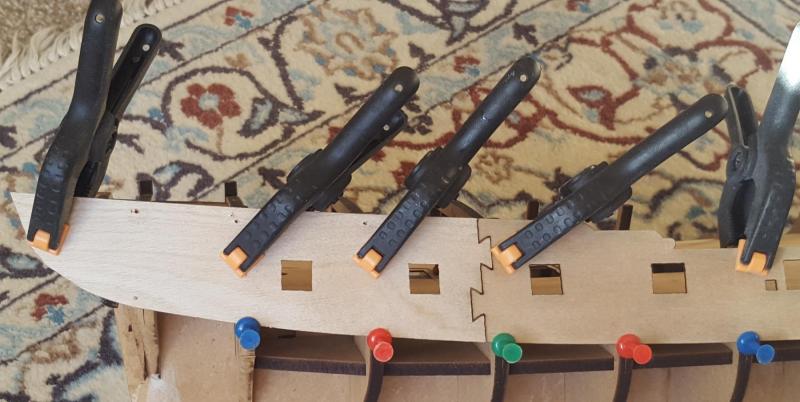
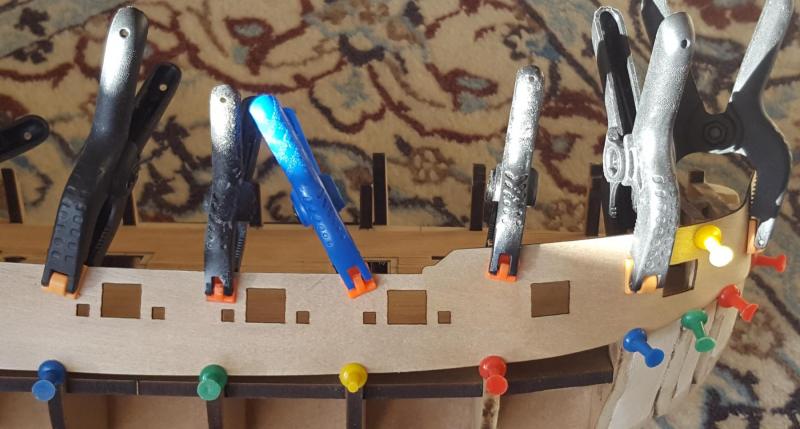
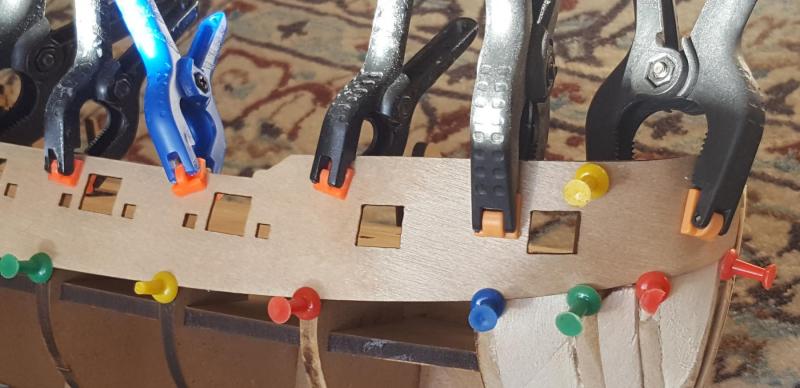
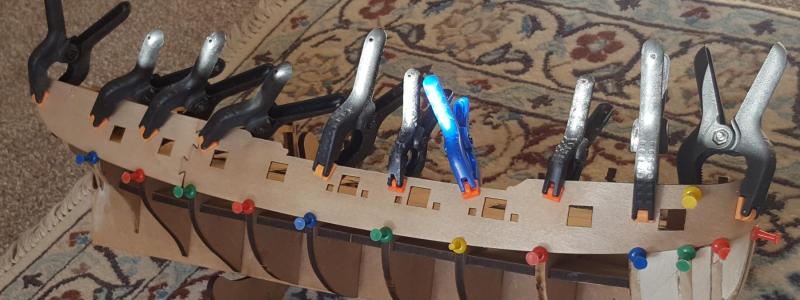
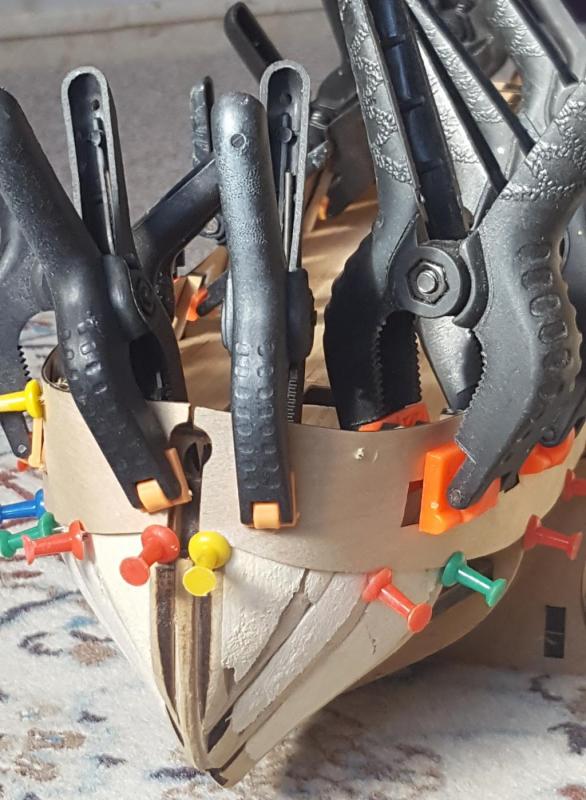
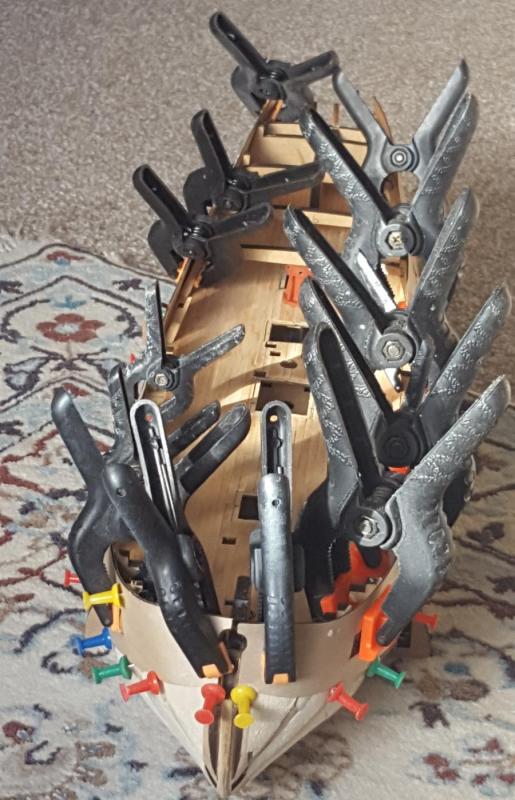
I've continued with the first planking today and I thought I would share with method I have been using. This is a picture of my untidy workshop, showing HMS Pegasus and my two HMS Victory builds [Caldercraft (on hold) and DeAgostini] My preference is to use peg board pins to hold the planks in place. I find these pins are easy to position and tap in place using a small hammer. These pegs are easy to remove and reusable. As can be seen I have used the kit supplied panel pins in a couple of places. Sometimes I do adopt different clamping methods to ensure the planks lay smooth together as can be seen in picture below And this is the end result when the pin are removed. HMS Victory has HMS Pegasus in her gun sights!


-
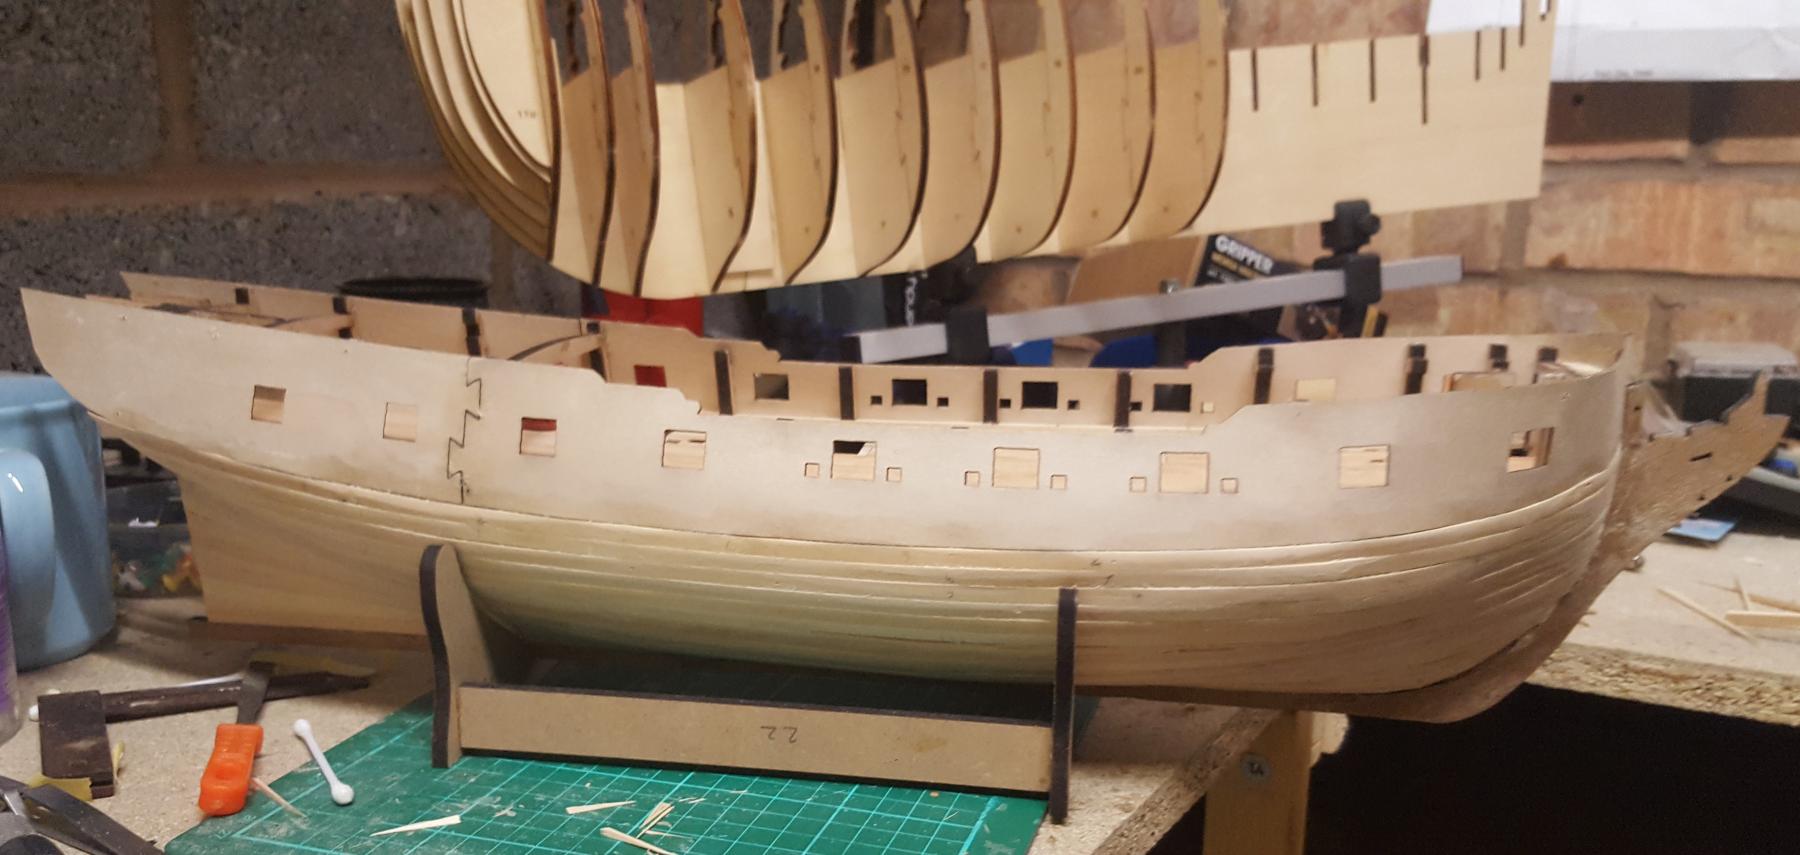
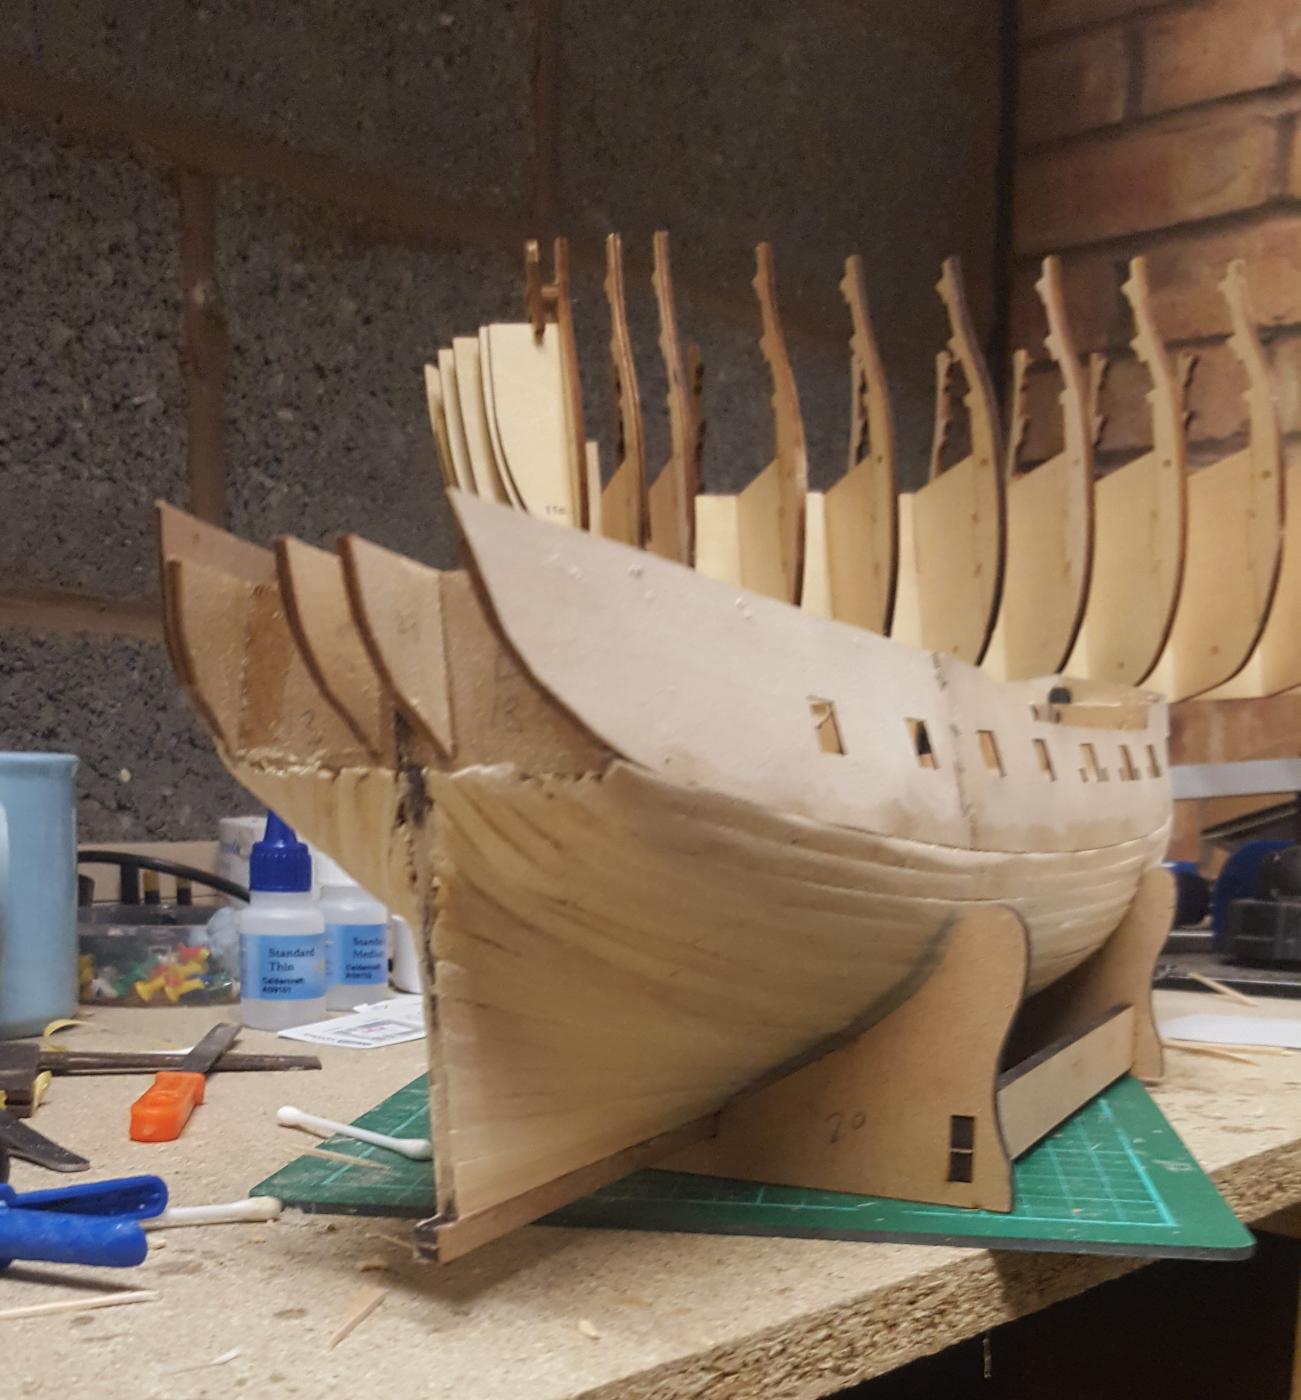
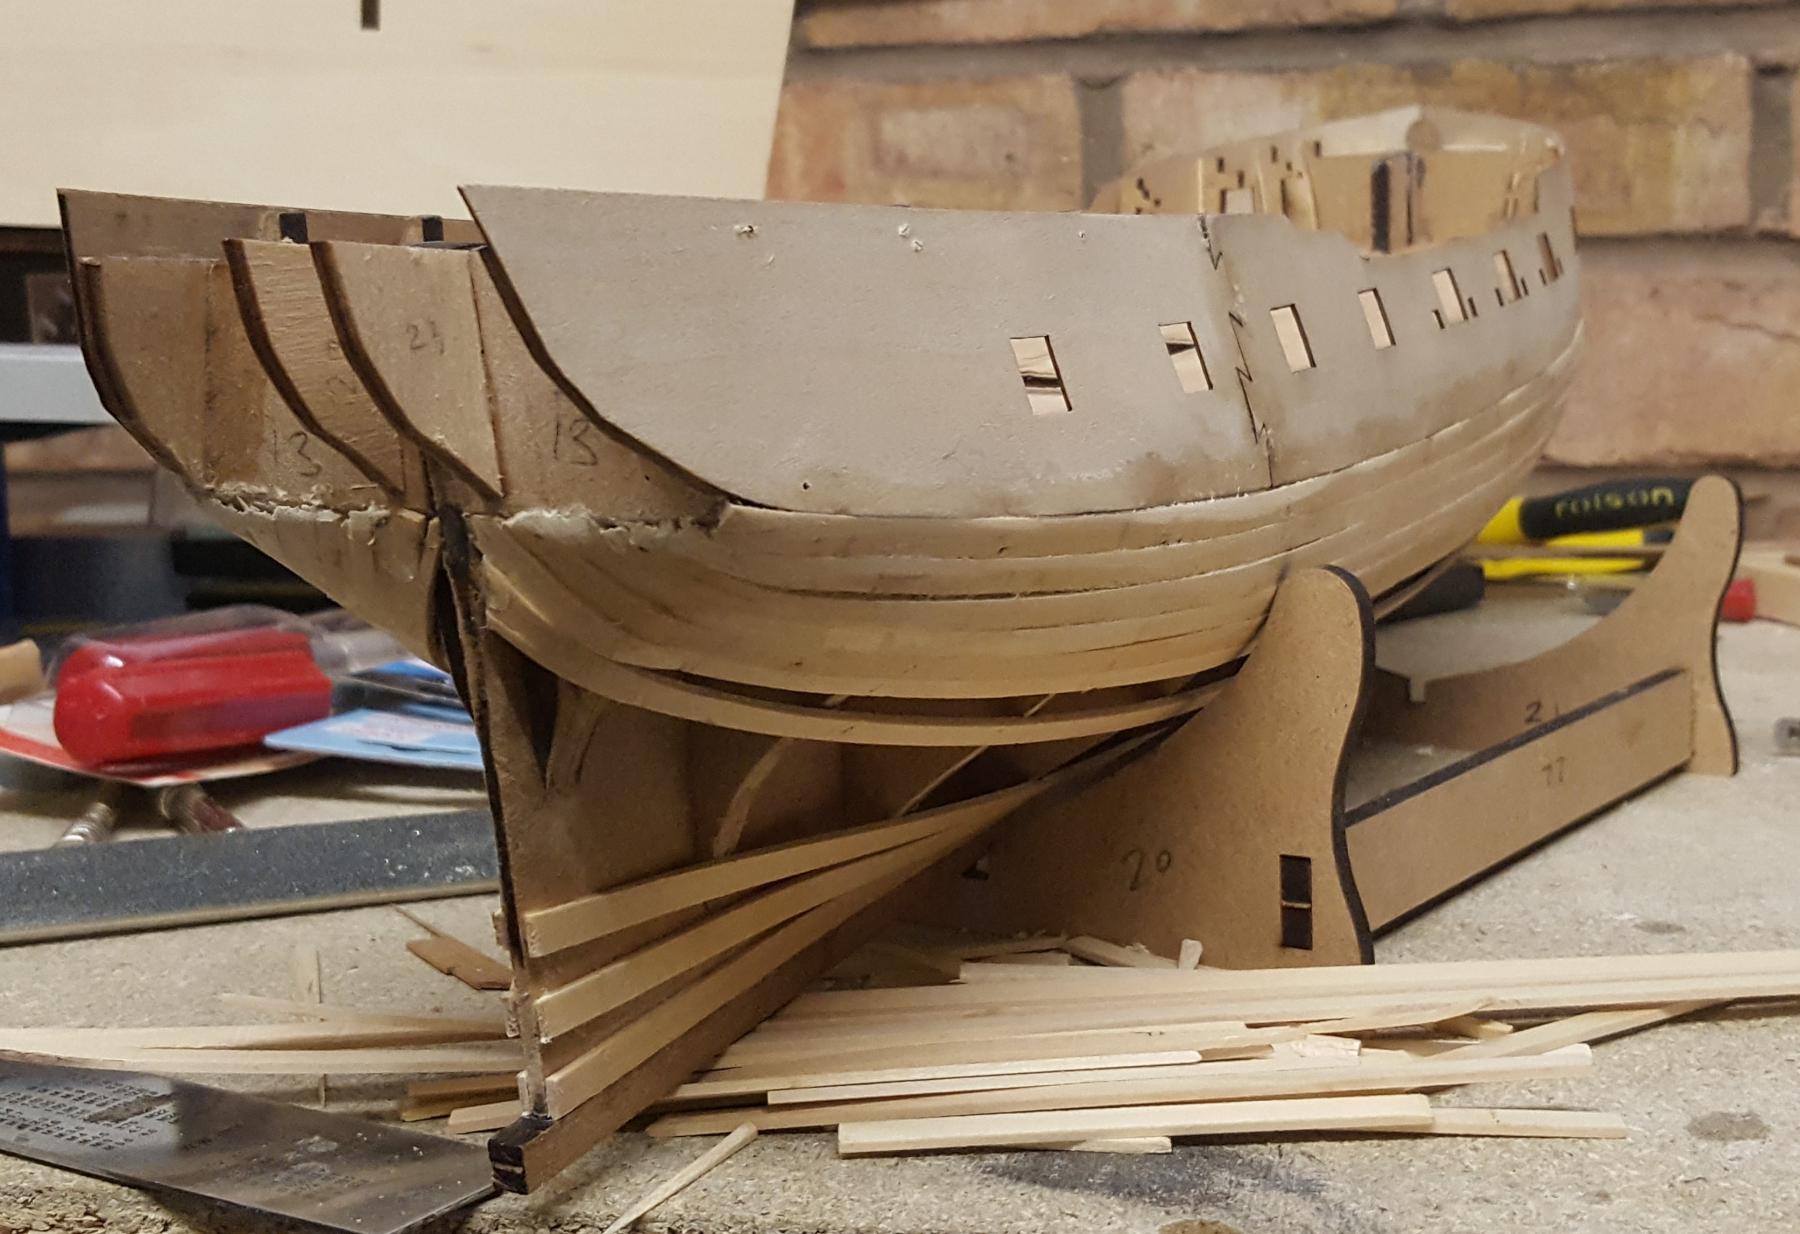
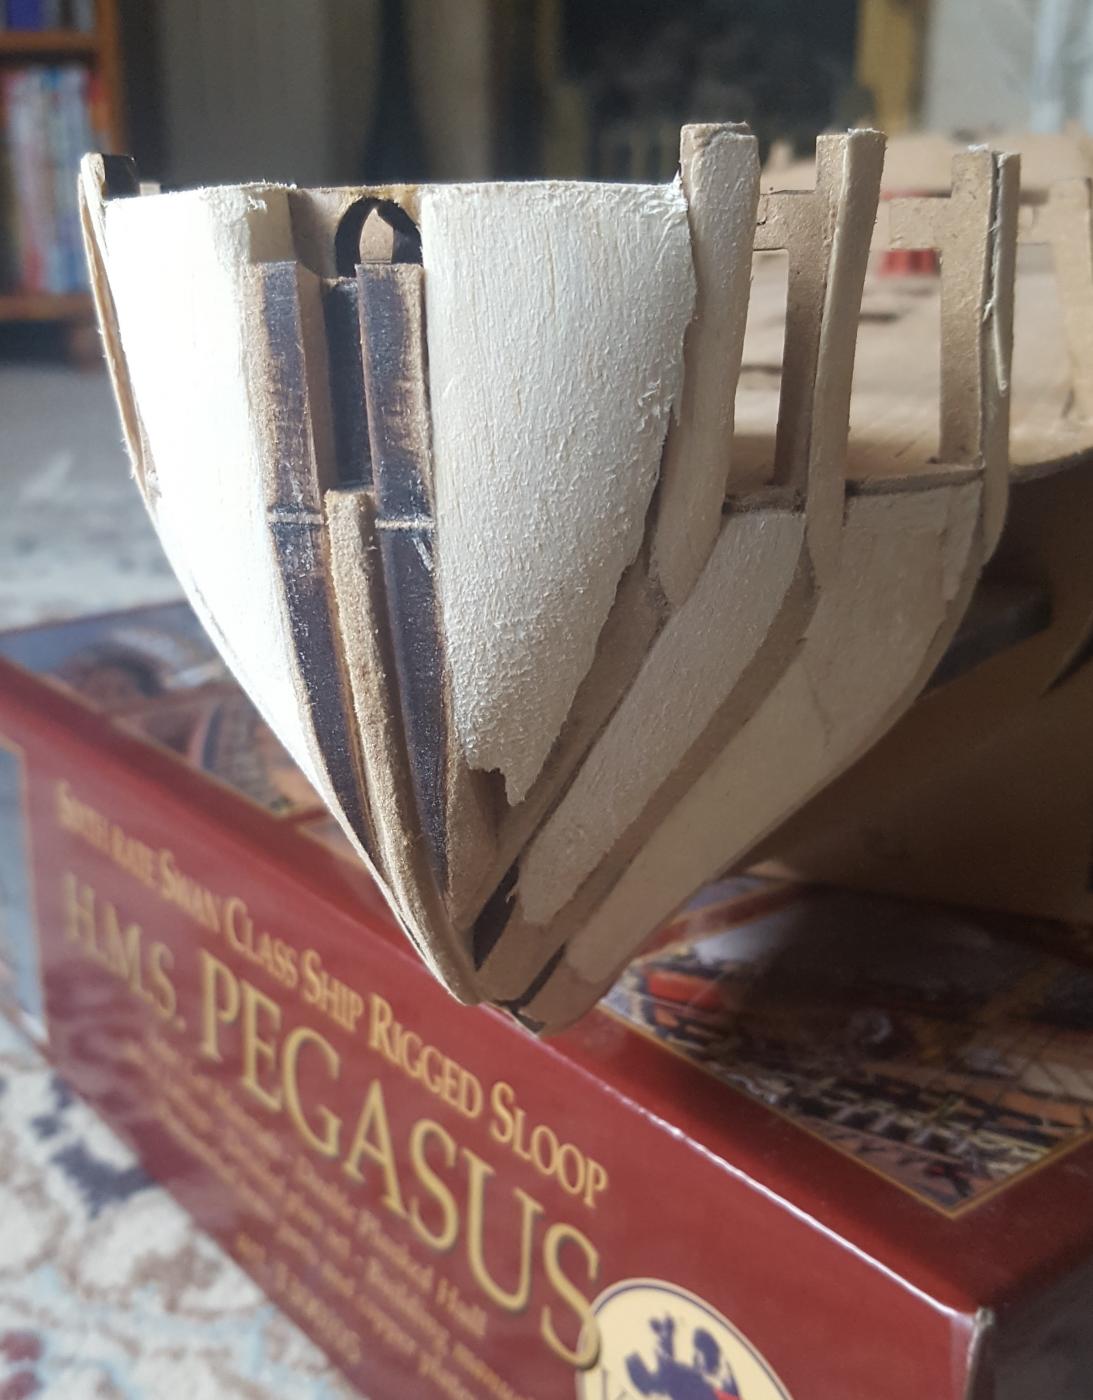
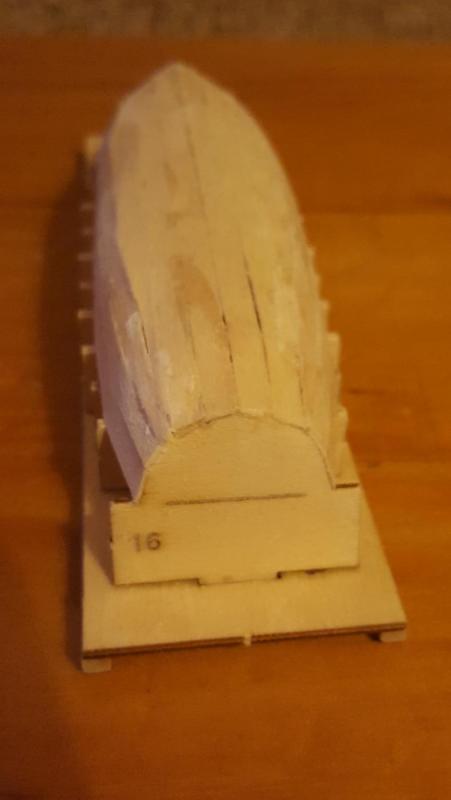
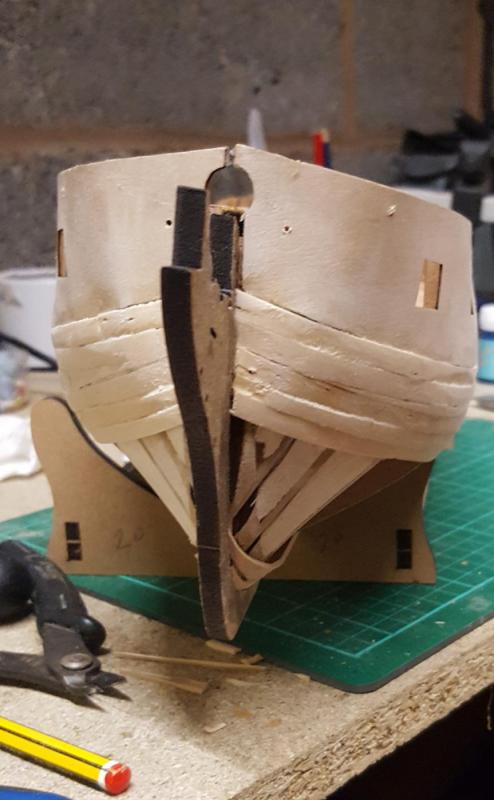
Continued on with the 1st planking today. Bow end. This will look good once I've filled in the gaps with plank sawdust mixed with watered down wood glue and the bumps have been sanded smooth. Side View Stern view, I have trimmed the planks and test fitted the stern counter, and all looks good. I decided to add some planks from the keel. Bow end, its not a great joint, looks worse in the picture than it actually is, can be easily be sanded smooth and filled without too much effort. Stern end, I have ensured the gap between the planks is an exact plank width at the stern Side view

-
Today I was able to spend a little more time with the first planking. It seems to progressing quite smoothly at the moment. Front end view Side view. To help fill in some of the gaps I have been mixing plank sawdust with watered down wood glue and then brushing the pulp into the gaps. It seem from this picture some of the planks are sitting really proud, this is not the case its a trick of the light casting shading.


-
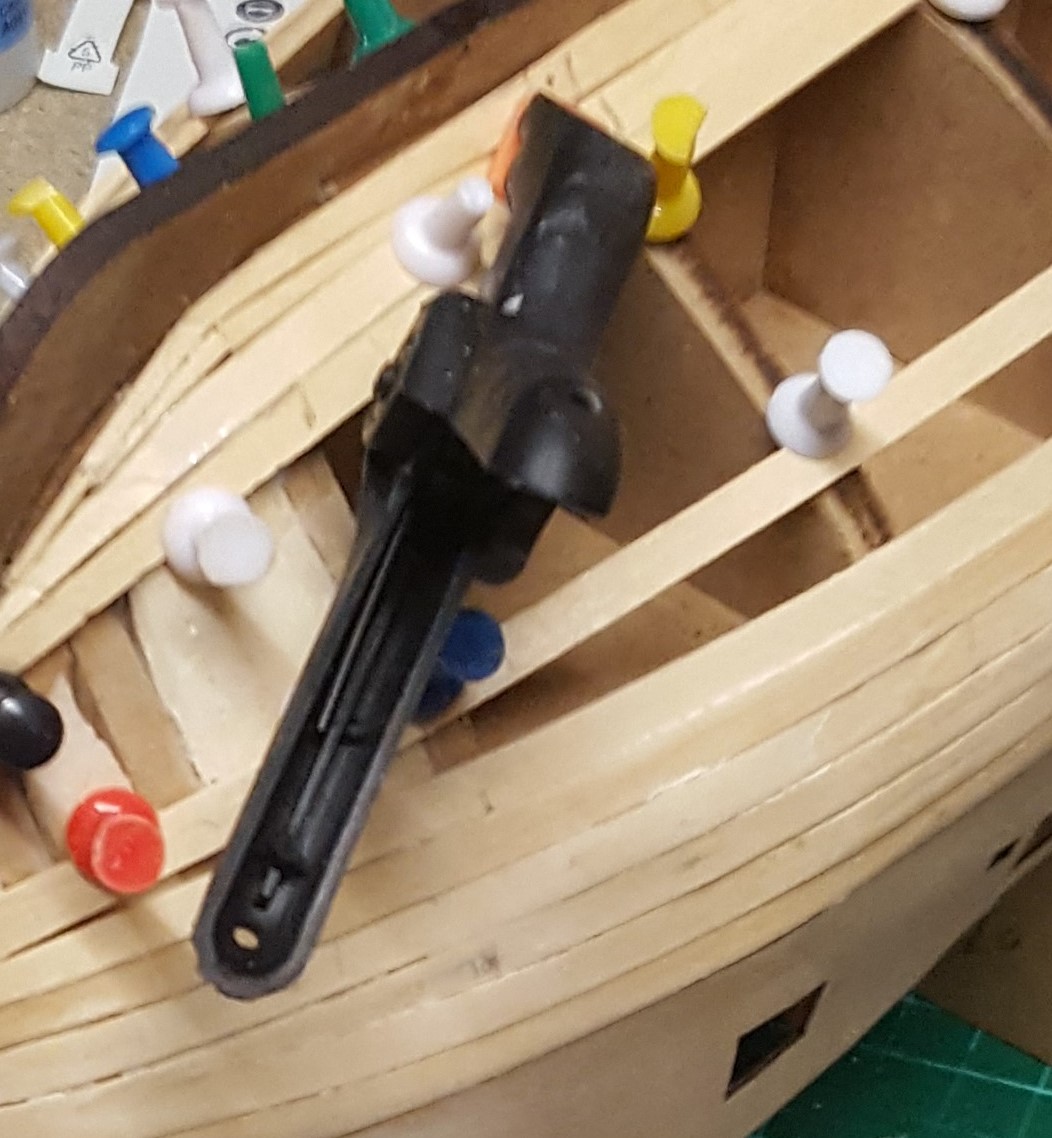
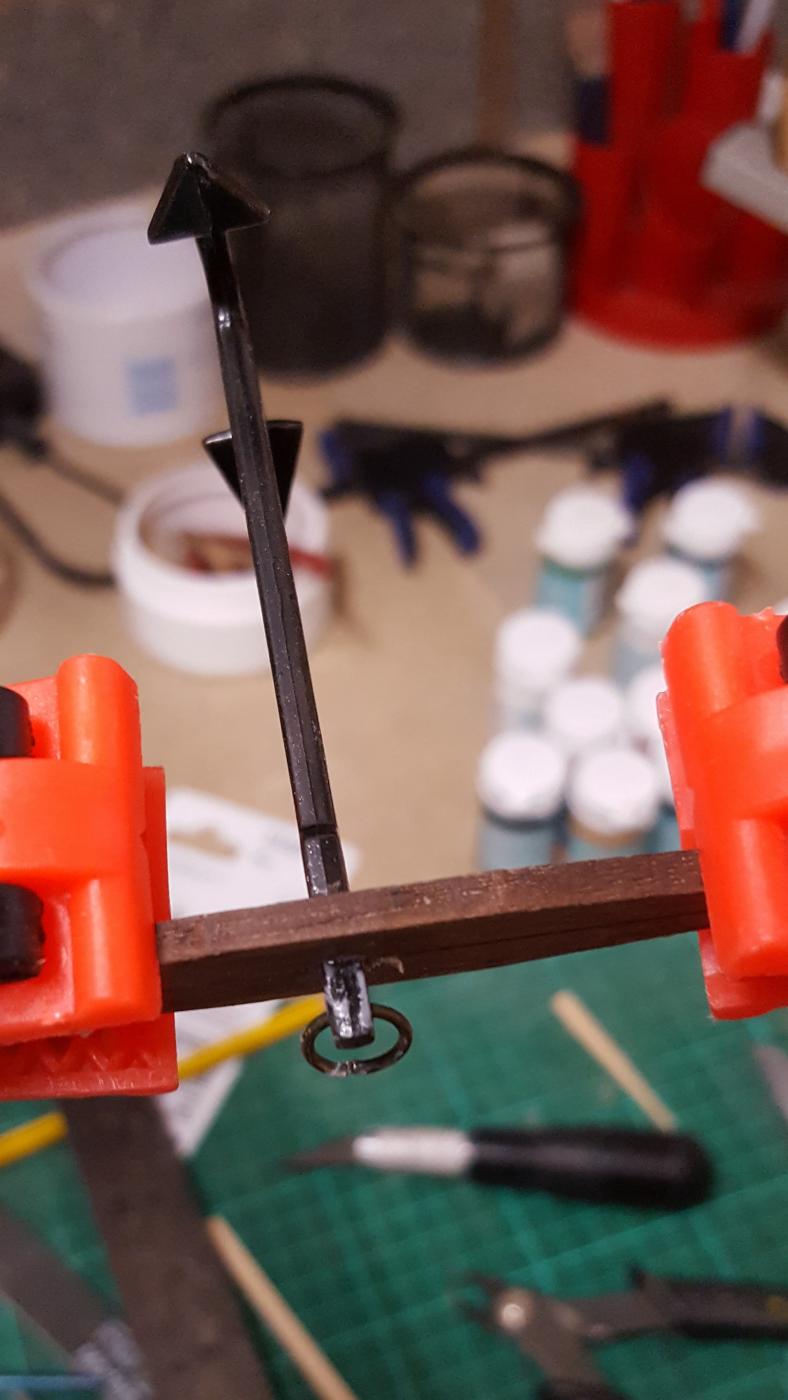
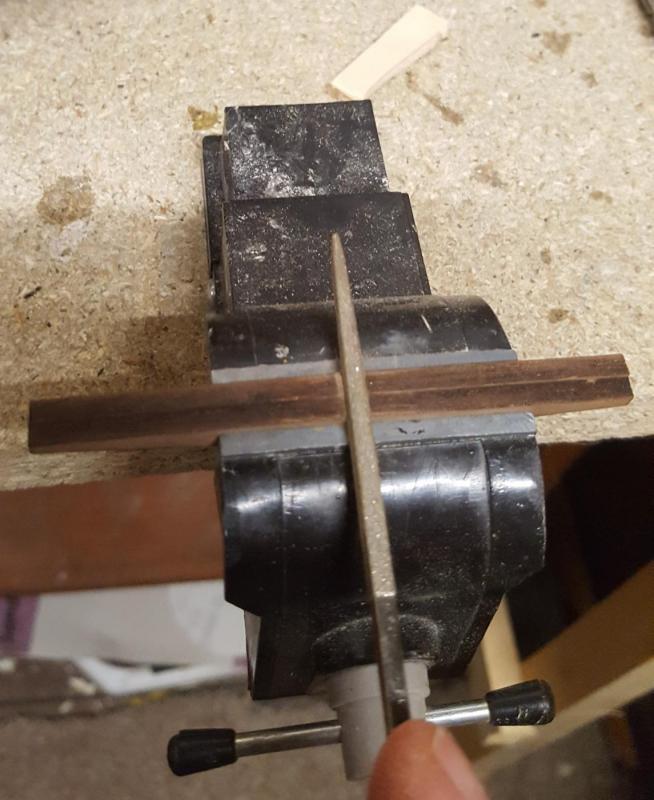
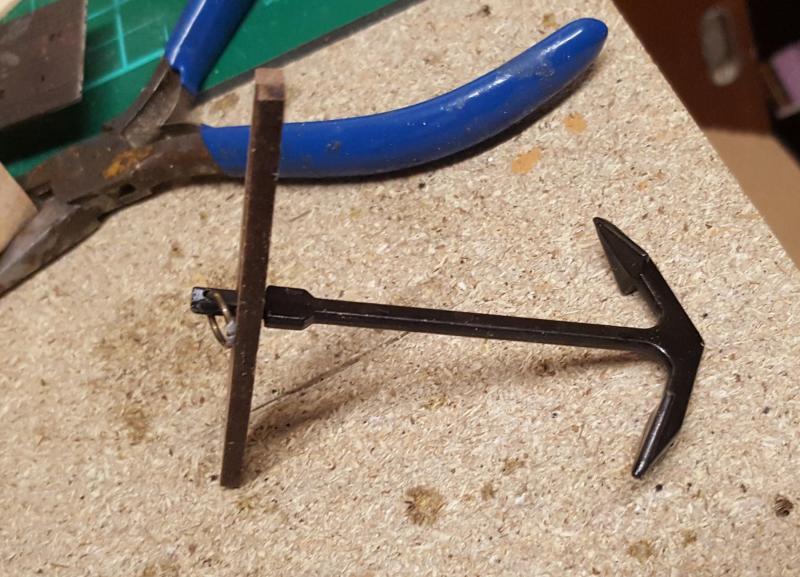
Today I started work on one of the anchor assemblies. First task was to file a notch in the two half's of the main beam to accept the anchor. I simply marked the centre point and used a suitable needle file to make the required notch. I kept dry fitting the anchor during the filing process and once I was happy the notches were the correct size I glued and clamped the assembly together ensuring I also fitted the anchor rope ring. Once the glued had dried the clamps were removed. The assembly is now ready for painting (black) and after the painting I will add the whippings and anchor rope.

-
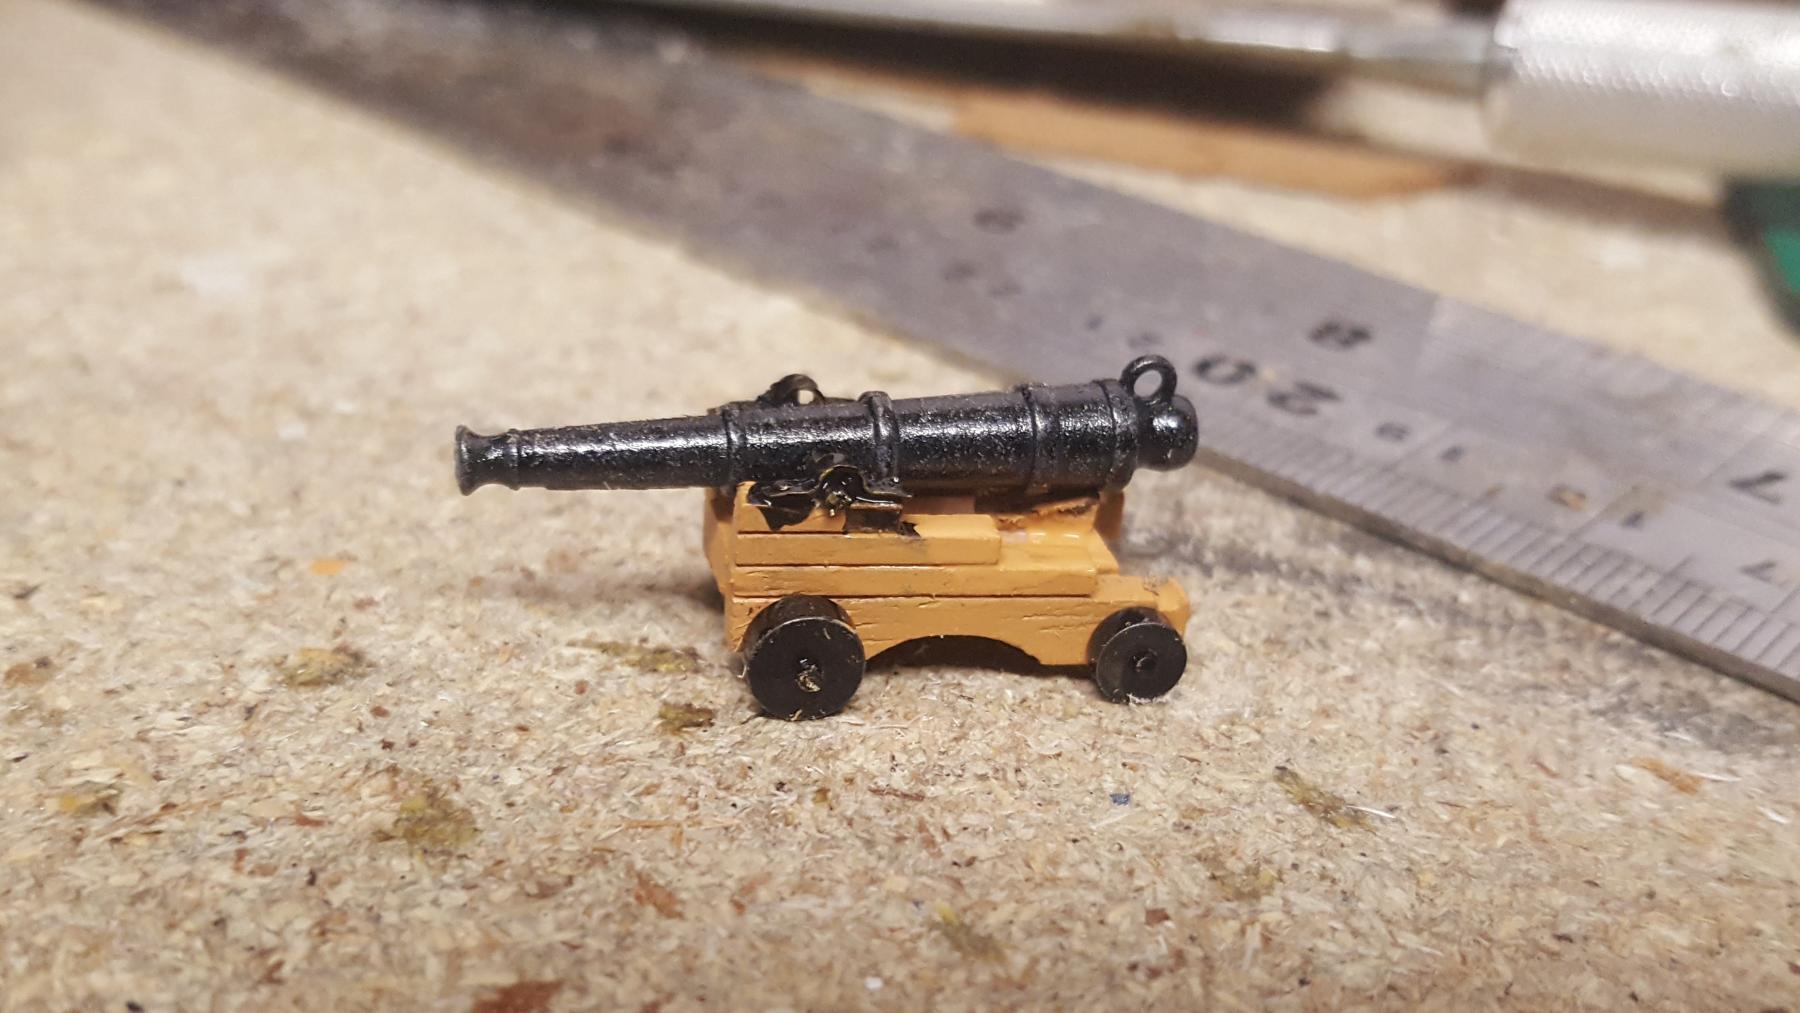
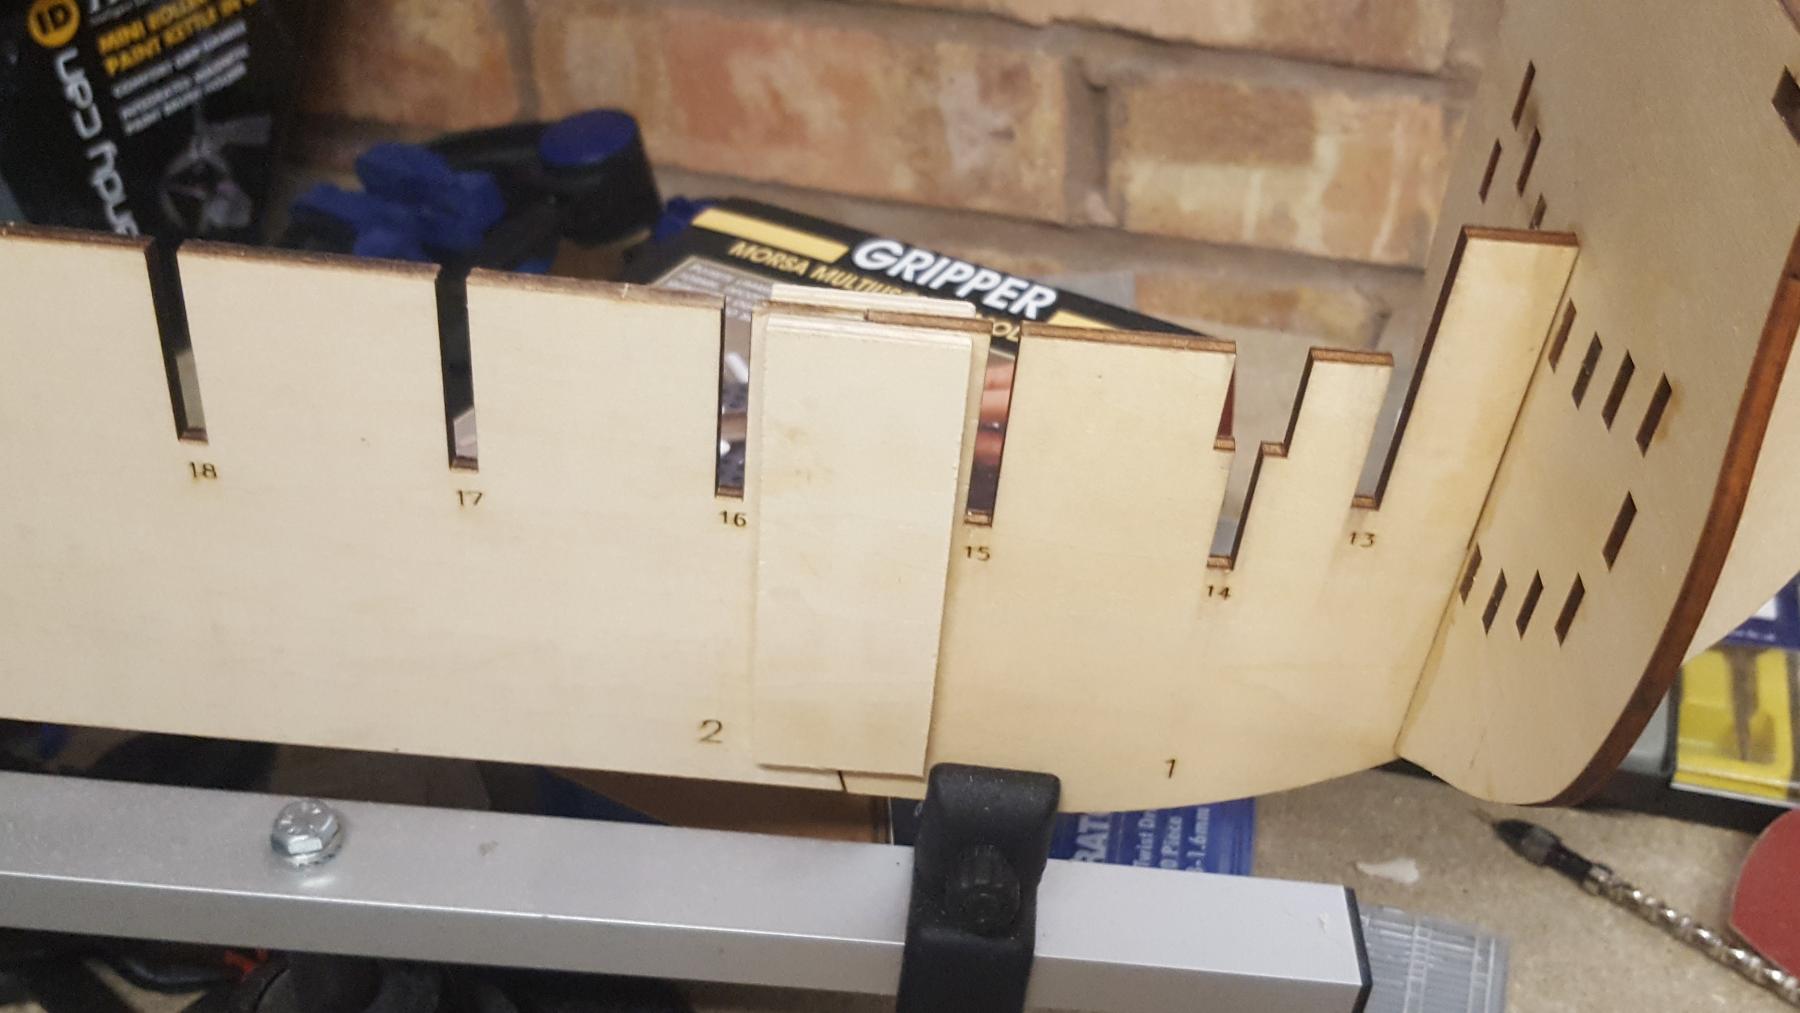
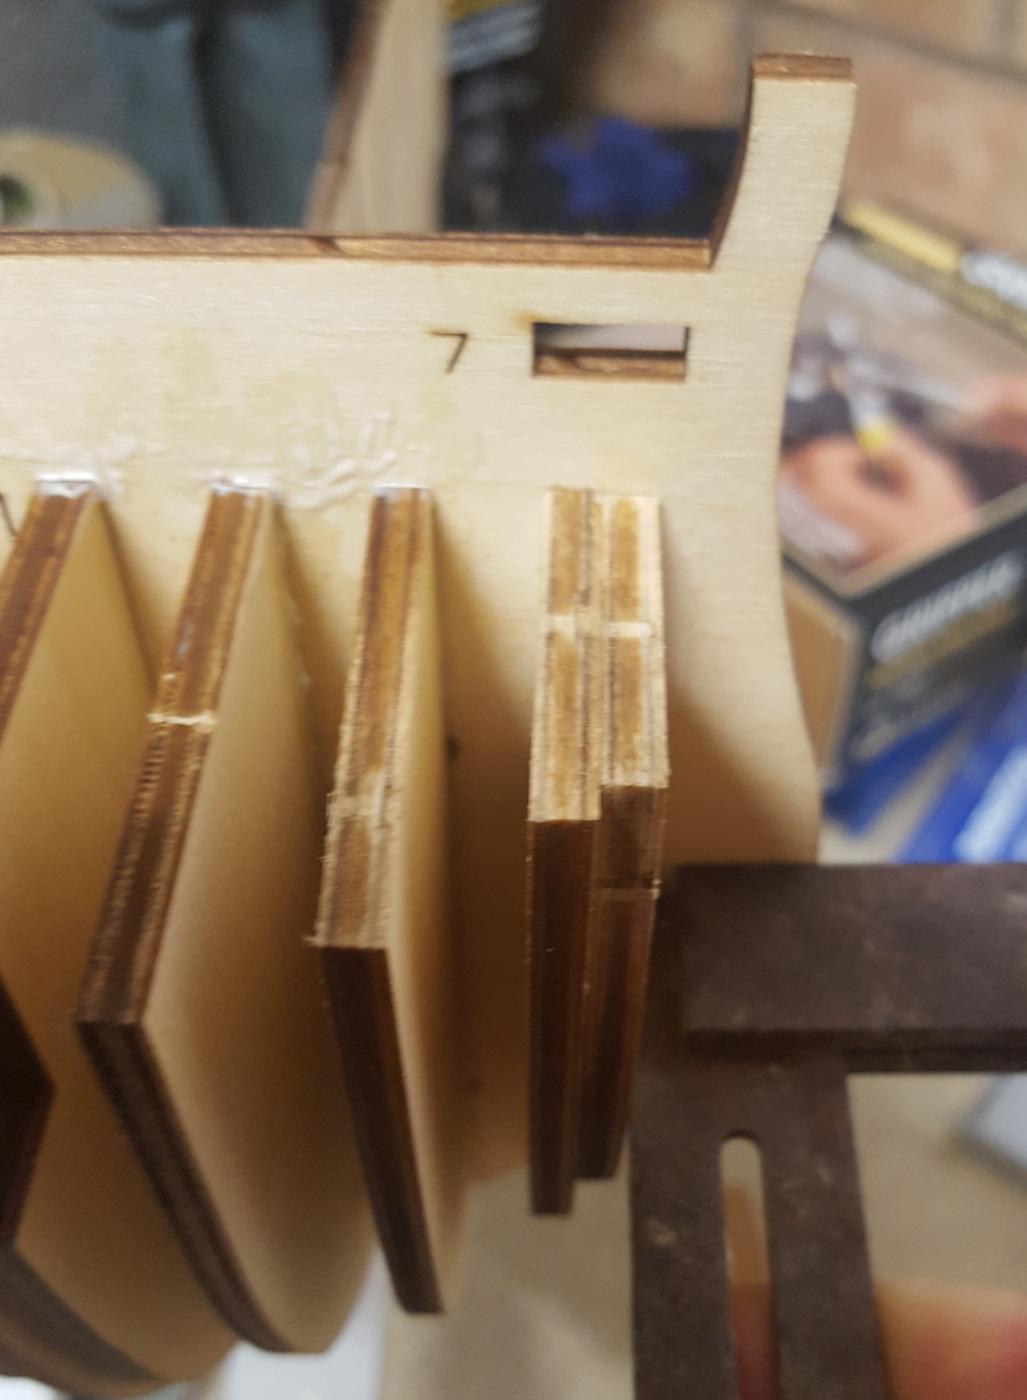
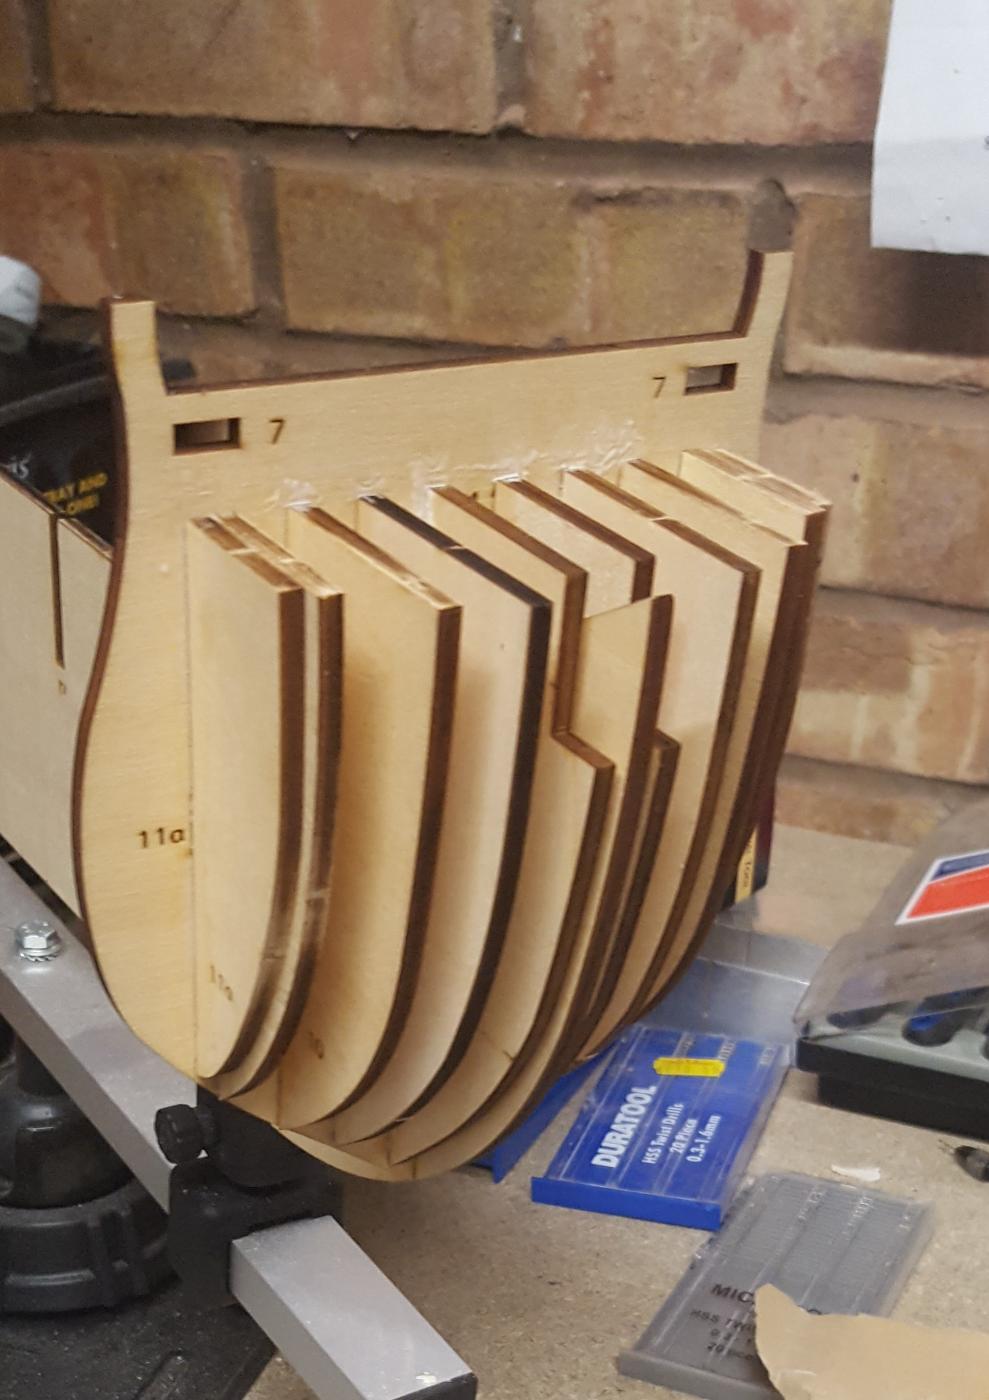
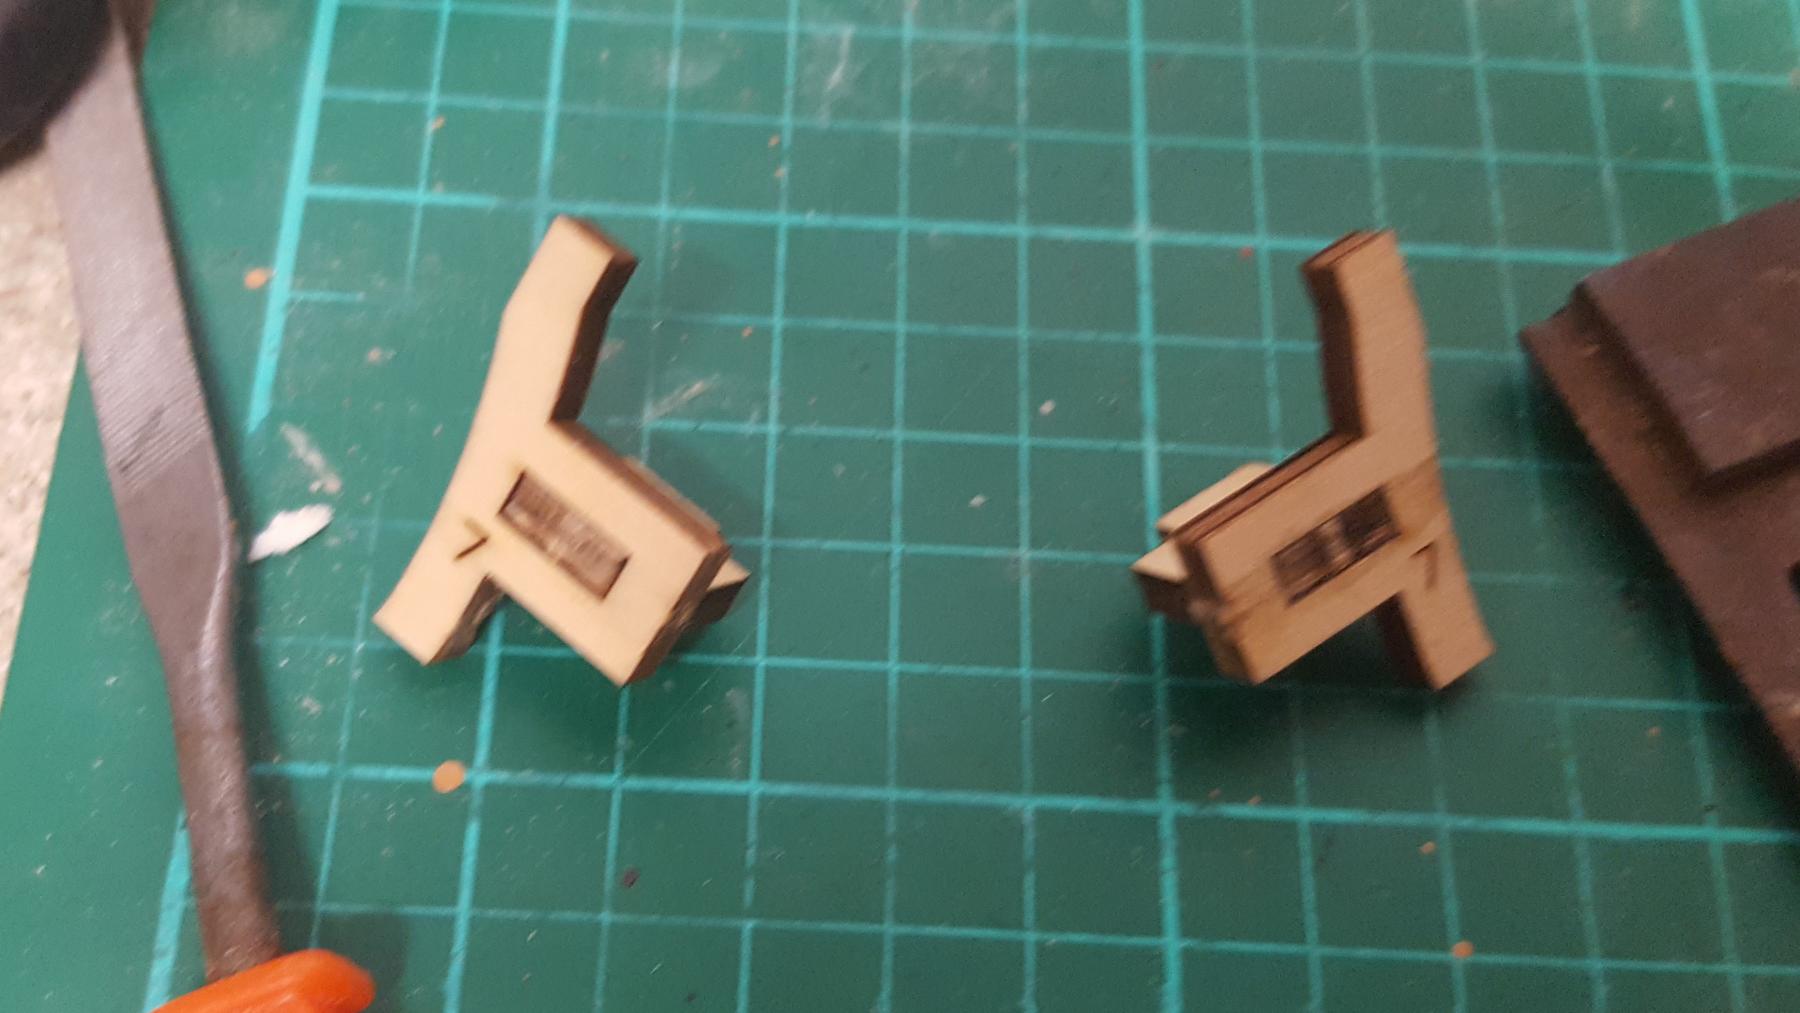
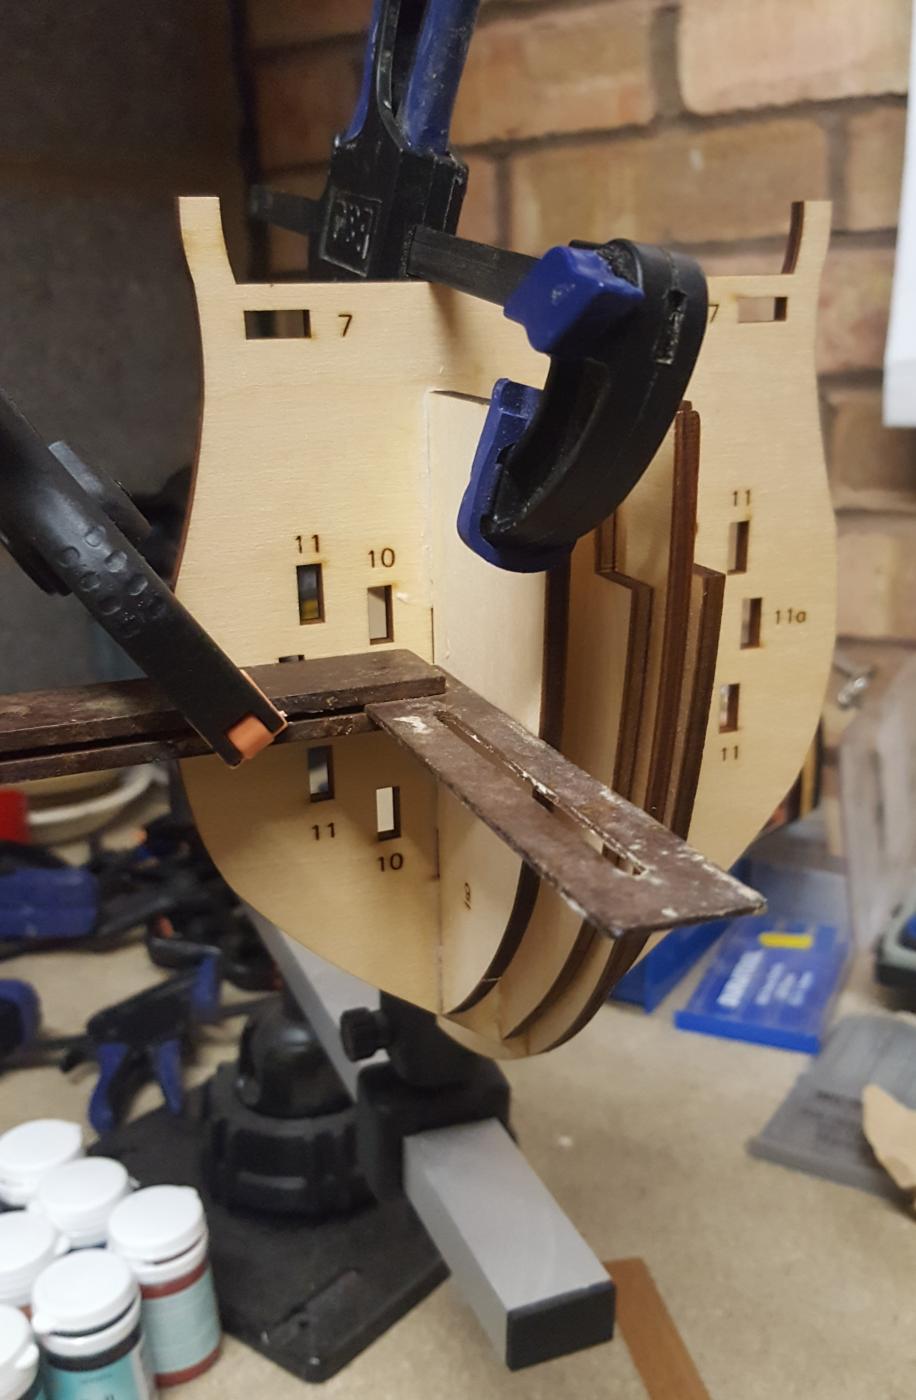
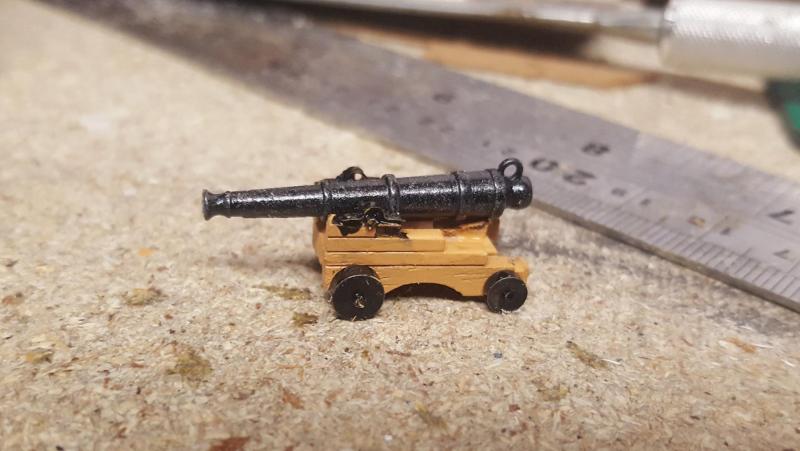
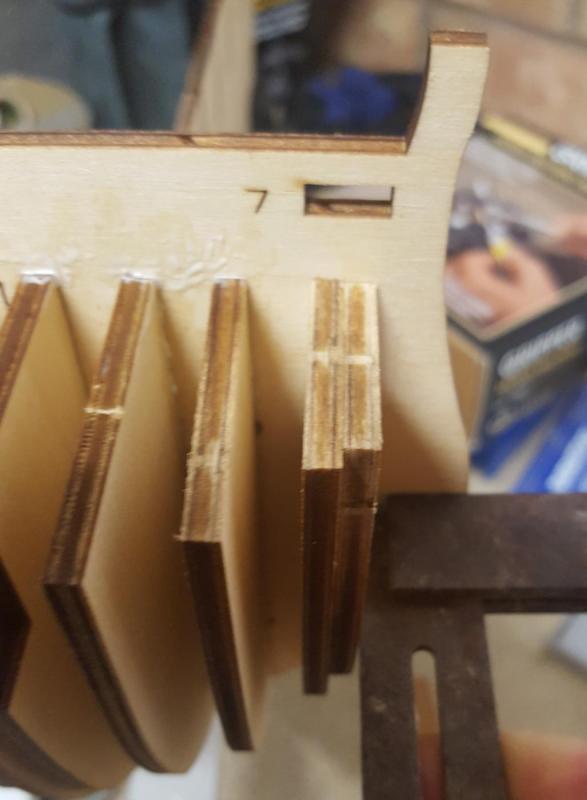
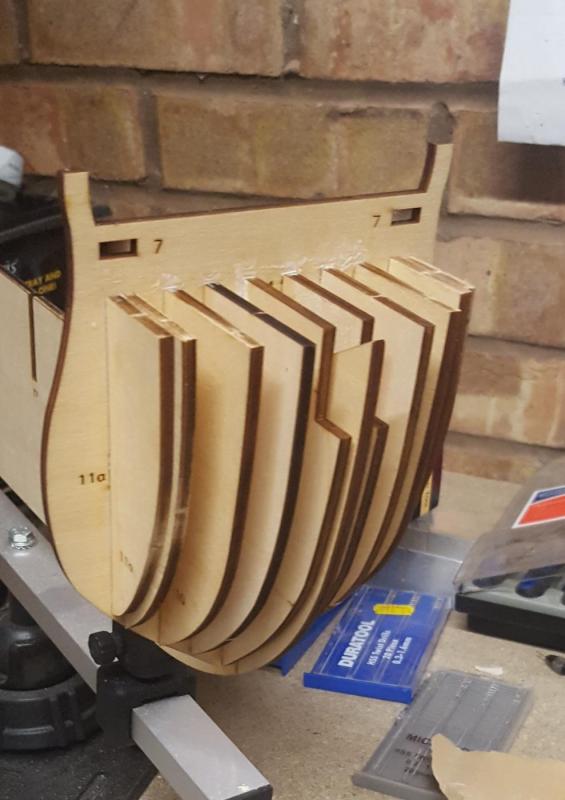
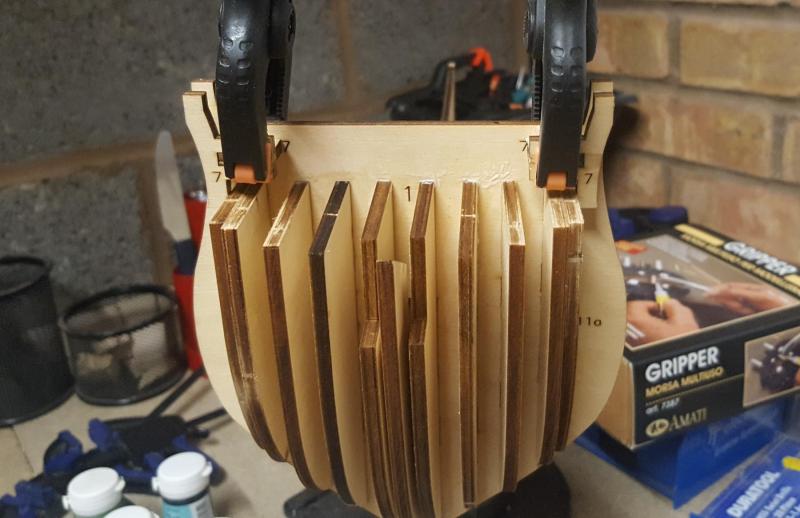
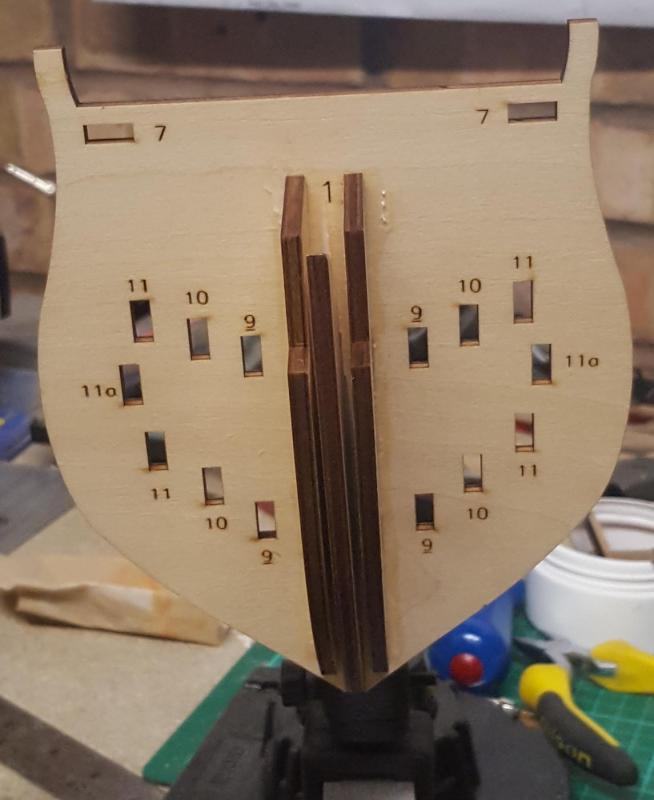
Made a little bit of progress this morning. First I completed the assembly and painting of the first 12 pounder I then fitted keel part 1 with keel part 2, using the additional support brackets which I clamped whilst the glue was drying After that I installed the remaining bow former parts 10, 11 and 11a. I used a set square when installing each part to ensure the parts were level. Finally I assembled parts 7 and 7a and then fitted to the bow, ensuring the parts were fitted the right way up and this assembly was clamped whilst the glue dried.


-
Hello Jerry Hope you're back in the shipyard before too much longer with 20 20 vision. After my long absence I have returned to the shipyard very recently, restarting work on HMS Pegasus and I've also started a new build with the Model Space HMS Victory on a monthly subscription. My Caldercraft Victory build is still on hold and I thinking about ditching it all together and restarting when the Chris Watton HMS Victory design is released, hopefully next year.
-
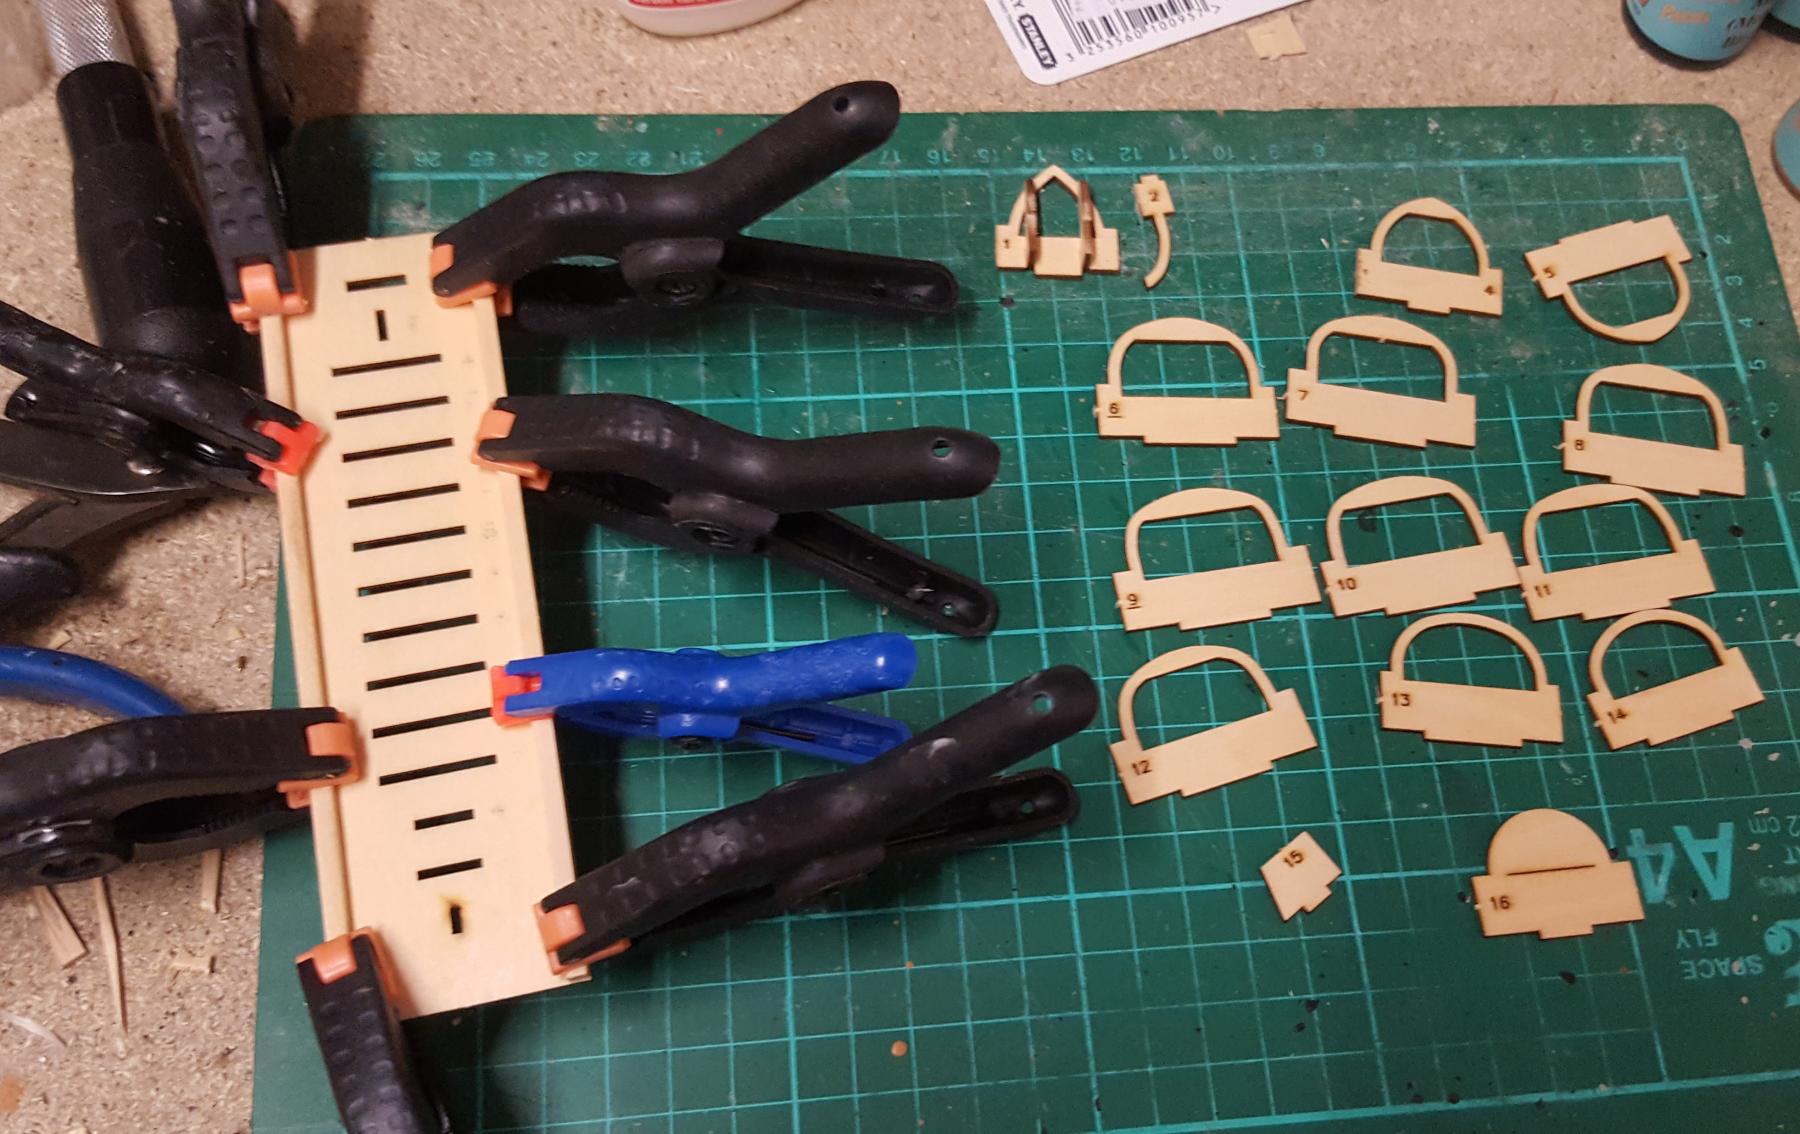
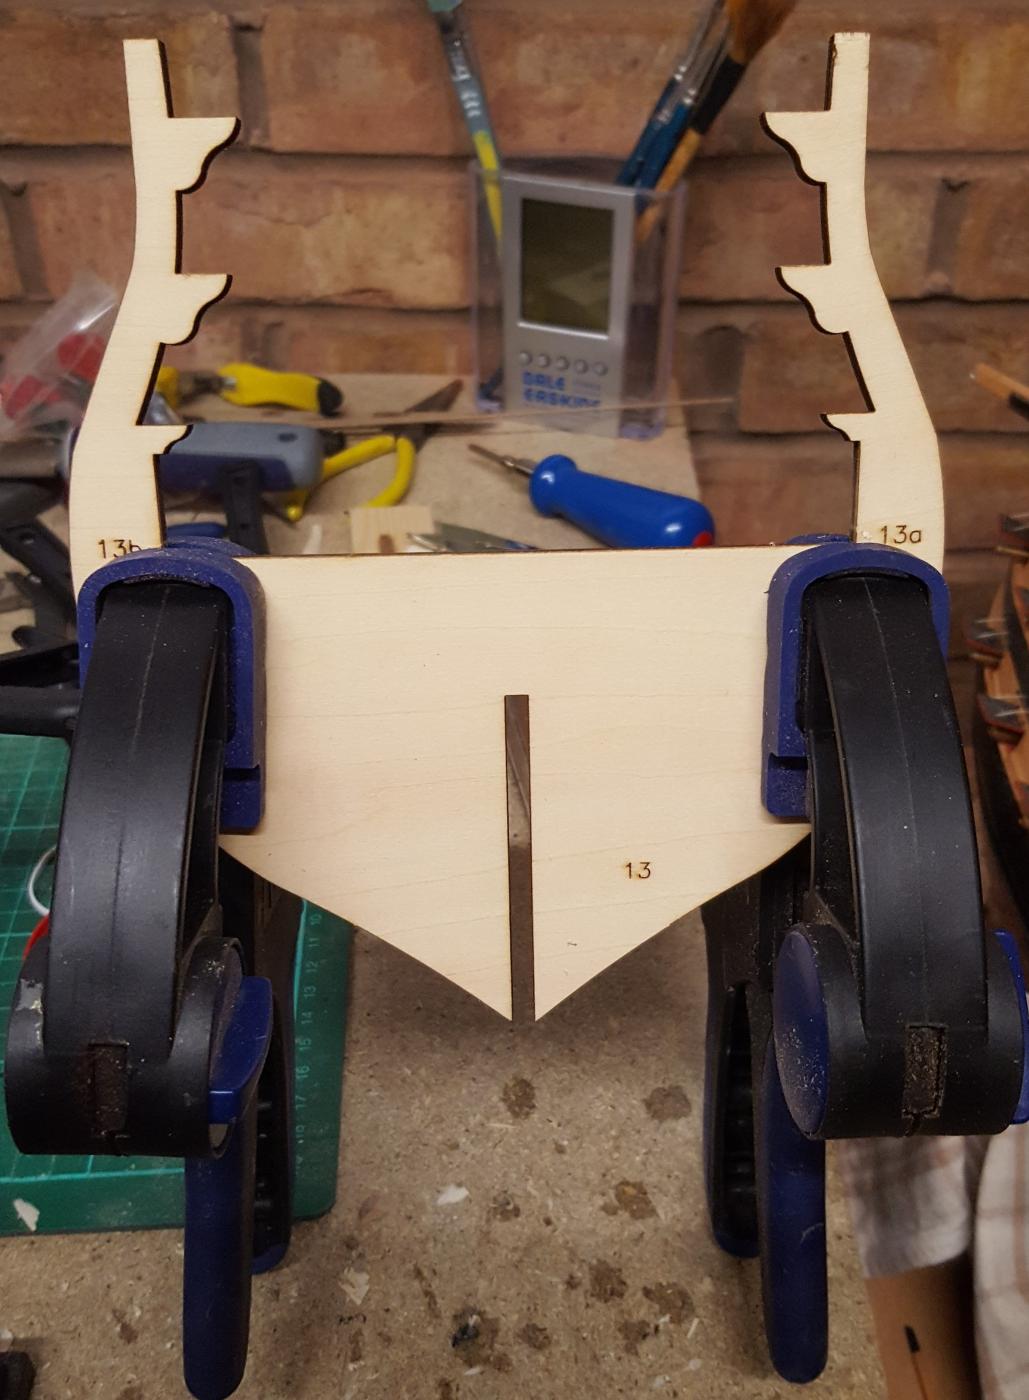
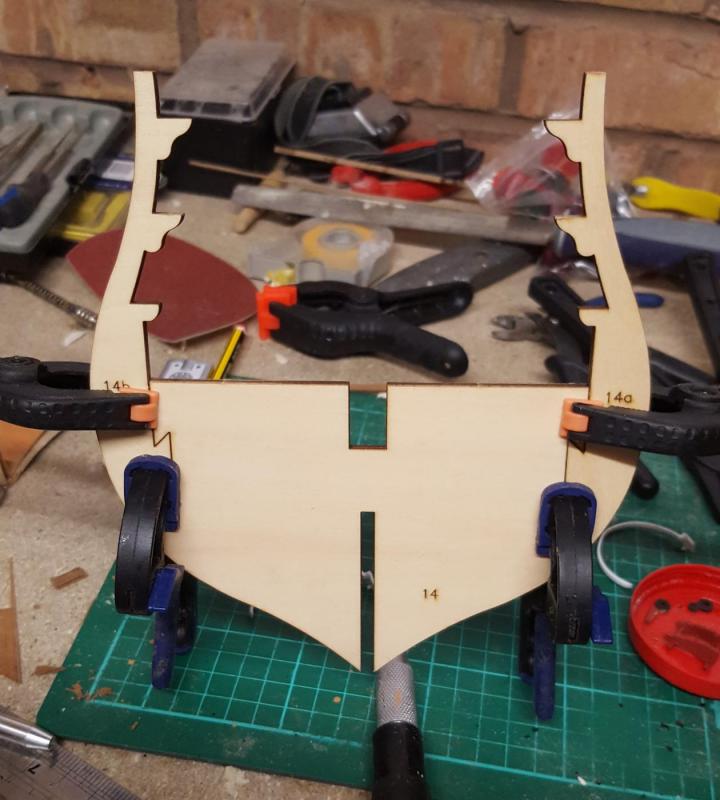
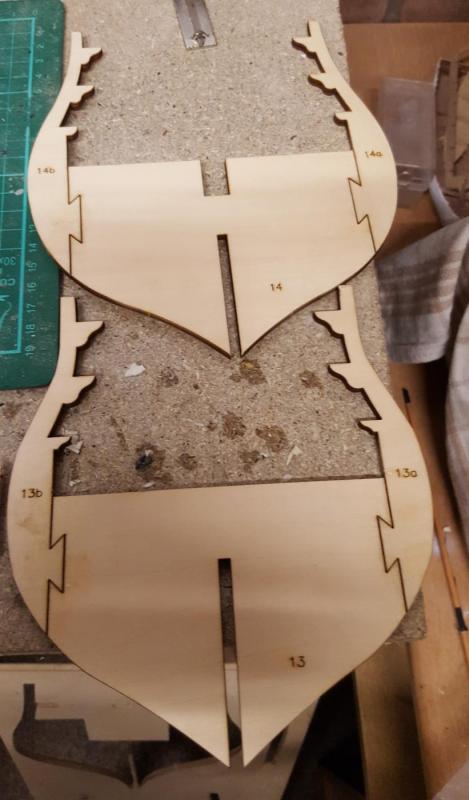
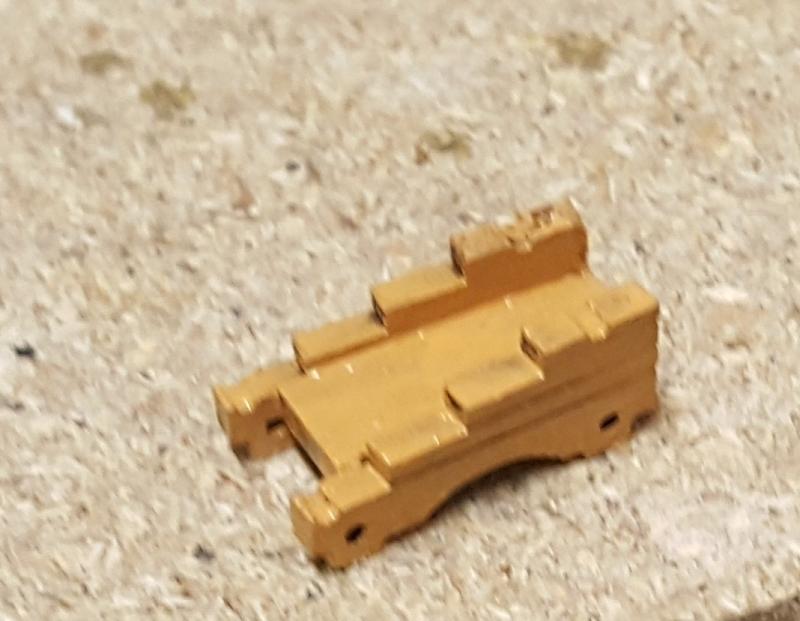
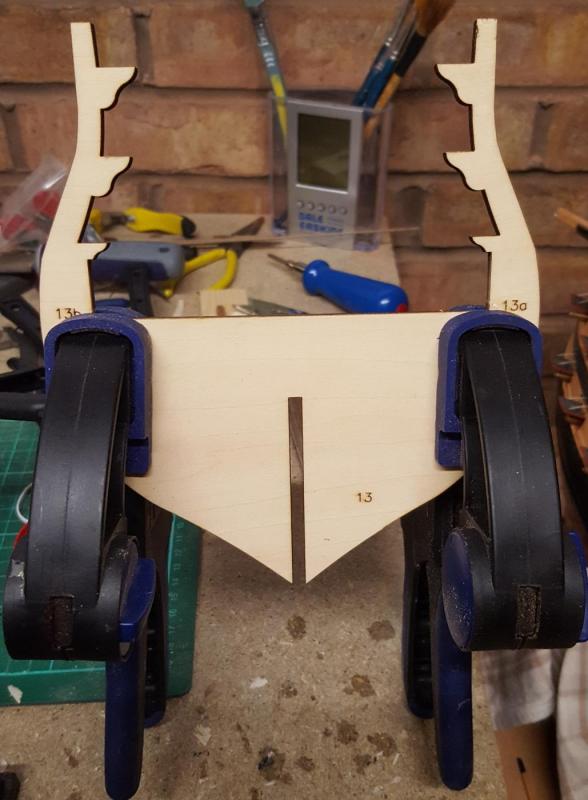
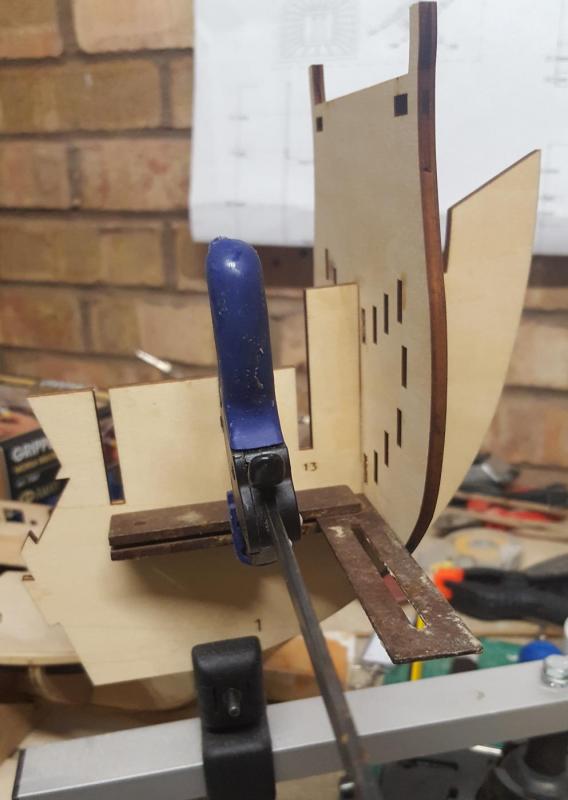
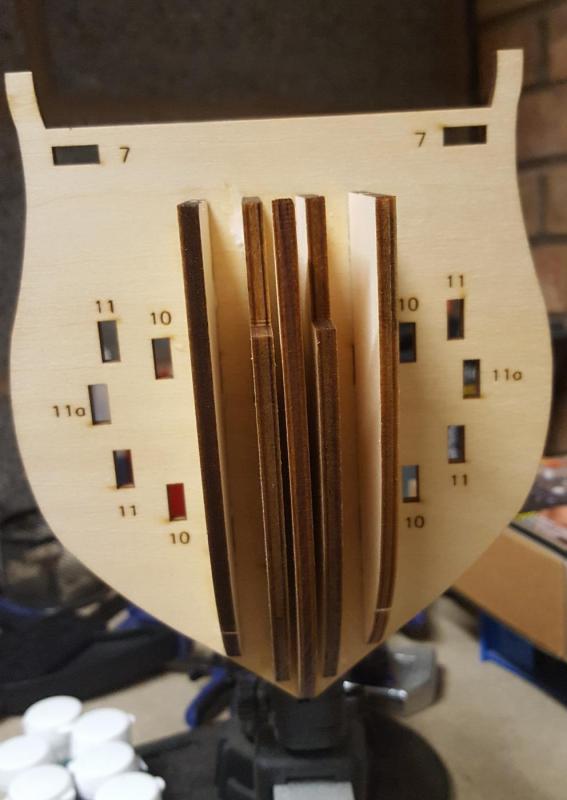
Had a bit more spare time this evening so I decided to assemble parts 13 13a, 13b & 14, 14a, 14b. I used a sanding stick before the assembly phase to remove the rough edges. Part 13 glued & clamped Part 14 glued & clamped Parts 13 & 14 after glued has dried and clamps removed Also painted the 12 pounder gun carriage.
-
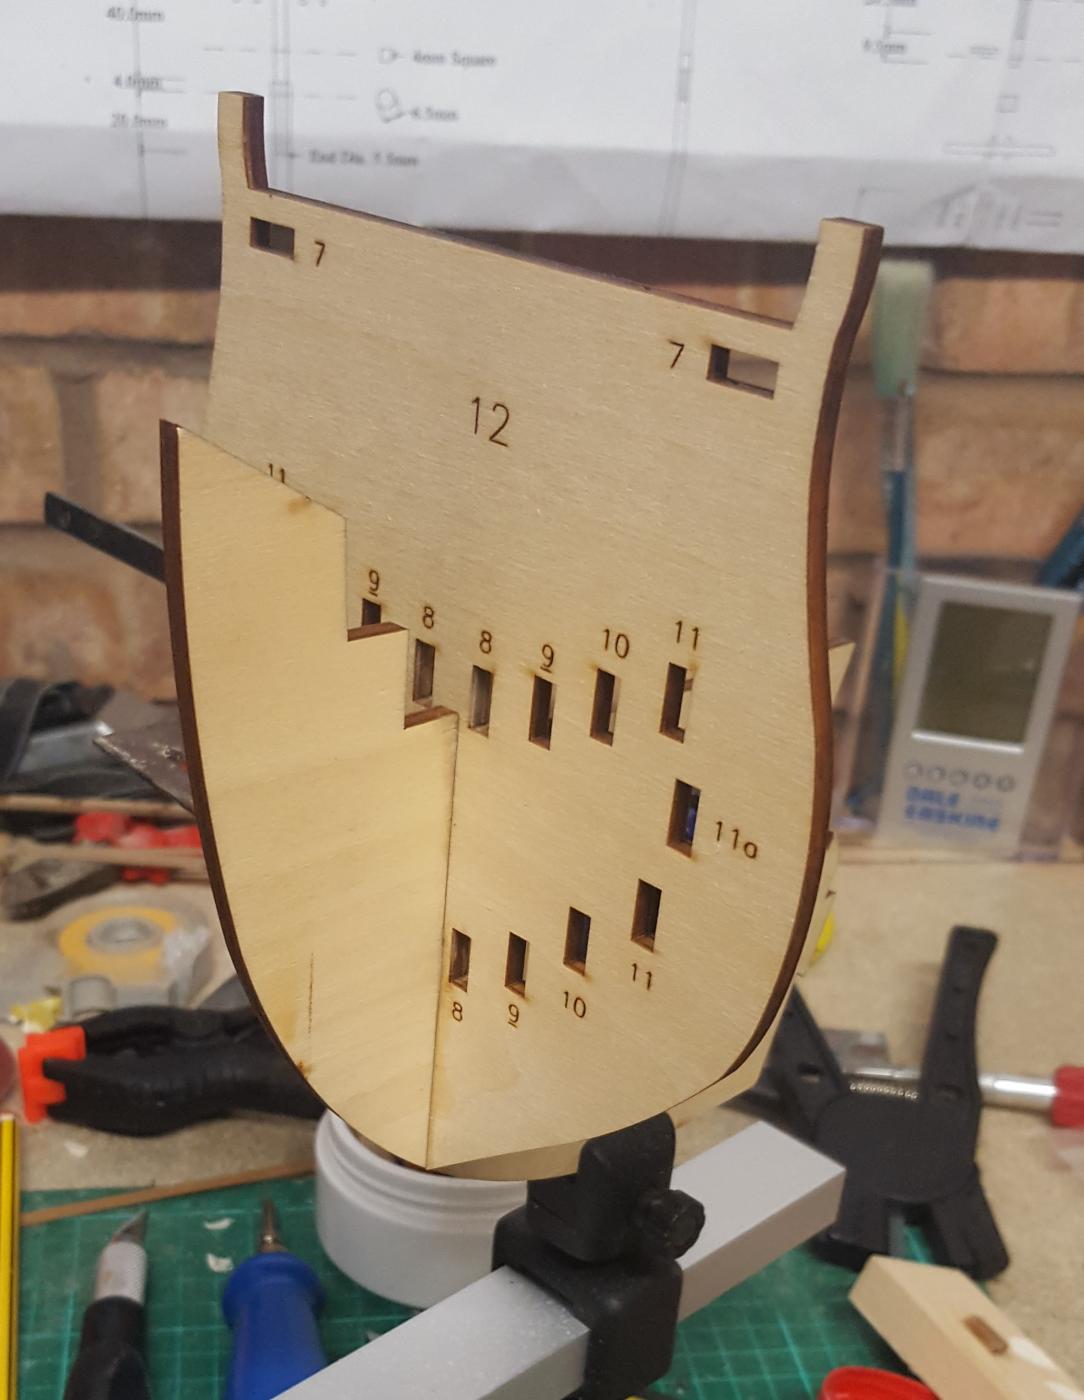
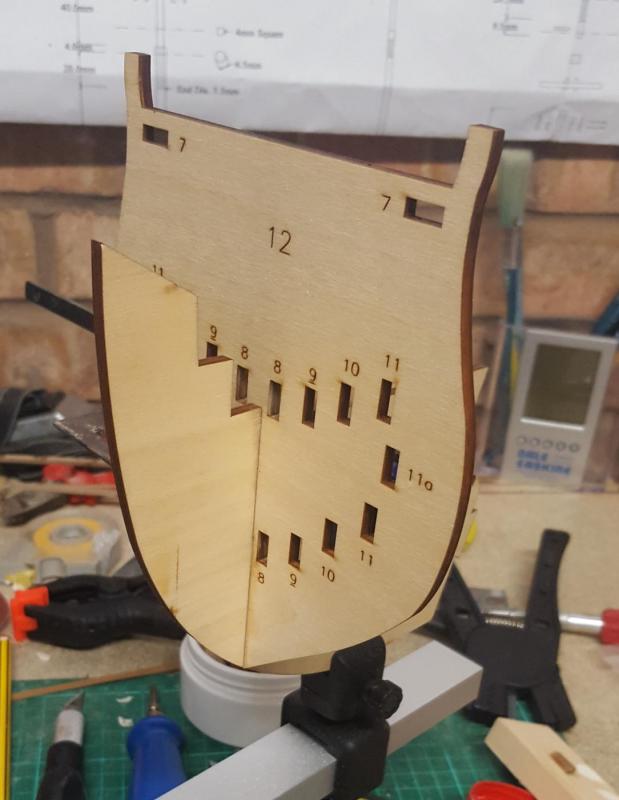
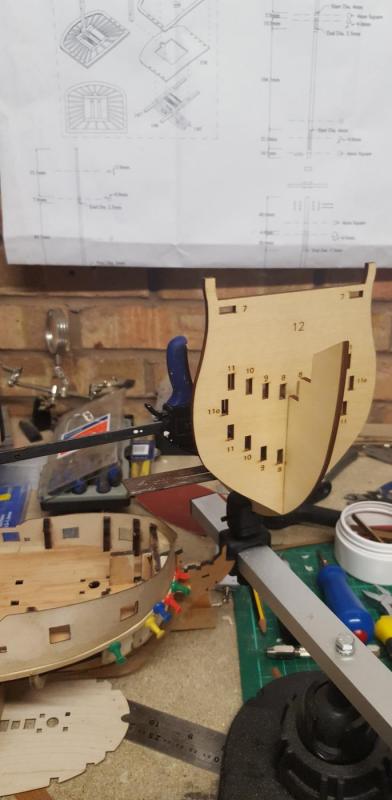
I'm planning on taking my time with this build, unlike my other builds. I started with fitting part 12 to the keel. I used a set square to ensure part 12 was fully square with the keel as the glue was drying. This picture shows other the HMS Pegasus build as well Once the glue had dried I then added bow former part 8 to part 12 Thought it would be nice to show a picture of my other HMS Victory build which is on hold Once the glue was dry I then added the bow former part 9 to part 12. I used a set square to make sure both part 8 and part 9 were correctly installed. I have also made a start on the first 12 pounder cannon. I'm now waiting for the glue to dry before proceeding further


-
Yes those are the videos plus there is another youtube video channel with build videos that I've found https://www.youtube.com/playlist?list=PL_3pPhOtE3Pea-7AYJUZuXIncL4tcPhOC
-
I've been away for a few days, but managed to spend a bit of time today on HMS Pegasus and fitted the first plank. I used my plank bender to shape the planks and the fitting went very well. It did required a little bit of sanding in a couple of places, once the glue had dried, to get a good smooth finish between the first plank top edge and the gun port strip. I will sand the hull properly and fill as necessary with filler / primer once I've finished the first planking I have a busy weekend so I will have continue with the planking next week.


-
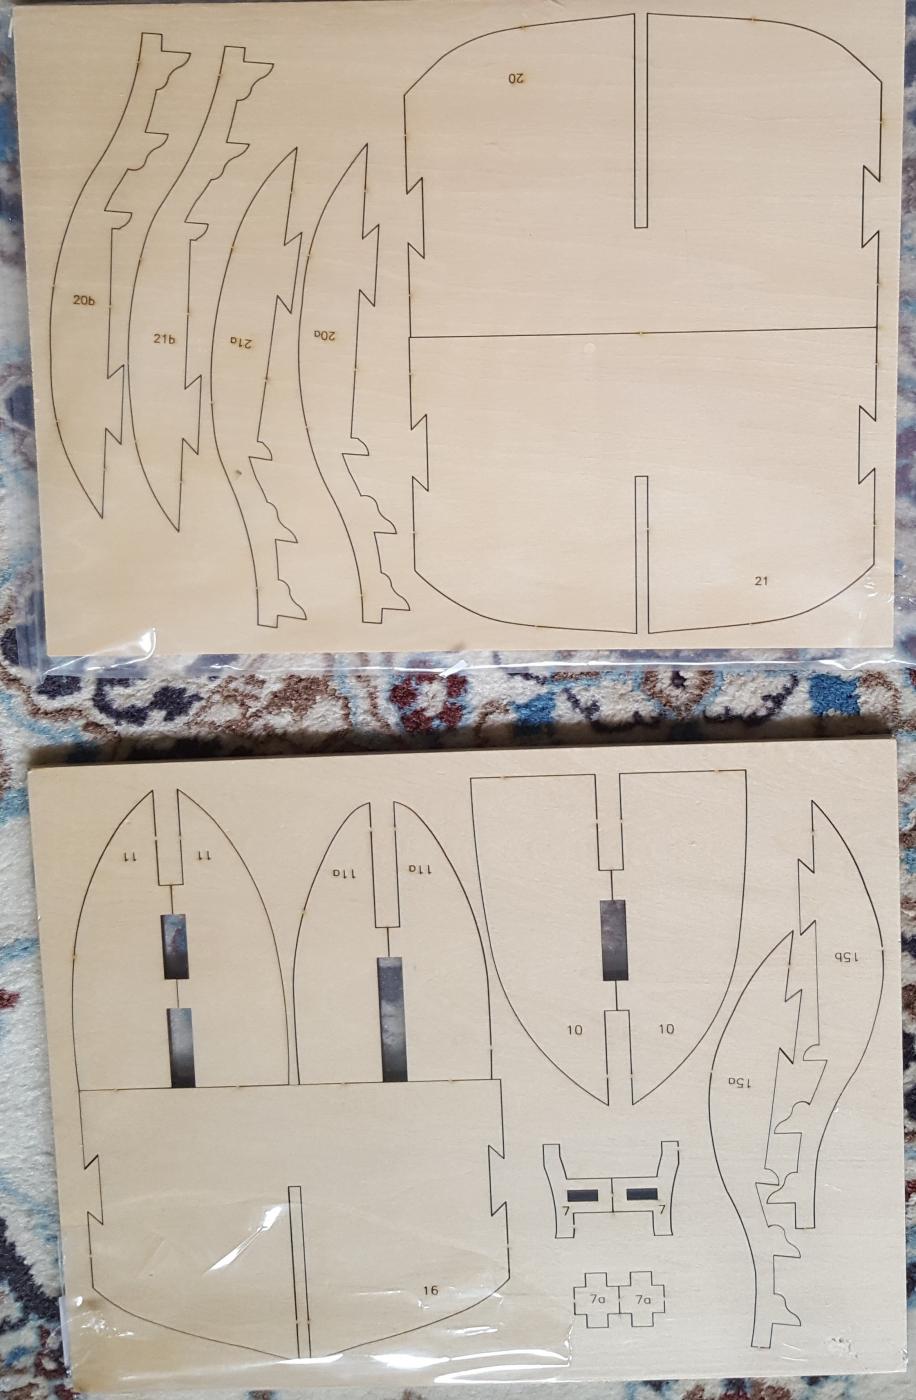
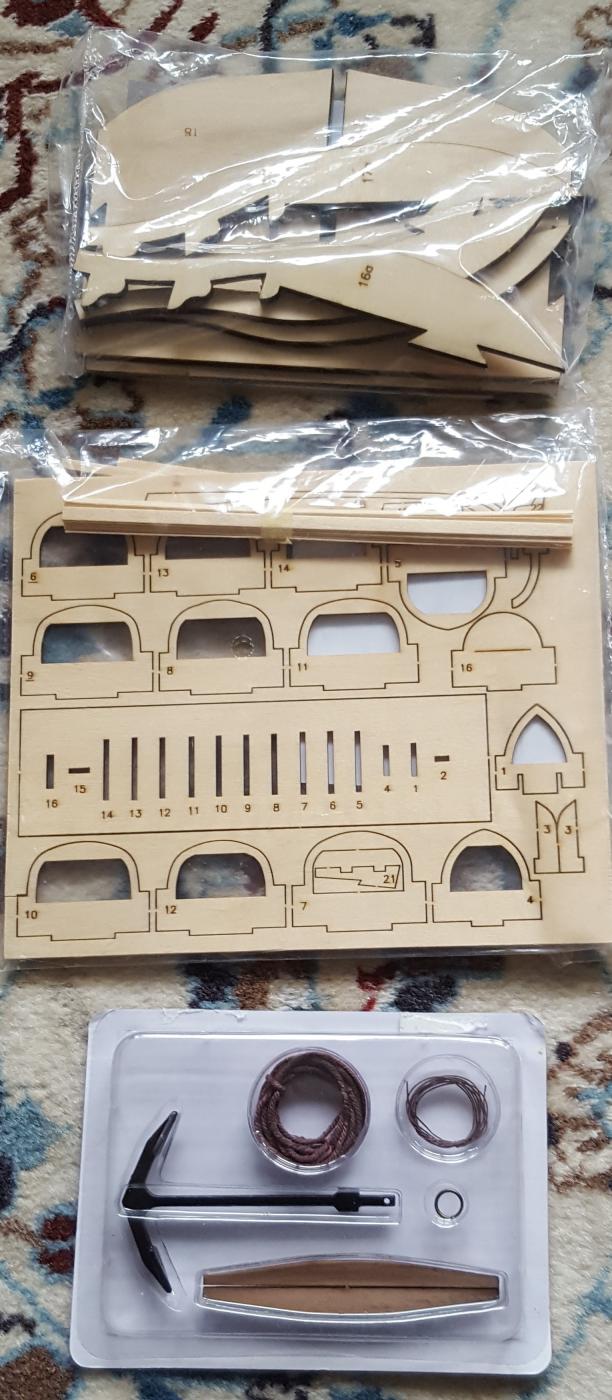
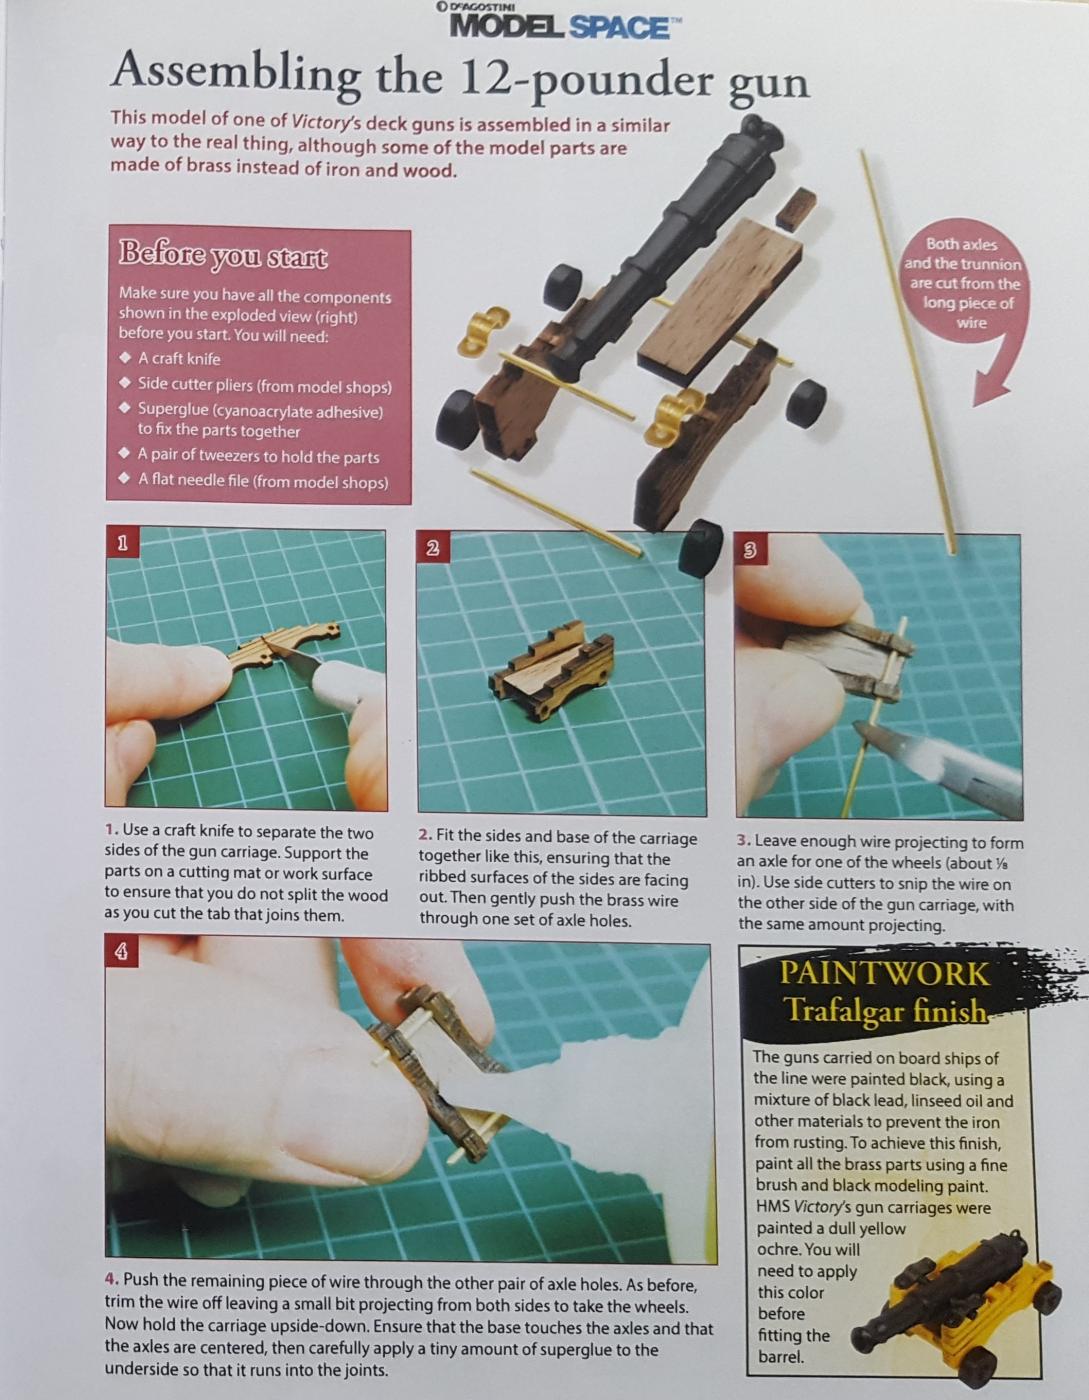
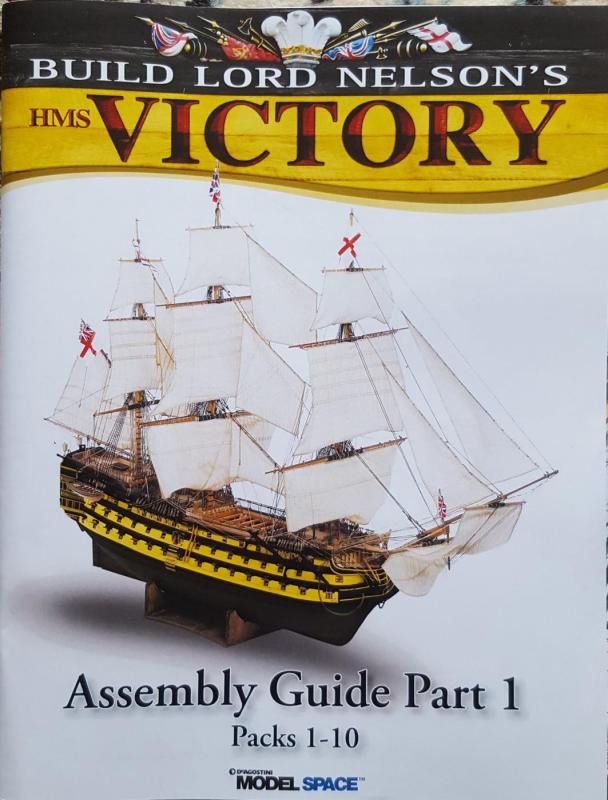
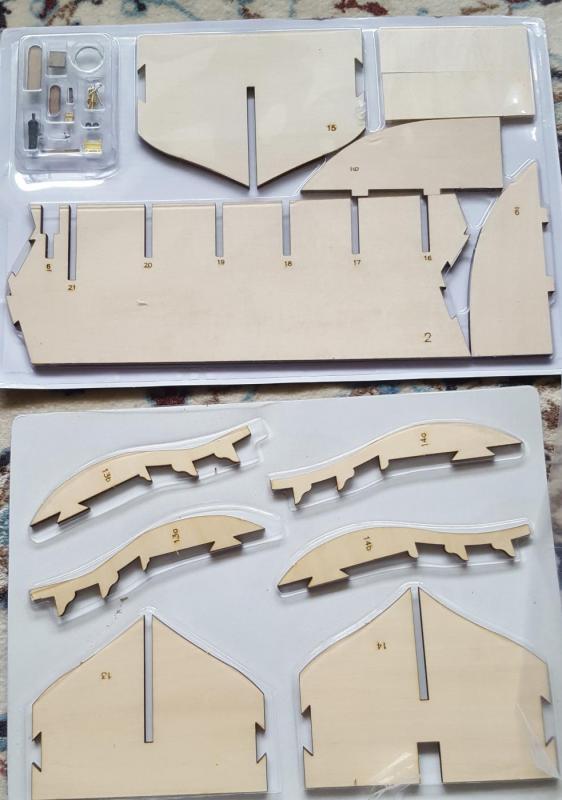
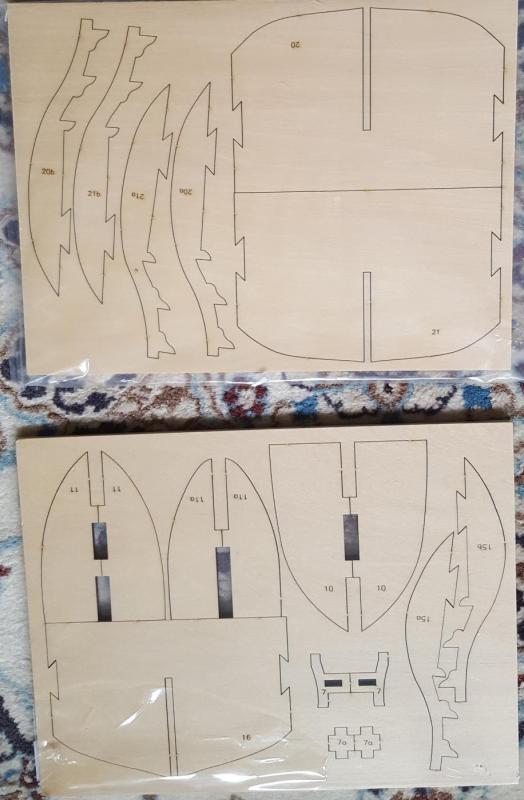
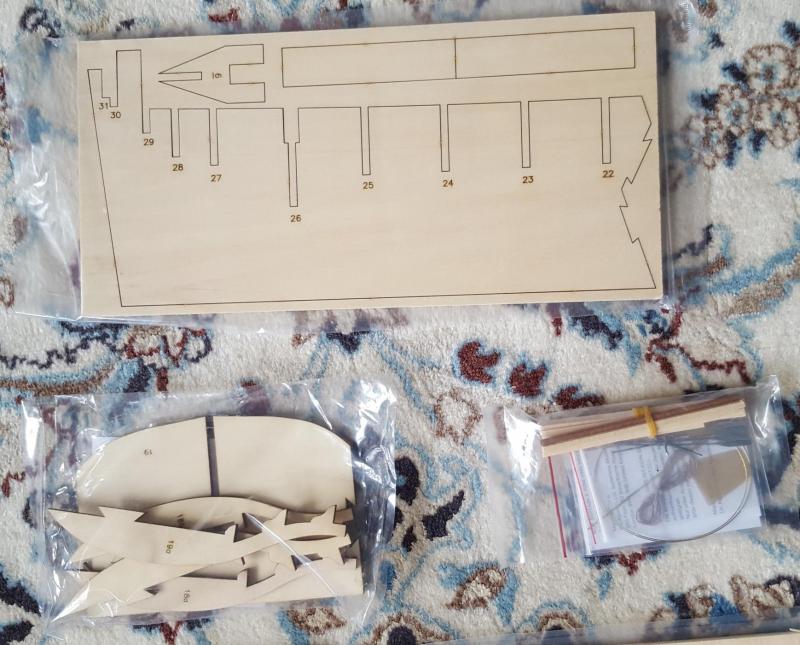
My Caldercraft Victory build has been in the dry dock for 18 months and I'm not sure if and when I will return to it as I'm waiting for the release of Chris Watton's HMS Victory build which I'm really looking forward to building. I'm currently working on HMS Pegasus but thought it would be fun to also build the Model Space 1/84 scale model of HMS Victory using the 24 month subscription. I choose this kit because there are some really useful youtube videos and it looks an really interesting build. I have now taken delivery of my first month subscription and I'm now look forward to making a start on this build. Pictures of the instruction manual Pictures of the parts received with first delivery


-
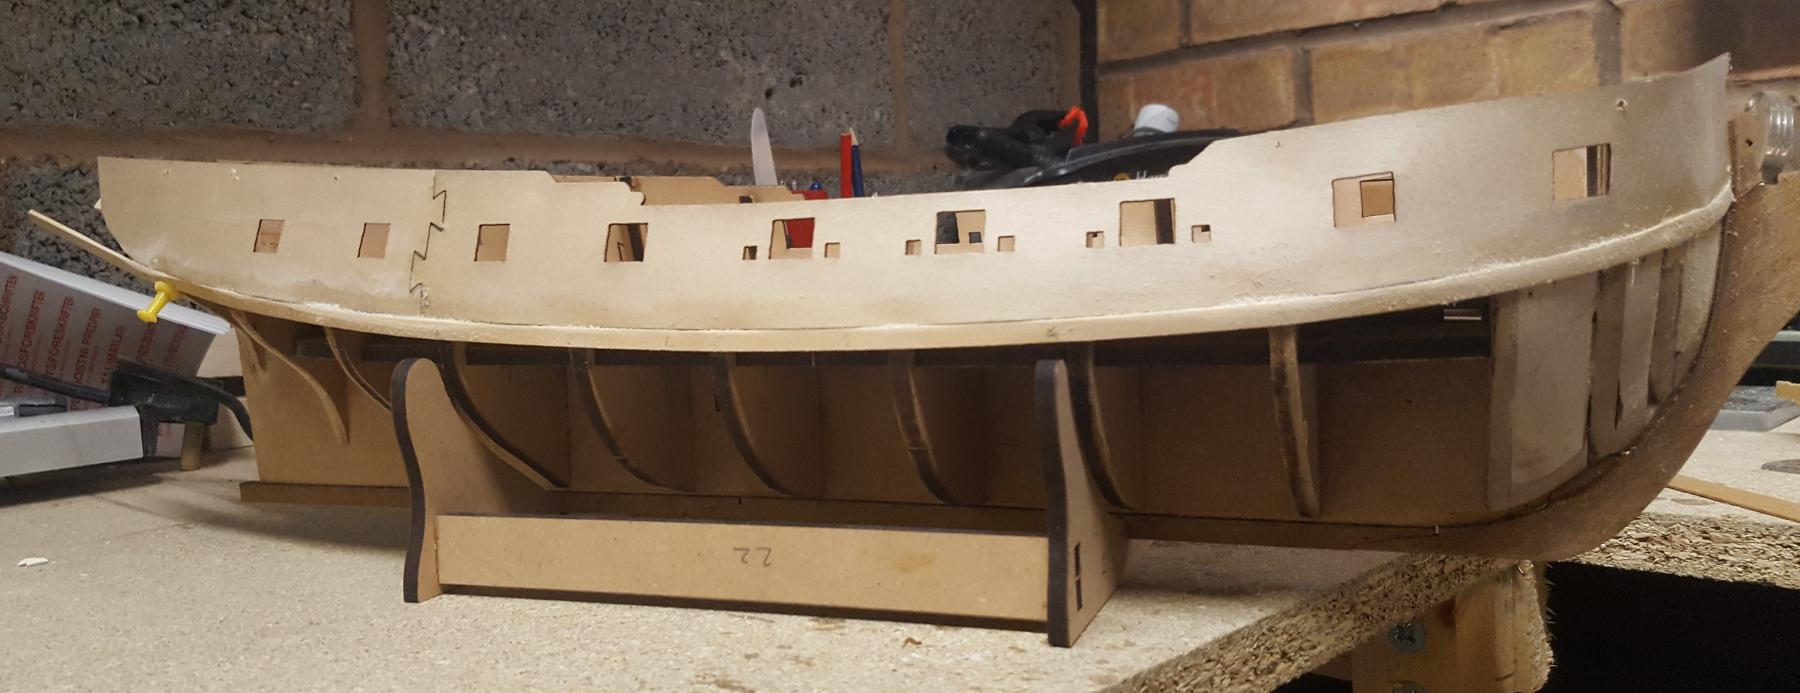
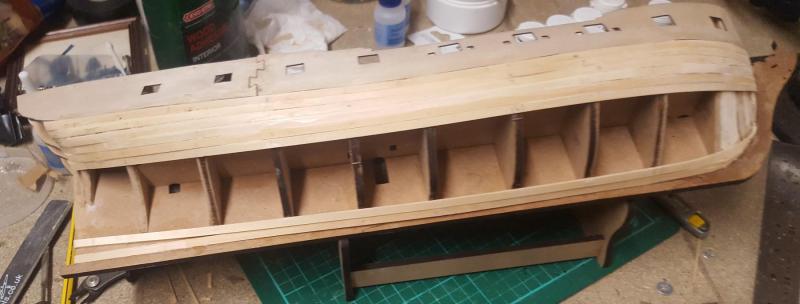
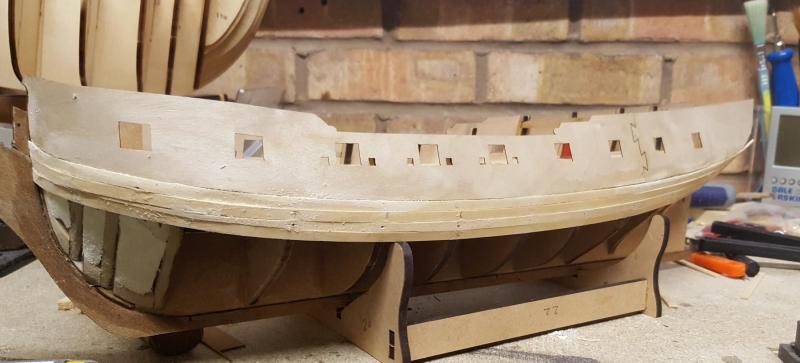
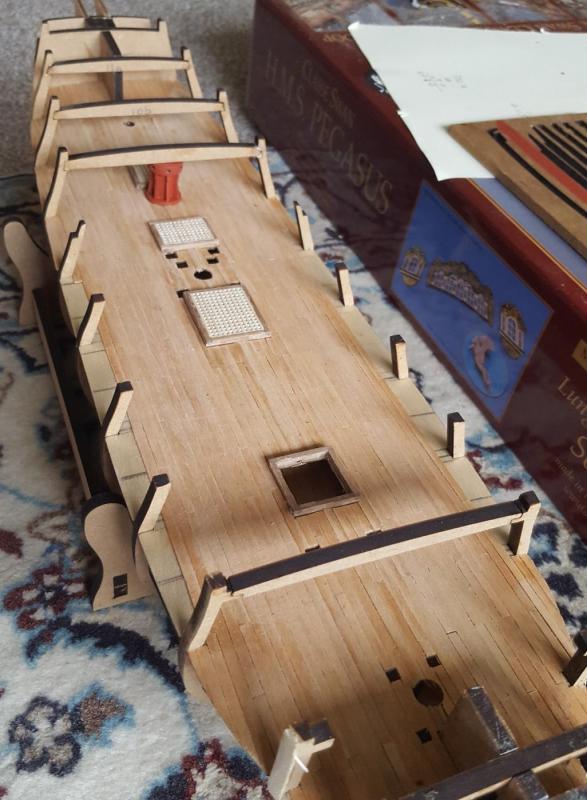
The gun port strips dried nicely and retained their shape. I dry fitted them to be double sure and all looked good so I was able to glue them in place without any problems. I thought this whole process was going to be more onerous and complicated than it actually was; it turned out to be quite a simple task. In the following pictures I have placed the upper decks in place, but I will remove them when I start the next task of the first planking. Build Index hyperlinks 1. Prework - dry fitting bulkheads 2. Beading Line and Rabbet 3. Lower Gun Deck Fittings 4. Grating Assembly 5. Dry Fit Main Gun Deck and Fitting 6. Gun Deck Fitting Prework 7. Lower Gun Deck Glued and Pinned 8. Pre Gun Deck Planking Work 9. Start of Gun Deck Planking 10. Gun Deck Opening Cleared During Planking 11. Gun Deck Planking Work In Progress 12. Gun Deck Planking & Fairing 13. Main Deck Fitting Painting 14. Fitting Basla Inserts Bow 15. Fitting Gun Port Strips


-
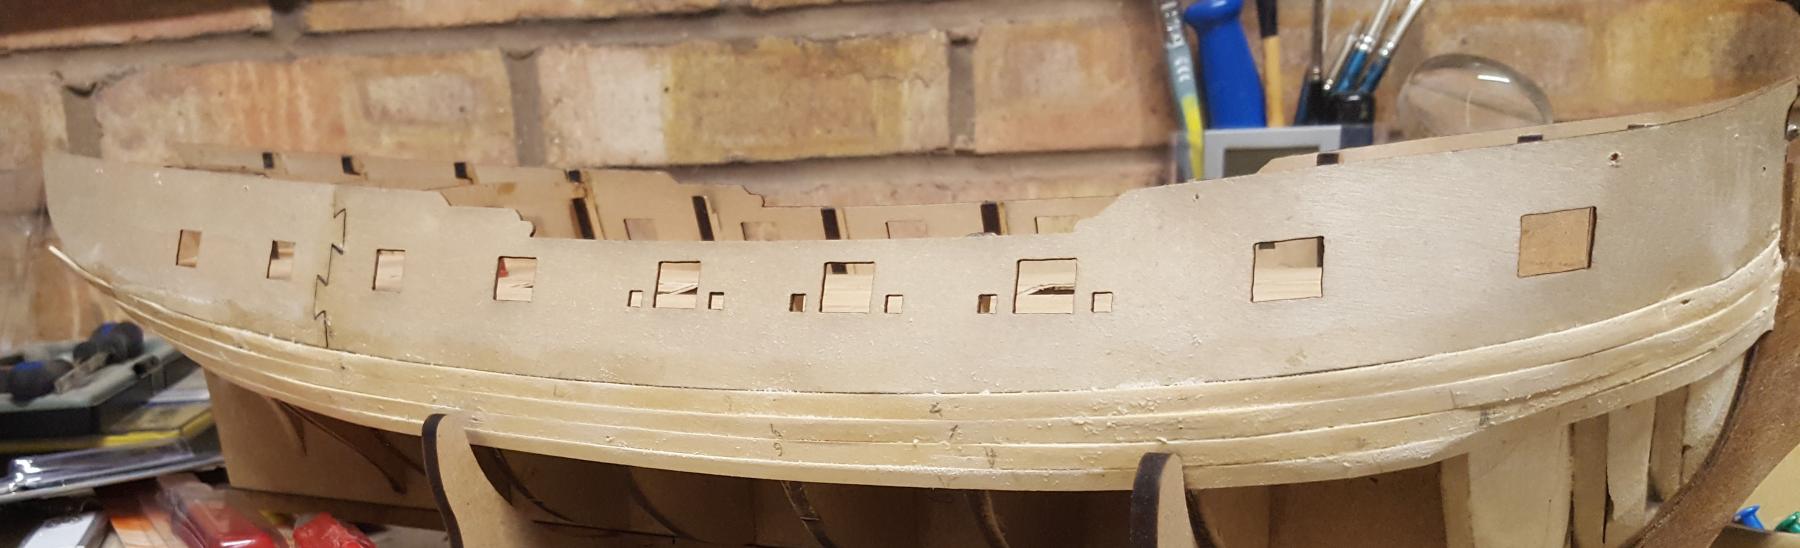
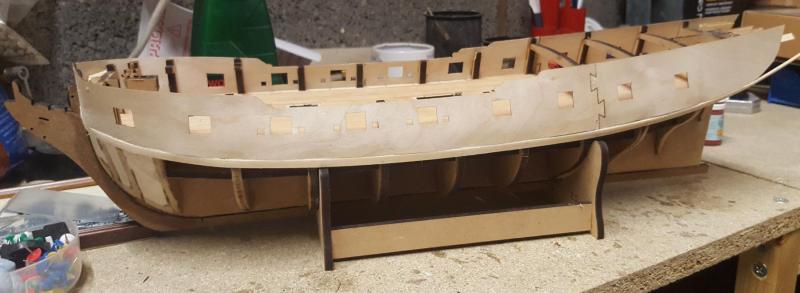
Today's task was to start fitting the gun port strips. I started this by soaking the gun port strip in warm water for 1 hour, noting I did change the water a couple of times to ensure the water stayed warm. I did also fit an additional support to stern side of bulkhead 9 last night to help secure the dovetail section when I glue the strips in place. I took the first gun port strip (starboard side) and begin to pin and clamp to the frame. I found the easiest method was to start with the forward gun port strip and align with the top edge and then clamp the top at bulkheads 8, 7 and 6. Once I was happy that all the gun port openings were clear of the bulkheads I pinned the bottom edge at bulkheads 8, 7 and 6. I then continued to pin and clamp until the strip was eased and secured around the bow. I then fitted the rear starboard gun port strip from bulkhead 9 moving to stern. I then repeated the above fitting the port side gen port strips. I will now leave the gun port strips in place until the strips have dried out. Build Index Hyperlinks 1. Prework - dry fitting bulkheads 2. Beading Line and Rabbet 3. Lower Gun Deck Fittings 4. Grating Assembly 5. Dry Fit Main Gun Deck and Fitting 6. Gun Deck Fitting Prework 7. Lower Gun Deck Glued and Pinned 8. Pre Gun Deck Planking Work 9. Start of Gun Deck Planking 10. Gun Deck Opening Cleared During Planking 11. Gun Deck Planking Work In Progress 12. Gun Deck Planking & Fairing 13. Main Deck Fitting Painting 14. Fitting Basla Inserts Bow 15. Fitting Gun Port Strips
-
Thanks for the heads up and noted and I have now faired the forward bulkheads
-
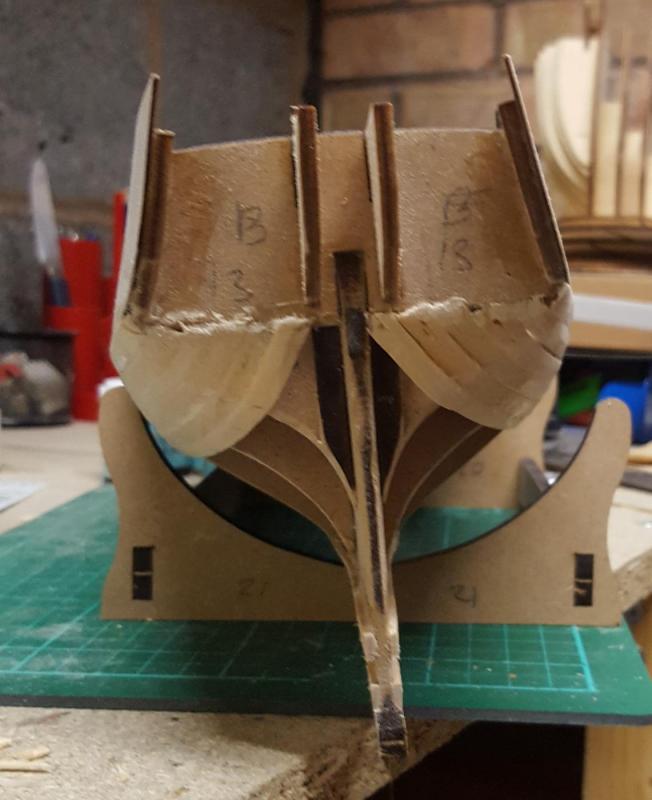
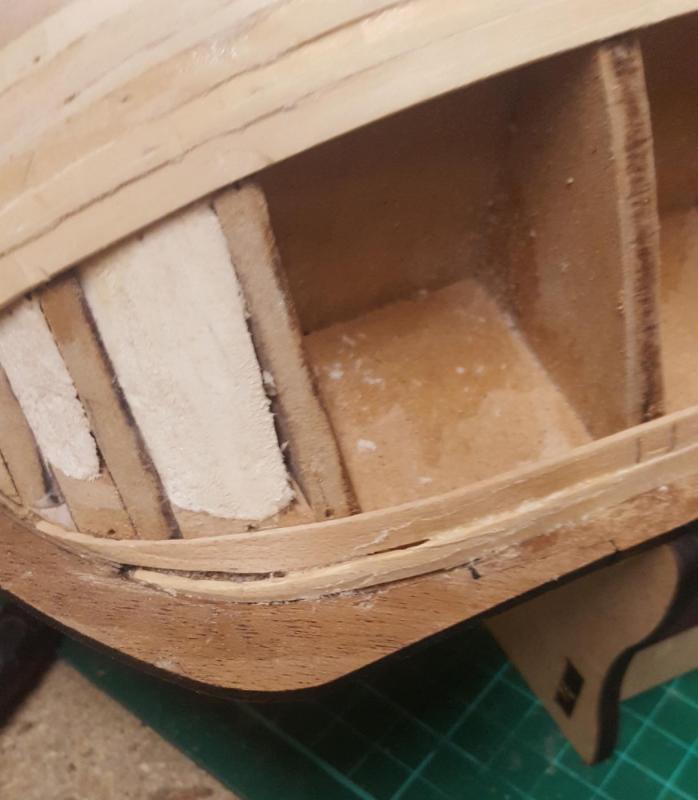
Today I was planning on bending and fitting the gun port strips but I realised I needed to spend a bit more fairing the bulkheads. I then decided to fit some balsa inserts to aid to ensure I have a good shape at the bow end and to help with the planking. Here are some pictures

-
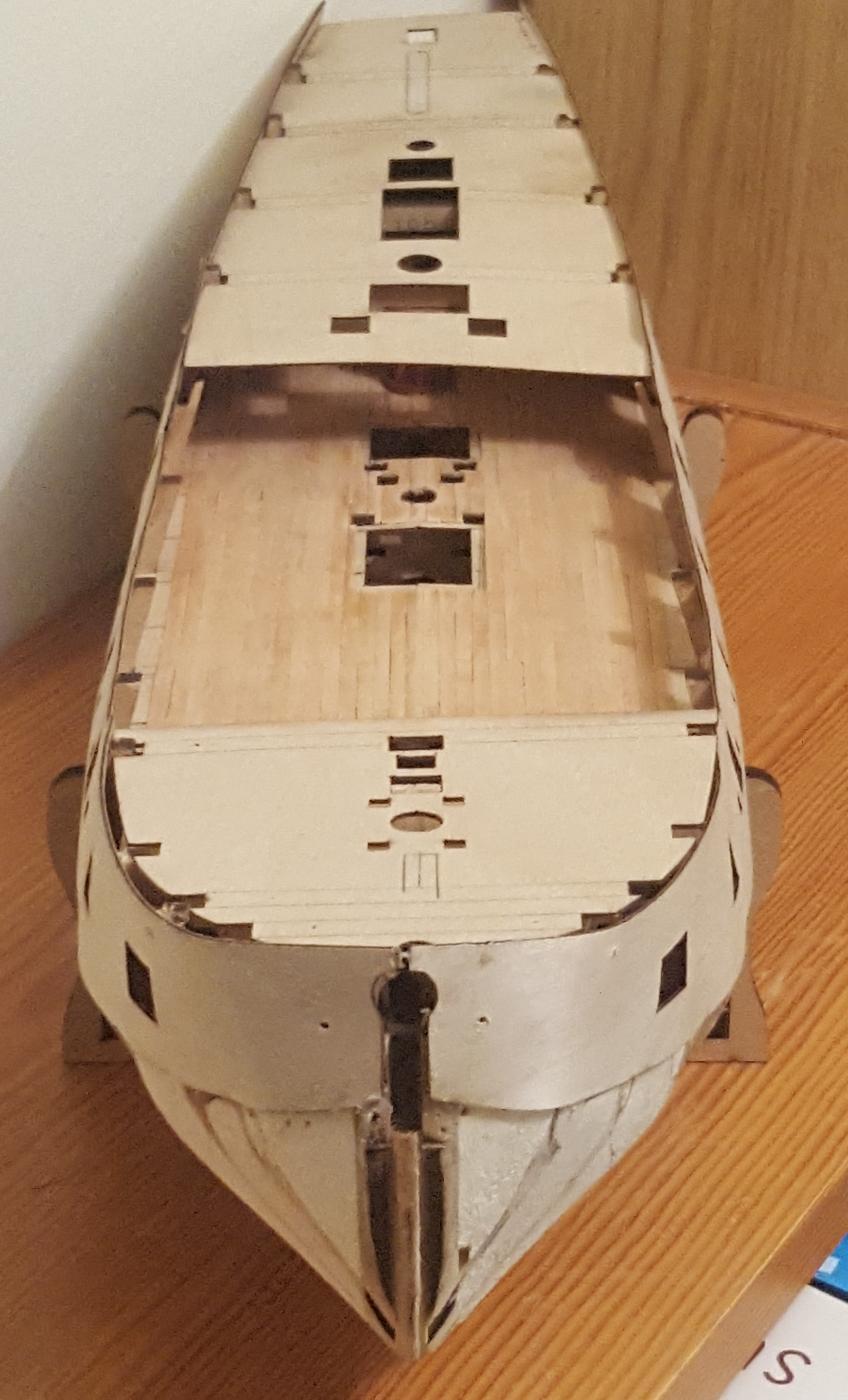
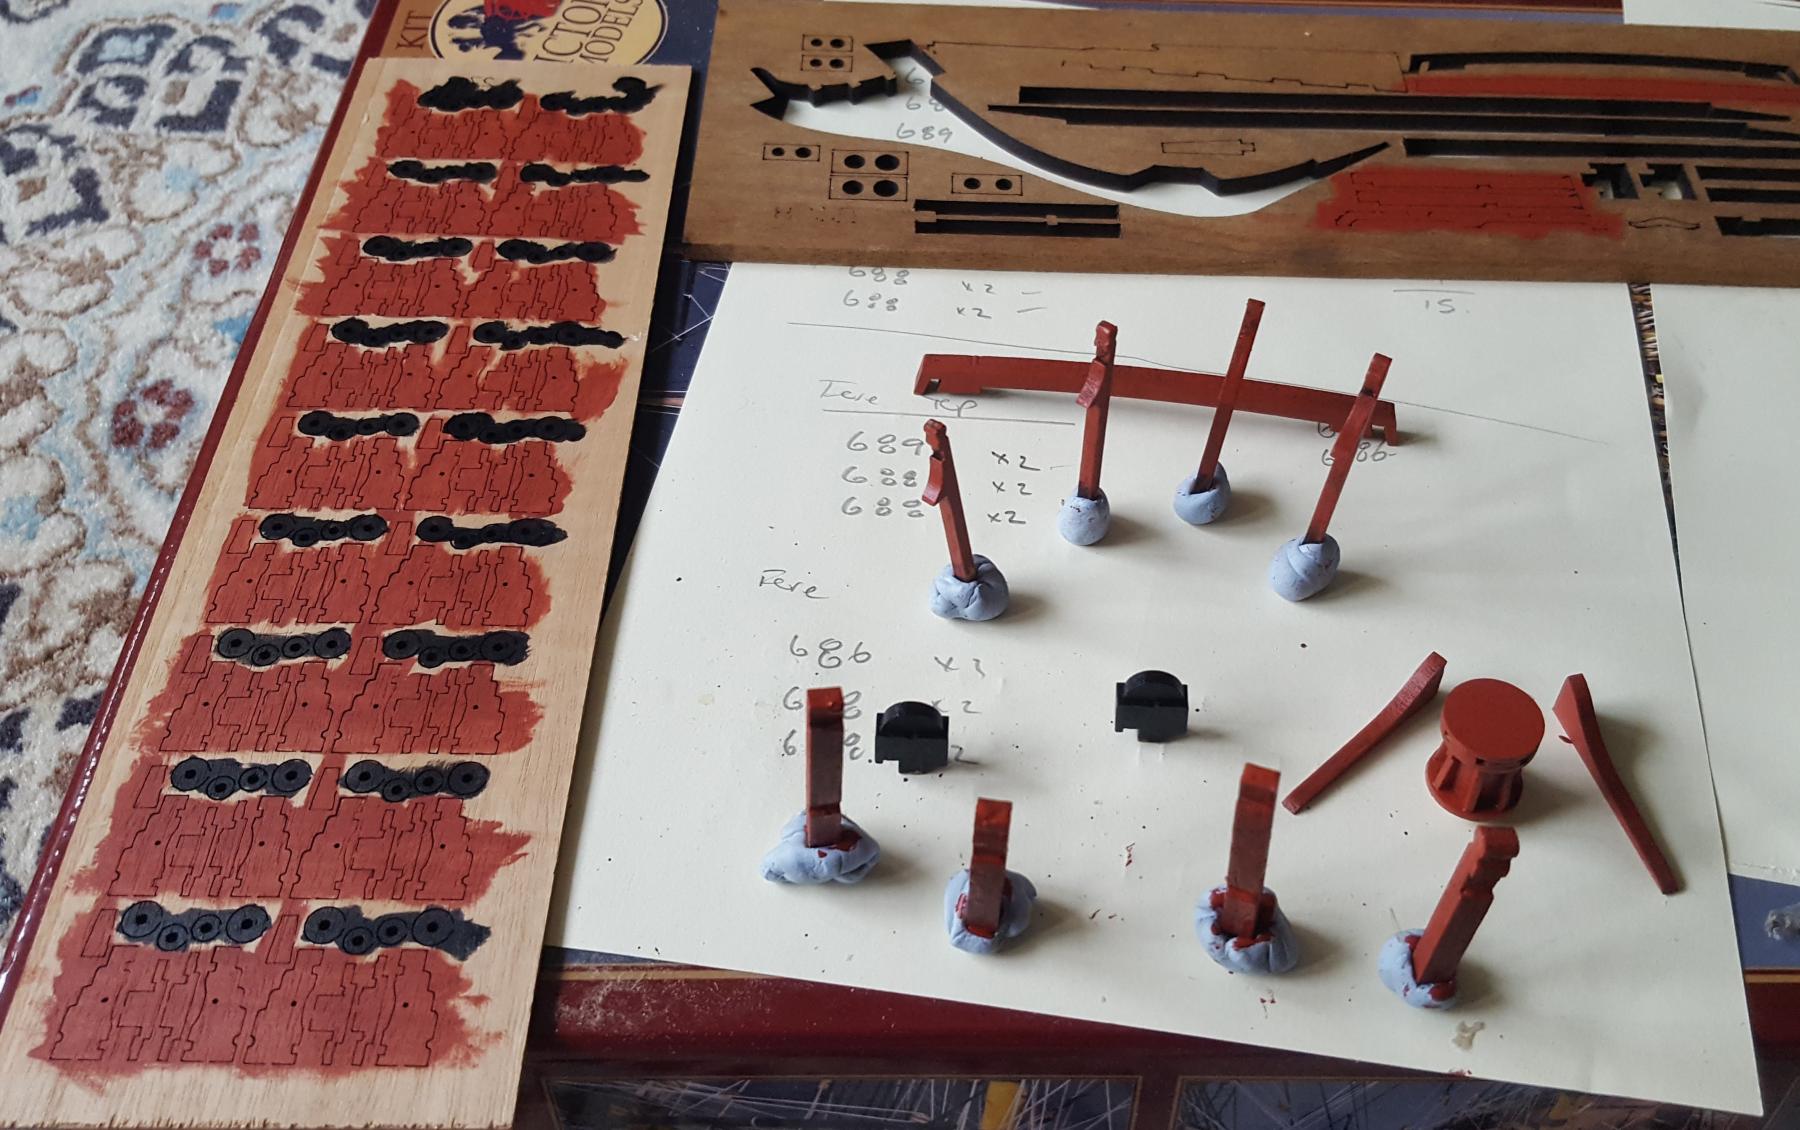
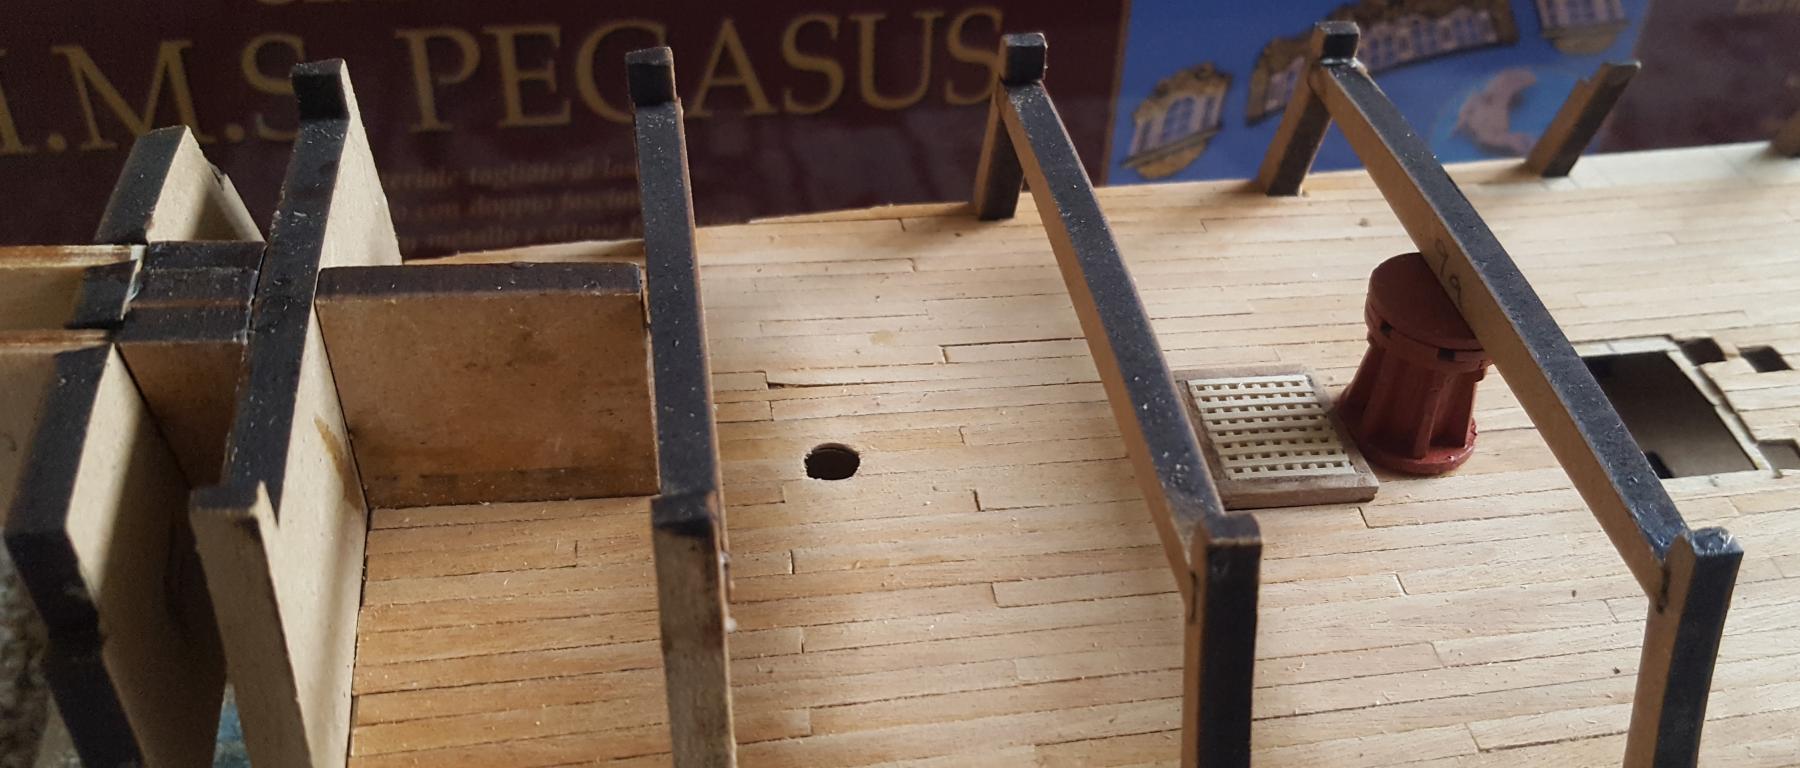
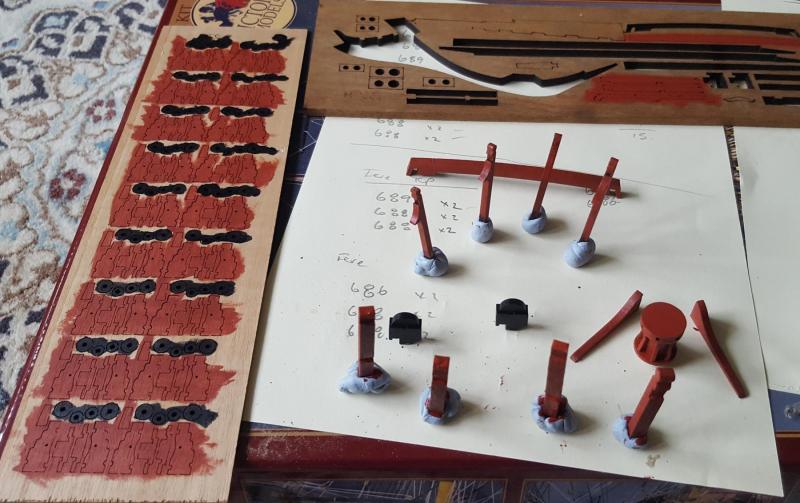
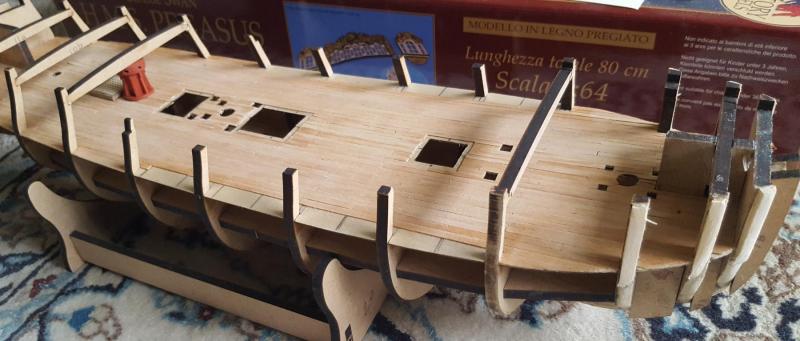
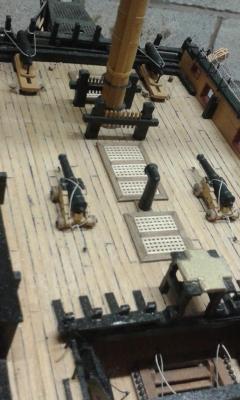
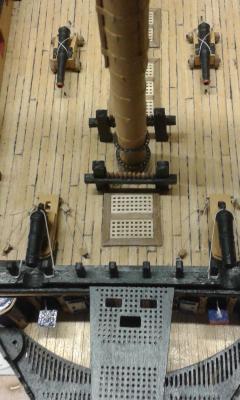
I last worked on this build 12th April 2015 when I decided to put the project on hold. Anyway over the last couple of days I have been looking at my build and working out what needs to be done. First task was to order some paints from CMB which arrived today so I painted some of the deck fittings. I took the opportunity to also paint the cannon parts before removal from the sheets, as I think it may be easier this way. I'm still debating what colour to paint the bitt cross members either matt black, red or leave natural. Any thoughts welcome. I then fitted the deck support beams and installed some of the main deck fittings Next week I plan pin the two upper decks in place (but not glue in place) before I start bending and fitting the gun port strips. Build Index - hyperlinks 1. Prework - dry fitting bulkheads 2. Beading Line and Rabbet 3. Lower Gun Deck Fittings 4. Grating Assembly 5. Dry Fit Main Gun Deck and Fitting 6. Gun Deck Fitting Prework 7. Lower Gun Deck Glued and Pinned 8. Pre Gun Deck Planking Work 9. Start of Gun Deck Planking 10. Gun Deck Opening Cleared During Planking 11. Gun Deck Planking Work In Progress 12. Gun Deck Planking & Fairing 13. Main Deck Fittings Painting

-
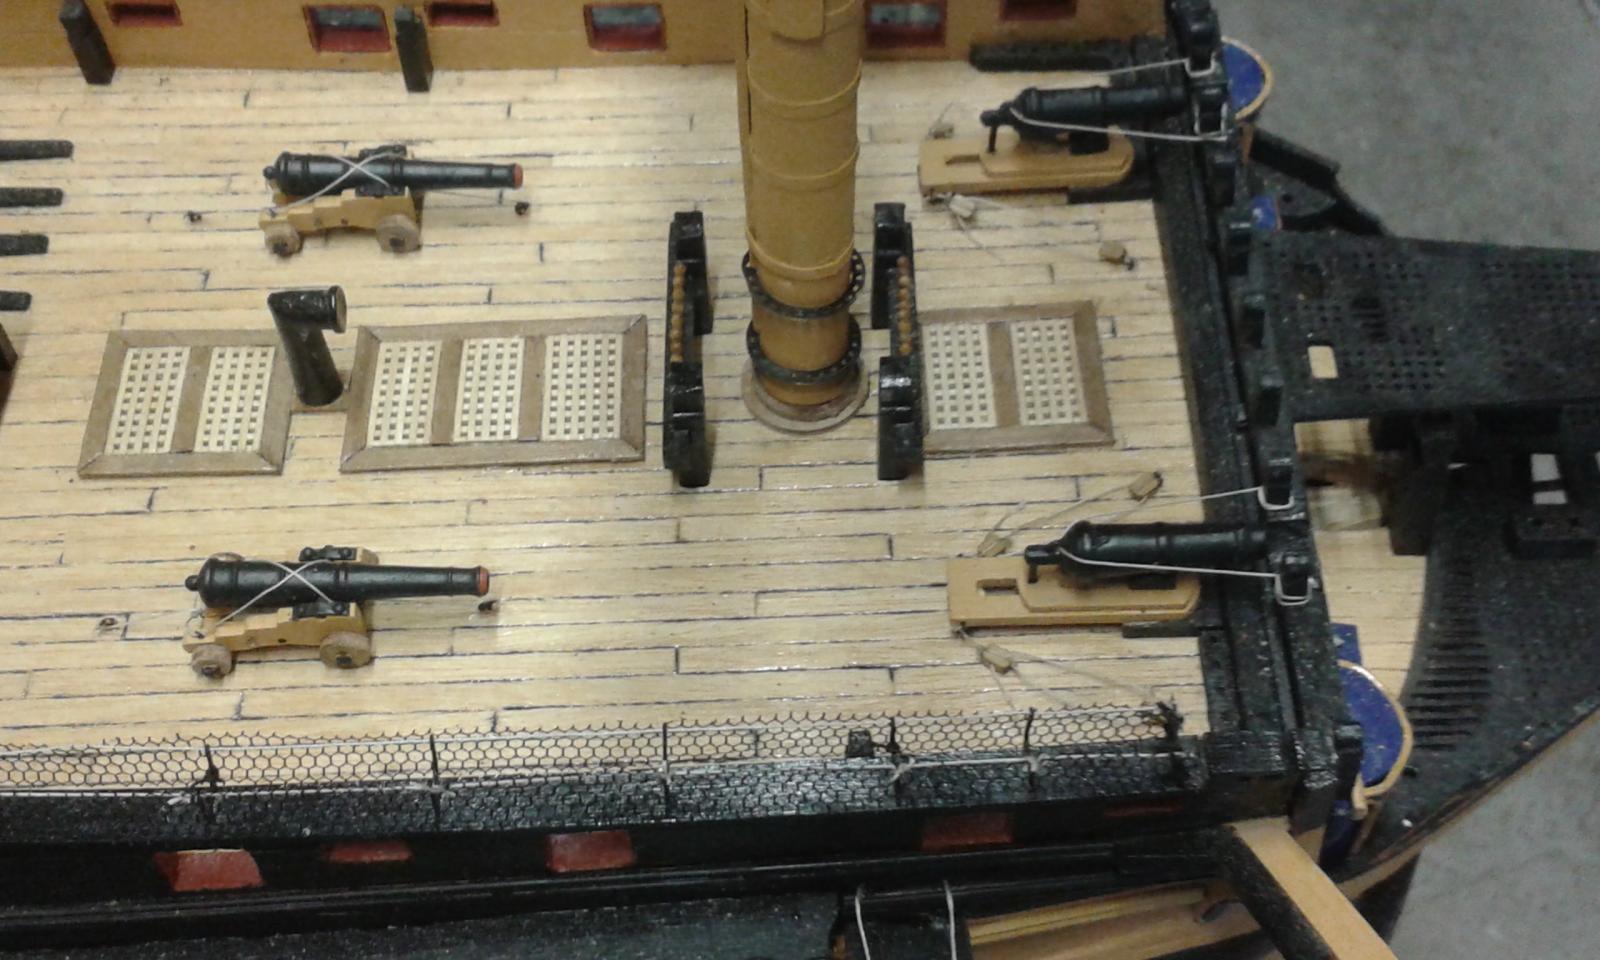
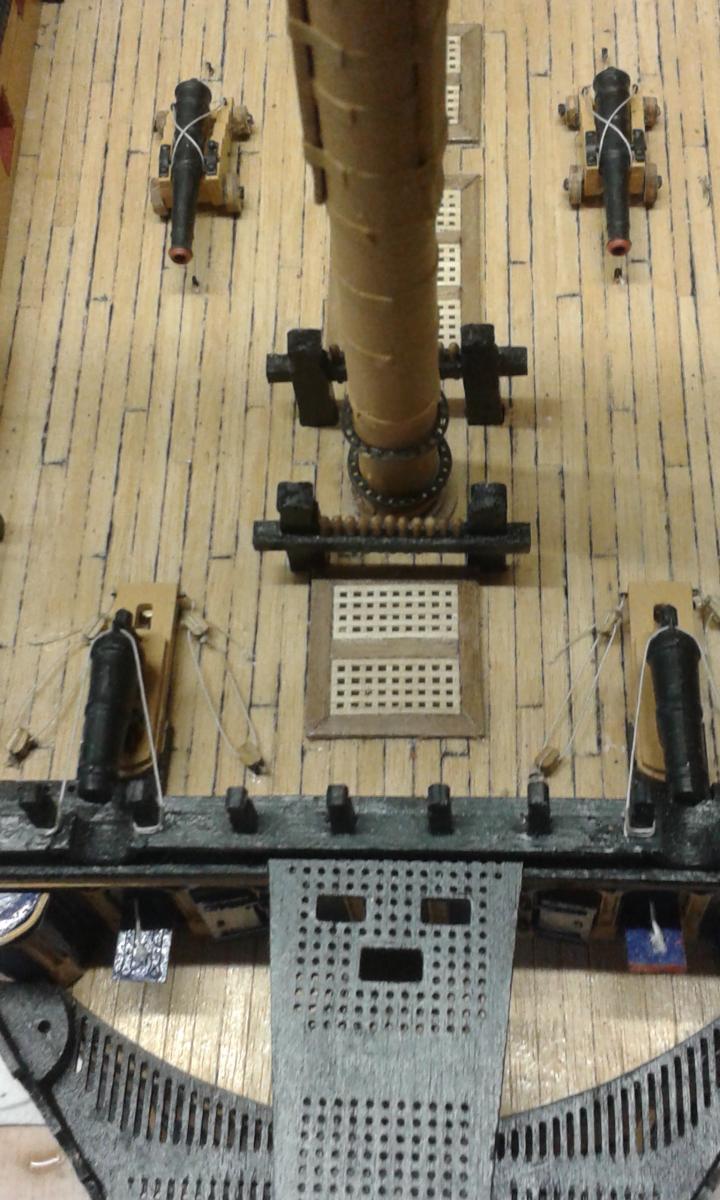
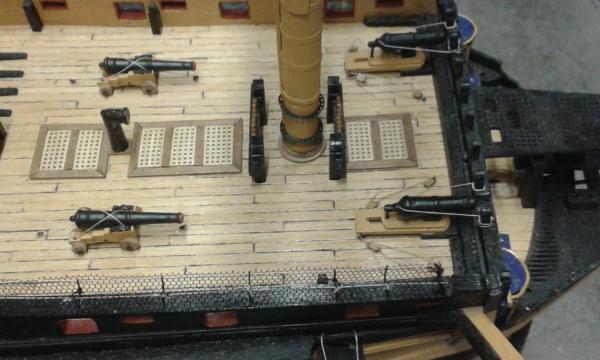
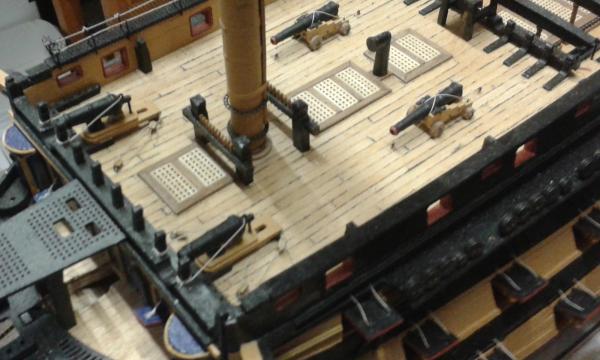
Work as been delayed on the Victory as I decided to build a 1/32 scale model of the Spitfire which is nearly complete, I just needs the final paint job. So today I finally made time and got around to rigging the two final cannons and 2 carronades. I just have to add 4 coils to the carronades. Pictures attached
-
Just a quick note, having been made redundant and deciding to take early retirement at the end of last month the build work ground to a halt as I started do some jobs around the house I finally made time and resumed to the build today. No pictures as I continue to complete the work on the lower fore, main and maiden masts.
-
It's just a strip a walnut, it is detailed in the instruction manual see the last para above figure 025 on page 42. 5mm length 0.5mm x 3mm
- 414 replies
-
- 1
-
-
- caldercraft
- victory
- (and 1 more)
-
I feel for you. Worst case you can buy a new set of brass photo etchings from CMB, quite expensive. You could also try ringing JoTika, the've helped me out in the past for the odd replacement part