Glenn-UK
-
Posts
3,168 -
Joined
-
Last visited
Content Type
Profiles
Forums
Gallery
Events
Everything posted by Glenn-UK
-
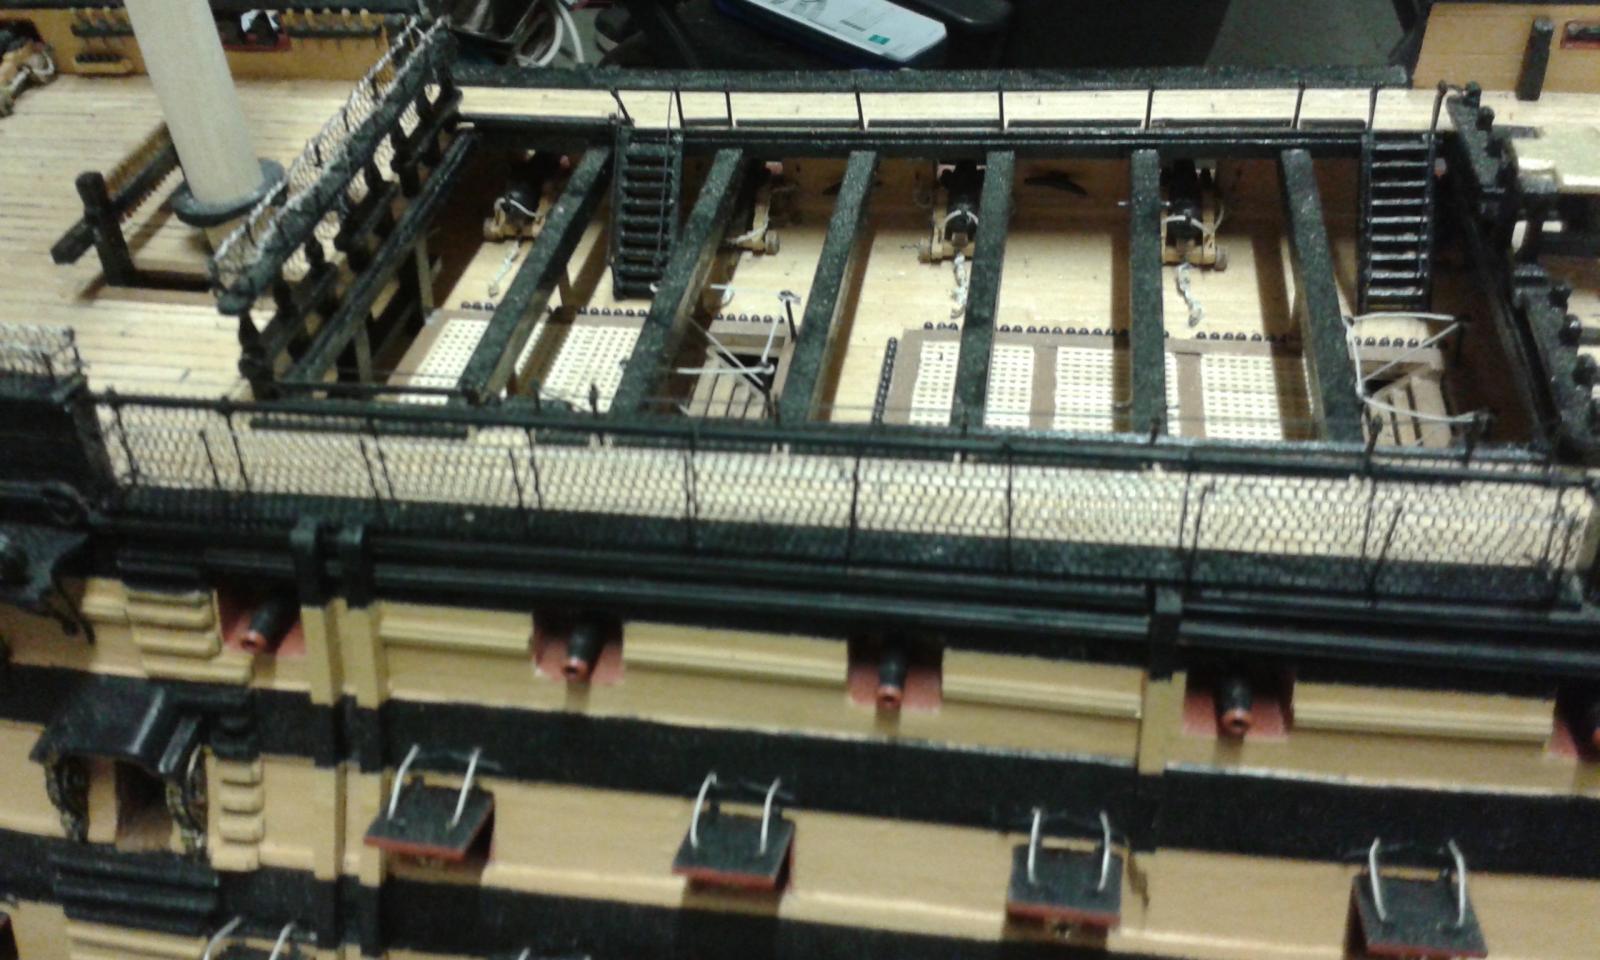
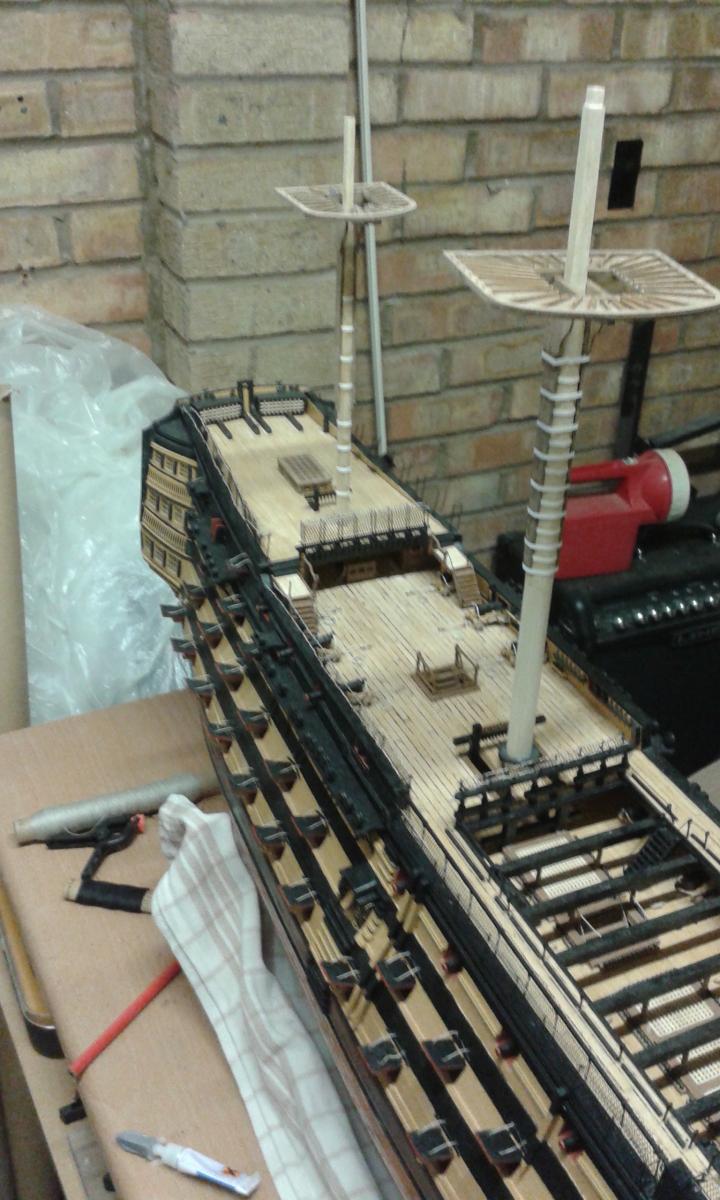
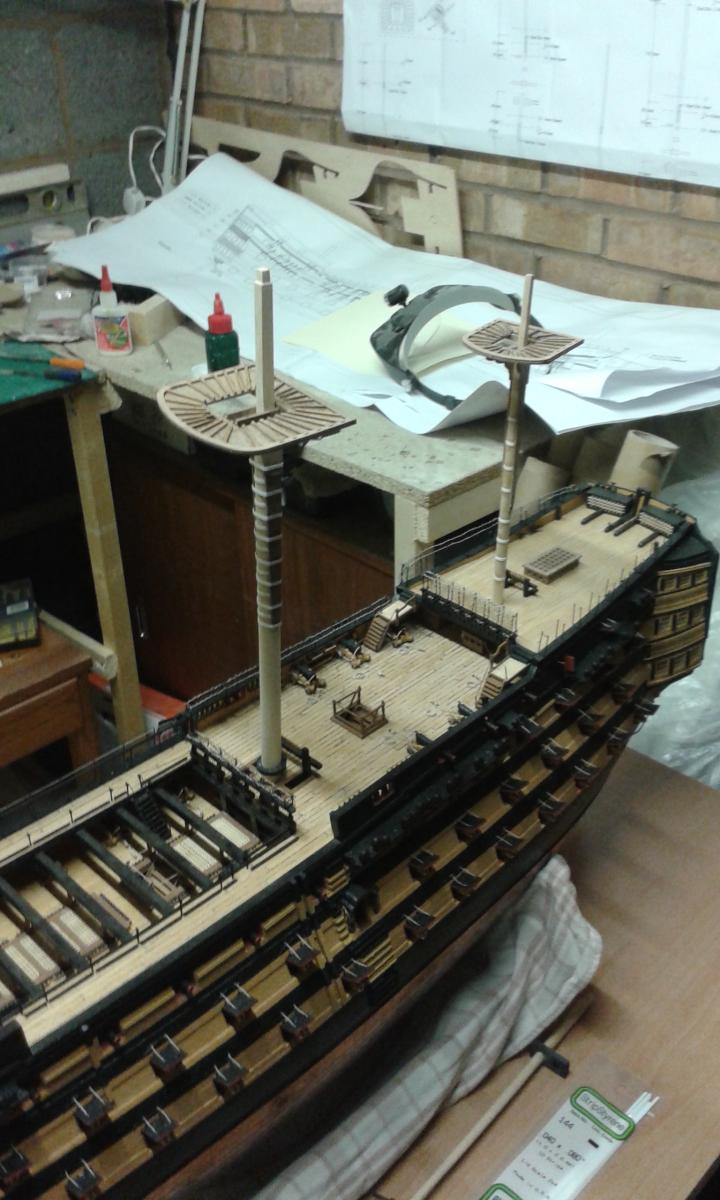
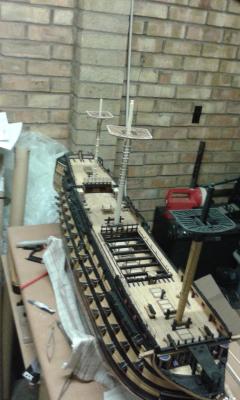
 Its been a while since my last post, progress slowed up a bit due to some major developments at work, all will be resolved one way or another this week, either I'll still working or I will have taken early retirement (aged 57!). Anyway I have completed the hammock netting on the starboard side. I have also made the main and mizzan lower masts and associated tops. Over the next few weeks I plan to complete the port side hammock netting, complete the painting of the lower deck cannons and glue in position and complete the manufacture of the main and mizzan masts parts.
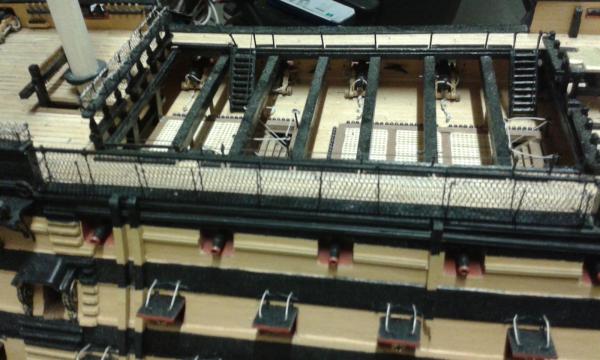

-
Nice work Jerry, I'm always impressed with your work. I was on holiday last week but had no time in the shipyard as I had a major project in the garden to complete. Had a weekend away and ended up in a shop which had a large Model zone section so I ended up buying the new Revell Spitfire 1/42 scale kit - I think they saw me coming! I do like the Spitfire and will be a very easy build. I plan to return to the shipyard tonight. Have a great week
-
The rigging looks alot simpler than your last two builds. I like the red and white sail, seems to add another dimension to your build. I'm still working the masts, currently shaping the main mast. Whilst I know the instructions tell me to full assembly each mast before starting the standing rigging it seems to make more sense to me to part assembly each mast and build up after each shroud layer has been added. This means I can fashion and size each shroud pair before final installation.
-
I never do any ironing I tried it once and The Admiral took pity on me. Am I right in thinking your team won 2-1 at the weekend, if so congratulations. The progress you have made today looks good also
-
Thanks for that
-
A great Idea David, I hadn't thought of splitting the blocks. Fingers crossed the results go your way next weekend to keep Newcastle in the Premier league, hopefully we (Man Utd) can do you a favour by beating Hull next weekend.
-
Thanks Jerry, enjoy the game. I'm travelling to Manchester tomorrow as I have tickets for the Man Utd v Arsenal game.
-
Thanks Daniel
-
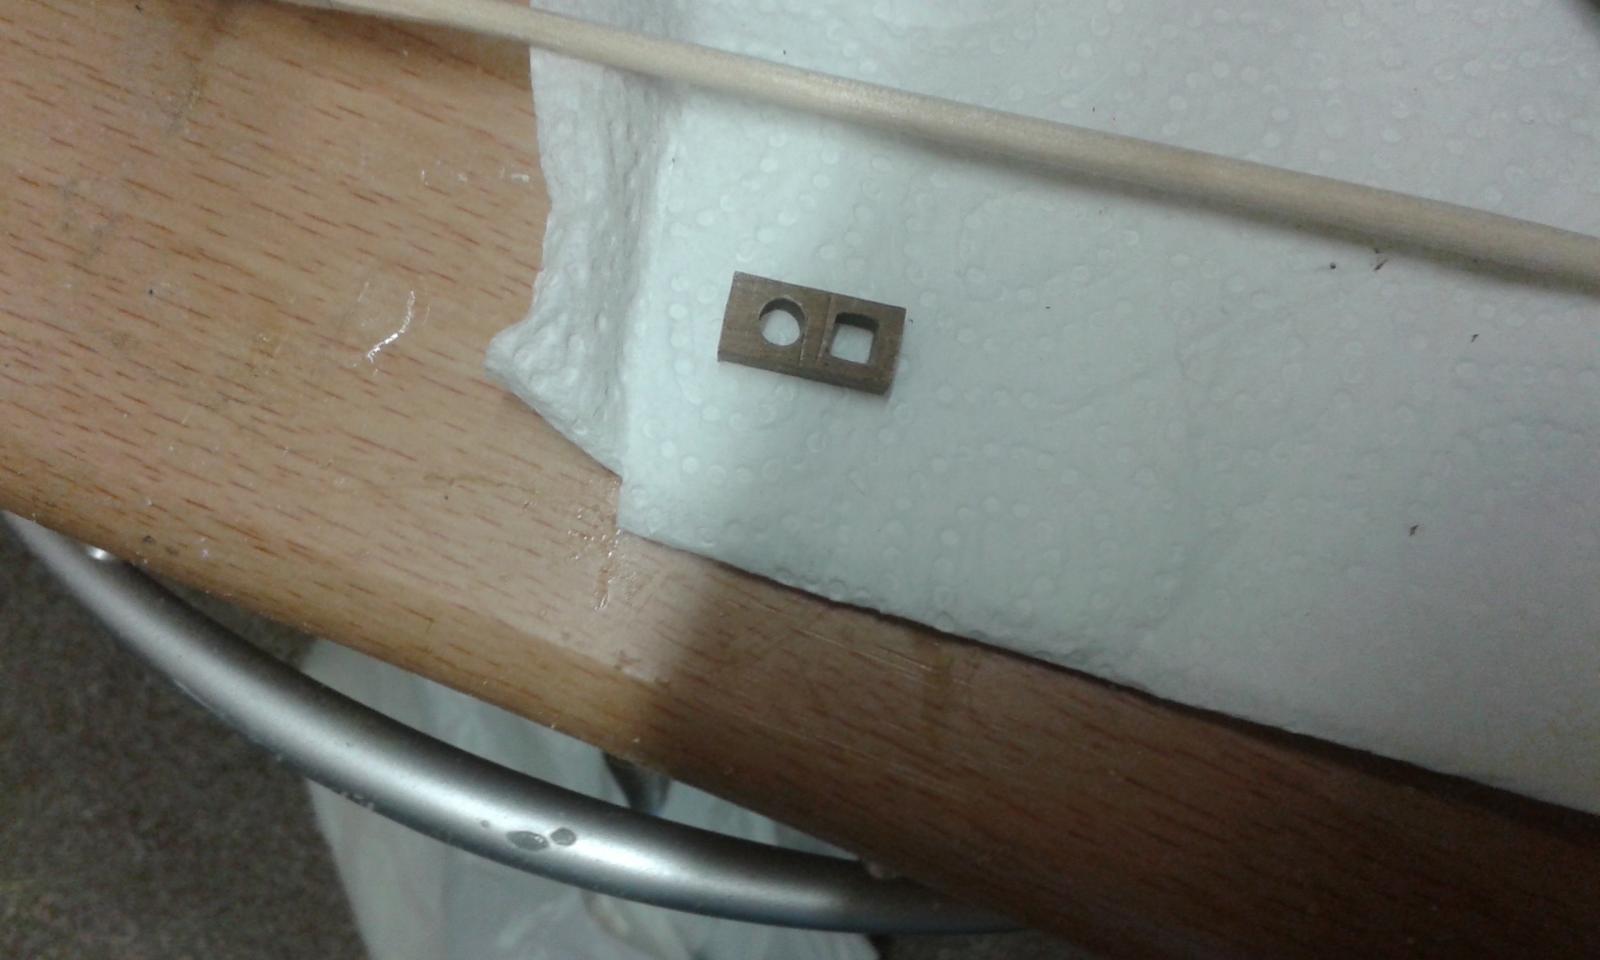
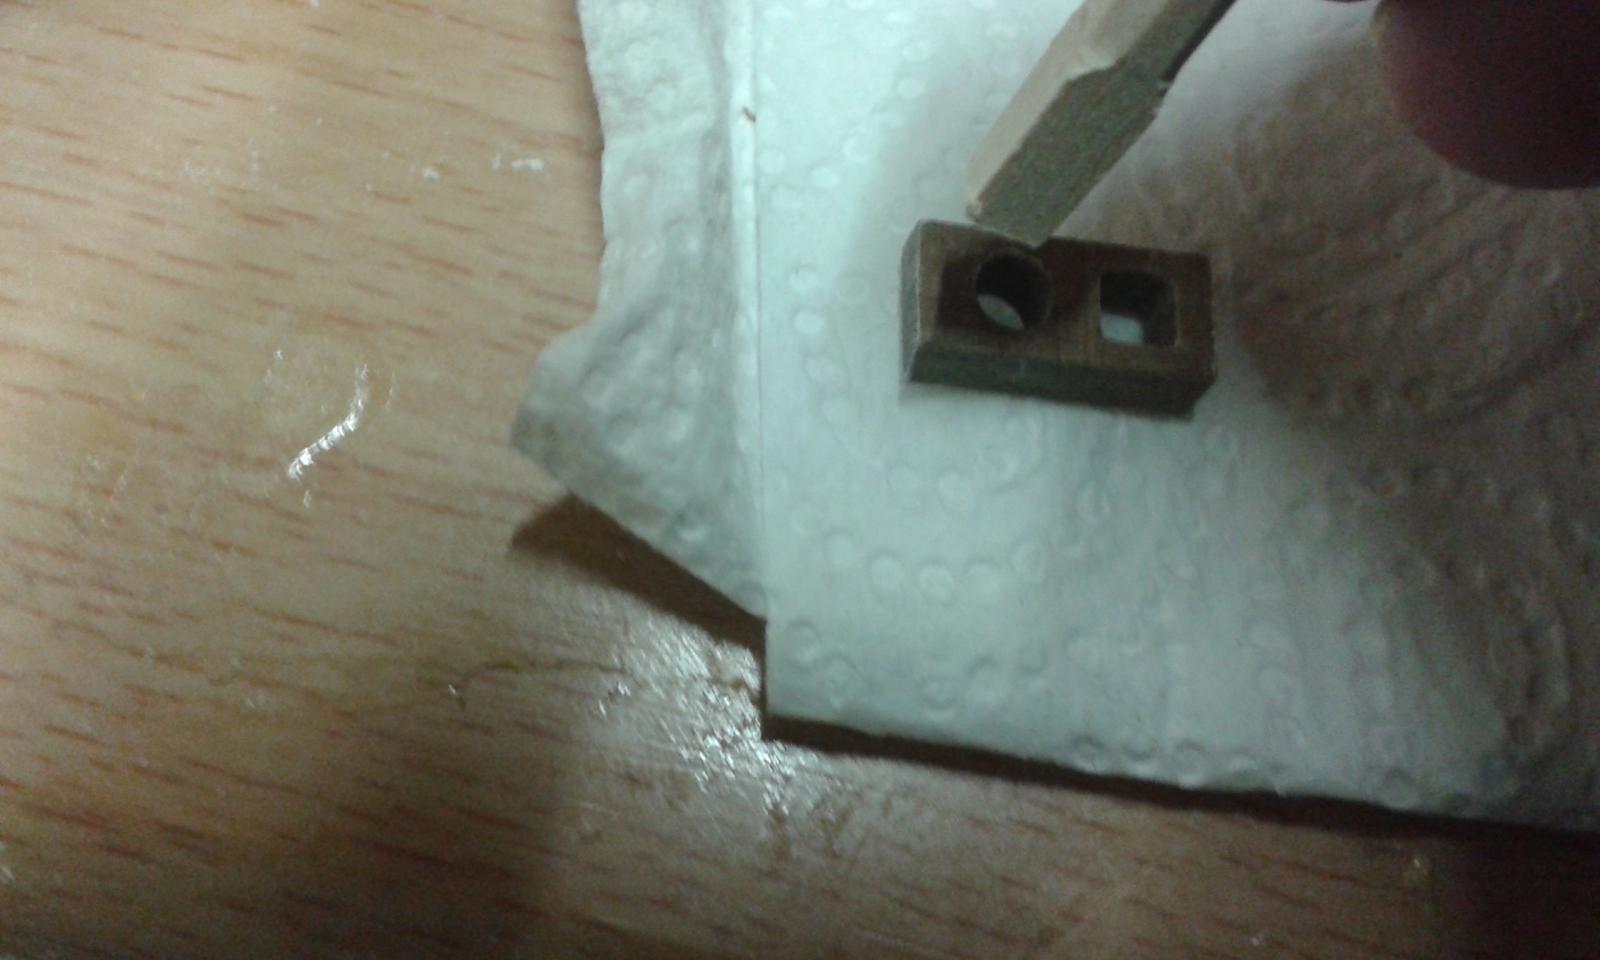
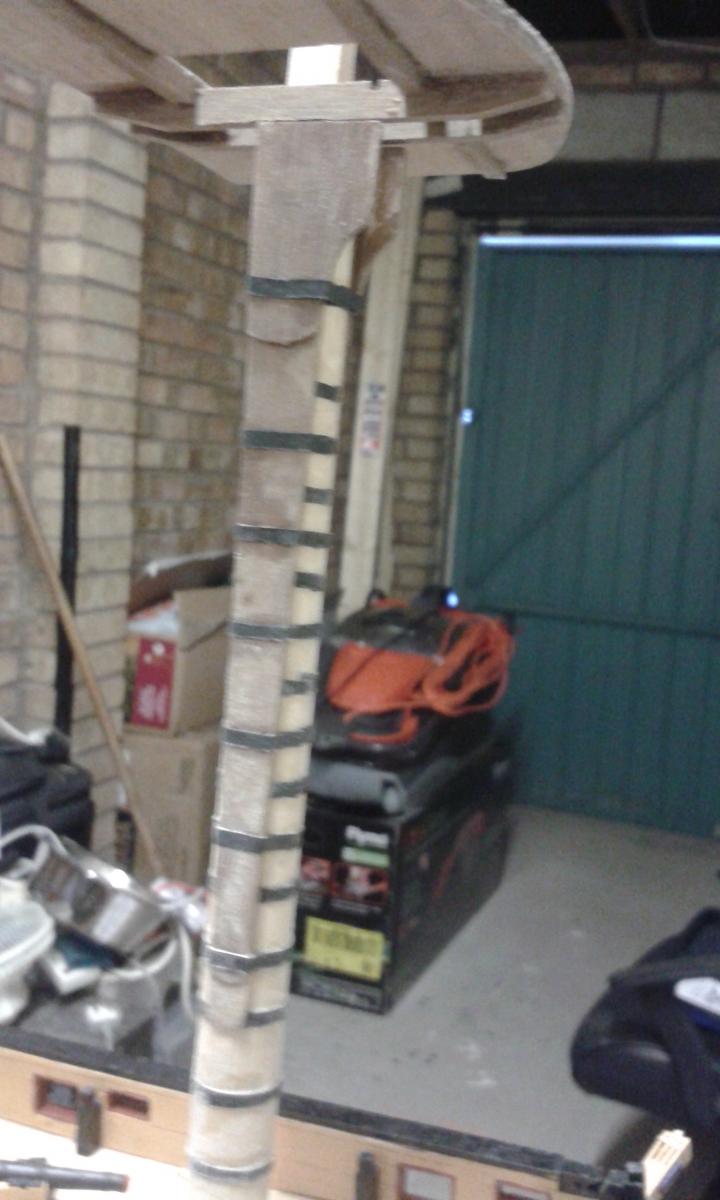
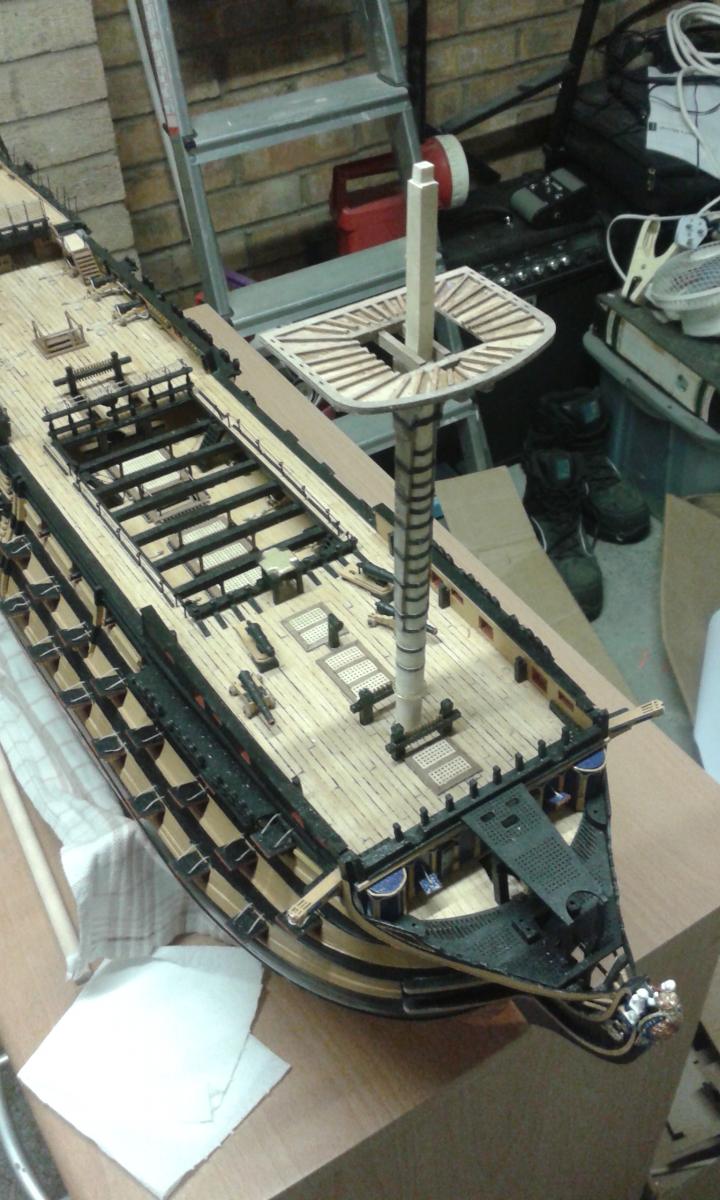
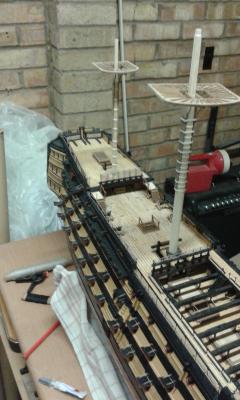
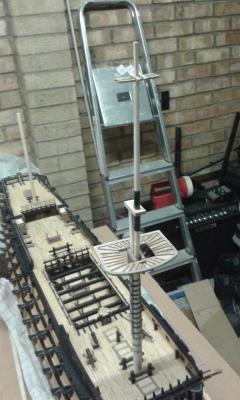
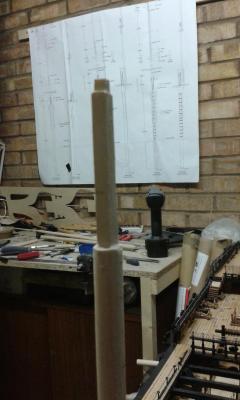
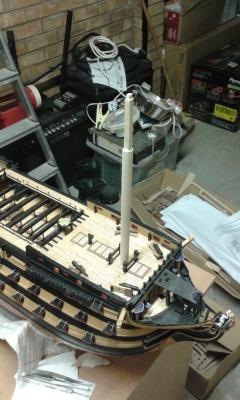
I have completed the basic manufacturing of the Fore Mast sub assemblies, this has been a really interesting and rewarding part of the build and I will now repeat this process for the main and mizzen masts. Picture of the Fore Mast and Fore Top mast assemblies dry fitted in position Here are some pictures of the manufacturing process of the Fore Top Gallant Mask First task was to locate a length of 6mm dowel in the mini lathe Marking the Fore Top Gallant mast prior to the tapering of the mast sections Turning of the Fore Top Gallant mast complete, just need to file the unturned areas square or octagonal as shown on the plan sheet Complete dry fit of fre mast Assembly in place There is just one problem to overcome and that is how to fit the fore top gallant mast block. The kit part has a 4mm square hole and 4mm round hole The top of the fore top mast is 4mm square and this fits nicely in the 4mm block square hole. The Top gallant mask has a 4mm square section at the bottom which fits nicely in the 4mm square hole on the fore top mast platform. As it is not possible to feed the 4mm square end of the fore top gallant mast through the 4mm round hole to the position the block as shown on the plan sheet I think I will simply tweek the 4mm round hole to a 4mm square hole such that the fore top gallant mast passes through. Once everything is finally assembled I will then use my good friend Mr Wood Filler to hide the gaps.


-
Hello Jerry The HMS Pegasus kit quality, which is essential an Amati product, is very good. I suspect each manufacturer has good and bad kits. Not withstanding the quality of your kit you seem to have made a Stella build so far.
-
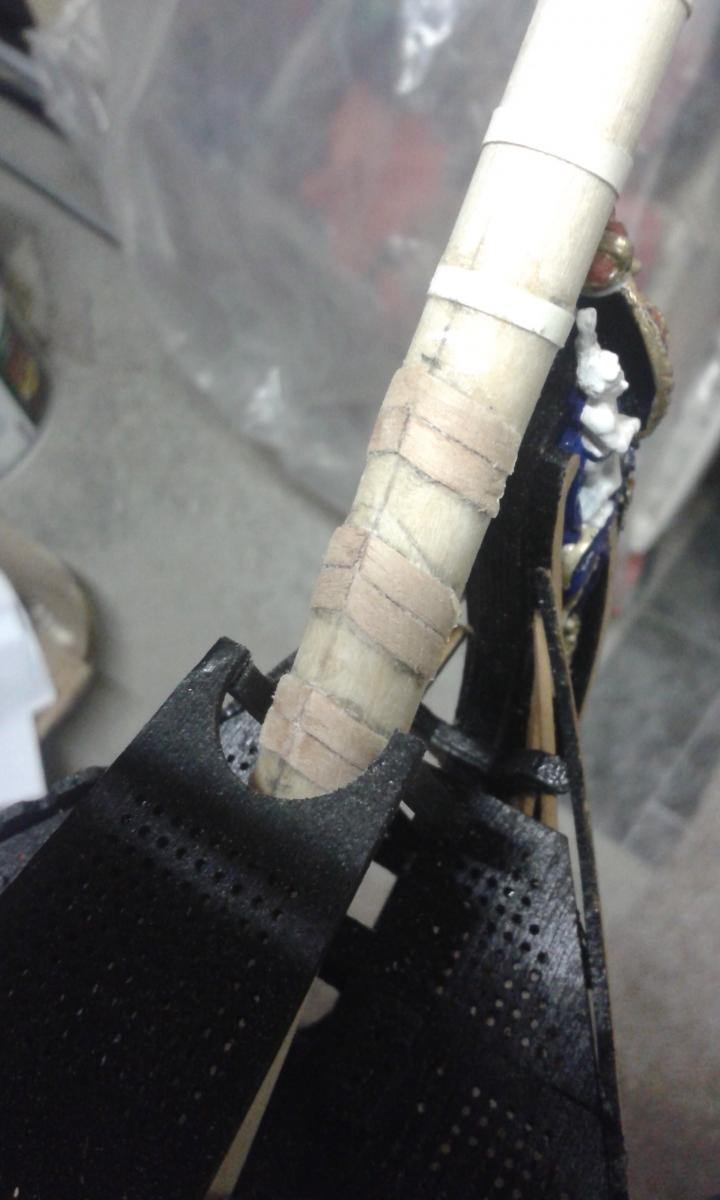
Just a quick update, working continues on the foremast. I have completed adding the sheeves, bibbs and banding. I test fitted the boarding pike mast rings, and noted the mast needs to reduced in diameter to accept them which is not stated in the manual, all is good now after some more sanding. Also I have completed adding all the batons to the foremast platform. Platform is only dry fitted at this stage I think I paint the mast next before moving on to the next Fore Top mast assembly.


-
Its good to see you know what to do when things don't go to plan; a sign of an experienced builder which of course you are. It's coming along nicely, and before much longer you'll be fluent in Italian!
-
Nice looking paint job on an interesting build, good you're able to make use your paint collection.
-
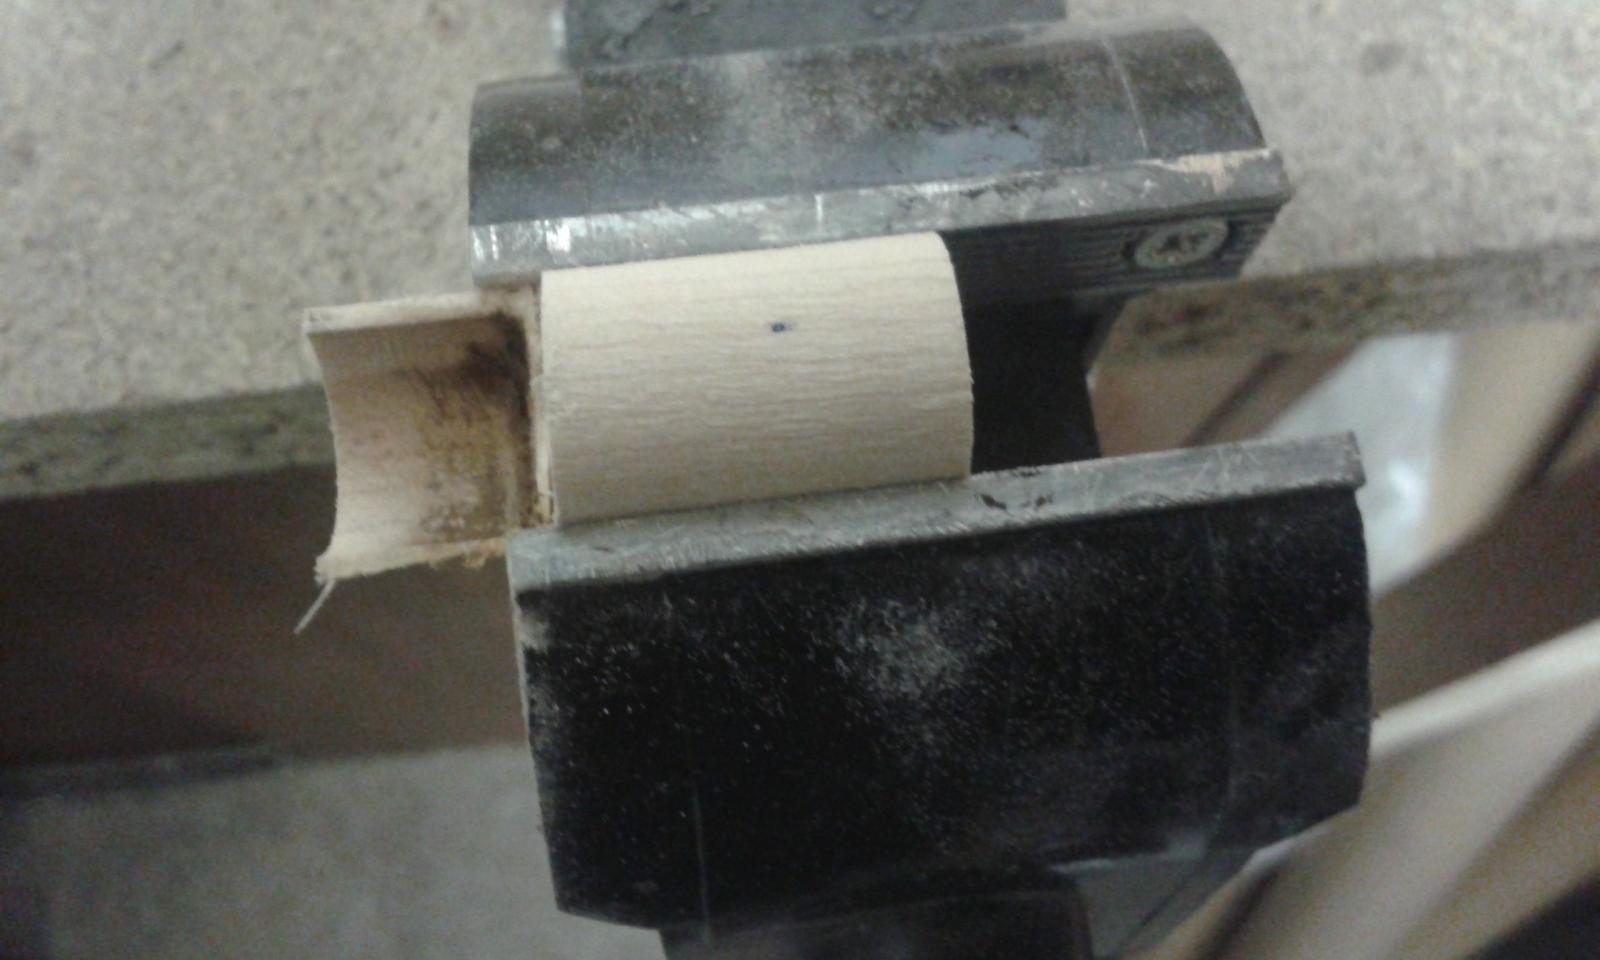
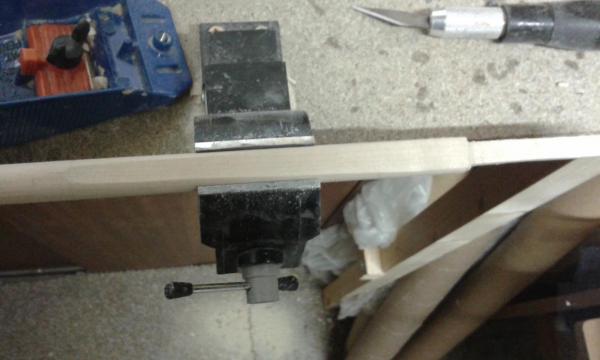
Hello Jerry Many thanks, with the dowel secured in the vice the David plane I found it quite easy to get the flat edge started, then followed this with plenty of arm work with the flat file. I did experiment with my small disc sander but didn't like the result. enjoy your weekend
-
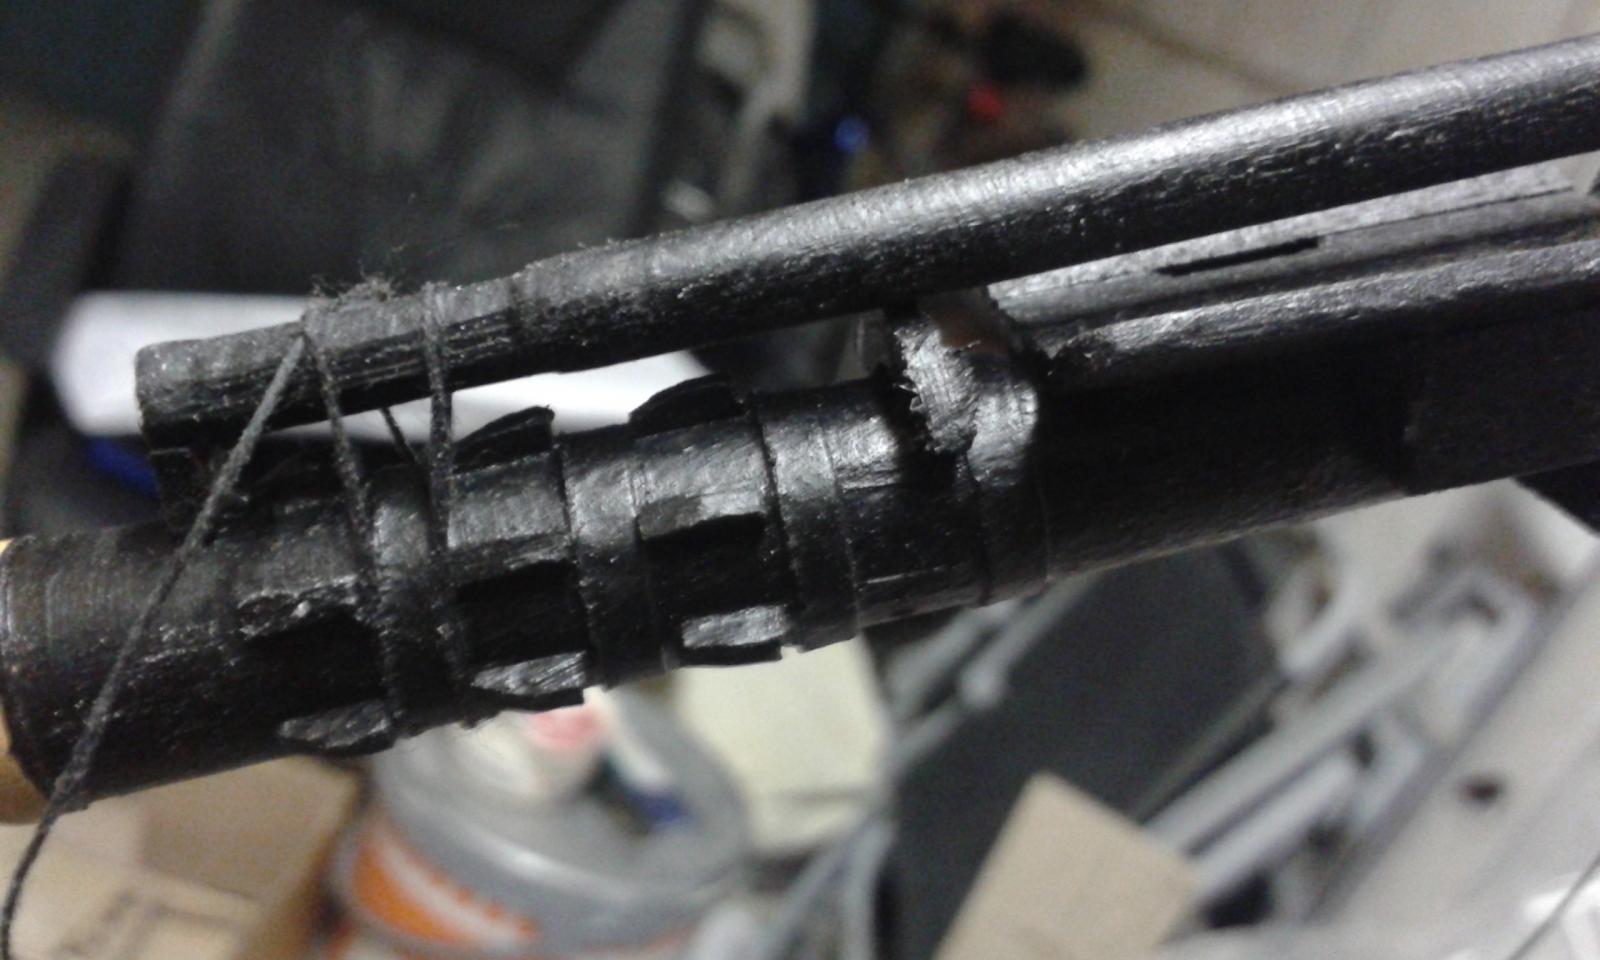
Started work on the Fore mast. First task was to reduce the 12.7 round dowel to an 8mm square for a length of 73.1mm. This was relatively straight forward using my David plane and file. The first 5mm was then reduced further to a 6mm square. The two sides where the sheeves are fitted where then tapered, again using the David plane and flat file. I will continue to work on the foremast assembly before moving on the main the then mizzan masts.
-
I have been able to use spare material left over from my Scottish Maid build also, plus I have also bought also sorts of additional material from CMB when correcting errors in my build.
-
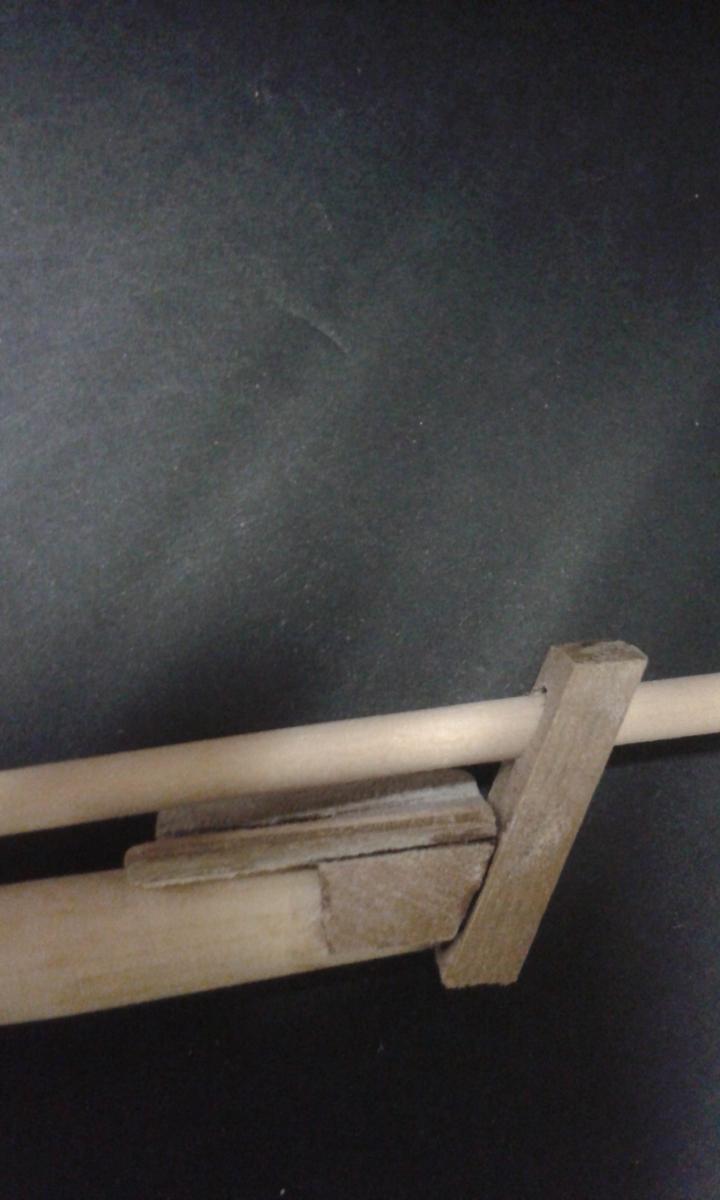
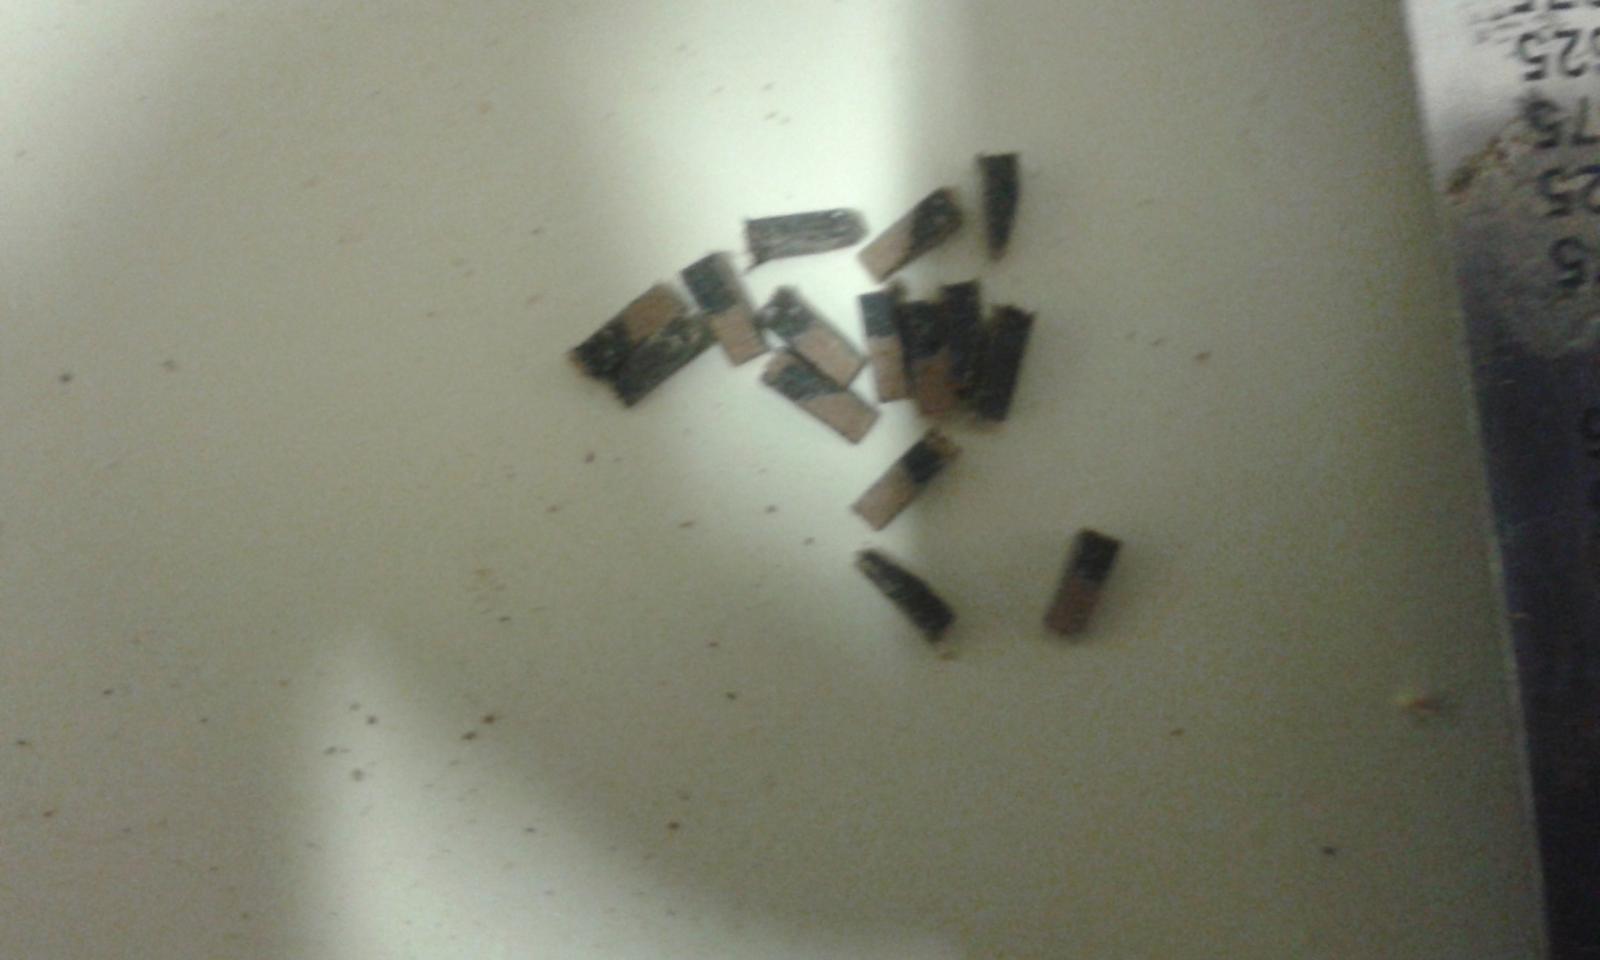
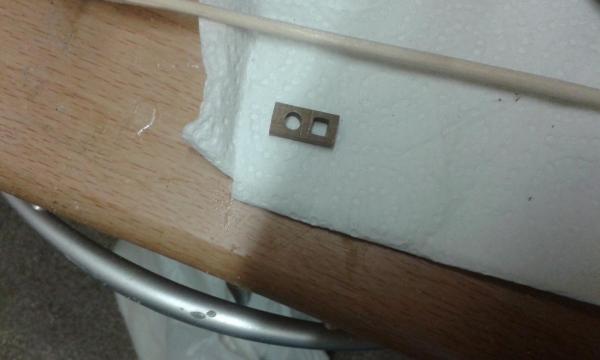
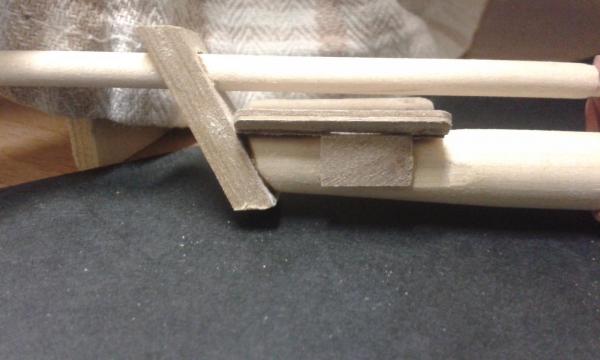
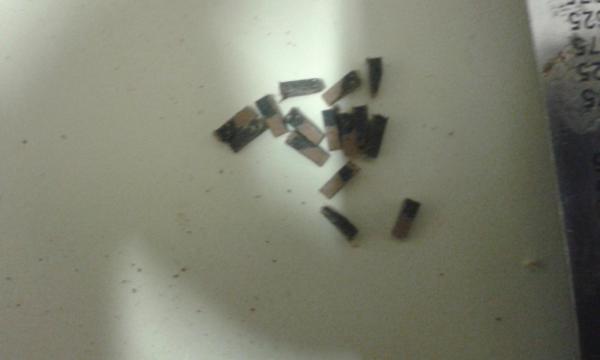
Thanks Jerry It took three attempts before I was happy with the positioning of the stop cleats, so ended up making quite a few of them. I found it quite easy to file the end of the 1.5mmx 1.5mm strip strip and then cut to size before repeating the process for the next stop cleat. The pointy thing is now put to one side to avoid any possible damage. Have a great day working on your Viking build.
-
Amazing progress once again
-
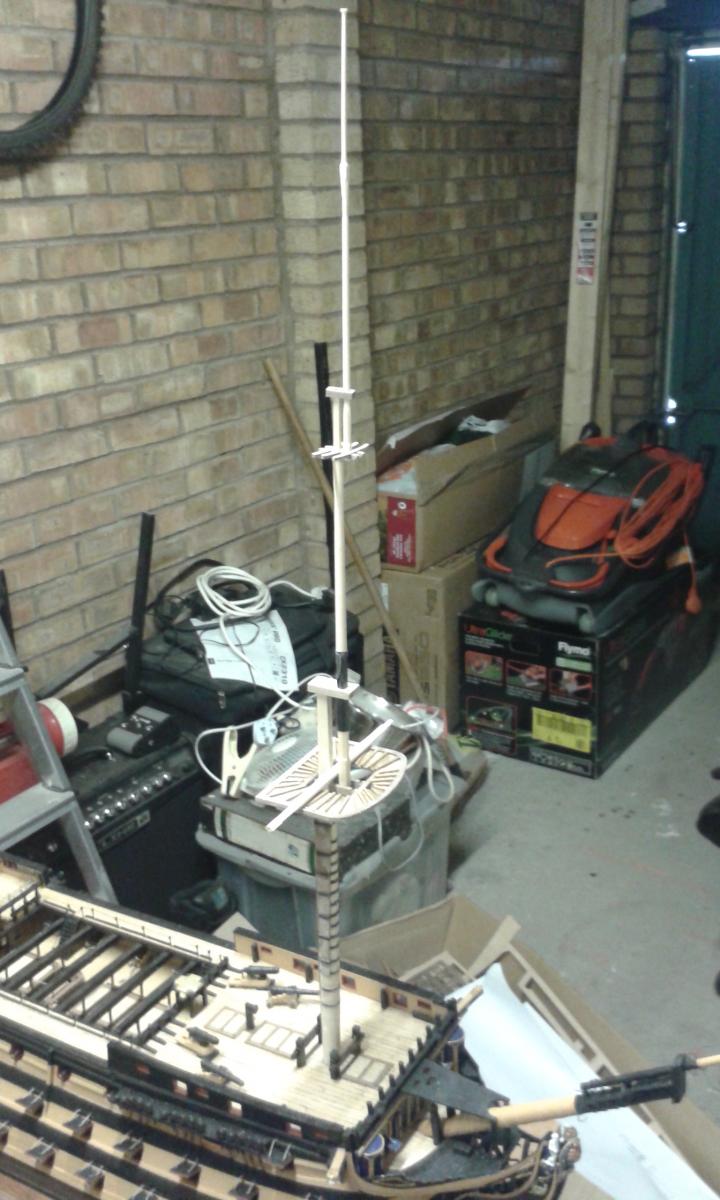
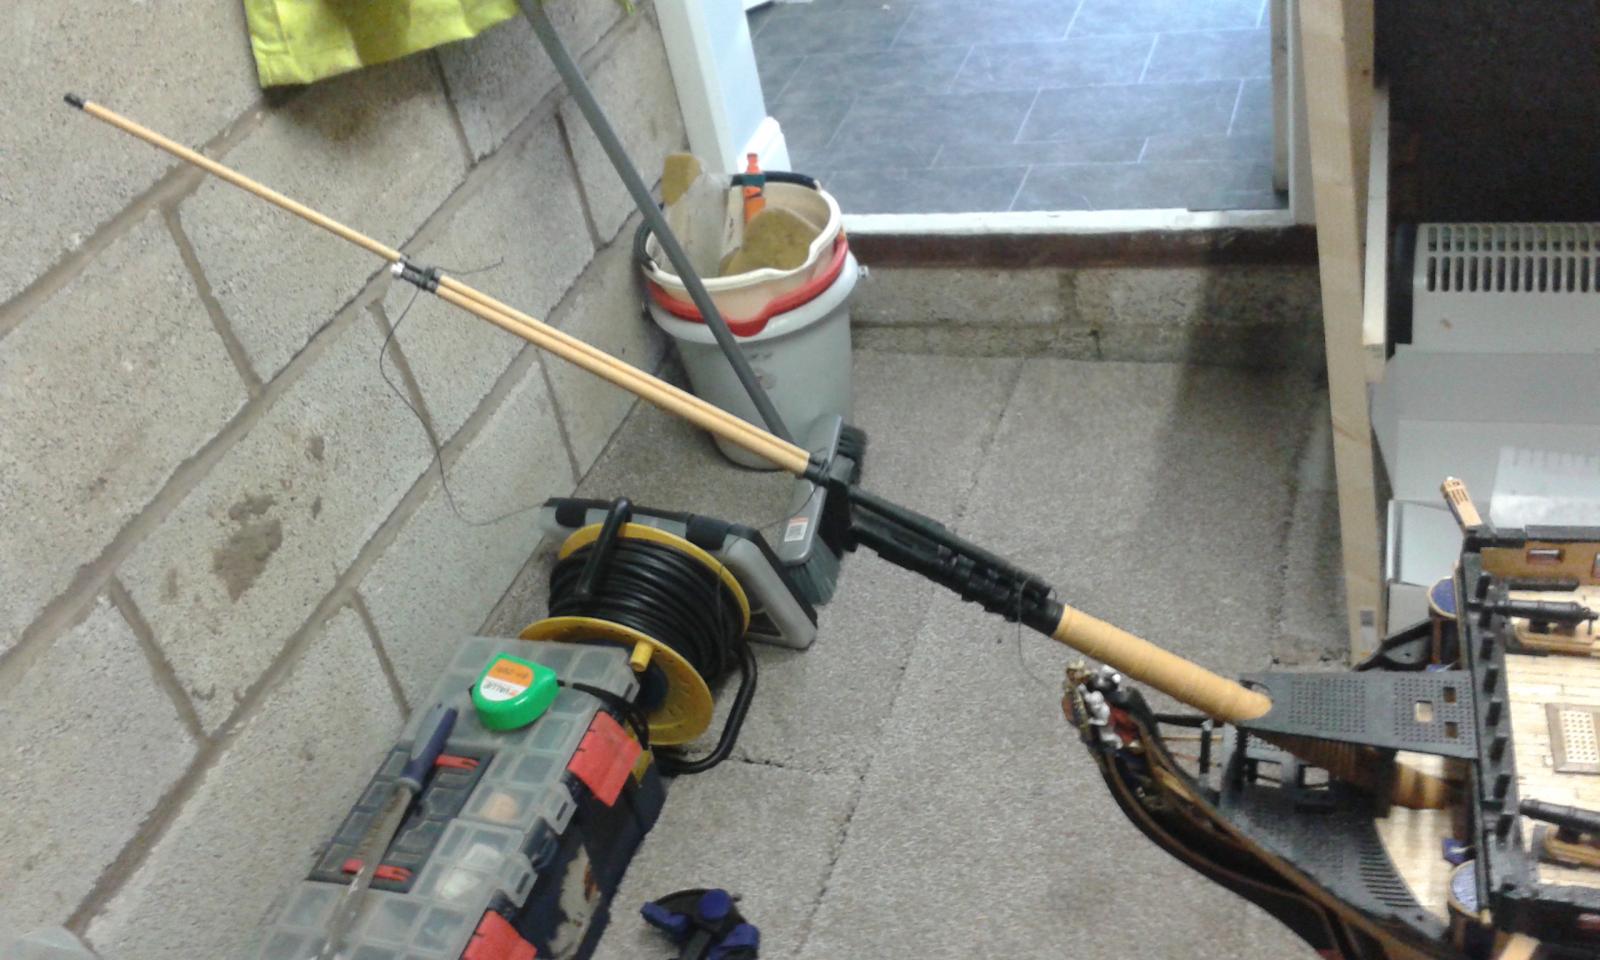
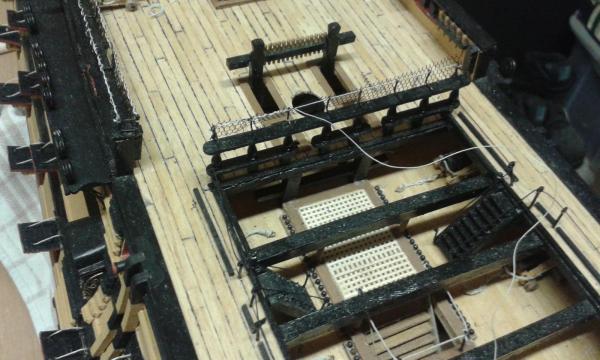
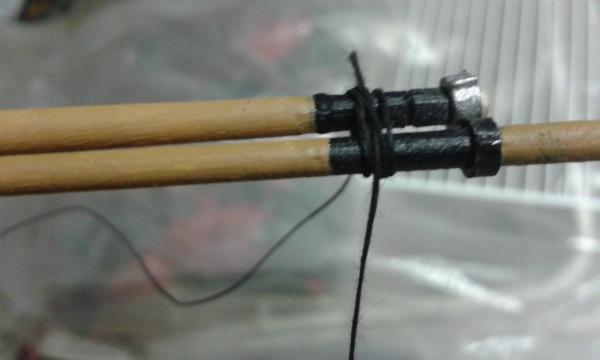
Bowsprit, jibboom and flying jibboom completed. I have just tied these parts together for the time being as I will not glue the assembly together until after I have added the blocks which will be done once I have completed making all the masts and yards. I will remove the bowsprit from the build for the time being to avoid breaking the pointy thing, which I think according to Jerry and David is a right of passage for this build! Here is a couple pictures Yard rings will be painted once the assembly is installed and they are correctly positioned Also progressing with hammock crane assemblies
-
An interesting looking build, you seem to have it all under control.
-
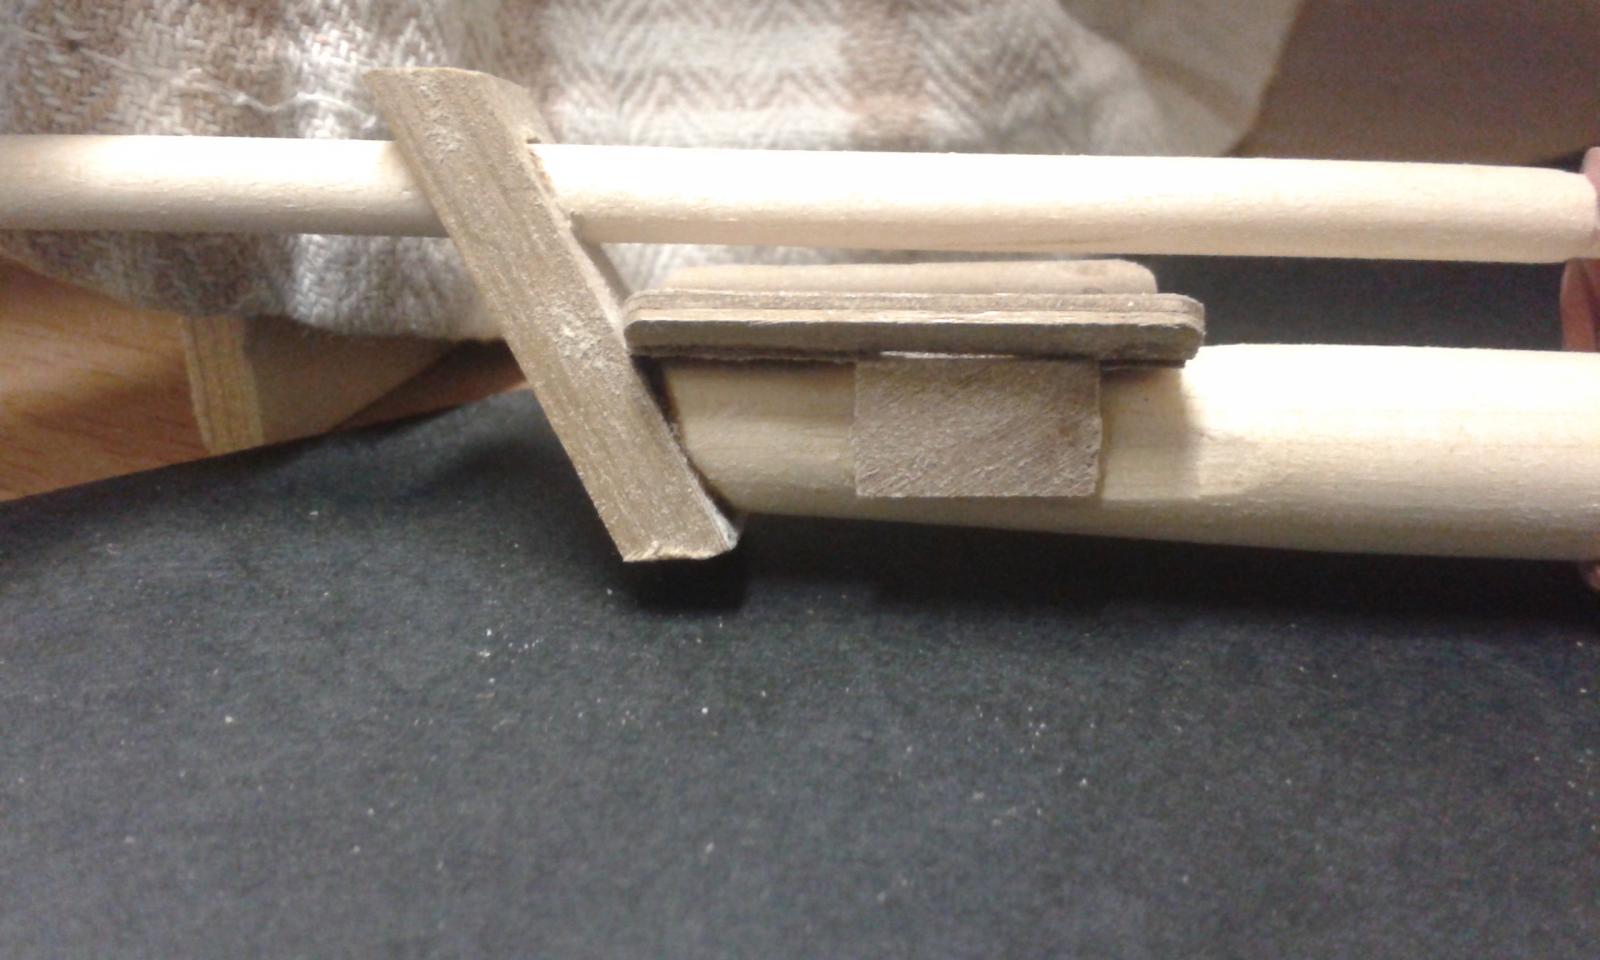
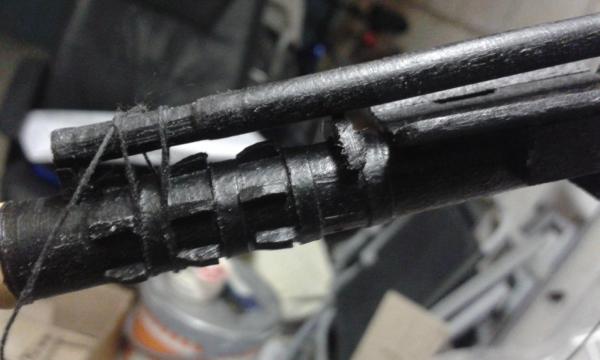
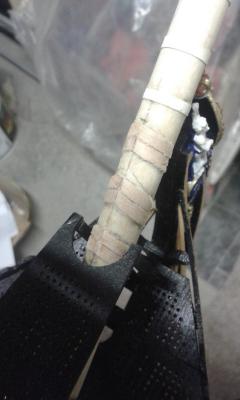
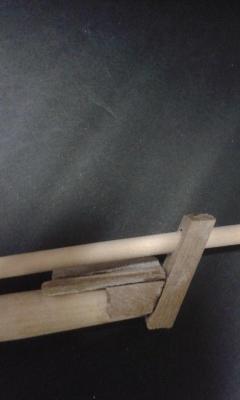
Work continues on the Bowsprit. First task was to make the Gammoning Saddles. My initial idea was to follow Gil's excellent method to cut a dowel in half and then use a dremmel sanding tool to hollow out. After some different attempts, I was not happy with the finished product. Picture of Gil's Method I then reverted to using 3mm strips which I was able to cut and bend as necessary and I think will looks ok after some more sanding and a coat or two of yellow paint. Picture of the Gammoning Saddles fitted I then completed the work on the bow cap, sheaves and bees. Pictures of bow cap, sheaves and bees I have also add the banding strips and shaped the 15 off stop cleats which I plan to install to tomorrow, after which I can add a coat of two of paint. Its not 100% clear from plan sheet 11 if the banding continues and is used between the stop cleats. More research is need . Picture of Stop Cleats I have continued to work on the hammock cranes as well. Picture of Current Status

-
Look forward to watching your progress
-
Thanks David The carpet will stay as it soft under foot and warm plus it stops the stuff I drop bouncing away and difficult to find.
-
Thanks for that Jerry, I will follow suit. Enjoy your new build.
-
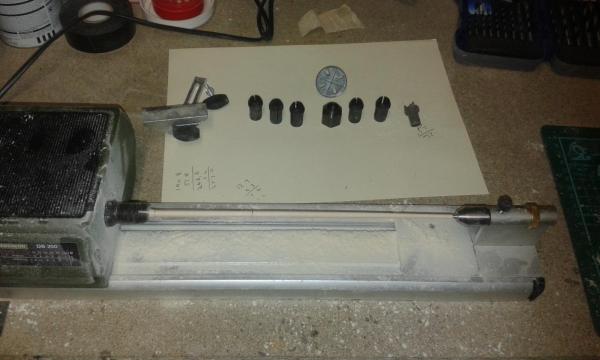
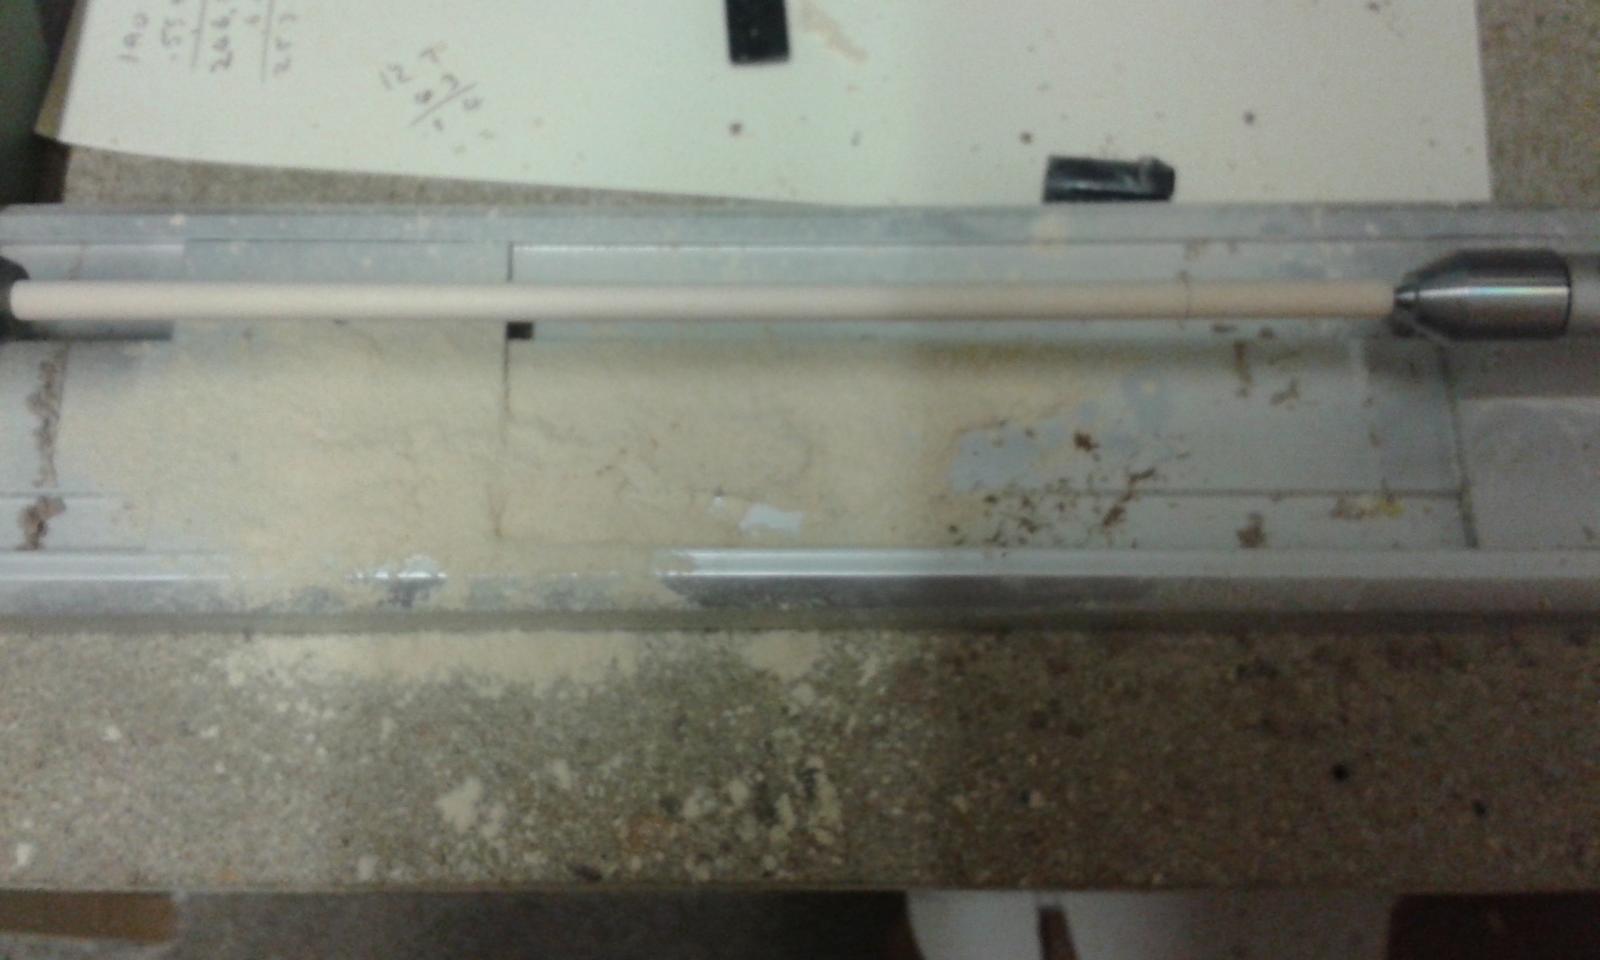
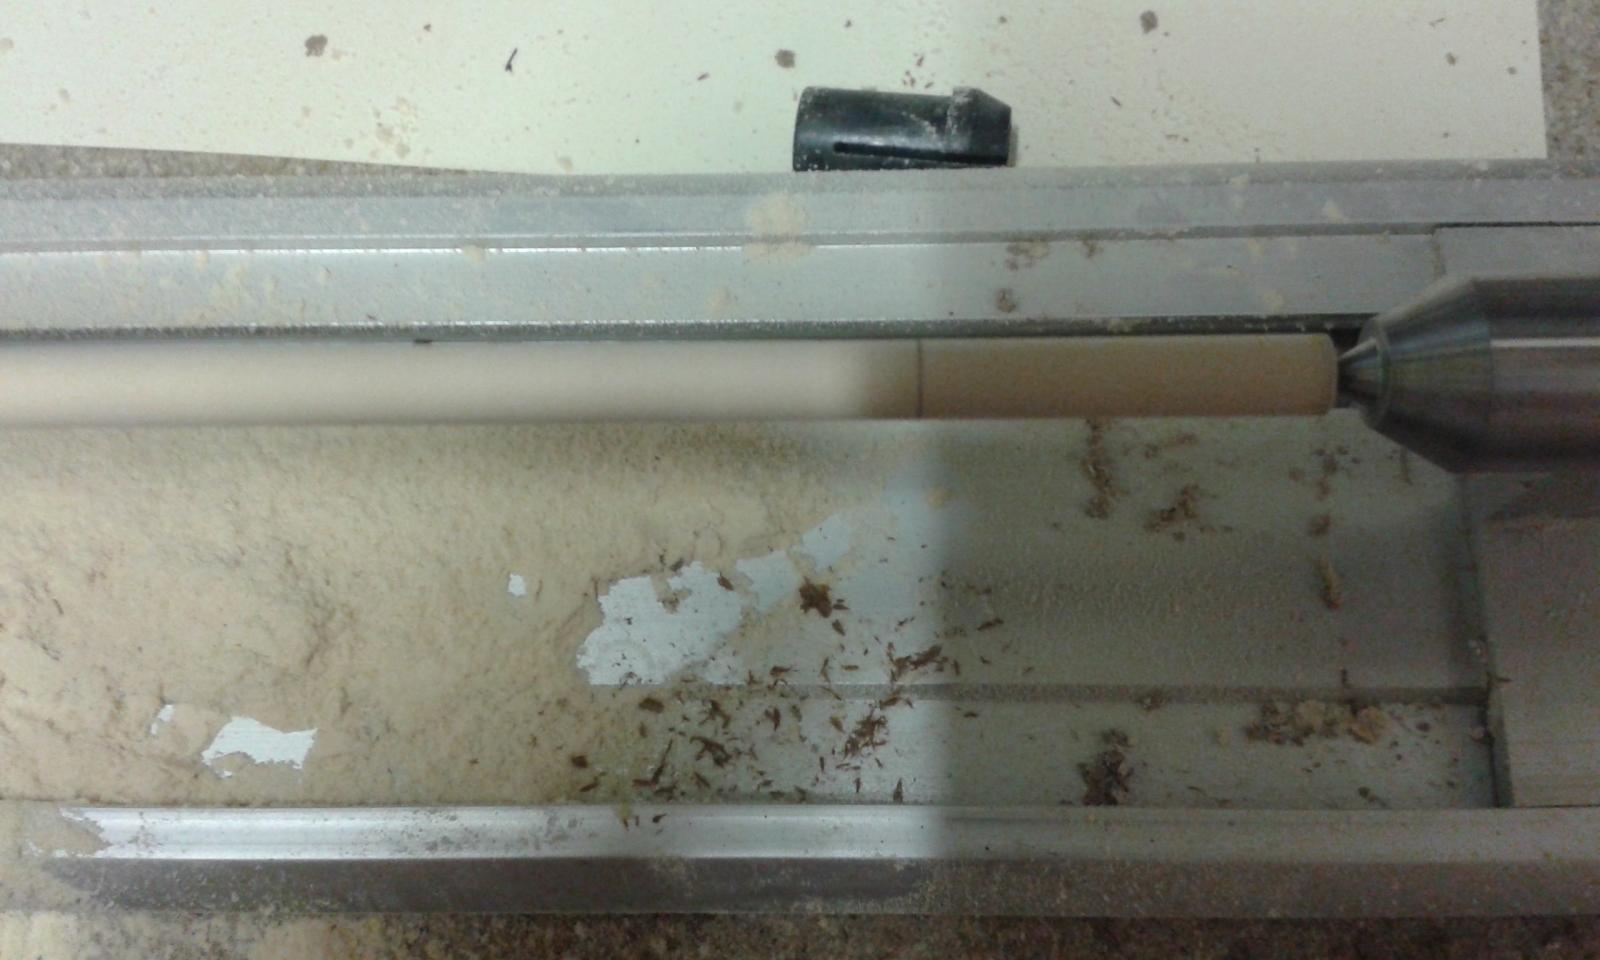
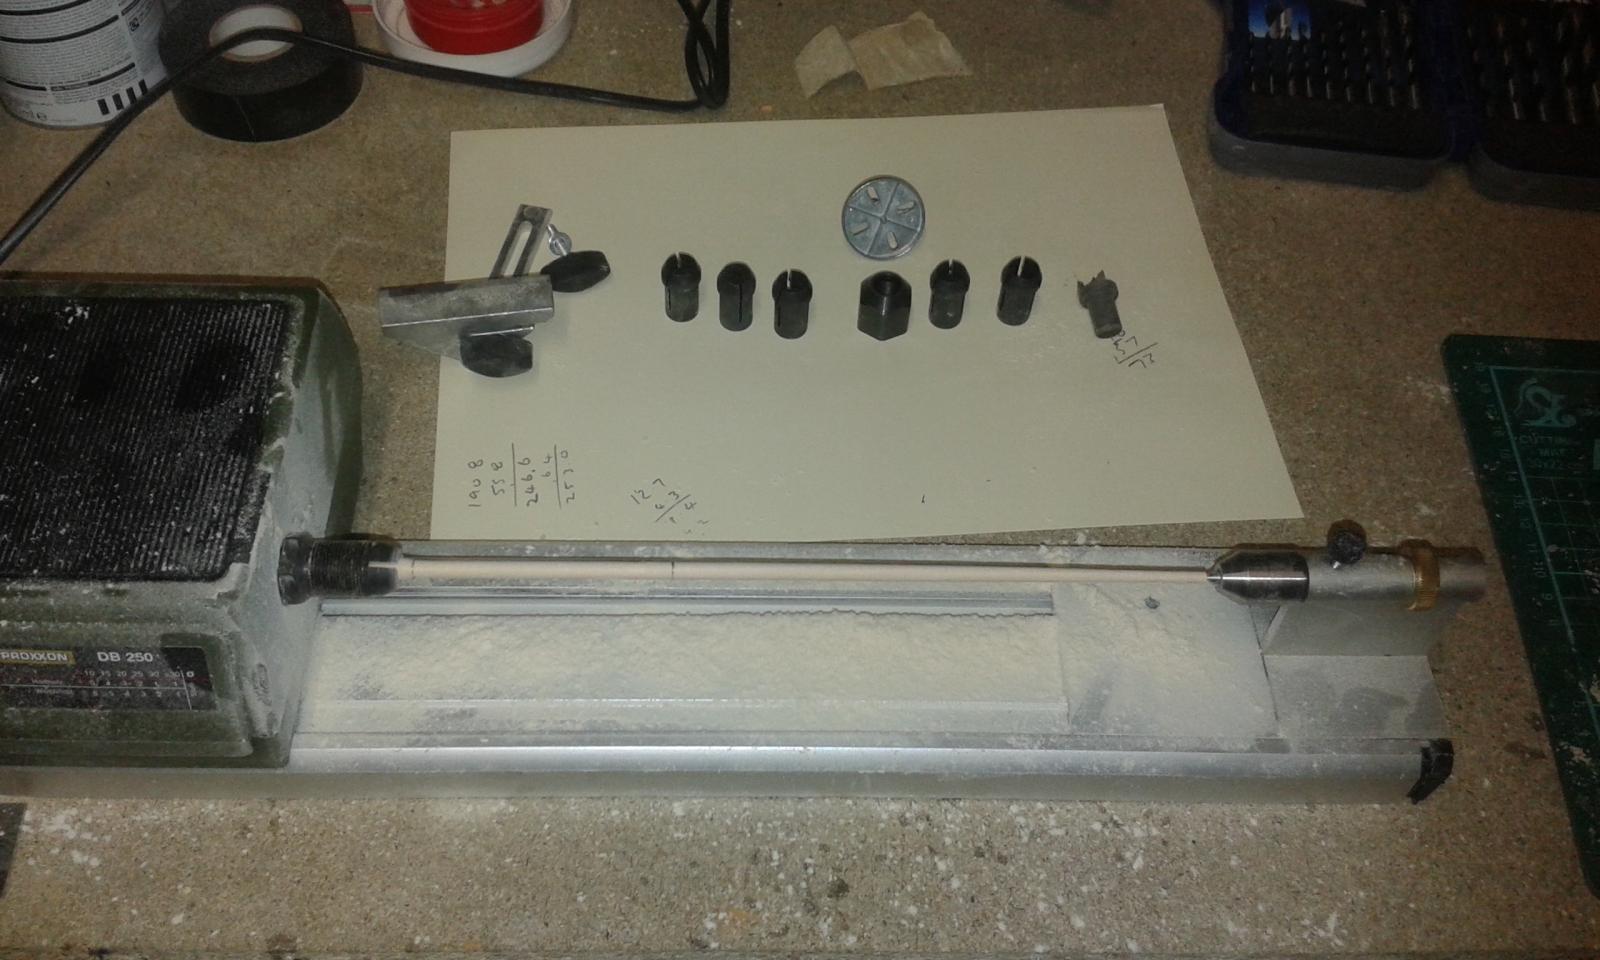
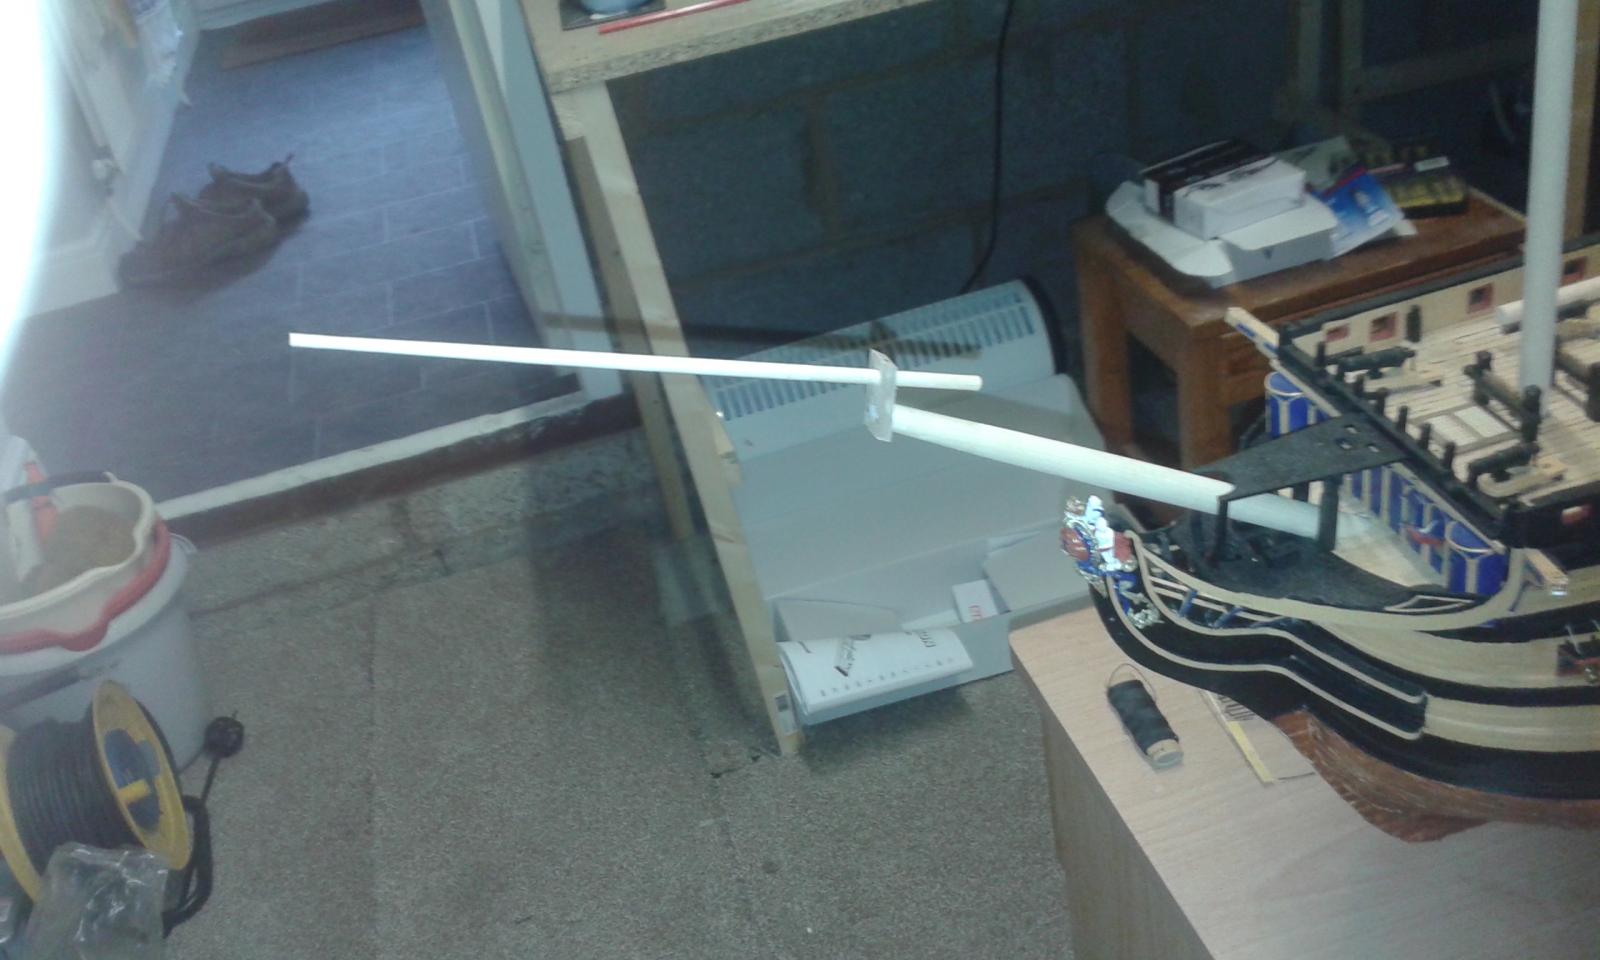
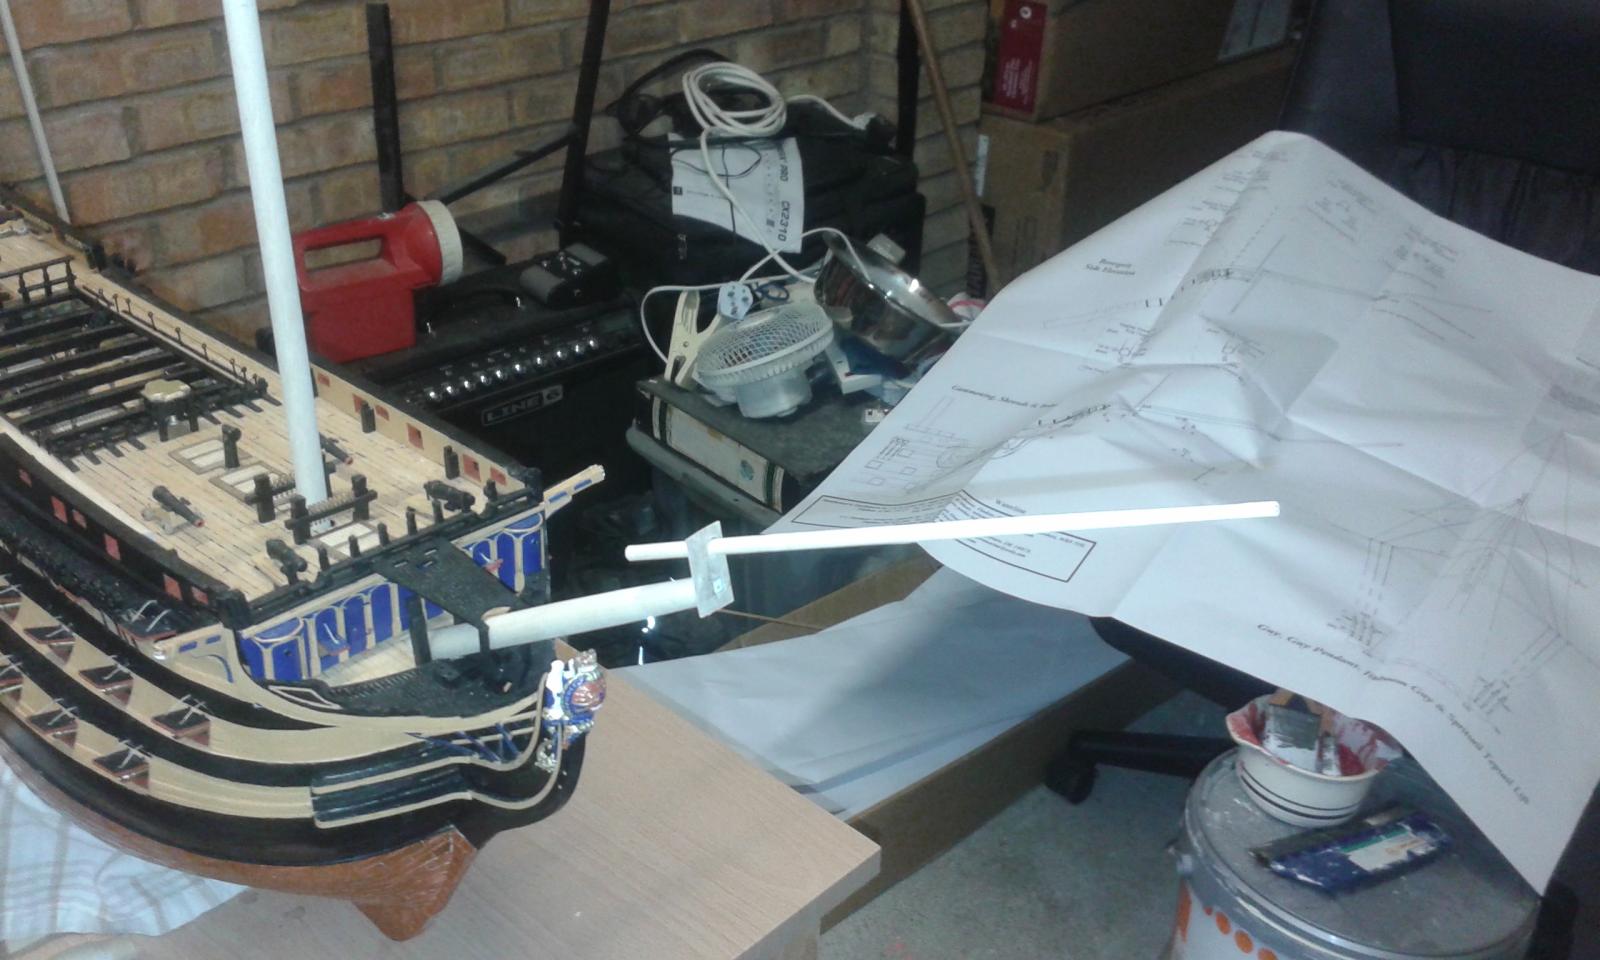
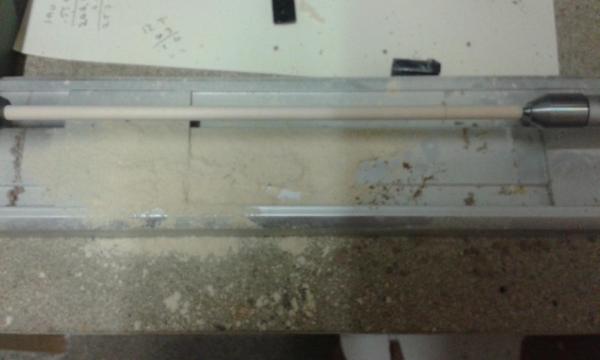
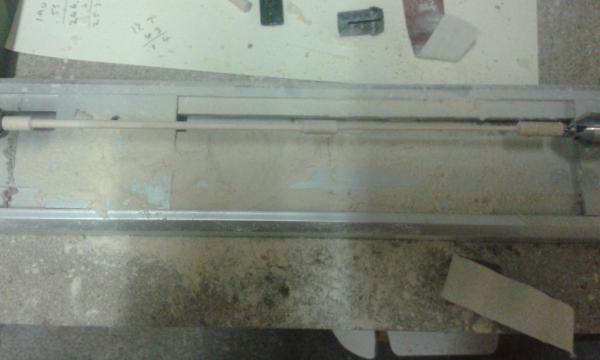
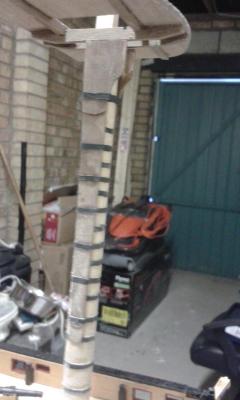
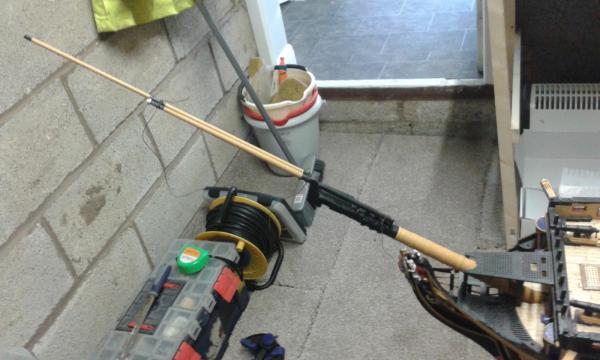
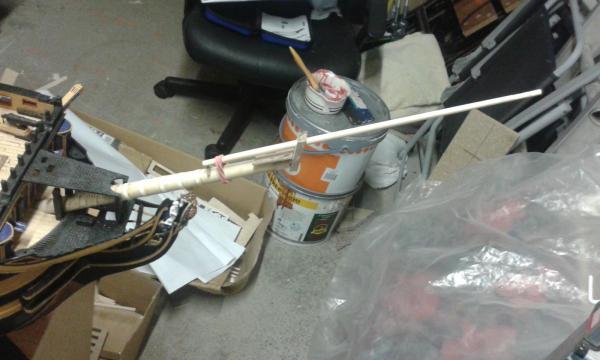
I wasn't planning on posting until I completed some more work on the bowsprit then I thought I would show a picture of my new lathe in action, which I used to taper the jibboom. Starting with a 6mm dowel reducing down to 5mm for a distance of 73mm and then tapered from 5mm down to 3.7mm. Didn't take too long to do. I'm just loving this new toy of mine, but now need to clean up all the saw dust as can be seen in the picture below. I also made the necessary cut outs in the bowsprit cap and also tapered the top and bottom edge. Pictures below show the bowsprit, cap and jibboom dry fitted. The jibboom will run parallel with the bowsprit w hen it properly installed. According to the manual both ends of the jibboom requires octagonal shaping. I'm wondering if this is really necessary and would welcome any thoughts on this matter.