Glenn-UK
-
Posts
3,168 -
Joined
-
Last visited
Content Type
Profiles
Forums
Gallery
Events
Everything posted by Glenn-UK
-
 Not sure if it will be a problem for you but when I added the balsa sills to the gun ports at this early stage it did make the installation of the gun deck and quarterdeck more interesting. I seem to recall I ended up cutting the gun deck in two to aid installation because of the sills I had fitted.
 -
Hello Robert You are correct, repetition is the key word for this build and just when you get the hang of the job in hand you find it is completed.
-
Thanks David, I finding it better to mix and match at the moment, some work on the lids, some work on the channel assemblies etc. I expect it will be a few weeks before I start thinking about masts and yards.
-
I seem to be making very slow progress also with fitting the gun port lids, channels and chainplates at the moment. The preparation time in painting all the brass fittings and lids and then assembling is very time consuming but seeing the progress made when completing each stage is very gratifying.
-
Good job so far.
-
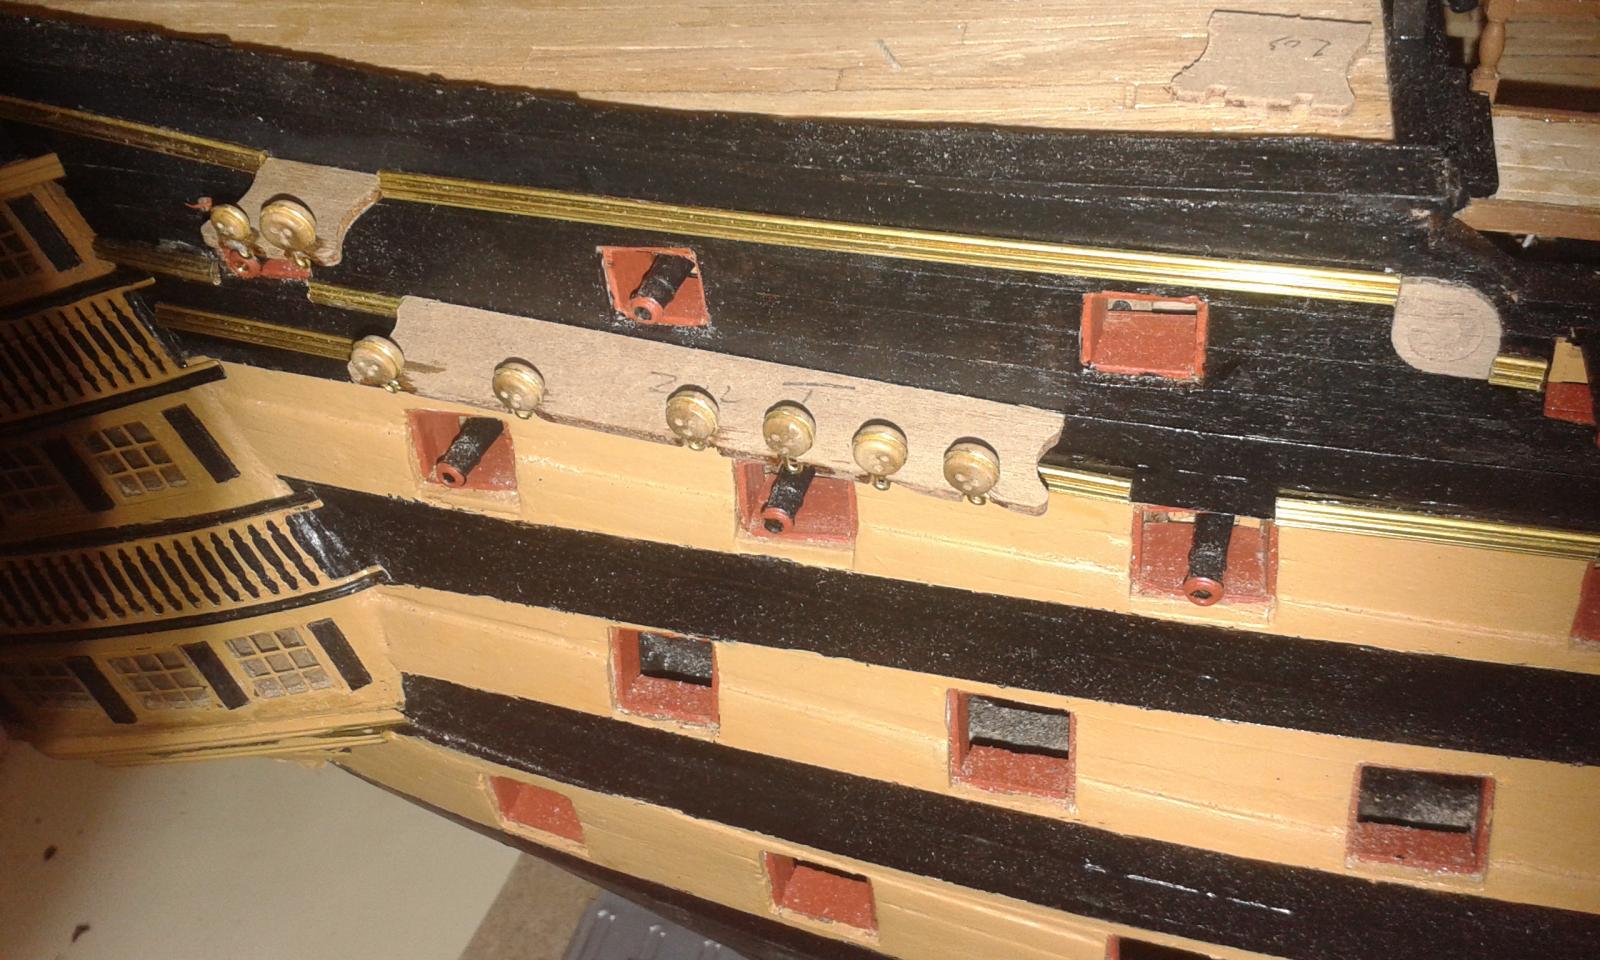
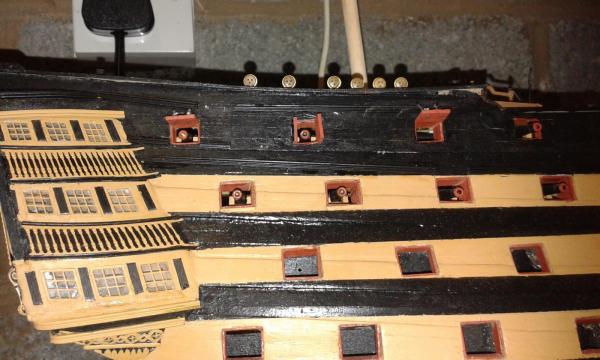
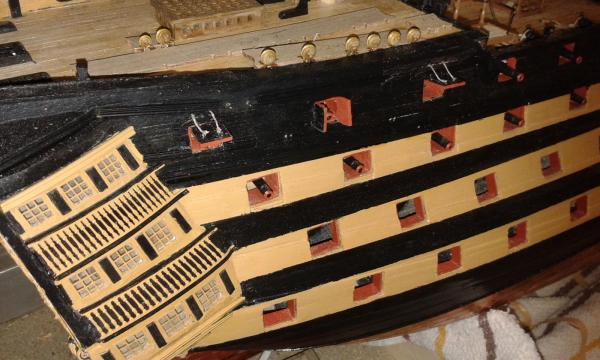
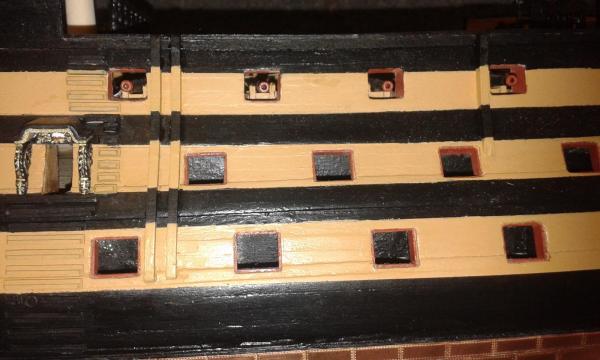
And so the nightmare begins as I have installed the first three gun port lids.These three took much longer than I expected but much of the time was deciding on the best method that would work best for me following some very sound advise from Shipyard Sid and Jerry, thanks for your support. The rigging on these is not the best but the second one is slightly better than the first. I hope / expect they will get better once I really get going with the installation. I think I'm going to change my planned build sequence as I will now assembly all the gun port lids complete with hinges over the next few days and then fit to them to the hull in small batches as I fit the channels and chainplates.
-
You can get the planking screws from micromark
-
Looking good, have a great weekend. I'm dog sitting this weekend so shipyard time will be minimal.
-
Welcome to the Victory build, it is a great project to take on and I will follow your progress with interest. And please feel free to ask questions, I had invaluable help so far from others who have boldly gone there before.
-
Hello sounds like we're both at the same stage. I'm in the process of fairing the bulkheads. Have fun with your build, I'm time sharing my build with another boat build.
-
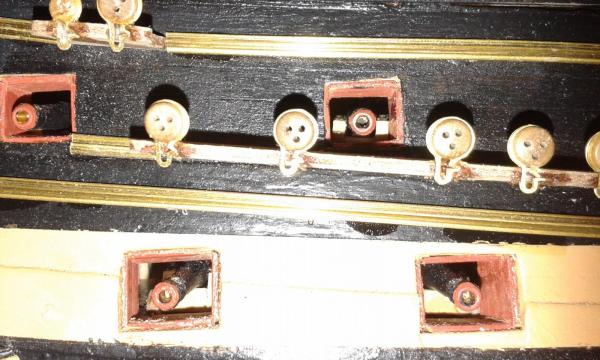
Hello Jerry The work on the channels is slow work, and yes I'm putting in plenty of CA as the strops are inserted. I may add some more before I fit the front cover strip as belt and braces. No work planned tomorrow as I'm away from home and not expected to be back home until the in the early hours of the following morning.
-
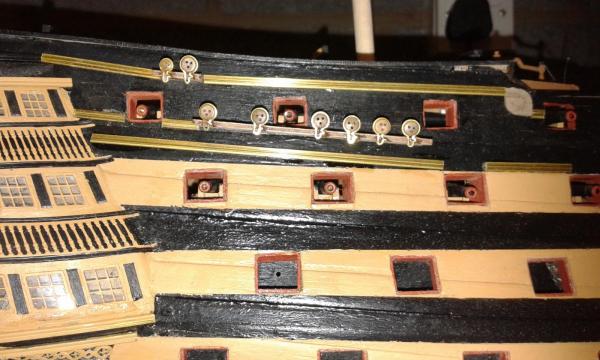
Work resumed on HMS Victory after my weekend break working on HMS Pegasus. Feeders and Chesstrees have been fitted and painted. Following my visit to Shipyard Sid last week I have taken his very sound advice with regards to dry fitting the channels in order to fit the brass profiles. I have also used Shipyard Sid's method of cutting a diagonal cut in the channel for the dead eye strops. Brass Profiles Channels Dry Fitted Strops fitted with diagonal cut Finally I have started work on painting the first set of gun port lids as I plan to complete the work on brass profiles, channels, chain plates and gun port lids in small sections, working from stern to bow.

-
Great set of pictures which clearly show what has to be done to those who follow in your wake and very informative Pegasus is back in the dry dock and I will start on my Victory channels tonight. I plan to make the same diagonal cut as shown by Shipyard Sid to secure the deadeye stroop in the channel. I have prepared a test piece to perfect the technique. Have a great day.
-
Hello David and Jerry Many thanks for your visit and comments. I will consider further attachments for the dremel tool, but not for a while as I'm spent up for the time being. I wish I had bought one months ago as it is a very nice tool to have. Tomorrow I return to HMS Victory build, starting with dry fitting the channels, although I did drill and test fit one cannon today. I also experimented with a brass blackening solution;it worked very well after proper cleaning. I have also added some additional photo's to my last post Hello Spyglass I'm not sure about the planking just yet. I was planning to plank to keel edge, and the sanding back to width of 5mm, as I did on my Victory build. I think I will drill a 1mm hole in keel. through keelson (dry fitted) for the final supports. I will then enlarge once the keelson has been glued in place. I will not be adding bolts to the keel, but will add adding support strips.
-
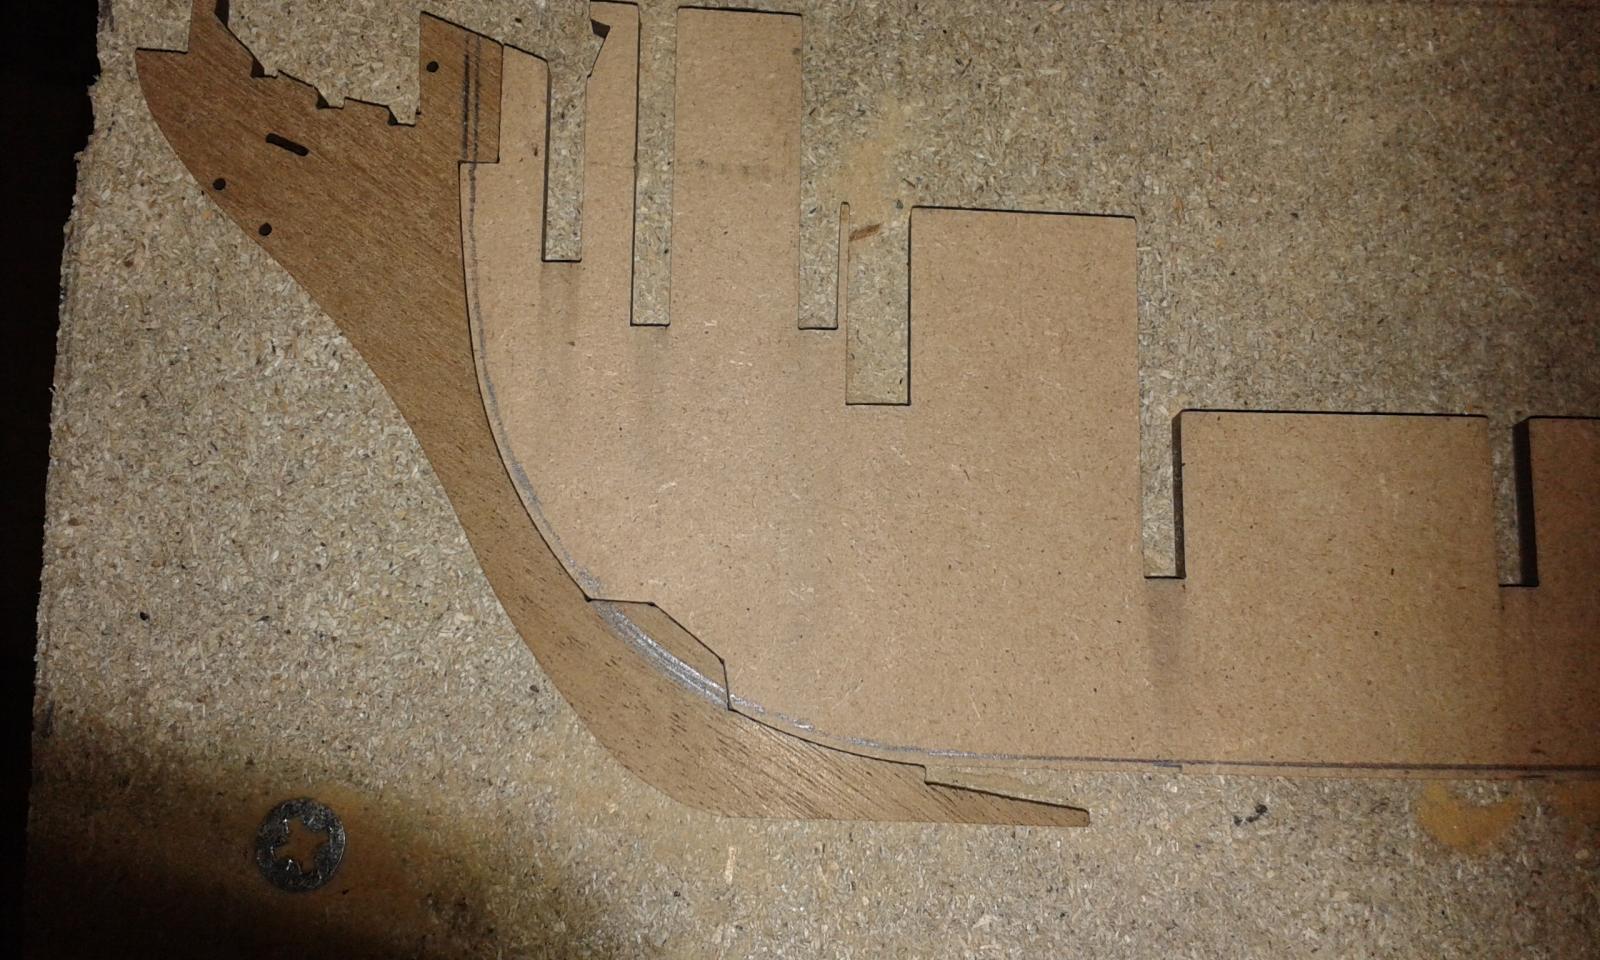
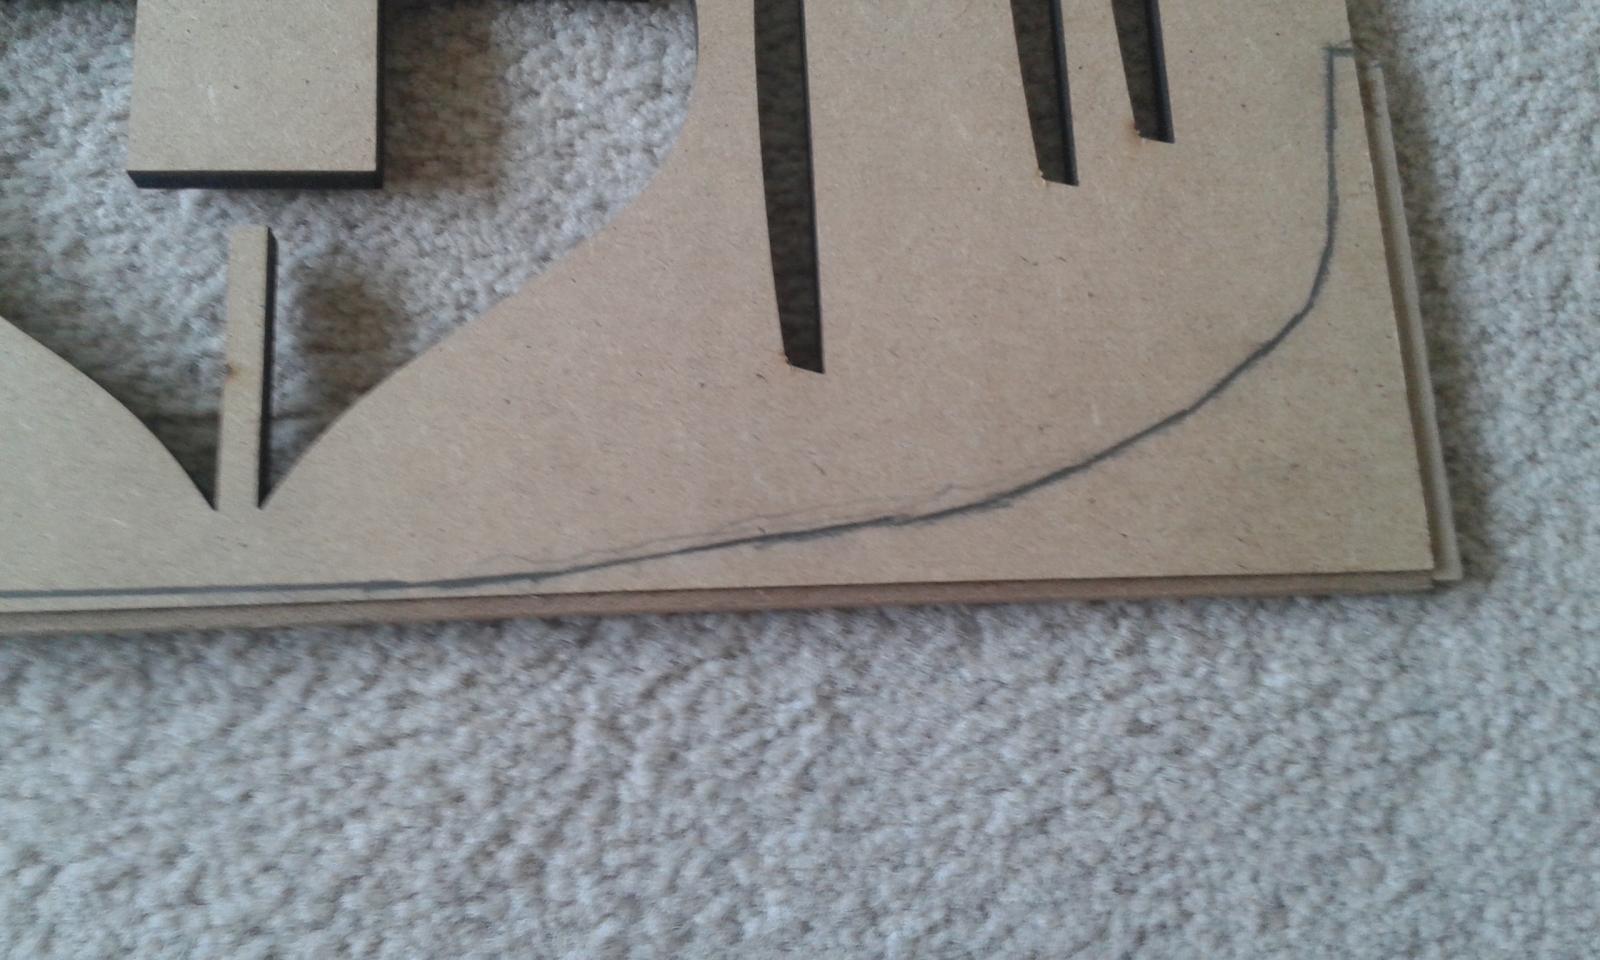
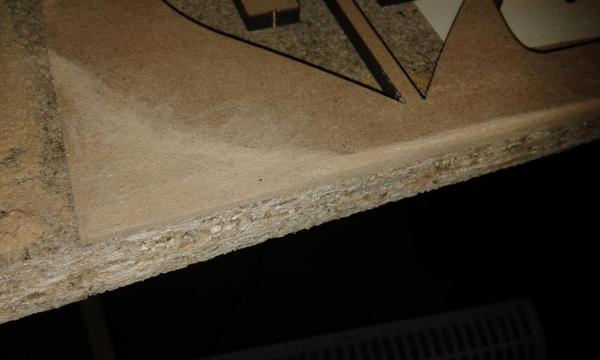
Now I'm happy with the method for the beading and rabbet I have added the cut guidelines to the actual keel and prow. I have also spot glued two x 3mm strips to the keel. These will act as the stop point when removing the waste wood, i.e. these strips will ensure I don't take too much wood off. Rabbet Cut; it was much easier than I first thought it would be with craft knife and chisel. Beading waste wood removed; the dremel sander made the initial removal of waster very easy. I used a slow spin speed and took my time. Completed the task with a chisel, needle file and sandpaper.


-
Has anyone got or used headband magnifiers?
Glenn-UK replied to vossy's topic in Modeling tools and Workshop Equipment
Can't work without them. I use my normal reading glasses for general work and the headband with 4 interchangeable lenses for the detail work which I bought on Amazon. The internal light is no use, but I do have a powerful adjustable white LED lamp, normal used for runners, bikes) with a head band but rarely have to resort to using that. -
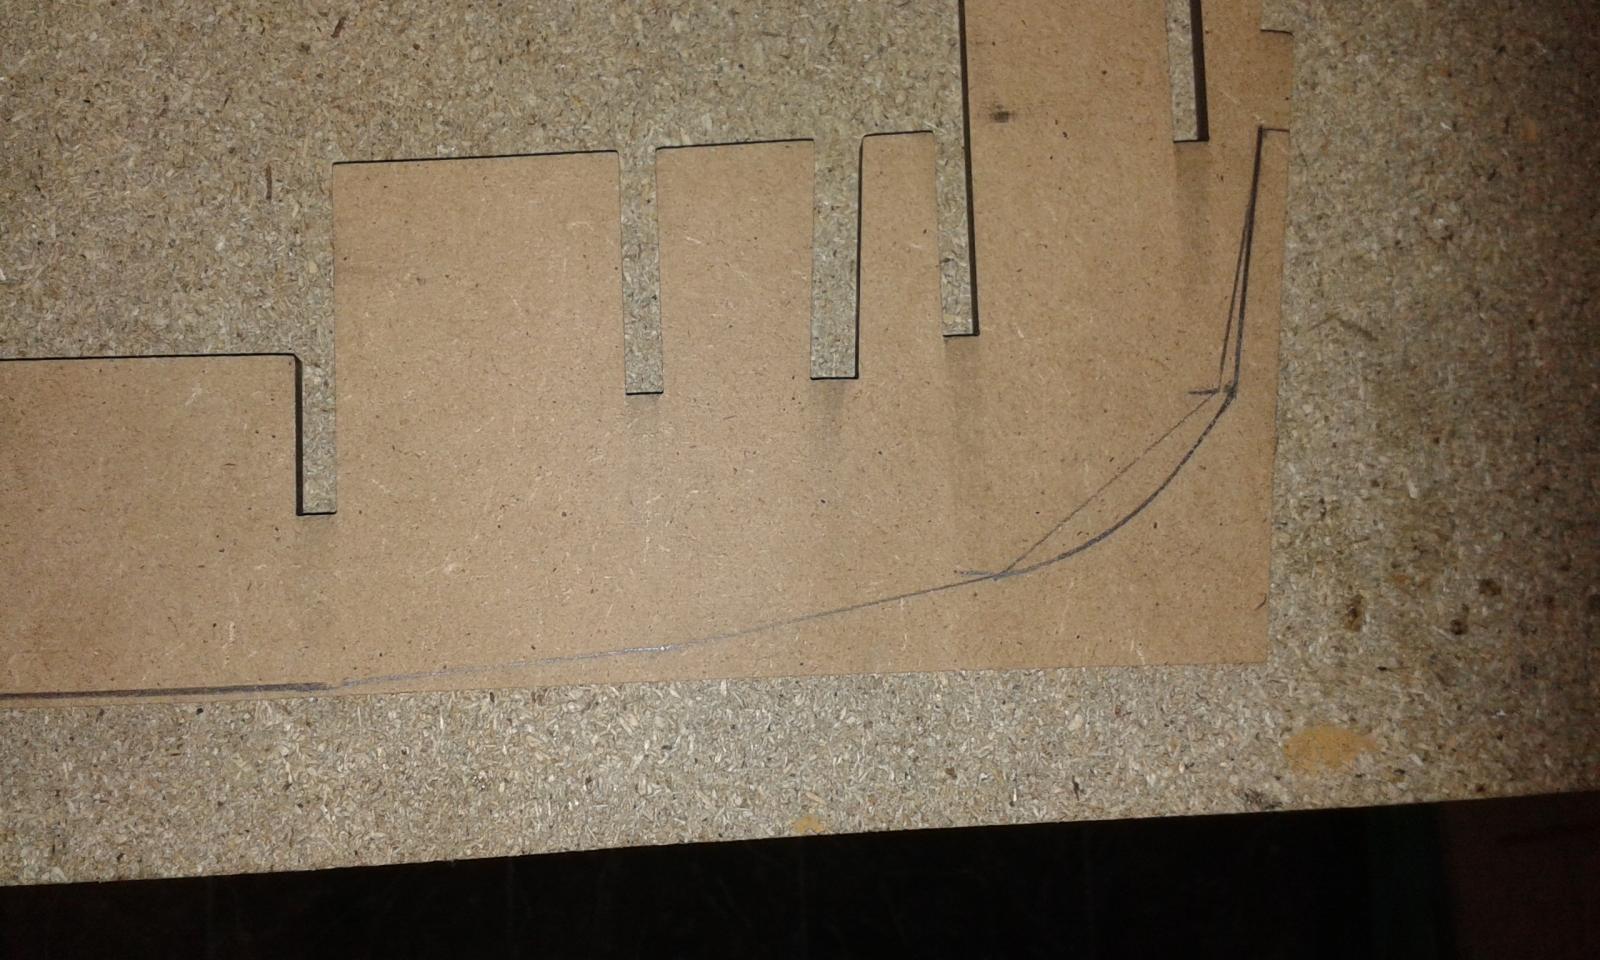
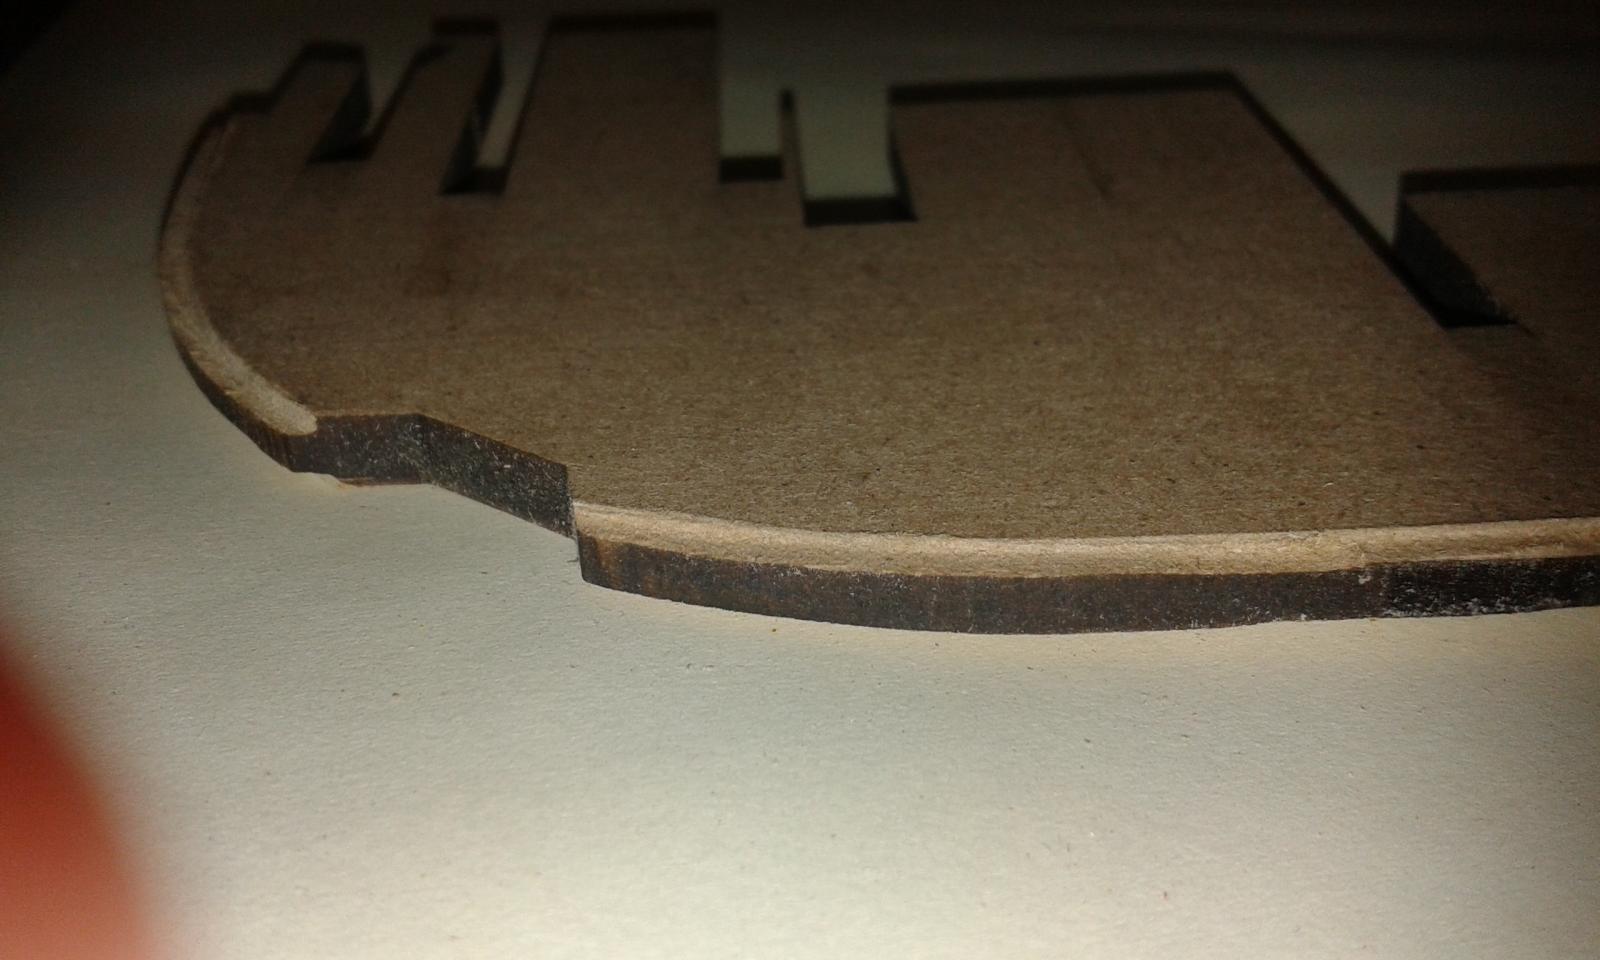
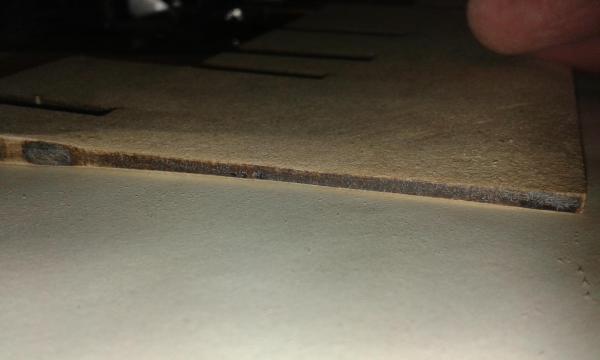
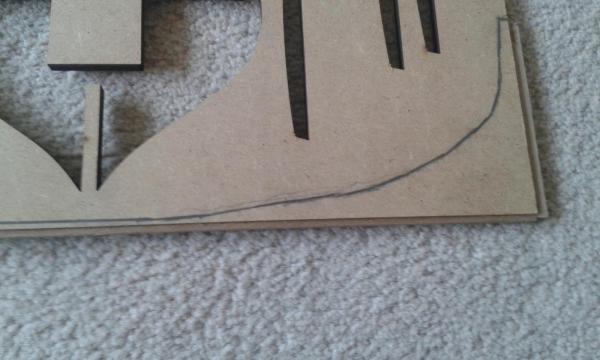
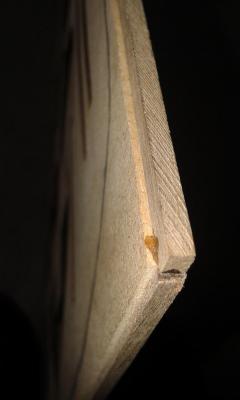
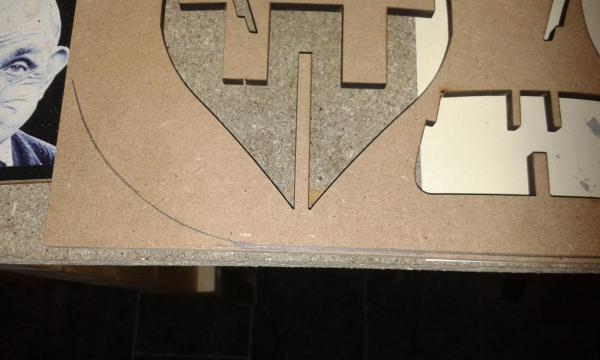
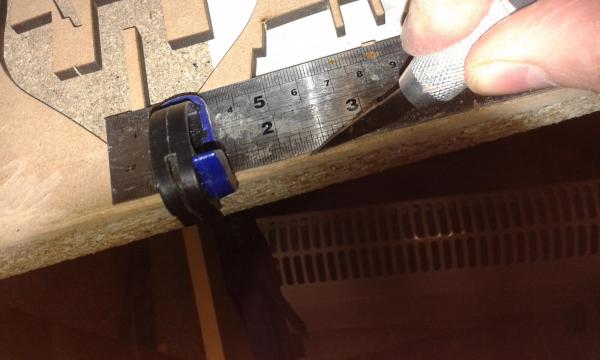
Beading Line and Rabbet Second test for beading line and rabbet on scrap MDF. First task was to draw the beading and rabbet lines (this is an exact repeat as required on the actual keel.). I drew identical lines on both sides of the MDF sheet. I then attached 3mm wide strip to the edge of the MDF using a few spots of CA which will act as the stop point. I started removing the waste wood using the dremel sander around the edges leaving it well above the stop strip. I then used a chisel and needle file to remove the remaining waste wood making sure I got a nice slope from the beading line to the edges. This was checked with my micrometer, 3mmW at edge, 4mmW at half way point an 5mmW beading line. Finally sanded smooth. Not very clear on the photo but I think if you look carefully the beading cut can be seen. The rabbet was cut as per my prevoius post, using a craft knife to cut the depth and then used a chisel at right angles to the cut to remove the waste wood, then used a needle file to file away the rough edges. Finally removed the 3mm strips and checked the width of the keel below the rabbet cut and it measured 3mmW. I'm very happy with the end result. Having proved the method works I'm now totally happy remove the waste wood from keel and to cut the rabbet. But before I do this I will perfect the method to cut the rabbet on the walnut prow, using a scrap bit of 5mmw walnut to prove the method.

-
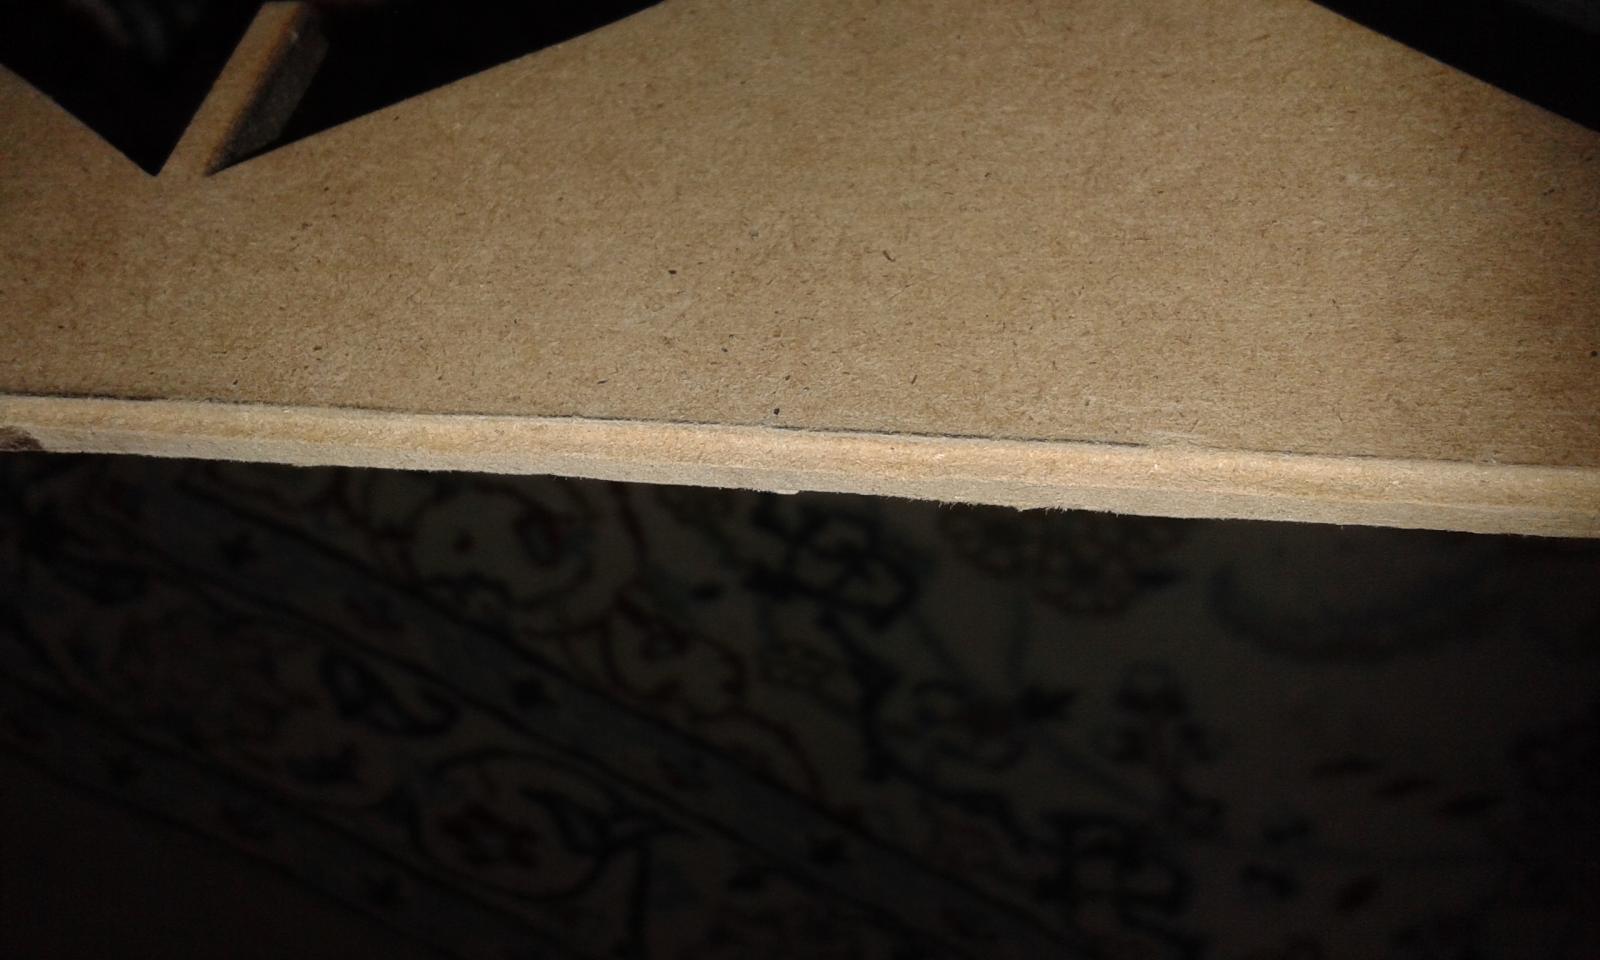
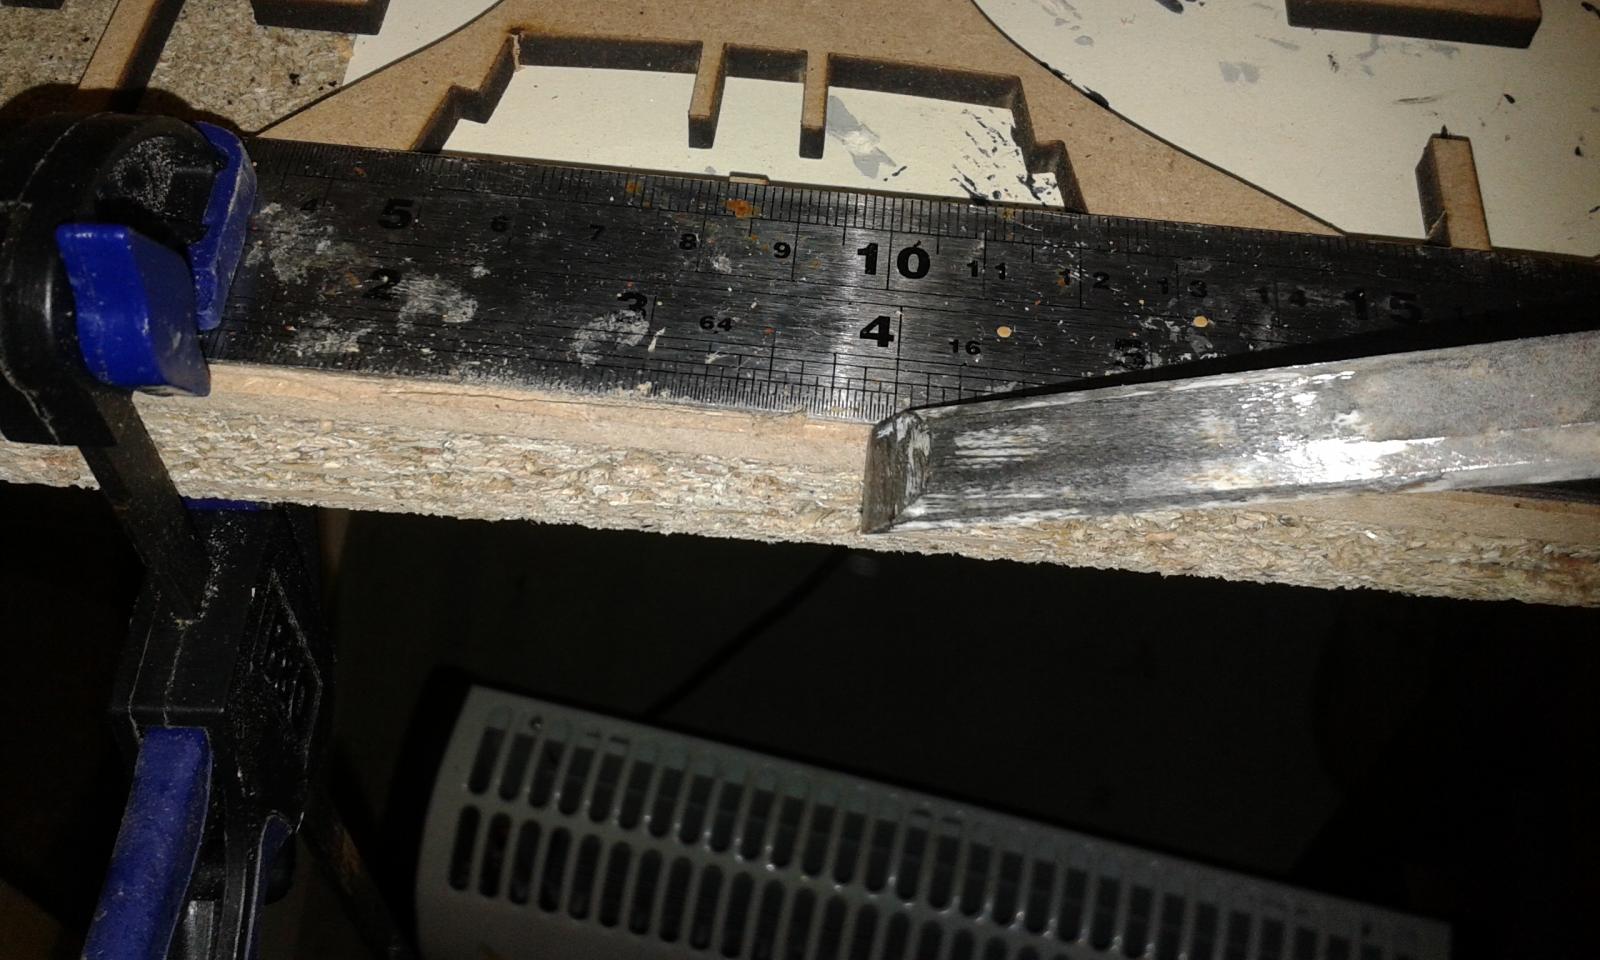
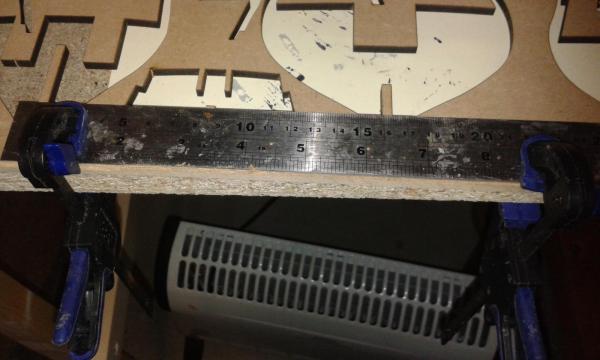
Treated myself to a new toy this morning as I thought it may aid with the work with reducing the keel width at the stern end from beading line to edge. Rather than try it out on the model I decided it would be best to test drive the tool first. Took some scrap MDF and marked the lines and the used the dremel sander to reduce the width. Glad I did it on a test piece first as I got a bit carried away and went a bit too deep at the edge. Was simple enought clamp the ruler to the material whilst I cut the rabbet line with a craft knife. Then was able to use a chisel to finish the process, which I then tidied up using a needle file I learnt a lot from this first attempt and will try a couple more time on scrap wood until I'm happy with the process before I move on for doing it for real. Not sure how deep I need to make the rabbet, Given the MDF is 5mm thick I'm thinking a depth of 1mm will be OK


-
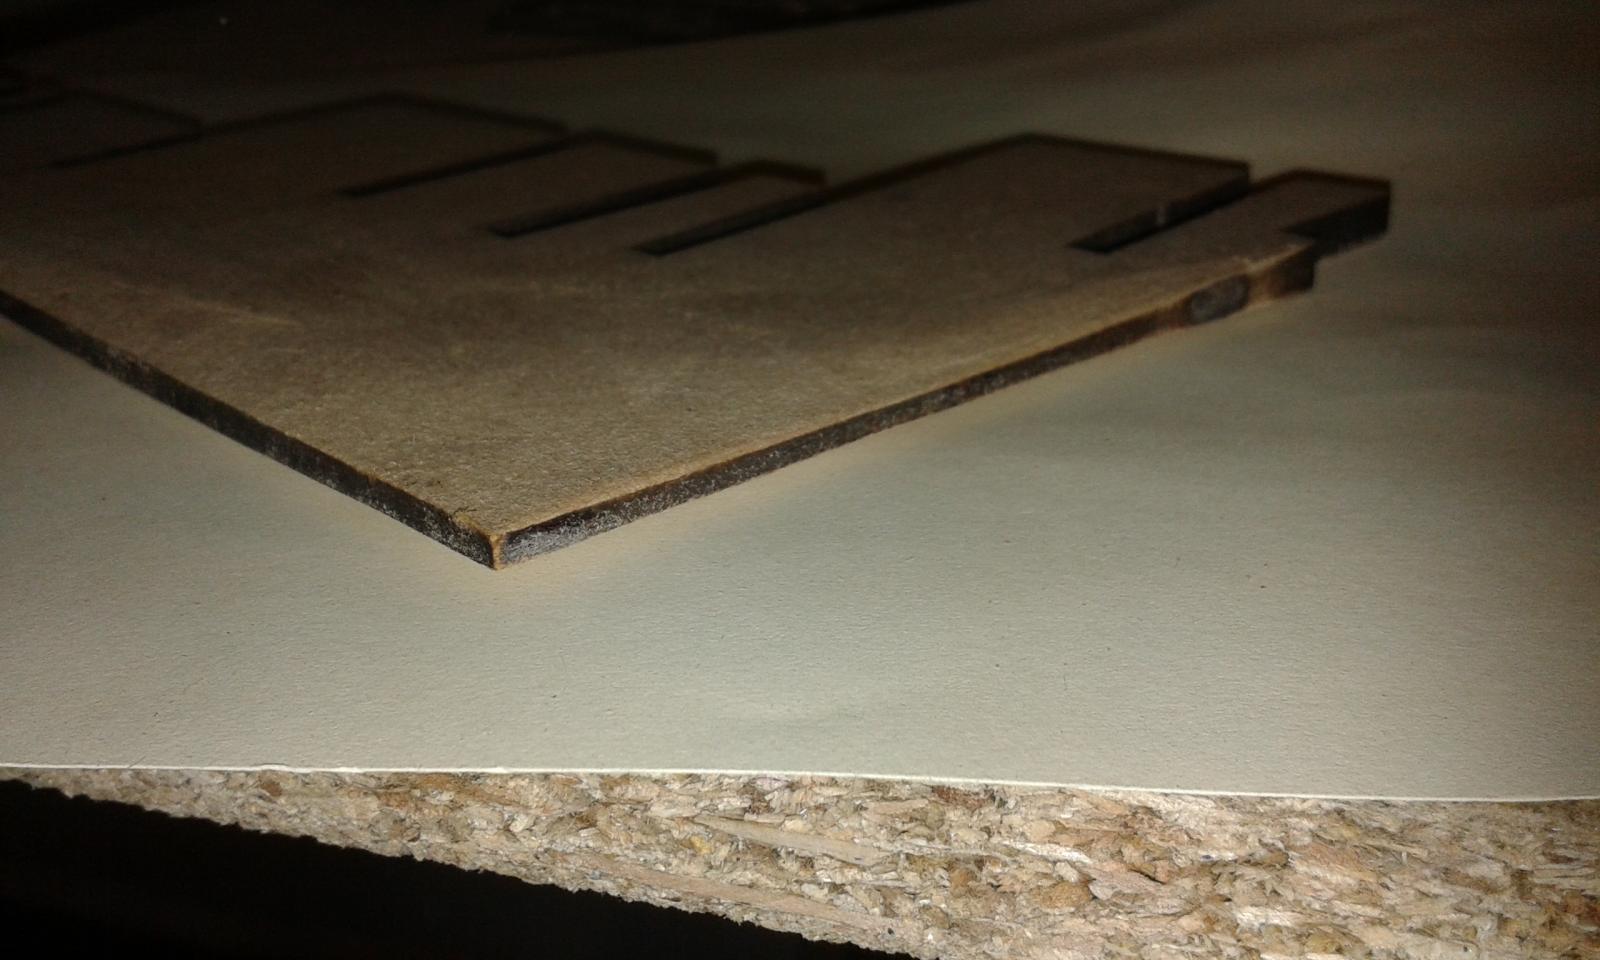
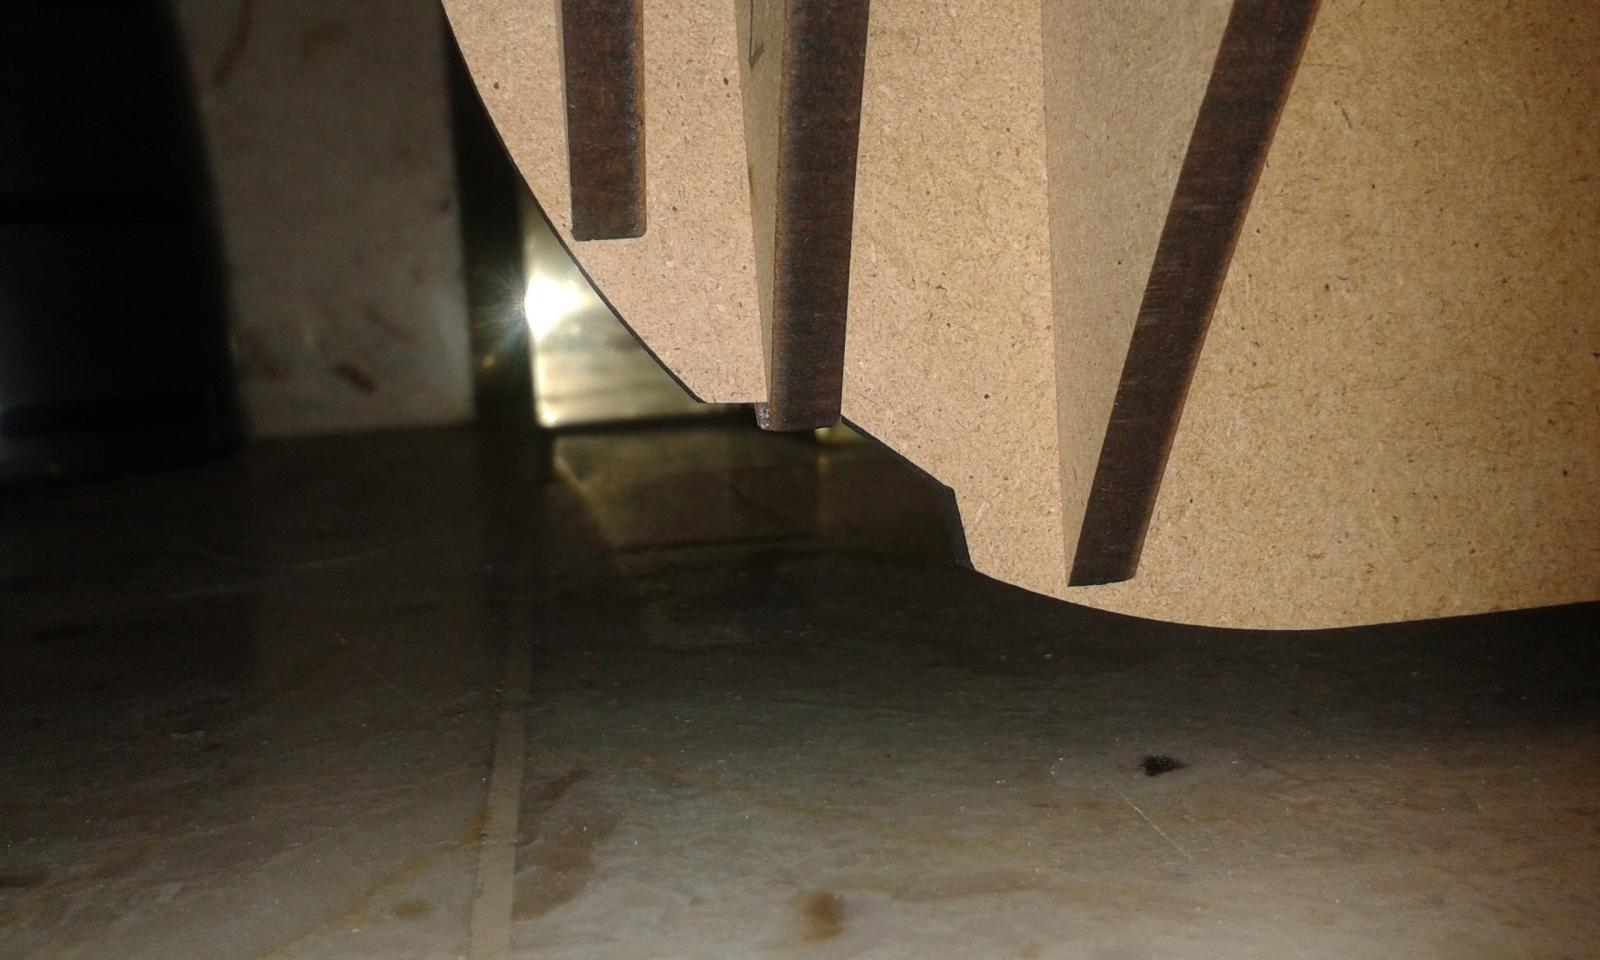
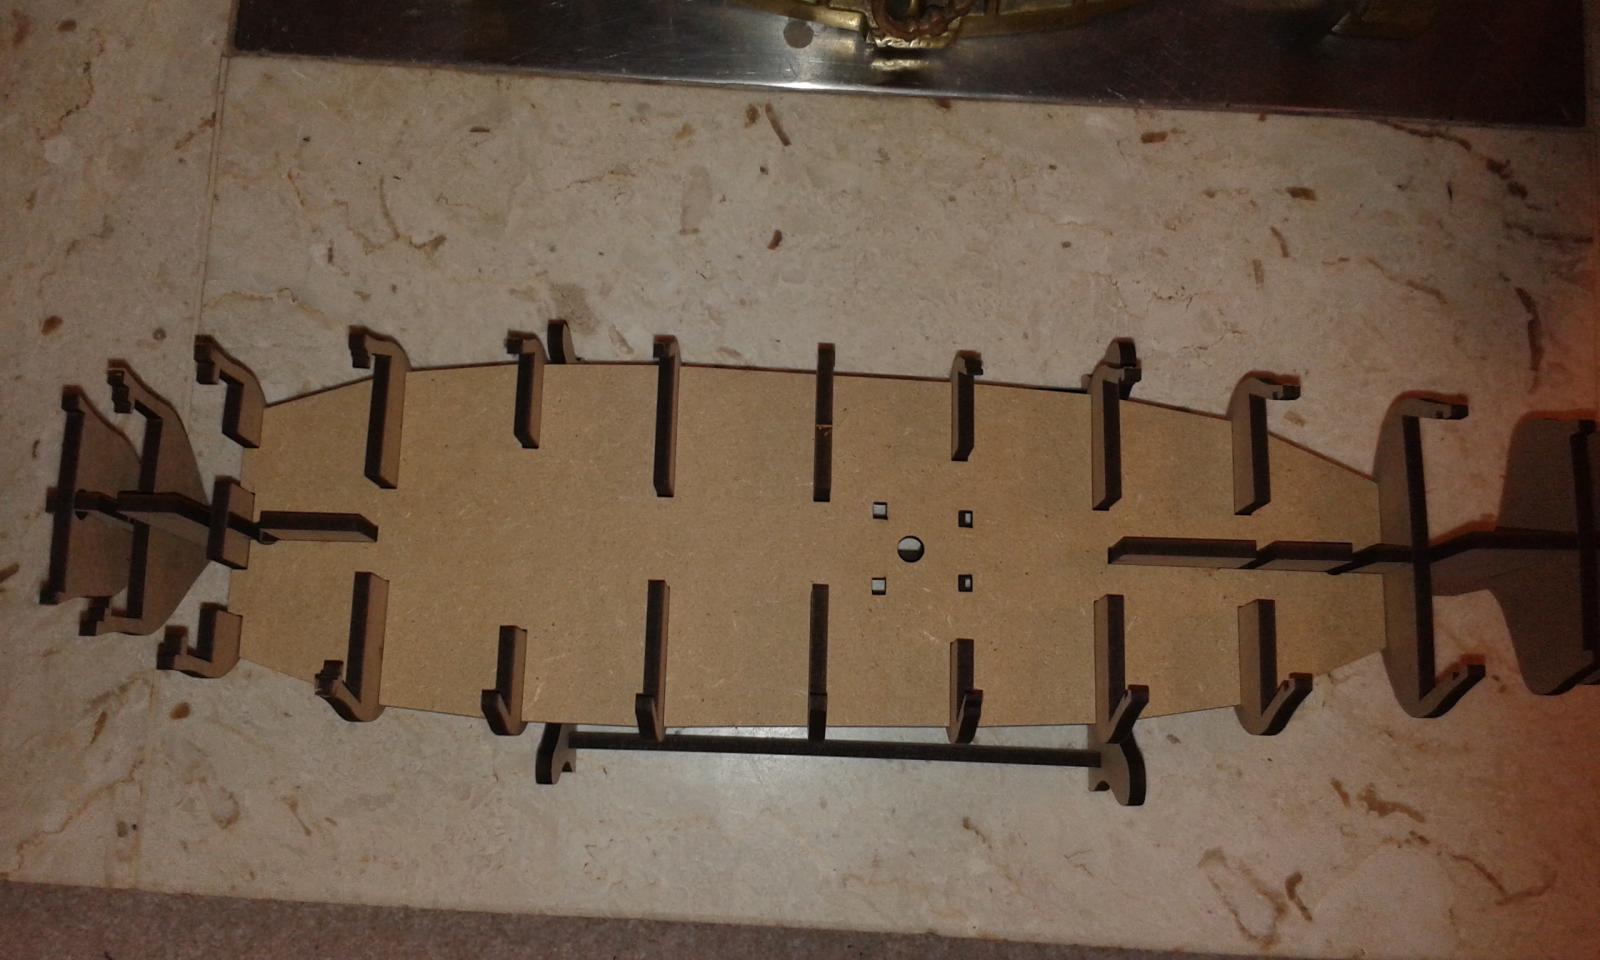
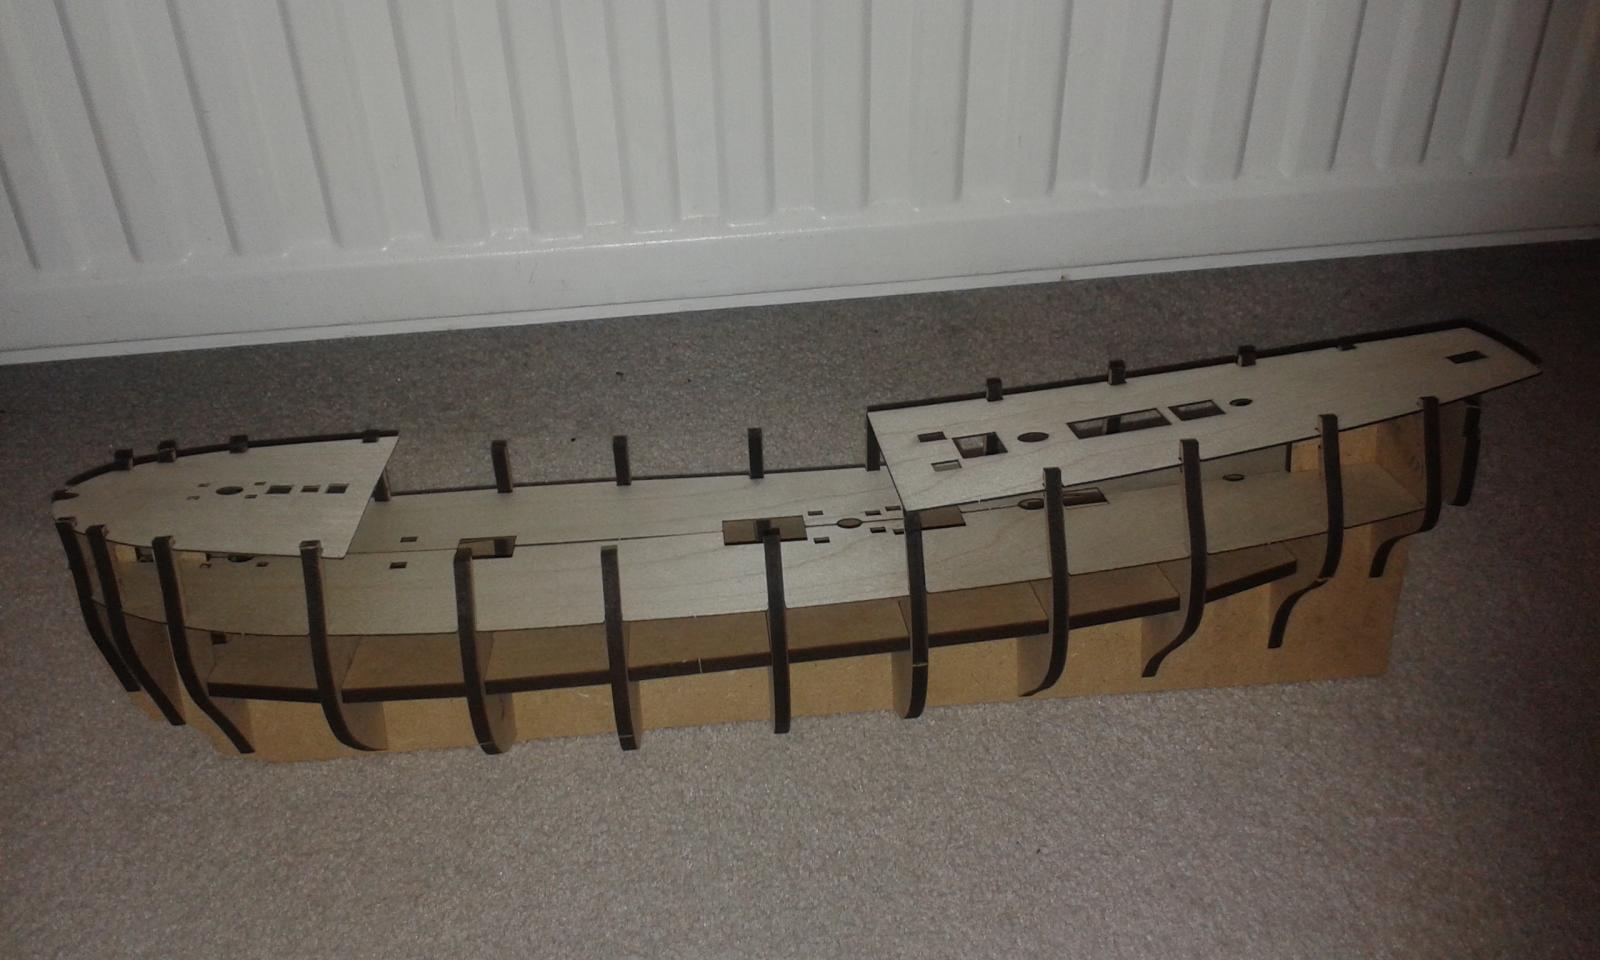
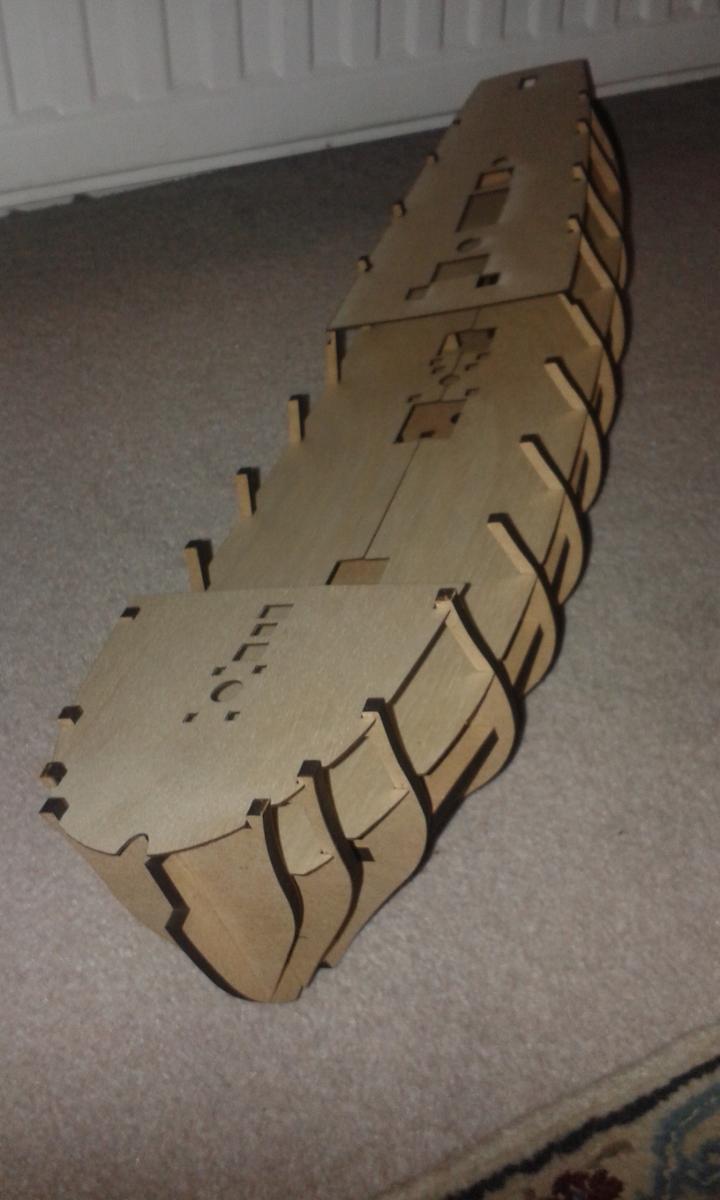
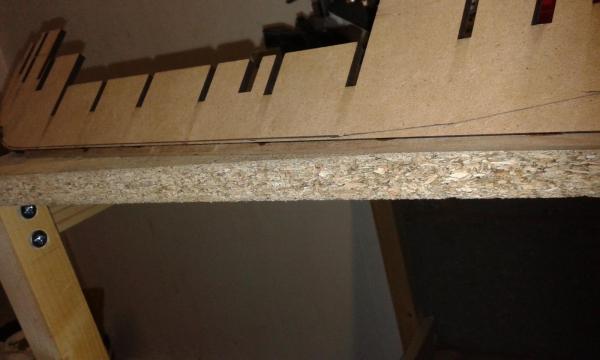
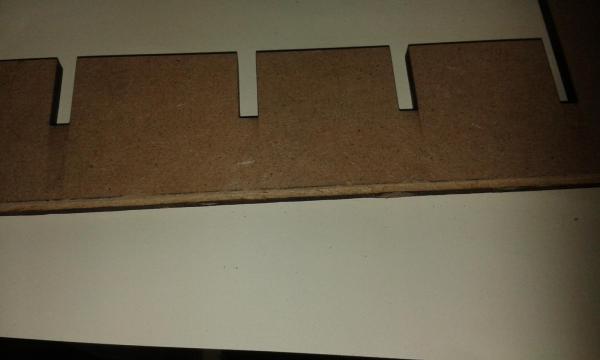
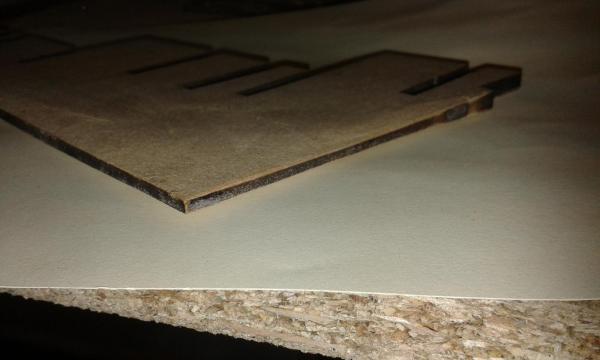
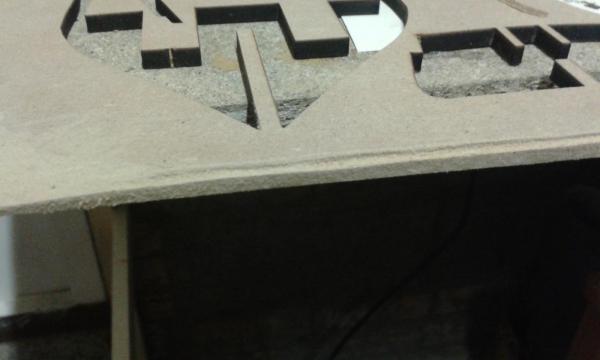
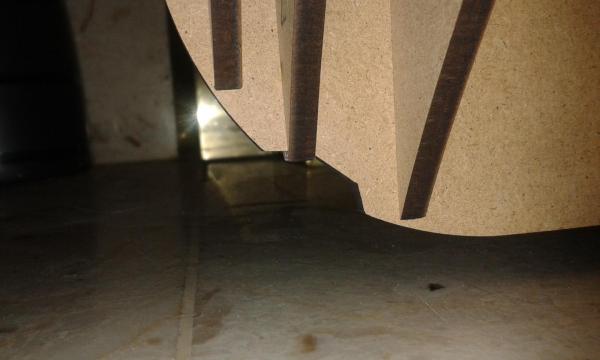
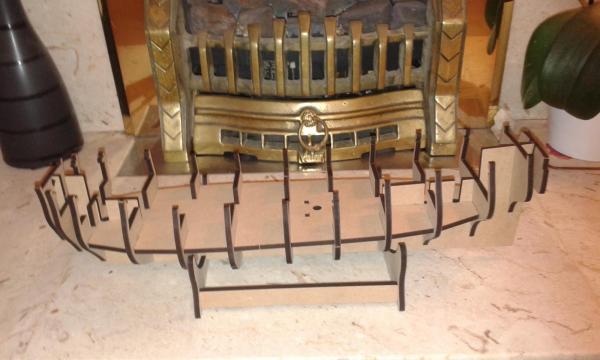
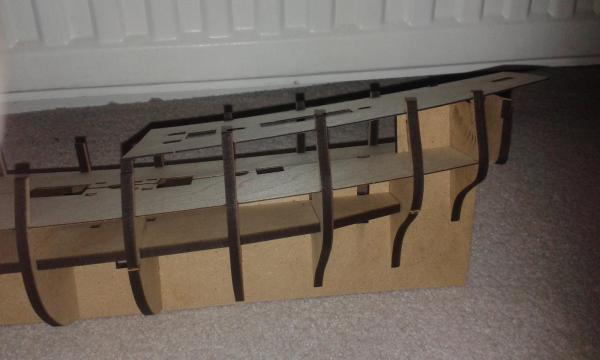
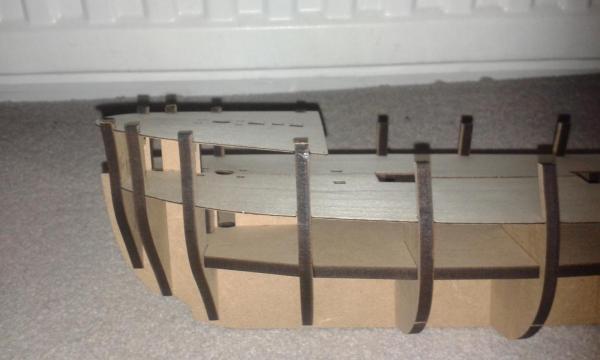
1. Pre Work - Dry Fitting Of Bulkheads Made an easy start tonight, released the bulkheads, keel and lower deck from the sheets and dry fitted. It was nice that the parts were held in the sheet by a very small slither of wood which made releasing the parts very easy. The parts all slotted together very nicely. I also I dry fitted the cradle. It will be some time before these parts are glued as I will have to do the keel beading work at the stern and the rabbet along the bottom edge. Also I plan to fair the bulkhead as much as possible so that when the bulkheads are glued in position a minimal amount of fairing will be required, well thats the plan.


-
Onwards and upwards must soon be time for the masts and yards. I'm just starting work on channels and hull brass work. I think I'm going to work my way down the hull fitting brass profiles, channels (and fittings), gun port lids and dummy barrels in sections so as to break up some of the repetition. On Saturday I plan to start work on Pegasus.
-
I agree the coaming will actually be fitted at 90Deg to that shown in the pdf file. The drawing was to show if I should offset or not offset that parts and thought it was better illustrated as shown.
-
Hello I have enjoyed reading through your build log and I think you are doing a really great job. I have received my Pegasus kit this week which I plan to build alongside my current HMS Victory build. I plan to work on the Victory in the evening during the week and the Pegasus at the weekend, staring this coming weekend A tall order maybe but given the way the Victory build is going I think a second build will help break up some of the very repeative tasks required for the Victory build (104 gun port for example!!!). I have decided that I will start by making up some smaller deck items first, such as the grating assemblies and will leave the keel / bulkheads, assembly for the time being as I want to experiment with construction methods adding a Rabbet in the MDF I understand the correct build method for gratings is butt the deck planking up to grating coamings With my last grating I did use the standard mitre joint for the coaming but I wish to use the proper joint for this build. I have a question related to the correct method with regard to the way the four coaming sides are assembled. I have shown the two methods in the attached pdf file, and I tend to think the 2nd (offset) method is correct. Do you have any thoughts on this matter? Revised Grating.pdf Grating.pdf
-
Thanks David, and that is a great picture
-
You'll soon be working on the masts and yards in no time at this rate
-
Thanks Jerry I just put the steps where I thought look right using plan 5 as a reference and they all went OK. The hardest job was filing the steps once I released them from the walnut sheet. I lost count of how many times I dropped the small steps on the floor, but thankfully was able to find them again.