MrBlueJacket
-
Posts
1,285 -
Joined
-
Last visited
Content Type
Profiles
Forums
Gallery
Events
Everything posted by MrBlueJacket
-
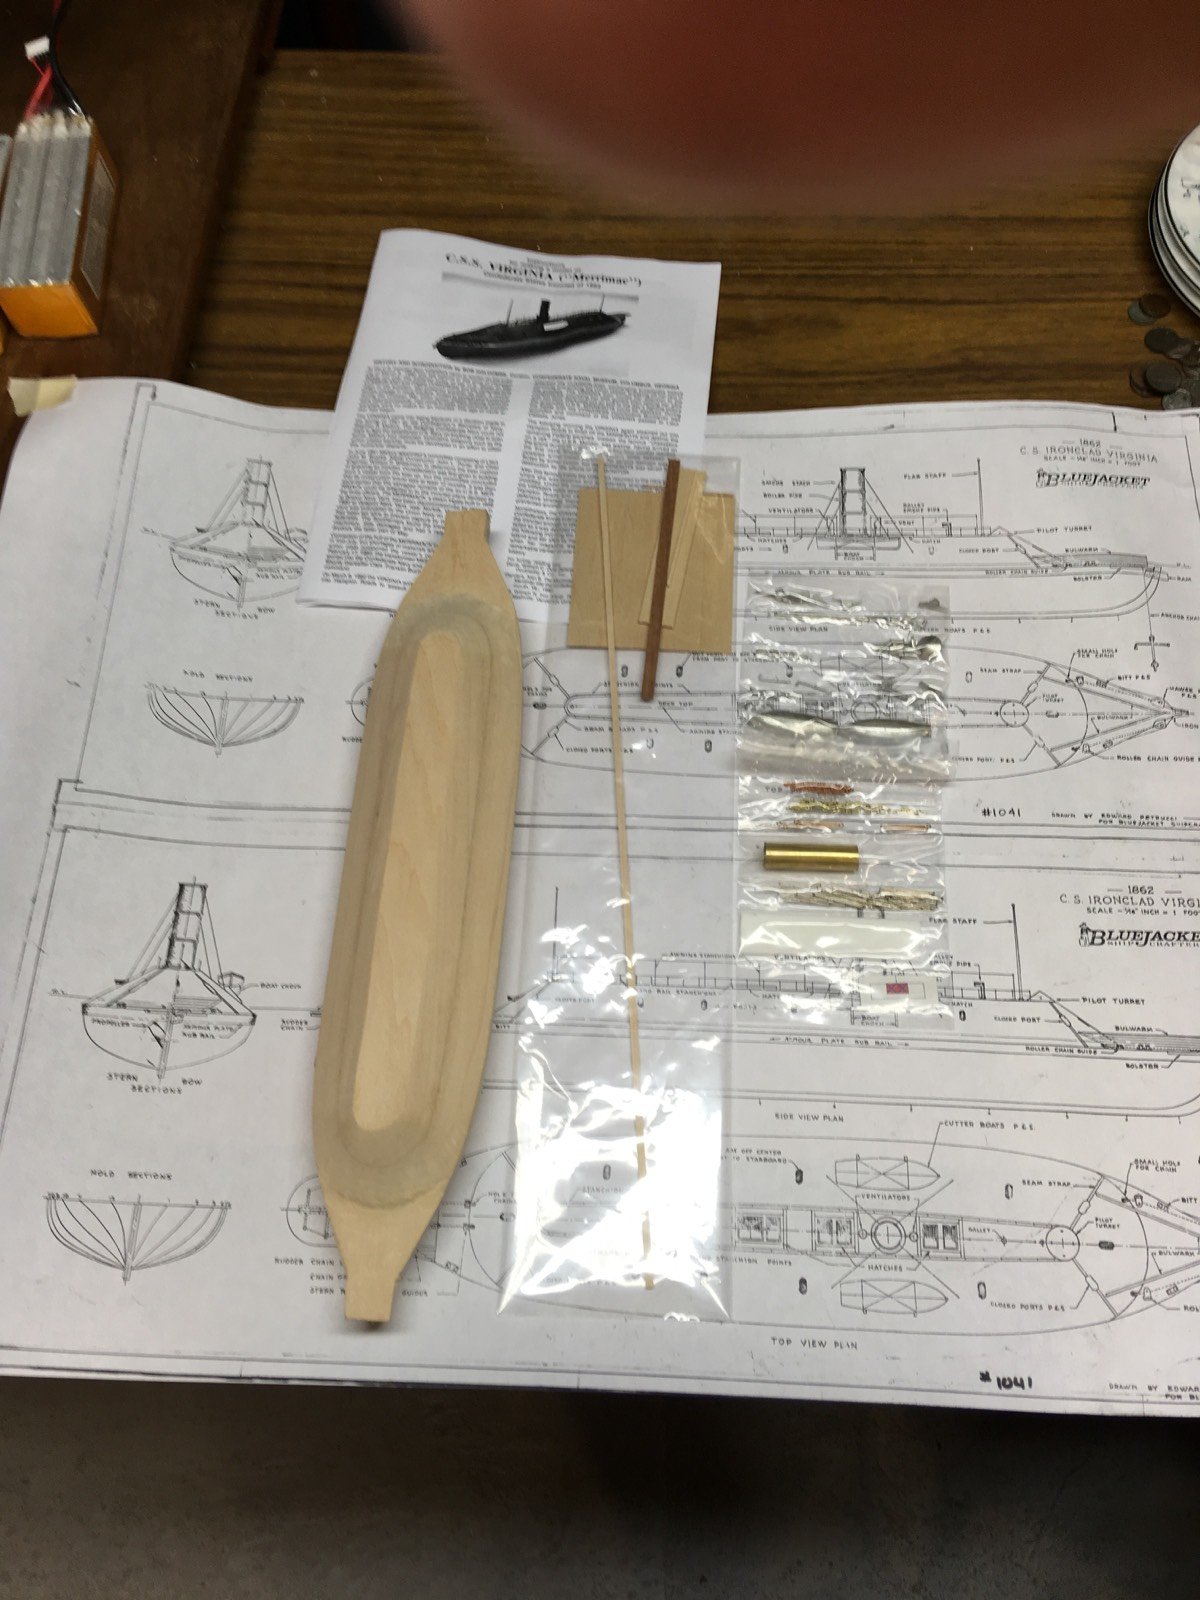
 I will be building the CSS Virginia (ex-Merrimac) model. When finished, it will be 17 1/2" long. The instructions start with a nice bit of history on the ship:
 -
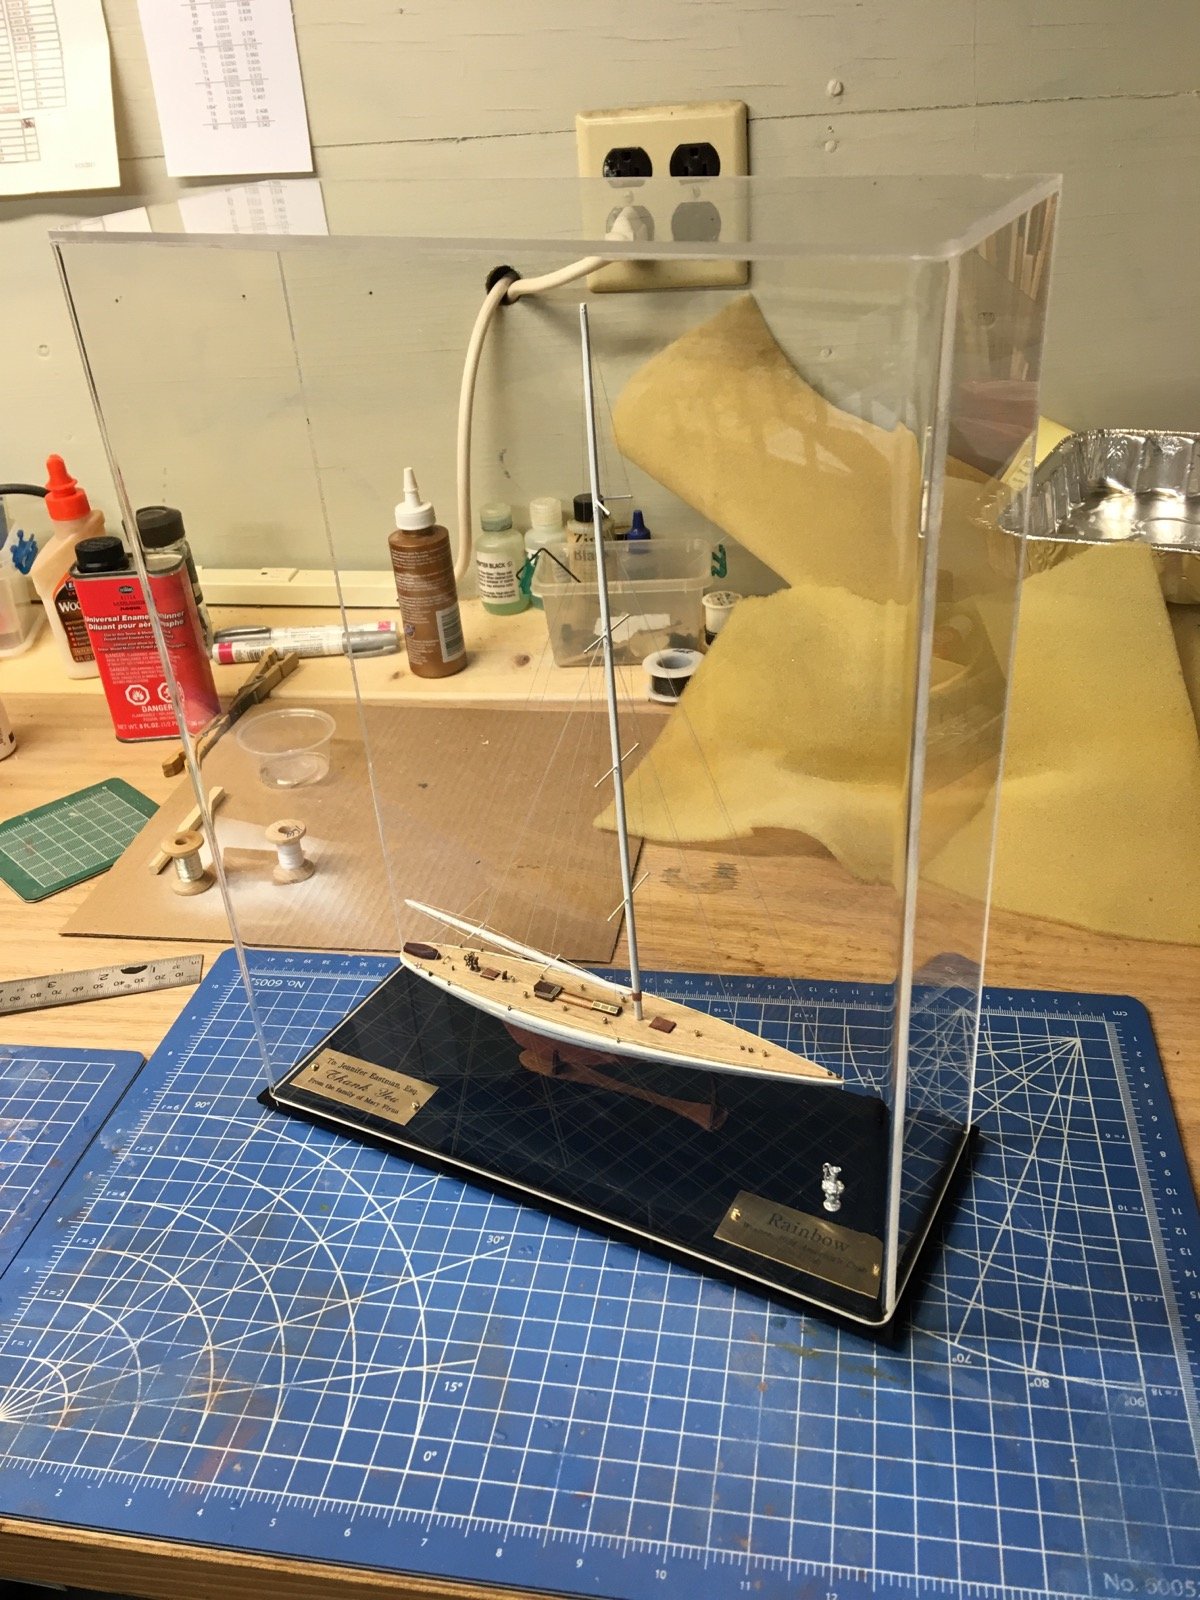
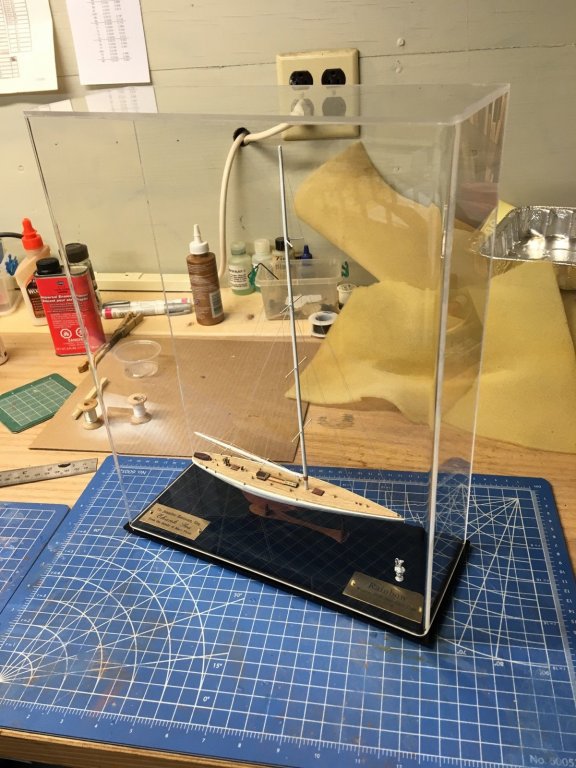
And finally, it has all come together in the display case. This was a rewarding project, and probably took me 15 hours, not including the paint screw-ups.
- 36 replies
-
- 12
-

-
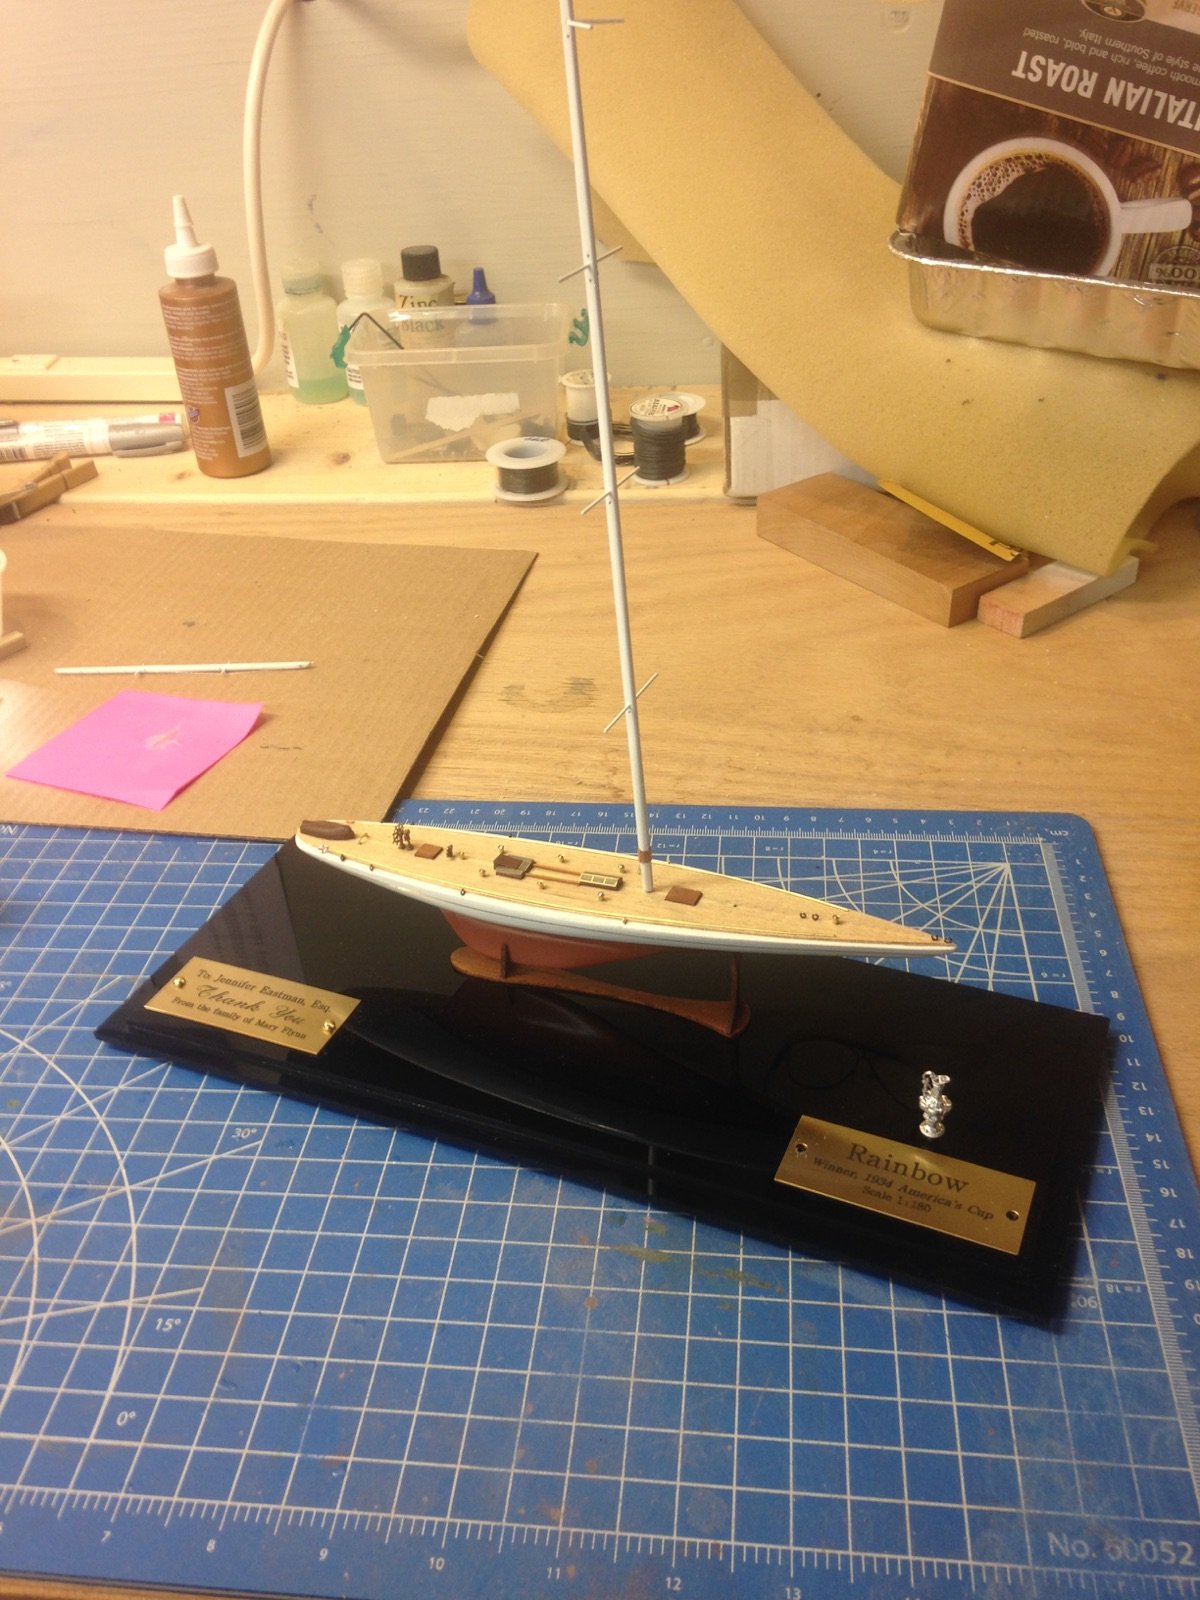
Now here's the model permanently mounted in its cradle. I needed to be very careful to make sure the mast is straight, not leaned over, and very careful with the CA as well.

-
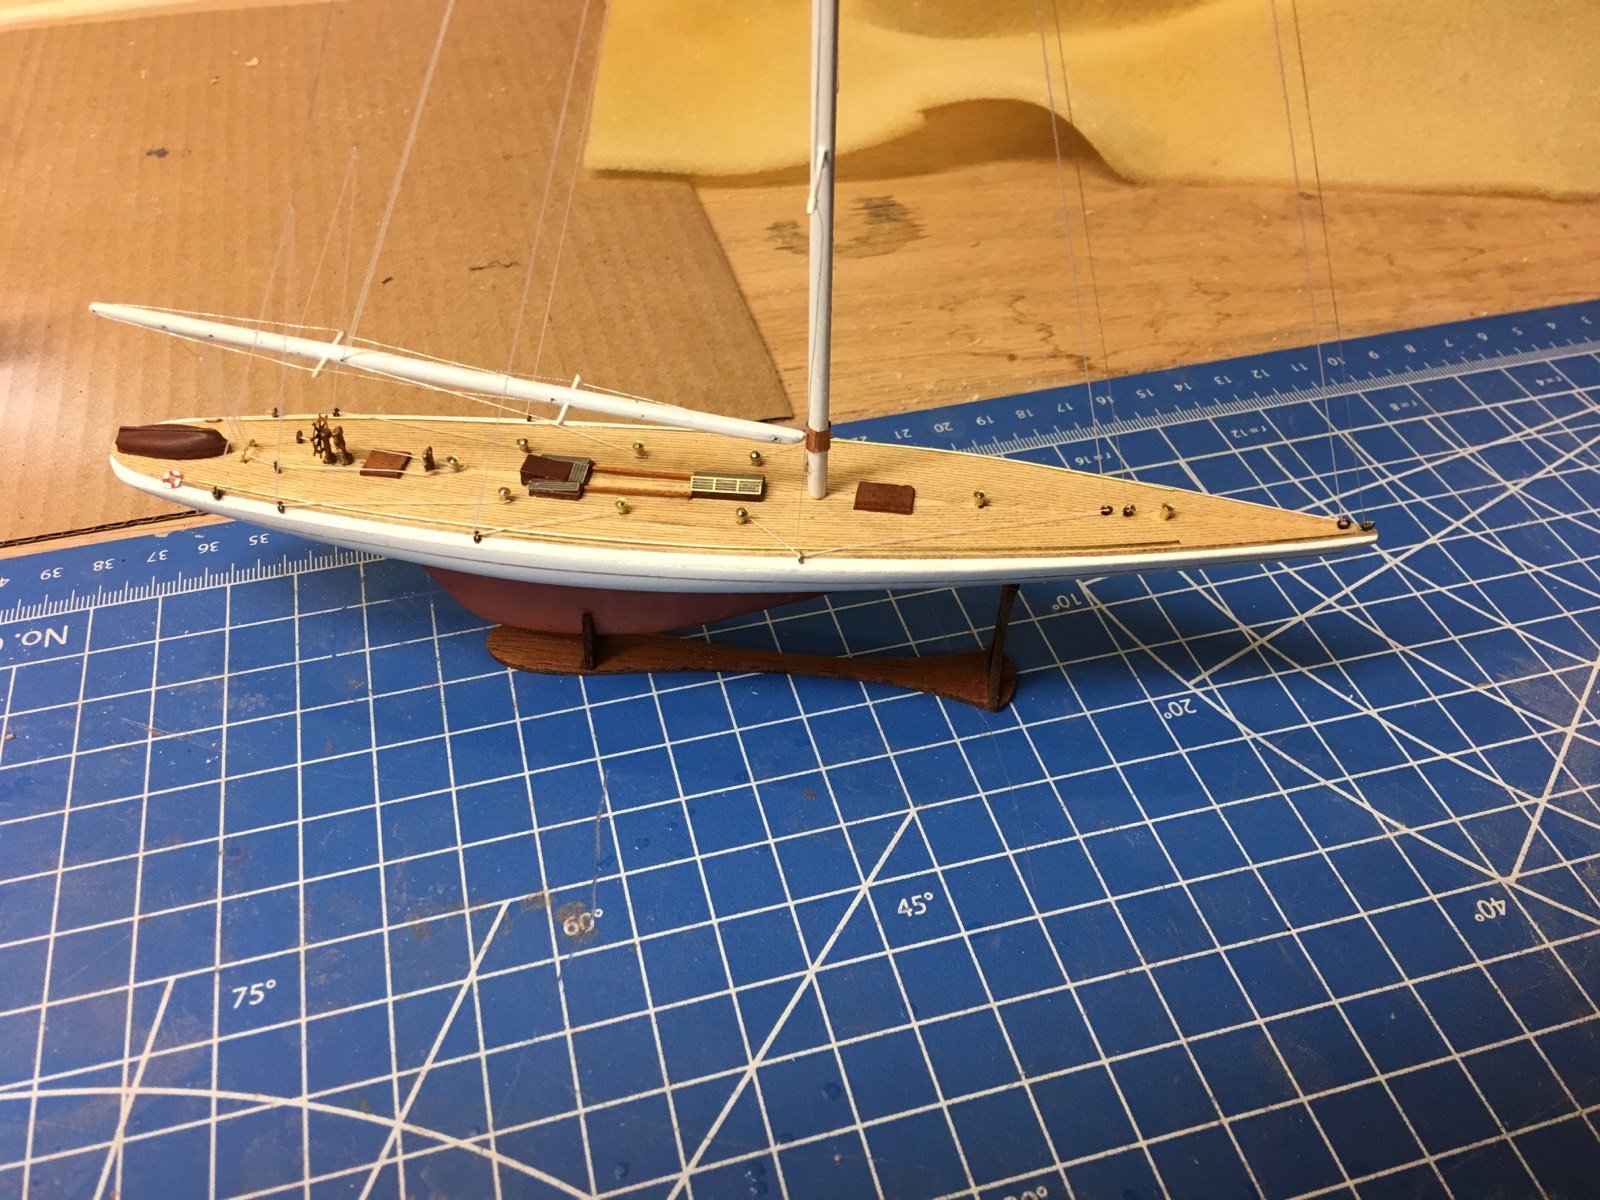
So I haven't done anything for a couple of weeks, but this past weekend I did finish the ship. Here's a shot of all the rigging finished.
-
Over the weekend I had some time to do the rigging. I was able to do all the standing rigging with silver metallic thread, and some of the running rigging with .005 white thread. Only 3 lines left to go and it will be complete. Then comes the final mounting into the case, which is 11 x 4 x 14 acrylic.
-
Bluejacket Shipcrafters was the topic of "small businesses in Maine" on WAB I TV, which airs every Thursday during the 5:00 PM segment. Here's the link: http://www.wabi.tv/content/news/Maine-Is-Home-To-The-Oldest-Model-Ship-Manufacturing-Company-In-Country-468022253.html If that doesn't work, go to www.wabi.tv and search for bluejacket.
-
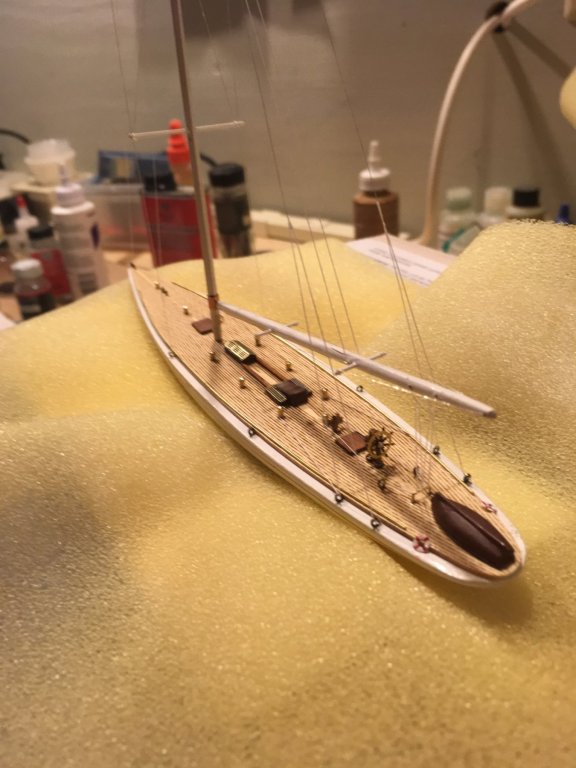
I really haven't done much over the holidays, just made the mast and started to finish the display base. Here's a shot of the incomplete pieces cobbled together so I can get an idea of the finished model. I think every modeler plays "put together" with the sub assemblies. I know I always have.......Notice the left plaque says "thank you" in the middle

-
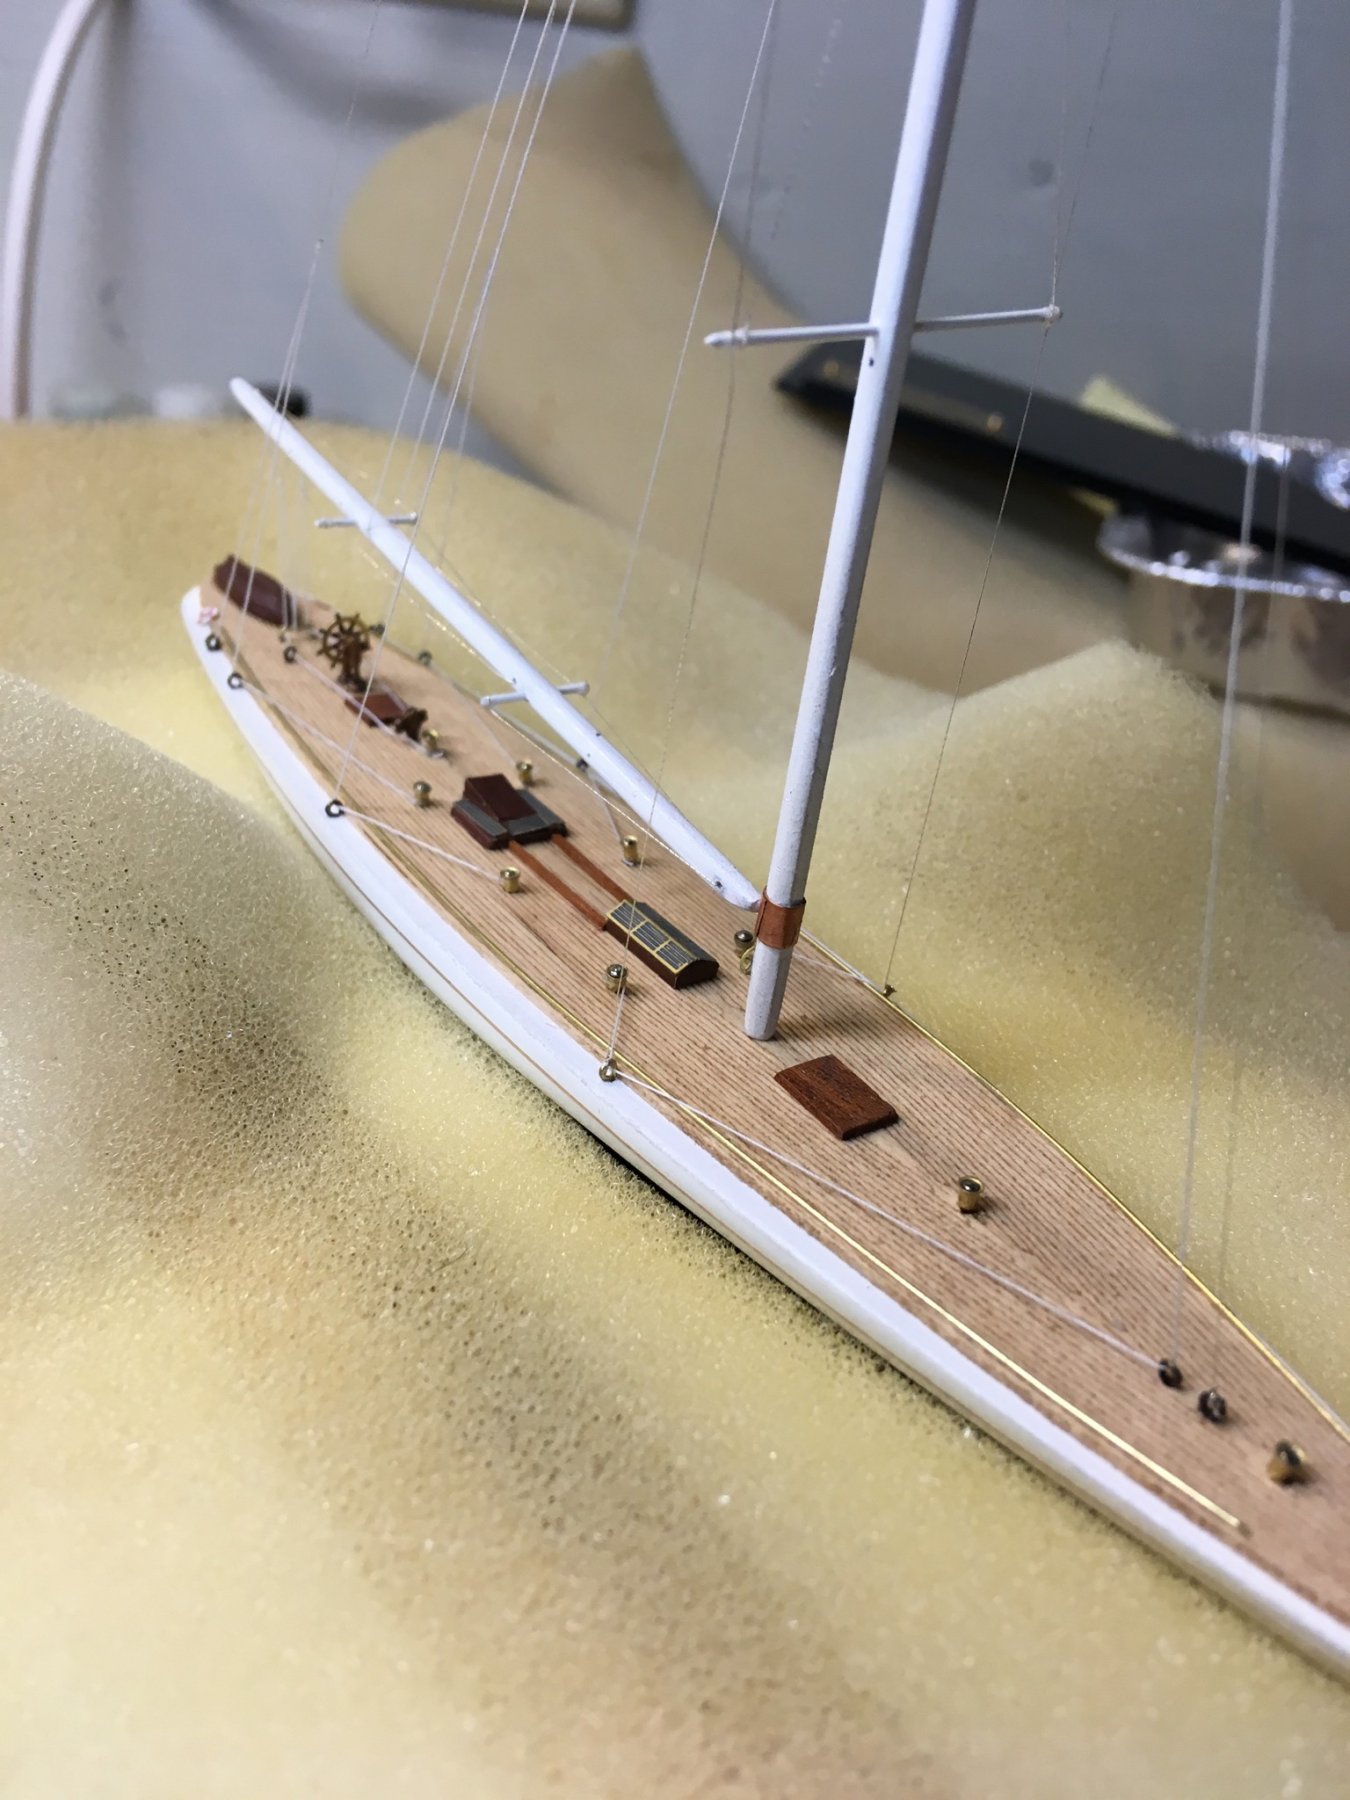
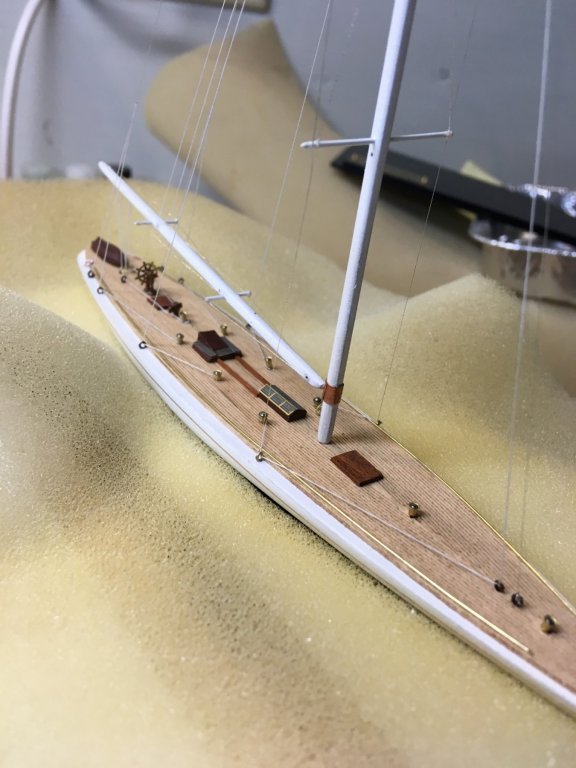
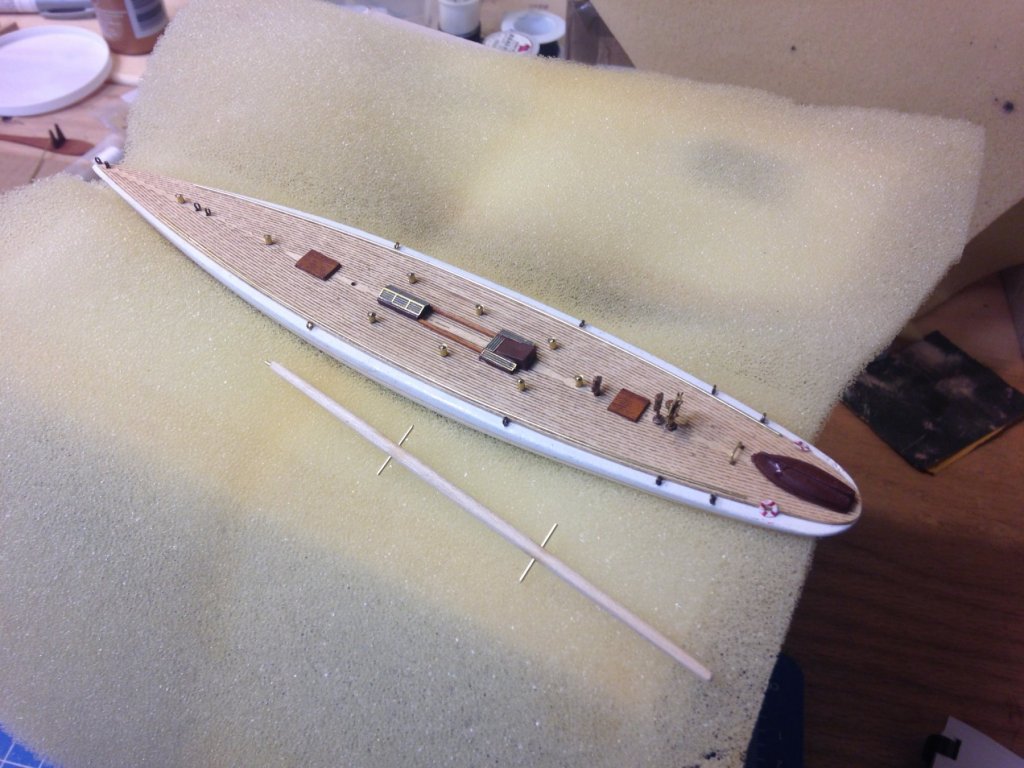
And here's a picture of the deck all fitted out, and also the boom with the spreaders attached. now to work on the mast........
-
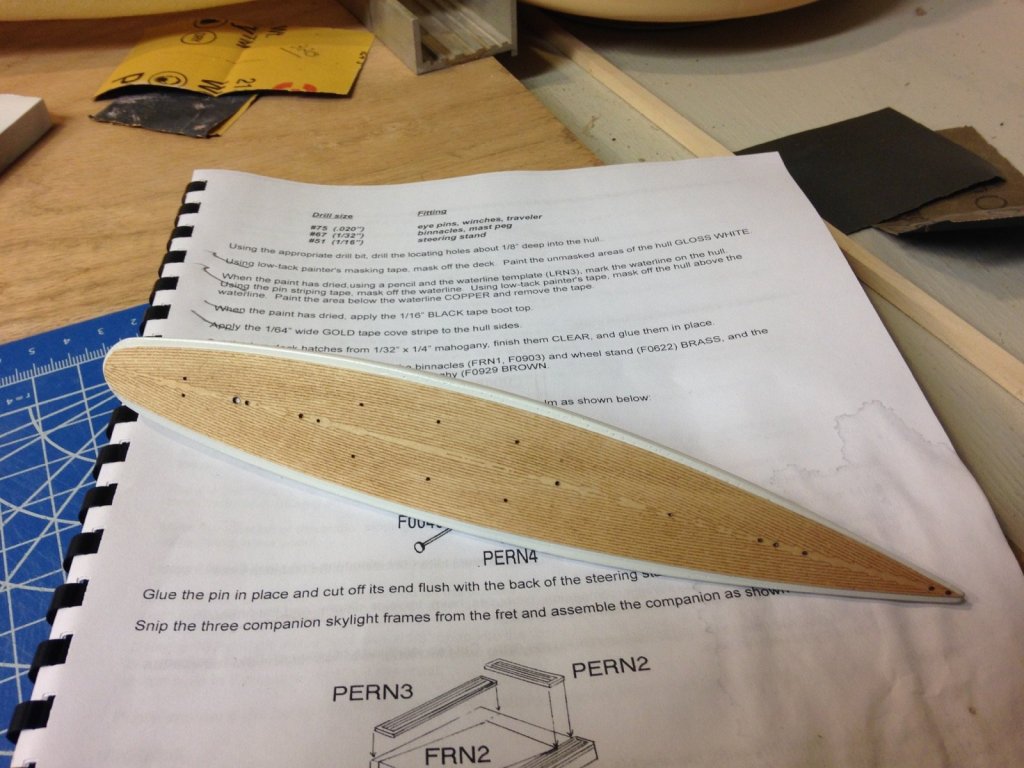
Time to drill all the holes needed in the deck. Something like 26 holes altogether. Sooo glad they're pre-marked.

-
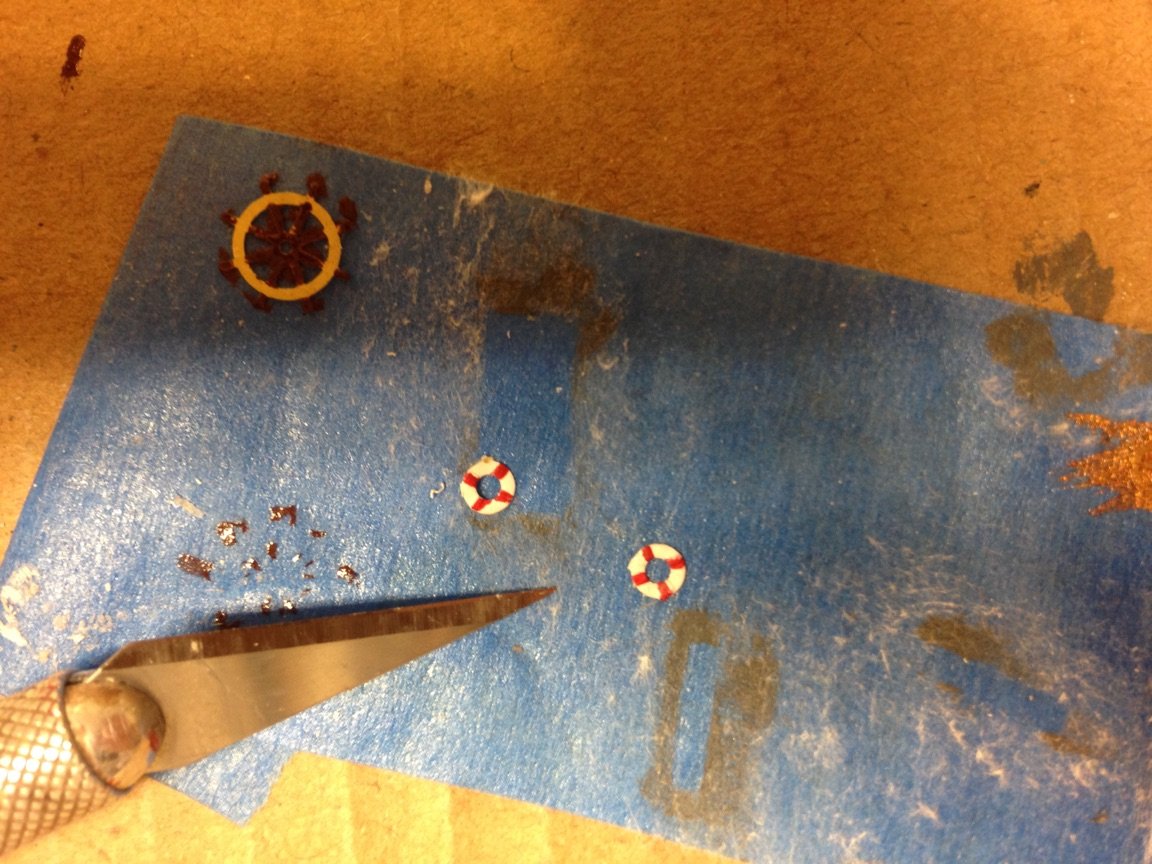
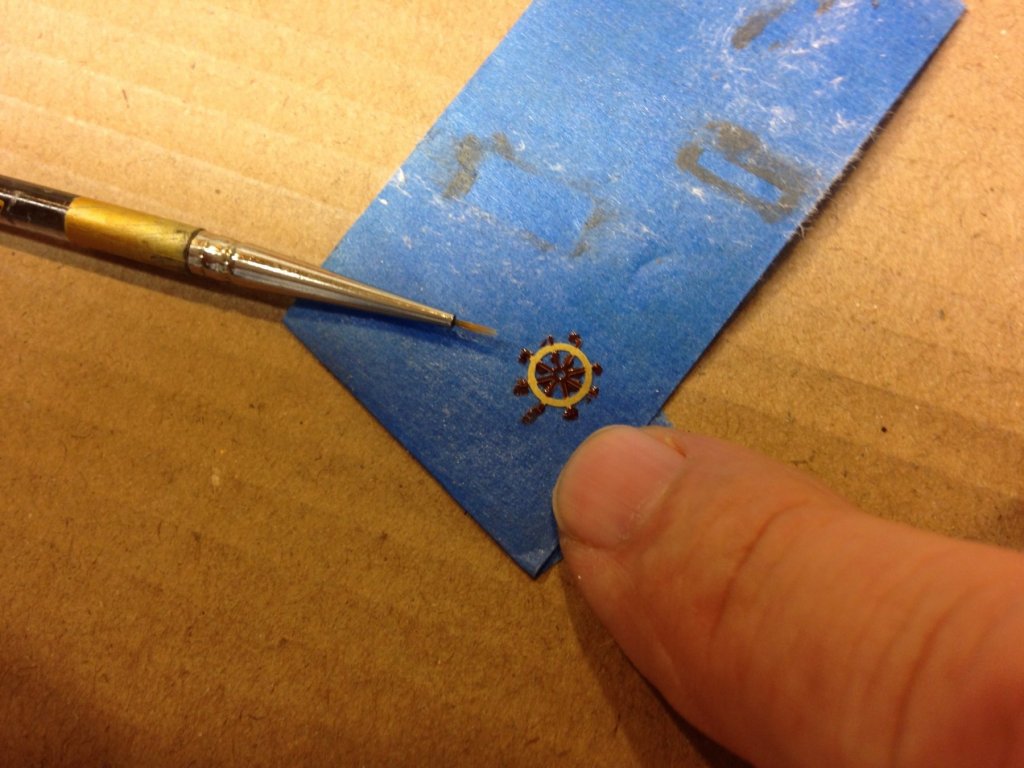
So I'm working on some pieces, and looked at the small steering wheel. It is a photo-etched piece, and I decided rather than just paint it, I wanted to leave the ring brass colored. So I took an 18/0 paintbrush and brown gloss paint and did this: (that's my index finger)
-
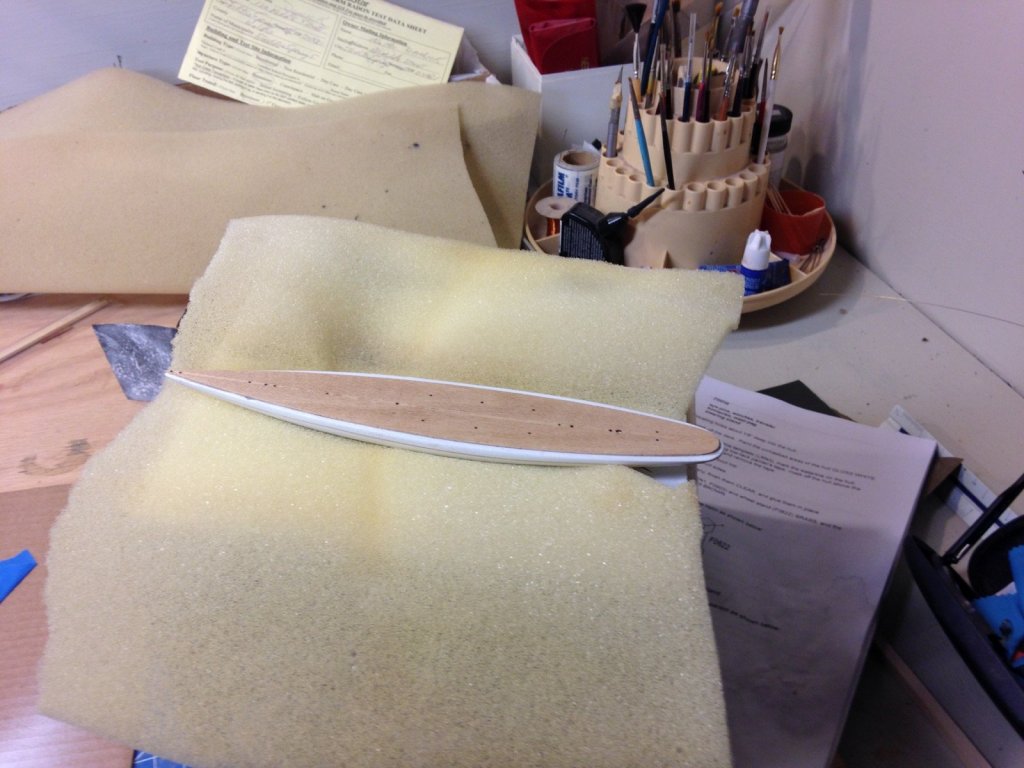
Last night I attached the laser-cut deck to the hull.Having the locations of the major components cut in is a big help, no need to measure where things go! To make a work cradle, I cut an oval out of a cardboard box bottom and lined it with foam. I used the waterline template as my guide, cutting about 1/2" larger all around. Now I can start to do some fun stuff, like populating the deck and getting to the rigging. I consider the hull work a necessary evil that has to be done so I can get to what I like to do. (makes no difference if its' a solid or planked hull)
-
The trailboards are a pair of boards that may be found at the bow of certain sailing vessels, where they run from the figurehead or billethead back to or towards the hawsepipe. They are in the main decorative, though they often bear the name of the ship; they may be more or less elaborately carved and painted.
- 162 replies
-
- 1
-
-
- america
- BlueJacket Shipcrafters
- (and 1 more)
-
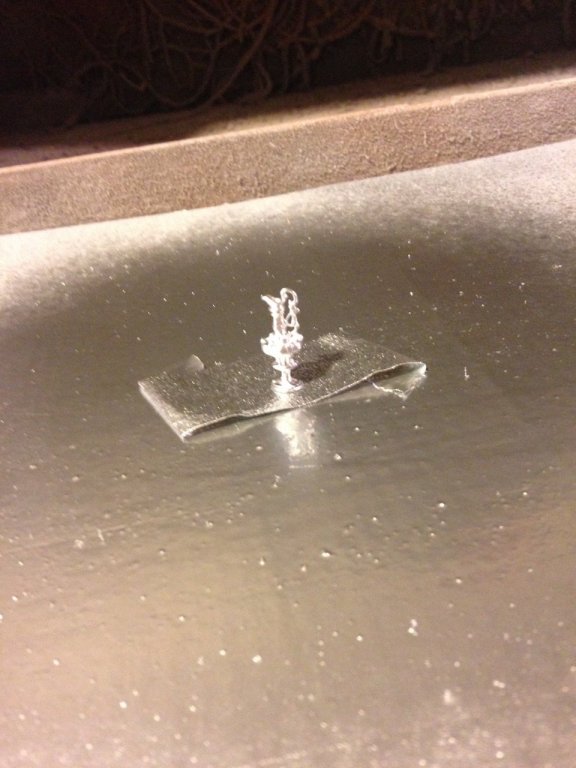
The kit includes a small (7/8") replica of the America's Cup trophy, cast in Britannia metal. I sprayed it with rattle can chrome which I think is a good impression of polished silver at this scale.
-
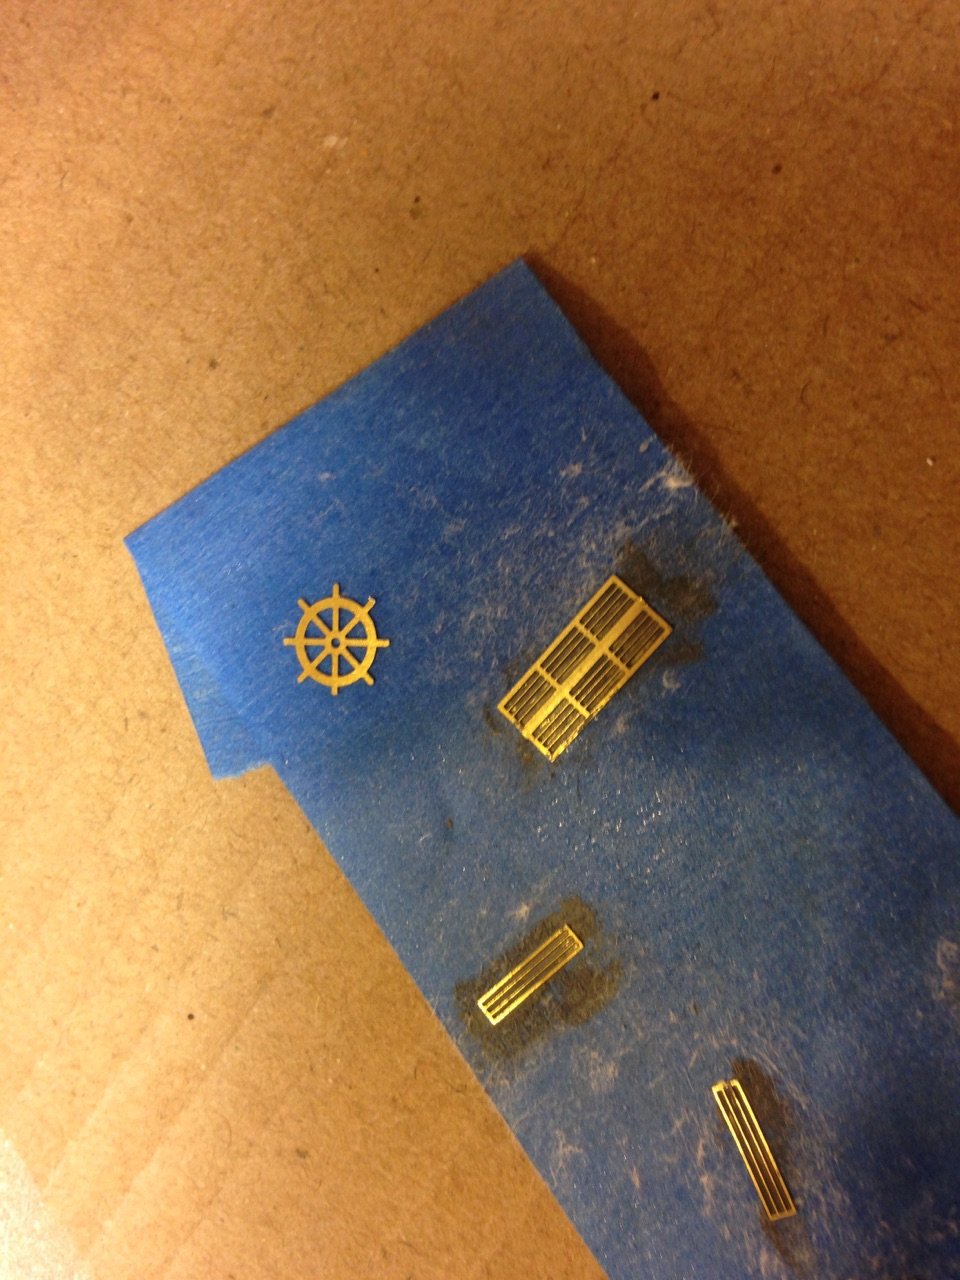
Inbetween coats of clear, I took the photo-etch pieces off and started to work on them. The skylights are half-etched to show the guard rods, but it is all brass color. I painted them with dark grey, then wiped off the highlights with a paper towel (dry) The net result I think gives them some depth.

-
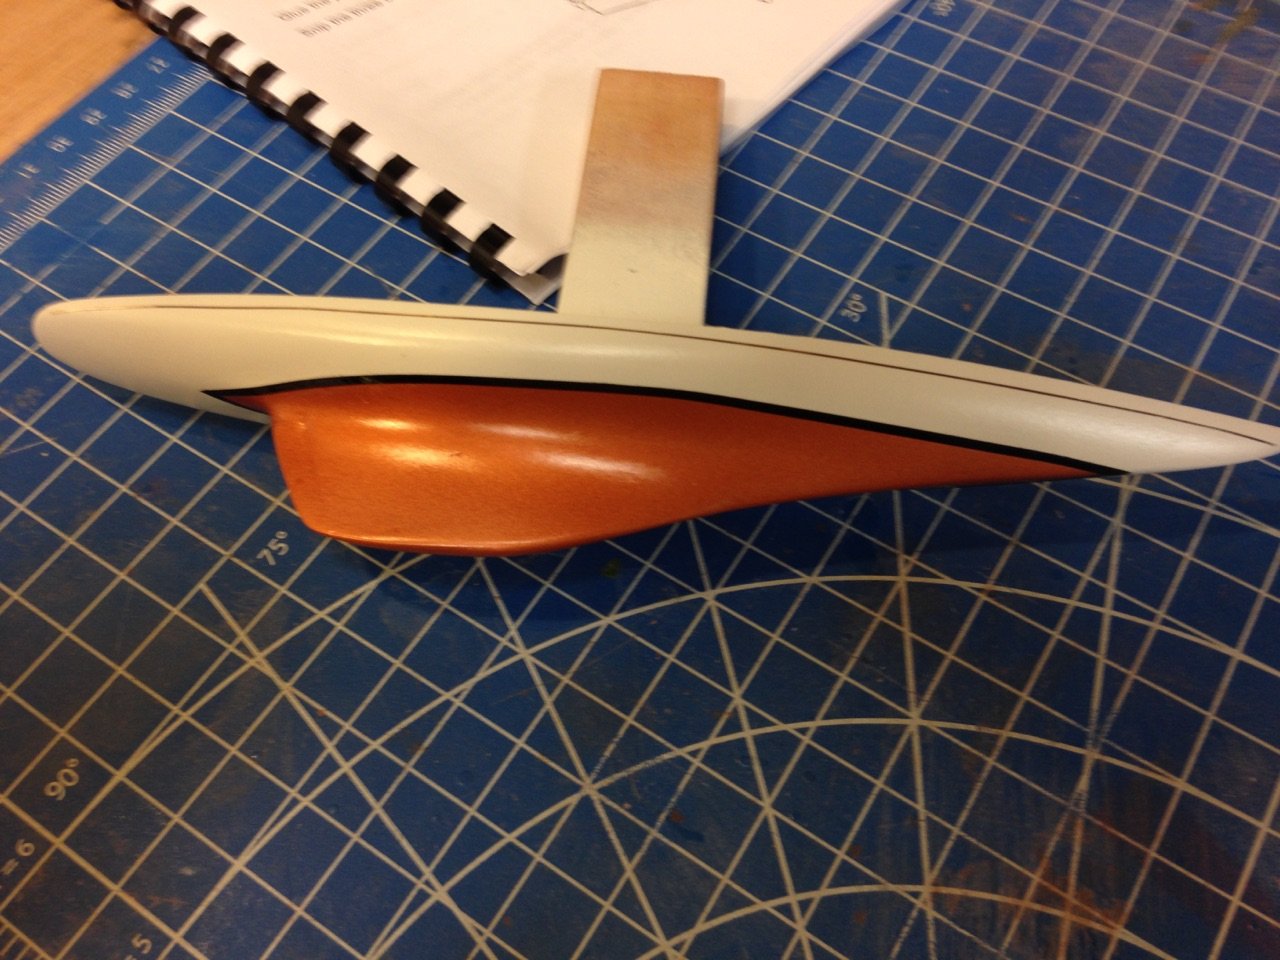
So onward to the 1/16" black boot-top tape, and the 1/64" gold cove moulding tape, followed by three coats of gloss clear. I'm happy with the result.
-
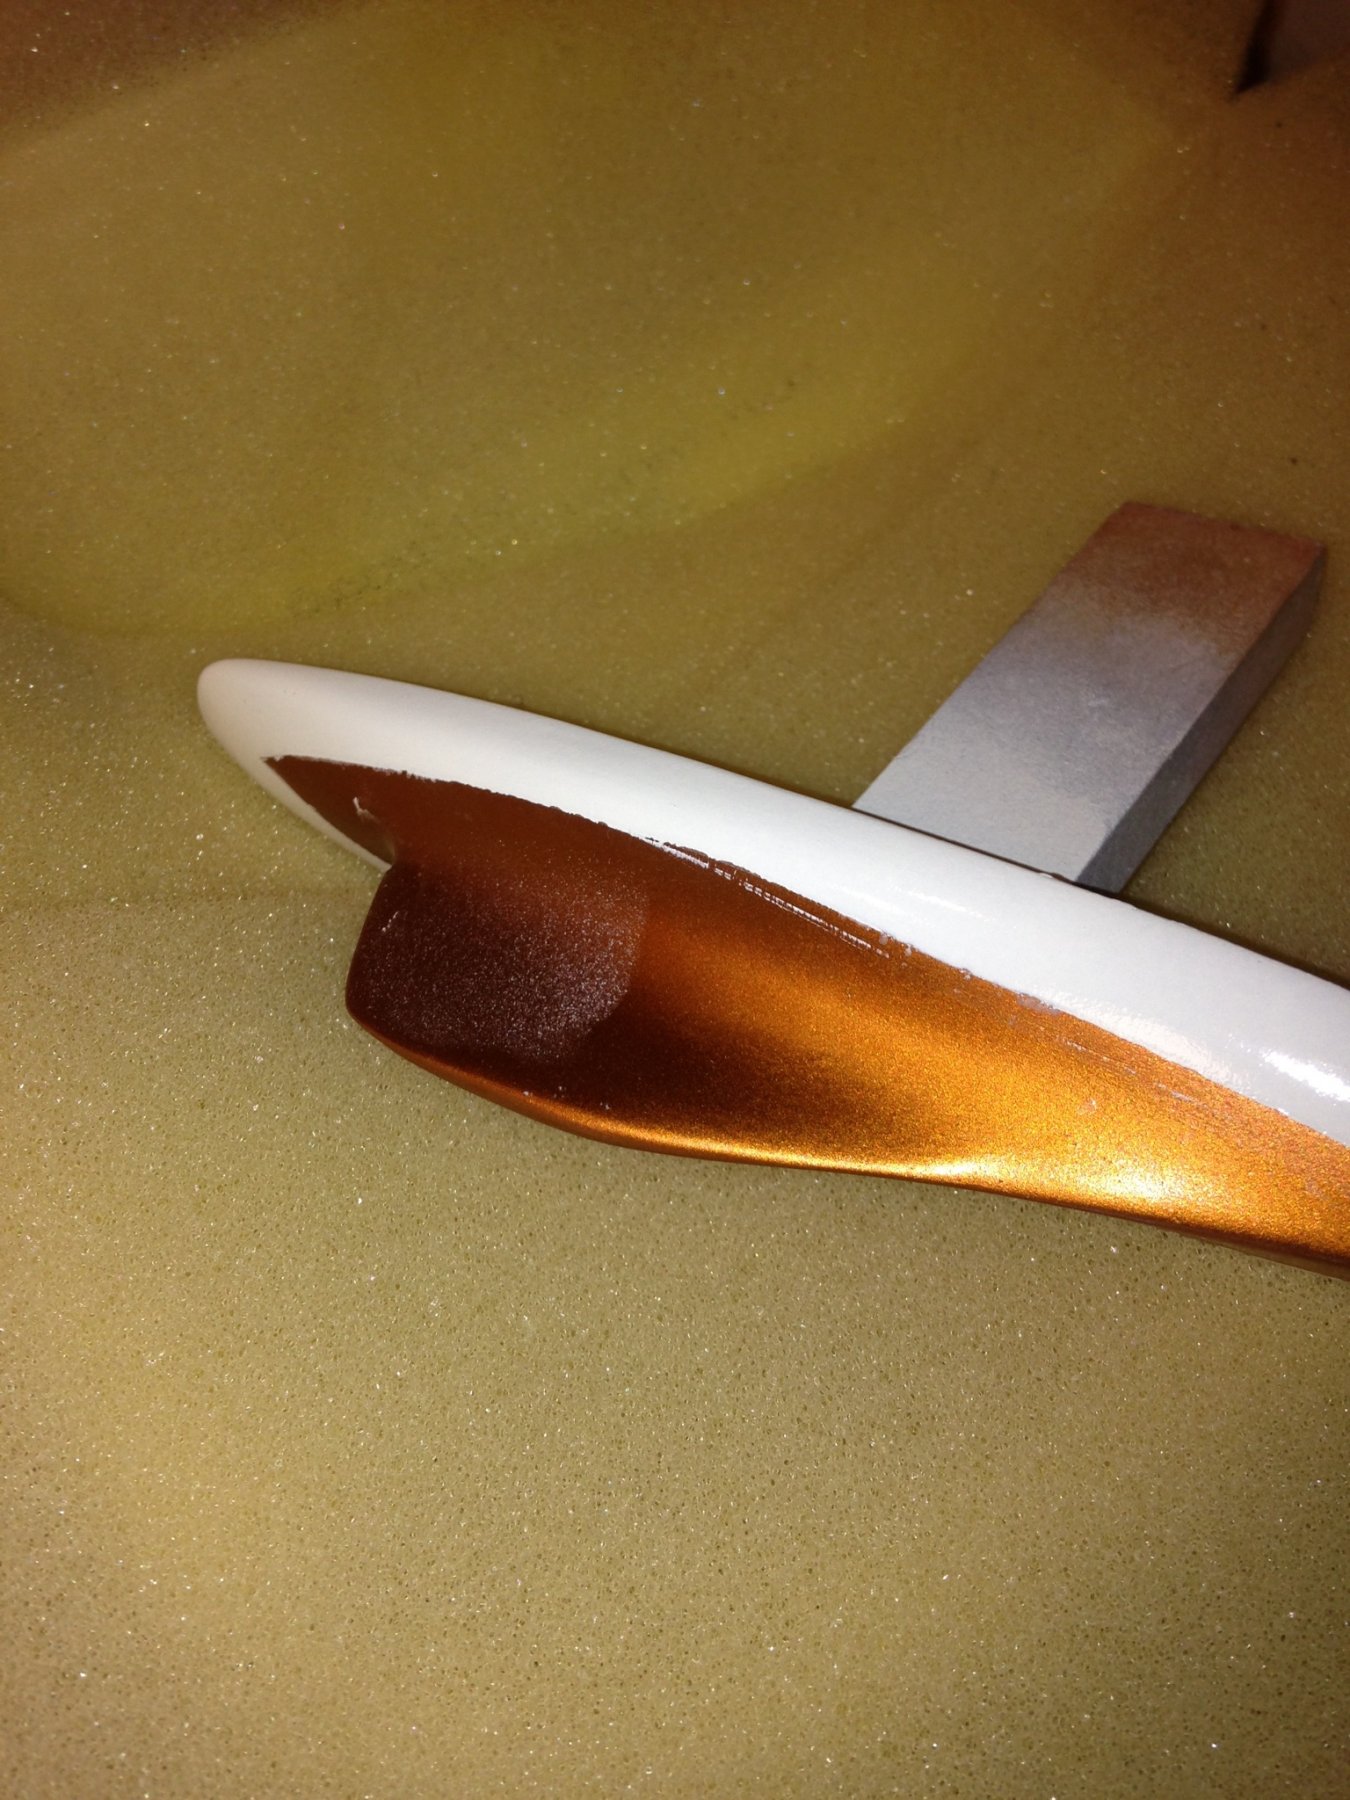
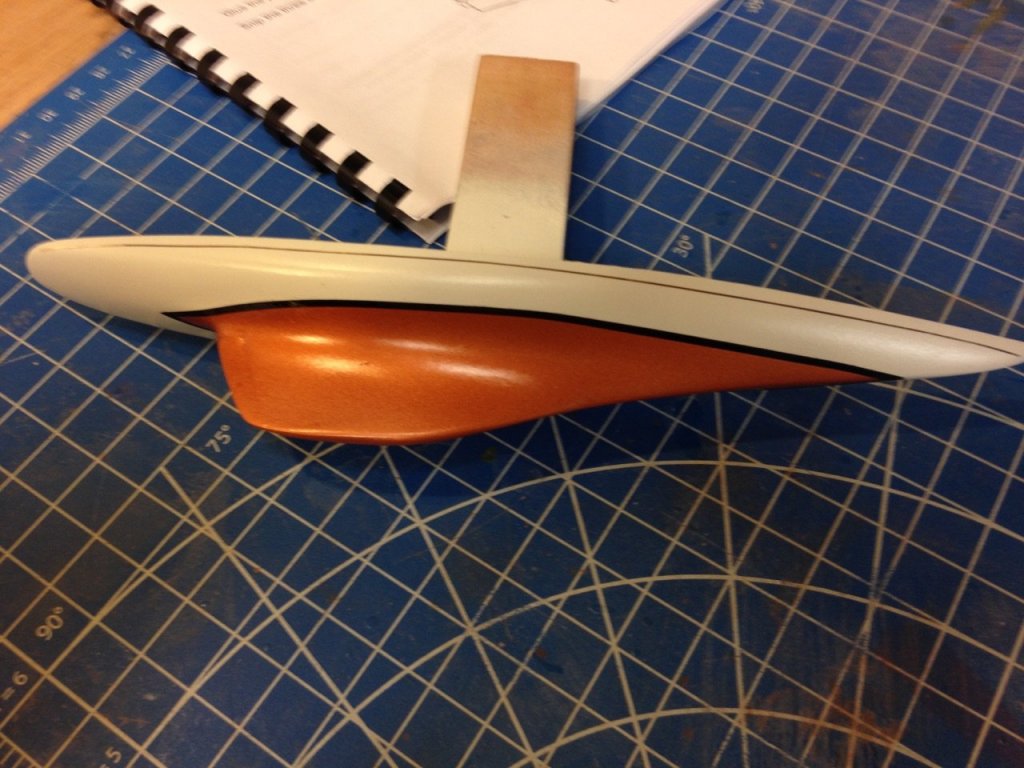
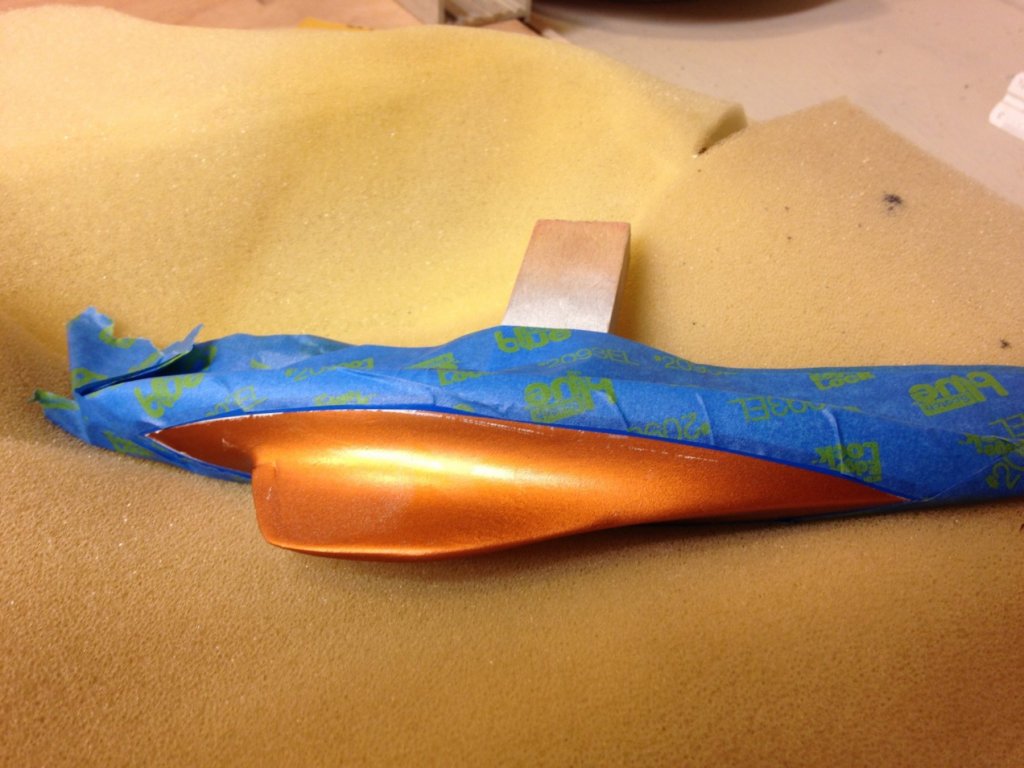
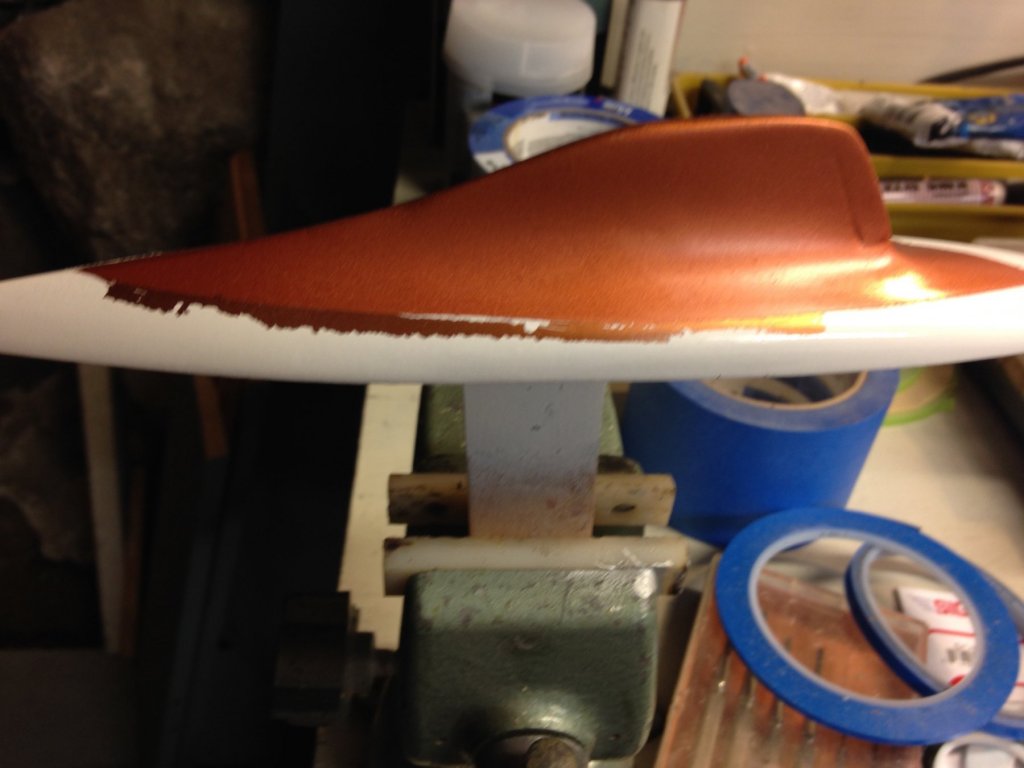
So this past w/e I sprayed FLAT white paint, which I have never had trouble with. Let it dry overnight, then masked off and sprayed copper. FInally, a good result!
-
Have you thought of a wooden or plastic square, center hole for the stack base, painted black, with a pin in each corner to represent bolts? It would look like a metal plate.
- 31 replies
-
- 2
-
-
- ventilator
- flue
- (and 4 more)
-
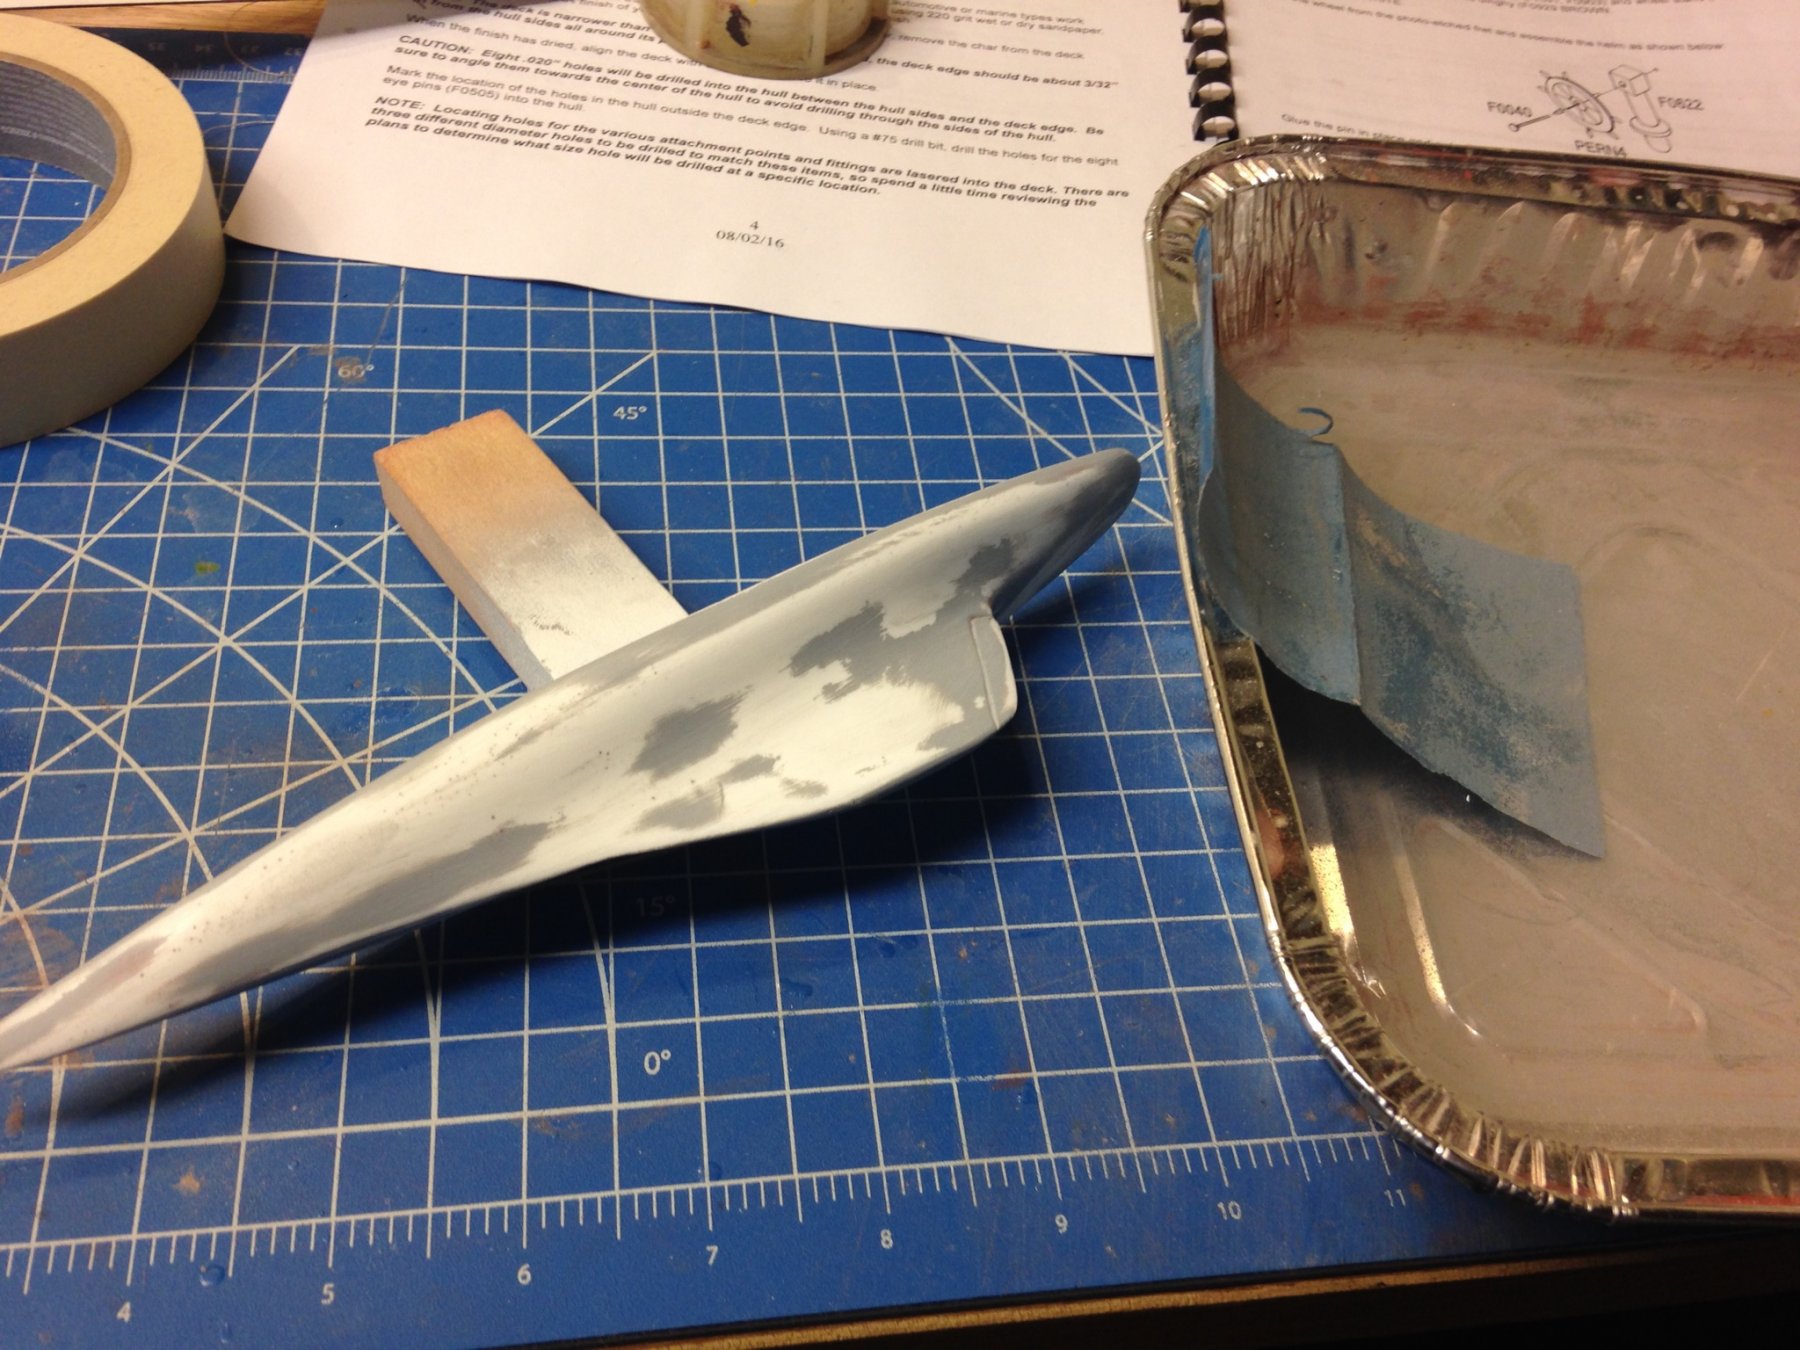
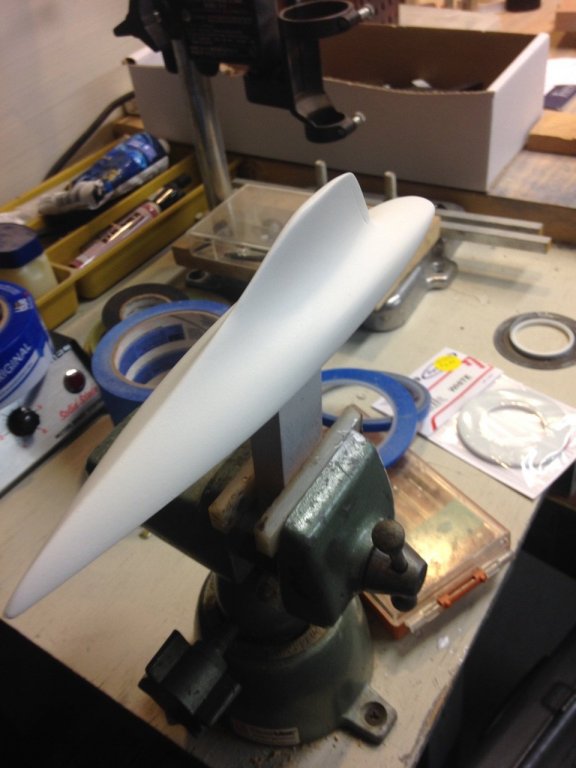
So last night I hit the hull with 320 wet sandpaper, here's the result. Then I shot more primer, tonight I'll do the 600/wet routine (again)

-
Thanks for the tips, guys. I never have this problem with flat paints. I also have some Sig vinyl pinstripe tape that I'll try.
-
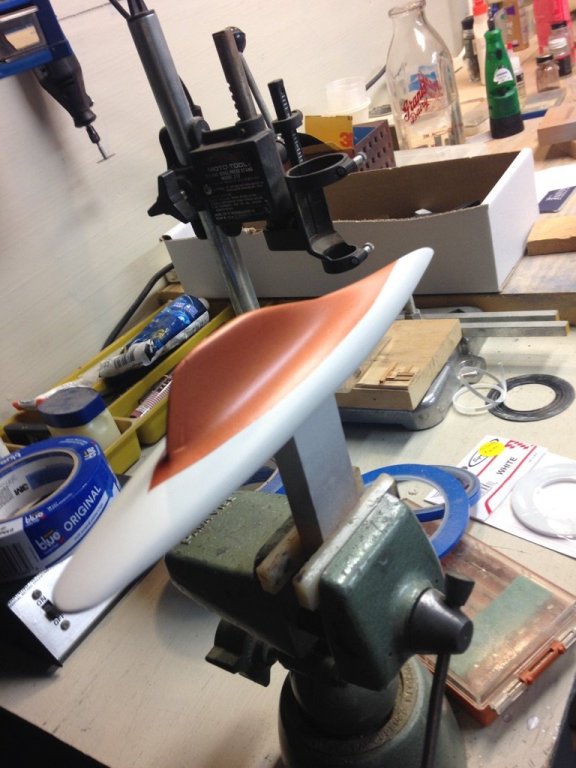
Last night I masked off the white and re-sprayed the copper. It looked great until I pulled off the masking tape, and some of the white paint came off with it. So tonight I will strip off all the paint and shoot another coat of primer. once again, *SIGH*
-
And then I sprayed gloss white from the rattle can. Got a nice shiny finish, but when I pulled the making tape off, I discovered the folly of my ways. I didn't burnish the tape enough, and left a slight flap of overlap unsealed. The result is less than professional. So now I have to mask off the white, and re-spray the copper. *SIGH* I have often said that there are very few true craftsmen, the majority of us just learn how to hide our mistakes! (like me)

-
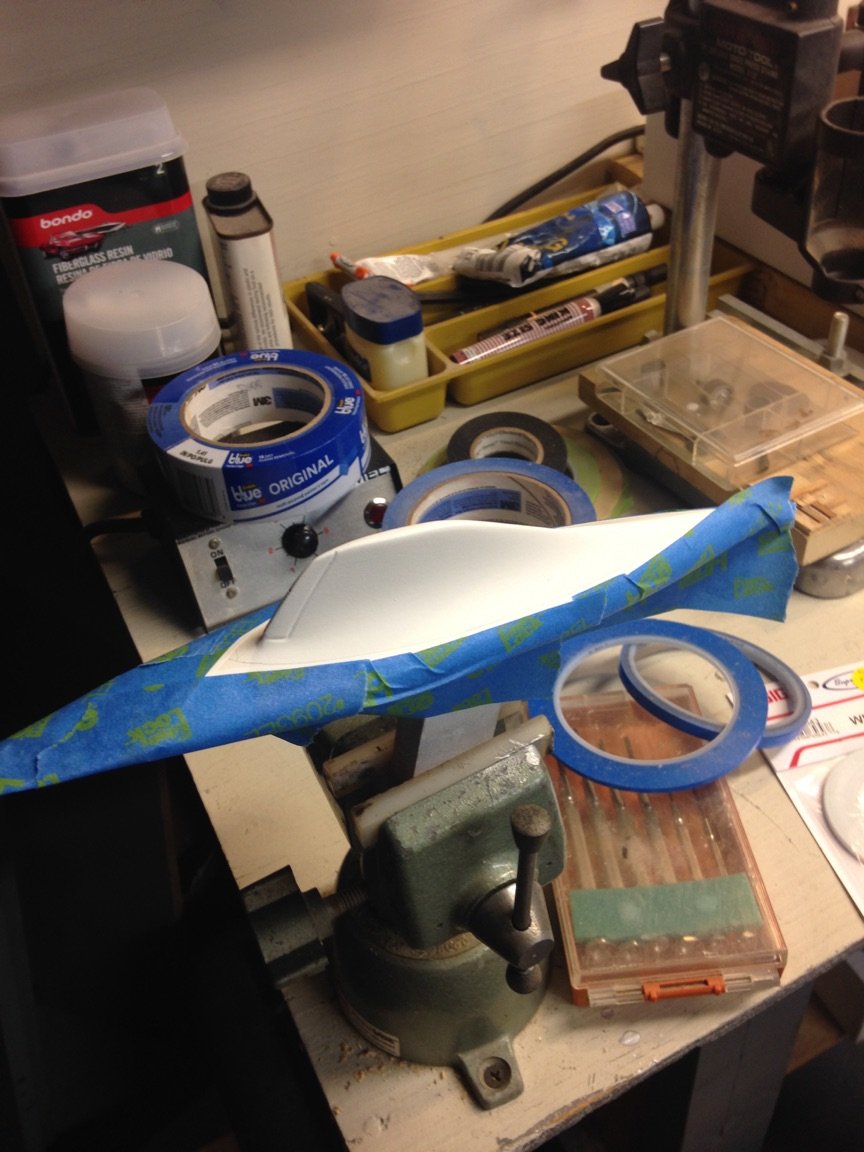
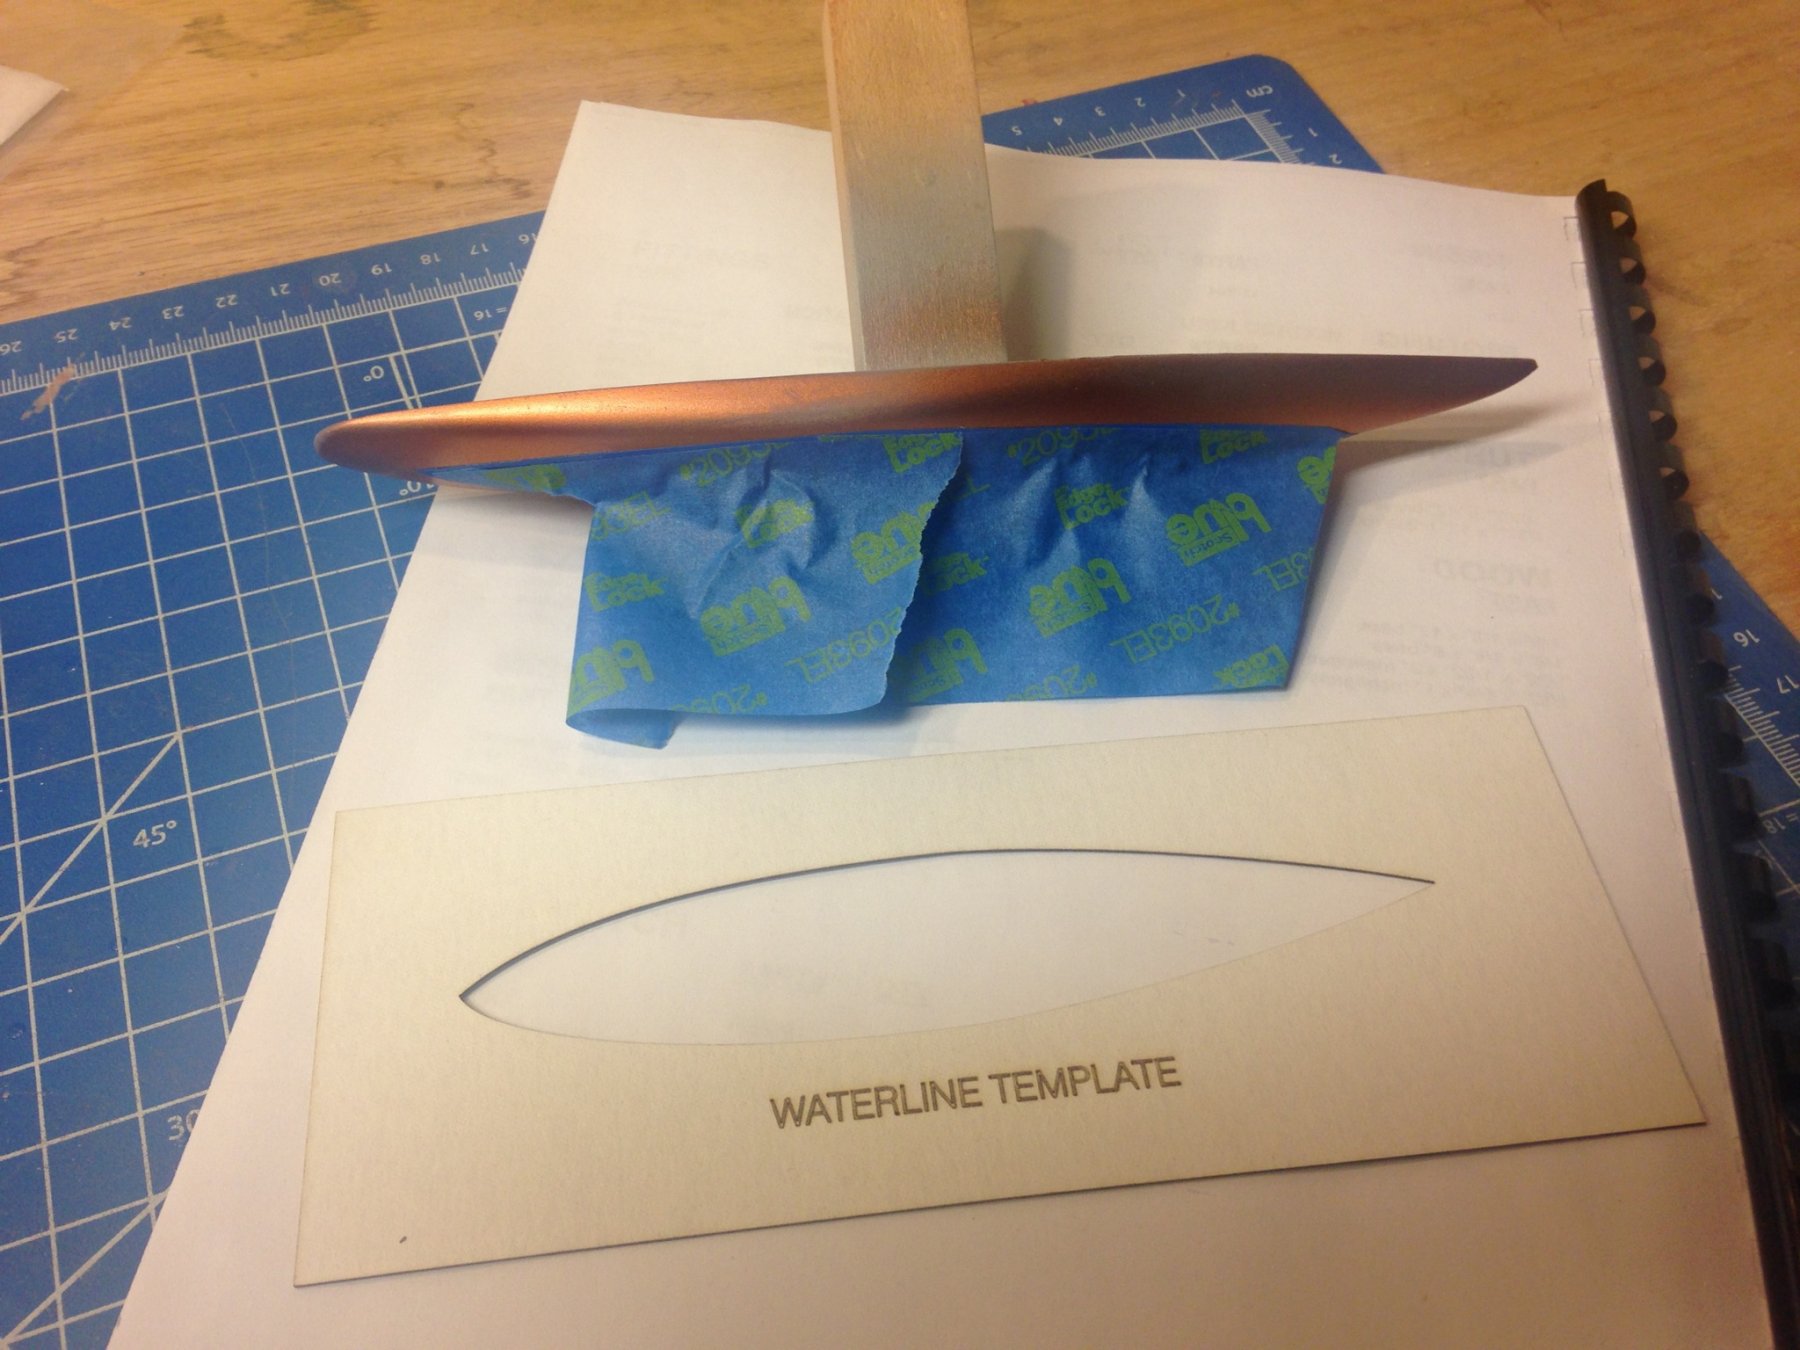
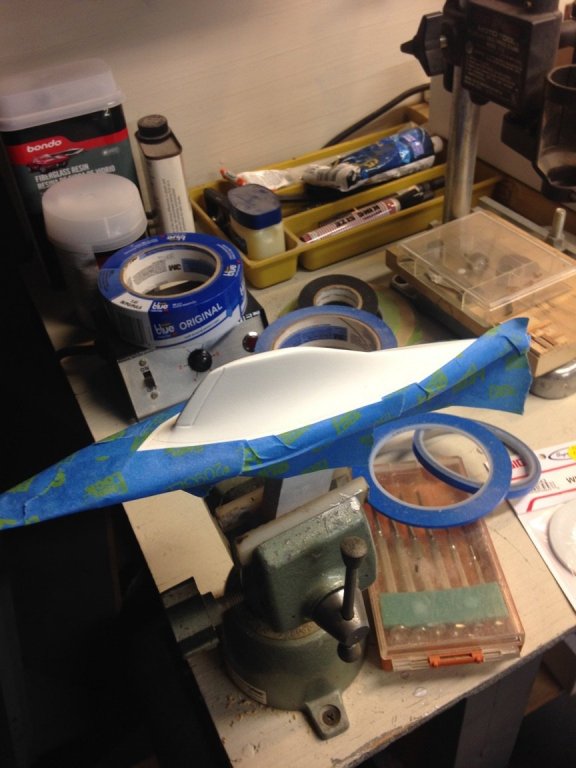
So this past weekend I masked off the hull, using the kit-supplied waterline template to mark it off.

-
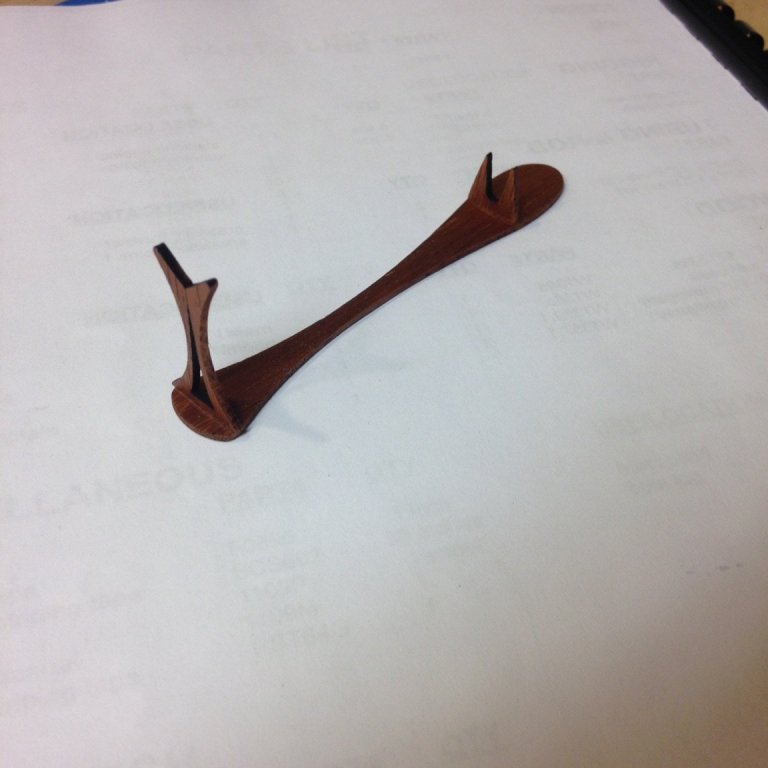
So I decided to assemble the laser-cut display base. It is a very artistic, delicate looking 3-piece assembly out of mahogany wood