MrBlueJacket
-
Posts
1,313 -
Joined
-
Last visited
Content Type
Profiles
Forums
Gallery
Events
Everything posted by MrBlueJacket
-
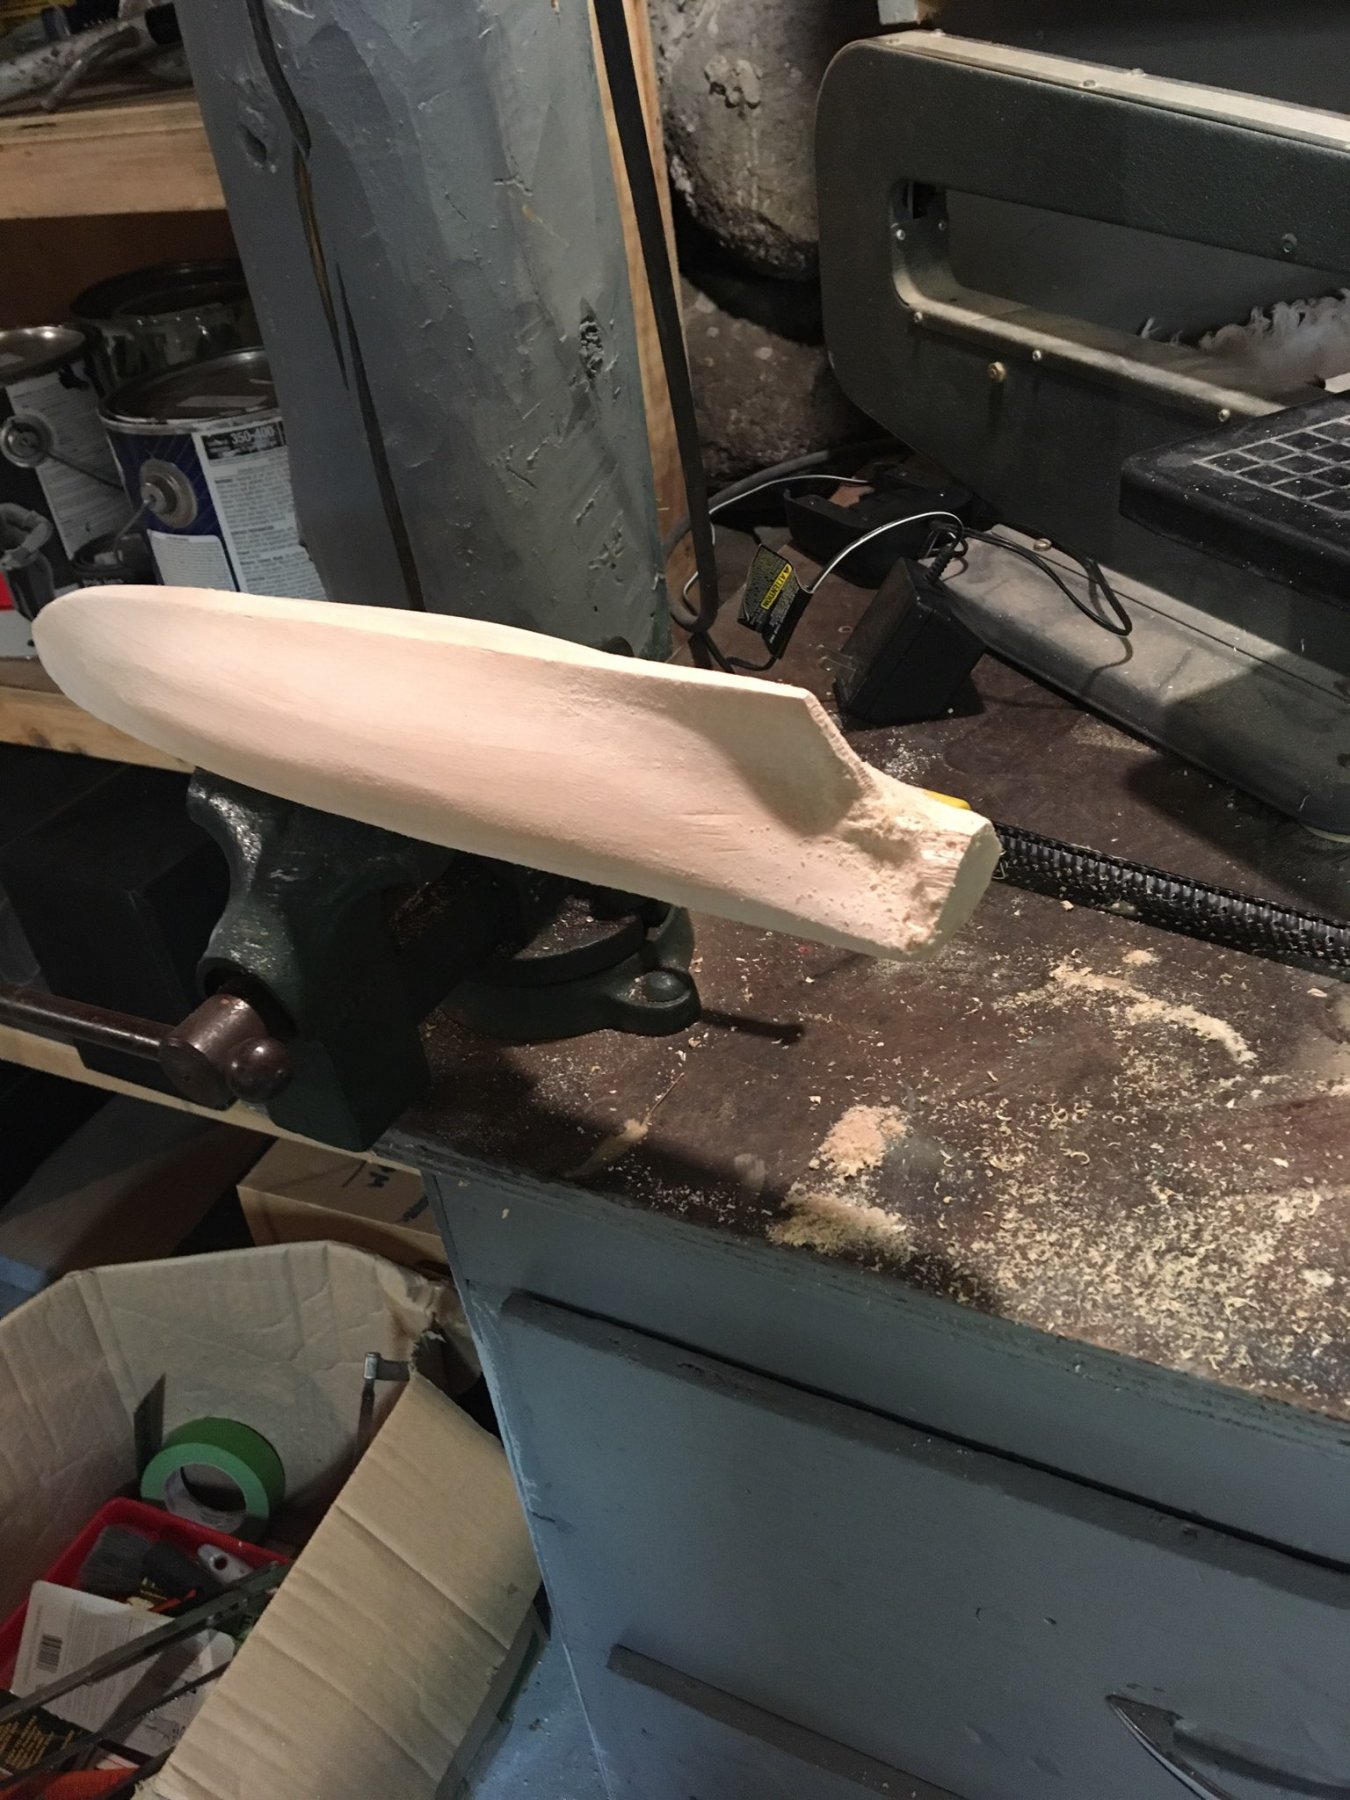
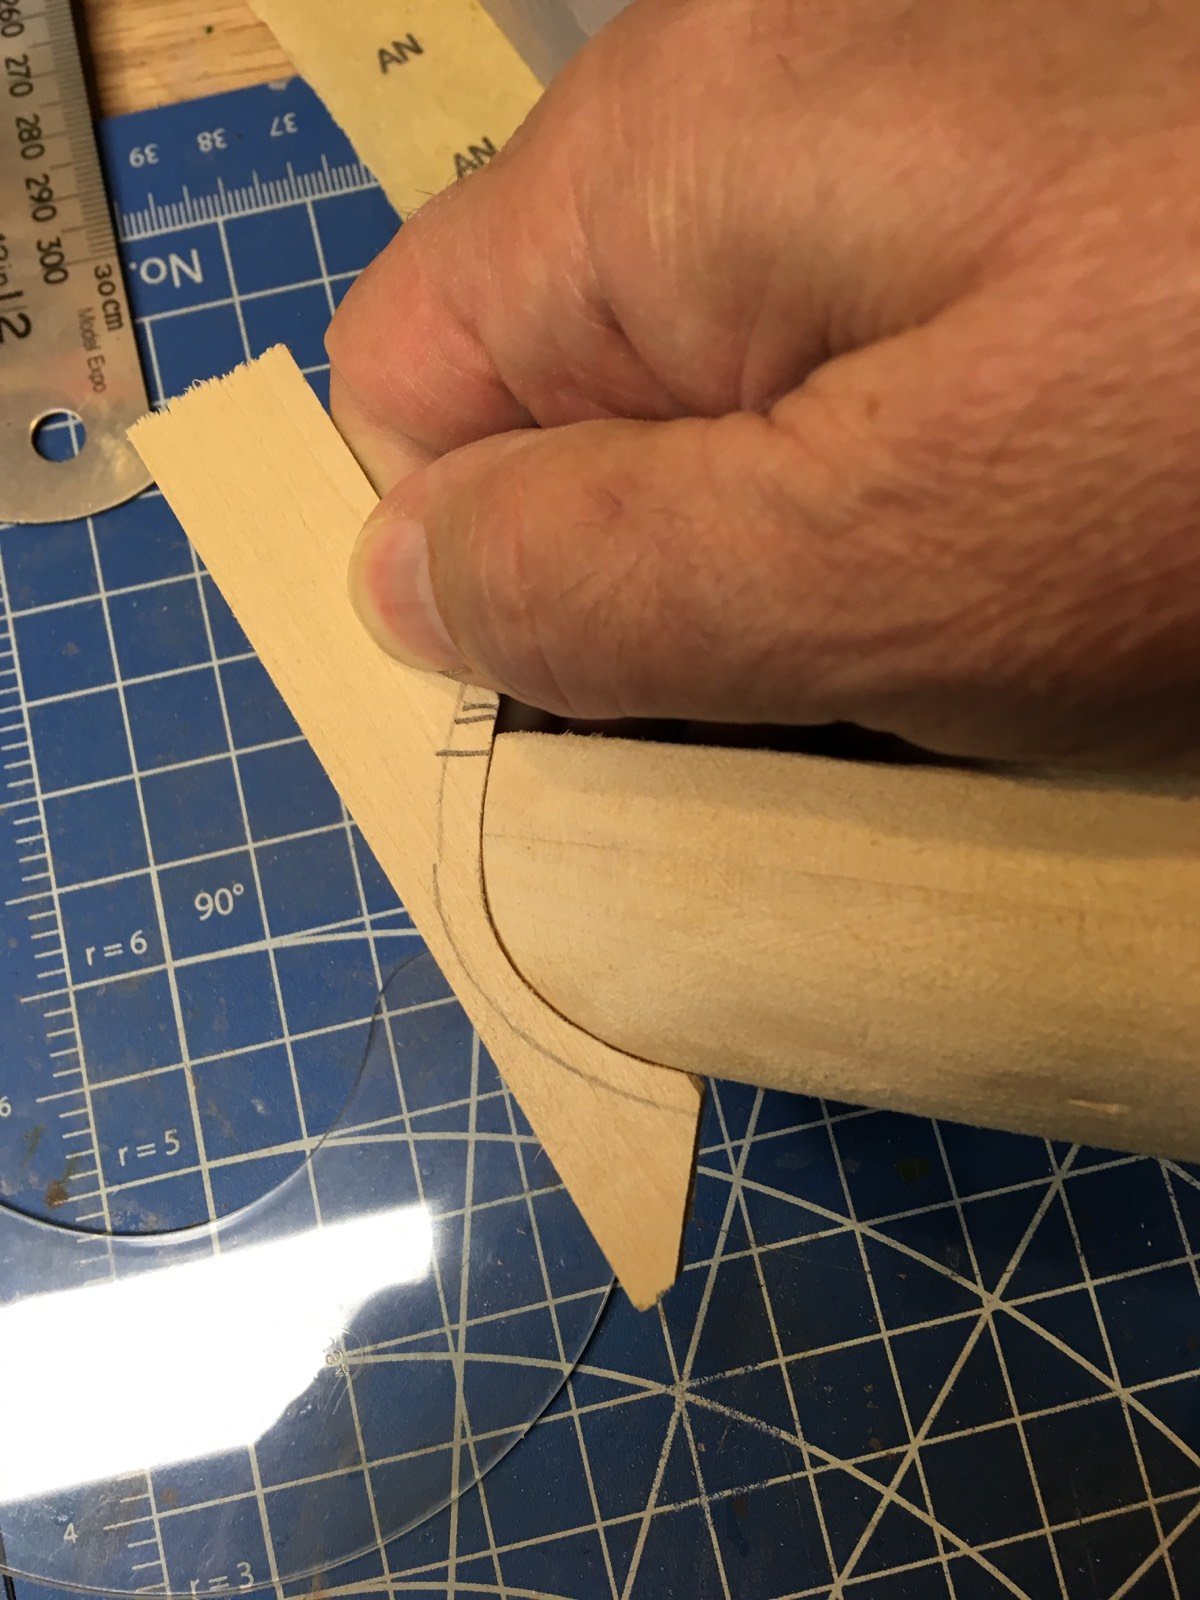
 And the first step (after reading the instructions) is to screw a block into the top of the hull, then mount it in a vise to start carving away the leftover nubs.
- 77 replies
-
- 9
-

-
- schooner
- solid hull
- (and 4 more)
-
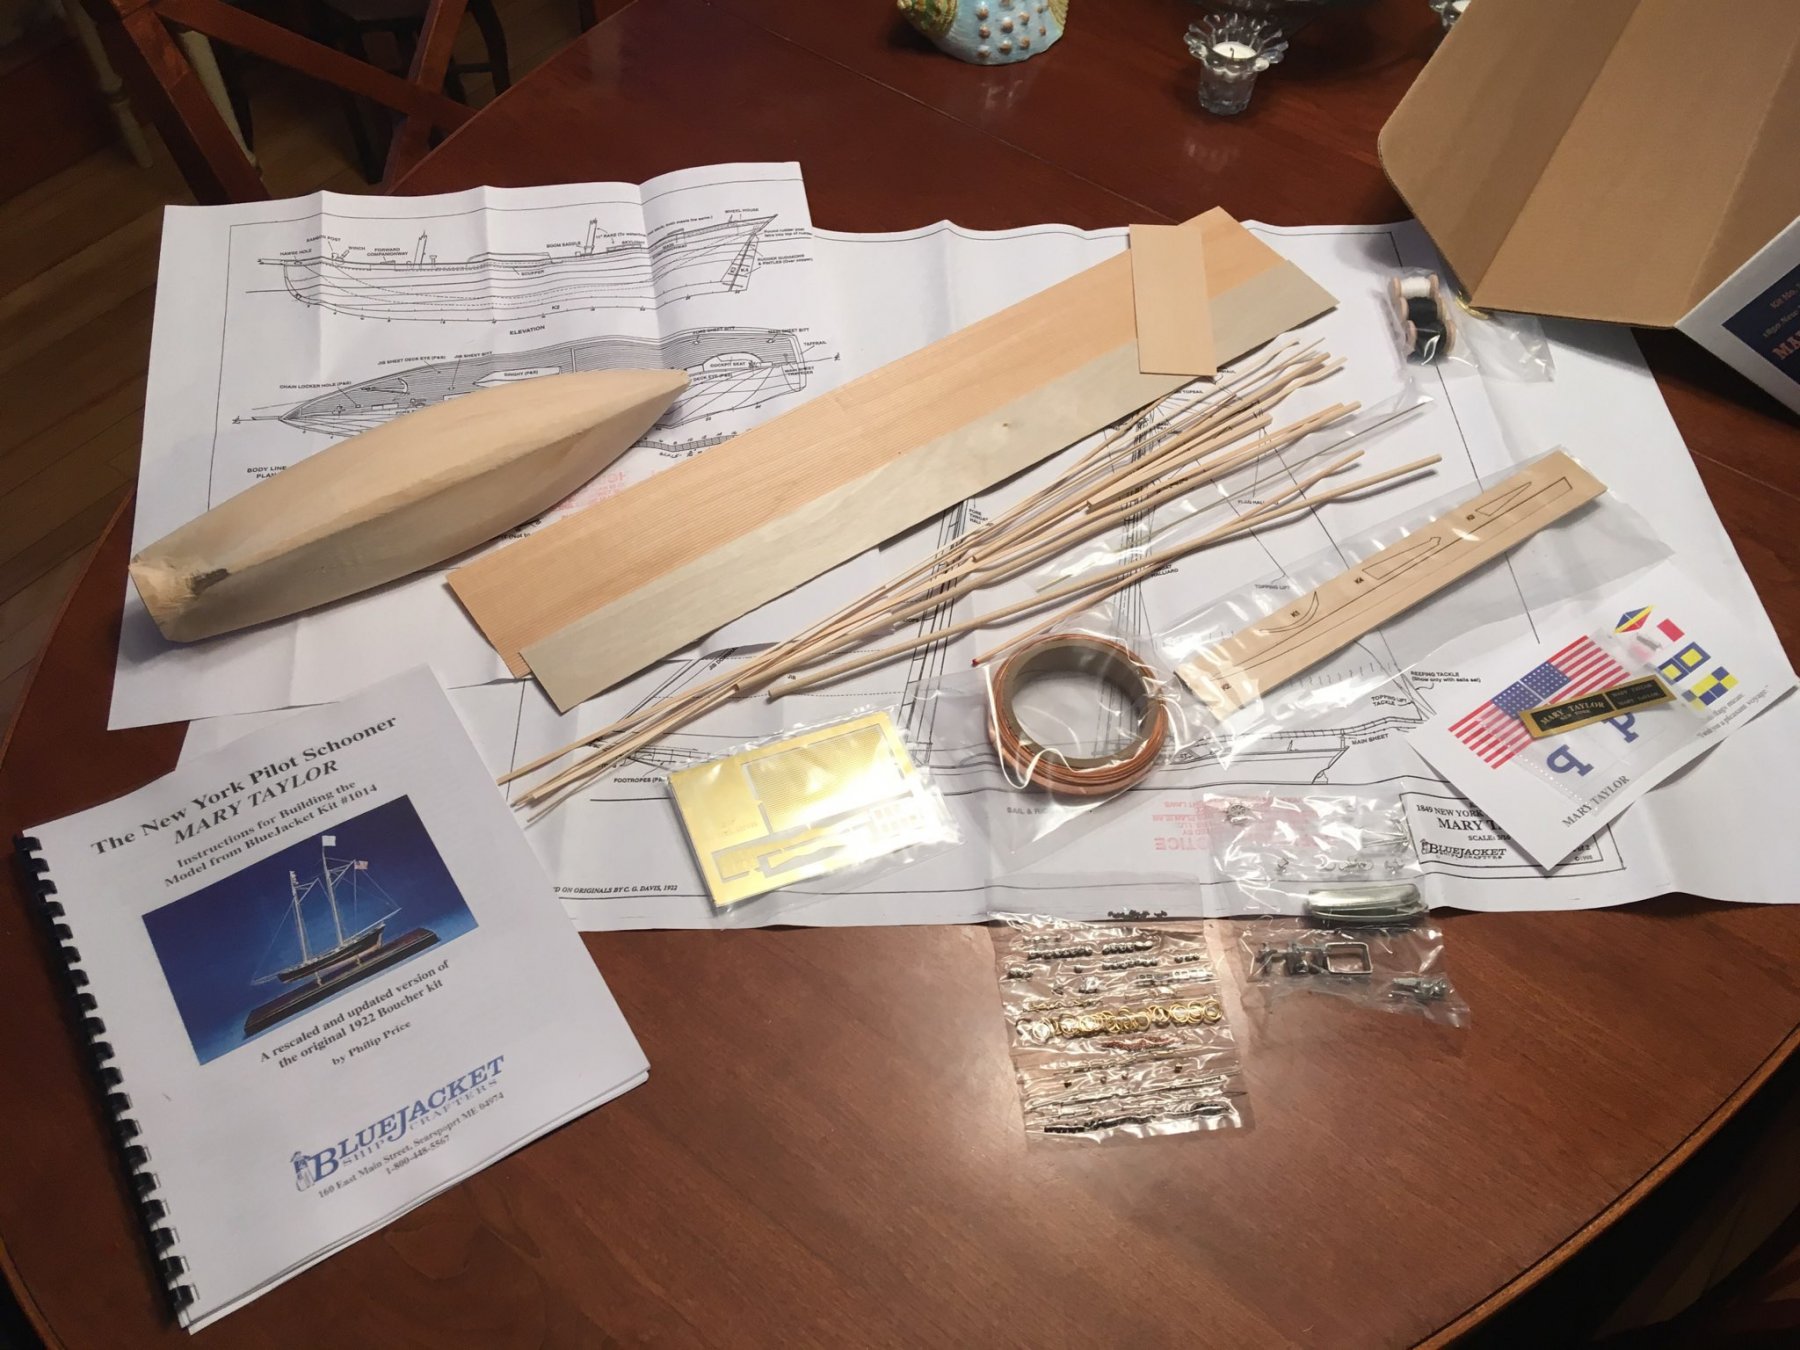
Here's the kit contents of the BlueJacket Mary Taylor pilot boat. The kit comes with copper tape, but I will be using individual plates on this model.

- 77 replies
-
- 6
-
-
- schooner
- solid hull
- (and 4 more)
-
As you can imagine, we also get a lot of these requests at BlueJacket. I have started referring people to this thread. Thanks, Chris for laying it out so clearly. Nic
-
Hi MIke, For people that buy our kits, we offer a toll-free help line, it's in the paperwork with the kit. Staffed by Charlie Cook, he gets rave reviews from all that talk to him. Also, you can call our shop anytime and talk with one of several modelers who can also help you. I have built the Large Friendship myself and can offer help. Nic
-
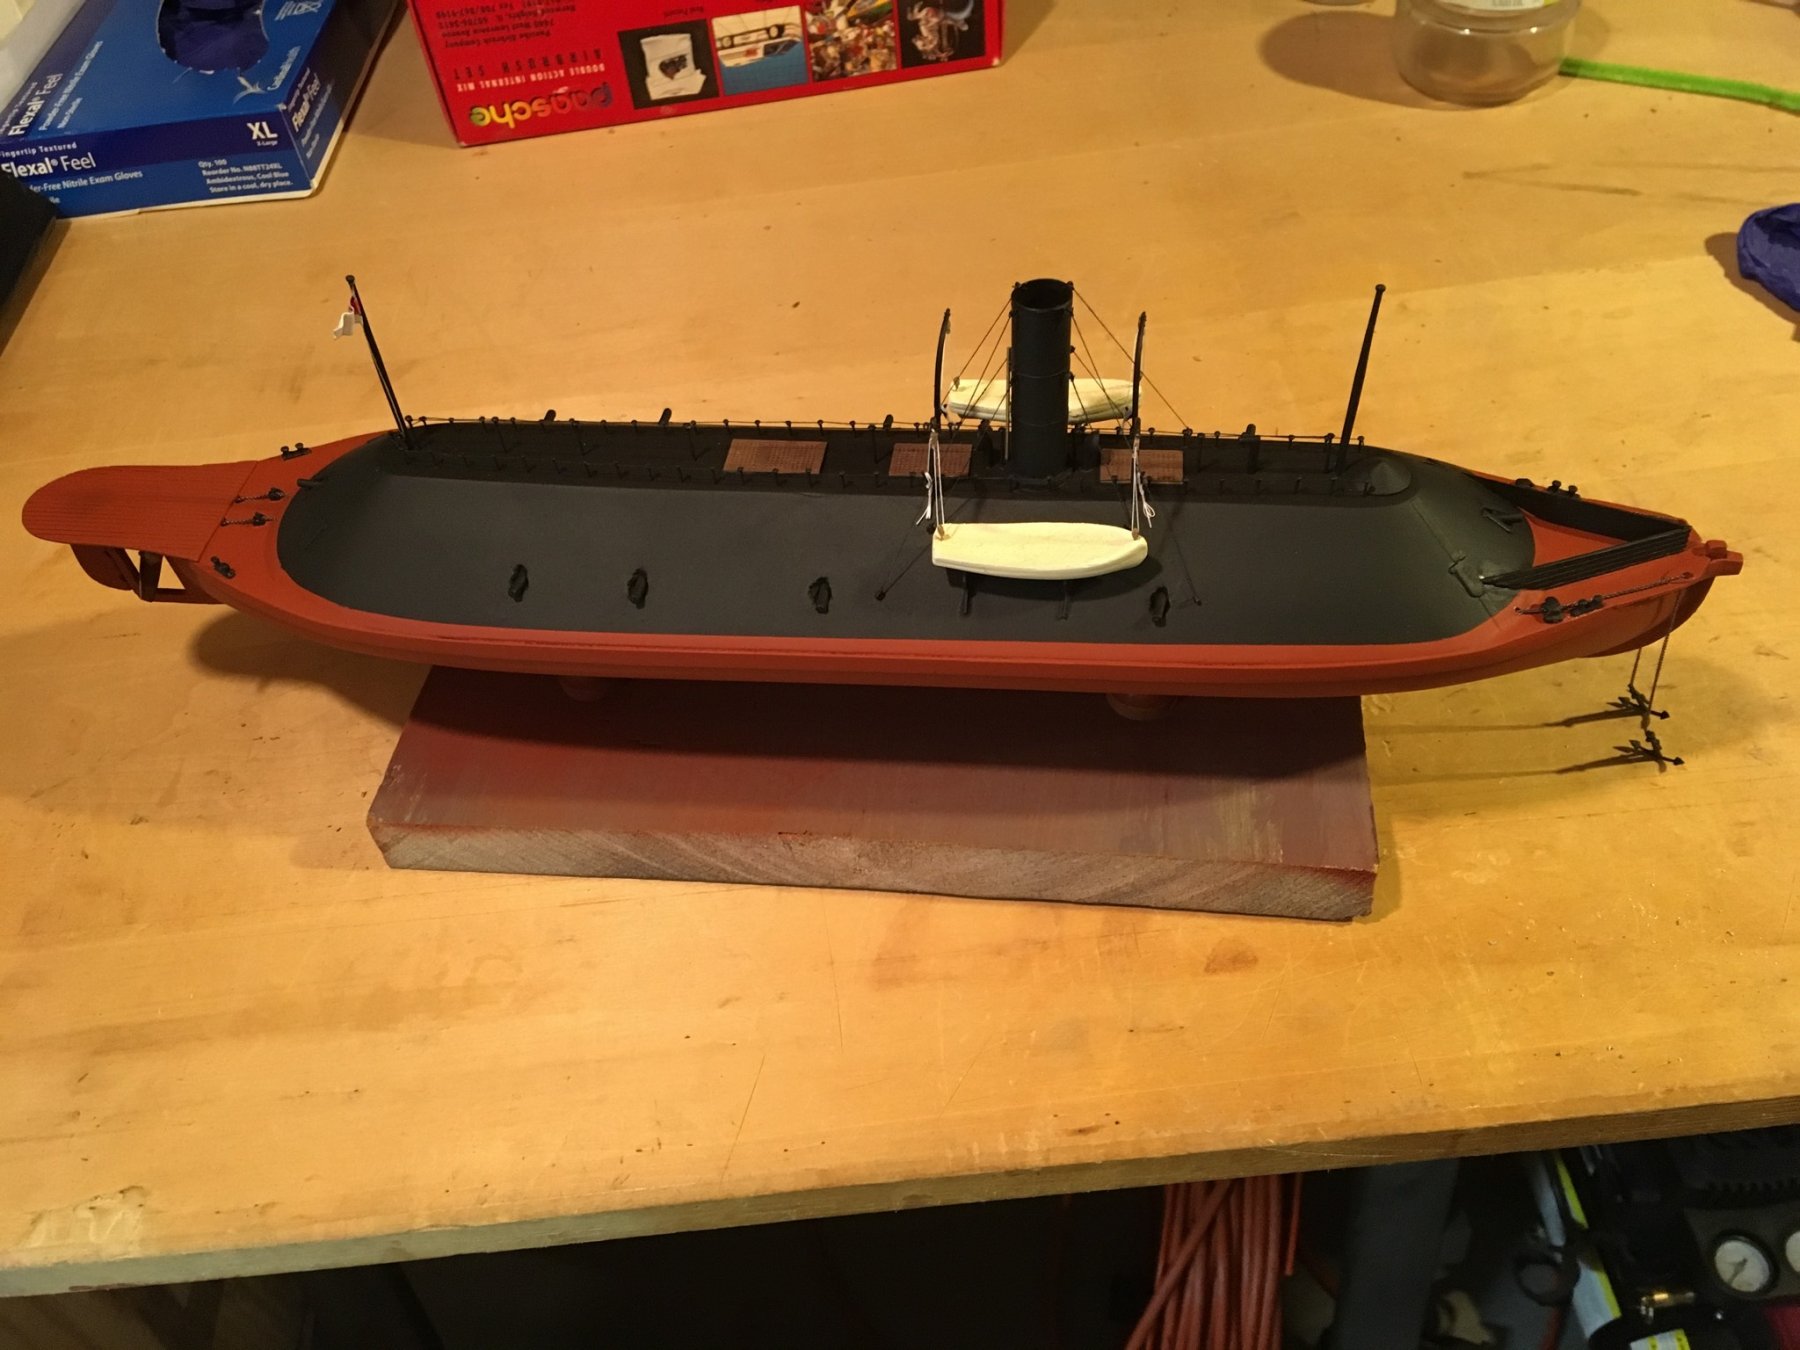
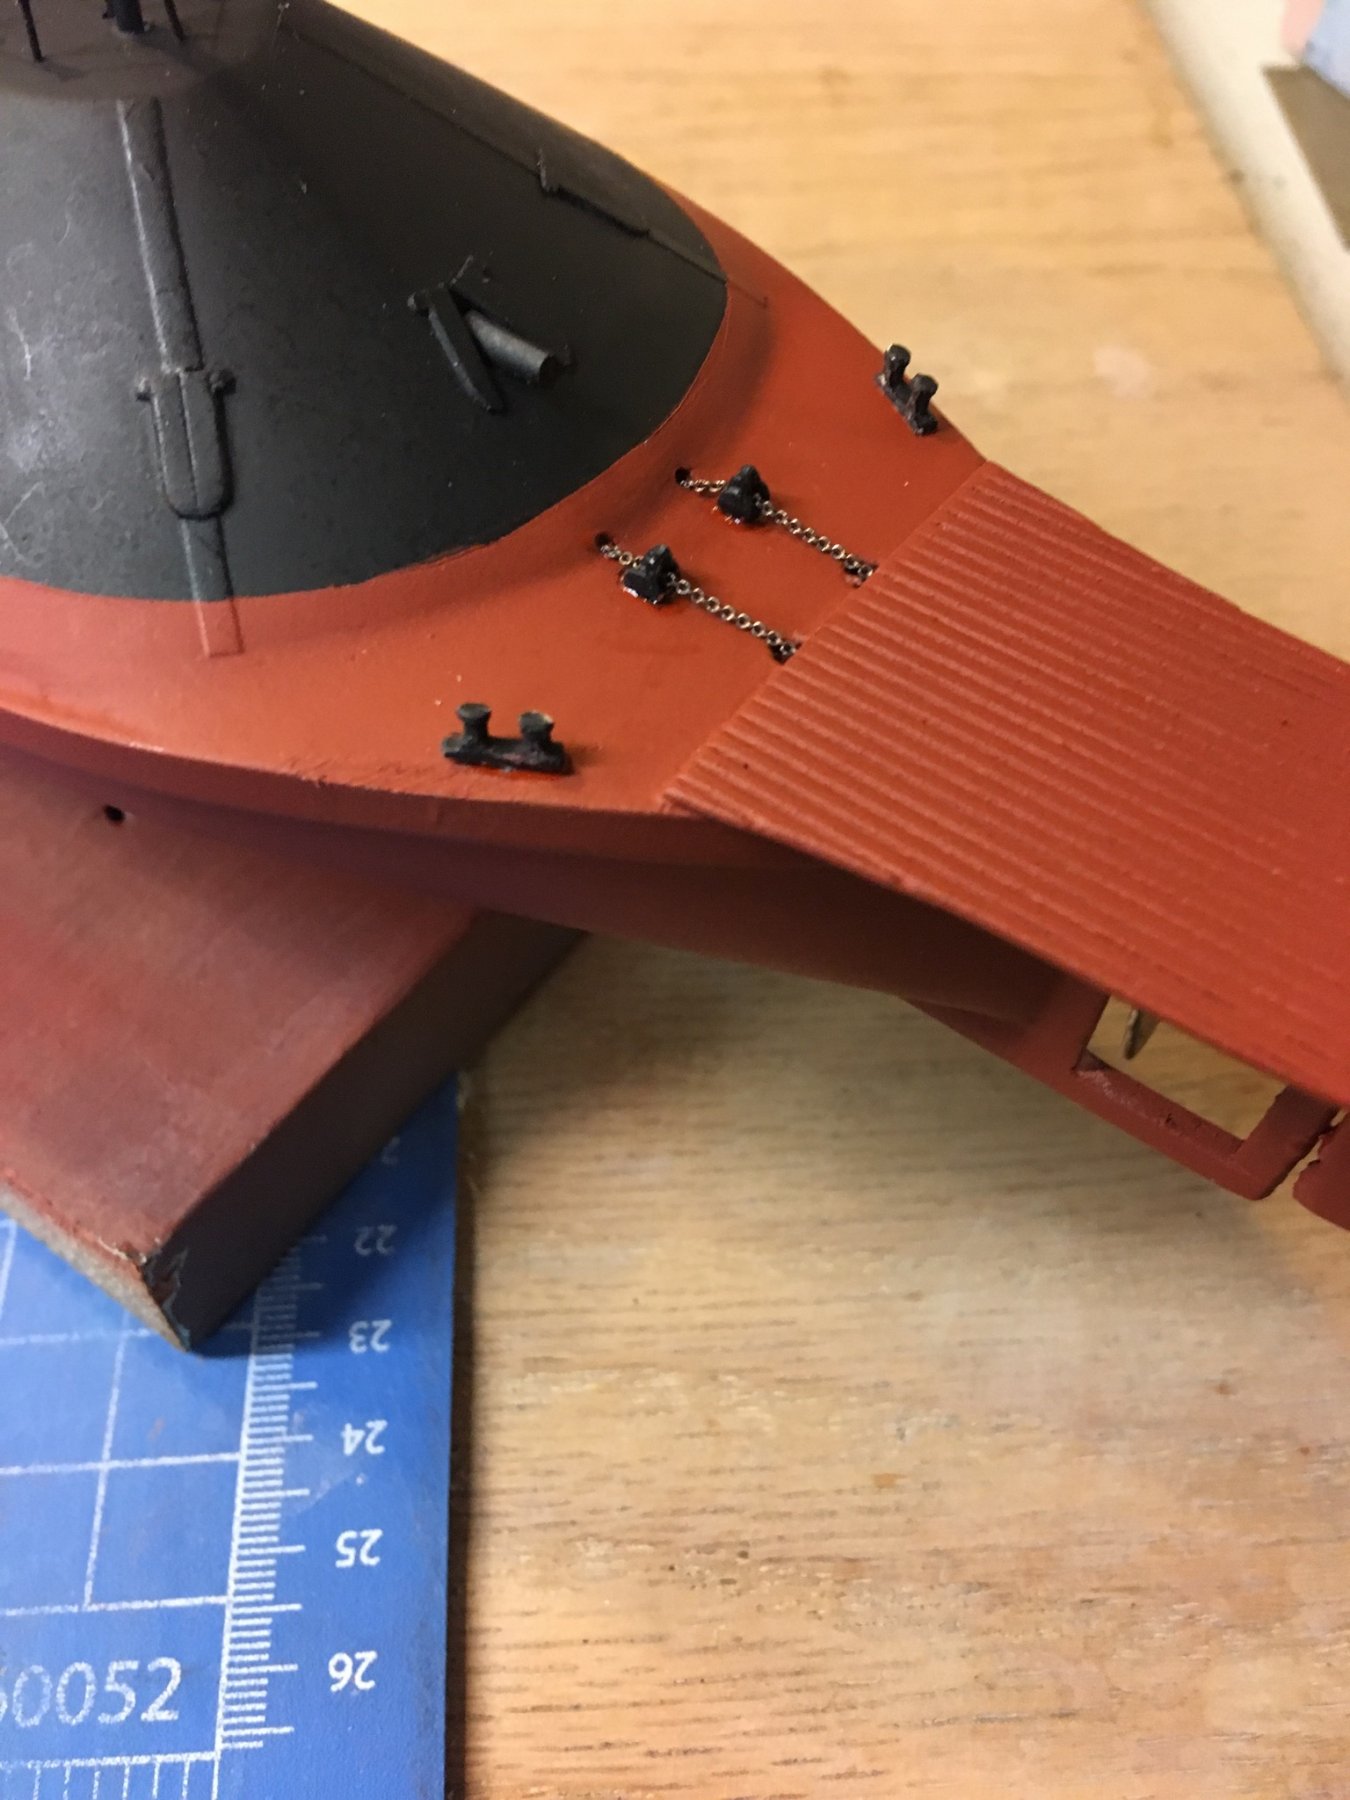
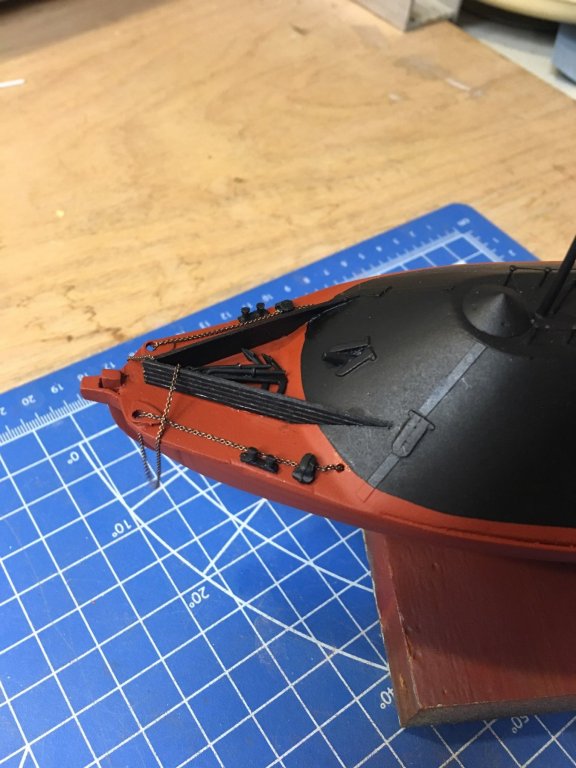
Added the rudder and anchor chains and guides. All that's left is to rig the boat davits. Then a coat of flat spray to hide the glue spots and scuff marks on the flat black.

- 31 replies
-
- 10
-
-
I looked this up after our discussion in the shop - very nice job indeed!
-
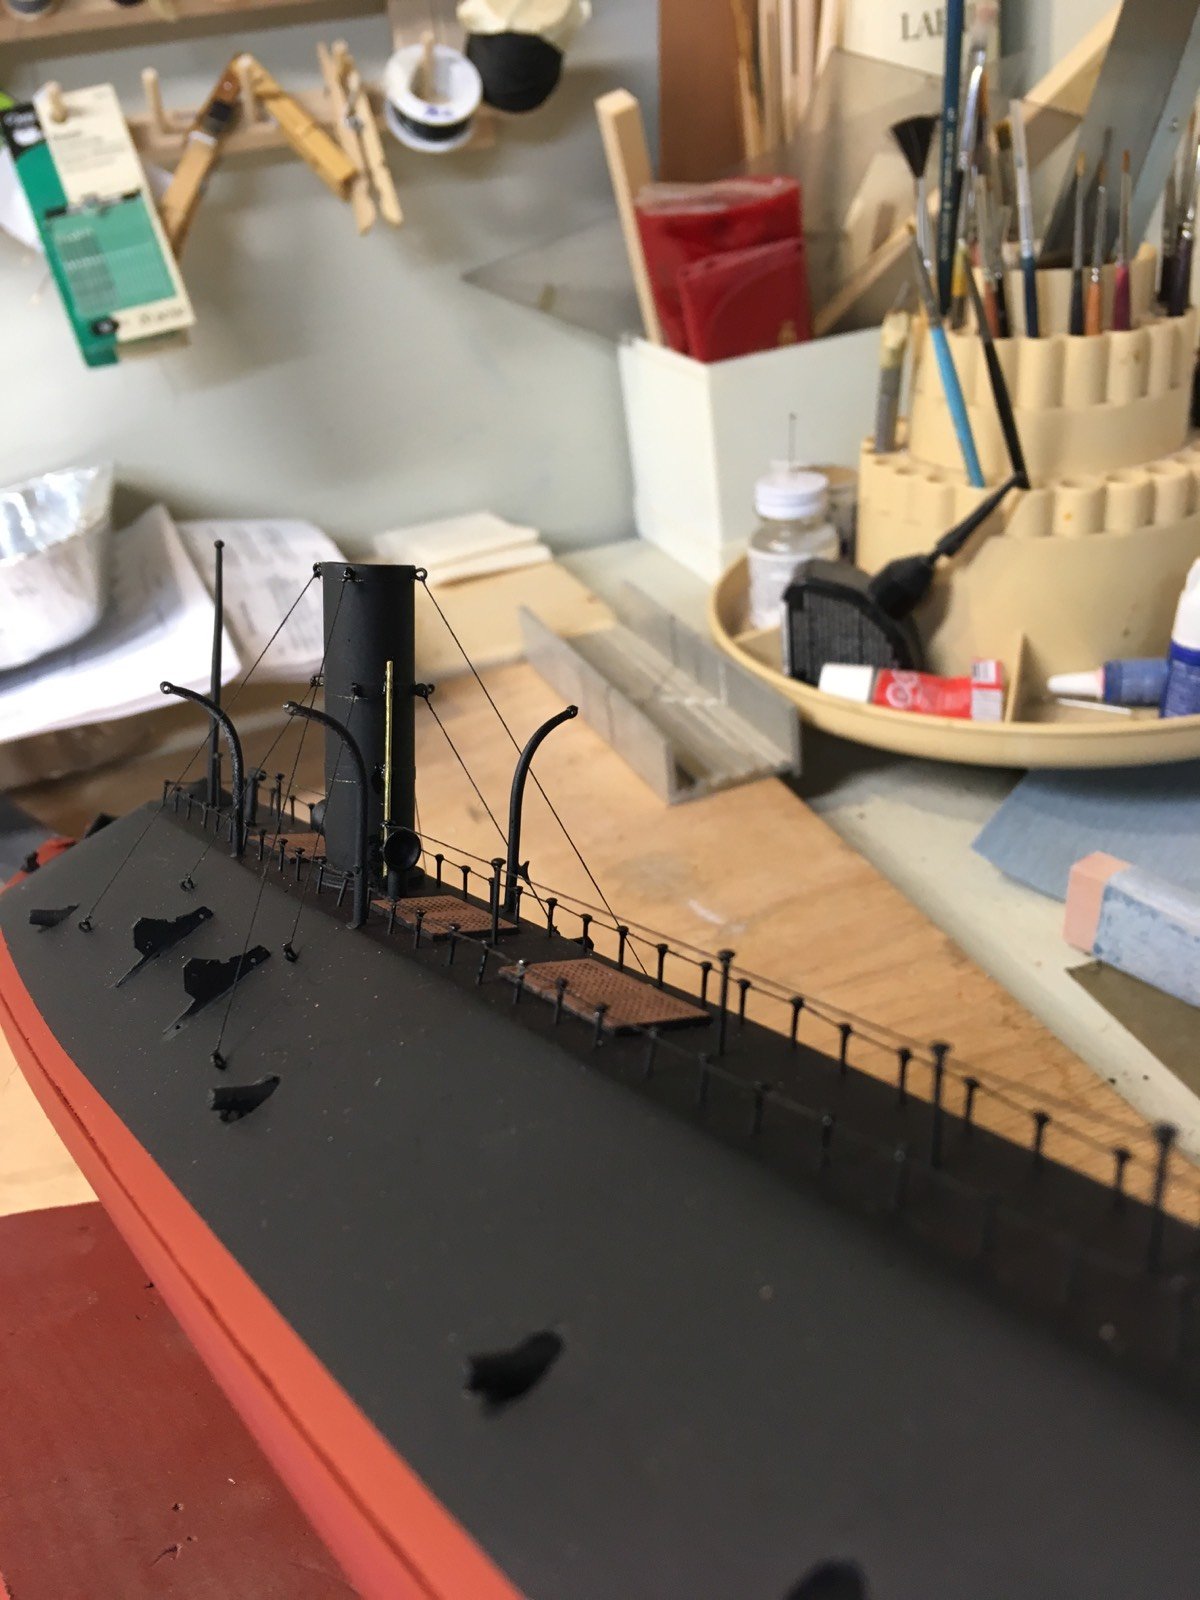
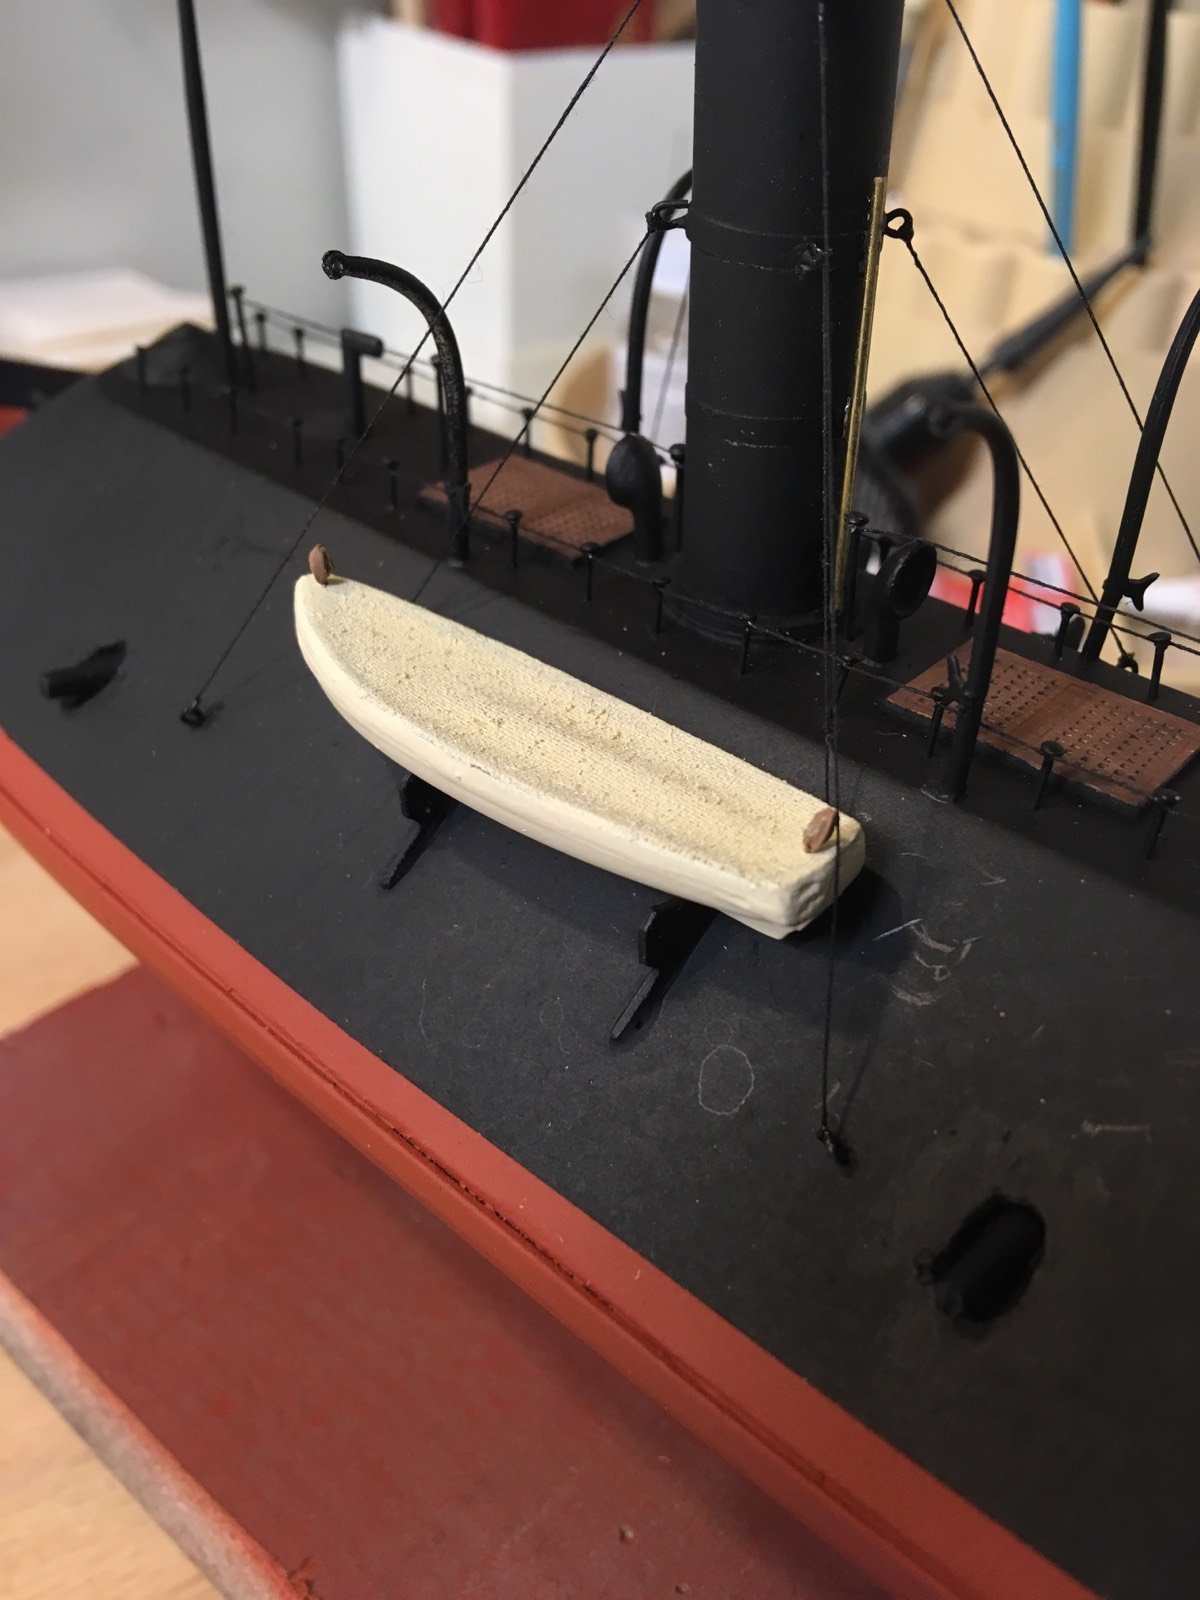
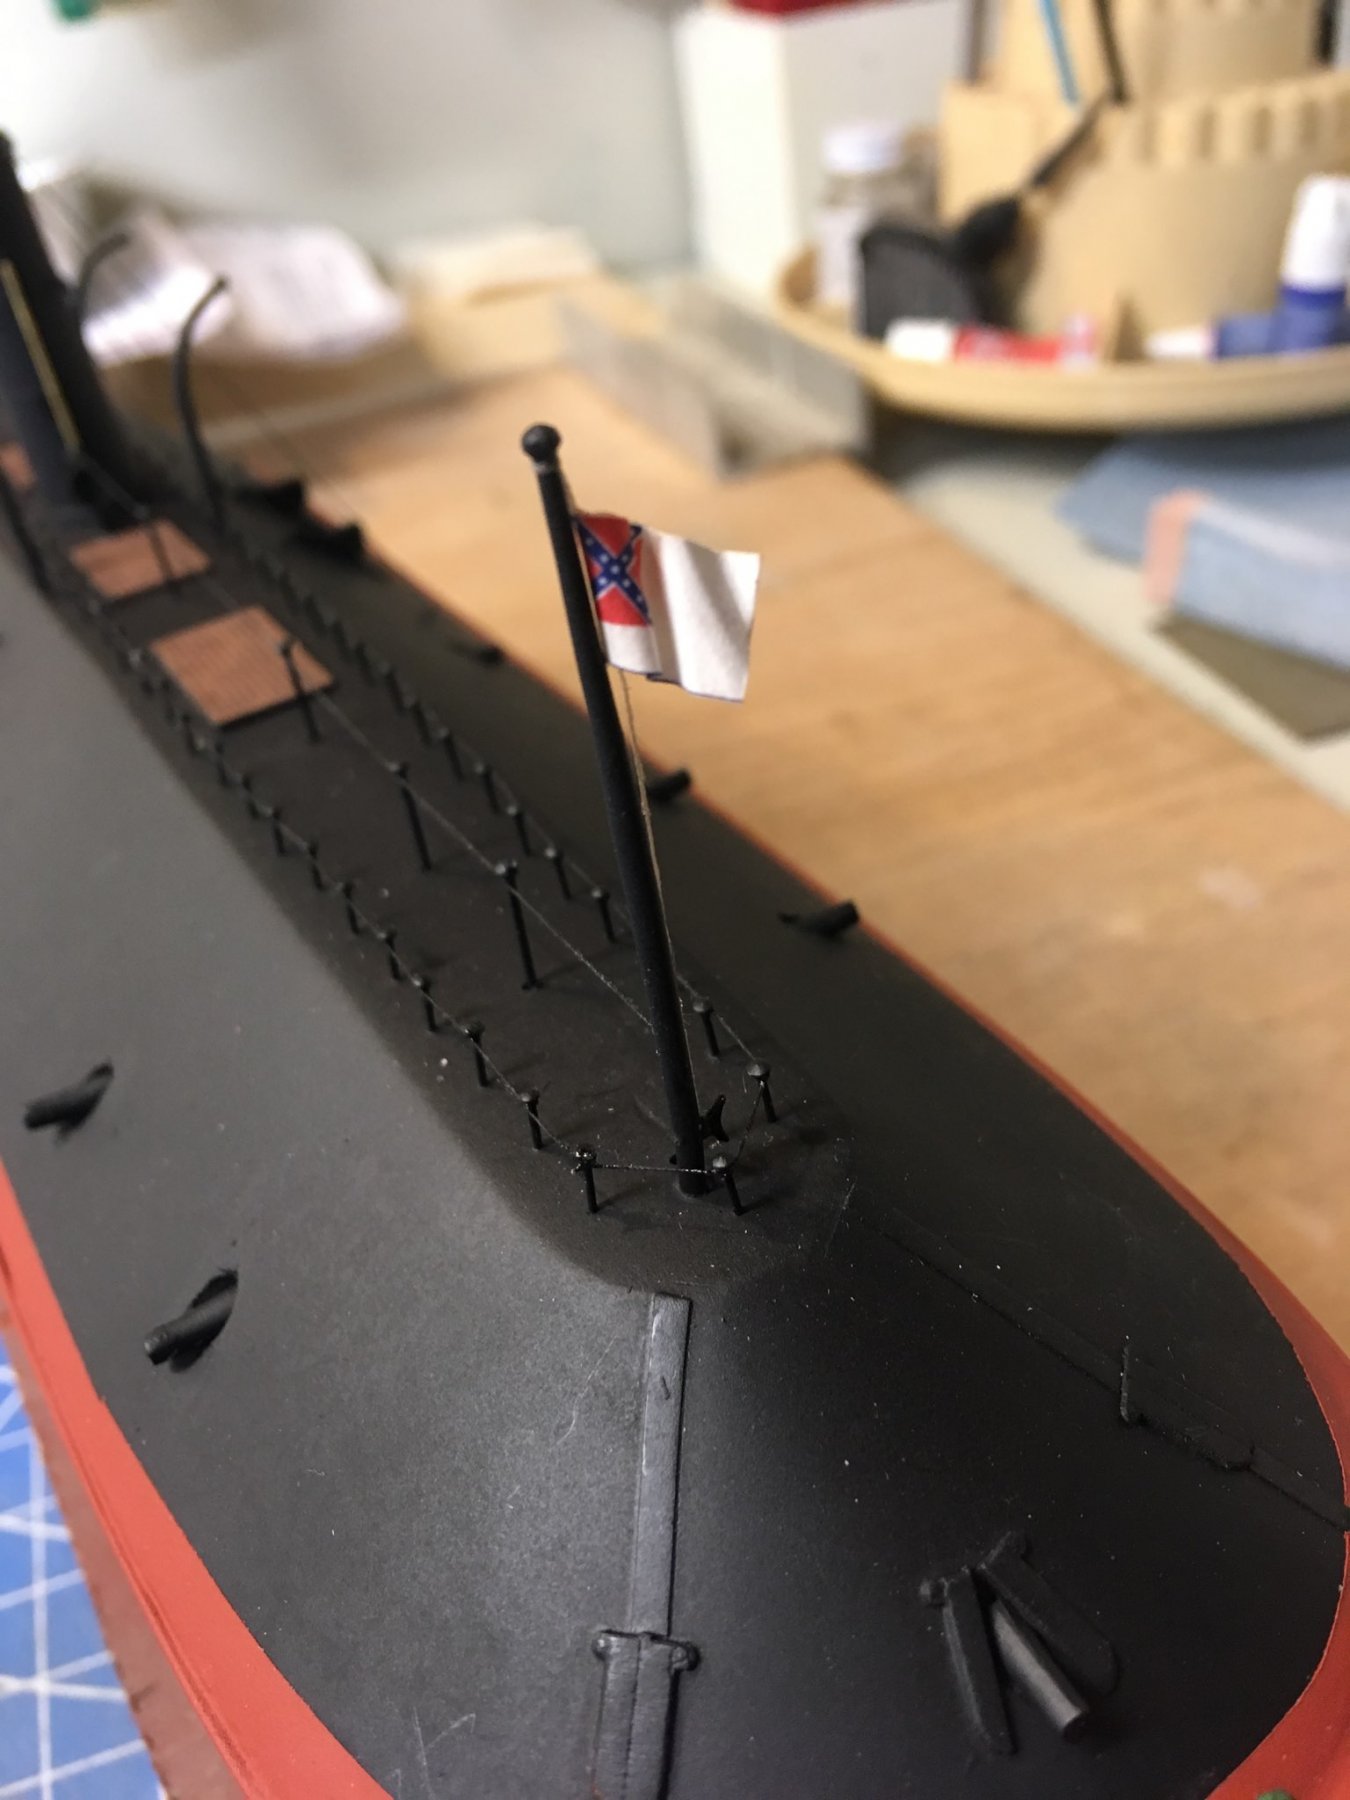
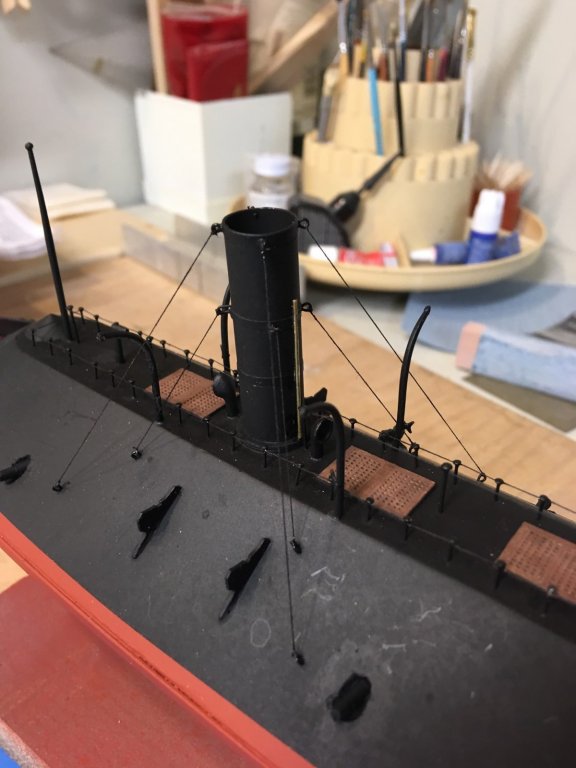
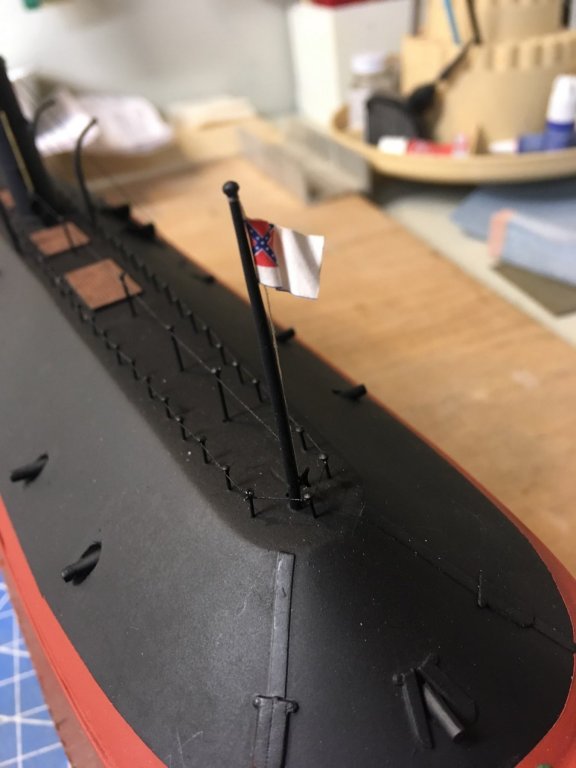
So this build has been occasionally sidelined by other projects, but progress is made. Here's a shot of the railing and awning rigging completed: ANd a better view of the stack guywires and steam vent: I've also done some work on the lifeboats as you can see: And finally, it's close enough to done that I feel OK with raising the flag:


-
Those laser cut grates of basswood looked too clean and white, so I painted a coat of brown on them. I think they look much better now. The last one still needs to be done, but I thought a photo comparing them would be good.

-
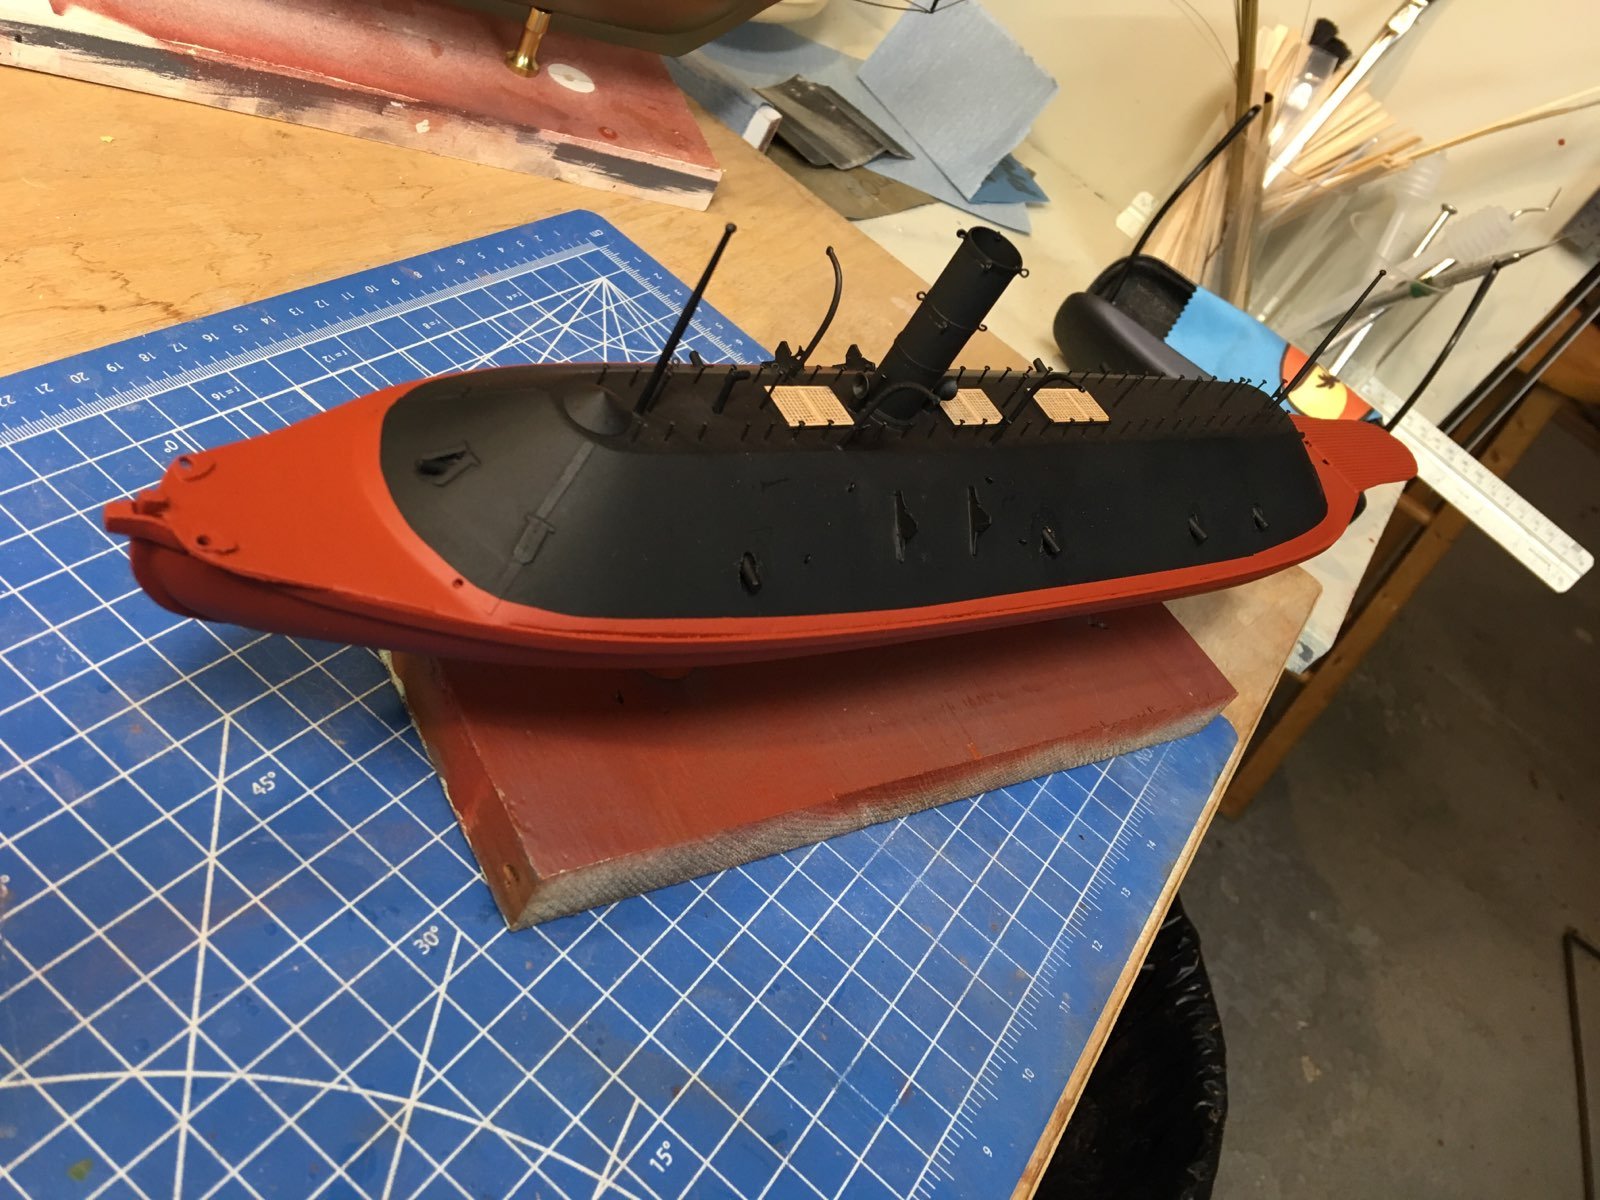
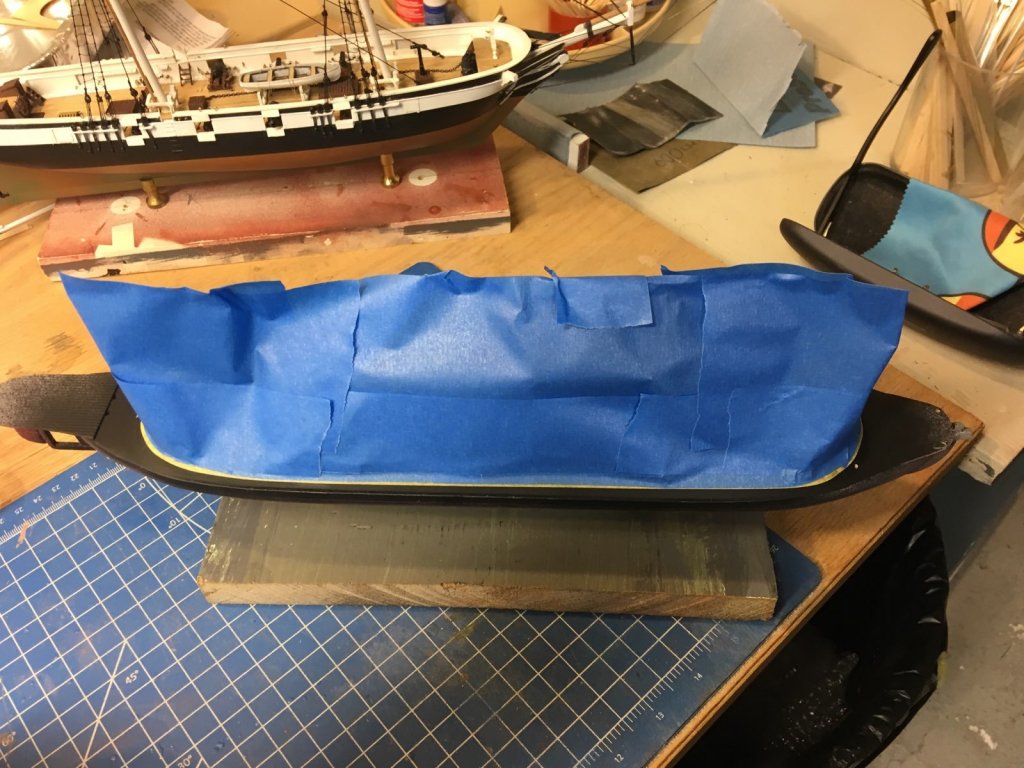
So I am on again with this "on again - off again" project. This past w/e I masked off the upper hull to paint the underside. The Virginia's waterline extends above the flat portion of the deck by 1/8" or so. The masking was a challenge. I used Tamiya 6mm masking tape for the first time, it is really great stuff. Very thin, clings around raised lips, and easy to pull off cleanly. Next comes the blue painters tape to protect the black upperworks of the model. And after spraying and pulling off the tape (deep suck in of air) a perfect paint line!

-
I was hesitant to start a build thread, since we are a manufacturer. I asked Chuck (admin for MSW) and he said to go ahead, just don't make it a sales pitch. When the Virginia is done, I will be working on the Mary Taylor pilot boat.
-
We never started to build the Wyoming, but it is in our kit development schedule. I expect it to come out in about 1 1/2 to 2 years. It wioll be 1/8" = 1' scale, and be 55 inches long. Nic
-
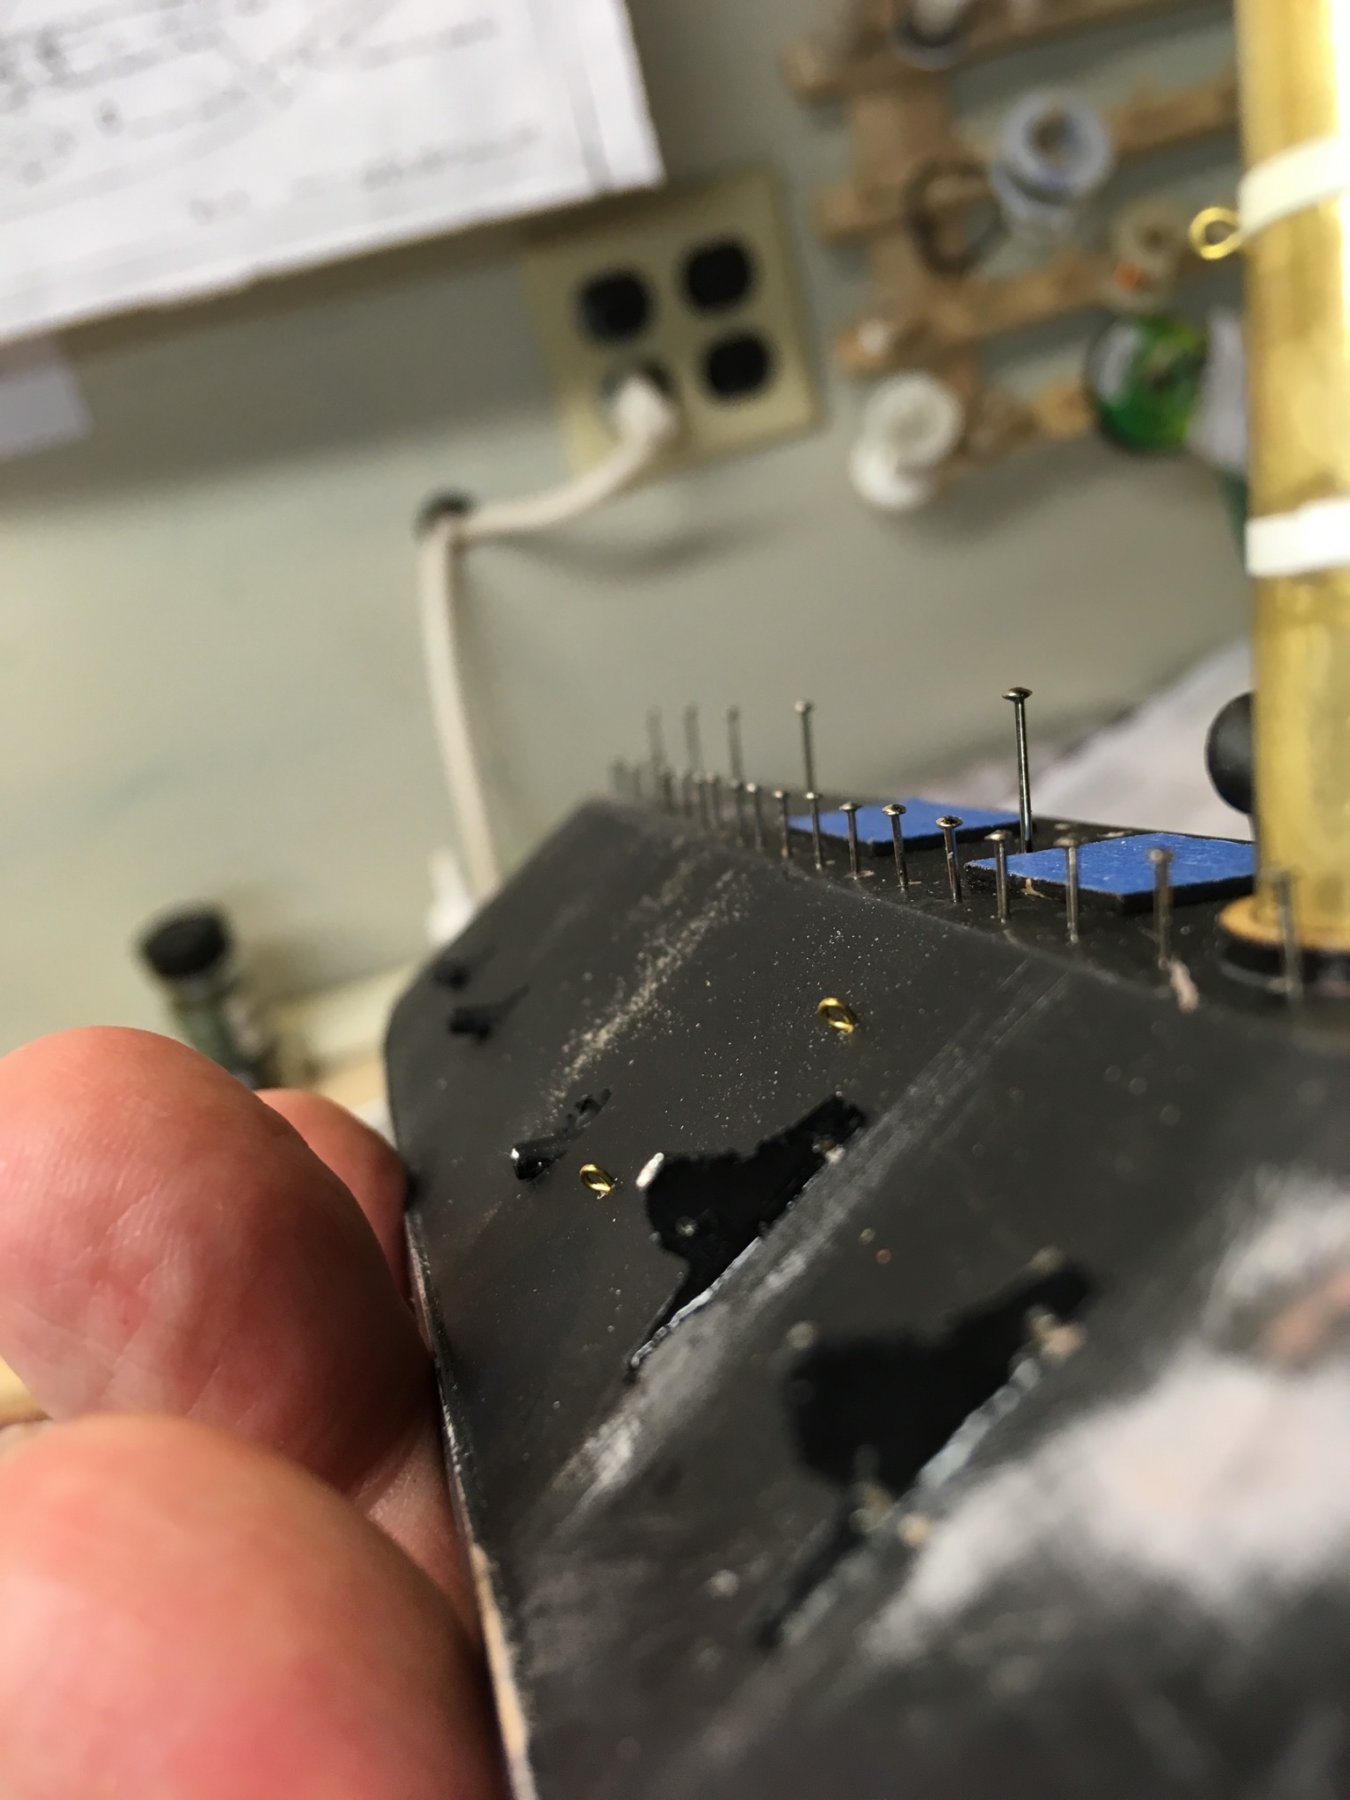
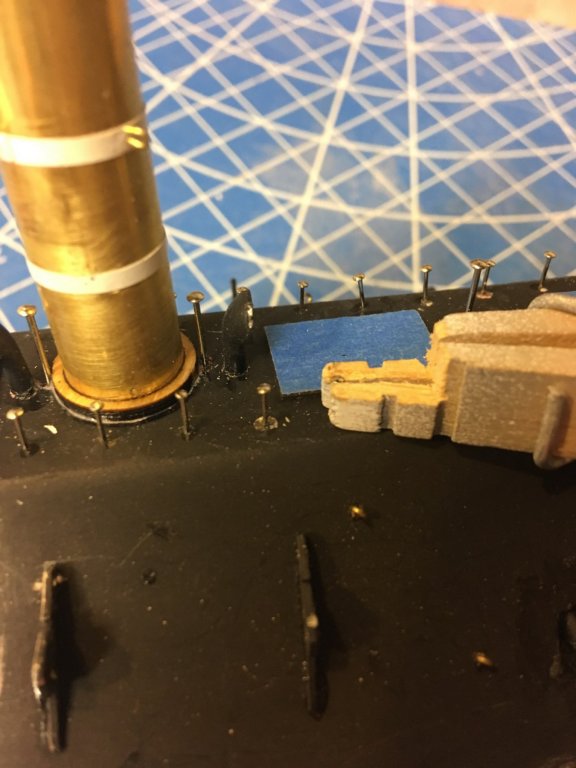
So now to install all 61 of the pins that make the rail stanchions. To get them at an even height, I made a jig by reversing a clothespin and cutting the tip down to the length I wanted the stanchions to be. Then it was a simple job to hammer the pins down to that depth. I'm happy with the outcome!

- 31 replies
-
- 11
-
-
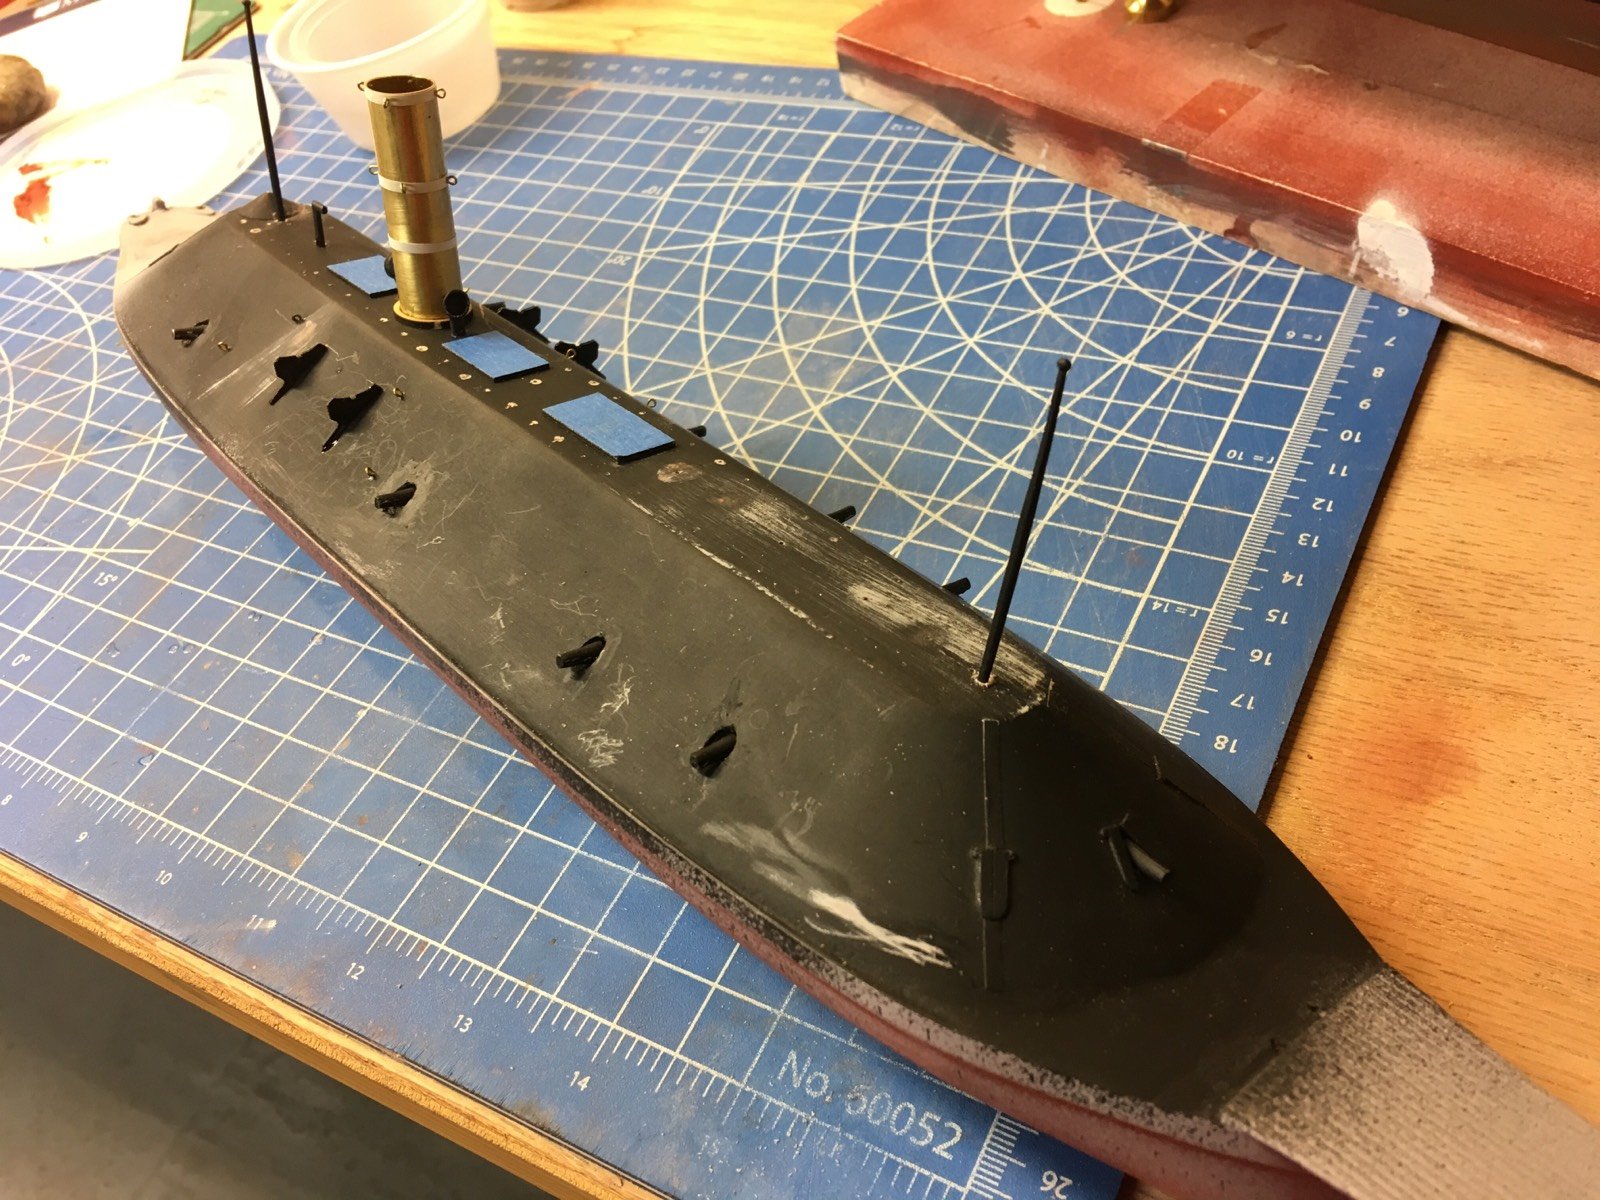
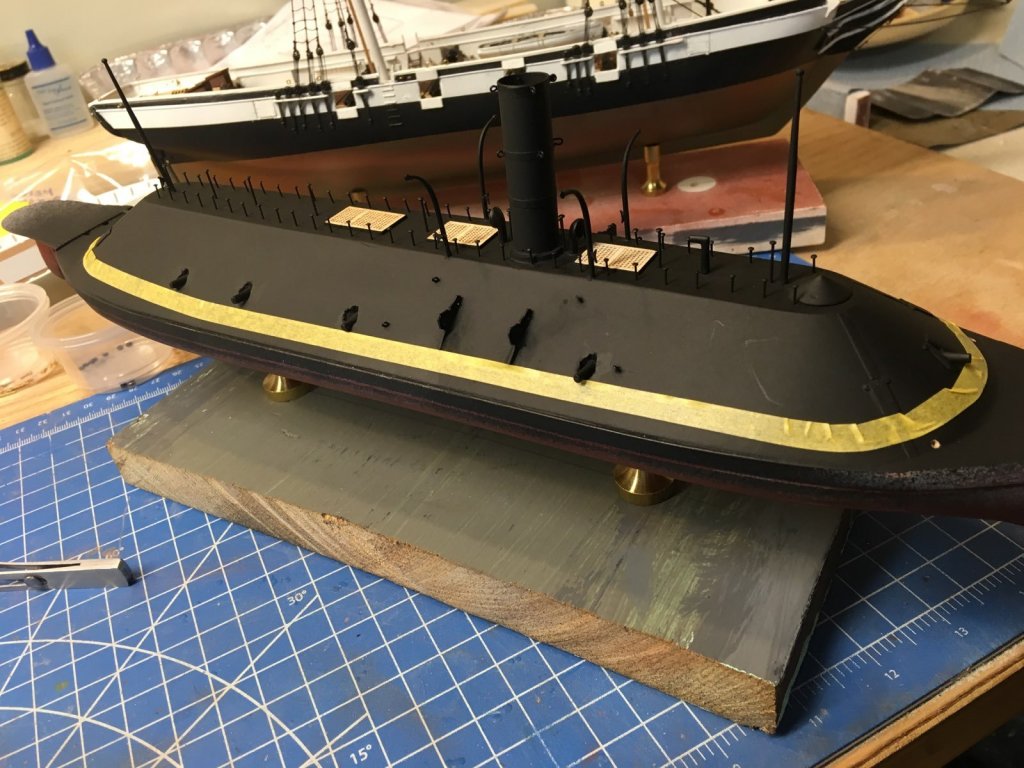
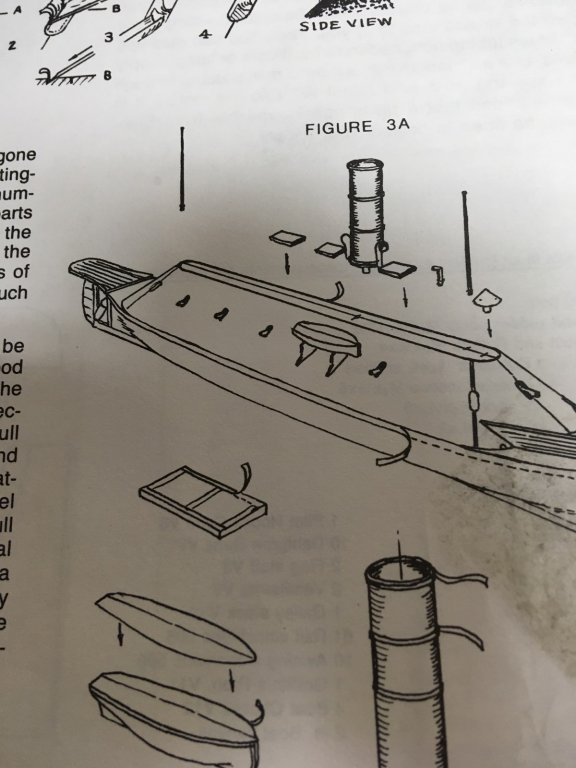
So after a month of not working on the VIrginia, I am back at it. Drilled the holes for all the top fittings and stanchions, masked the grates, installed some parts and the boat mounts, guns are in, and also the eyebolts for the stack supports. Starting to look like something! You can see that all the primer/prep work yeilded a nice smooth finish that will take the finish coat of paint nicely.

- 31 replies
-
- 10
-
-
It is also possible to buy decking that is glued up with black glue, making very realistic decking. I know of at least three suppliers: BlueJacket, Micro-Mark, and Northeastern Scale lumber.
-
After several weeks of other things, I am back to the Virginia again. I decided to laser-cut the gunport lids, and a Google search showed them to be split vertically, with the hinges on the upper outer corner. Note they are only on the ends, not on the broadside. These laser cut lids, and the top gratings, will be added to the kit.

-
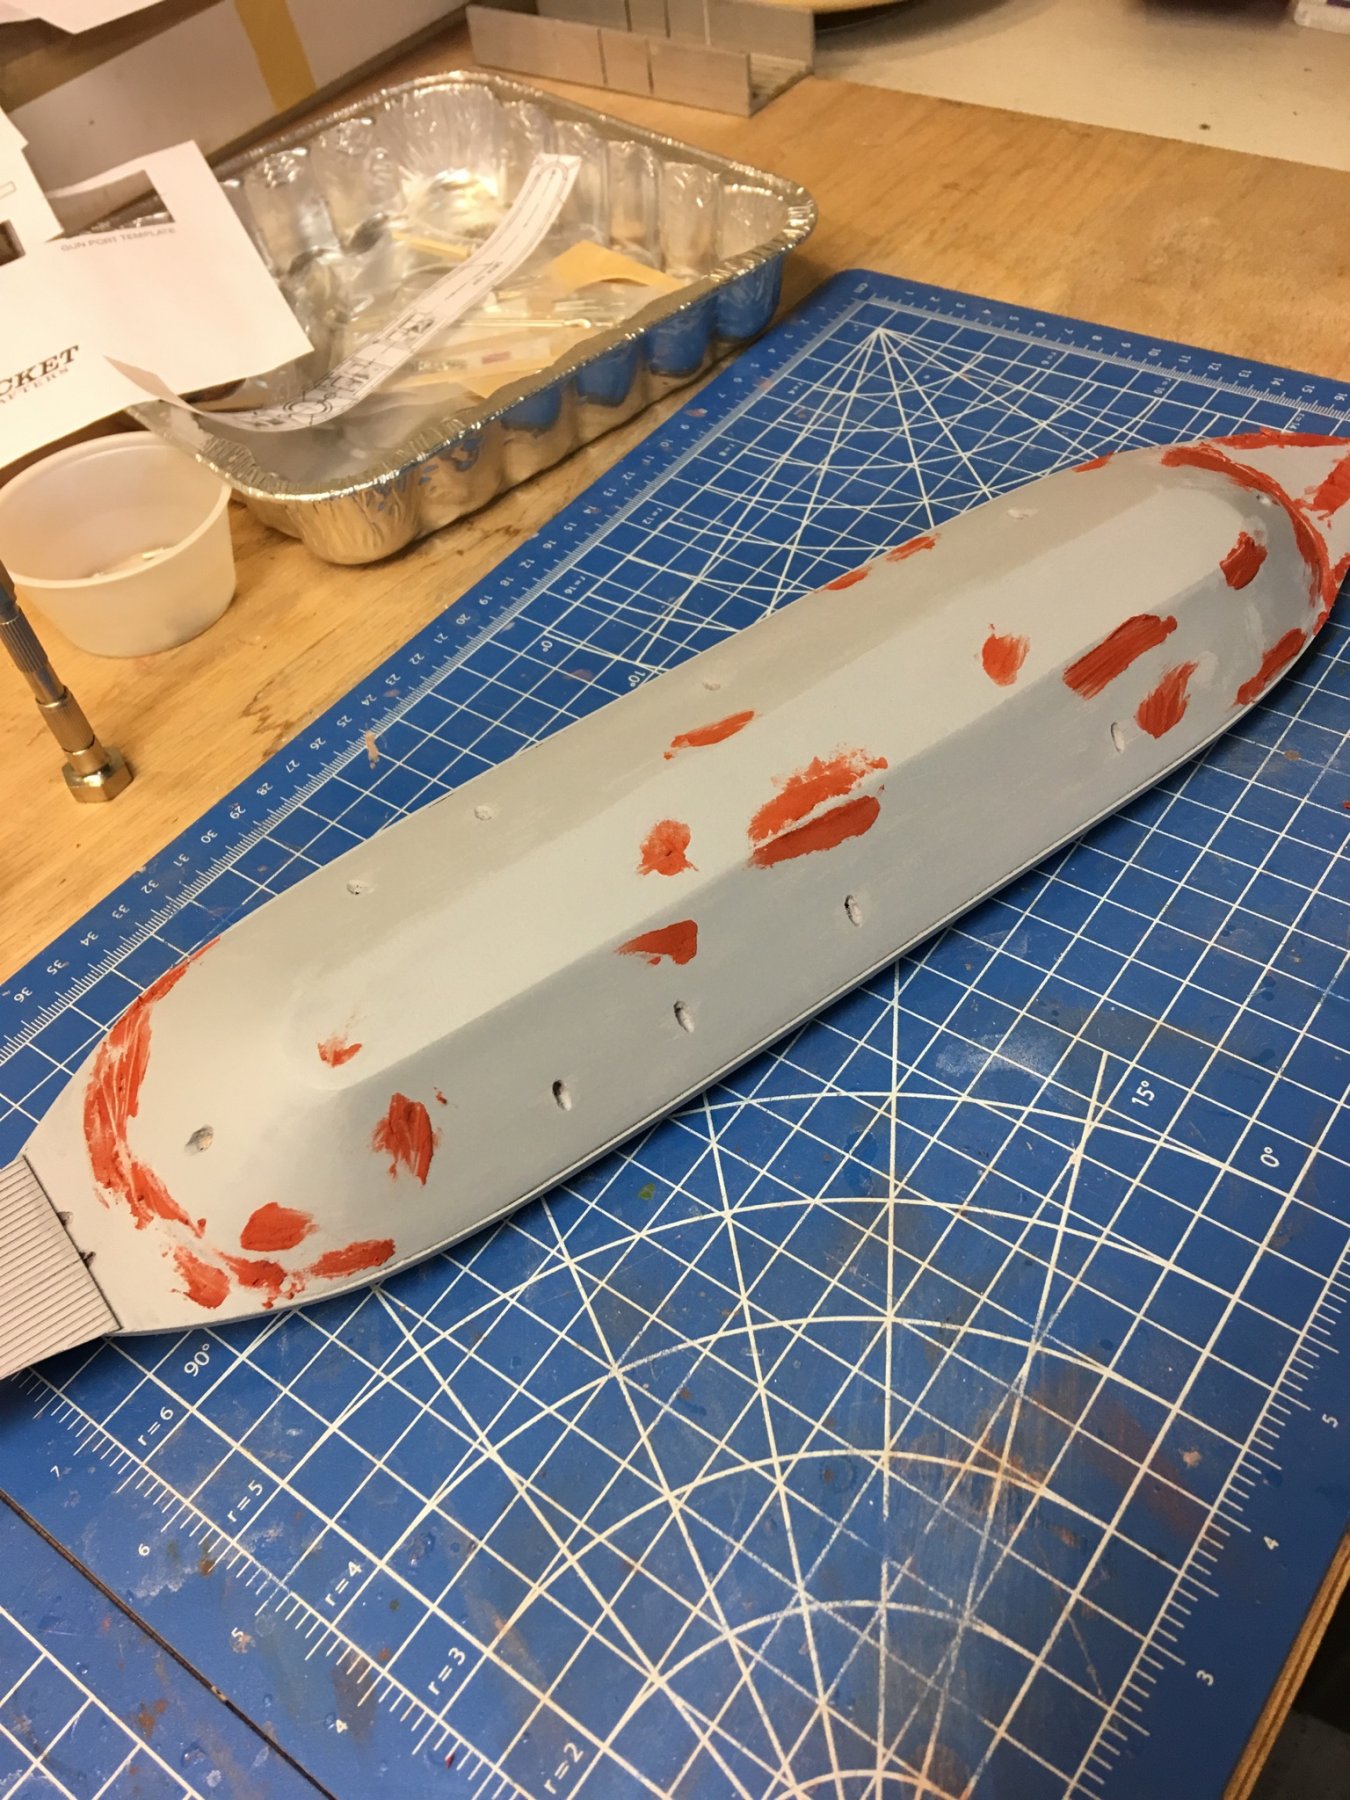
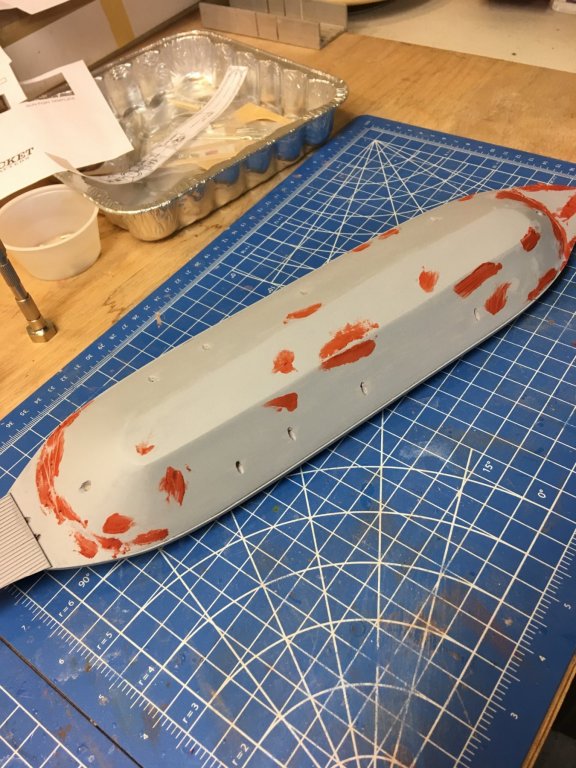
A little progress this weekend. Sprayed gray primer, so when sanding I can see how many layers of paint I'm going through. The another coat of gray and Auto glazing putty to fill (hopefully) the last of the imperfections.
-
In addition, I put some 1/16" striping tape on the rudder for the pintles and on the smokestack for the reinforcing bands. Once painted, they will look really good.

-
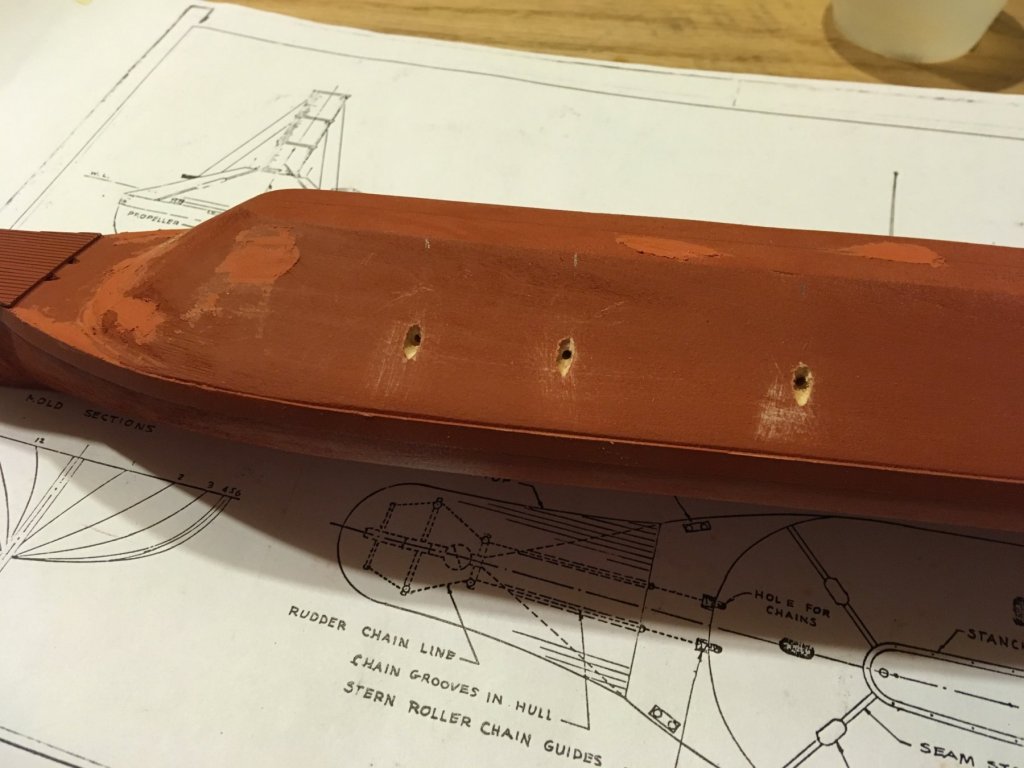
This past w/e I roughed in the gunports, 4 on each side and one on each end. And yes, I switched to red oxide primer
-
Haven't done much work in the last two weeks, but made a little progress this past weekend. The instructions show adding strips of heavy paper to various parts. For the armour belting I used 1/32 x 3/16 basswood. Then I shot a quick coat of primer on the model to see how much more sanding I need to do. The even color makes it easier to see irregularities than the bare wood does. Time for a little auto body filler, I'm afraid......

-
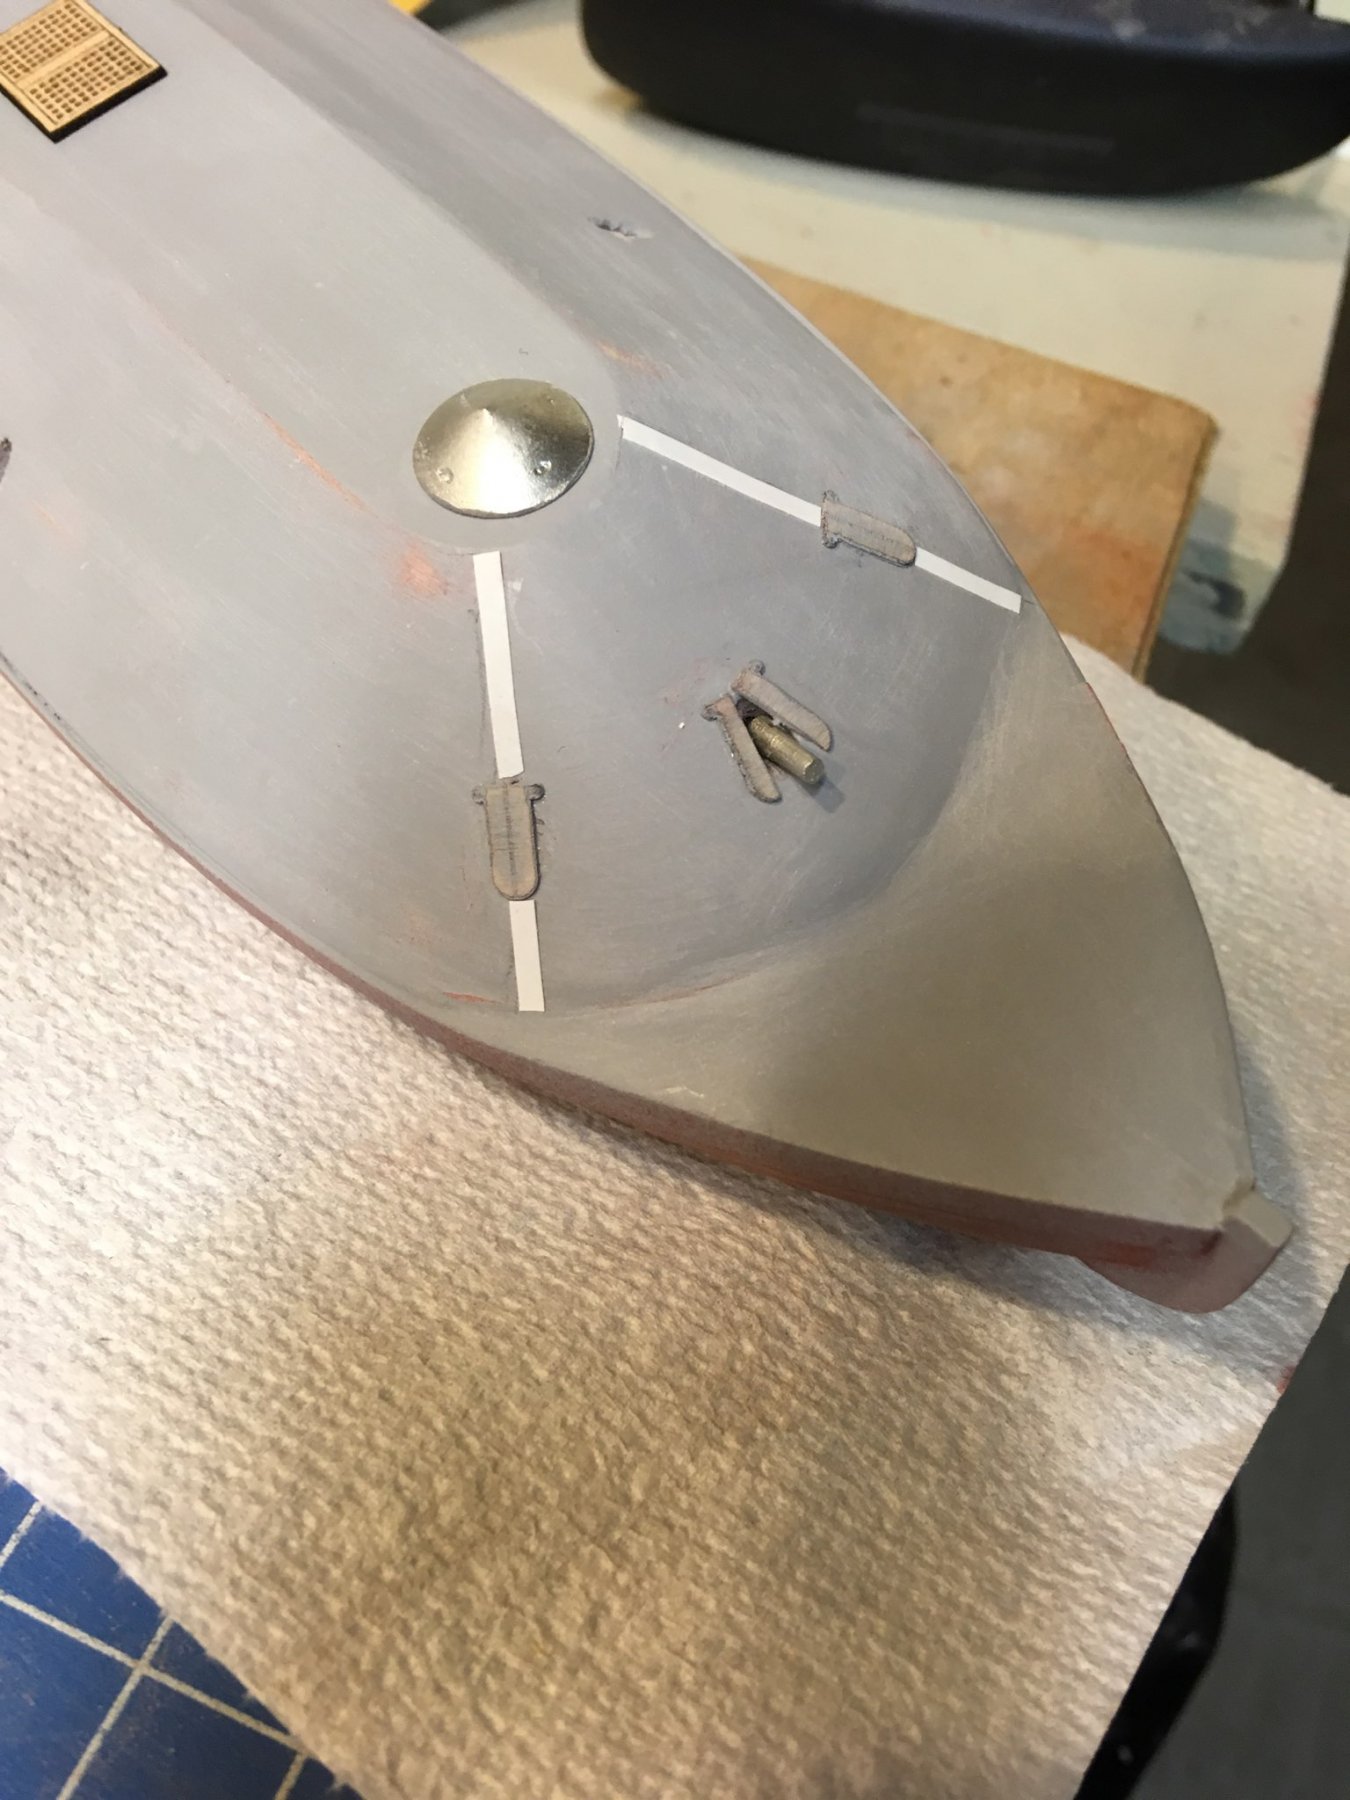
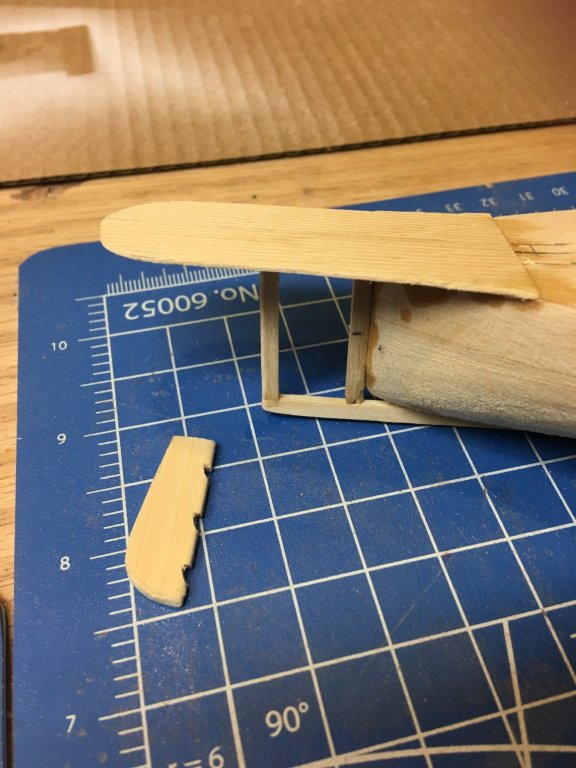
TIme to start gluing. Stem, keel, sternpost, propeller cage, fantail. Here's photos of the top and bottom. Also the rudder, carved out of sheet stock. Some striping tape will simulate the gudgeons and pintles.

- 31 replies
-
- 11
-