MrBlueJacket
-
Posts
1,314 -
Joined
-
Last visited
Content Type
Profiles
Forums
Gallery
Events
Everything posted by MrBlueJacket
-
 Here we are starting to sand down the Bondo And after it is sanded down, you can see where the knuckle rises up on the sides. It's not supposed to do that.
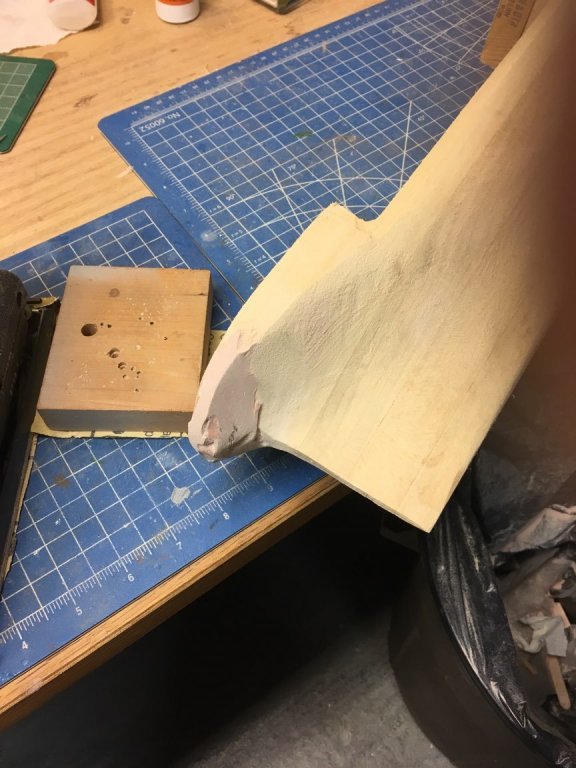
- 356 replies
-
- 6
-

-
- red jacket
- finished
- (and 1 more)
-
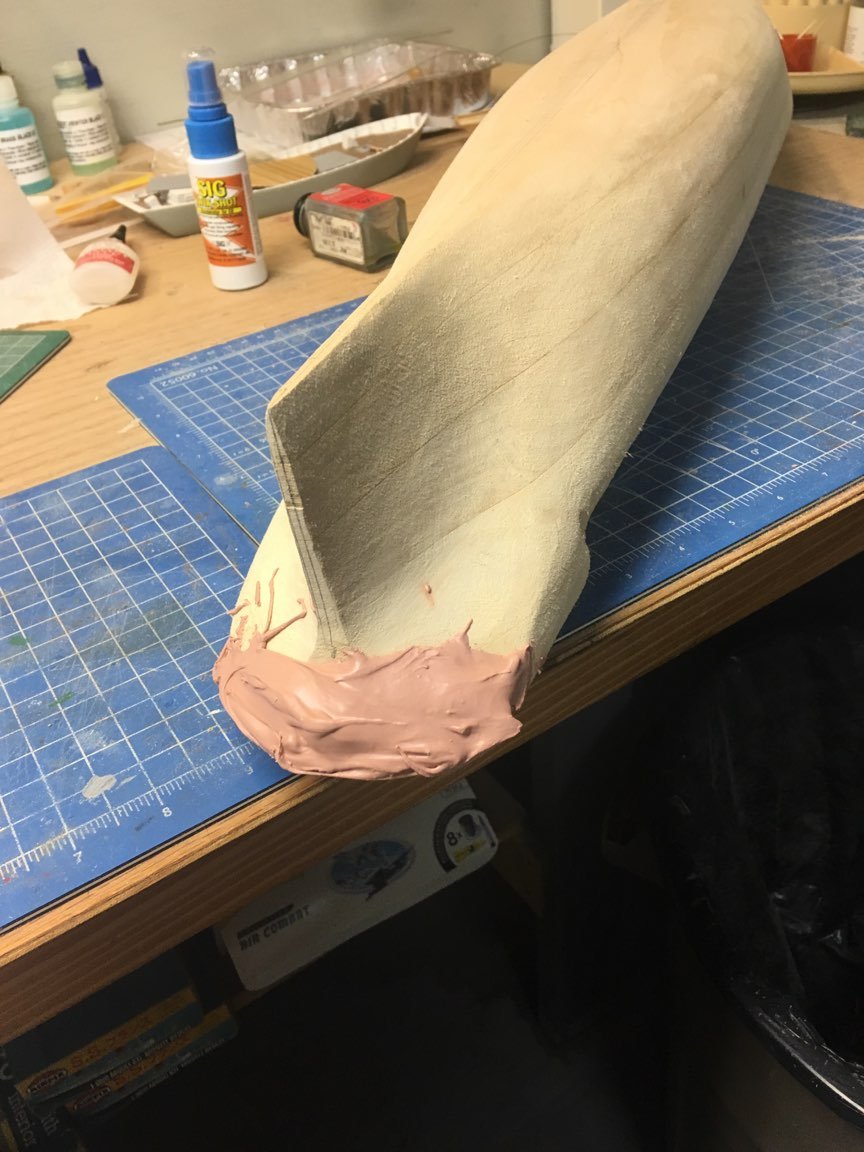
The stern has a pronounced "knuckle" which I lost during the sanding. So, I have to build it up with some Bondo.

- 356 replies
-
- 7
-
-
- red jacket
- finished
- (and 1 more)
-
I have used it before when fiber-glassing an R/C plane, and didn't have any problems. It seems to be sticking quite well here, too.
- 64 replies
-
- 2
-
-
- laughing whale
- trawler
- (and 2 more)
-
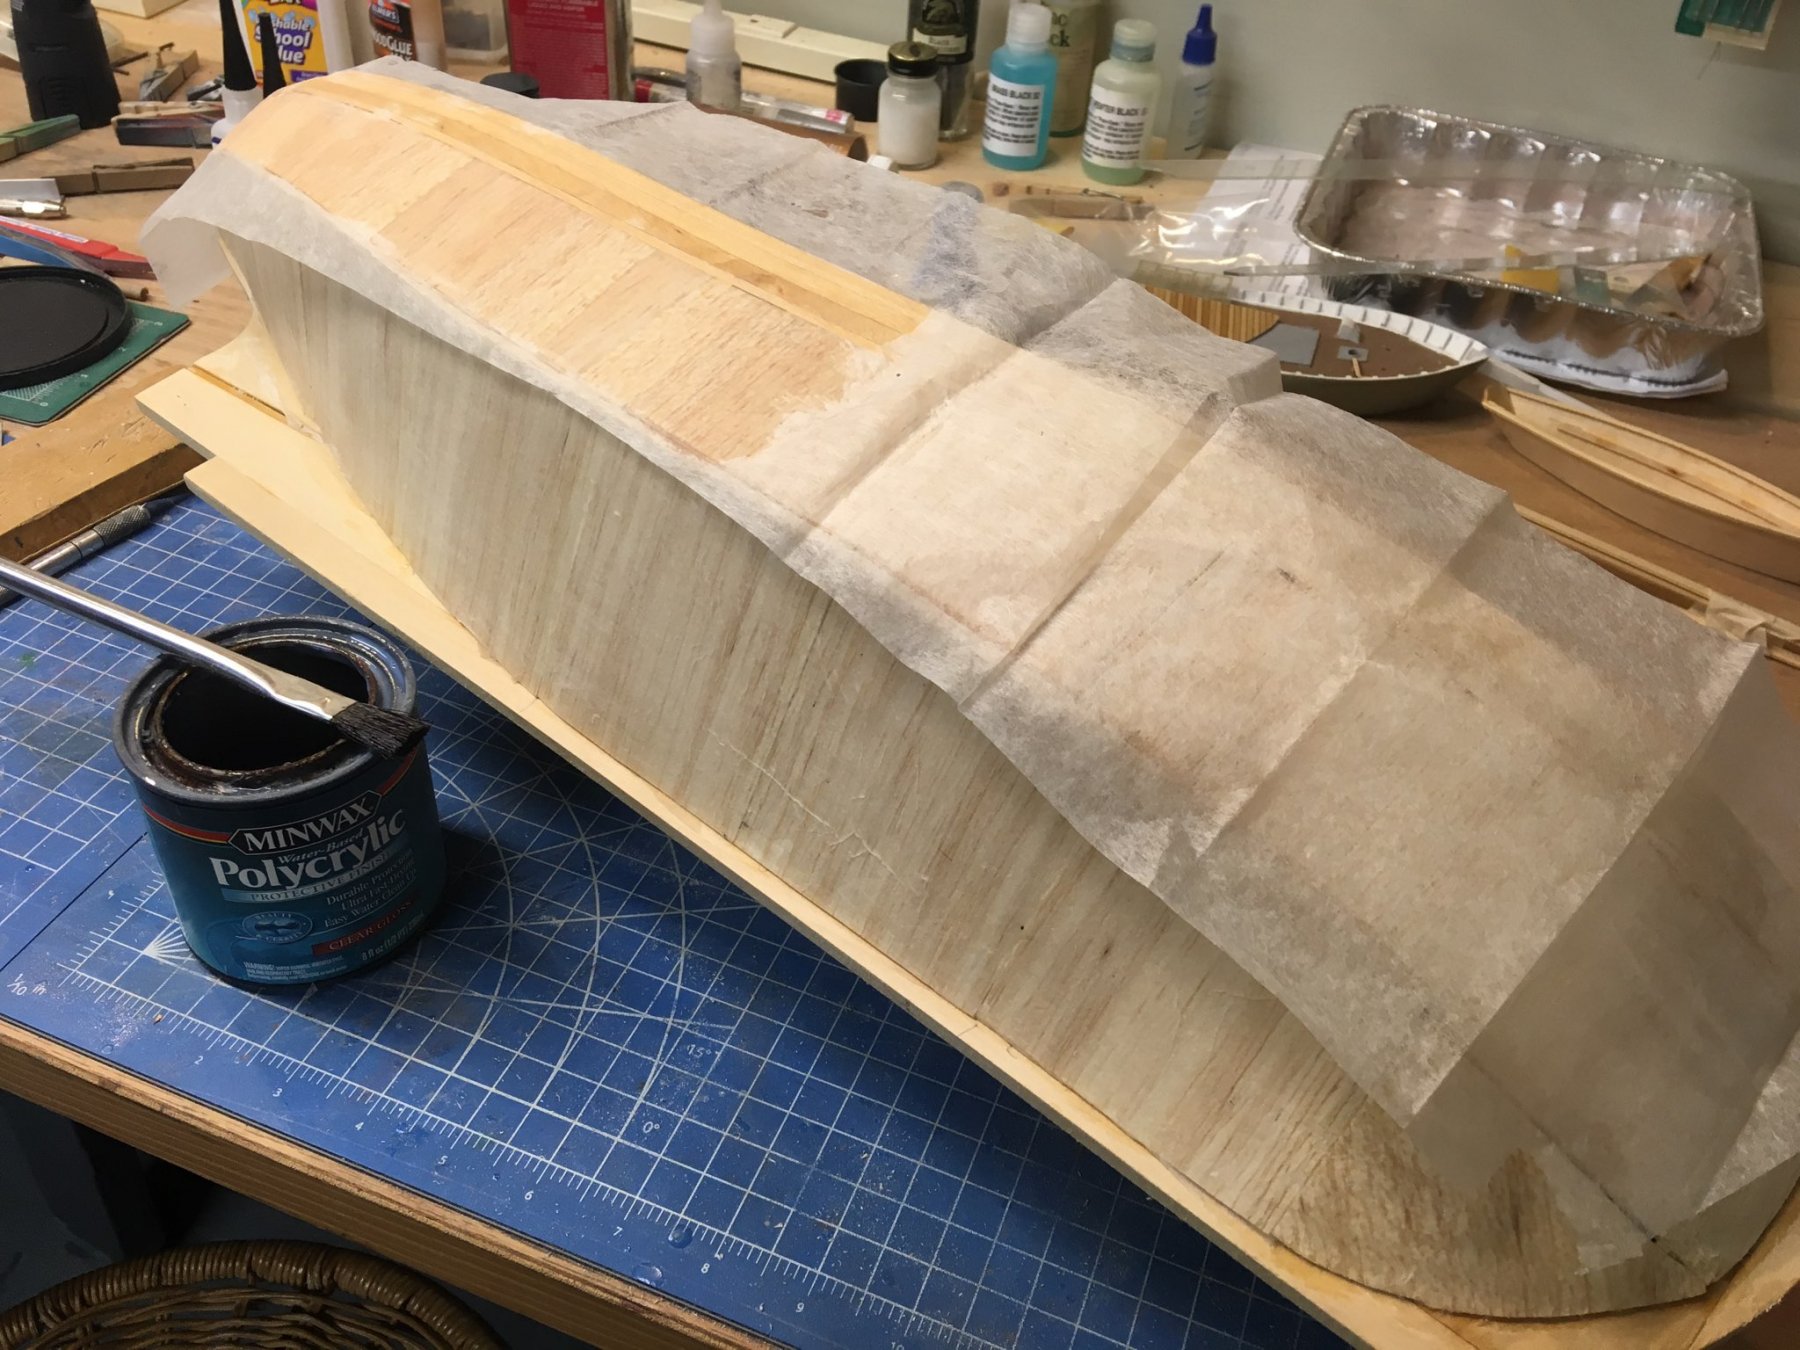
Although I tried to get out as many wrinkles as I can, it is not critical. When primed and sanded, the wrinkles will disappear. Any small irregularities will be puttied over.
- 64 replies
-
- 2
-
-
- laughing whale
- trawler
- (and 2 more)
-
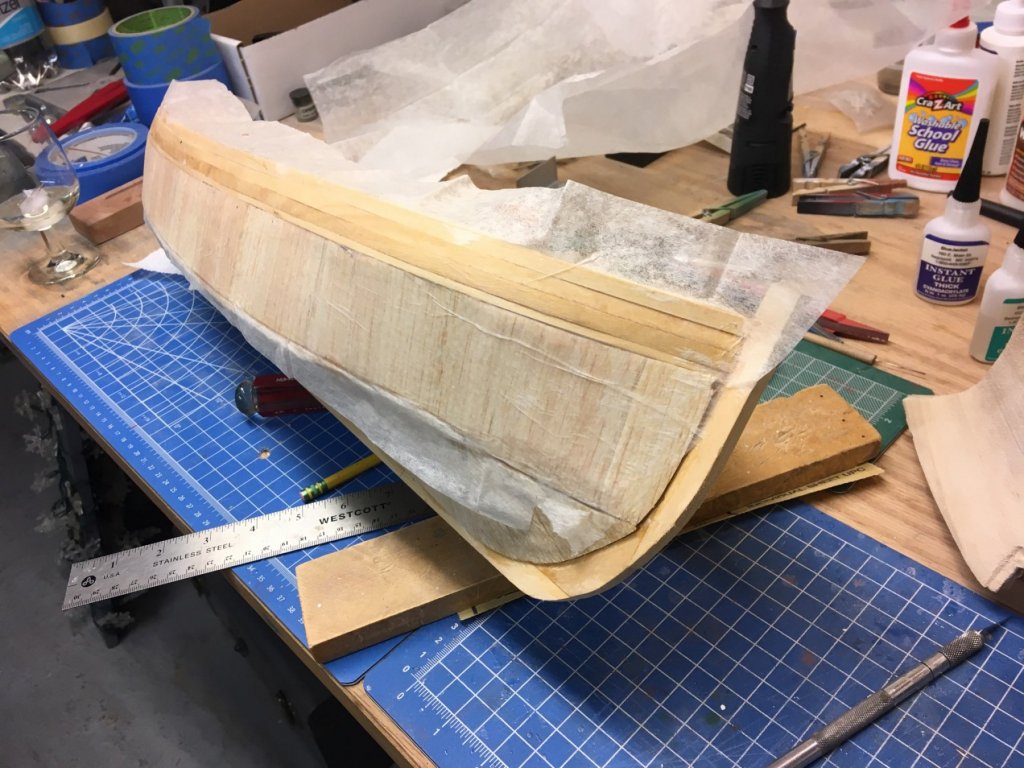
So the bulwarks are on, and it is time to strengthen the soft balsa wood. I decided to use MinWax Polycrylic and silkspan. Here a section being applied.

- 64 replies
-
- 2
-
-
- laughing whale
- trawler
- (and 2 more)
-
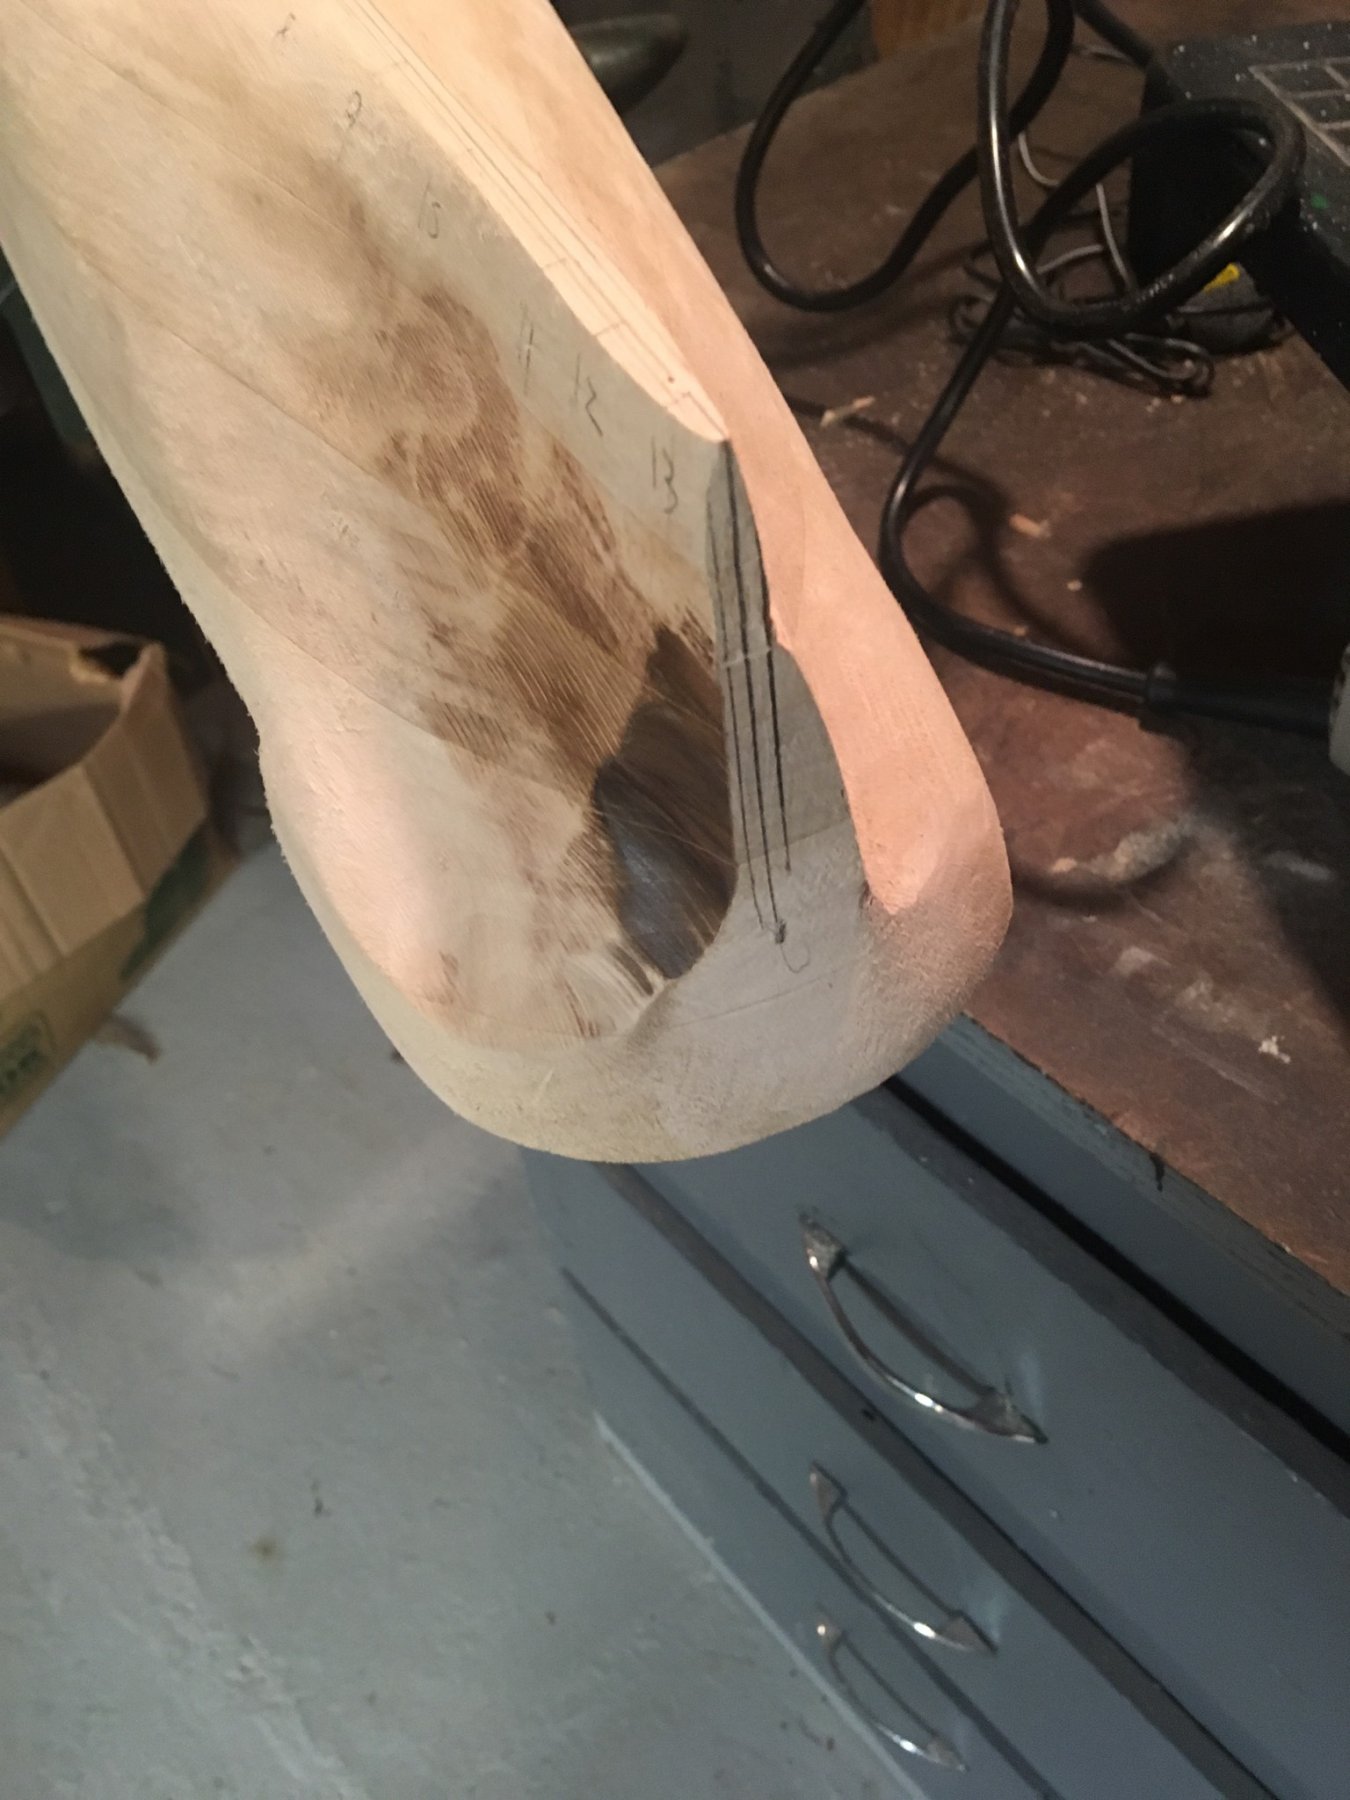
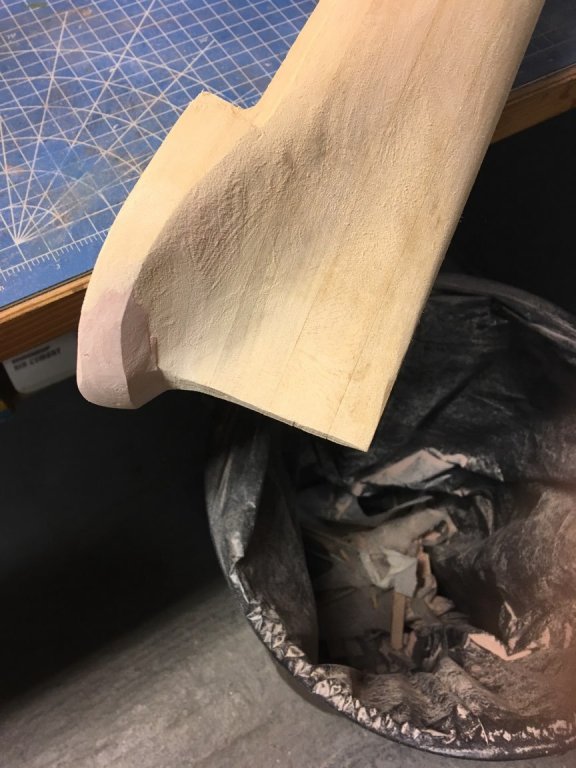
Looking good....like I said, the power tool helps a lot in the stern where the material of the carving tool mounting lug needs to be removed.
- 104 replies
-
- 2
-
-
- revenue cutter
- BlueJacket Shipcrafters
- (and 1 more)
-
Need info on the BlueJacket kit "Spray"
MrBlueJacket replied to Moab's topic in Wood ship model kits
I have to chuckle a bit - older perceptions are sometimes different from reality. BlueJacket makes 78 model kits, and only 30 of them are solid hull, 12 are cast resin, 3 are plank on frame, and the rest are plank on bulkhead. -
That tool will be real handy when you attack the stern......
- 104 replies
-
- 2
-
-
- revenue cutter
- BlueJacket Shipcrafters
- (and 1 more)
-
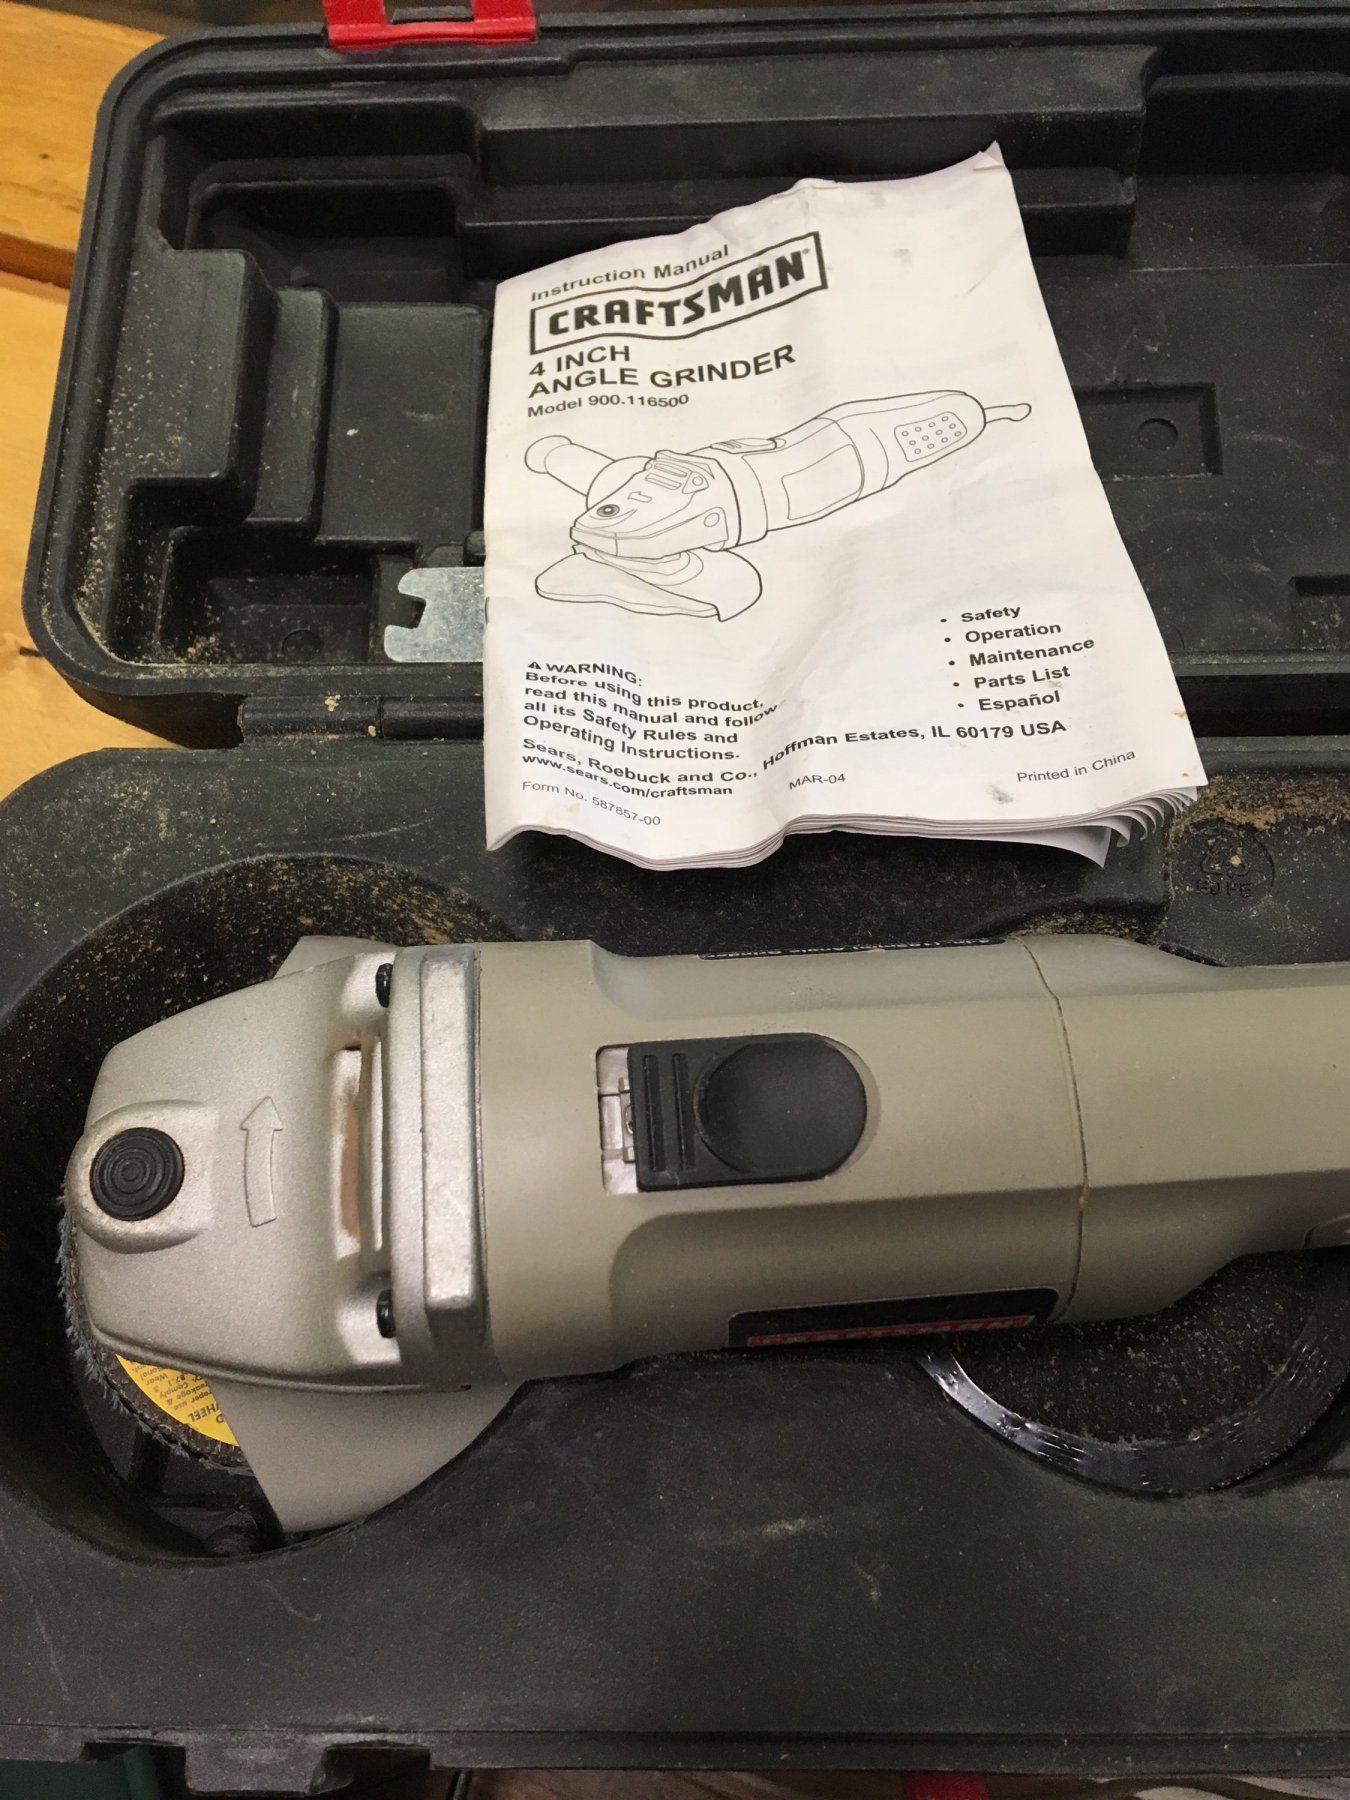
Al's grinder is a Craftsman as shown in the photo below. Also here's a link to a Makita one on Amazon. They run from about $60-$120 https://www.amazon.com/Makita-GA4030K-4-Inch-Angle-Grinder/dp/B002OTDIH2

- 356 replies
-
- 1
-
-
- red jacket
- finished
- (and 1 more)
-
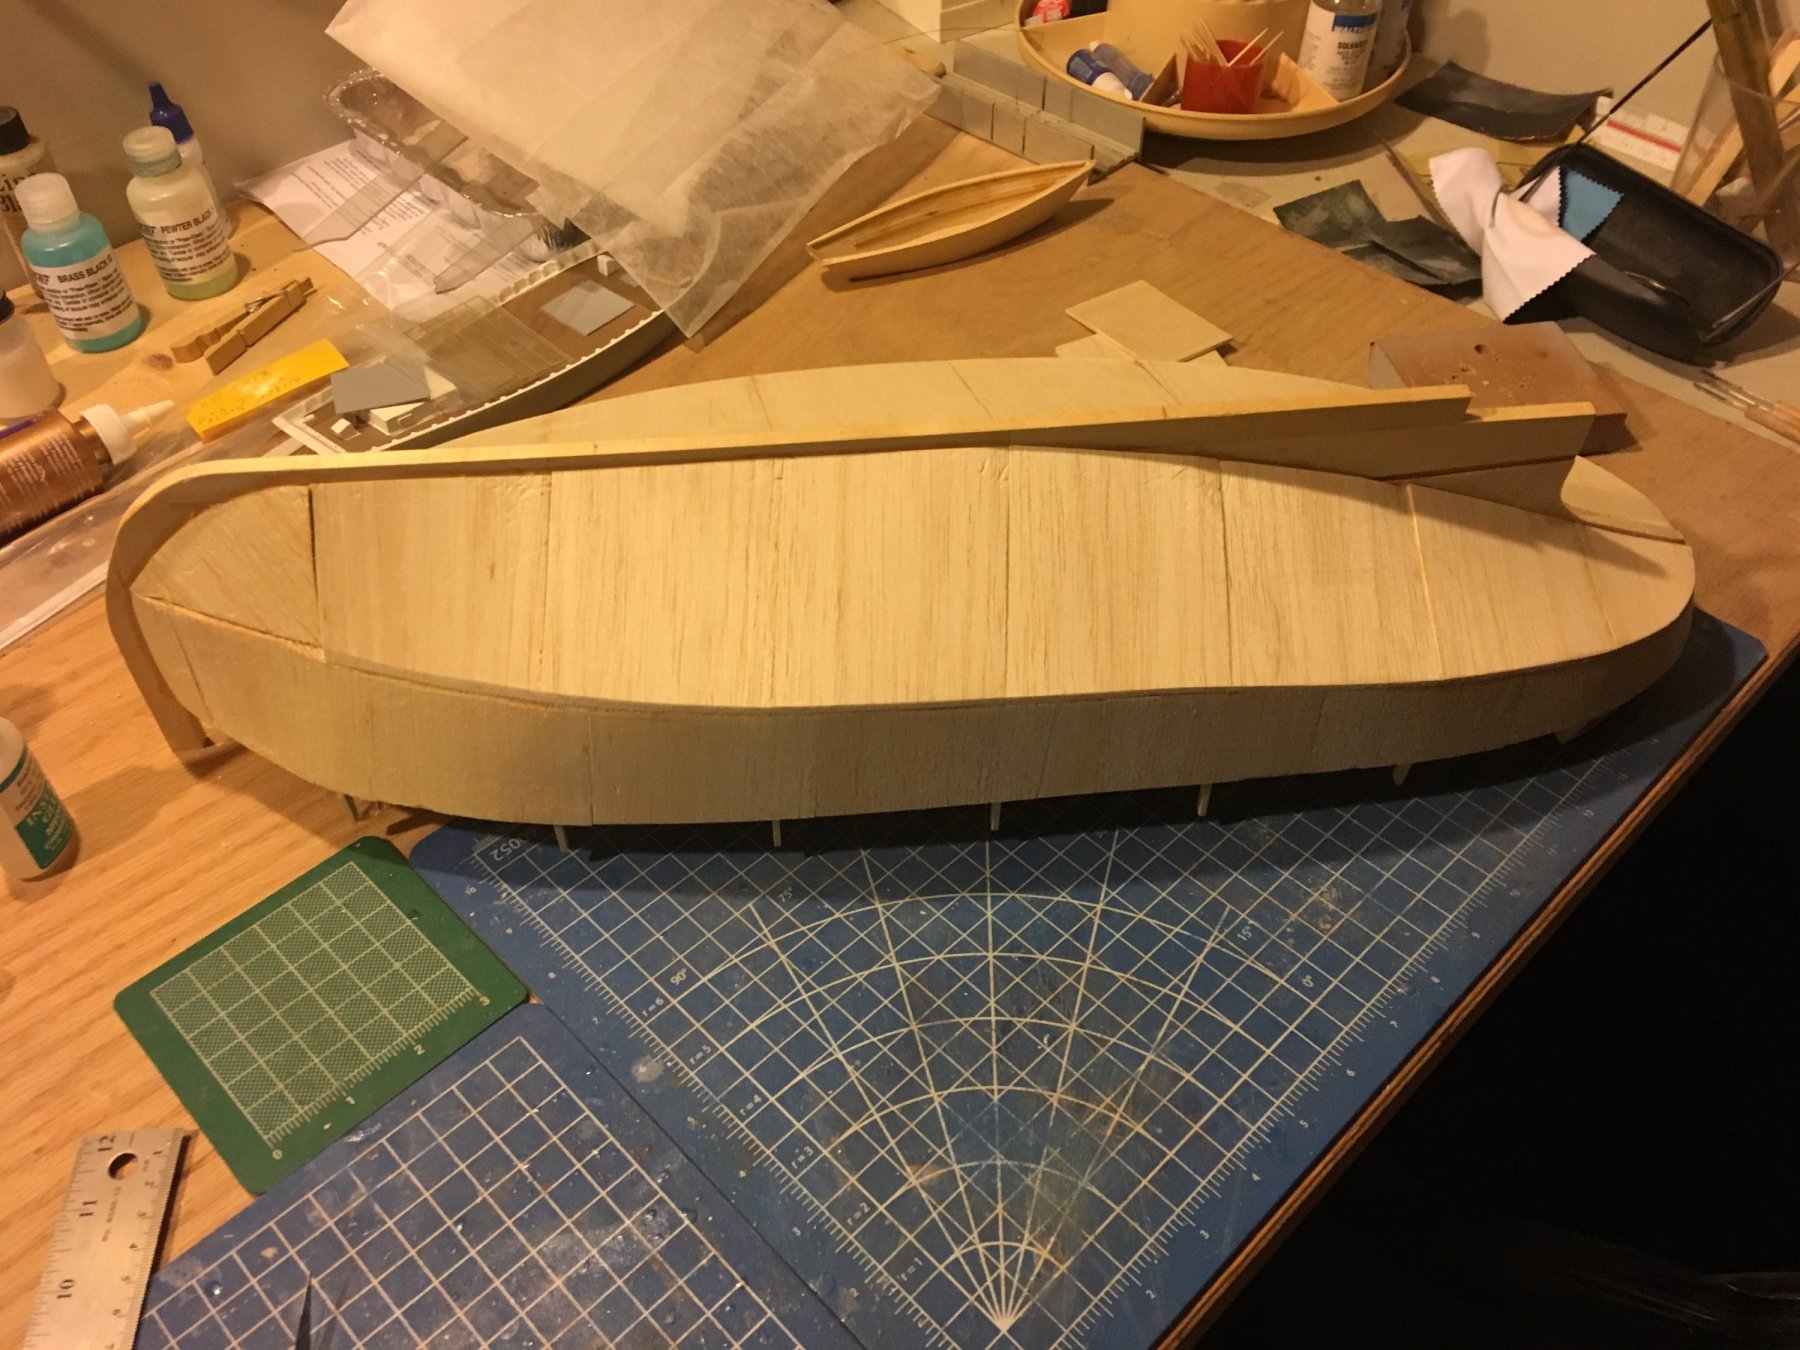
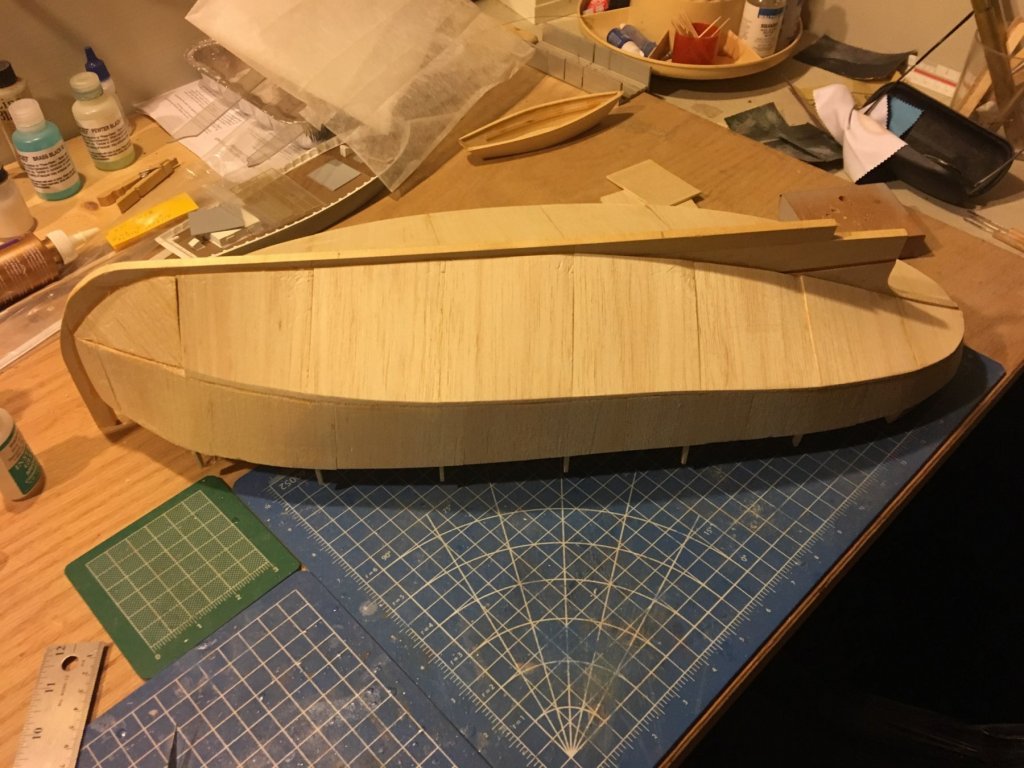
Over the weekend I got the rest of the hull planked. Next will be adding the planked bulwarks, then covering the balsa with either polycrylic or polyester resin.
- 64 replies
-
- 3
-
-
- laughing whale
- trawler
- (and 2 more)
-
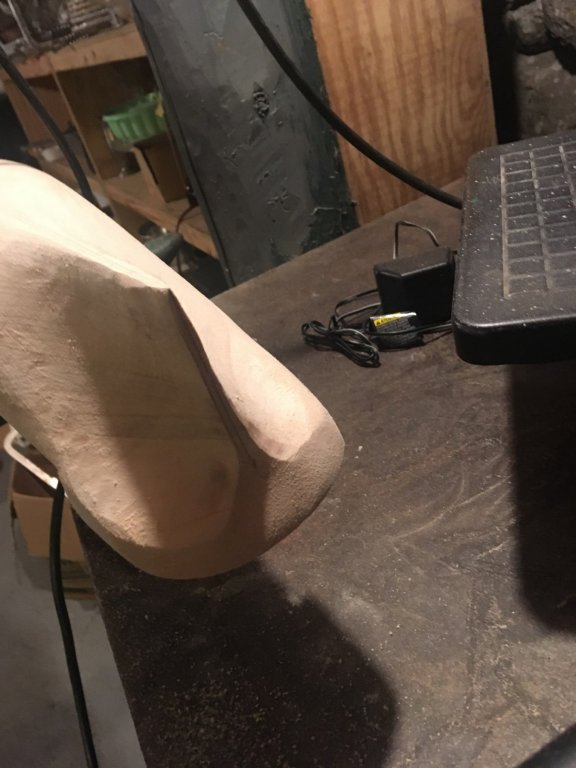
Al's advice is to " go gently and let the machine work." It takes the wood down in a hurry. Now I just need to finish sand to the templates and then do the bulkheads.

- 356 replies
-
- 17
-
-
- red jacket
- finished
- (and 1 more)
-
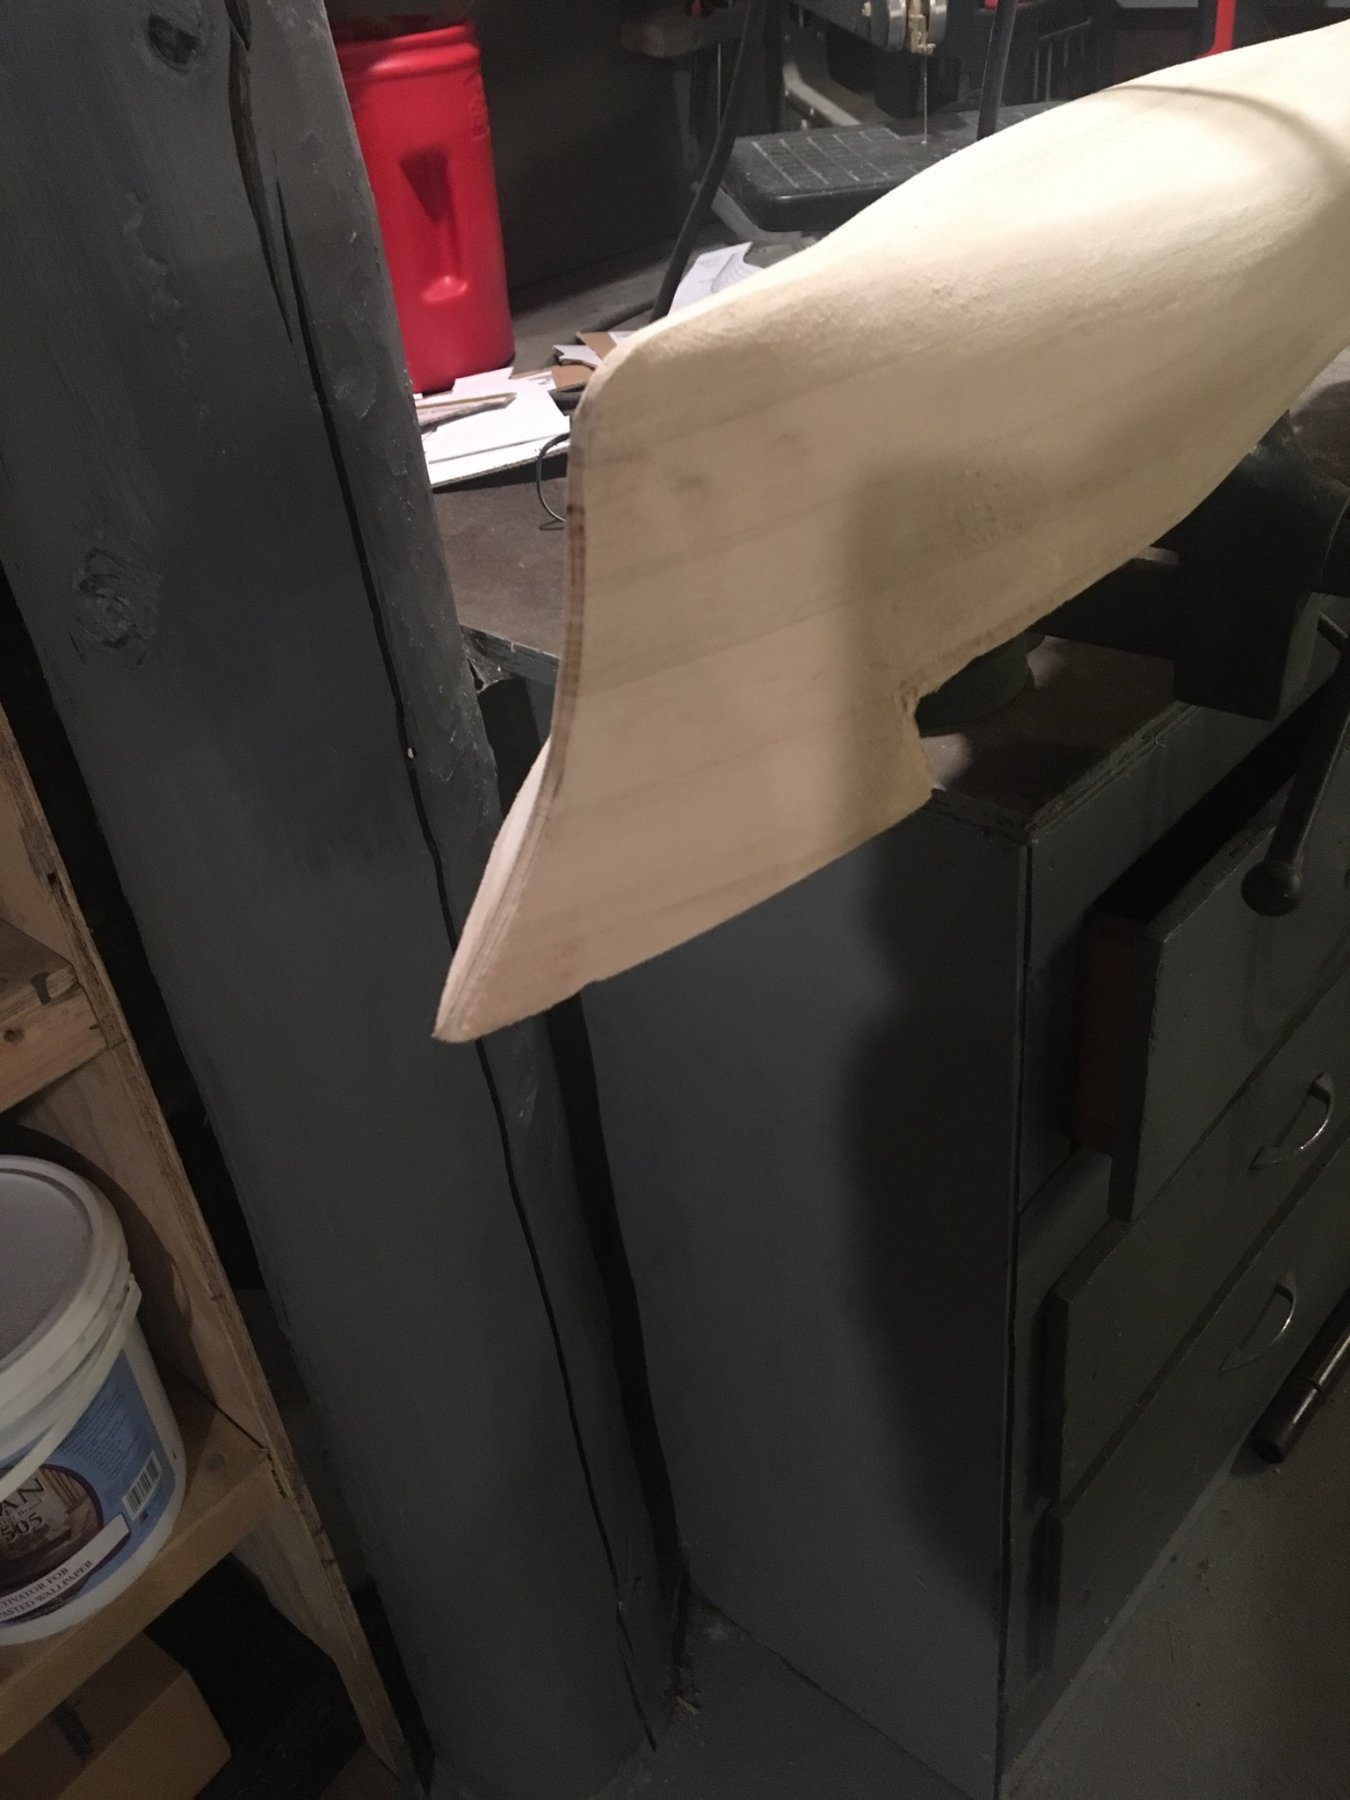
So Al let me borrow his 4" portable grinder - Boy, does that make short work out of shaping the hull! Unfortunately, I got a little to heavy-handed and it started to burn the wood.

- 356 replies
-
- 15
-
-
- red jacket
- finished
- (and 1 more)
-
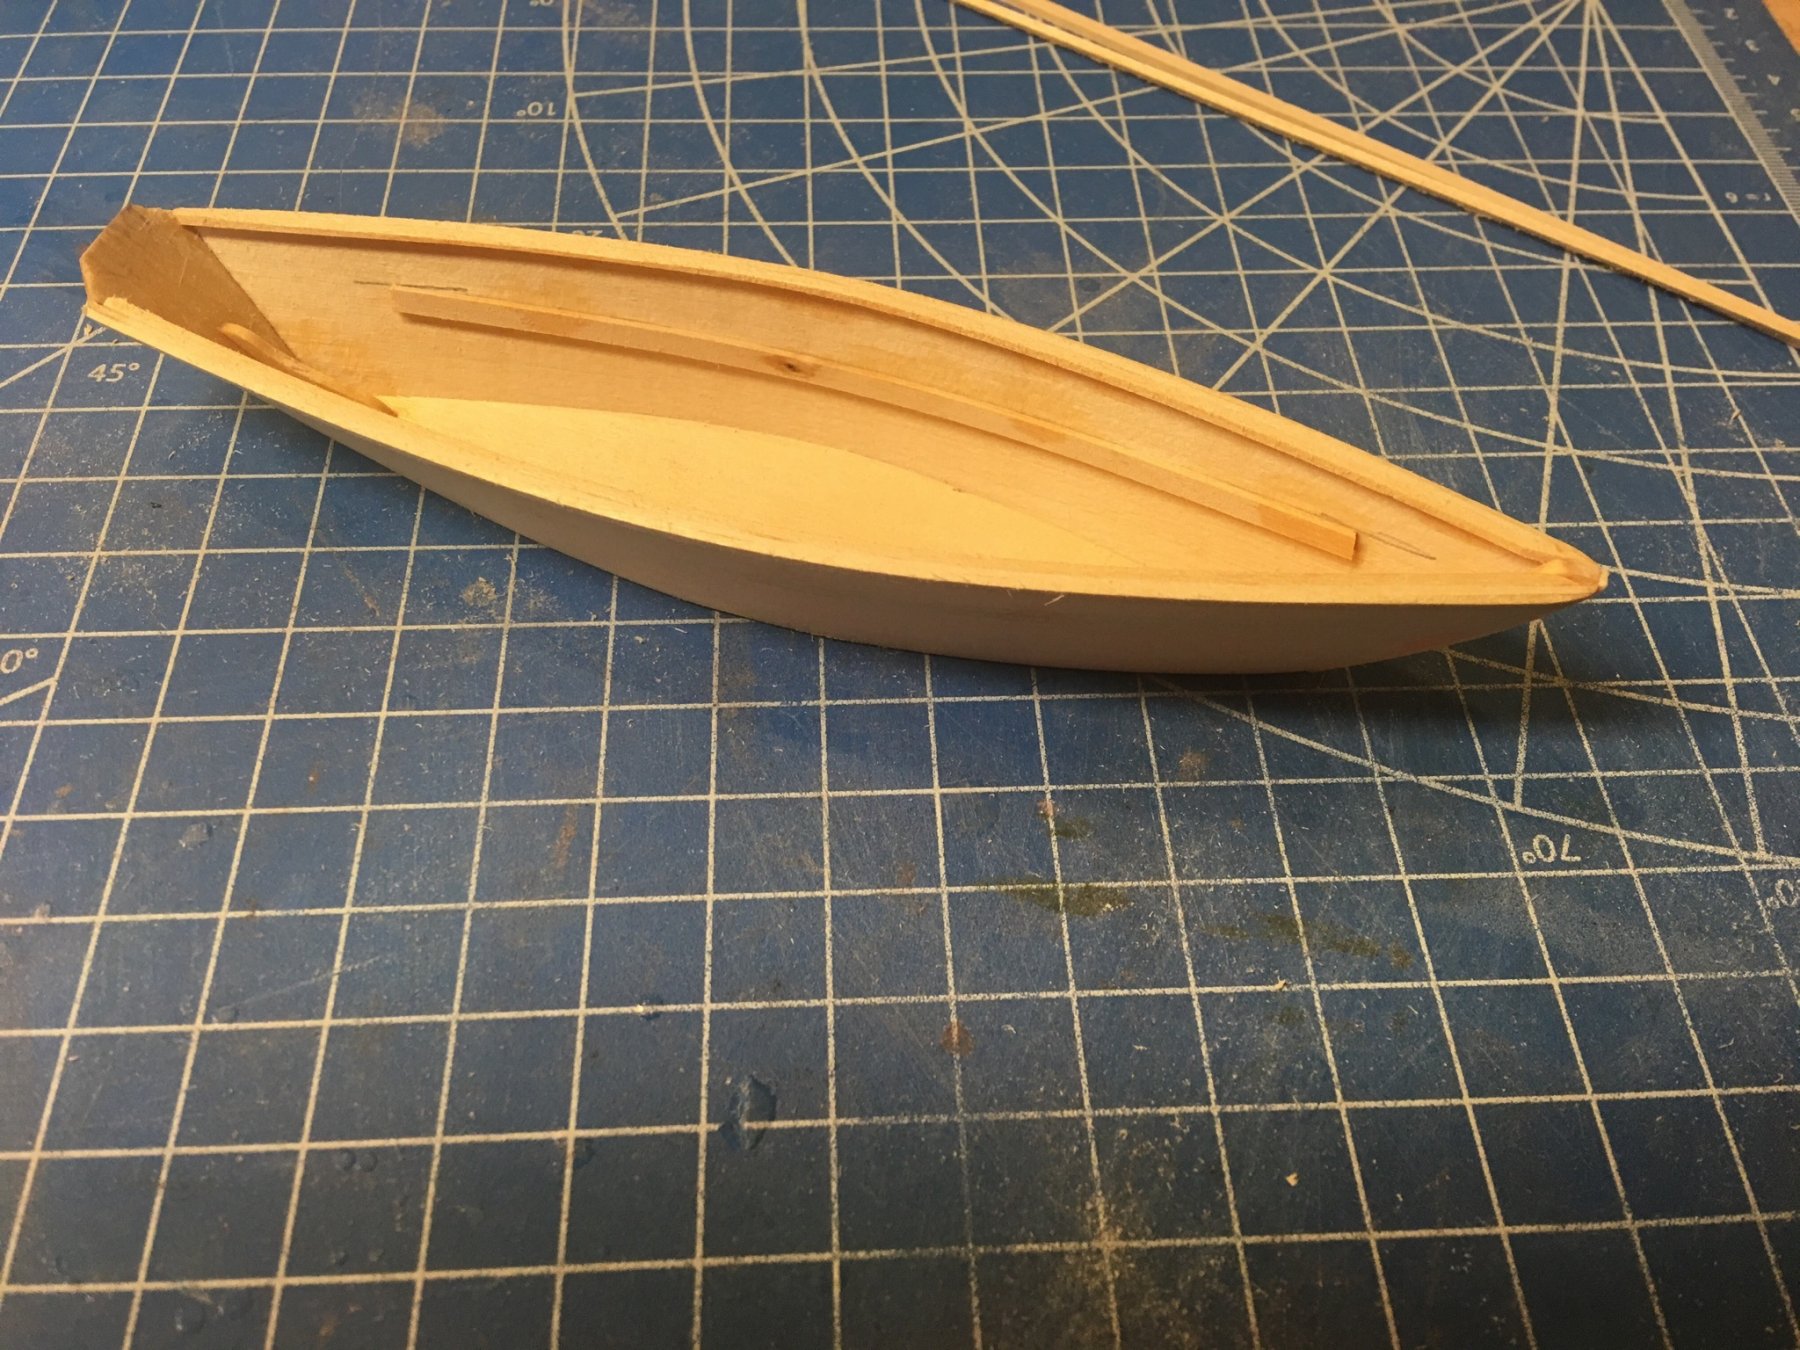
And here's the dory, completed except for the seats, which will be mahogany. They will have to wait until I have painted the shell.

- 64 replies
-
- 8
-
-
- laughing whale
- trawler
- (and 2 more)
-
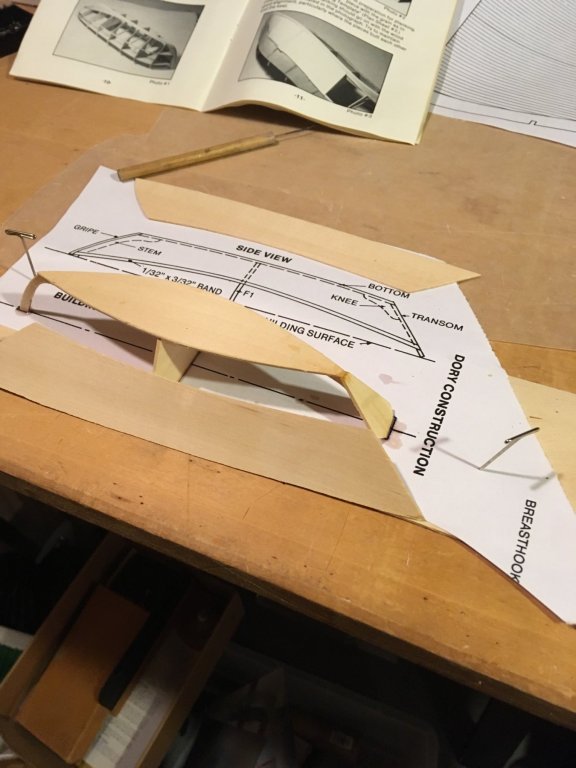
Just for variety, I started the dory that sits on top of the cabin.
- 64 replies
-
- 8
-
-
- laughing whale
- trawler
- (and 2 more)
-
Starting to plank the hull - It's easy with the balsa supplied. I will coat the balsa with polyester resin and silkspan.

- 64 replies
-
- 6
-
-
- laughing whale
- trawler
- (and 2 more)
-
Actually, I have not heard anything. We actually talked about it but many are similar to our own offerings.
- 64 replies
-
- 1
-
-
- laughing whale
- trawler
- (and 2 more)
-
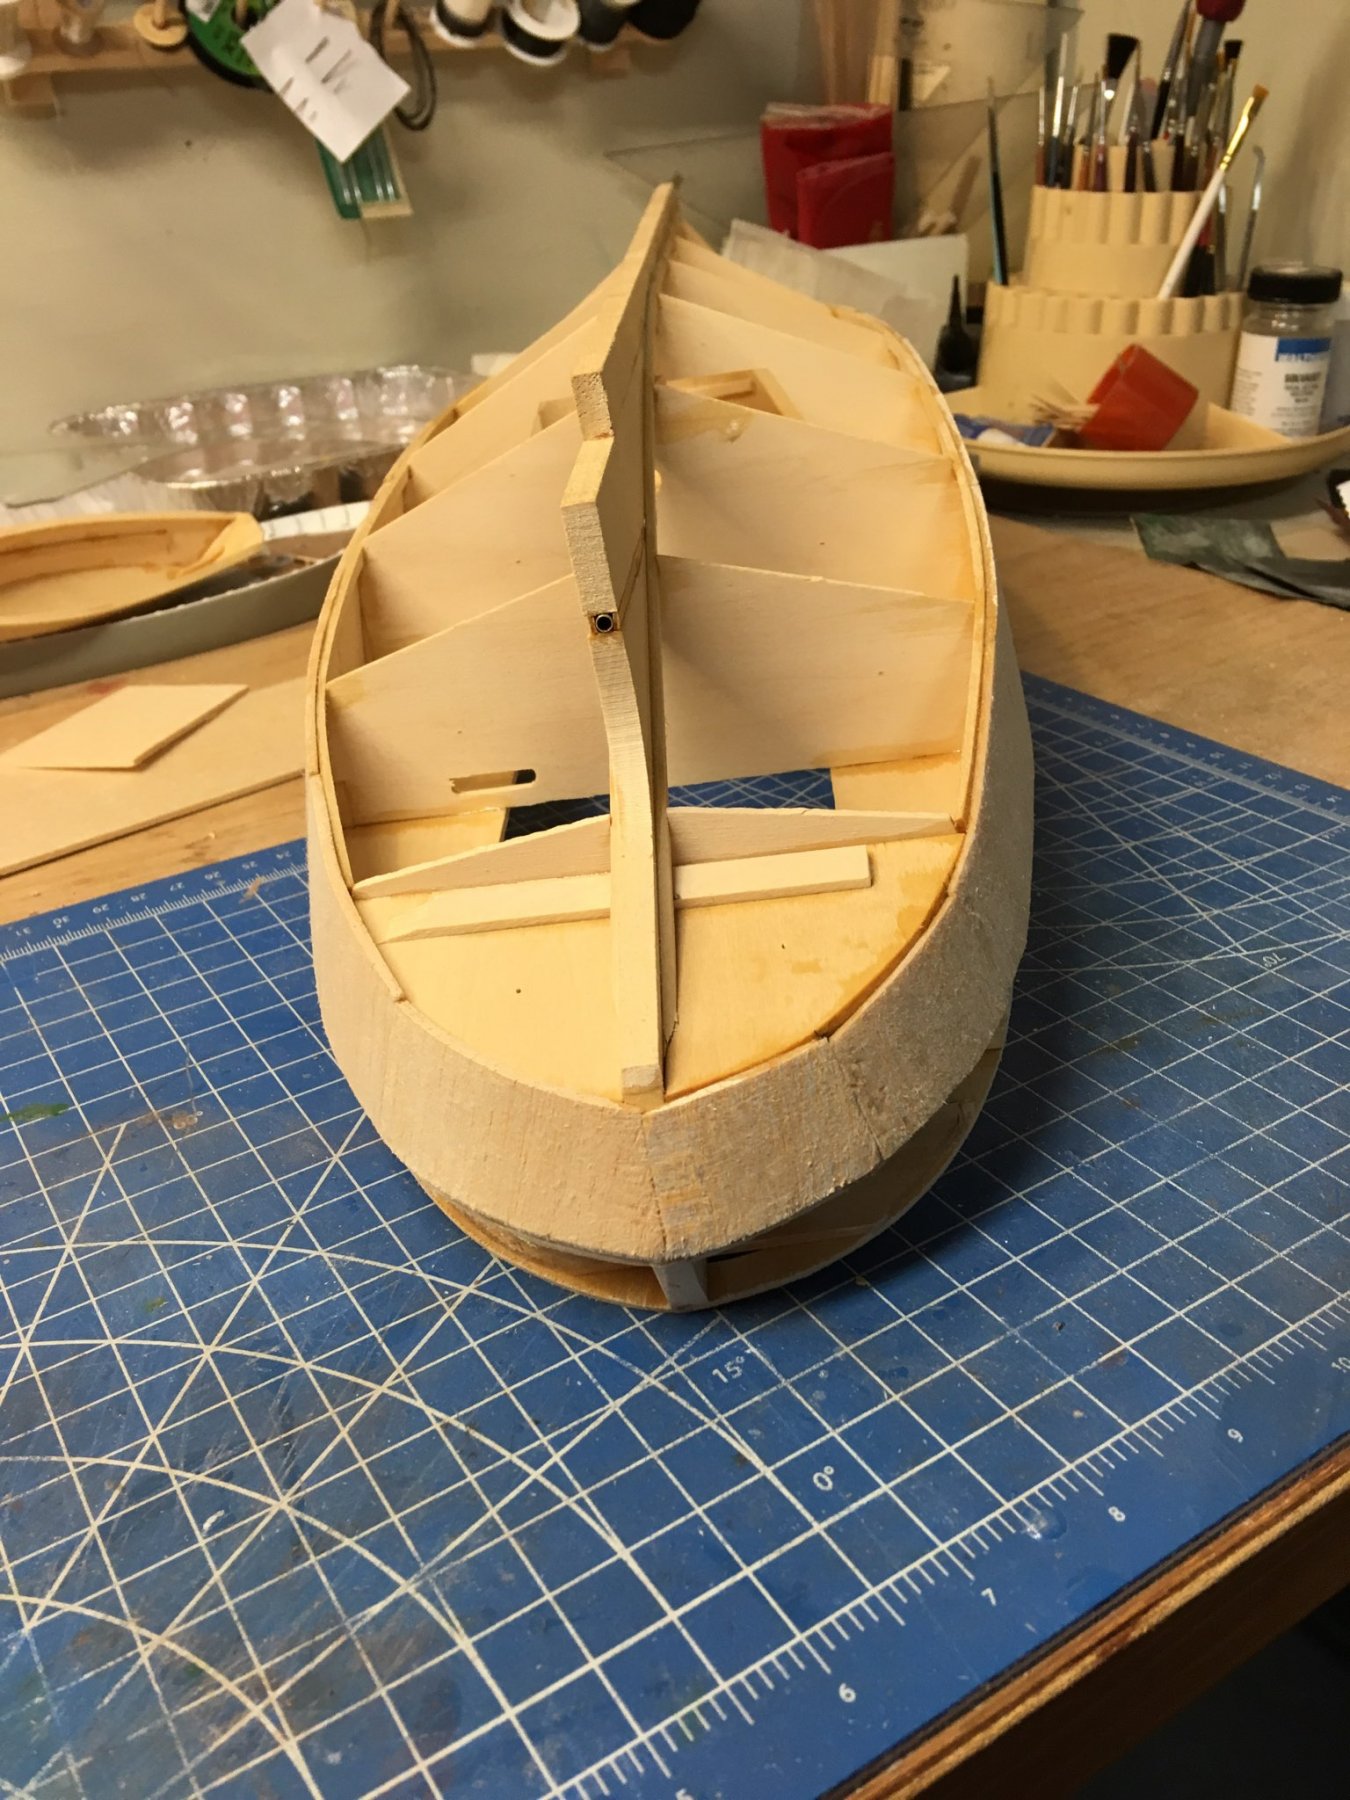
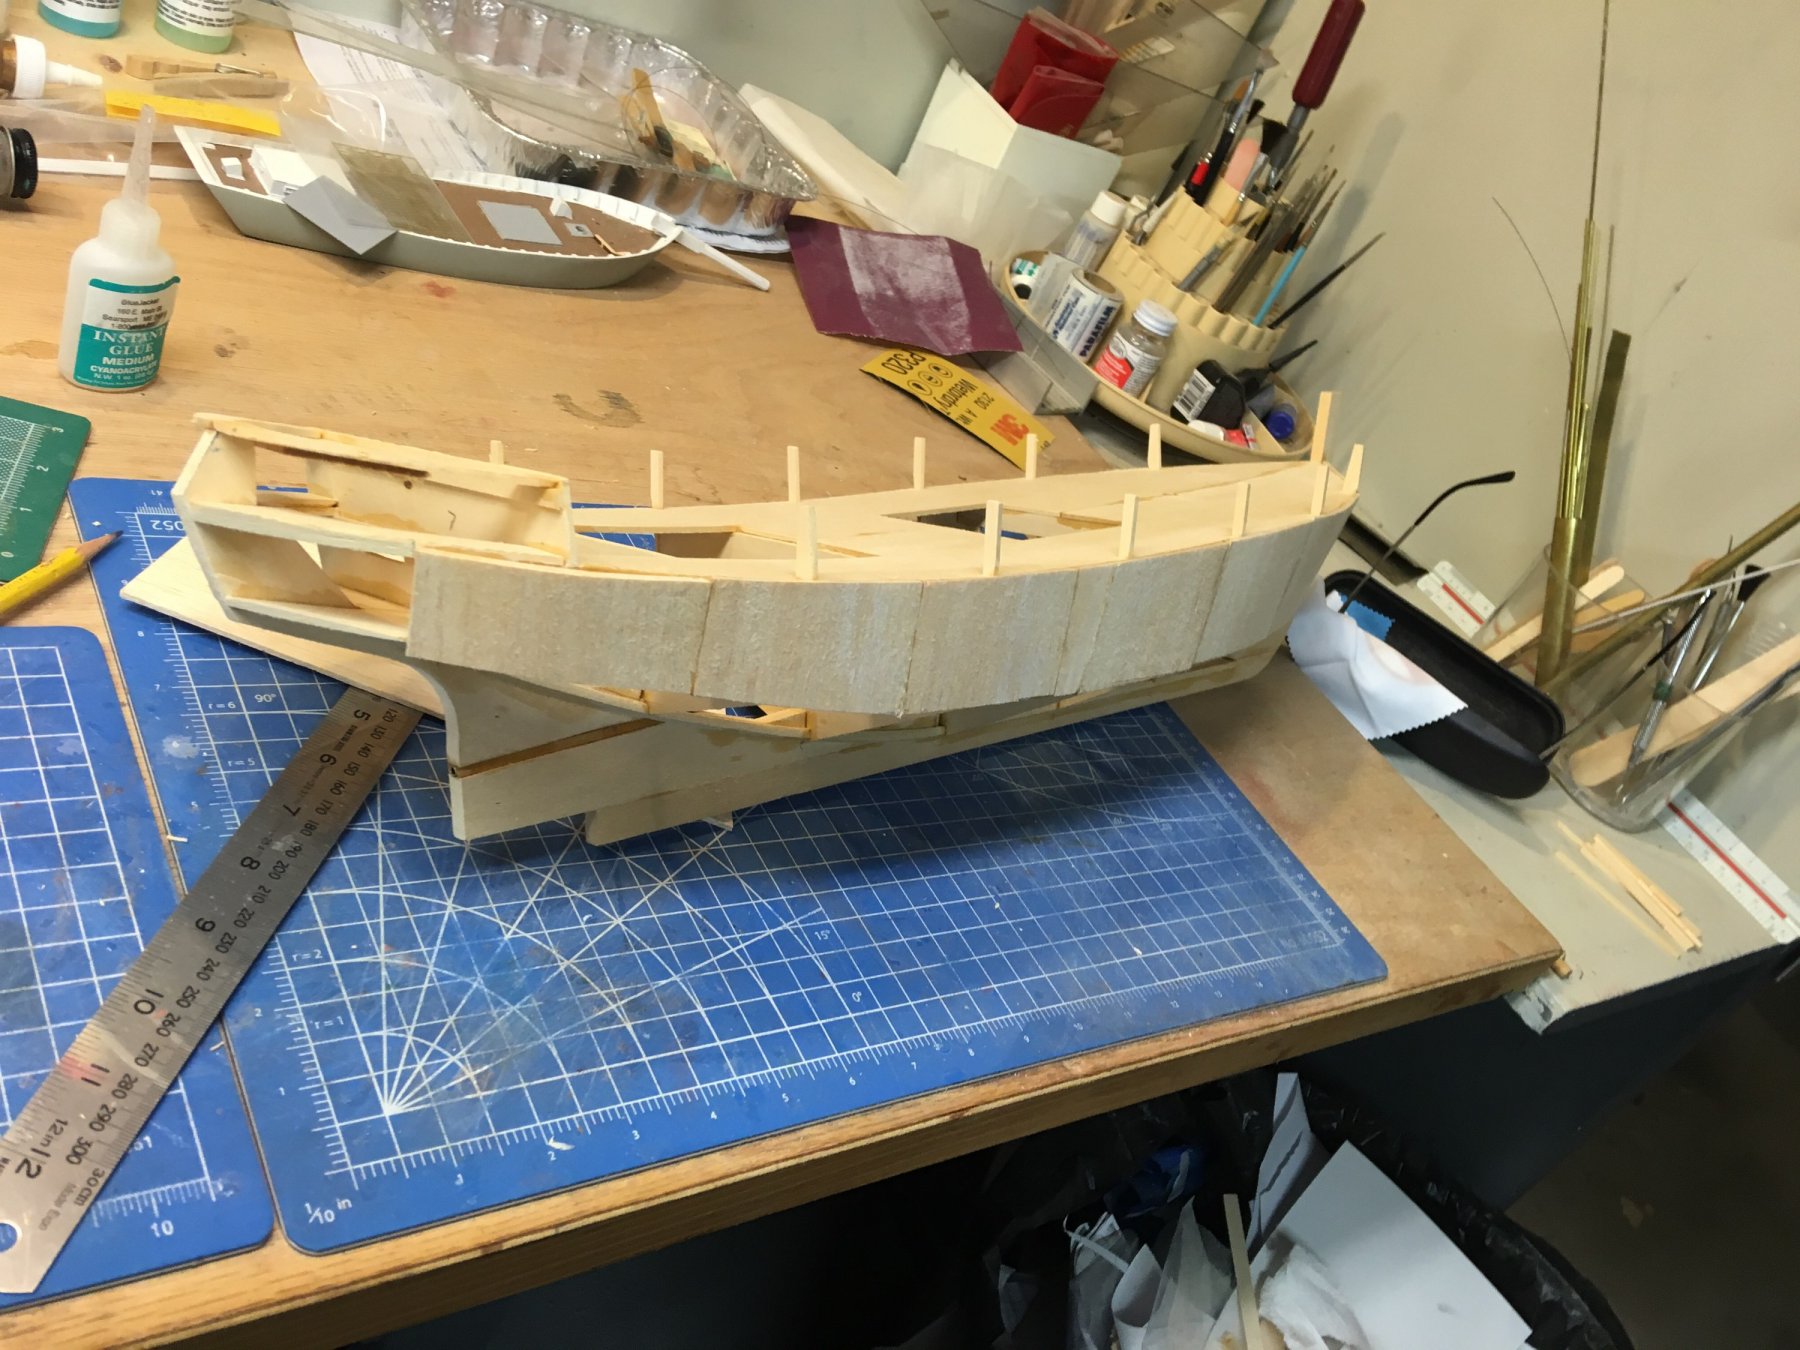
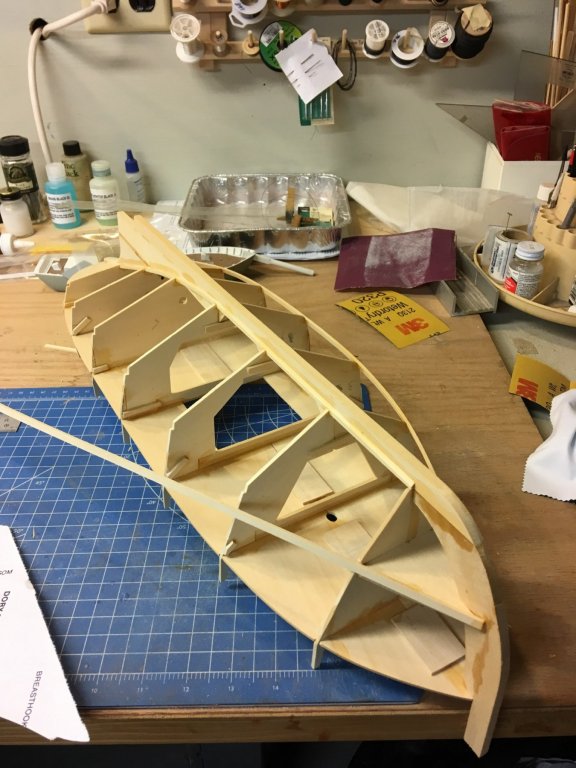
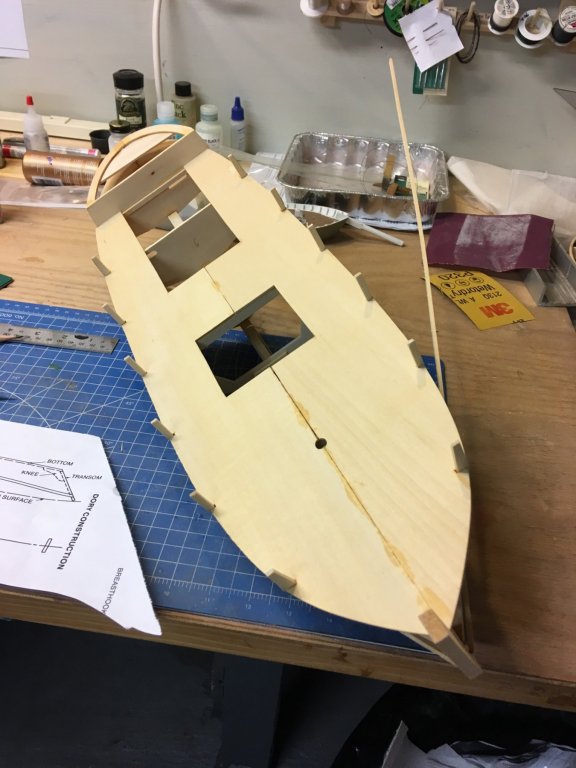
So now you can see all the bulkheads and decking in place. First photo is attaching the chine strips, second photo is the topsides, and the raised stern.
- 64 replies
-
- 6
-
-
- laughing whale
- trawler
- (and 2 more)
-
No-one will look at your model and say "you didn't overlap your plates" - instead they will say "wow what a smooth job of coppering you did" Modeling is part authenticity, but also part of the art of making it look good. Like I said in a past newsletter " putty and paint - makes it look like what it ain't" Keep up the VERY good work! Nic
- 104 replies
-
- 7
-
-
- constitution
- BlueJacket Shipcrafters
- (and 1 more)
-
I haven't seen anyone new - did I miss someone?
-
Jim, Looking very good. Remember, back to front, bottom to top. Of course, with butt joints it doesn't make a difference. Nic
- 104 replies
-
- 3
-
-
- constitution
- BlueJacket Shipcrafters
- (and 1 more)
-
Looks like it's time to hoist the flags! Nice job......
- 43 replies
-
- 2
-
-
- virginia
- BlueJacket Shipcrafters
- (and 1 more)
-
You can see the rough hull in the first picture. I'll take some progress photos as I carve. Nic
- 356 replies
-
- 6
-
-
- red jacket
- finished
- (and 1 more)
-
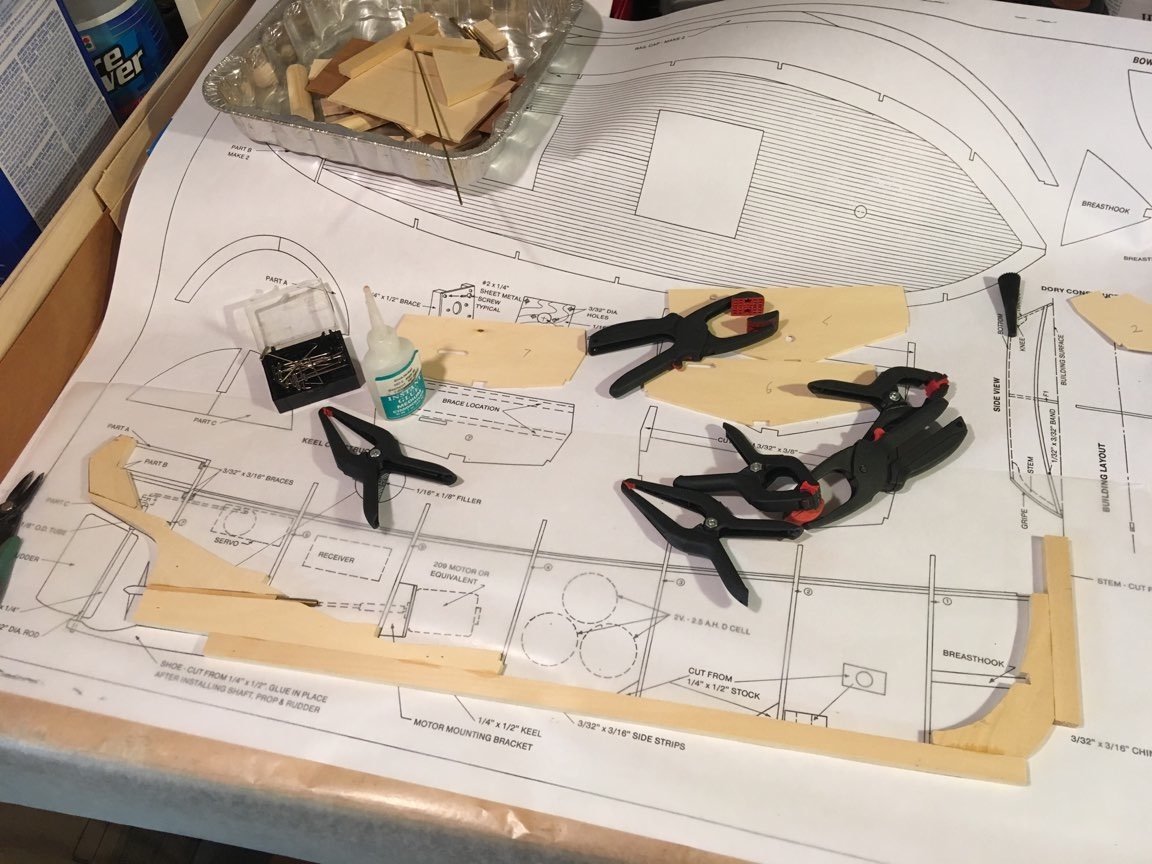
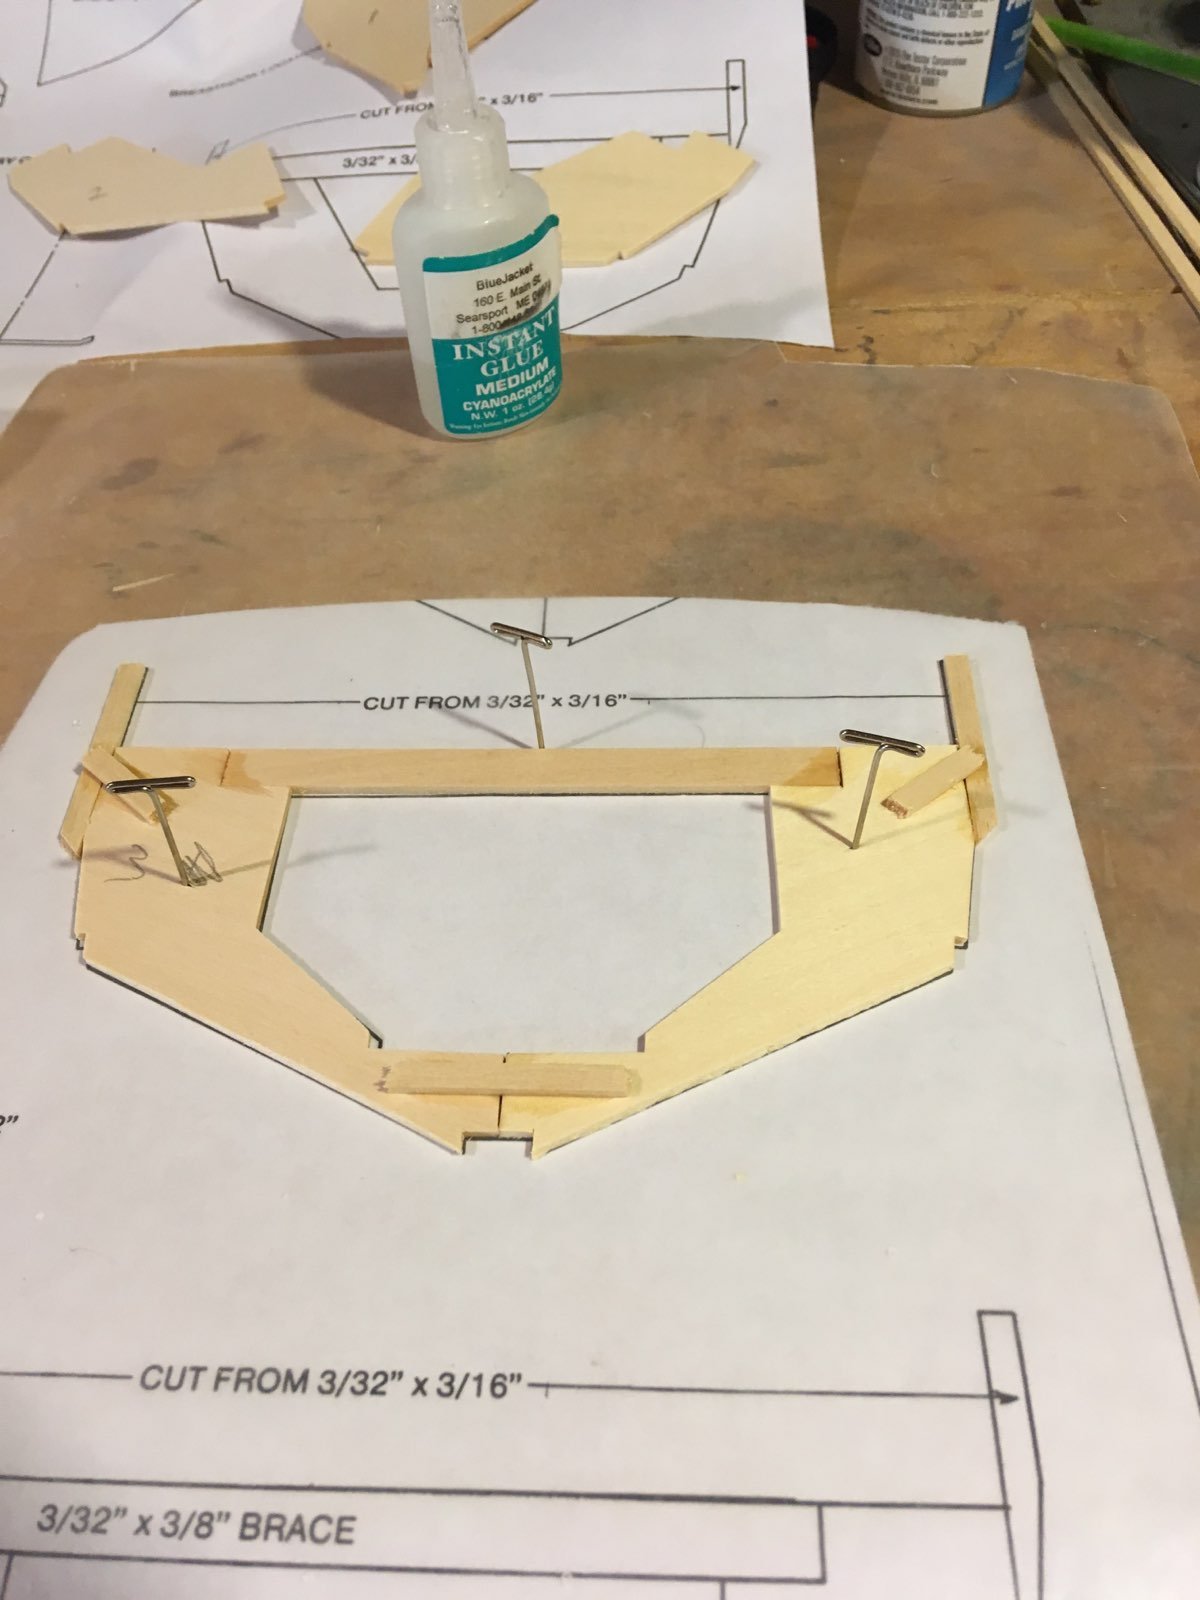
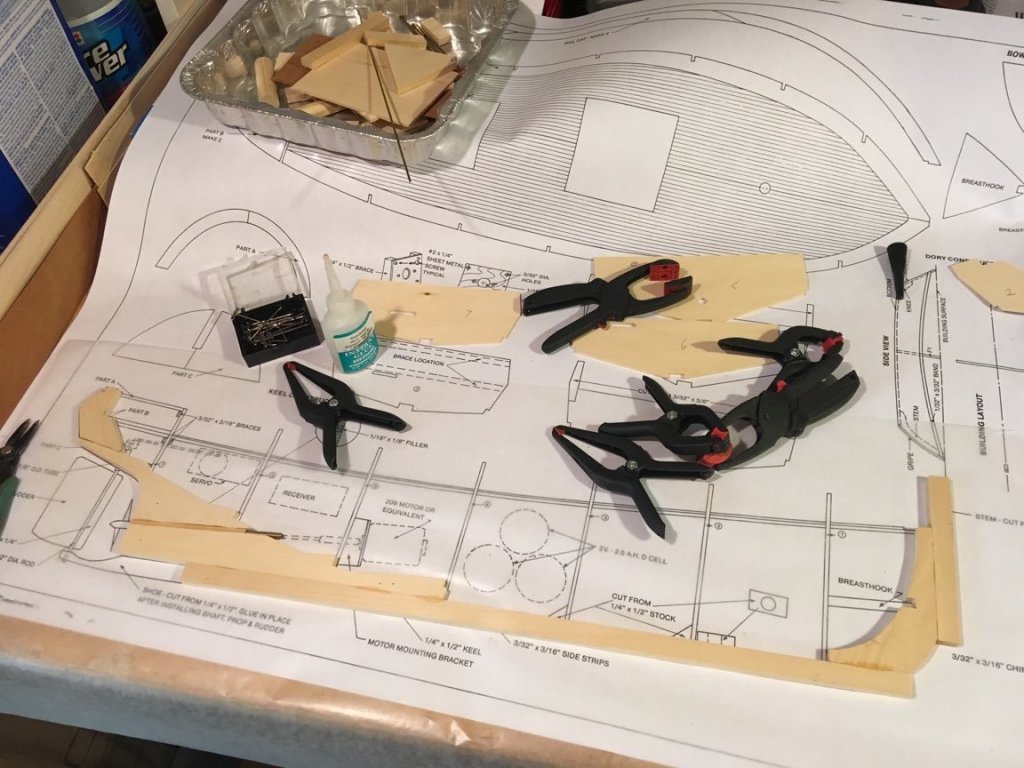
I took the previous photos on Fri. Saturday I actually started to do some assembly. Here's the keel: And one of the bulkheads. Experience has taught me that when butt gluing edge pieces, it is better to scarf a piece across the joint to strengthen it. Just be sure it won't be in the way of future assembly steps!

- 64 replies
-
- 4
-
-
- laughing whale
- trawler
- (and 2 more)