MrBlueJacket
-
Posts
1,317 -
Joined
-
Last visited
Content Type
Profiles
Forums
Gallery
Events
Everything posted by MrBlueJacket
-
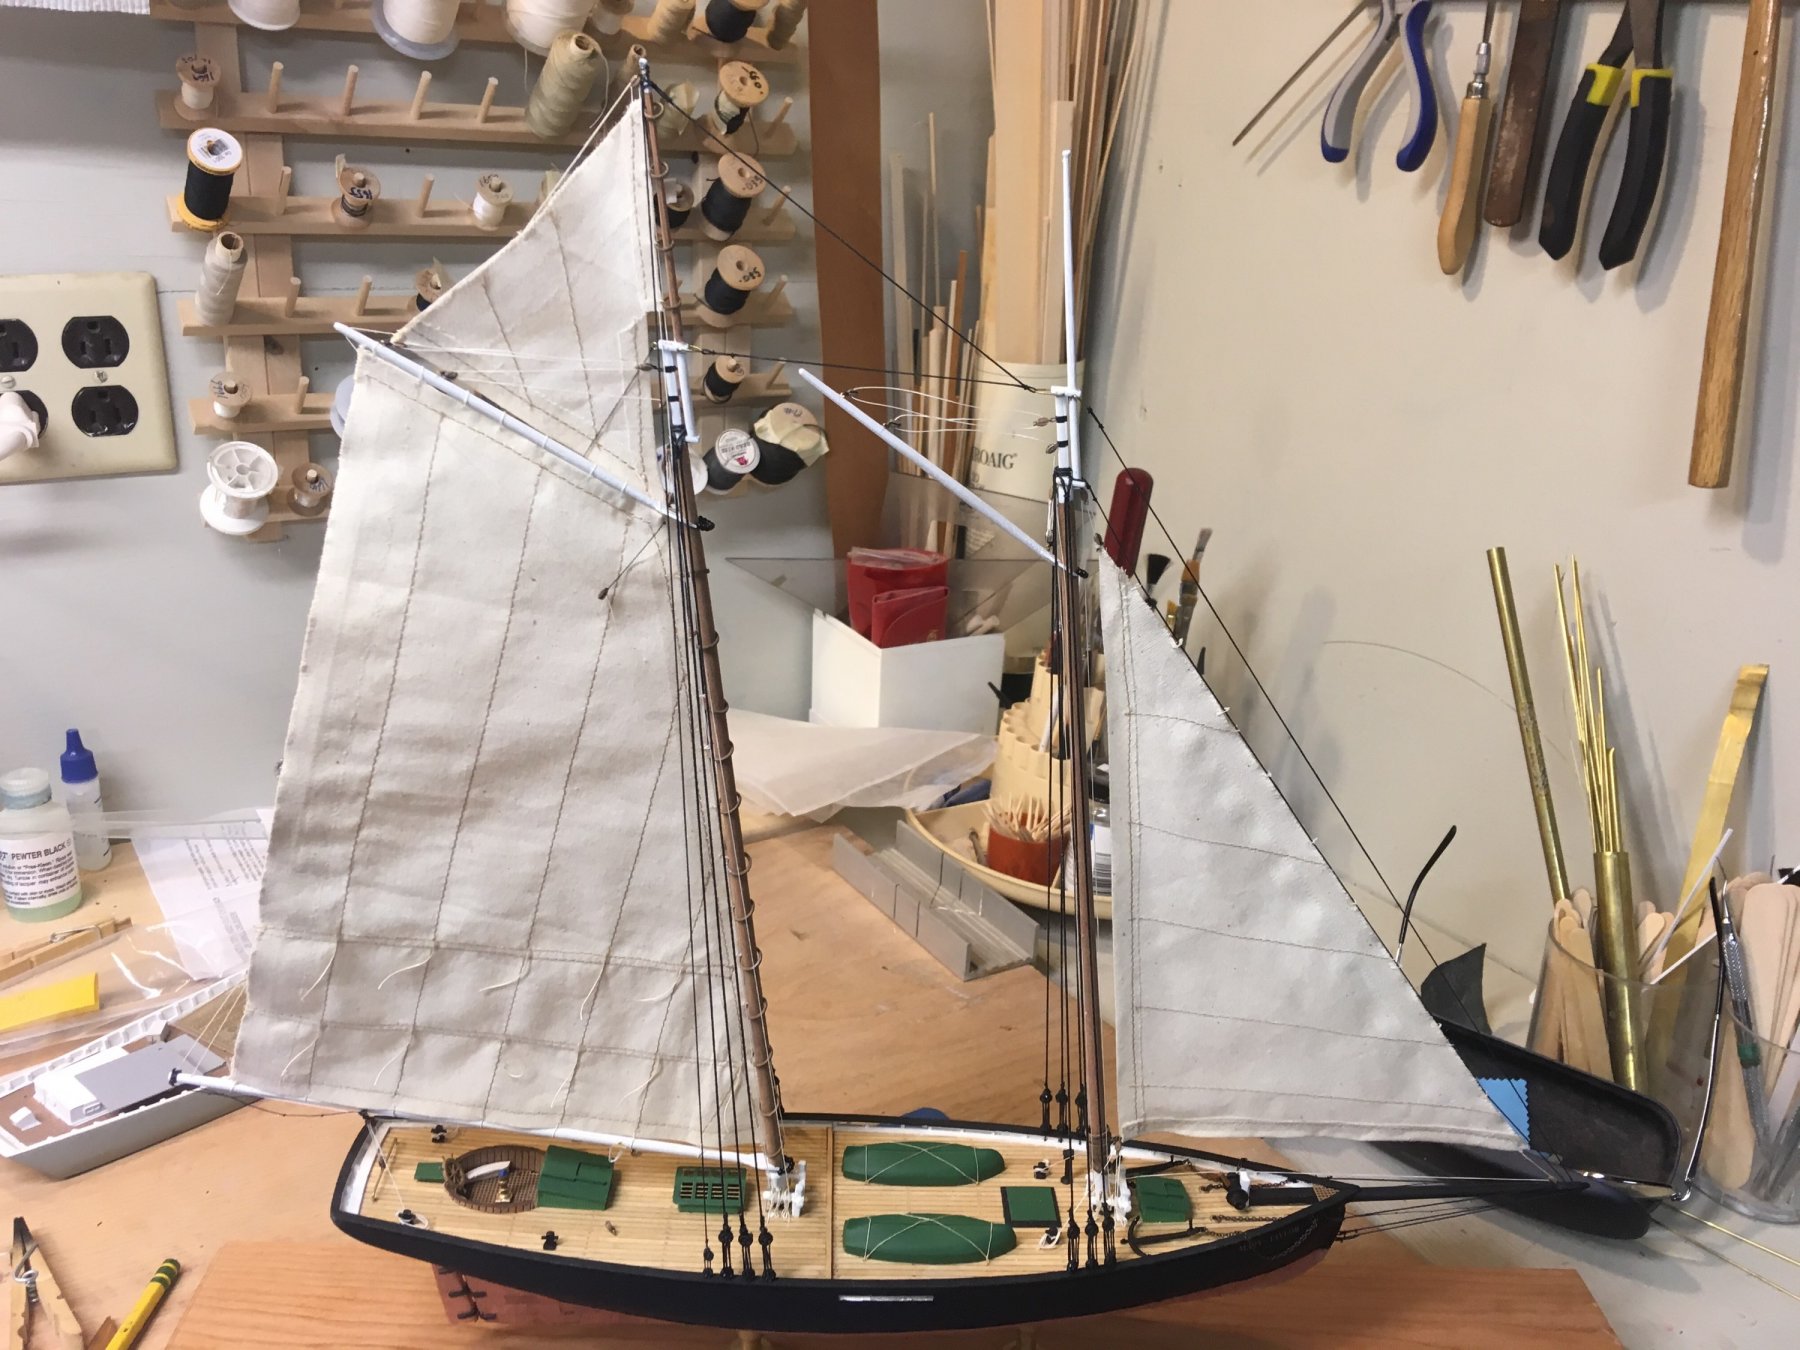
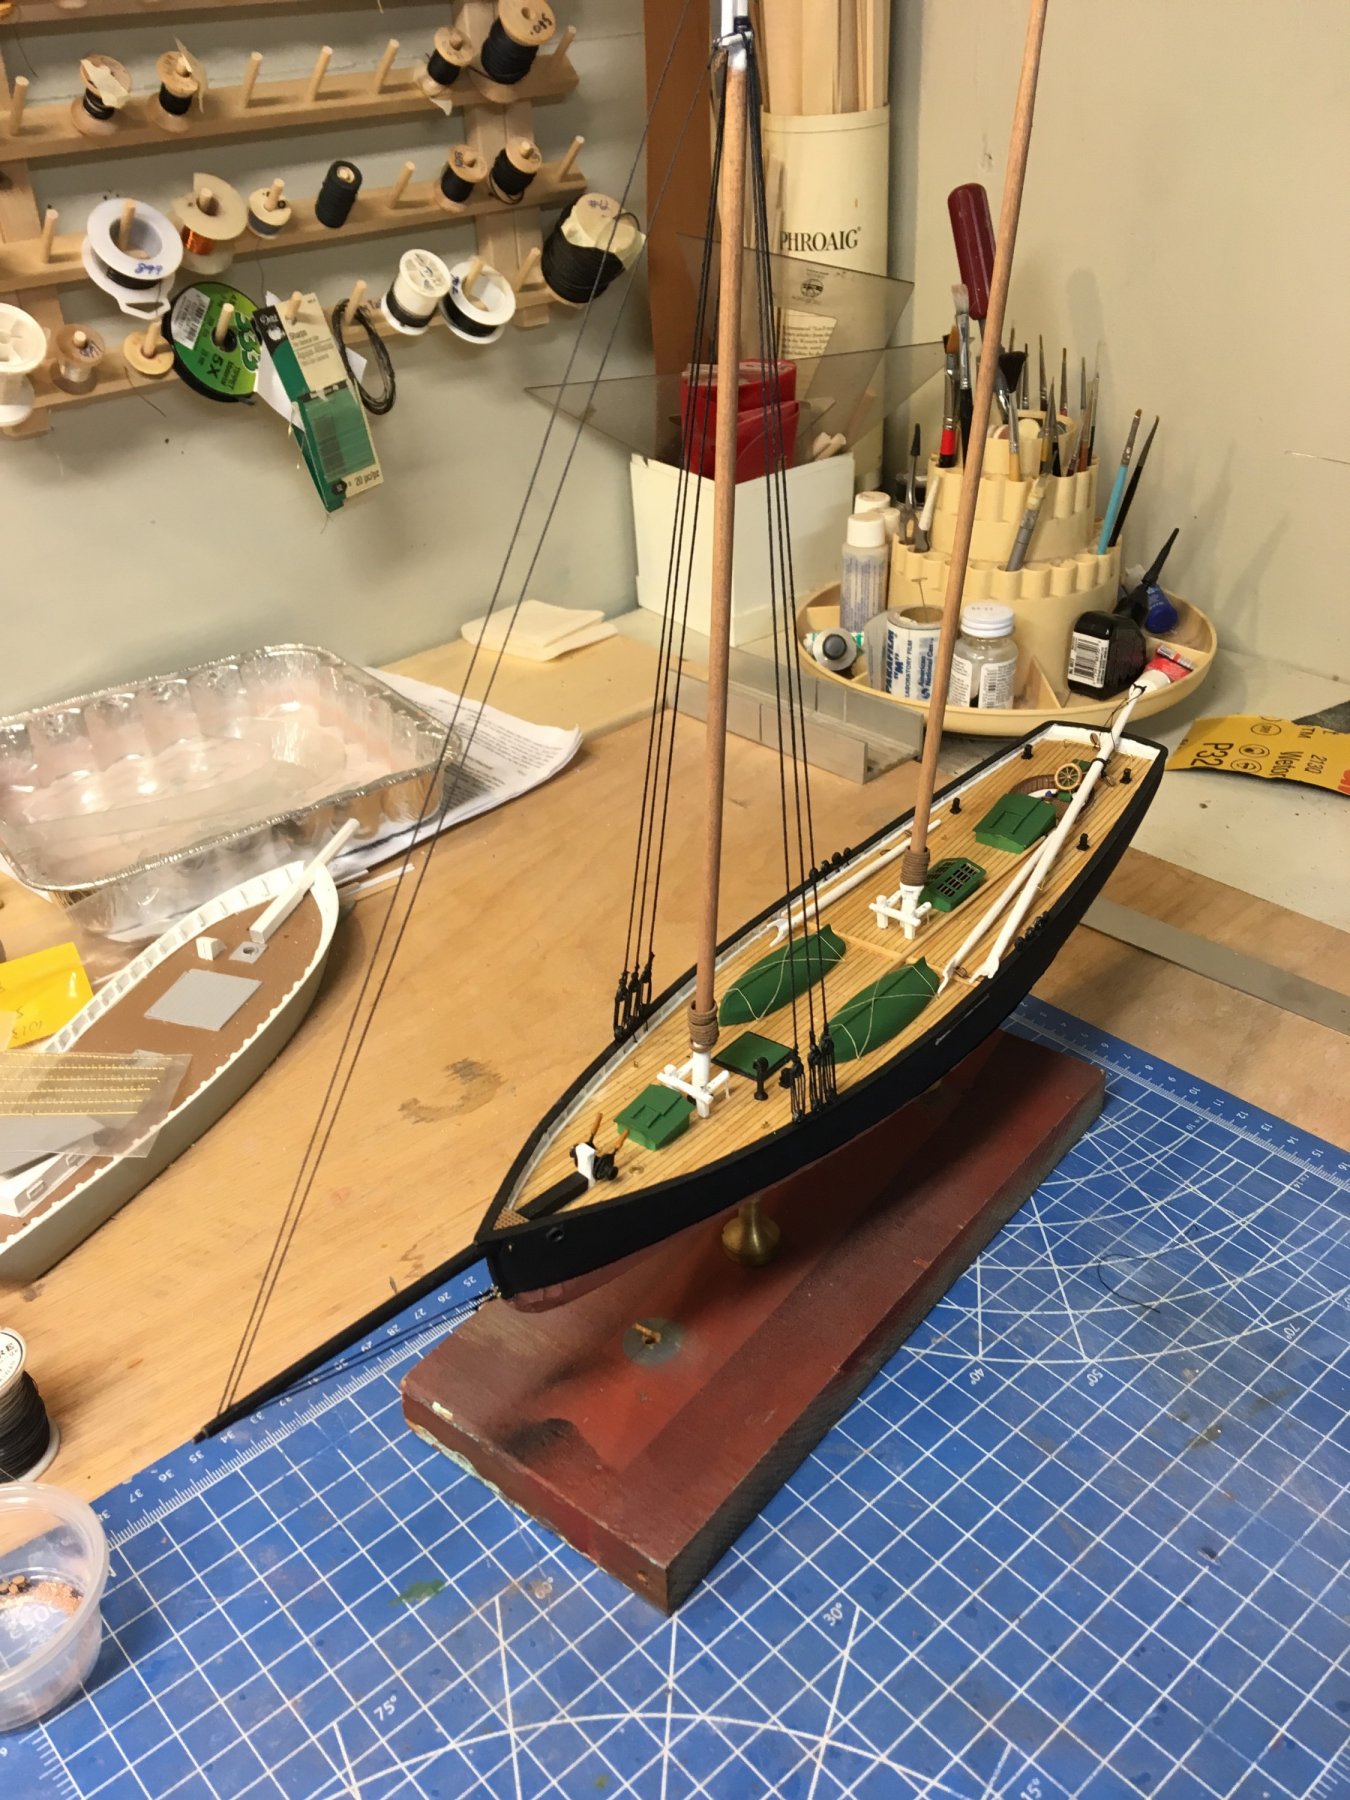
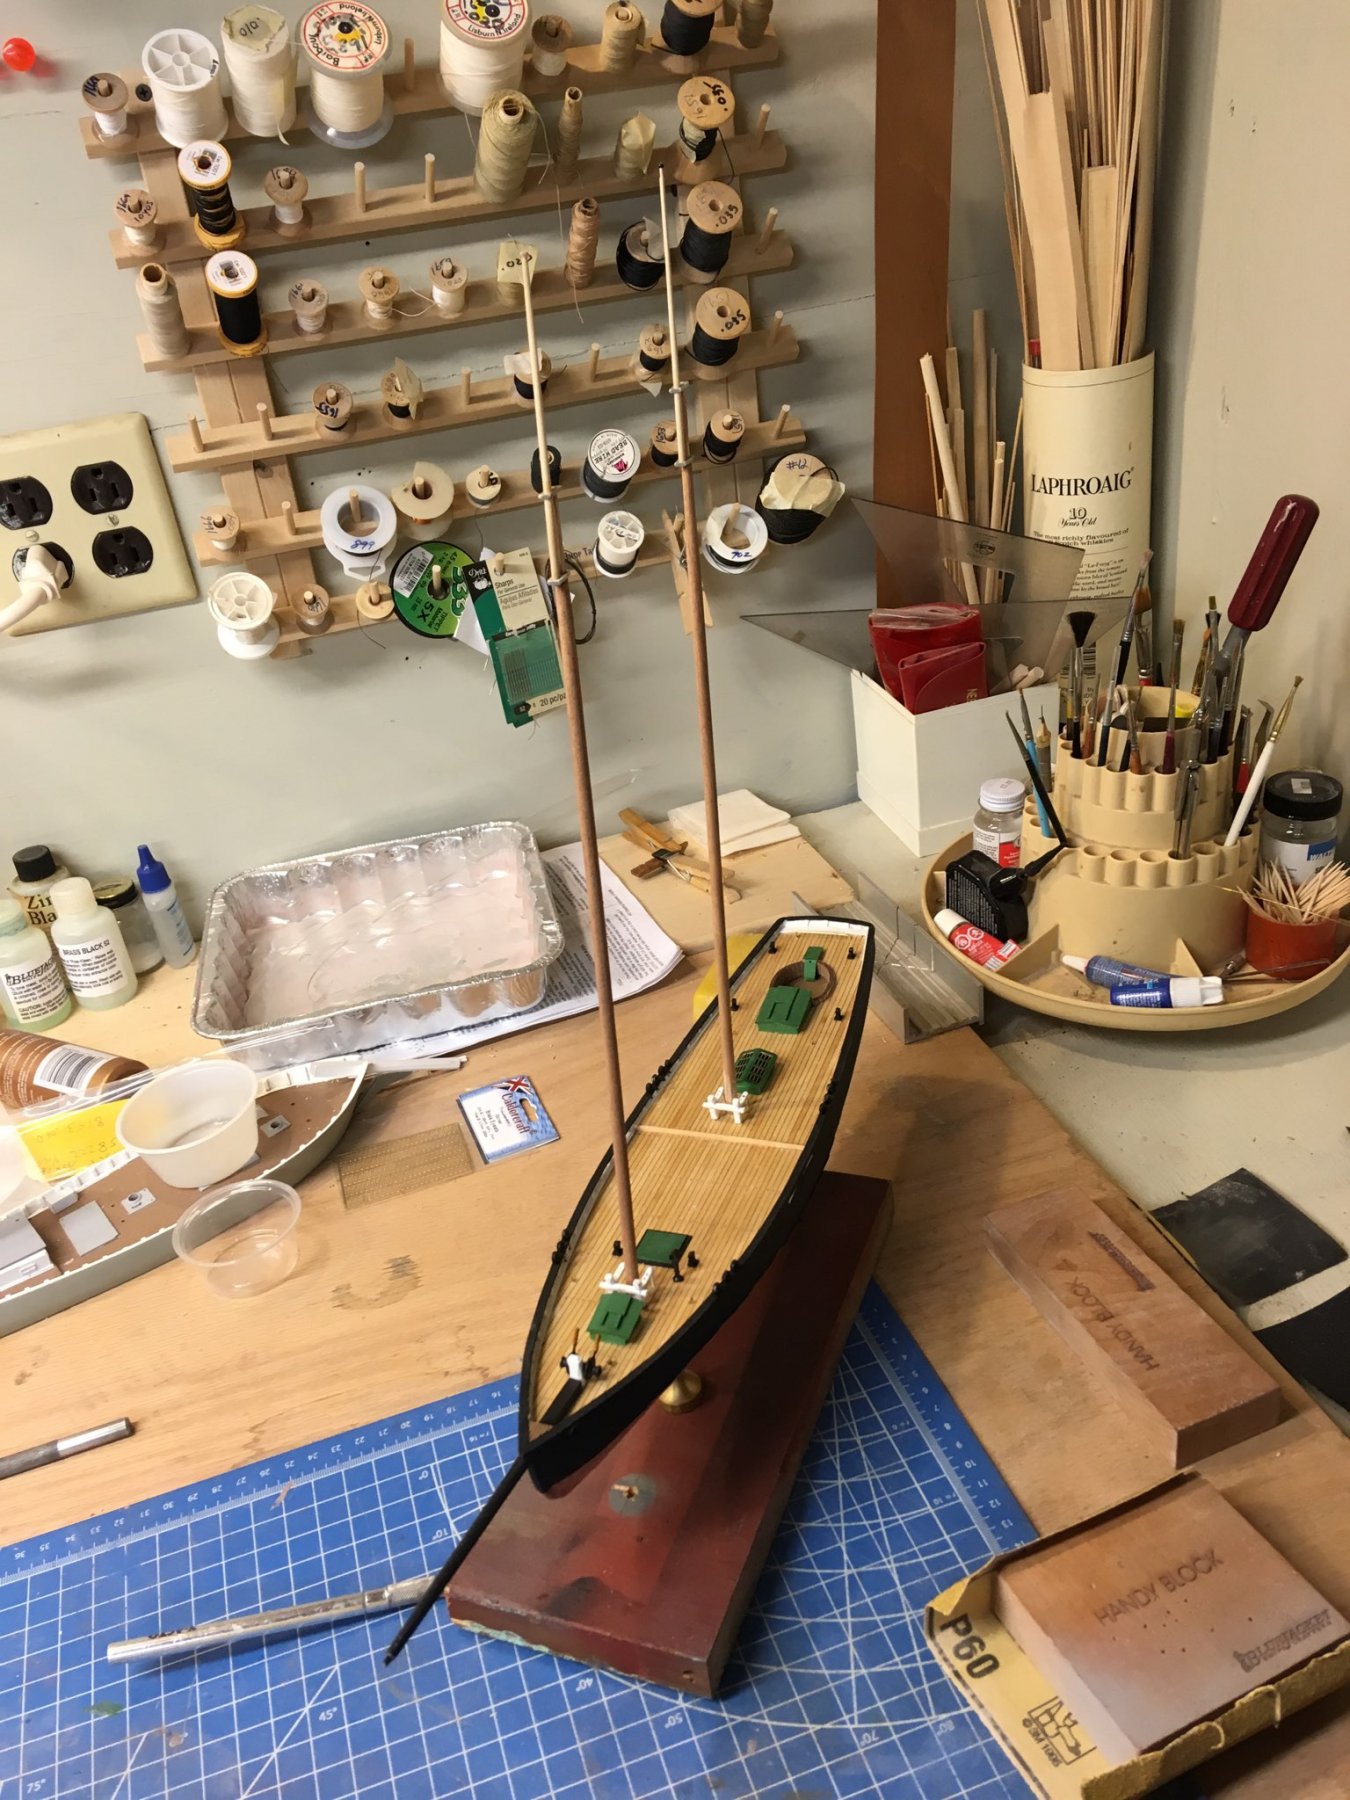
 Speaking of sails, here's 3 of the 4 sails added. One sail, and some jib tie-downs and she's done. notice the finished display base instead of the work board. I had to do it twice, because the first time I had bow/stern in the wrong direction!
- 77 replies
-
- 7
-

-
- schooner
- solid hull
- (and 4 more)
-
List of build threads in progress. If you have one I missed, please let me know K Hauptfuehrer - Constitution JFinan - Constitution Rtibbs - Kearsarge CPS_Skybolt - Kearsarge Sjanicki - Virginia - DONE ahb26 - Bowdsoin rcboatbill - Muscungus gsdpic - America RStrick - Smuggler Pete Jaquith - Seguin Schooner - Jeremiah O'Brien (modified) andygp5 - Sam Roberts (modified) BlackGSD - Yankee Hero
-
I am encouraging everyone to do a build thread of their BlueJacket projects on www.modelshipworld.com . So, to "put my money where my mouth is," here's a deal for you: If you do a build thread of any current BlueJacket kit, when you are finished, I will give you a 10% discount on the next BlueJacket kit you get from us. This offer will be good through at least the end of 2020 and maybe I'll extend it even further. Yes, this offer applies to the several build threads already in progress.
-
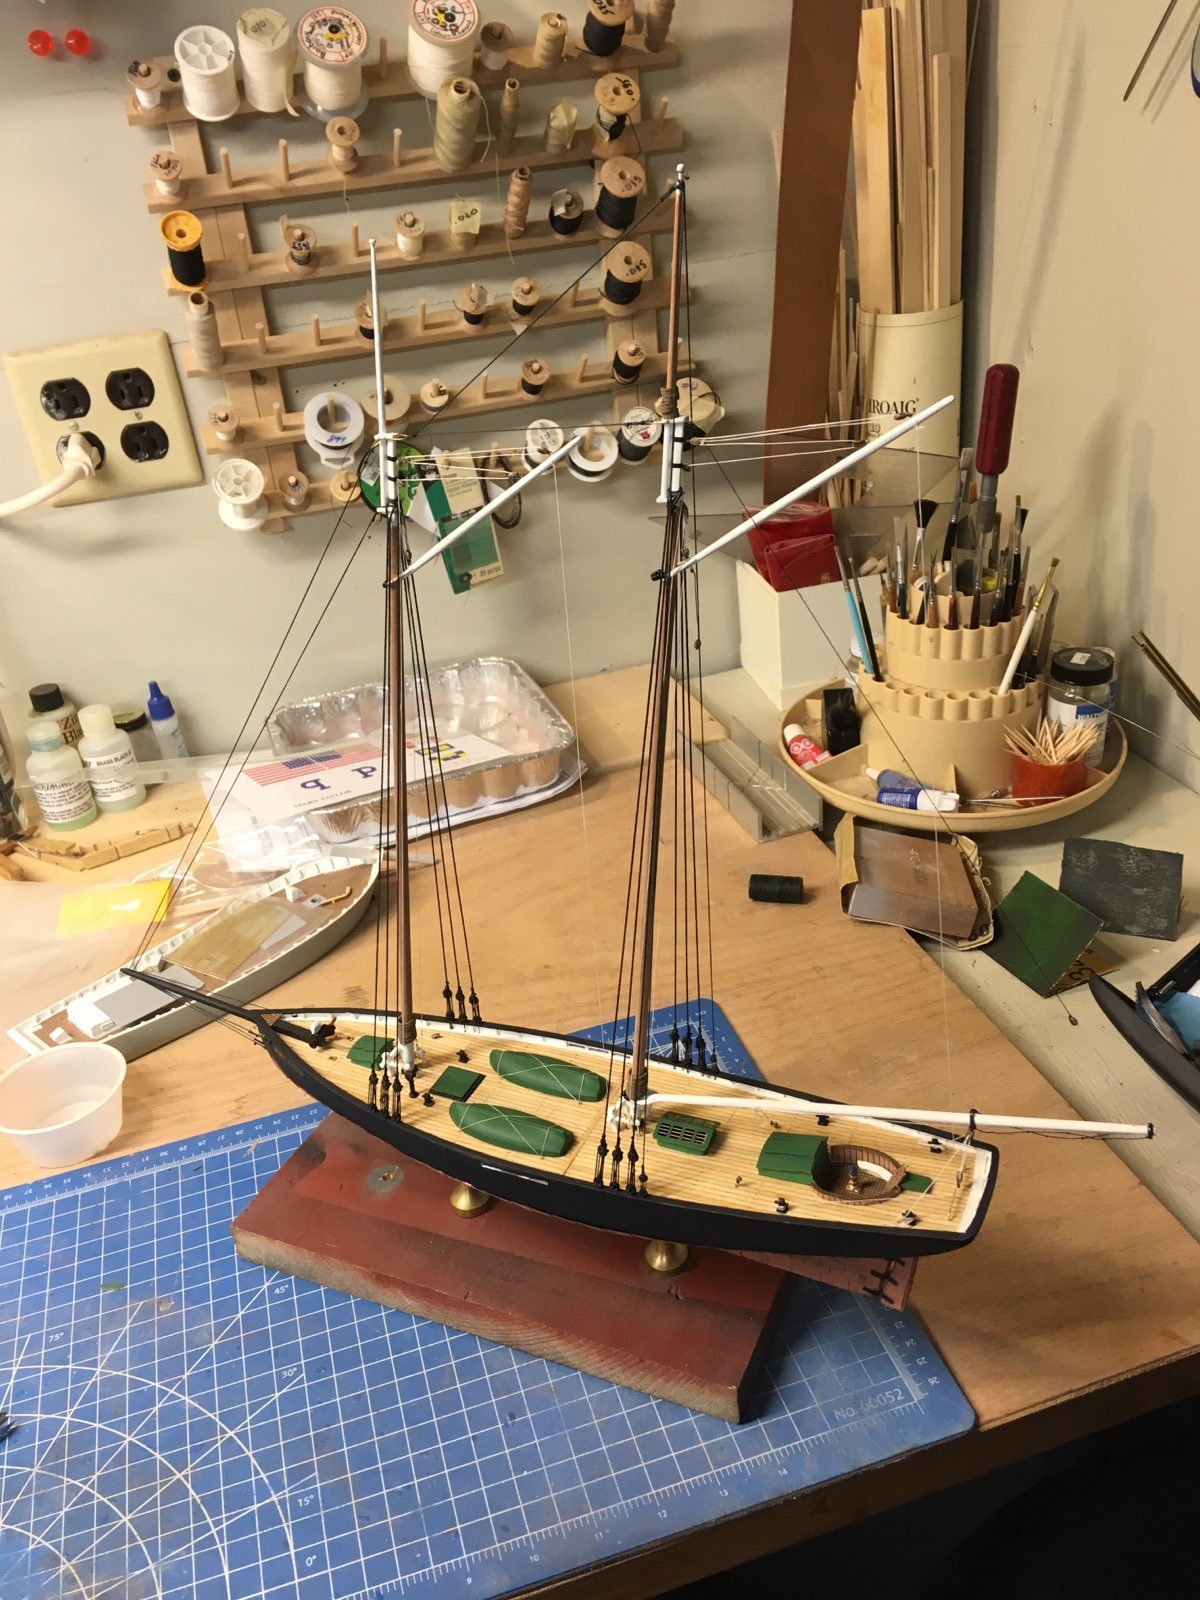
WHile the mahogany caprail is drying, I decided it is time to put the model on its mounting base. Here's bow and stern views:

- 29 replies
-
- 4
-
-
- tourist
- laughing whale
- (and 1 more)
-
And while those are drying, I put in some windows and trimmed them out with more mahogany.
- 29 replies
-
- 5
-
-
- tourist
- laughing whale
- (and 1 more)
-
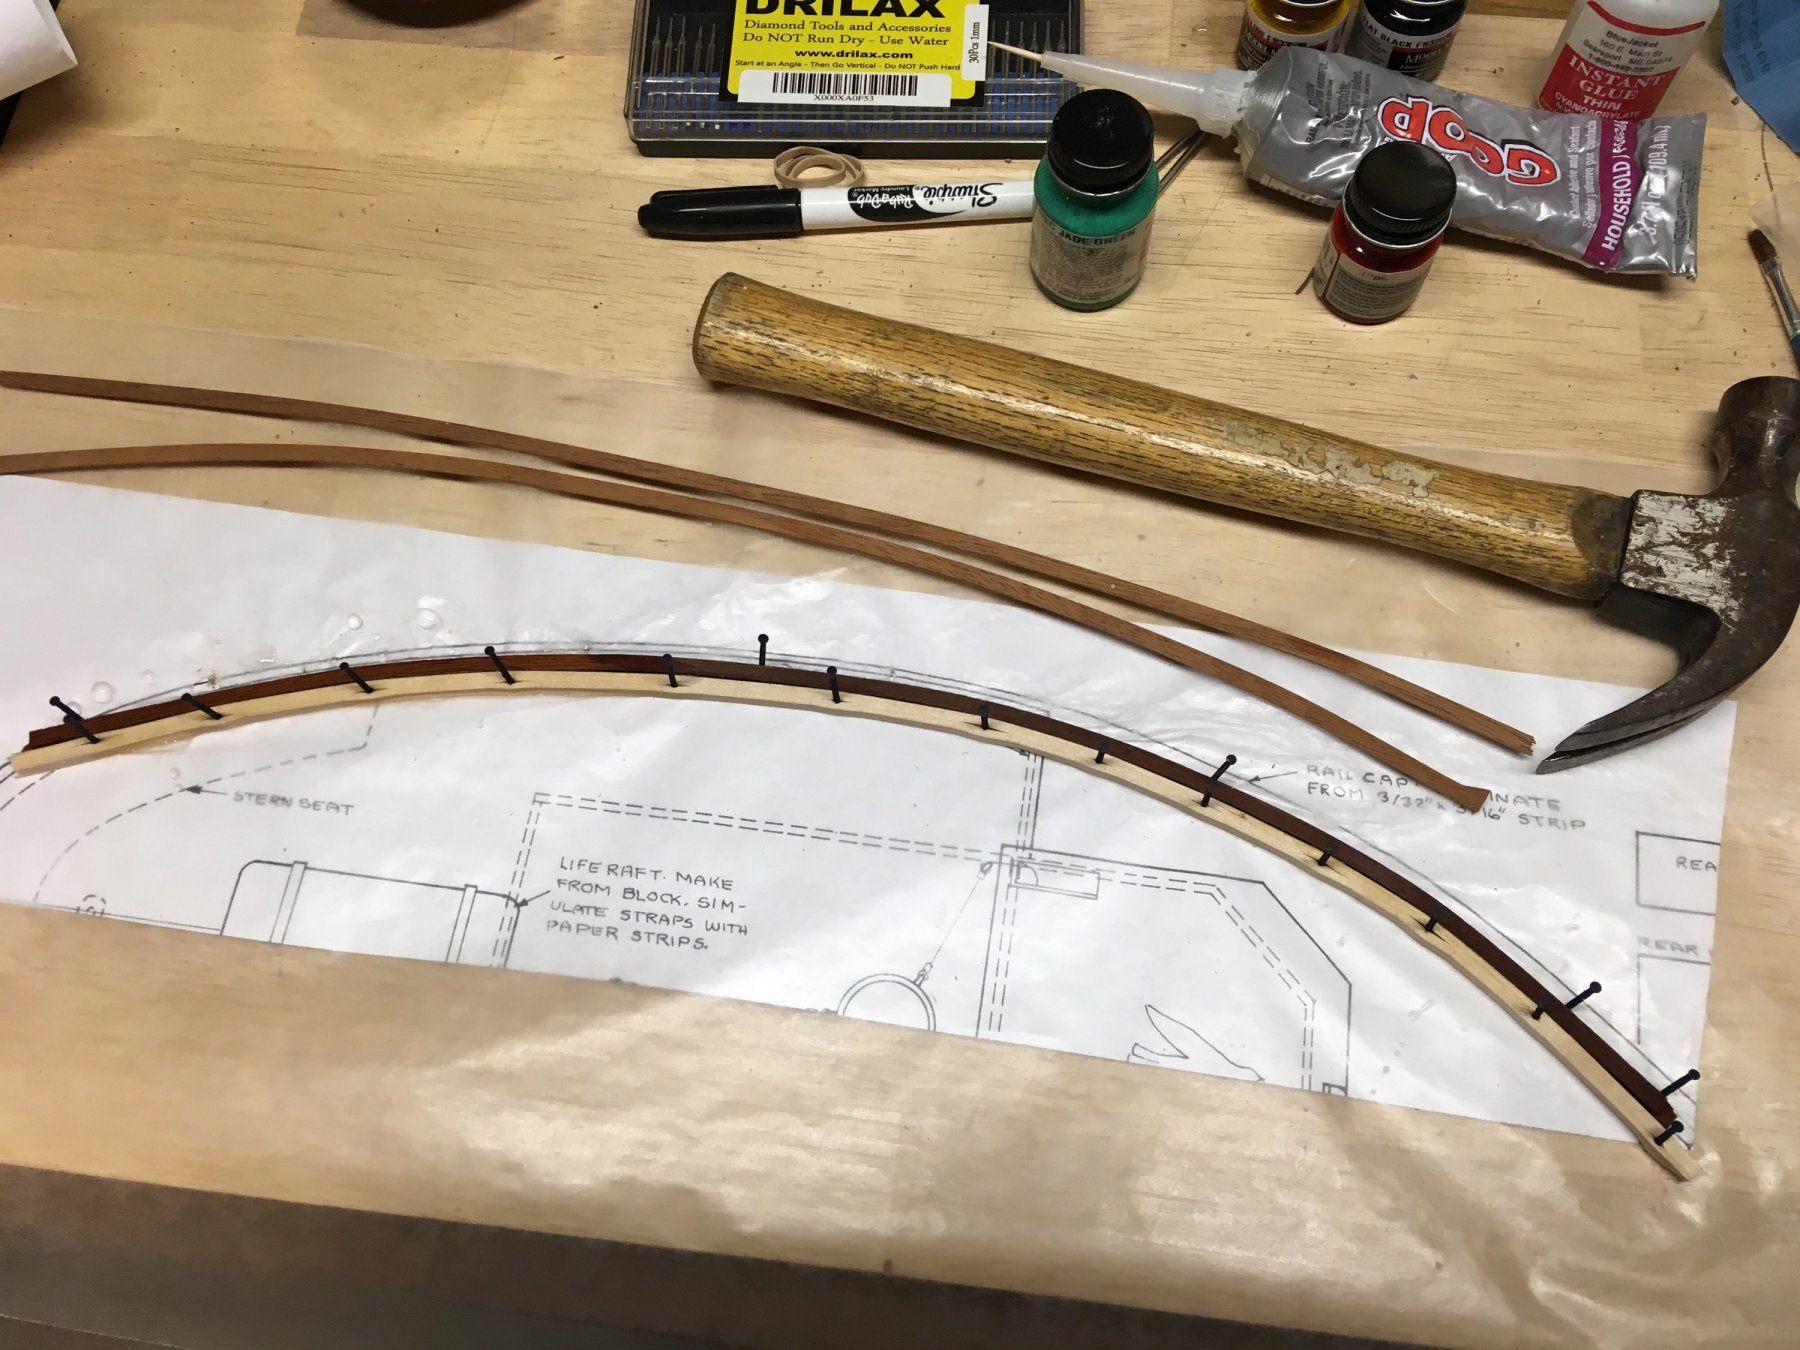
To finish the cap-rail, some 3/32 x 3/16 mahogany needs to be pre-bent. I soaked them in water overnight, then made a bending fence out of 1/8 square basswood. Looking at the first batch, they sprung back, so this will be a multi-bending process.

- 29 replies
-
- 3
-
-
- tourist
- laughing whale
- (and 1 more)
-
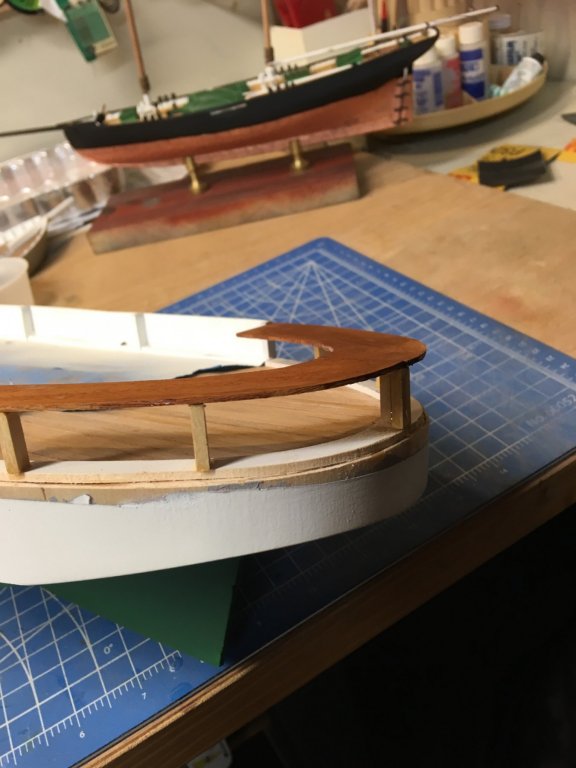
Rear bulwarks added and painted, and also the aft section of the caprail and a 1/8" half-round rub-rail as well.

- 29 replies
-
- 4
-
-
- tourist
- laughing whale
- (and 1 more)
-
I know our kit does not show this. In general, sheaves were put in topmasts so a line could run from the mastcap thru the sheave and back up to a block on the mastcap. This line would let you lift the topmast so you could take out the fid and hence lower the topmast.
- 163 replies
-
- 2
-
-
- america
- constructo
- (and 1 more)
-
If I didn't have to add sails to this, it would be finished!

- 77 replies
-
- 8
-
-
- schooner
- solid hull
- (and 4 more)
-
So the main shrouds, springer stay and topmast stay are installed.
- 77 replies
-
- 9
-
-
- schooner
- solid hull
- (and 4 more)
-
Played around with the pilot house sides. I like the result, don't you?
- 29 replies
-
- 6
-
-
- tourist
- laughing whale
- (and 1 more)
-
Foremast has all the blocks etc attached, so it is time to attach the shrouds.

- 77 replies
-
- 2
-
-
- schooner
- solid hull
- (and 4 more)
-
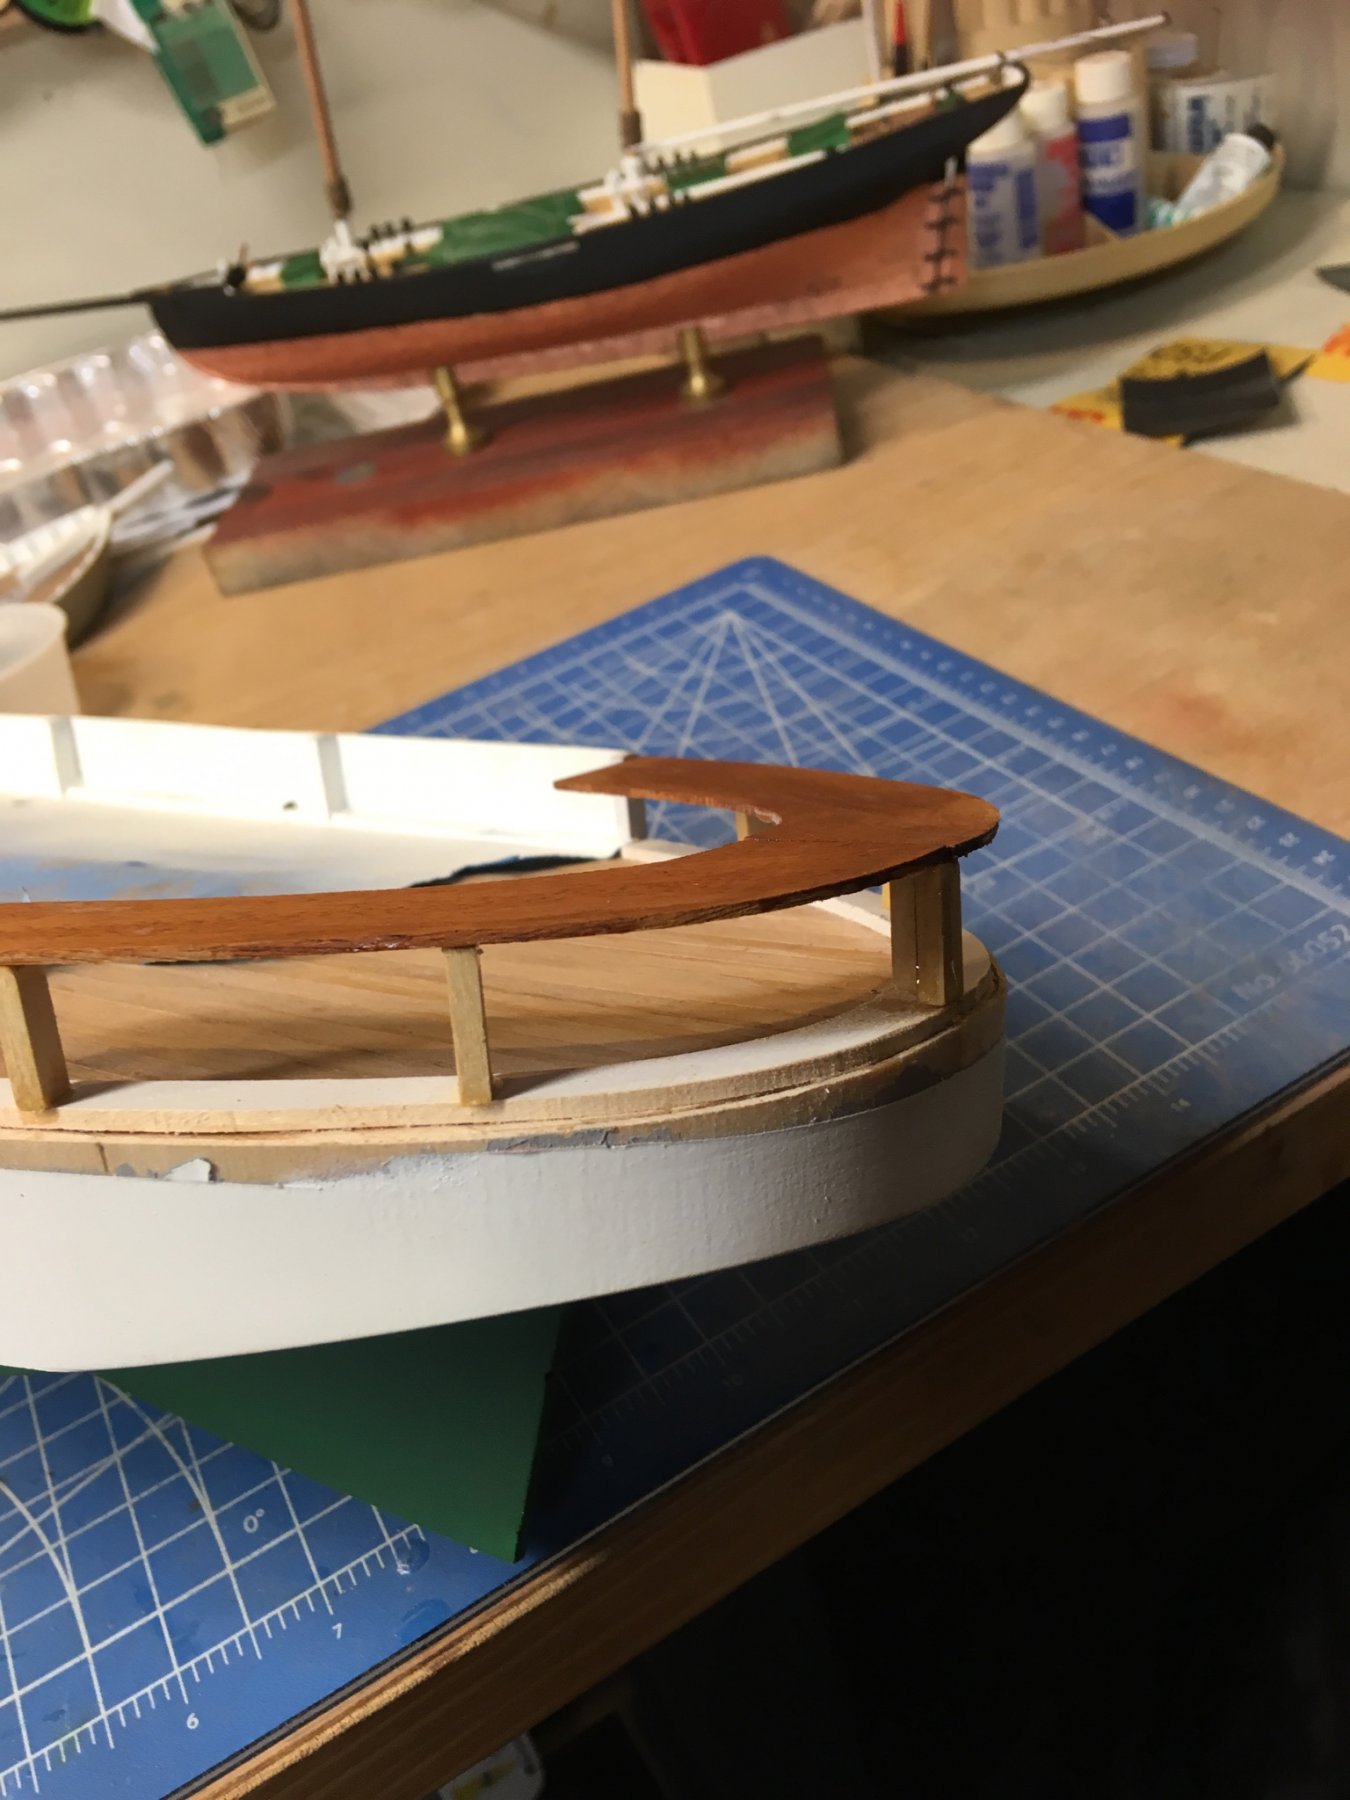
Moving to the stern, it is time to add the mahogany bench seats that ring the aft end. Next will be adding the bulwarks to them.
- 29 replies
-
- 3
-
-
- tourist
- laughing whale
- (and 1 more)
-
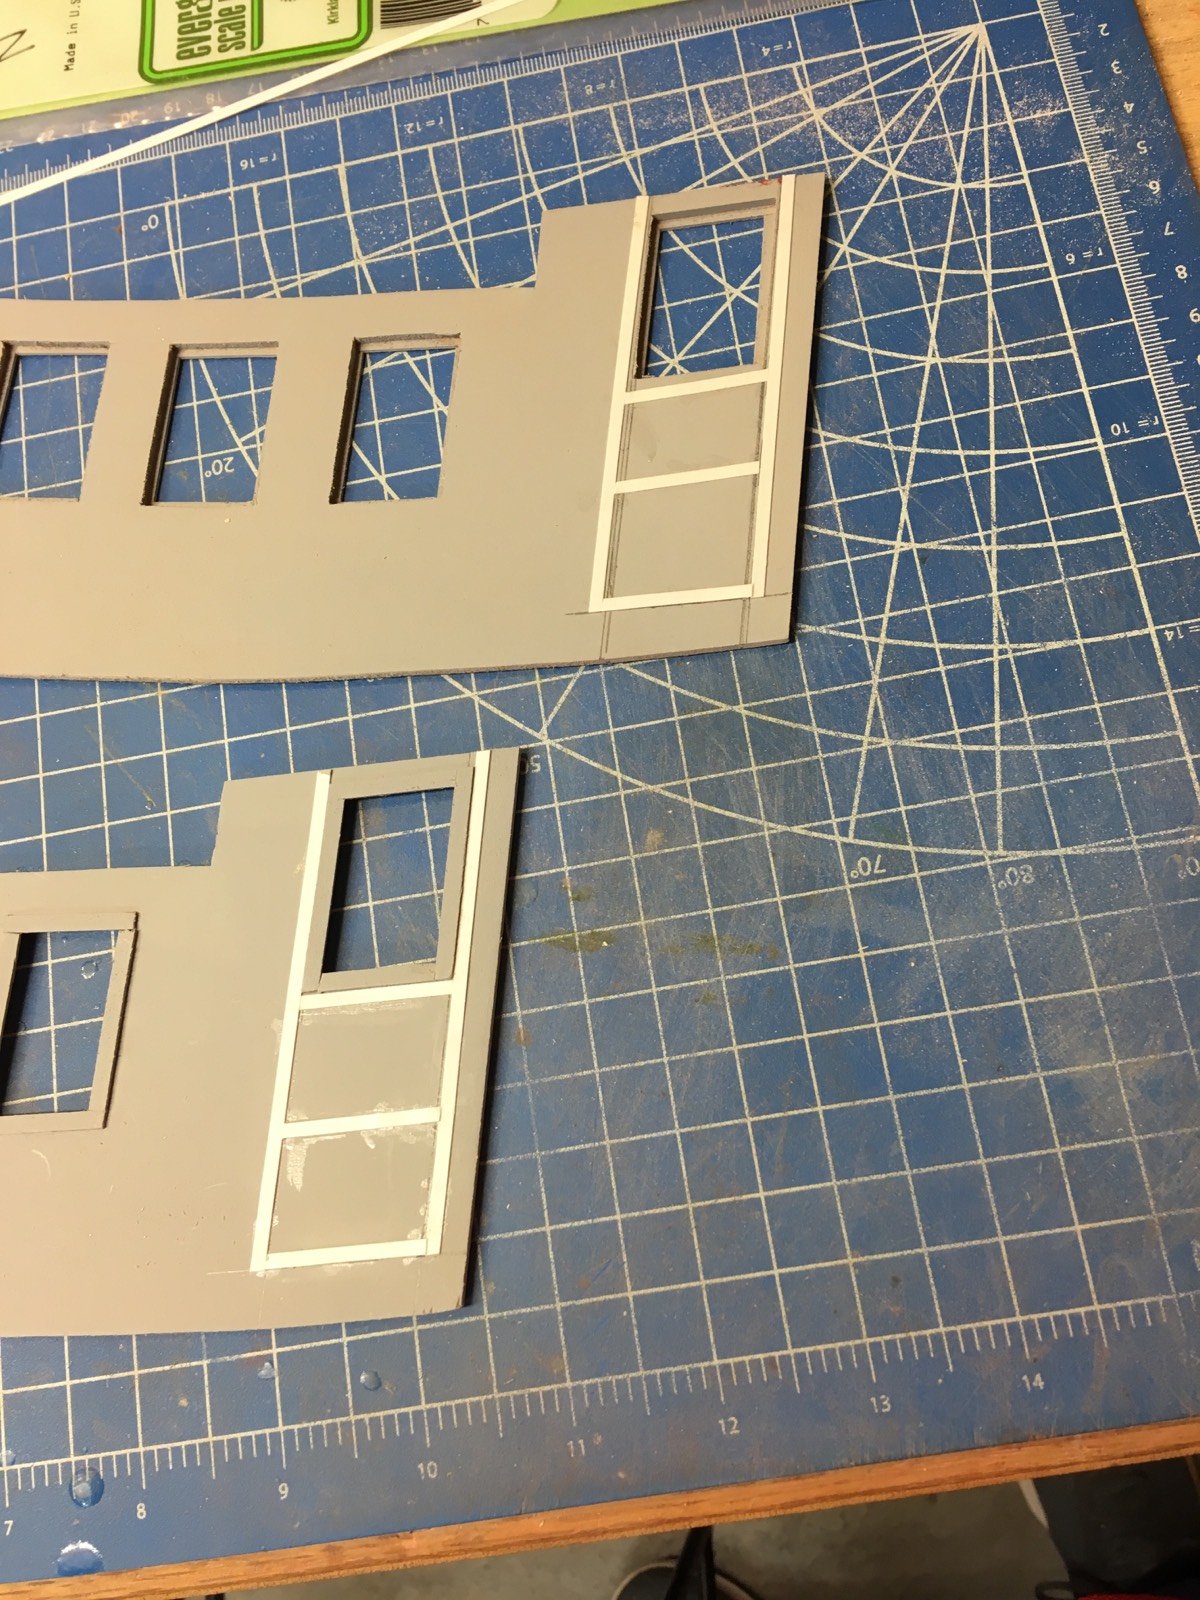
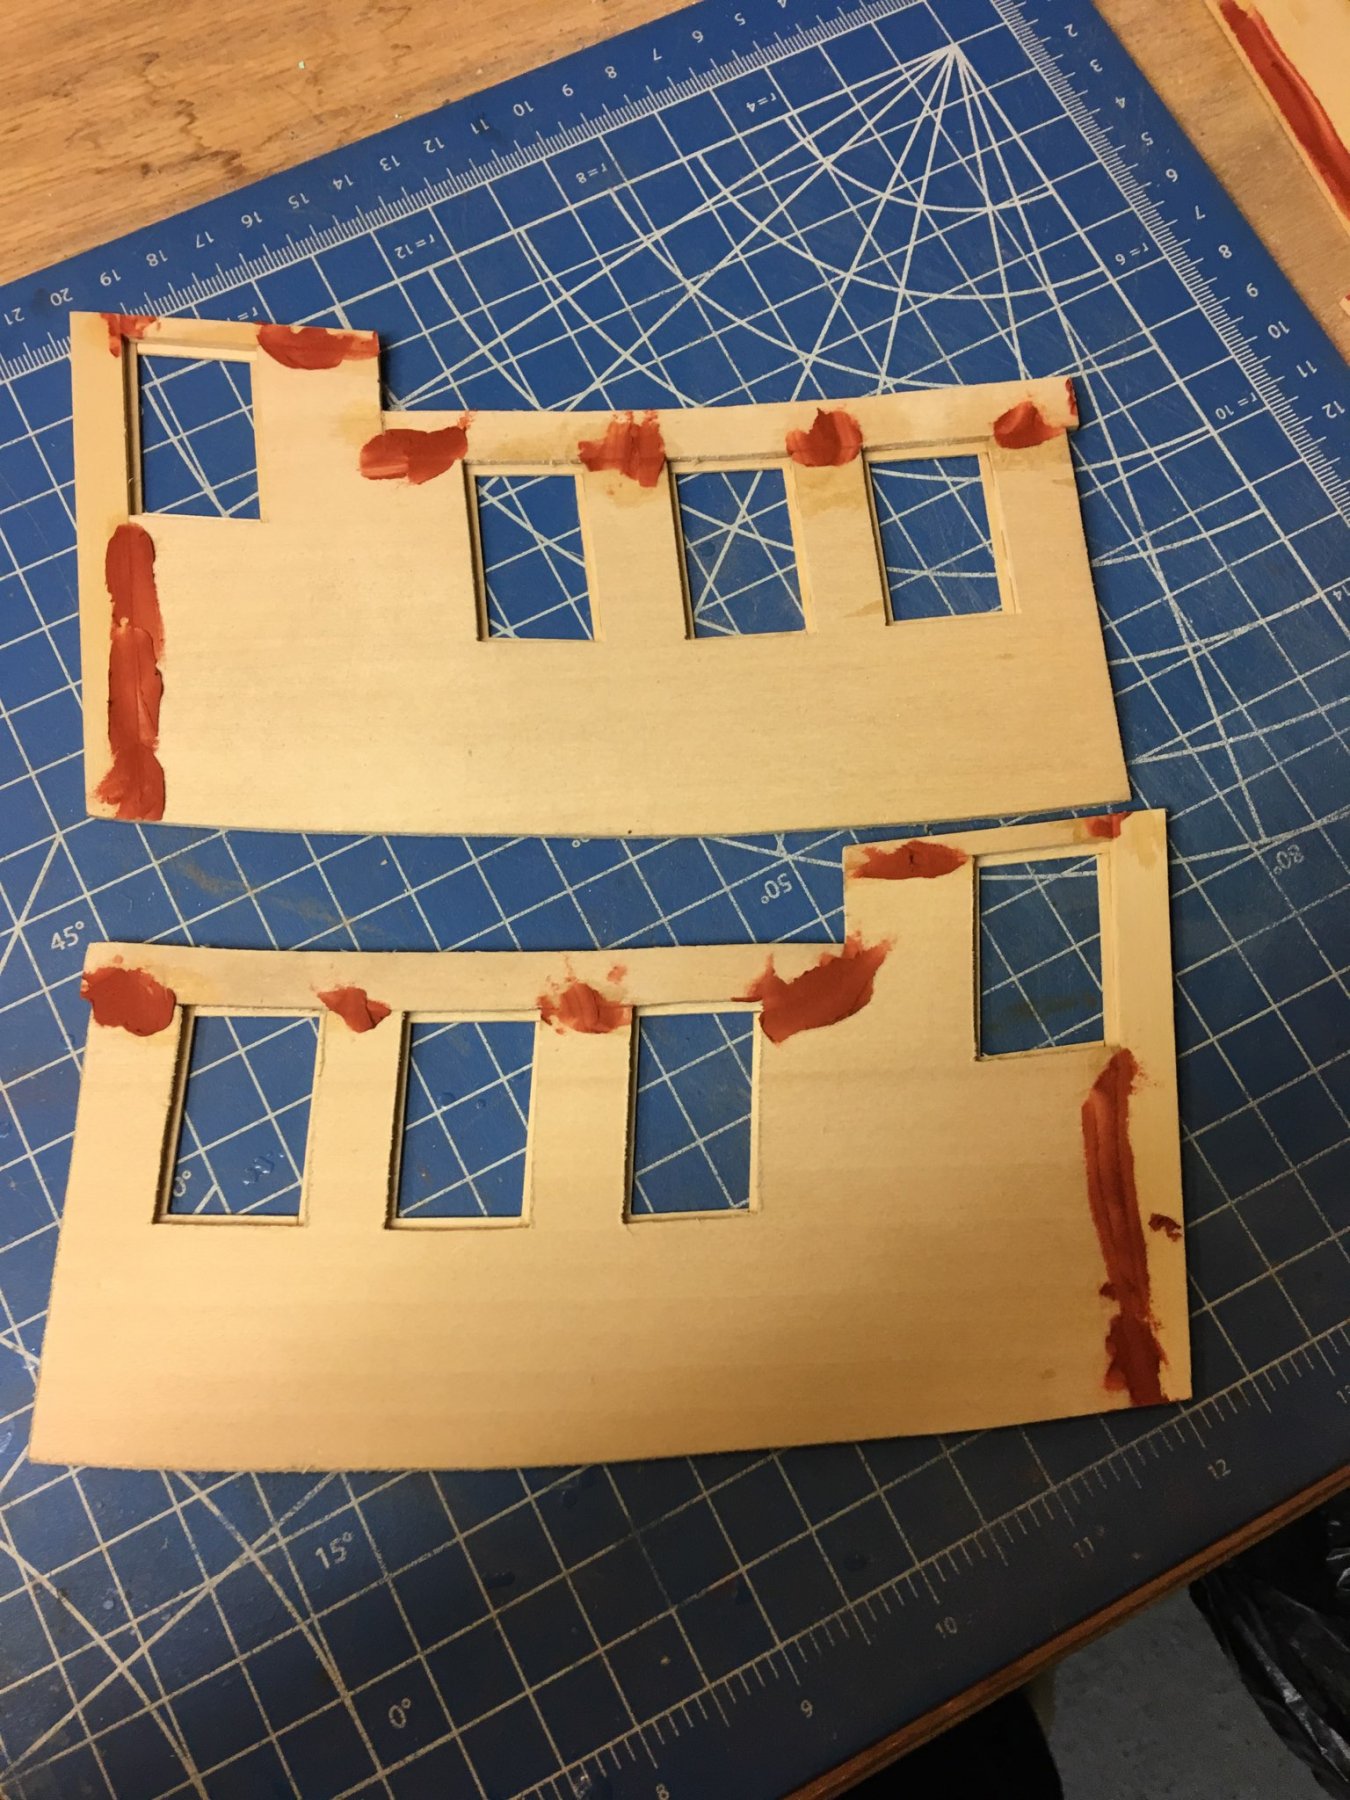
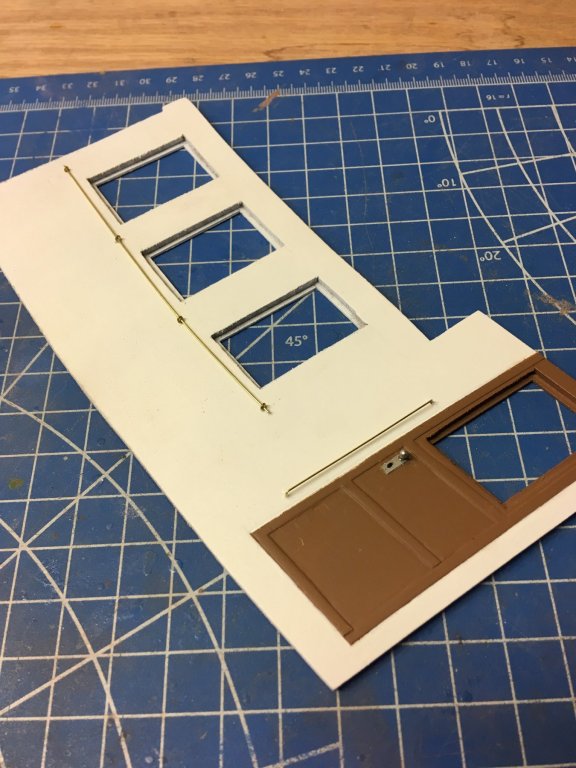
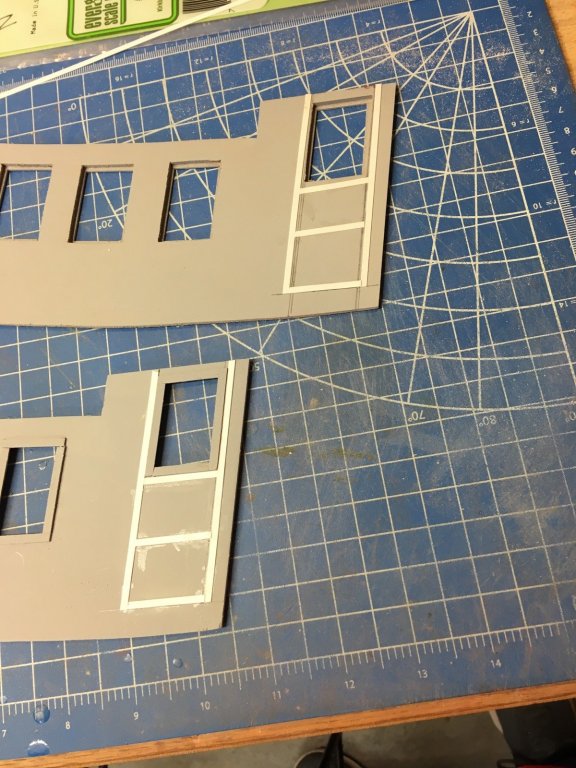
So with the pilot house sides filled and primed, I decided to add door outlines. Using .010" x .100" styrene, I think they look pretty good. I left space at the bottom for a 1/4" step
- 29 replies
-
- 2
-
-
- tourist
- laughing whale
- (and 1 more)
-
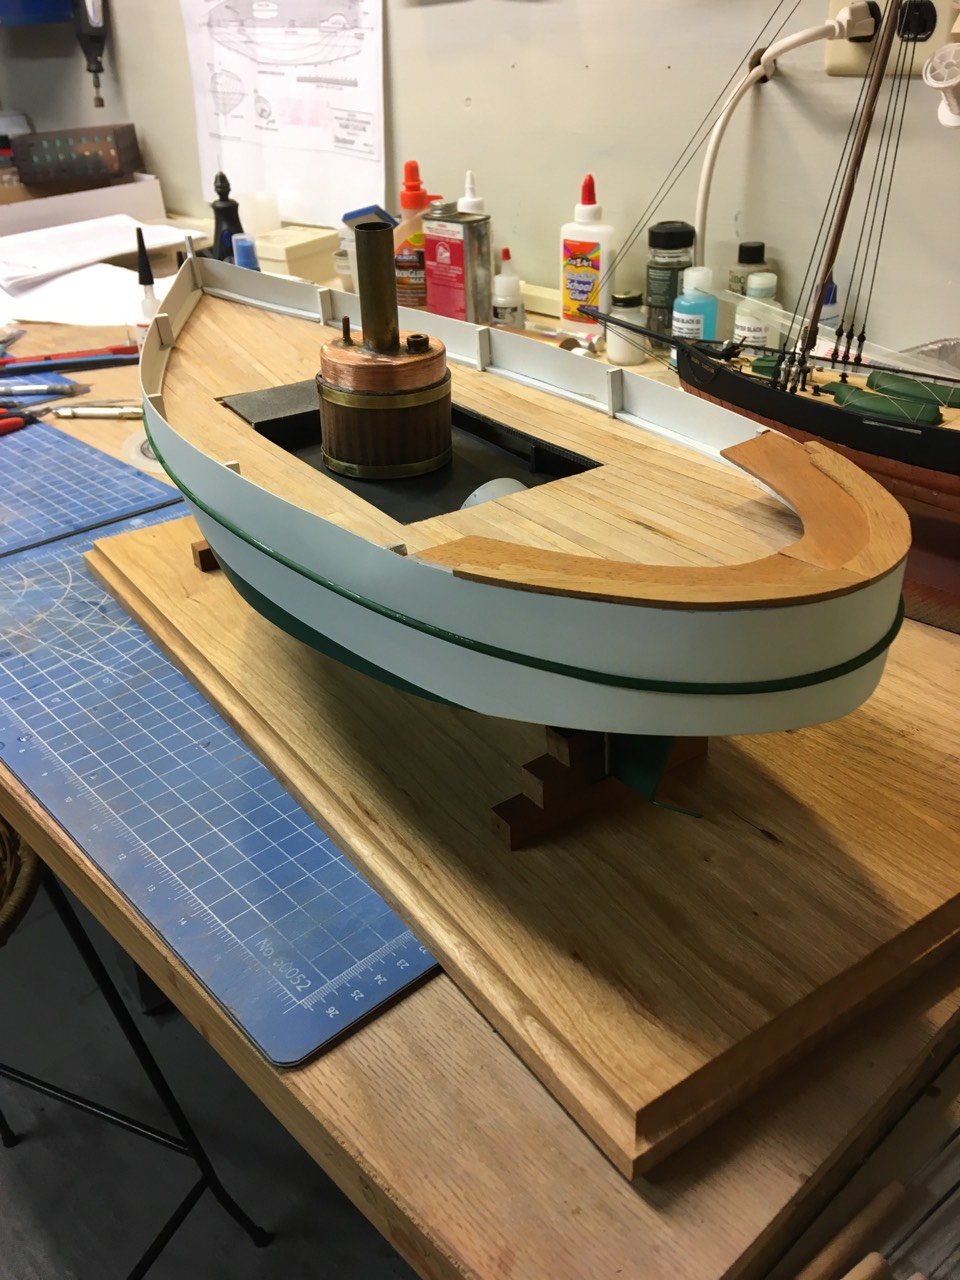
I'm going to put windows in, since it won't be burning the boiler. I decided on inner frames to make a lip for the acetate to sit up against. Here's a shot of the inside and outside. And of course, more putty and filling.

- 29 replies
-
- 4
-
-
- tourist
- laughing whale
- (and 1 more)
-
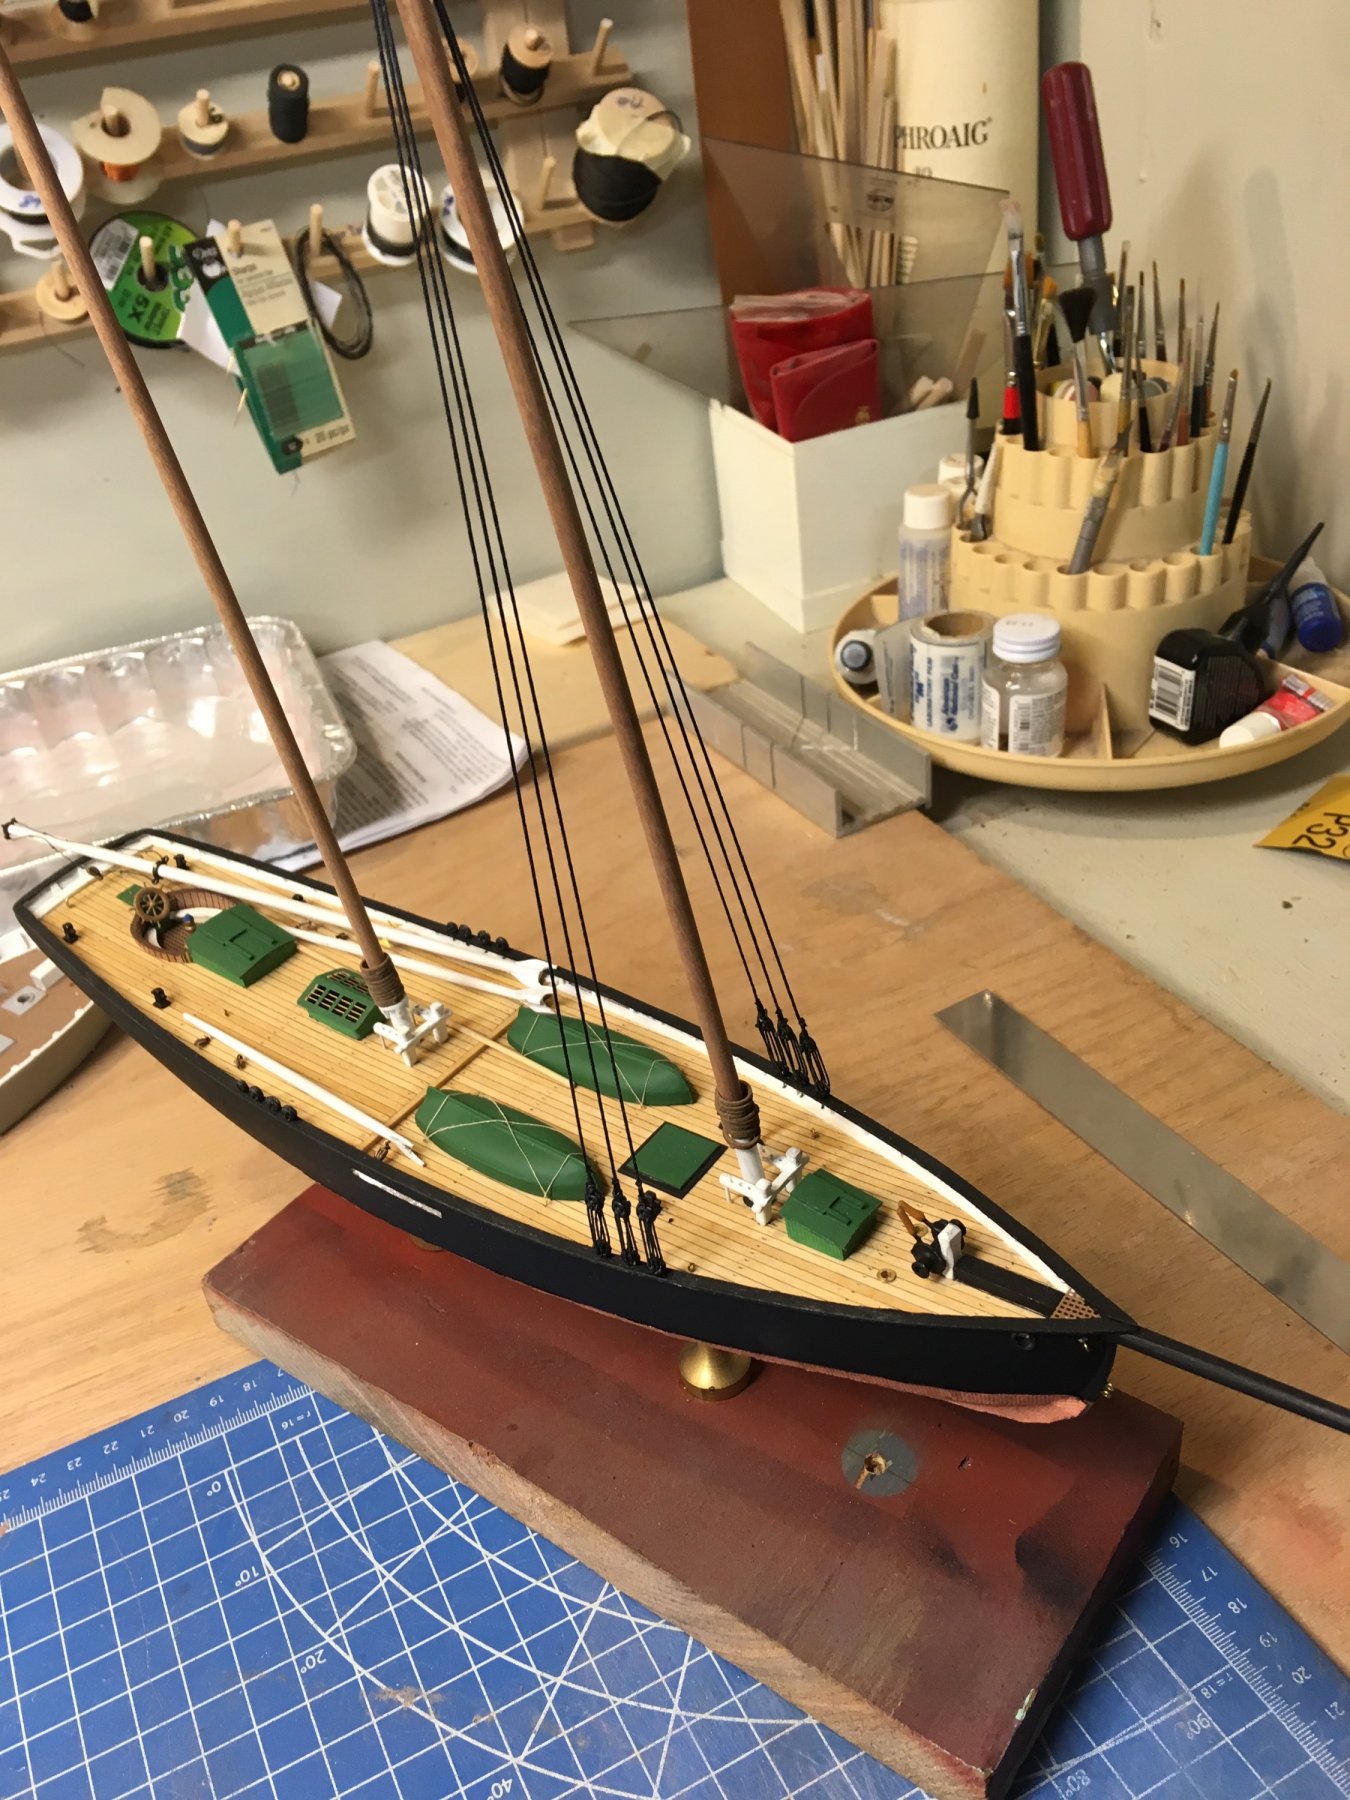
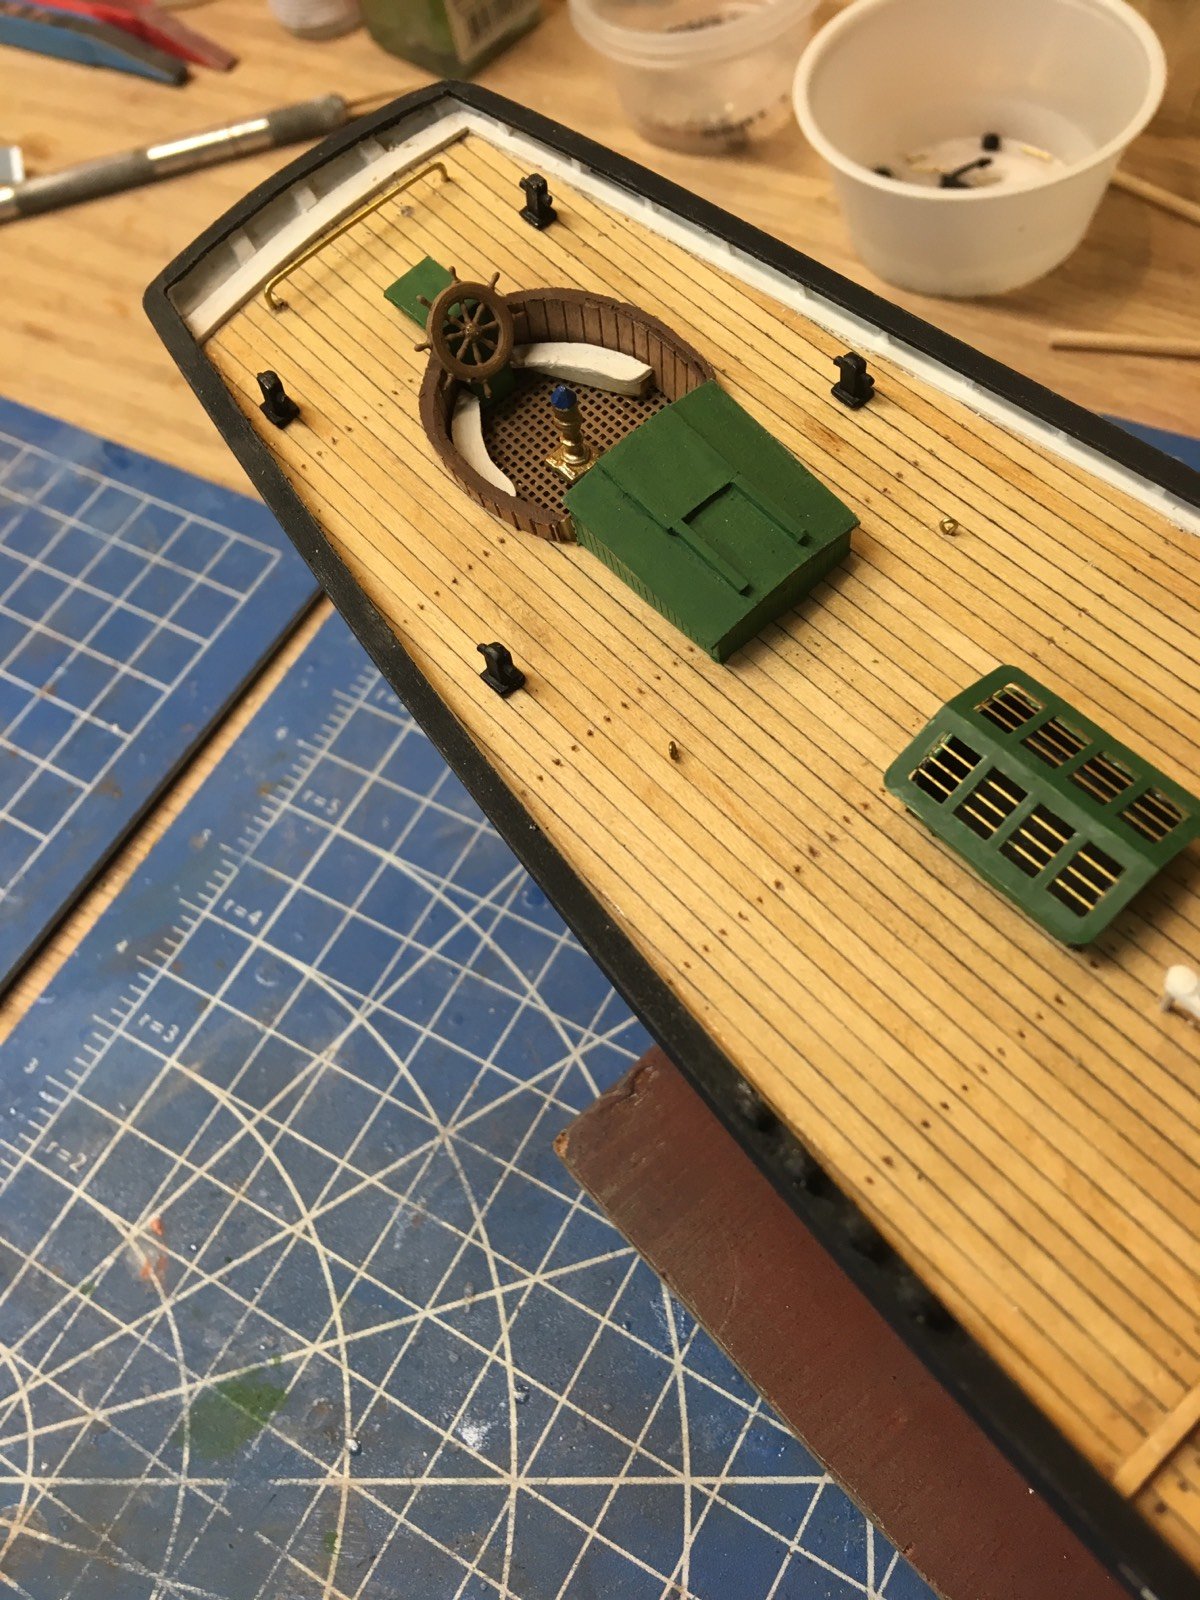
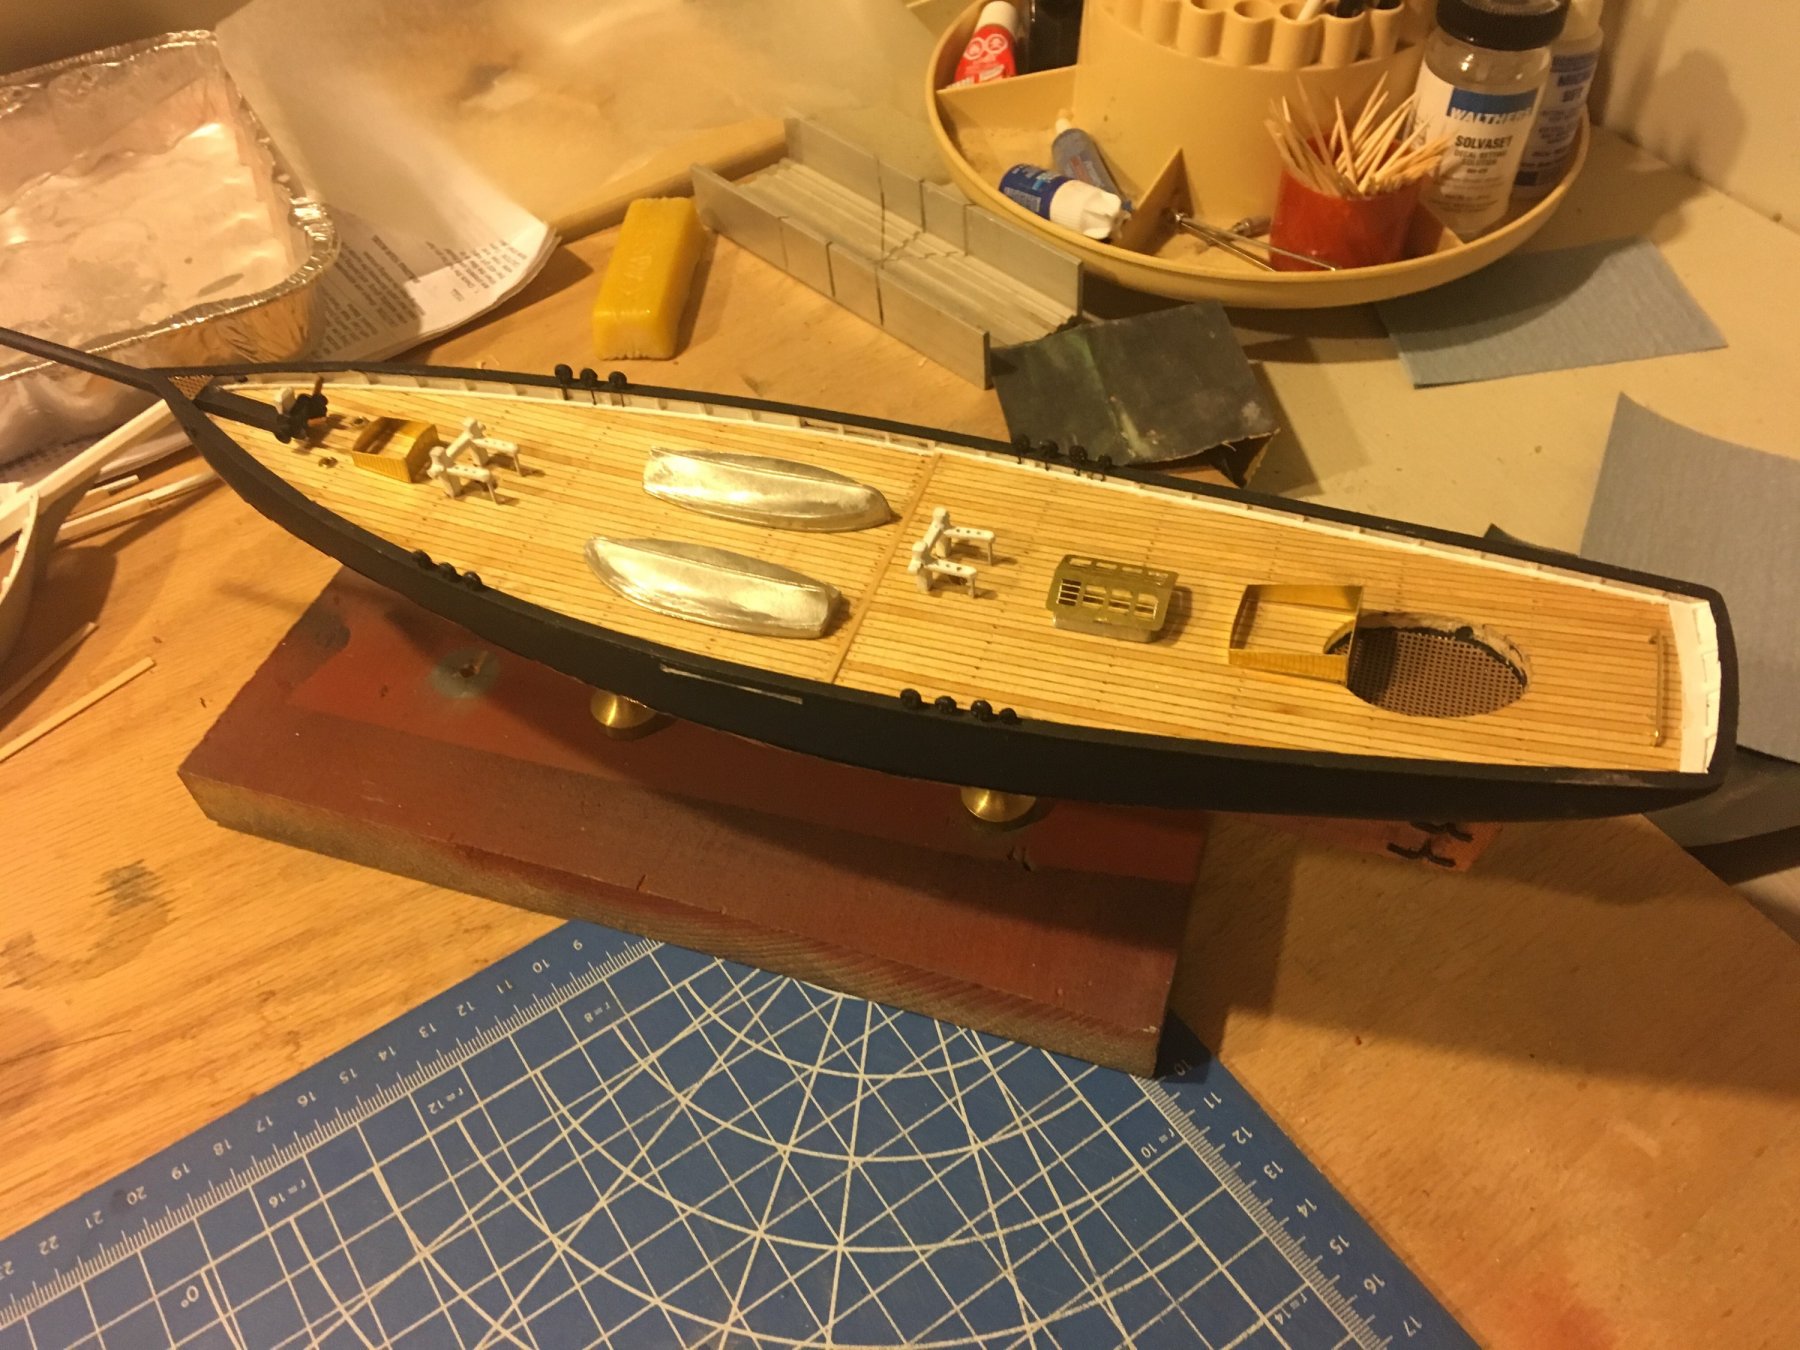
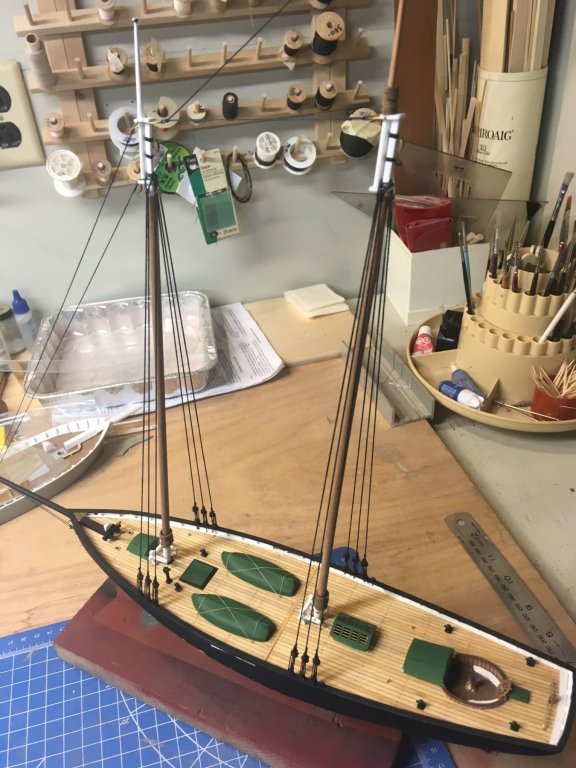
And here it is with all the deck furniture and pieces attached. Next stop - Mastville!
- 77 replies
-
- 7
-
-
- schooner
- solid hull
- (and 4 more)
-
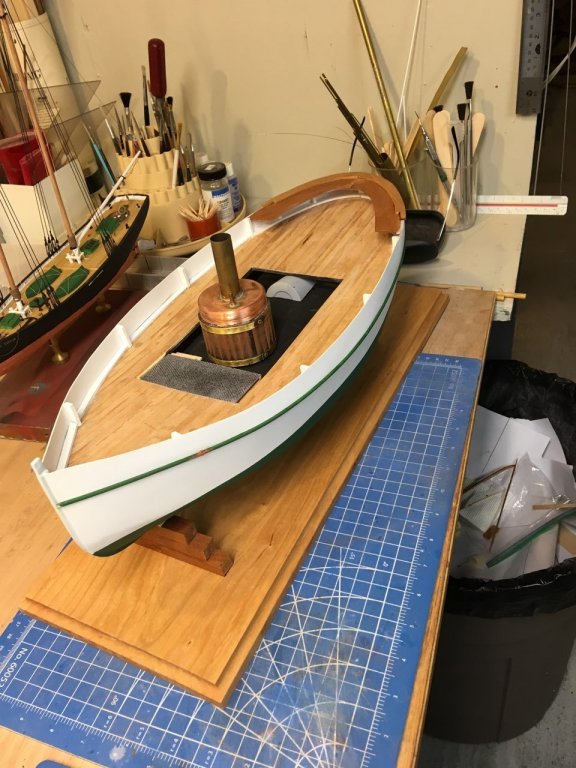
And now the cockpit is all decked out. Was that a pun?

- 77 replies
-
- 8
-
-
- schooner
- solid hull
- (and 4 more)
-
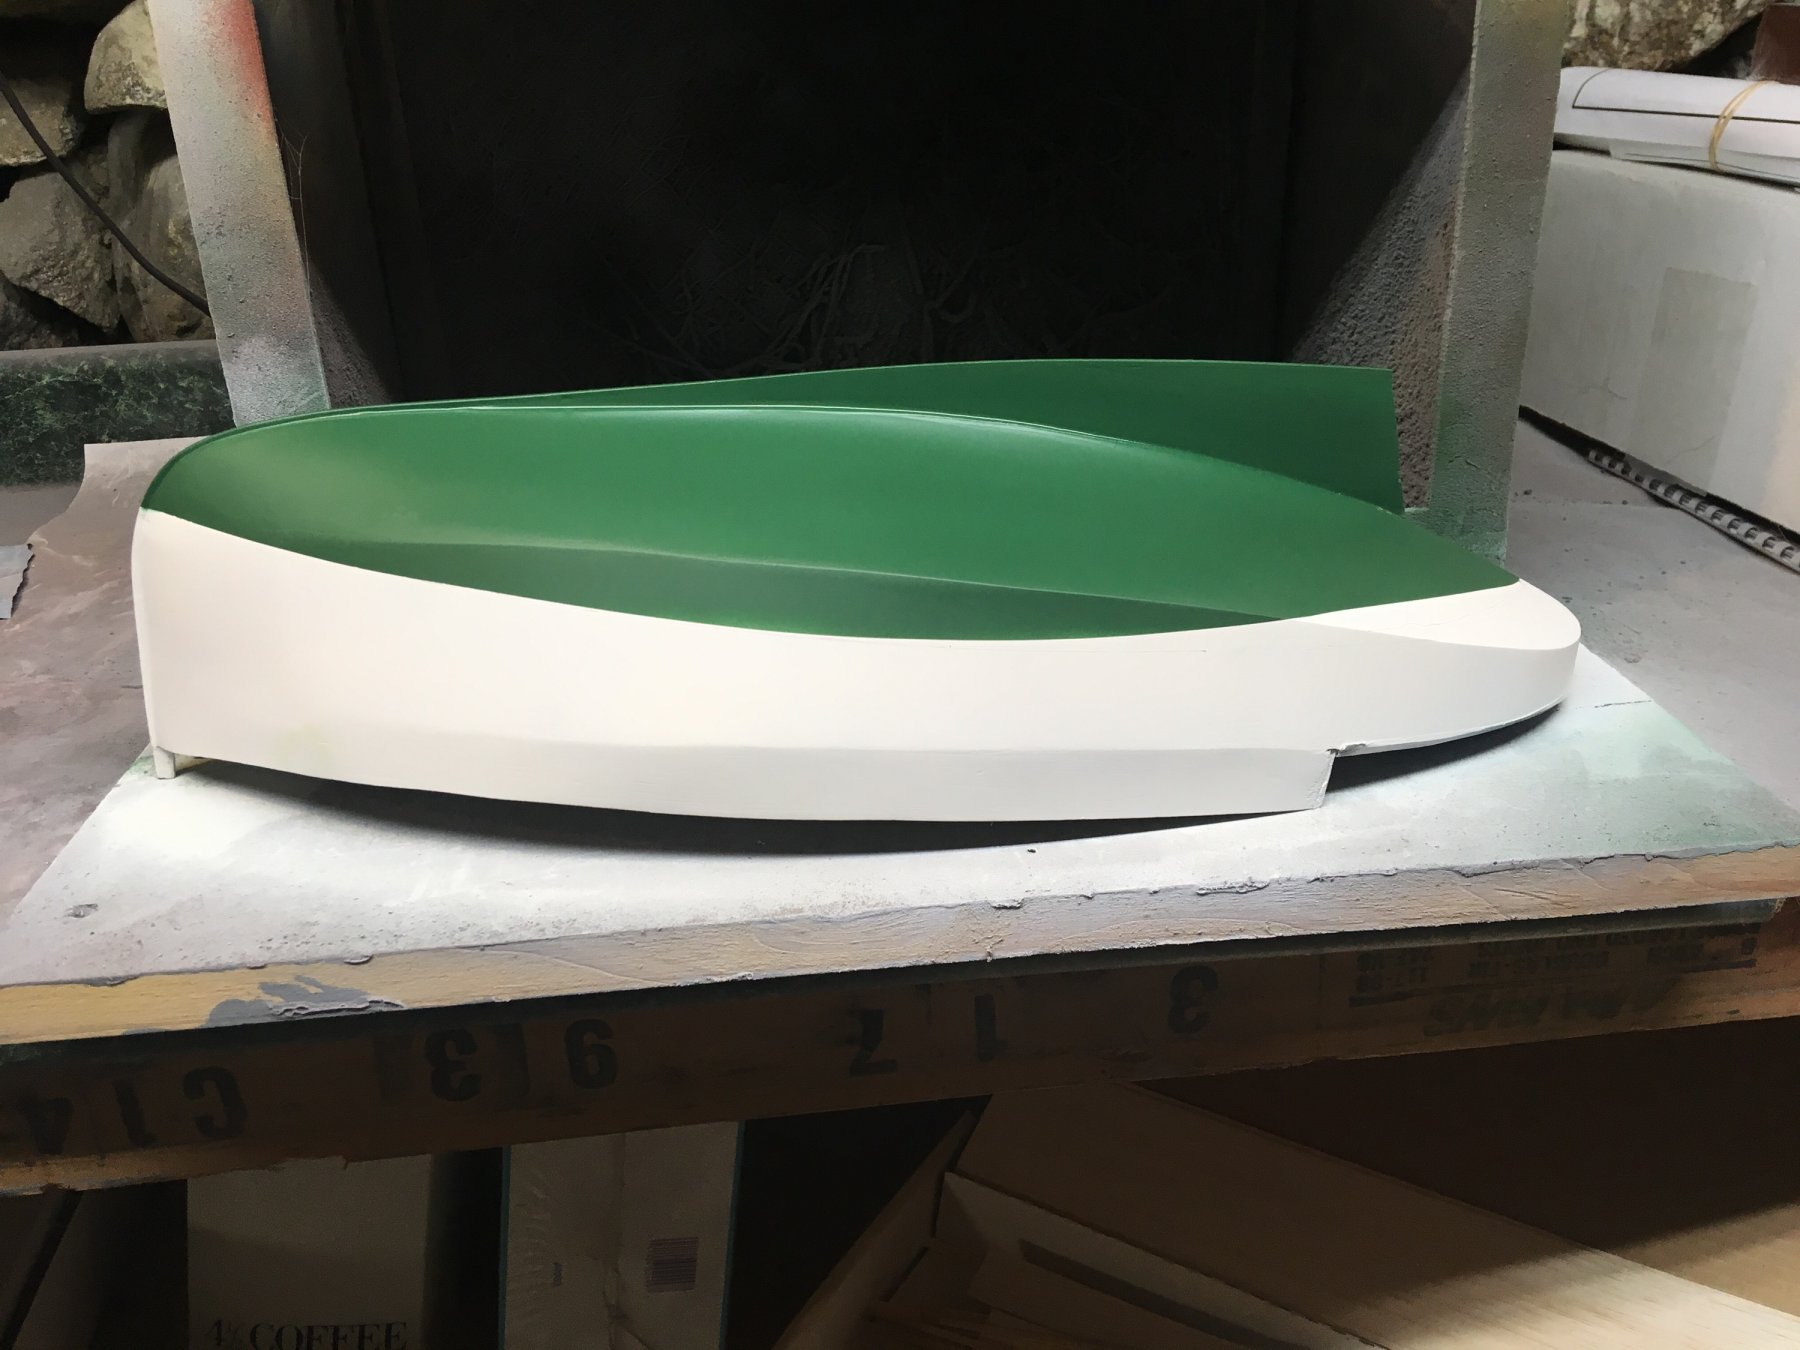
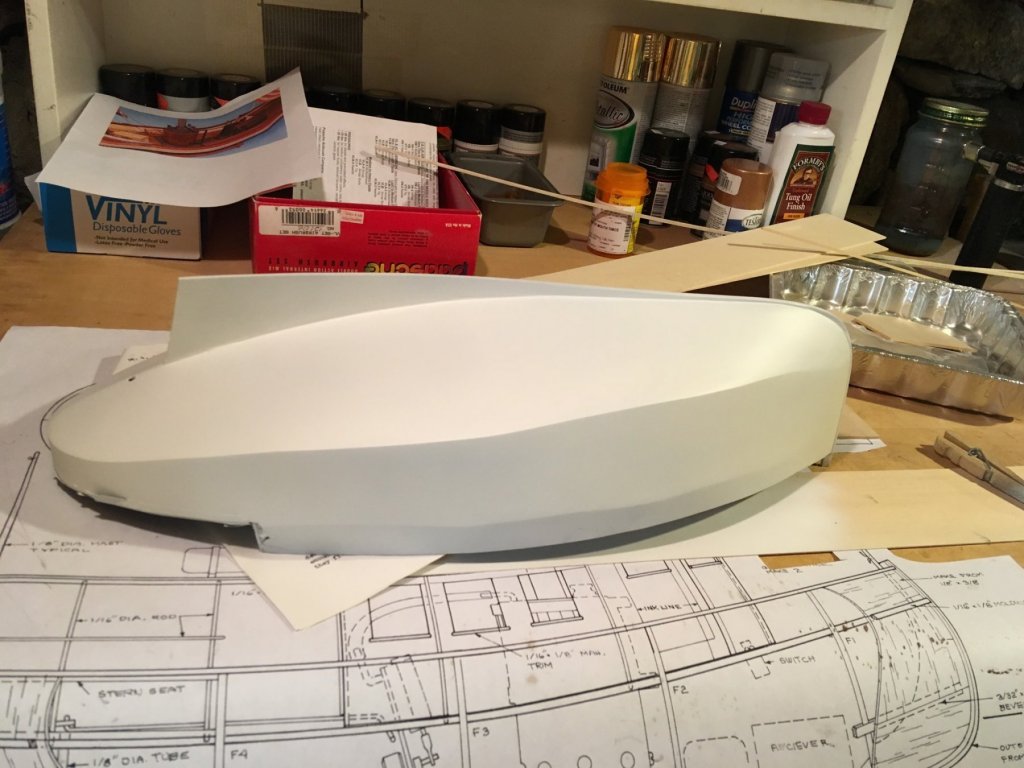
After three coats of primer and filler, the hull is painted. Next comes the waterline and dark green paint.
- 29 replies
-
- 4
-
-
- tourist
- laughing whale
- (and 1 more)
-
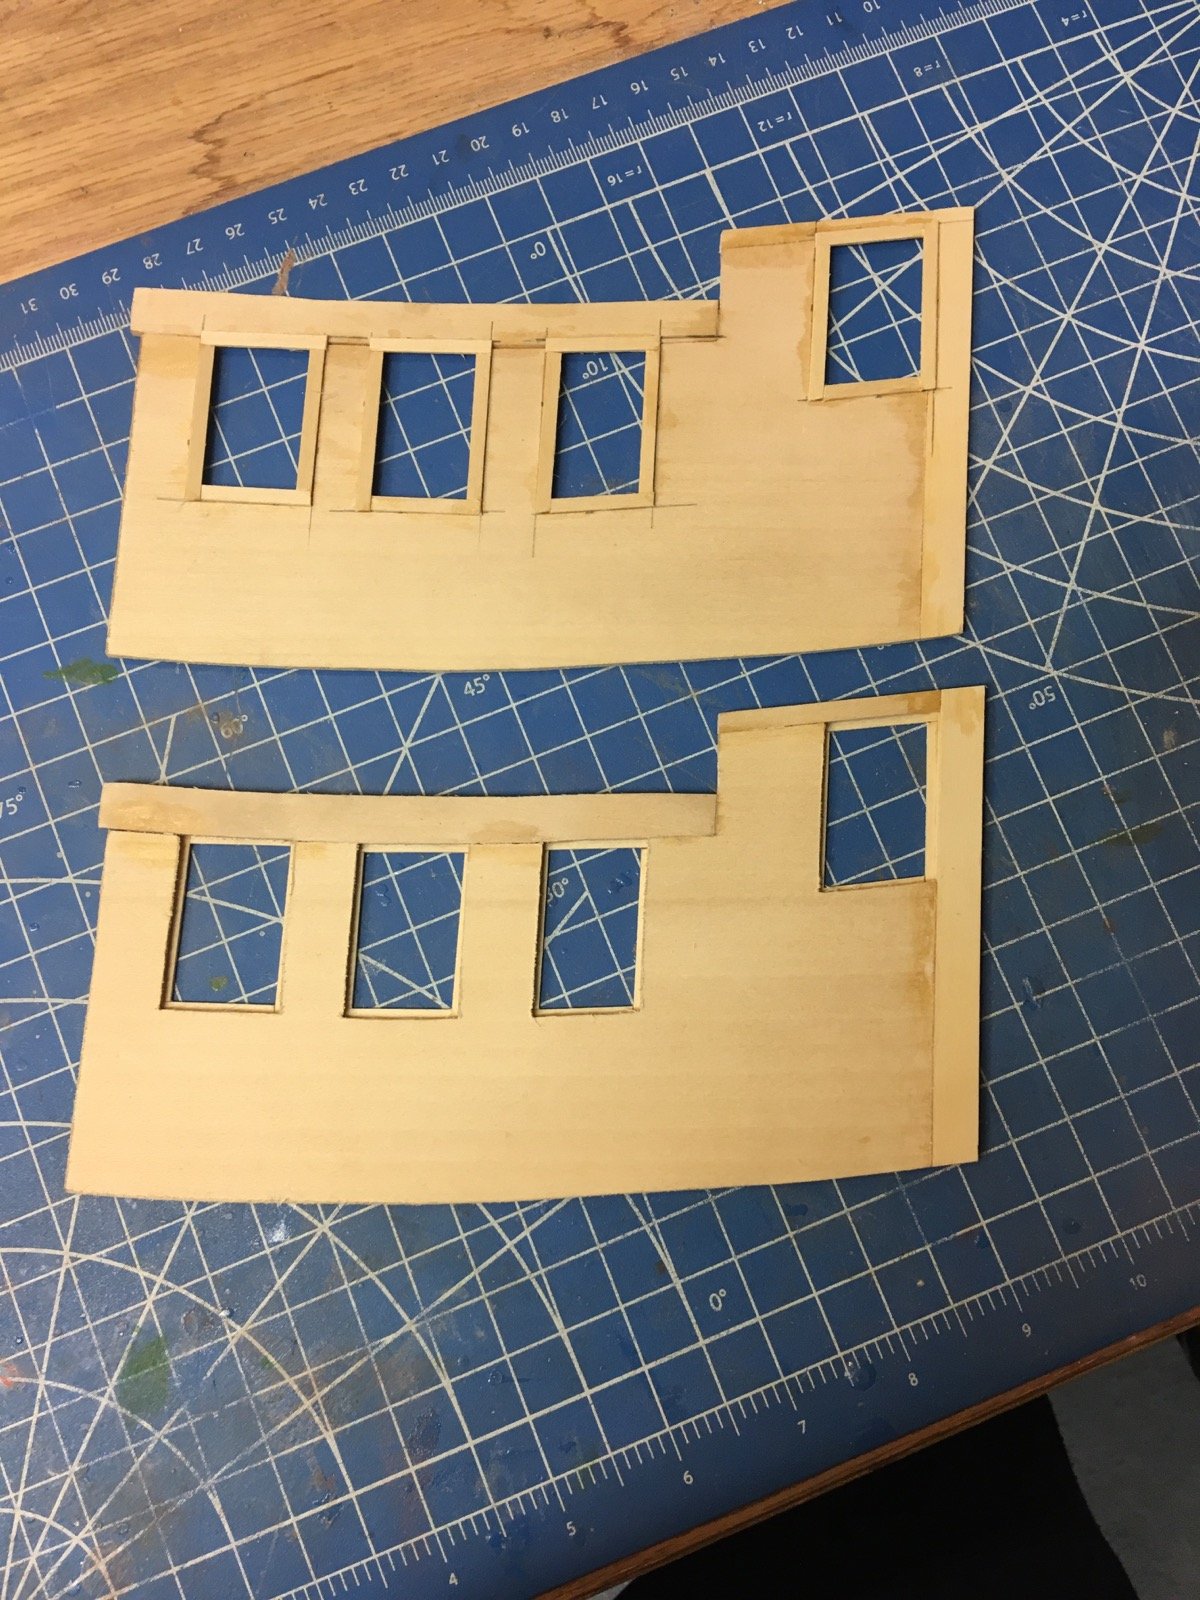
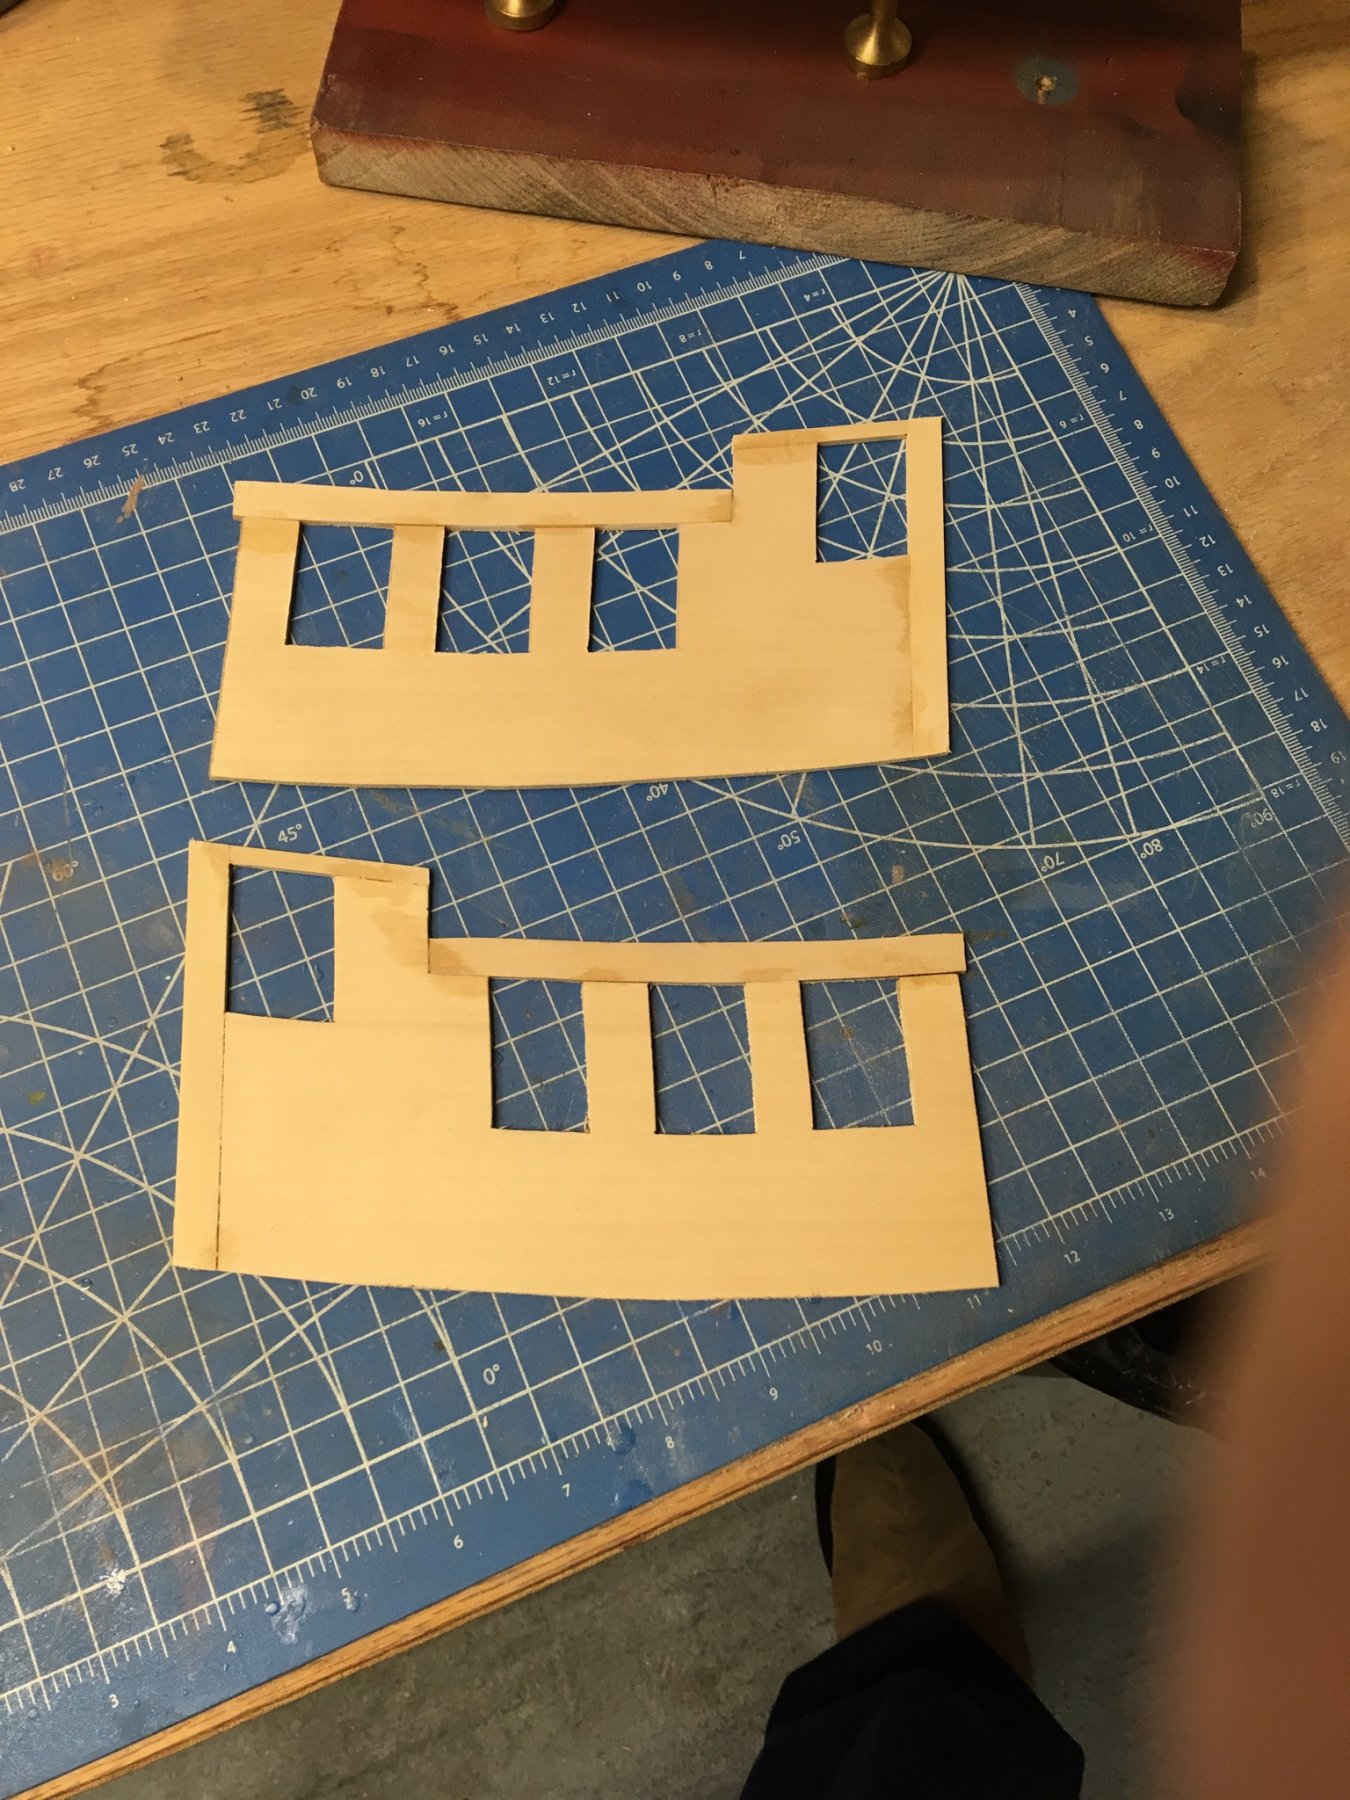
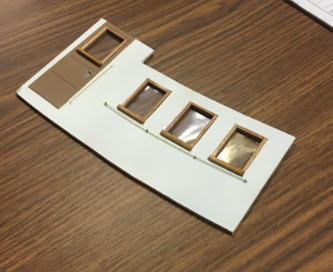
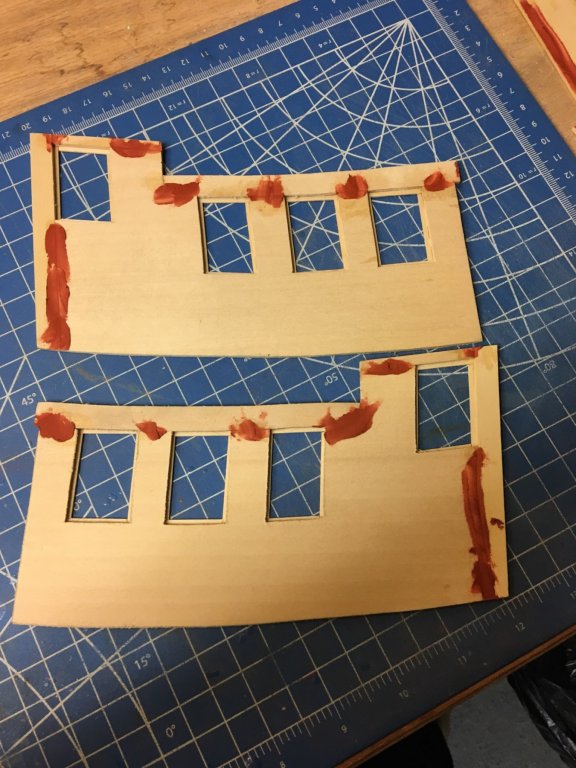
So while I'm filling, sanding, priming (repeat several times) on the hull, I decided to start on the deckhouse/pilot house. Here are the two sides being assembled. Back in the day the parts were band-sawed, so at least one side of the windows had to be open.

- 29 replies
-
- 3
-
-
- tourist
- laughing whale
- (and 1 more)
-
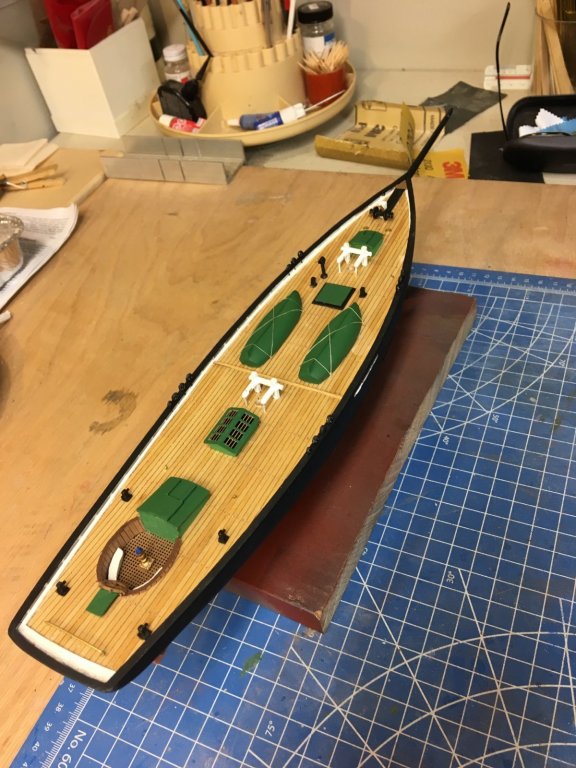
So during this past week, I have painted and installed all the deck furniture, lined the cockpit well, and started on the masting. Really taking shape now.

- 77 replies
-
- 7
-
-
- schooner
- solid hull
- (and 4 more)
-
We're looking into the bulkhead issue, thanks for your email about it. Nic
- 41 replies
-
- 2
-
-
- muscongus bay lobster smack
- BlueJacket Shipcrafters
- (and 1 more)
-
After installing the gratings, deadeyes and fife rails, I put some of the other deck furniture on to see how it looks.

- 77 replies
-
- 8
-
-
- schooner
- solid hull
- (and 4 more)
-
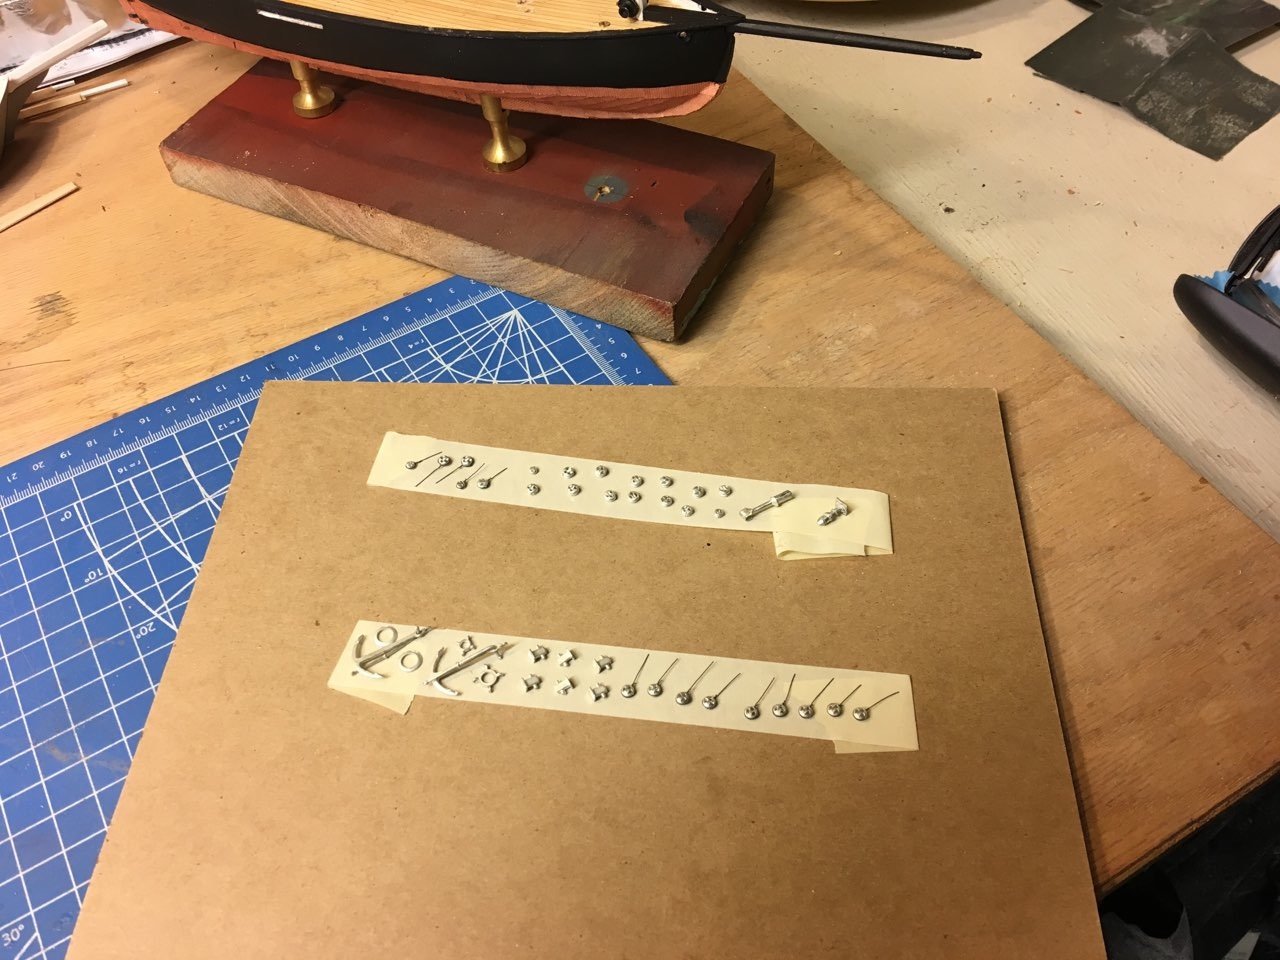
Here's some bits and pieces ready for a coat of flat black paint.

- 77 replies
-
- 4
-
-
- schooner
- solid hull
- (and 4 more)