Old Collingwood
-
Posts
12,106 -
Joined
-
Last visited
Content Type
Profiles
Forums
Gallery
Events
Everything posted by Old Collingwood
-
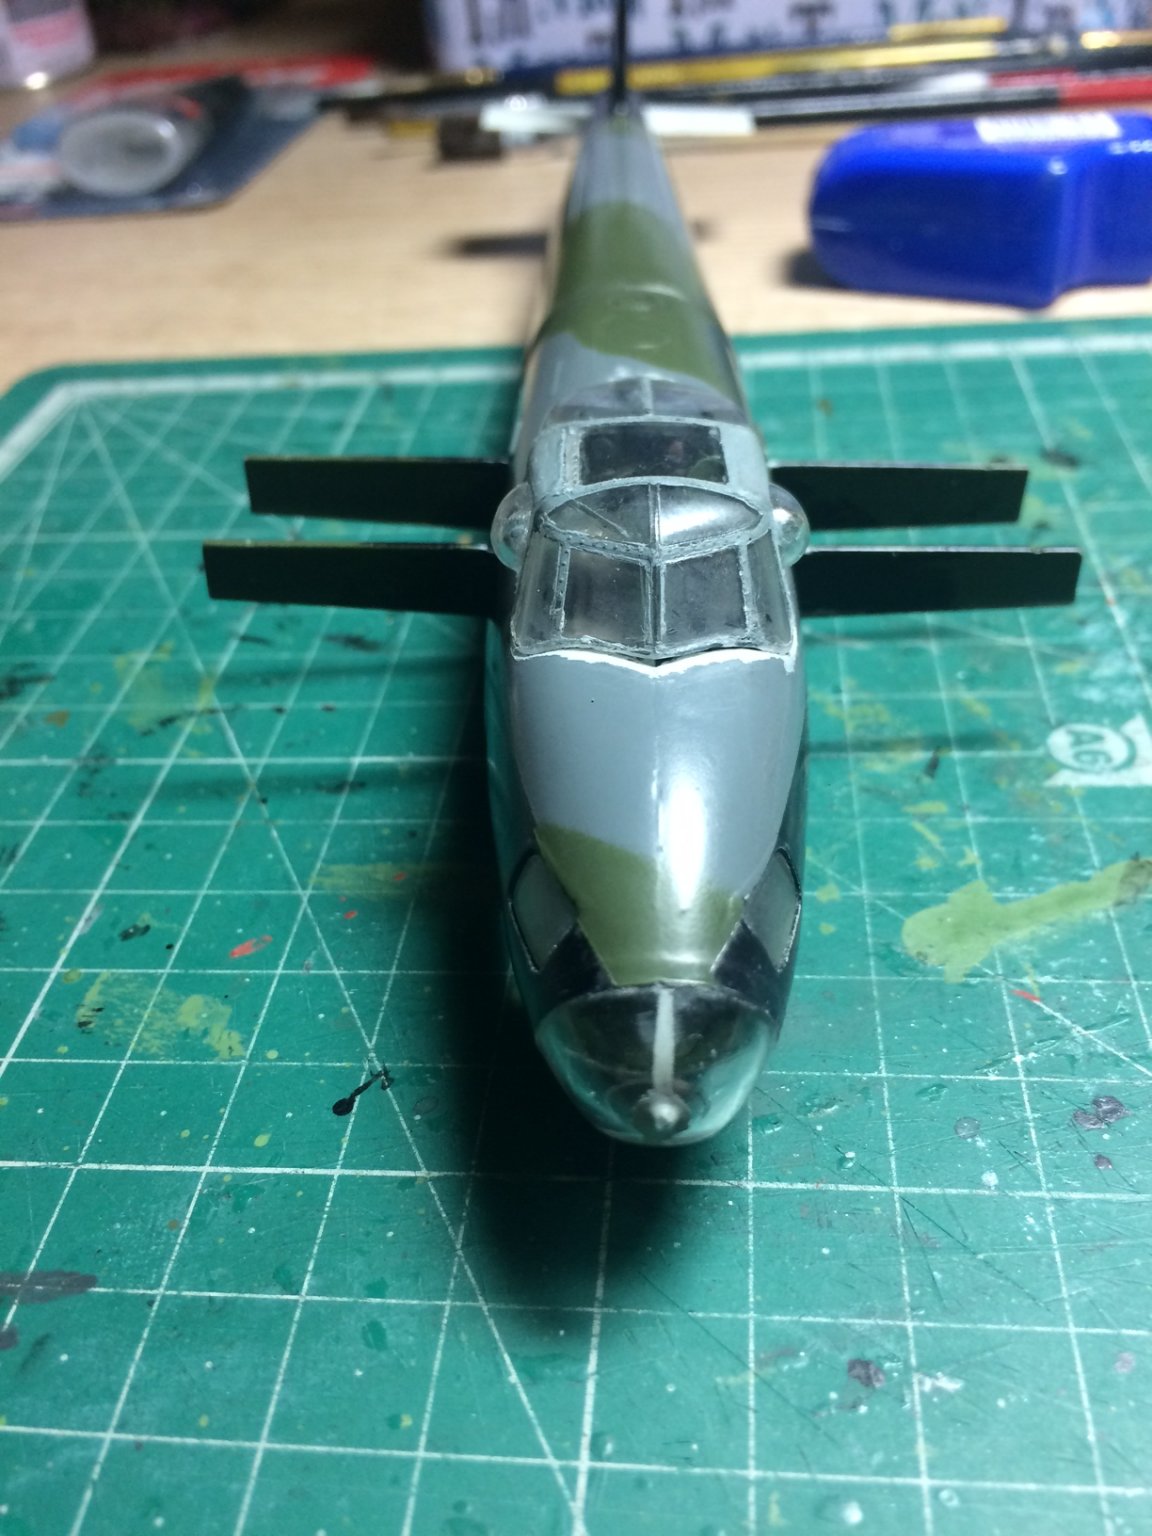
 I have tried to rescue the canopy, I glued the edge on the inside where the crack started and then worked on the loose section that had fell out, this was glued back in then I did some tidy up, where the crack is visible I will paint a part framework and do the same on the opposing side so they match. Pics show dry fitted still needs painting and fitting. OC.

-
Guess I can continue the building/painting and decaling till I can get a canopy. OC.
-
Thanks mate, trouble is there in the US I'm in the UK. OC.
-
Bit of a set back - tried to tidy up the canopy by using the plastic putty, but no good so I decided to pull the canopy off, I looked over the canopy tried cleaning it up but it cracked, so its now even more no good. Need to check on ebay - what canopies are around. OC.
-
Looking great denis. OC.
-
B-25 Mitchell "Meet Miss Runyon" by Javlin-HK-1/32
Old Collingwood replied to Javlin's topic in Non-ship/categorised builds
No words really - all the best to you take care. OC. -
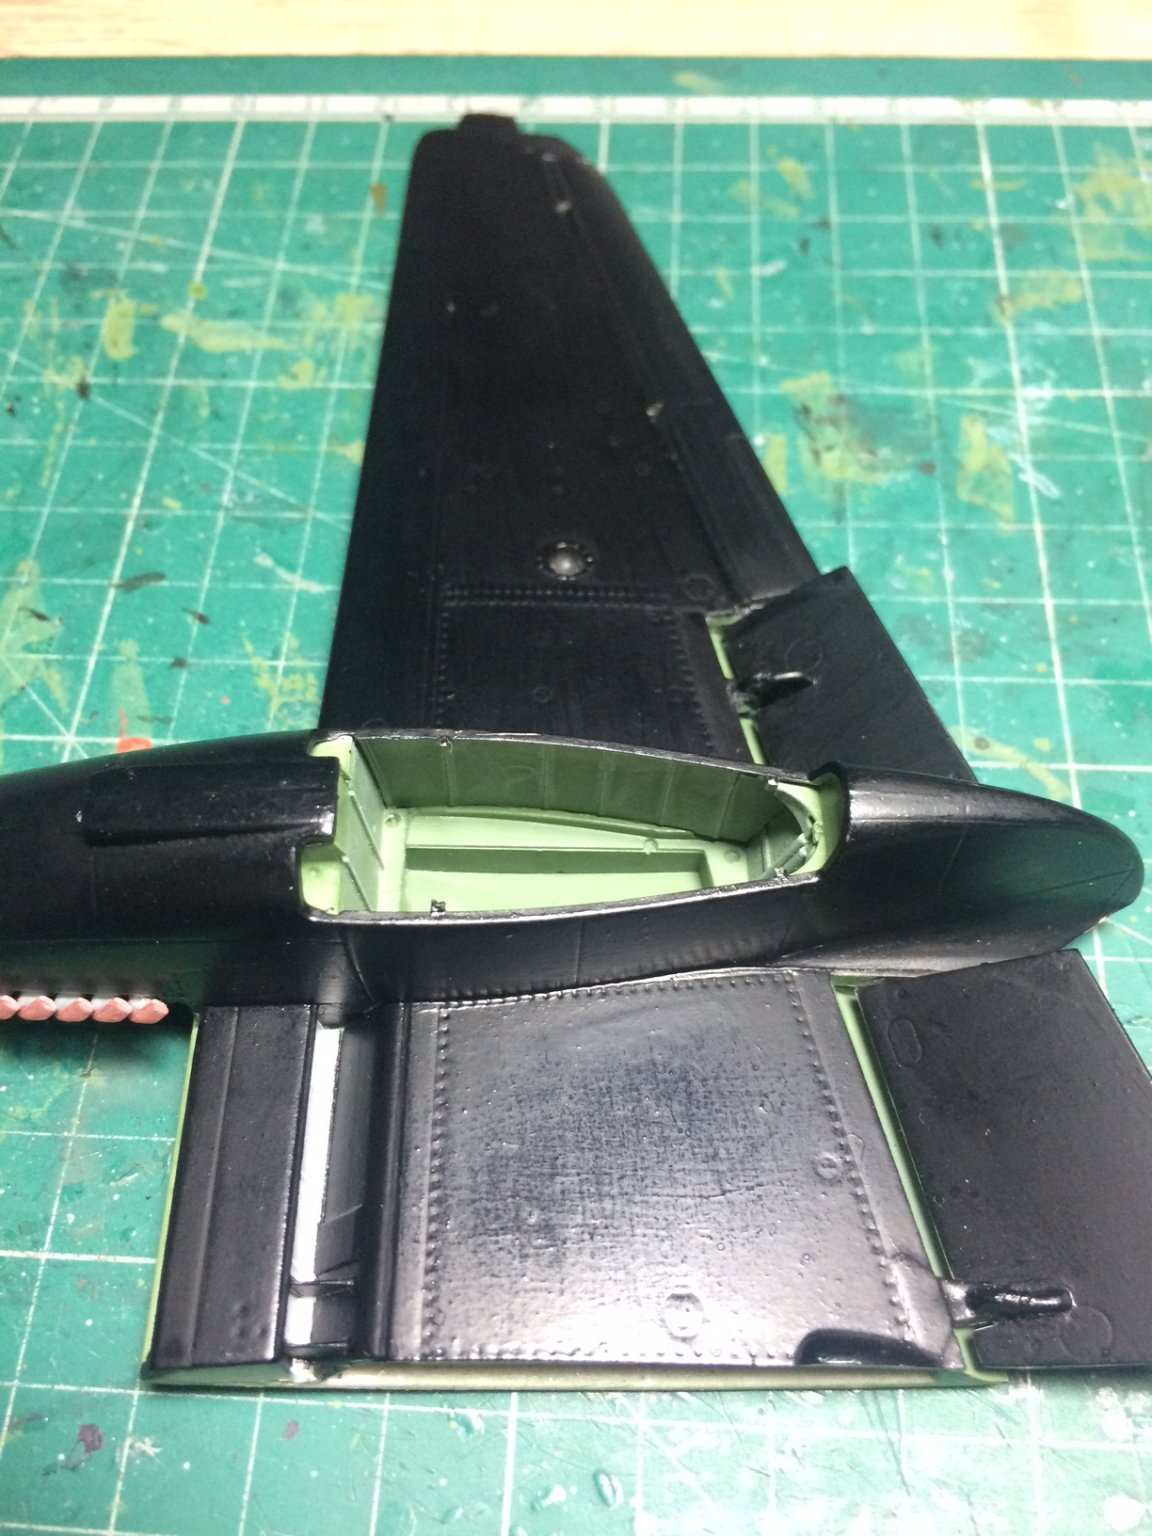
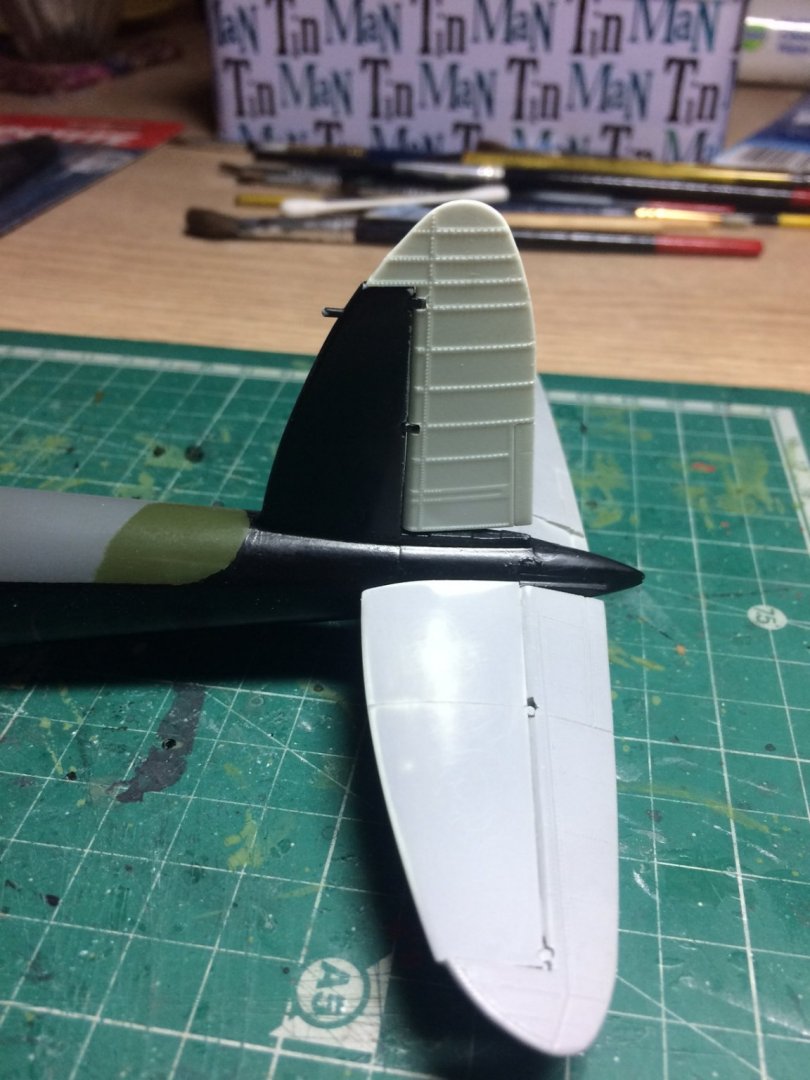
Working on the Rudder - dry fitted waiting for primer/paint. OC.
-
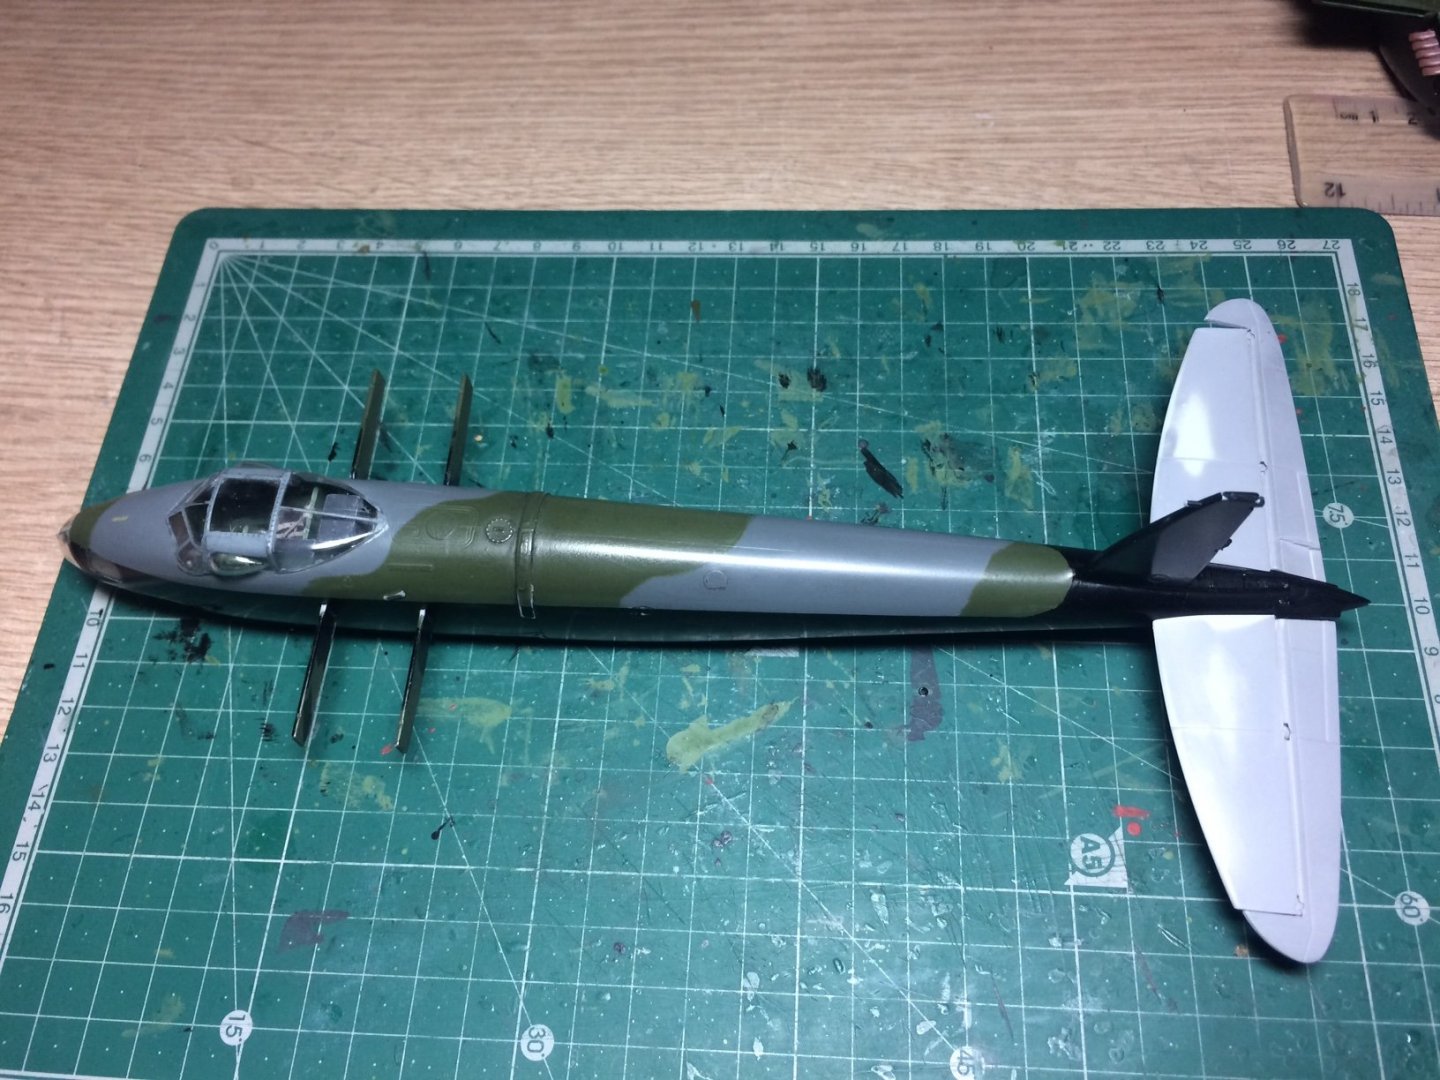
More progress - I have applied another coat of Microsol on the wing decs, then let them dry, I then did a bit prep primer on the stabs, then I test fitted them - they are just dry fitted as they slide on to a spar attached to the fuselage on both sides. OC.


-
Thank you for the reply. OC.
-
Next plan of action - I will brush onto the decals another coat of Microsol and leave it to set/dry again - will then do some work on the two rear stabs, they need priming then camo on top and Black lowers, they slide on when done so they can be treated as separate assemblies. OC.
-
Thank you denis. OC.
-
Are but - our back door would be gregs front first floor door - he would need to stand on his head on upside down stilts - while jumping down/up down/up and I wouldn't be able to understand him as his speech would be upside down - back to front - very odd. OC.
-
Good job Greg aint about. OC.
-
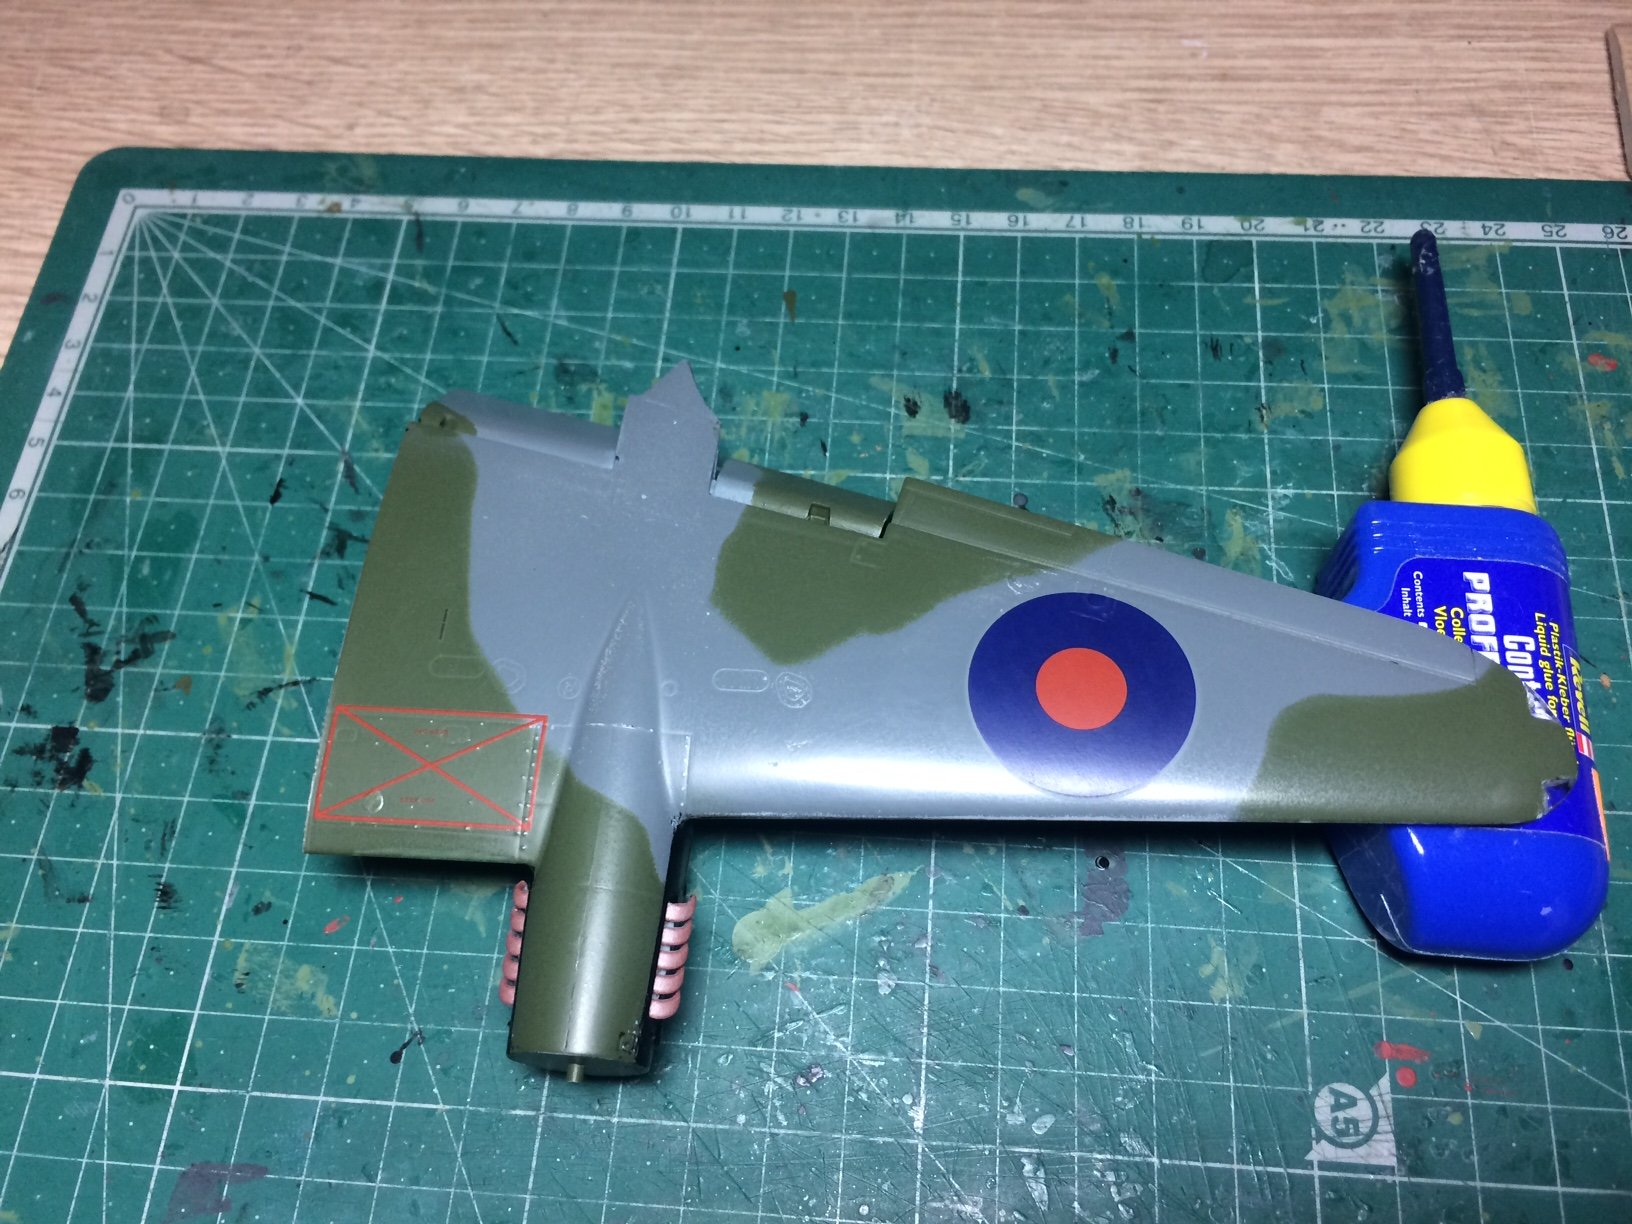
Hi all, just put on the two wingtip nav lights (just see through plastic) then I decided to have a go at the wing decals, I started with a couple of tiny ones under the wing - I put them down using Microset first then after about five minutes after I had wicked away any moisture - I then brushed on some Microsol and left it to dry, then I turned the wing over and placed the rad warning decal - same again Microset placed wicked away the moisture with a cotton bud, then I did the same with the Roundel, after this was placed again with Microset and wicked away - I then waited about ten minutes and brushed on some Microsol. I guess I need to leave this till tomorrow before putting anymore Microsol on if needed? OC.
-
Could be worst - Australia where they drive upside down. OC.
-
Very nice work Jack, I think the speed limit decal looks just fine at an angle. OC.
-
Lovely work mate - really first class. OC.
-
Thank you so much craig, its getting there stage by stage, I was worried about the rattle cans so I'm keeping then to a minimum (only where I have to). OC.
-
What I will do tomorrow - Add the nav lights at the end of the wing then put a few of the decals on the wing - these are the large roundel and the danger panel marks for the top of the engine rad, and any other decs to go on as I now have micro sol and set. After leaving a day or so I will spray over the wing/decs with my Tamiya flat coat laquer to seal it all in. OC.
-
Smart - different subject but reminds me of the tv shows Ice Road Truckers. OC.
-
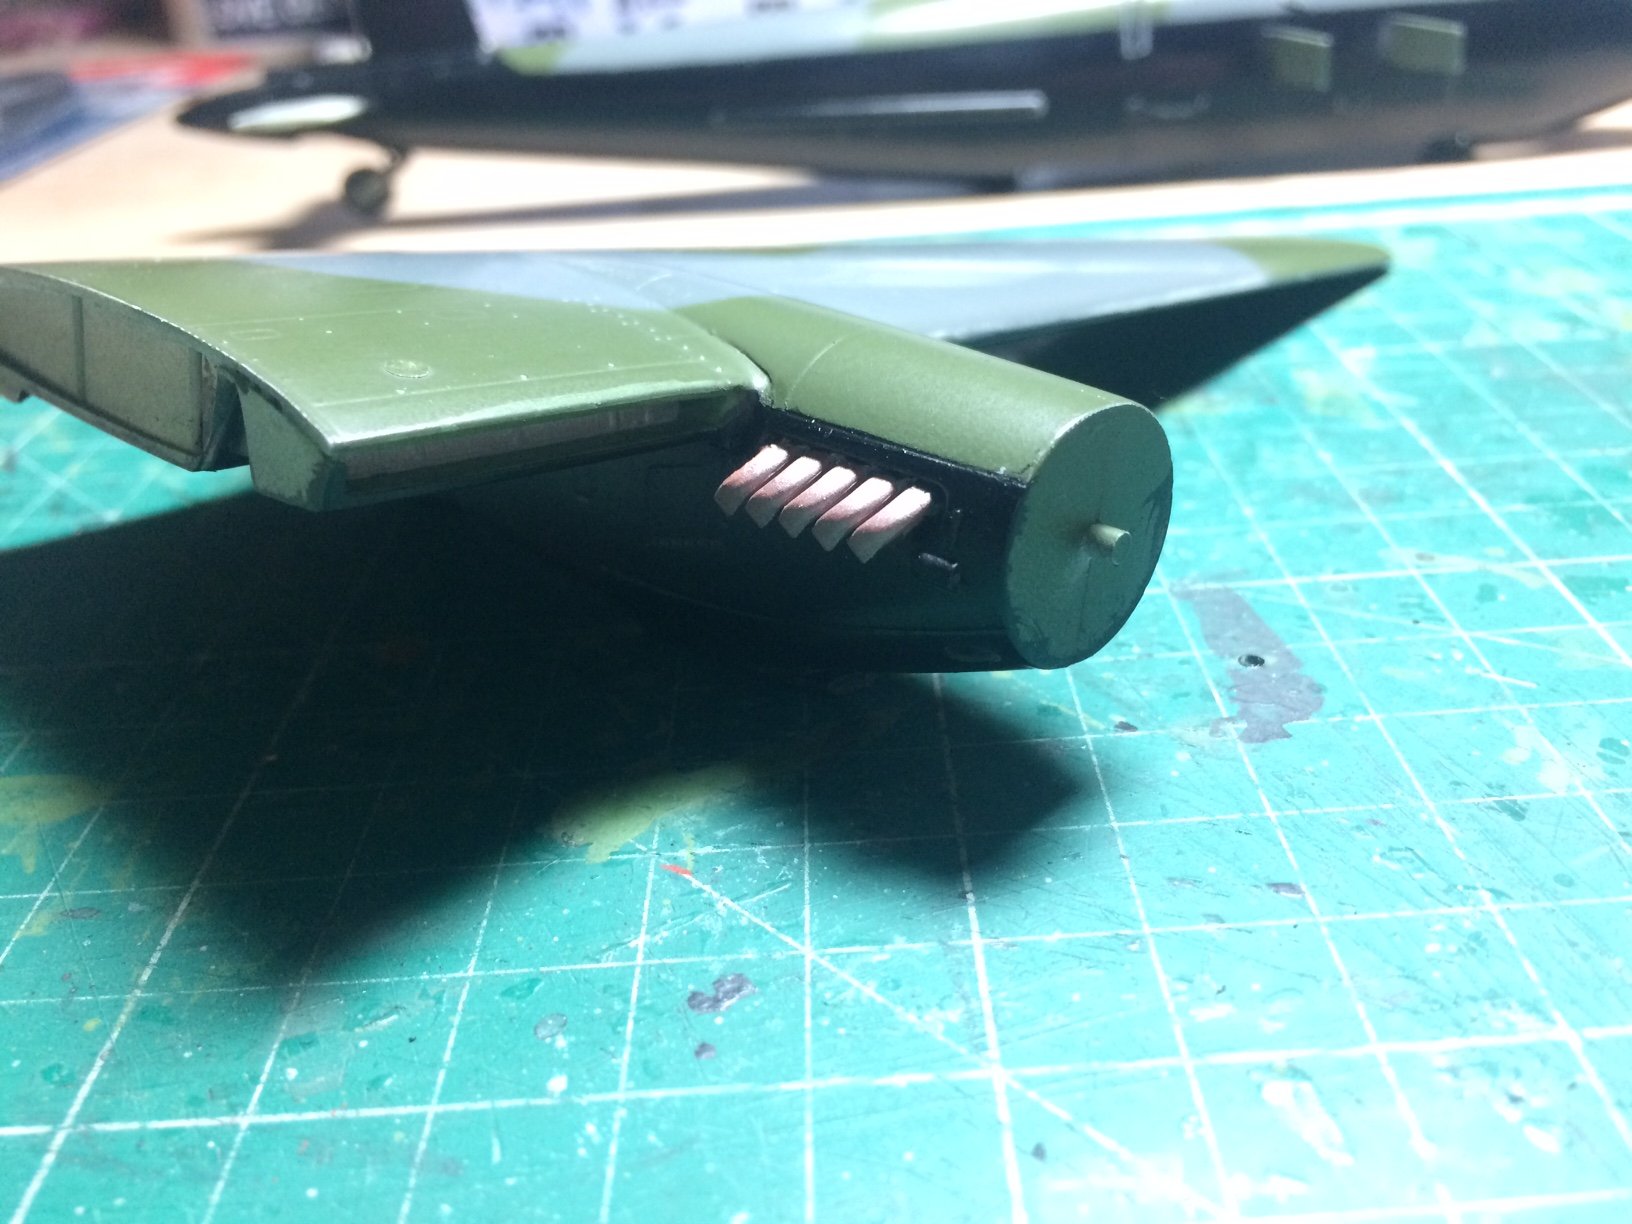
Thanks mike, not too bad for brush painting the Black (thought it would save masking everything) not forgetting it will look better with a flat spray top coat to knock the sheen off it and even it all out, don't forget back in the days paint was brushed on using Tekaloid paints. OC.
-
Thank you so much. OC.
-
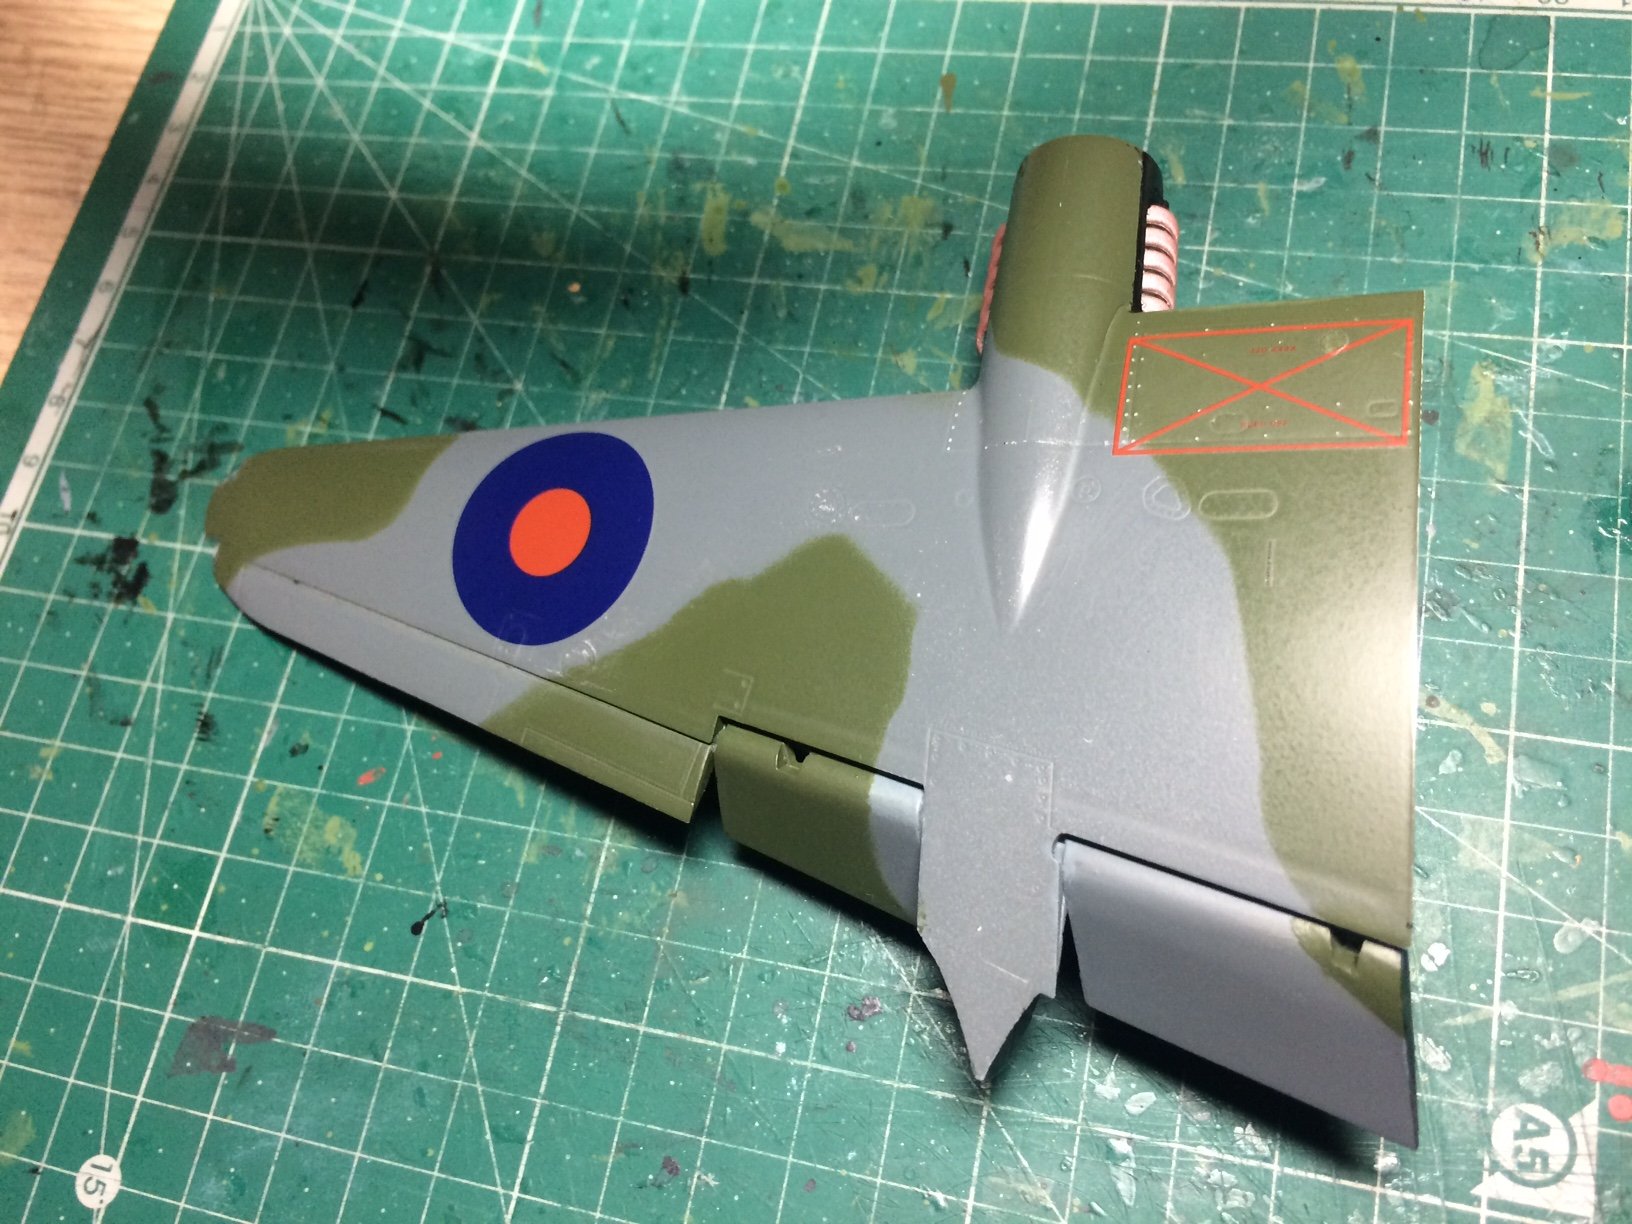
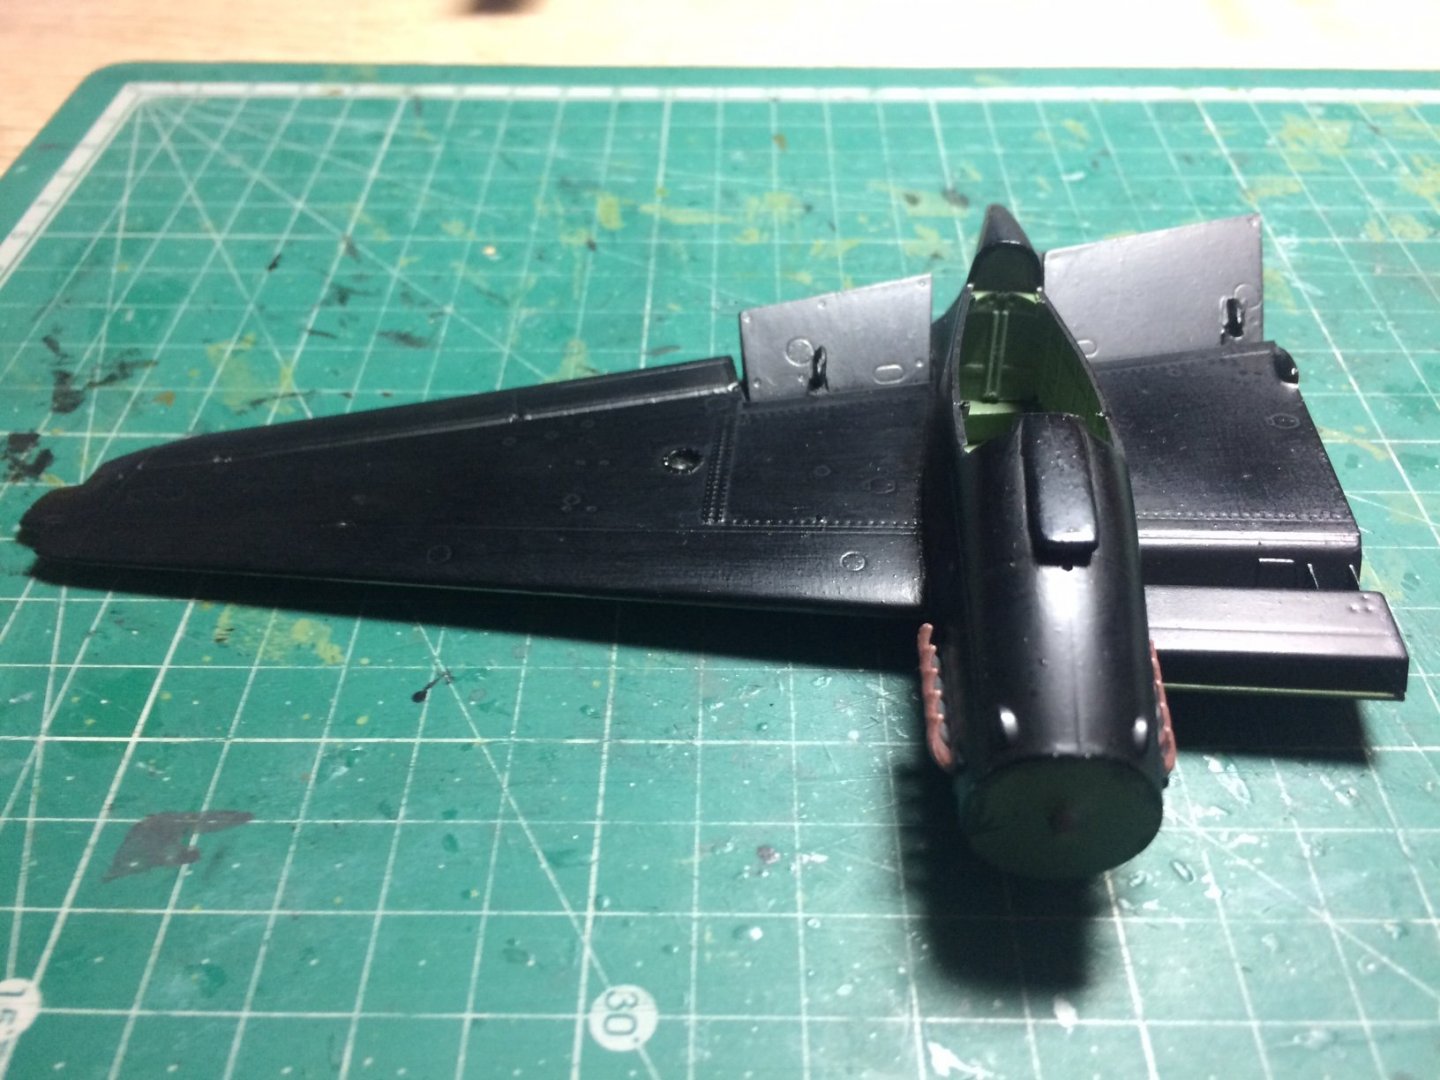
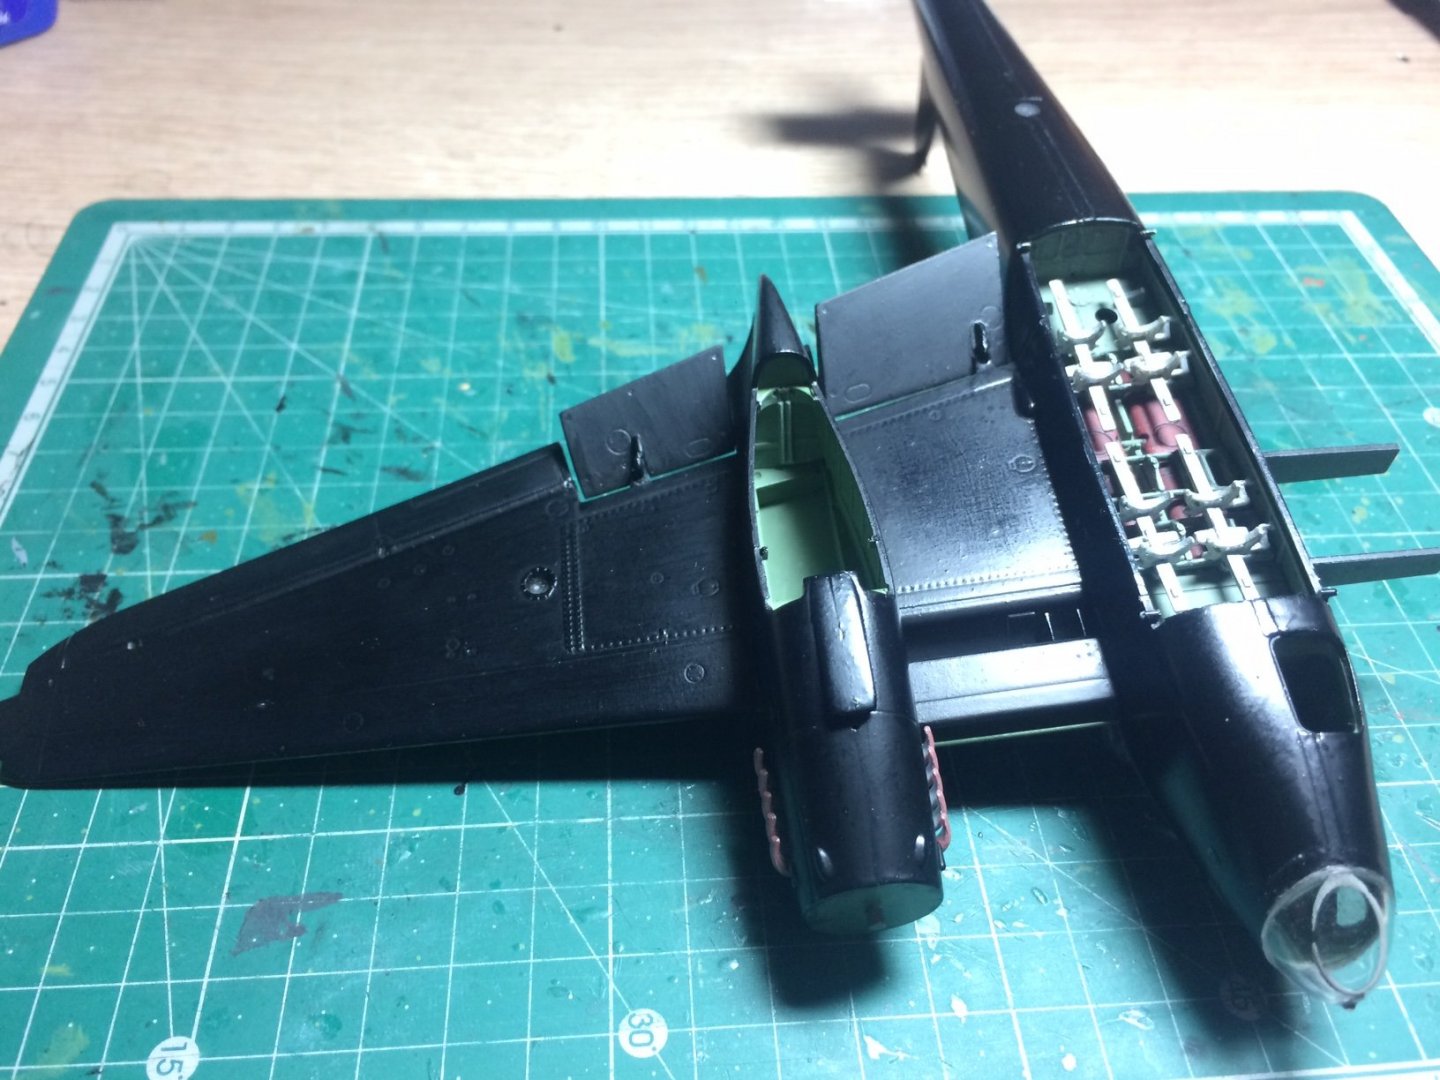
The one wing painted and touch ups done - ready to do the same to the other. Pics also show a dry fit. OC.


- 932 replies
-
- 10
-

-
Thank you kindly Kevin, OC.
-
That would be great mike - please build it on here as Im sure many will look forward to seeing what ever you decide to build. OC.