Old Collingwood
-
Posts
12,106 -
Joined
-
Last visited
Content Type
Profiles
Forums
Gallery
Events
Everything posted by Old Collingwood
-
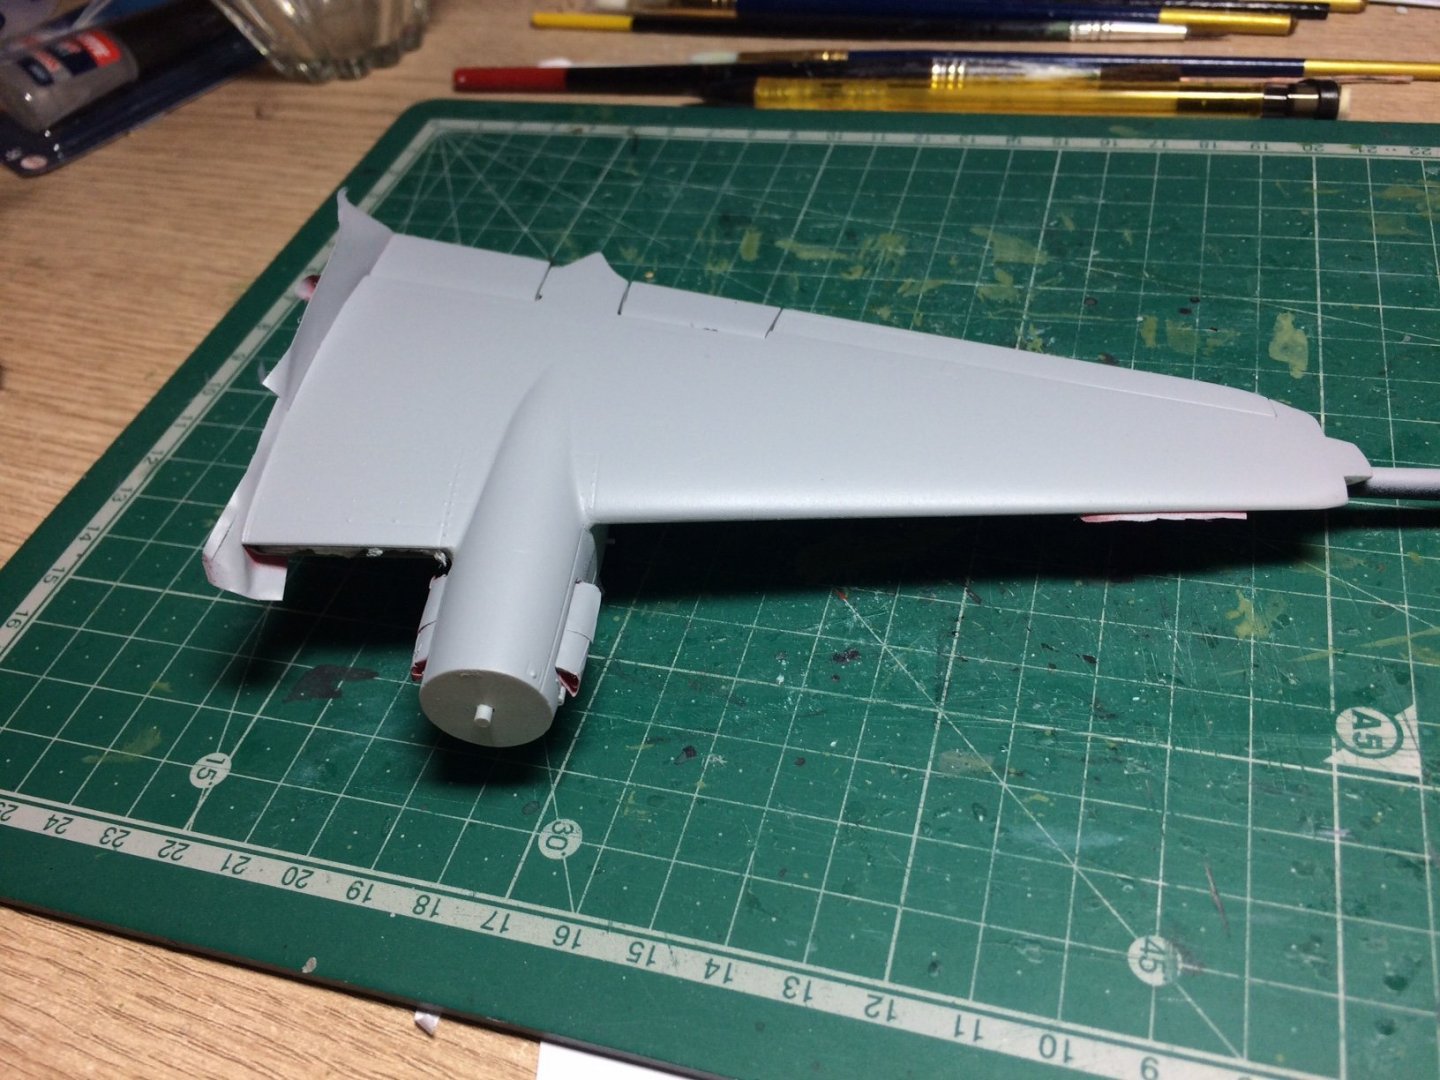
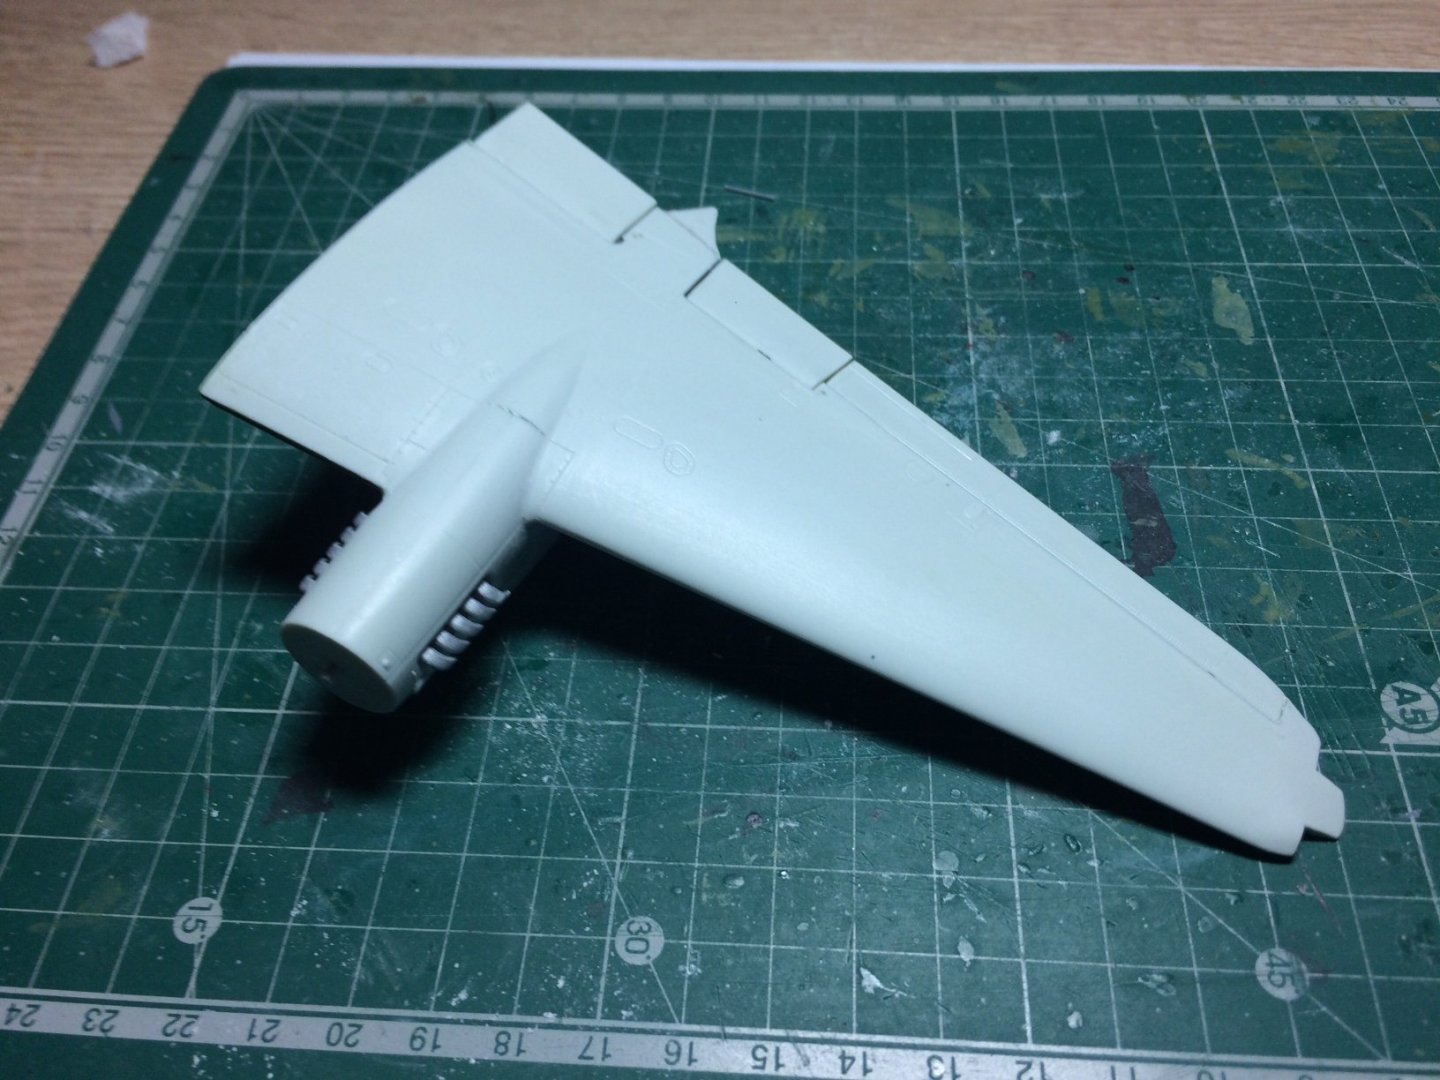
 Plan for latter today - make up the other wing/nacelle assembly, then clean up the seams same as the other one, then couple of coats of primer (good tip to kill dust specs - use some tape to act as a tack rag) then the grey paint over the top, set to dry then mask up ready for the green paint. OC.
 -
Same as what Lou said............... OC.
-
We just have the one room with a back and front door leading off it, my work table is also in it, so any paint smells circulate around the room, no were else to build. OC.
-
Thank you so much craig, Its very much a feeling my way as I go kind of thing, those tamiya rattle cans for model aircraft do seems very good and leave a very nice finish. OC.
-
Will be interesting to see how the green/grey turns out, the main issue seems to be getting enough contact to stop the paint creeping, but not too much so it lifts the paint or leaves marks on the paintwork. OC.
-
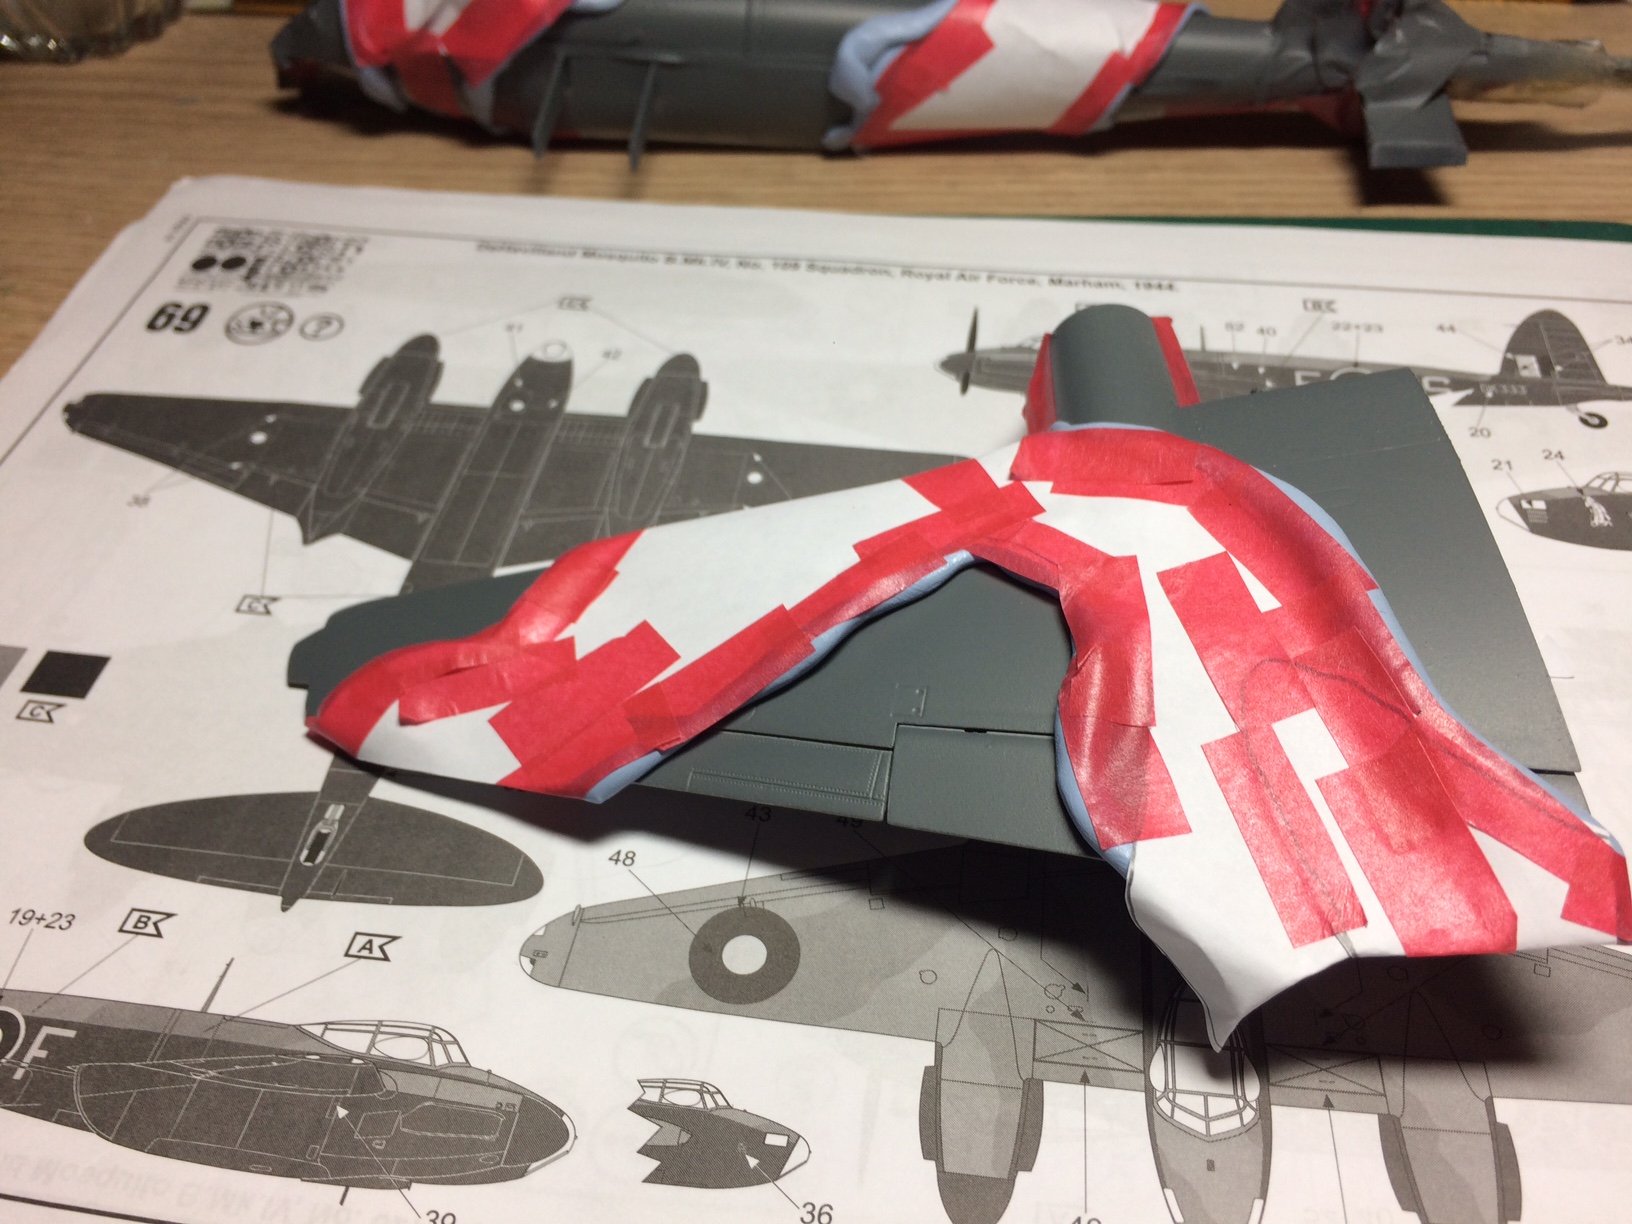
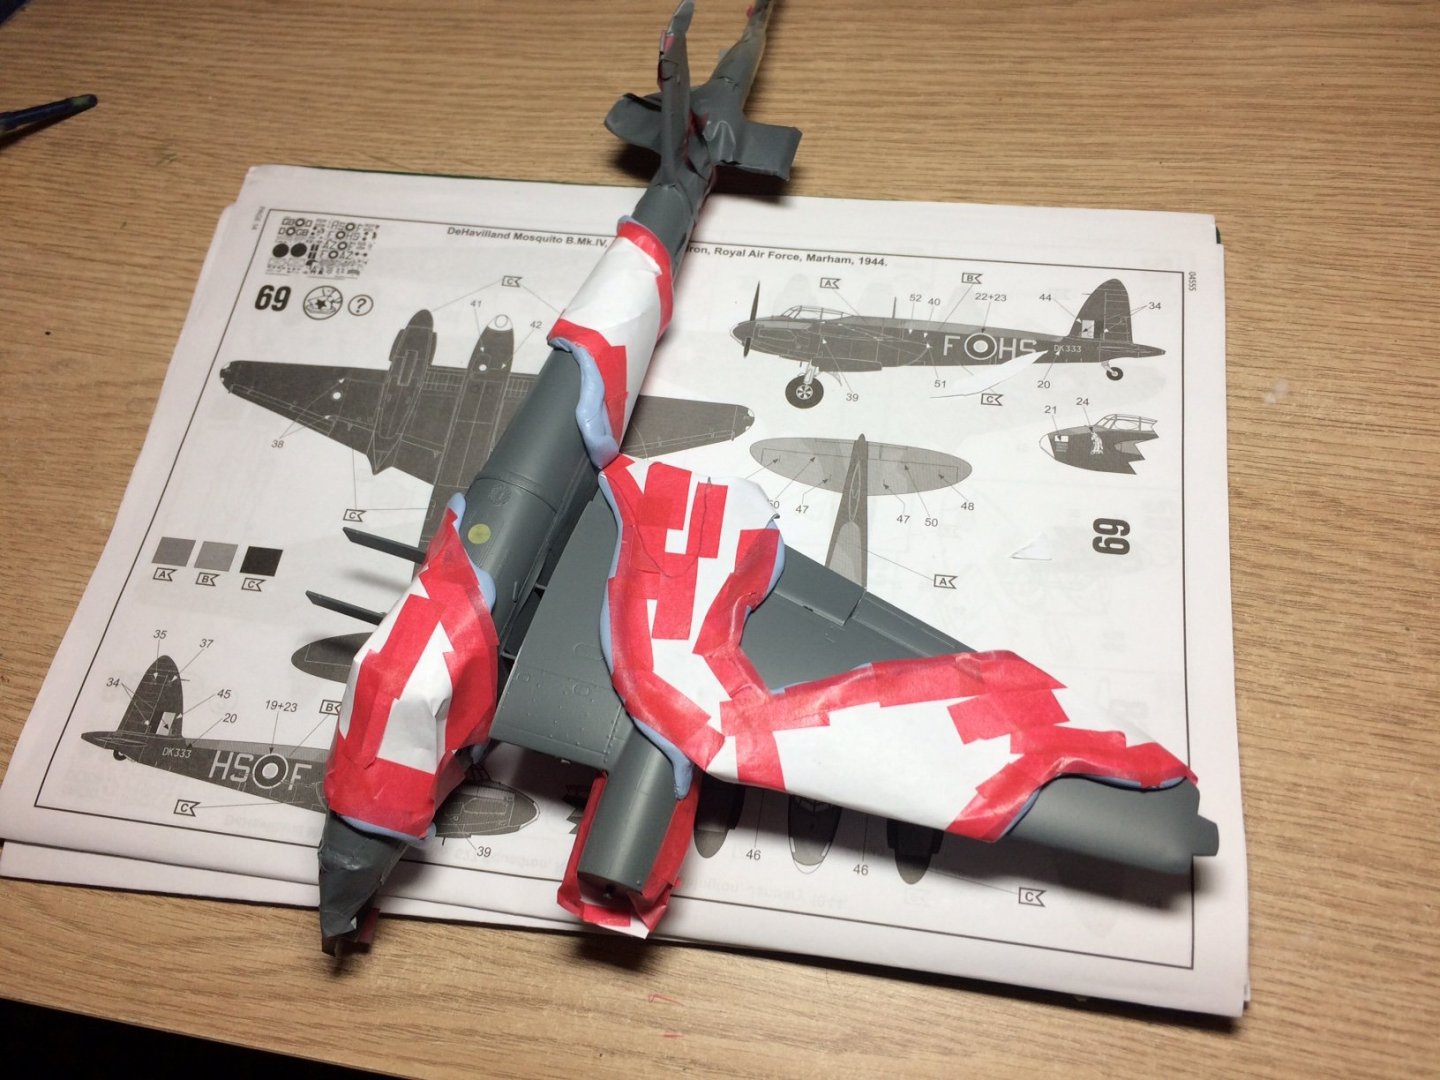
Yep thats - typing paper cut into close enough shapes, Blue tack to get a softer edge, and red painters semi low tack tape, Its a Celebration friends - My First masking job. OC.
-
Bell UH-1H Huey By lmagna - Dragon - 1/35 - PLASTIC
Old Collingwood replied to lmagna's topic in Non-ship/categorised builds
So you have traveled in a Boeing 707? I have too when I was a teenager. OC. -
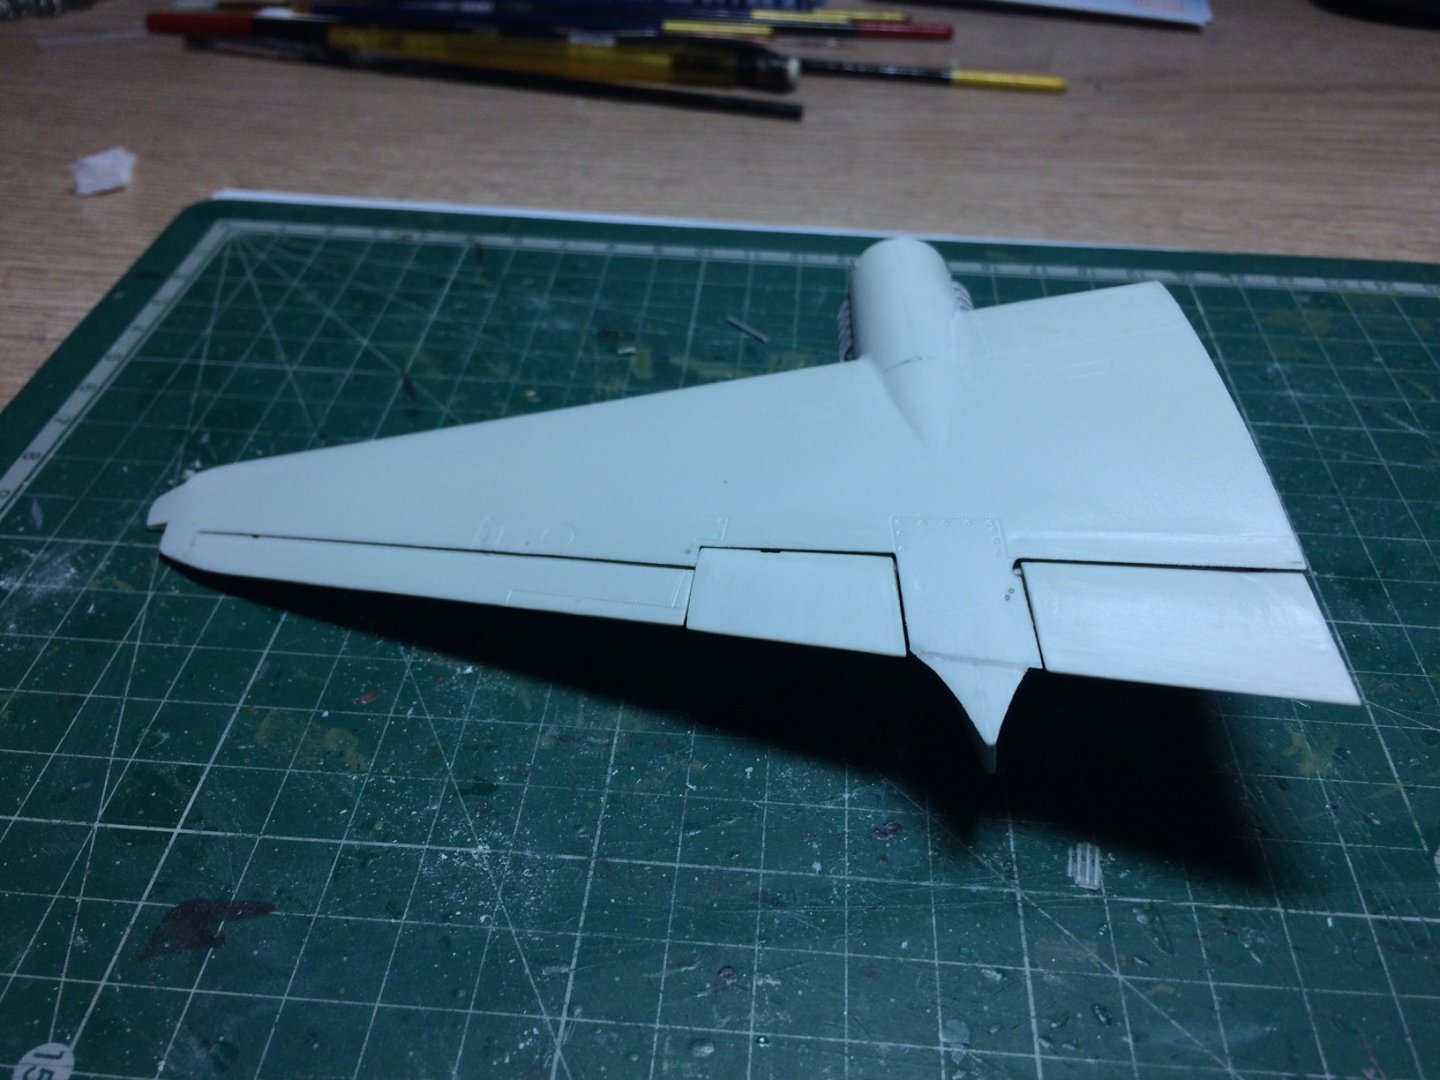
Right then - a bit more progress, I put the primer on both sides of the one wing, then when dry - aided with the venerable hairdryer, I then moved on to the fuselage and gave it a couple of coats of Grey, I also did the same to the top of the wing. After a couple of hours I masked up both the fuselage and wing - using a combination of Blue Tack for the edges, and paper and tape for the bulk of the masking - ready for paint tomorrow (if the weather is kind) also need to work on another system so the smell from the paint does not come into the house - possibly putting the painted parts in a closed plastic box till dry - so some of the smell can go off a bit first before bringing them into the house. OC.


- 932 replies
-
- 11
-

-
Great work there Kevin - she is really looking busy now. OC.
- 337 replies
-
- 3
-
-
- finished
- mountfleet models
- (and 1 more)
-
1:32 Albatros D.Va - FINISHED
Old Collingwood replied to James H's topic in Non-ship/categorised builds
"Want a hand"..... OC. -
Small update - I primed the top side of the wing and at the same time put the Grey layer over the masked section of the top fuselage - tomorrow I will start masking using blue tack/paper and tape ready for the Green, photos to follow tomorrow. OC.
-
1:32 Albatros D.Va - FINISHED
Old Collingwood replied to James H's topic in Non-ship/categorised builds
Amazing work. OC. -
Thanks mate yep - wont try it though by throwing it out of the window. OC.
-
Bell UH-1H Huey By lmagna - Dragon - 1/35 - PLASTIC
Old Collingwood replied to lmagna's topic in Non-ship/categorised builds
Coming on nicely Lou, I agree with all - those figures do look good. OC. -
Hi all, spent some good time on the mossie today, I glued up the one wing after fitting the ailerons and flaps, then I cleaned up the seams. OC.
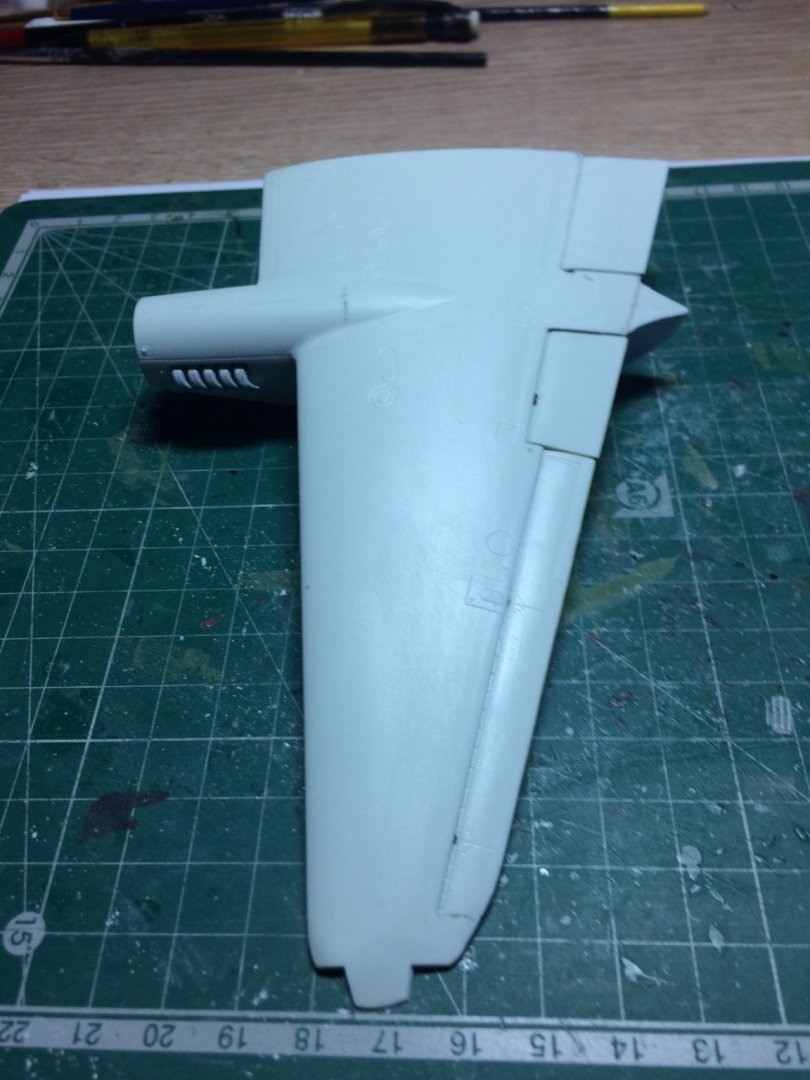
- 932 replies
-
- 11
-
-
I heard - he pinches pop corn - oh and watch your pop, but I wont tell Lou. OC.
-
Get one of those garden hammocks you could share it with lou. OC.
-
Bell UH-1H Huey By lmagna - Dragon - 1/35 - PLASTIC
Old Collingwood replied to lmagna's topic in Non-ship/categorised builds
Like me Lou we learn more about the art in making a kit look half decent as we go along, when I was masking and spraying yesterday it struck me that it was the first time I have ever done anything like this - all my painting of models has always been with hairy sticks. OC. -
I see, I assumed they were Acrylic paints. OC.
-
Bell UH-1H Huey By lmagna - Dragon - 1/35 - PLASTIC
Old Collingwood replied to lmagna's topic in Non-ship/categorised builds
Are you spraying the fuselage or hand painting Lou? OC. -
Wonder if you can pop the nozzles of to clean them under hot water? OC.
-
Very nice work mate - love the sharp paint details. OC.
-
Bell UH-1H Huey By lmagna - Dragon - 1/35 - PLASTIC
Old Collingwood replied to lmagna's topic in Non-ship/categorised builds
Just checked - Ebay are doing them - what an excellent tool. OC. -
Very nice work mike. OC.
-
I also read - to heat them up slightly like sitting them in hot water for a few minutes - I have done that hot water out of the tap into a cup then sit the can in it. OC.