DONATION DRIVE - SUPPORT MSW - DO YOUR PART TO KEEP THIS GREAT FORUM GOING!
×


Old Collingwood
-
Posts
12,104 -
Joined
-
Last visited
Content Type
Profiles
Forums
Gallery
Events
Everything posted by Old Collingwood
-
 Thank you for the kind words Carl, its an adventure high's and lows trying to get a clean paint finish down, building her was the easy bit. OC.
 -
I was nearly flattened by a British Challenger 2 tank while driving in a rush up a country lane where the Army had their ranges. OC.
-
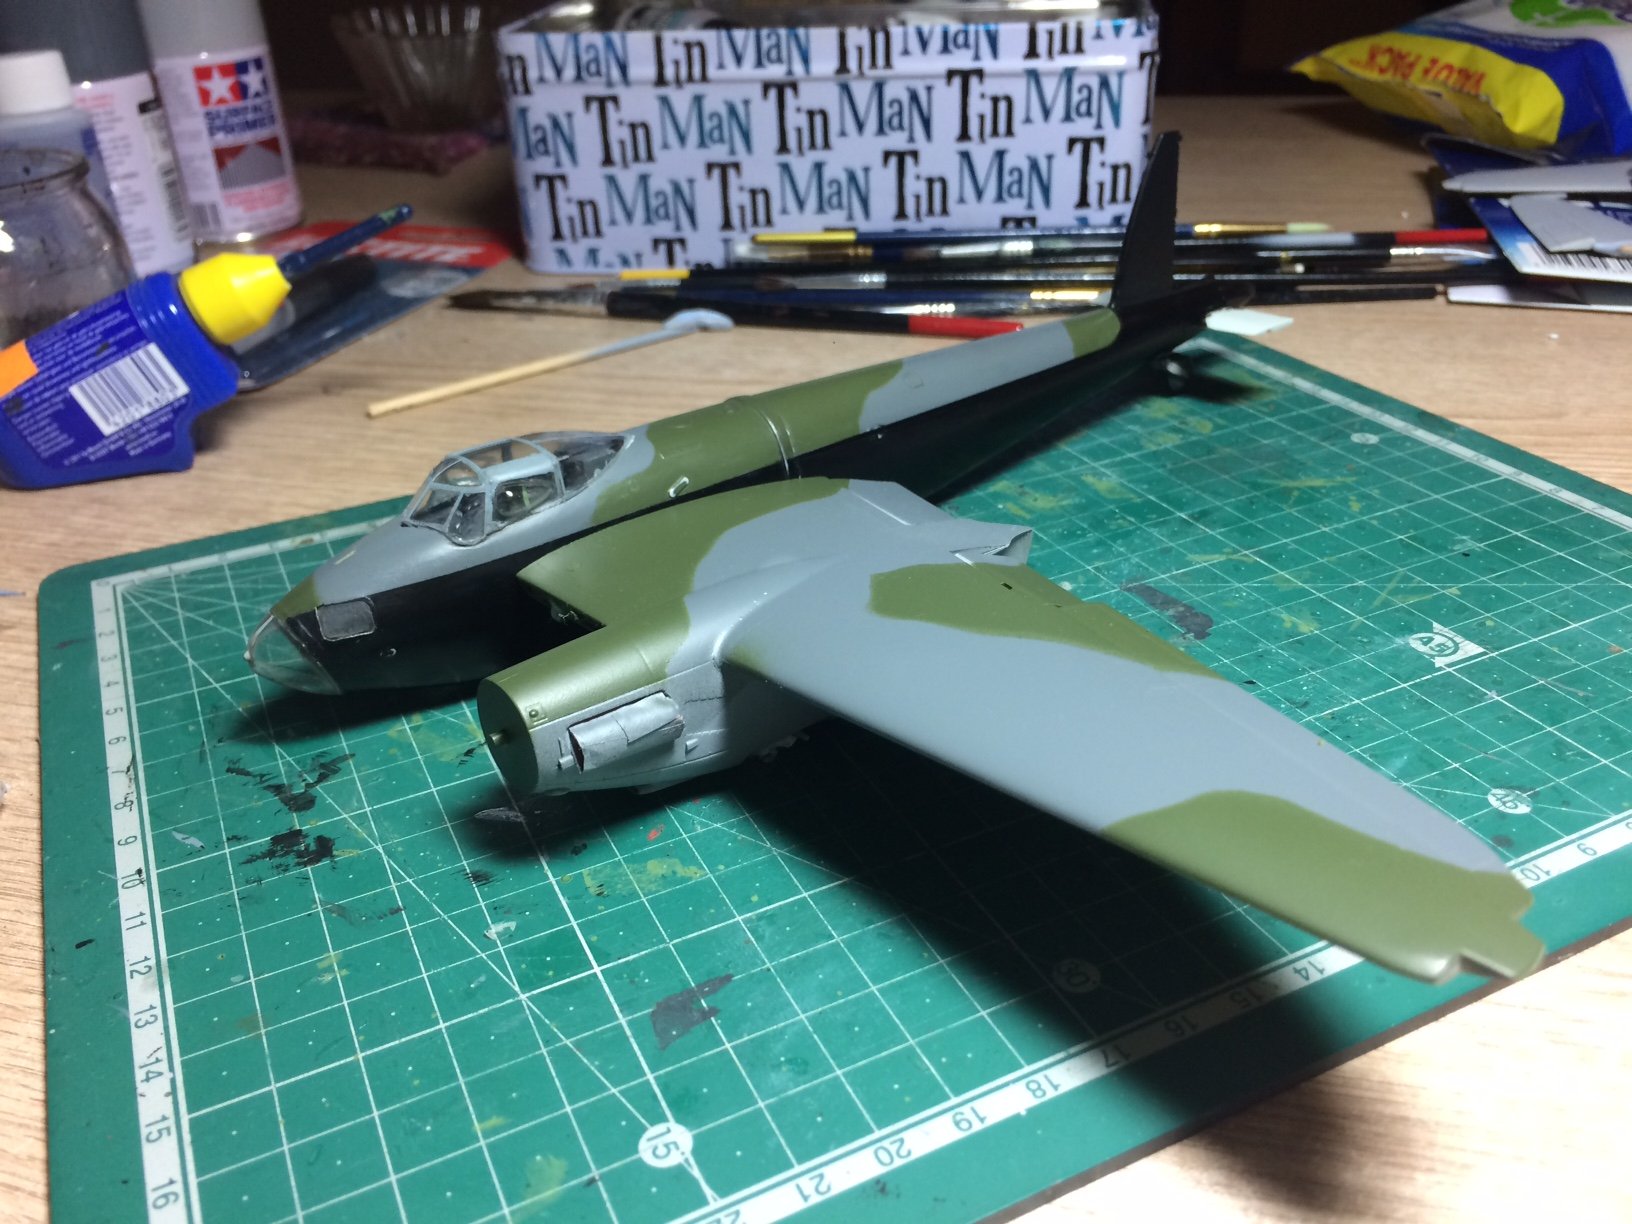
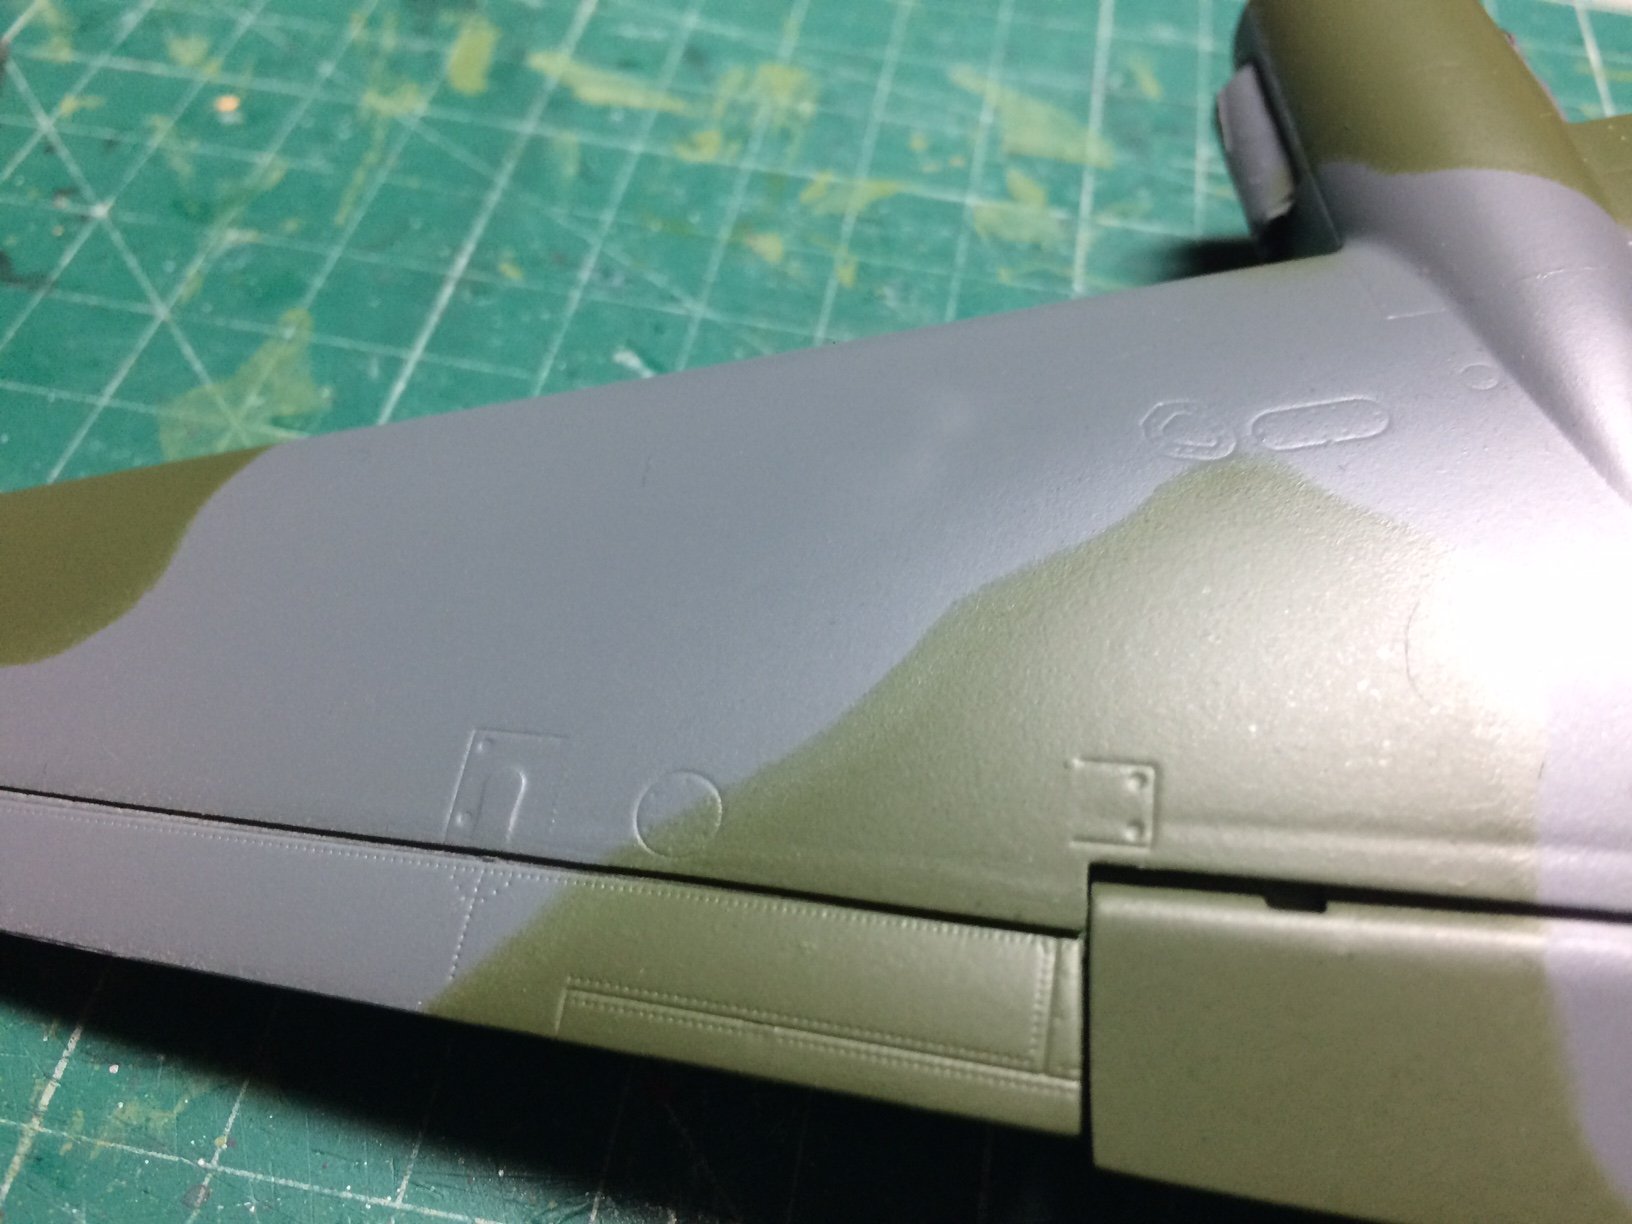
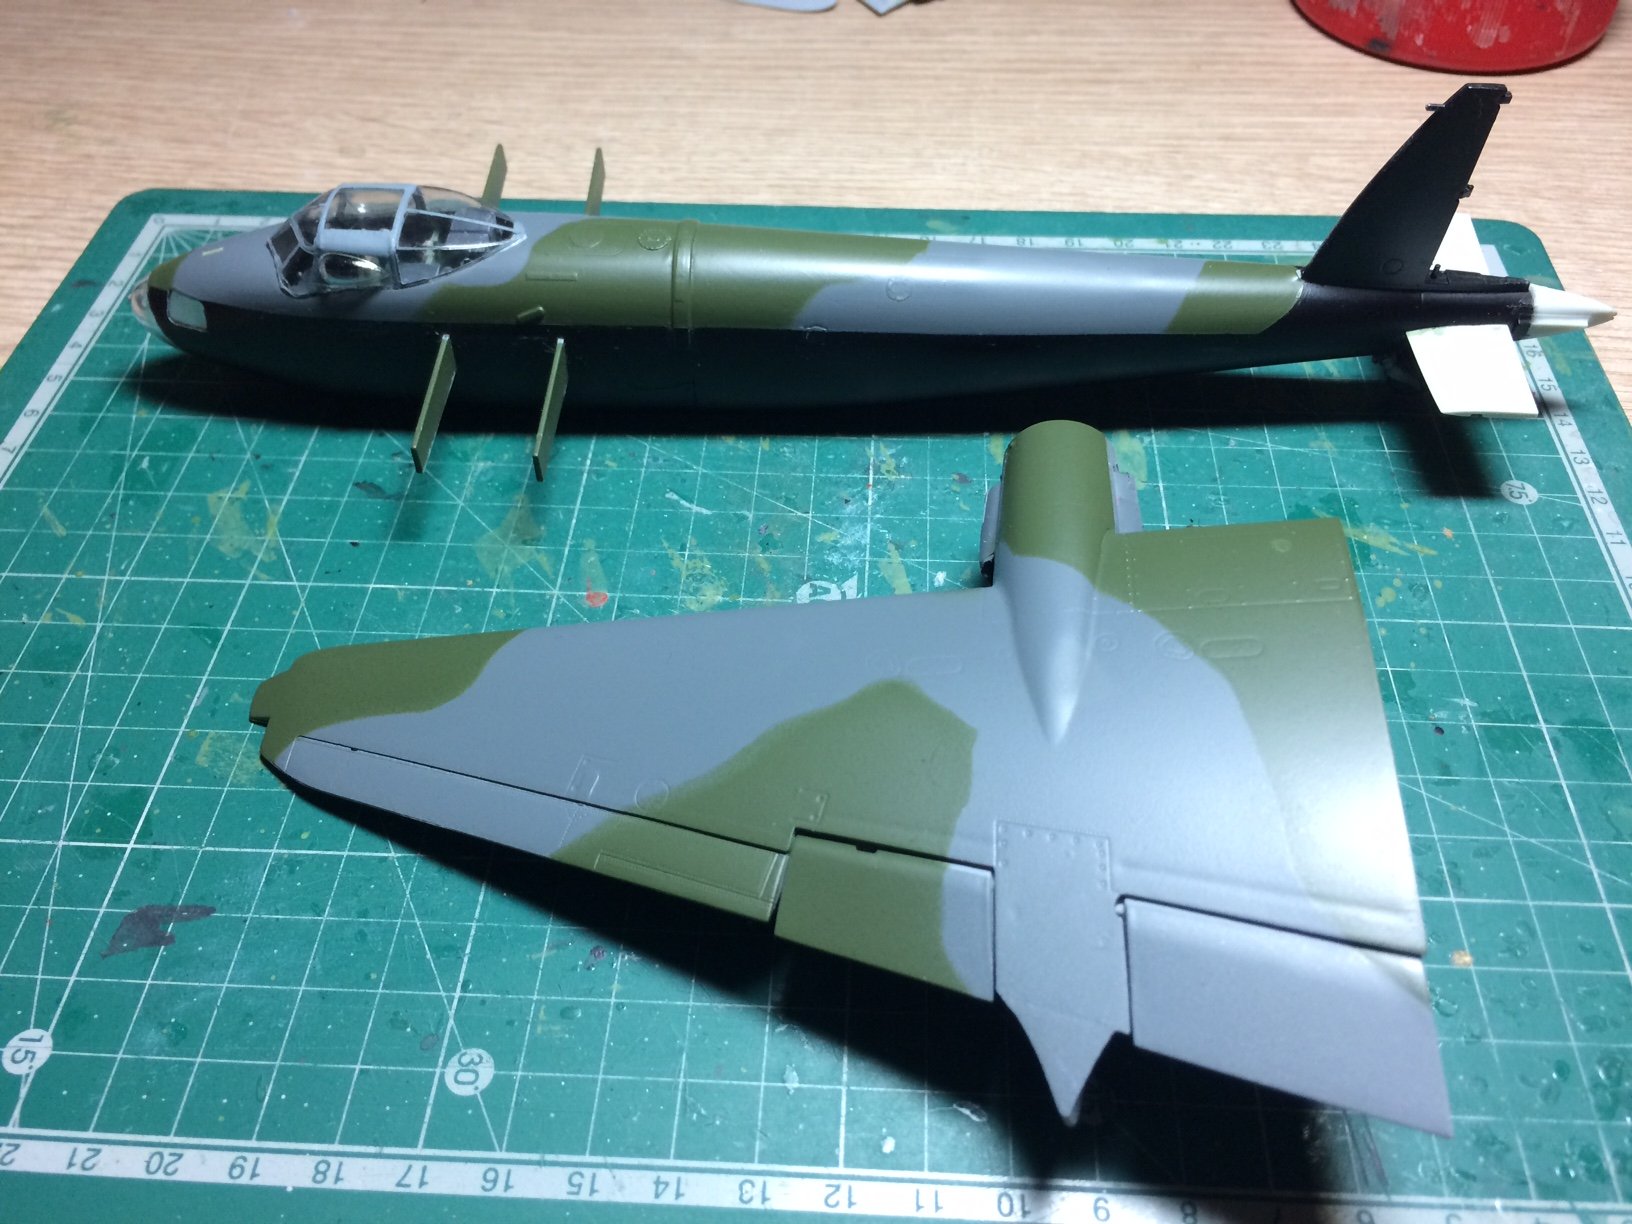
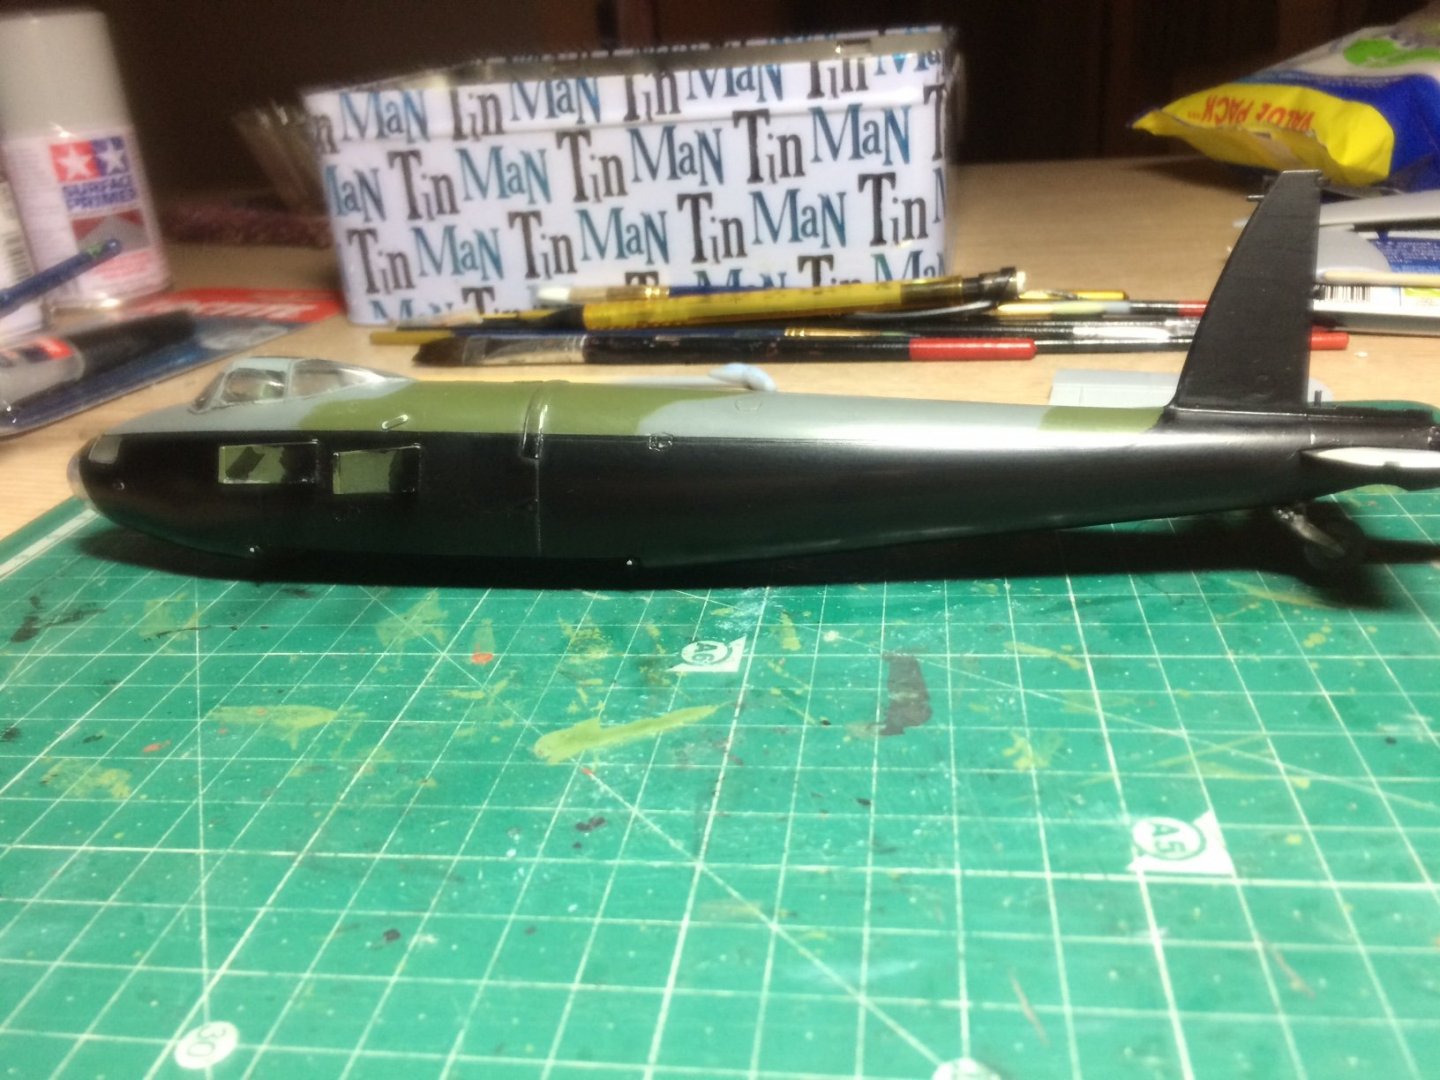
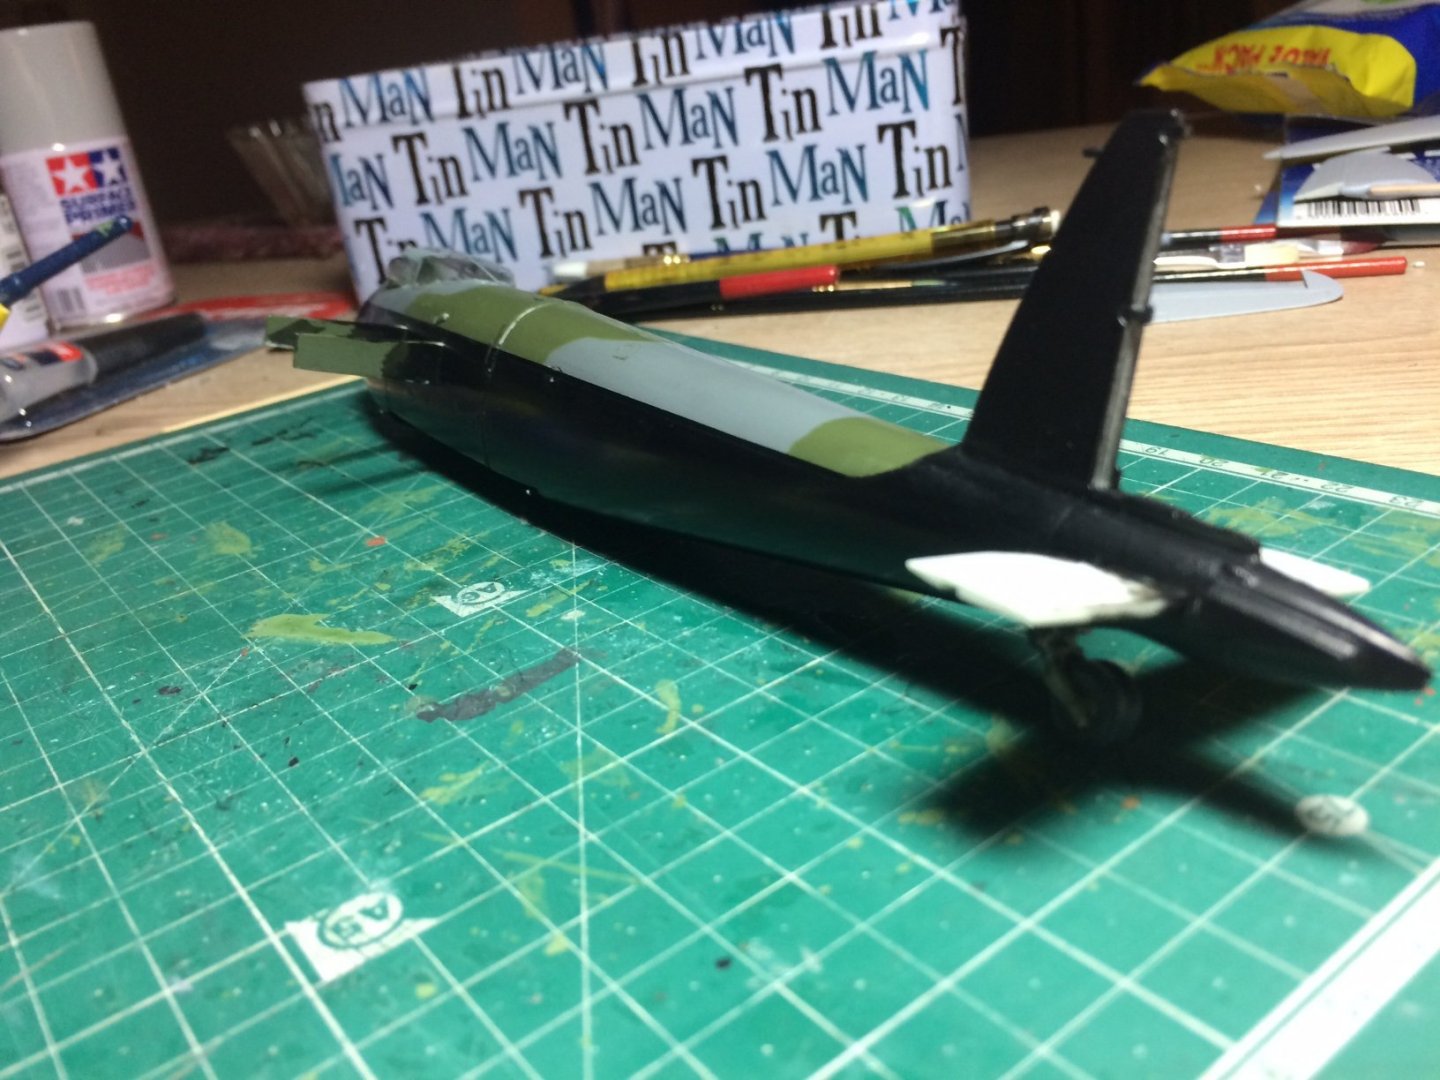
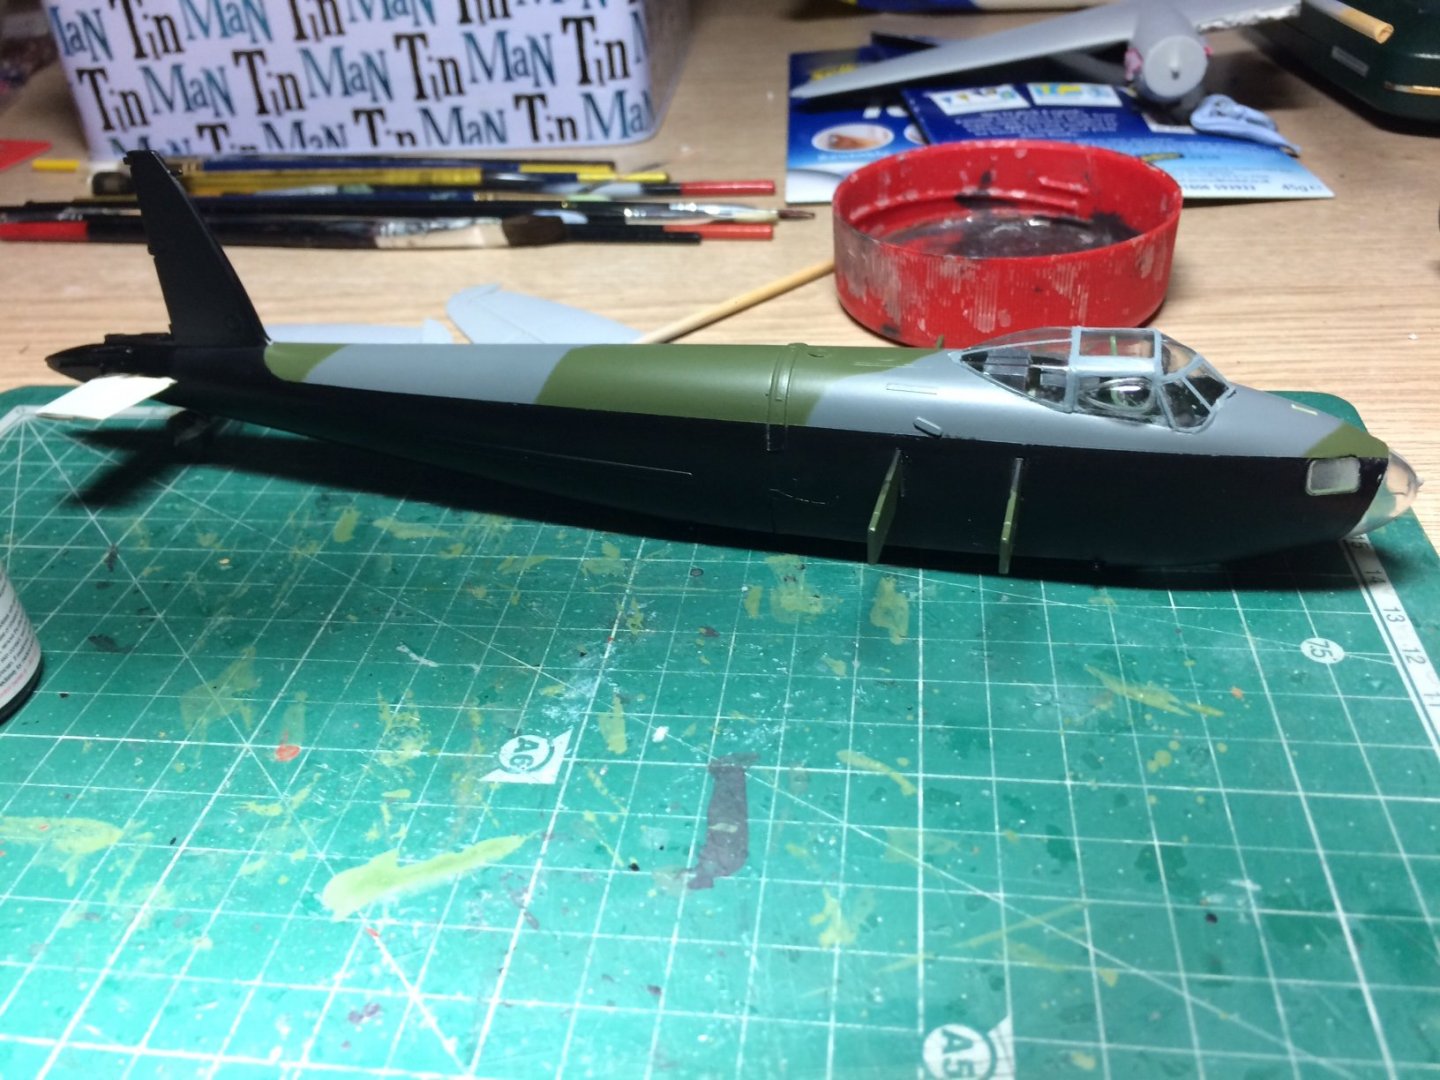
Quite a bit more work today - six hours at the table correcting the paint finish - this consisted off wet soapy sanding with fine wet and dry thats had its bite taken off by rubbing on slightly coarser wet and dry, than I worked on the the left side front area - first I masked off a small area just forward of where the wing joins the fuselage, then with my widest brush I applied a few thin coats force drying and light sanding between coats, then I moved a section at a time towards the tail - masking where needed. When I reached the tail I masked a new curve and continued my Black paintwork six hours later I gave the paintwork a light buff with a cloth and finished for the day. Here's the pics - including a dry fit with the one wing that still needs a bit of touch up. OC.

- 932 replies
-
- 10
-

-
I'll give it a go "nothing ventured - nothing gained" OC.
-
Im a bit worried about pressing to hard in case the windows push inside the fuselage as they were not very well glued in. But I have some gloss clear top coat - could brush that in to give them some shine. OC.
-
Thanks Mark. OC.
-
Bell UH-1H Huey By lmagna - Dragon - 1/35 - PLASTIC
Old Collingwood replied to lmagna's topic in Non-ship/categorised builds
Looking swell Lou - keep going mate. OC. -
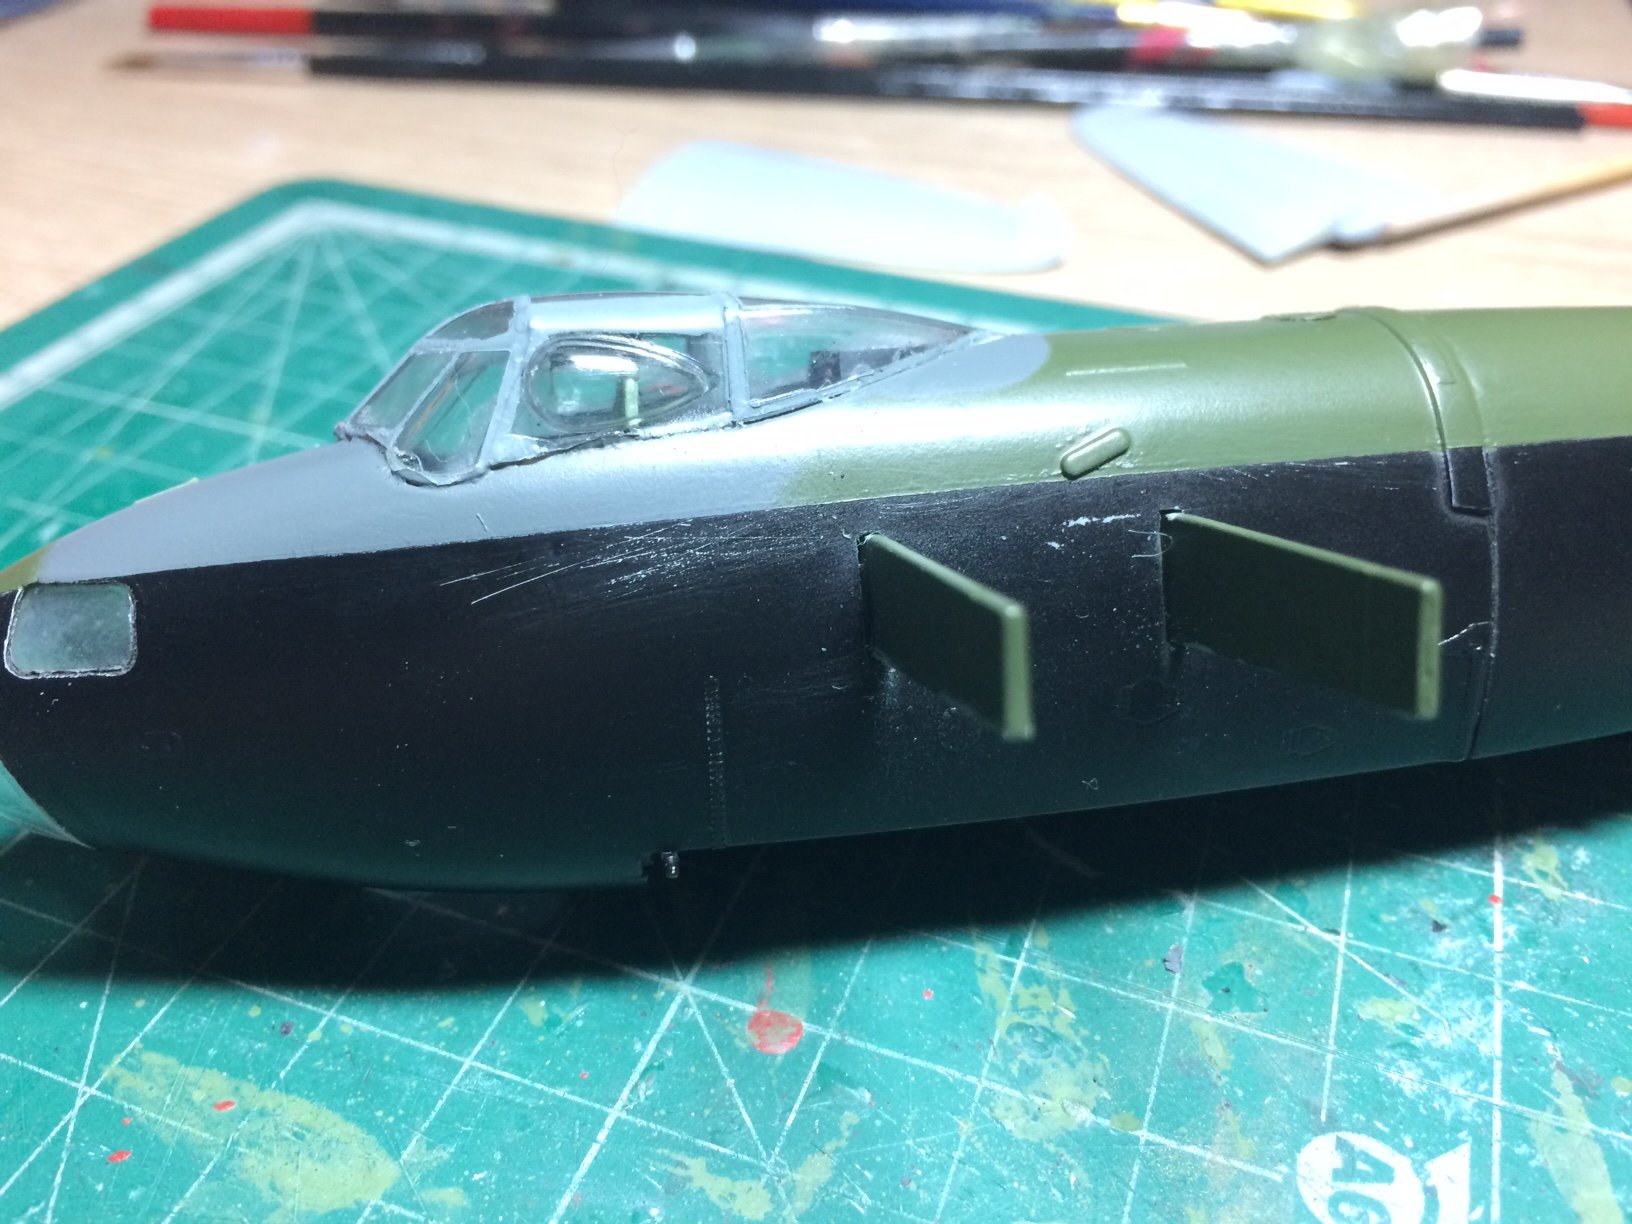
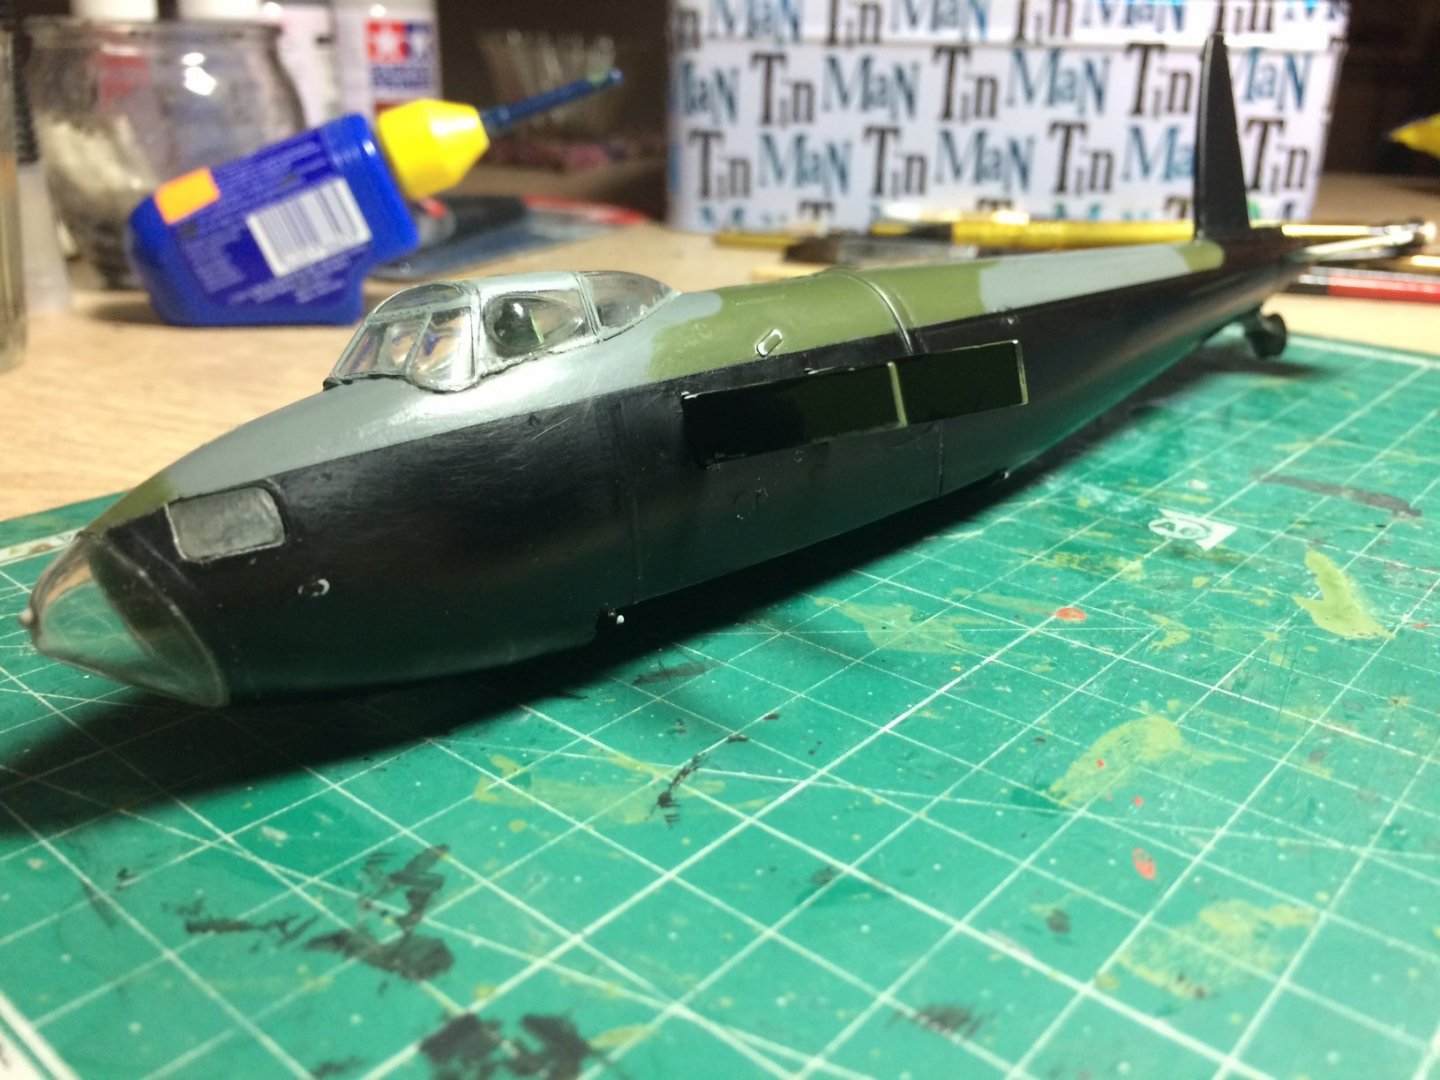
So, what I need to do tomorrow - is to work on that front area of Black under the cockpit (just a bit of light sanding) then a few more thin coats of semi gloss Black, after this has set I will work tidy-ing up the canopy frame where it meets the fuselage and also some of the glazing framework. Then a bit of a tidy up of the front nose cone glazing, and then I may consider Blacking out the two front nose side windows - as I have seen this done (will cover up where the plastic has hazed. OC.
-
Thanks Craig, its still looks worse close up (but dont all our builds under close inspection). OC.
-
Thank you for the help all - really appreciate it your intervention stopped me from binning it, I decided to attack the black first - I thought I had brought the eqv tin acrylic as the Tamiya rattle can, so I used my softest/widest brush watered the paint very sightly with distilled water (just a few brush drops into the tin) then proceeded to apply some thin layers all over the black - wide brush with thin layers dried between each seems to have helped a bit. On the side where the scratches was under the cockpit that still needs a little light sanding - I will attempt that tomorrow when the paint has fully hardened. Here is a pic showing the better of the two sides after the touch up. OC.
- 932 replies
-
- 13
-
-
Thanks Craig, here are the pics - not sure about the best option for touching up the paintwork as I dont want to have to re mask the areas so I can spray the affected areas, I could de cant some paint out of the sprays into a small glass by spraying a liitle - then brush over the areas but as thin as possible (not sure if the difference will show between spraying and hand brushing) I have some 800 wet and dry - some well used pieces that I could try but have nothing finer. Here's the pics - OC.


-
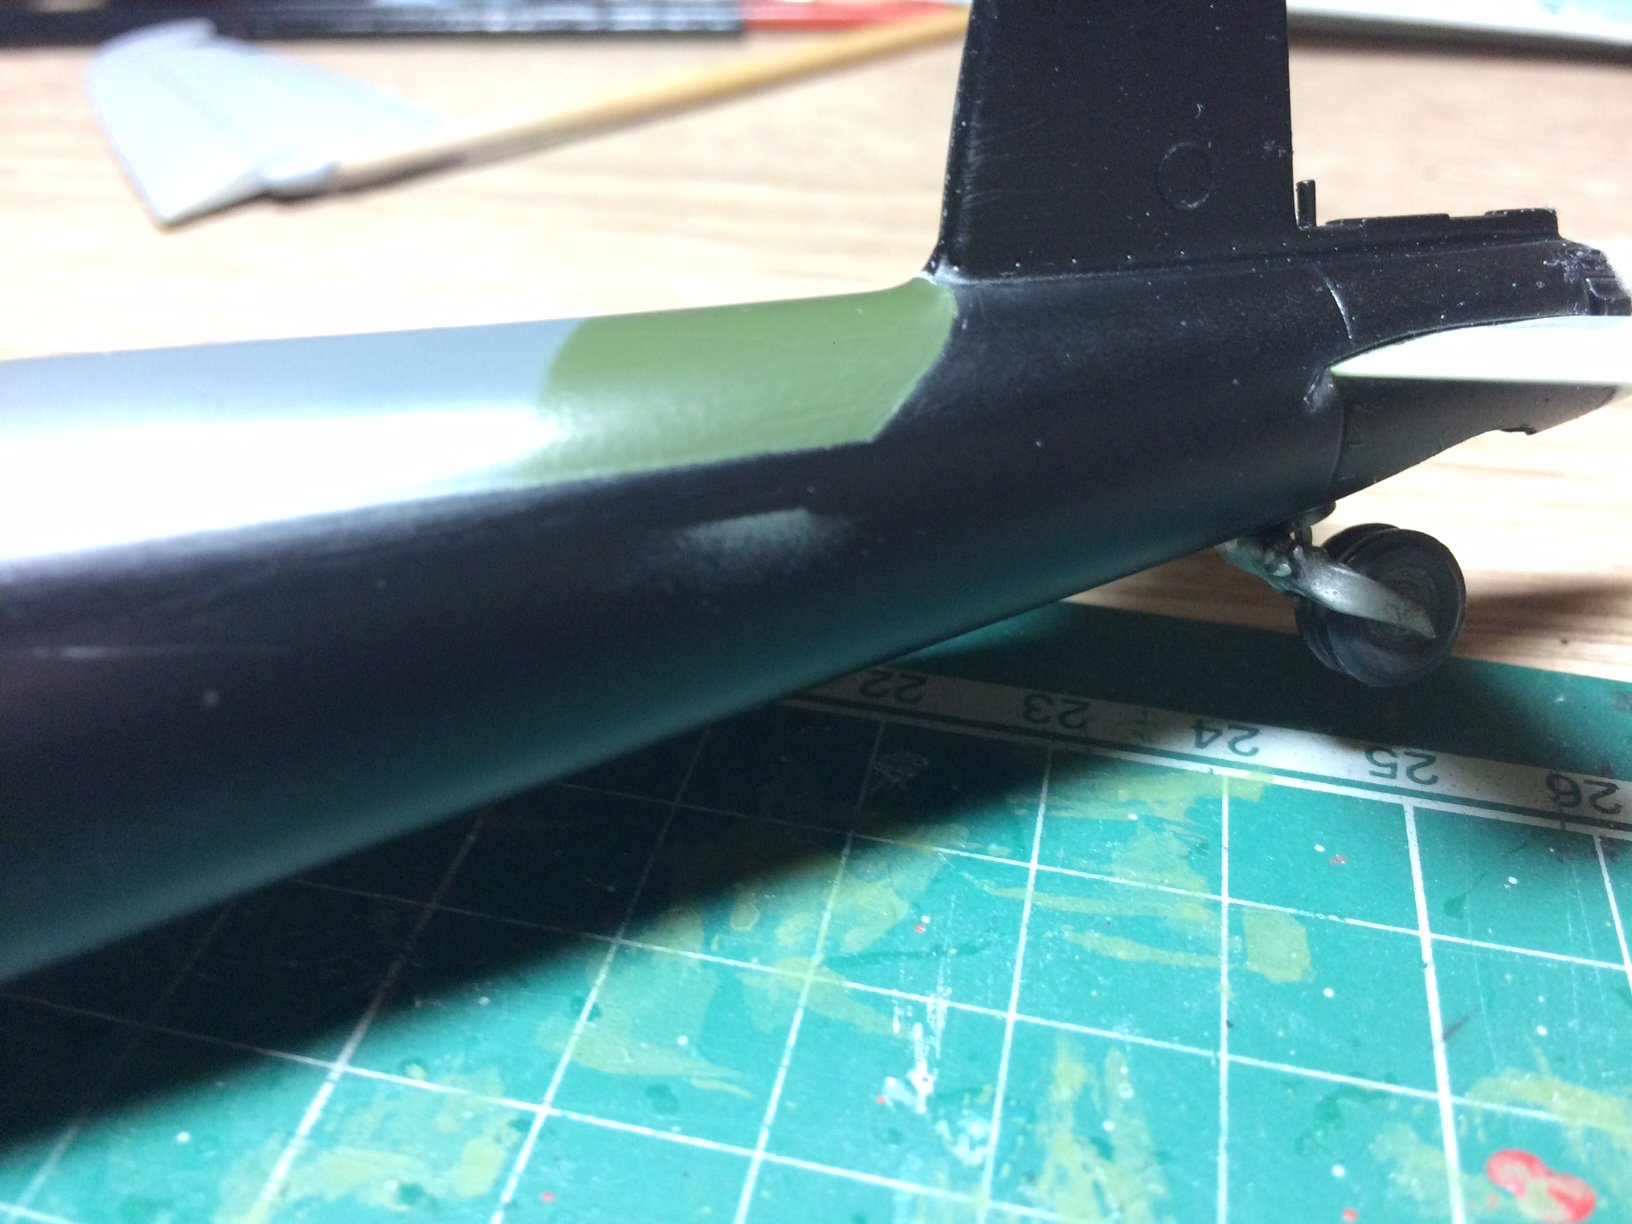
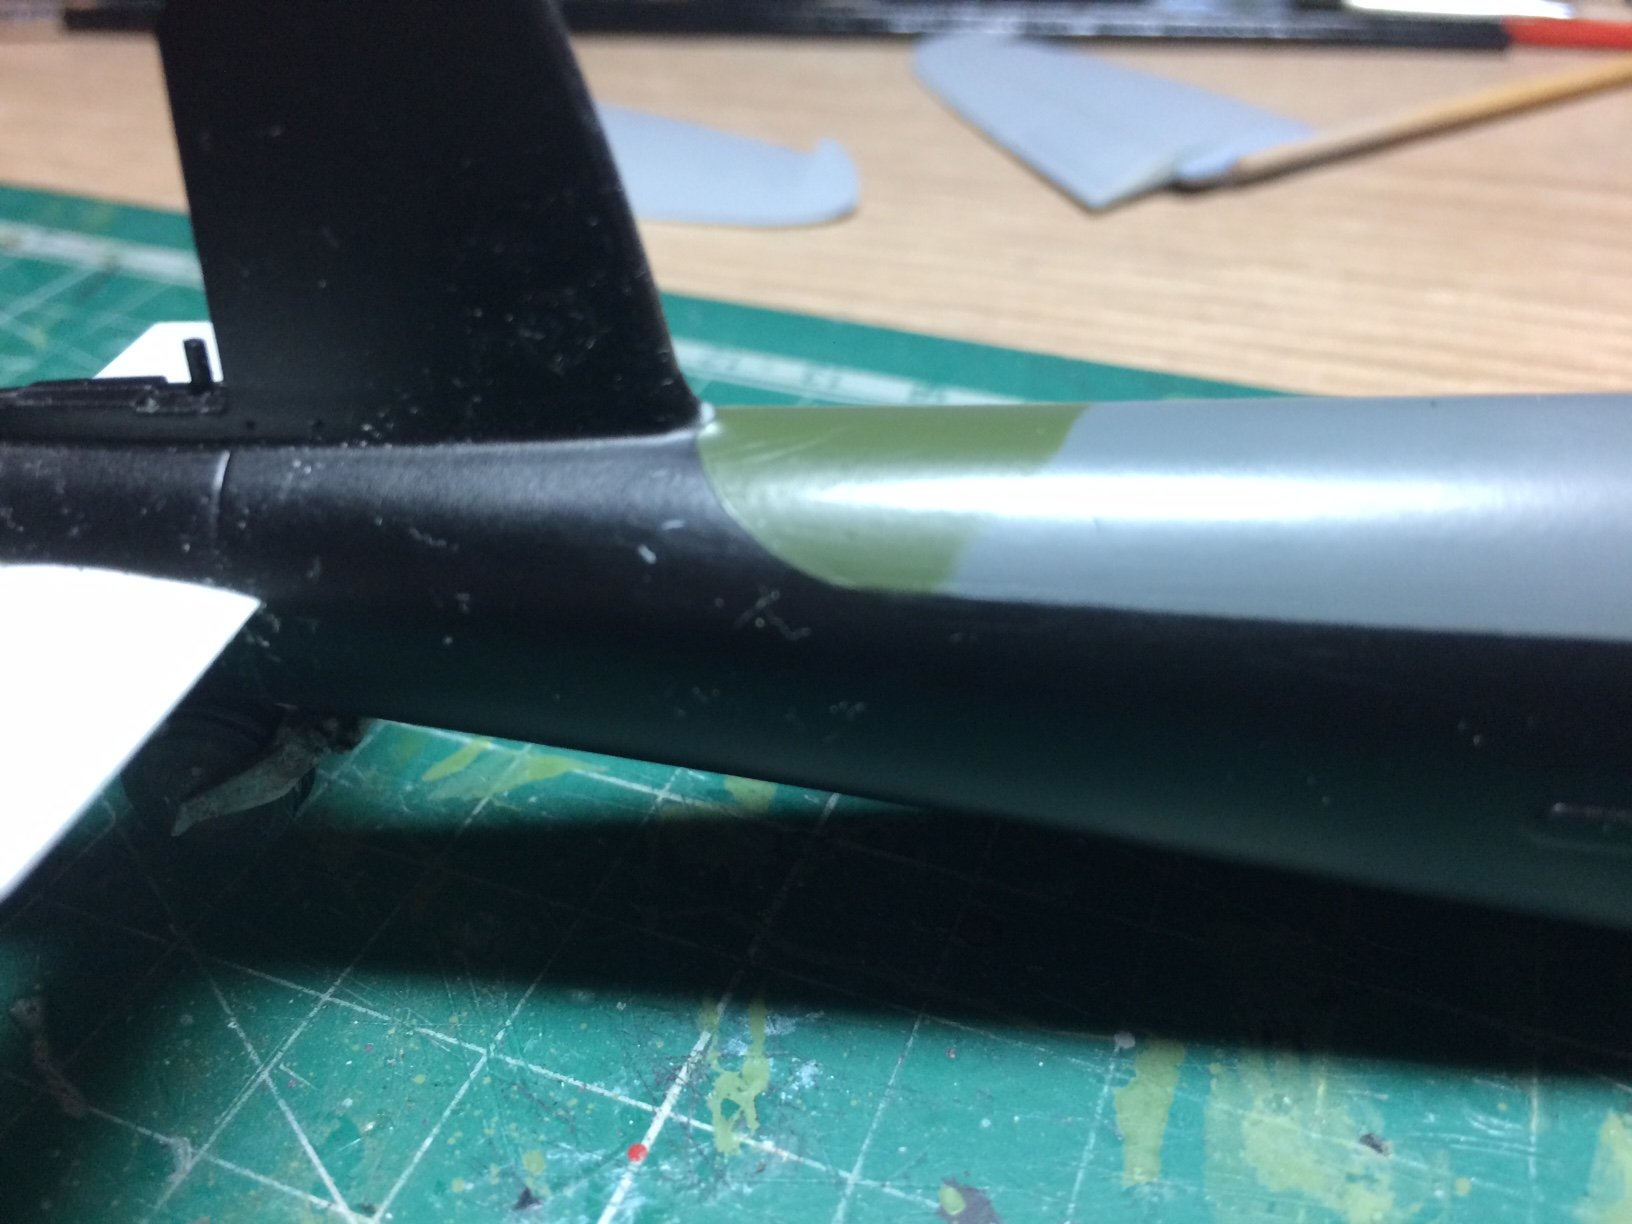
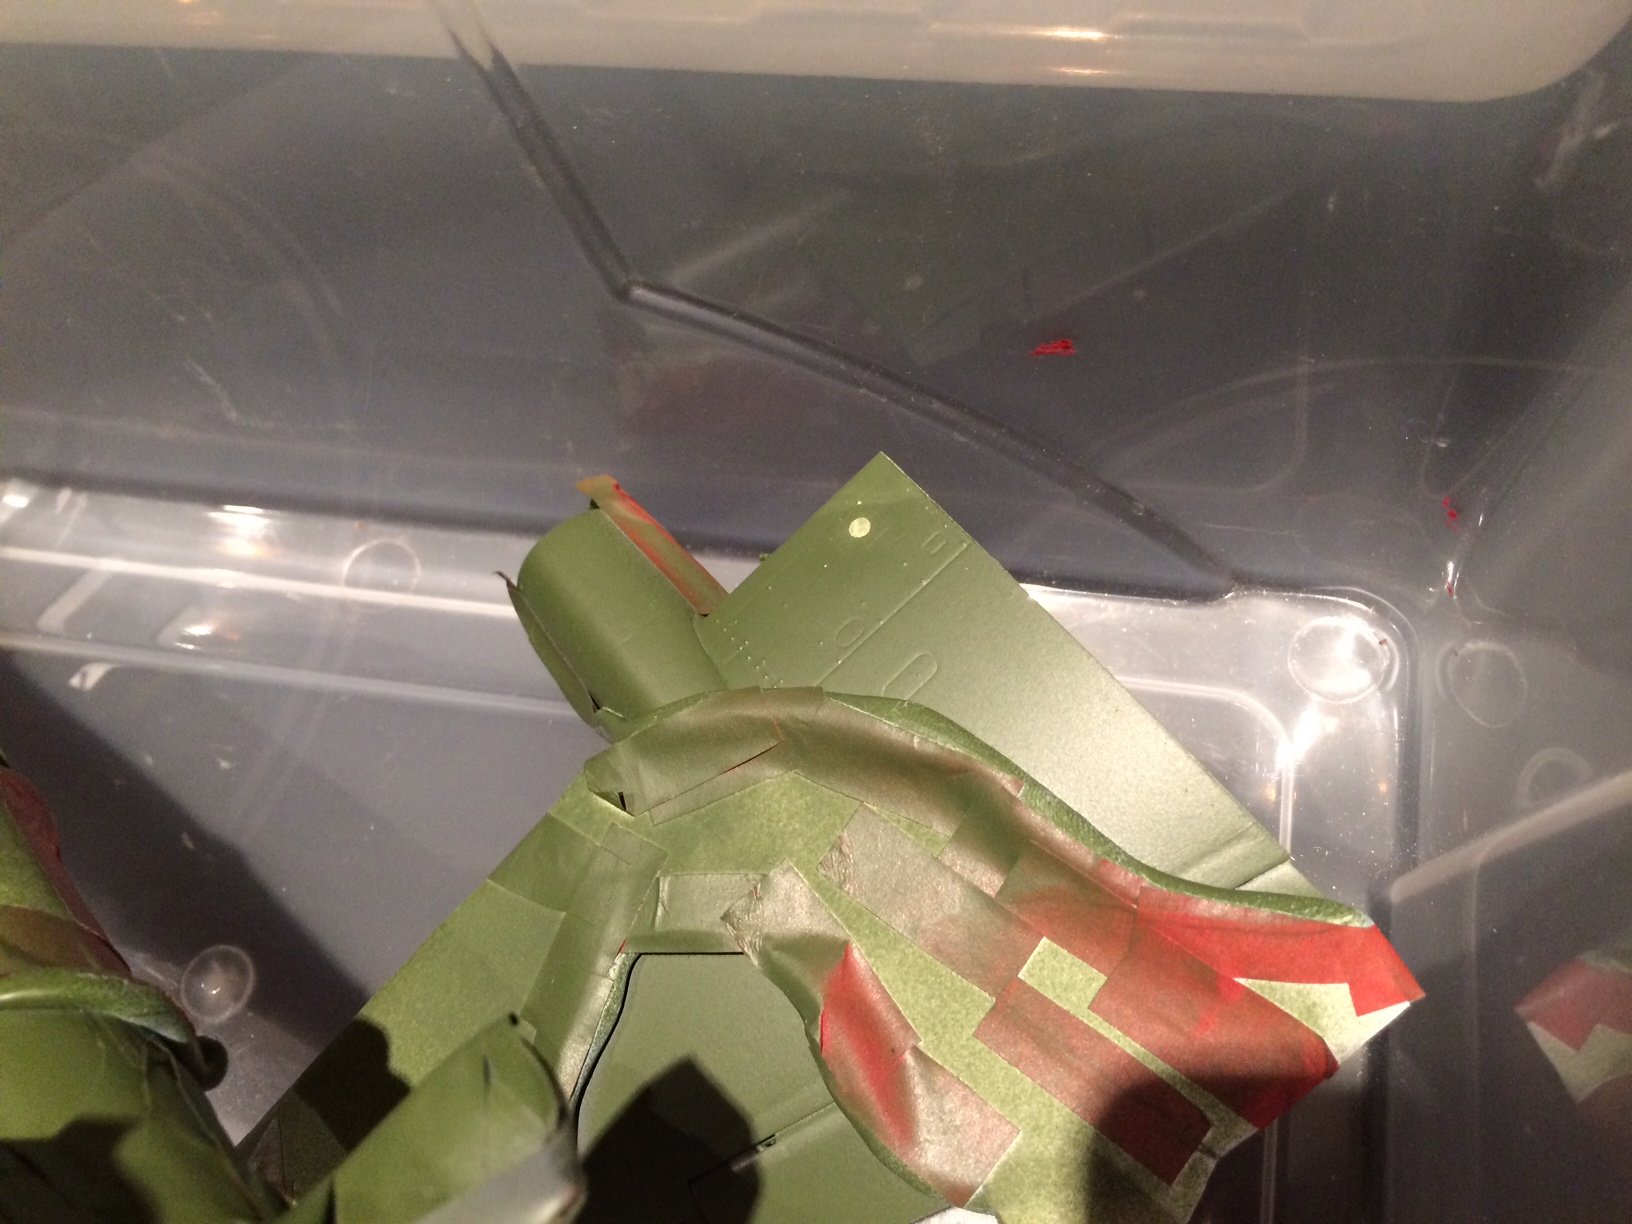
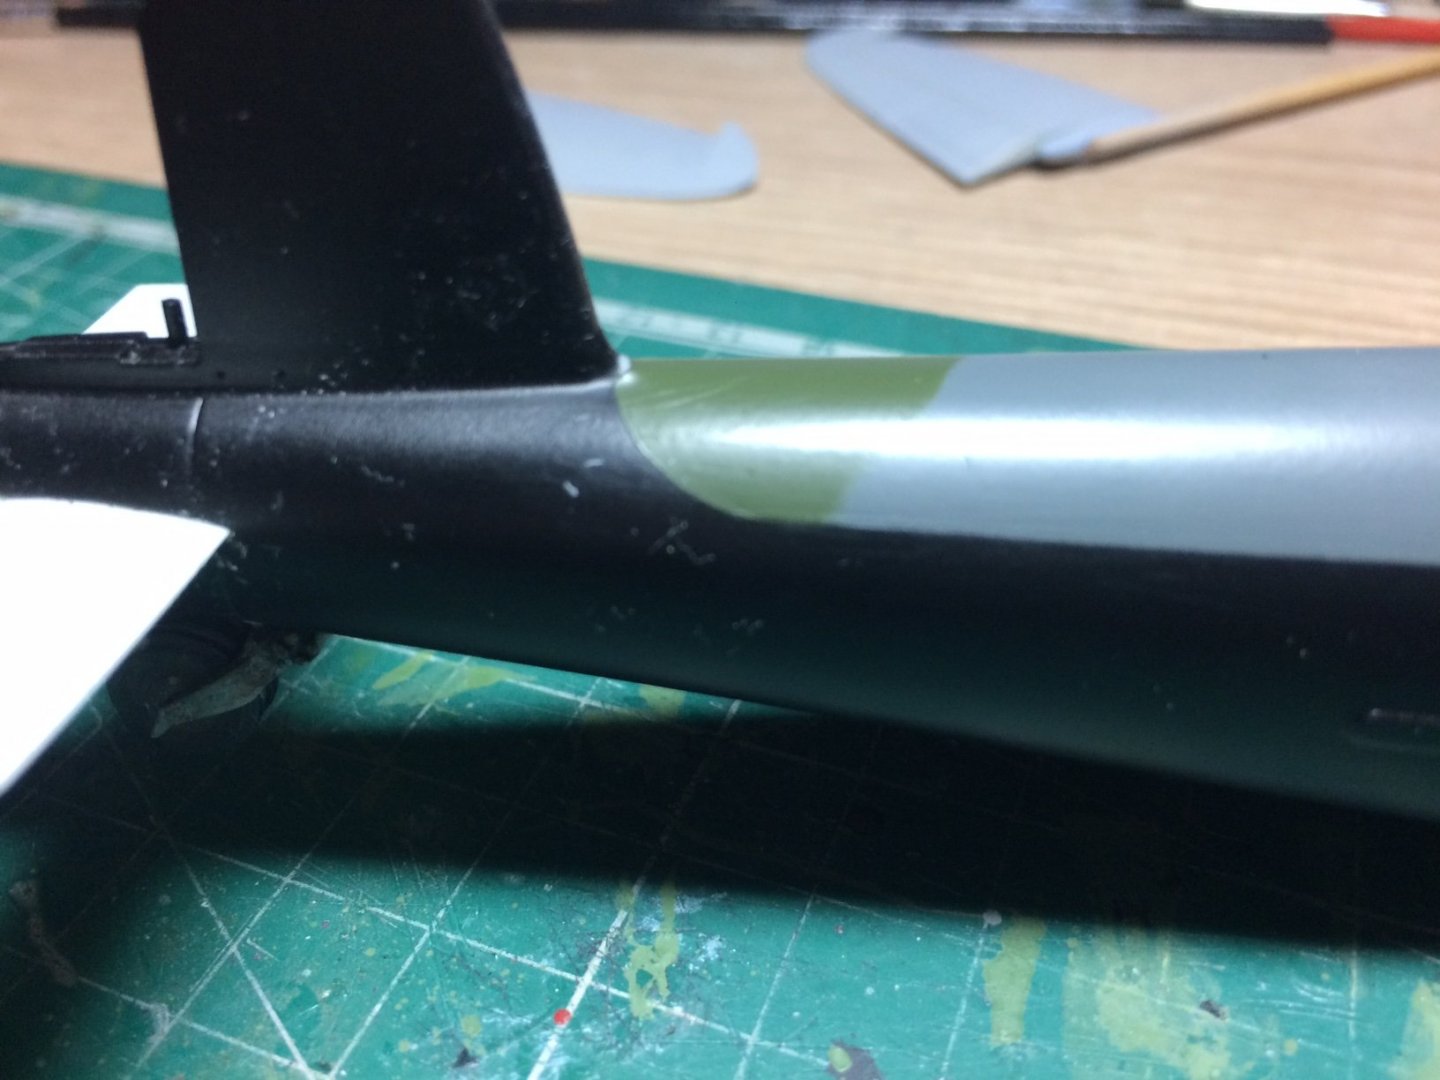
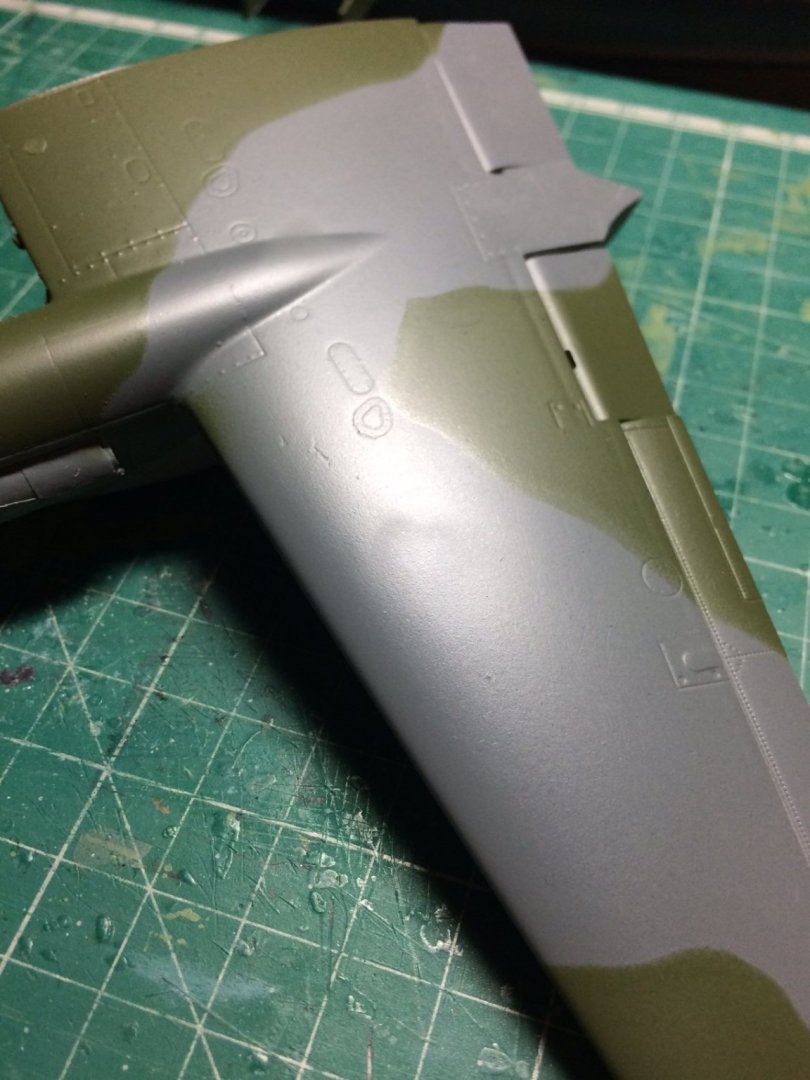
Right - I got the chance to lay another coat of Green over the wing and fuselage, then let them dry aided by the hairdryer - I then put them aside to harden, I also put a coat of primer on the other wing and stabs. Then this afternoon I decided it was time to remove the tape and reveal my paint work - Not good I am not happy, contribution of factors lack of man shed or building area, wrong tape (I should have invested correctly by getting Tamiya Tape) Also using Tamiya rattle cans out doors in between rain showers and wind and bugs - is not ideal as I had to very quickly throw the paint down to beat the elements. The finish has left a couple of areas of miss match paint - some scratches and a hard ridge where the black/camo demarcation line is. Seriously dont want to have to paint my other kits this way as its just not the way to go.😞 OC.
-
My next project should be a fly carrying truck - but guess there will be enough room for nats and midges as well. OC.
-
He's long gone now - spray day number two latter today with any luck - just need those rain gods to have a day off and no wind - also no flying things please. OC.
-
That planking looks sweat denis. OC.
-
Yep I said #########$$$$$$$$$.........Out of hear your history. OC.
-
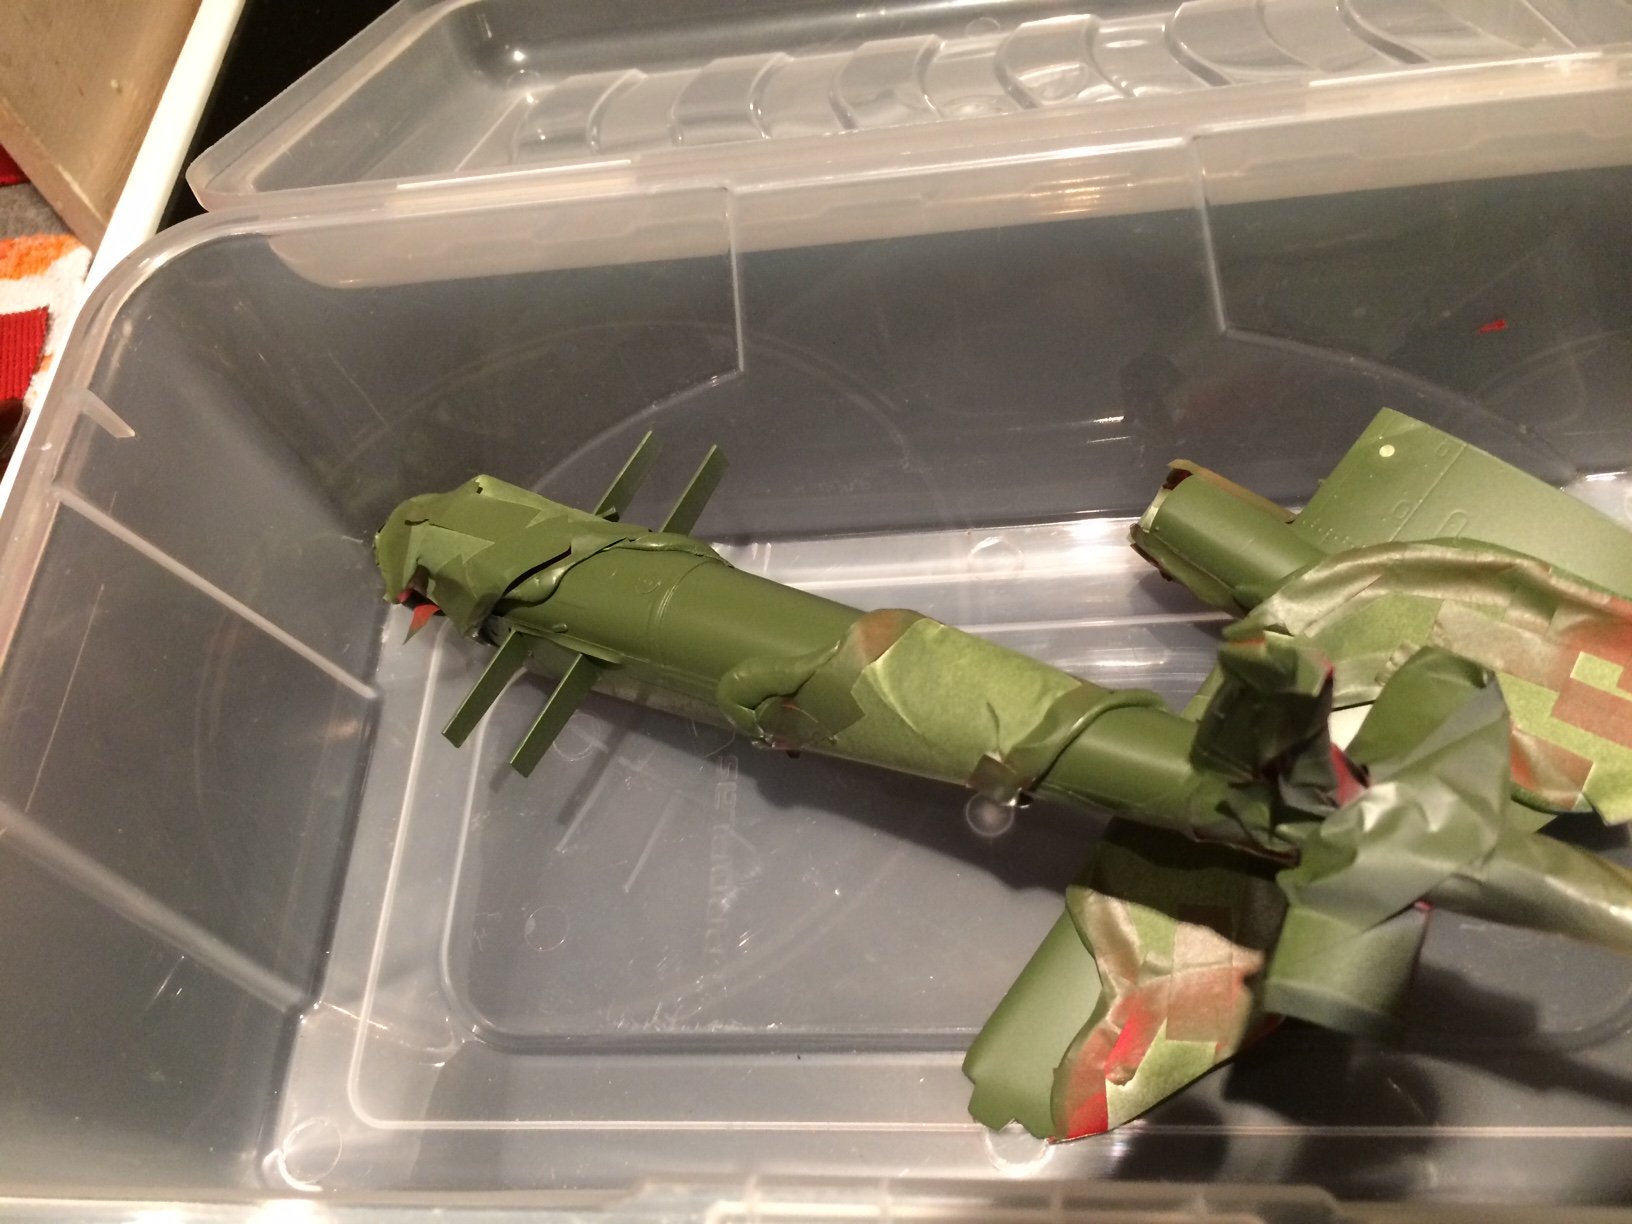
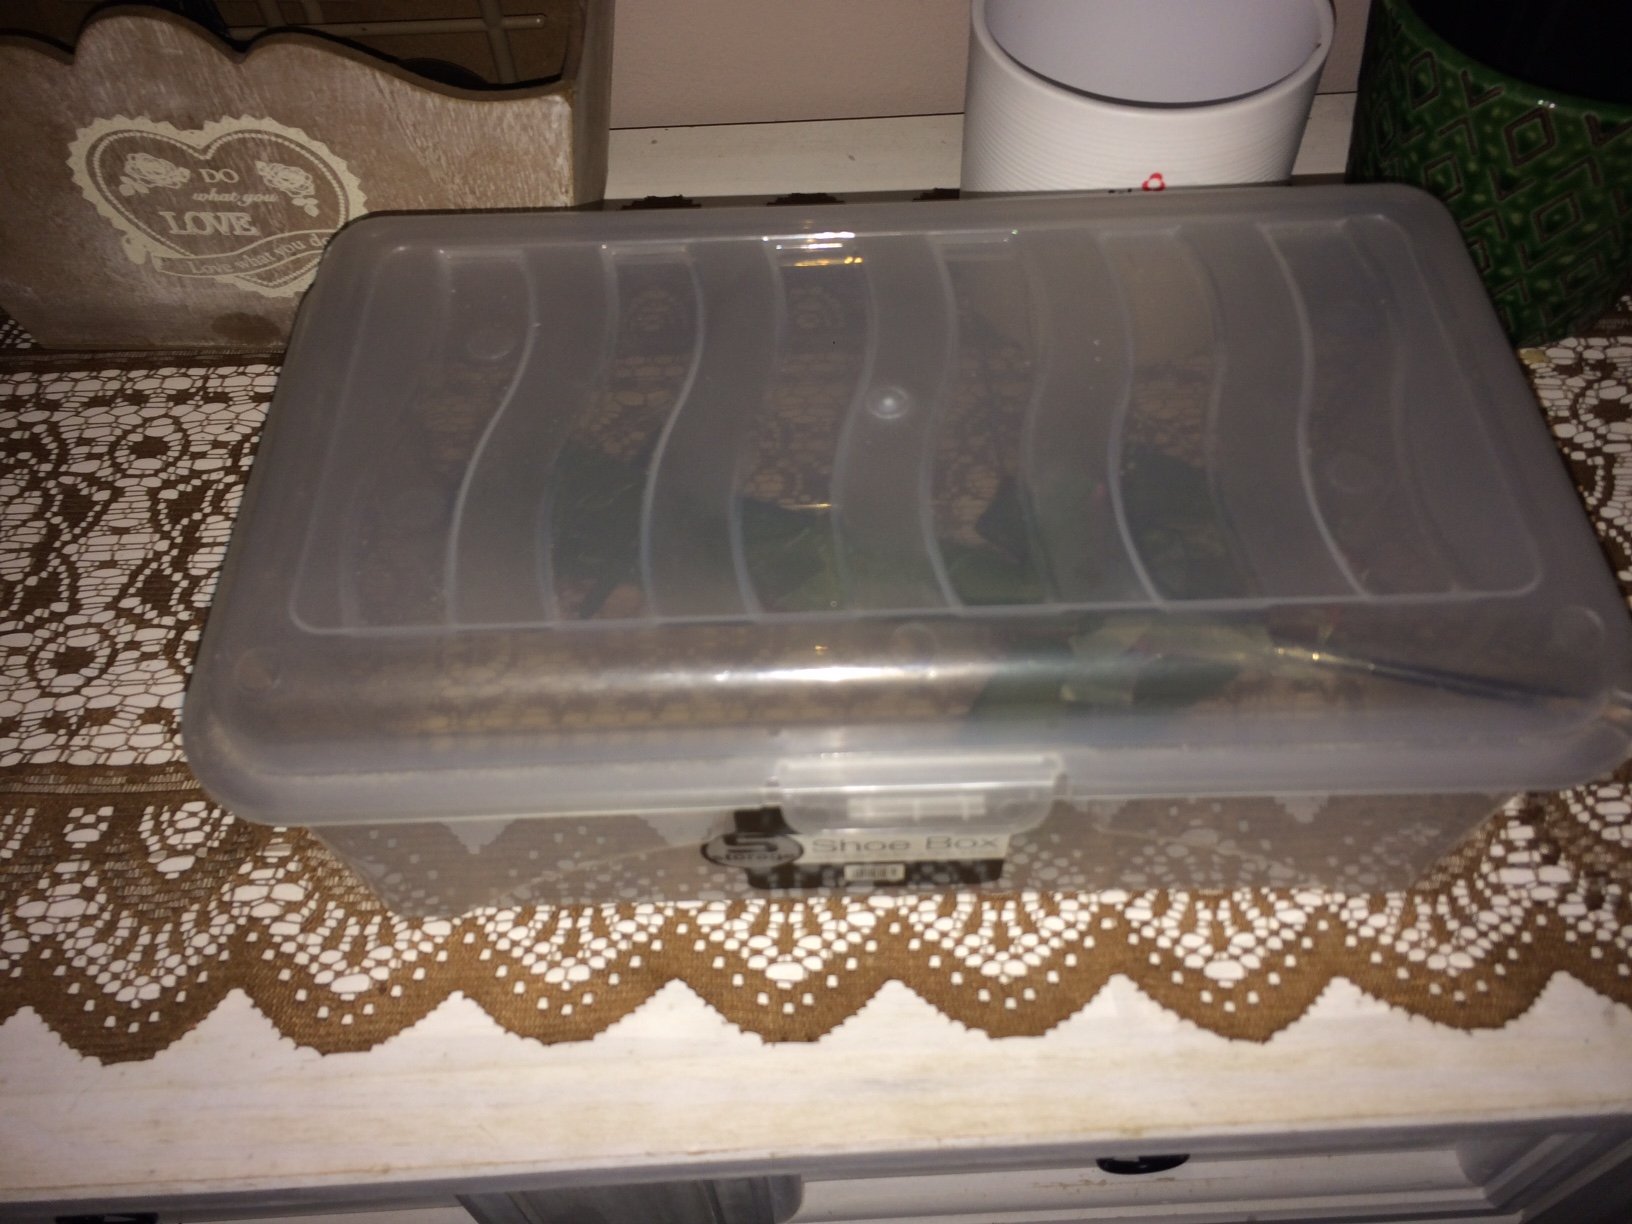
I just took some pics showing the painted parts in the box and the box. OC.


-
Hi all, so when I spoke last I was waiting on good weather so i could get out and do some spraying - its that frustrating time as I had some chores to do first then our twice weekly shopping deliveries to the house, then I got the time to step out the back to try some spraying - "Rain" not heavy just that drizzly stuff, but I had nothing else on mossie to do till this painting was done, I kept my eye on the weather till later in the afternoon I spotted a dryer spell but with a little bit of wind - so I went for it, I have one of those 12 inch long plastic storage boxes with a hinged lid, I took the parts with me in it - got out the wing first and sprayed the Green - It went down very well until I noticed a flying thing nat or something had landed on the wet paint, I put this in the box and did the same to the main fuselage - that went down the same but with no thing's stuck to it, I put them both in the box closed the lid and was able to take them in the house without a worry over paint fumes. Later after a couple of hours I was able to inspect the damage off the insect - I was able to scrape it gently off - but it will need a small section of primer then another coat all over the Green areas - the fuselage will get a second coat of green also as I did the same with the Grey. No pics though. OC.
-
Looking smart now she is attached to terra firma. OC.
-
Your doing some amazing work Kevin, so much attention to detail is going into her. OC.
- 337 replies
-
- 3
-
-
- finished
- mountfleet models
- (and 1 more)
-
If the weather is good tomorrow I will prime the tail planes/right wing/spinners and do a couple of coats of Green on the masked areas, then I will pop them in a box with a lid to let the smell go off a bit before taking them indoors. OC.
-
This is a walk down memory lane for me as I built this kit when I was about 10, I t will be interesting to see what you do with it. OC.
-
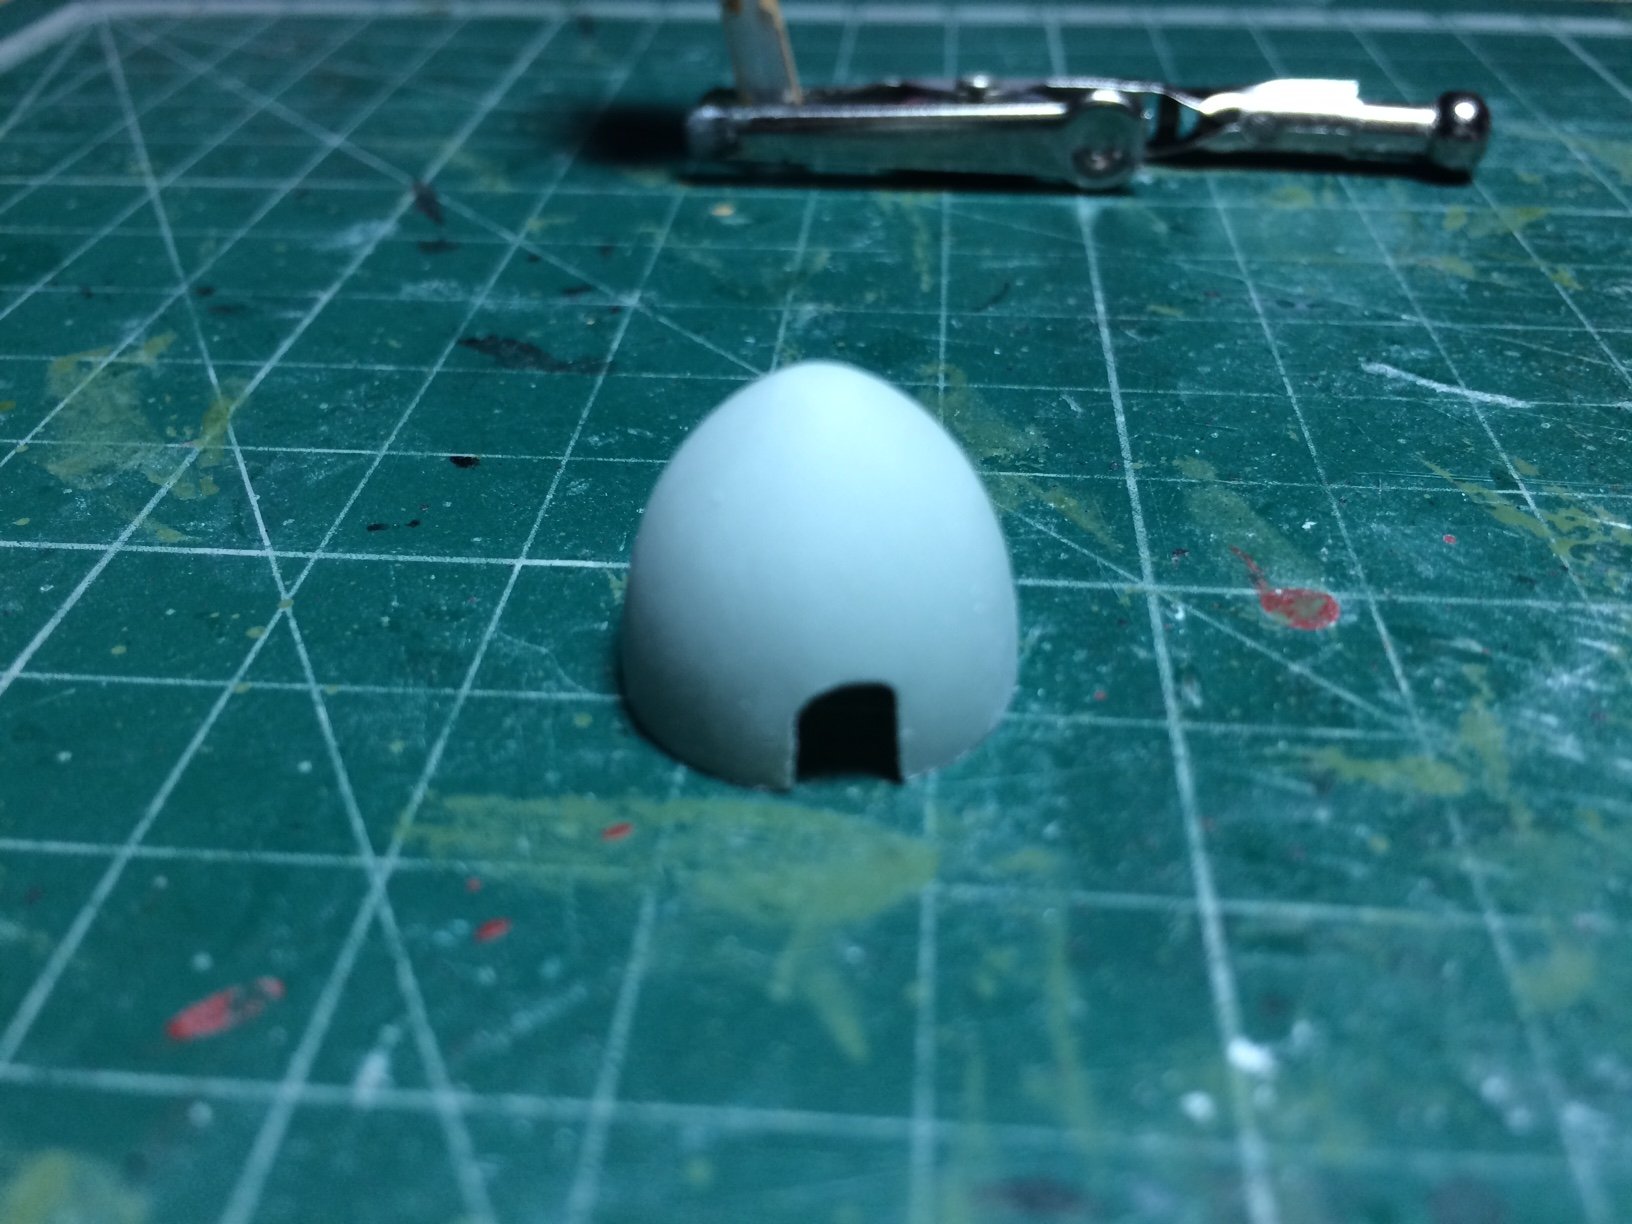
Right I had a go at the spinners just by using a sanding stick and working around towards the tip. OC.
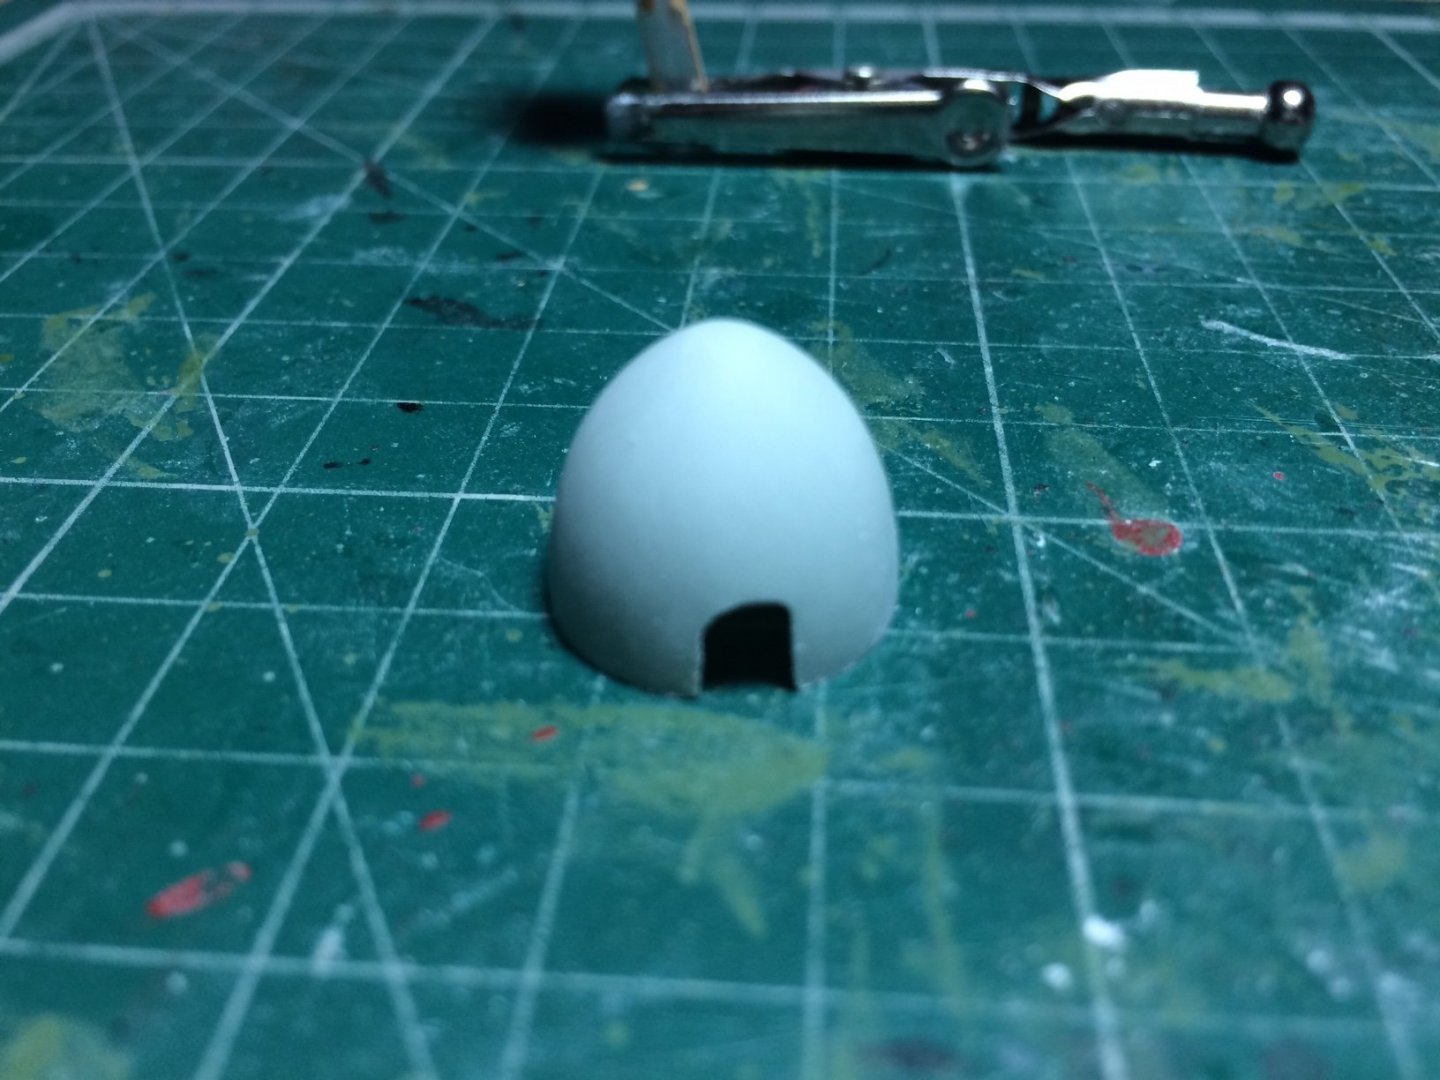
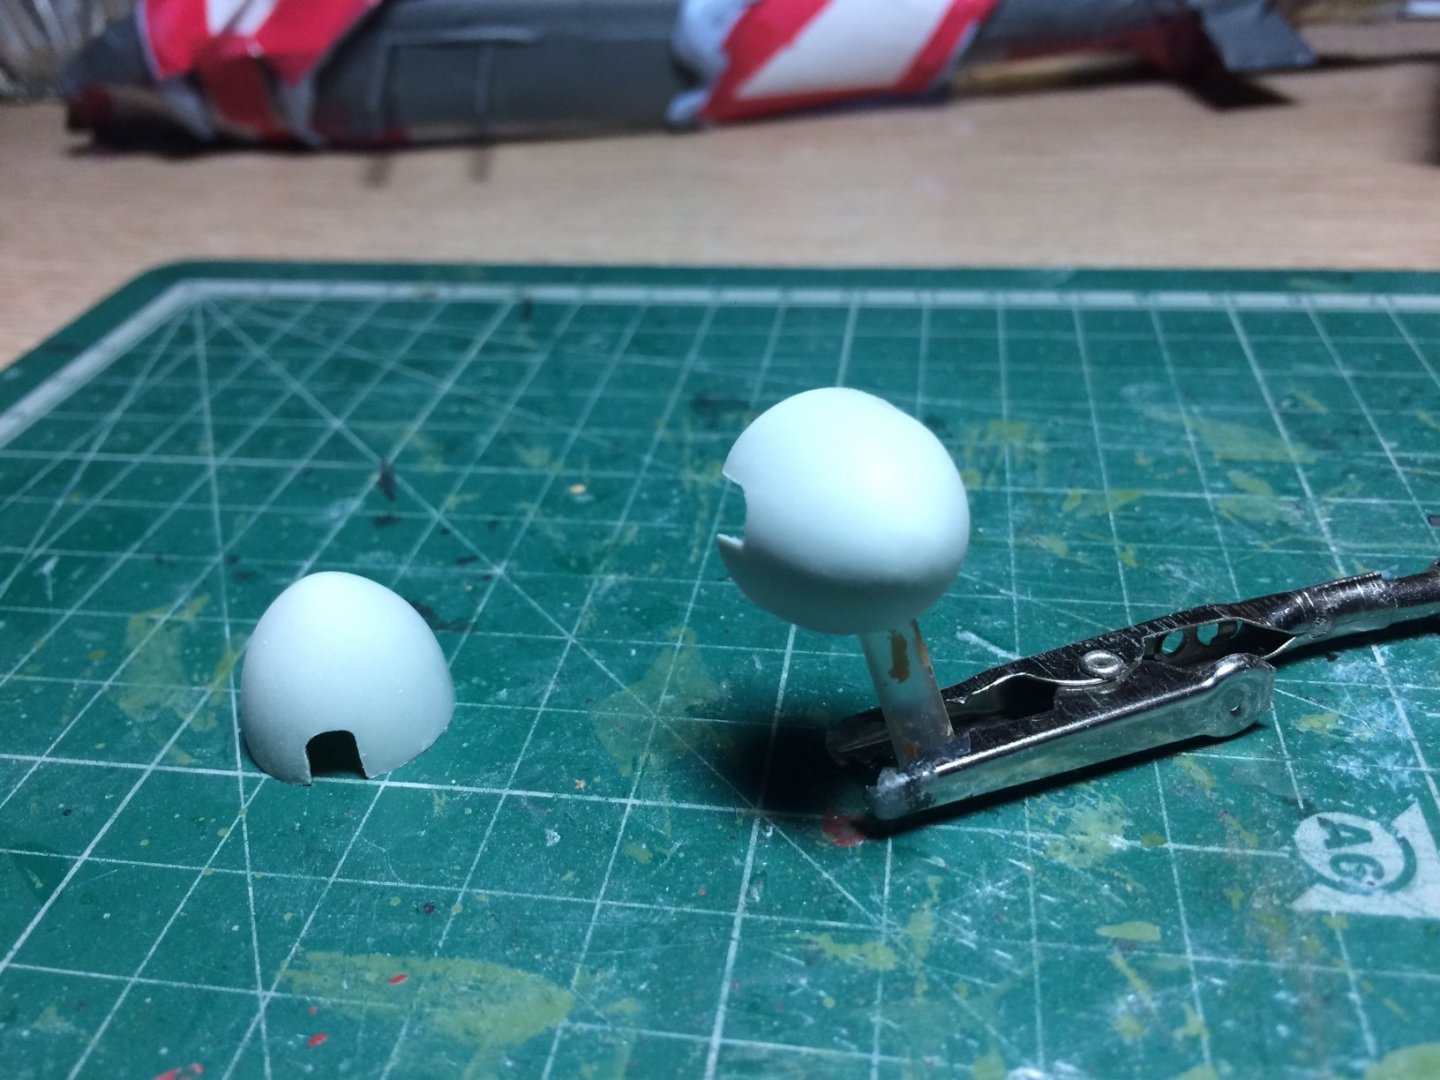
-
They are the right circumference just not quite pointed enough they are kind of like a ball shape. OC.
-
Question - any ideas how I can make my prop spinners more pointy and less rounded, as the kit ones do not form enough of a point. OC.