Old Collingwood
-
Posts
12,106 -
Joined
-
Last visited
Content Type
Profiles
Forums
Gallery
Events
Everything posted by Old Collingwood
-
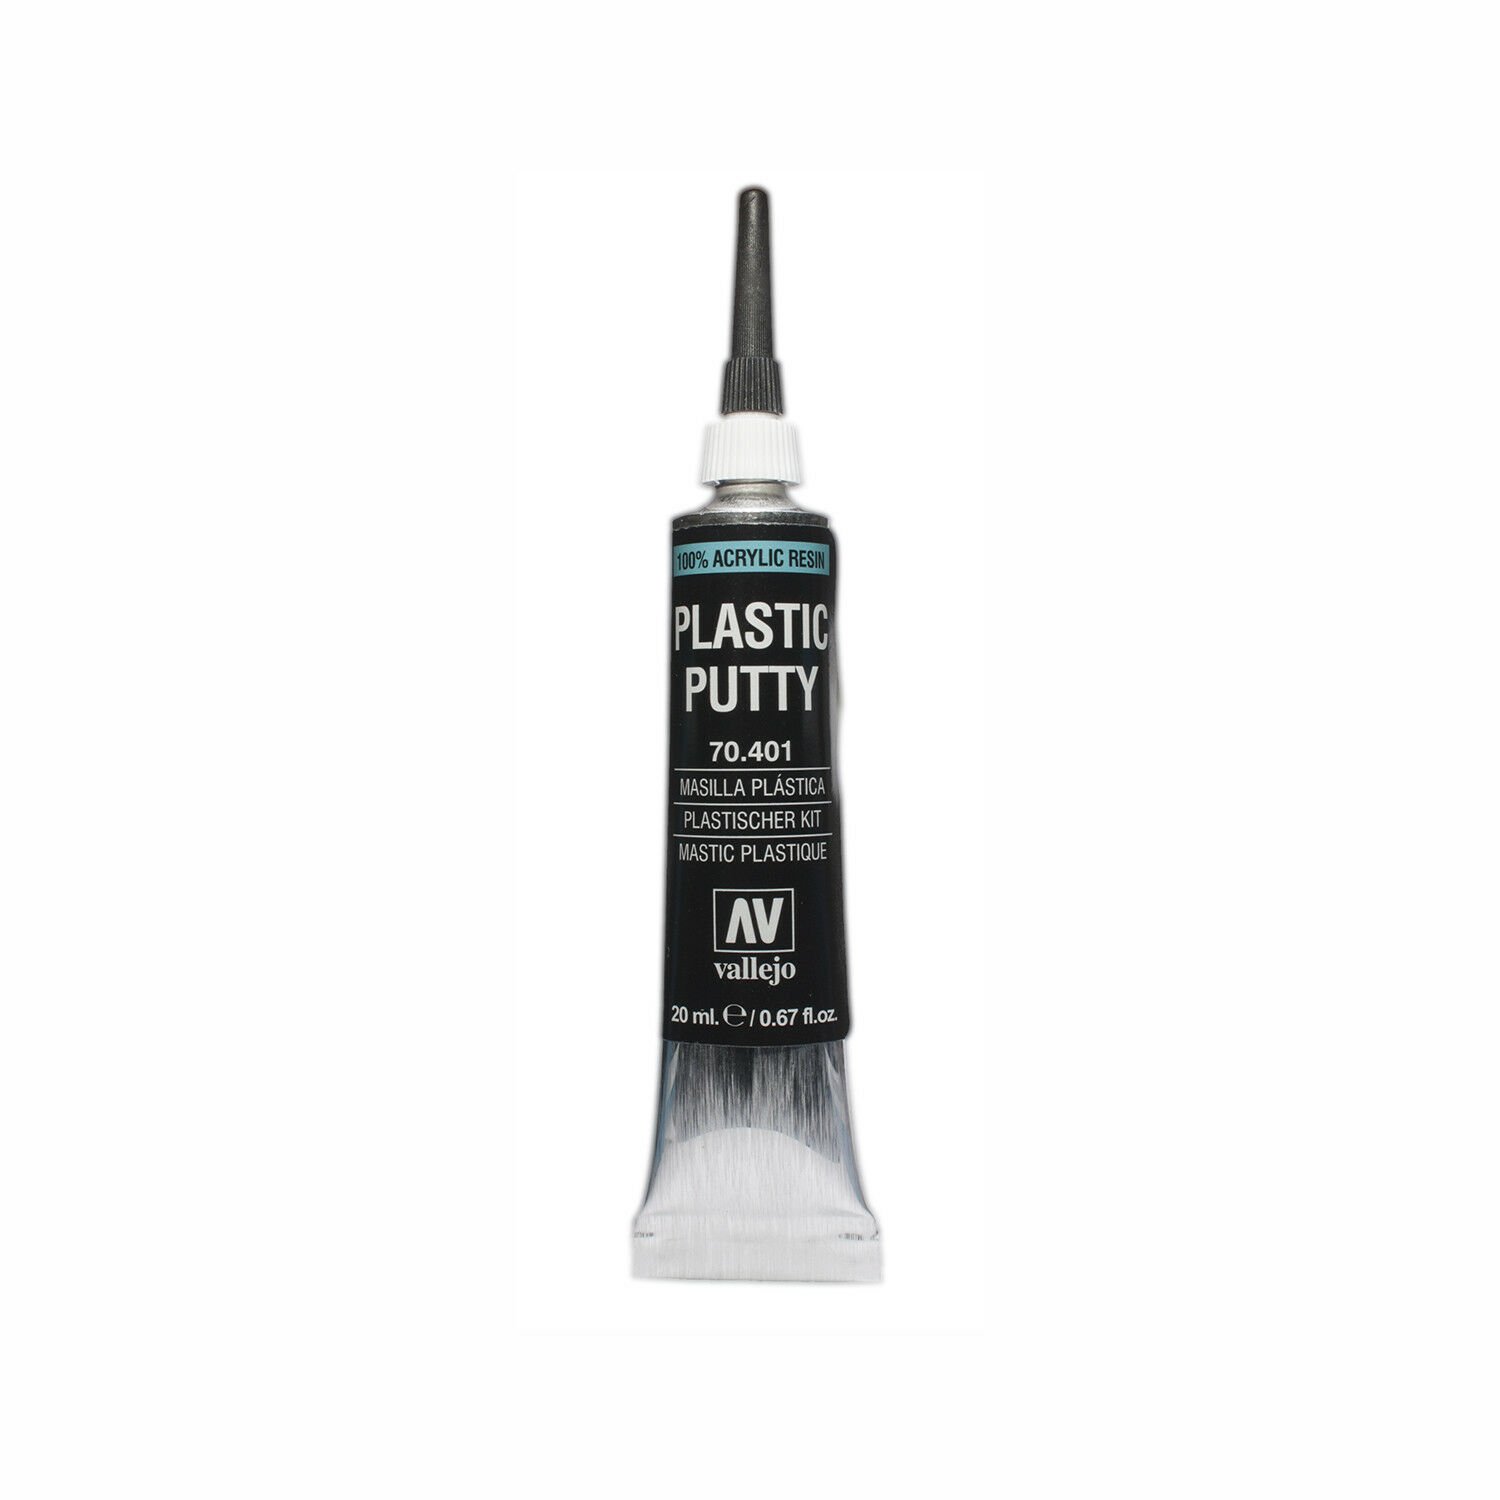
 Thank you carl, perhaps keeping a pin in it to keep the tube opening clear. OC.
 -
Bell UH-1H Huey By lmagna - Dragon - 1/35 - PLASTIC
Old Collingwood replied to lmagna's topic in Non-ship/categorised builds
"Roger that" OC. -
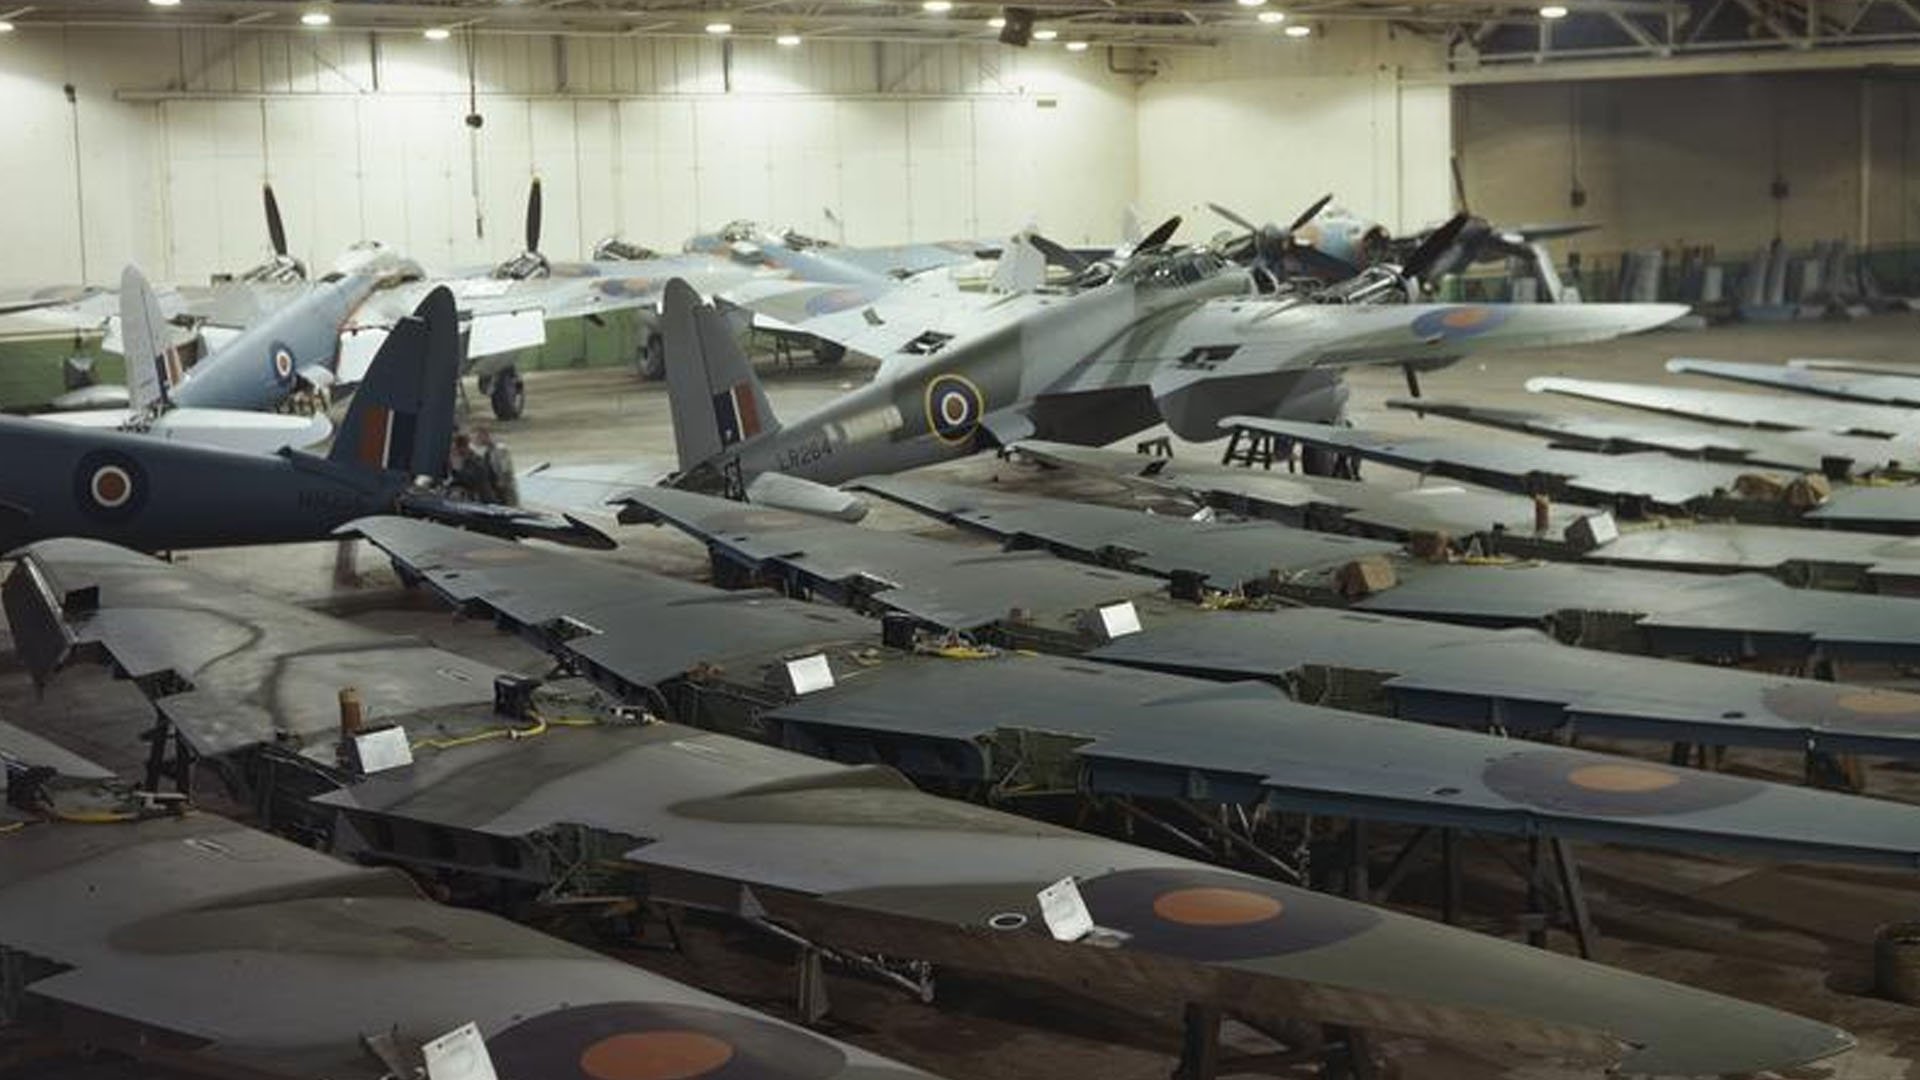
Thought this was interesting - Mosquito production line. Off the net. OC.

-
Thanks Ken, I think I decided right by doing the night bomber - just like the contrast with the camo. OC.
-
Bell UH-1H Huey By lmagna - Dragon - 1/35 - PLASTIC
Old Collingwood replied to lmagna's topic in Non-ship/categorised builds
Thanks for the explanation ken, bet those refueling buddy-ups were quite an experience, being under the tail of a 135. OC. -
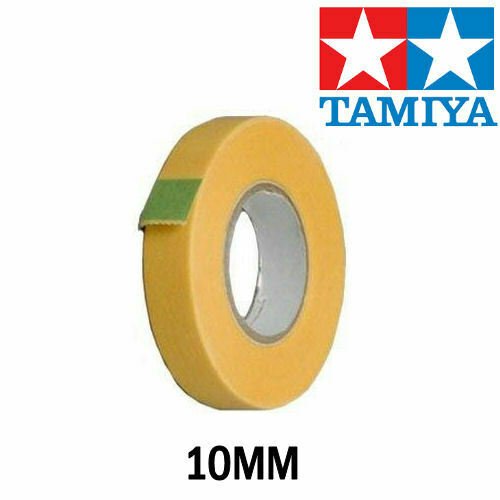
Just brought a roll of Tamiya Tape online will be here thur (I hope) OC.
-
Bell UH-1H Huey By lmagna - Dragon - 1/35 - PLASTIC
Old Collingwood replied to lmagna's topic in Non-ship/categorised builds
Those are looking great Lou - they are even creating a personality - one chatting while the other ignores him. OC. -
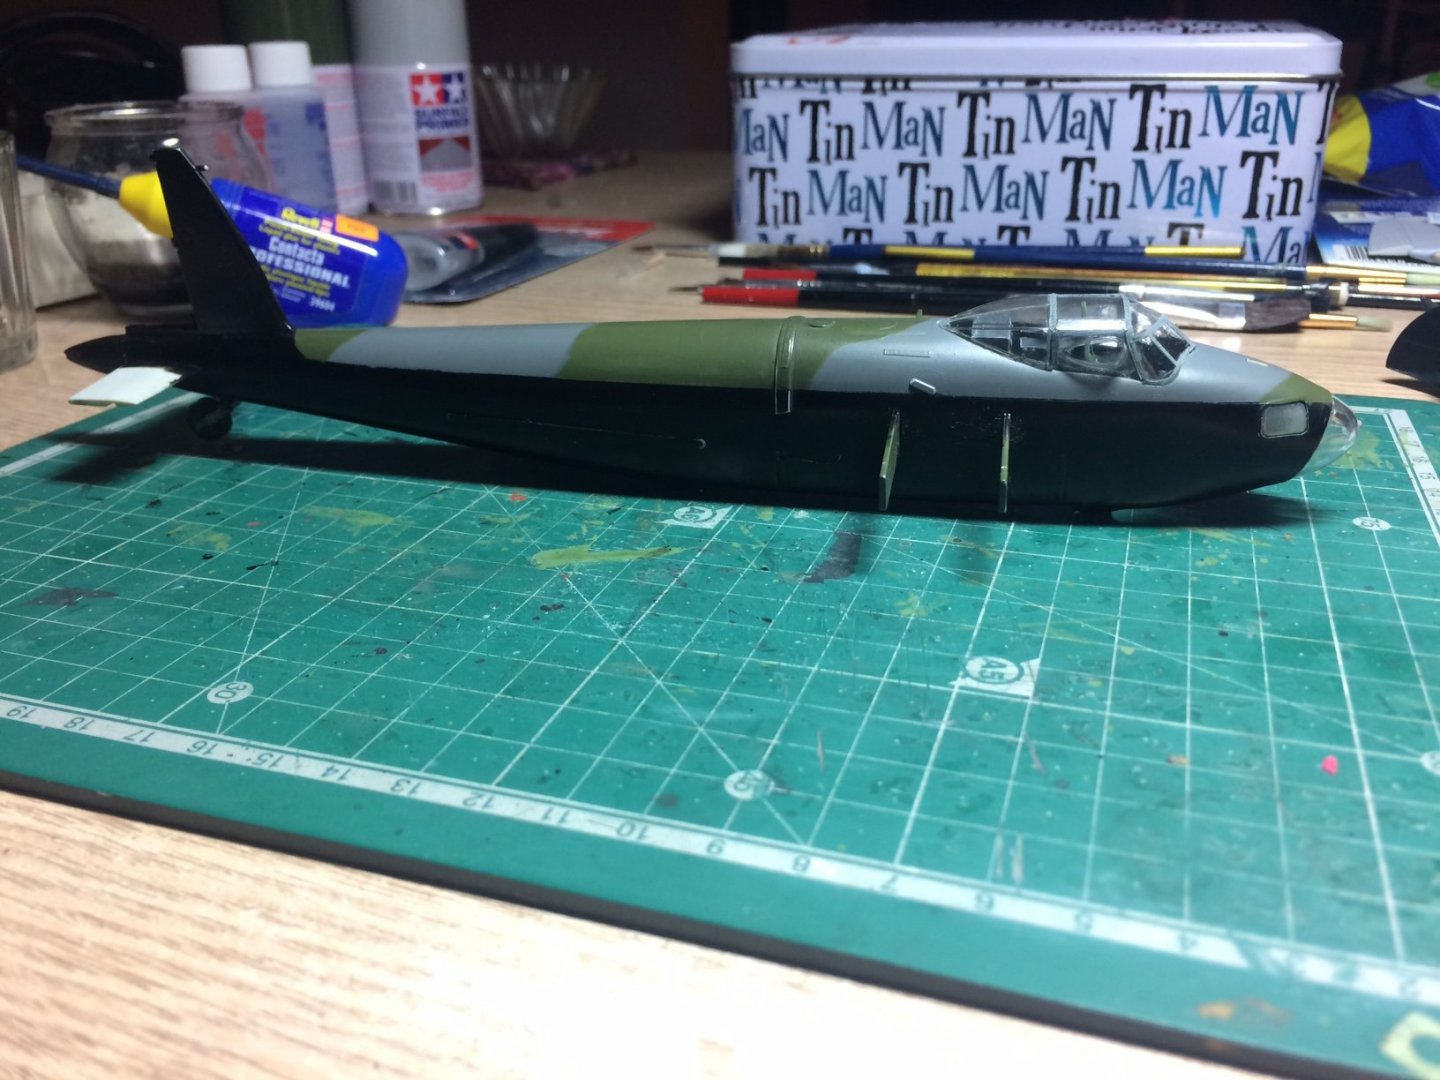
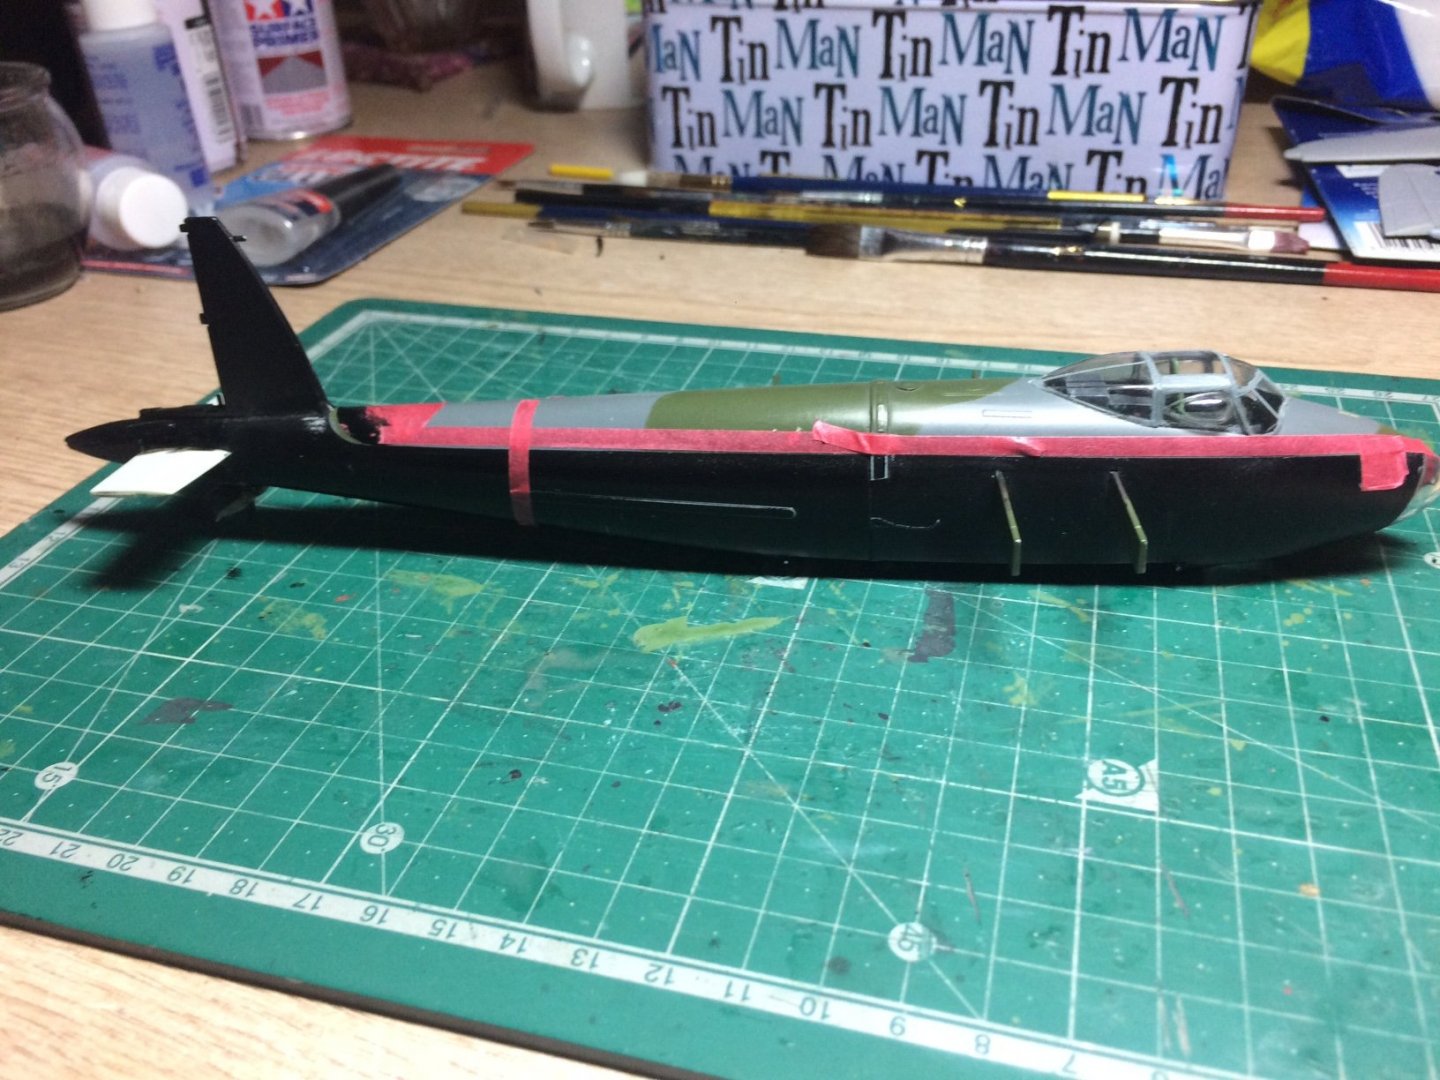
More progress today while listening to my Aircraft scanner at all the aircraft going over the pond to the US (not) been so quiet. Anyway on with mossie, where were we - oh yes masking ready to paint the Black on the right side fuselage, same procedure wide soft brush and gentle steady brush strokes, then dried with the dryer between coats, I put about four layers down then moved on to the next masked section, then when it was dry I removed the tape, it was leaving a small ridge (cant be helped even with burnishing the edge - till I get some Tamiya tape) so it was a case of a light wet sand - that tended to remove a little too much Black - so back on again. I took about three attempts till I was happy with the finish - then I buffed the whole paintwork to get a shiny surface ready for the decals. Next I decided to do the bottom of the first wing freehand with my wide brush (its about 3/4 Inch) I started with the section closest to the fuselage - it needed no masks as I was controlling the flow of paint - four or five coats and it was looking quite good, next I masked the top part of the engine cowling and started to apply some Black all over the nacelle - again about Four or Five layers, and I left it there for the night. Here's the pics as stands at the mo. OC.
- 932 replies
-
- 12
-

-
Thank you for the kind words Ed. OC.
-
Thanks Ken.👍 OC.
-
Thanks Kevin.👍 OC.
-
Thanks Lou.👍 OC.
-
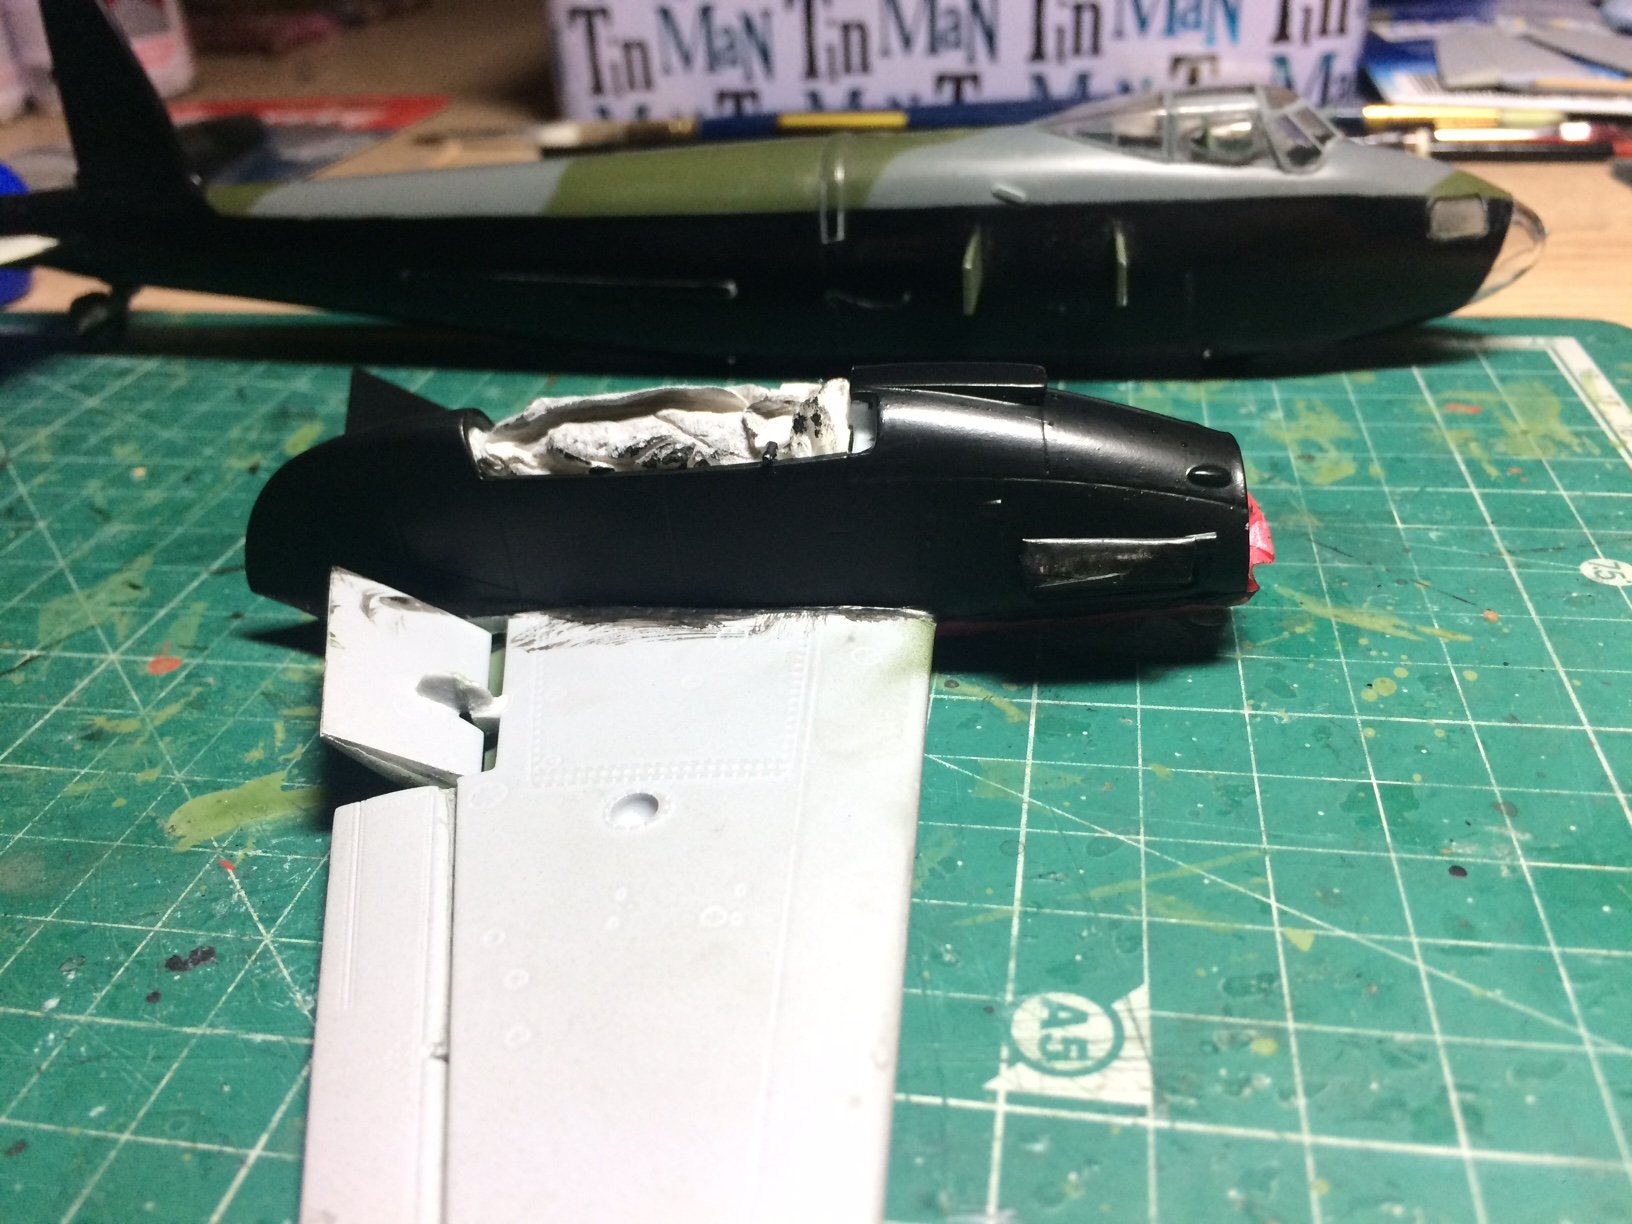
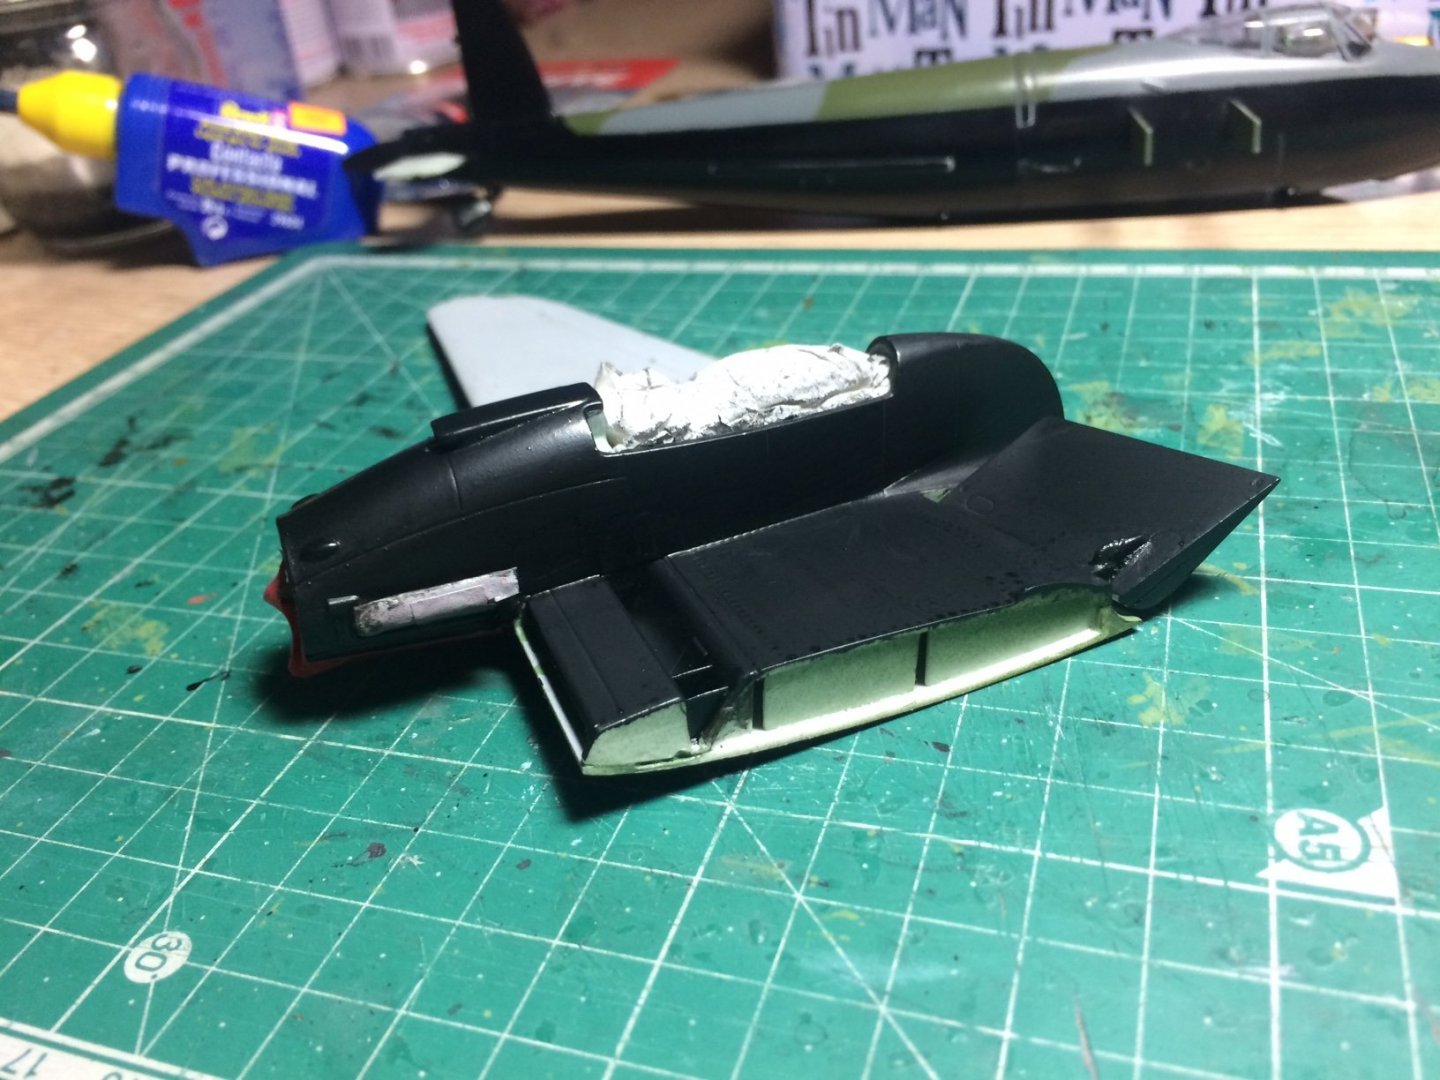
Thanks lou, this is what I need to fix - OC.
.JPG.c0a16e9c84ea461d246d640dc1fccbdf.JPG)
-
Sound like my effort (message to self - Tamiya Lacquer spray paints do not brush on well - dry to quick and form ridges) OC.
-
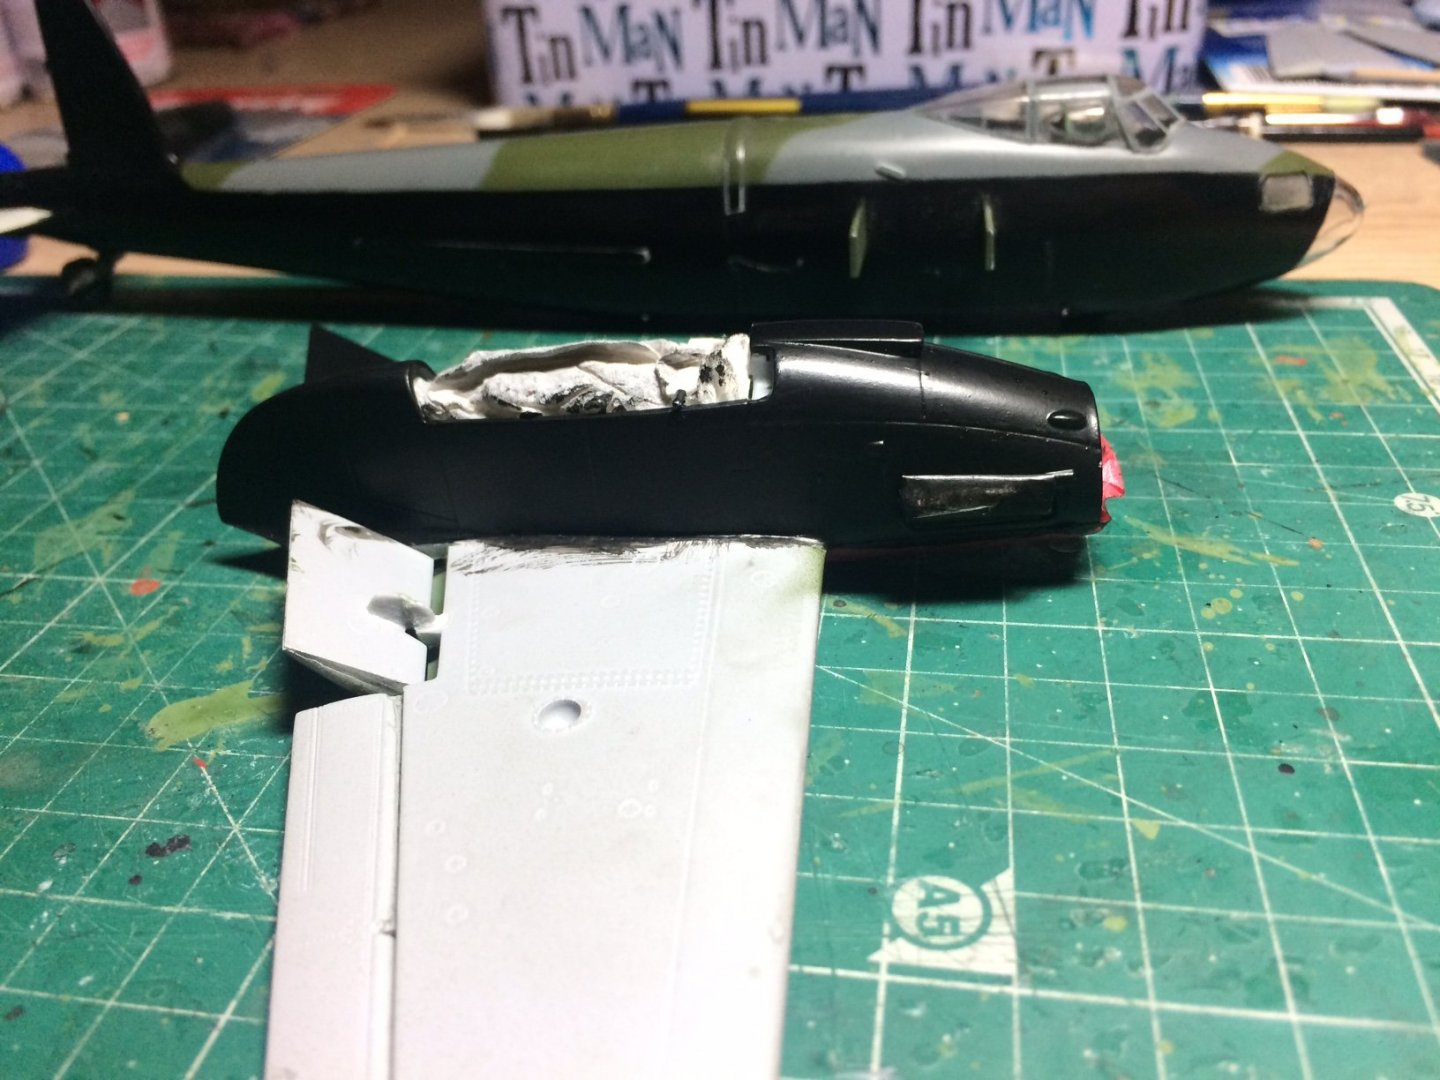
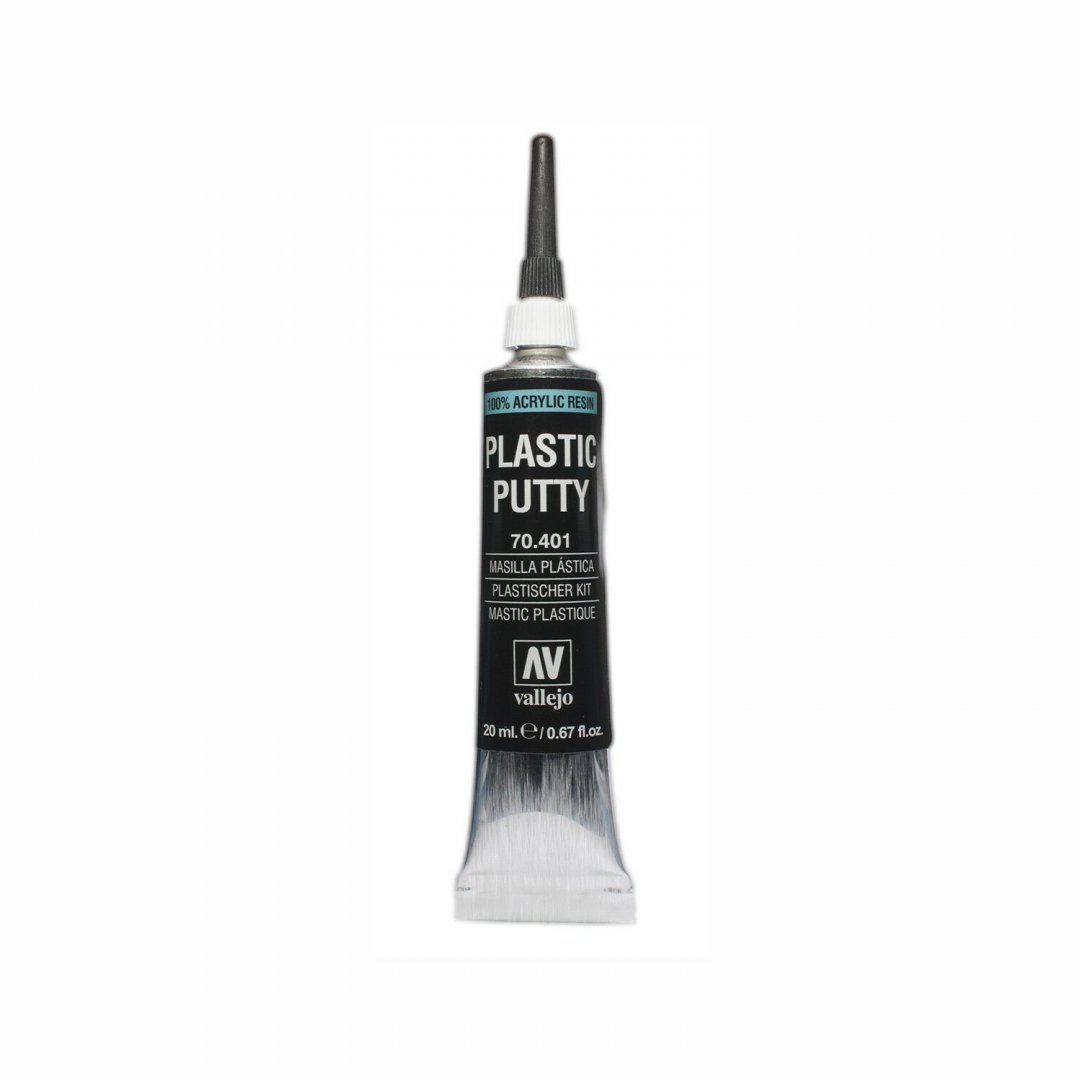
Anyone used this putty - I have just brought a tube from flee bay, I hope to use it around the canopy to try to hide an un-even seam that cant be sanded. OC.
-
Not much to report - I just did some tidy up work on the paintwork with fine wet and dry, then I masked up the right side of the fuselage ready for Black brush painting same as the left side. OC.
-
Thank you so much, I'm trying my best. OC.
-
Bell UH-1H Huey By lmagna - Dragon - 1/35 - PLASTIC
Old Collingwood replied to lmagna's topic in Non-ship/categorised builds
I think the problem is - turning a kit into a scale replica of the real thing requires several different skill sets - the build of the item and dexterity requires one set, then understanding what makes it more life like is another then painting the thing in a natural way is something different on top. Getting them all together is the hard bit and guess takes lots and lots of goes to get it right. Oh and Luck. OC. -
Bell UH-1H Huey By lmagna - Dragon - 1/35 - PLASTIC
Old Collingwood replied to lmagna's topic in Non-ship/categorised builds
Very true - then we show pics with high resolution camera tech and we think it looks crap - we all experience it. OC. -
Bell UH-1H Huey By lmagna - Dragon - 1/35 - PLASTIC
Old Collingwood replied to lmagna's topic in Non-ship/categorised builds
Its great for me for when its noisy outside when I want to sleep - I just sleep on my good ear - I love listening to music (my own creations and others) thats a pain as I have to balance the sound by moving the balance over to my right. OC. -
Bell UH-1H Huey By lmagna - Dragon - 1/35 - PLASTIC
Old Collingwood replied to lmagna's topic in Non-ship/categorised builds
Sorry to hear about your hearing - did it go over time or always had it? I am 75% death in my right ear same as my late farther. OC. -
I completely understand your reasons for wanting to strengthen the mast - I know its a different subject matter - but I did the same in my Pearl build. OC.
- 337 replies
-
- 3
-
-
- finished
- mountfleet models
- (and 1 more)
-
Bell UH-1H Huey By lmagna - Dragon - 1/35 - PLASTIC
Old Collingwood replied to lmagna's topic in Non-ship/categorised builds
Yep hits us all - I didn't know how bad my eyesight was going till writing on comp screens started going blurry and out doors I struggled to make out details at distance so well, all other distances are ok though. OC. -
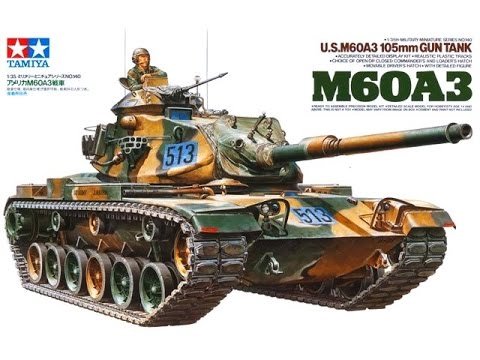
One of these - I built the kit years ago - very nice kit. Pic of the net. OC.
-
I think what it is - when the model is un painted stage it can get quite a bit of rough treatment - filing this/sanding that without worrying about marring the paint finish, I have to say the way I have had to put the paint on has caused most of the problems. OC.