HOLIDAY DONATION DRIVE - SUPPORT MSW - DO YOUR PART TO KEEP THIS GREAT FORUM GOING! (Only 75 donations so far out of 49,000 members - C'mon guys!)
×


Old Collingwood
-
Posts
12,104 -
Joined
-
Last visited
Content Type
Profiles
Forums
Gallery
Events
Everything posted by Old Collingwood
-
 Very nice work mike. OC.
 -
I also read - to heat them up slightly like sitting them in hot water for a few minutes - I have done that hot water out of the tap into a cup then sit the can in it. OC.
-
Its not very easy with rattle cans - I found the surface primmer went on just fine, but the Black semi gloss came out a bit less even, but guess gloss or semi gloss is harder to spray esp by rattle cans? OC.
-
Most welcome Ken. OC.
-
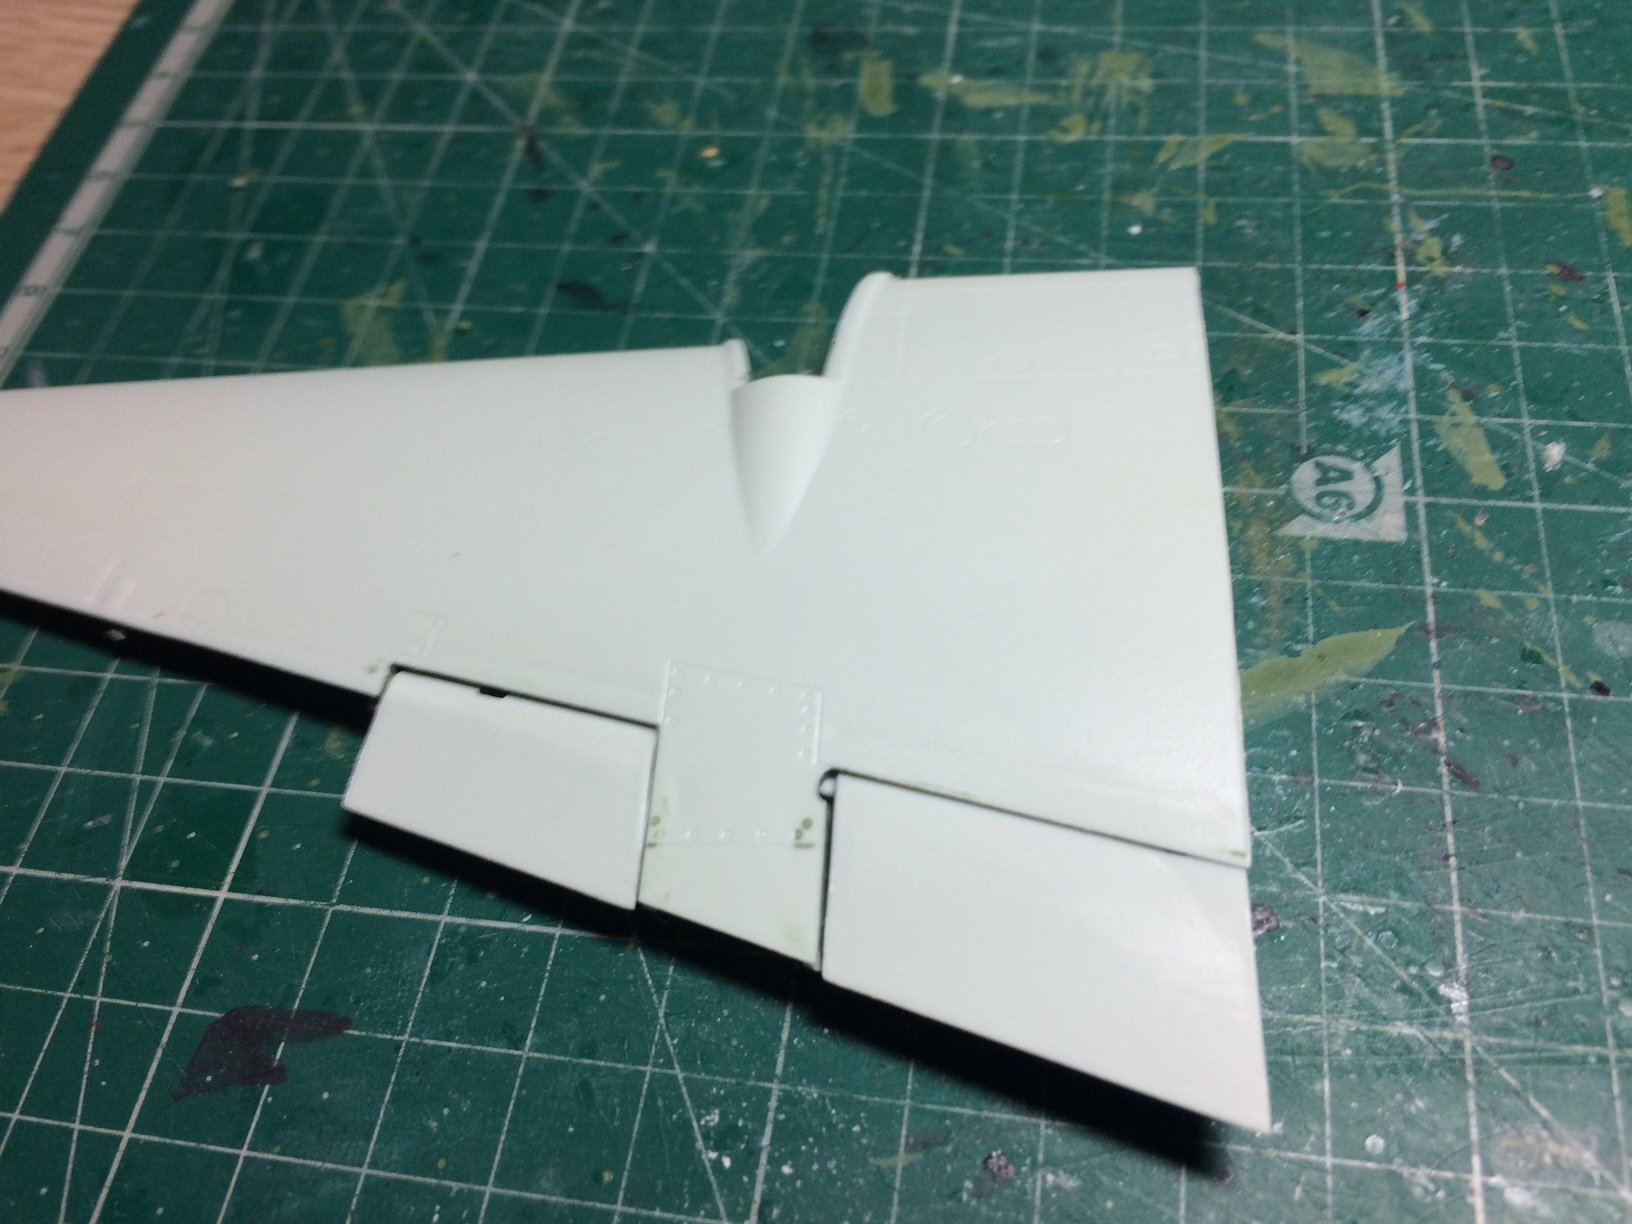
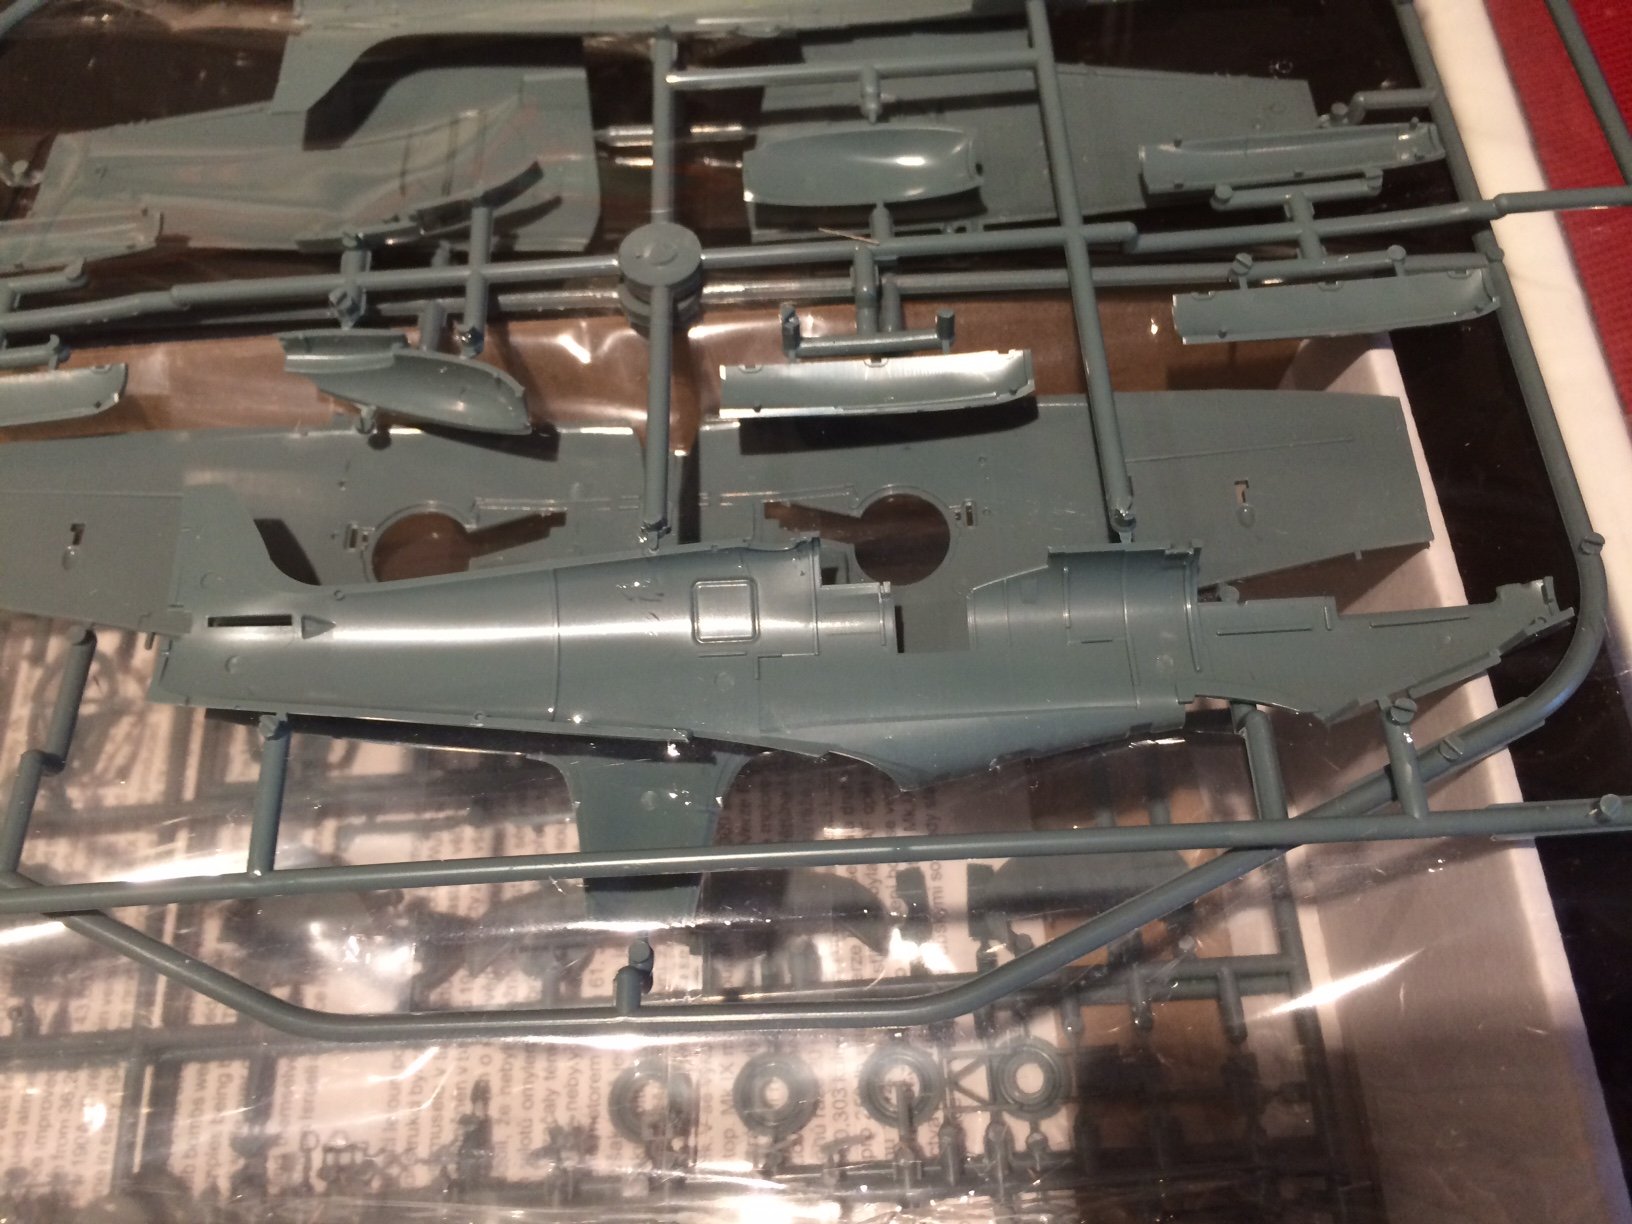
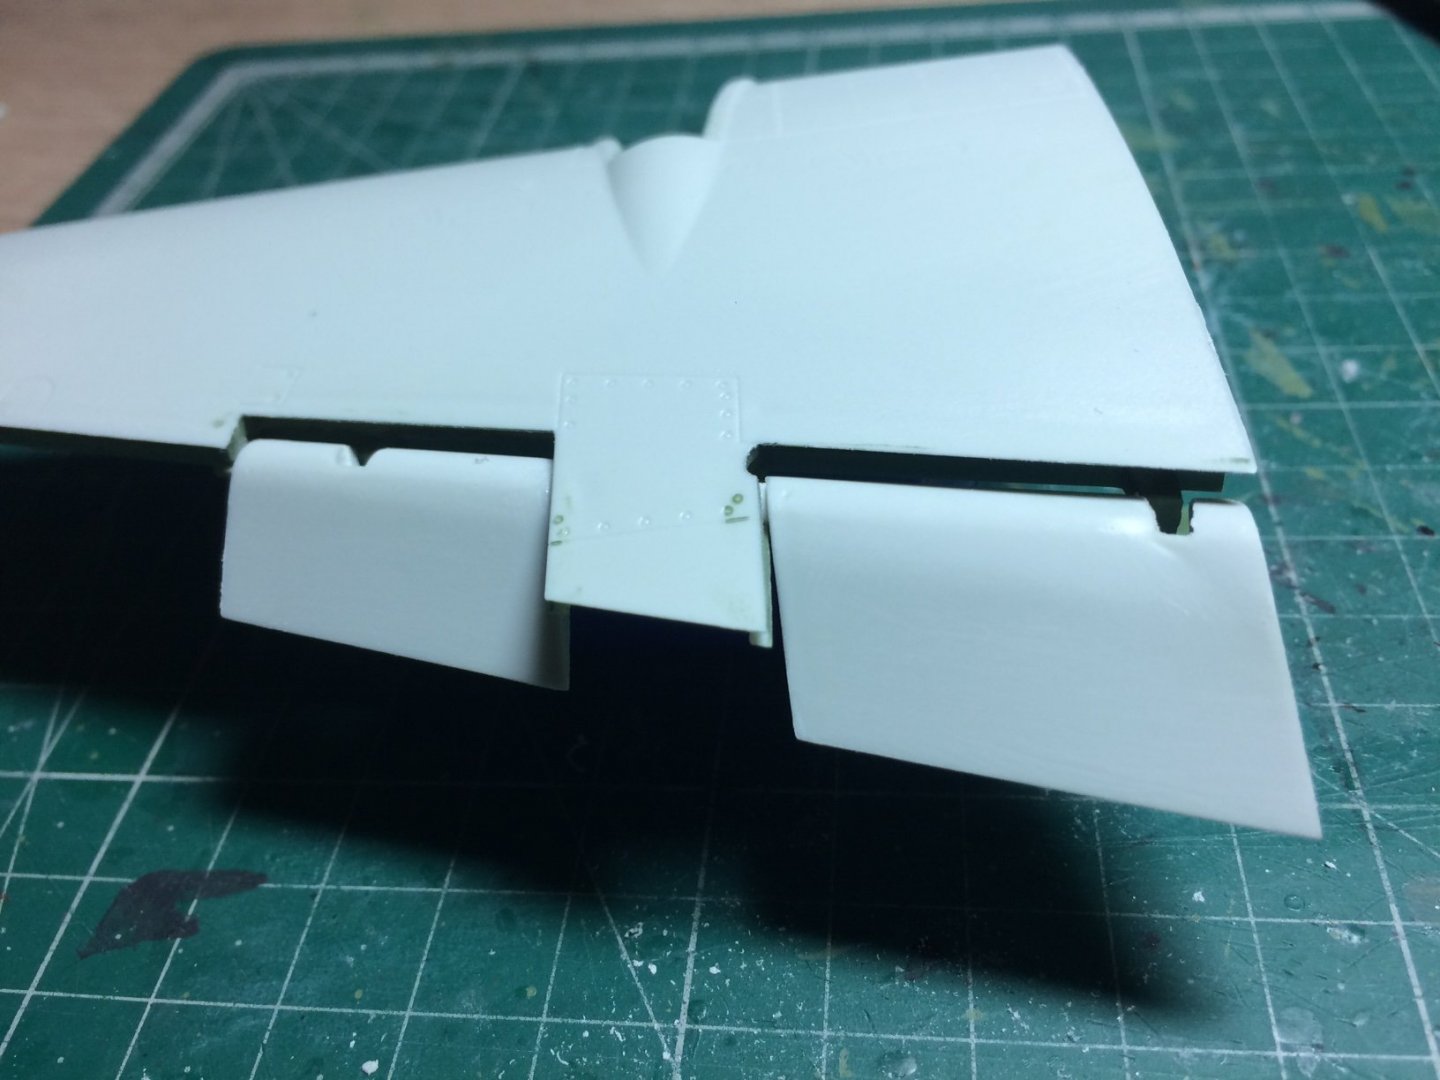
While waiting for daytime and a clear day - I carried on working on the wing sections/flaps and engine nacelles - firstly I cleaned up the seams on the nacelles, then I cut the two part flaps - test fitted them, and glued them together, the idea is they have a center bar that allows them to be drooped or left trimmed. Here are the pics showing one of the nacelles and the flaps dry fitted showing the two stages they can be set at. OC.


- 932 replies
-
- 11
-

-
More than welcome. OC.
-
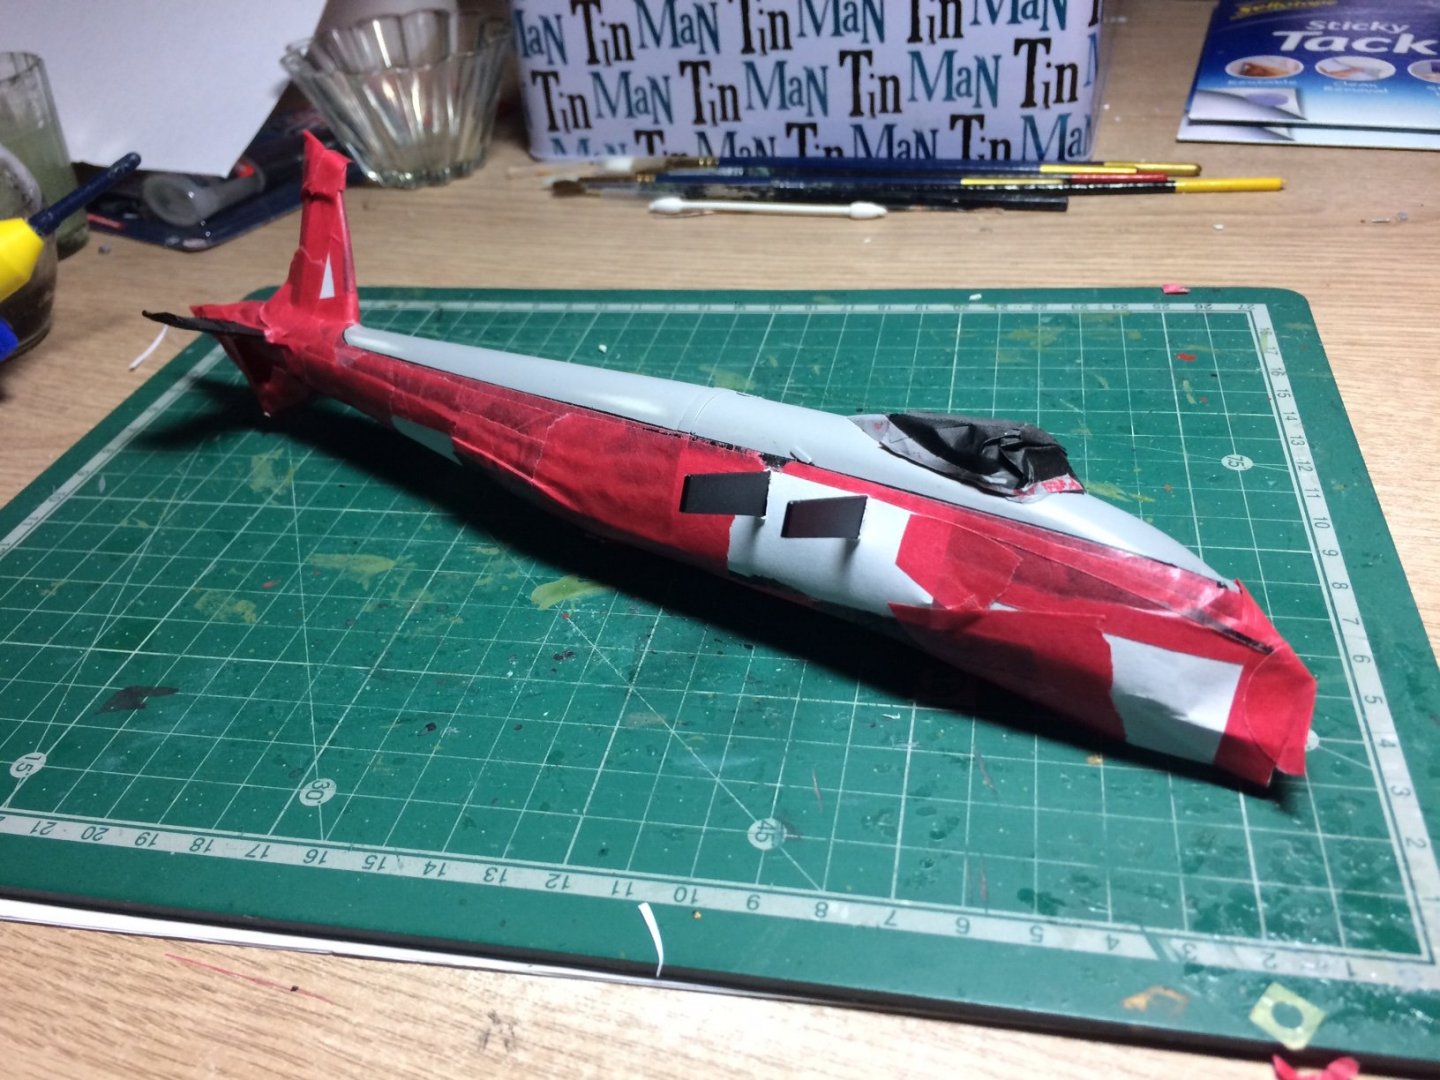
Masks are off - and more masking on, the mask for the Black went quite well, I gently rubbed the edges so that they could not be felt, then I did some brutal masking all over the Black ready for the camo on the top. OC.

-
Welcome jack. OC.
-
Thanks mate. OC.
-
Do you think the masking tape I put on mine yesterday can come off now after that Tamiya Rattle can black semi gloss. OC.
-
Looking fine craig, how long do you do you keep the masks on before removing them? OC.
-
Its been a pleasure bro, your CH53 looks bang on even down to the rear exhaust covers, thank you for telling us about what being a heli crew man was all about.........👐👈👍 OC.
-
I have to say - this is the very first proper 1/48 kit I have built and the first go at spray painting, even if it is just Rattle cans, so my routine might be a bit shaky as I am learning as I go a long with the aid of lots and lots and lots of reading up and looking at other build logs for aircraft all over the net. OC.
-
Thanks mark. OC.
-
Just thought - I sprayed the Black first, should have sprayed the two colour camo on the top of the fuselage first, then masked slightly over that for the Black, guess when I take the tape off I will have to gently fine sand the hard edge from the tape, then slightly over-lap the tape on the black for the camo. OC.
-
Thats the one - used to watch them when they were based over here in the Uk at Bentwaters and Woodbridge. OC.
-
"Yummy A-10 in European One Camo" that would look awsome. OC.
-
You know you want to ........😉 OC.
-
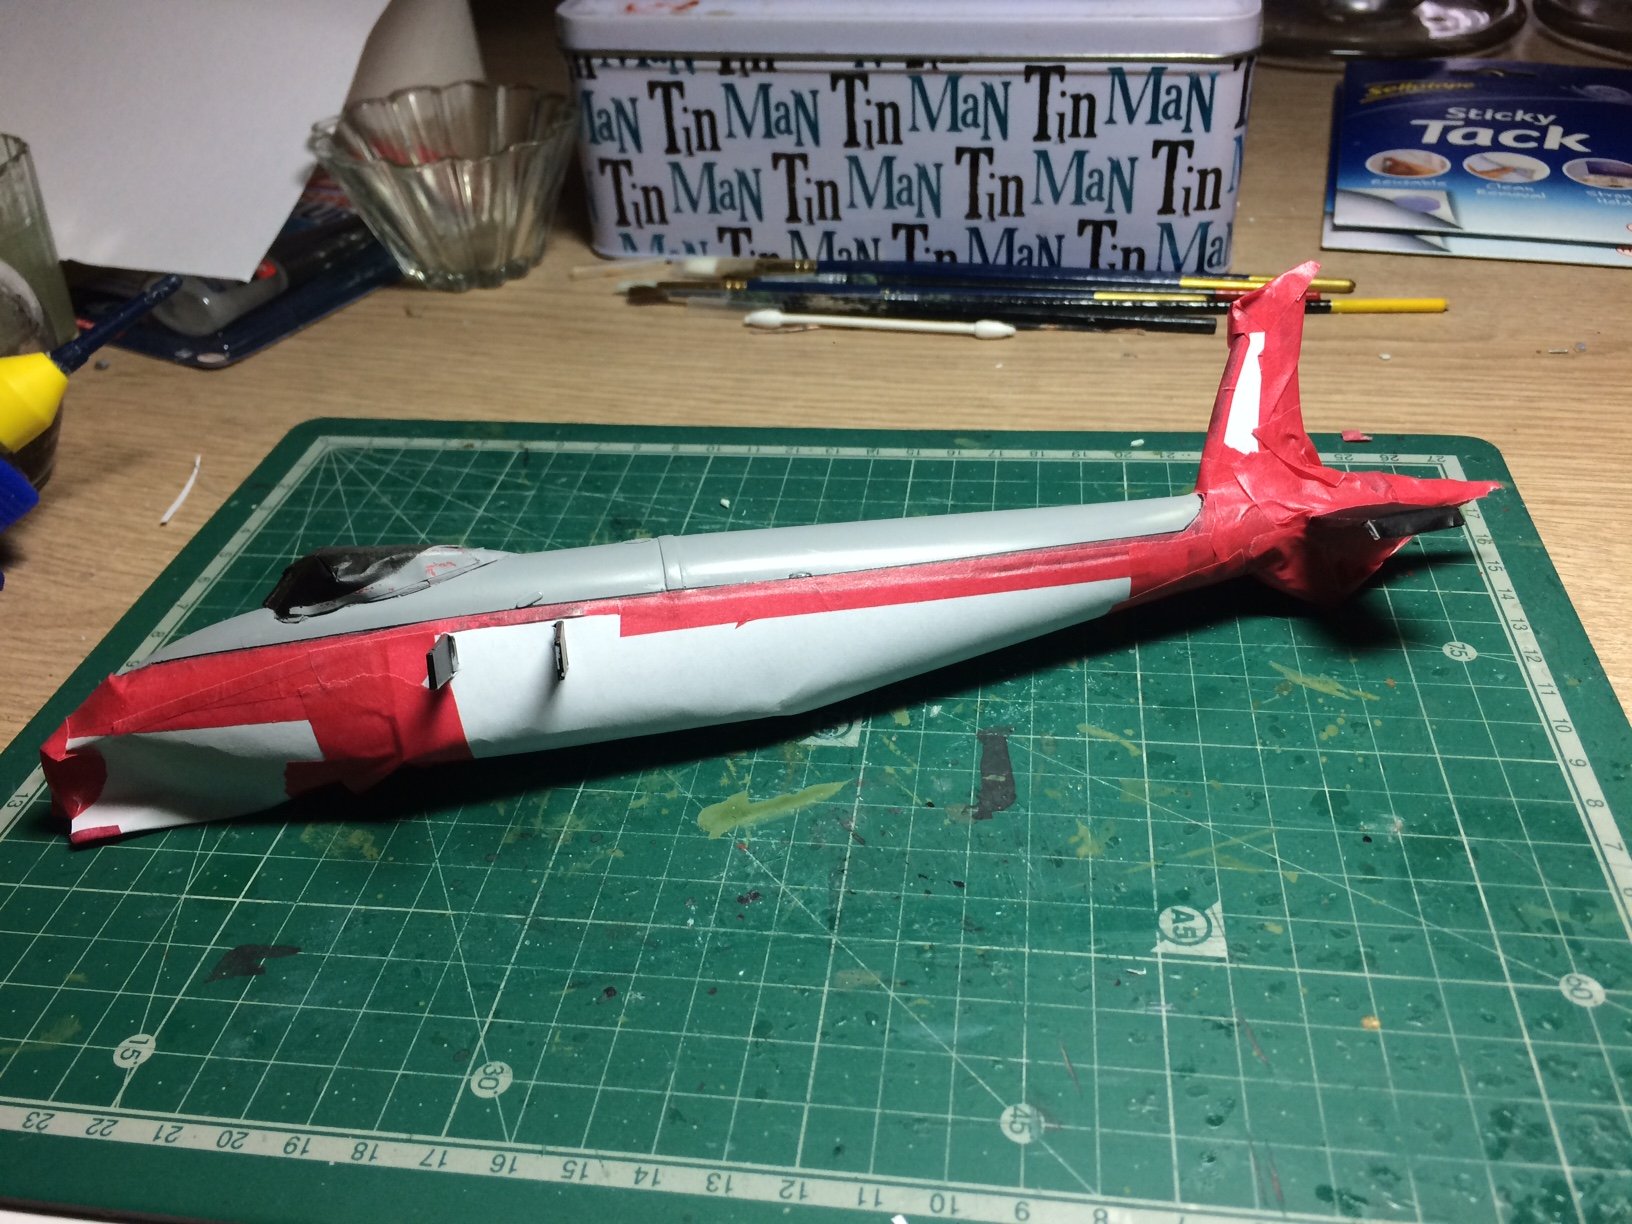
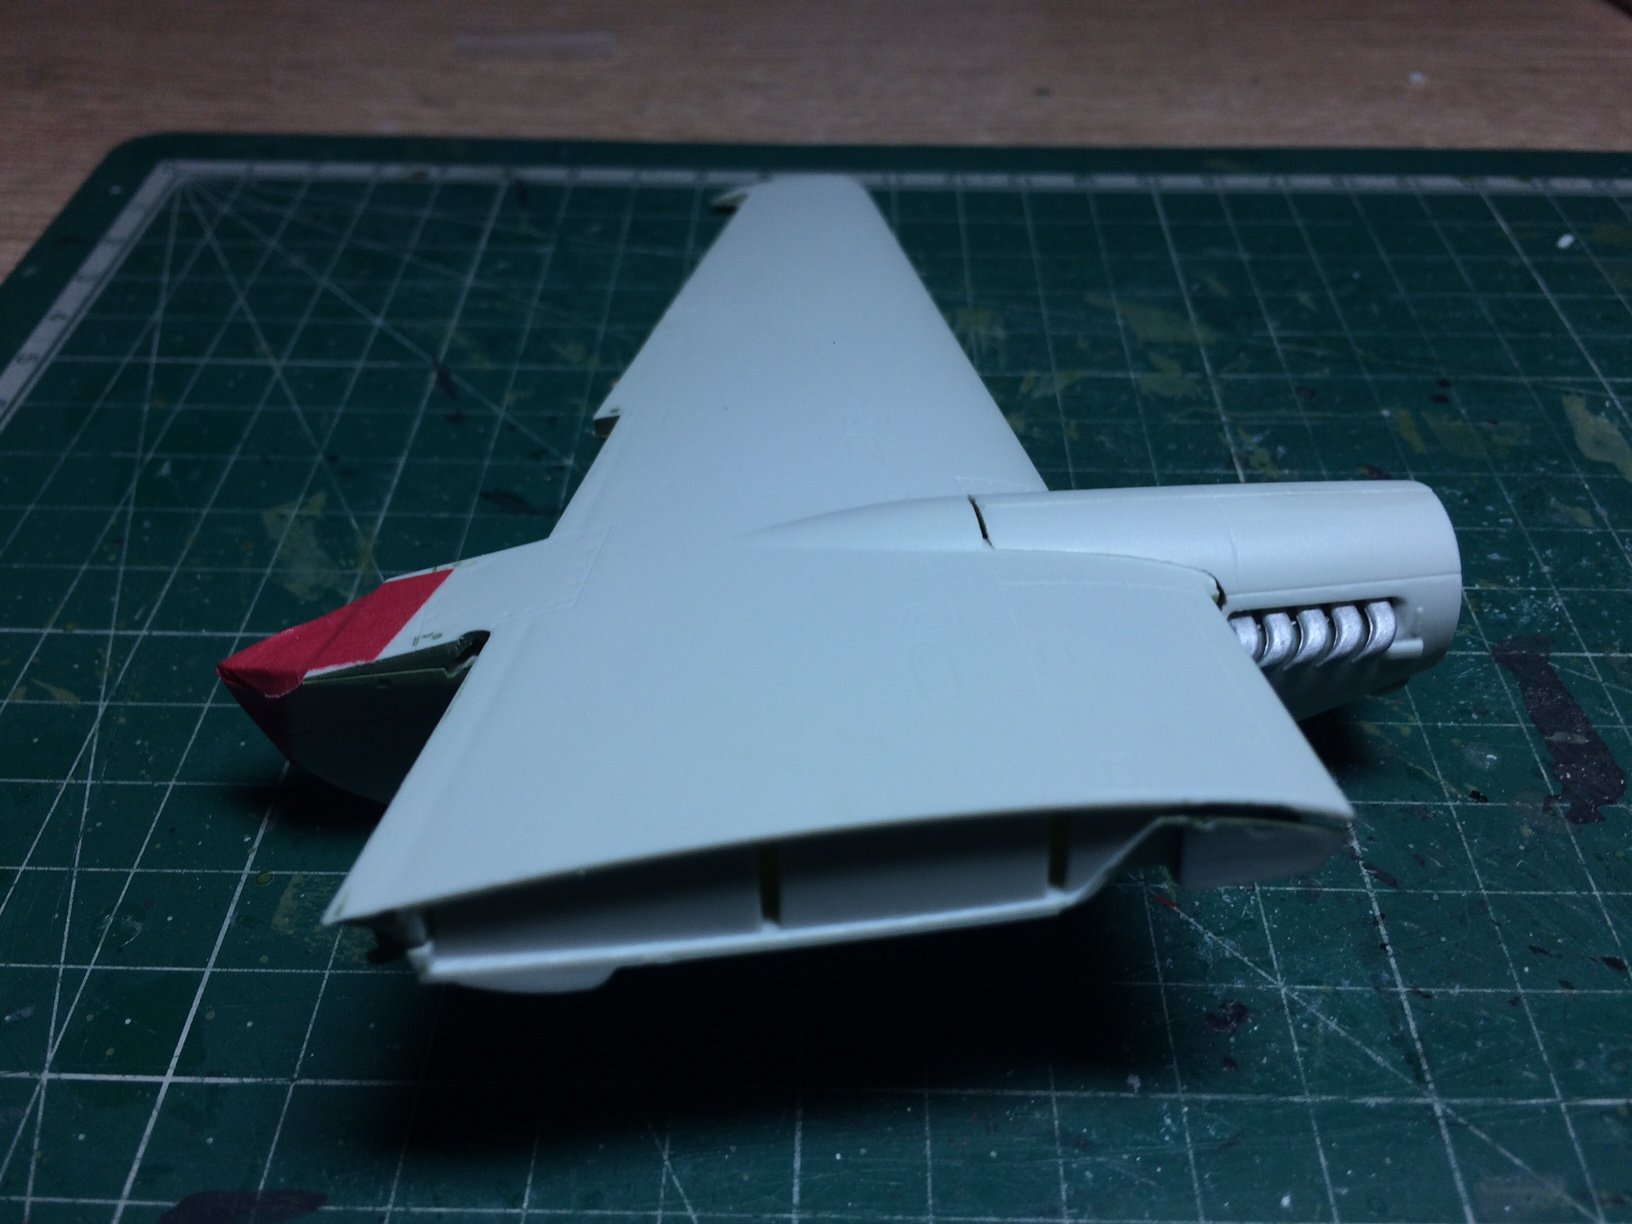
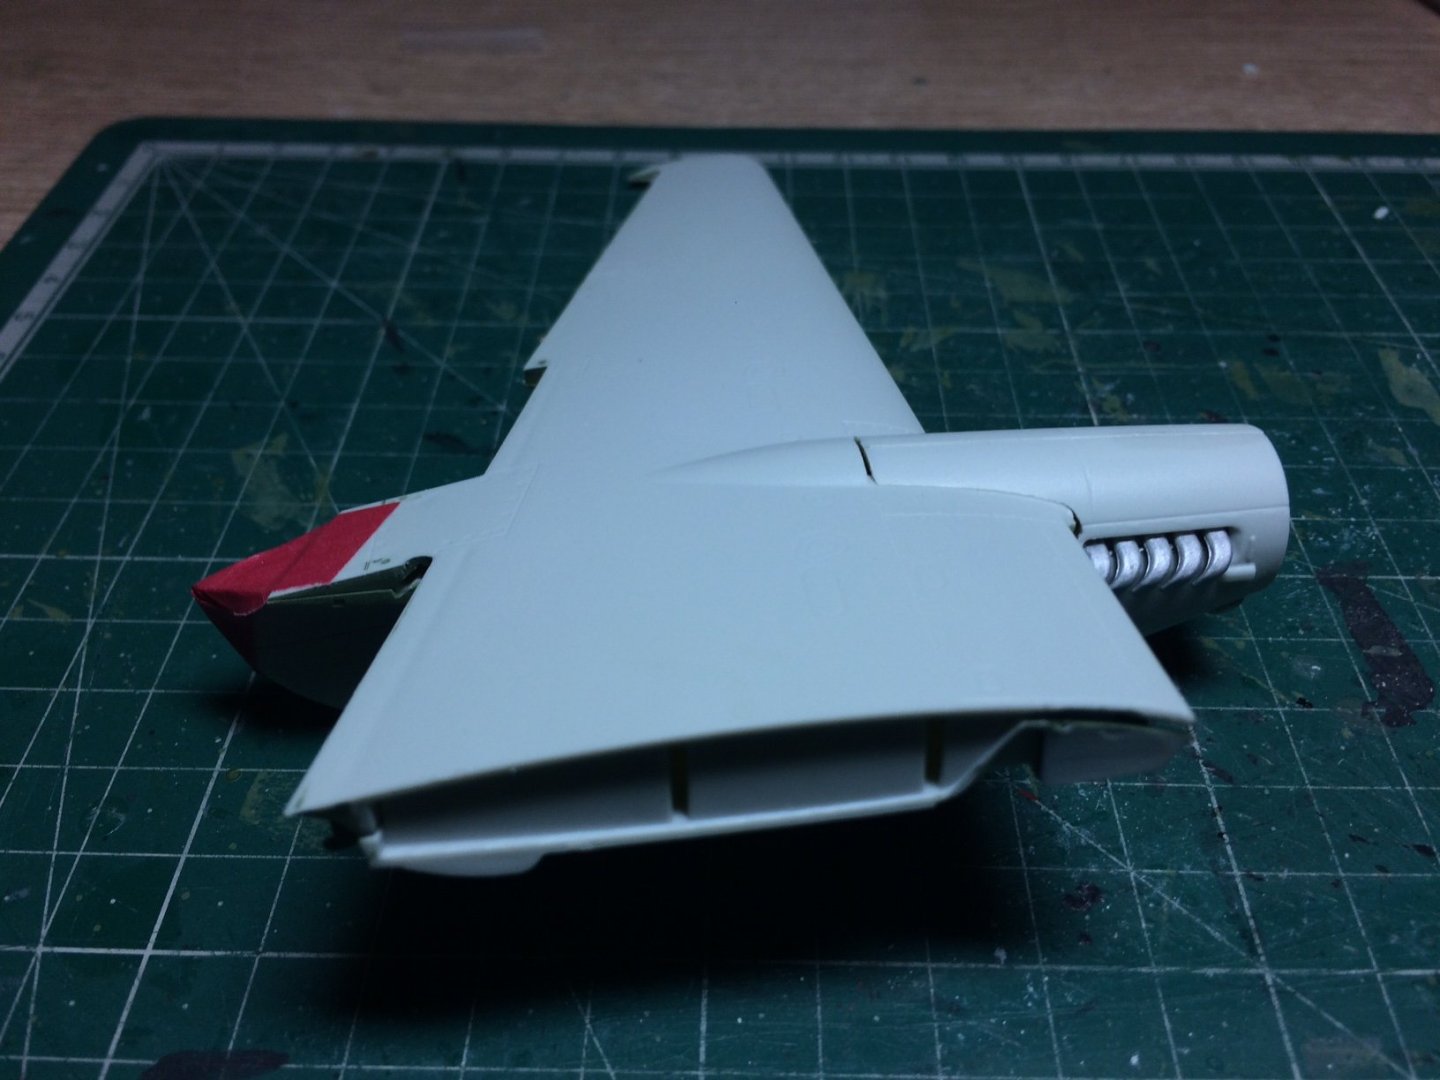
Here is a few pics - the spray job and a dry fit of the engine nacelle assembly just having to do some fettling to get it to fit - needs a bit of work on a join or two. OC.


- 932 replies
-
- 11
-
-
Question - I sprayed her about an hour a go - should I remove the tap now or wait a bit? OC.
-
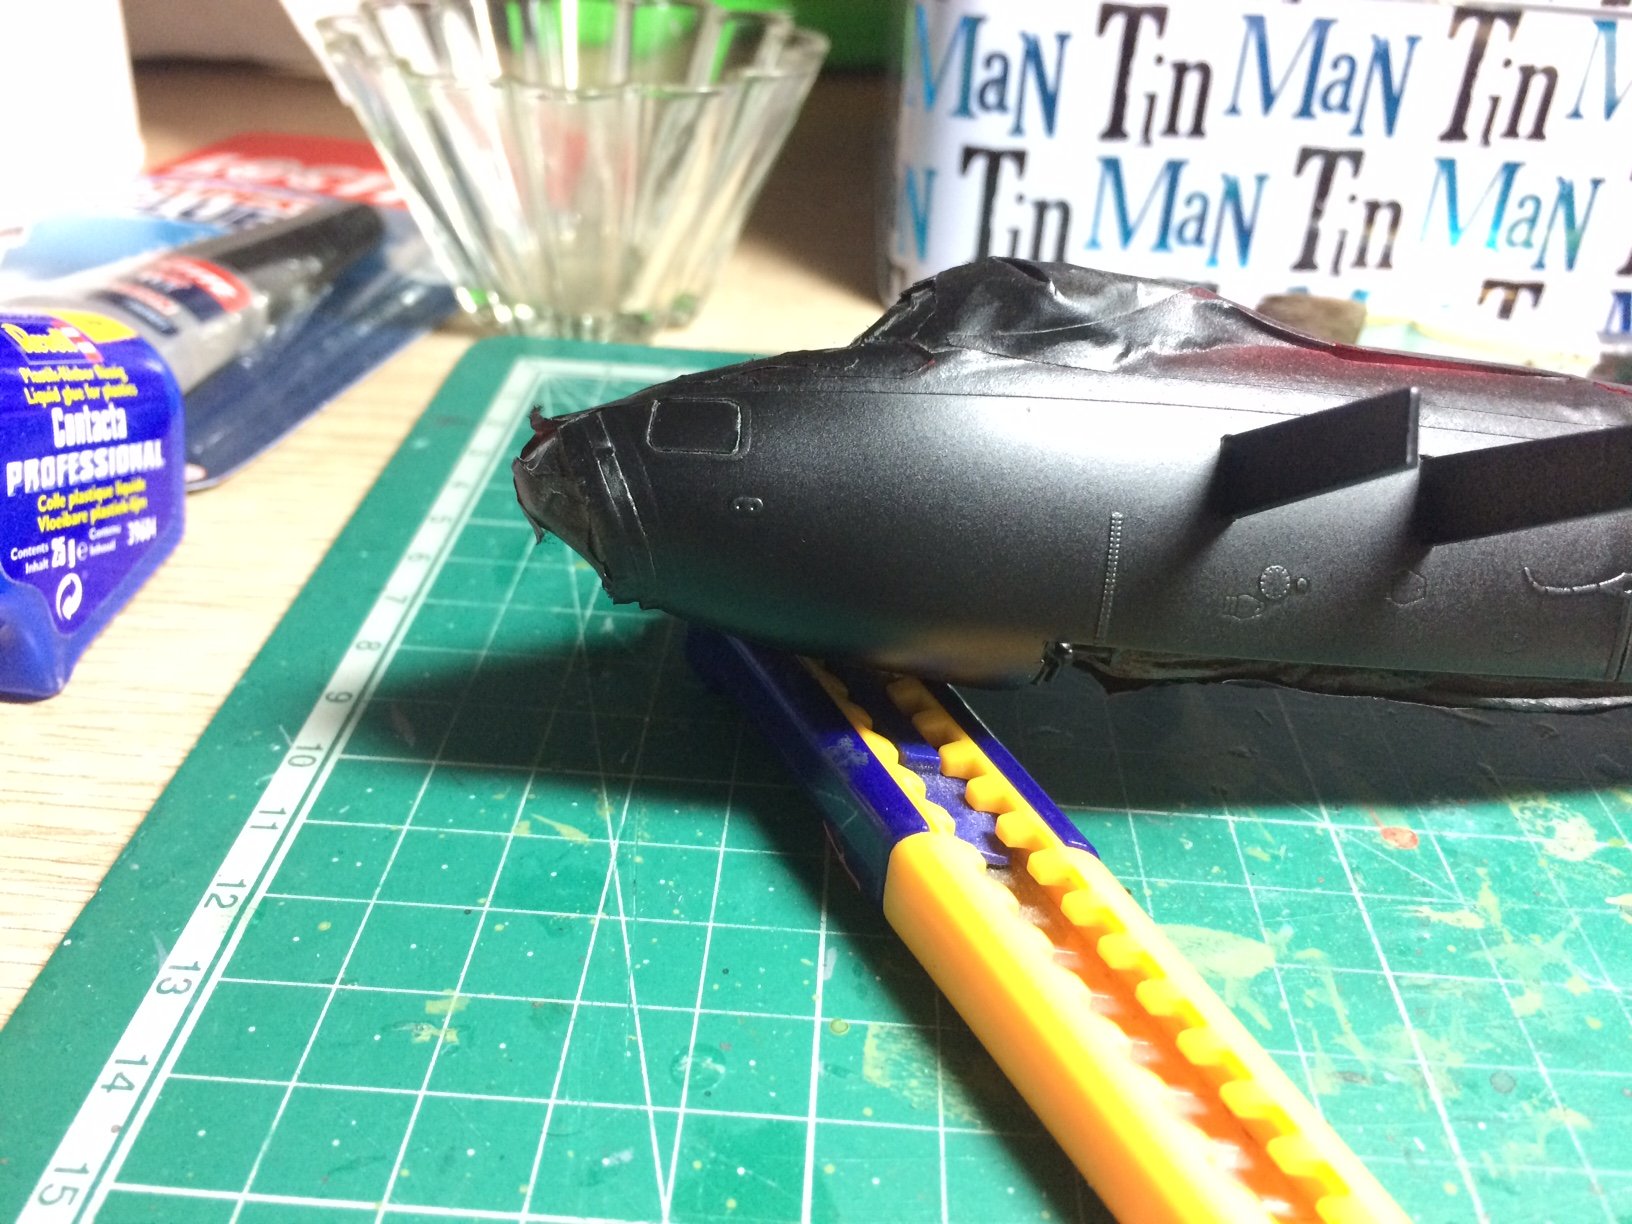
Right then - I masked her according to the Black scheme I have gone for, then outdoors I got my Semi-Glass Black Tamiya rattle can out - did what the Pros suggested (sat the can in some hot - not boiling water in a cup) this is supposed to improve the flow from the can. Dear I show you ............. OC.
-
Come on mike - "show us - show us" OC.
-
Thank you mike - will do my best. OC.
-
Thank you, Carl - I thought I had pulled off the towing device 😉 What I might do is to add a tiny amount of exhaust staining - hoe that is carefully applied to black I dont know. OC.