


Old Collingwood
-
Posts
11,507 -
Joined
-
Last visited
Content Type
Profiles
Forums
Gallery
Events
Posts posted by Old Collingwood
-
-
-
-
What's your painting technique to keep the minute detail crisp? It looks great in the pictures.
Id'e like to know this aswel, as i am painting a 1/700 scale british modern warship and its so hard to keep the detail and avoid over paint thickness even with tamiya acrylics...
C.
-
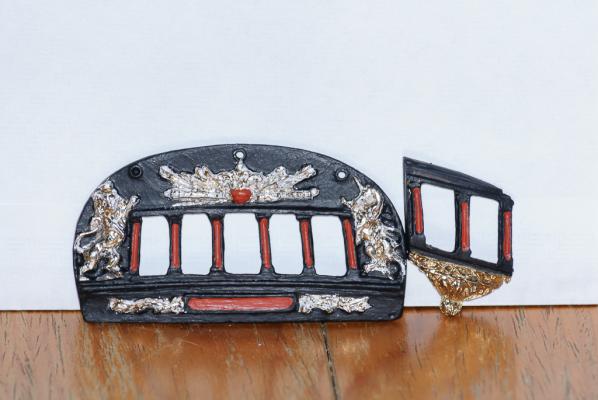
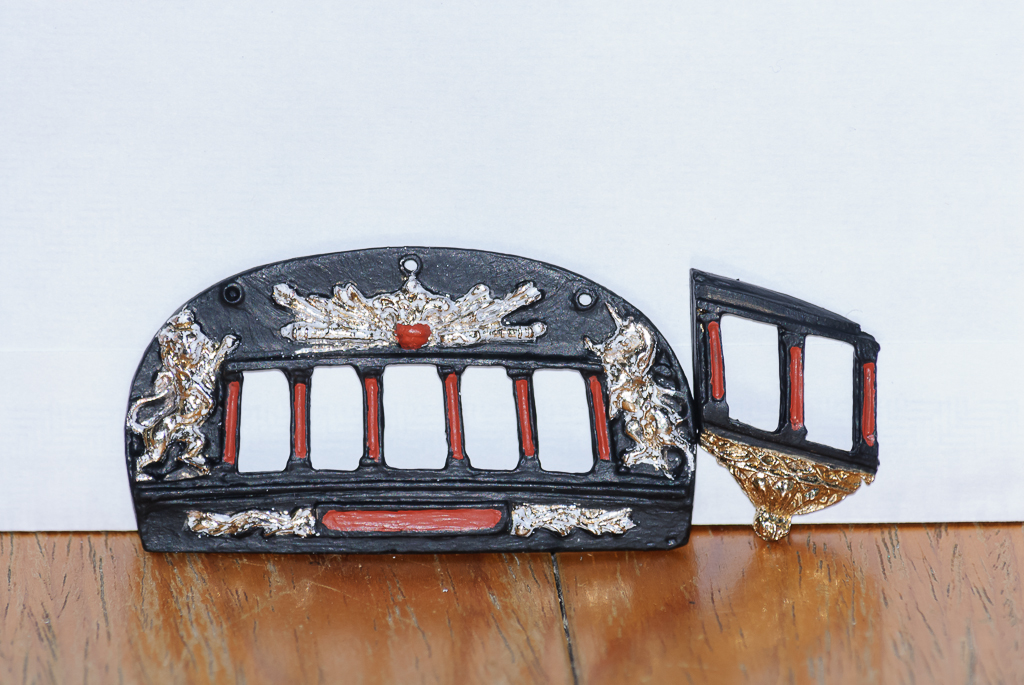
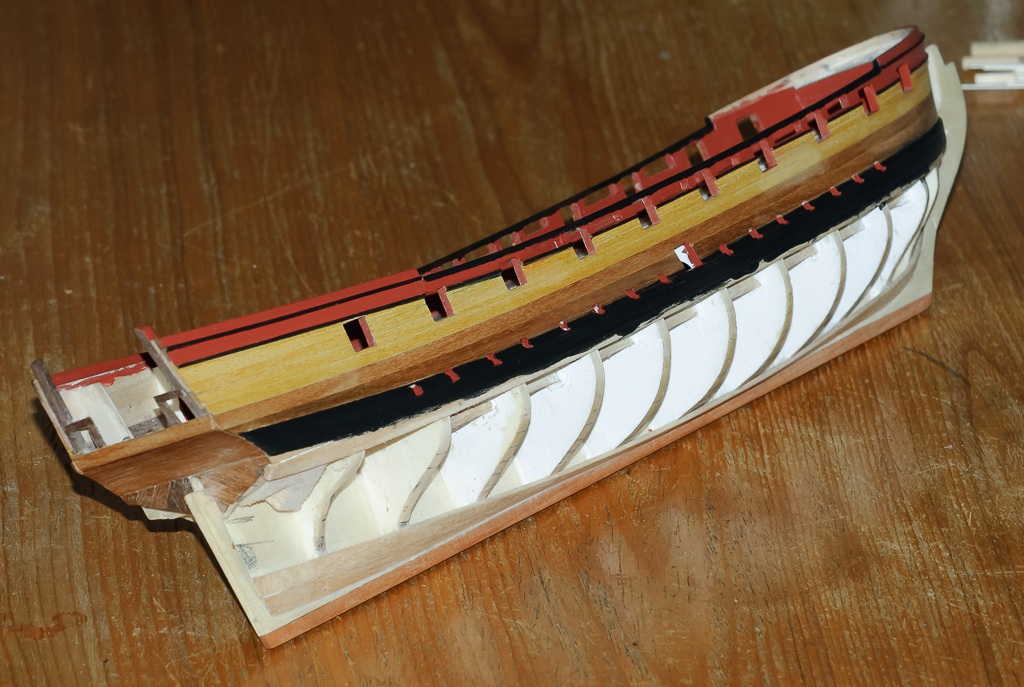
I decided to do abit of work on testing a paint scheme on the transom and side window, i think i will go with a mainly red ocre and black tar scheme for the paint decoration as they seem to compliment each other, and lets just say that the ships commander had a barrel load so he decided to use them, ive also painted the whale and done some other paintwork to see how it will look.
What do you think?
C.

-
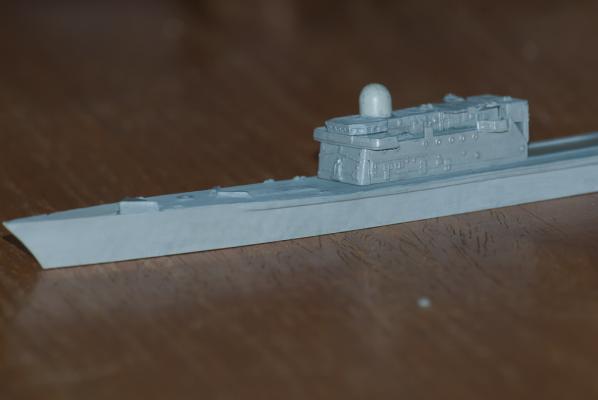
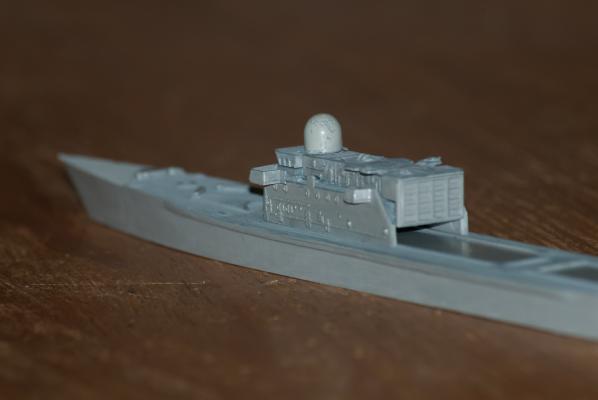
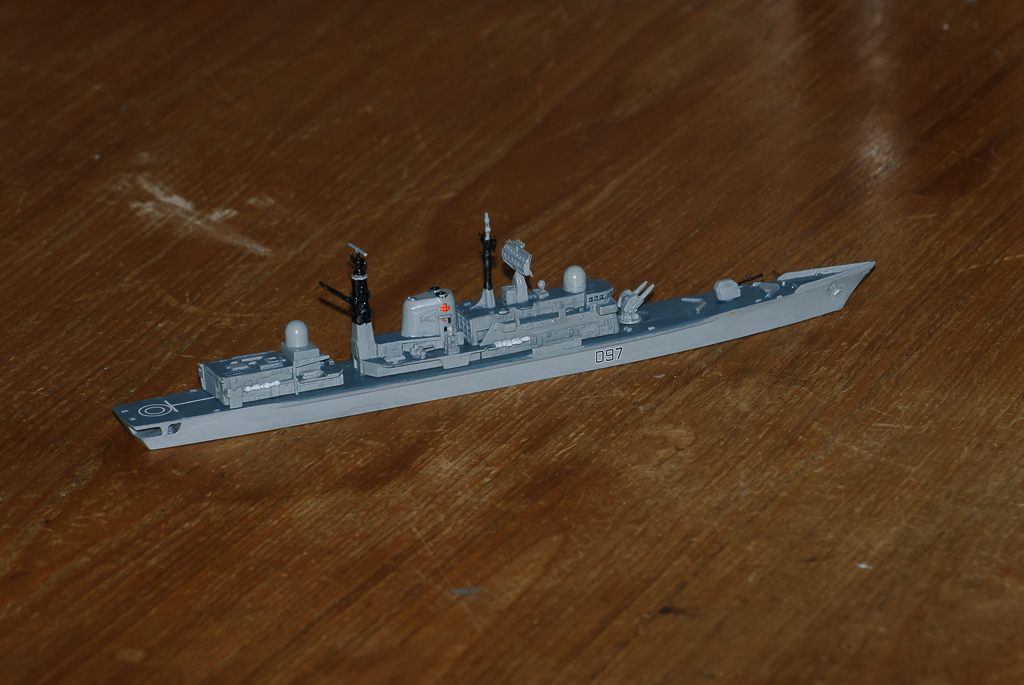
Here is the finished pic of my tinny tiny little ship, it was a real eye strain working and trying to detail at this scale 1/700.
C,

- NMBROOK, mtaylor and popeye the sailor
-
 3
3
-
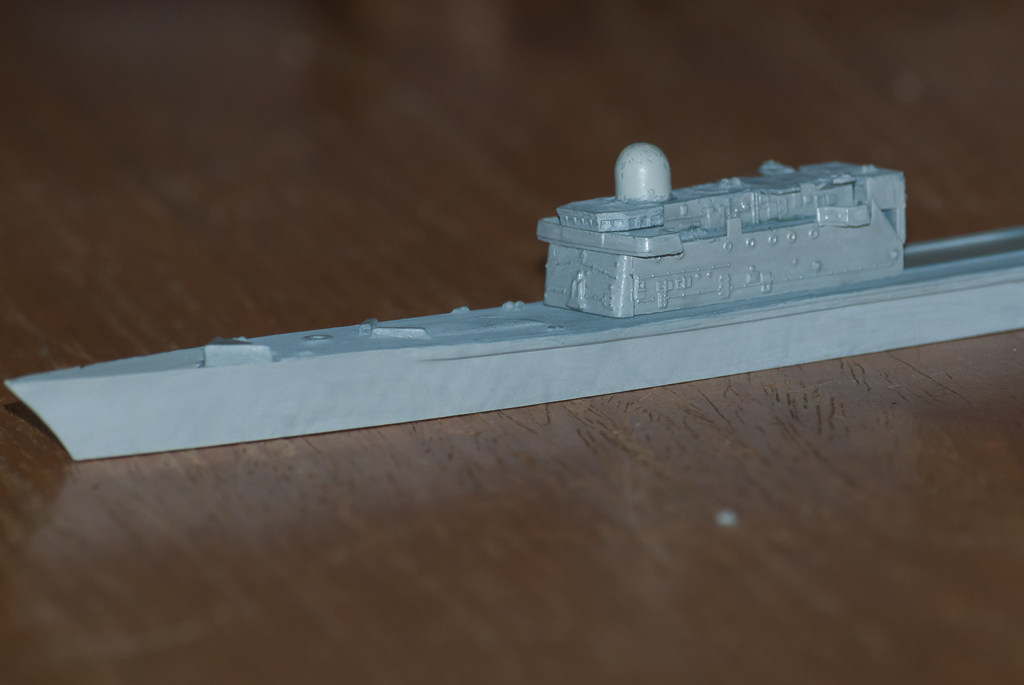
In between building my frigate, i am also building a tiny little 1/700 scale destroyer model kit in plastic, its very hard to work with fine detail at this scale, but the following pictures highlight key areas where i need to finescale the detail and sharpen things up abit.
C.
- popeye the sailor, mtaylor, NMBROOK and 1 other
-
4
-
-
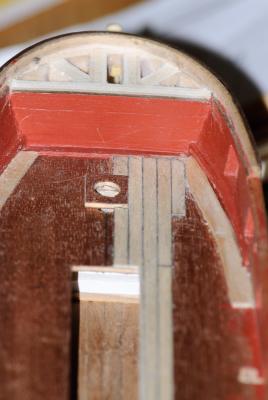
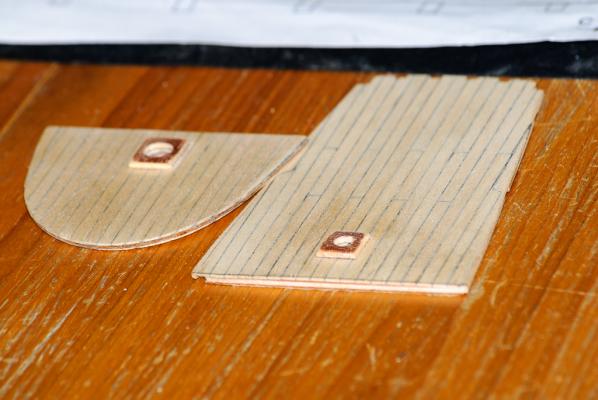
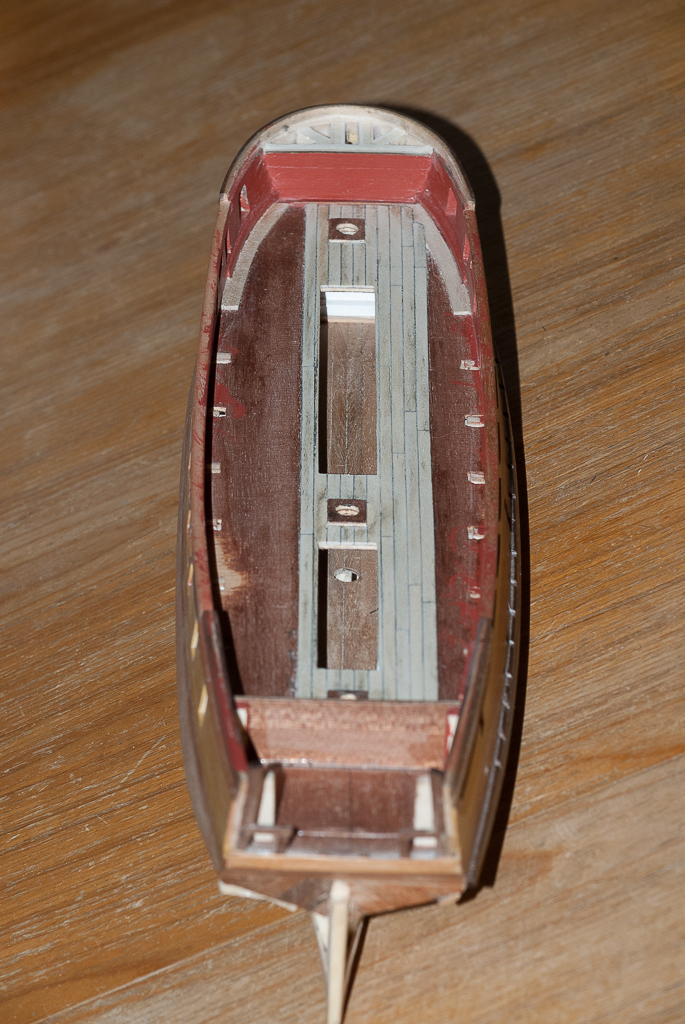
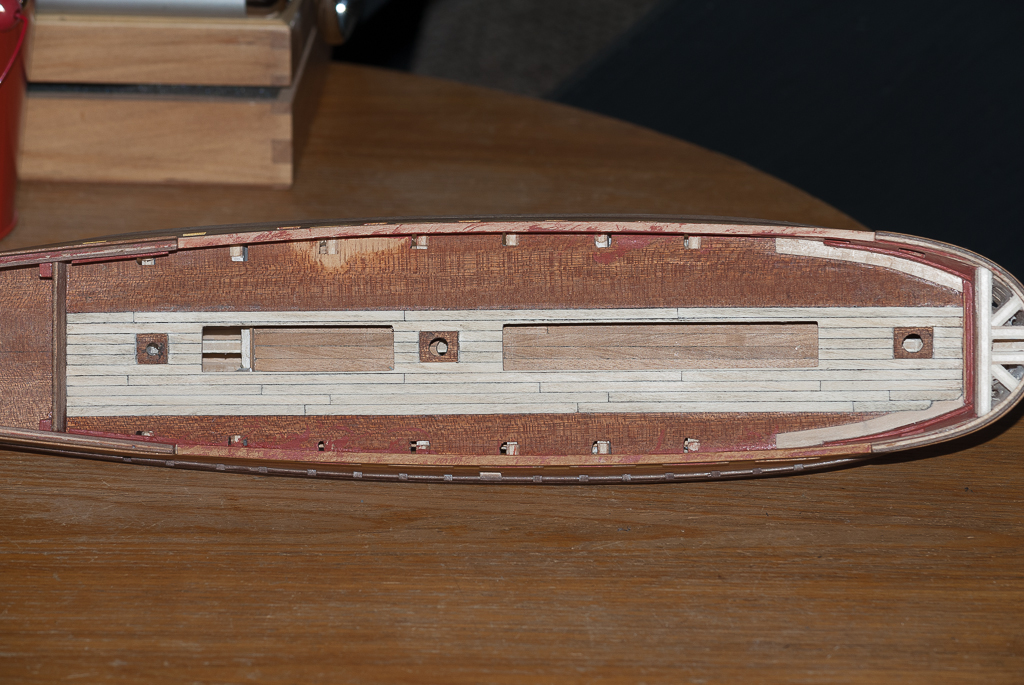
I started work on the deck planks today starting with the bows two bulwark edge planks, i am cutting in the normal planks as they should be, and decided on a four step planking system, adding the square mast collars has helped by not having to cut this through the planking.
Here are the latest pics...
C.
-
Thank you hamilton, i have been tyding up the mast surrounds where they enter the decks, so i could get the correct and accurate positioning before i plank the main deck, this will give me a break from the hull planking as all that carefull work wetting and heating the hull planks was abit of a bore and tiresome, i have also constructed a solid backing for the main cabin front details, i will add these either after fitting the deck or possibly before? then i suppose i will have to continue on the other side of the hull with the planks down to and icluding the whale to match.....
C.
-
Many thanks for the picture harlequin, i am going to approach this section sometime latter, for now i have been continuing with the hull planking down to and including the whale, i have also cut out the oar slots and the lower deck acsess port, i have set up the whale planking by using two sections - one 2mm by 2mm and the other 4mm by 2mm i think 6mm is quite a good width for the whale.
Here's the latest pics..
C.

- NMBROOK, mtaylor, popeye the sailor and 2 others
-
5
-
Just been applying more 2nd stage hull planks down to the whale, but i thought i would mention a trick i do to aid stcking and drying of the planks - i use a hairdryer(the wife doesnt mind - honest) i find the heat helps to melt and harden the wood glew and bond alot quicker, kind of like a heat gun.
C.
-
A question - the planking below the transom that goes from port to larboard, sholud i paint this red ocre or leave wood? i know the the lower section near the waterline will be wood/dull white with a demarcation line.
C.
-
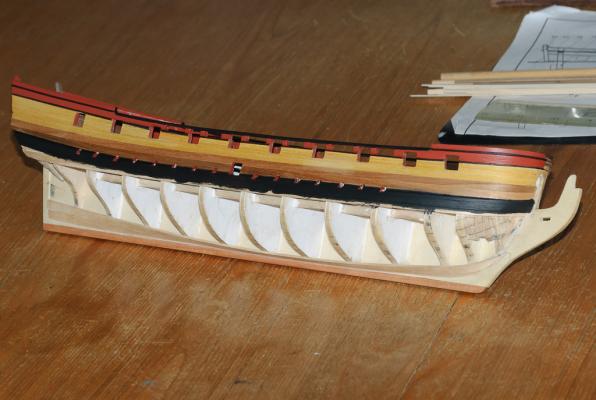
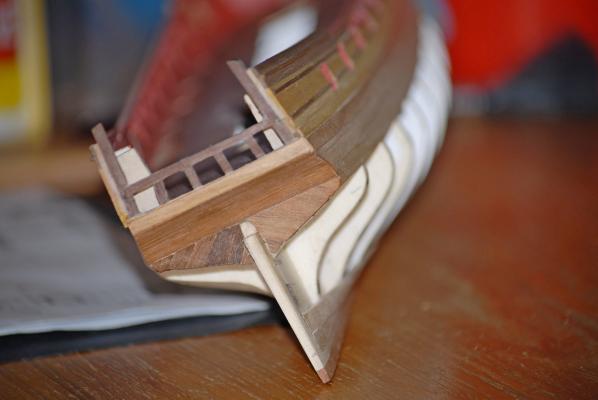
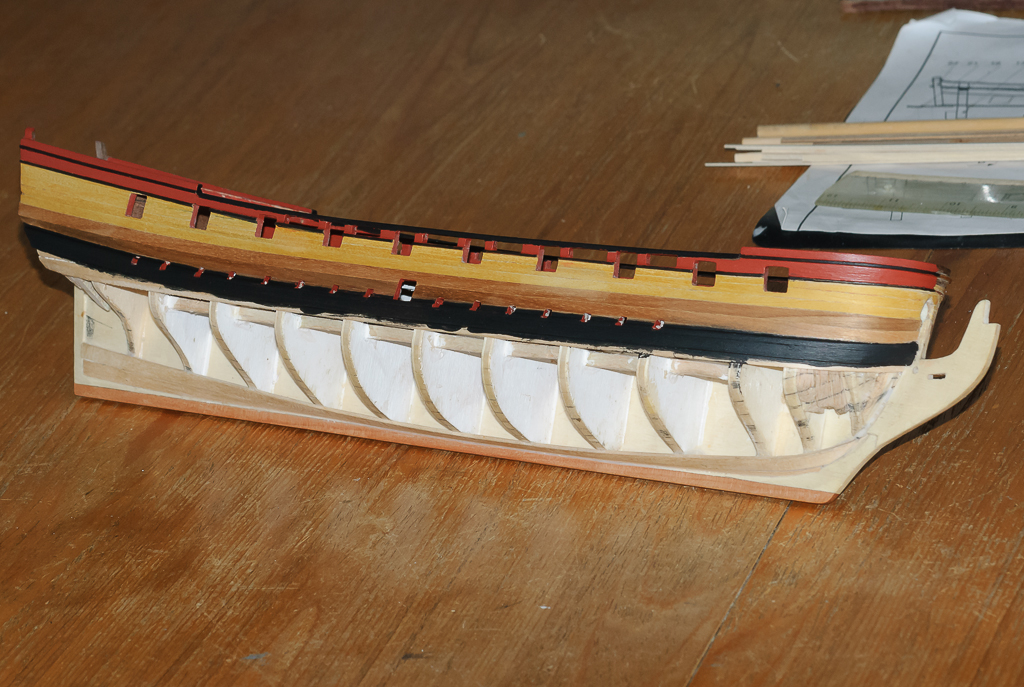
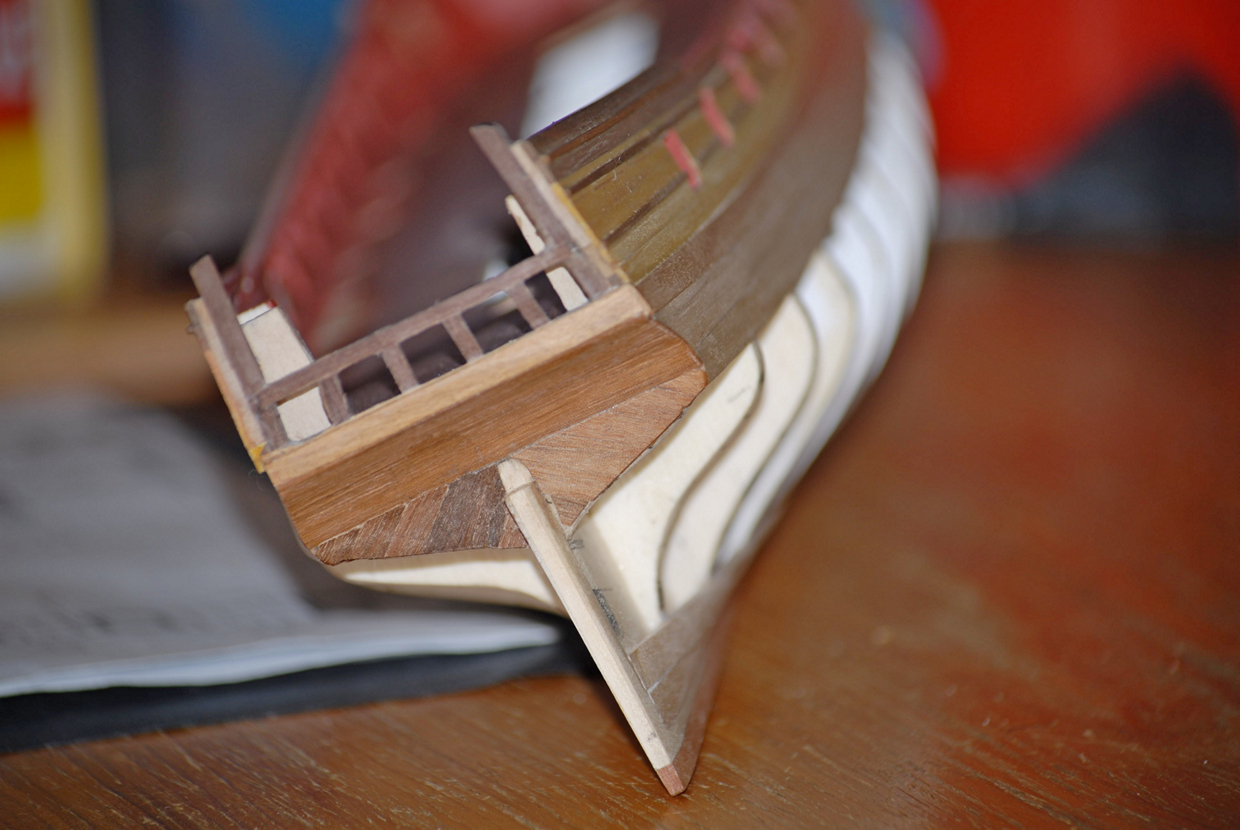
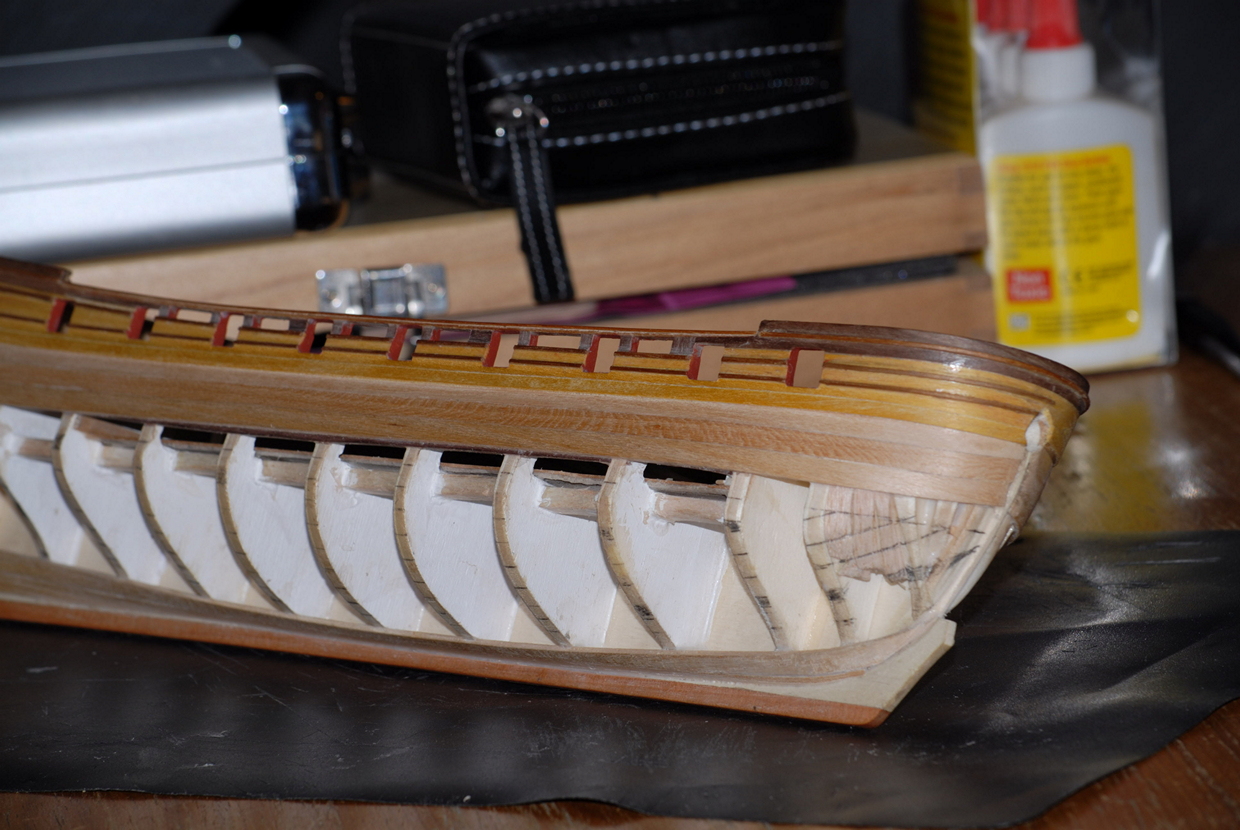
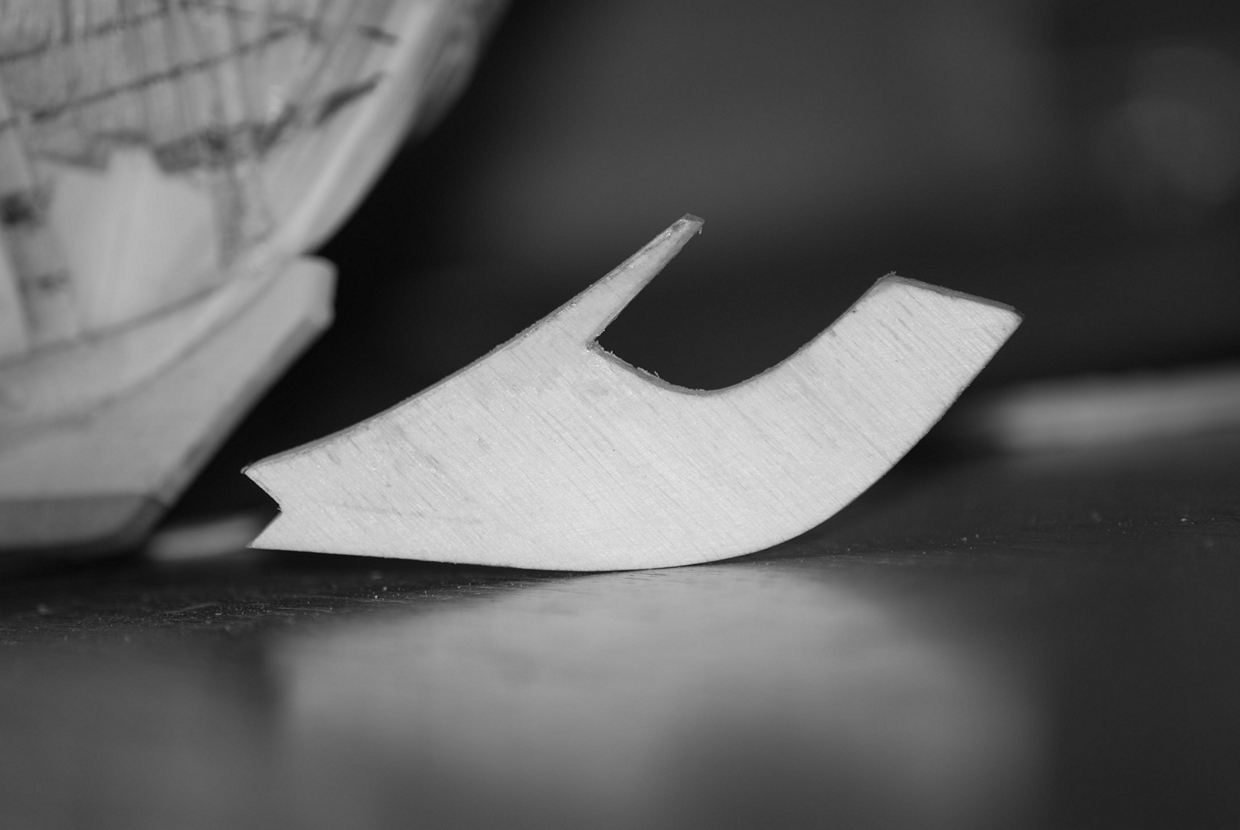
More work on the ole girl, i decided to fit the poor part that fell off, and planked the rear section under the transom- slight color difference in grain due to using the other side of the planks without notic'ing, i have also completed two sections port and labord of the hull planking from the keel.
Here's some pics...
-
The colour contrast looks great Collingwood - your modifications are really starting to pay dividends. I wish you had started this before me so I could have copied you!
Are you planning on using the kit-supplied transom piece? Given what you've already achieved you should seriously consider scratch building one of your own....Either way, very impressive work!
hamilton
Hi hamilton, im not sure yet about the transom i could sharpen it up with abit of scribing and then painting, but its darn hard to see even with glasses, the picture shows alot more detail than i can see with my eyes, then again im not brilliant at scratch building especialy as i have no acurate plans of this section.
C.
-
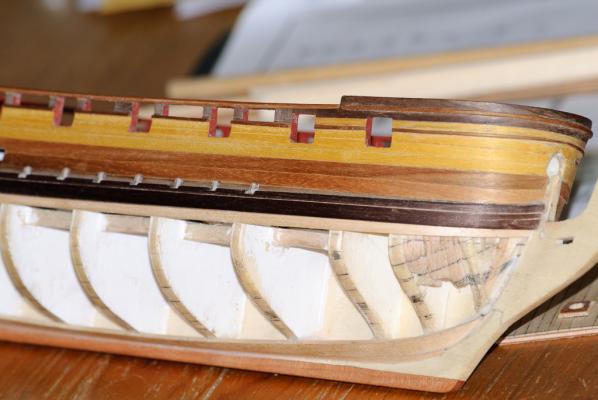
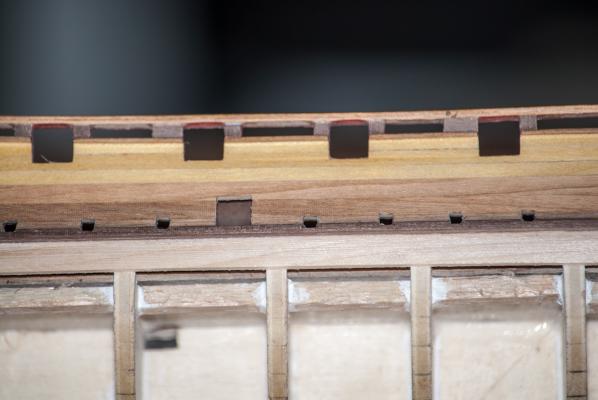
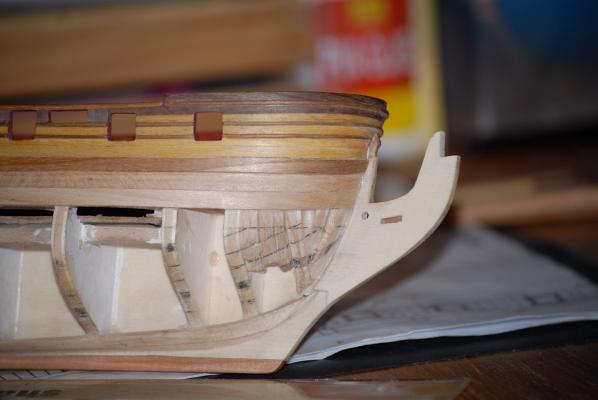
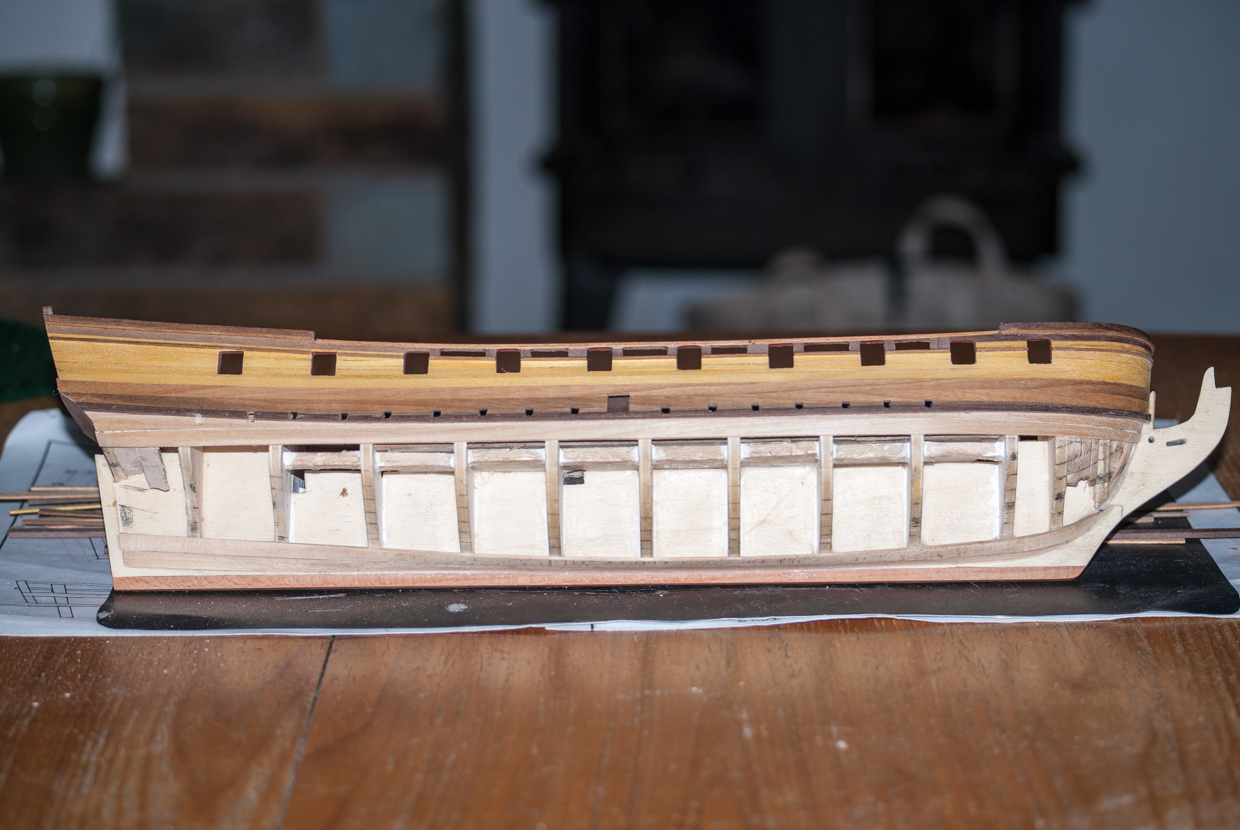
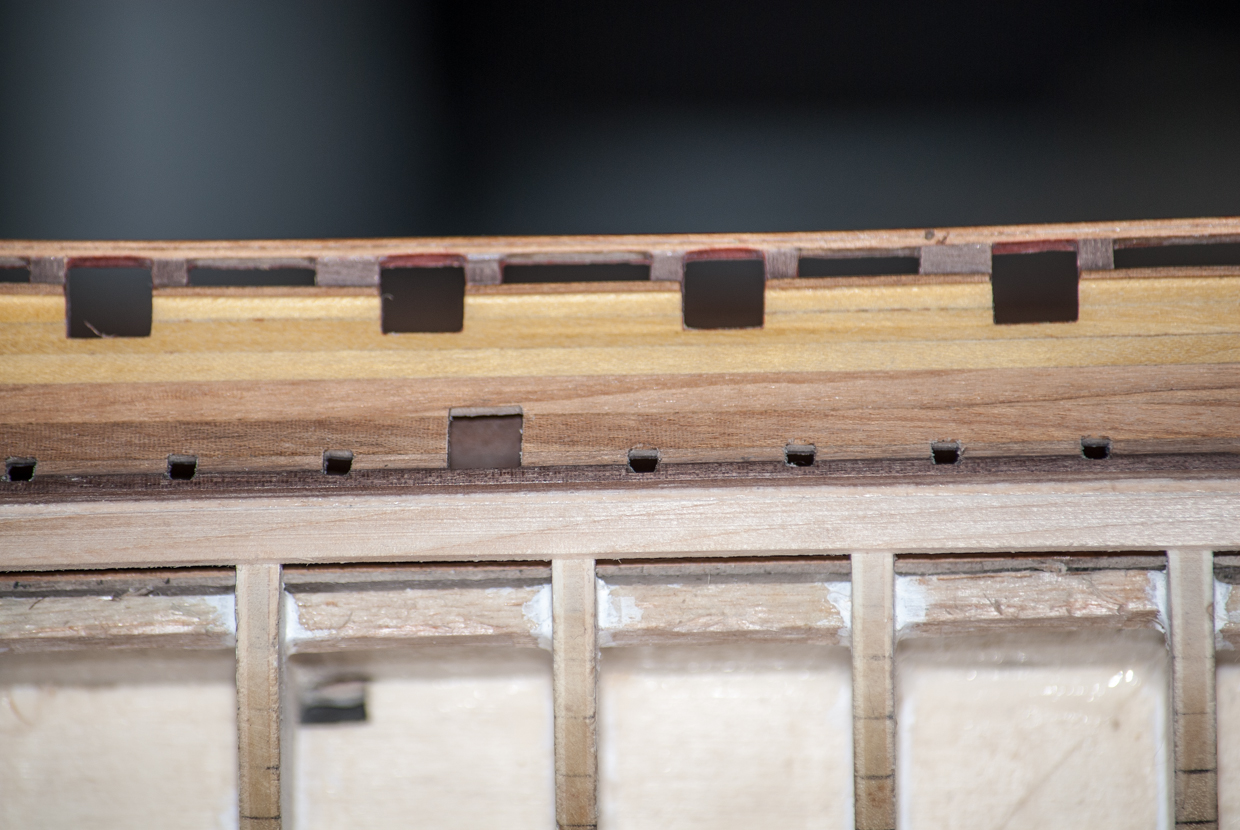
More progress this time with the other side of the hull continuing to cut out the gun ports using my usual needle file set, i use a cutting action working down between the lines till i get to the line at the bottom, but making sure its square, then i have added the bulwark/gun port posts to hold the top rail.
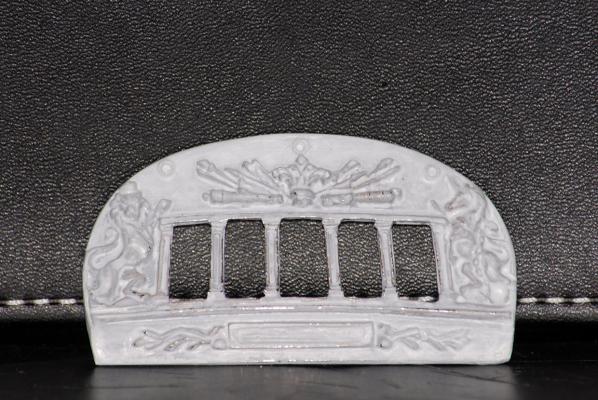
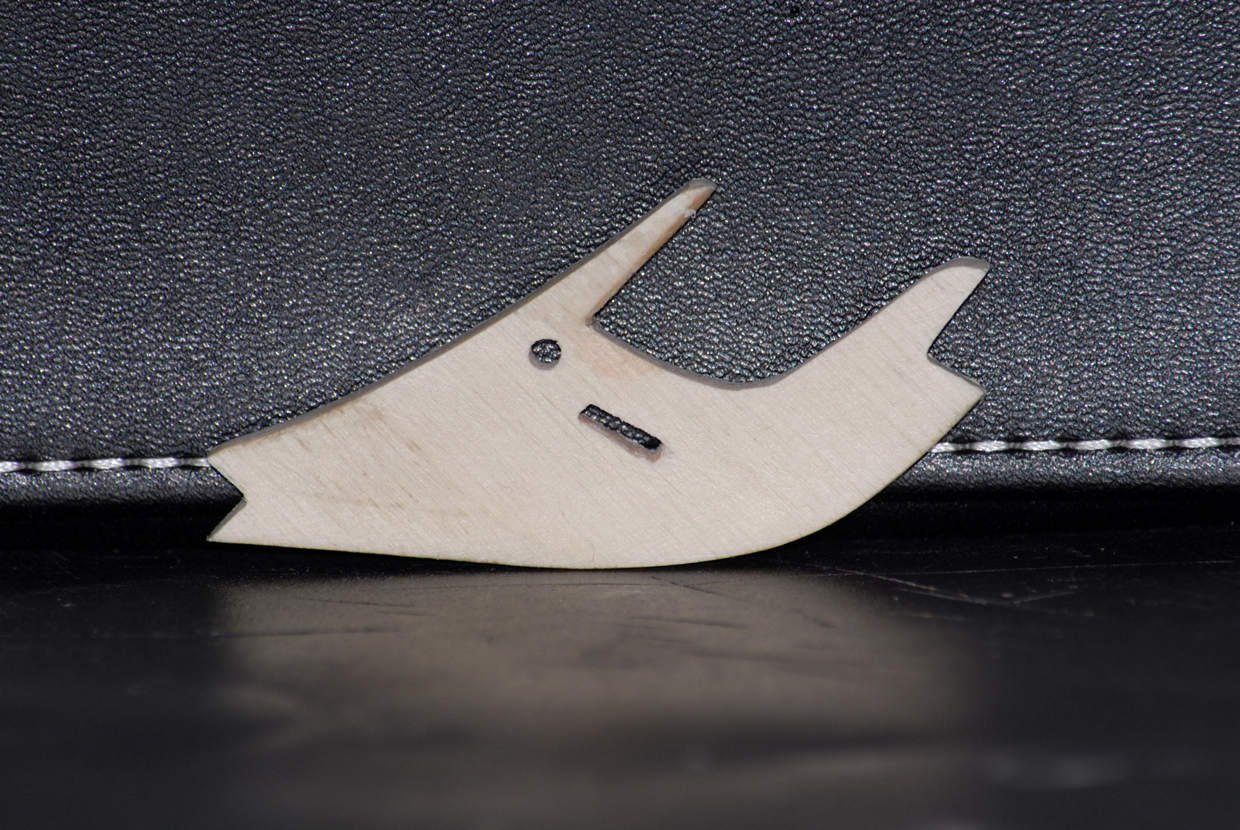
I have also shaped the rear cabin window casting and undercoated it to bring out the detail, incase i use it, also i have cleaned up the front keel section and adjust for - figurehead etc...
Here's some more pics, and back to color as requested.
C.


-
Hi all Happy New Year,
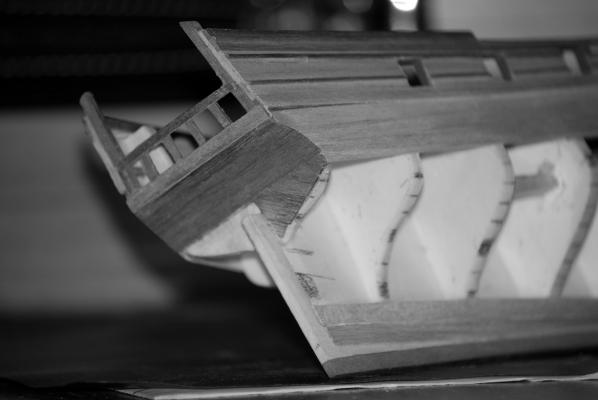
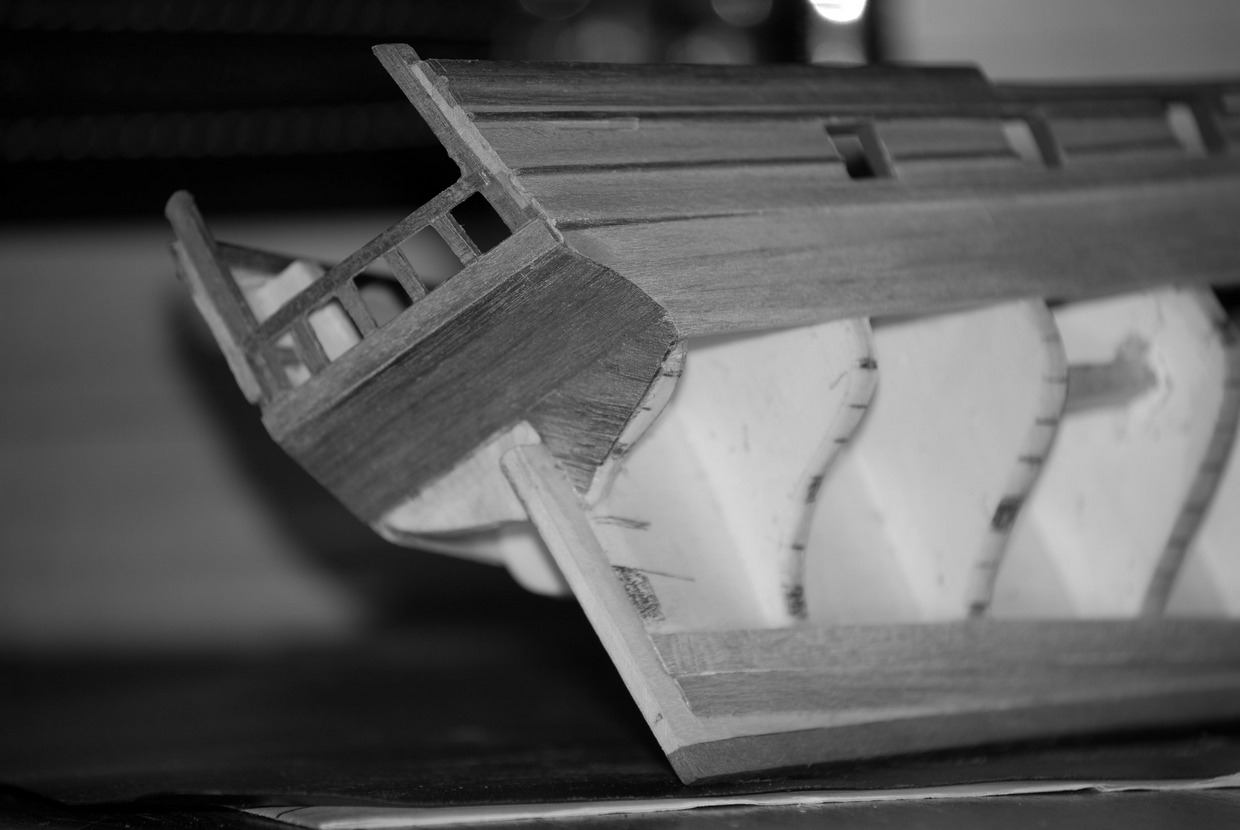
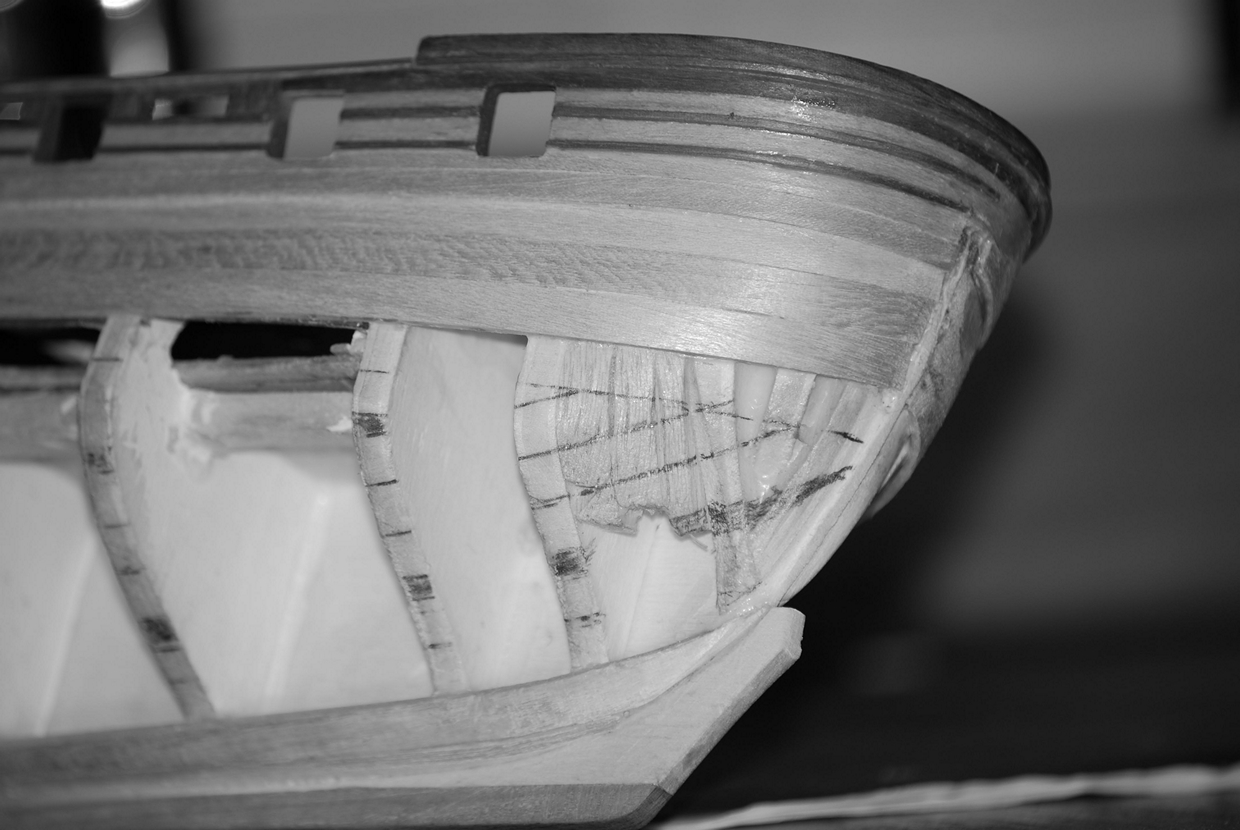
i have been carrying on with the hull work shaping the bearding line especialy around the bowsprit til - "Crack" the bowsprit snapped away were the grove was for the bearding line, so i decided as it was off to leave it that way and tackle it as two seperate jobs, but i cut away and made a joining area first, i have also been working on the rear of the hull with a bit of planking and shaping and will do the cutout for the rudder post arrangement, but question do i make the hole in the hull for the top of the rudder post round or fan like?.
Anyway here a few pics in b&w because my camera processes better that way for some reason..?
C.


-
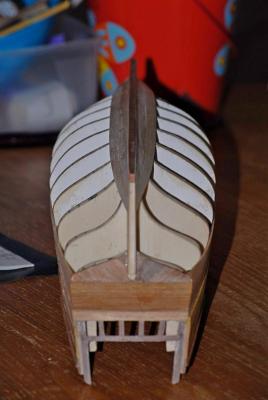
Seasons greetings to all, i have been moving on to the bottom keel section and decided to cut out the bearding line for the garboard plank, i know i should have done this while flat but i have found having the ribs in palce, act as a good guide for the groove, i was abit puzzled over the correct size/placement of the garboard plank, but i decided on the taper ending on the second rib before the sharp curve upto the front of the forecastle.
I also decided on a slope at the keel post insted of a slot (almost like something we call here a "ha ha") its an invisible drop when viewed from one side, this will help the hull planks to sit against the keel post at roughly the same thickness.
Heres two pics showing this stage...
C.


-
Very nice work Collingwood. I'm intrigued that the main deck does not seem to be planked when the upper decks are already installed. Or are those upper decks just dry fitted?
Where are you that gets a violent storm? There are so many these days you could be anywhere...
Cheers
Alistair
Hi Alistair,
Im in the uk and we have been getting alot of storm force winds 80-100mph and severe flooding leaving many people without power and flooded houses, yep i fitted the bulwarks and painted them so that when i fit the planking over the false deck floor, i will not get any paint on the decking planks.
C.
-
Great. She looks really sharp.
Thank you.
C.
-
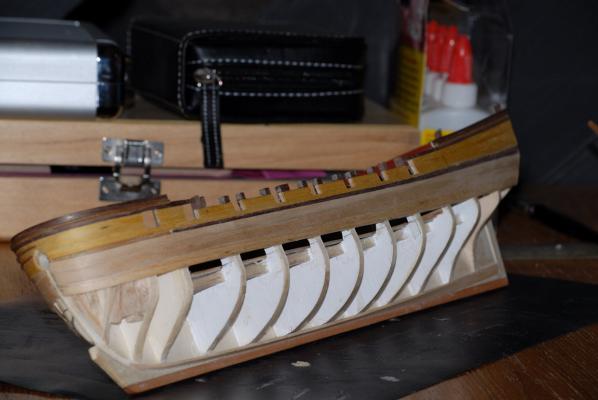
I have been carrying on building through our violent storm we have here now, i have been working on shaping the gun ports and constructing the hand rail, this was quite technical as i had to build and attach some small stumps between the bulwarks and the rail, then fashion the rail from a length of 4x1mm then i had to bend this to follow the hull shape.
Here are the pics.
C.


-
Tony I honestly have no idea what you're talking about
hamilton
Me either ....
C.
-
-
Hi Collingwood - I tapered pretty much all the planks at the bow from the deck line to about 1/2 their width. I also soaked them overnight - 1.5mm is thick, but seems also to be standard first planking for Corel. I'll be starting the OcCre Dos Amigos and the first planking for that is 2mm!! This stock might end up getting replaced.....
Anyway, I think you're doing a great job - I'm really impressed with the time you've taken to plan out your modifications - I just kind of ran headlong into them and thus confronted all kinds of little compromises.....bye for now
hamilton
Thank you hamilton, i realy appreciate your kind words.
C.
-
Agree, looks awesome.
Many thanks.
C.


HMS Greyhound by Old Collingwood - Corel
in - Kit build logs for subjects built from 1501 - 1750
Posted
Hi all, I have just been having a little break, with the better weather over here for a while I have been out doing my other hobby, photographing planes, also I have been given a gift of a Mantua HMS President Frigate, but like I posted on another section on here, I am unsure about its scale acuracy so I may just canabolise it for parts and wood to carry on with this build.
It may seem a complete wast of a potentialy good President kit, but if its not scale acurate I dont want to build it.
Old Colly