


Old Collingwood
-
Posts
11,592 -
Joined
-
Last visited
Content Type
Profiles
Forums
Gallery
Events
Posts posted by Old Collingwood
-
-
-
Hi frank long time no speak - you are doing a fabulous job there my friend she is looking so life like, its amazing how much time boat building and other duties can take up, and how the time just flies awayyyyy.
Keep up the lovely work i know a man who would be looking down on you and he would be very proud of what you have achieved

OC
-
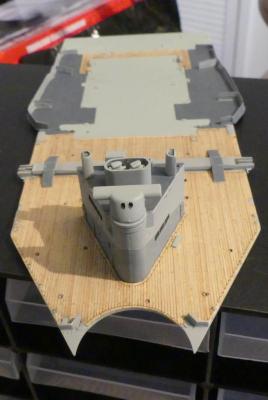
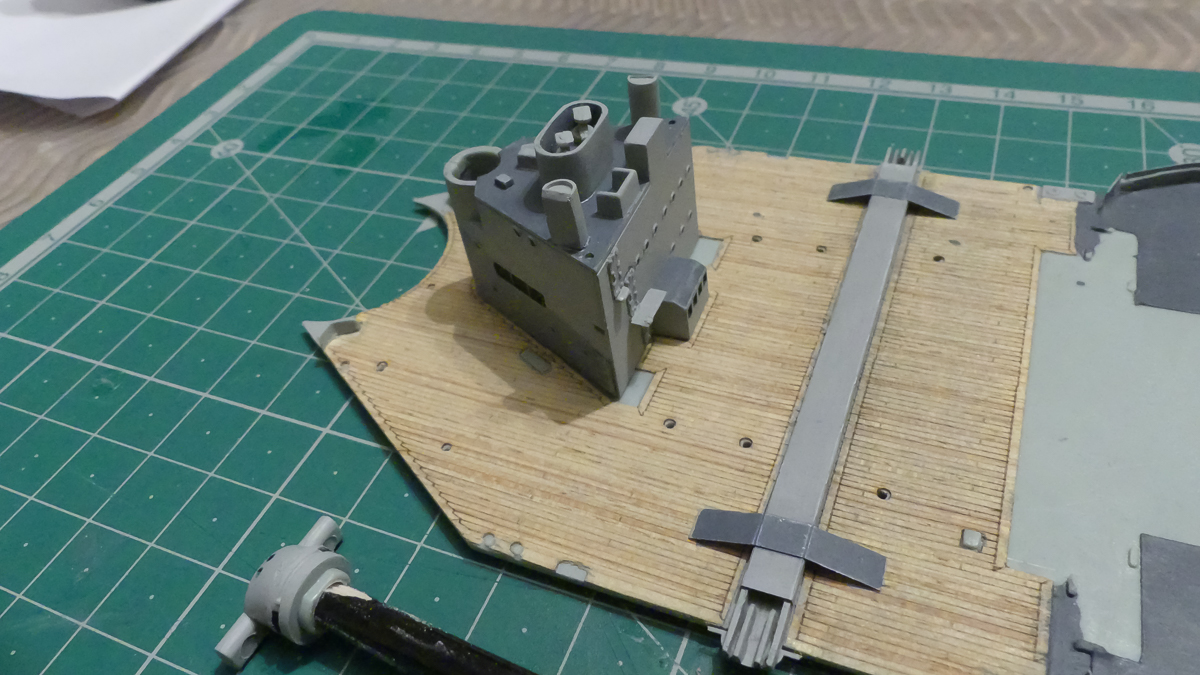
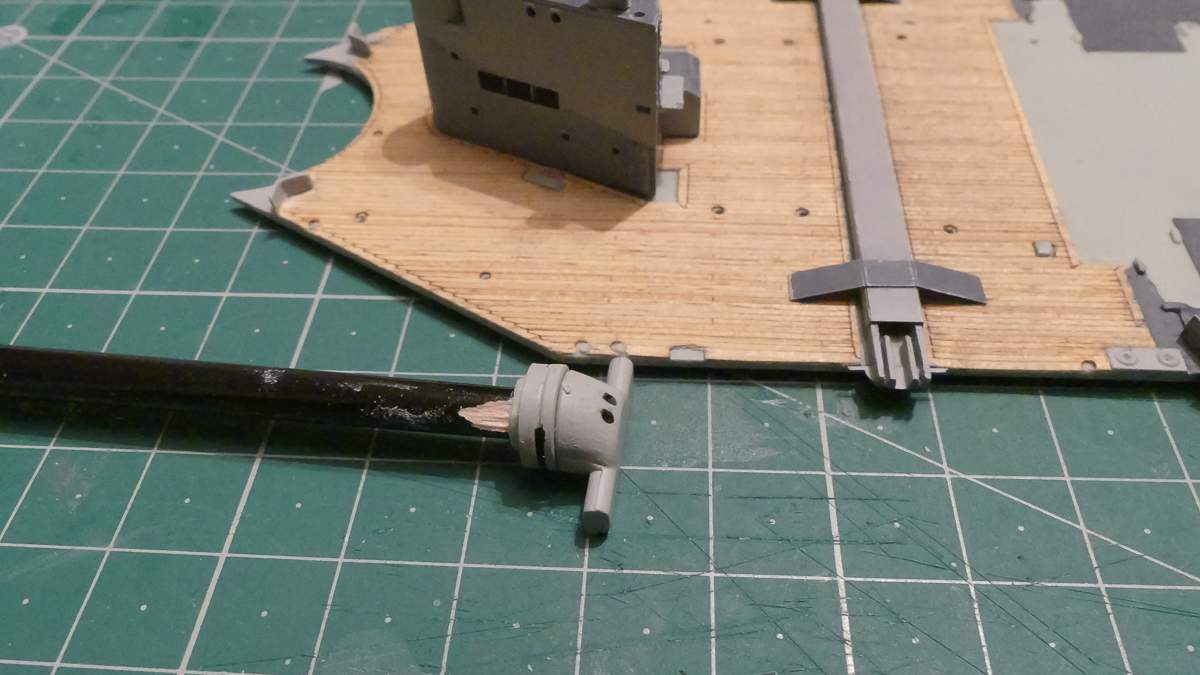
Just a couple more pictures folks - not much to write just the addition of fixing the gunnery control to the rear block.
OC.

-
-
-
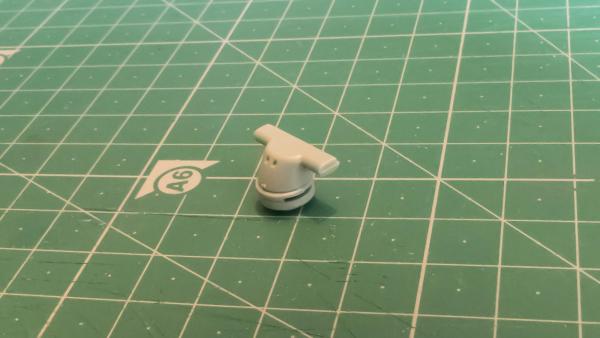
Added a bit more to the rear block today - with the small assemblies in the Tub, and the two other fittings on the roof, i also put the direction finding device together and cut out the two slots each side that are look out windows, i then painted the area black before putting it together.
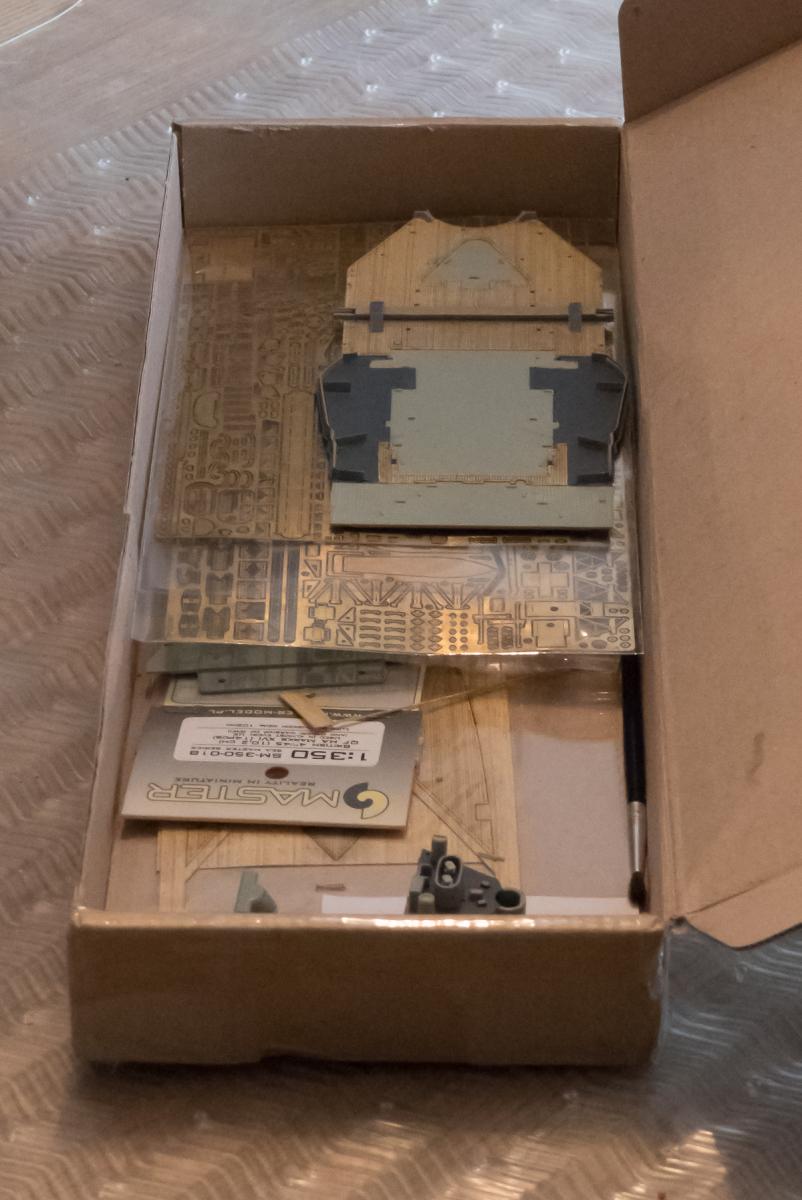
Also here is a pic of my box in progress showing a few bits and pieces...
Heres the pics -
OC.


- popeye the sailor, Canute, hexnut and 2 others
-
 5
5
-
Work tommorow will consist of - constructing the framework for the radar bodies to go inside the tub, as i understand that although the lattice work for the radars was omited during 1944, the bodies of these was left in situ in the tub, next will be to fit the two additional box like structures on the roof, then attach the davit poles and the etch supports for these, although this does not sound much - there is quite a bit of work involved just in this stage.
OC
-
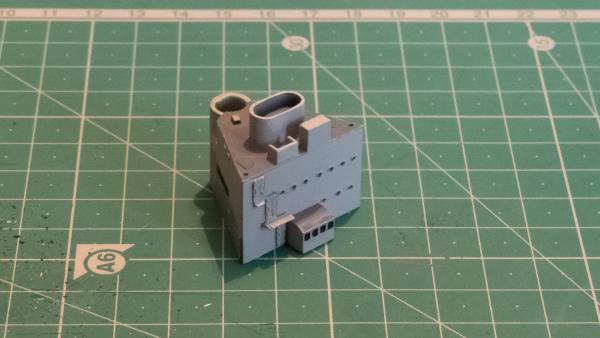
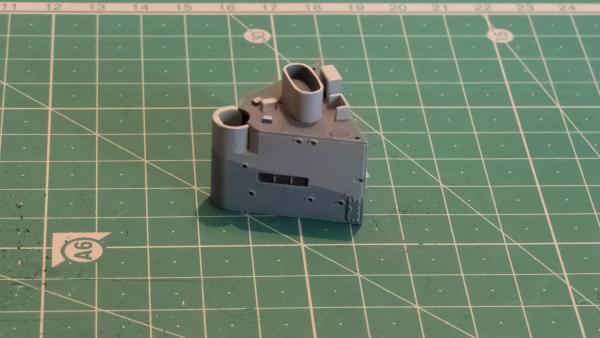
Carried on with more work on the rear block paying attention to the radar direction finding tub, this was attached after painting the inside.
Here are a couple of pictures taken with my new FZ300 bridge camera, much more appropriate for close up work than a DSLR with long zoom like i had before.
OC.
-
Like most things of a weighted nautical nature i think we as builders follow to many strait lines, when perhaps we should follow more curviture and shape, all of the drawings and paintings or even modern ships i have seen show a subtle but deffinate curve that not only follow decks but details and fixtures.
OC
- mtaylor and SawdustDave
-
2
-
-
Nearly done with the funnels. A primer coat, fix the gaps that show up, top coat and add some brass horns. I scratch built the pipes on the sides, and added some vents to the top as described in the plans. It's amazing how far we've come since the 1995 kit with aftermarket and bloodymindedness. You can compare what the kit gives you to the possibilities.
She is looking amazing my friend - your eye for detail is incredible, for me to achieve that i would need a scope ontop of my magnifier....
OC
- Captain Slog, mtaylor, RGL and 1 other
-
4
-
I was working to get a full scale replica of the Golden Hind displayed in the Uk as a living role play attraction, but the local council would not fund it

was such a shame.
Your build is looking great so much detail

OC
-
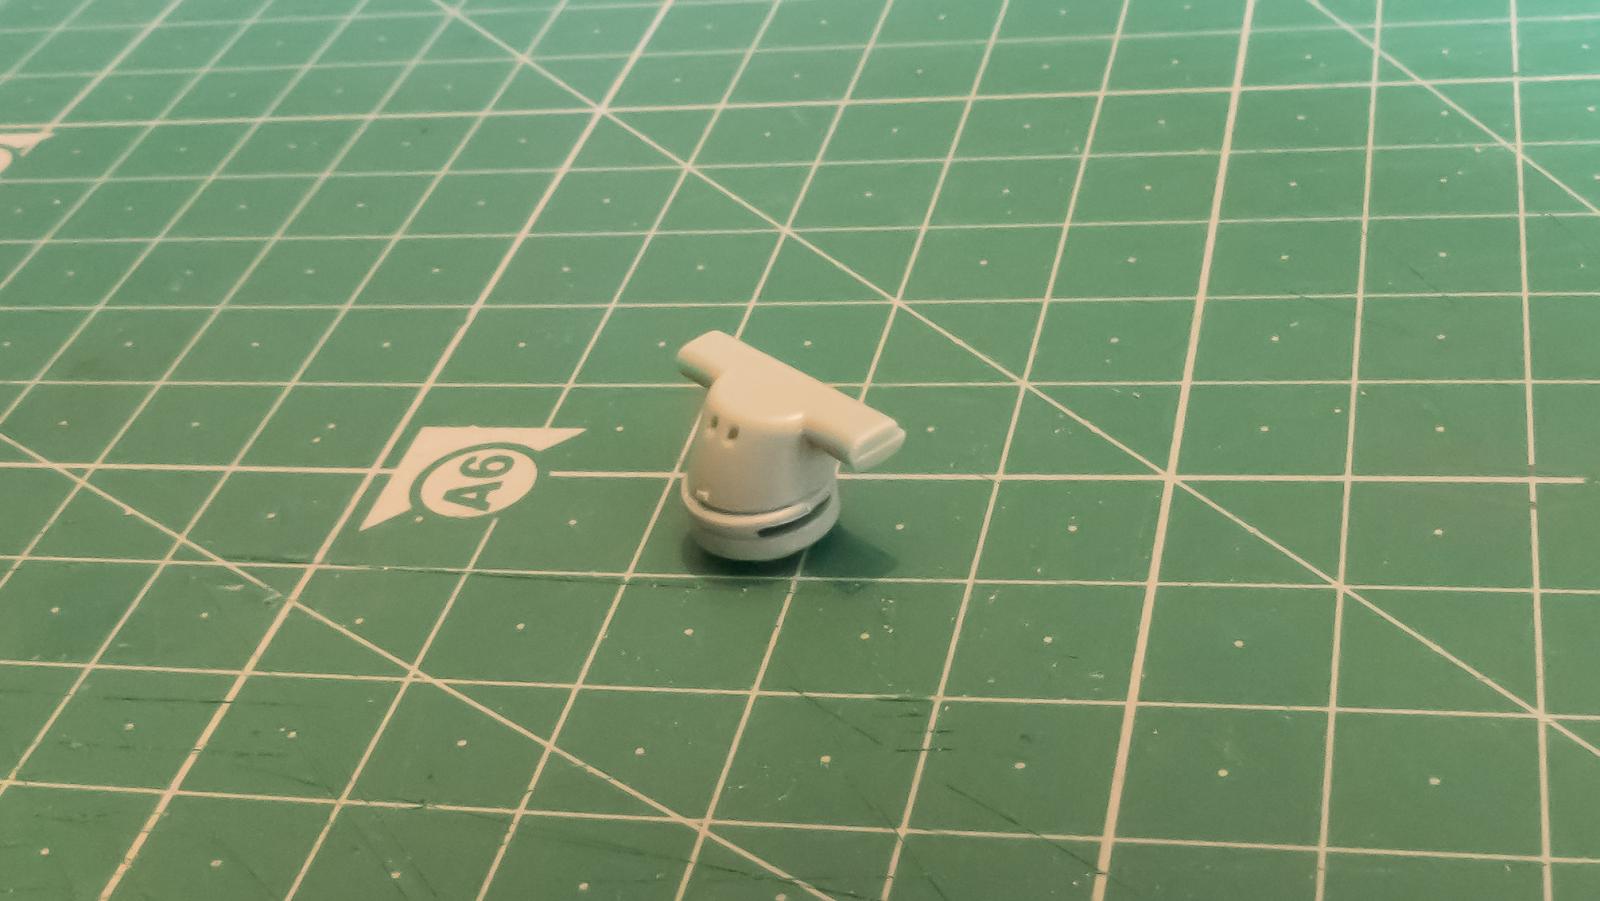
Right Then.....Back in the saddle......I found my mojo hidding in the cuboard under a pile of aircraft spotting log books(cough cough-thats another story), so i got to the table opened up my modeling bag and got the bits out that i was last working on, after blowing off about 10 years worth of dust(slightly less) LOL.
The idea was to re touch up a small painted area on the rear cluster as under close inspection it looked Rough, i had gone O.T.T with a bit of weathering and the paint just looked rubbish, so i decided i would gently re paint but this time (lesson learned) i used my magnifier stand to aid my very very poor eyesight, its so bad i once read a strip of wall paper thinking it was a newspaper(well not really but could have done) LOL.
It was going quite well and under magnification i could see the improvement.
It was only an hours work but it was a vast improvement over my previous painting, the only thing was - a step dissaster in the shape of etch as it fell orf and even under magnification could i put it back on? could i ek so its left off and the sailors will just have to jump down not climb LOL.
Thats it till next chapter probably in a year or so - No only joking i will be back on doing a bit later.
OC.
- mtaylor, popeye the sailor and Canute
-
3
-
Yes, I did notice there were some seriously fiddly photo etch parts from reading some old build blogs online. I have had some practise by building some of the range of metal earth models.
Cant be any worse than 350 scale surely? when i did my first bit of etch on my Warspite(just a ladder and small platform) i was holding my breath - told the wife not to talk - turn down the TV and hold onto the cat to stop her jumping on the table /work bench, it was murder and i am yet to do those tinny tiny little little little orke machine guns that i can hardly see let alone put together......

But we all endure and manage some how

OC
-
-
-
I thought i should show my face to say to all who follow - I am still alive just having one of those lost lojo type thingies (I know i put it somewhere)

Anyway when i find my steam i will be back on the build and ship shape and bristol fashion, as i have a back log of part built ships and a sub not even touched, and the wife keeps shakkking her head at me and says " I am yet to see you finish anything"
:o 
OC

- Canute, mtaylor, popeye the sailor and 1 other
-
4
-
"Core blimmy me hearty thats where i left me little ship then"
we should sing a sing-along song as you "me shipmate" build her - "yo ho ho and a bottle of rum" and no sign of "old Ned" - "Its a pirates life we live two sheets to the wind me hearty"  :dancetl6:
 OC
-
-
Happy new year to everyone peace and good will to all.
Old Collingwood.
- popeye the sailor, Canute and mtaylor
-
3
-
-
Well back in the swing of it.
Tidied up the StarB side and turned to do the port.
Checked my intray of parts made up and found I had not added the Binnacle, 'Durrrrrr'.
With the shrouds in place it was a struggle to get this fitted, 'so next time,' Bin before Shrouds'.
The tie downs were the problem, but all went well.
Now to the Port, 'No not the drink port, 'but maybe a good Idea lol'.
Happy New Year folks.
Frank.

Lokking very very nice, Horatio would be well pleased - "All ship shape and Bristol fashion"
OC
- riverboat, mtaylor and Dimitris71
-
3
-
-
Slog's right, the angle is wrong. I cut them off and reversed them. Still wrong! The placement of the braces on the kit does not align with the plans as the start of the prop itself needs to align with the rudder post. More cutting and sanding required. The props are about 2mm out (too big) which is a lot at this scale and would hit the hull. The Dresden props are much smaller and of no use to me (there were 4 of them). I shall post some photos when I can get the computer from my 10 year old who is currently battling the forces of evil. I had hoped to get the primer coat on today!!
I feel your pain........
OC


SMS Emden by RGL - FINISHED - Revell - 1/350 - PLASTIC
in - Kit build logs for subjects built from 1901 - Present Day
Posted
Super dooper- she is looking superb the fine detail is eyecatching....
Oc