Old Collingwood
-
Posts
12,106 -
Joined
-
Last visited
Content Type
Profiles
Forums
Gallery
Events
Everything posted by Old Collingwood
-
 Morning all, the admiral had a (nice) surprise for me yesterday, she said it was put up for christmas but with my current build and idea for a kind of dio - she decided to give it to me now - its a small excavation kit of a Veloceraptor here is a video I found online that shows what you do, she said it was a Thank You for me looking after her - https://duckduckgo.com/?t=ffab&q=Dinosaur++Skeleton+builds&iax=videos&ia=videos&iai=https%3A%2F%2Fwww.youtube.com%2Fwatch%3Fv%3Dlh7IzPqmN7M OC.
 -
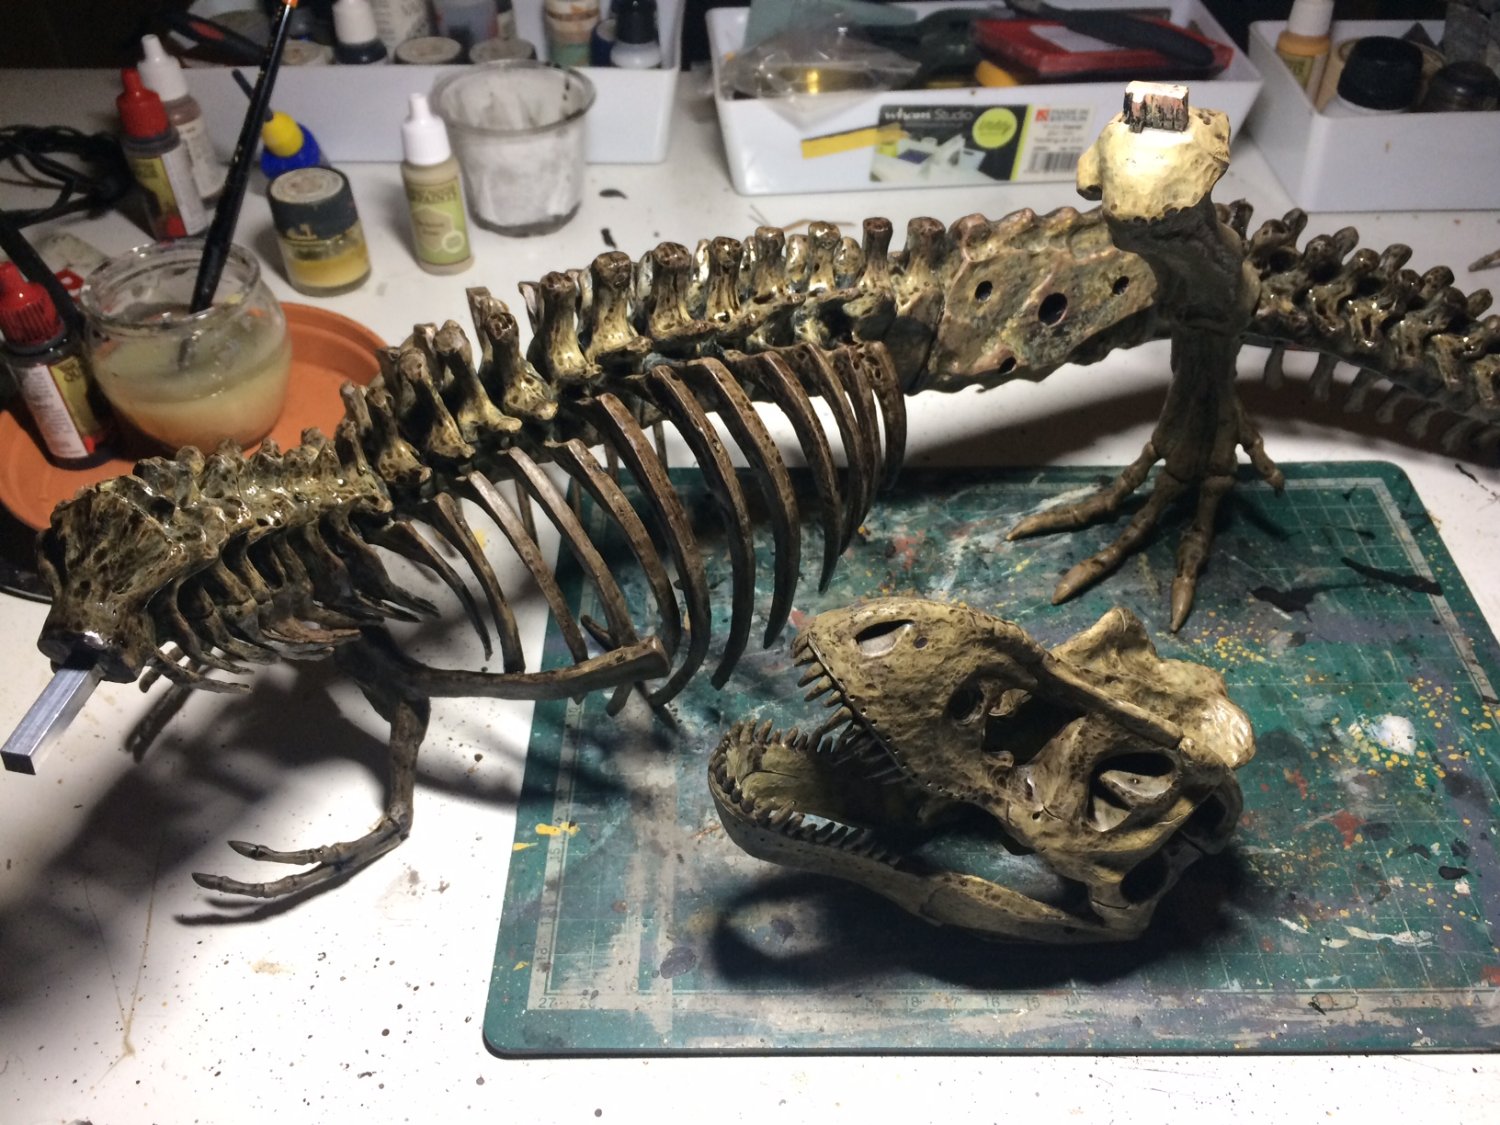
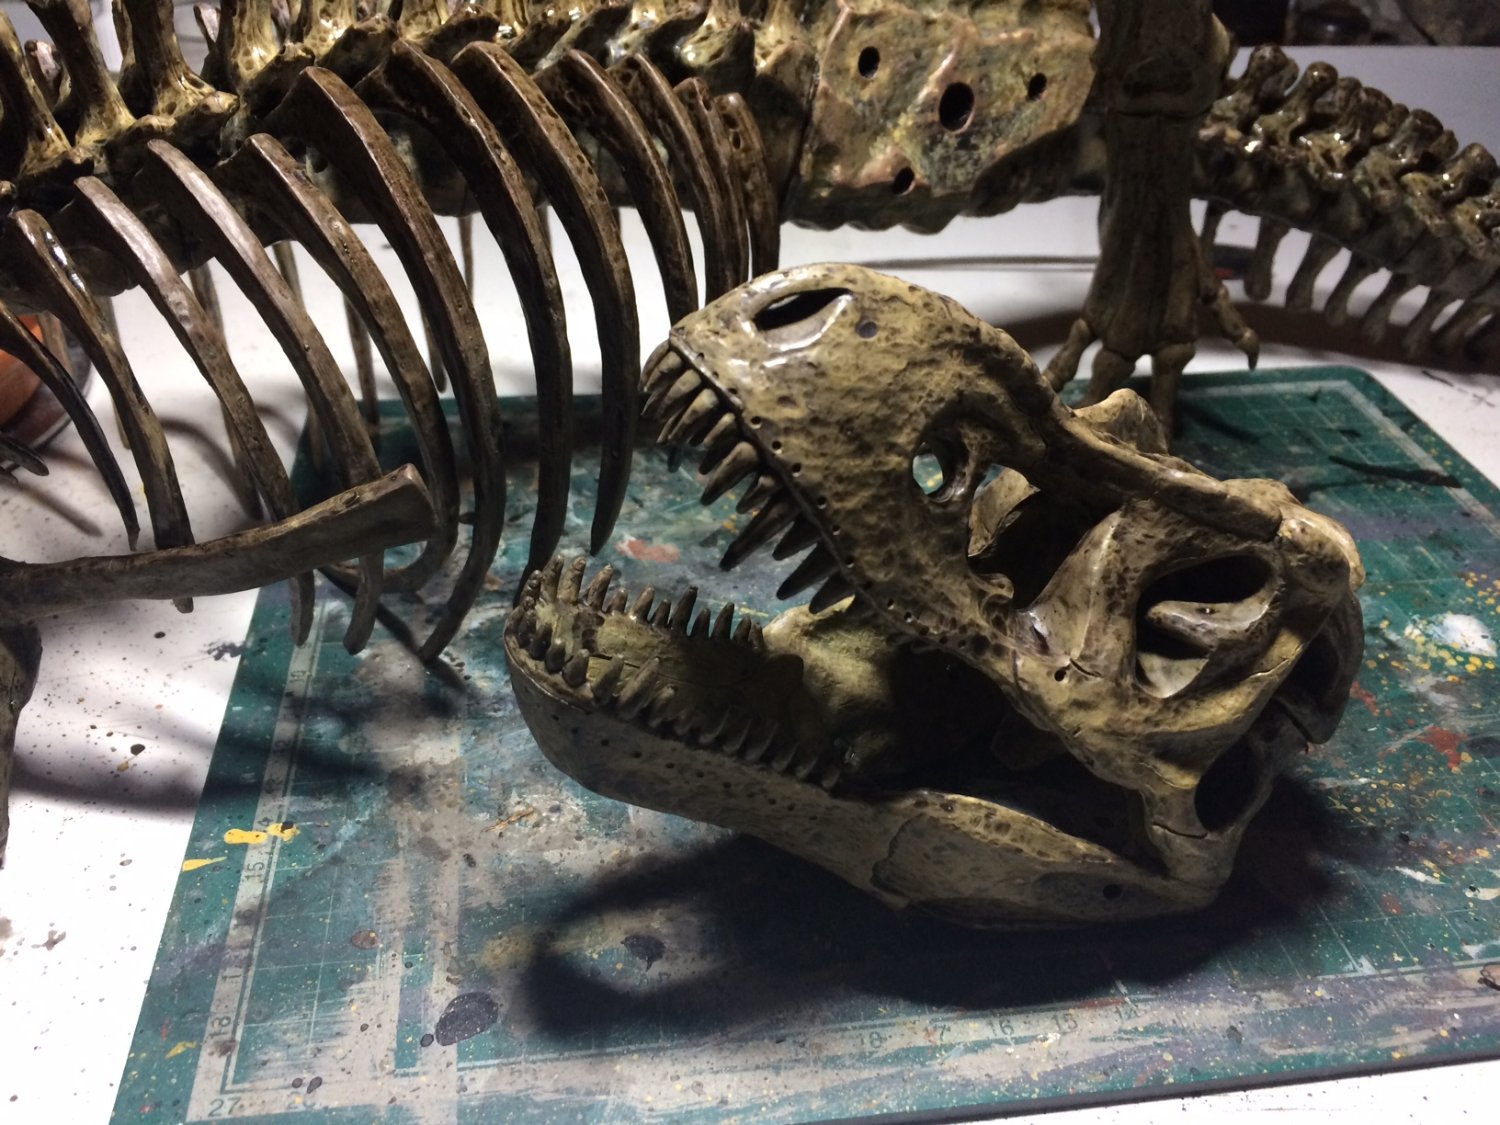
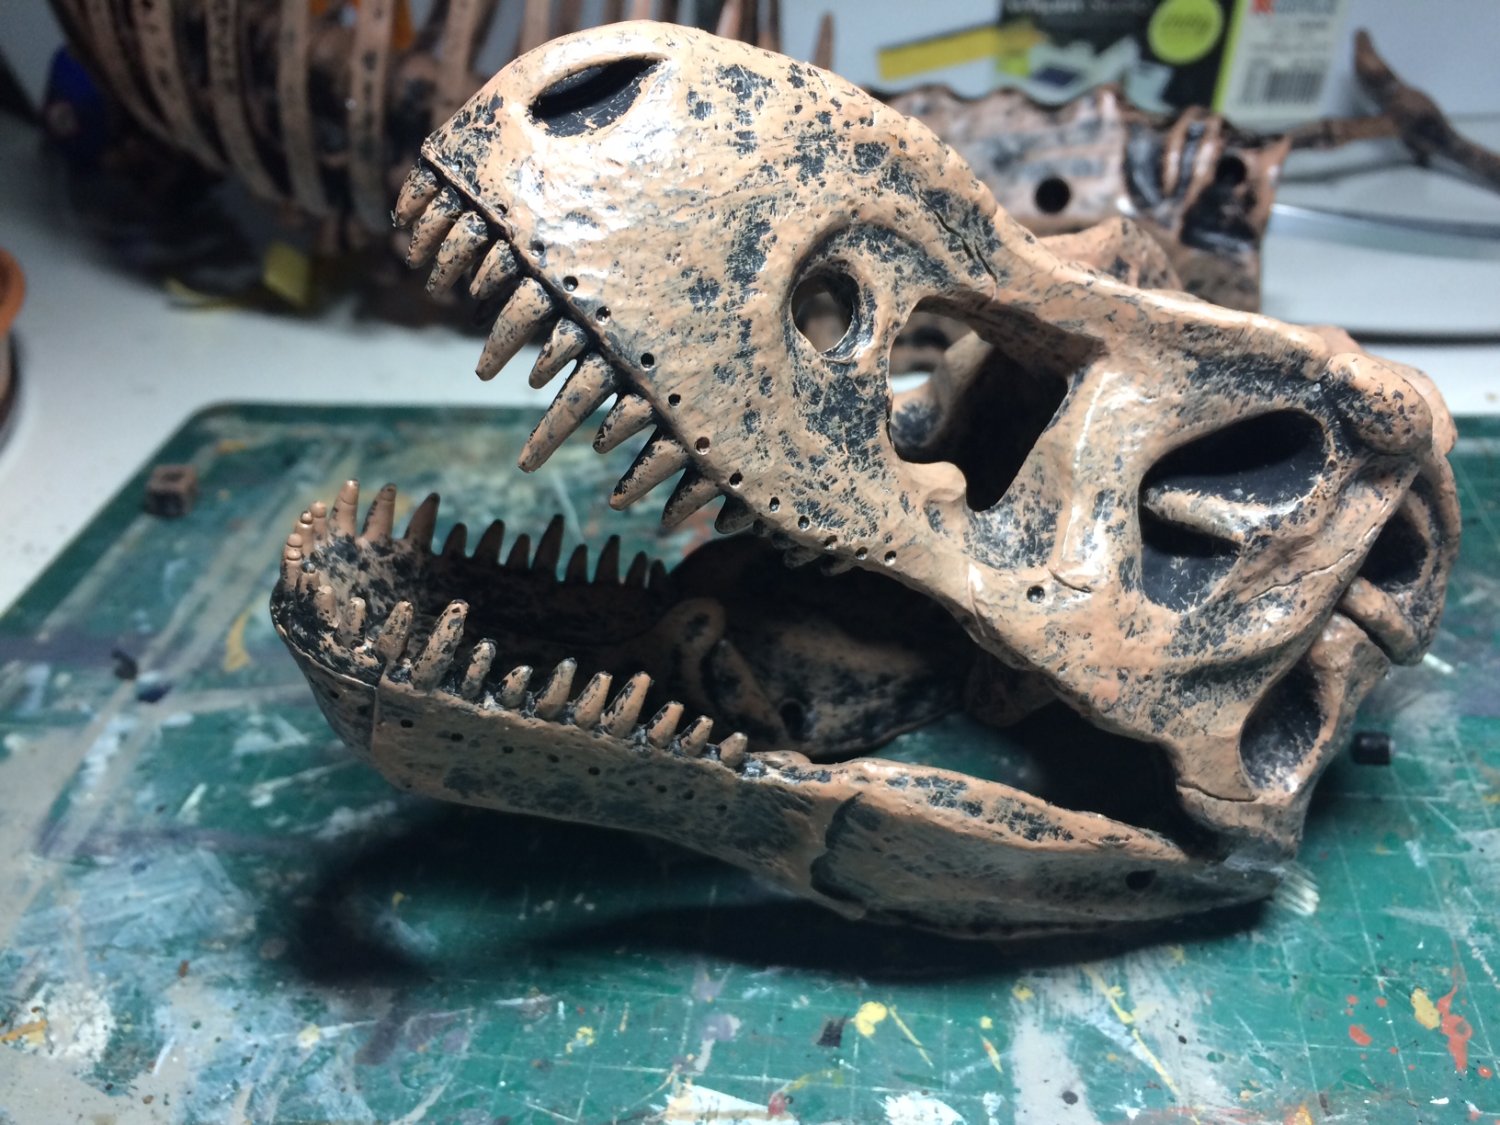
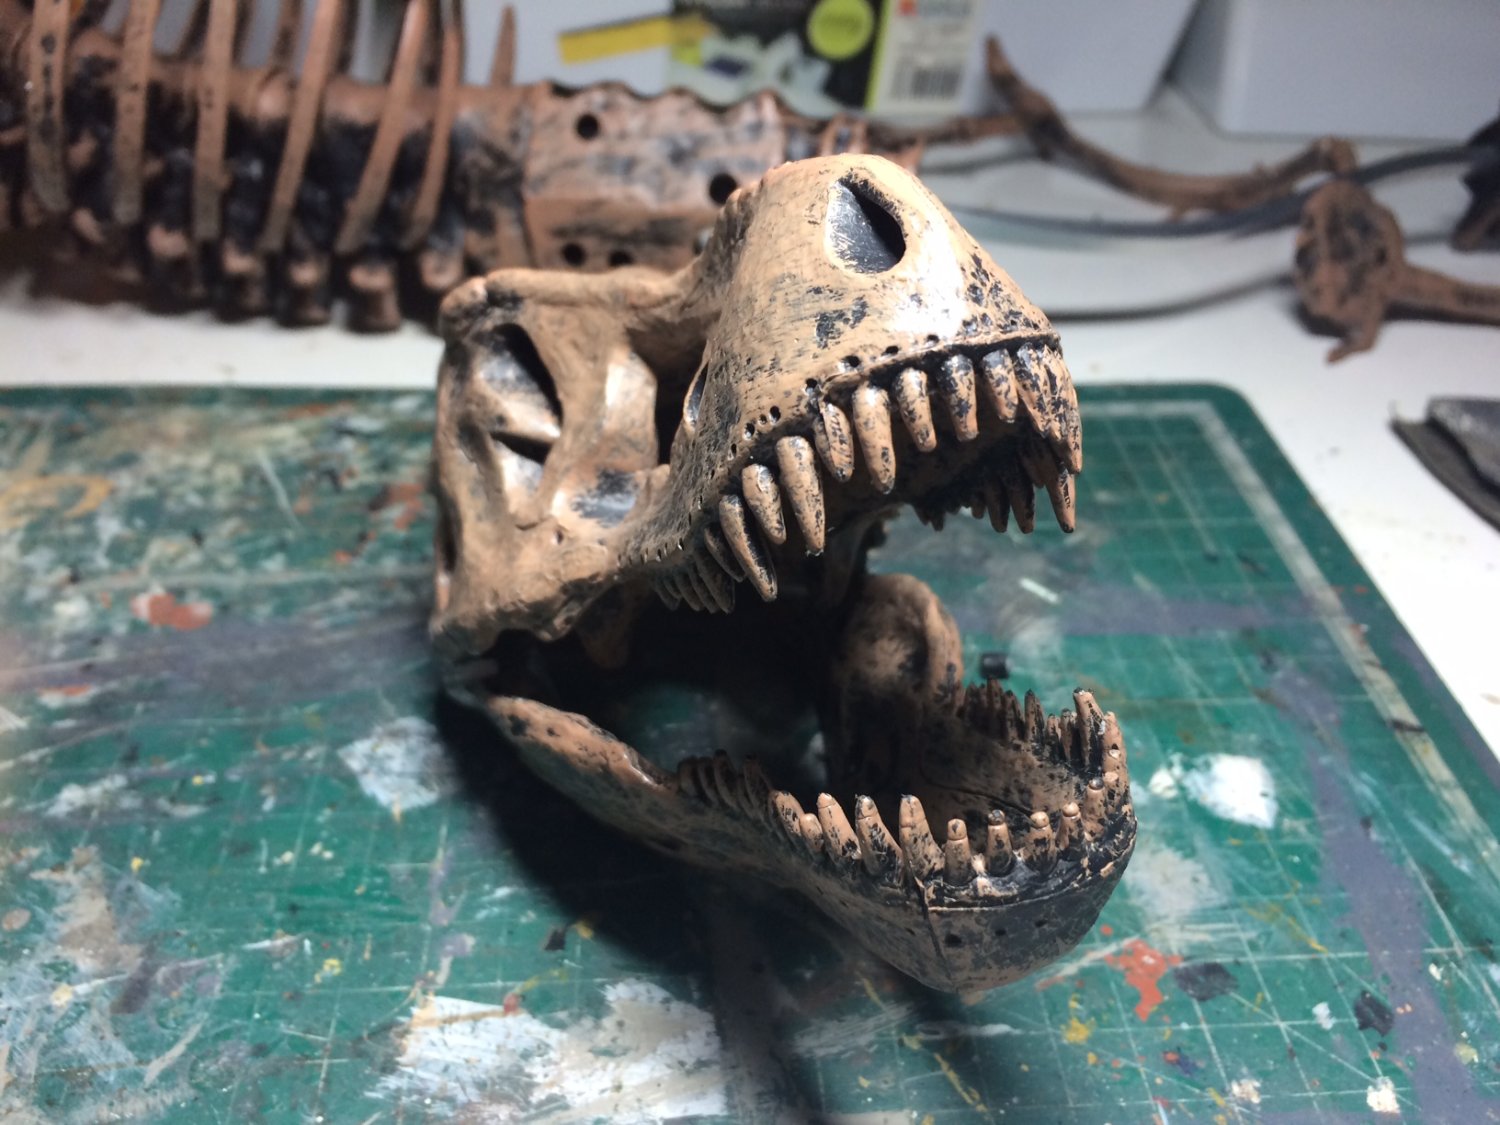
Evening all, so I managed more time on rexy to day, I have been putting base layers on the different sections at a time - due to the shere size of them, but as the skull/head has had enough - I decided to try some shading starting with Black, again I can only do one side at a time due to the watery slow drying washes. OC.

- 83 replies
-
- 12
-

-

-
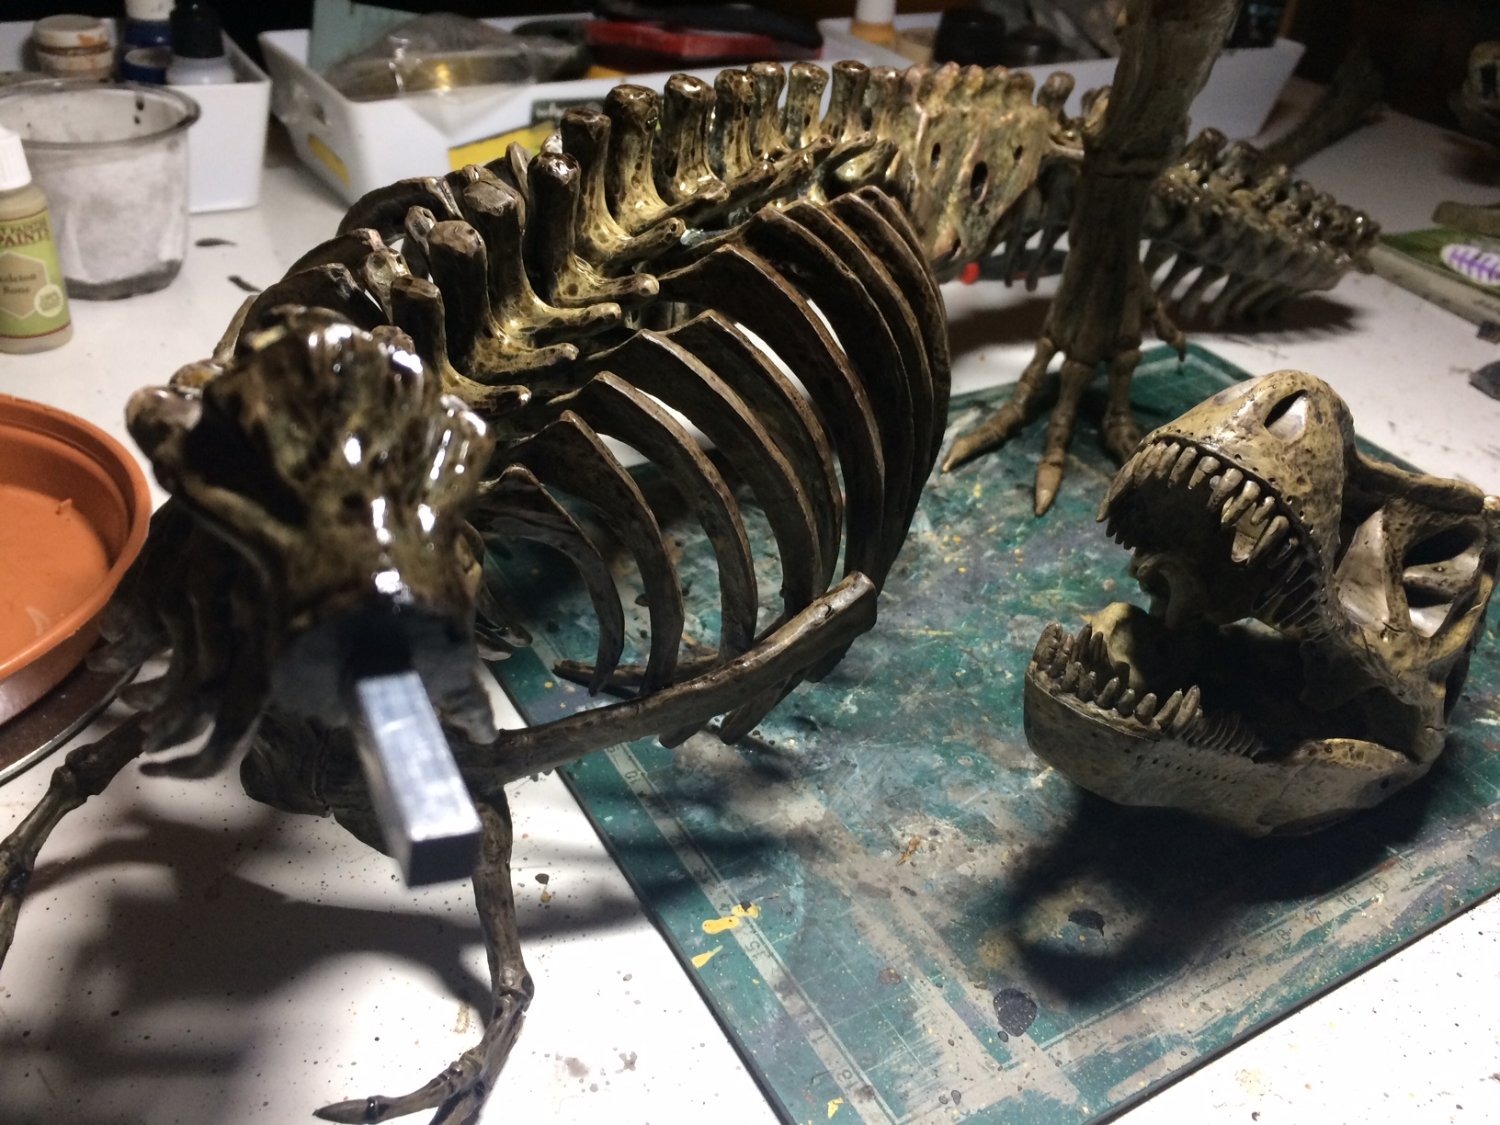
Thank you kindly Edward, I fixed the tail issue - I bent the metal inner spine (metal square section rod thingy) to a shape with just a slight bend just behind the pelvic bone and same at the neck, its staying in place now as it was quite hard to bend. OC.
-
Thanks Ken, yep sha has been real rough with it, she never sufferes like this from them and has been having them every year for years. OC.
-
Went with the admiral to have her yearly Flu Jab day before yesterday - they said it was new and contained Four seperate things - last 12 hours she has had a pounding headache thats gone down her face, and a tight chest, we are sure these will pass - but not experienced things like this with her before. OC.
-
Camel by RGL - FINISHED - Machinen Krieger - 1/20
Old Collingwood replied to RGL's topic in Non-ship/categorised builds
Is it too late to change it to another colour - Grey - Silver or someting? OC. -
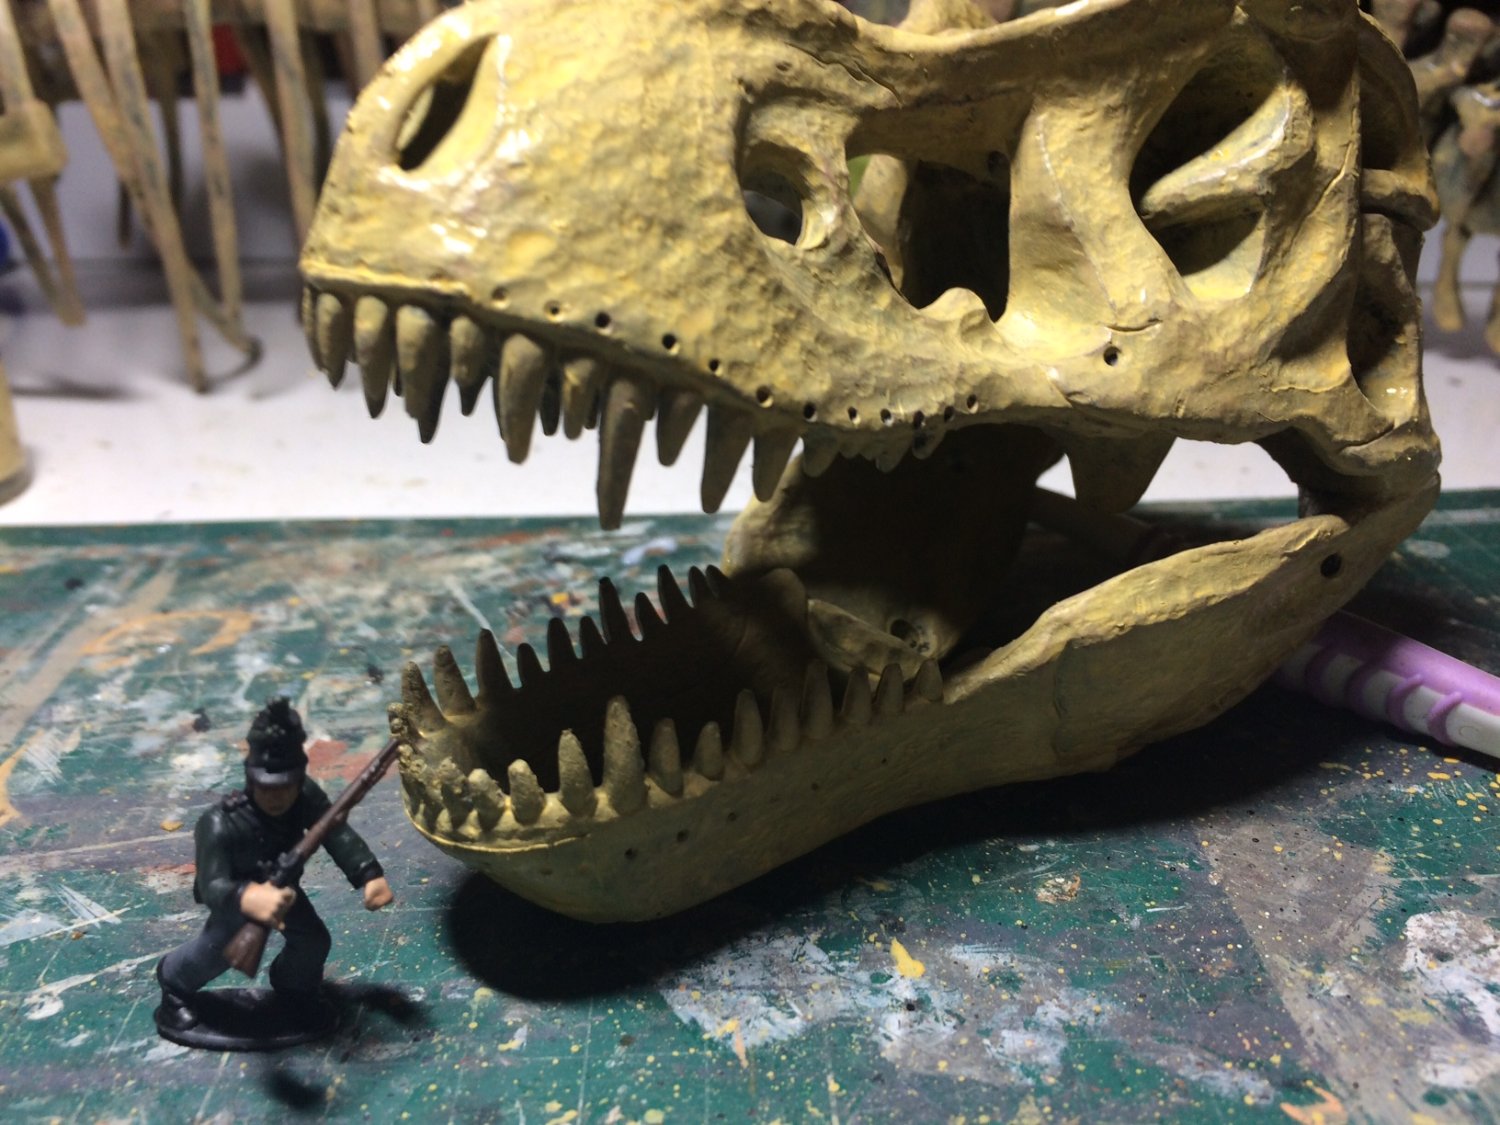
Imagine that - but the twist is the KGL rifleman has an advanced laser weapon from the future 😄 OC.
-
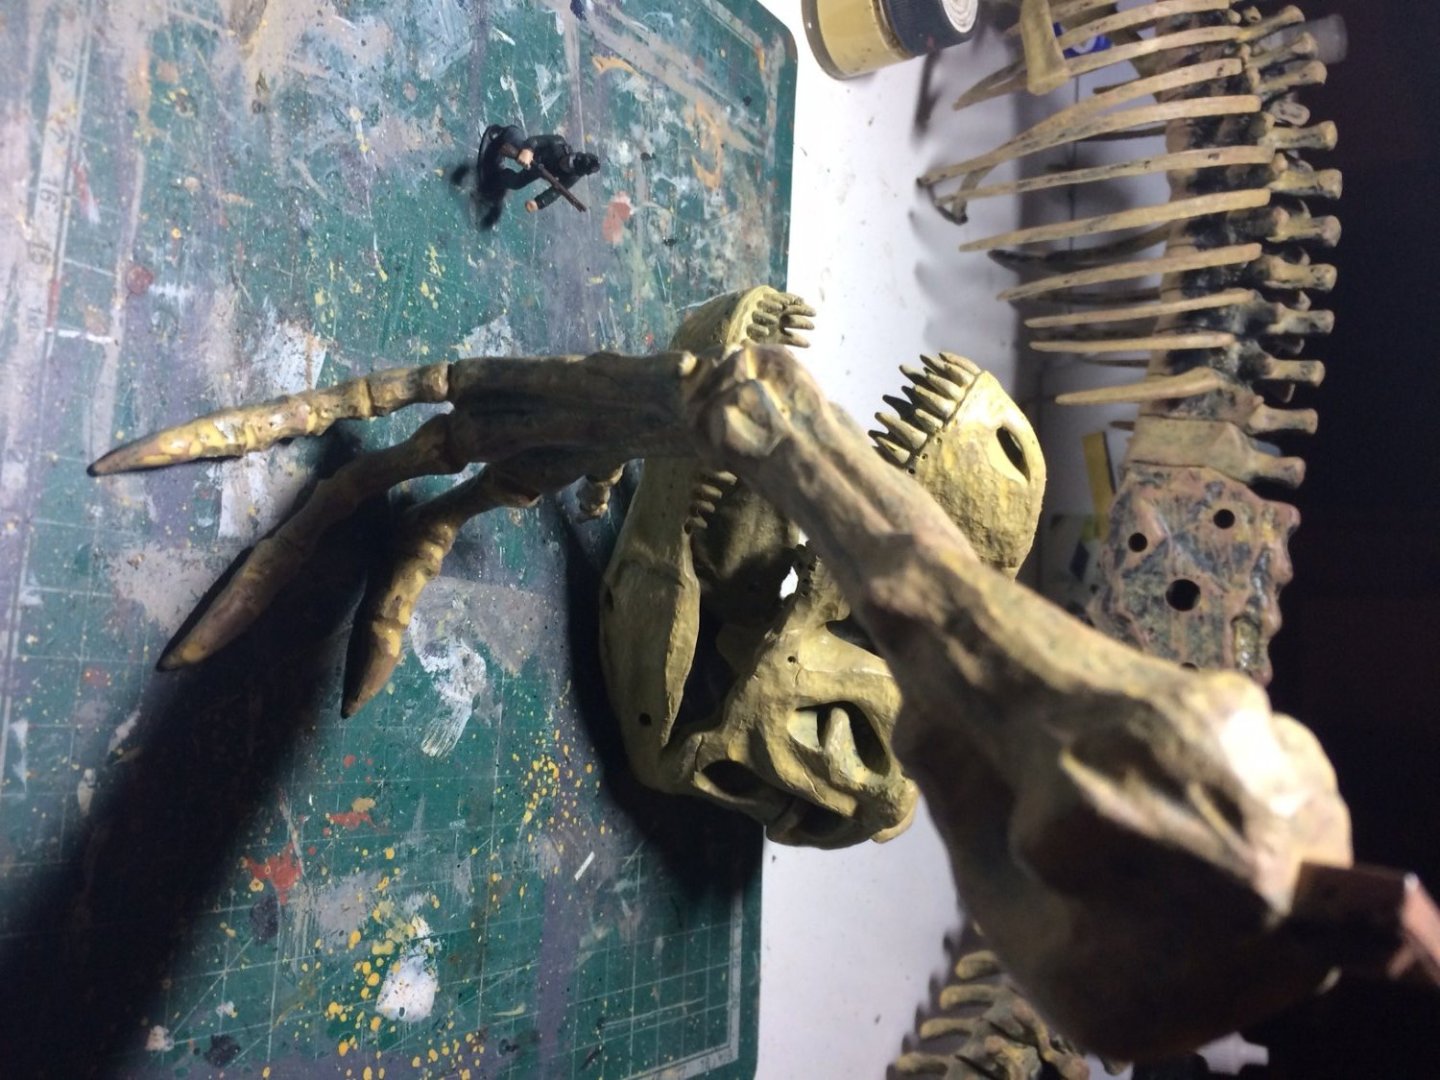
Evening all, in my last post I explained I have been painting all the bodies different sections - its going quite well but taking time, I have also put one of my 28mm 1/56 scale figures - just shows the different size between him and the 1/12 Rexy. OC.

-
Greg you have done an amazing job on that craft and all the small additions are Incredible. OC.
- 200 replies
-
- 3
-
-
- Transport No. 103
- Hasegawa
- (and 4 more)
-
I would have said the Green on the Right as the other one looks a wee bit to bright. OC.
-
Evening all, nothing too exciting to report - I spent a couple of hours painting all the pieces with a watery Buff Acrylic colour using my largest Brush - finding space on my table for all the drying pieces.......was a challenge. I foregot to take any pics as it was getting late, but I will take some pics later today - will throw in one of my 28mm figures to show you the size of this monster. OC.
-
F4U-1A Corsair by DocRob - FINISHED - Tamiya - 1/32
Old Collingwood replied to DocRob's topic in Non-ship/categorised builds
So much detail - and like Yves said - Superb. OC. -
Got me thinking about the scales I have been working in - 1/1250 (did a few metal ships) 1/700 / 1/350 / 1/56 / 1/32 and now 1/12 with Rexy. I have also been toying with the crazy idea of doing a dio with this later on, anyone seen the Jurassic World films - remember the scene where a skeleton T Rex gets trashed by a real Rex then a Raptor is swinging on one of the skelton sections - will have to see if Santa comes this year, mind you getting a 1/12 Veloceraptor is not easy - aint found one yet. OC.
- 83 replies
-
- 10
-
-
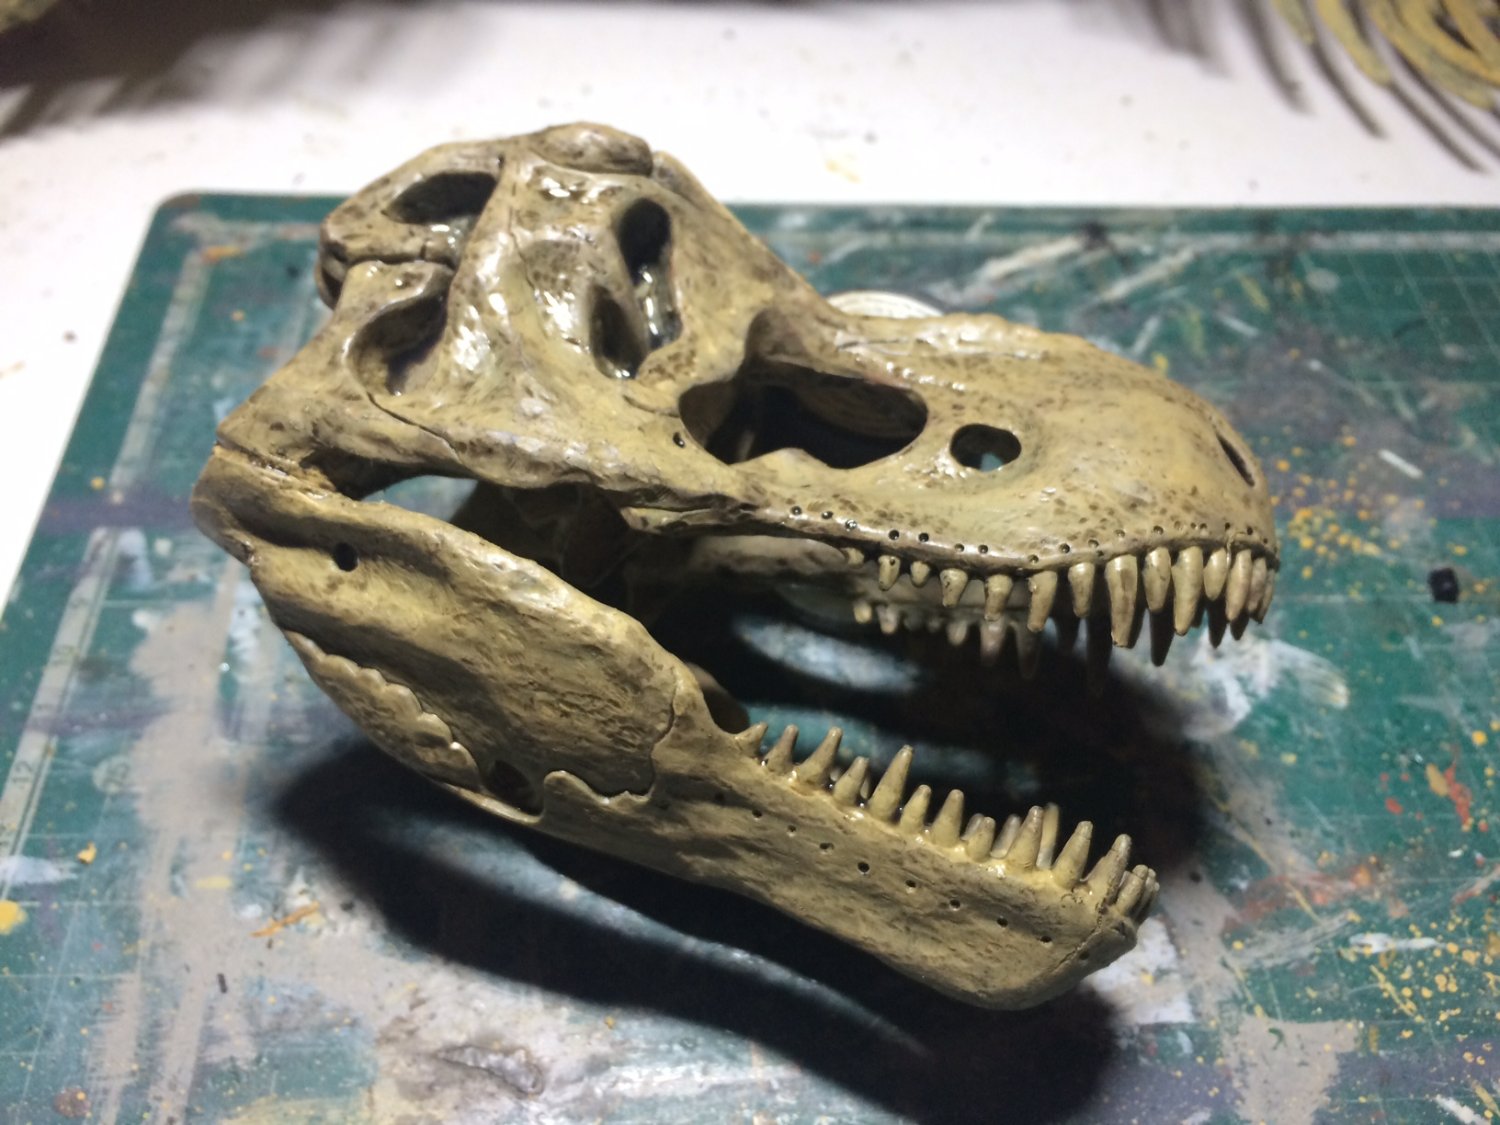
Evening all, a small update, still working on the skull - there is some quite noticable seams so I started to clean these up using my blade sand paper and my files, the PVC plastic so does not like being cleaned up as it just creates little strands, I then decided to give the whole shull a coat of Buff, I applied this quite roughly as there will be several washes to be applied. The teeth will need a bit more tidying as the paint just brought the tiny strands out, reminds me of the old Airfix soft plastic that was real akward to clean up. OC.
-
Been studying my paint/weathering procedure with the build - lots of different oppinions on how to paint skeletons, what I may go for is a base coat of sand then different shades of washes then some lighter highlight dry brushing, interesting days as I ahve never built a skeleton before. OC.
-
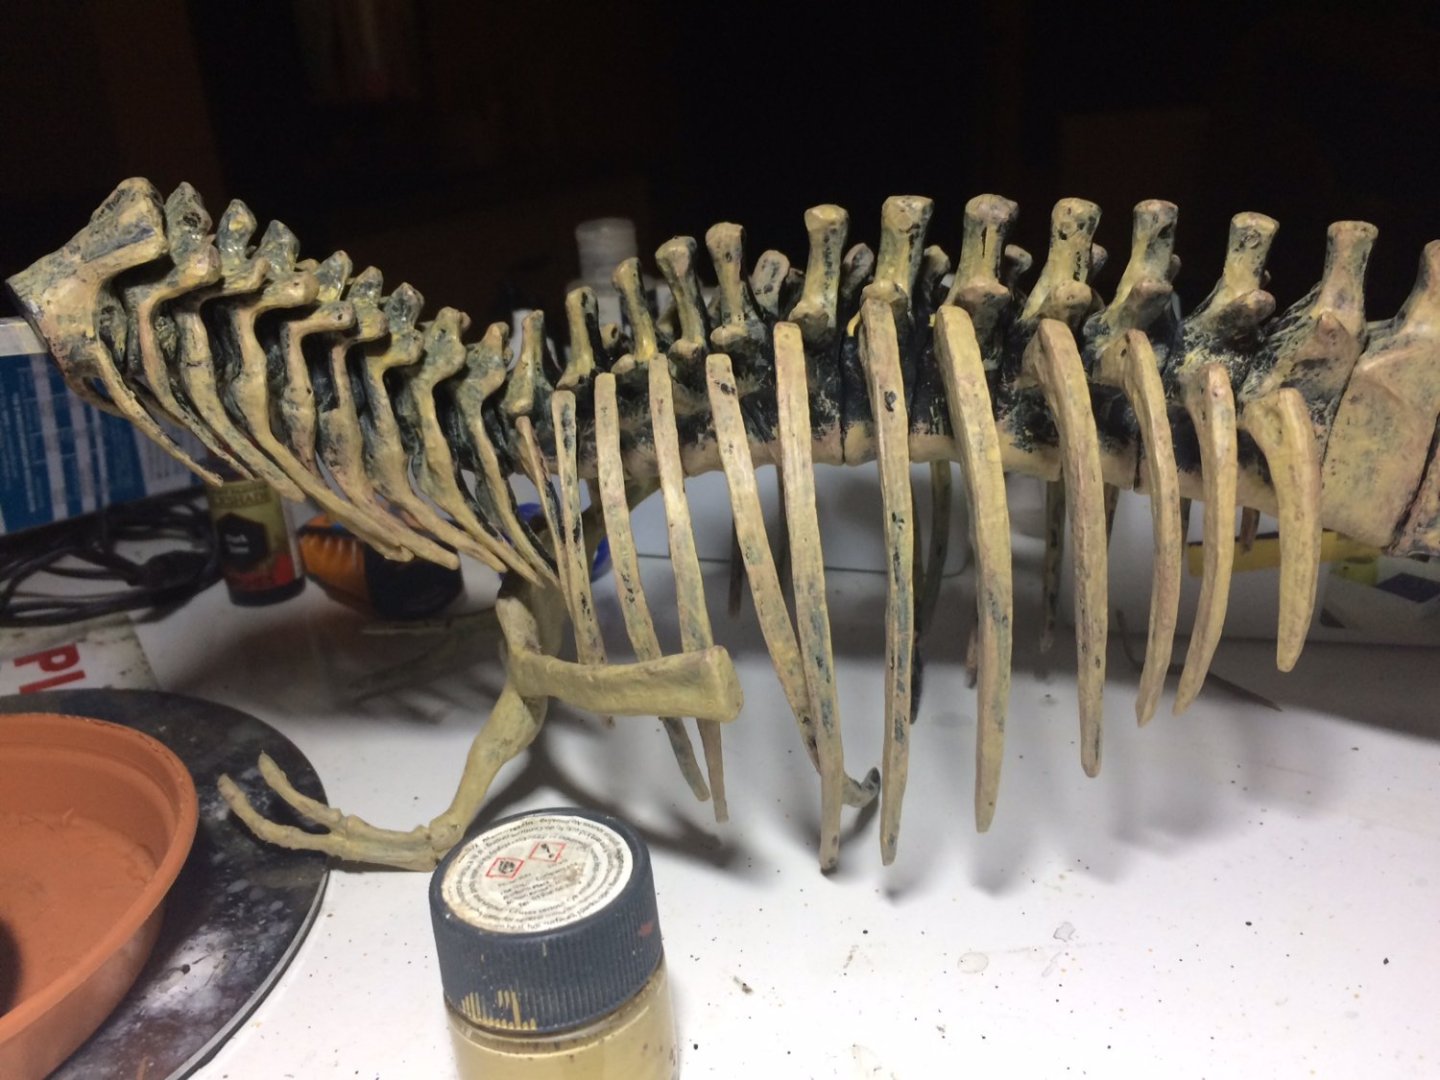
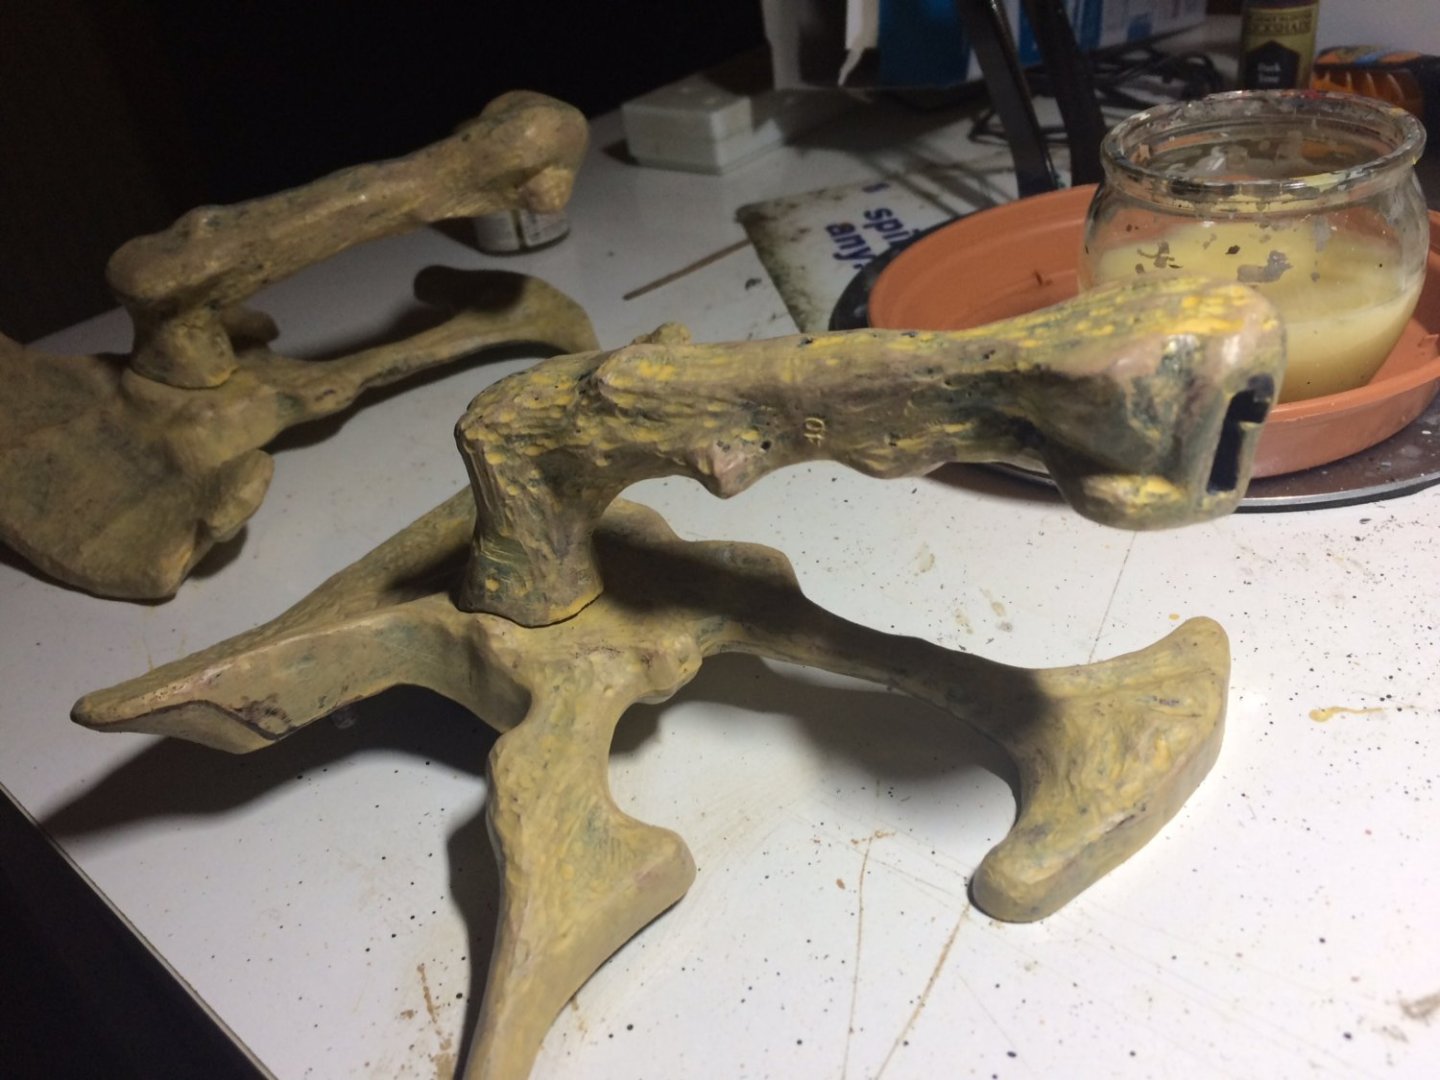
Thank you kindly Mark, yep its just a skeleton, its quite a clever sonstruction , one length of square section metal I think it might be light steele or aluminum, and all the ribs slot on to this, its quite strong but can be bent to shape by hand, I am doing a more level stance with one of the legs more forward to distribute the weight. OC.
-
Very nicely done Alan, really coming out well. OC.
-
Thanks Ken. OC.
-
Thank you kindly. OC.
-
Thank you Alan. OC.
-
Thank you Andrew. OC.
-
Evening all, some quite good progress today - I concentrated on the head/jaws, firstly I made sure that the upper/lower joining areas was a flat as I could make them with my fine files, then I got my drill out and used my finger drill and ligned the upper/lower and drilled through (very slowly) with a 1.5mm then a 2mm, I also used my 5.5mm to counter sink the top to hide the screw head by counter sinking - so here goes I used my strongest screw driver and mananged to get a secure connection, all was needed was a bit of Vallejo putty - and set aside. Quite pleased with the result in an area I had little faith in fixing. Here's the pics - OC.


- 83 replies
-
- 12
-