fmartins
-
Posts
82 -
Joined
-
Last visited
Content Type
Profiles
Forums
Gallery
Events
Everything posted by fmartins
-

Royal Louis by fmartins - multi-media
fmartins replied to fmartins's topic in - Build logs for subjects built 1751 - 1800
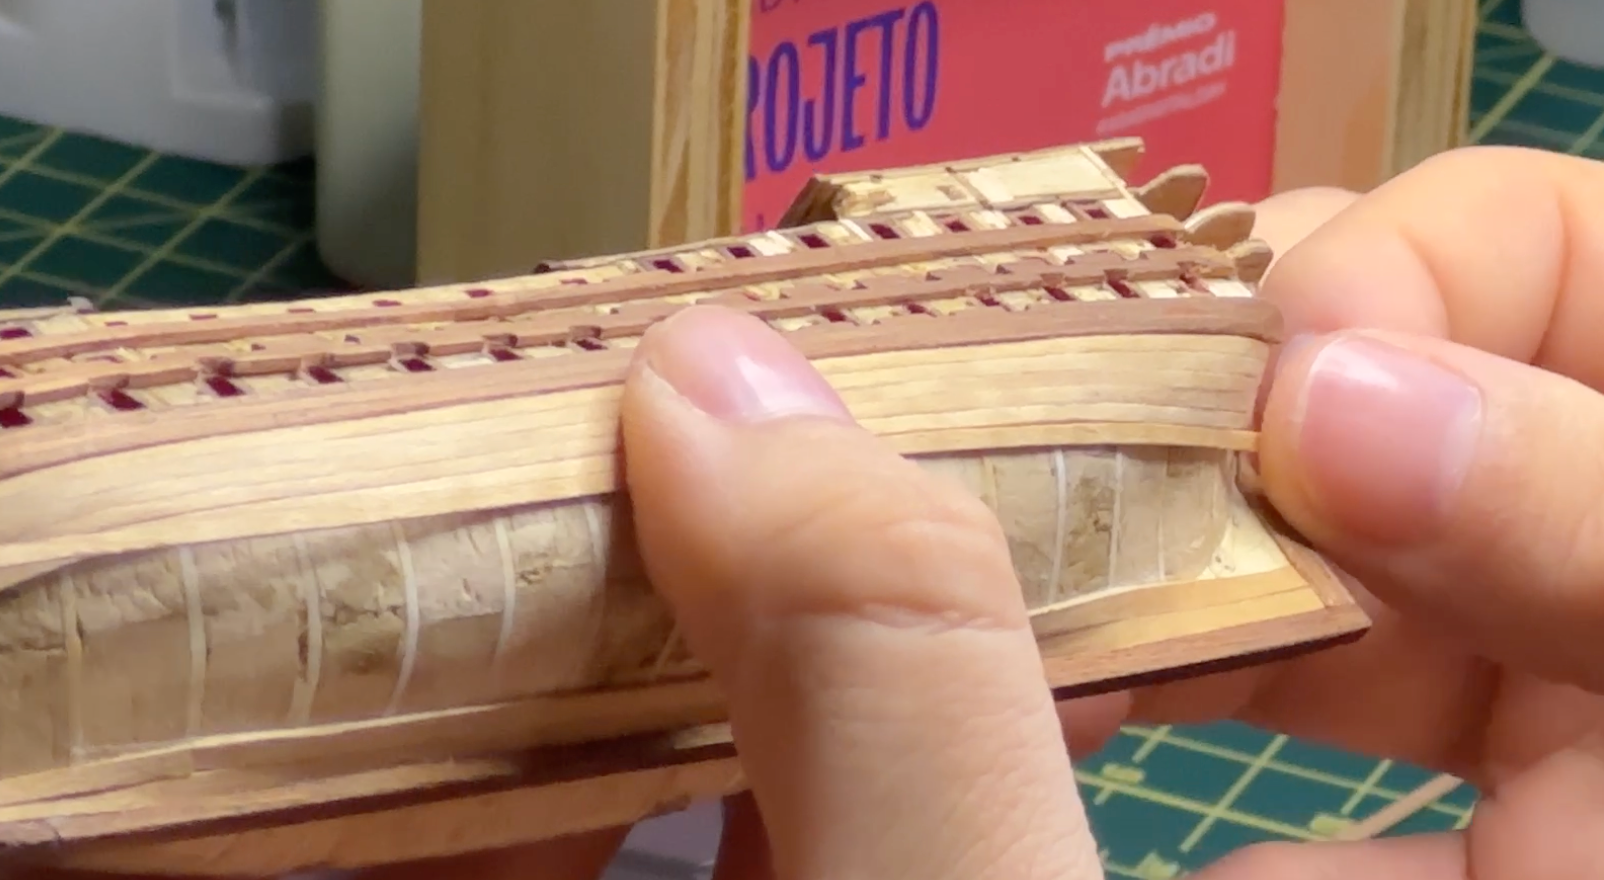
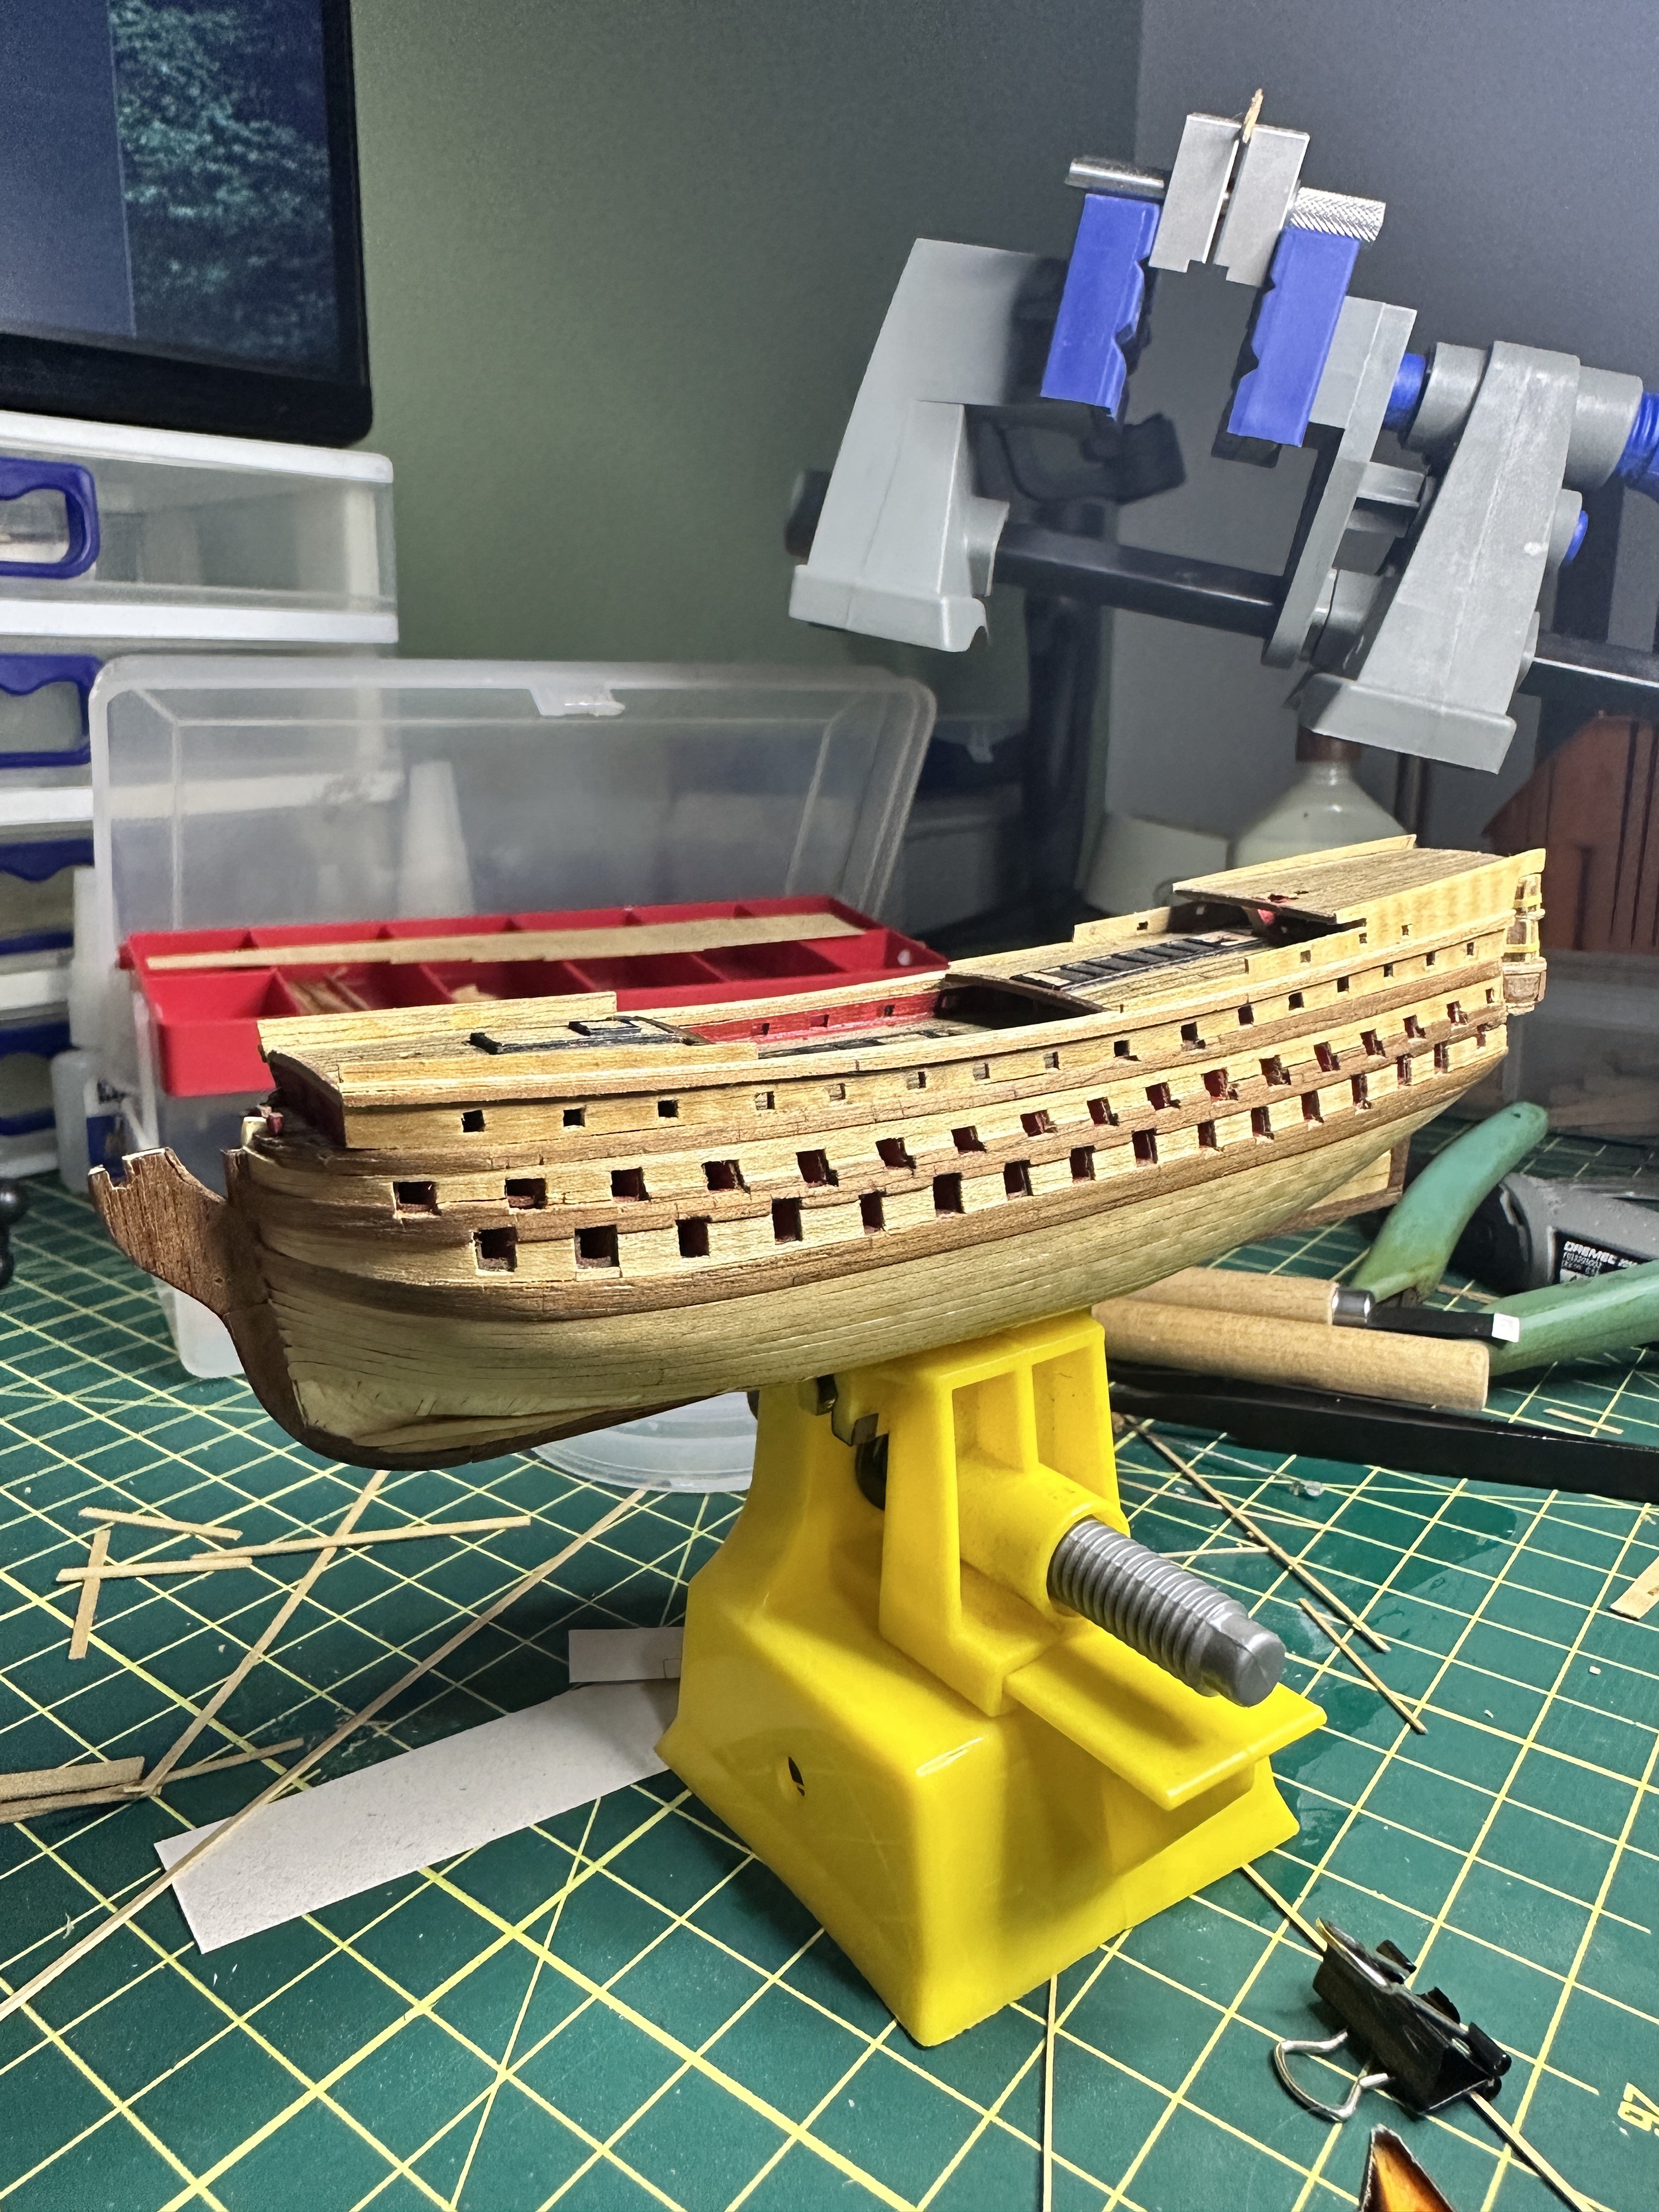
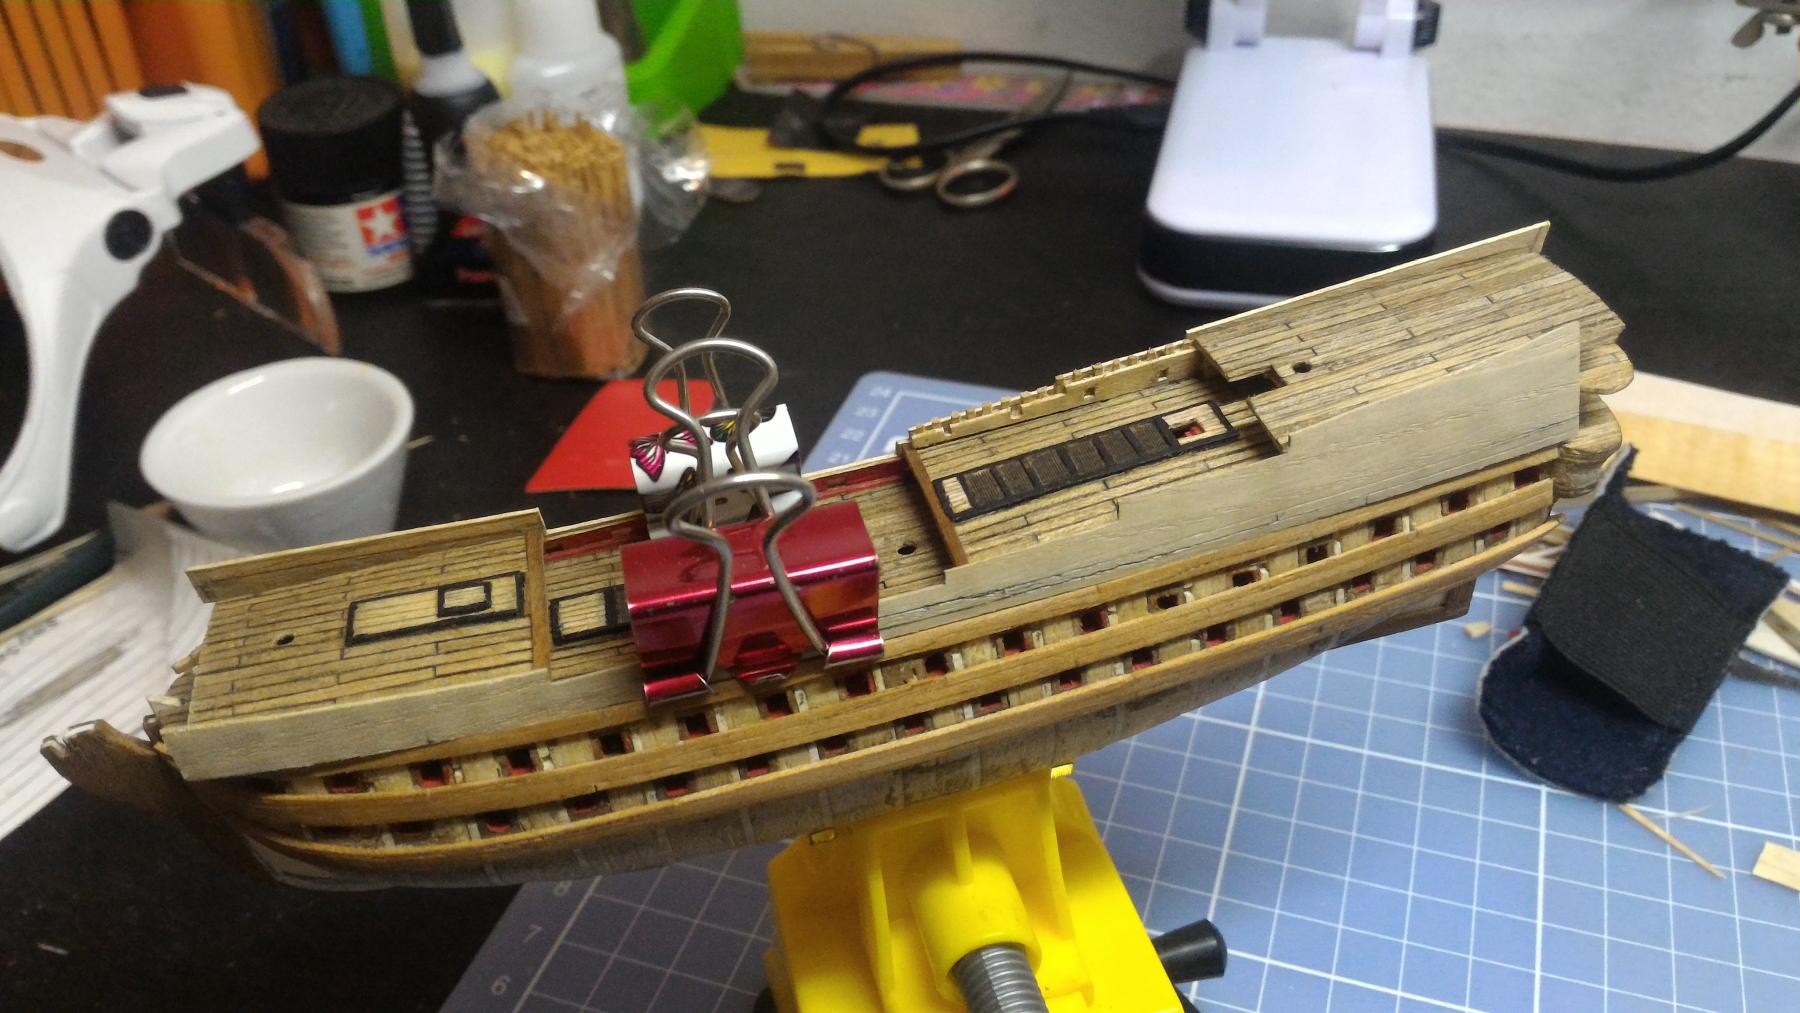
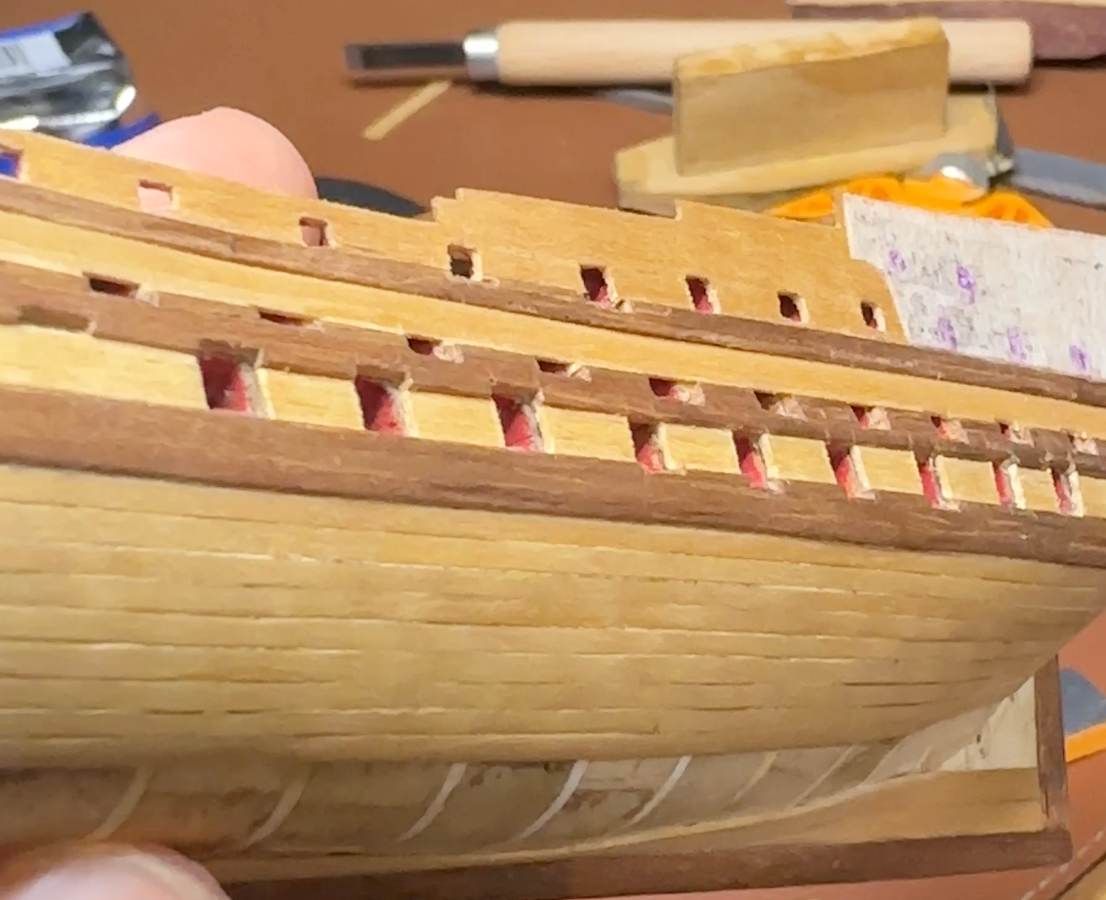
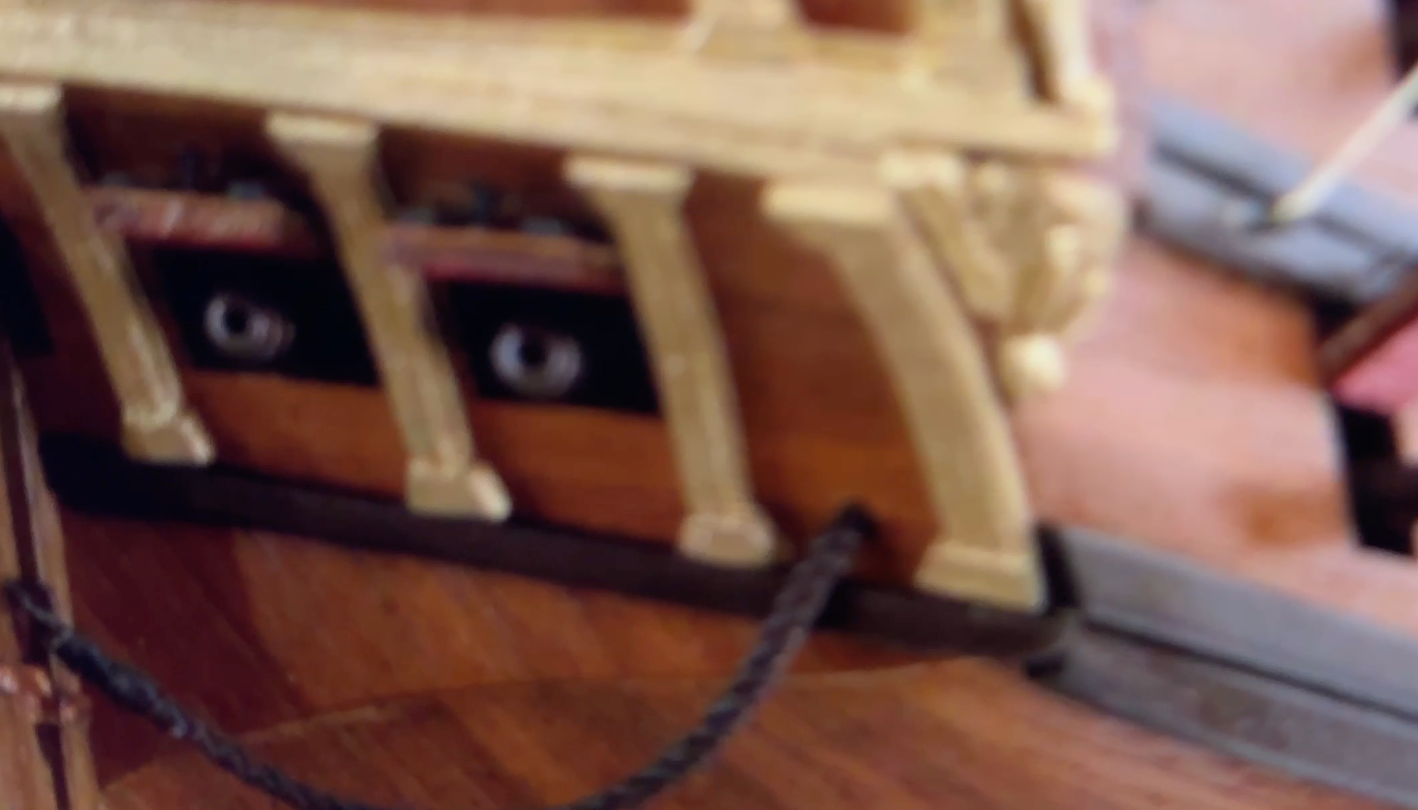
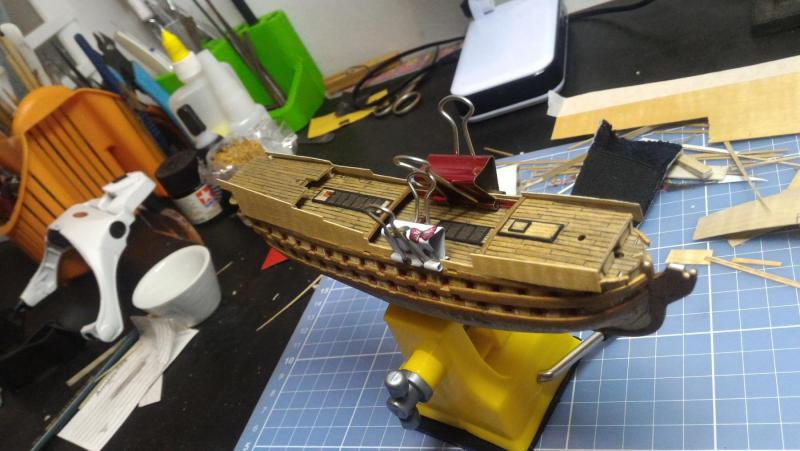
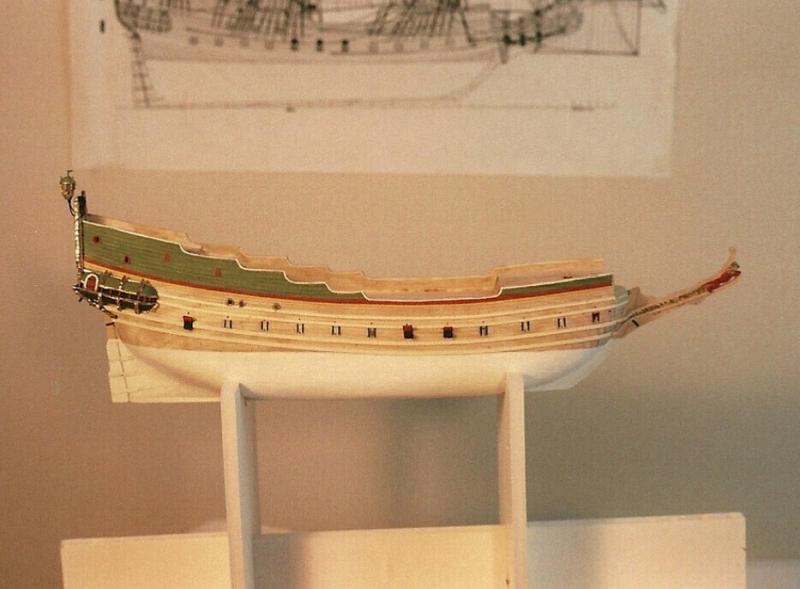
Ok, so after a few weeks with a persistent flu (as well as lot of work) here are the developments in the shipyard... I started the planking... and to be frank man is it difficult. I've purchased a few books on planking and read a lot of tutorials here in the forum but when push comes to shove you don't really know what you're doing (at least I didn't). I tried splitting each station in bands and calculating the width of each plank, but they are so small I couldn't do a proper job (perhaps when I buy my saws - still looking for some proxxon table and scroll saws). Each strake or plank is taking a lot of time because tiny imperfections ruin them (for instance, I start sanding one and then it gets on the grain and takes more material than supposed - ruined, and I have to start over...). I bought a dremel Stylo (which is weaker than a normal dremel) so I can sand but not so deeply... but it is still too strong. I also purchased two battery-powered micro sanders (rotating and going straight going) and I hope it is less harsh on the veneer, but customs have withheld them for inspections / tariffs . When they get here I'll use them and tell you if they are worth it or not. But mostly I've been using my handy, trustworthy homemade sanding block. But because they're so thin, the planks are giving me too much trouble, and I doubt they will look nice in the end. Good thing I intend to paint the hull as in the Paris Museum model, so even if they don't look super nice, paint will cover most defects... But it was nice to try my hand at drop planks and stealers (I had to compensate for my miscalculations / missanding of planks).. I got bored of the planking and also didn't know how to do the turn of the bilge properly so I stopped for a while to work on the upper sides. As I reported before, I would try a veneer panel with scoring to simulate planking but I had to get the pattern of the cannon windows... And after cutting them. I really regret not being attentive to simulating the curve of the decks and the cannon windows are really out of alignment. Well, next time I'll do it properly... Good thing that model is so small that the camera is unforgiving in the details but at naked eye you can't perceive most of these awful problems... I'll leave you with a picture of what it looks like right now: So, that's it for now... Thanks for being with me in this adventure! Bye from Brazil!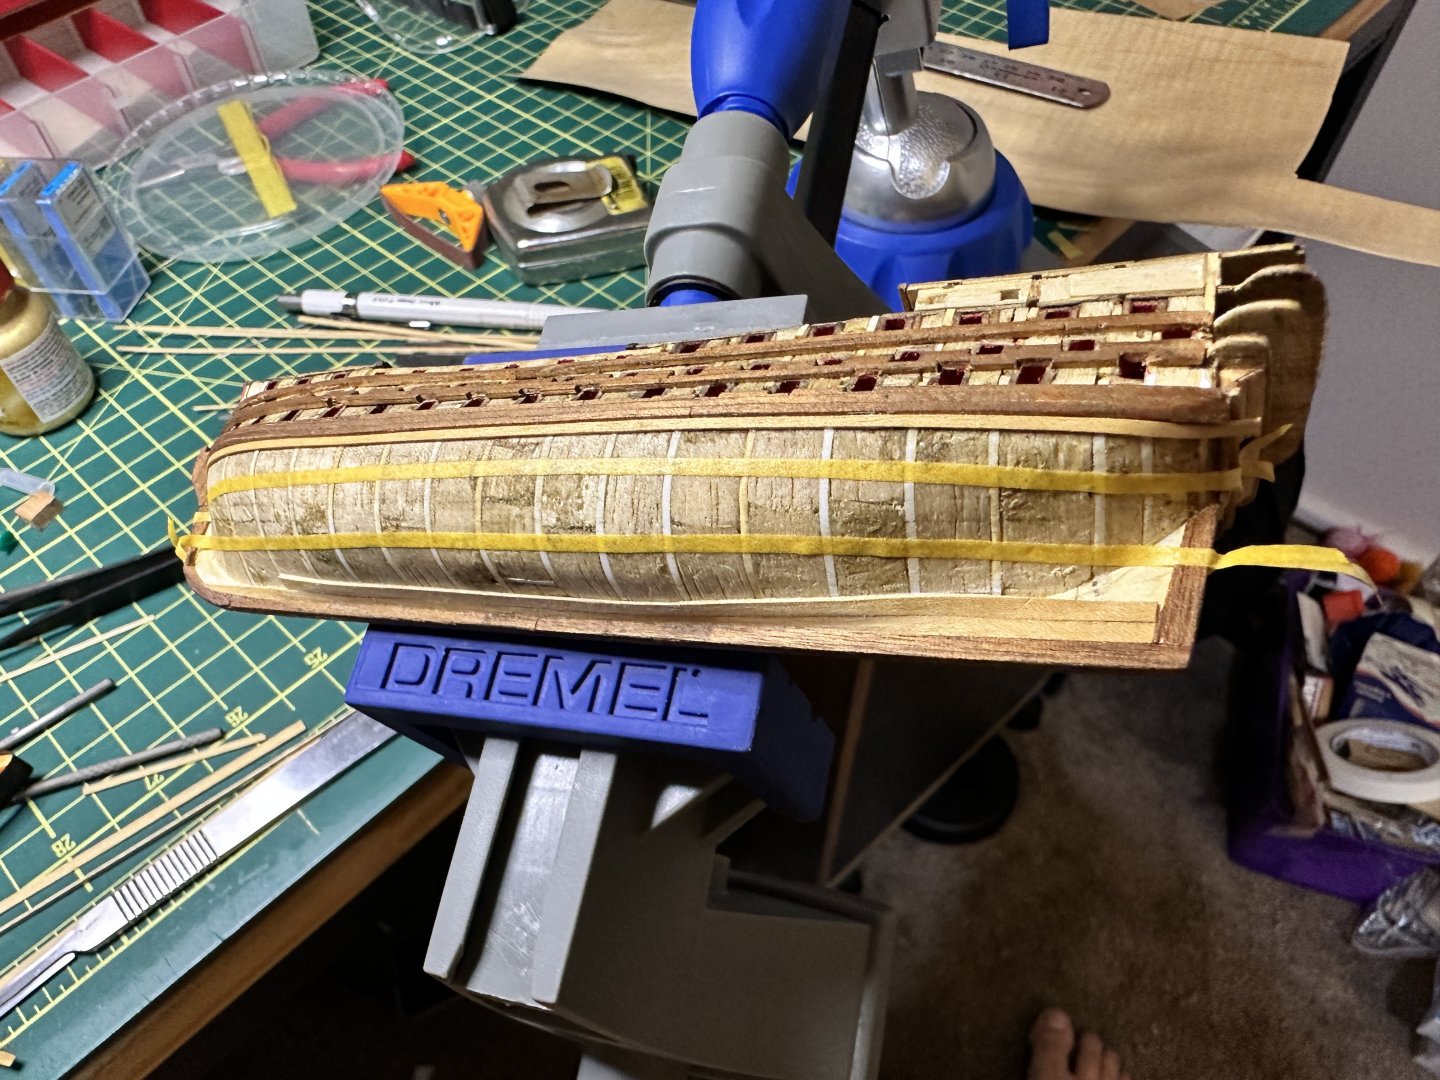


-
Royal Louis by fmartins - multi-media
fmartins replied to fmartins's topic in - Build logs for subjects built 1751 - 1800
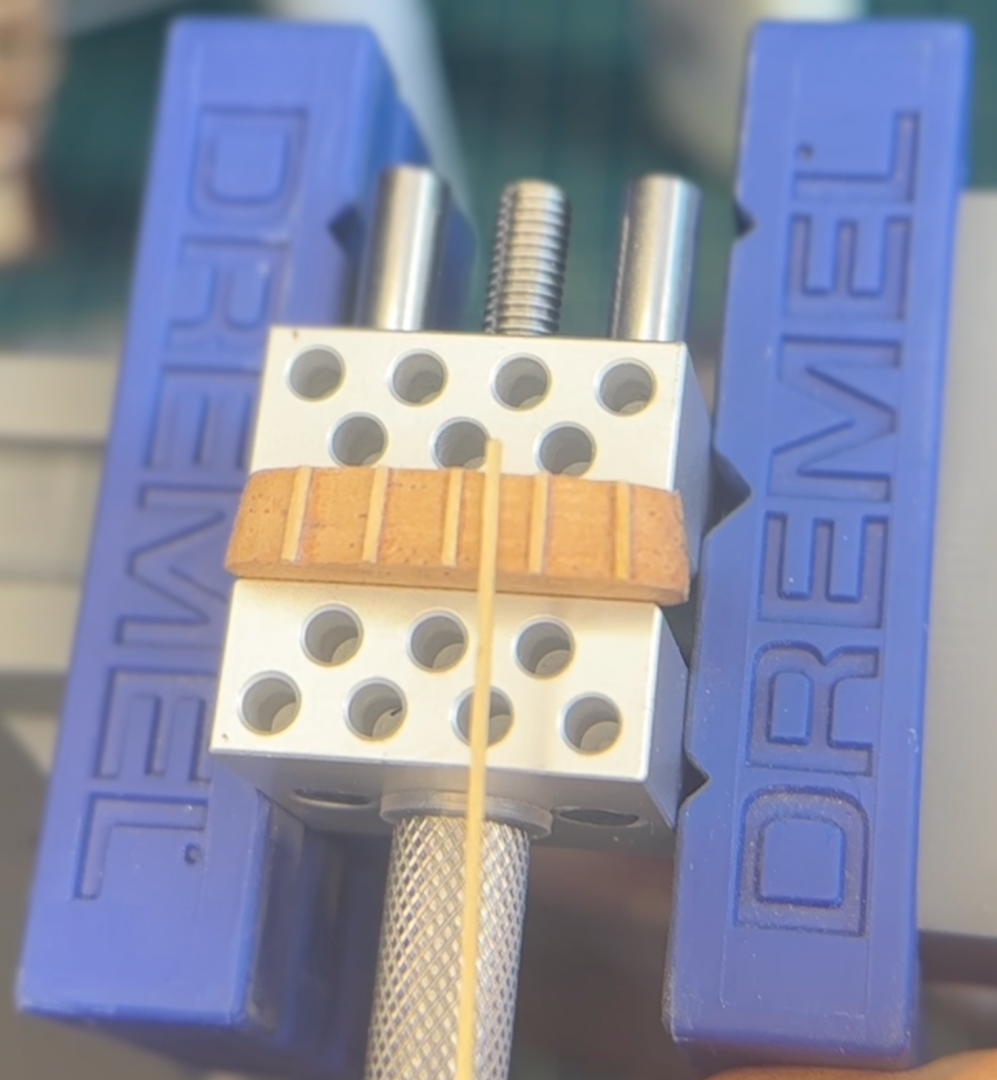
By the way, I'm thinking about purchasing a scroll saw for future projects. I have two options in mind - a Dremel moto saw and a Proxxon small table scroll saw. From what I gather, there are advantages to both products, but since I will use it mostly with hobbies in small scales I am leaning towards the Proxxon because it seems sturdier and more precise. I've crossed off my list other products because I live in an apartment and these are the smallest I could find (if you happen to know even smaller ones, please let me know!). But the Dremel sure is versatile as it is usable as a hand saw... Does anyone have any experience in this? I'd sure appreciate your input. -
Royal Louis by fmartins - multi-media
fmartins replied to fmartins's topic in - Build logs for subjects built 1751 - 1800
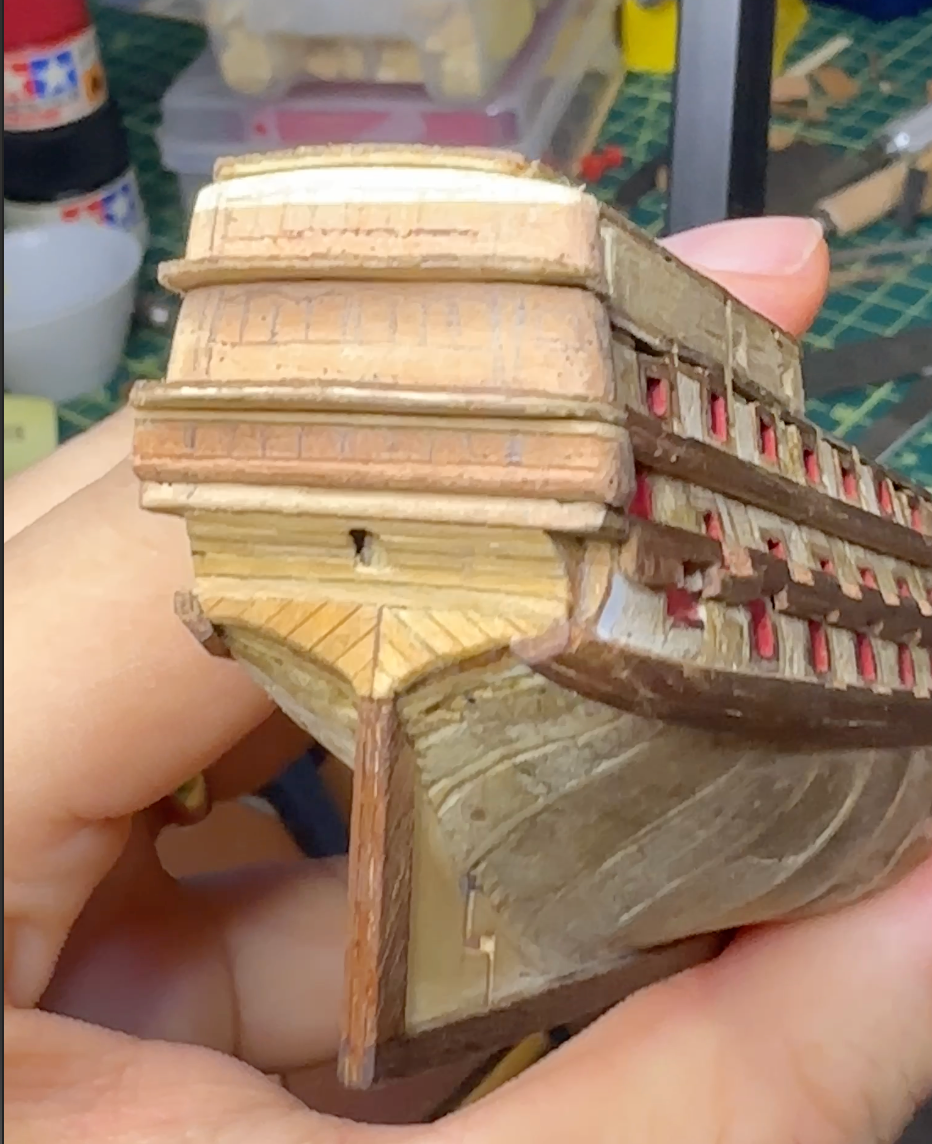
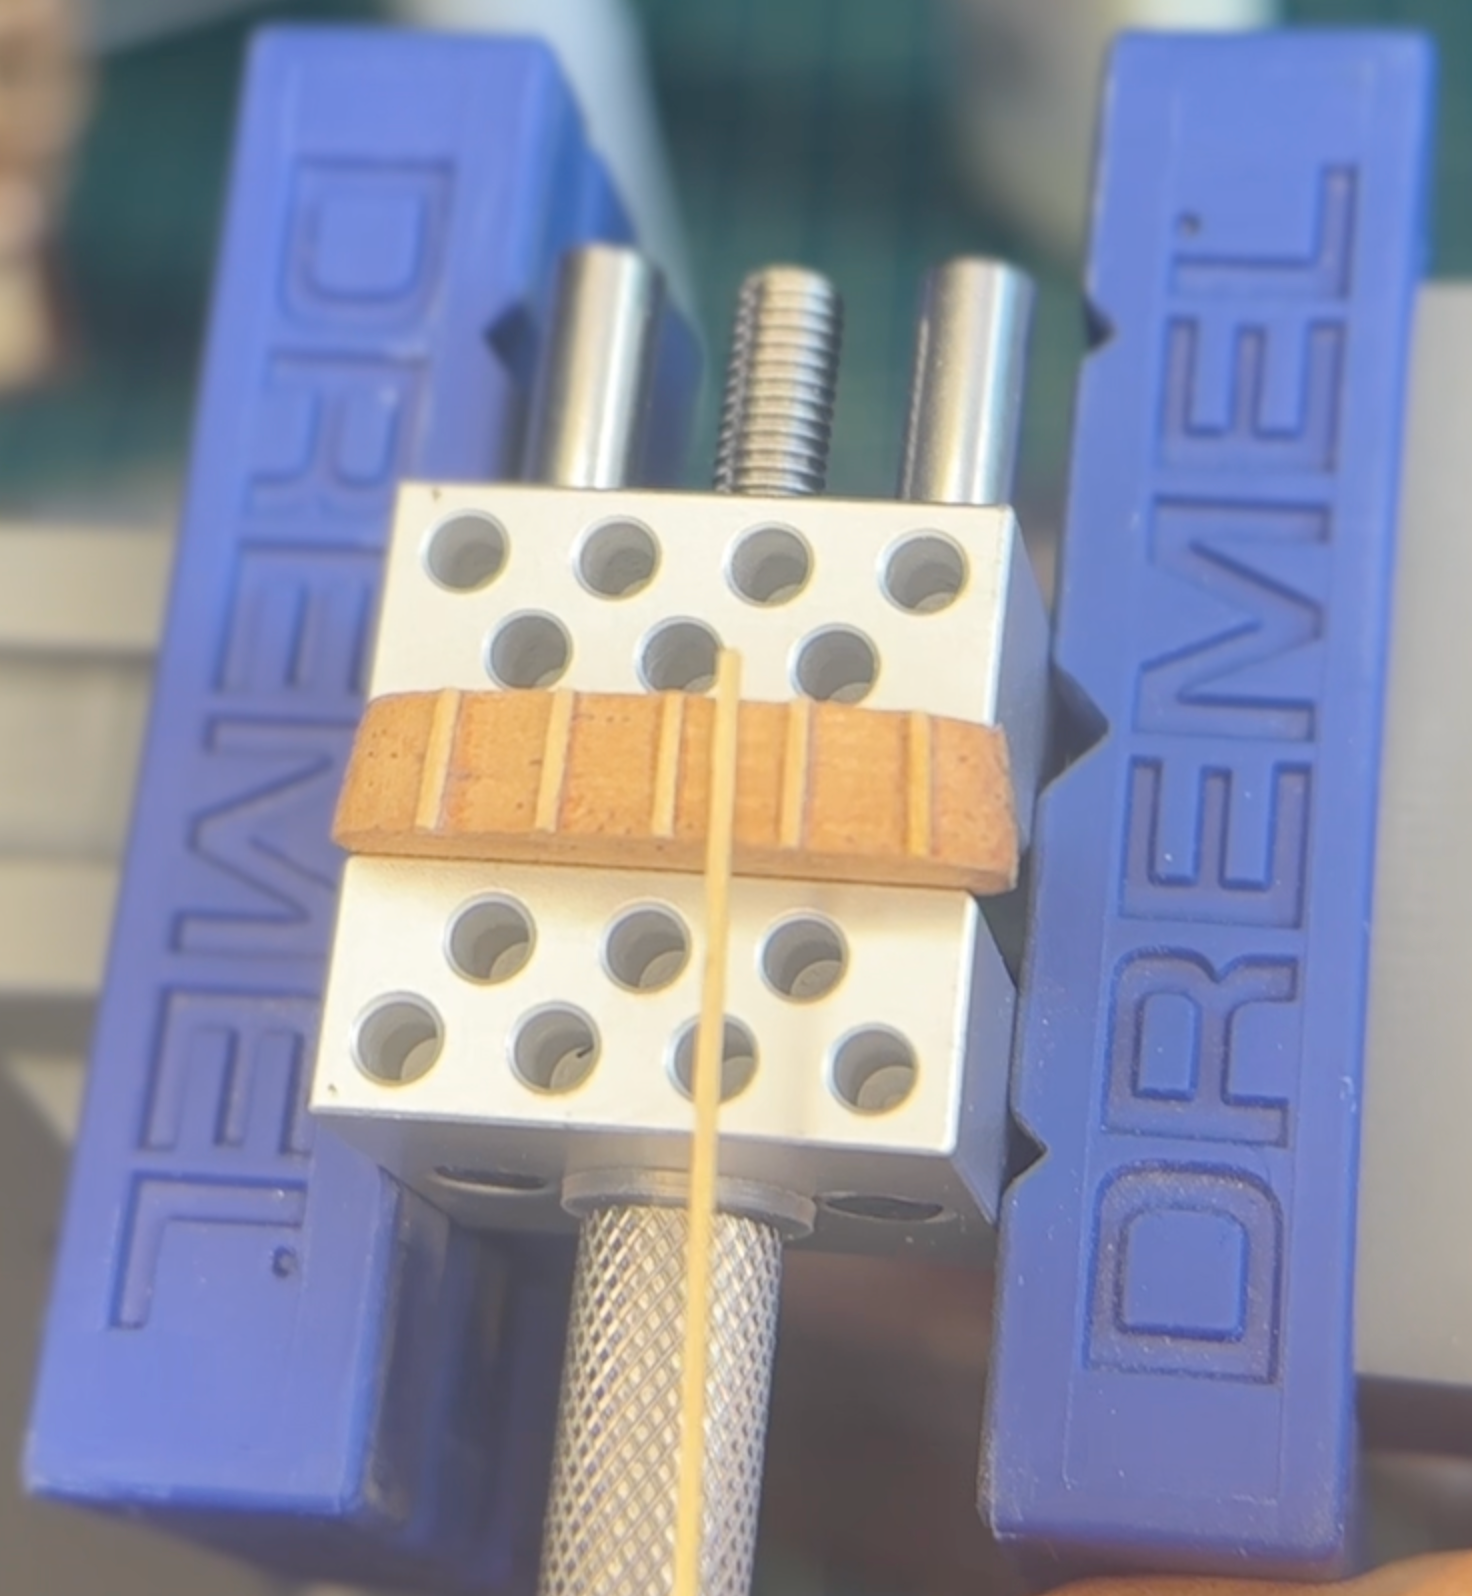
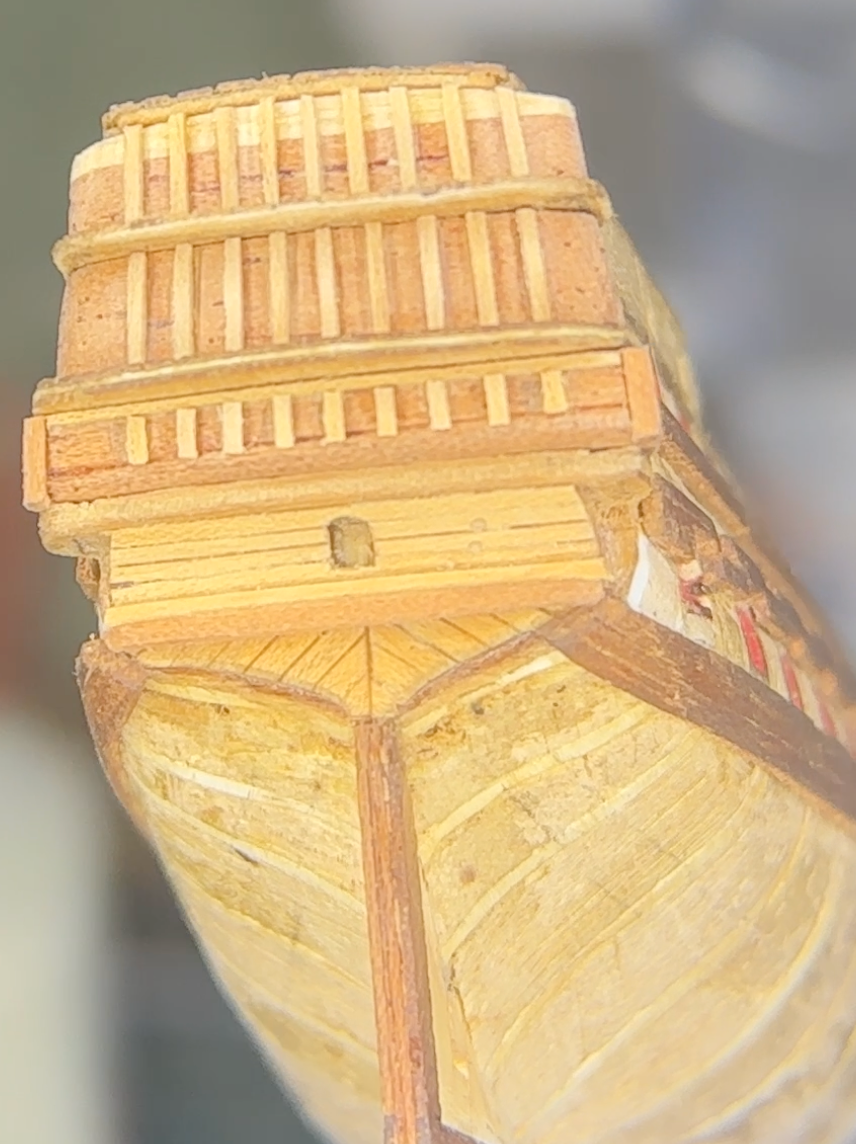
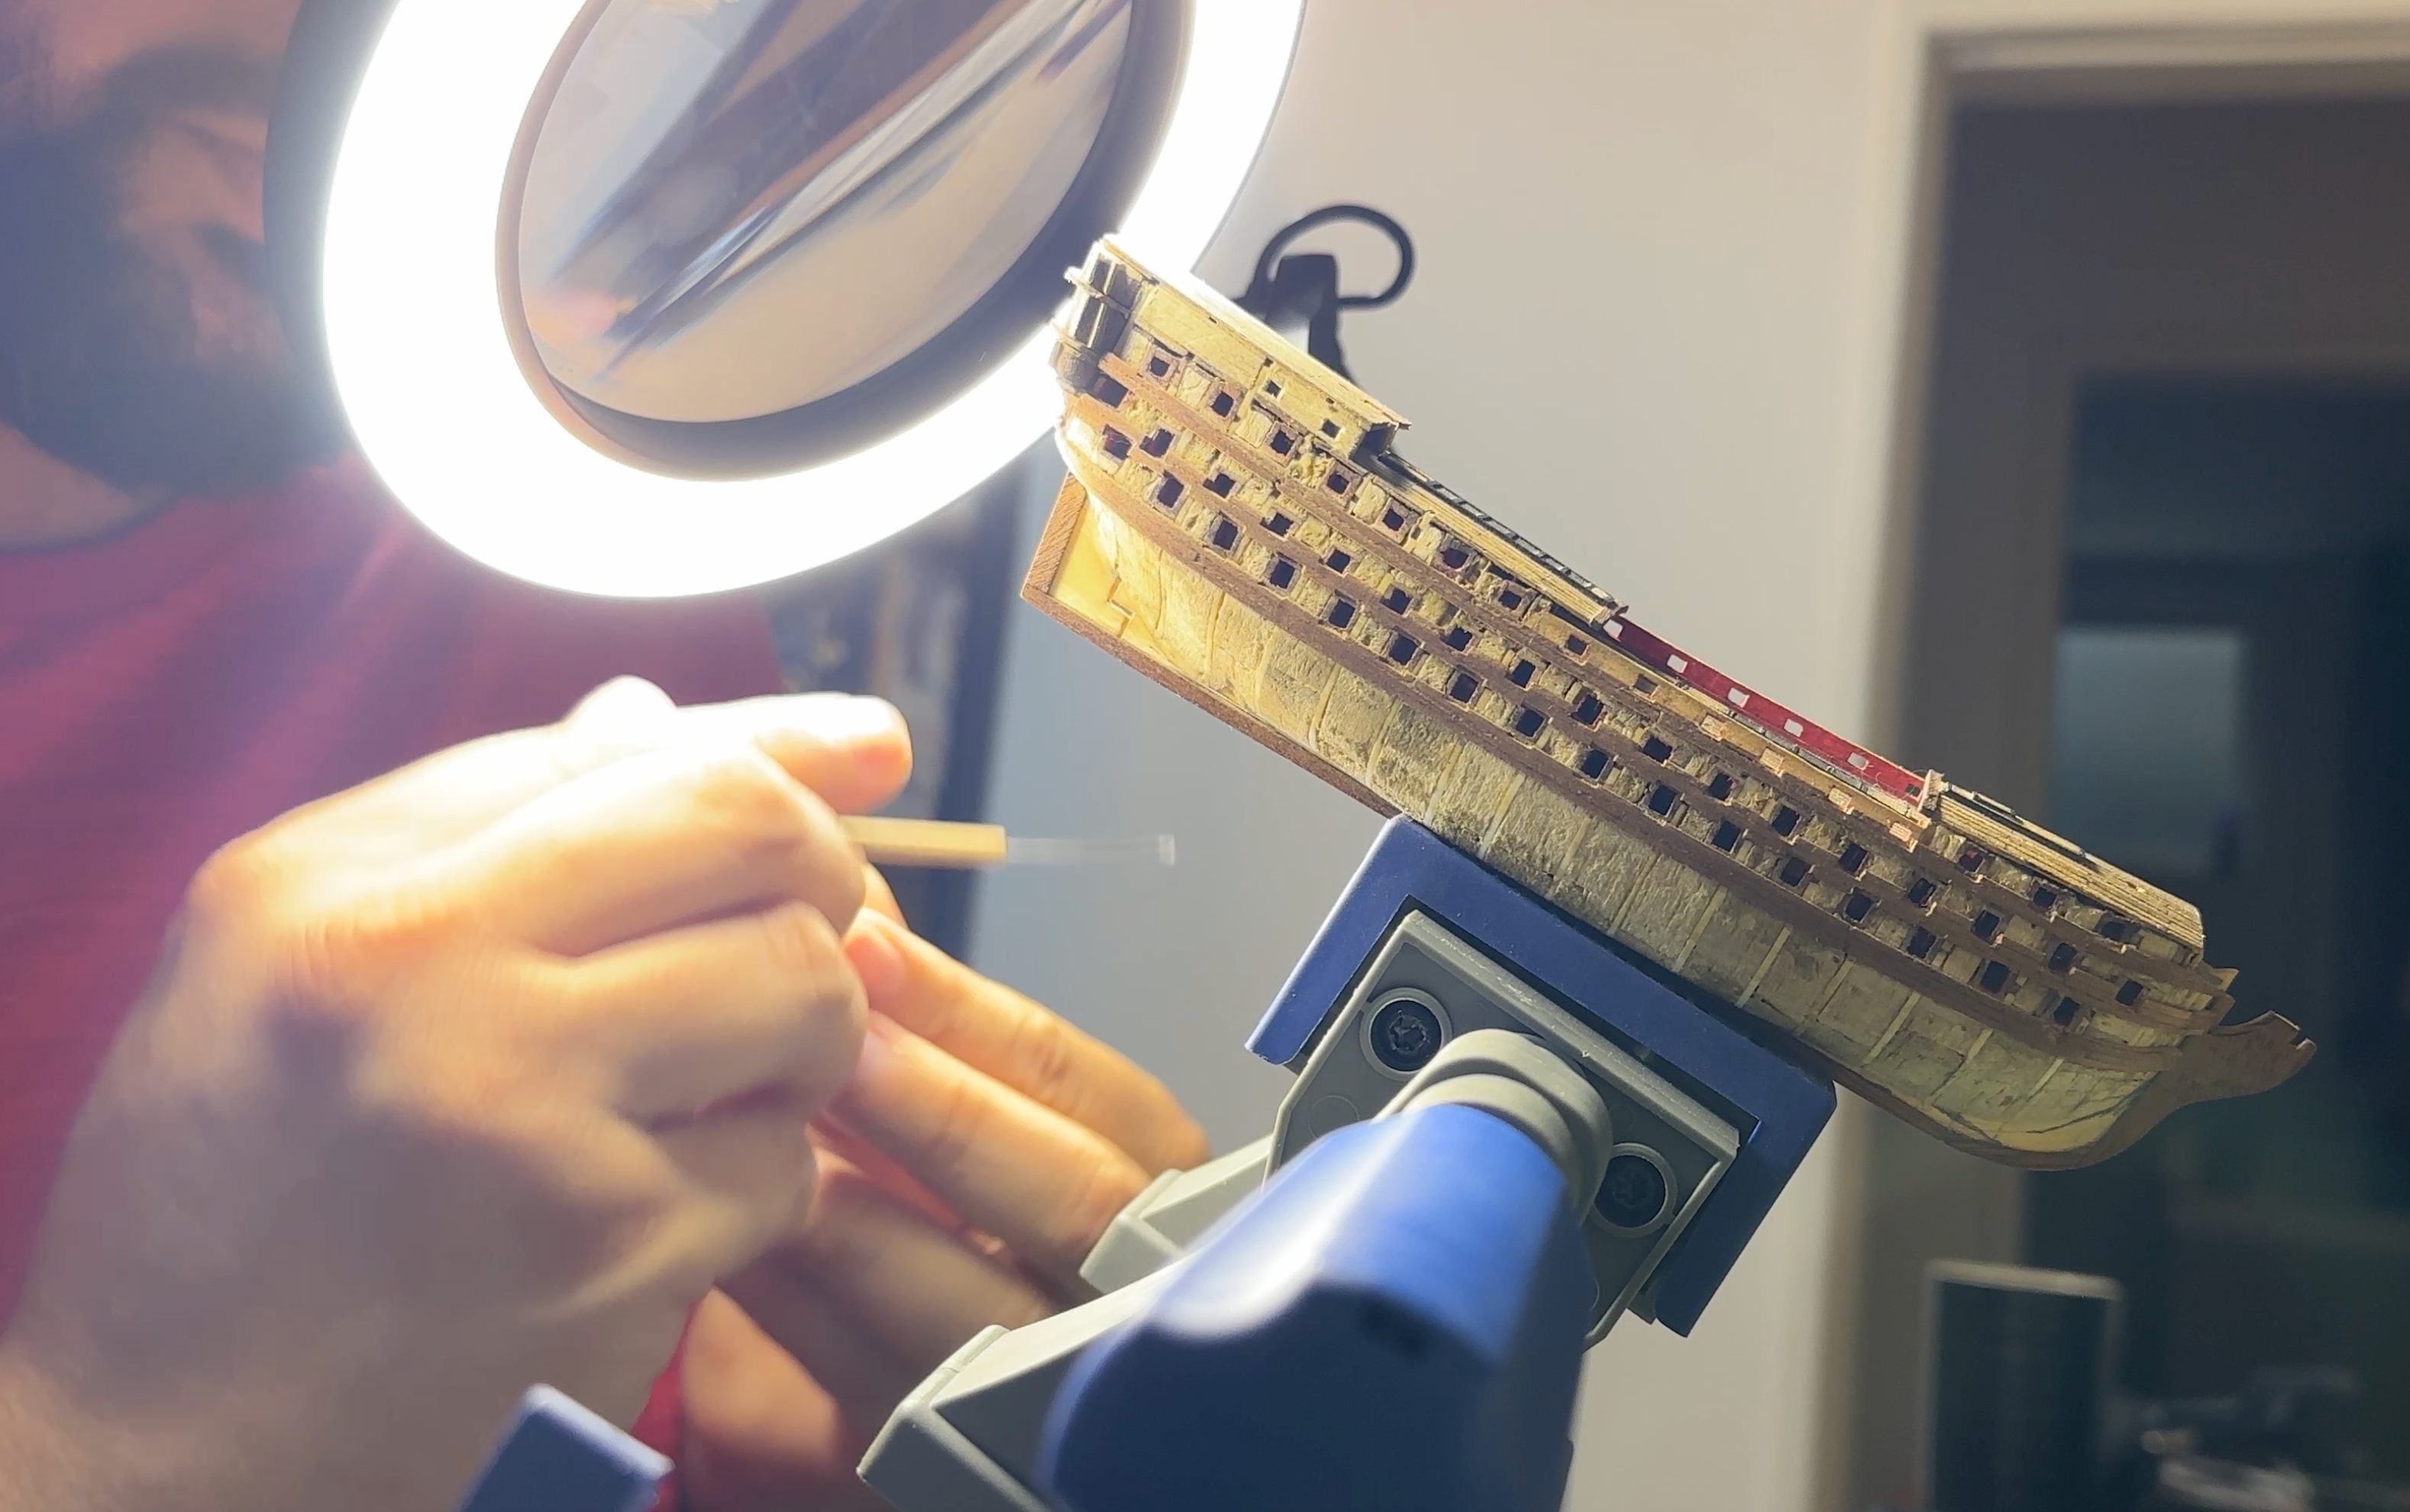
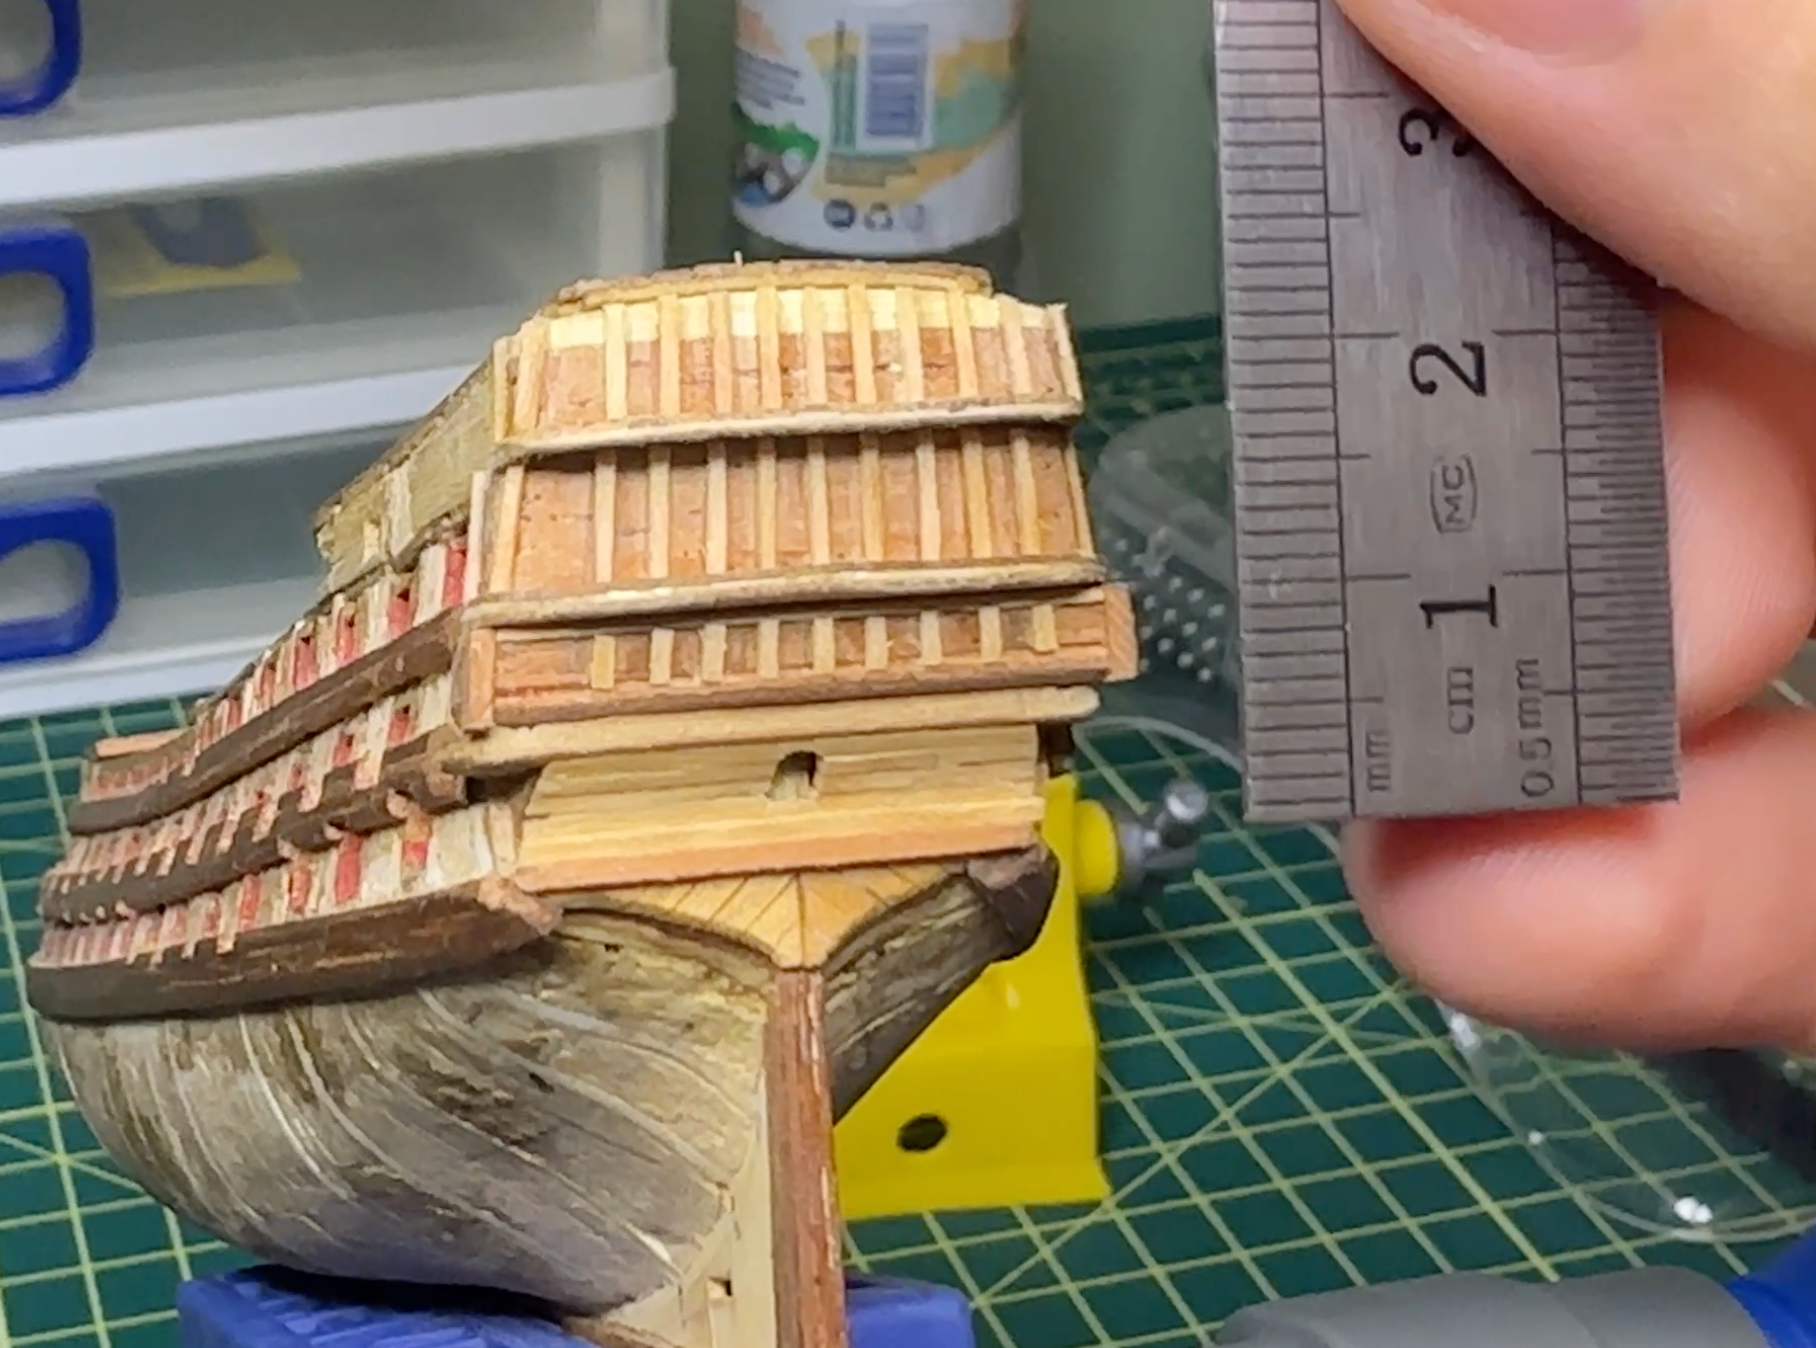
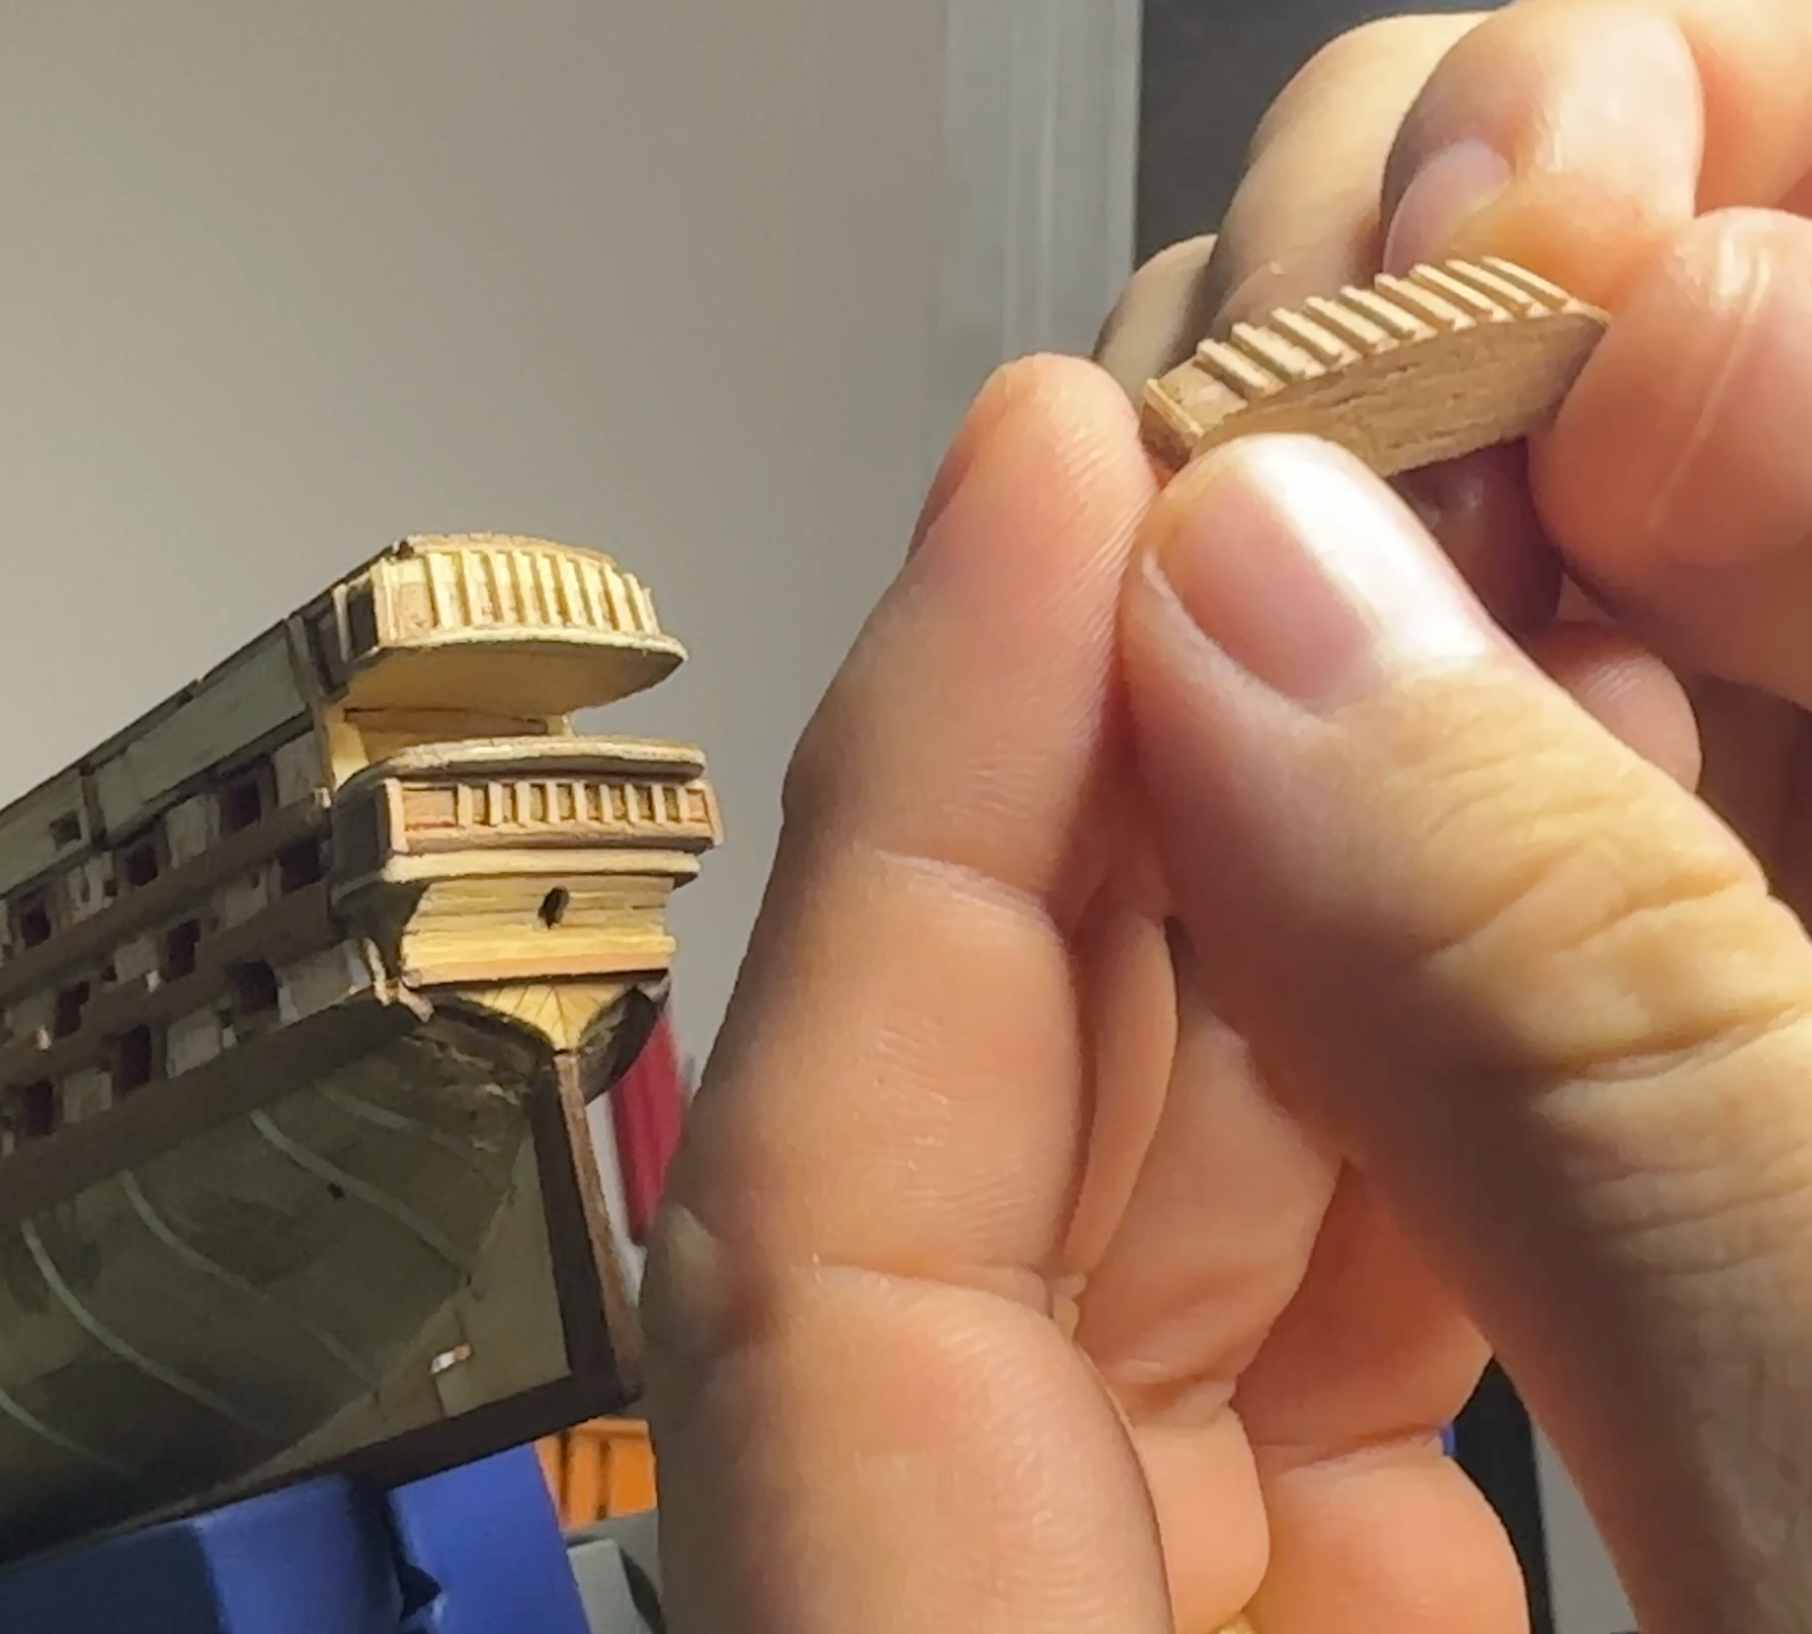
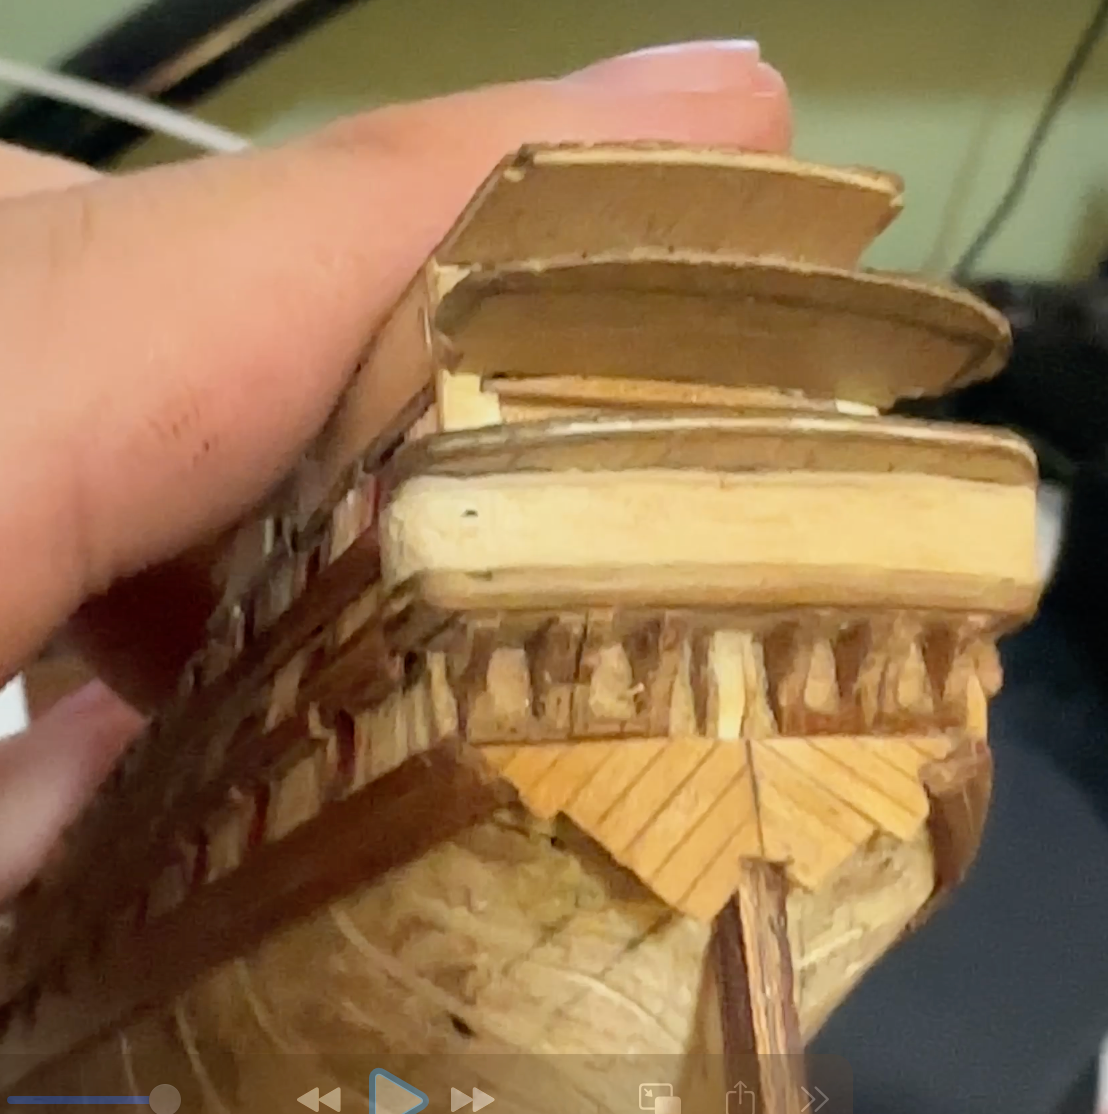
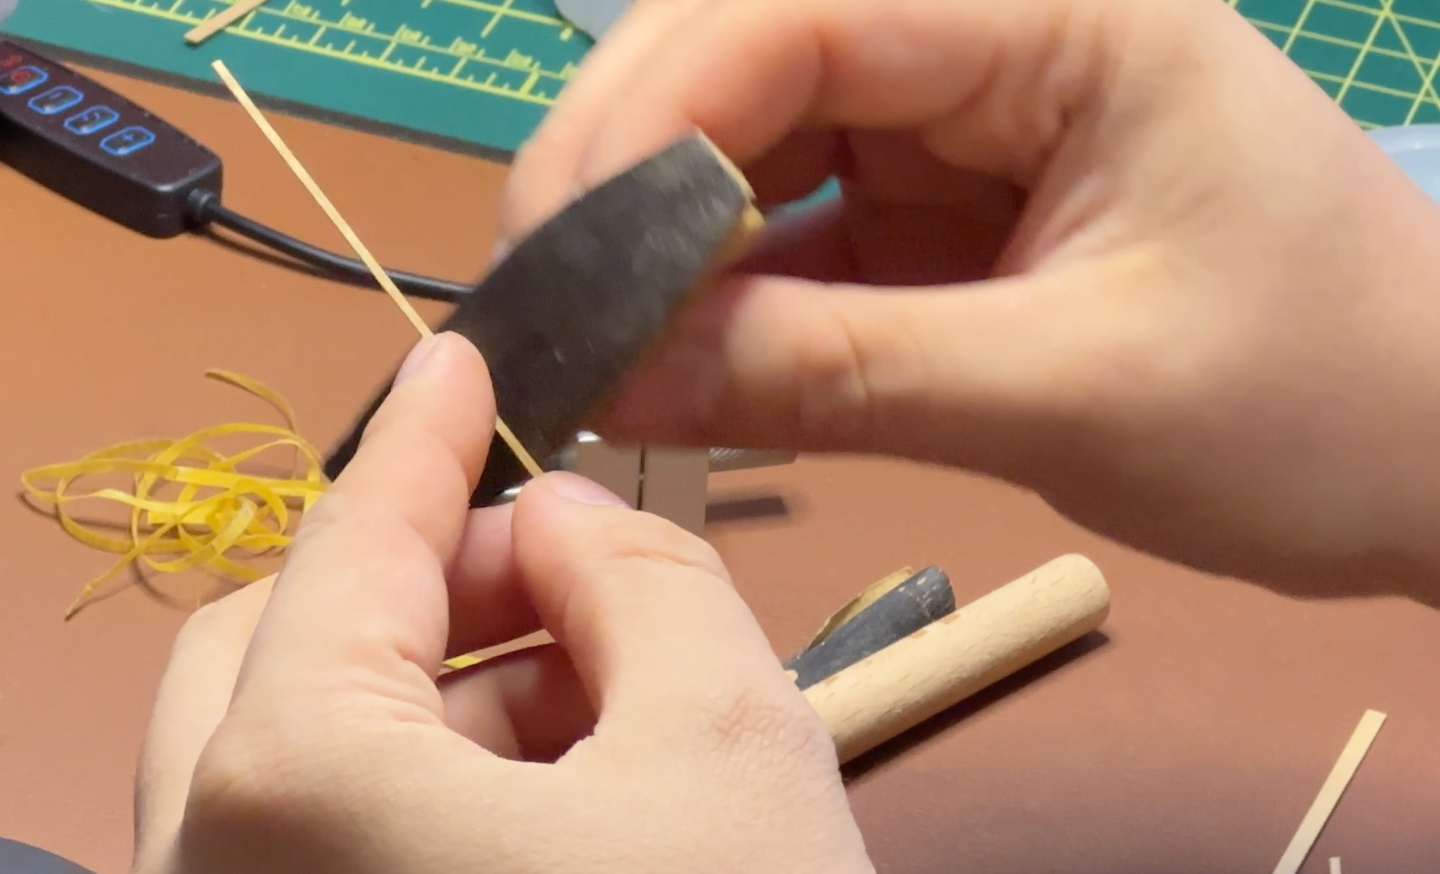
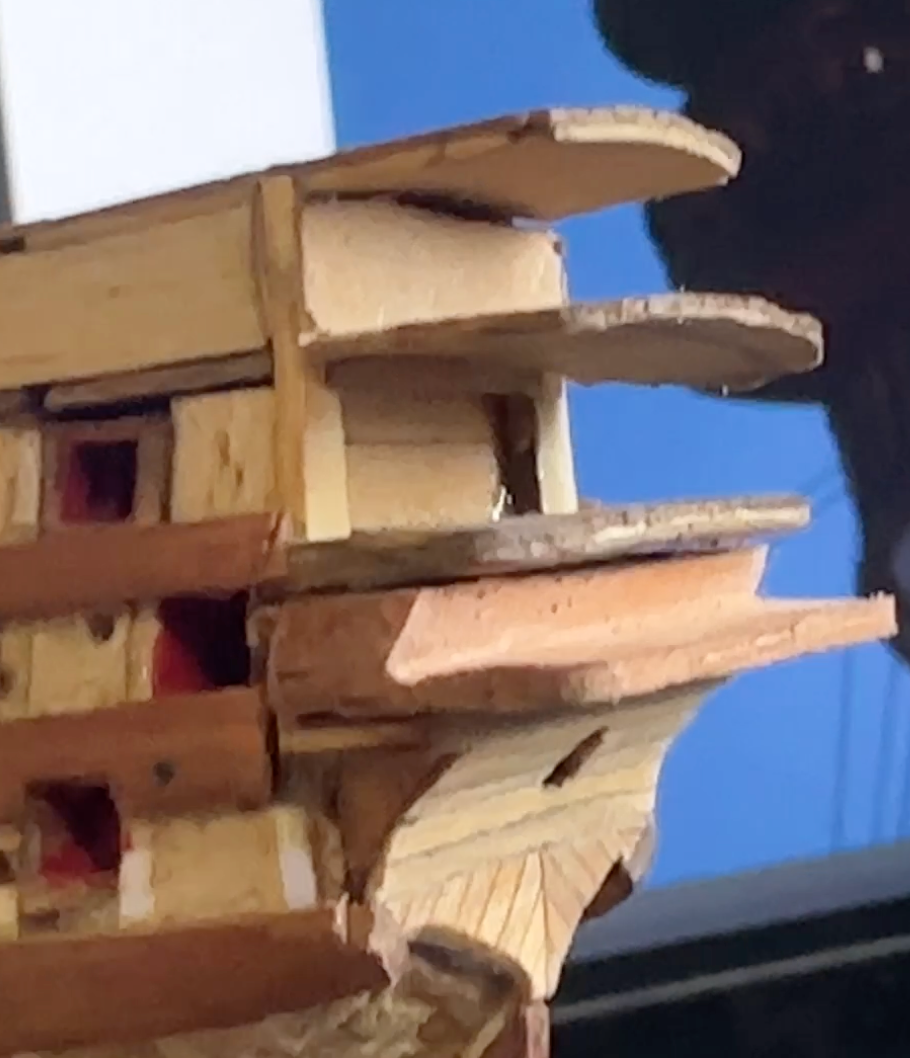
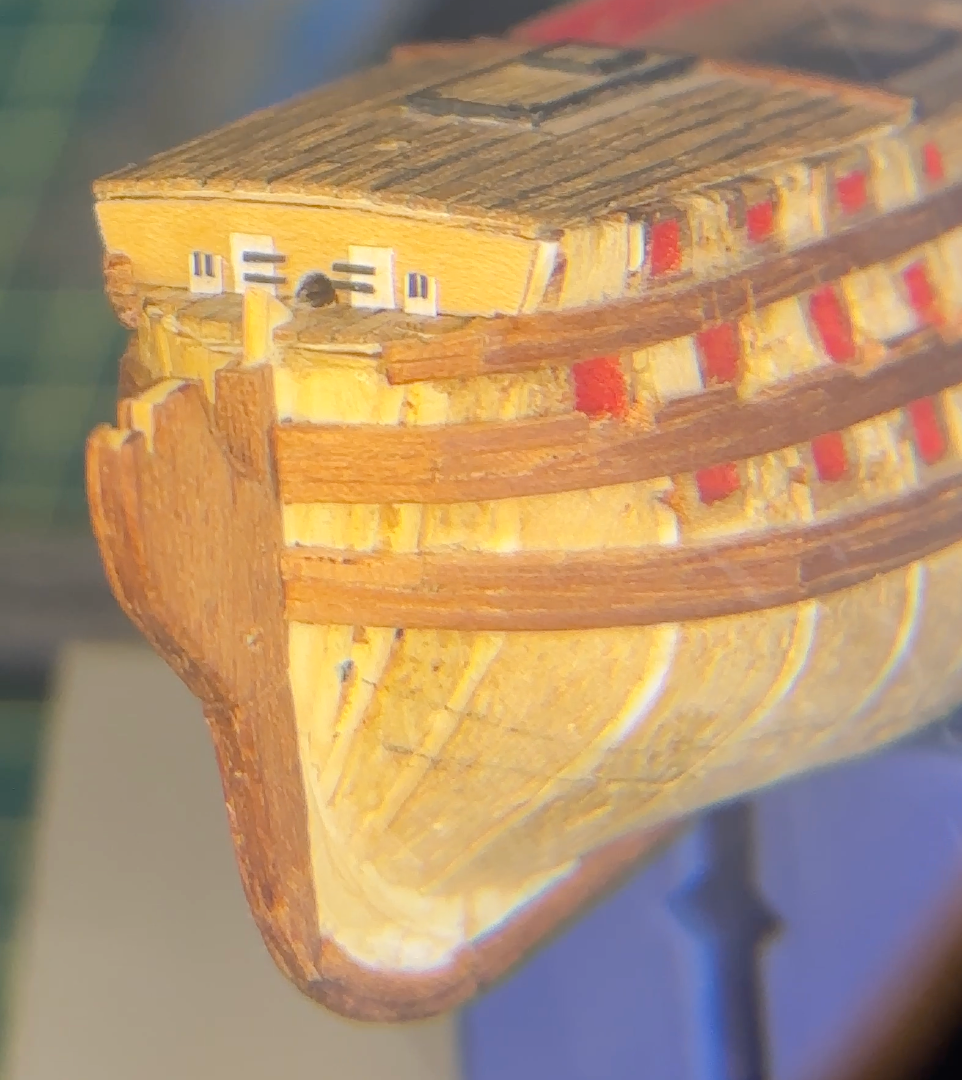
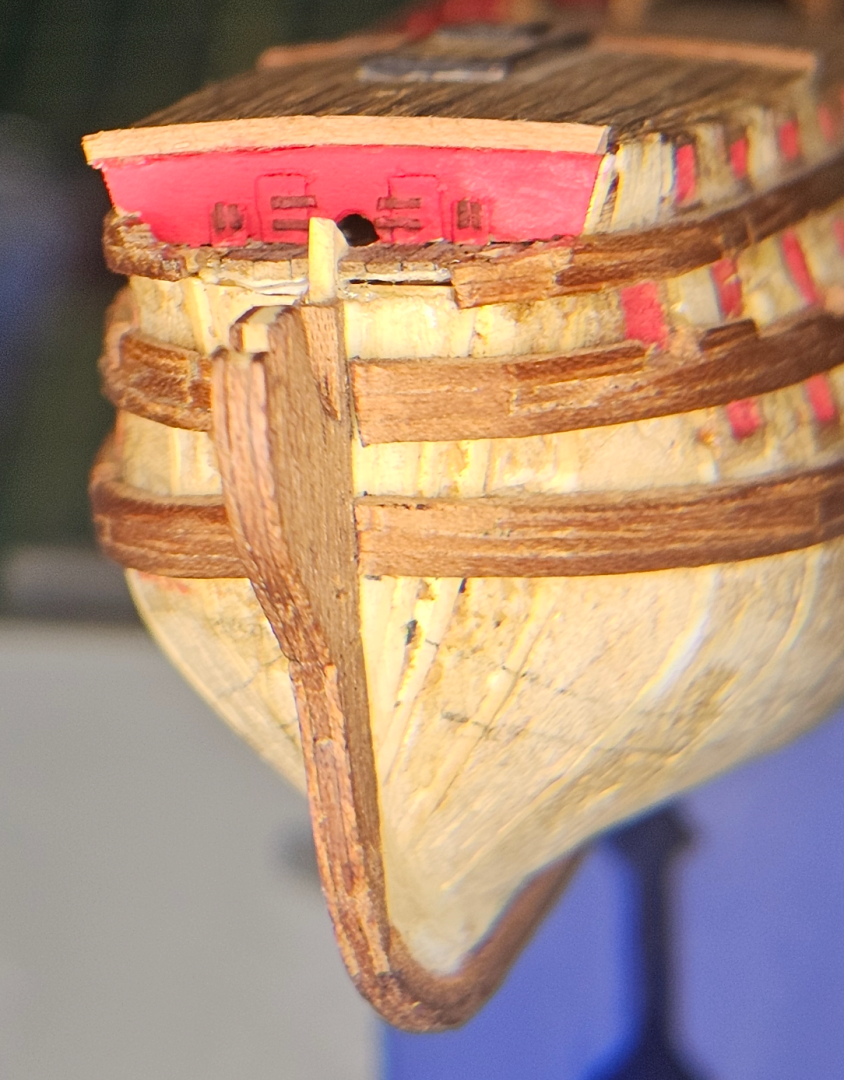
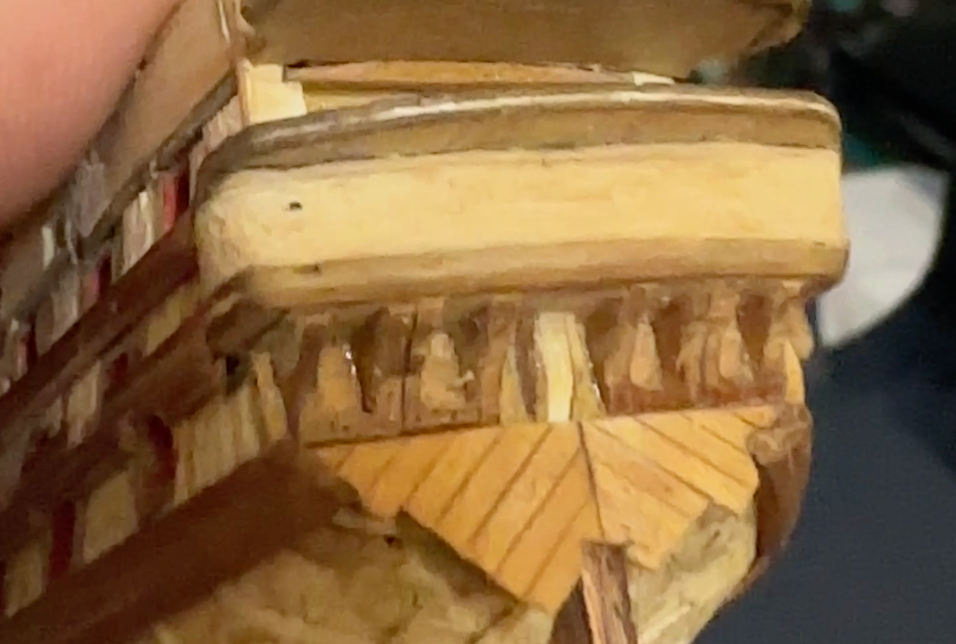
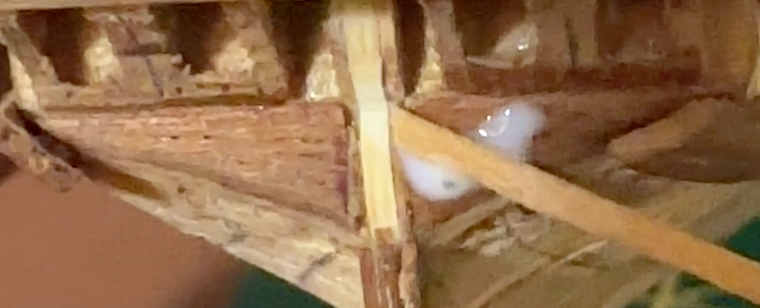
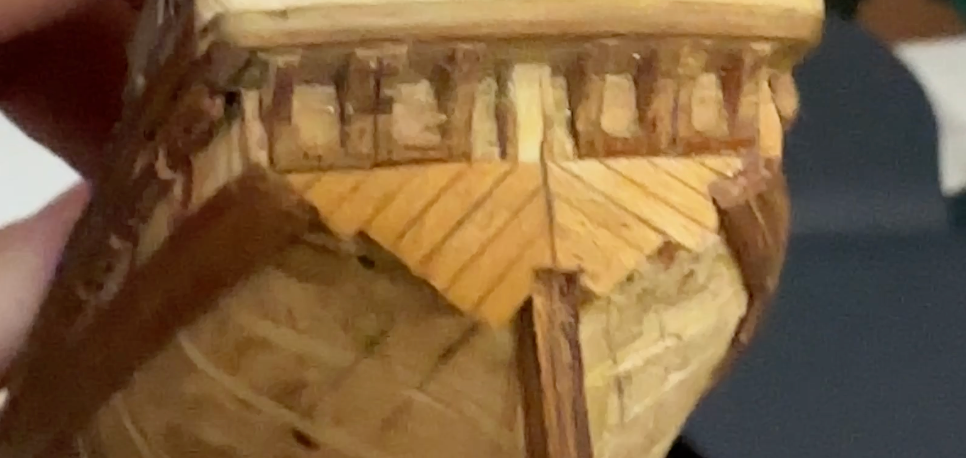
Ok, so I've kept working on the transom area. I kept adding plank up, and I had a piece of balsa wood to fill that I've cut away (balsa is too soft). The planks were sanded flush later (to the naked eye but with a close picture you can still see some level issues). I tried adding a harder wood (brazilian pink cedar, which is what I had around). Then I sanded these little filler pieces for hours until I had the geometry right (the angle close to the balconies, the side areas, etc). By the way I made two holes by mistake, plugged them but they will be on a canon hole, so no problem... Then I started adding the "columns" where the windows and doors sit: I still have no idea how to make the windows / window frames etc, because it is very small (windows have a width space, the framing and all at 1.1mm, 0.0433071 inches according to dear uncle Google). By the way these pictures are taken through a magnifying glass... To be frank I wish I could go back and make it at least twice as big. It is incredibly difficult to my poor skills to work on such a scale... For reference: These three fillers are not glued to the ship yet, because I still need to think about how to have windows there... Then I started working on the bow - the doors and hinges are made of paper. I got a white-ish paper for the door as the paint will cover but the "hinges" are from black paper so the paint will not cover them entirely. I tried adding a video so you can see the size of one of those hinges. I have no idea how many of those I lost before I could glue to the door... IMG_0058.MOV Here is the finished procedure (there are two latrines but they ate glued to the grating - which I also have no idea how to make at this scale - and two stairs, but these are attached to the catheads further along the road): First coat of paint: To finish, I painted the stairs as in the french museum model: Next steps: - Figure out what to do for the windows --- I tried using black paper and adding the window framing on paper glued to it but it is too small <-- given up --- trying homemade low cost photoetching? --- print the windows in "wood" paper to simulate? --- I accept suggestions! - Start planning/doing the planking (spilling? spiling? spoiling? I heard these three terms and I infer they are the same thing) Ah, by the way under the admiral's guidance I started a Youtube channel for this build. It is supposed to make me commit to the build on a regular basis according to her... I'm not sure there are rules for that but I can assure you it is not commercial (https://www.youtube.com/@ModelismoCaseiro), please someone let me know it this goes against any rules here. See you next update!


-
I have just found your log and I'm amazed at your craftsmanship! This truly awesome! Wow, no words, really! What woods are you using? I'm asking that because I'm thinking about building a similar ship in the future and I'm research woods... Again, congrats! I'll follow it along now on
-
Royal Louis by fmartins - multi-media
fmartins replied to fmartins's topic in - Build logs for subjects built 1751 - 1800
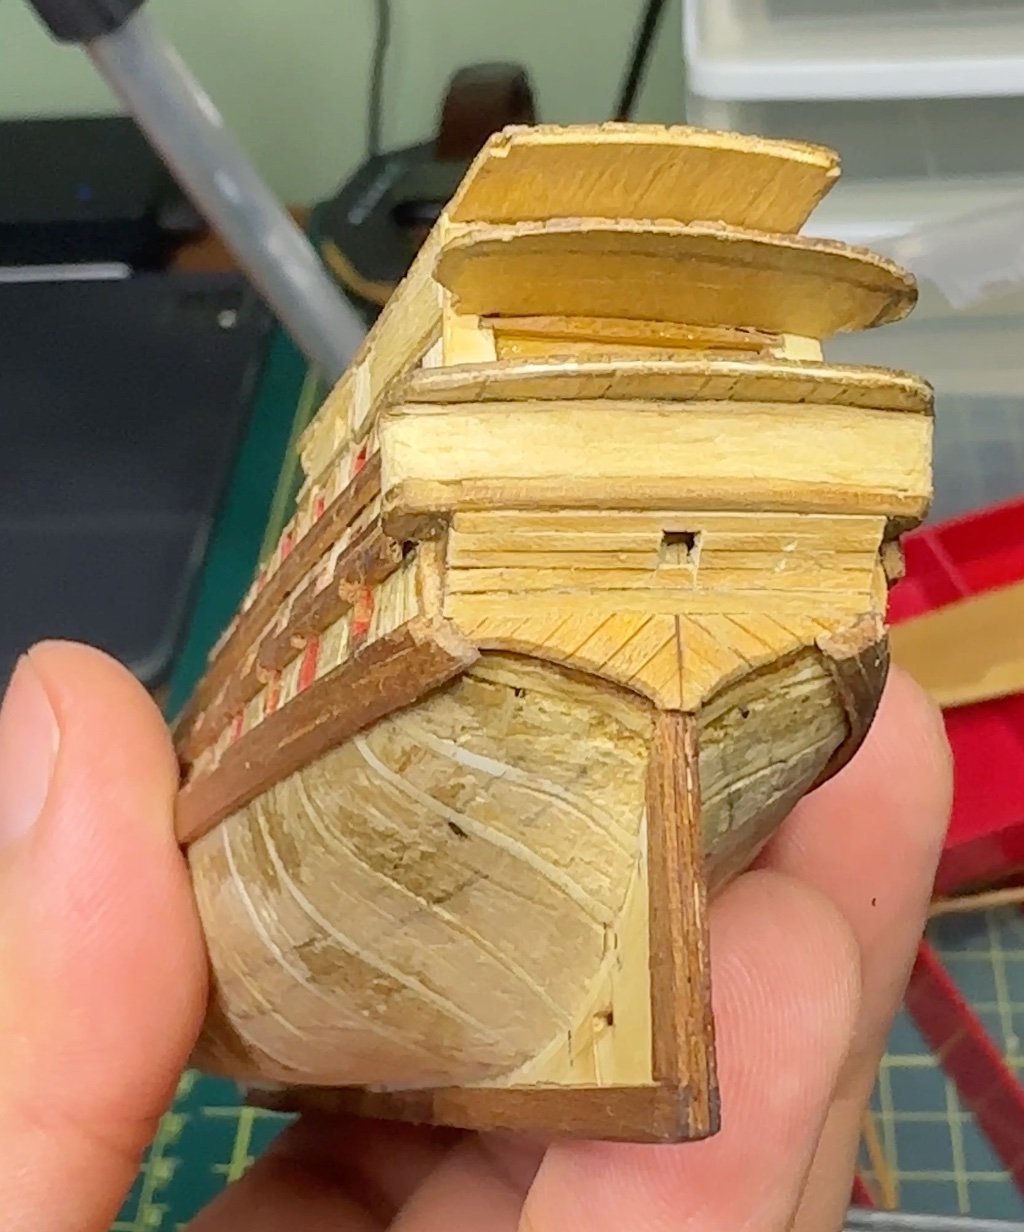
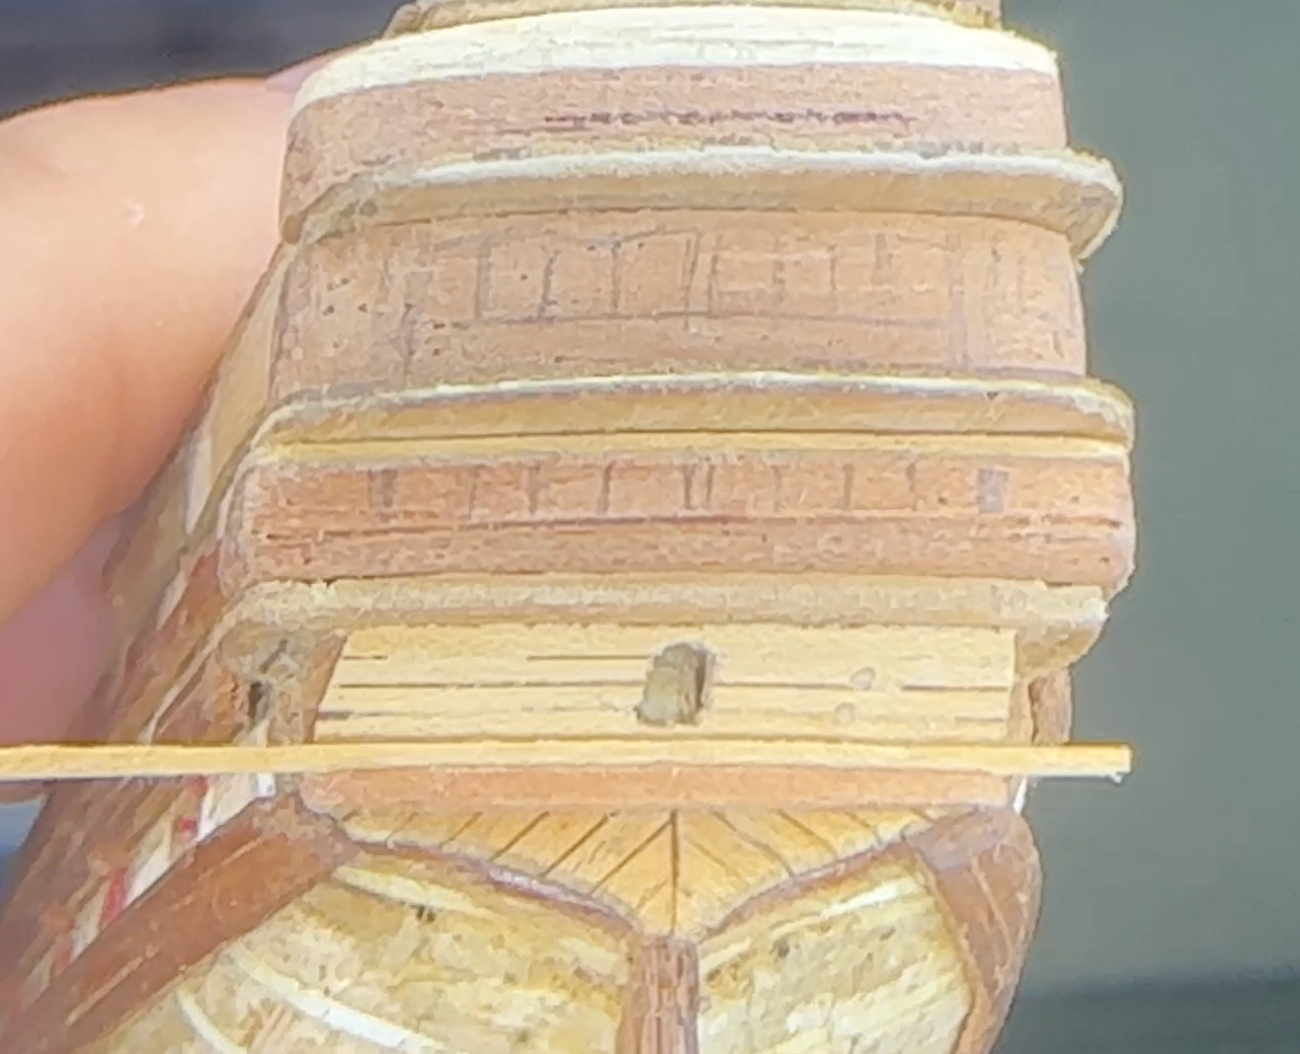
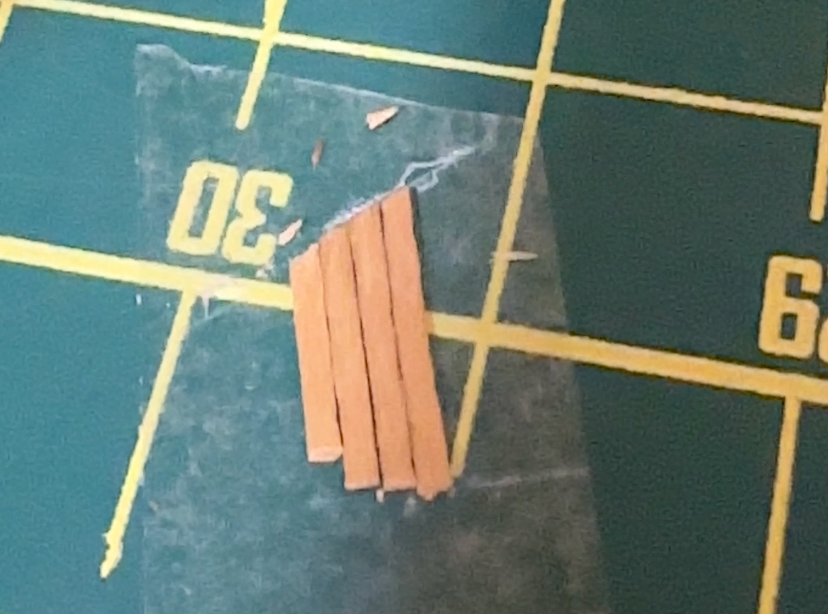
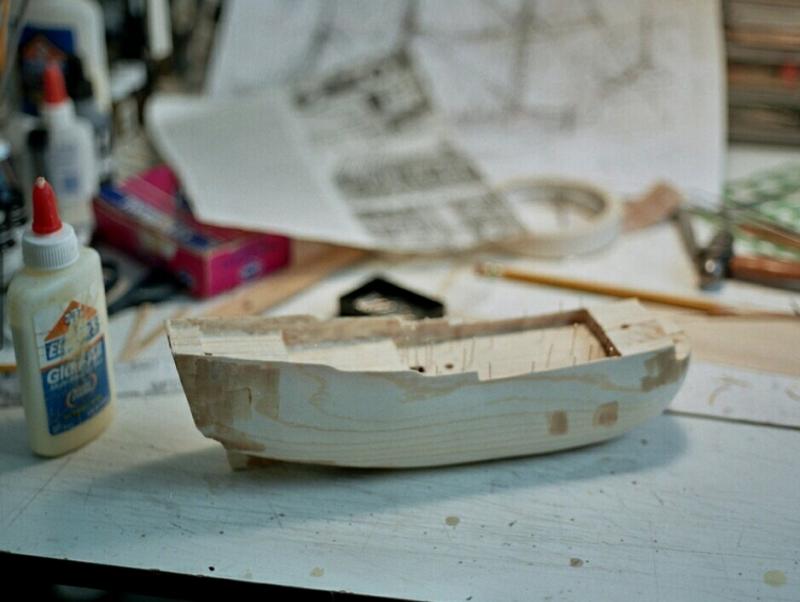
Well well well look who's back? It's a-me! Almost eight years later, I'm back to the shop! Last time I posted I was in the final stages of my PhD (last post was in June 2017 and I got my PhD in August 2017). Lots of stuff happened in between - started working full time as a professor, finished a post doc fellowship, got married, Covid-19 and all that nightmare, started another PhD, got a rabbit to join our cat, changed universities, and here I am. All this time I never really stopped thinking about the small ship tucked away in a drawer... I just needed a push and my wife always asked me "when are you going back to your little boat?" (either she really likes my "skills" [pun] or the wants me off her back so she watch her soap operas in peace). I'm in a new apartment and I have less space now, but I'll make do. In the meantime, I never stopped watching videos and reading about model boat building and now I can see so many mistakes in this build. But I won't abandon it and simply start anew. I kinda owe it to the model hidden away all these years that kept staring at me... So, let's go back at it. The transom in the Parisian Museum is curved almost round with planks bending at the back, and I should've seen it but it is too late. So I found two commercial kits (a wooden one and a plastic one) and both of them have a flush part at the back. I tried the same. Here's my attempt. I ended up poking my finger with a scalpel (so many years without using one!), but it's the price to pay. Now I can say I bled for this ship heheheh Here's my process: First I tried gluing planks but in such a small dimension it didn't work (who am I kidding?). Then I thought about it for a second and I found a "solution" - Use transparent double sided tape, taped to my cutting mat and put the veneer planks side by side. This has two goals - 1, stopping them from moving while they are being glued; and 2, protecting one side from the glue. Since the veneer planks are 0.4 mm (0.015748 inches? sorry I don't know American units), I had to use CA. I tried first 4 planks to see if they would hold after ungluing the set from the cutting mat and it worked fine (a bit fragile but it went well). I then made a paper template and used it set all planks. A bit of careful filing and sanding later: Here's the final result: It took me a huge amount of time to do such a simple task, I poked badly my finger with a scalpel (it will take i believe 2 weeks until it is well again), but man am I happy to be doing this again. I can see so many defects and problems with this ship but I do love it so much. I'll try to work on the transom area and start planking from the bottom (garboard up). See you soon!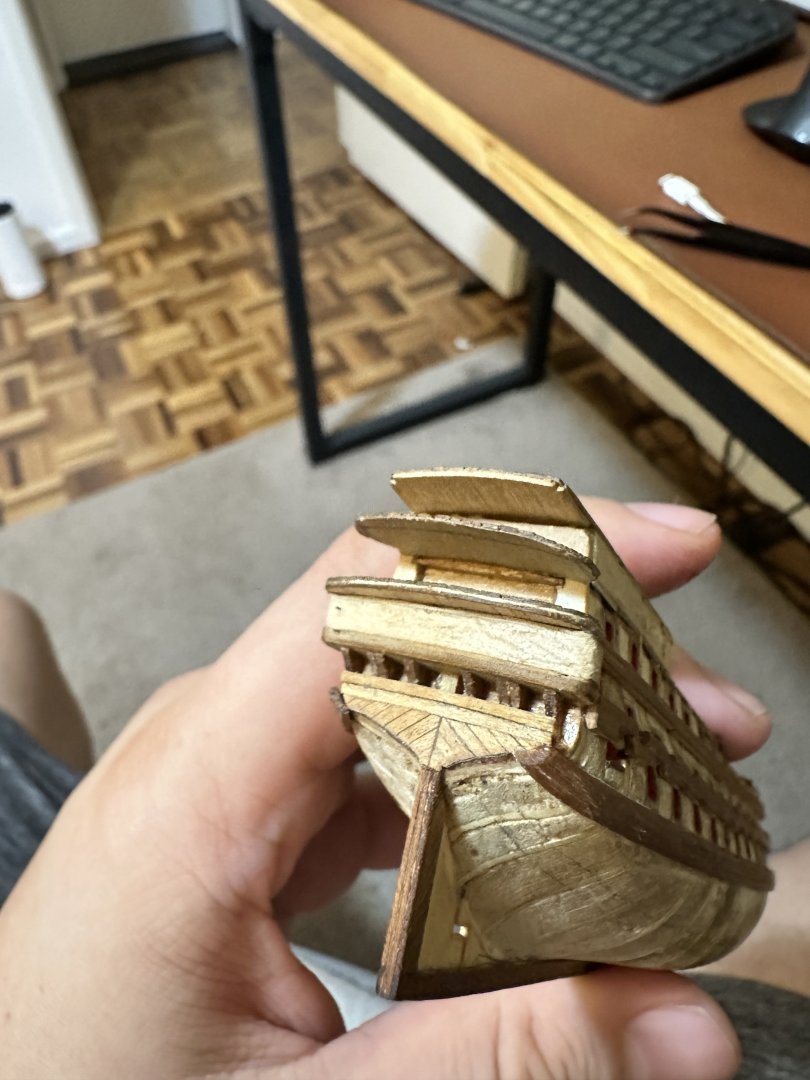


-
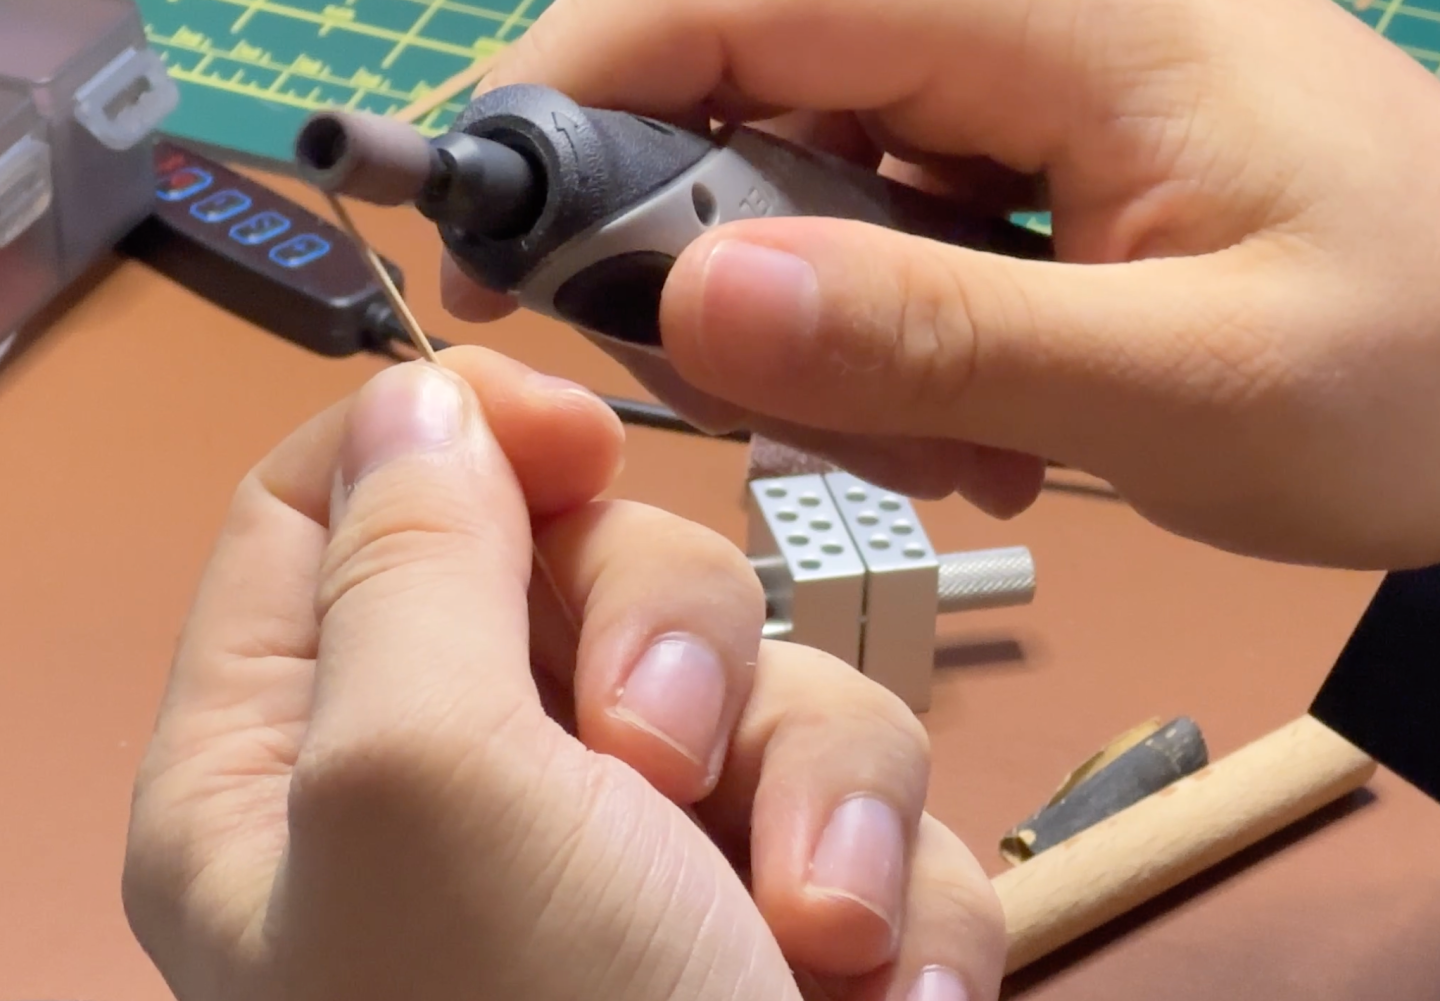
Would you recommend this dremel saw? I'm thinking about buying one of those. I live an apartment so I don't have space for larger machinery...
-
I have found your thread only today and I have spent most of my day catchint up with it. I am impressed with your technique, precision and creativity!! I have no words to describe how impressed I am by your work. I have a very small ship that I haven't worked on for a while (my job's falt) but seeing your work makes me want to go back to the table right away and work tirelessly on it!! And I was in Czech republic for work for 2 weeks (came back home last week)… If I had known your work by then I'd make sure to arrange a visit and be amazed by seeing your work first hand… 👏👏👏👏👏👏👏👏👏
- 1,035 replies
-
- 6
-

-
- royal katherine
- ship of the line
- (and 1 more)
-
Le Soleil Royal by Nek0 - 1/72 - Marc Yeu
fmartins replied to Nek0's topic in - Build logs for subjects built 1501 - 1750
👏👏👏👏👏 incredible build, man! I'm absolutely impressed!!- 208 replies
-
- 3
-
-
- le soleil royal
- 104 guns
- (and 2 more)
-
👏👏👏👏👏 very interesting!!
-
Royal Louis by fmartins - multi-media
fmartins replied to fmartins's topic in - Build logs for subjects built 1751 - 1800
At this point I'm not even caring about rewards and stuff I just want it all to be through hehehe -
Royal Louis by fmartins - multi-media
fmartins replied to fmartins's topic in - Build logs for subjects built 1751 - 1800
Man, I had no idea what I was doing when I decided to go for a doctor's degree... That sh*t is crazy... At least with a doctor's degree I can try for a position in a public university here in Brazil. That would be very good - it is pretty much the same as getting tenure in an US university. Nice salary, only teaching 8 hours a week and that's it... plenty of time for model ship building hehehehehe -
Royal Louis by fmartins - multi-media
fmartins replied to fmartins's topic in - Build logs for subjects built 1751 - 1800
Well, it's been a while I haven't posted here... If you're following this thread, know that it's not because I don't want to, or abandoned the project... The thing is I'm on the last phase of my doctoral degree, and it'll be all finished by june/july... until there, my focus has to be on my life-long dream of becoming a full time researcher. But, as soon as I'm done with my dissertation I'll certainly have more time, and I'll happily post more often... Don't give up on following my build... It is something that really makes me happy. I hope in the end it will turn out alright... Thanks everyone! -
PRINS WILLEM by juzek
fmartins replied to juzek's topic in - Build logs for subjects built 1501 - 1750
Wow Juzek, what an accident! Fortunately for a master such as yourself it's nothing, it looks even better now... as for the tips, thanks a lot! I looked around and found some linseed oil, I'm going to give it a try! Do you apply it on top of the paint, or use the oil first and then paint over it? Do you use any stains before linseed oil? I'll think about the veneer strips, I think this might help!! Thanks a lot! -
Thanks a lot anyway! It is such a beautiful ship, I'd really like to build one like yours... but in a smaller scale (like, 25cm hull)... I'll be following your log! Keep up the good work!
-
By the way, I spent a few hours online looking for references about this ship and apparently there isn't much lying around... Where did you get info on the Mordaunt except for the museum model in Greenwhich and the kit plans? Thanks in advance!
-
Knock knock... errr... I'm late for the party, but man am I surprised I found your build log. This is some amazing building you got yourself going on! I'm mesmerized... If I had a doubt about my next ship, it vanished right away... My next build will be a Mordaunt, so please take a lot of pictures for reference !!! Jokes apart, congratulations on the clean build. It's really top notch!
-
PRINS WILLEM by juzek
fmartins replied to juzek's topic in - Build logs for subjects built 1501 - 1750
What kind of oil / varnish do you use? It's beautiful and gives it a weathered look! -
Beautiful build indeed! Congratulations!
-
Royal Louis by fmartins - multi-media
fmartins replied to fmartins's topic in - Build logs for subjects built 1751 - 1800
*thin, I mean 'so thin' (i wrote that on my phone, and I'm a horrible typist) -
Royal Louis by fmartins - multi-media
fmartins replied to fmartins's topic in - Build logs for subjects built 1751 - 1800
EJ_L that is precisely my finding today. I'm trying all kinds of improvised stuff to impeove this wandering off but so far nothing. With veneer its even worse cause it's so thong i end up cutting instead of scribing... tomorrow is a holiday here so i'll spend a few hours trying a few ideas. I hope i can gey acceptable results... -
Just beautiful! It's all I have to say...! Congratulations! She's coming along really fine!
-
Royal Louis by fmartins - multi-media
fmartins replied to fmartins's topic in - Build logs for subjects built 1751 - 1800
Thanks Patrick! I'm not sure its going to work because I'm doing it on veneer. It is already thin and after scribing and sanding it may become too fragile. But Ill try anyway. Scott, my 'unorthodox' approach comes from a mix of lack of time, money and space hehehe... Since the bulwarks wouldn't appear and I had some styrene lying around (I used to do some helicopter plaatic models), I told myself to give it a try... Next time I'll stick to wood though... -
Royal Louis by fmartins - multi-media
fmartins replied to fmartins's topic in - Build logs for subjects built 1751 - 1800
Oh I forgot to say... On the port side is a Brazilian wood called tauari. But the cutting of this veneer left it with a lot of 'scars'. I'm using it only for the template although it's a beautiful wood (this piece however has 'muted' colors). On the starboard side is a different wood. This is the final wood. Its beautiful yellow collor is close to the model in the French museum. Unfortunately I have no idea what kind of wood it is, since i bought it in box with scraps of veneer (let's say I don't have much money for hobbies - going to graduate school is great but maybe not a sound financial plan hehehe)... i'll save some of it to try to find some more of ot or what wood this is. It does have kind of a 'flamed' effect like maple... -
Royal Louis by fmartins - multi-media
fmartins replied to fmartins's topic in - Build logs for subjects built 1751 - 1800
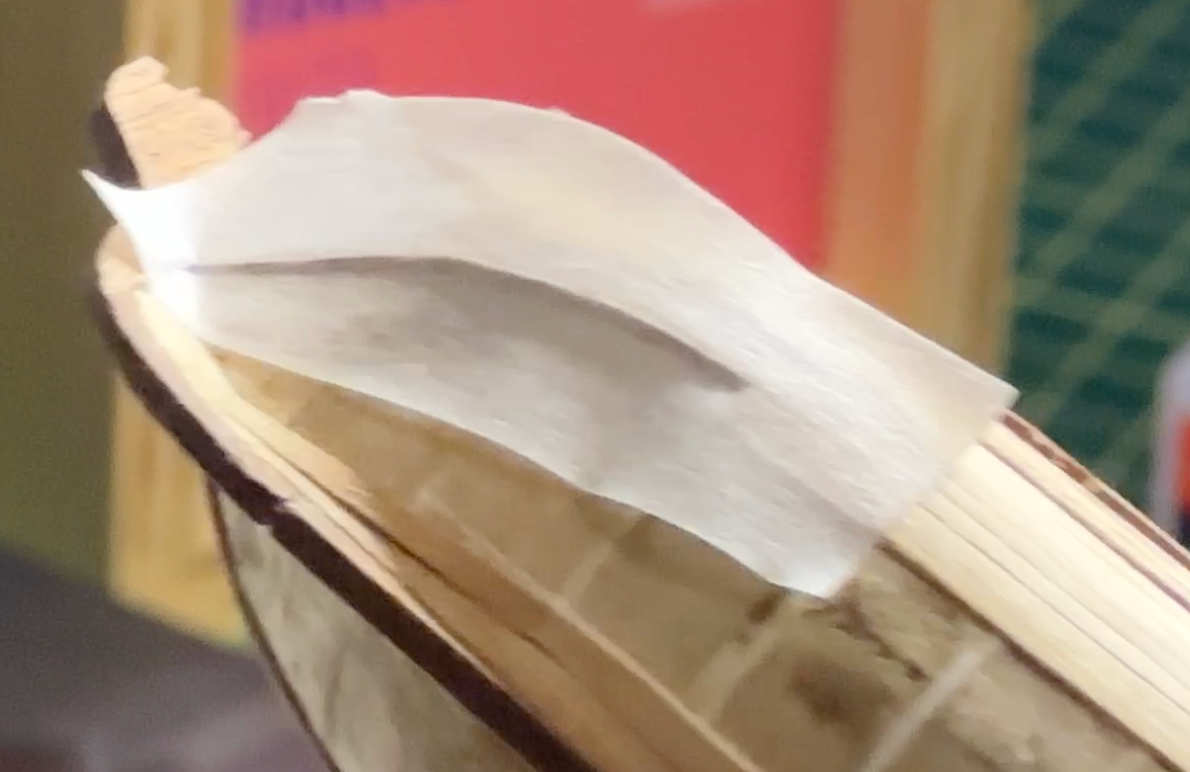
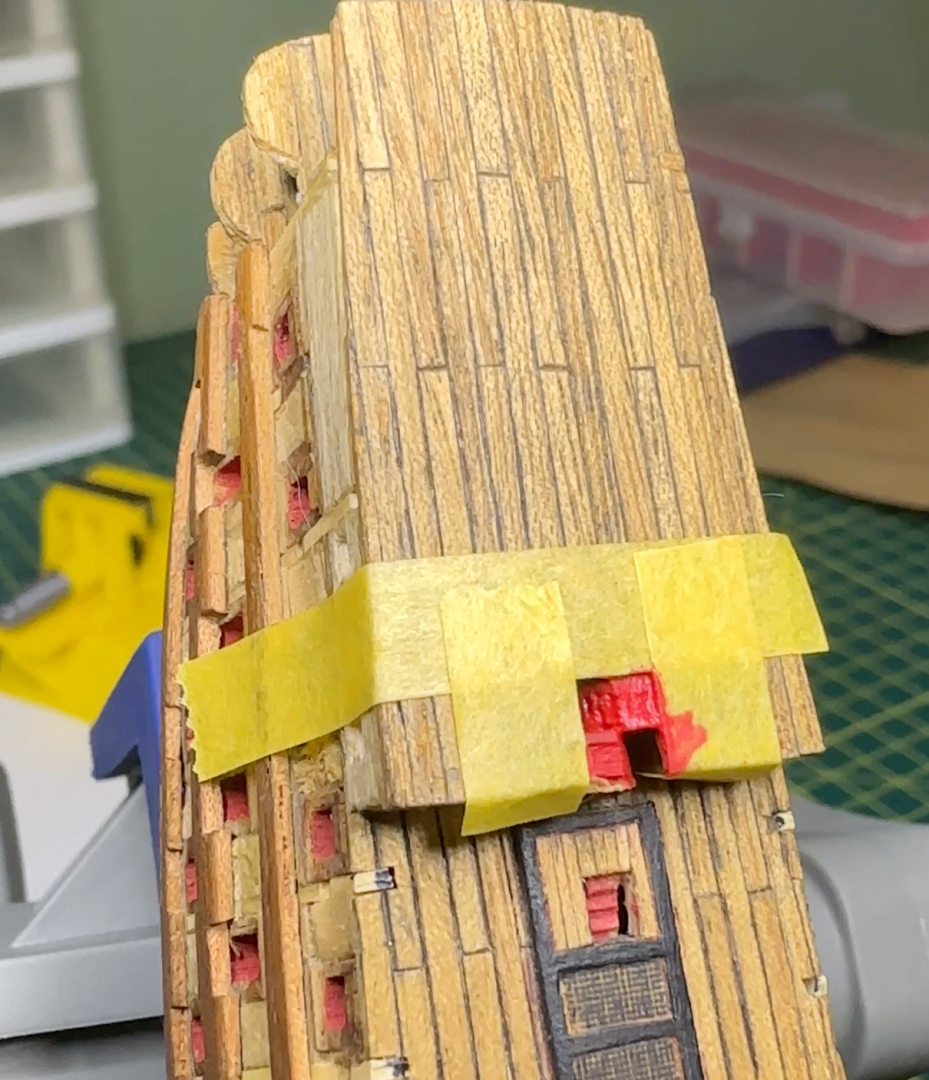
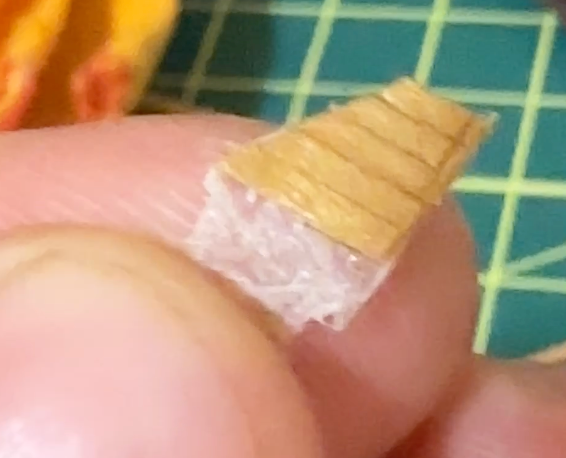
Hey everyone. I haven't been having much timw to spend on the model lately, to my great self disappointment... My vacations are over, my dissertation is still late and my index finger is still a bit sore. But sinec classes haven't started yet (I teach in a local university), I had some time to consider my next steps. First, I found the work of a modeler/artist called Rex Stewart. I guess most of you have heard about him but I admit my ignorance. His models share some similarity with mine - his main concern is not replicating the original building methods in miniature. I don't either, so maybe I could learn something from him. The way he builds is a lot smarter than mine (he carves a solid hull with a dremel of sorts). But here it gets interesting. He doesn't plank the outside, he rather simulates planking by scribing/scoring. And his results are not bad really. If I didn't check his buildlog on Flickr, I would've thought he planked this model. Check for yourselves... In my case it's late for a solid hull, but I could somehow partly replicate this idea, right? So i used some low tack scoth tape and after a looot of sanding I managed to get templates for thw sides of the ship... I'm gonna give scribing a try, see if works fine with me and I'll post the results later, before glueing it all in place. It seems promising!


-
Royal Louis by fmartins - multi-media
fmartins replied to fmartins's topic in - Build logs for subjects built 1751 - 1800
Thanks a lot Patrick! The scale is a challenge yes but it was more imprudence of my part. I wanted something small cause I live in a small apartment but now I see this was a mistake of sorts heheheheh... I'll do my best but in this scale without proper equipment let's just say it won't be wonderful as you say hehehe but I'm having so much fun building this ship... I'm like a kid these days with a new toy!! If you have ideas advice or criticism don't hesitate to post ok?