Kevin
-
Posts
7,036 -
Joined
-
Last visited


-
 Barbossa reacted to a post in a topic:
San Bartolome 1584 by Kevin - Ships of Pavel Nikitin - 1/48 - Jan 2026
Barbossa reacted to a post in a topic:
San Bartolome 1584 by Kevin - Ships of Pavel Nikitin - 1/48 - Jan 2026
-
Kevin reacted to a post in a topic:
HMS Surprise 1796 (prototype) by James H - Vanguard Models - 1:64
-
Kevin reacted to a post in a topic:
HMS Surprise 1796 (prototype) by James H - Vanguard Models - 1:64
-
Kevin reacted to a post in a topic:
HMS Surprise 1796 (prototype) by James H - Vanguard Models - 1:64
-
scrubbyj427 reacted to a post in a topic:
San Bartolome 1584 by Kevin - Ships of Pavel Nikitin - 1/48 - Jan 2026
-
scrubbyj427 reacted to a post in a topic:
San Bartolome 1584 by Kevin - Ships of Pavel Nikitin - 1/48 - Jan 2026
-
scrubbyj427 reacted to a post in a topic:
San Bartolome 1584 by Kevin - Ships of Pavel Nikitin - 1/48 - Jan 2026
-
Kevin reacted to a post in a topic:
San Bartolome 1584 by Kevin - Ships of Pavel Nikitin - 1/48 - Jan 2026
-
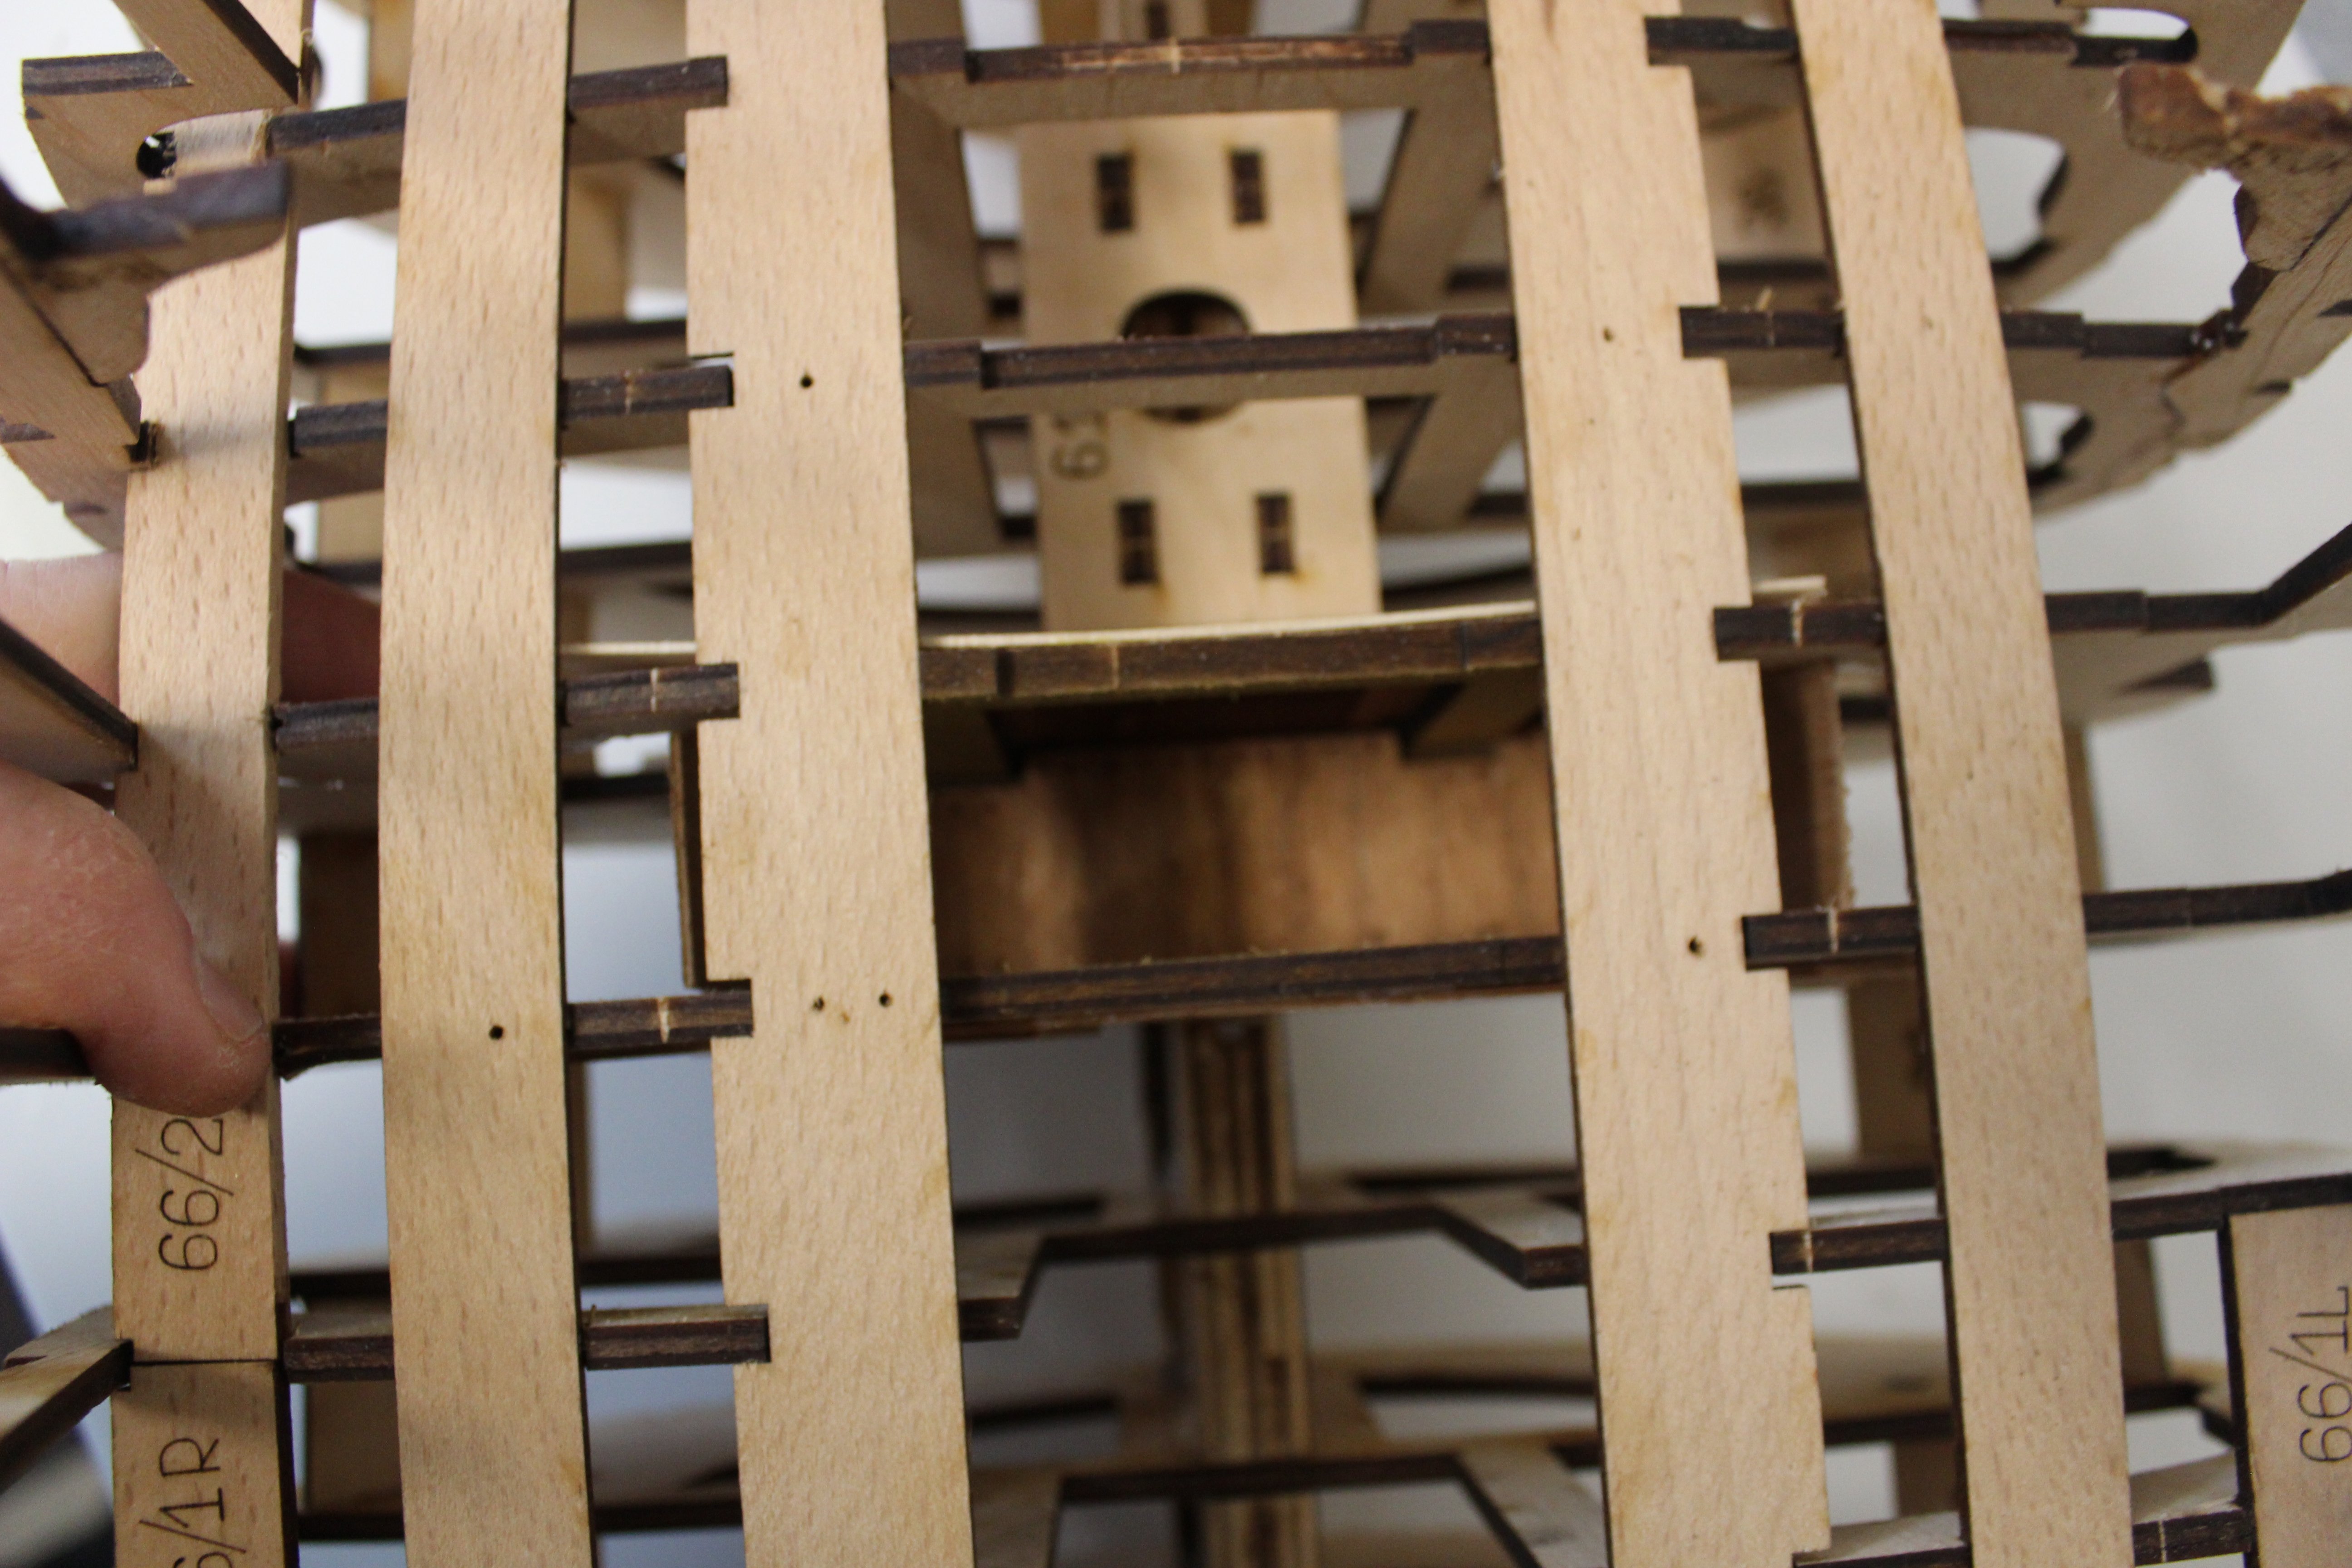
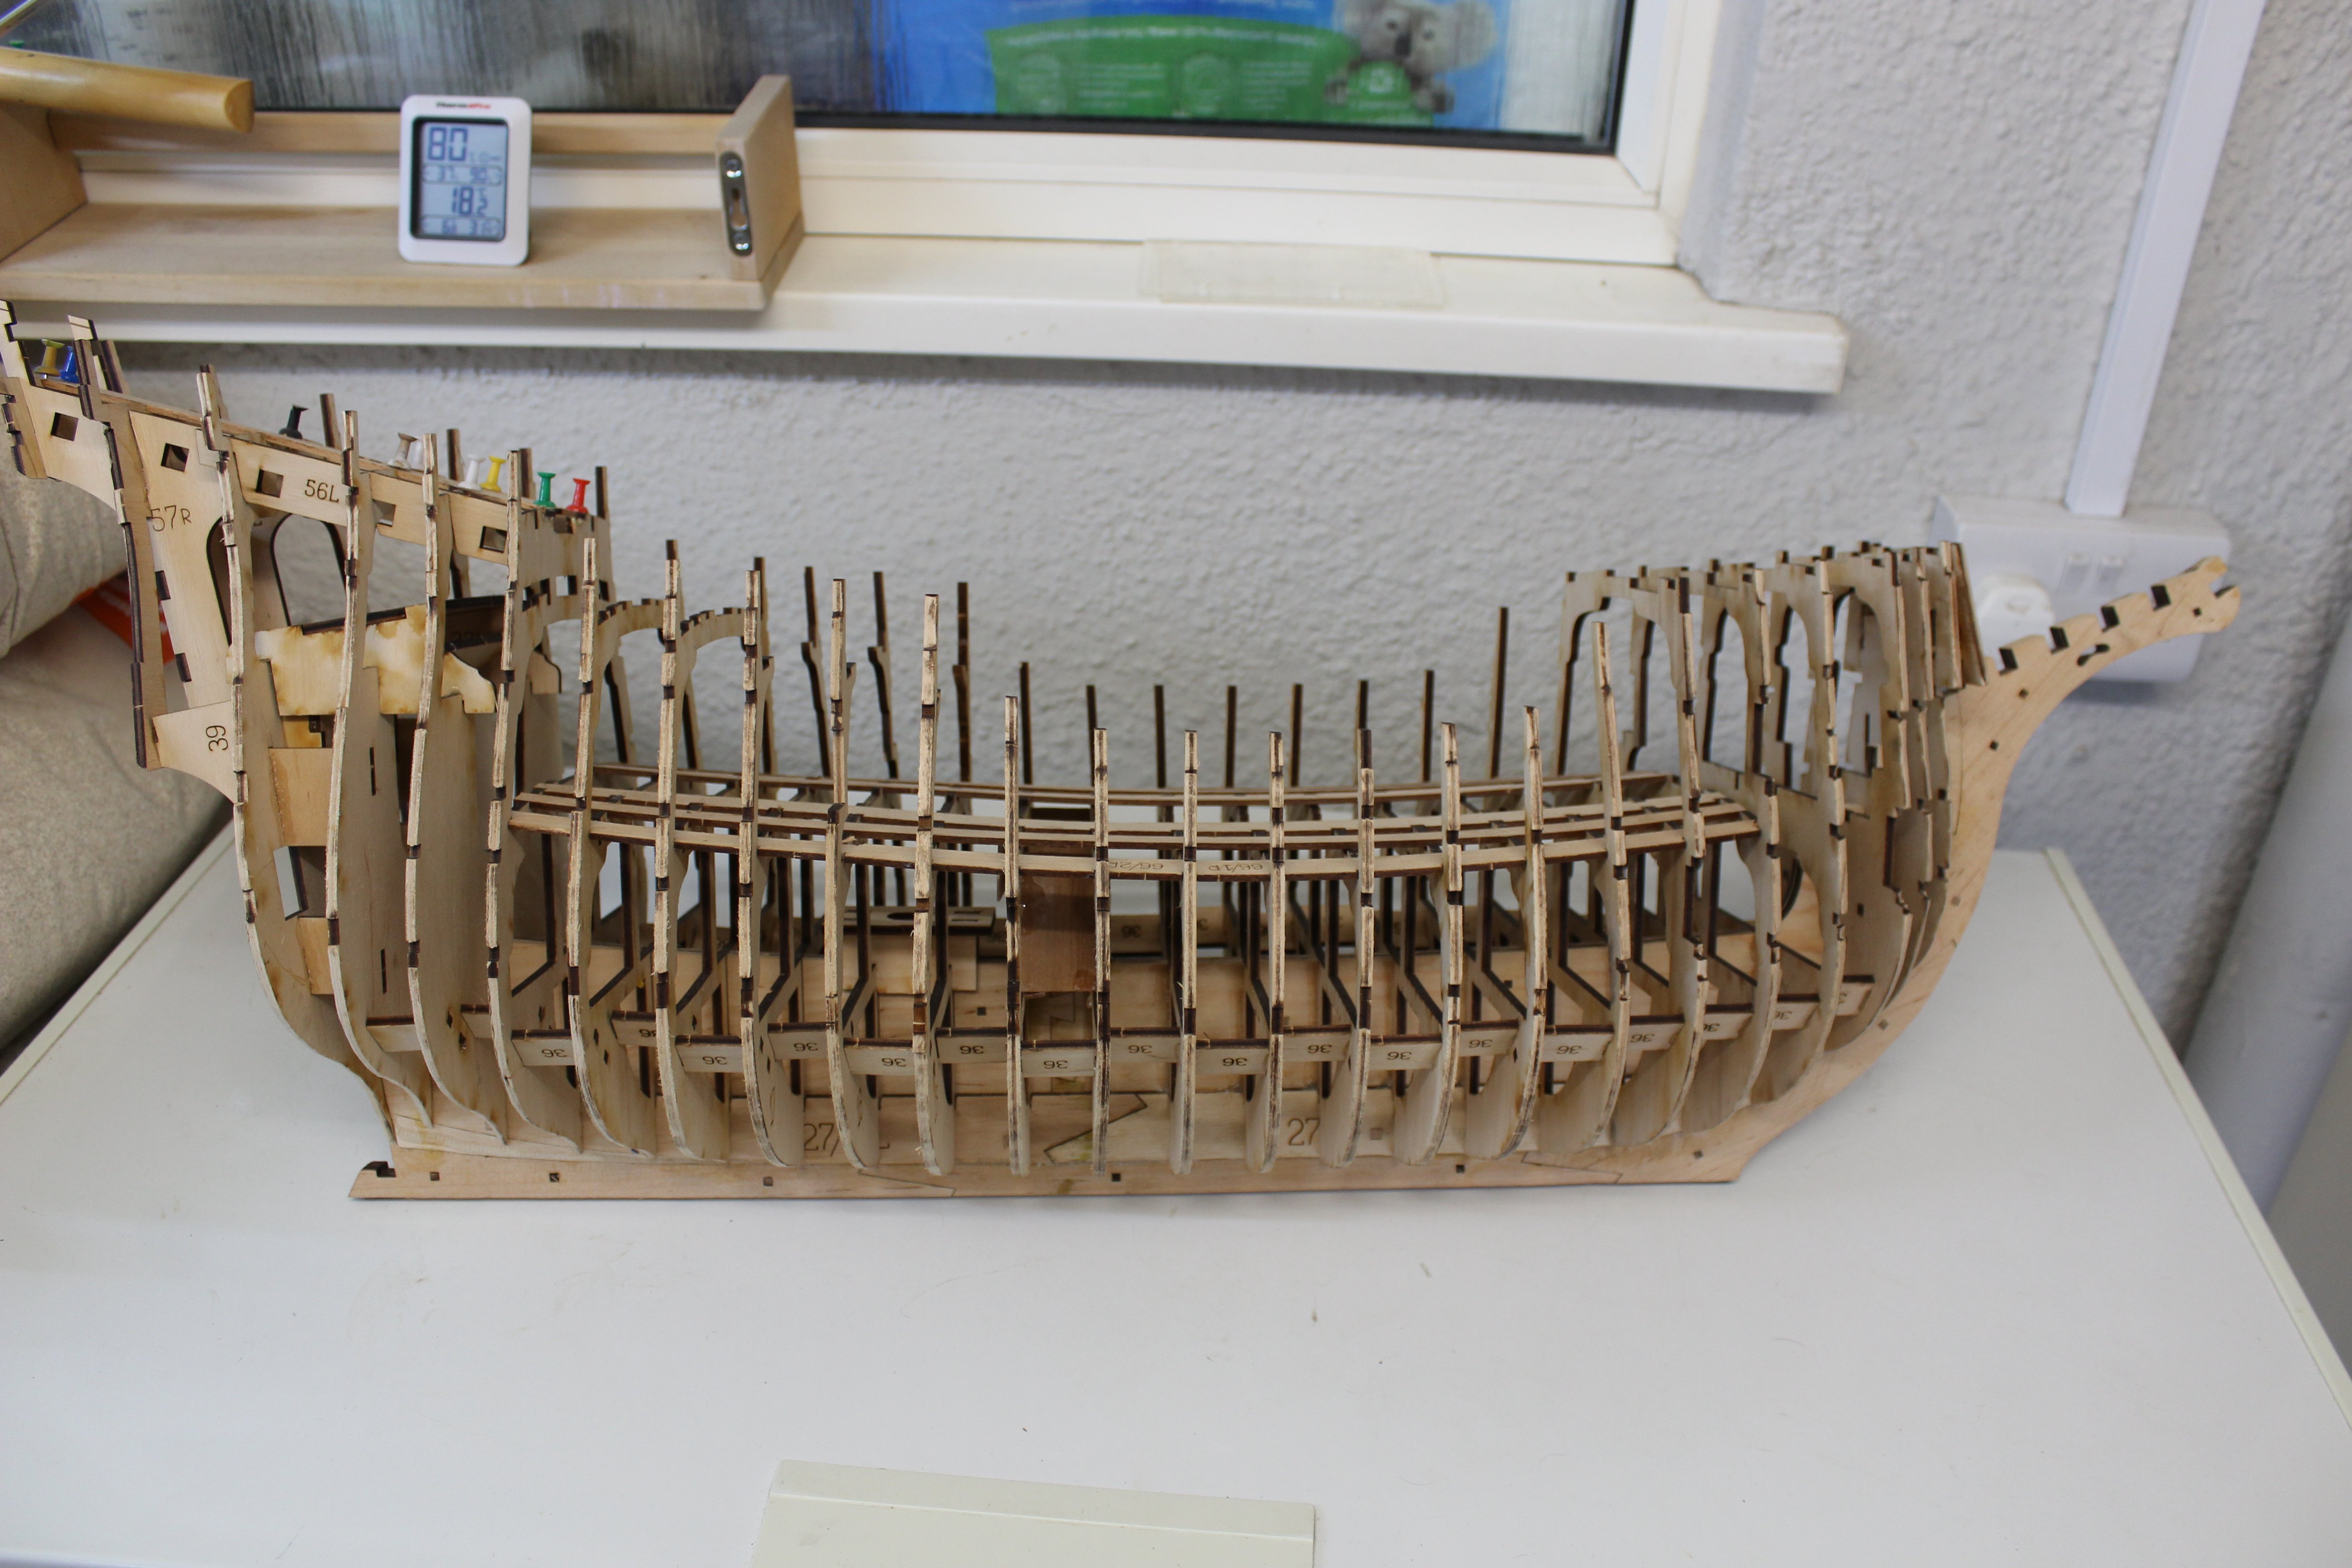
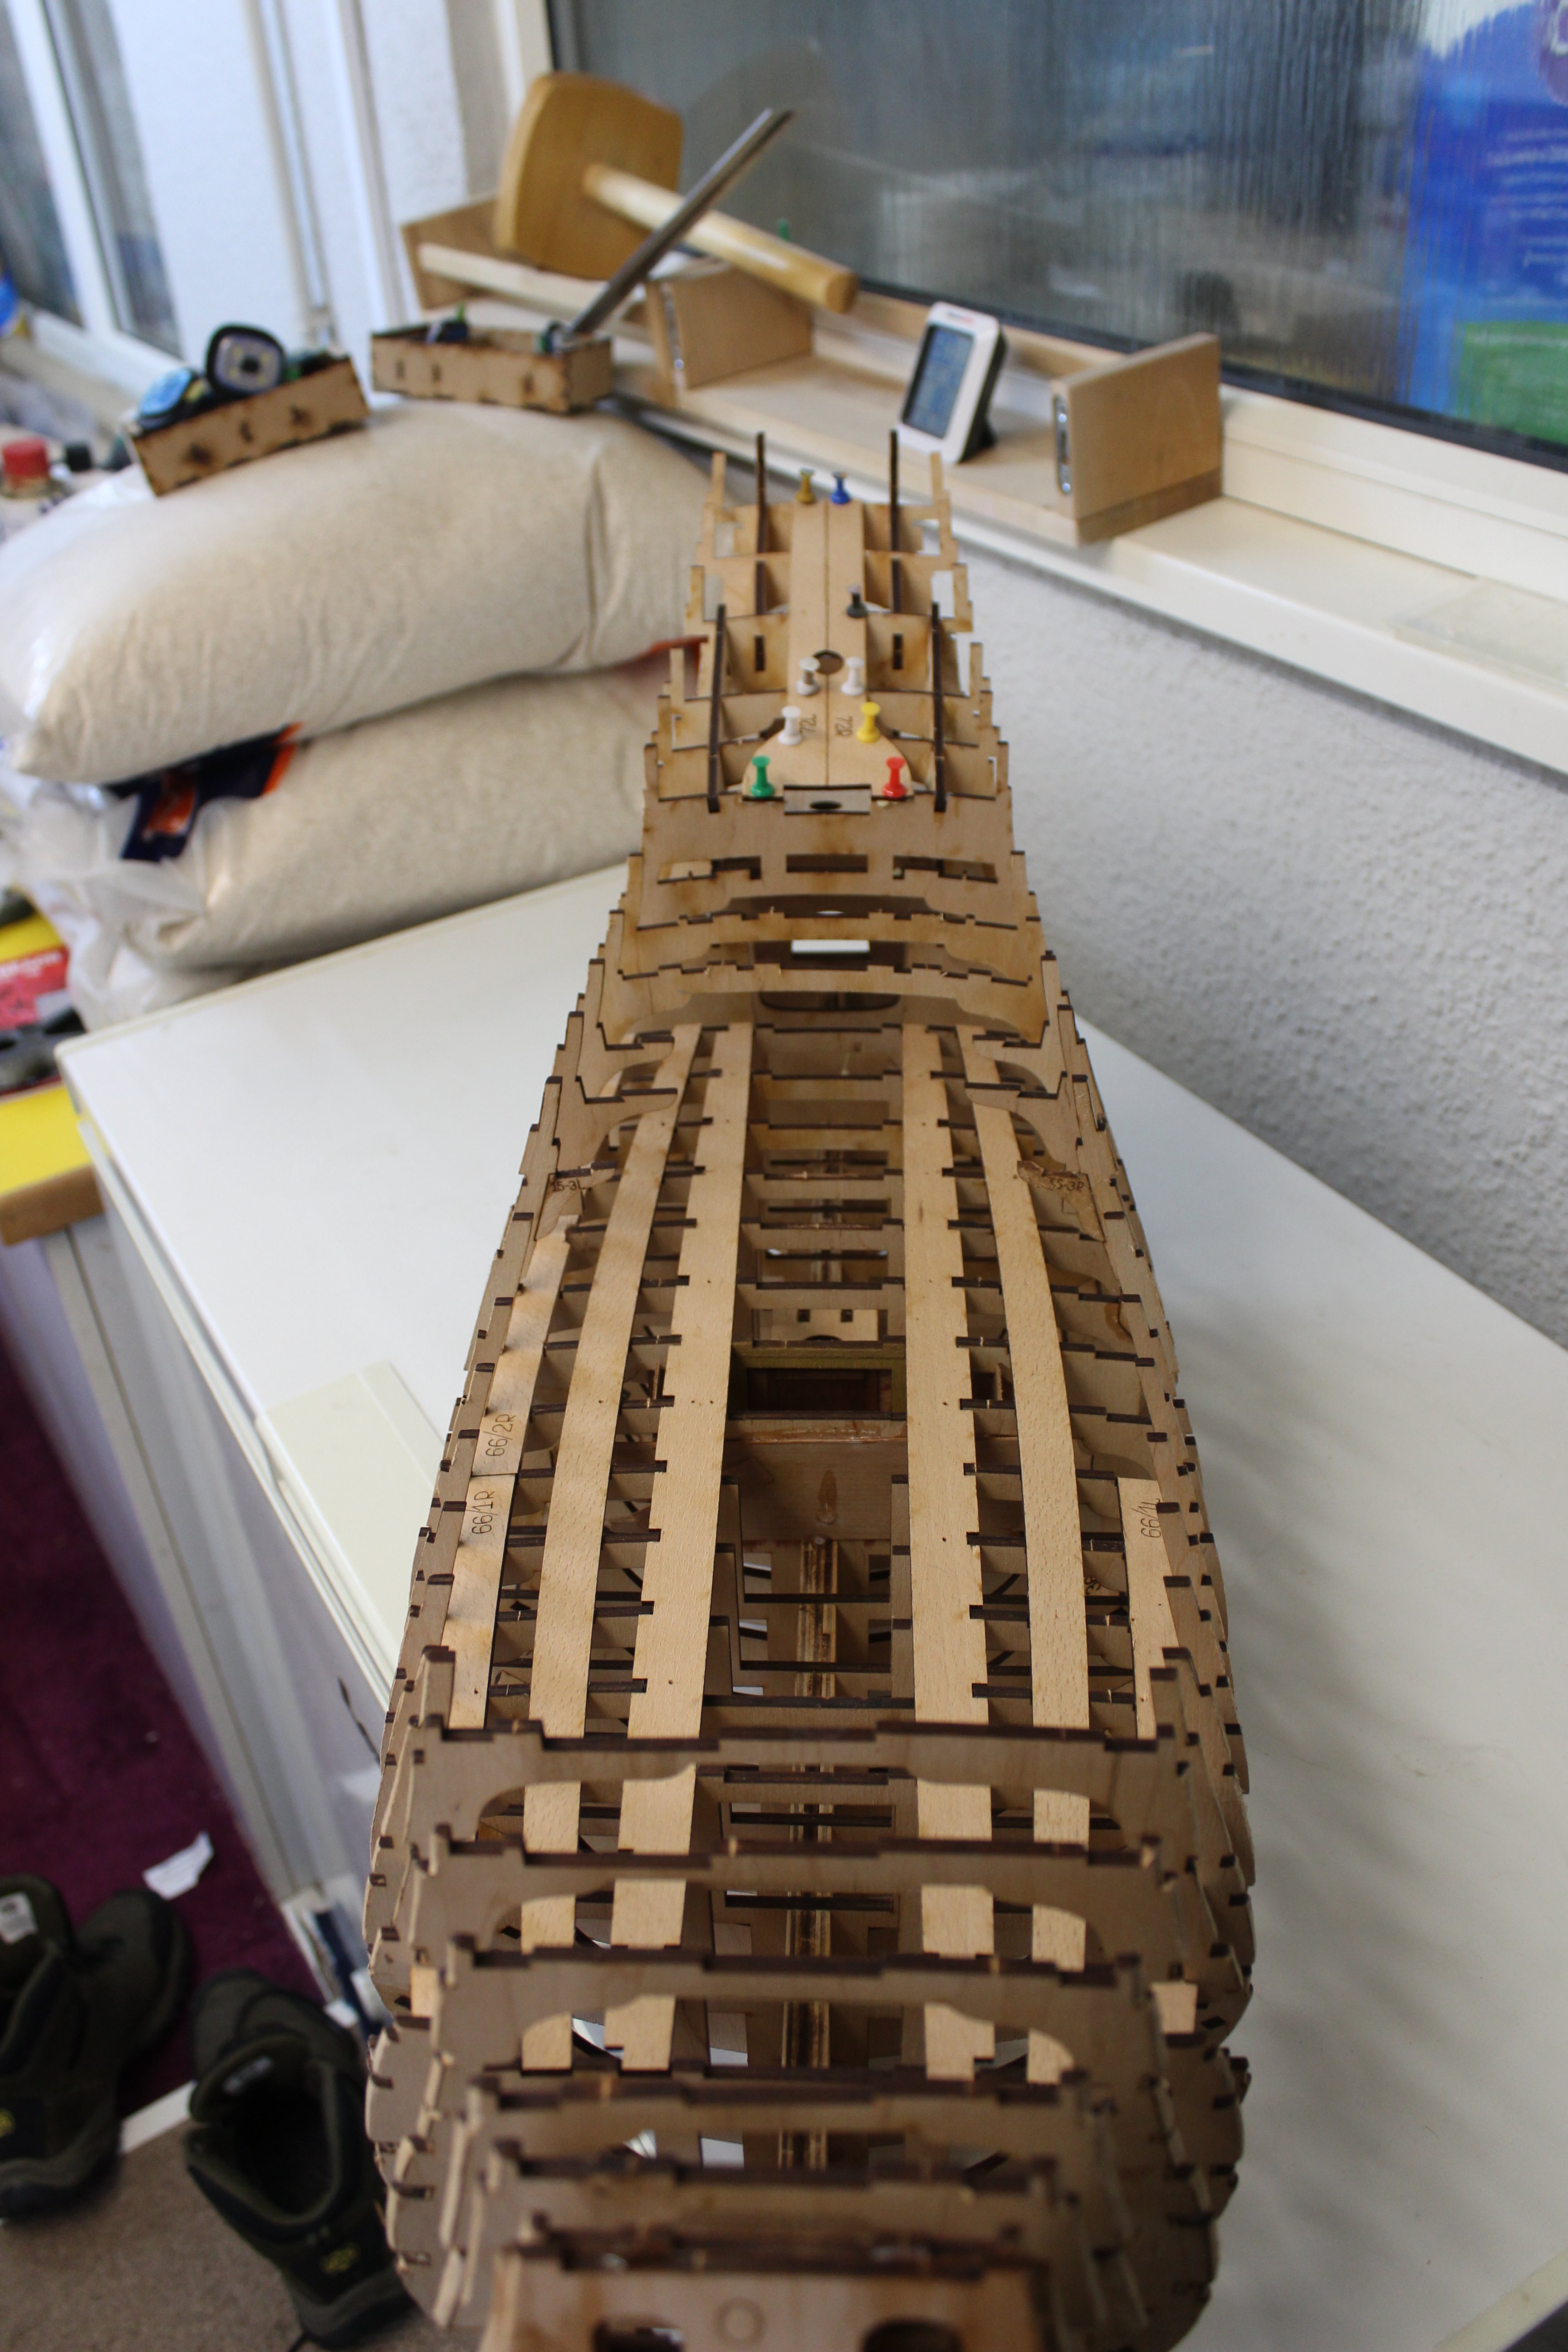
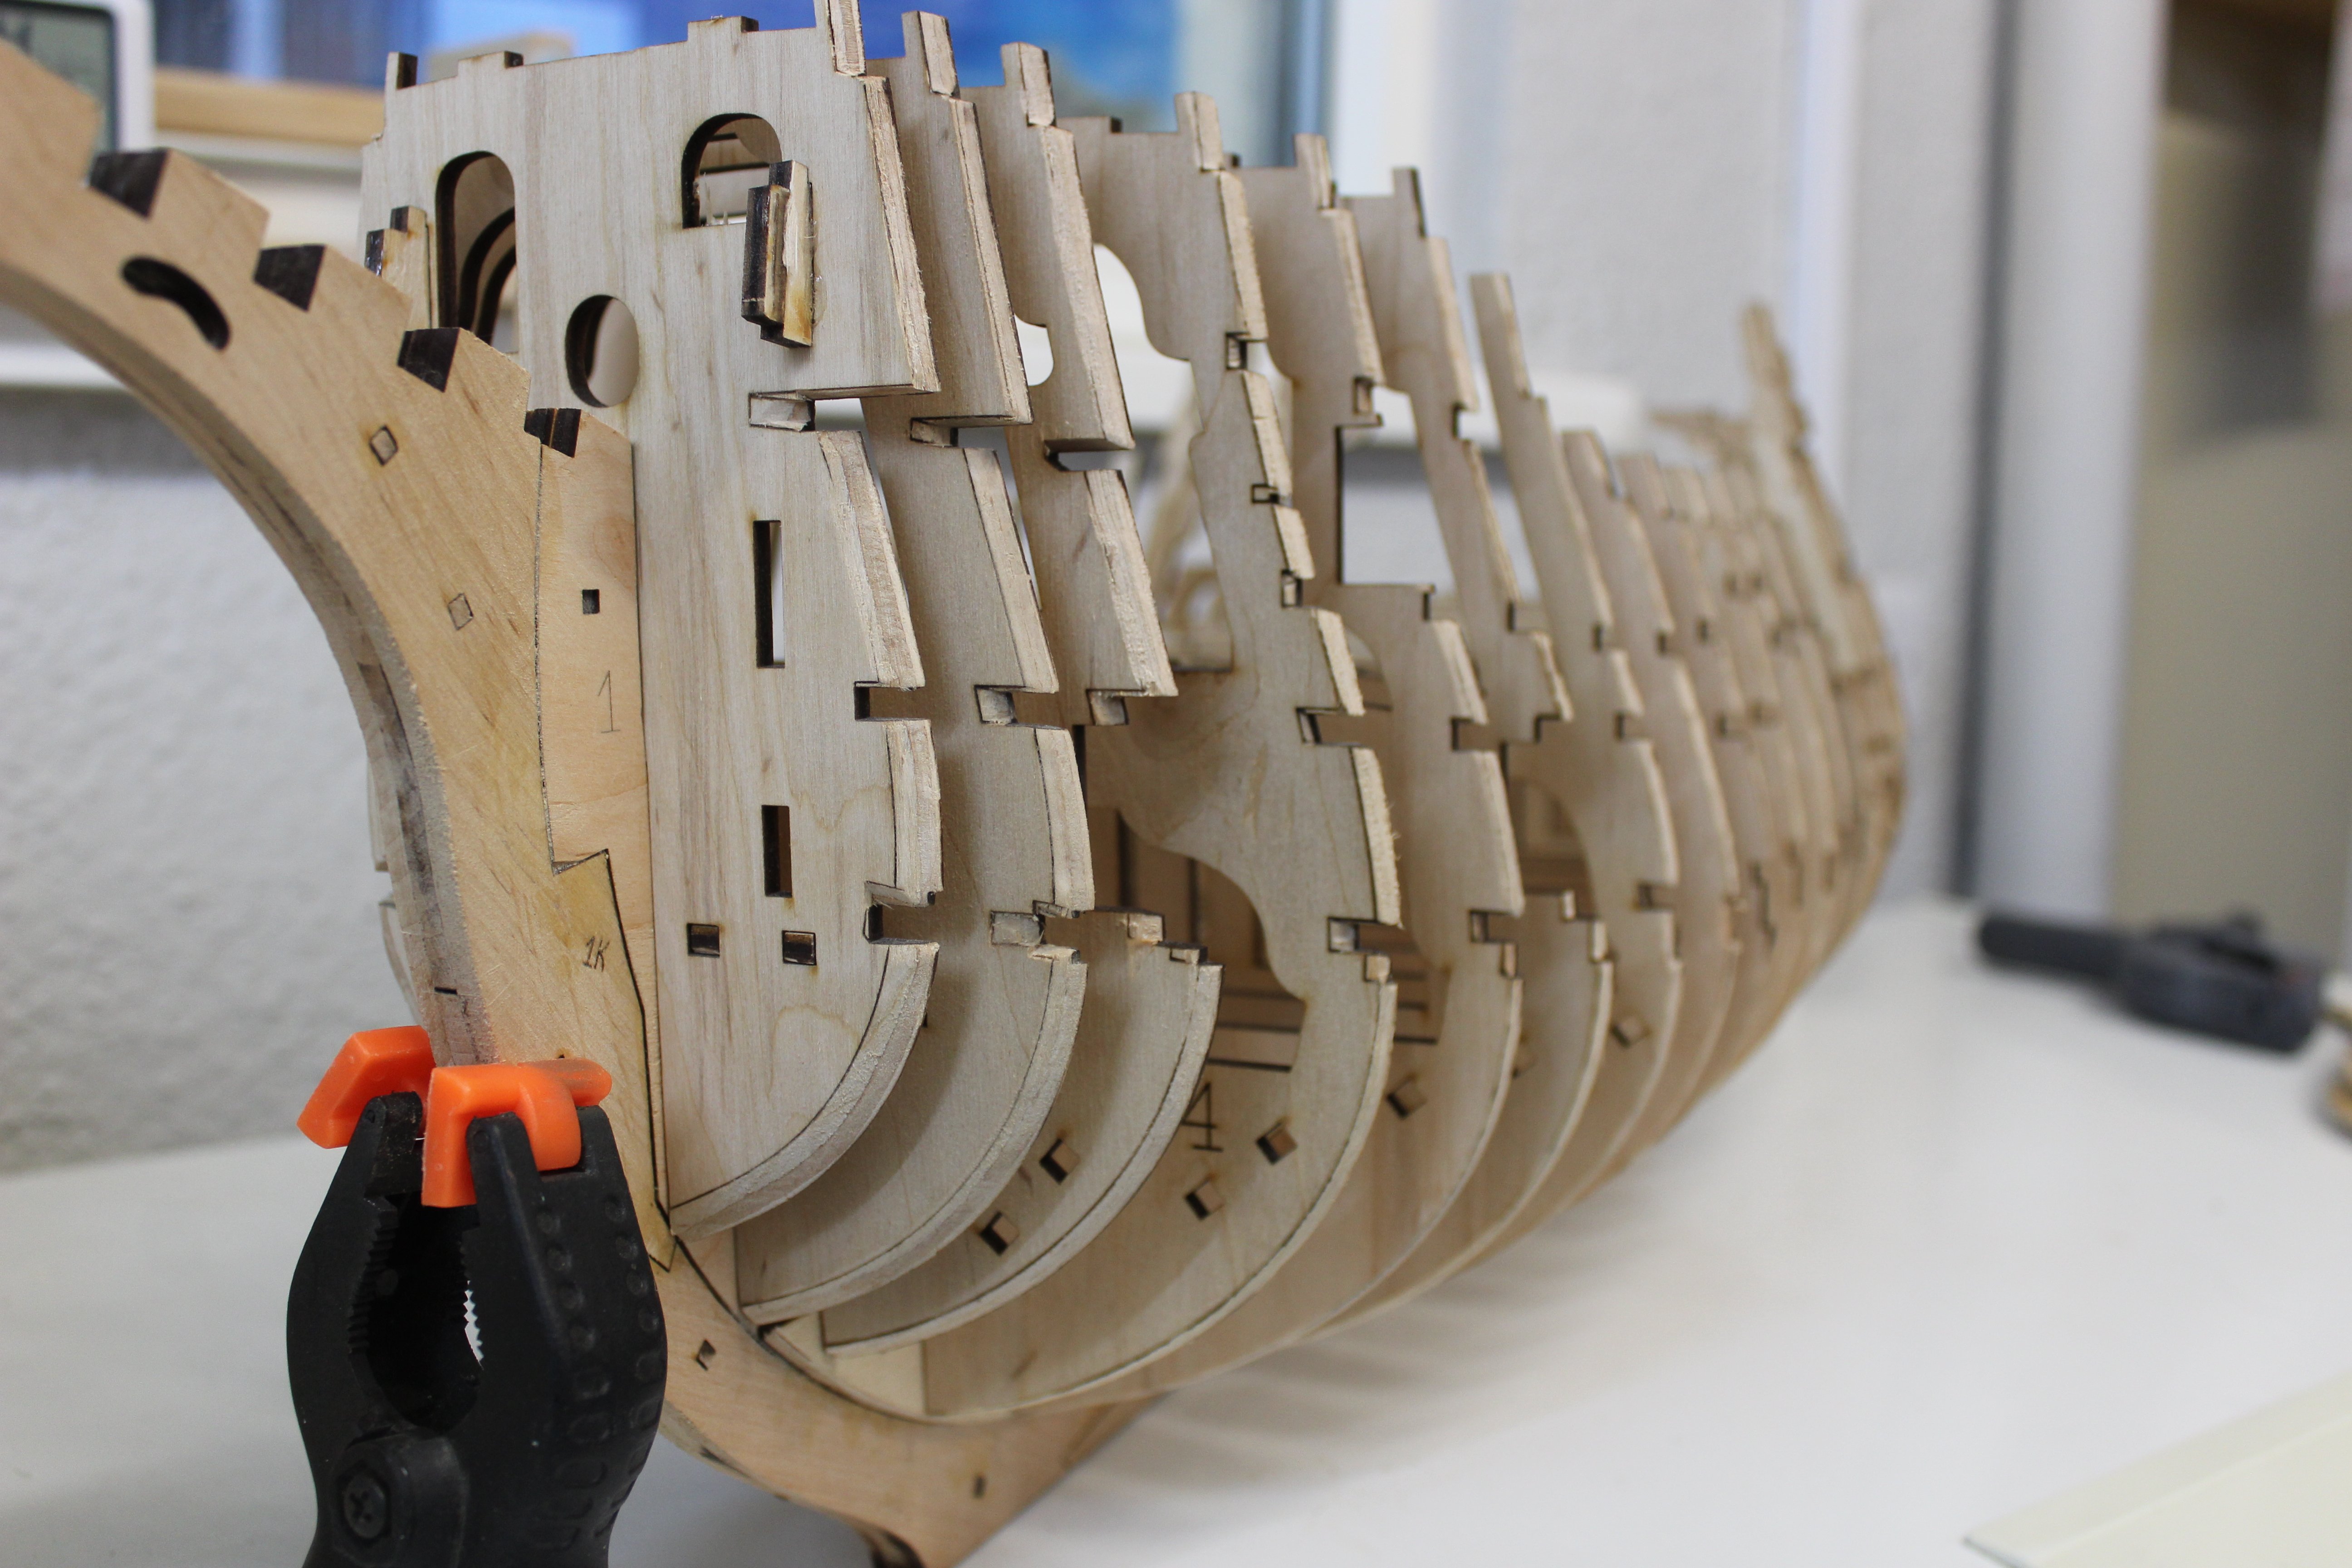
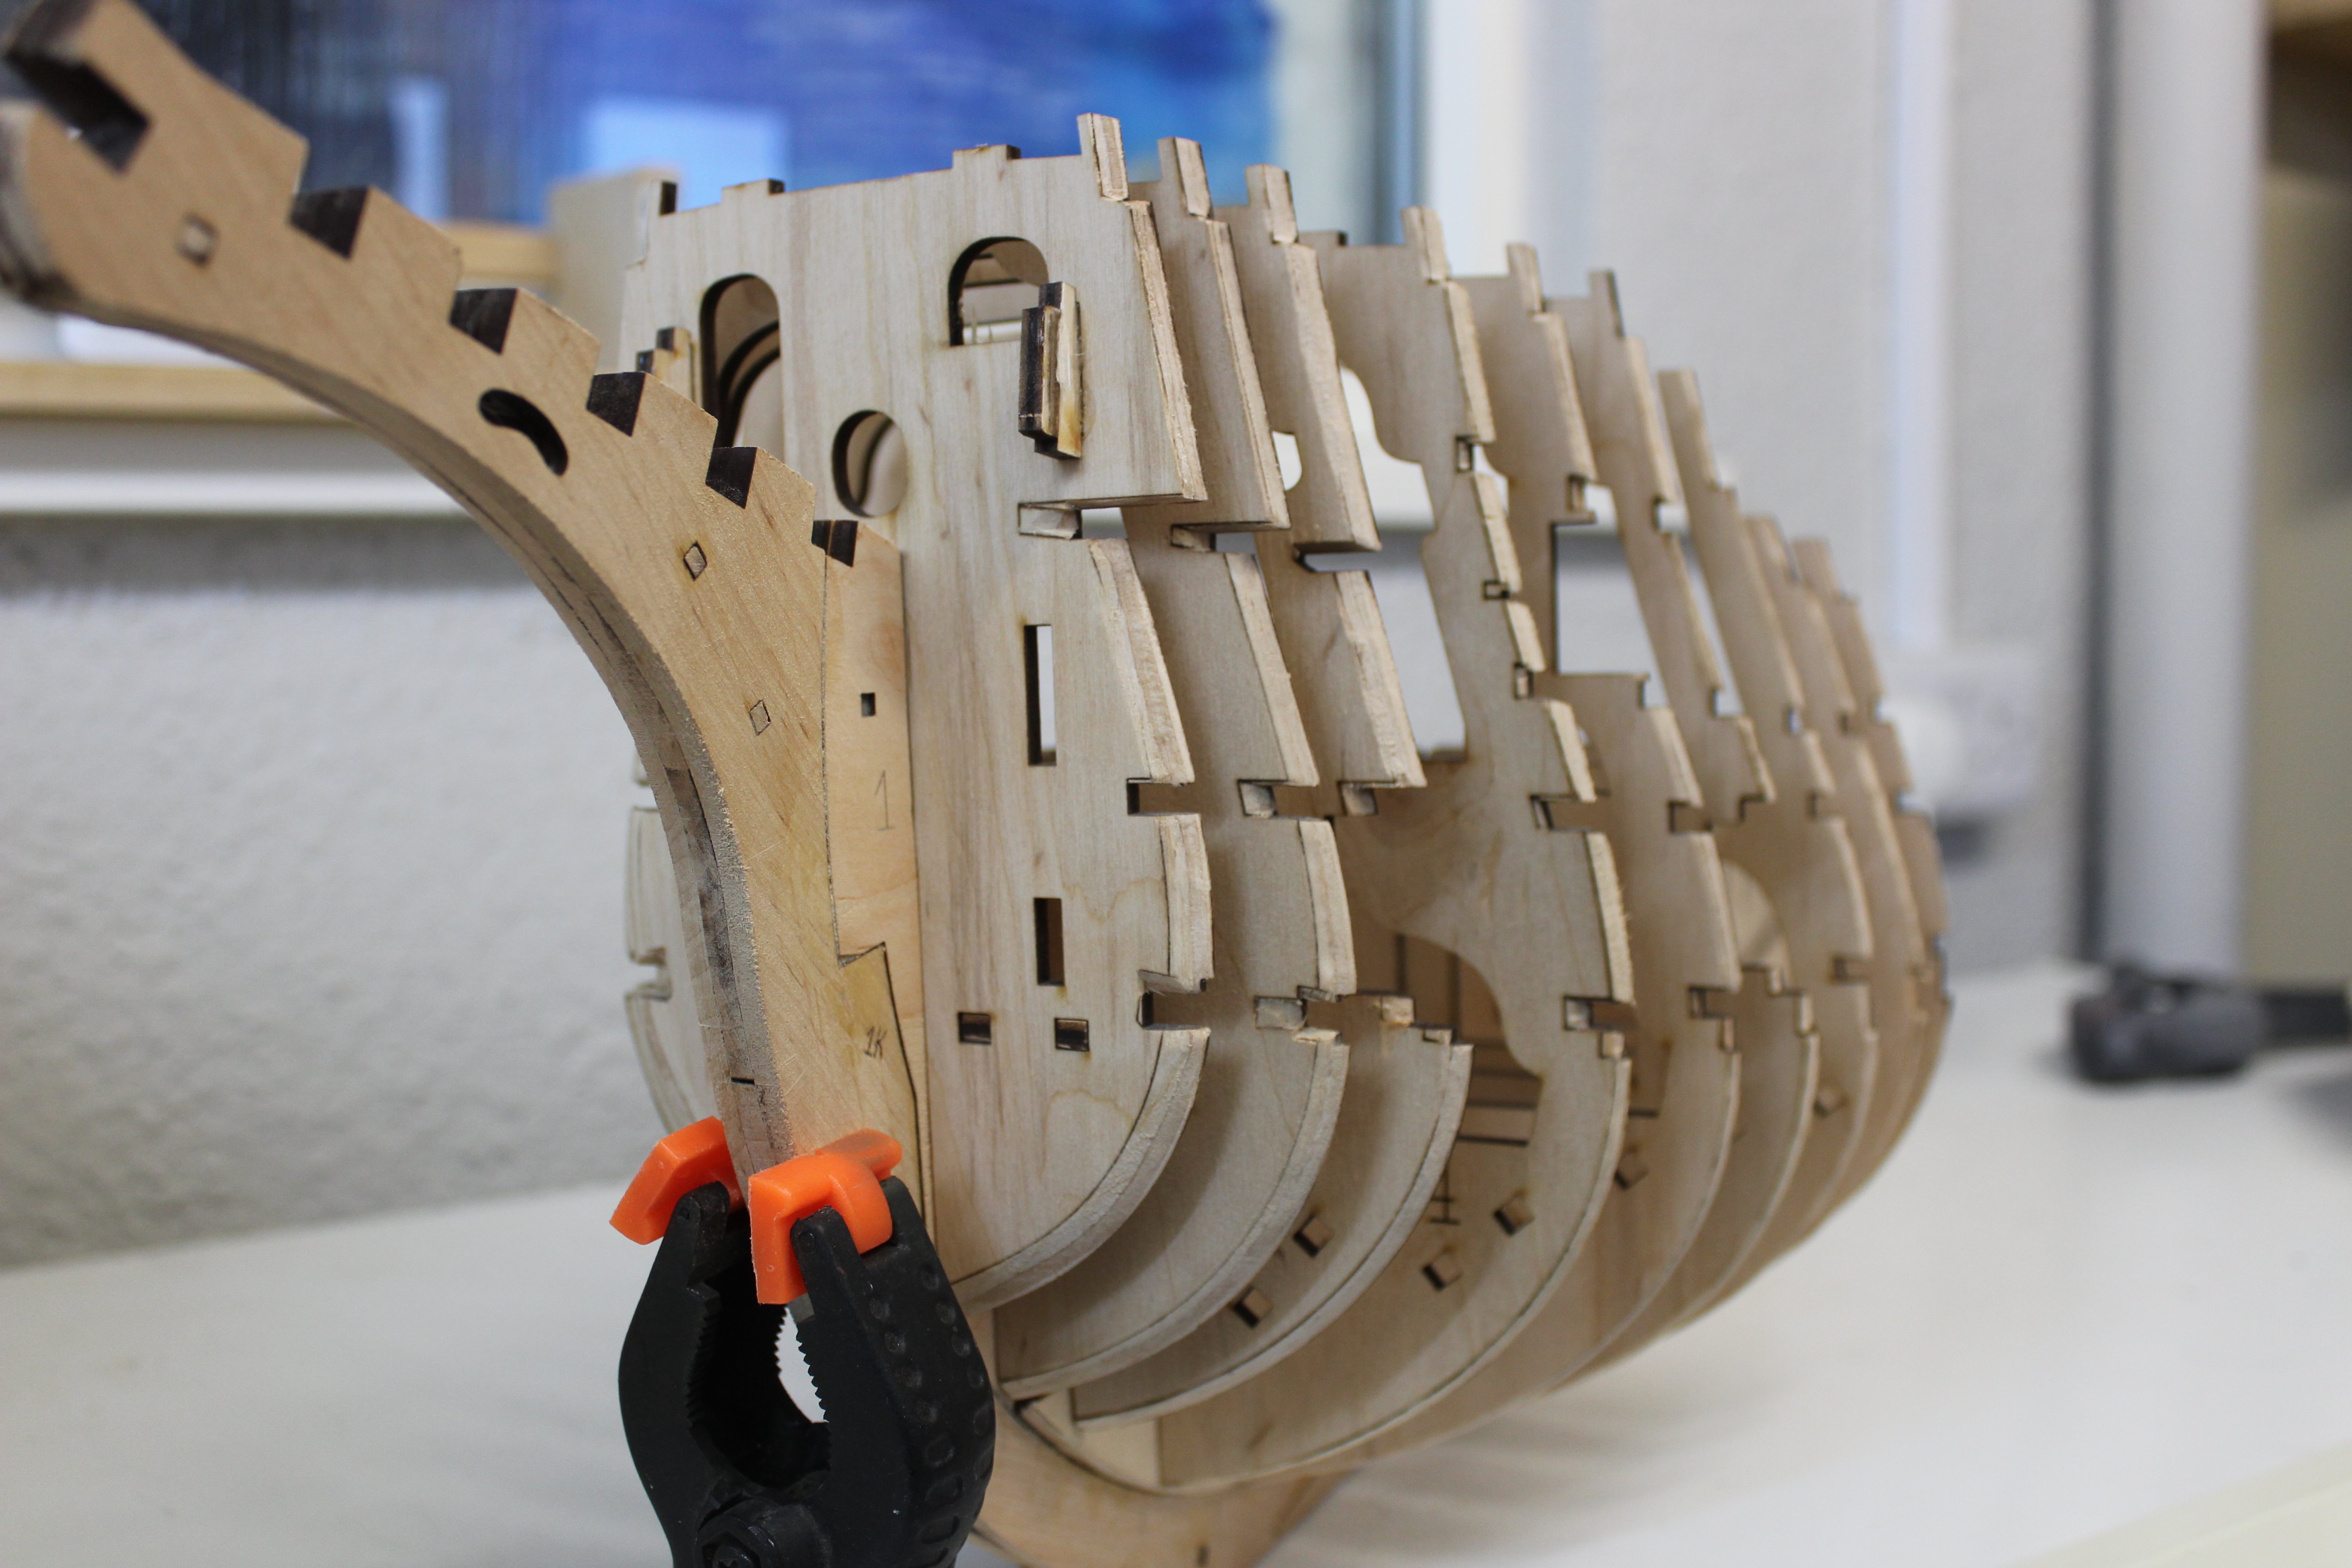
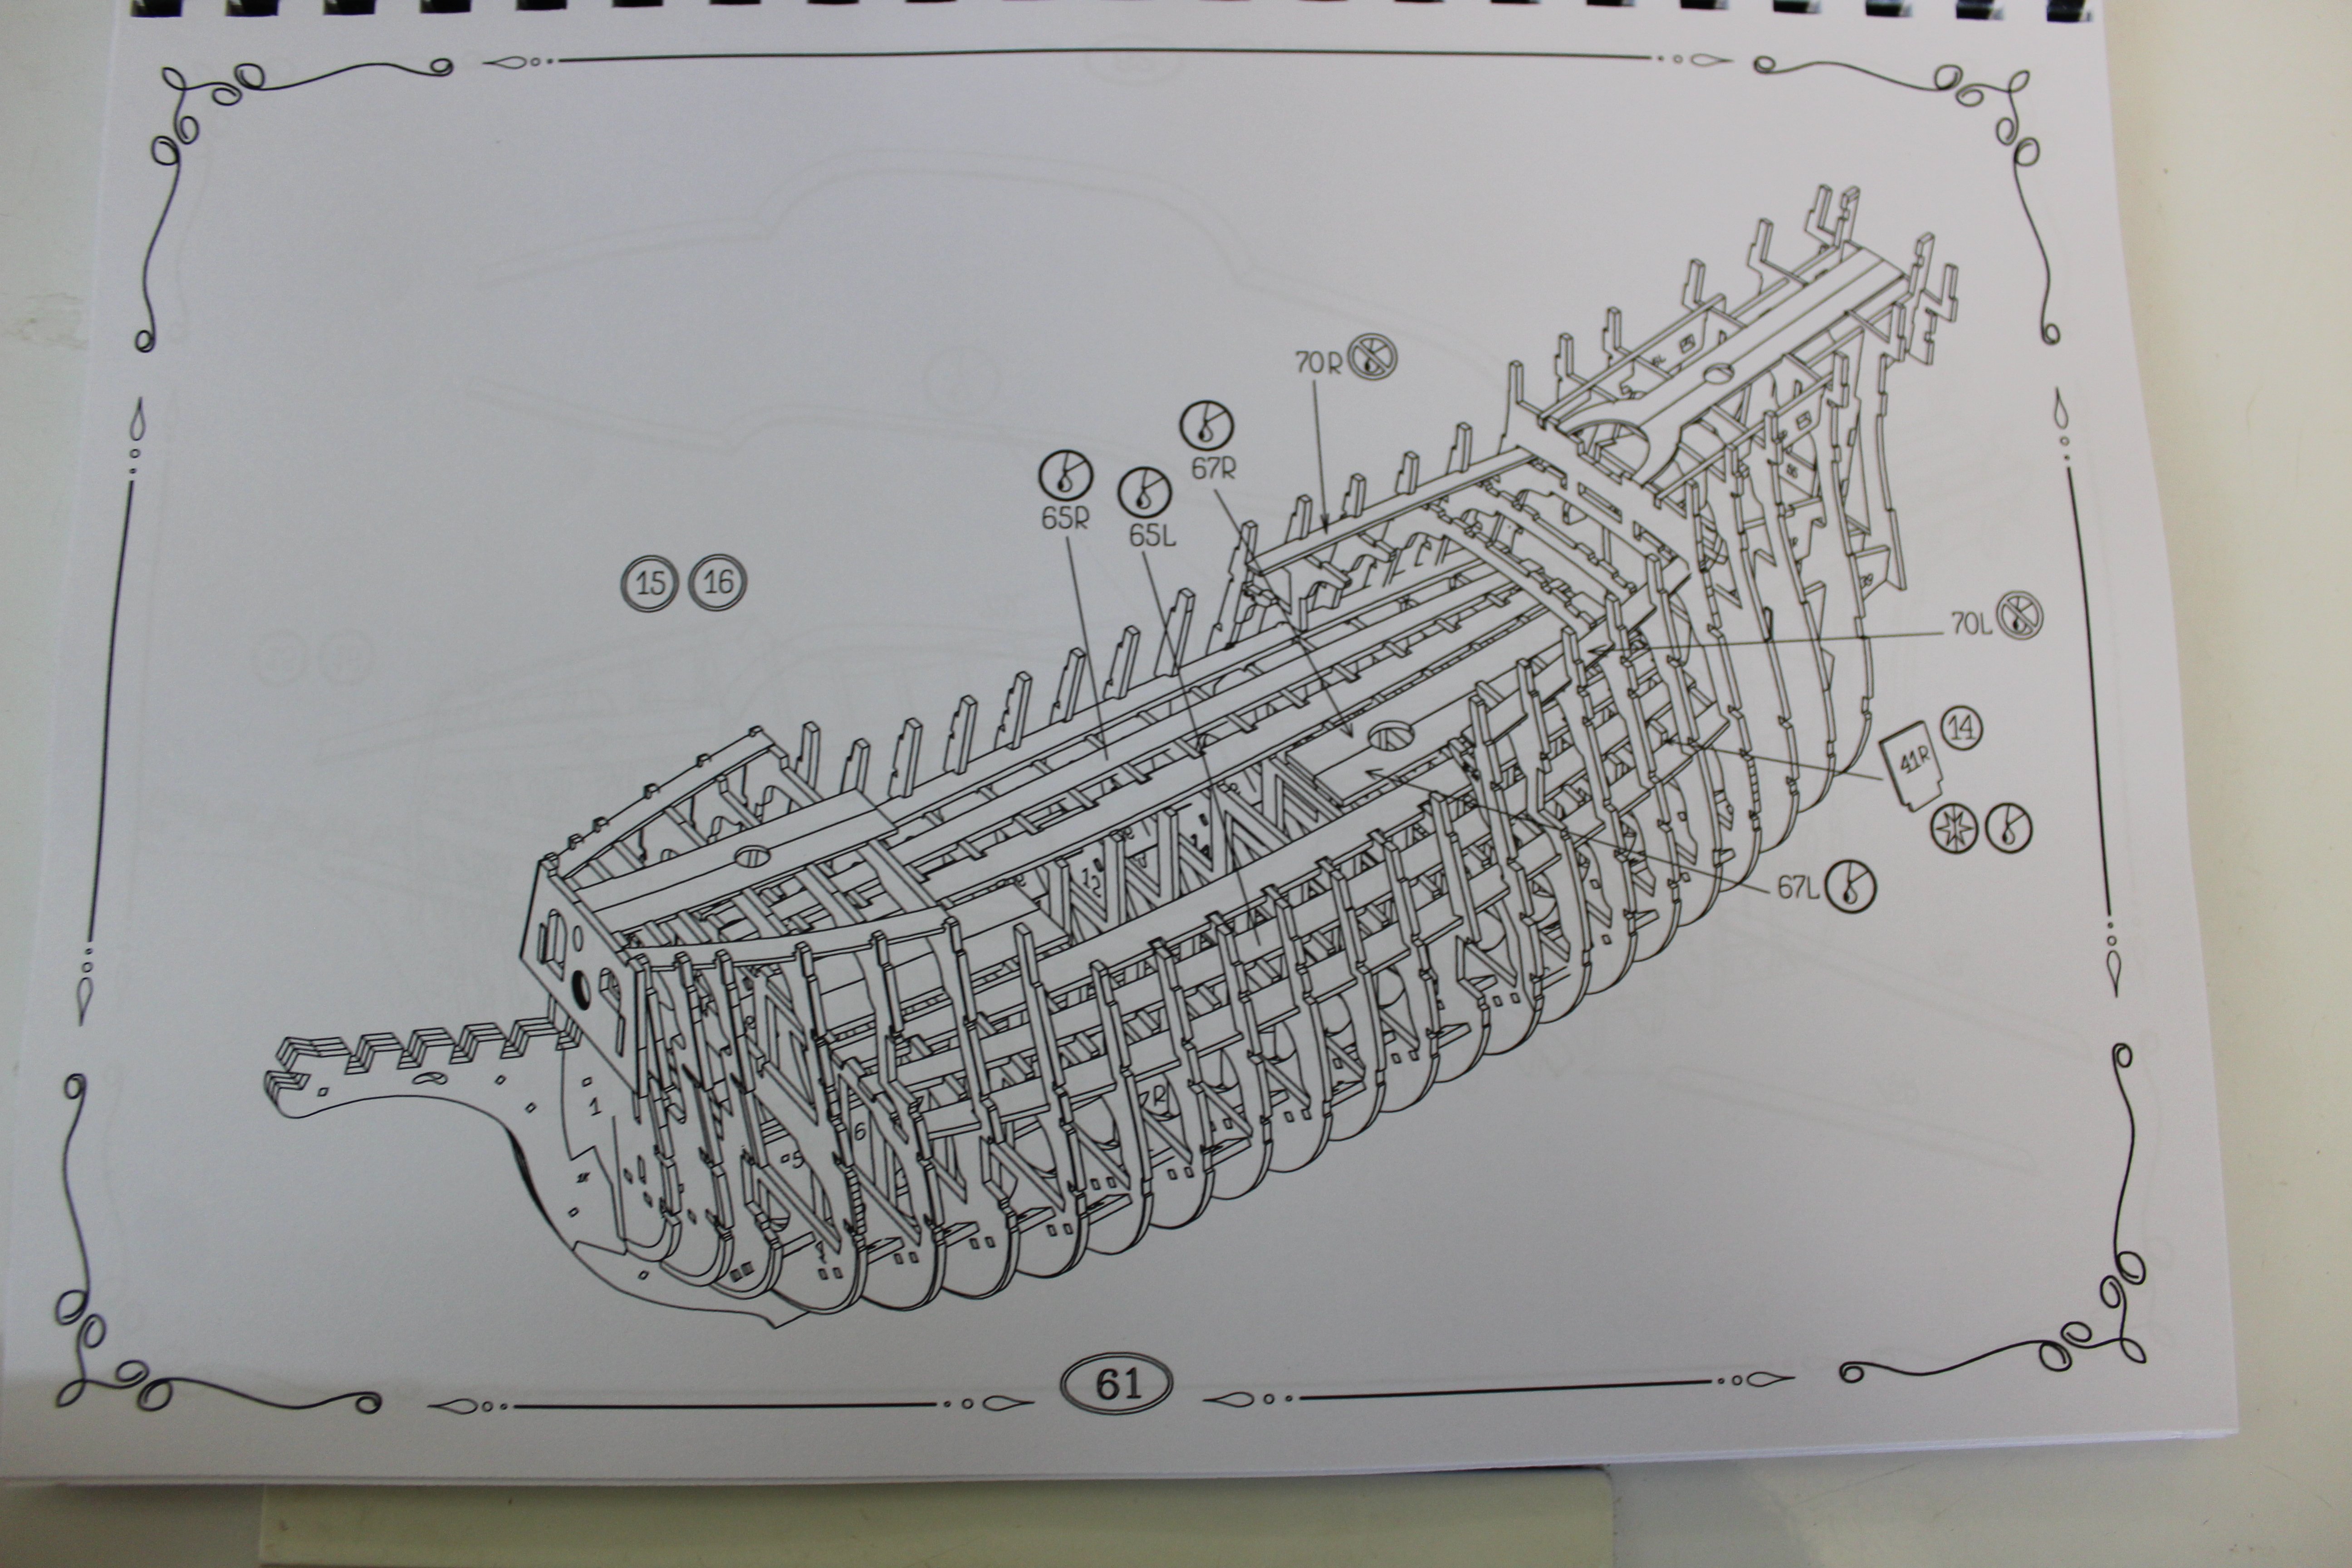
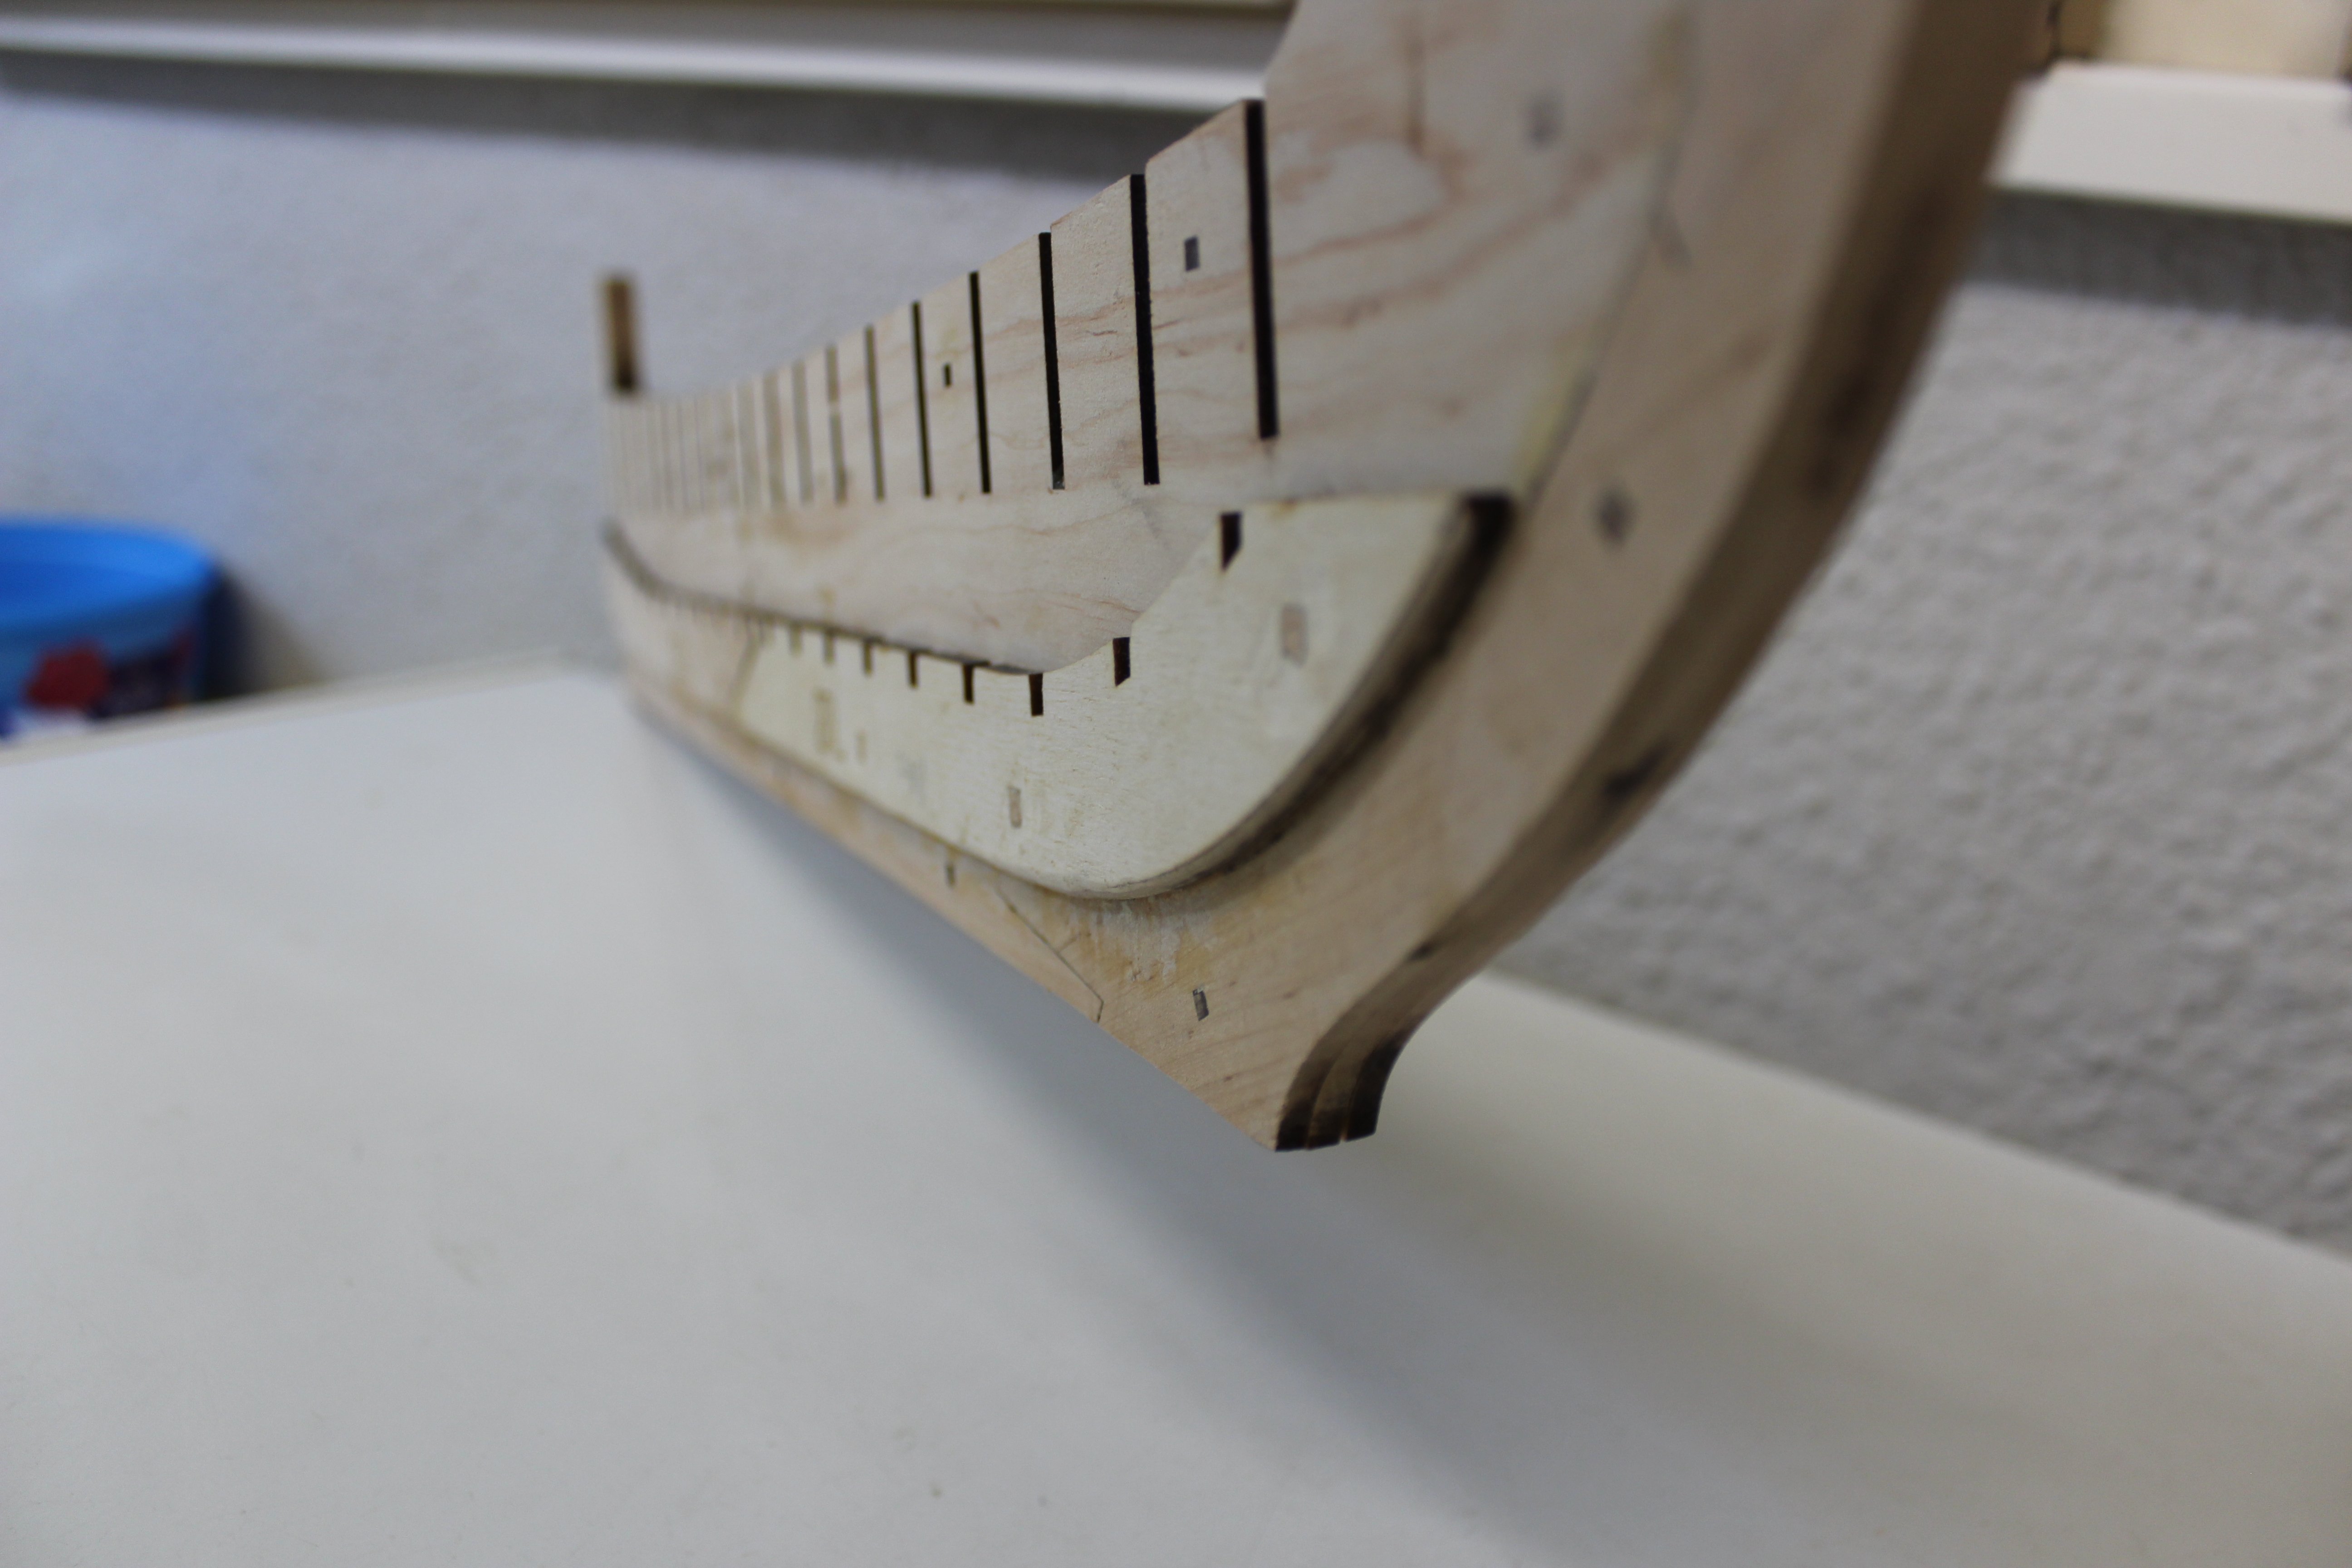
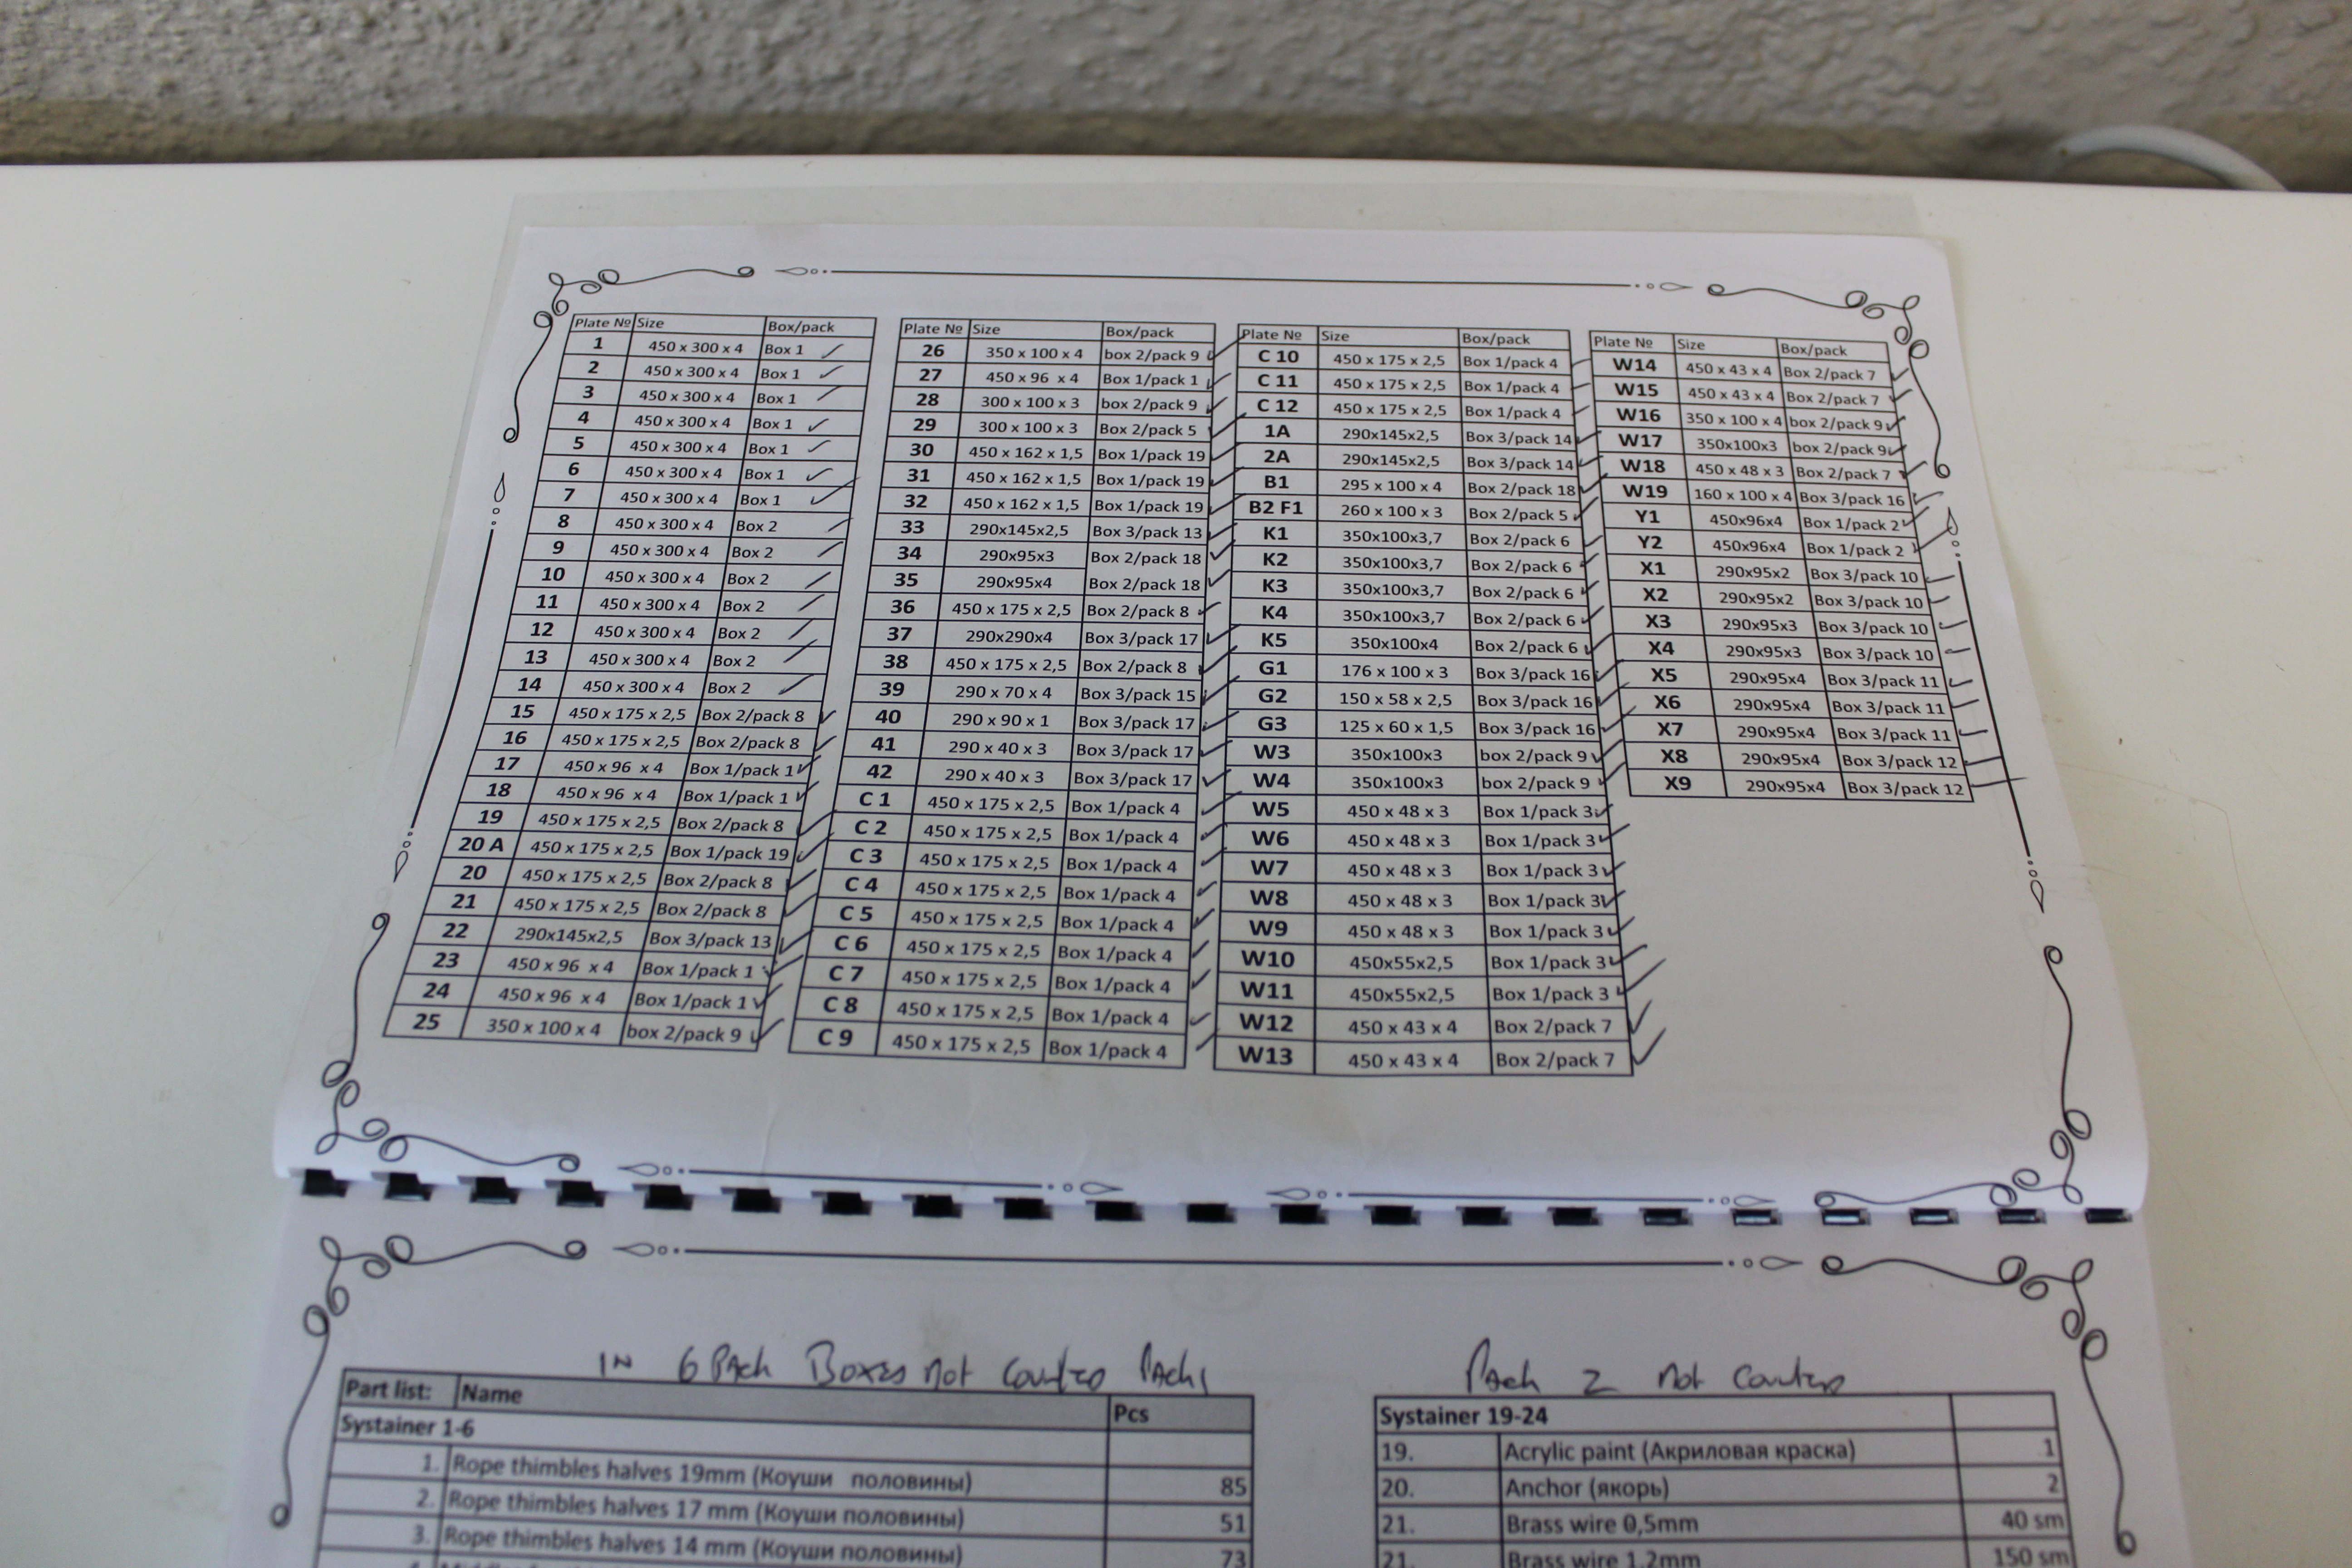
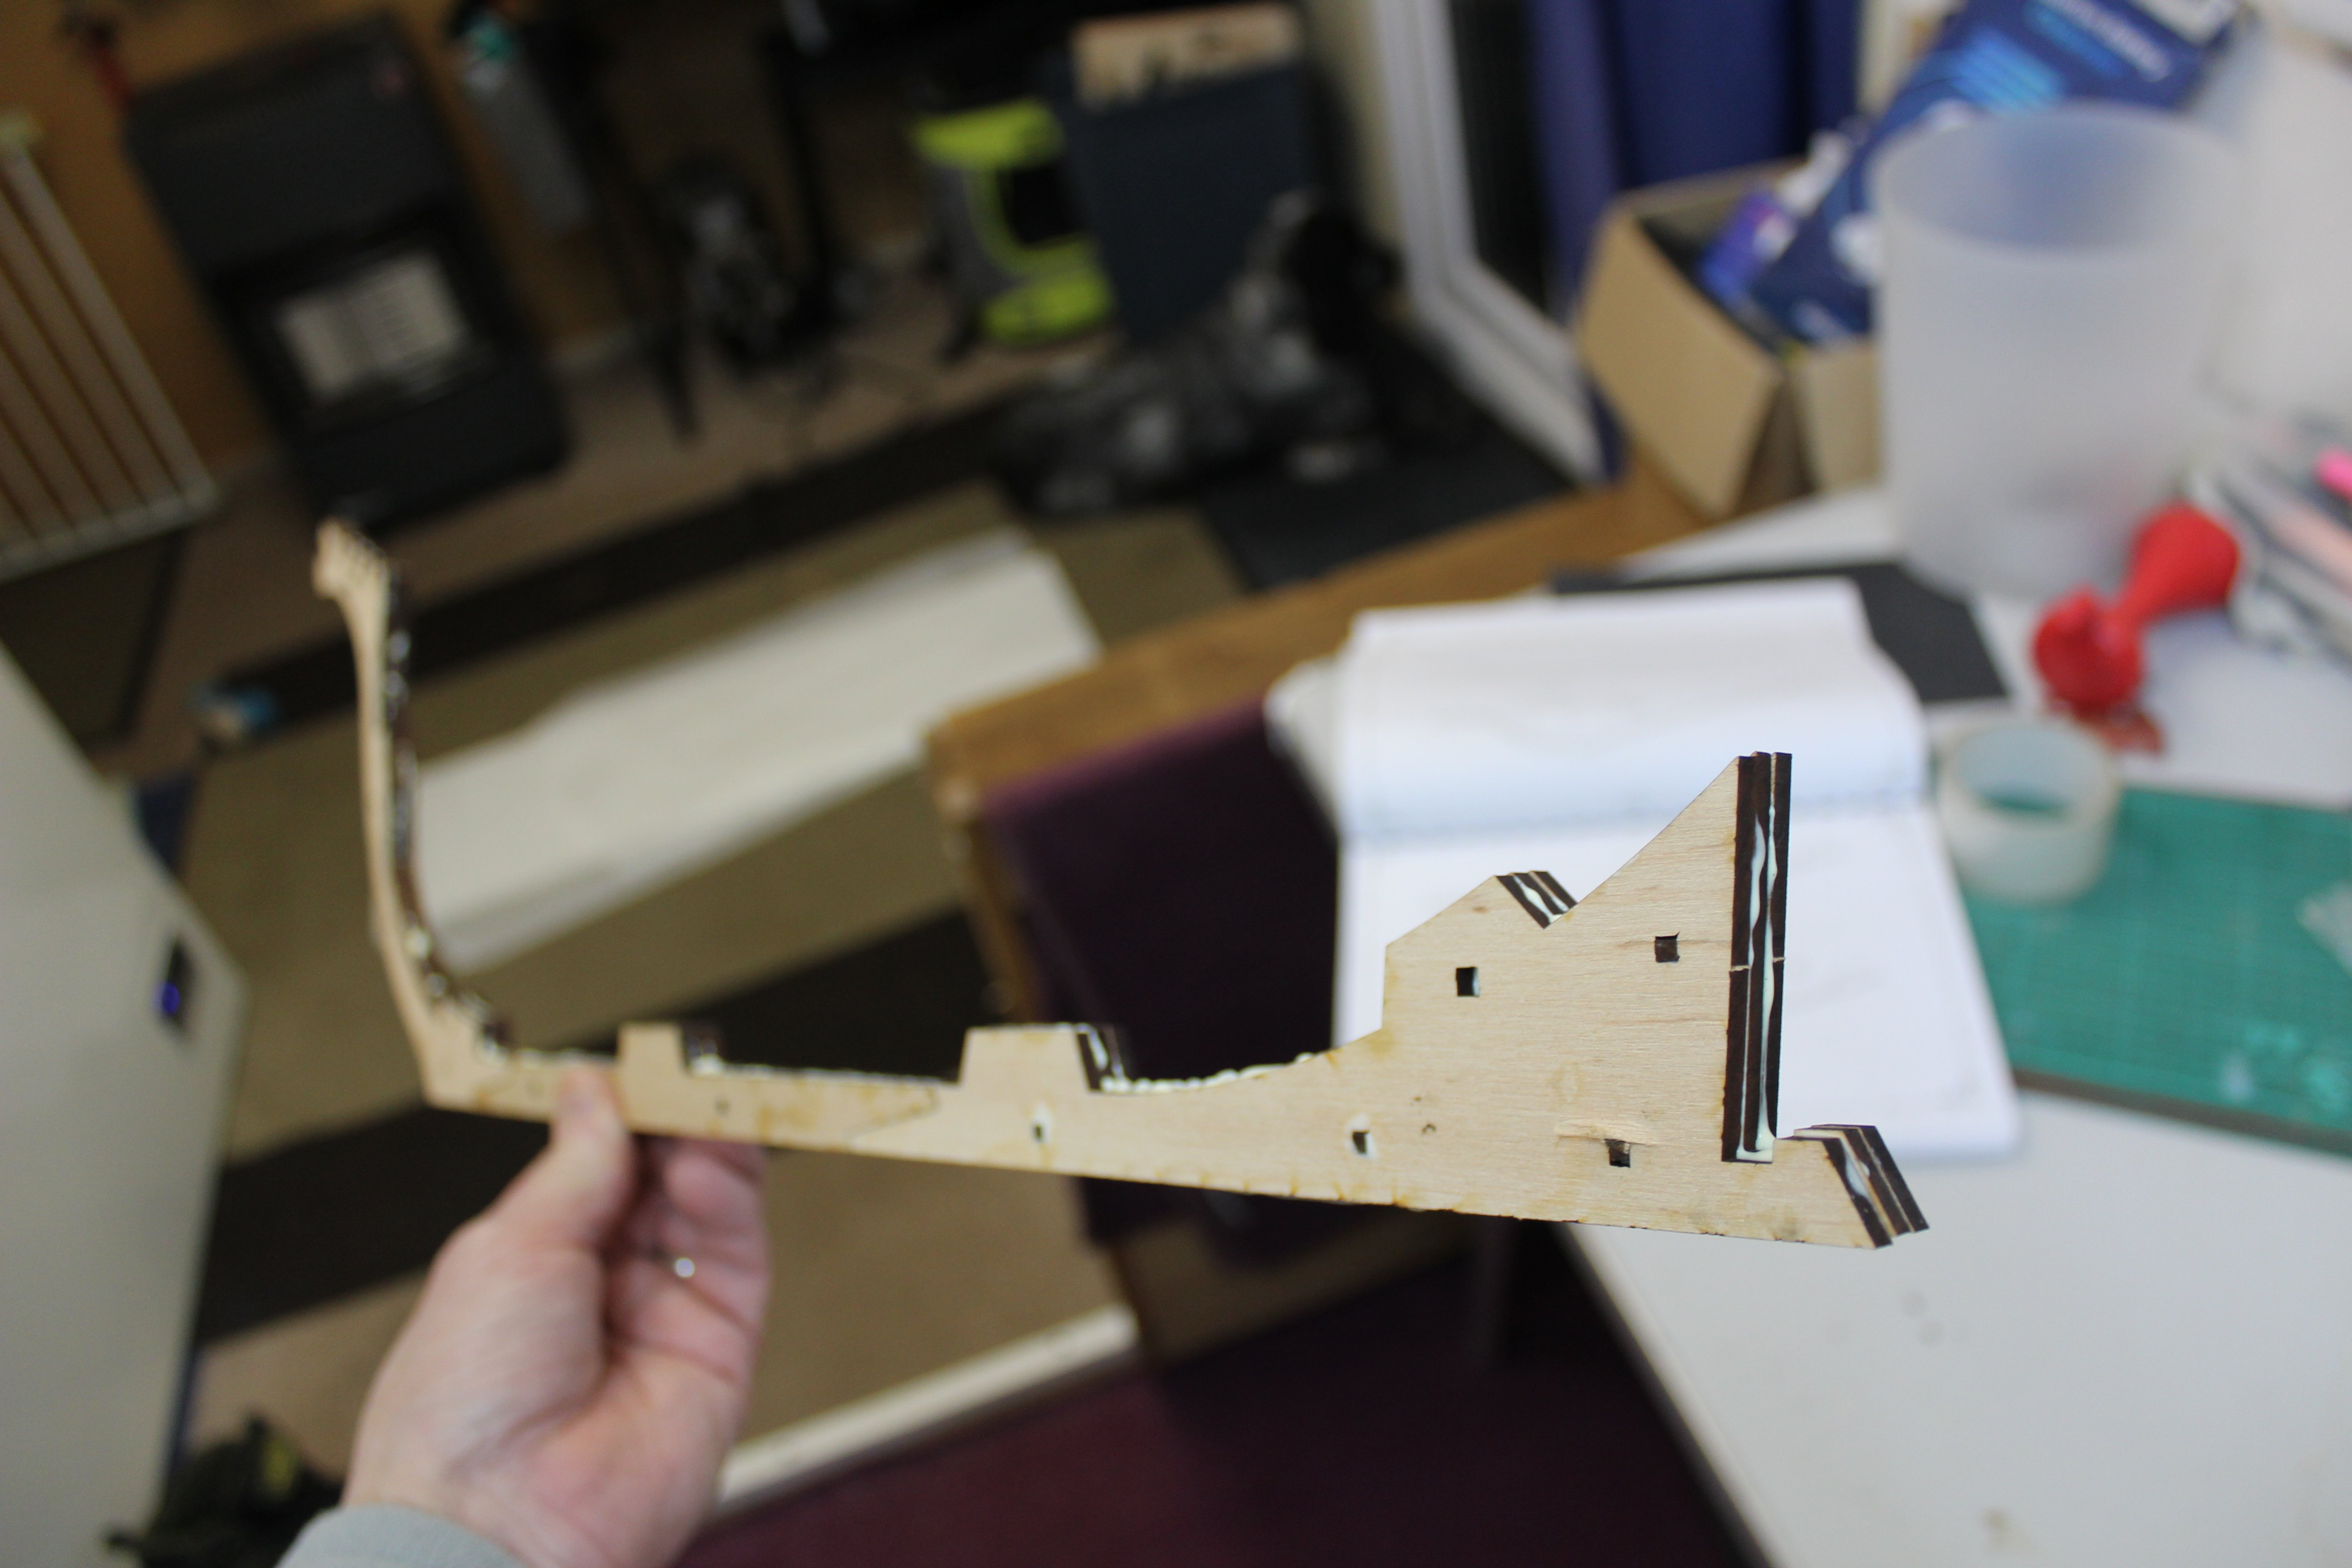
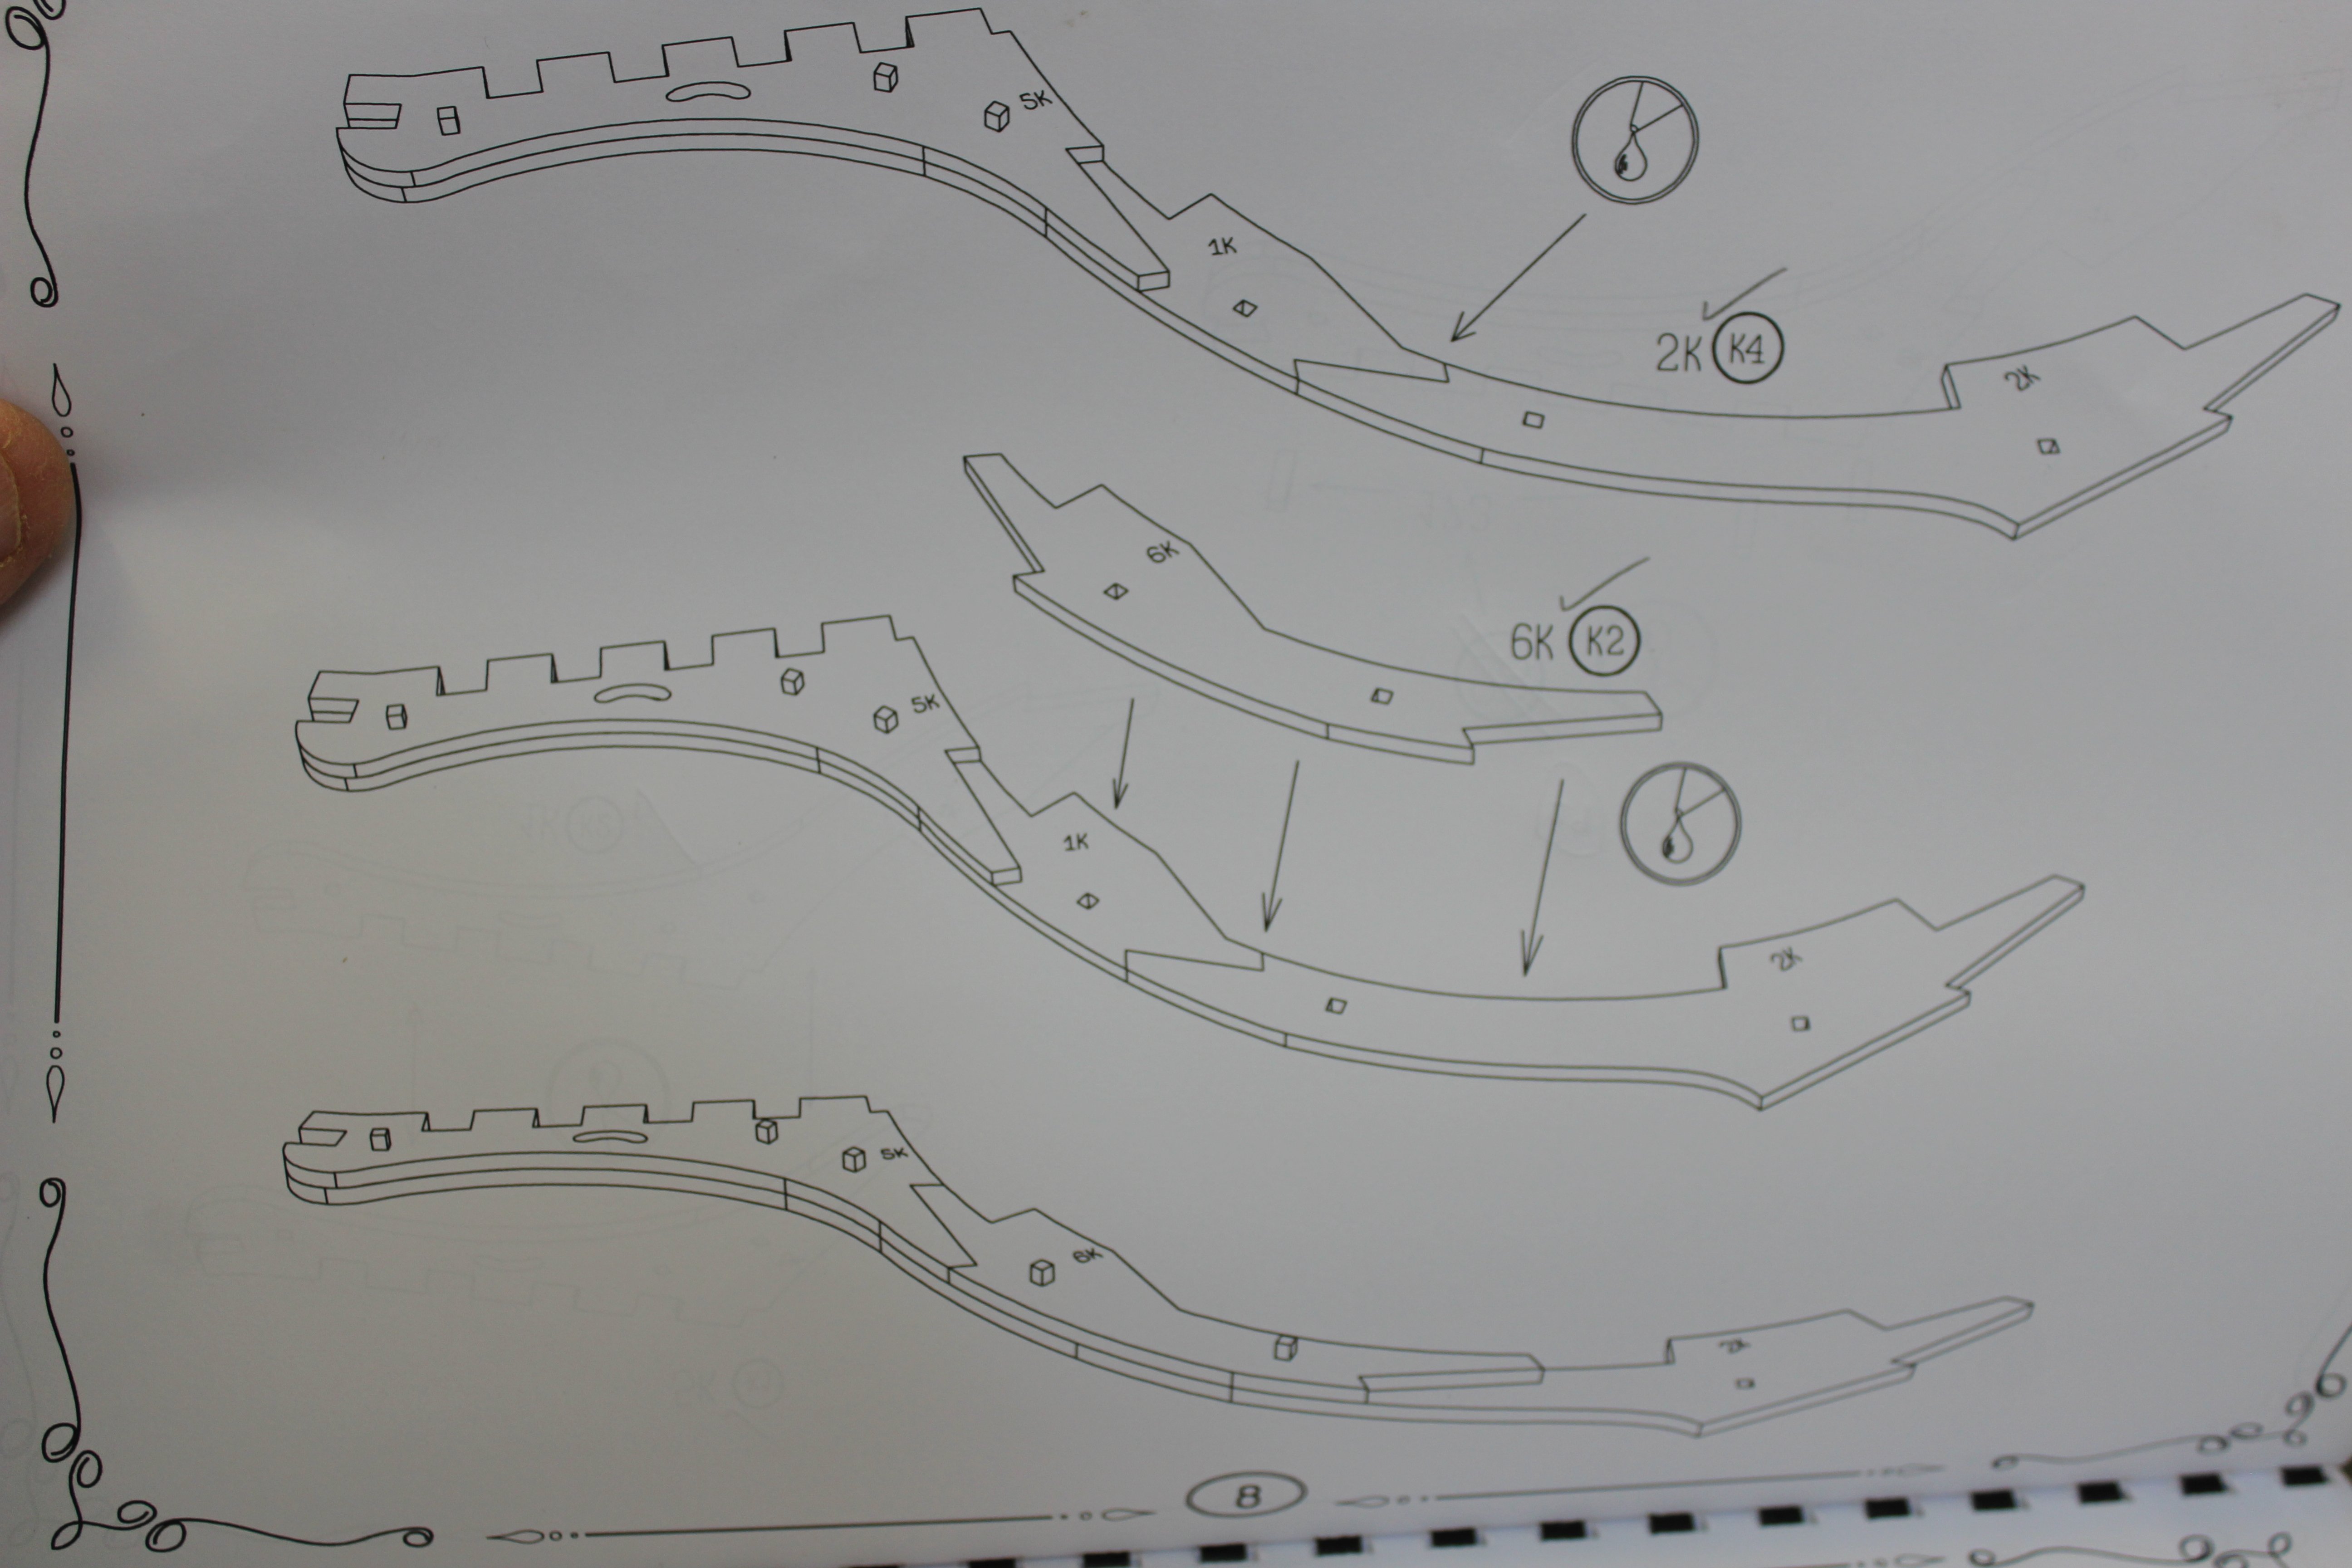
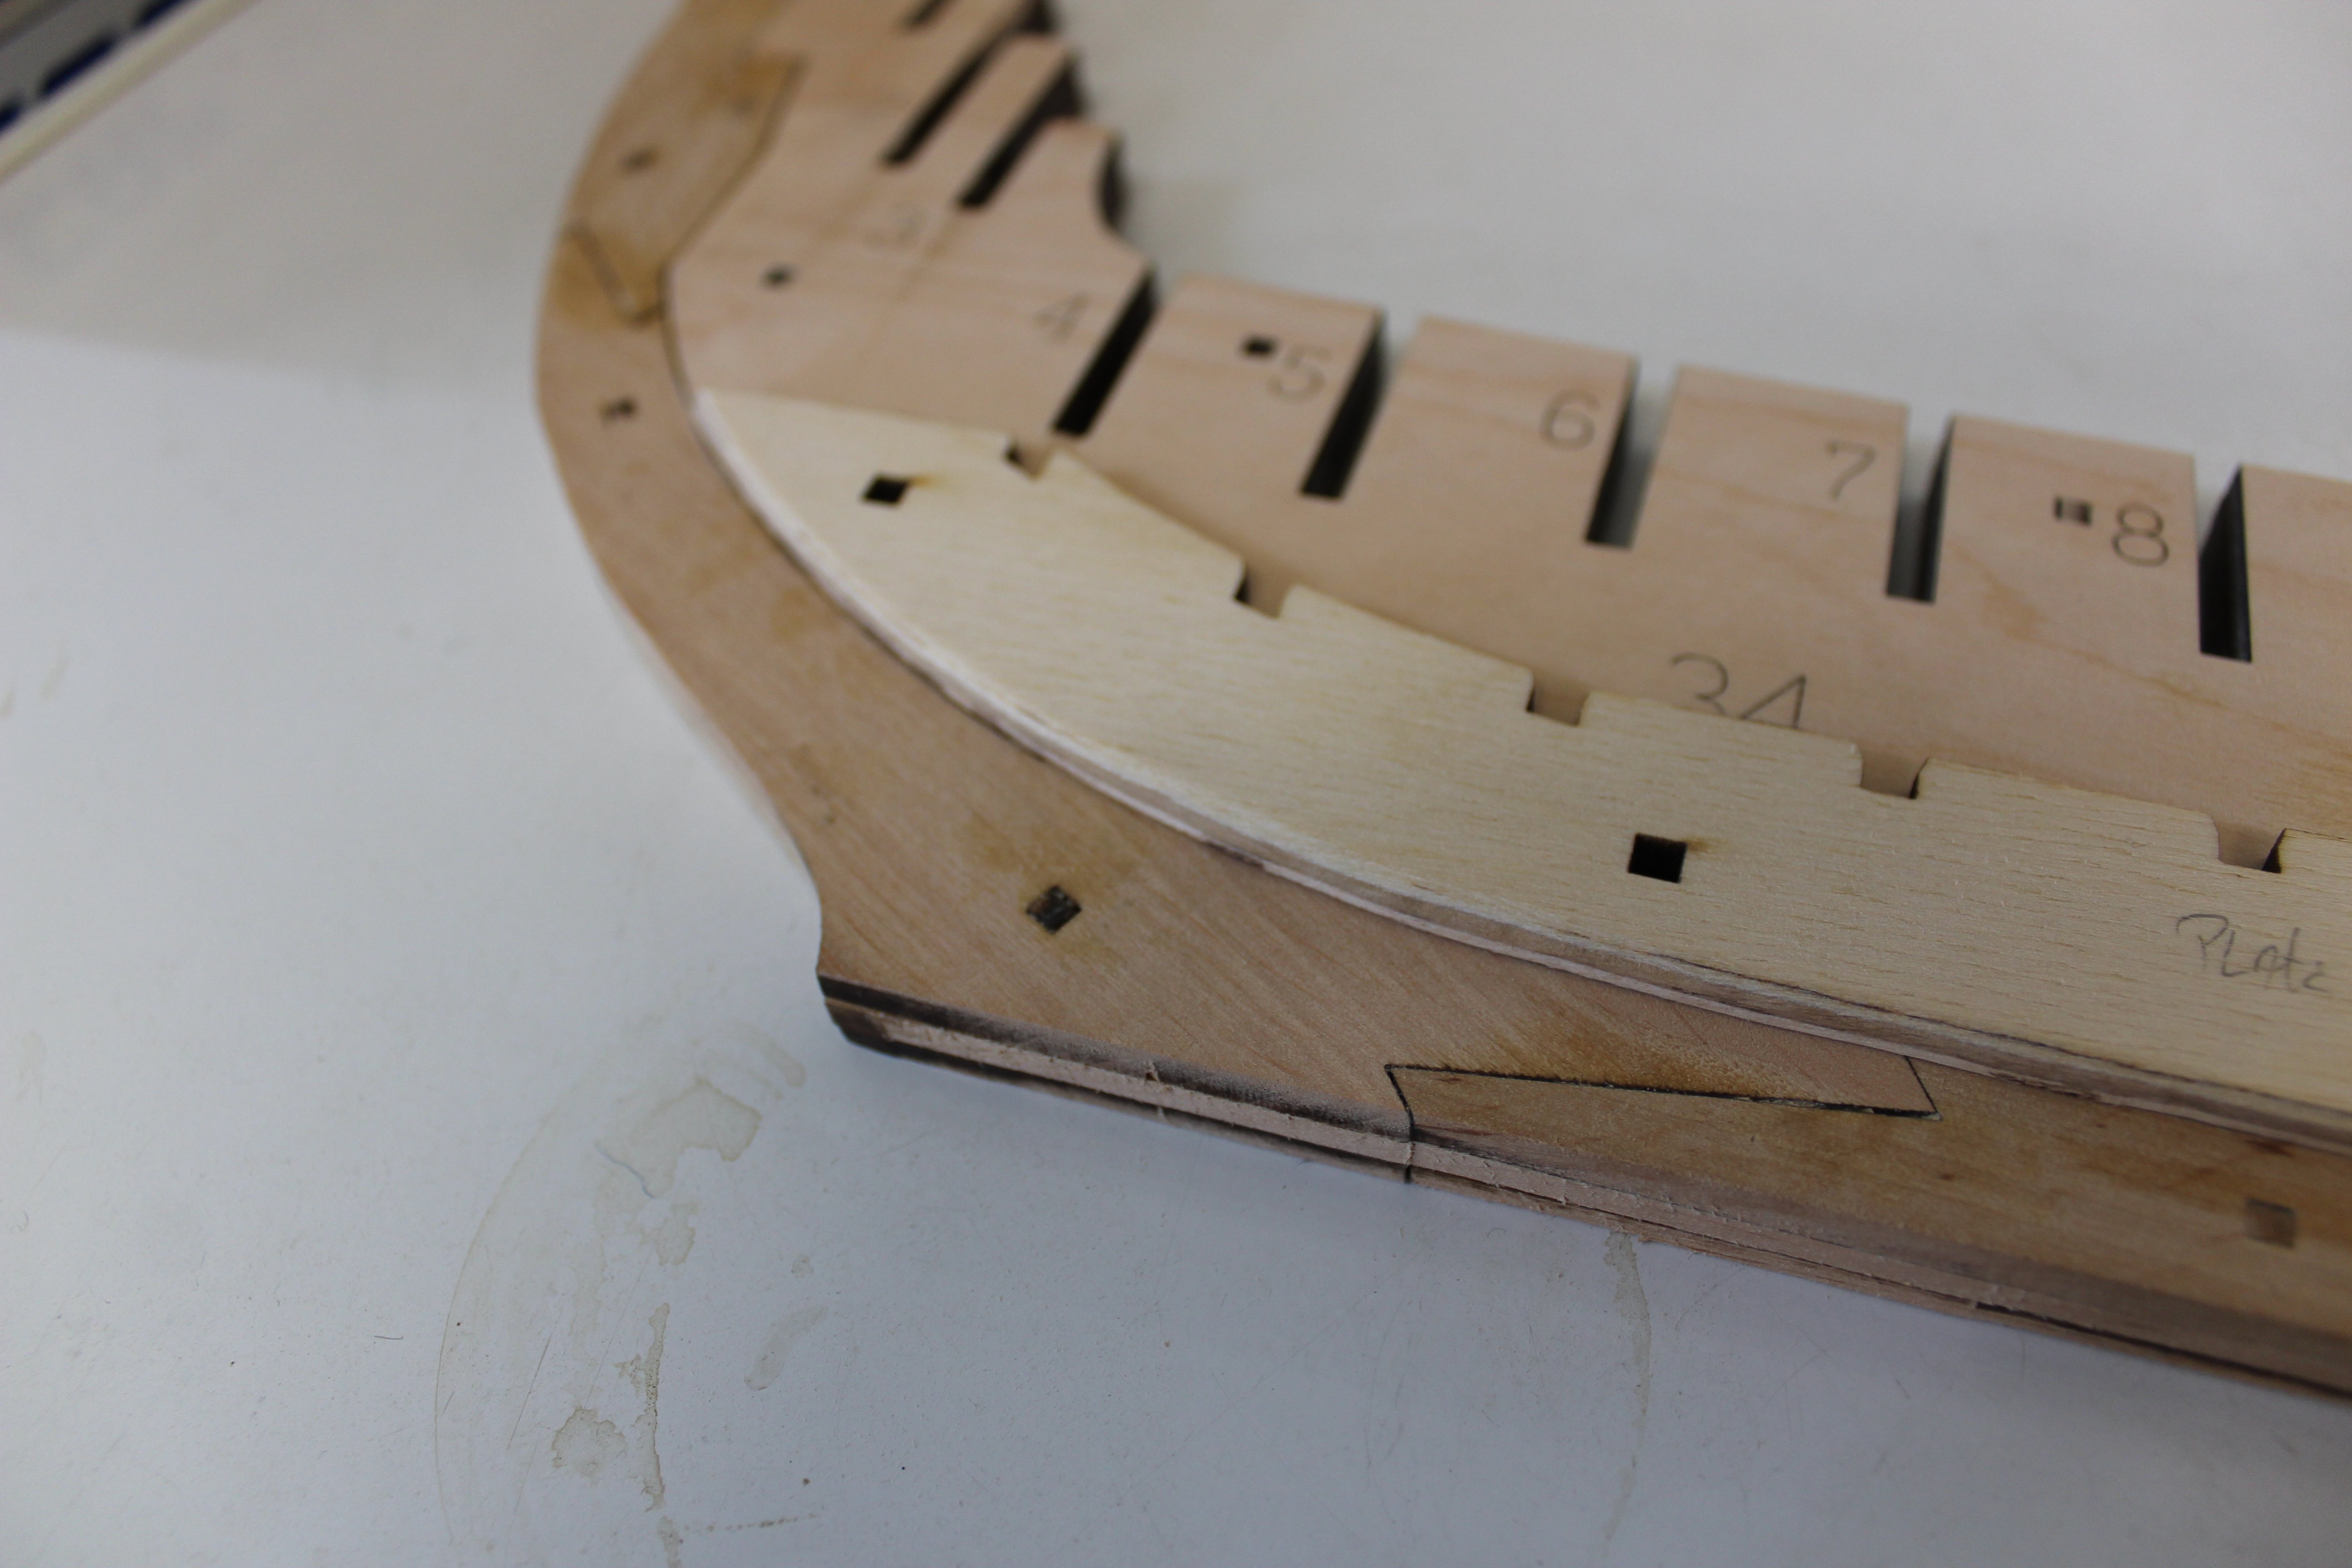
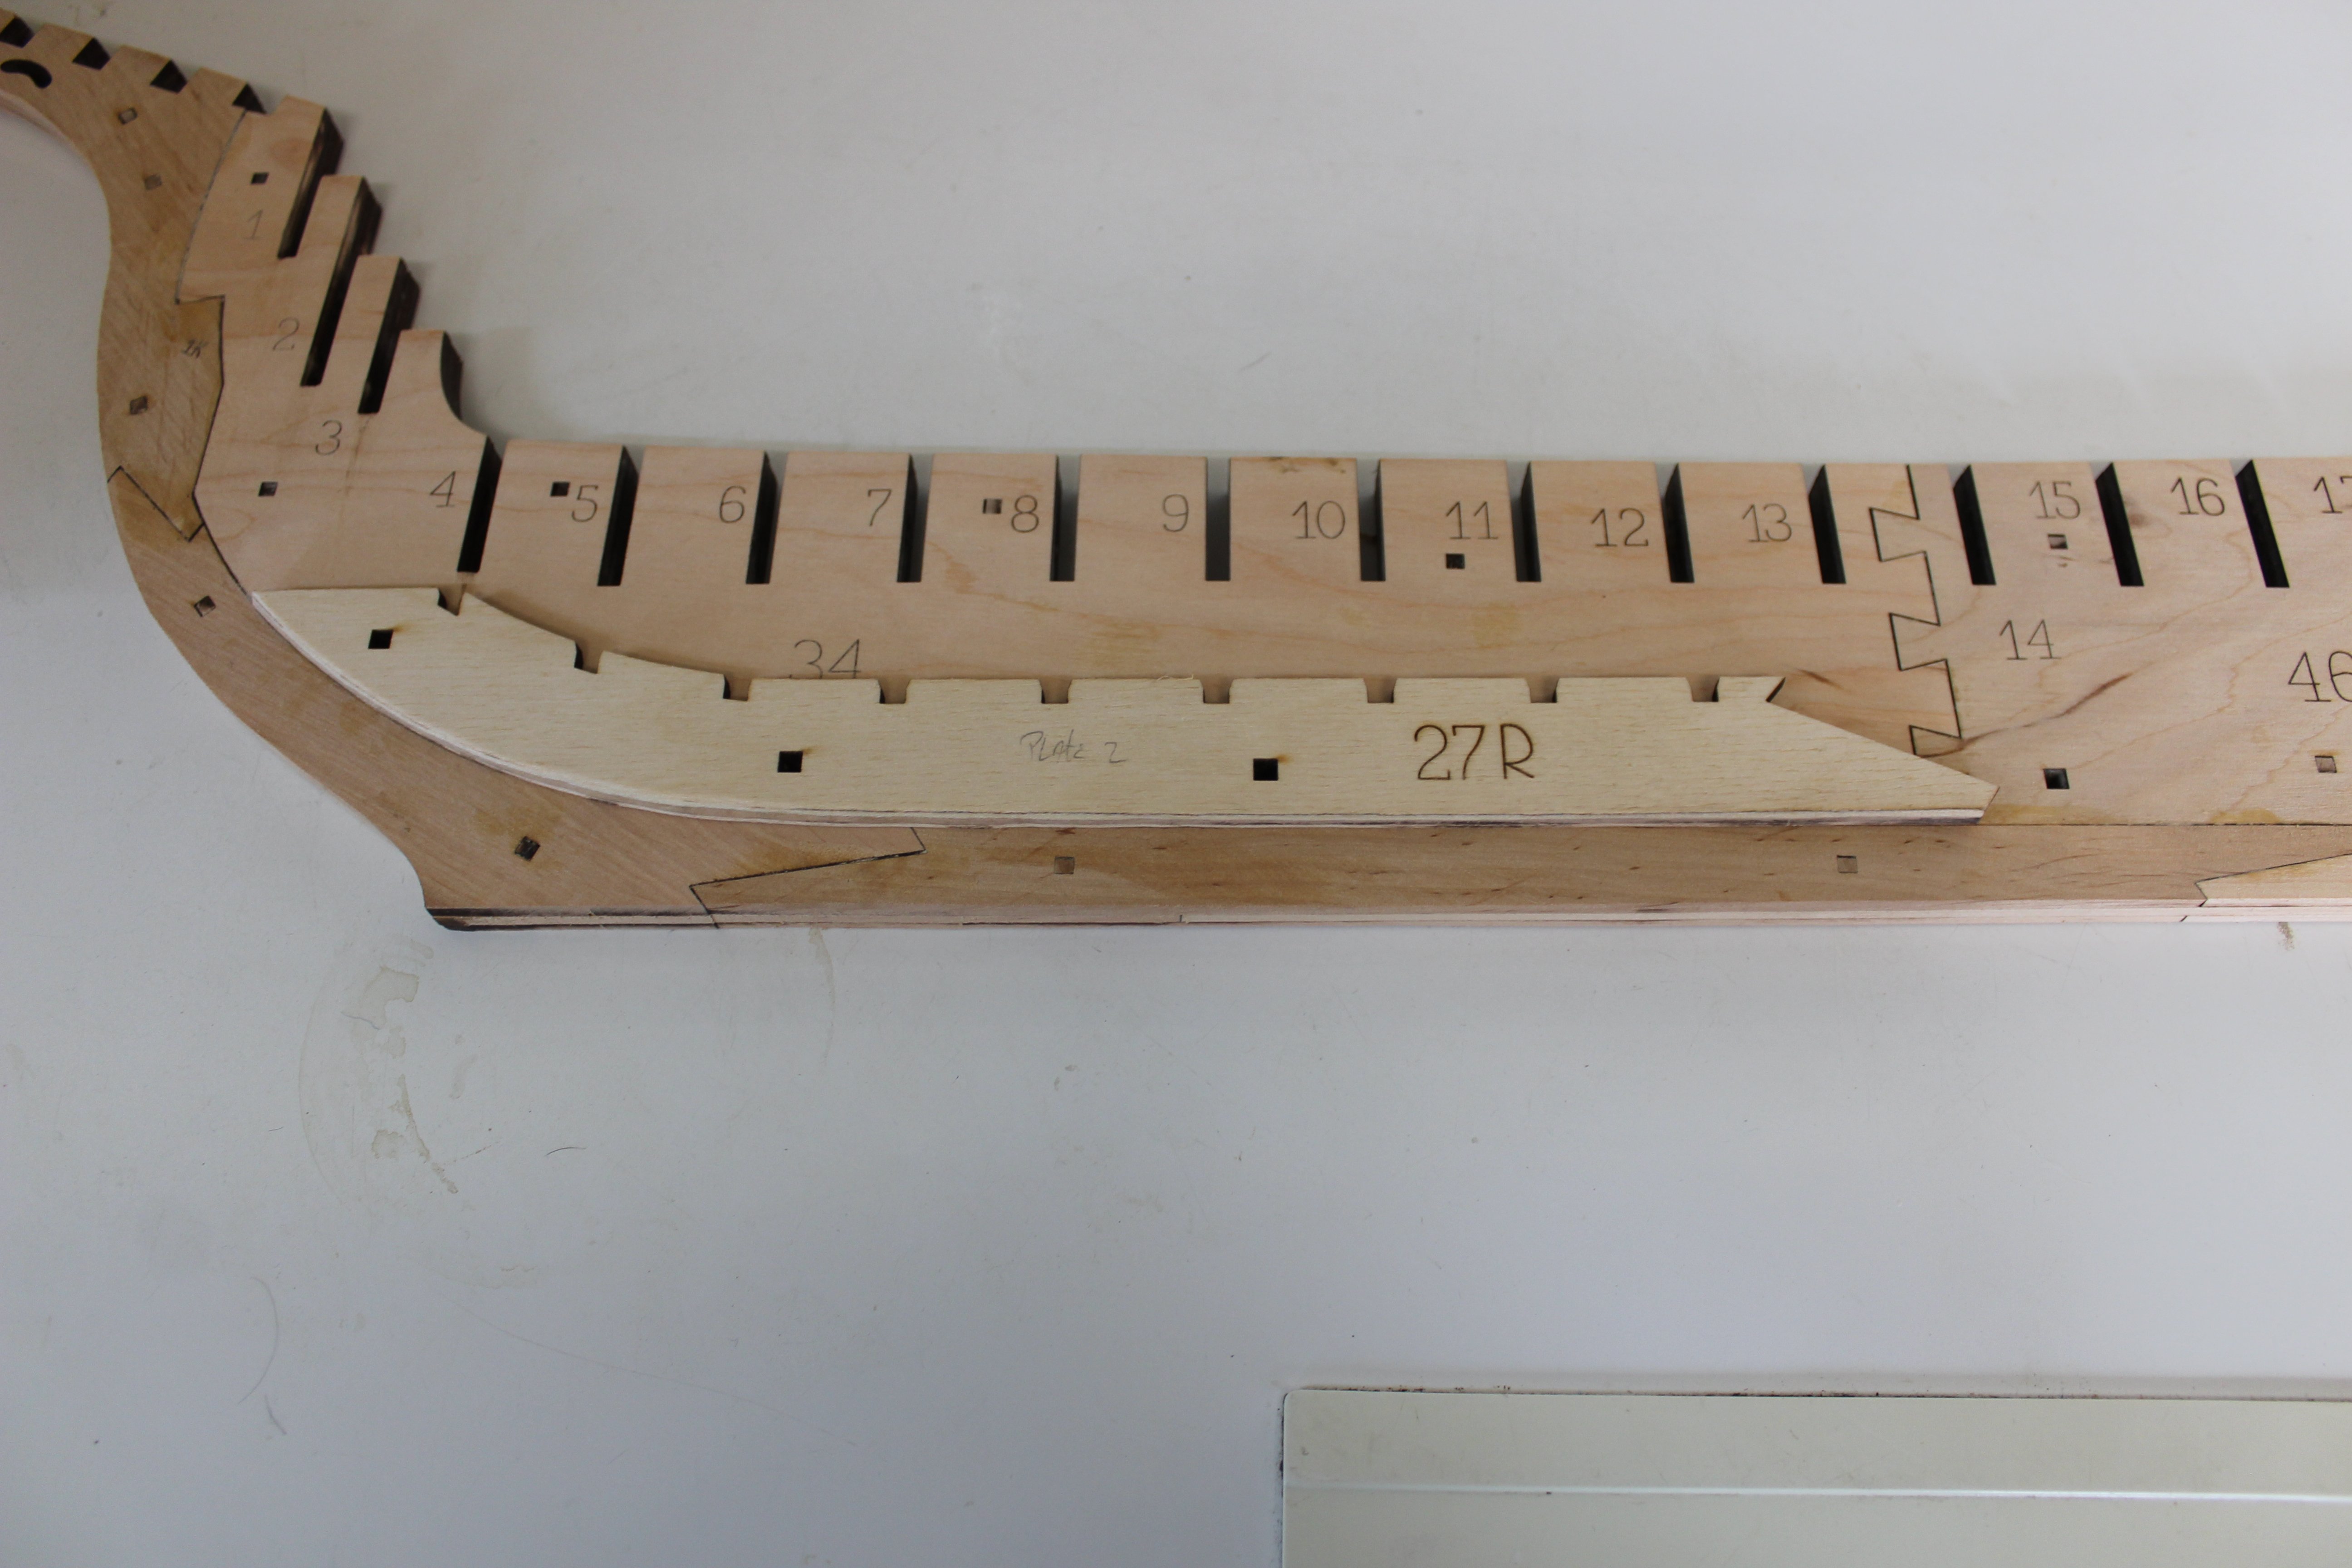
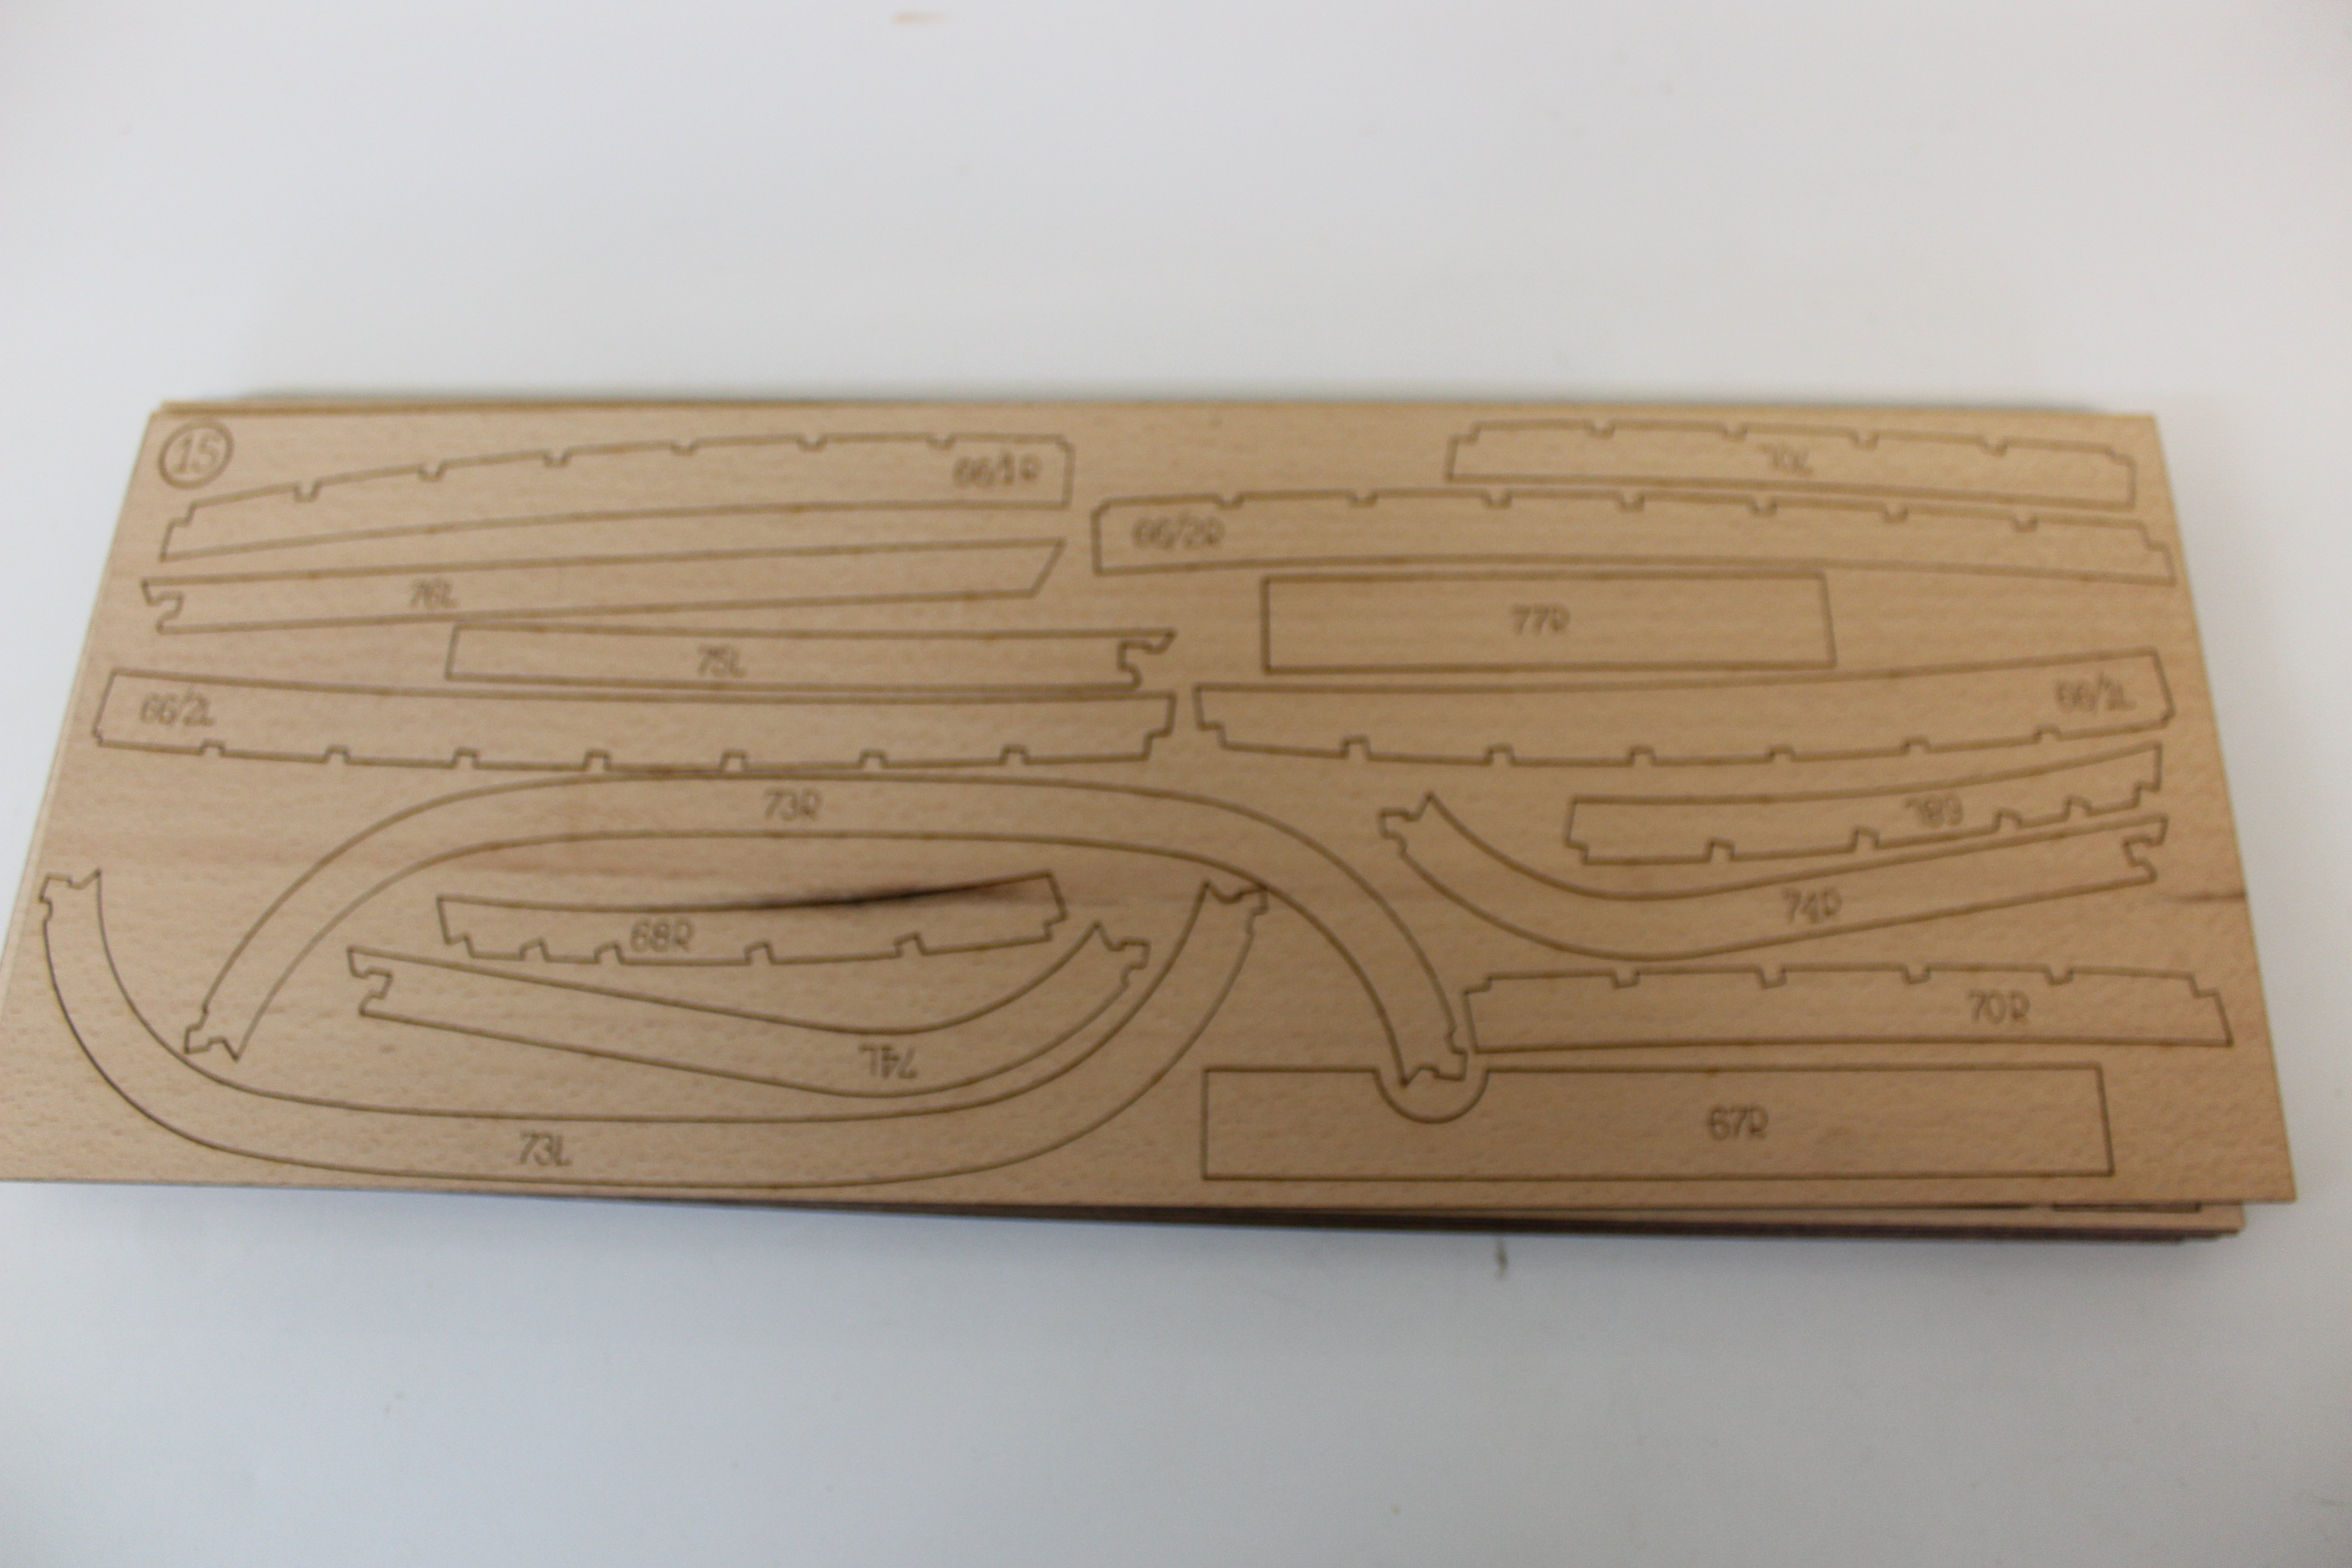
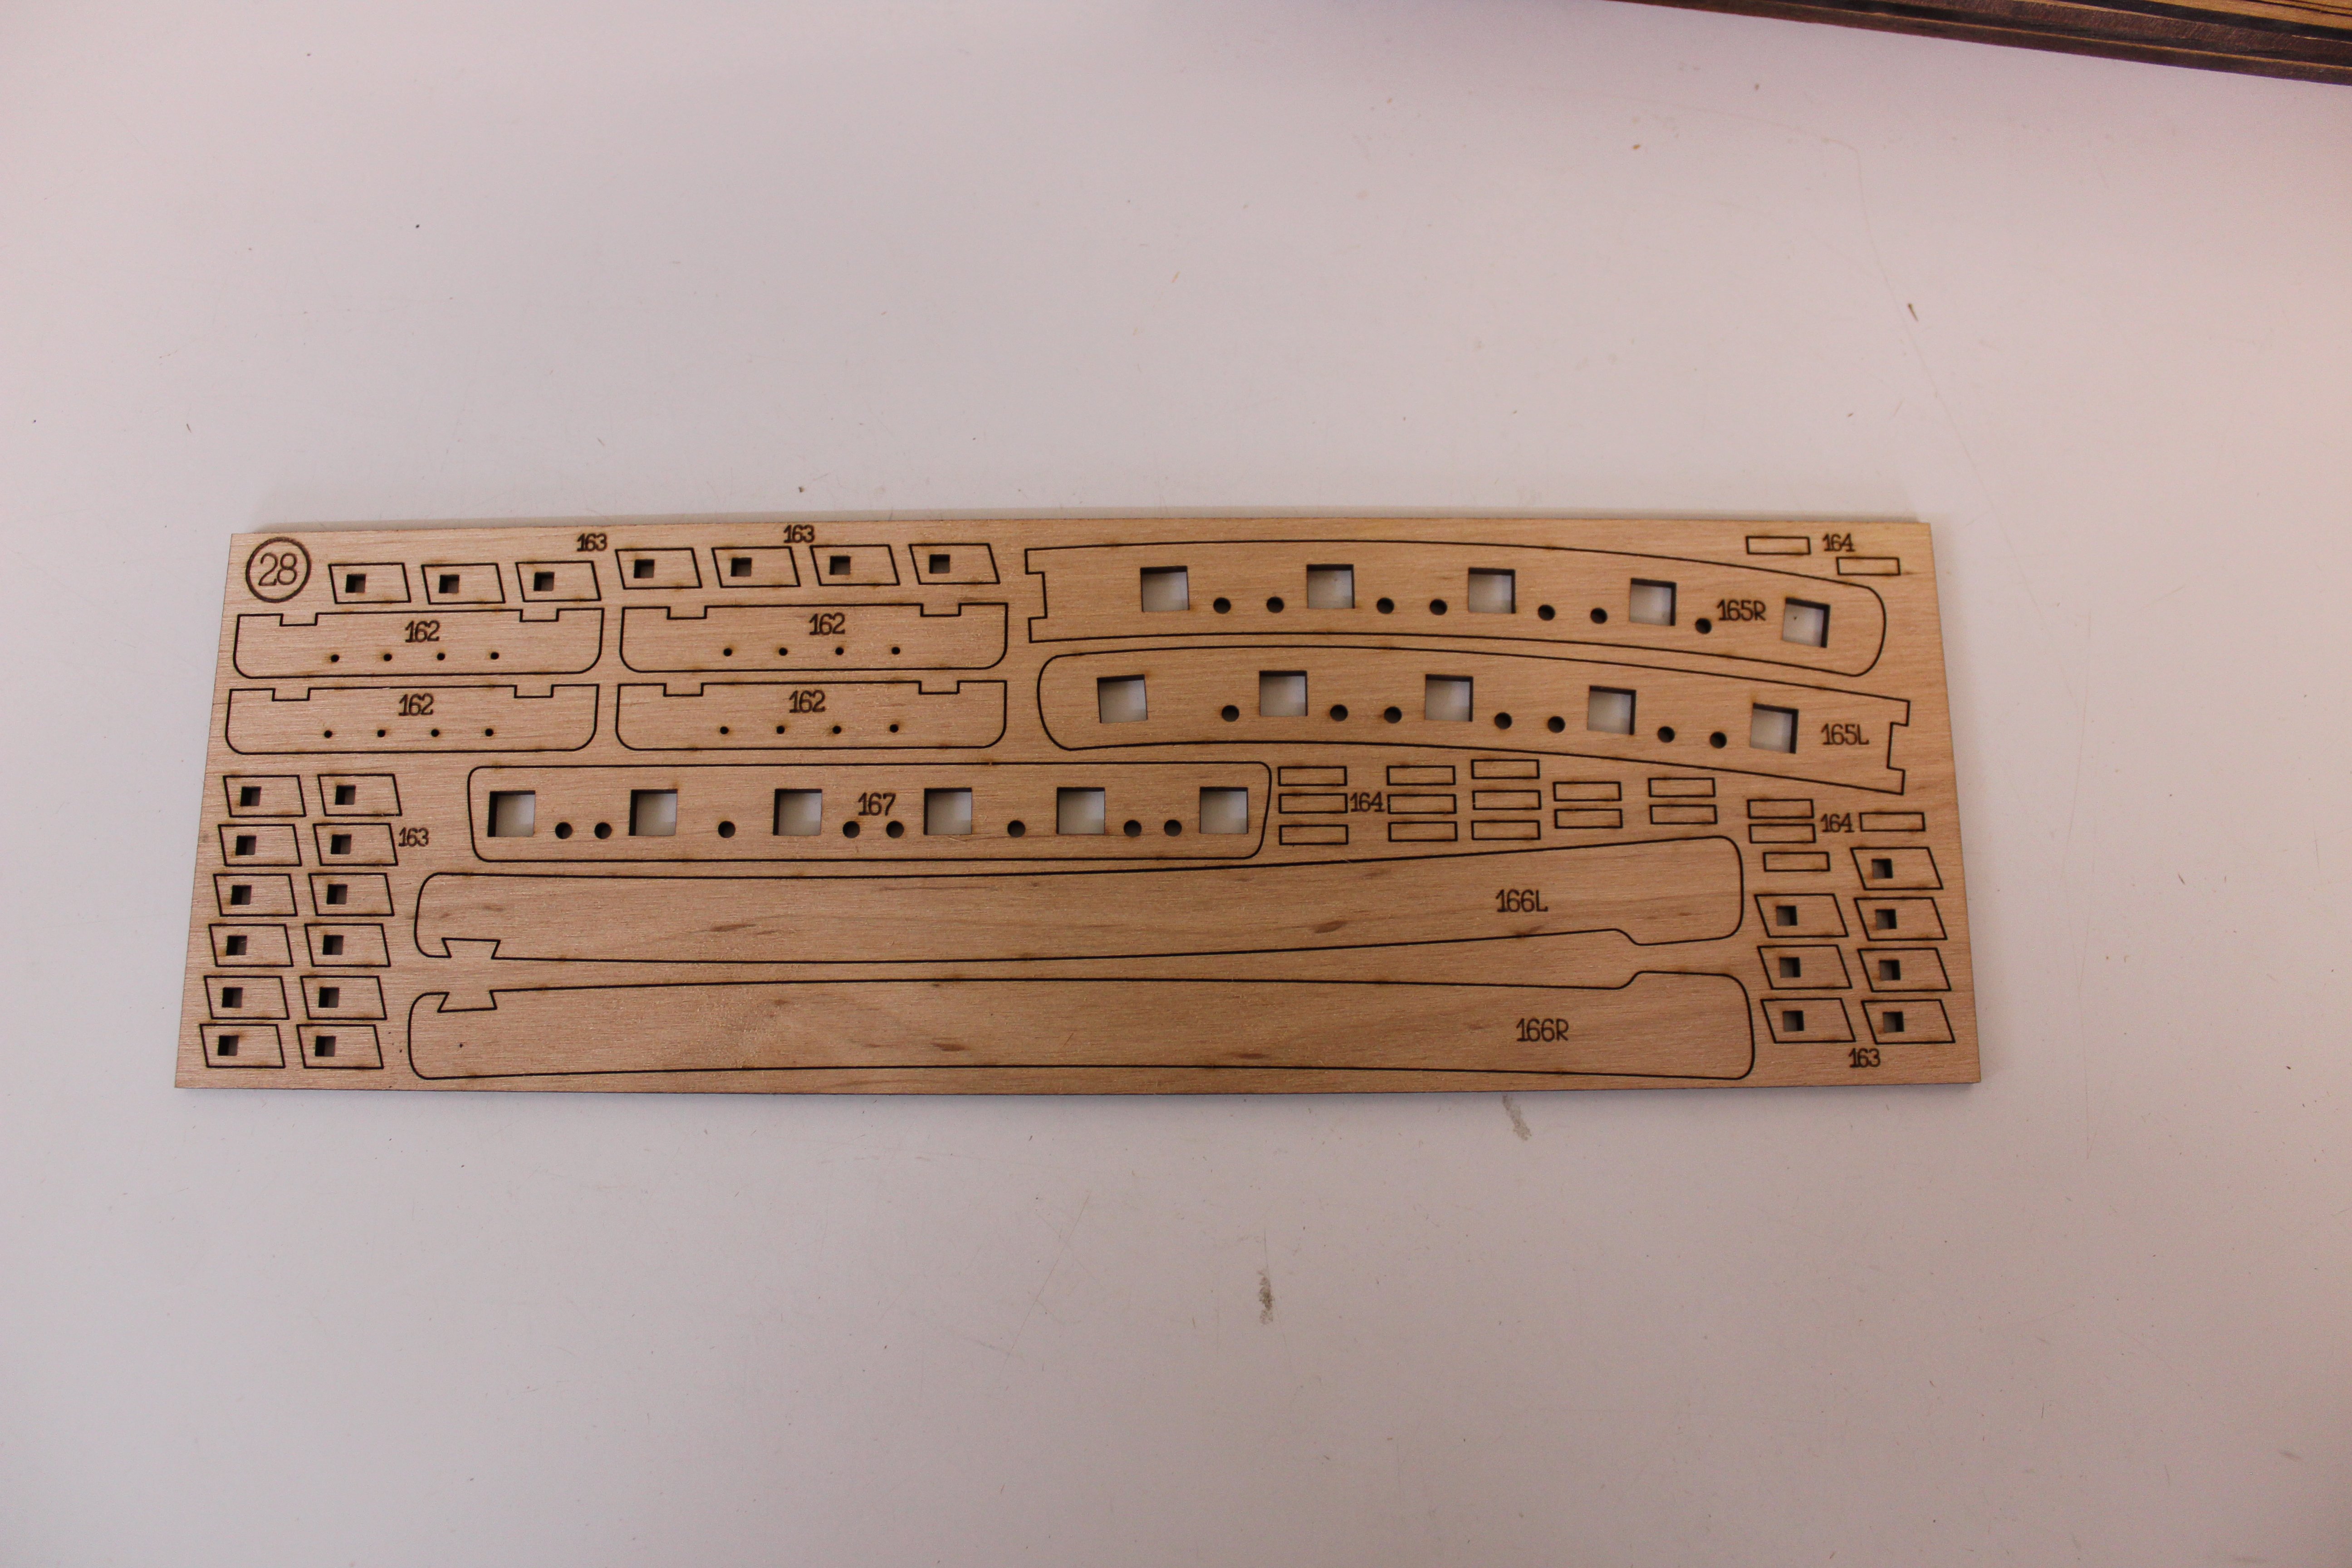
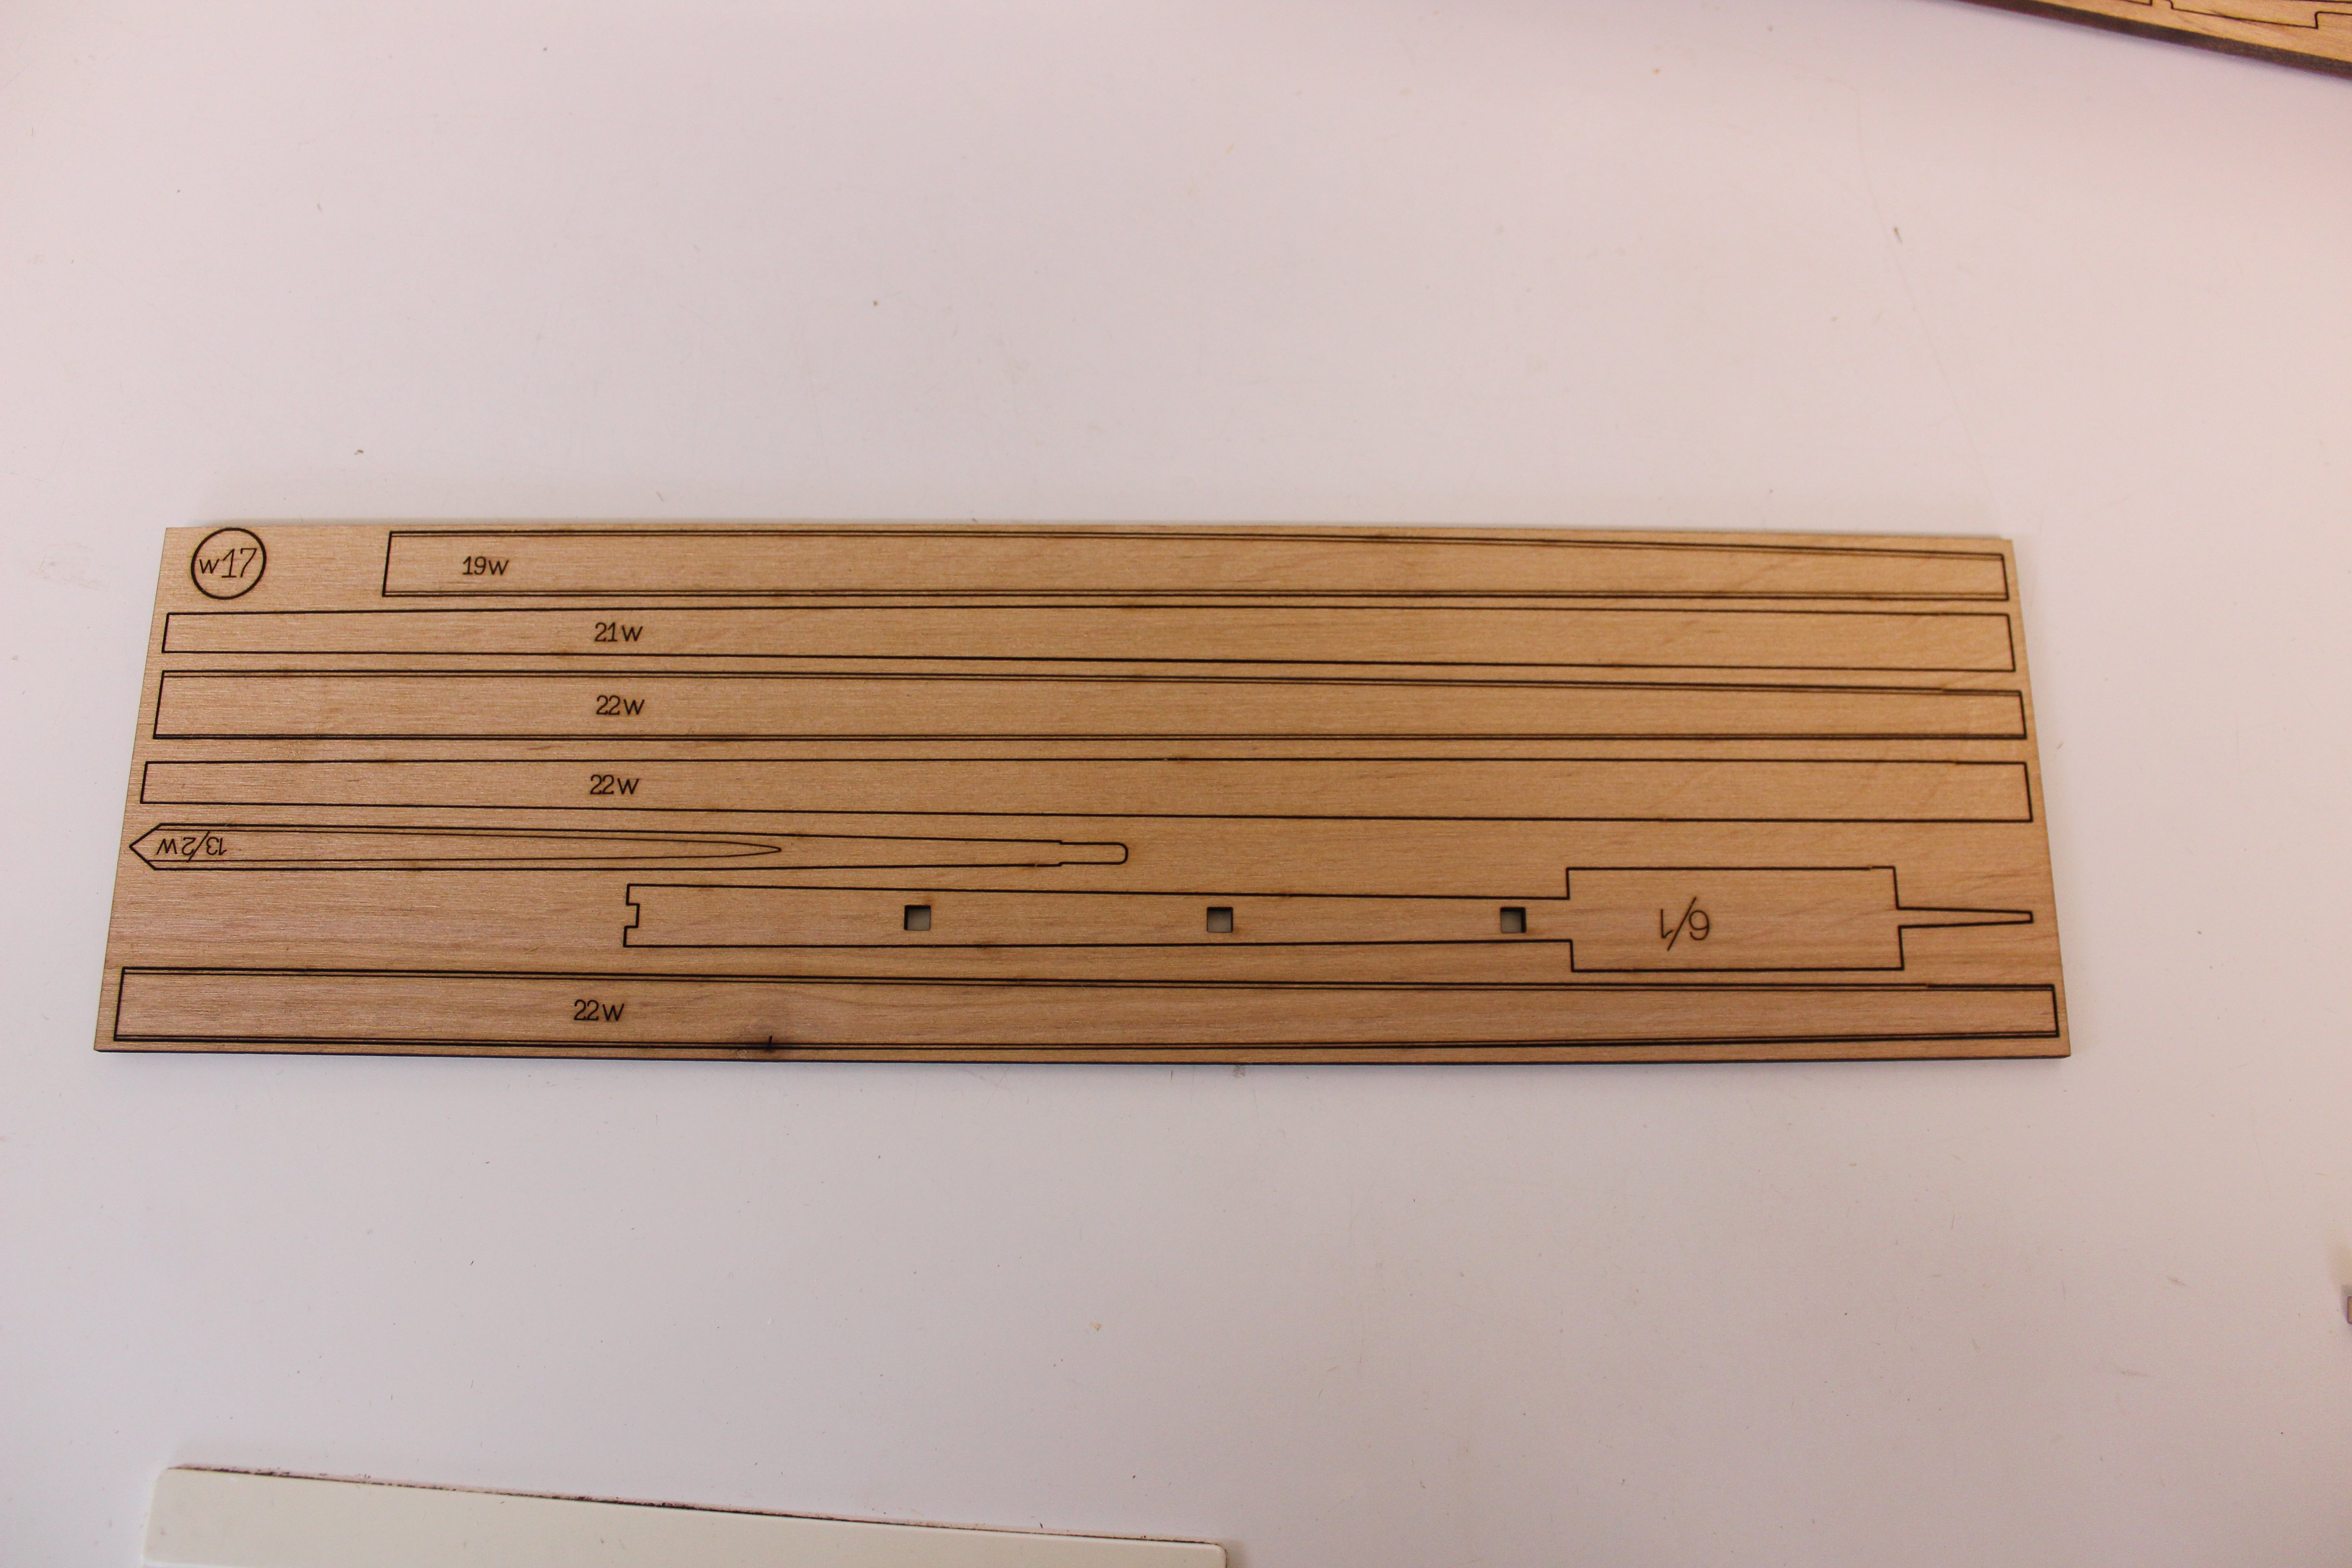
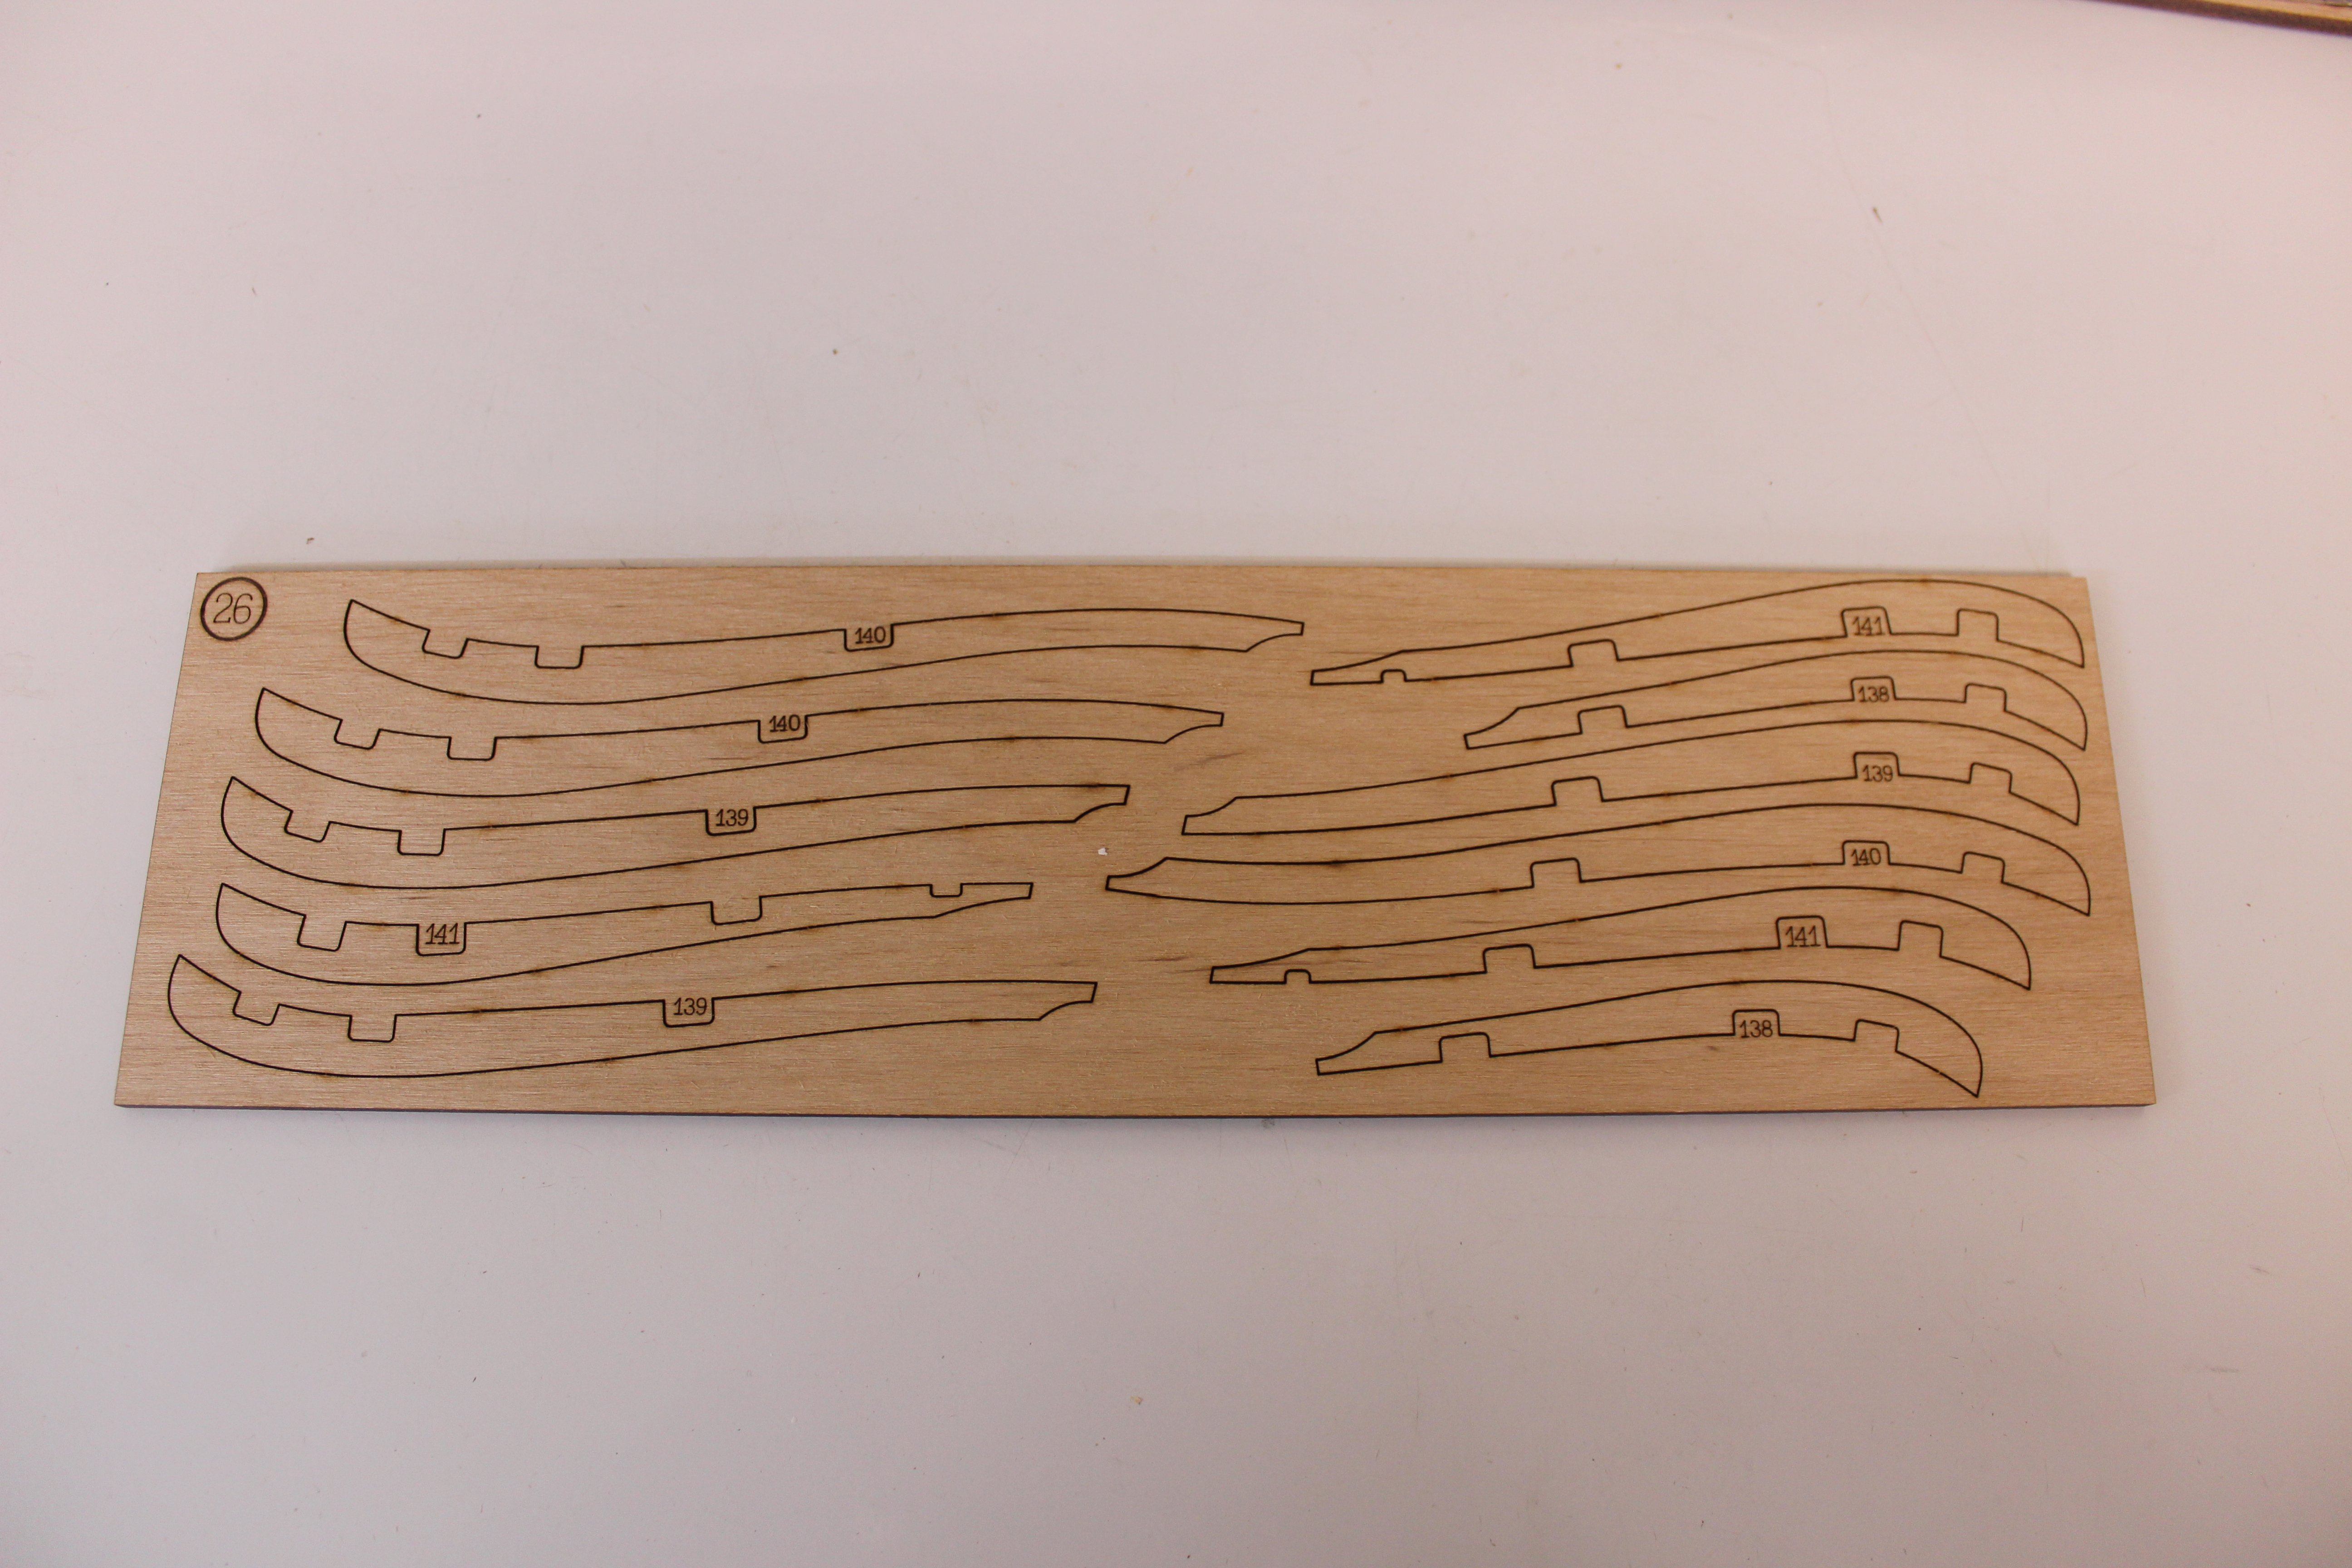
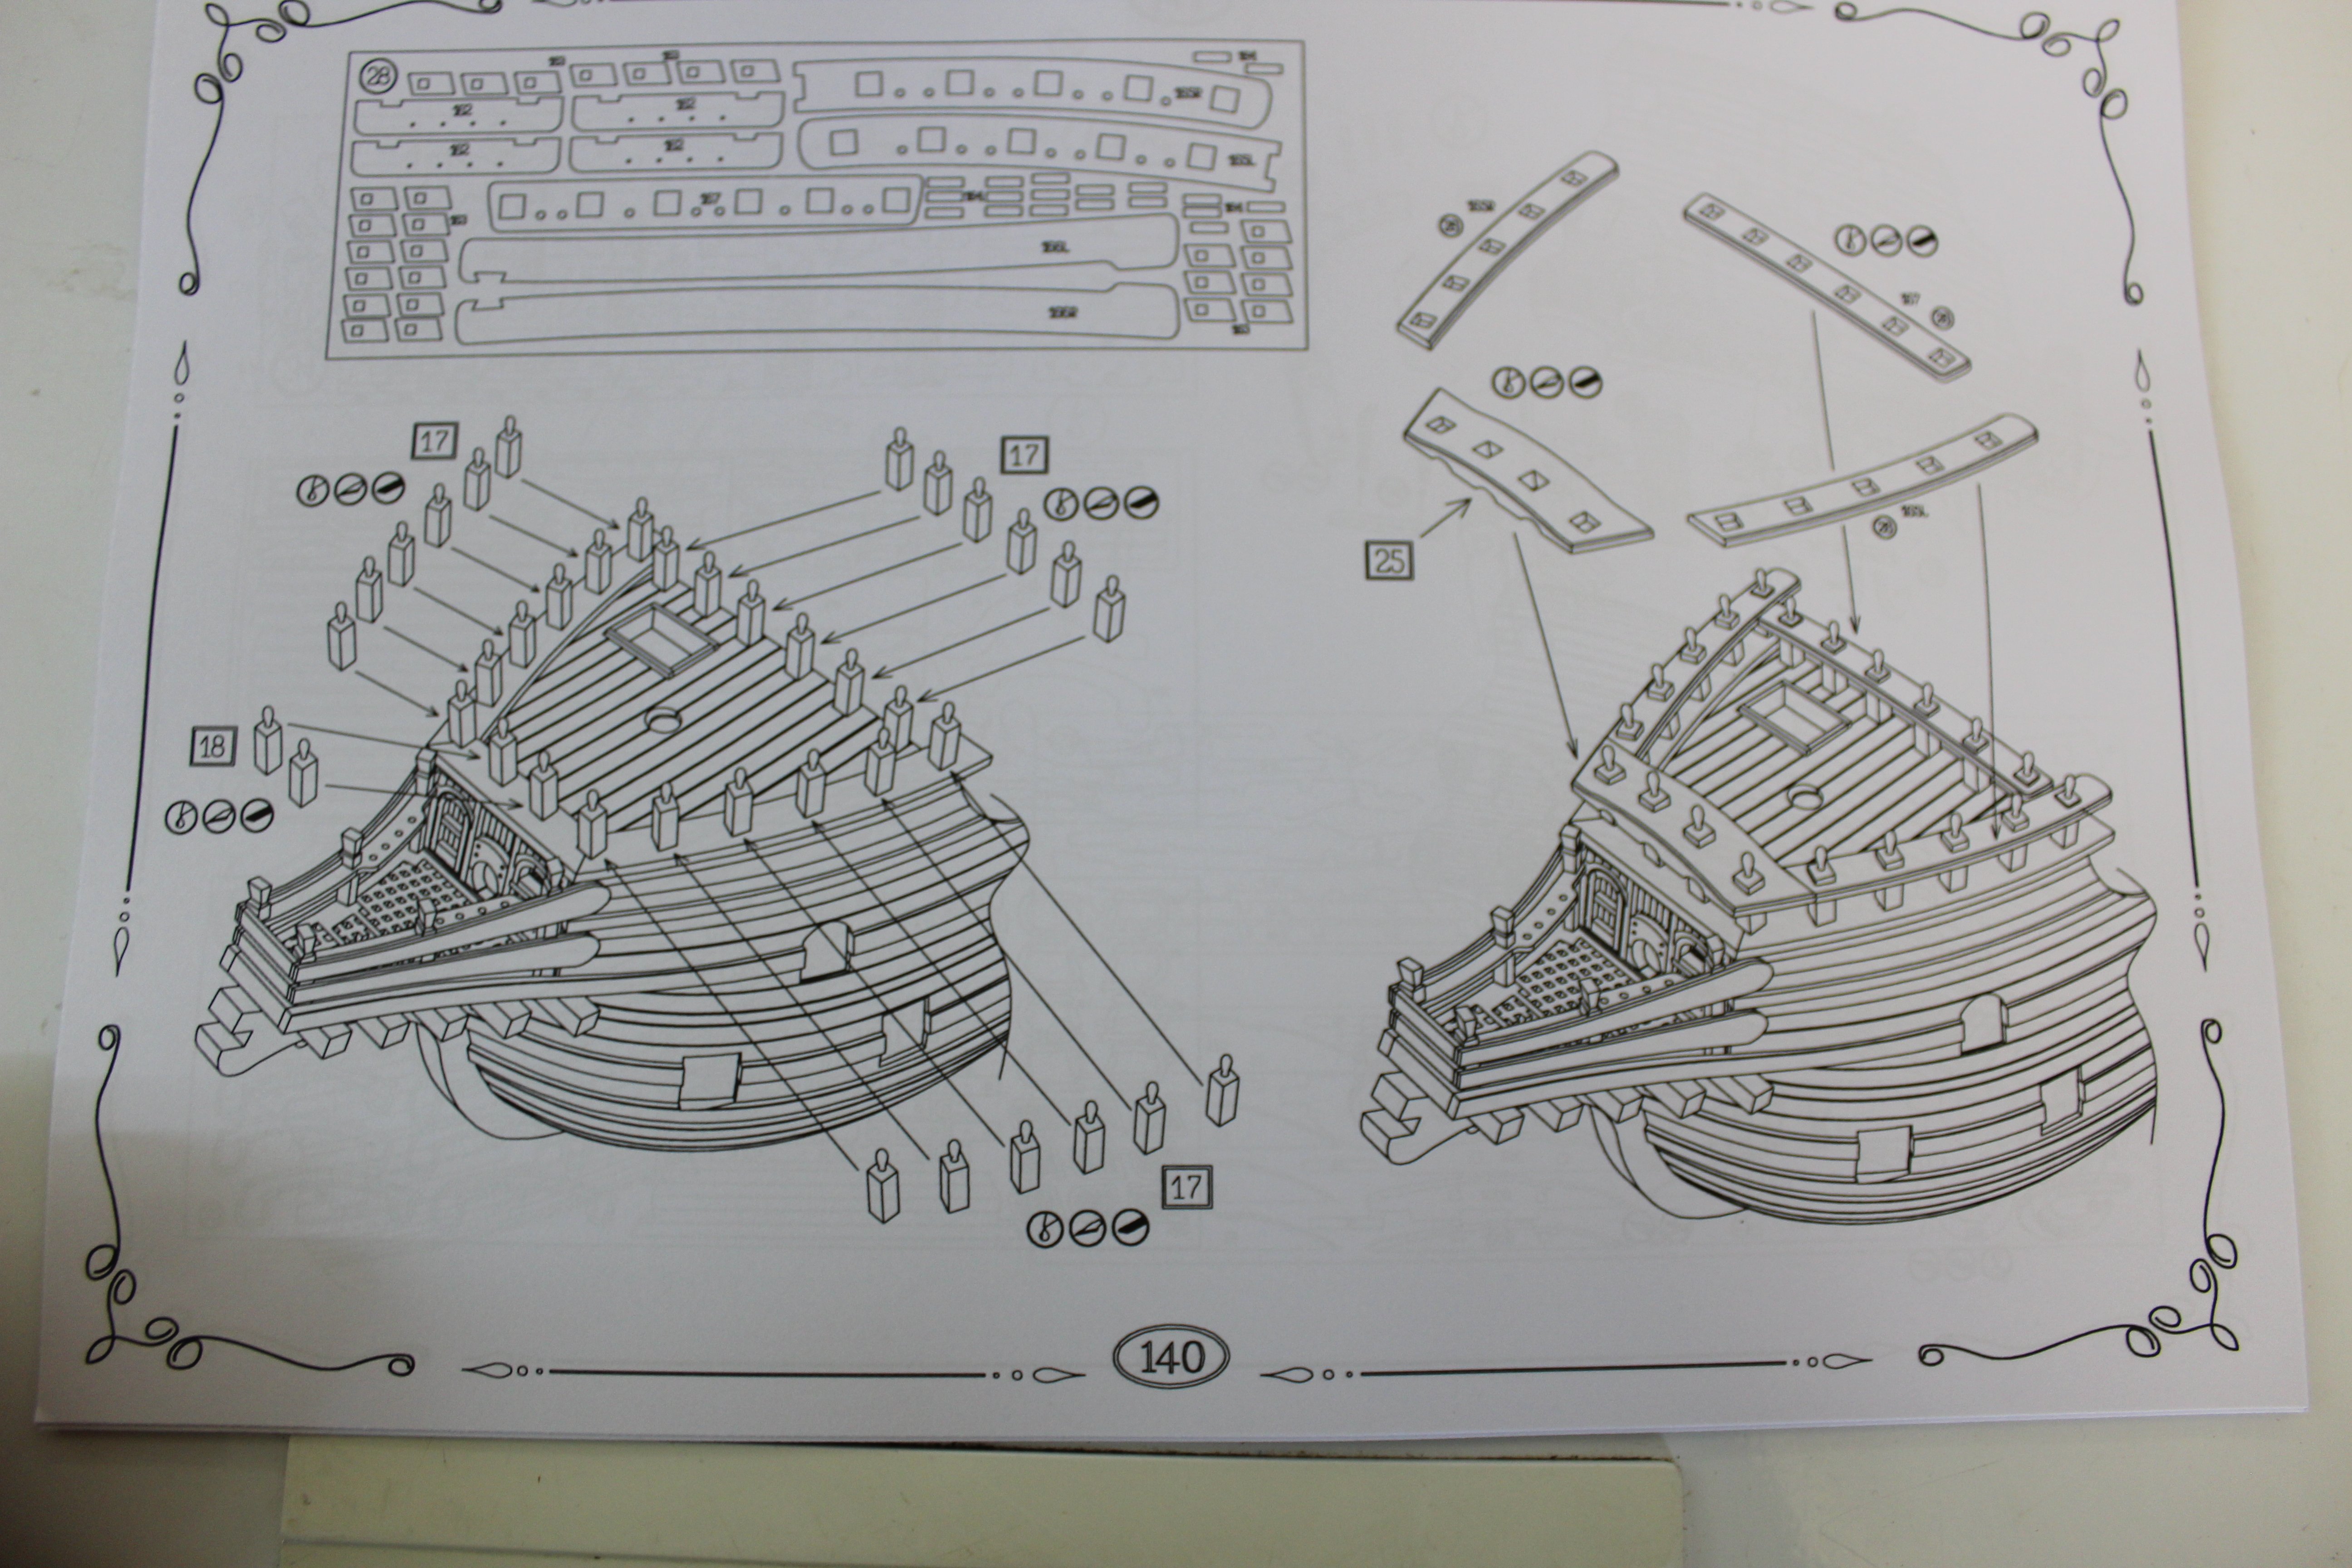
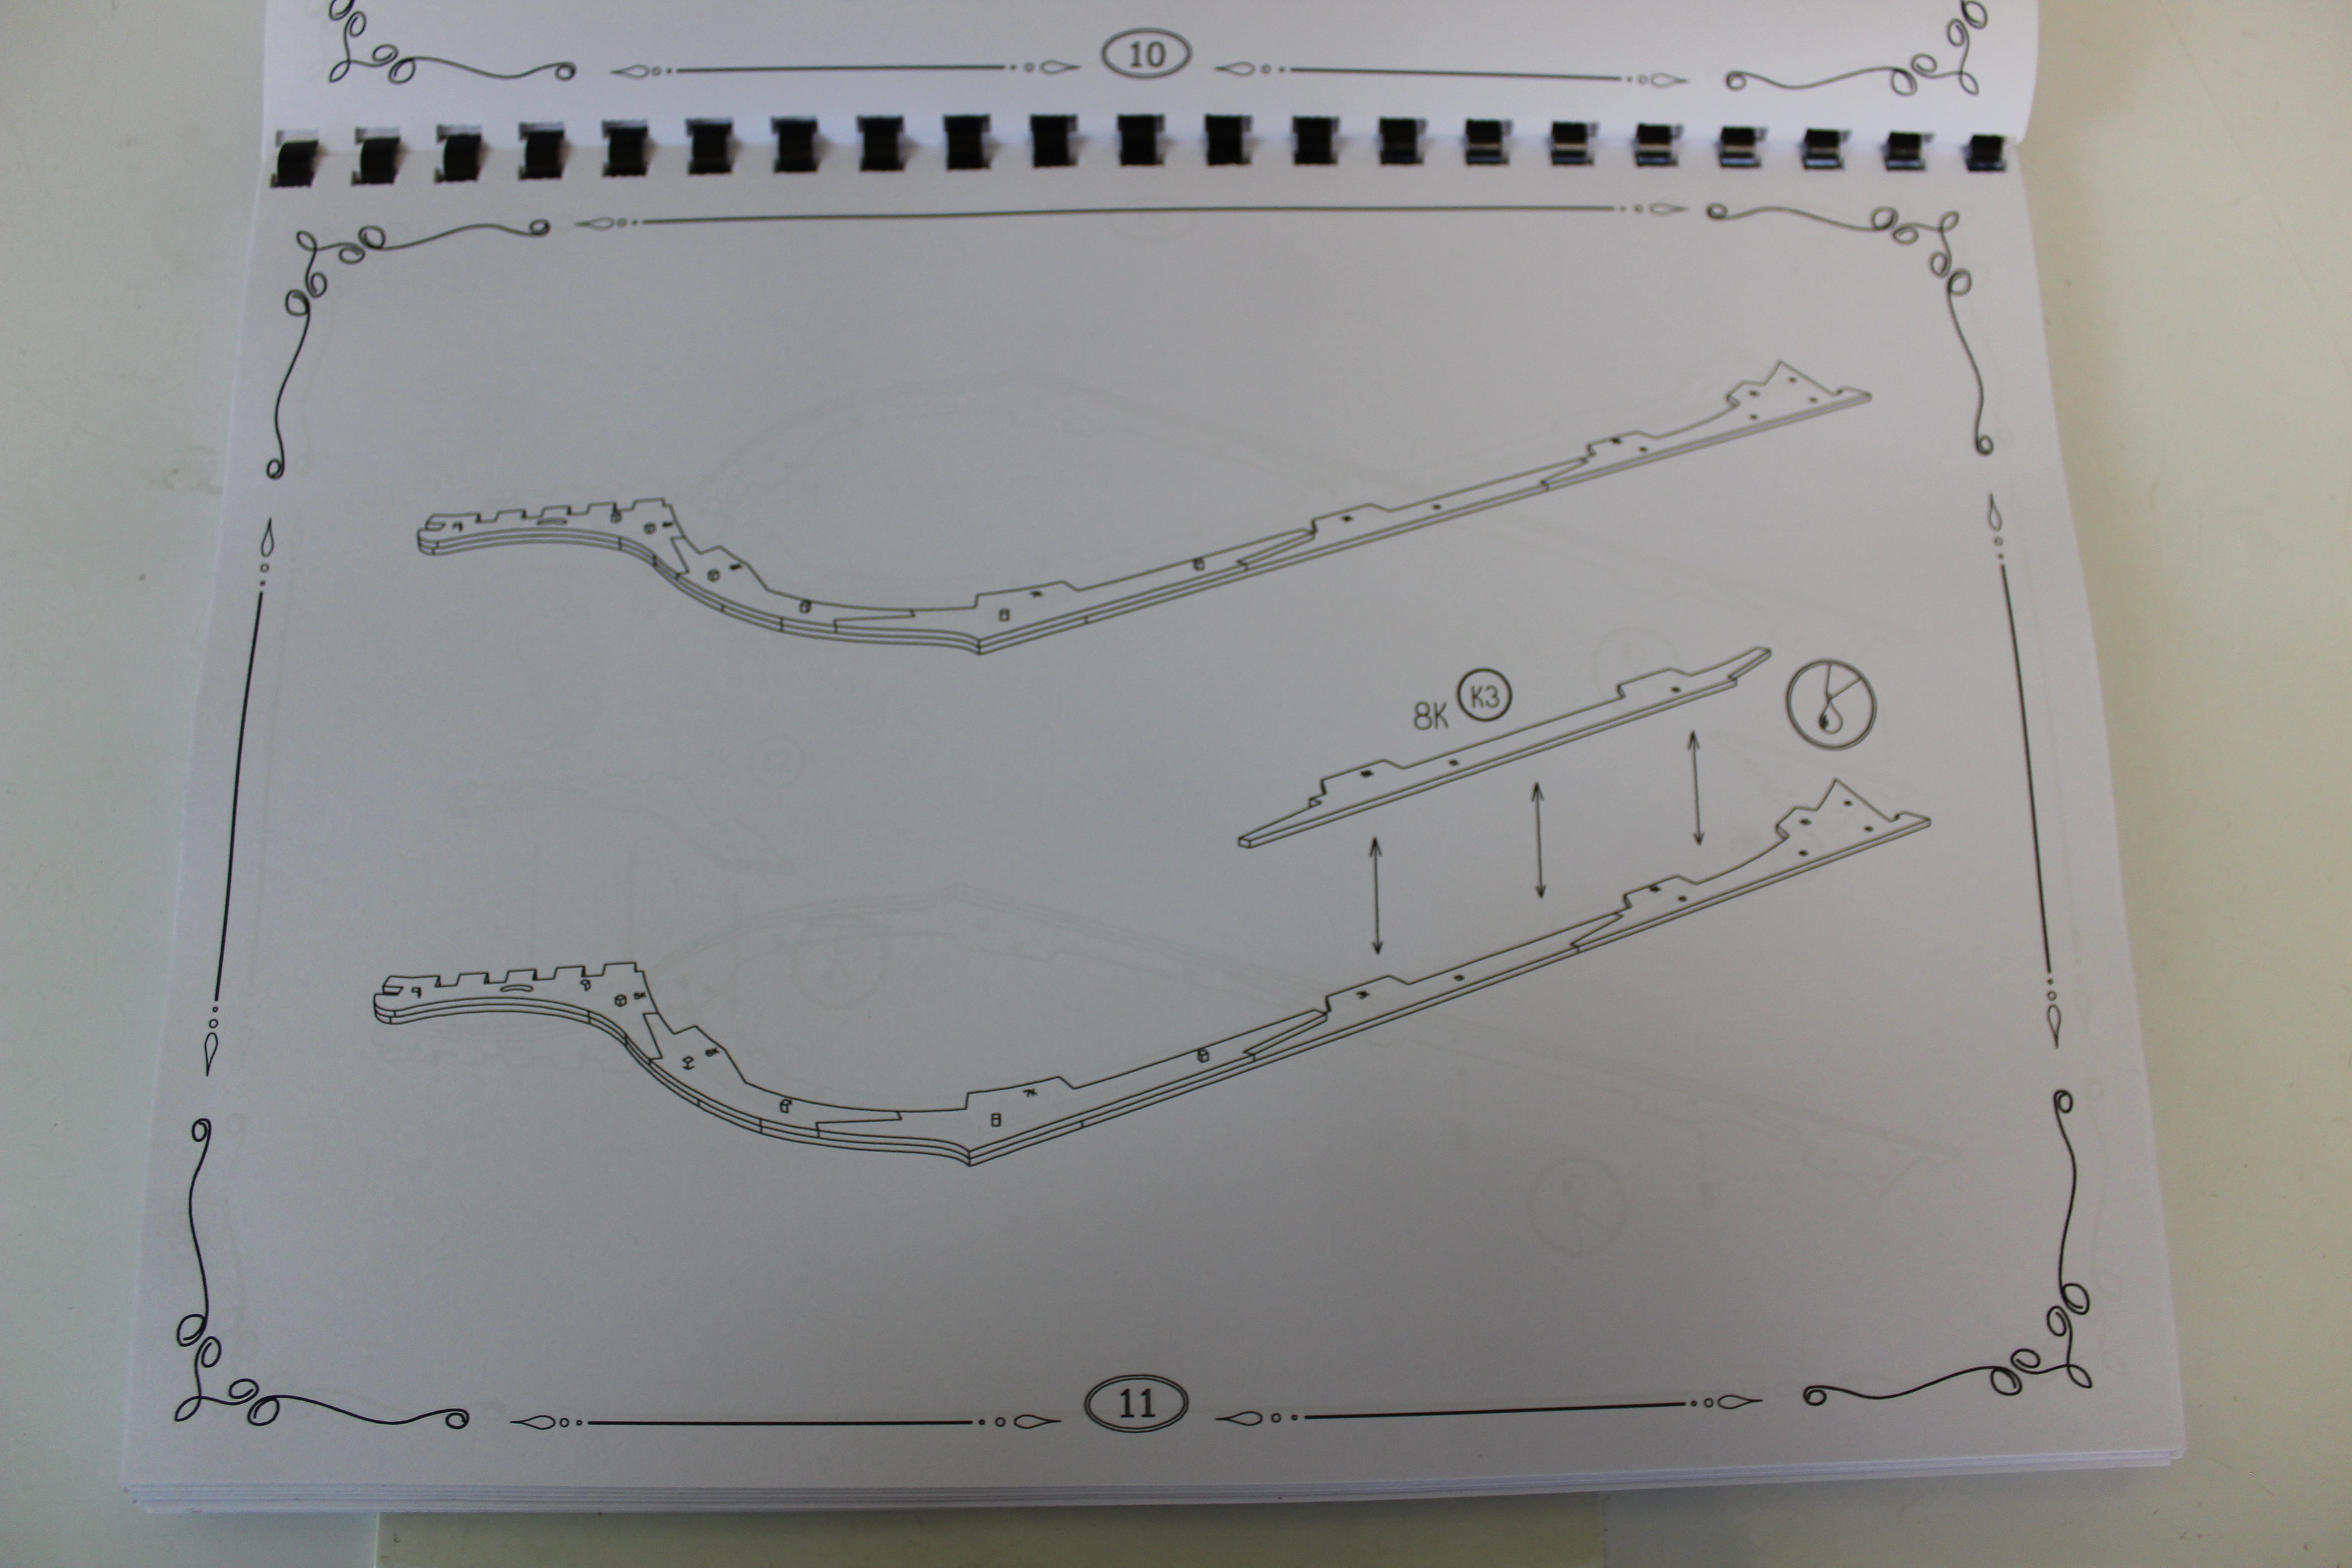
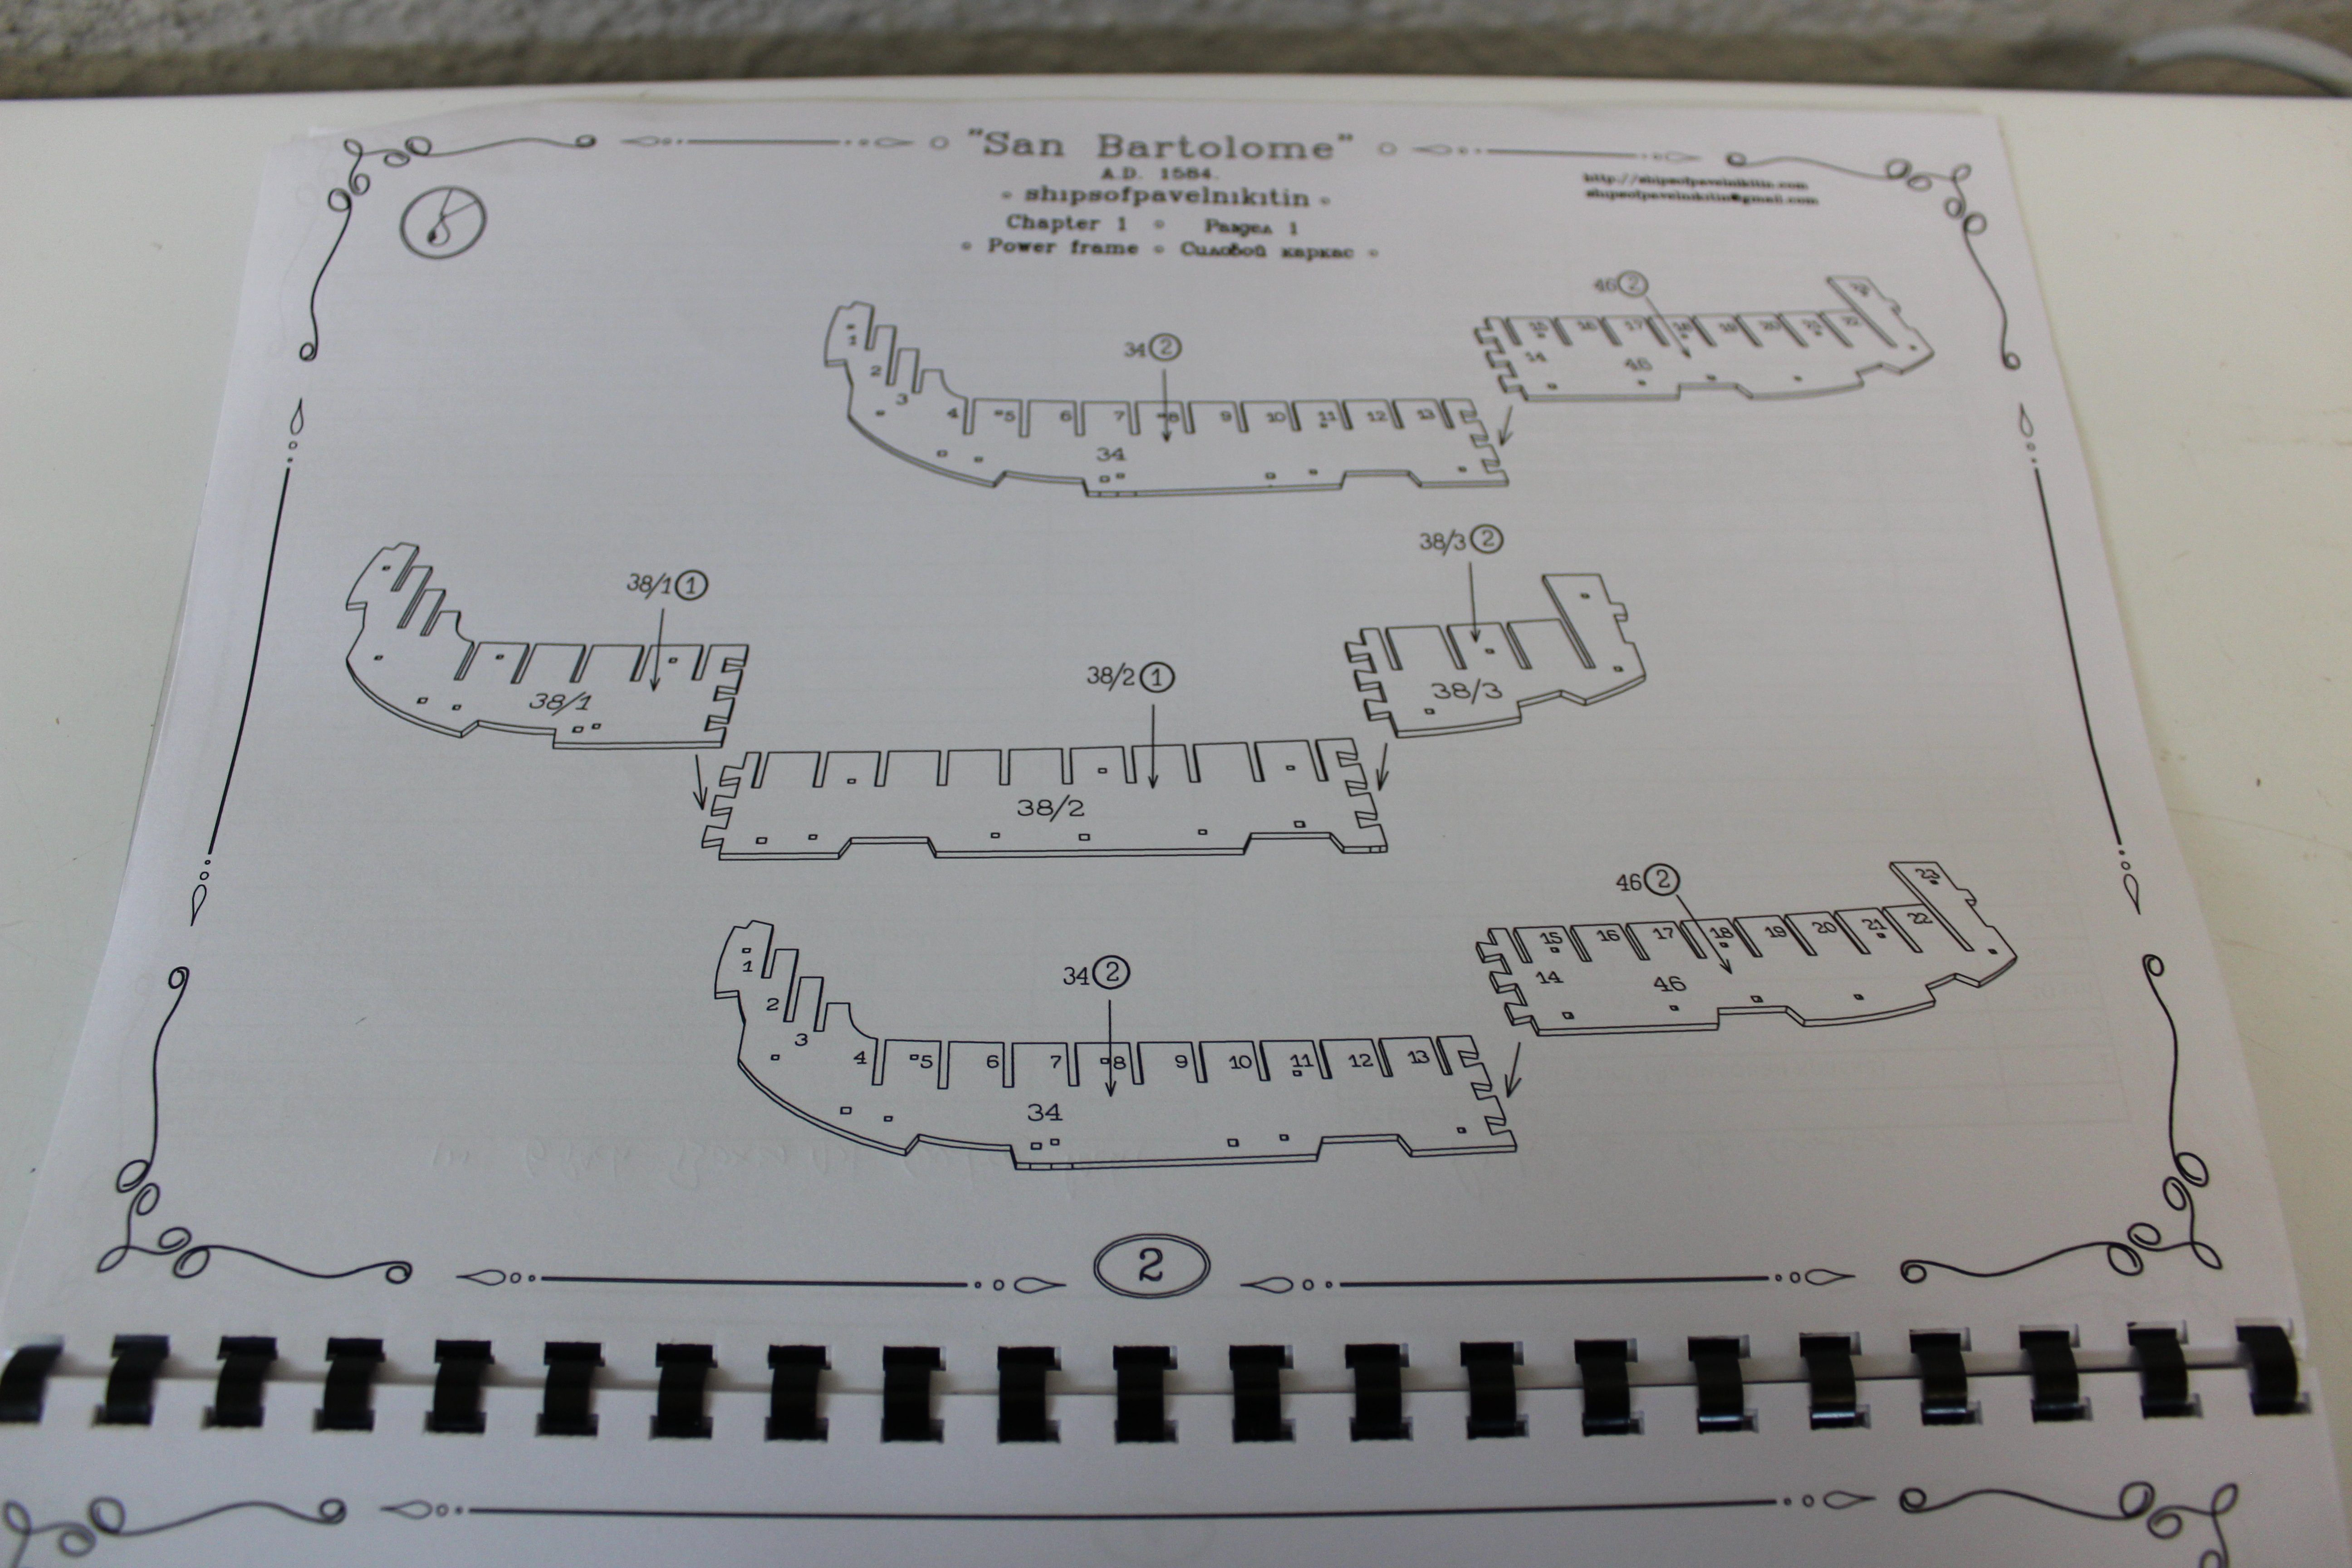
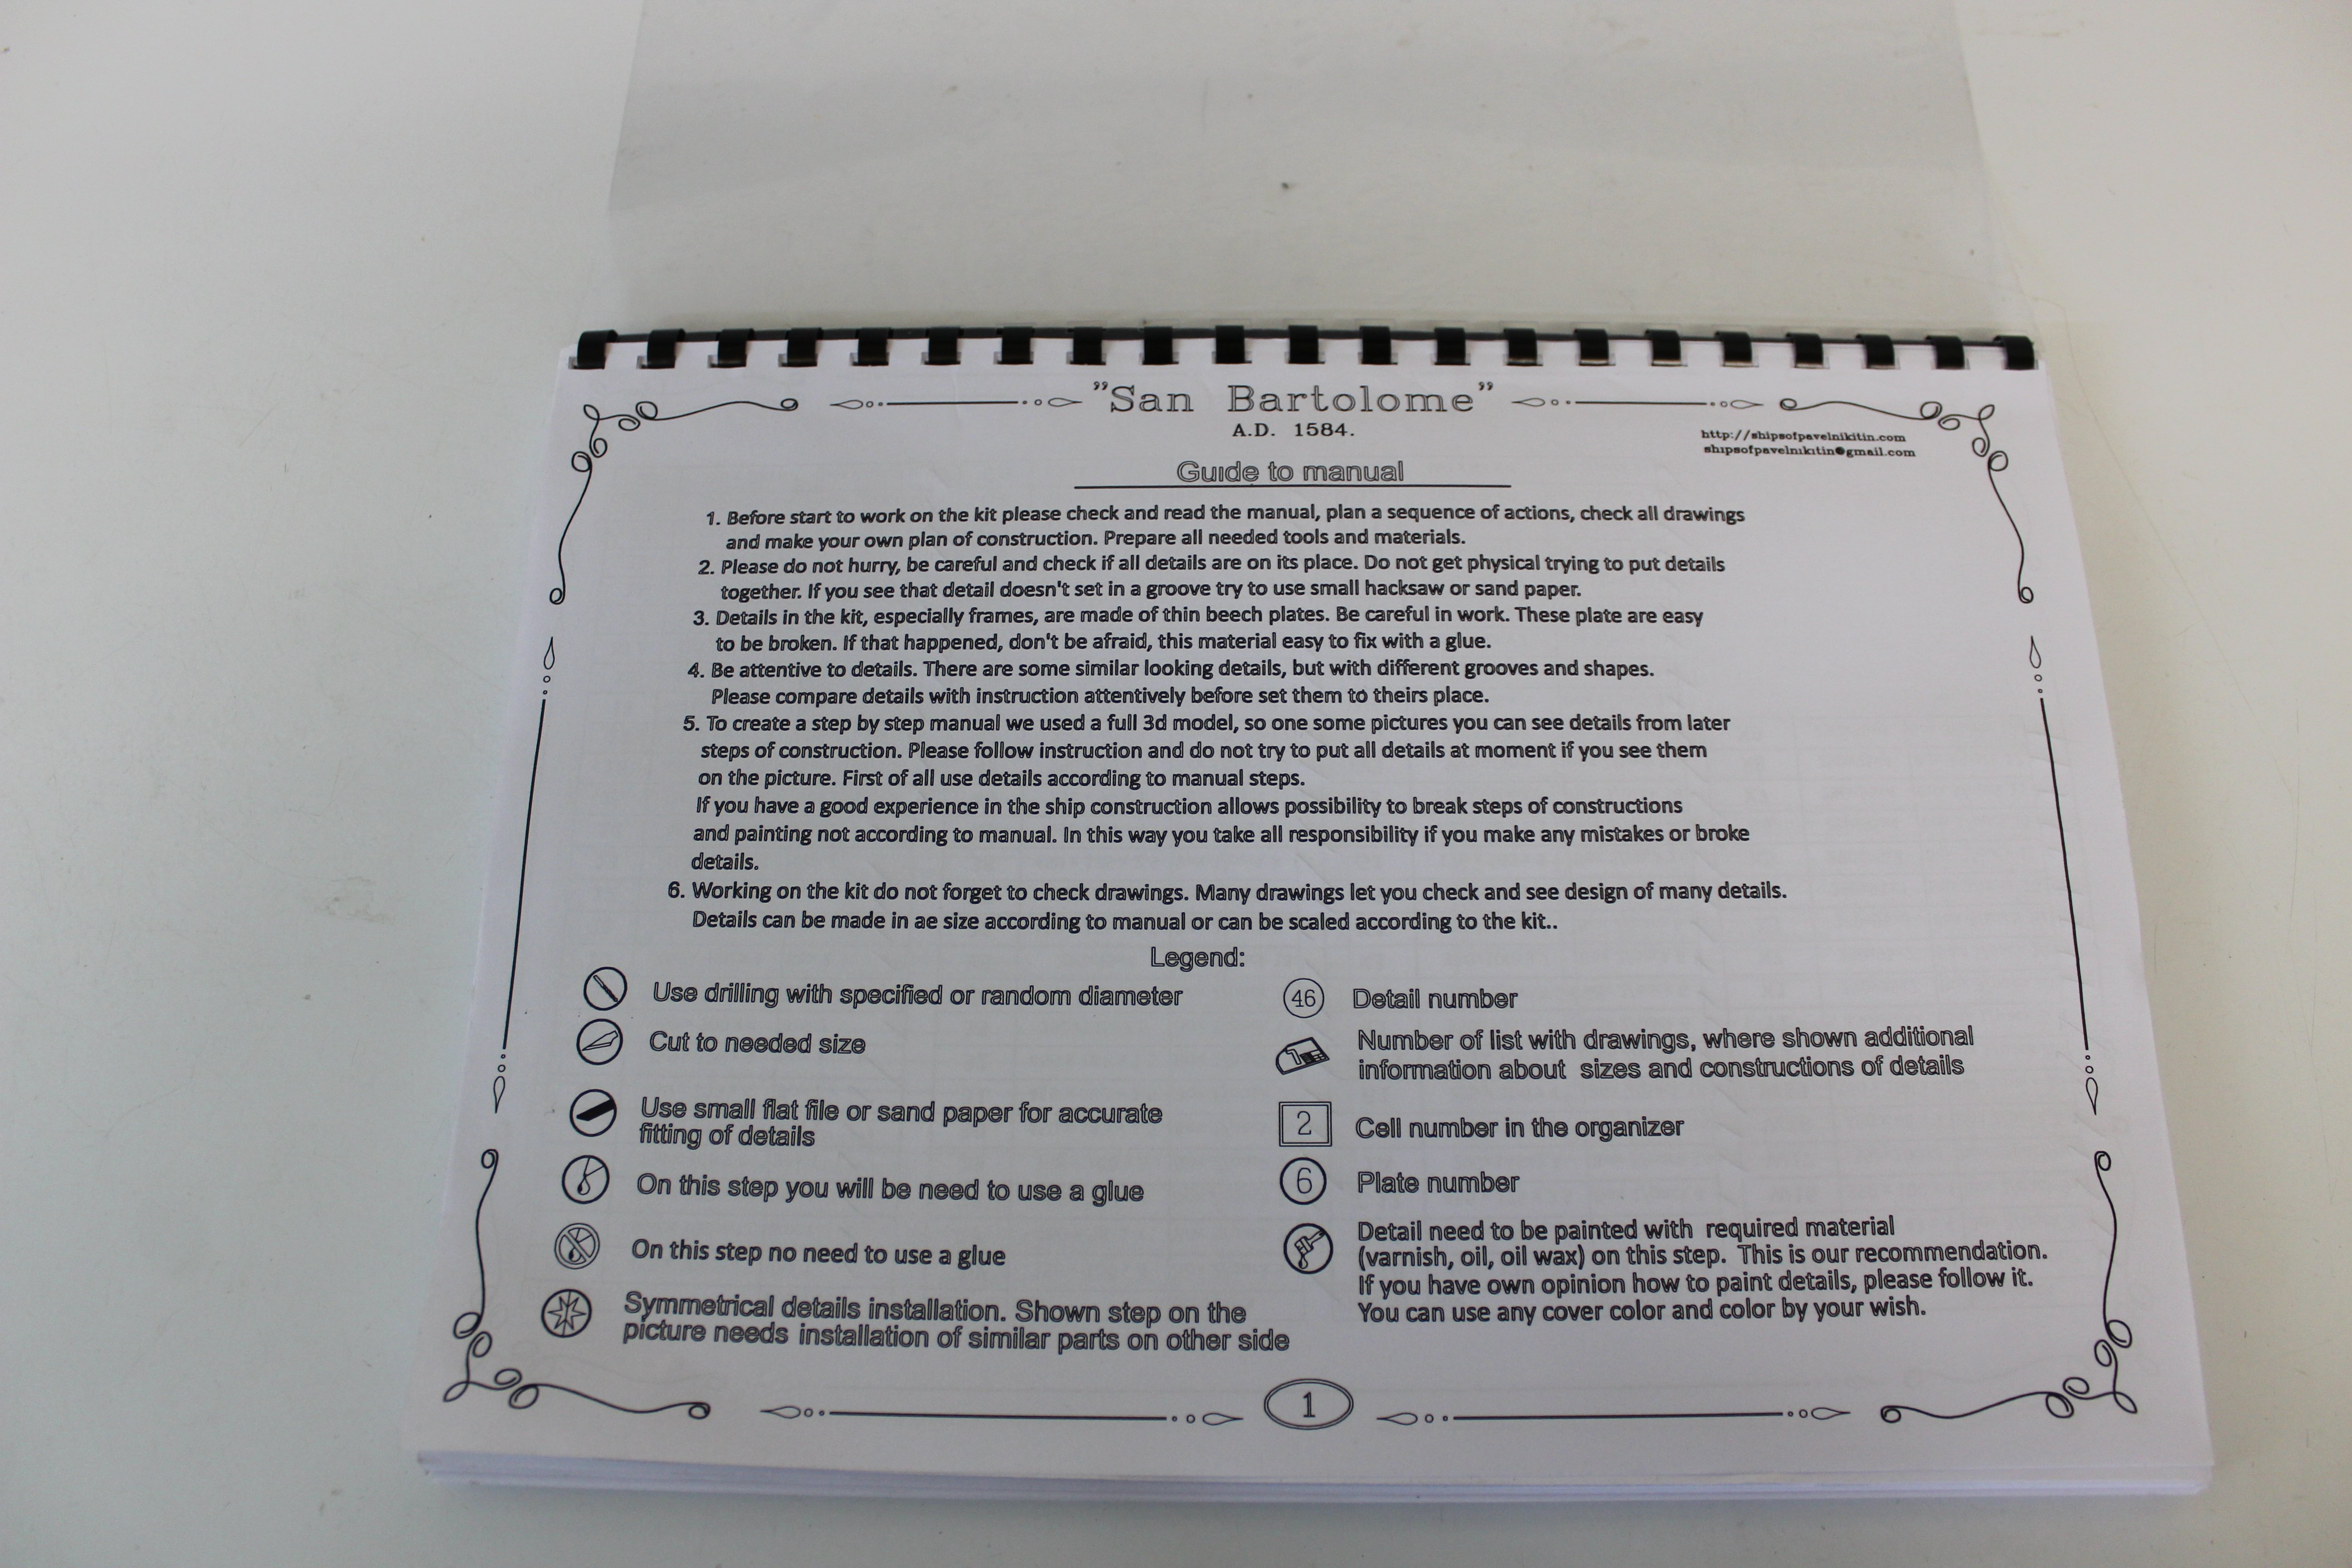
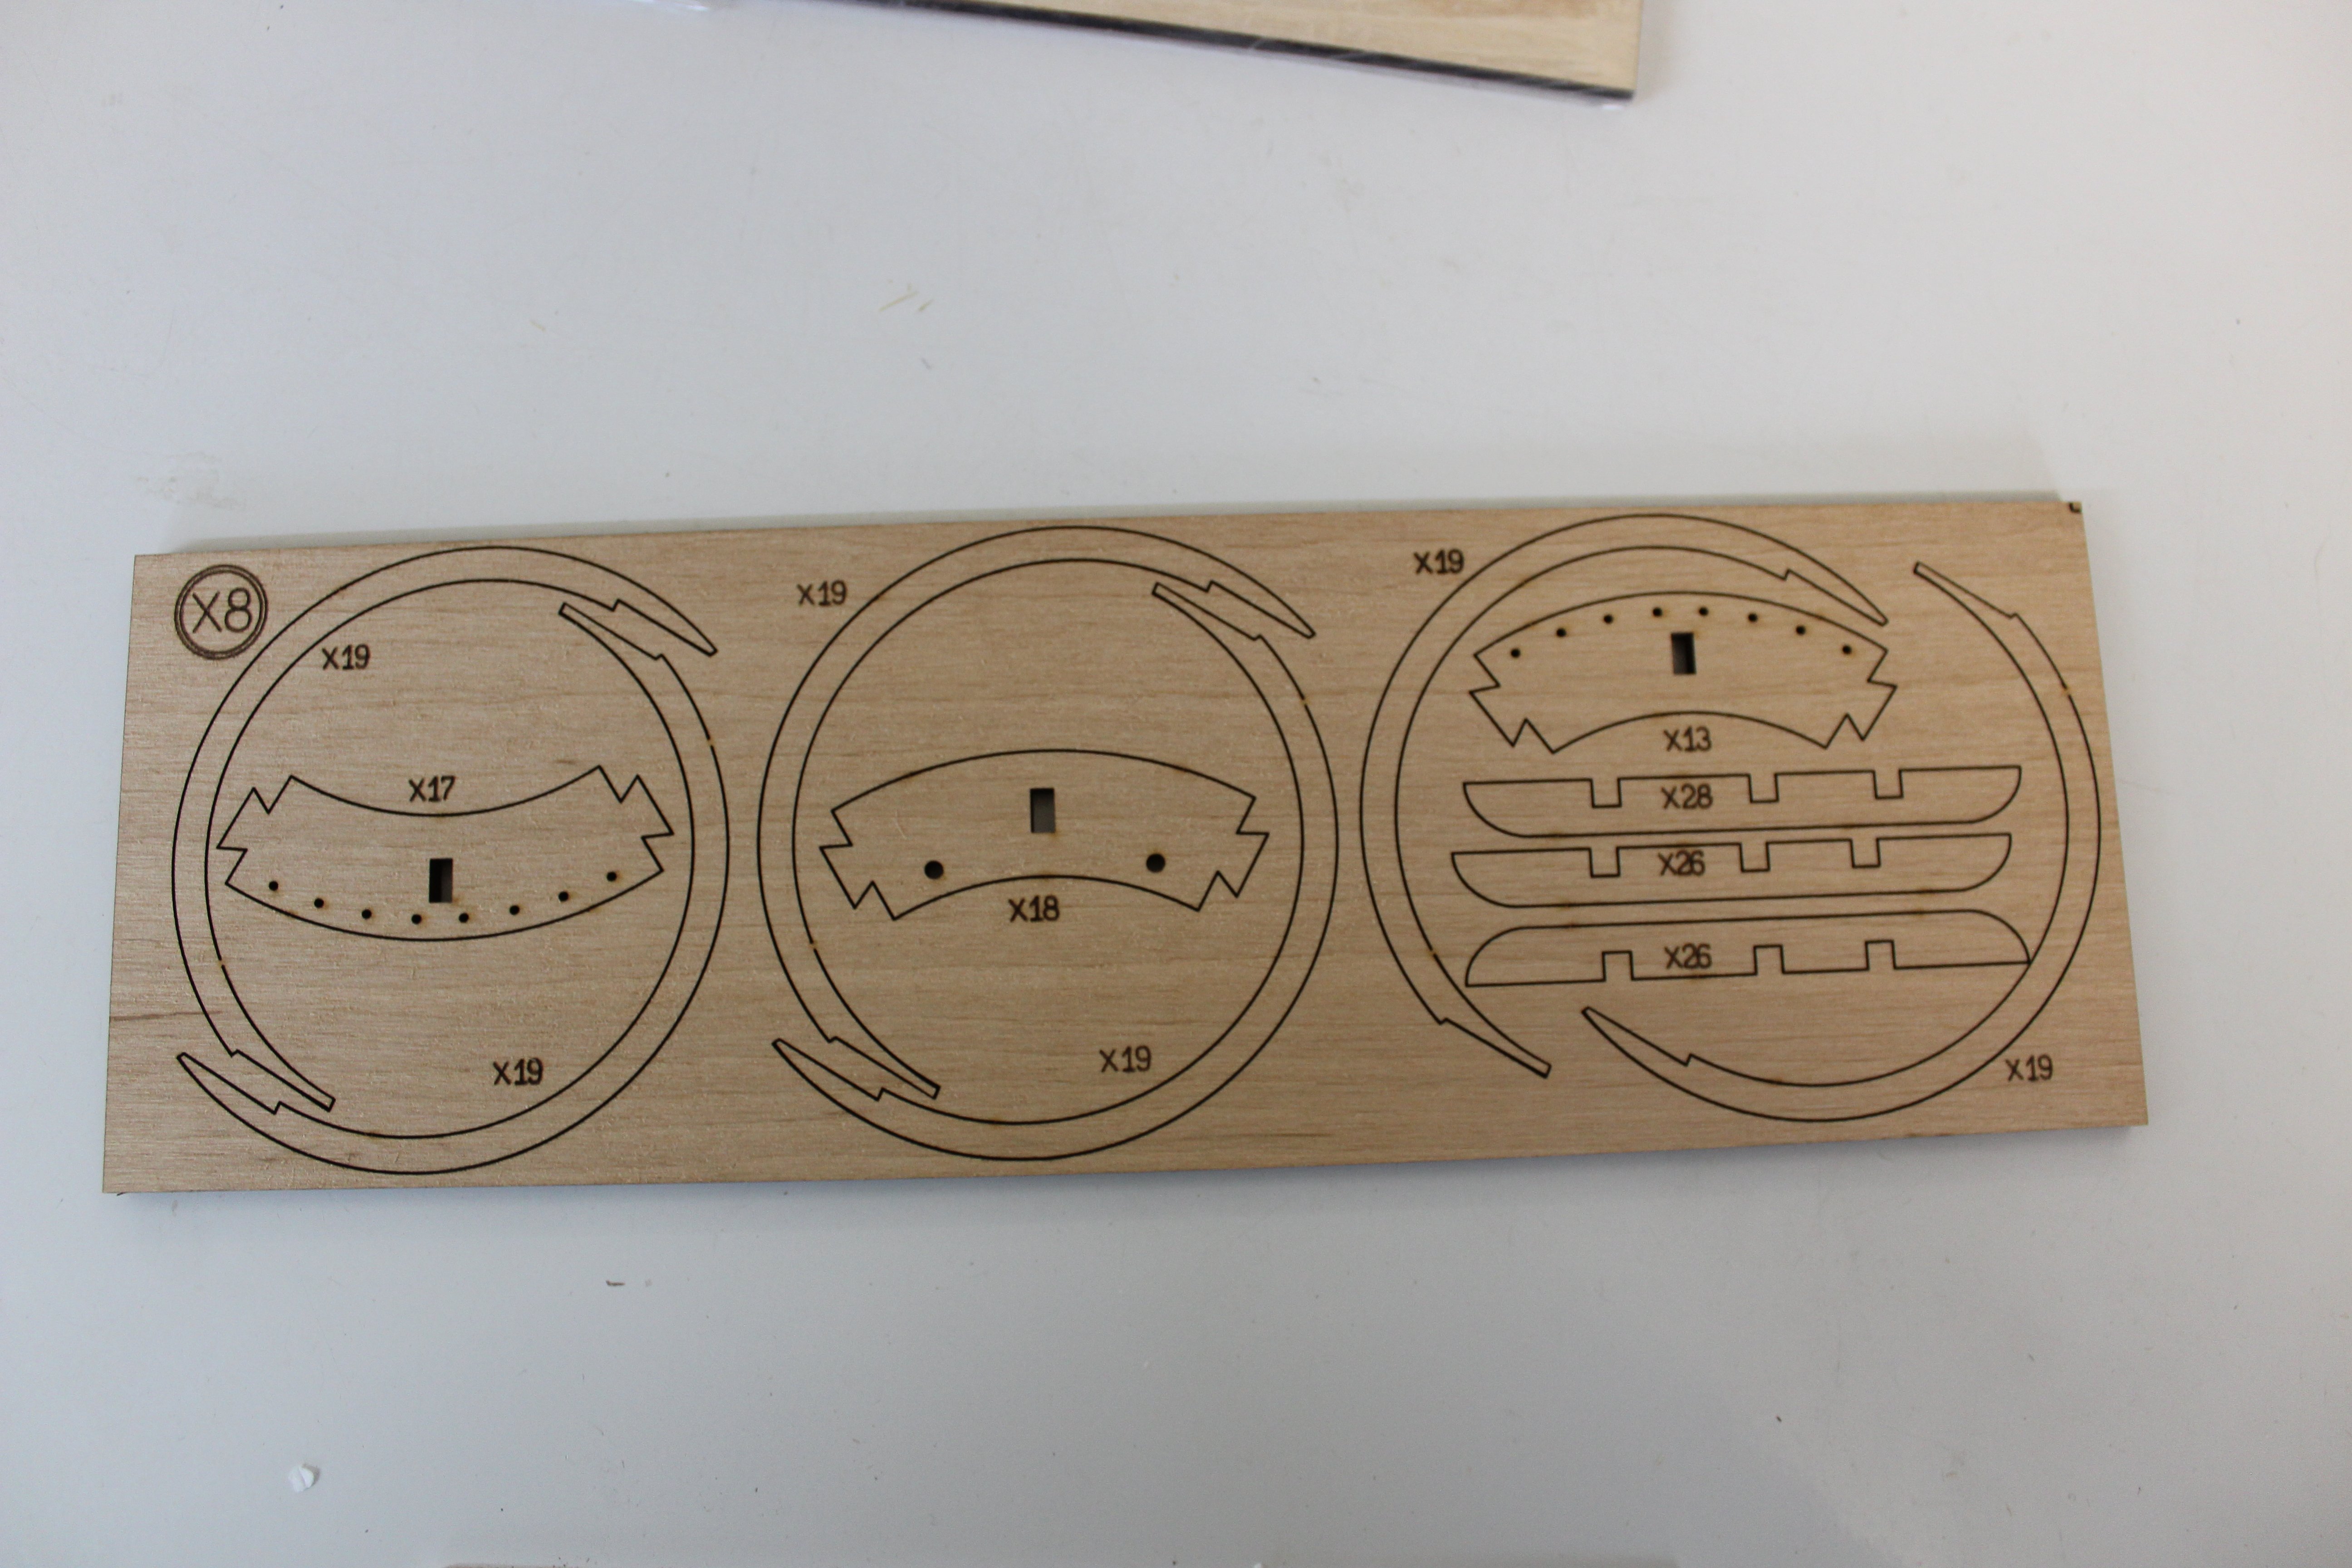
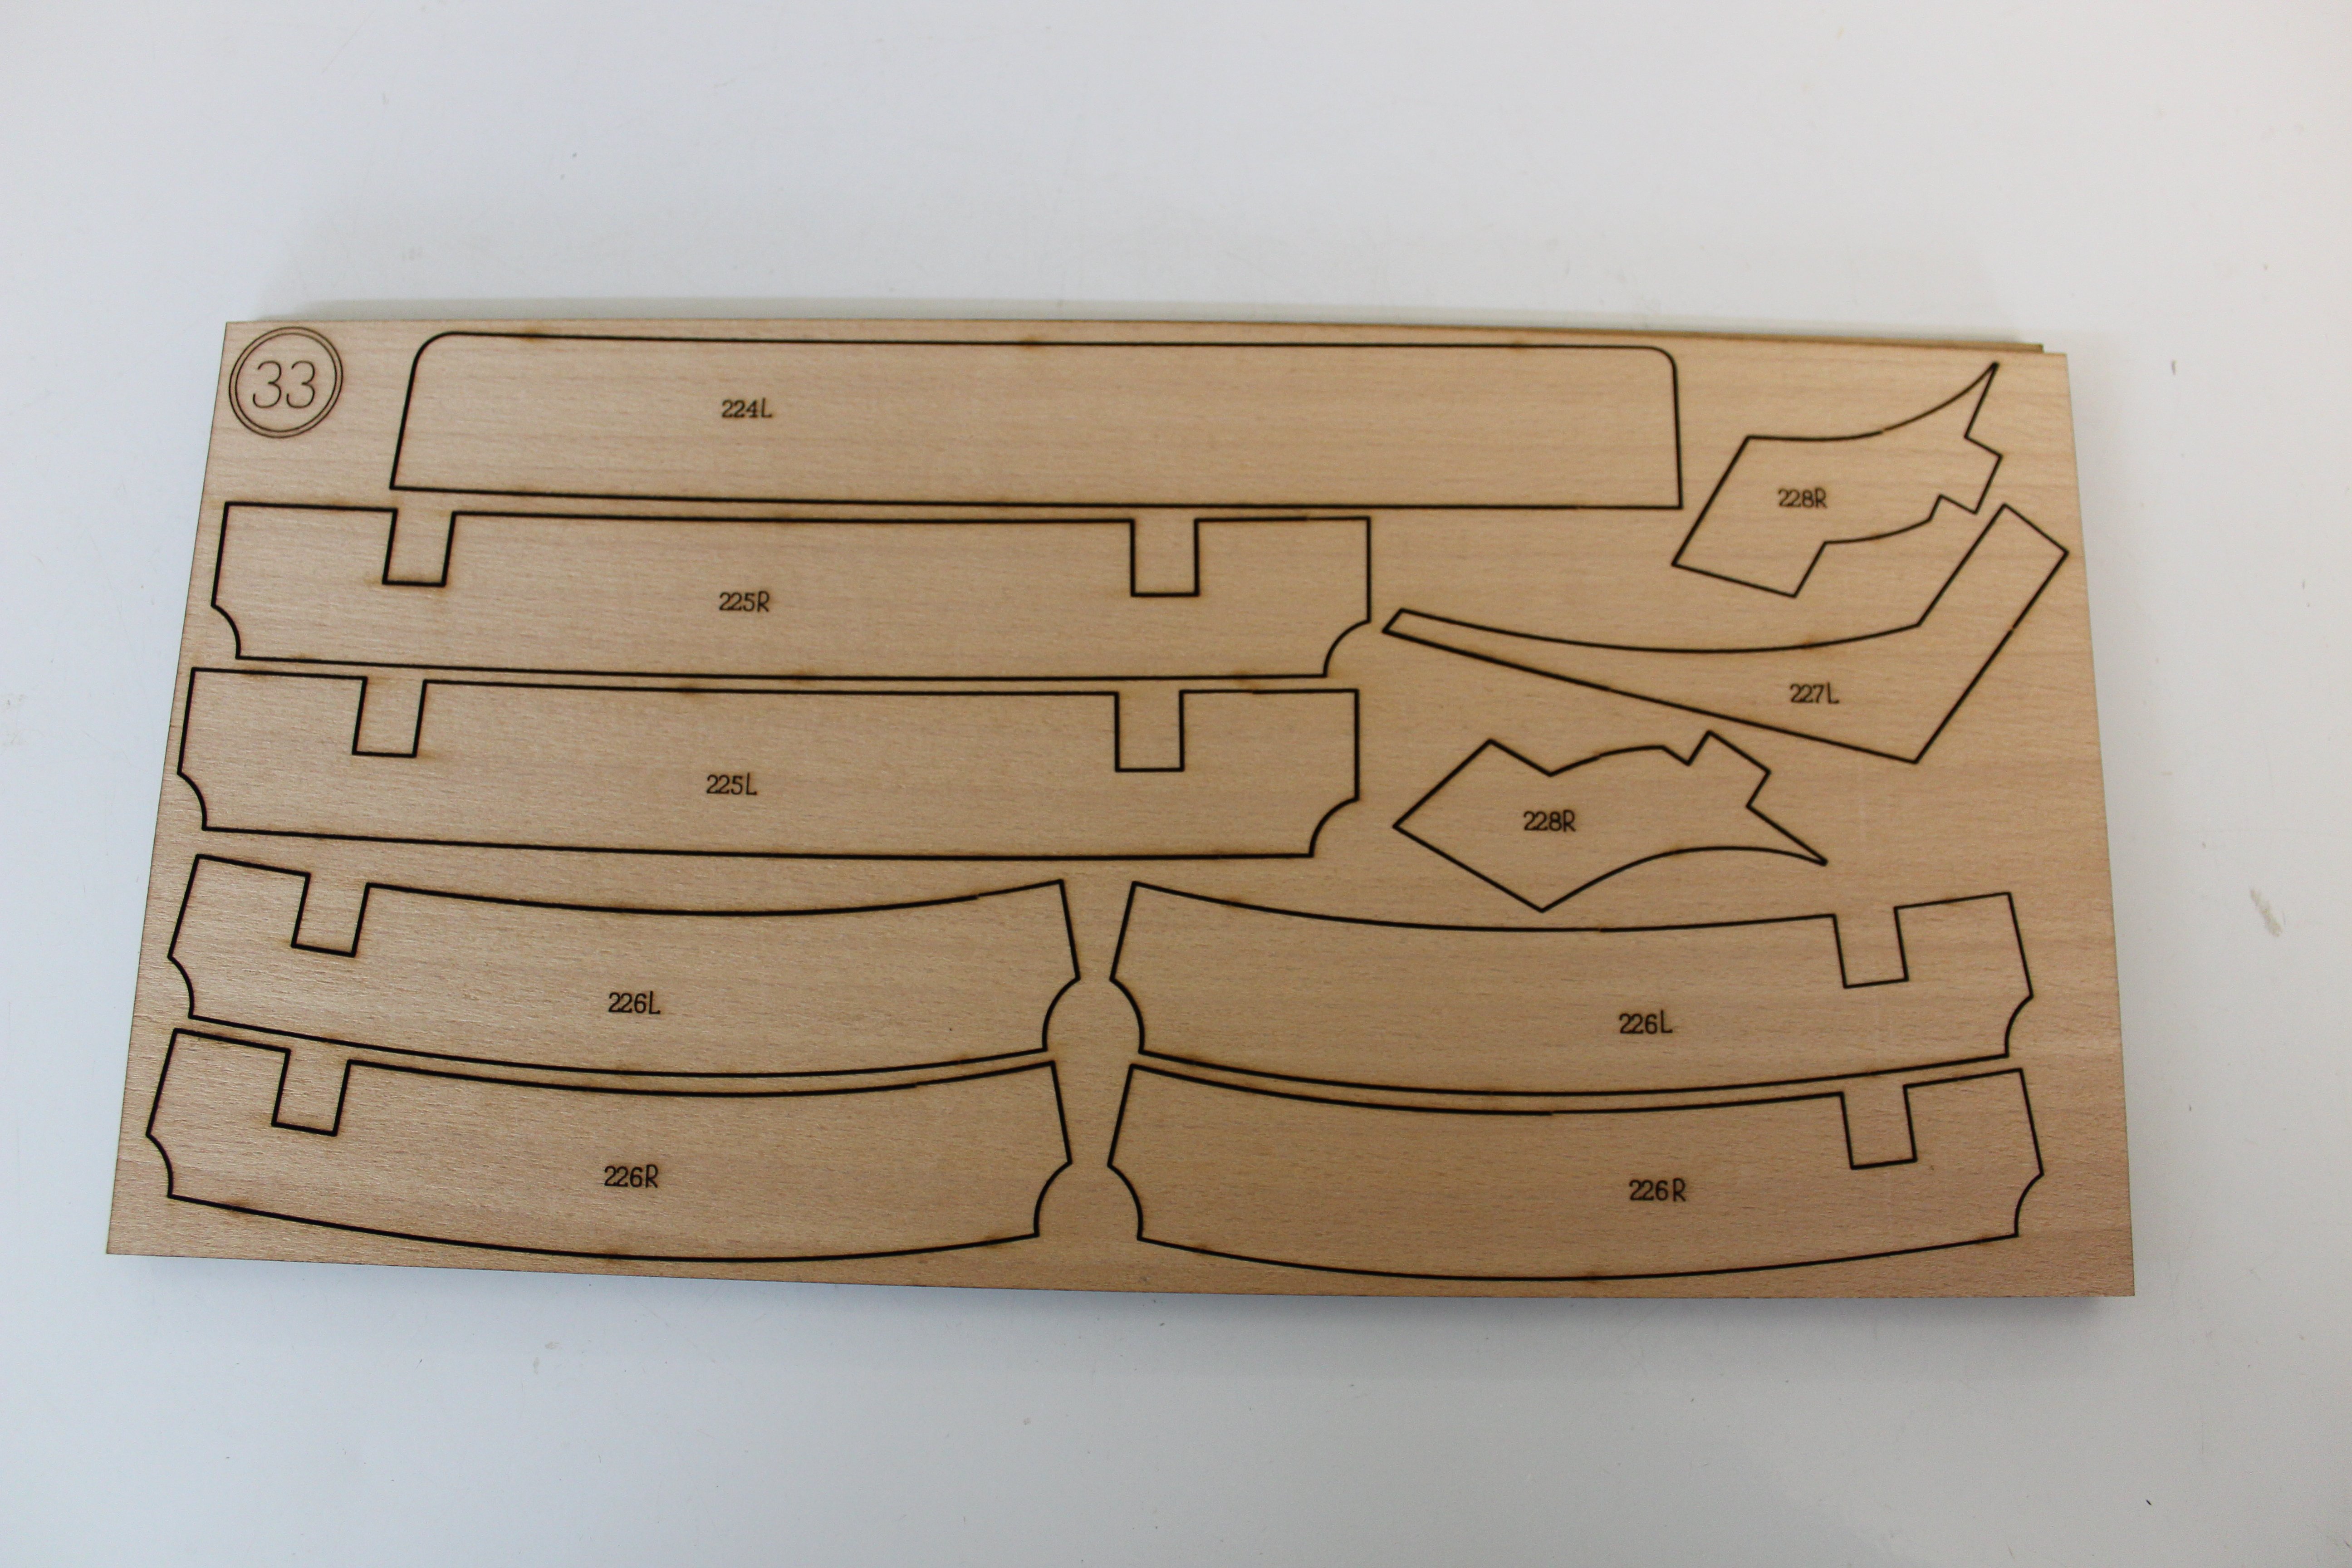
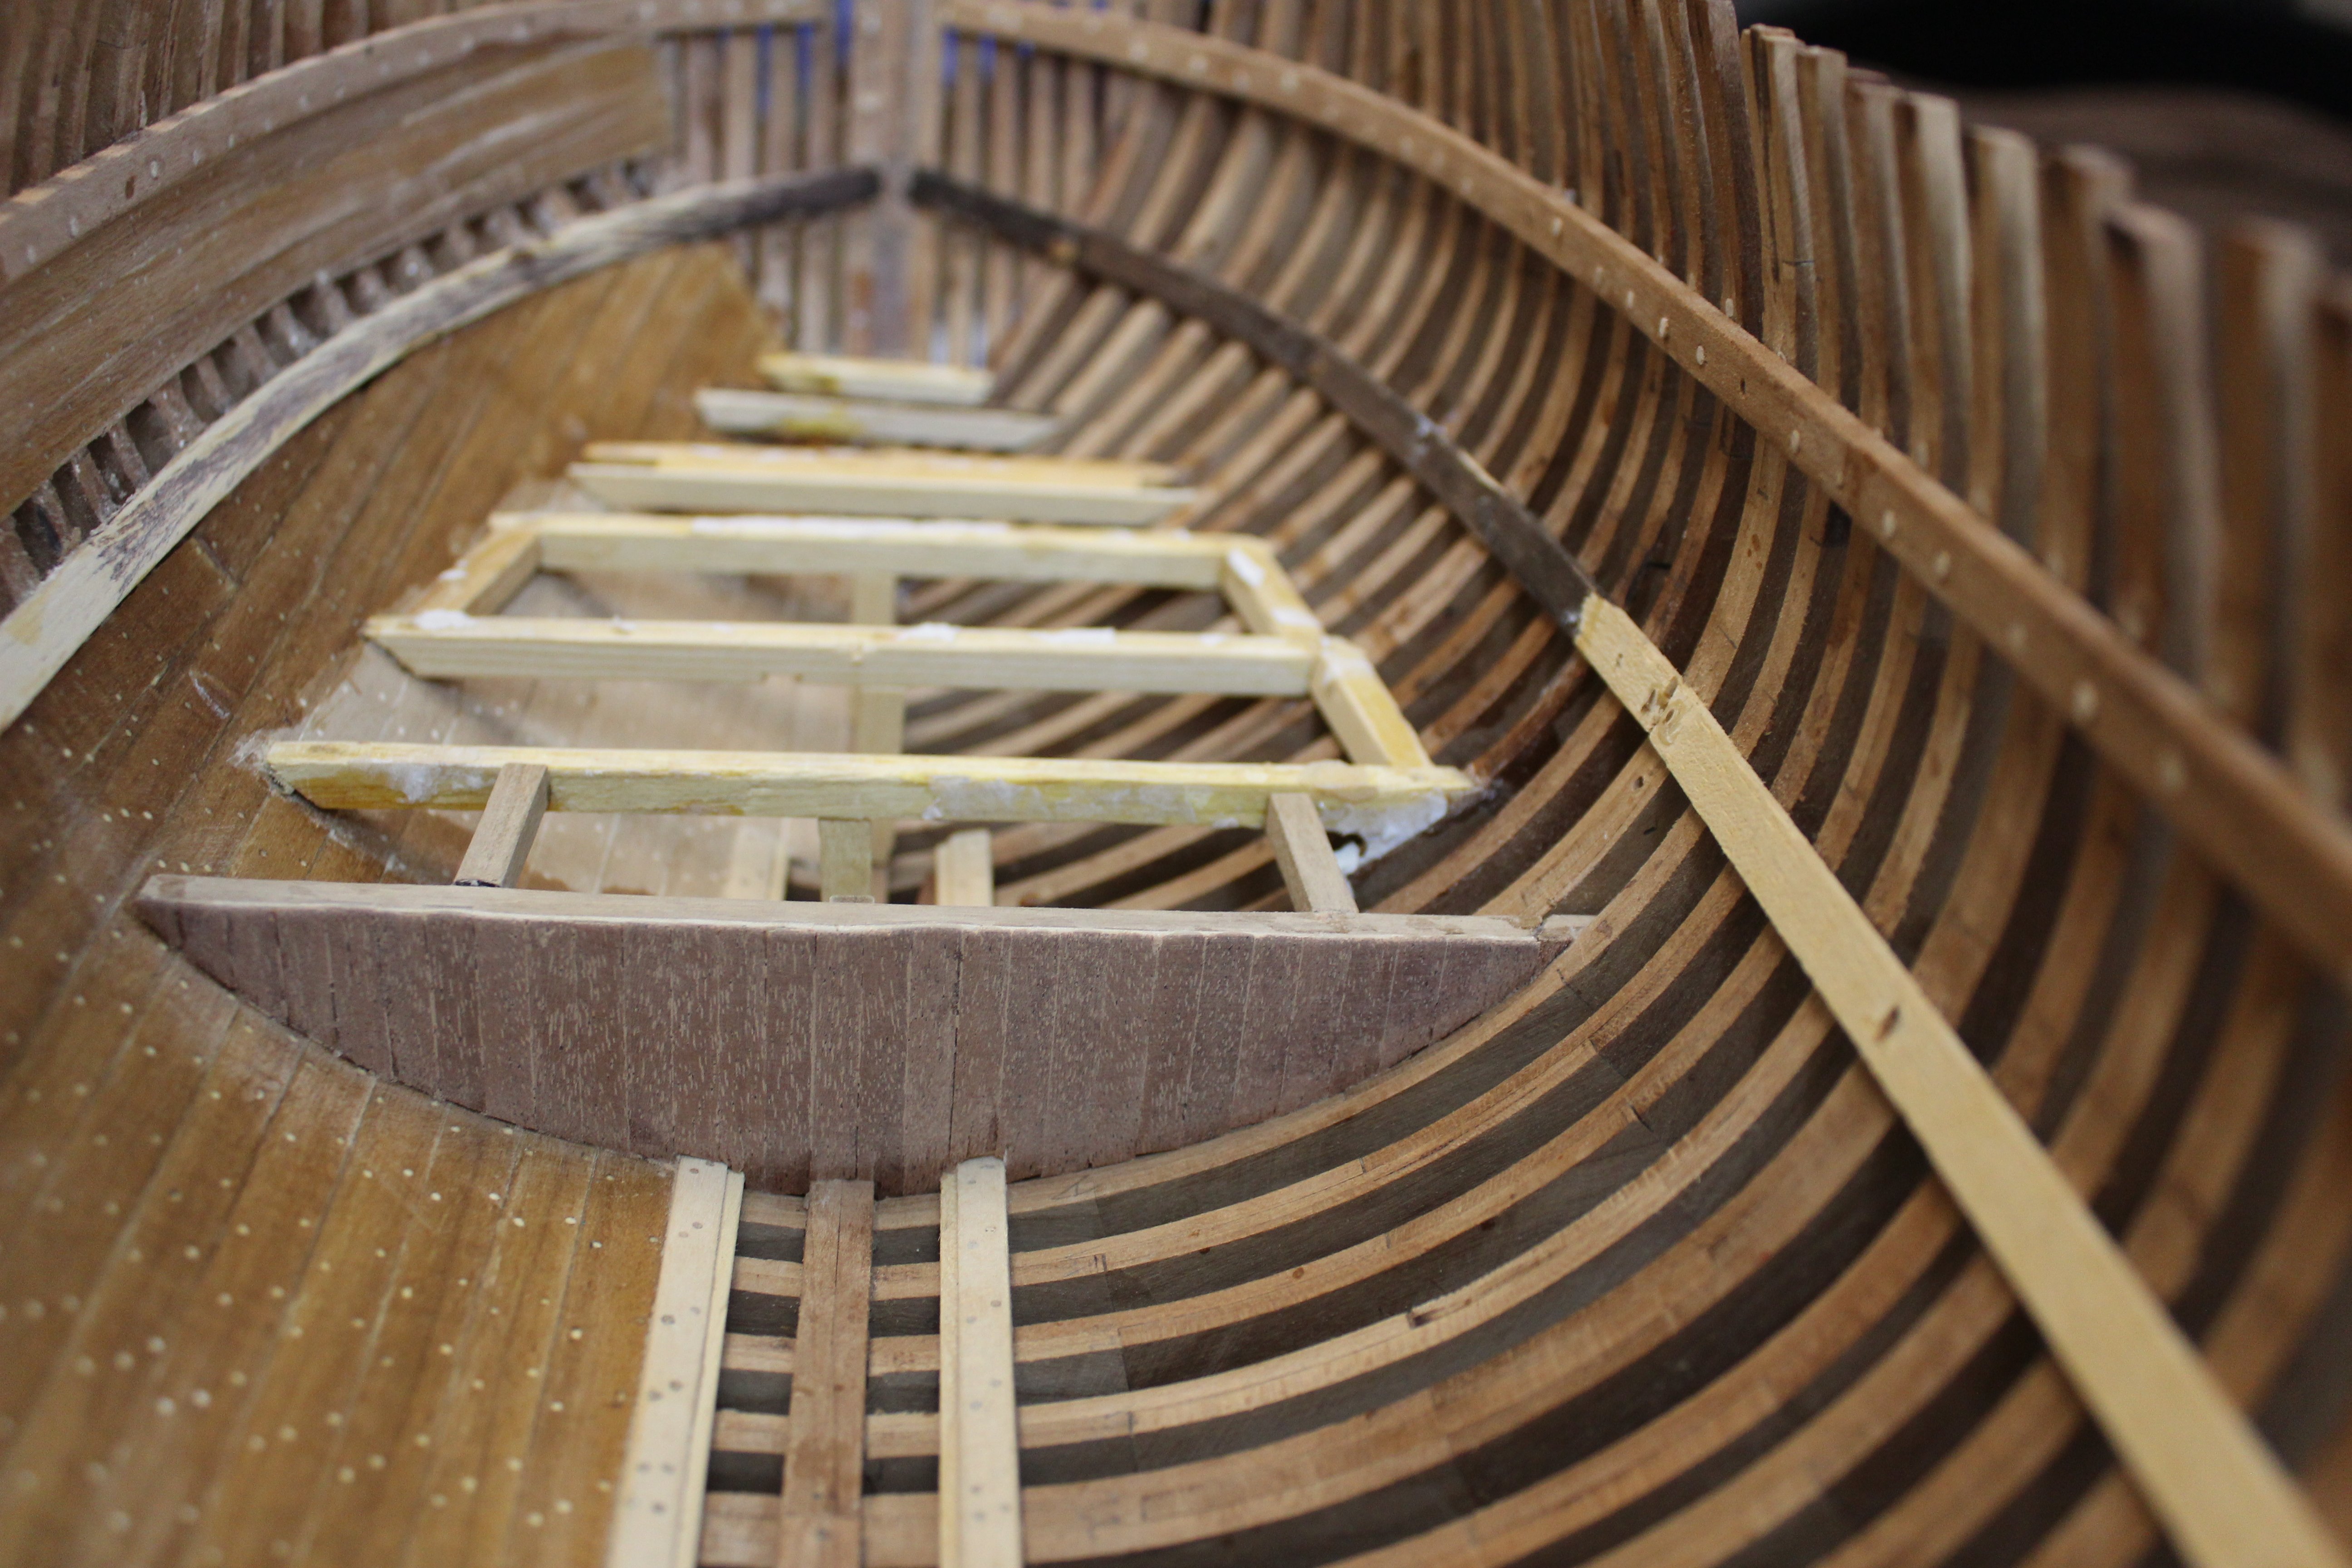
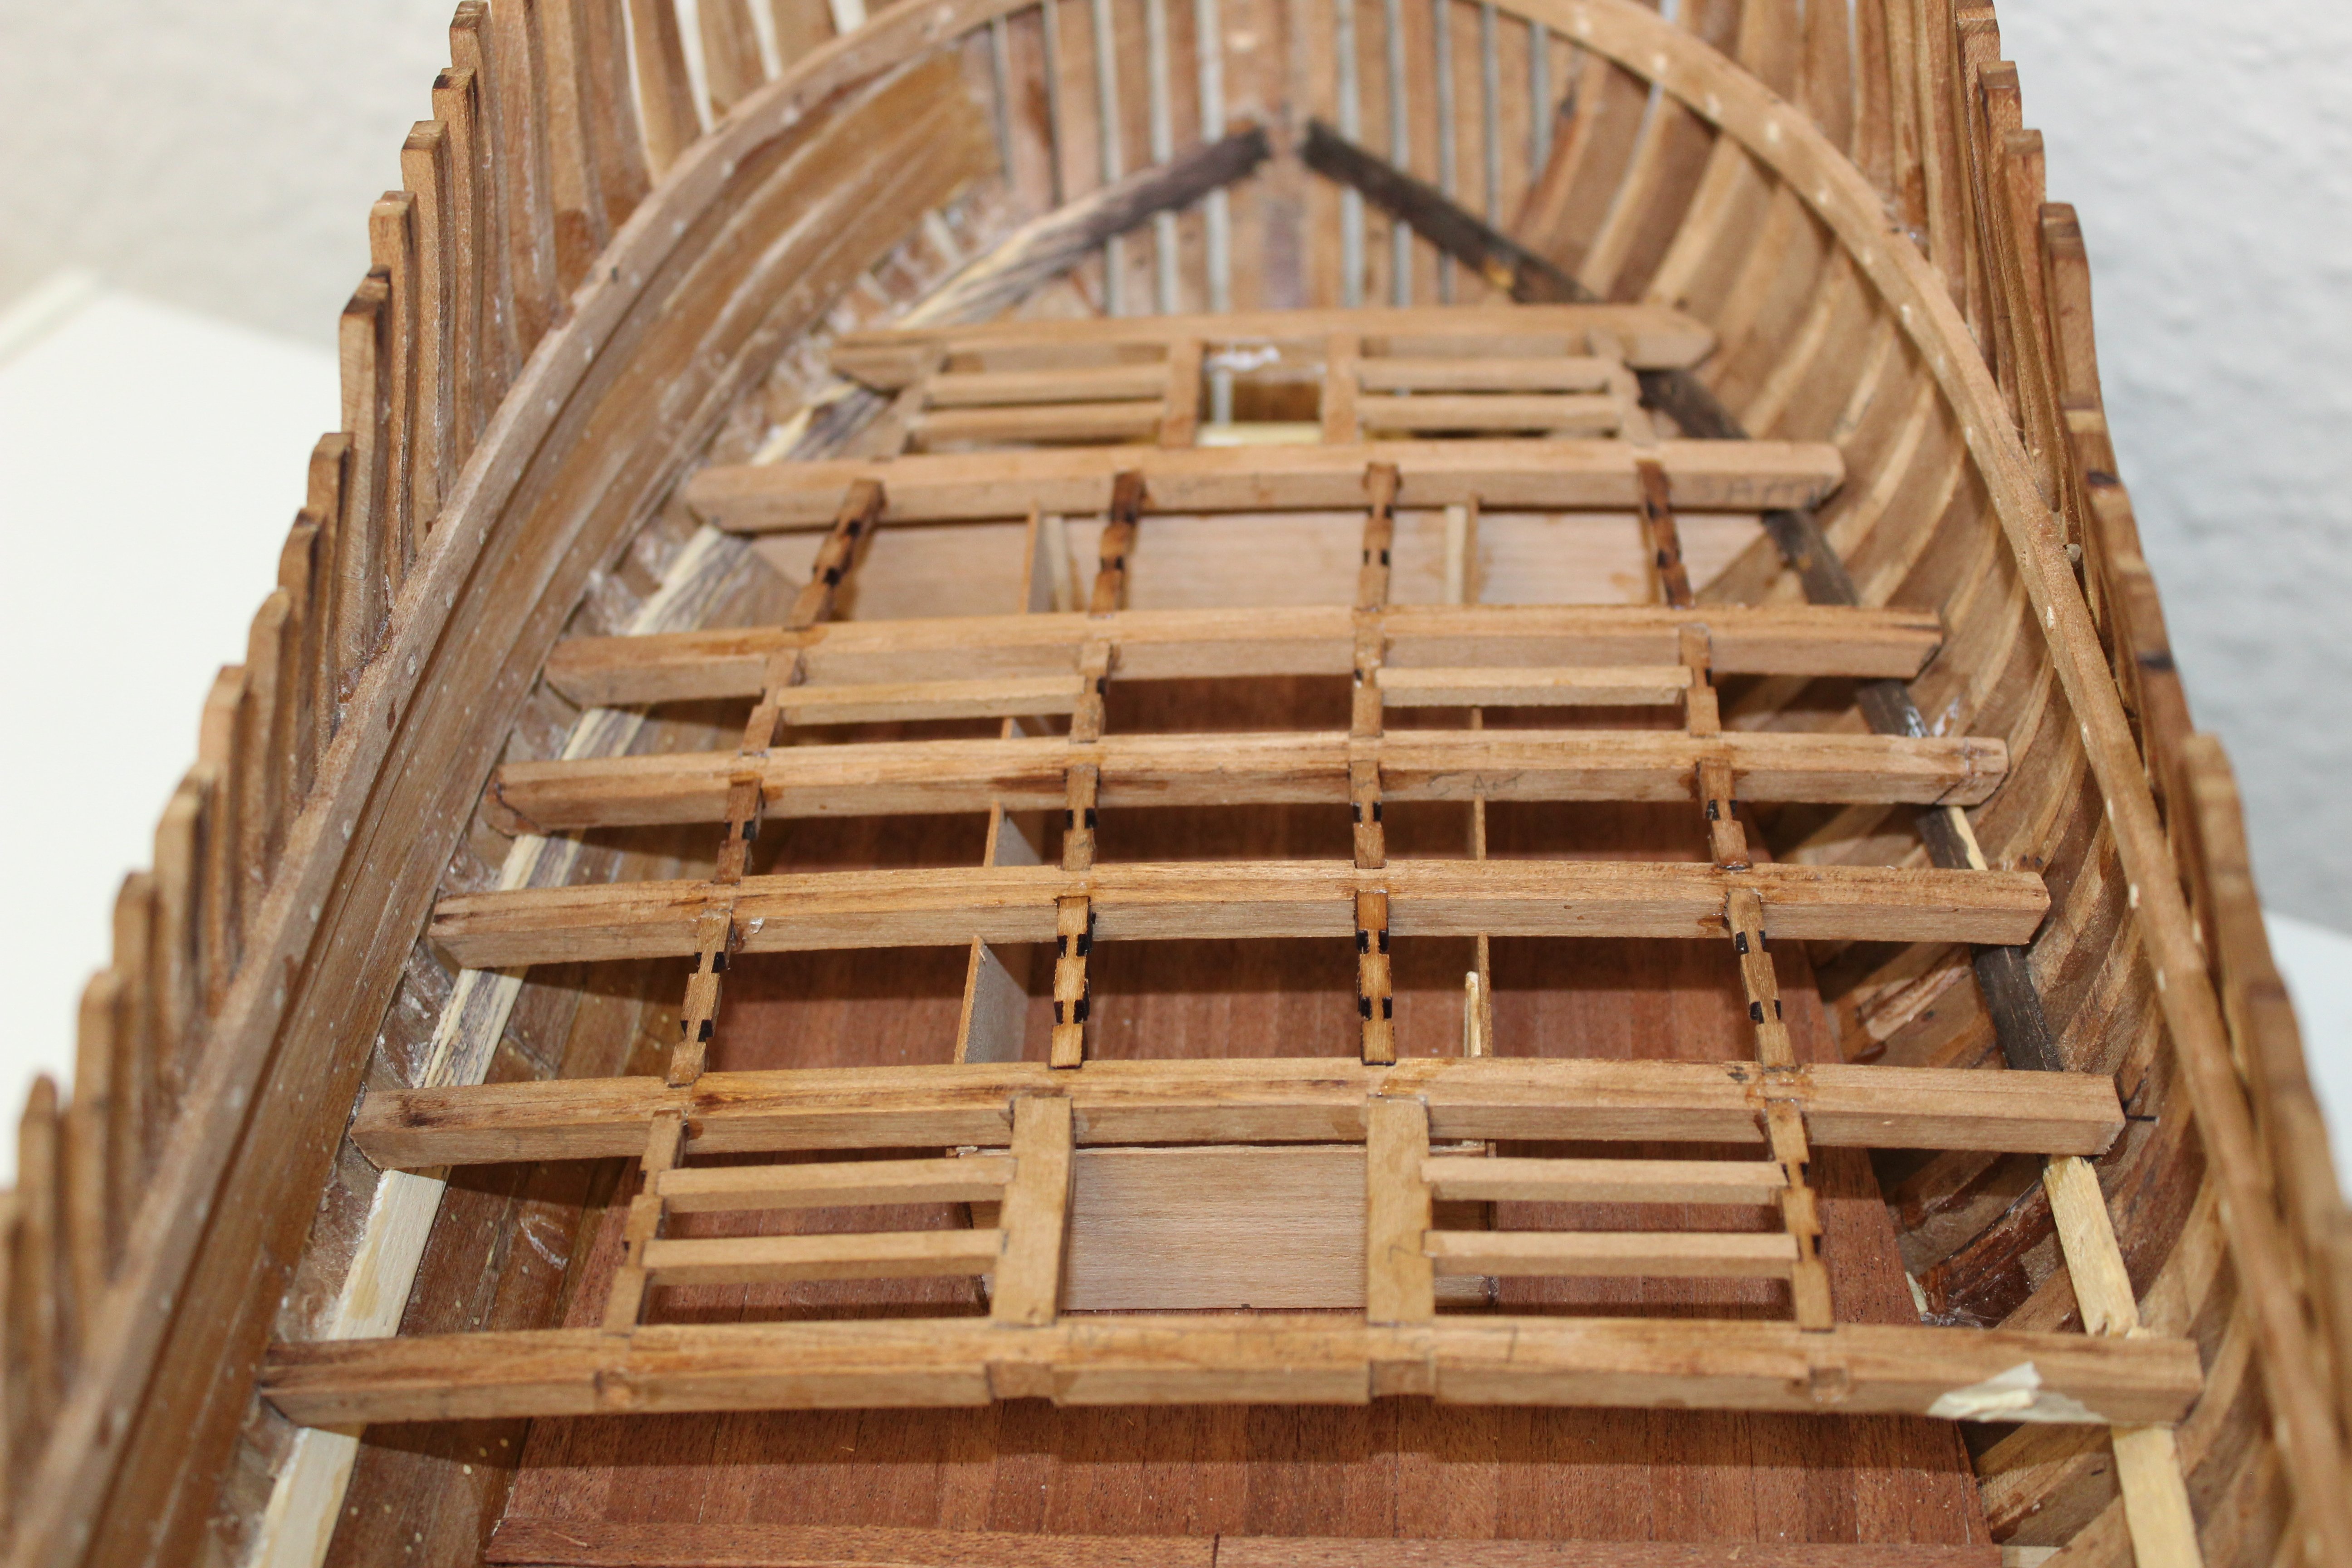
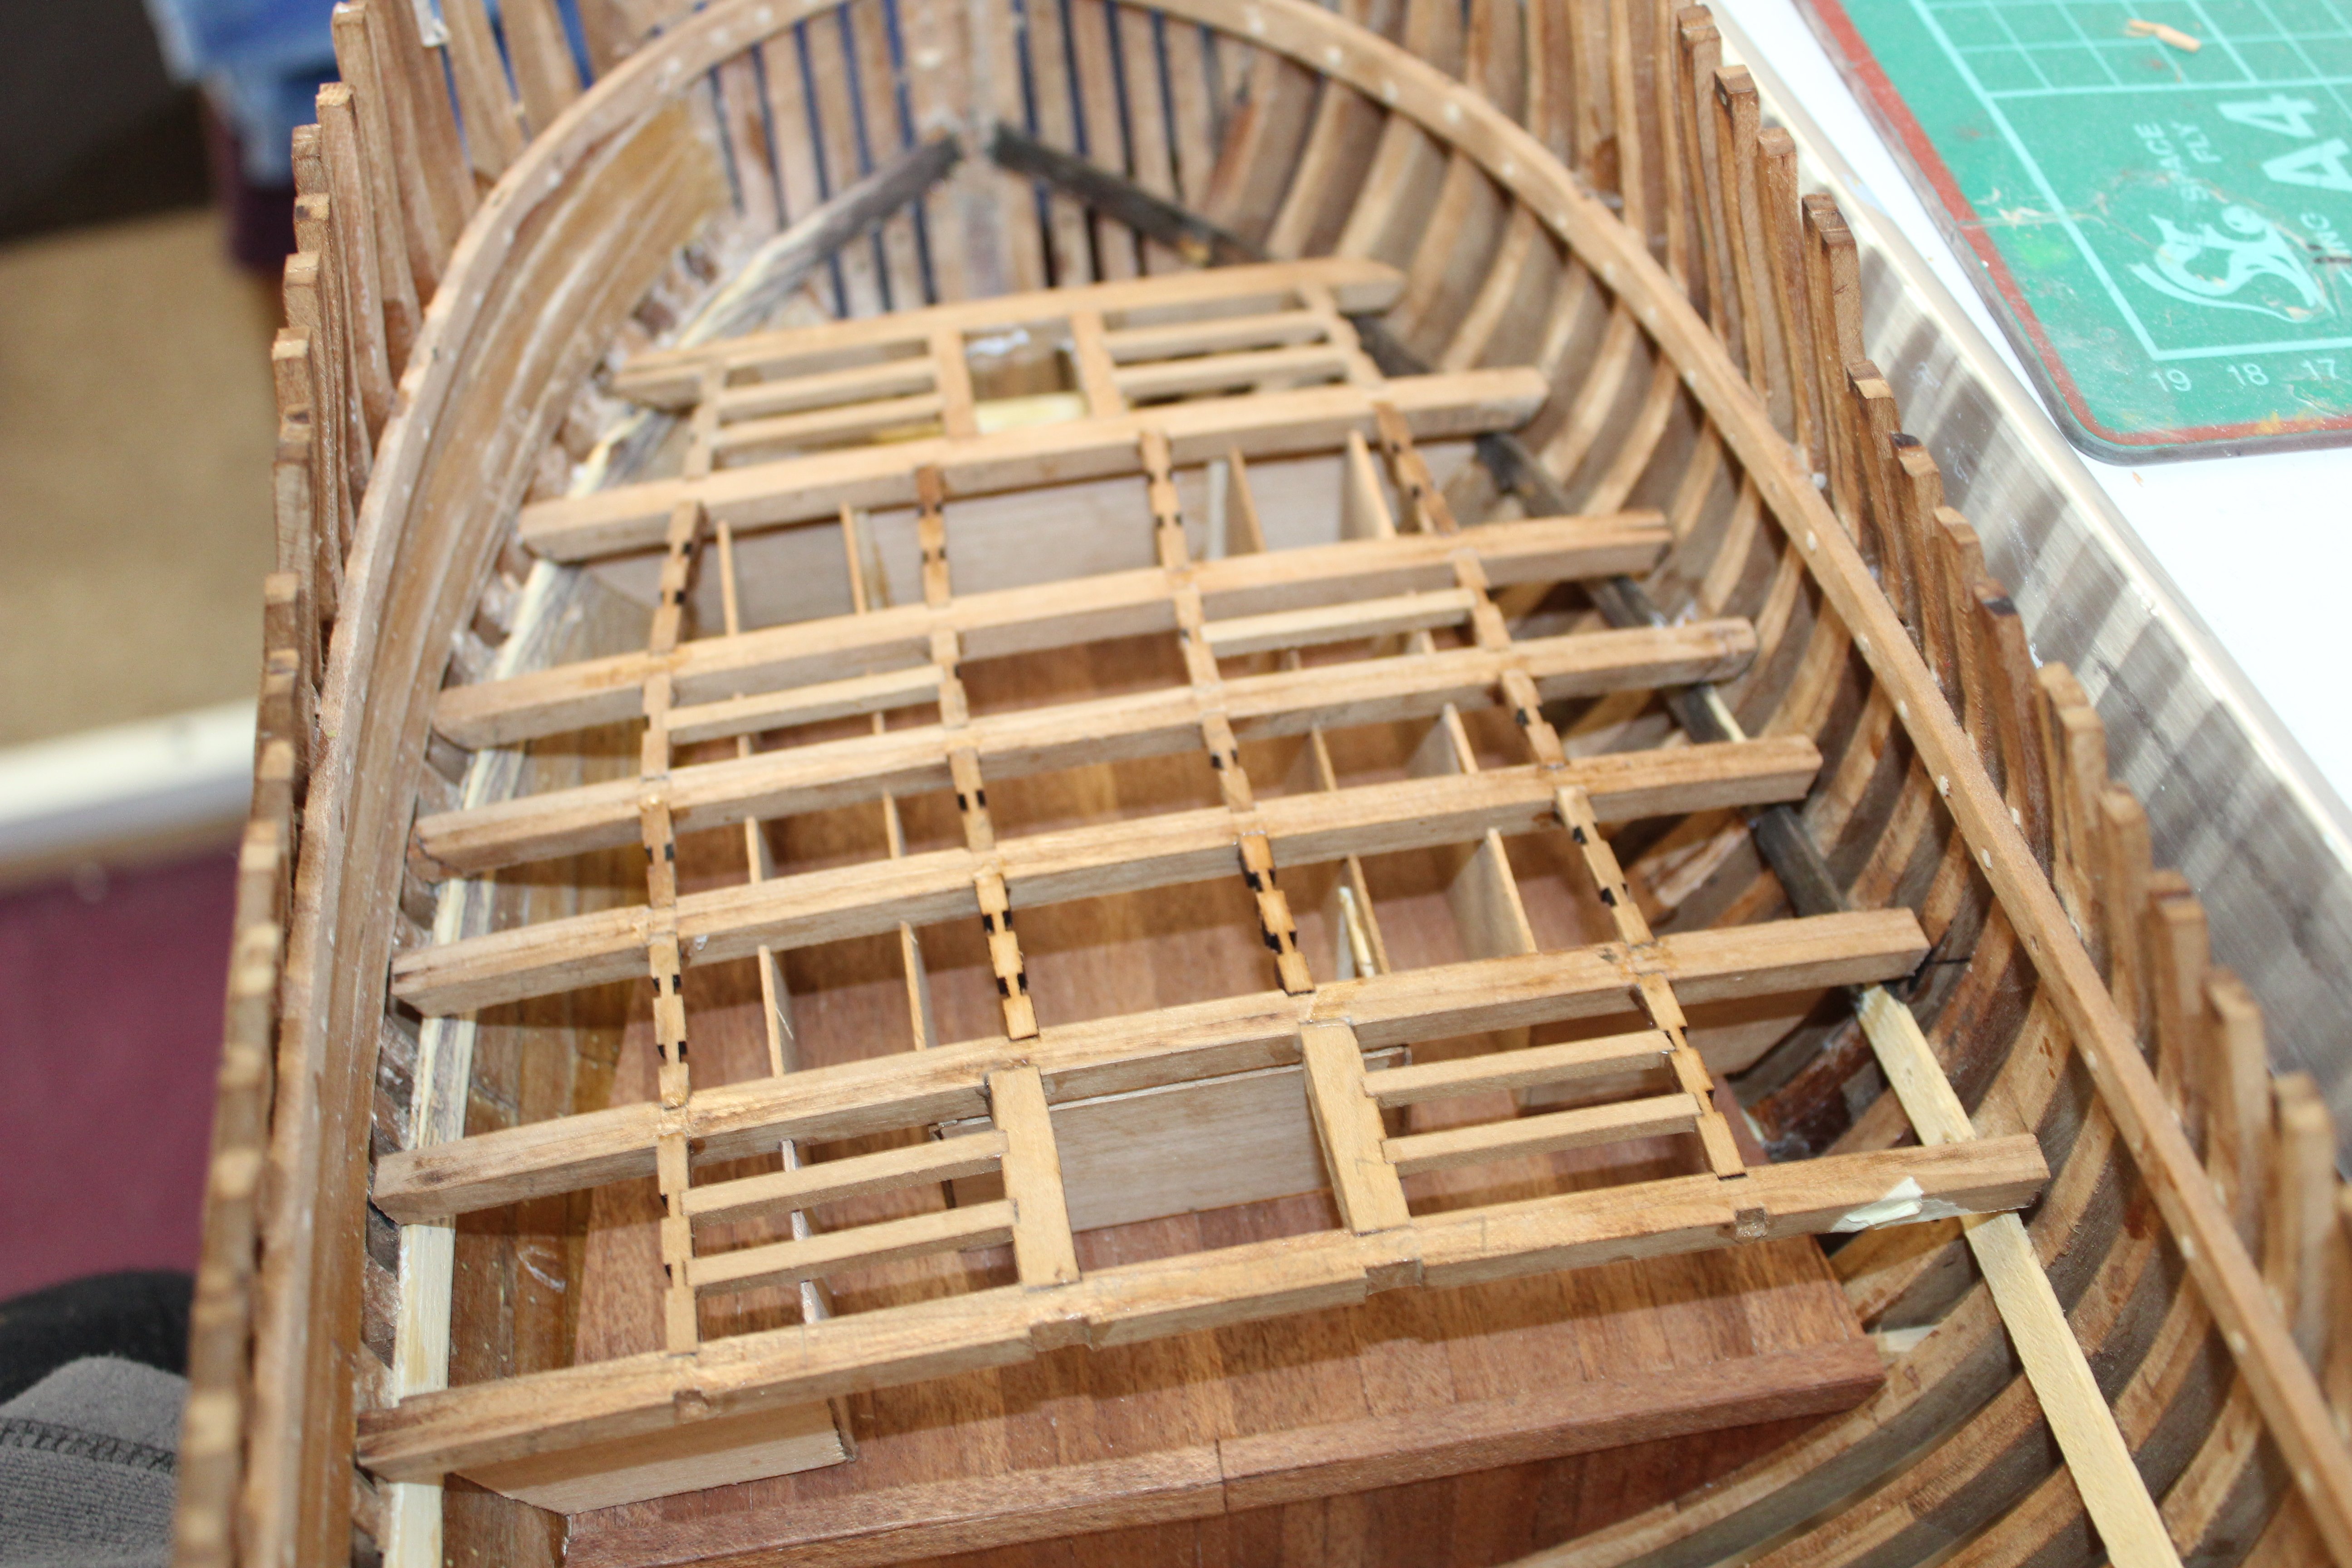
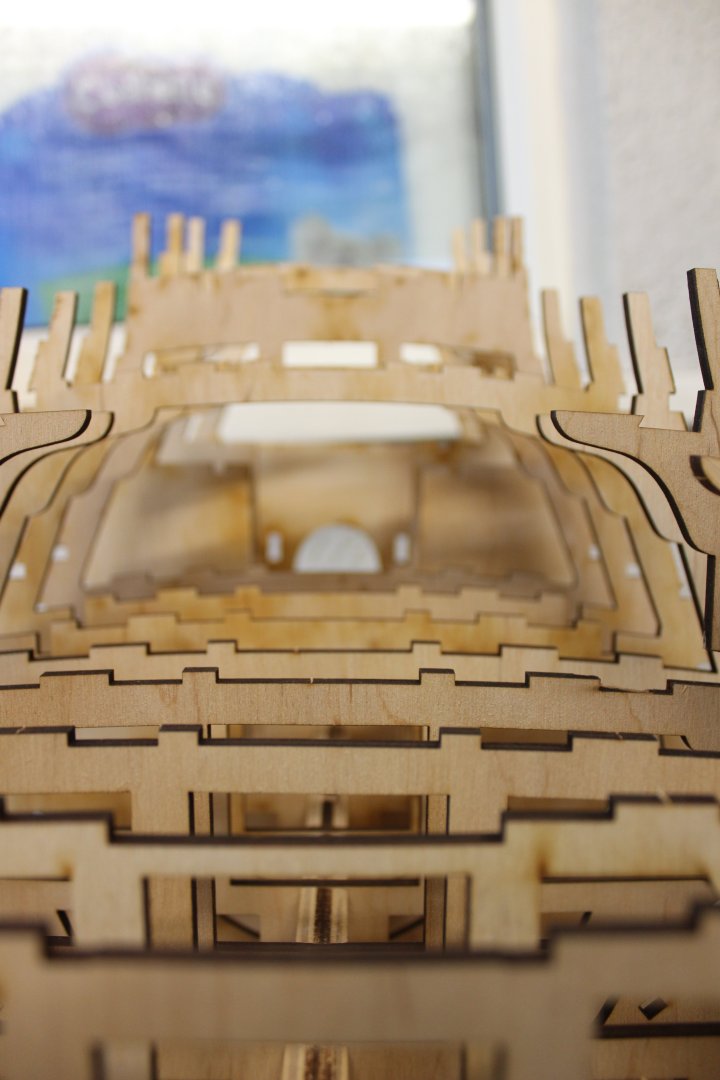
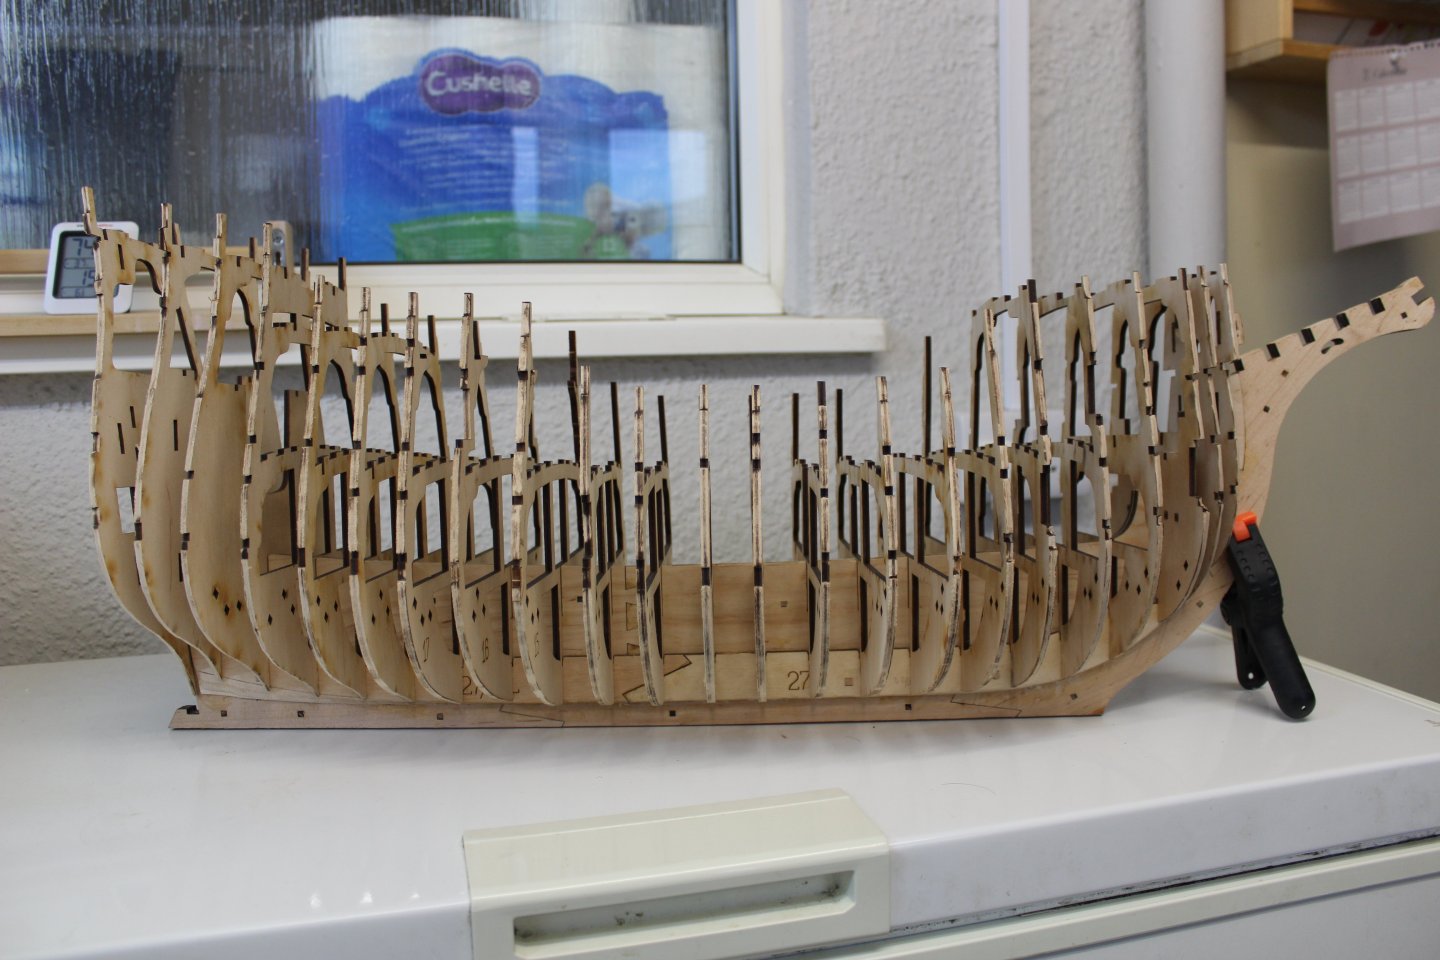
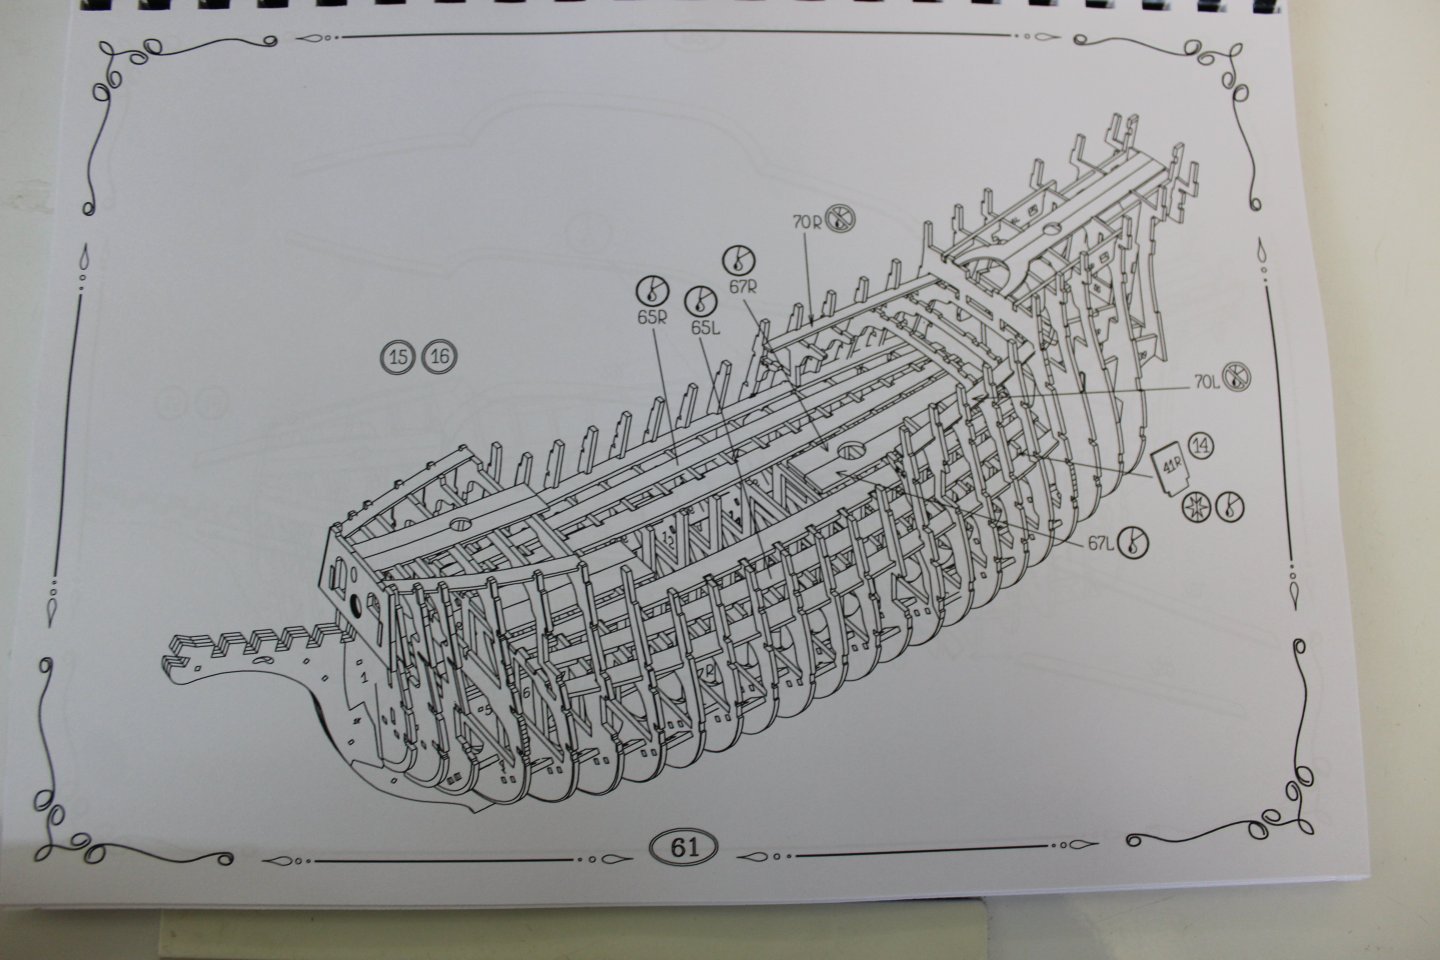
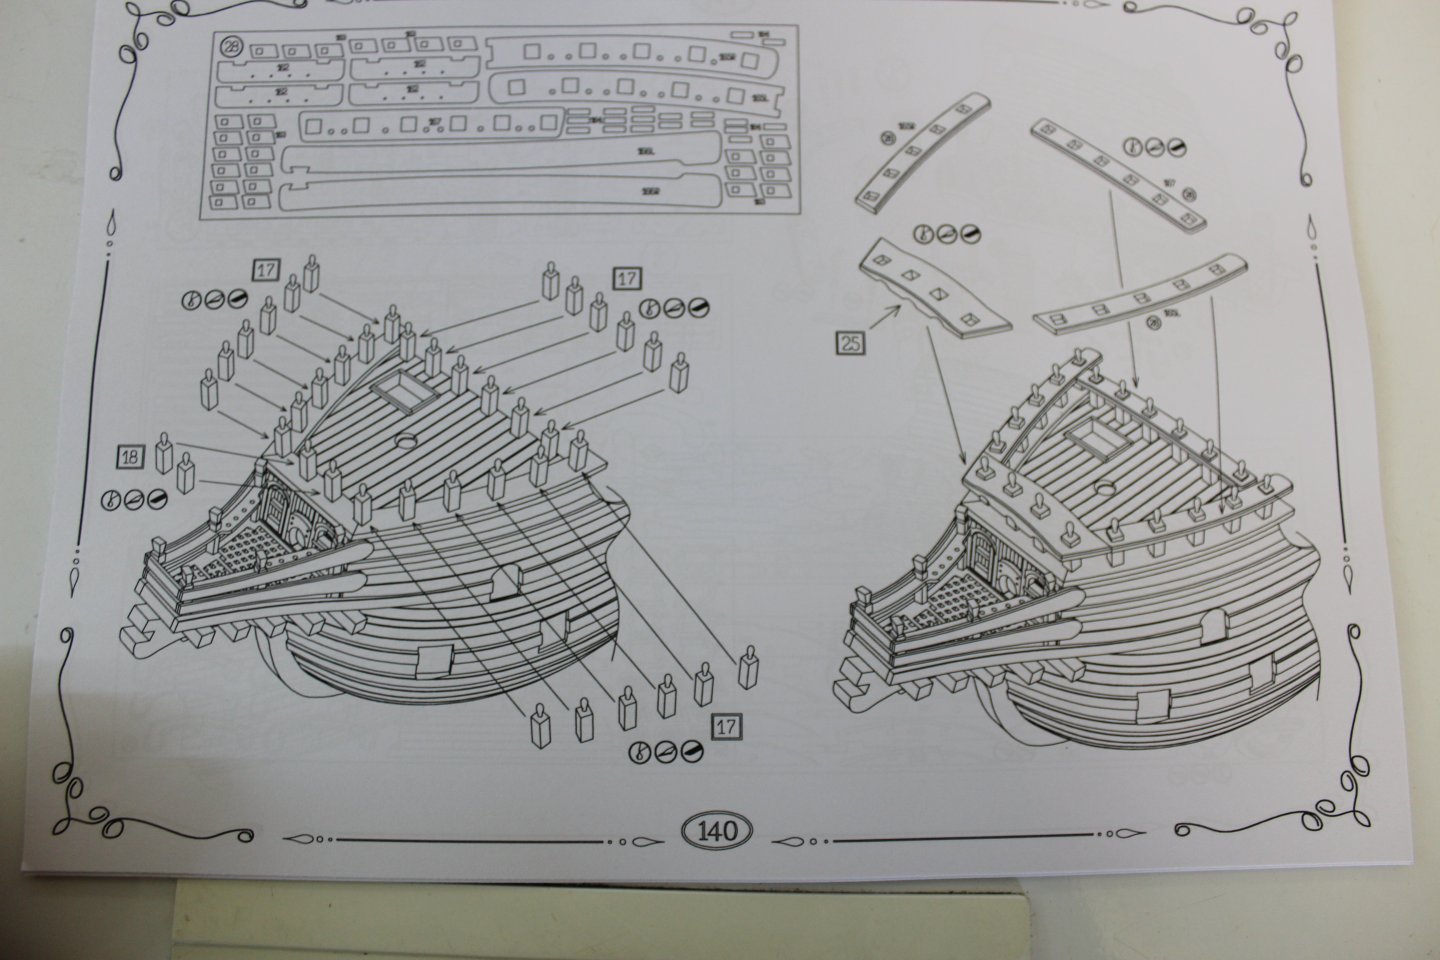
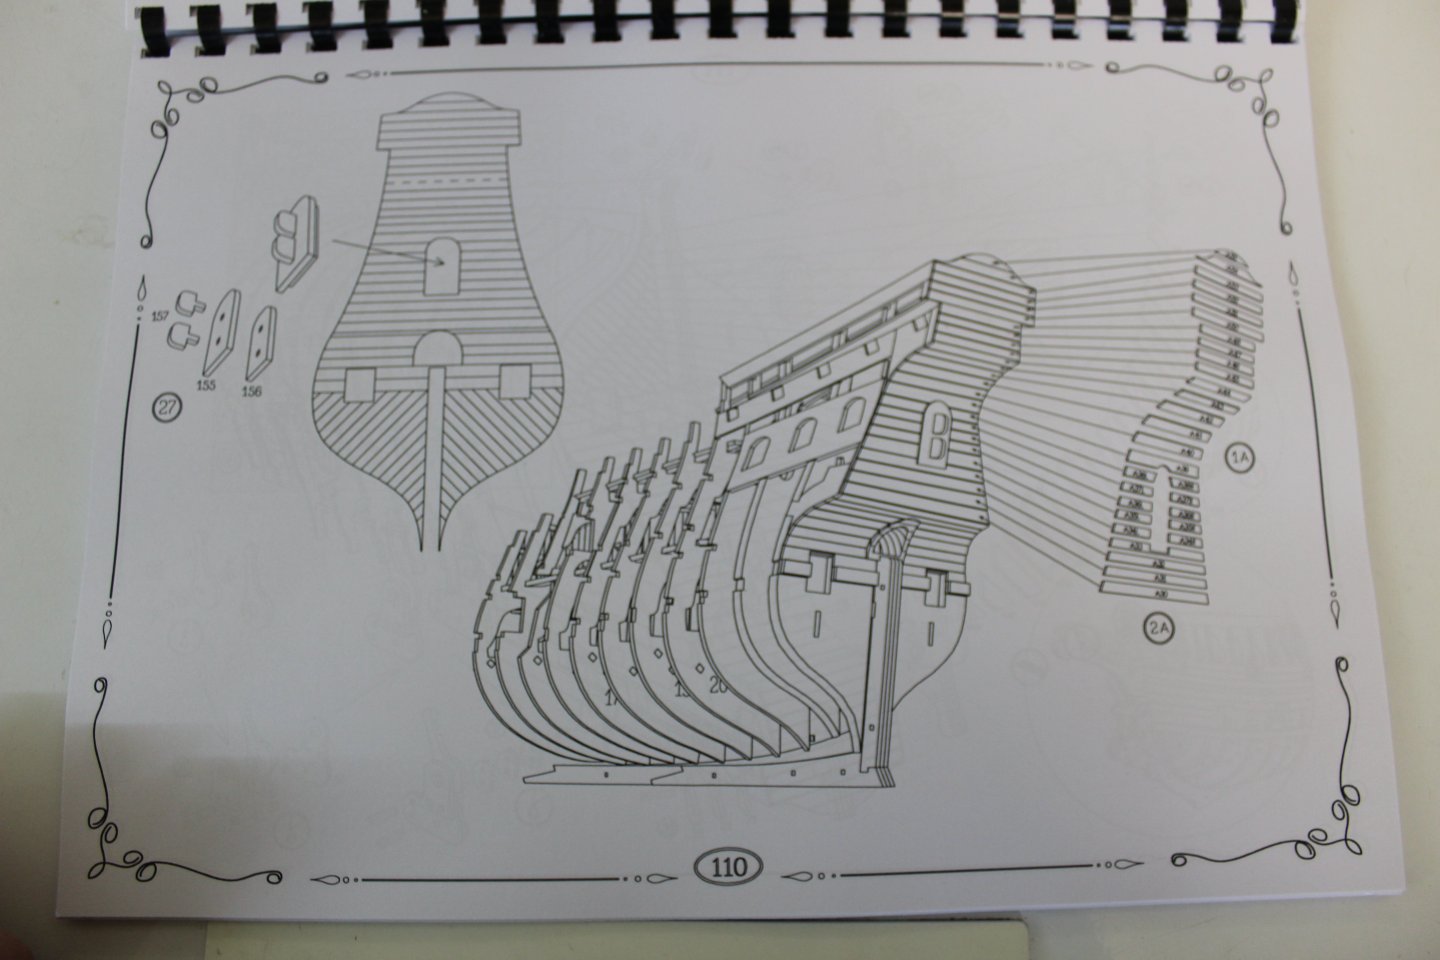
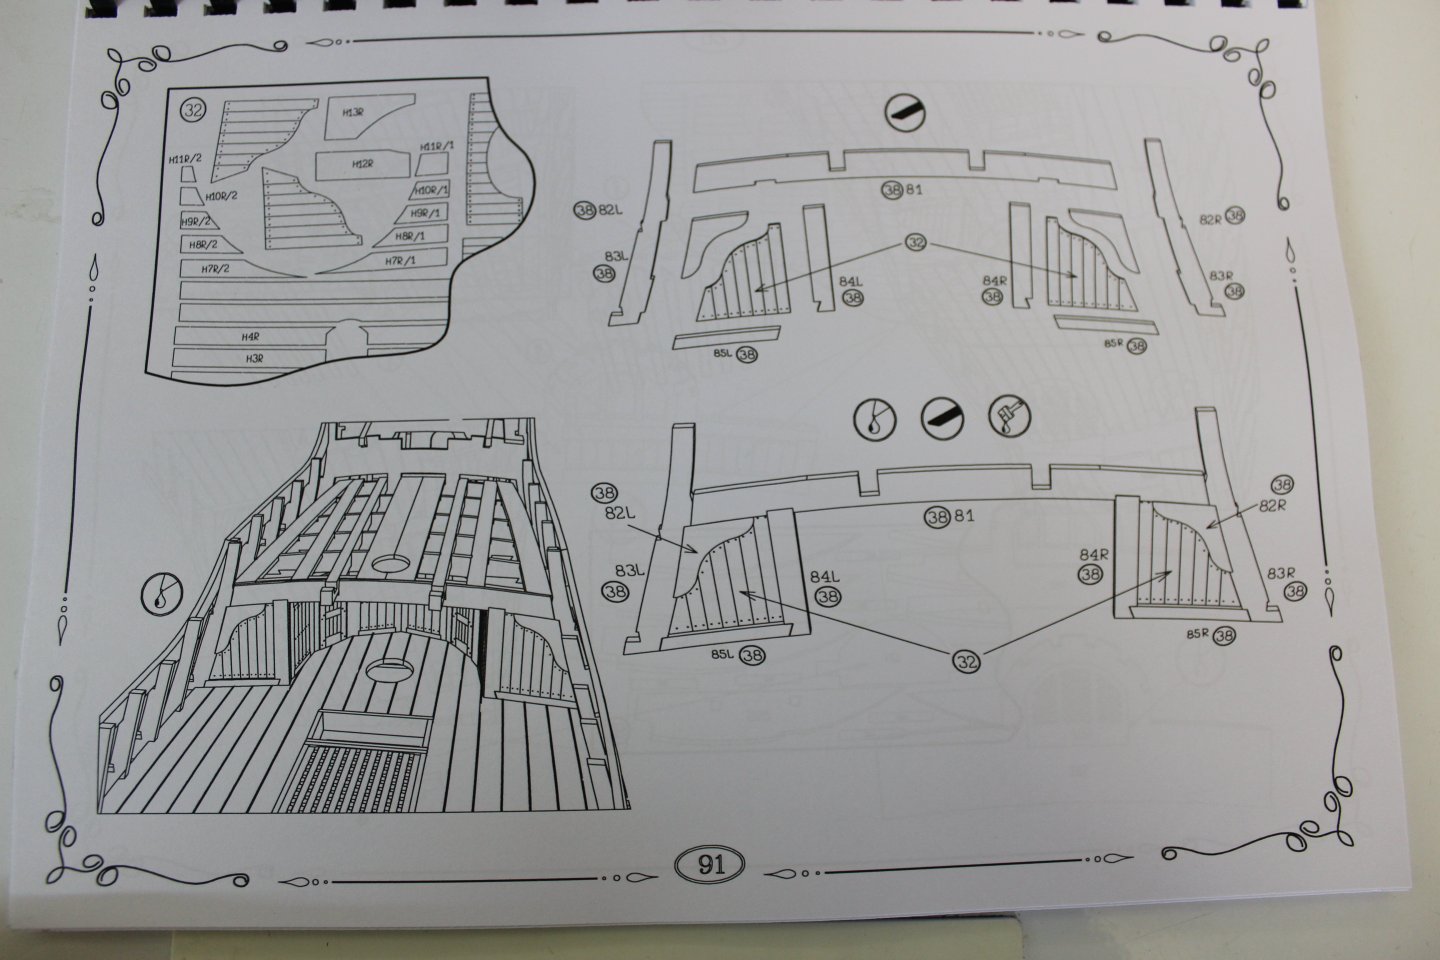
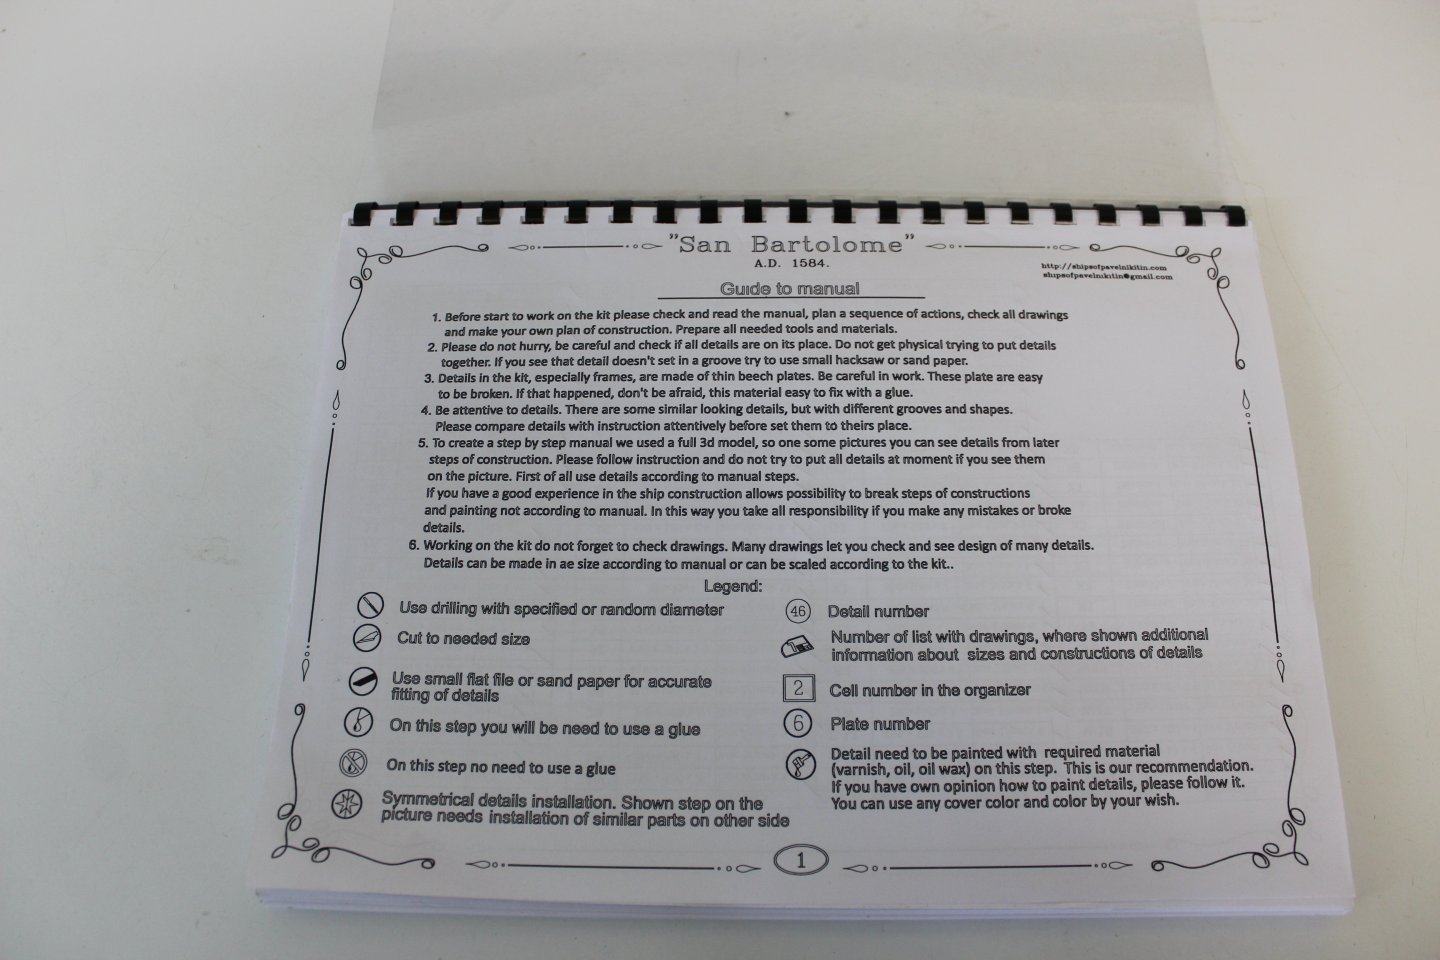
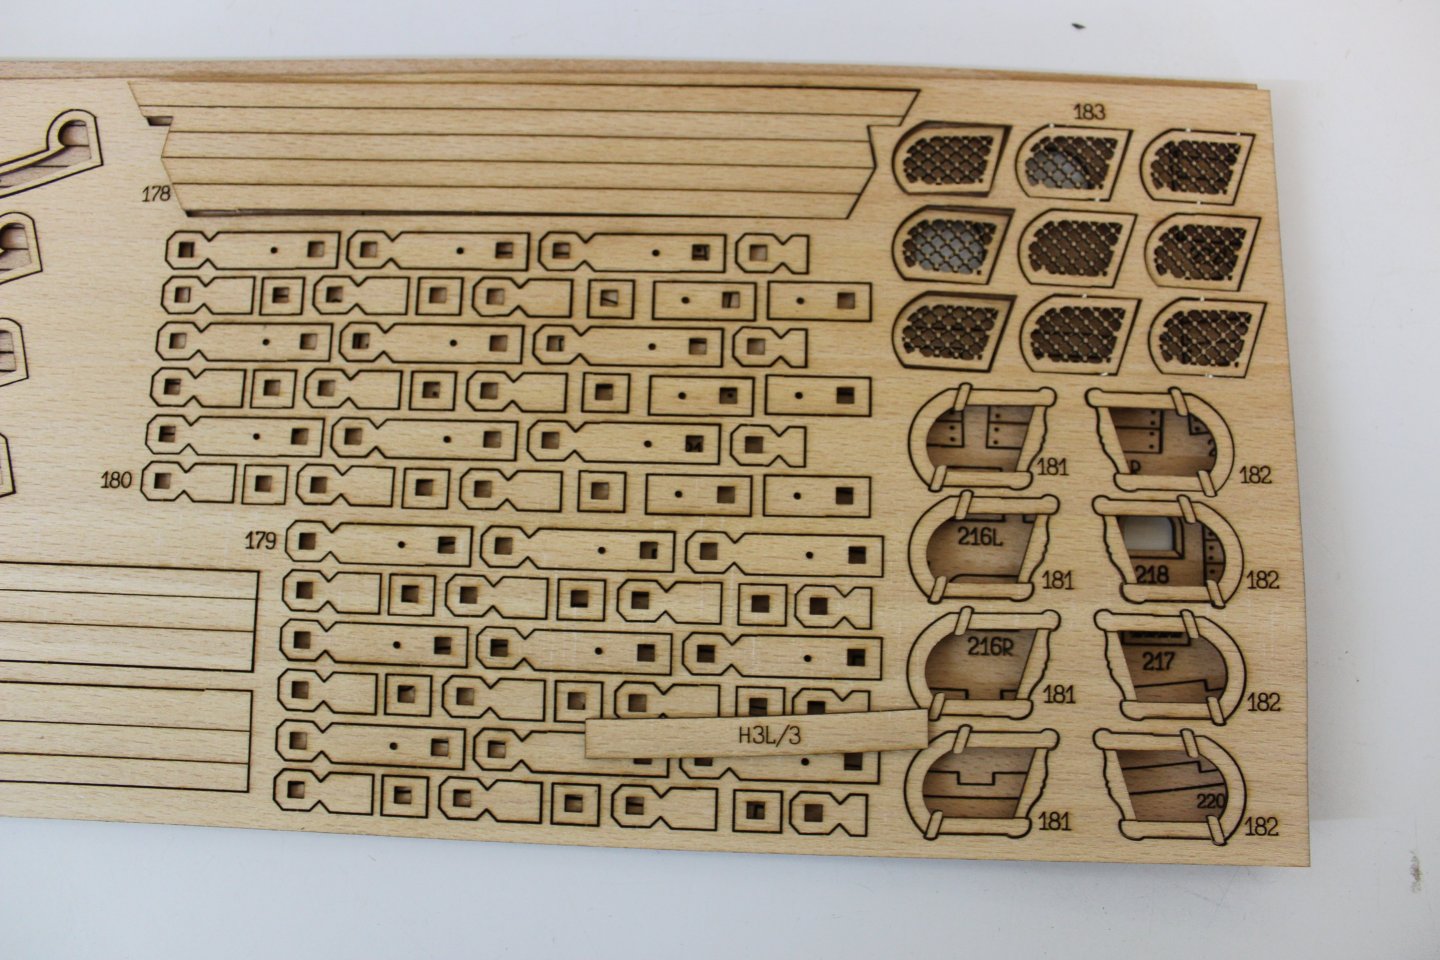
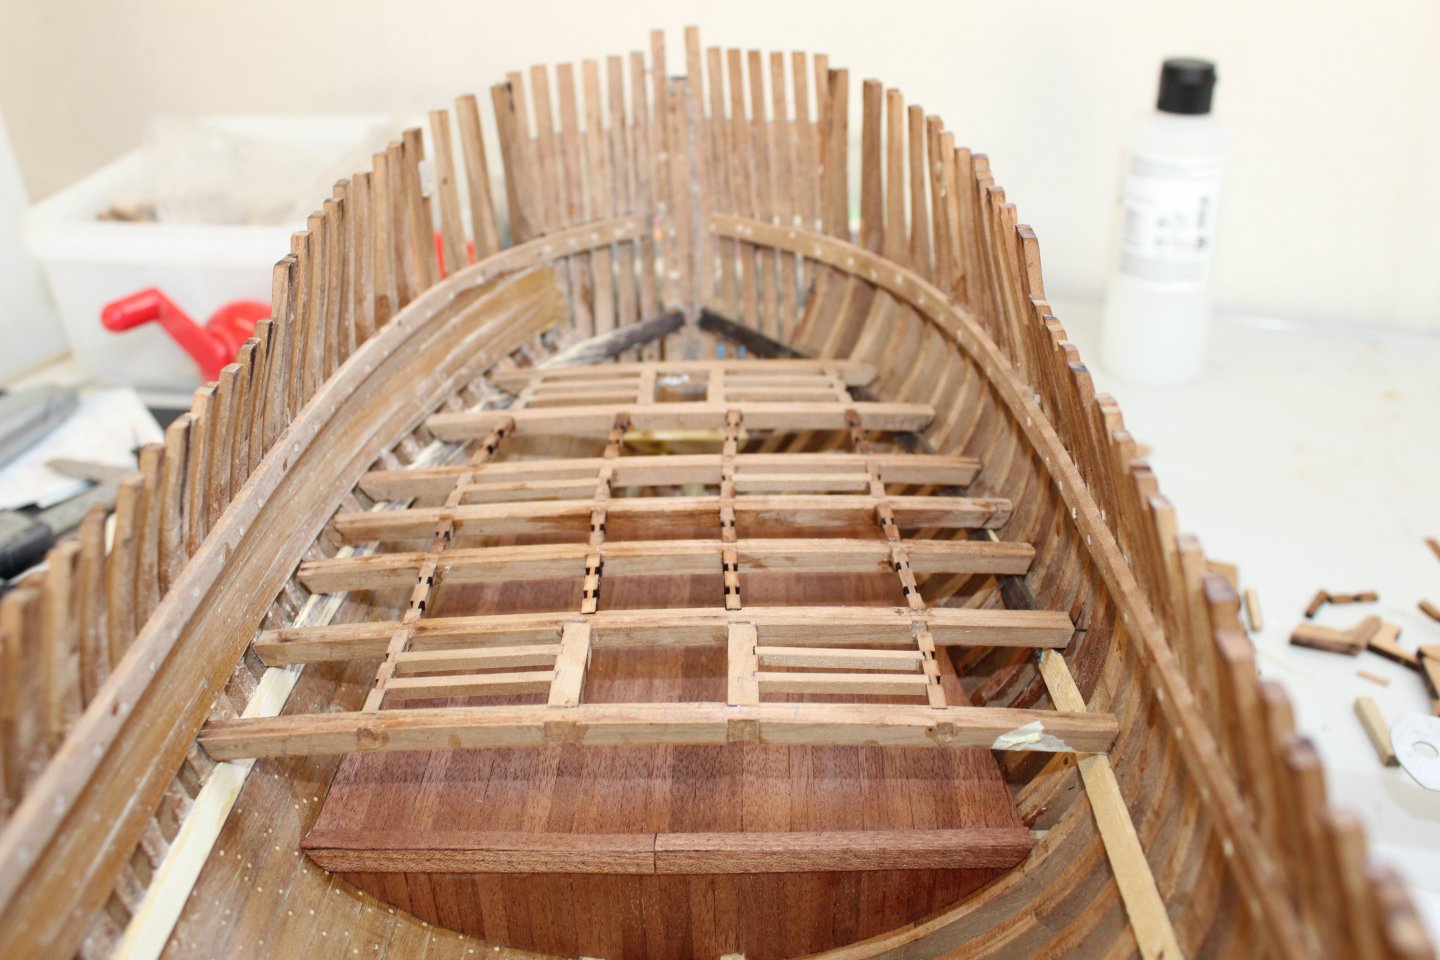
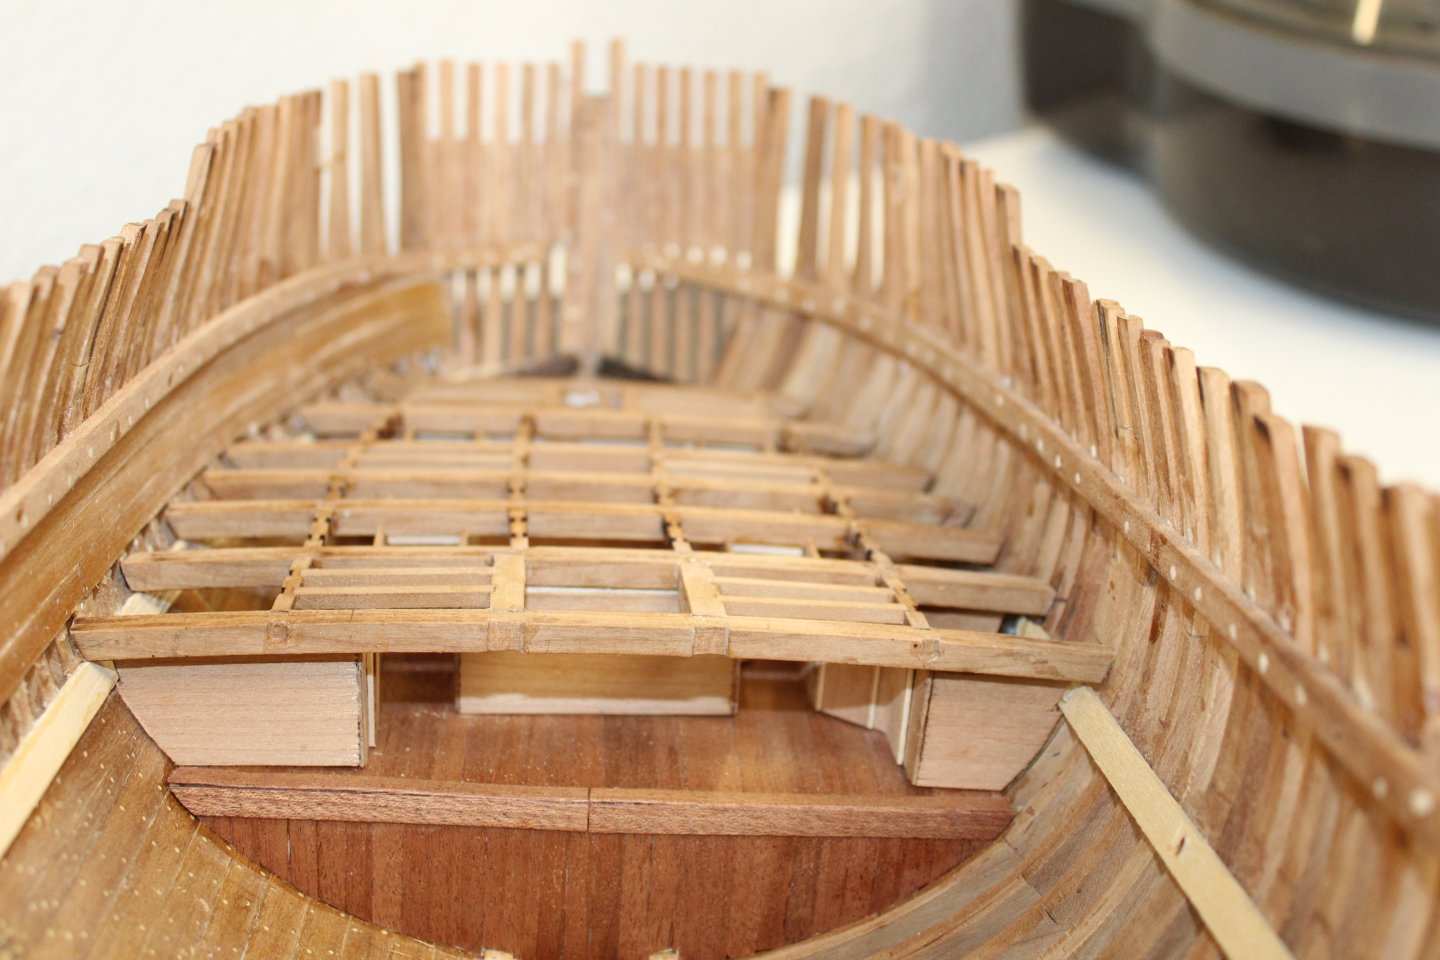
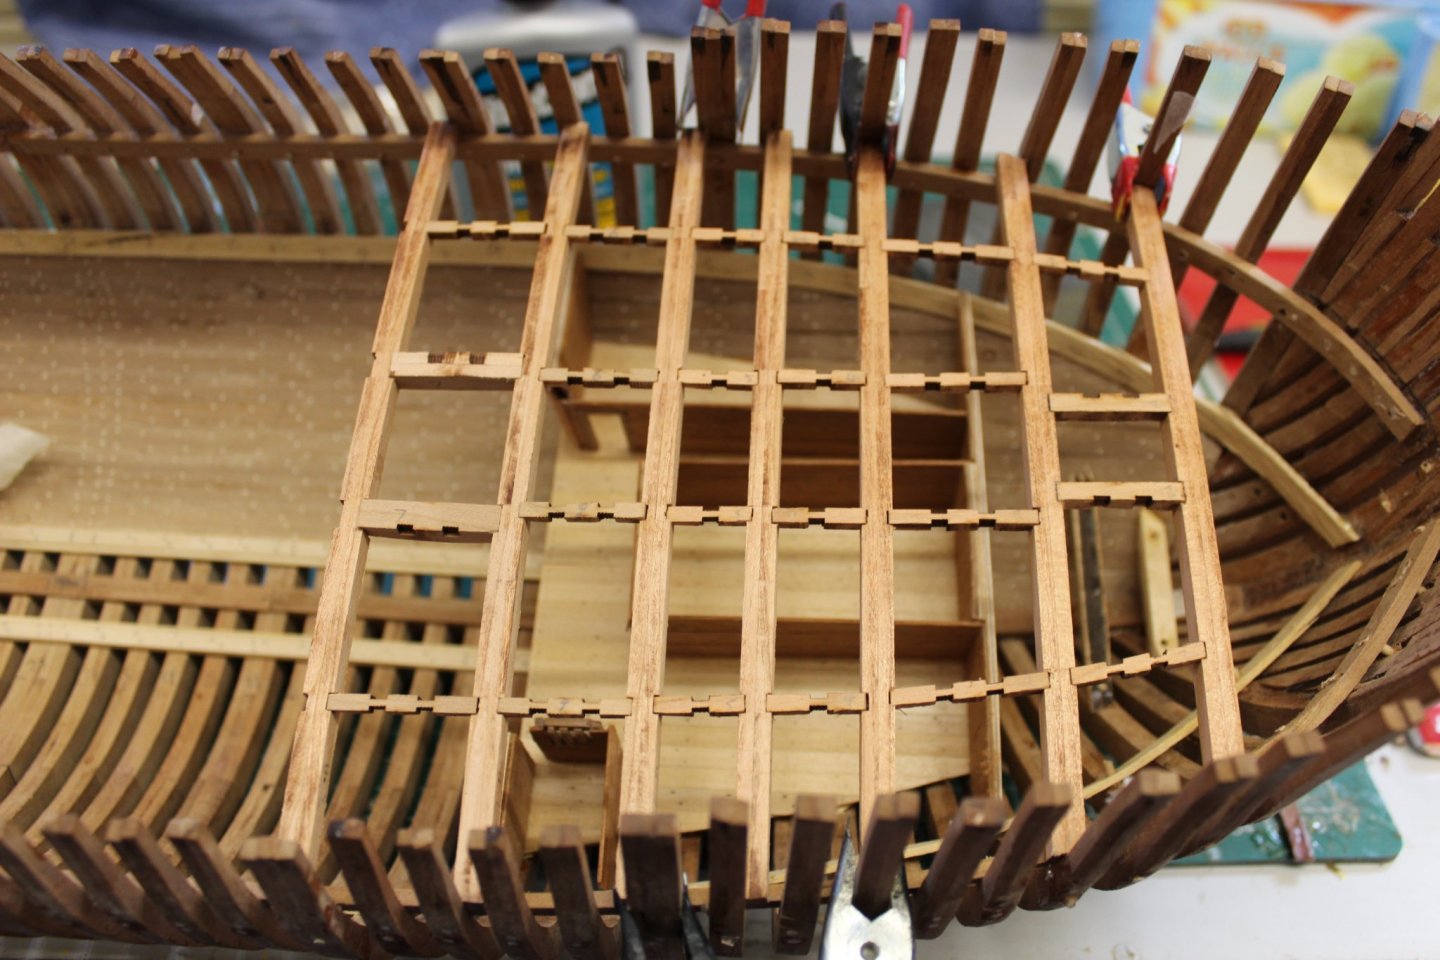
 Good evening everyone day 9 not a moan at all, but the instructions could be better, there are a lot of mistakes with parts identification pieces are inserted in place then not shown again on the drawings, and lots of parts are not on the billets they are marked as being on, everything is there, just ov there has been changes but instructions not updated therefore the videos are a must, and there are loads of them (over 60) God kevin mk2 is back and already moaning about a kit from a war zone i have delayed (abandoned) my ideas on wifi lighting and ordered 12vt 5mm wired orange and yellow flickering leds, the wifi ones just dont give enough distance to work, unless i can find a better power source i am now at the sage of putting the upper decking in, and still dont know what colour stain to use, the hull will be in two tone oak, i have ordered a teak stain to see what it looks like The build is now firming up as there is a lot of bracing being put in and so far no issues, if you watch the vids all frames are now secure to the keel for interest only, if you can see down the upper deck ladder upper deck bracing, the individual plants sit on this
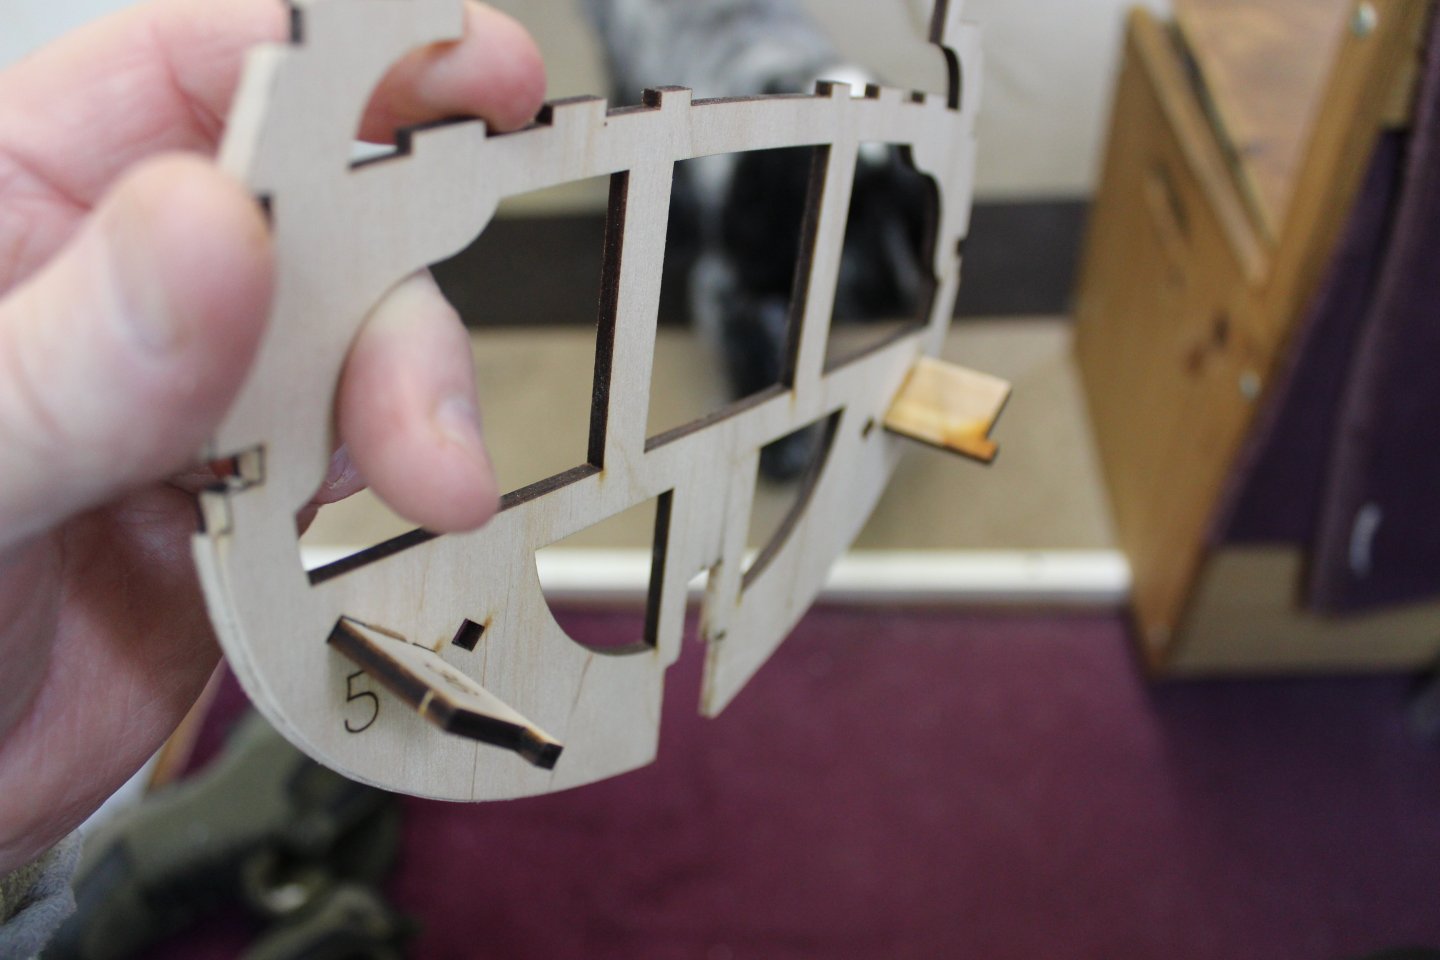


-
Kevin reacted to a post in a topic:
Chris Watton and Vanguard Models news and updates Volume 2
-
look forward to seeing how you get on, i am going to try wifi lighting with this build, just waiting for the coils to arrive, i only found out about them the other day from @James H, i hope to do an update tomorrow
-
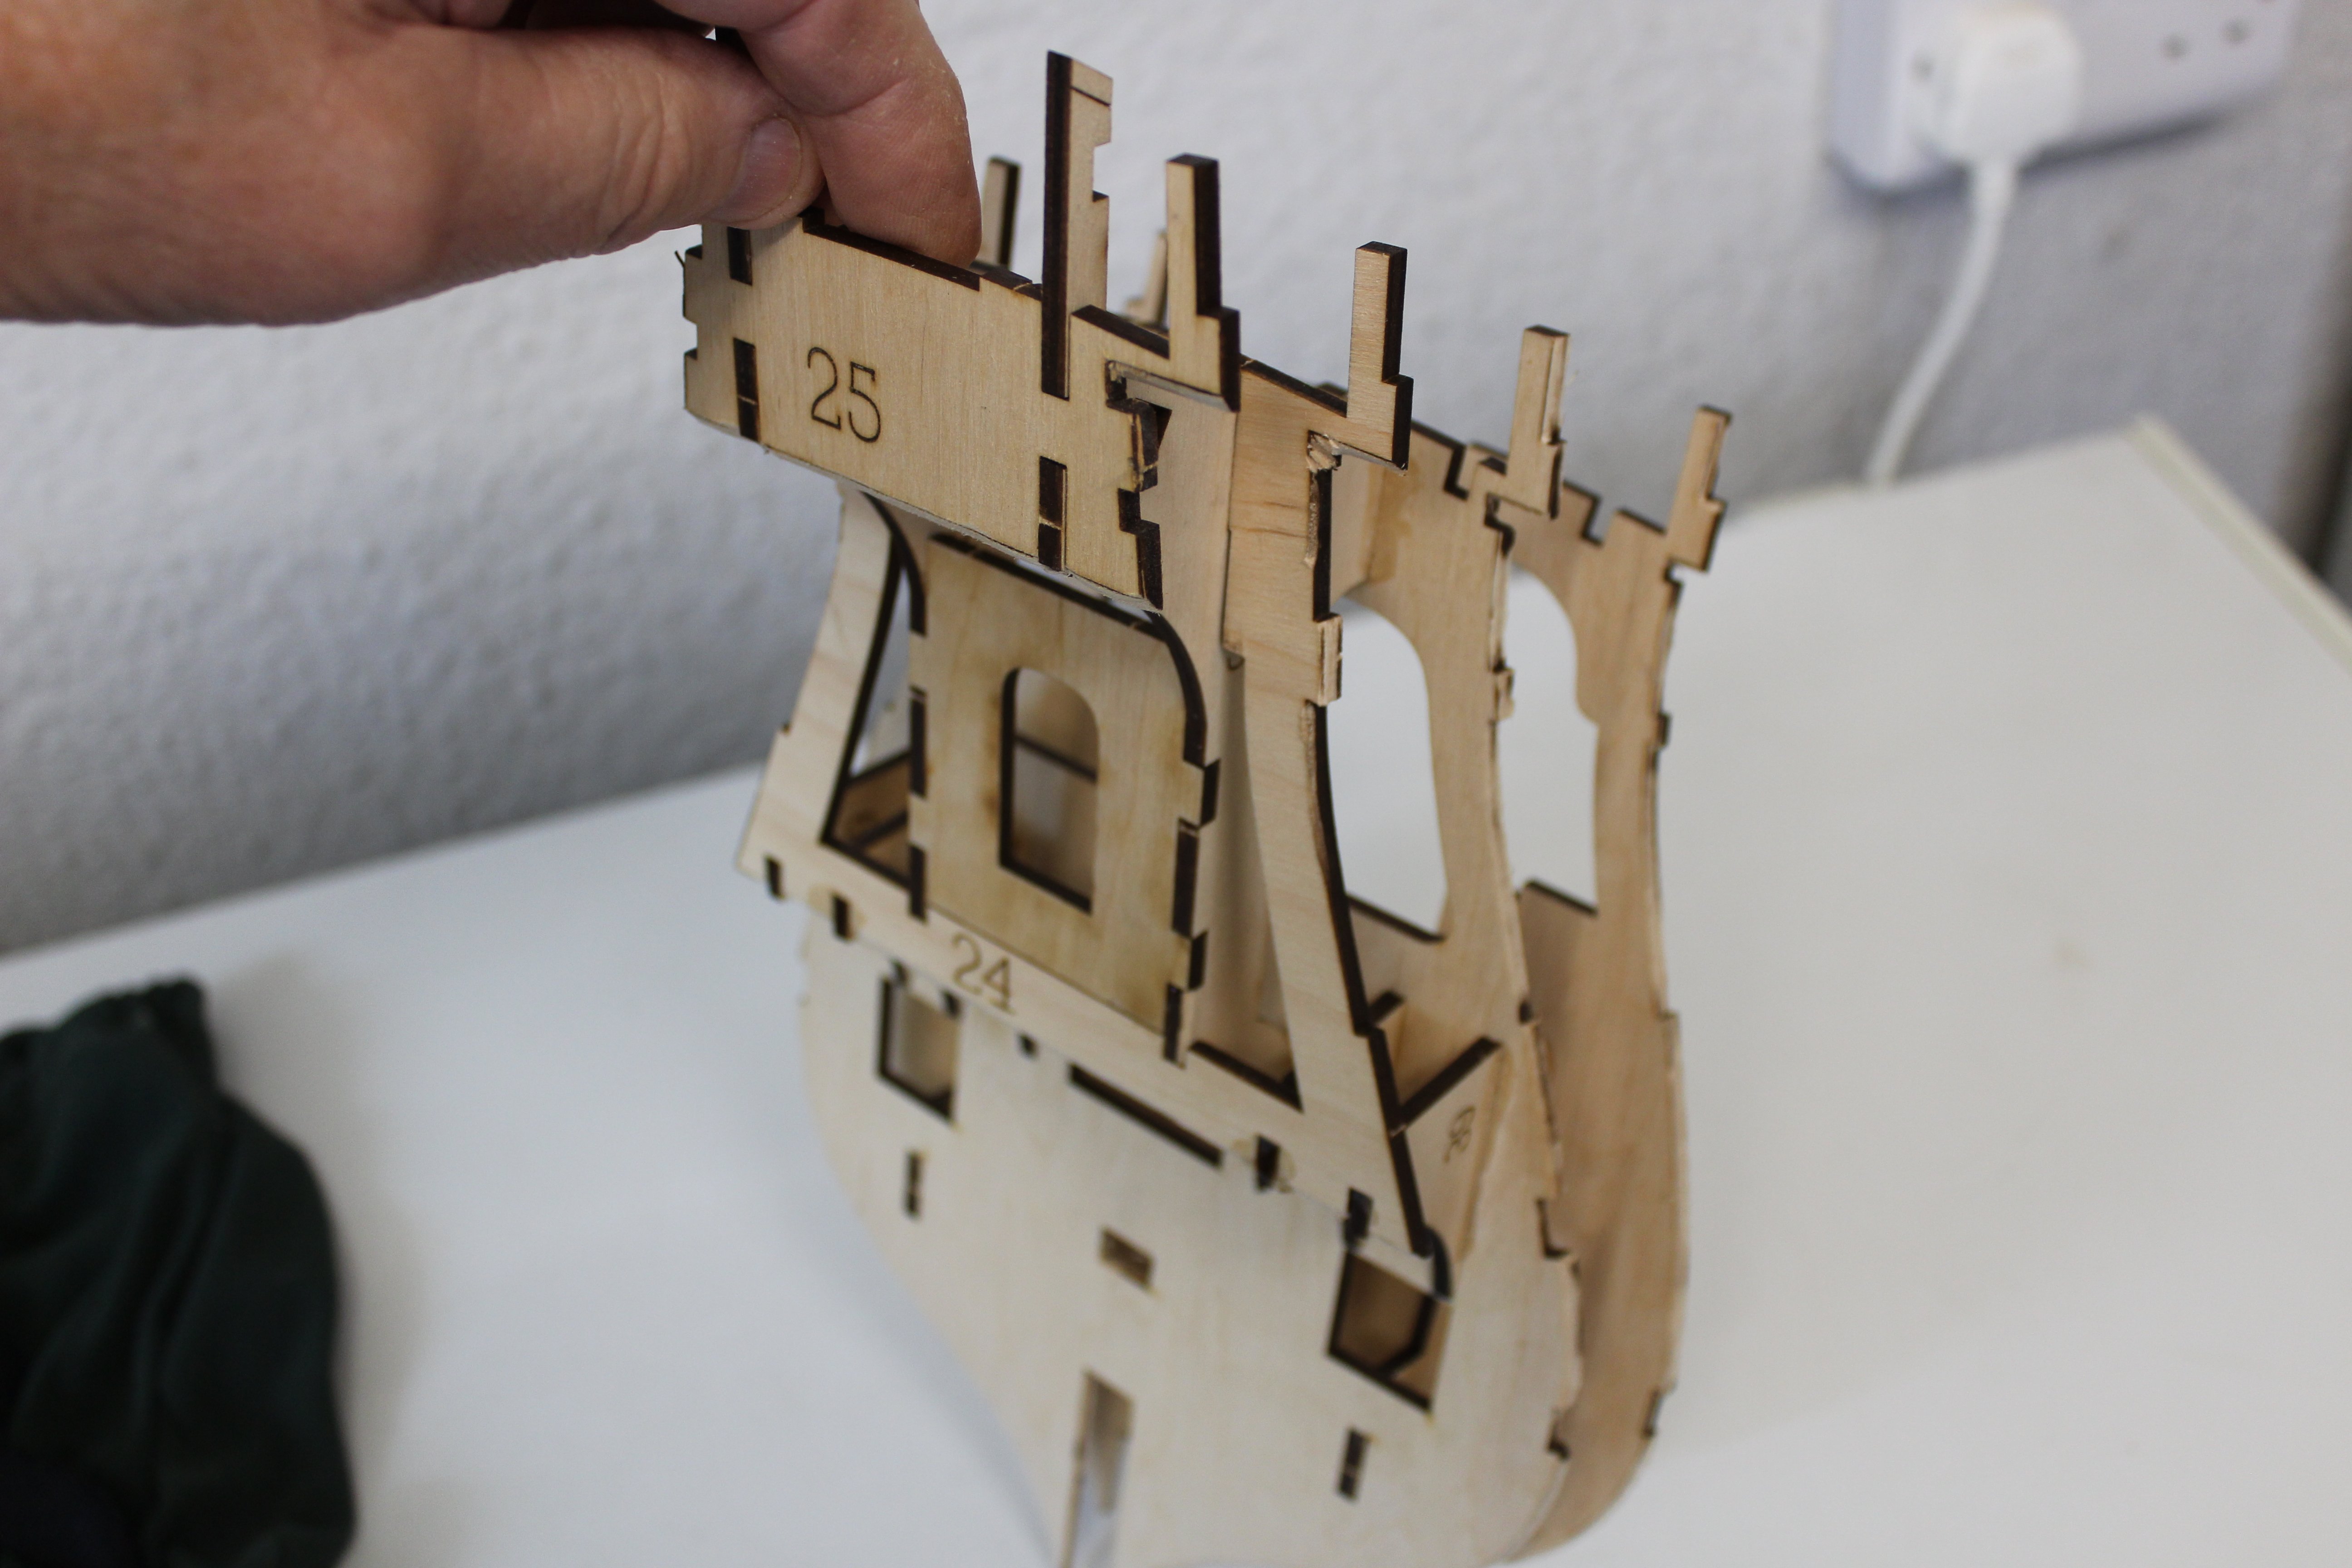
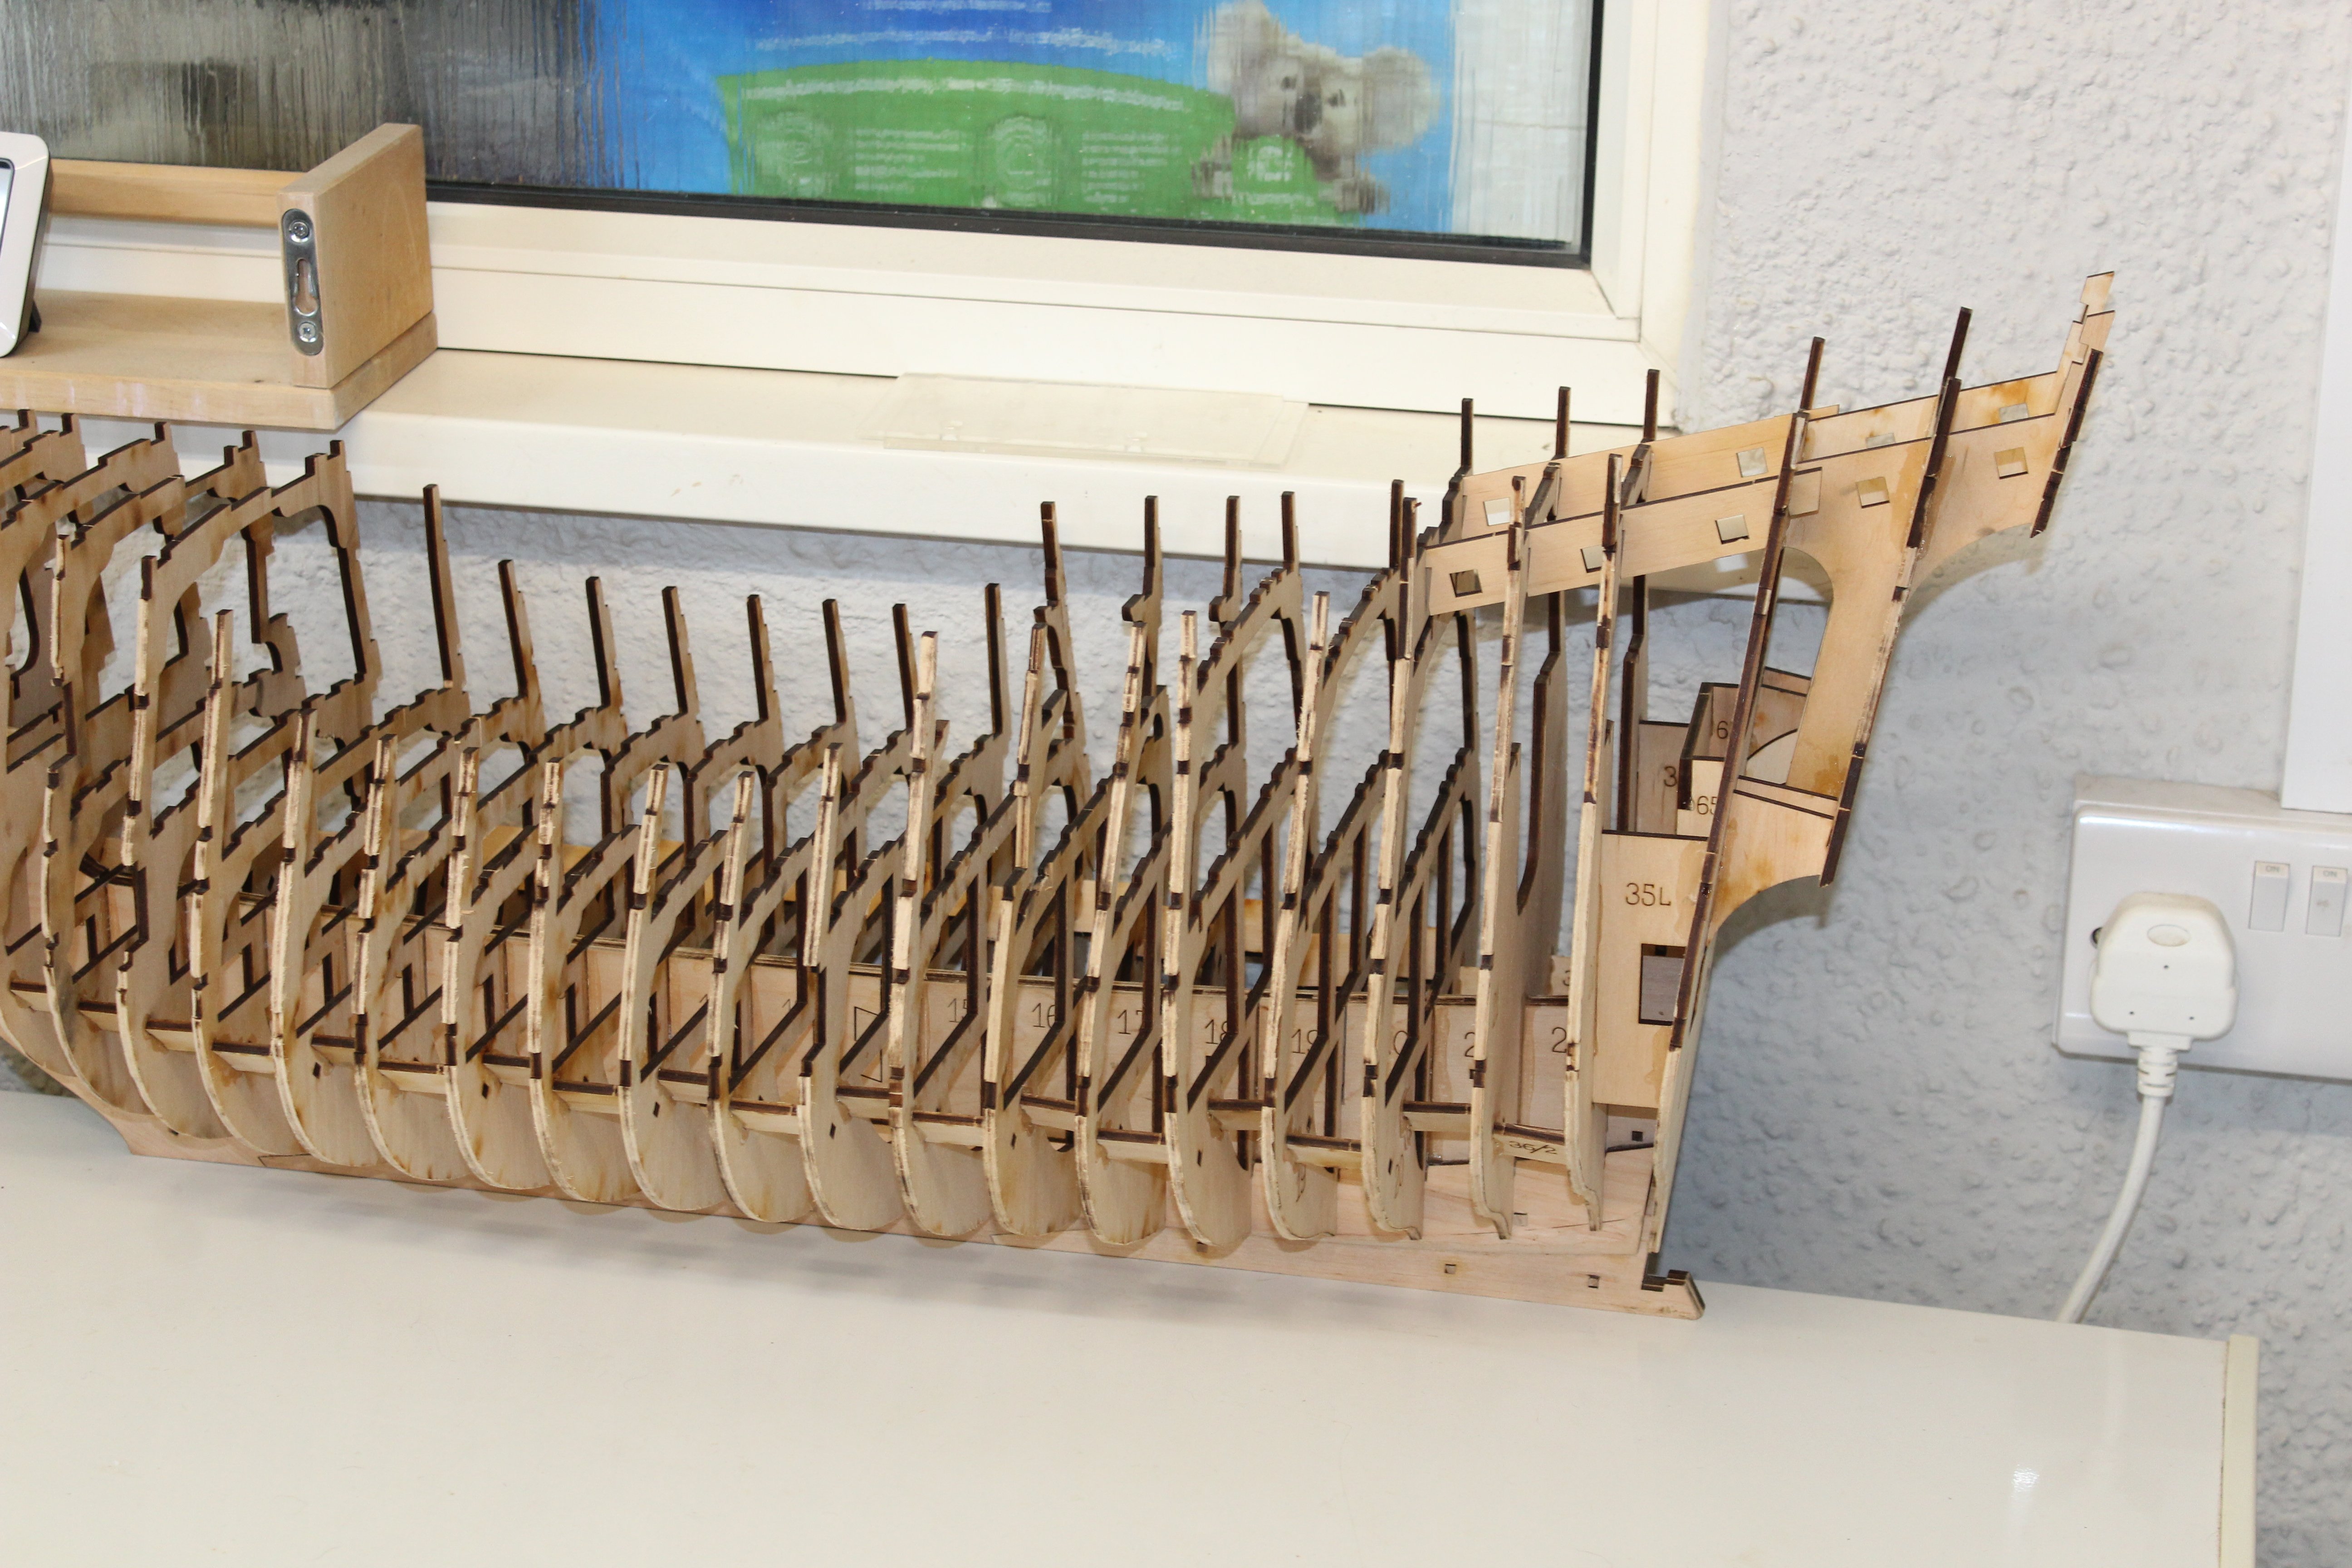
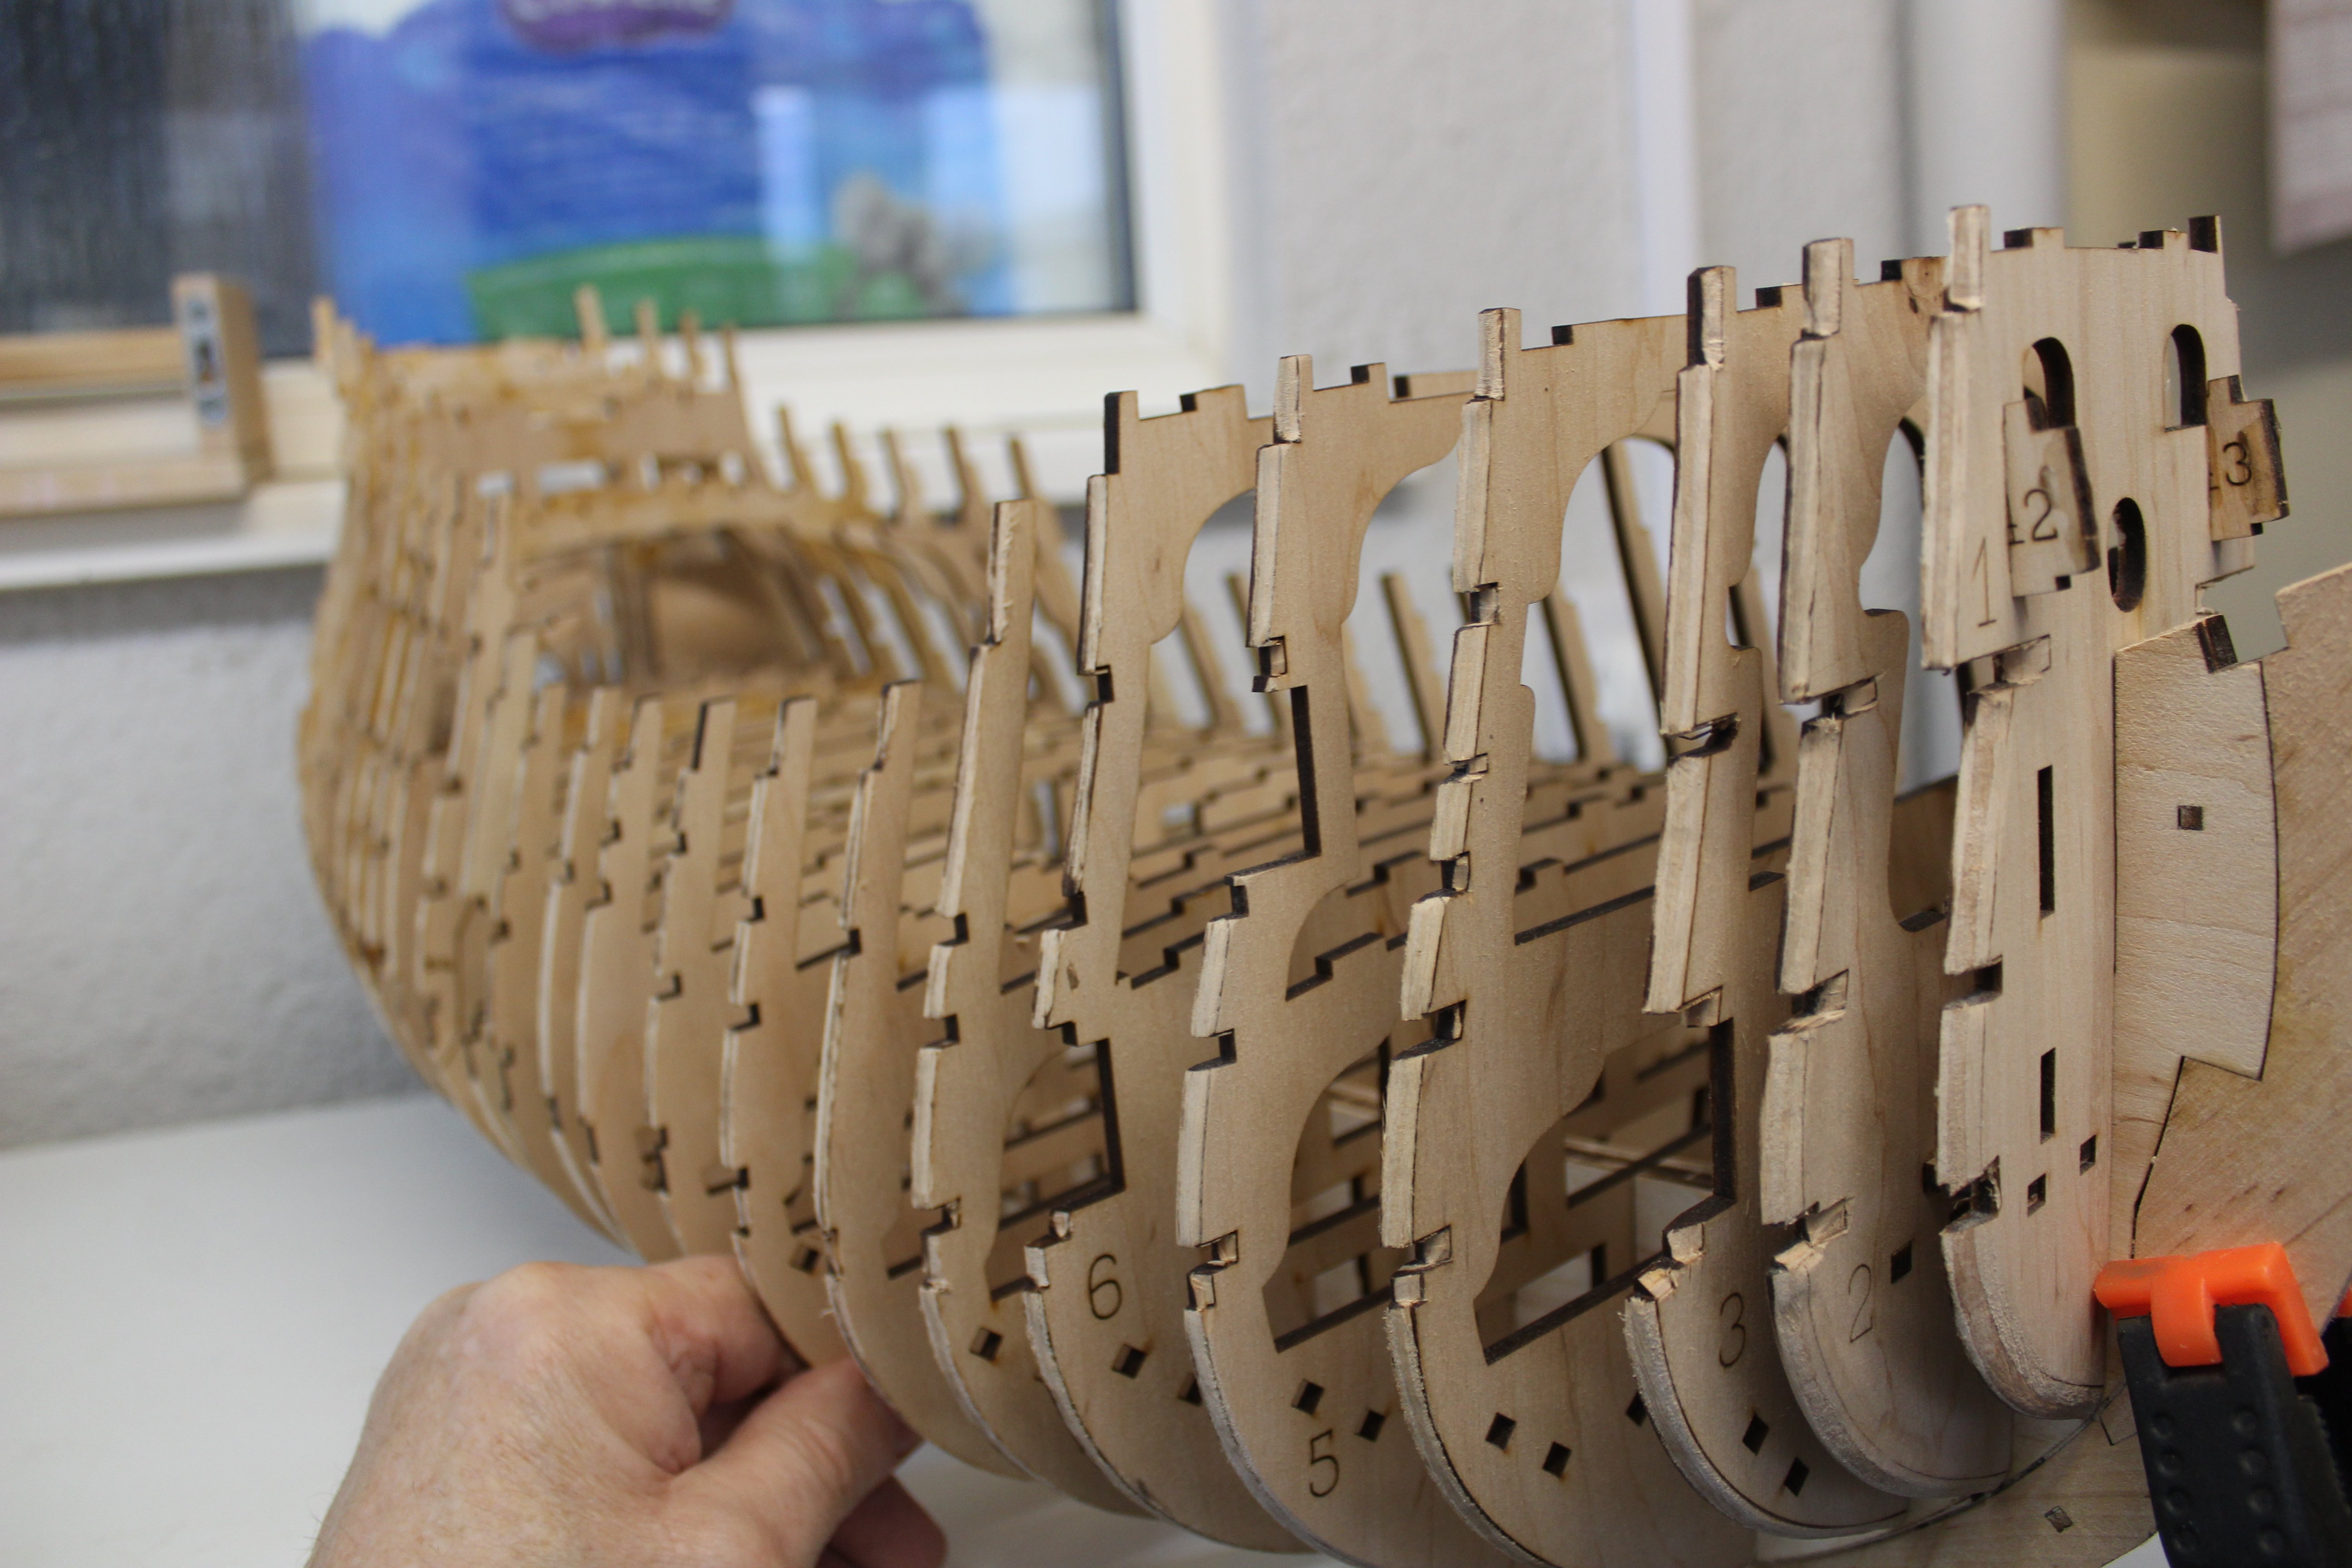
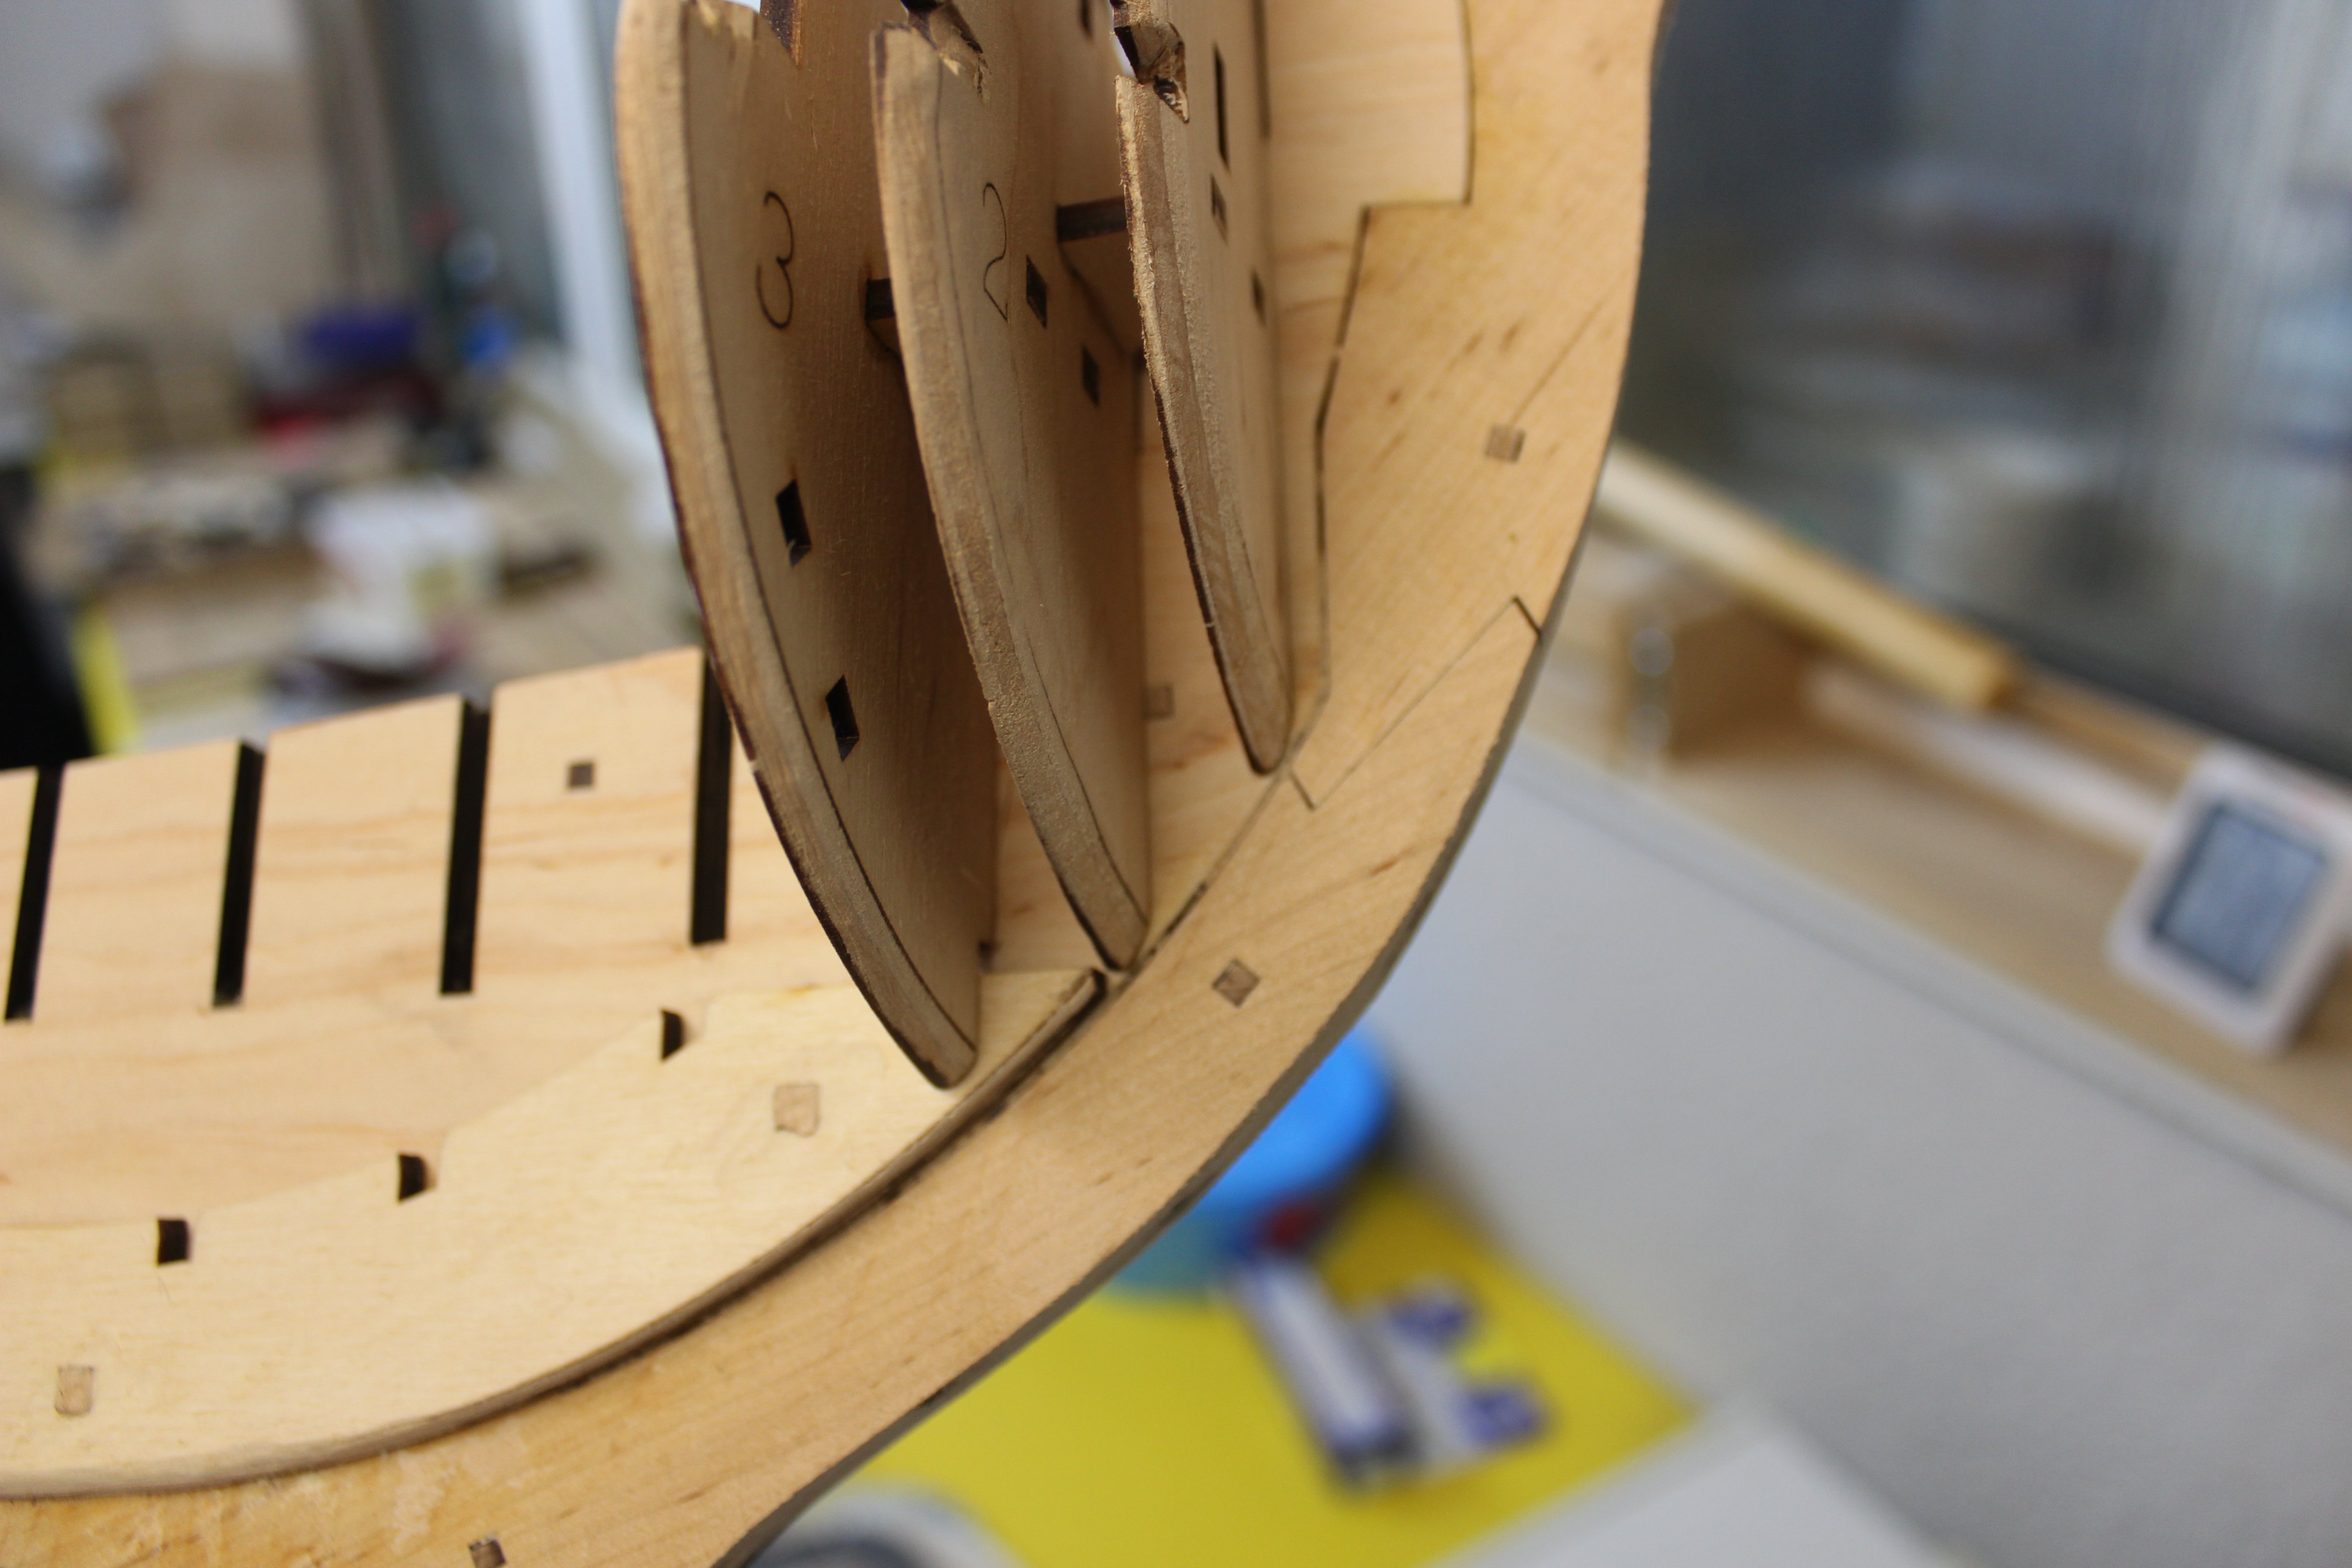
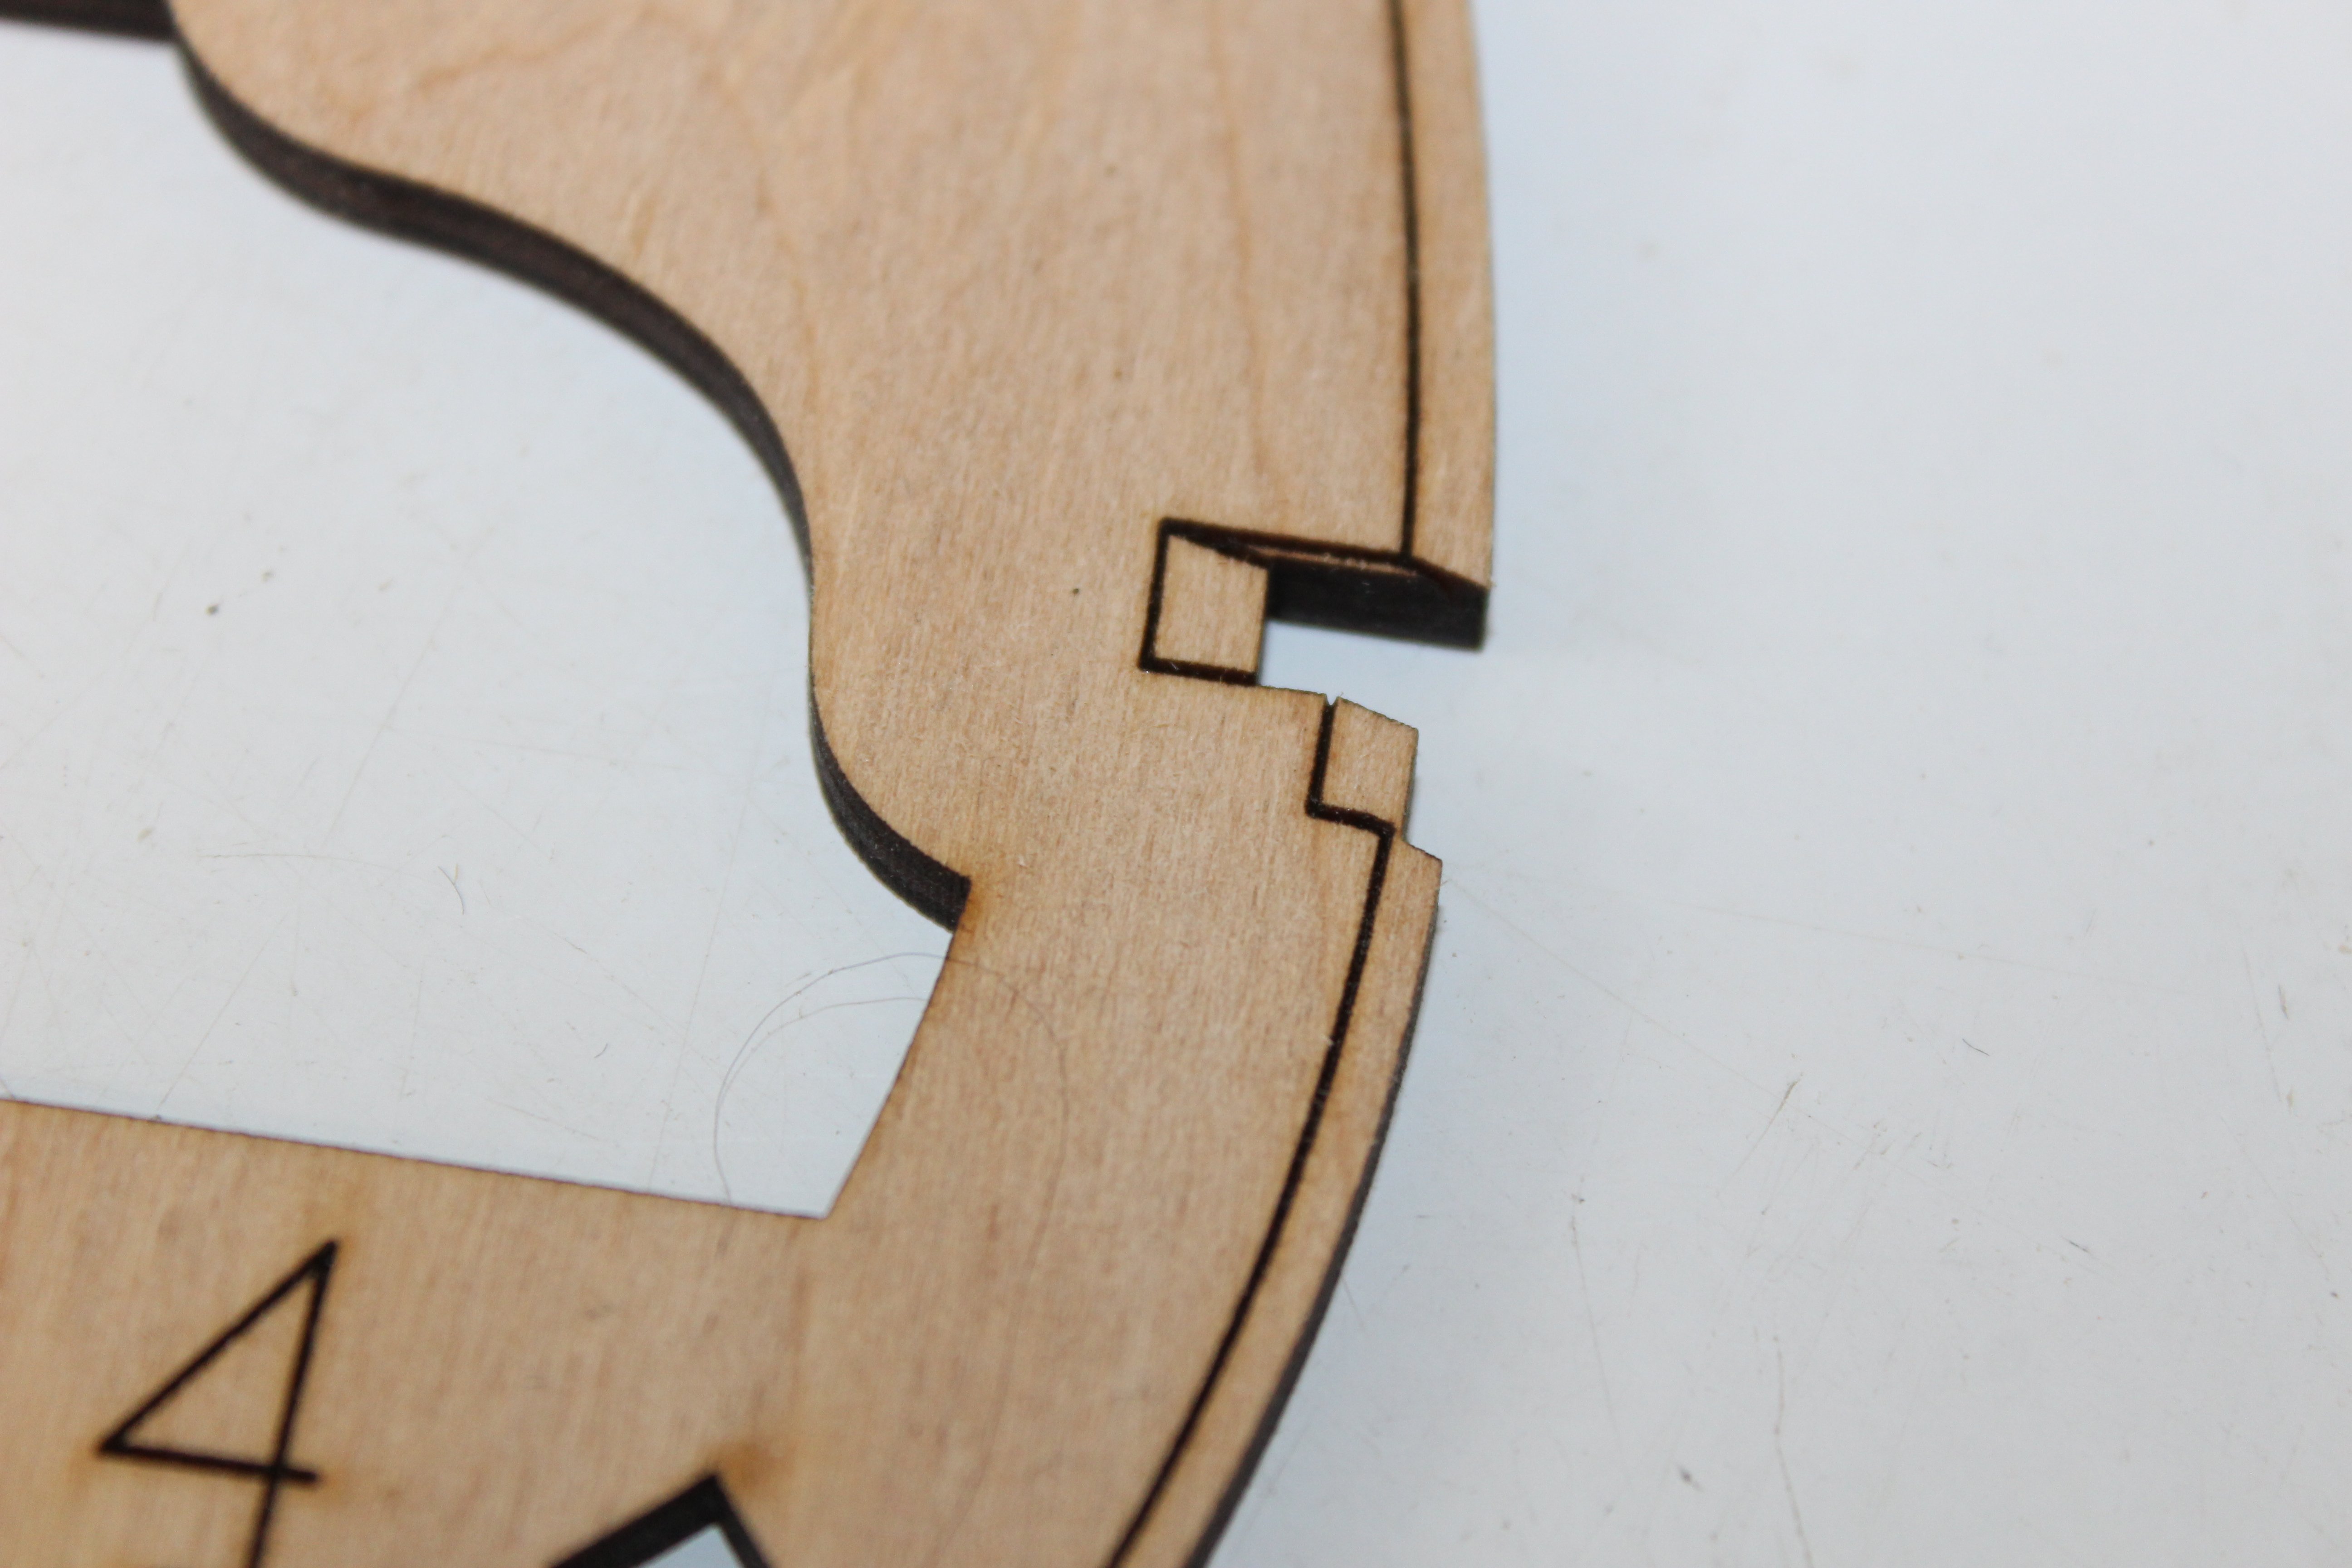
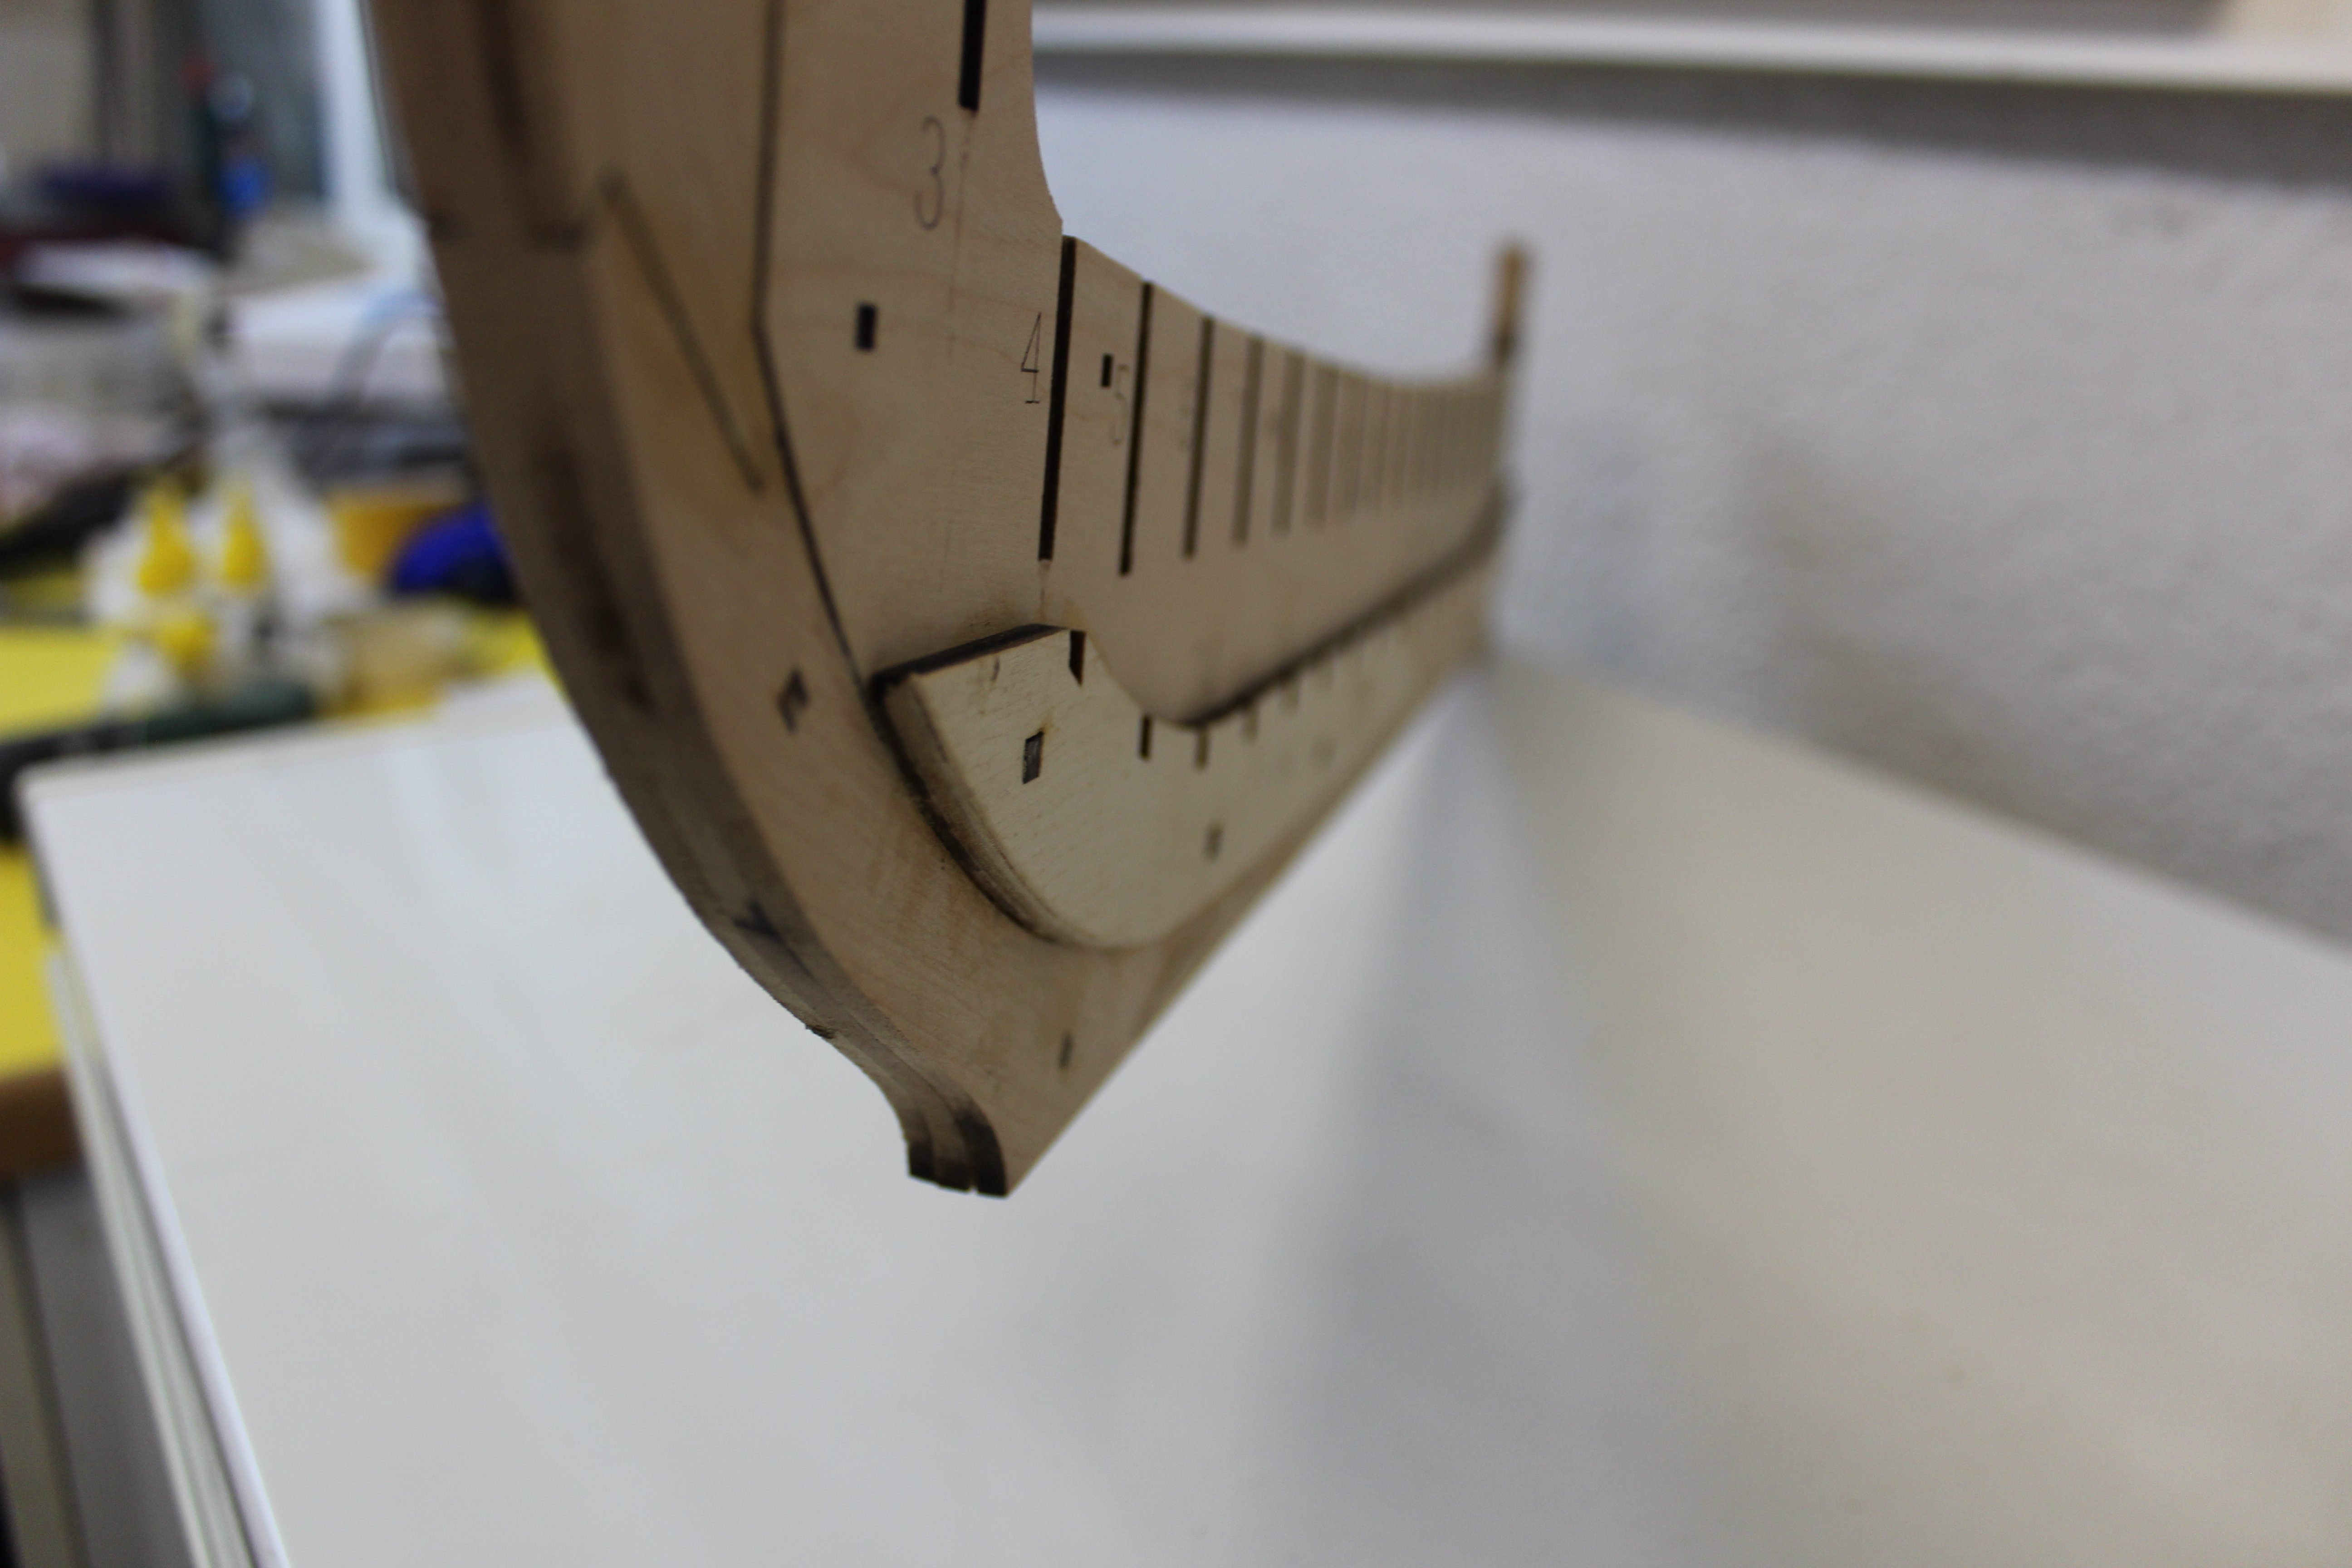
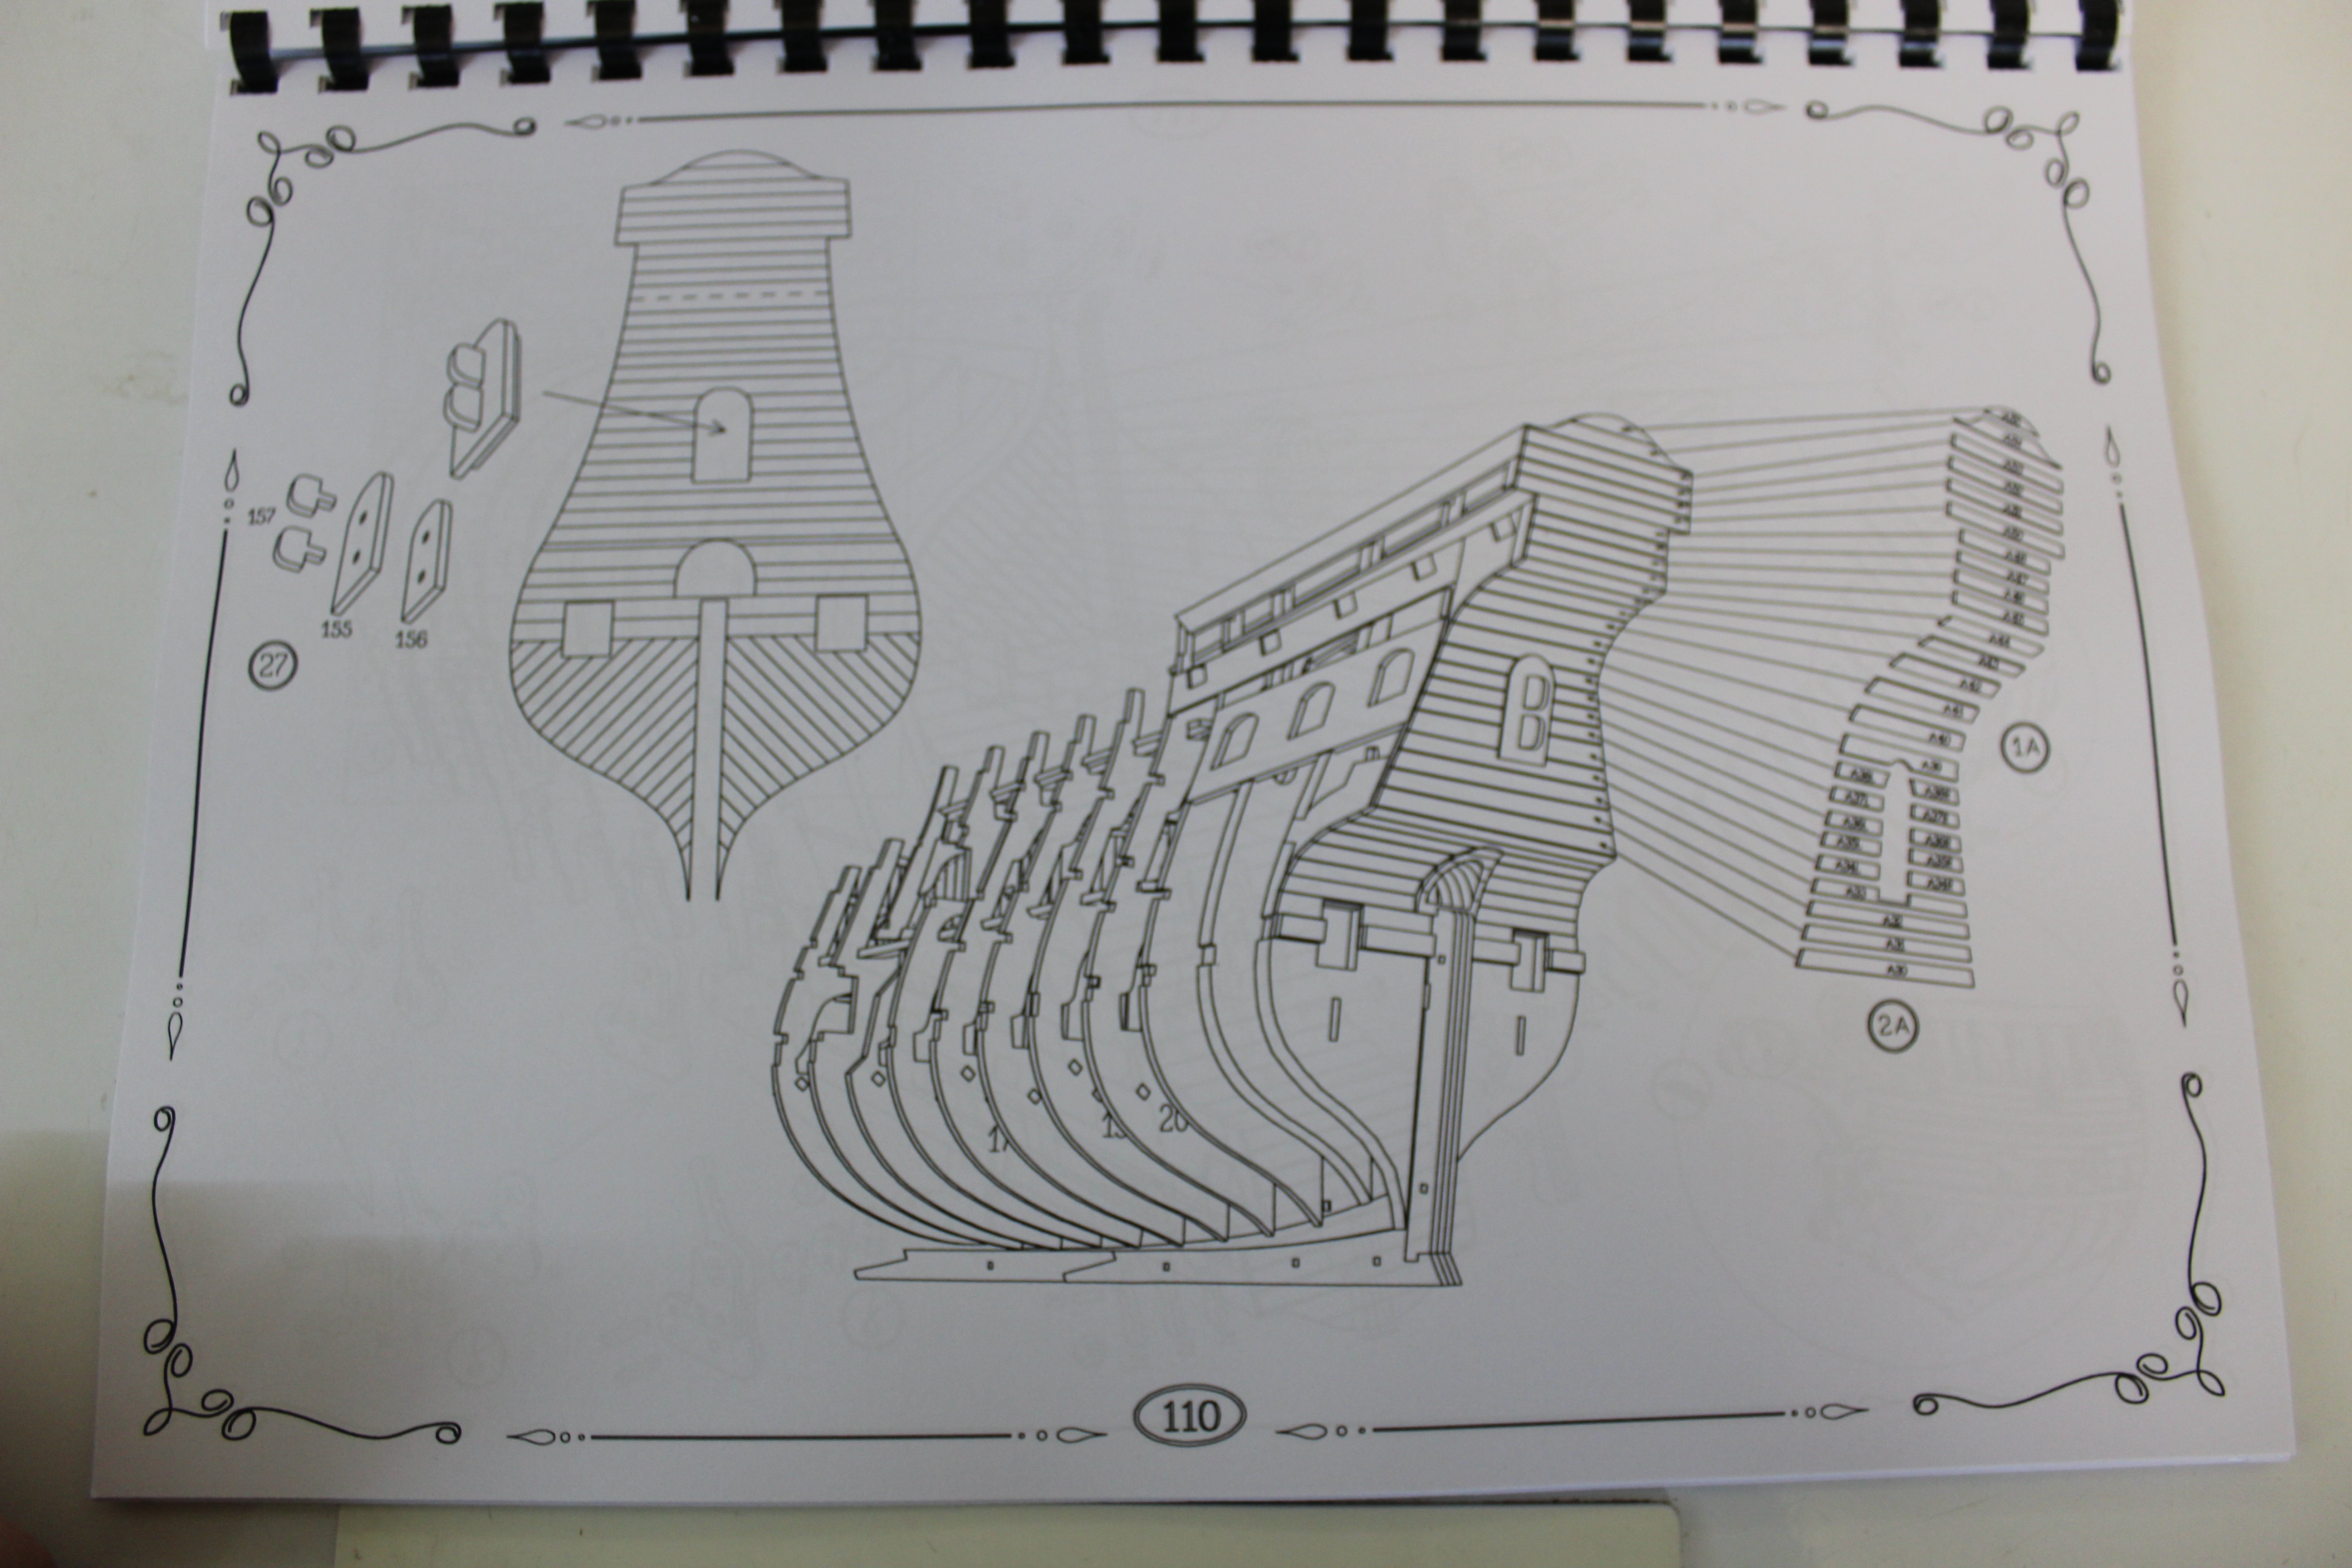
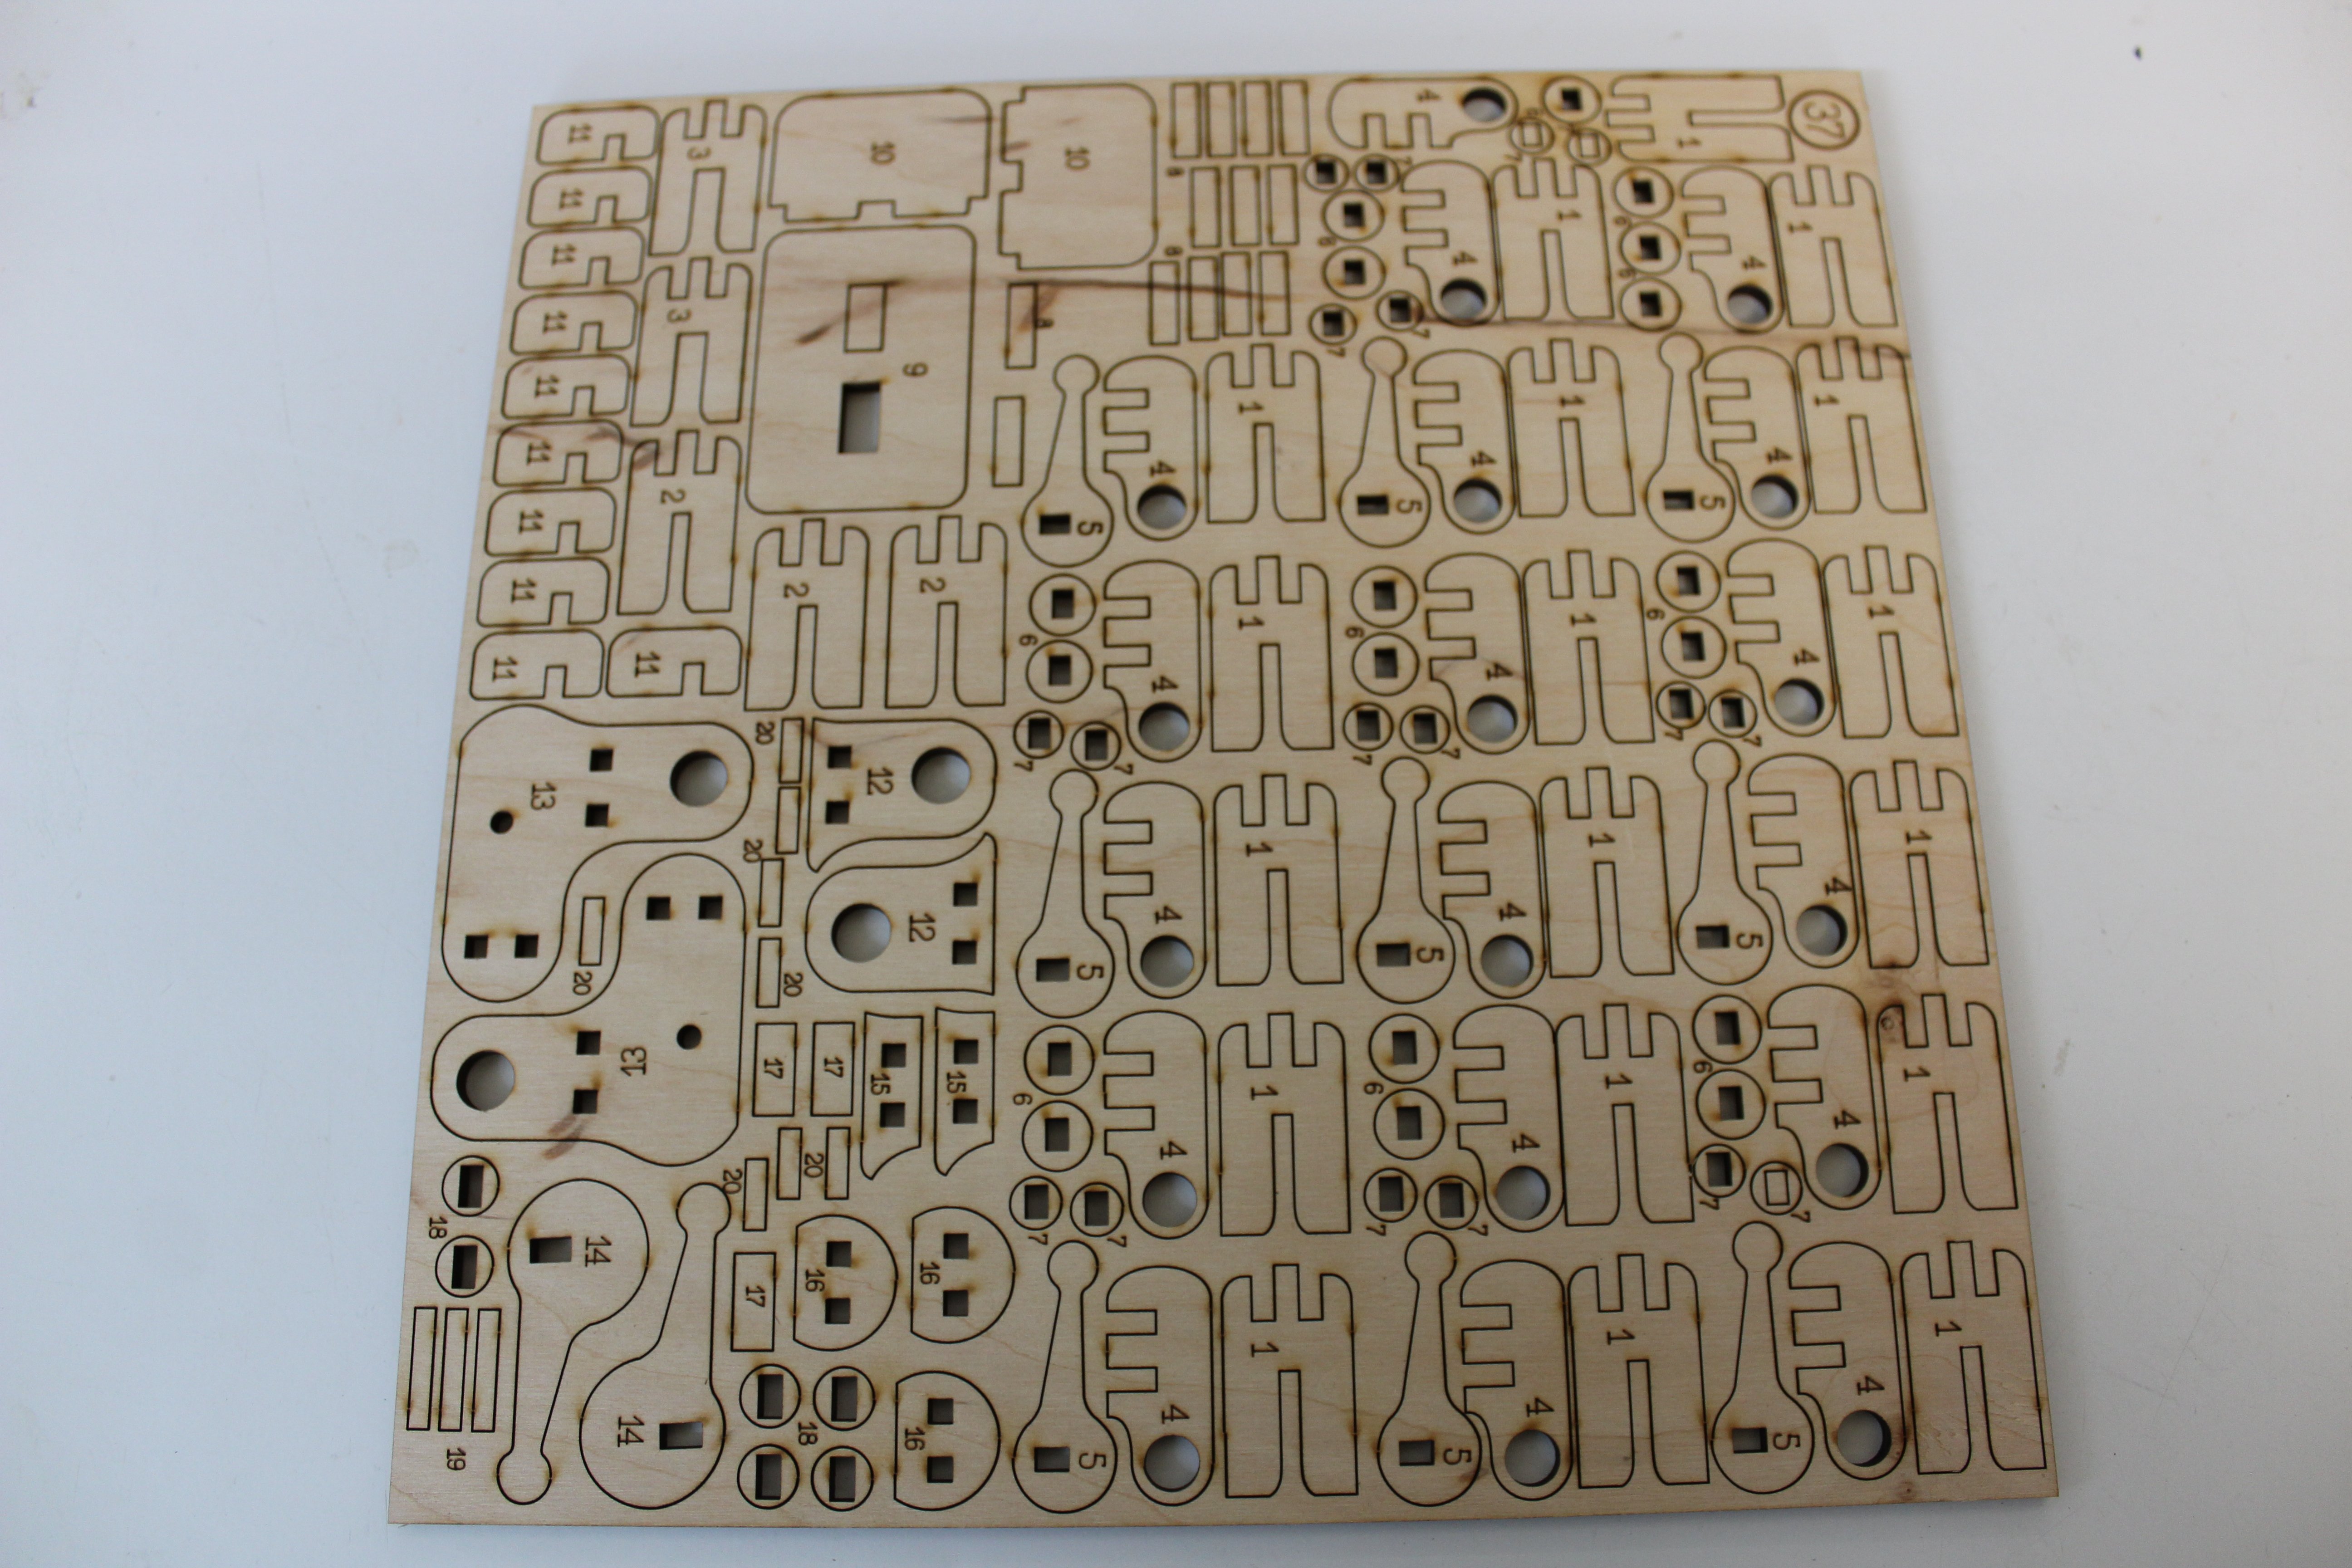
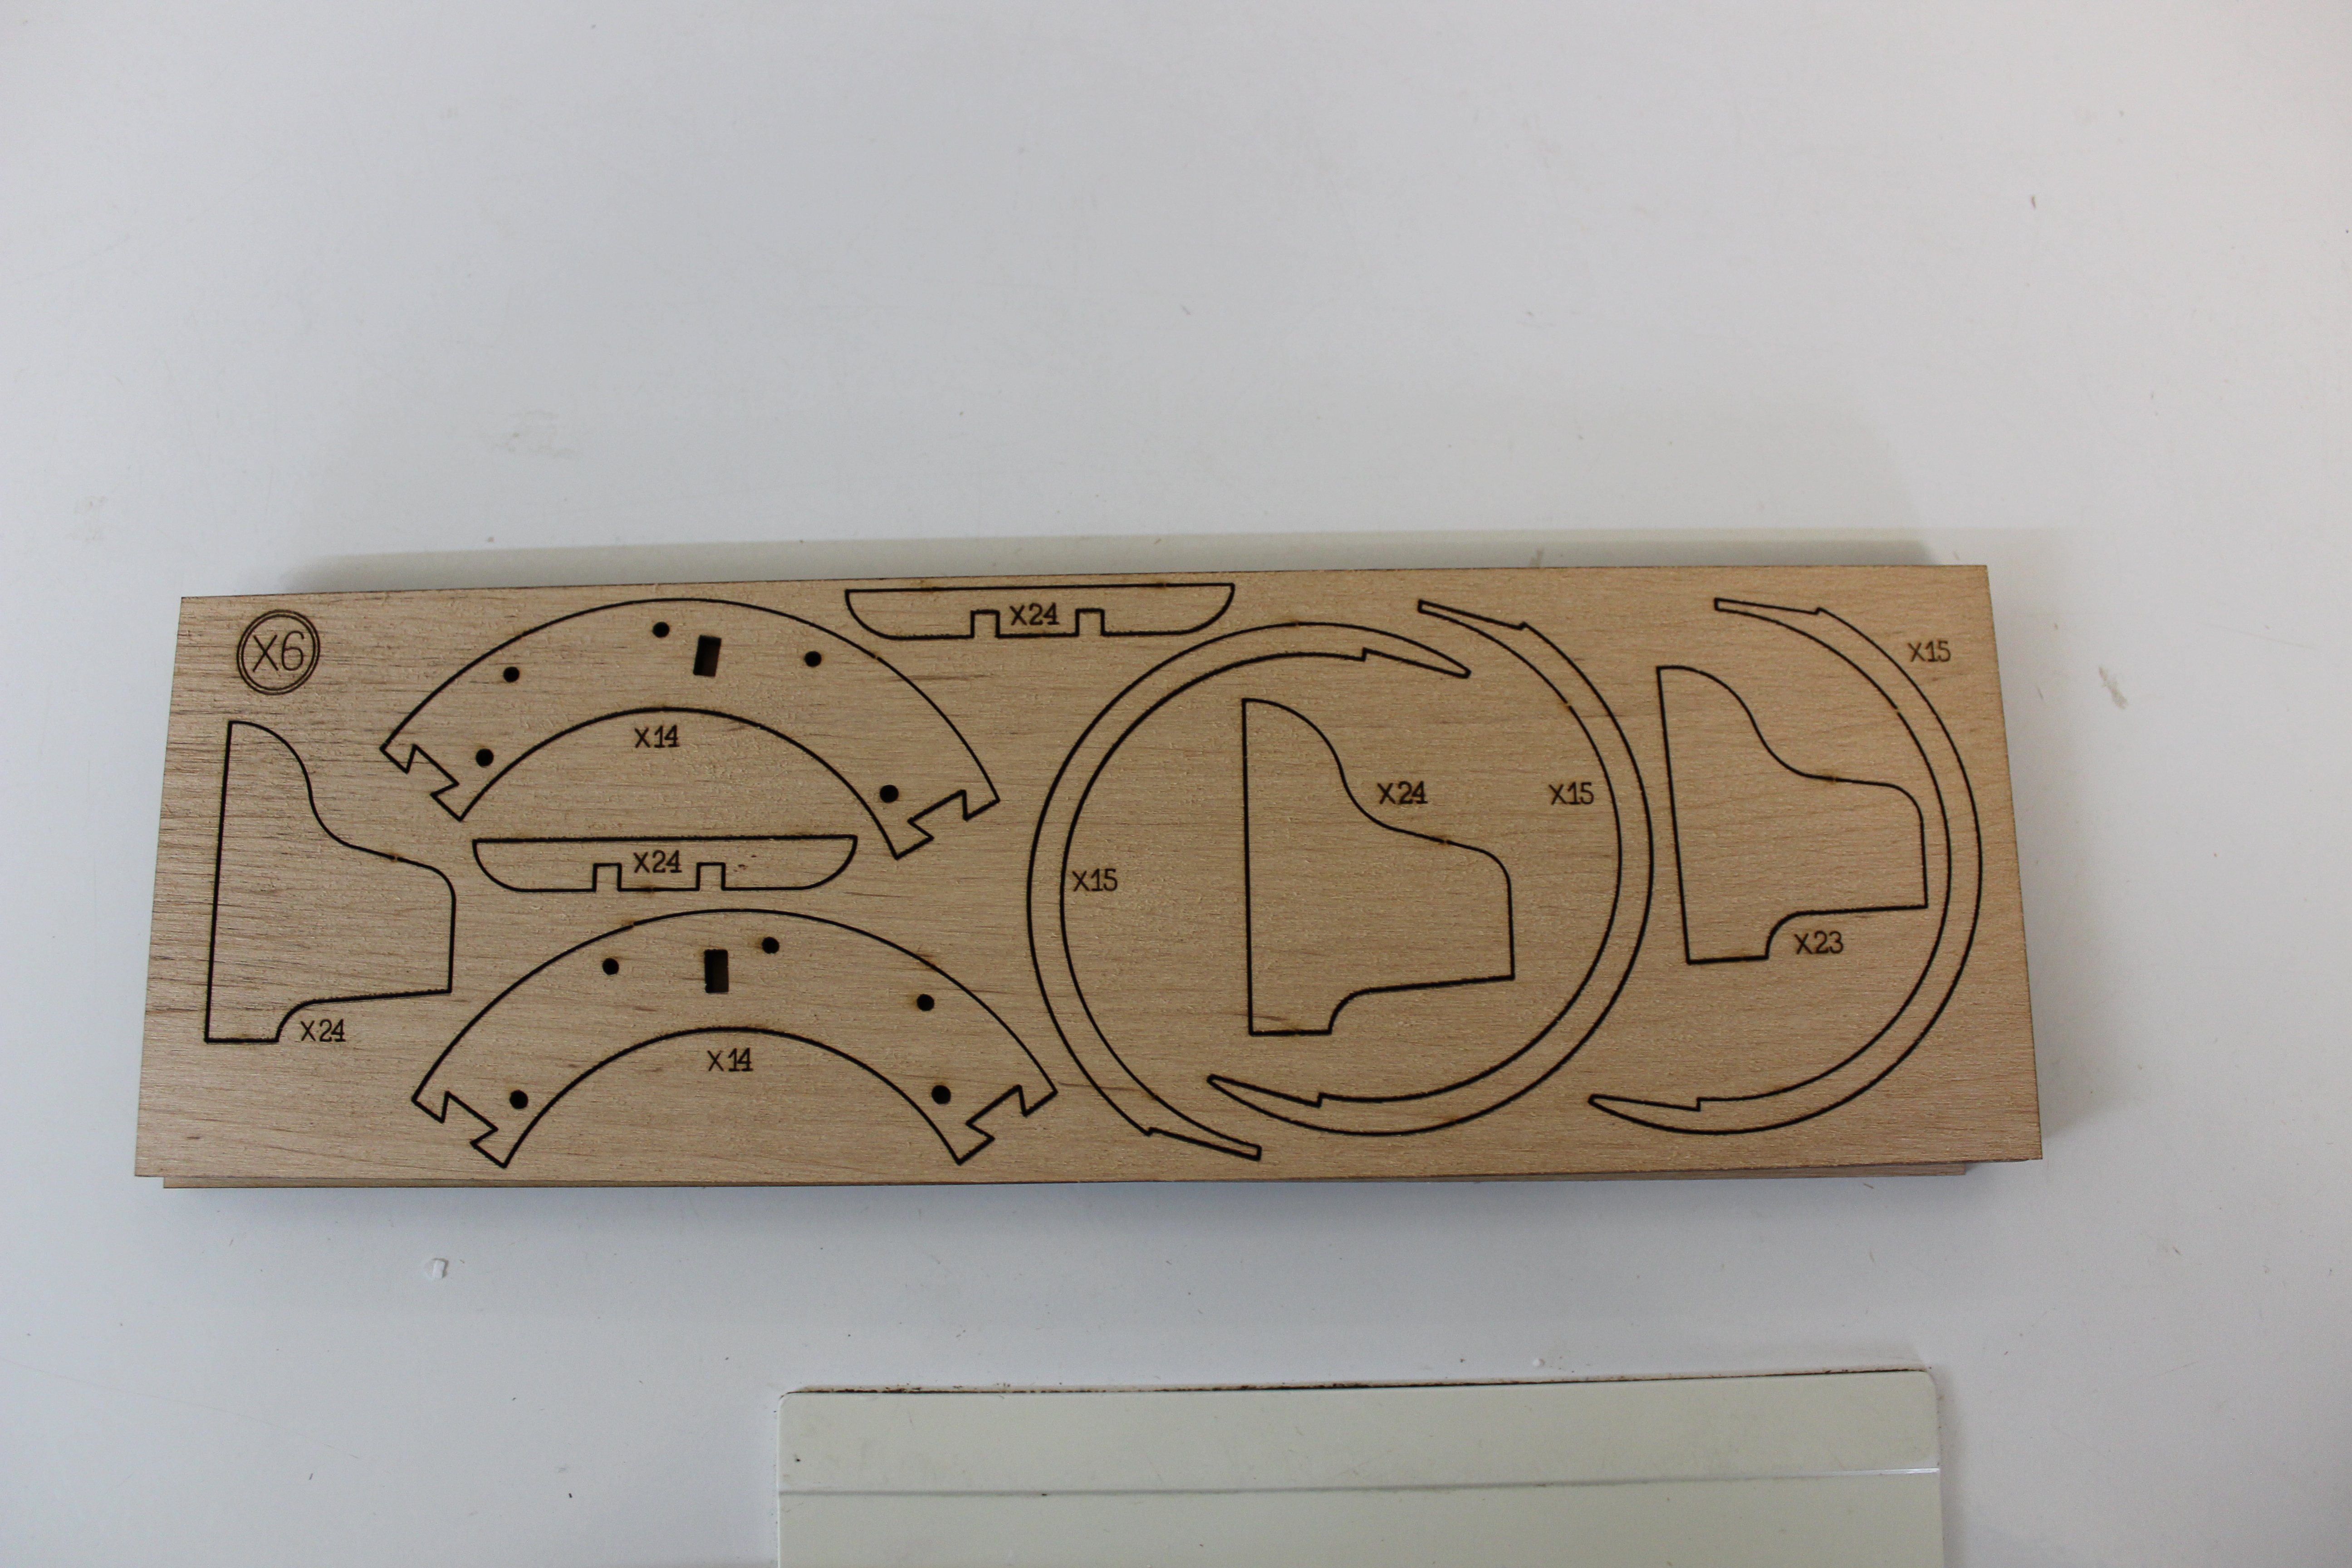
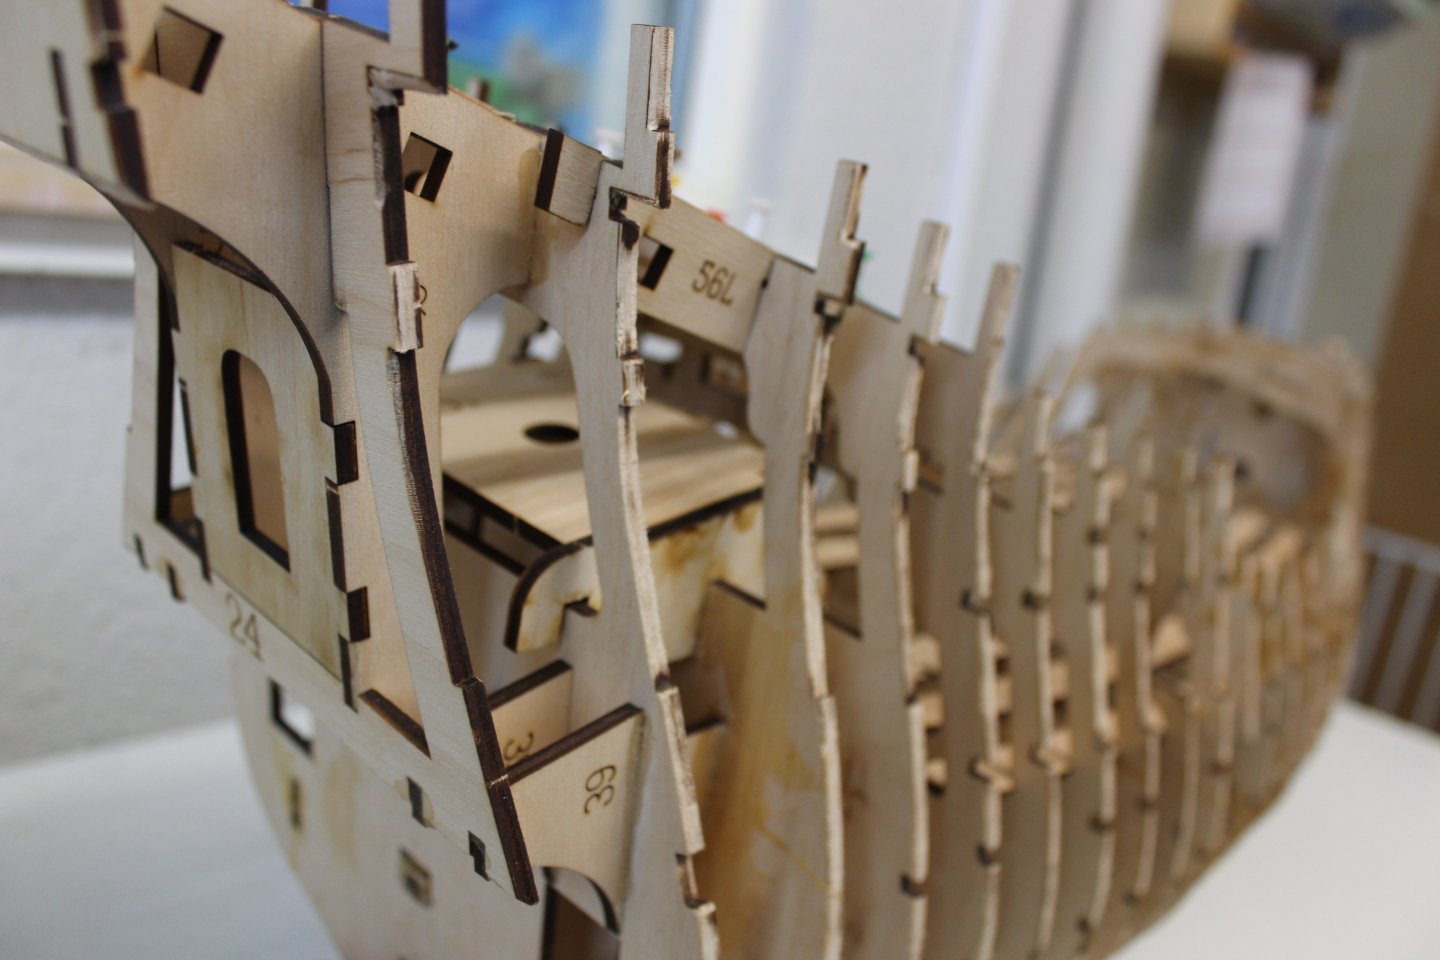
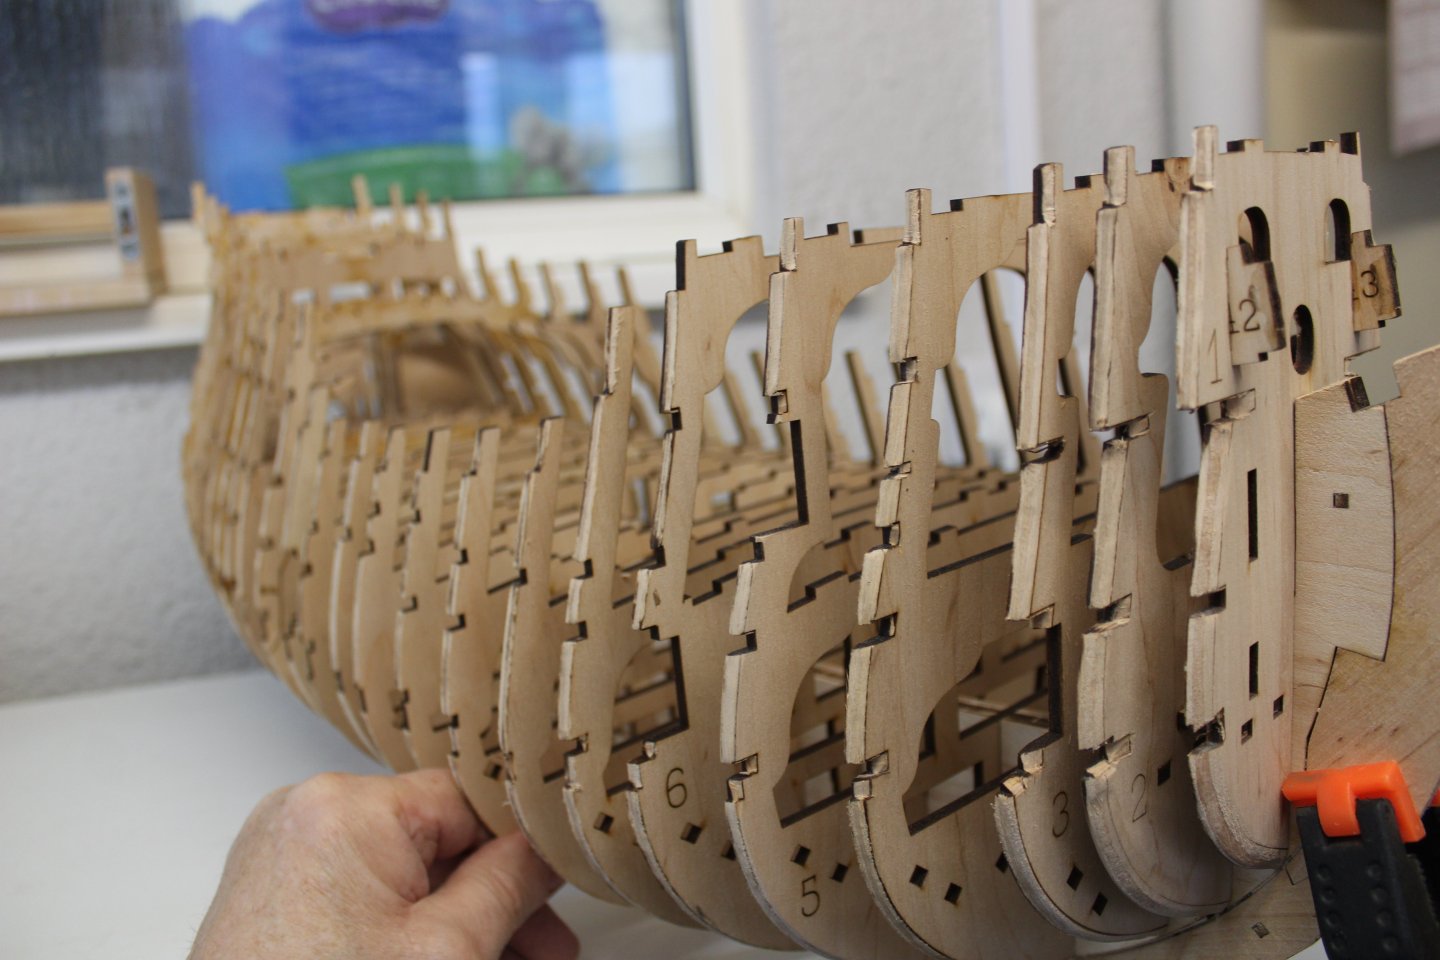
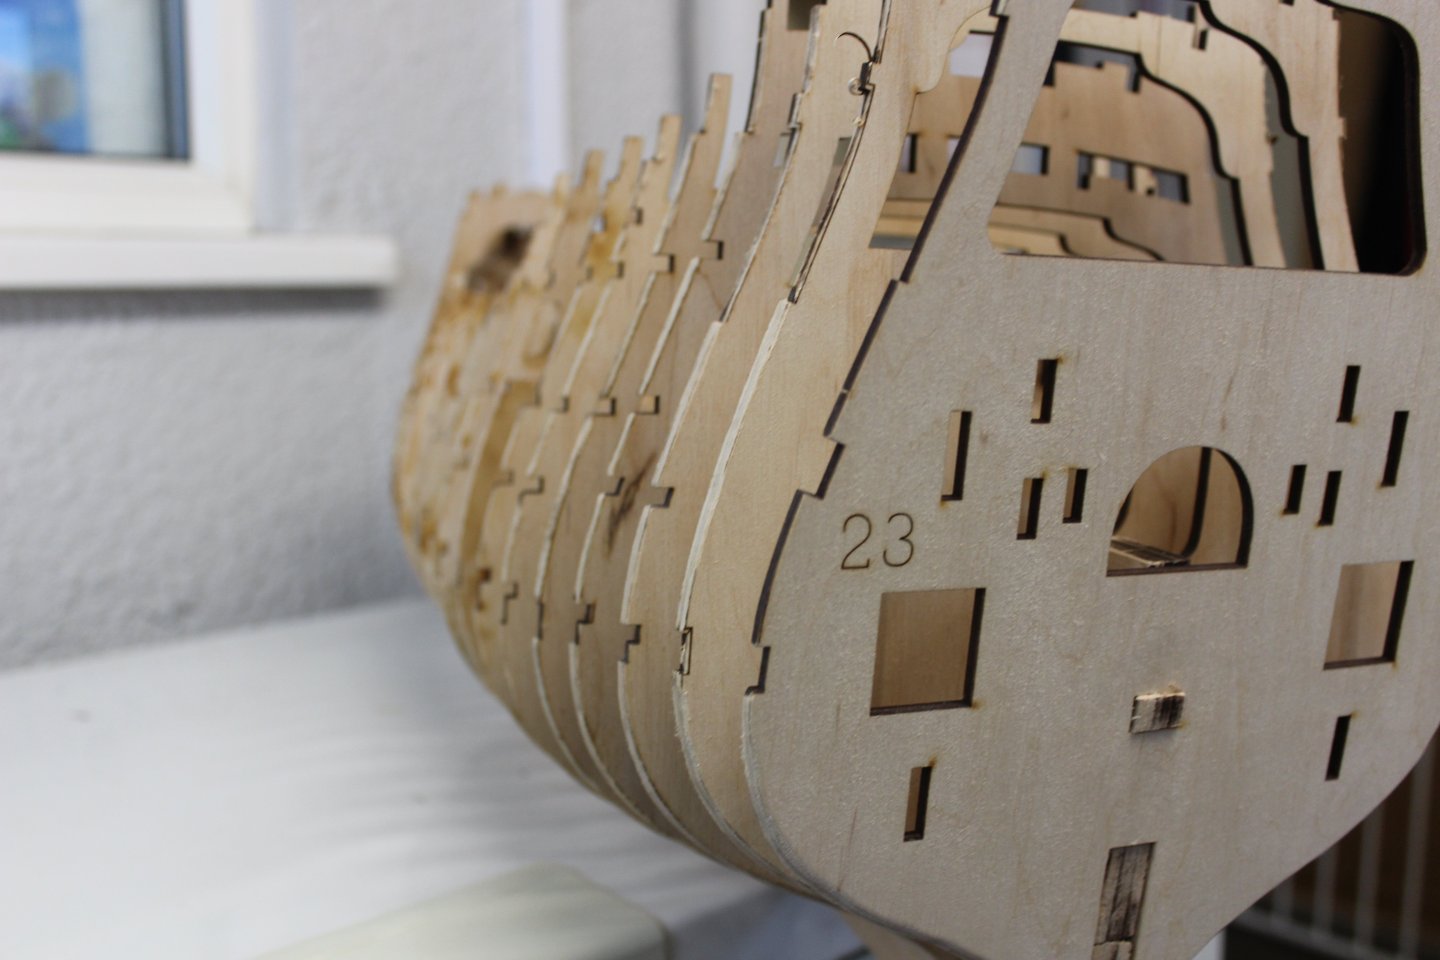
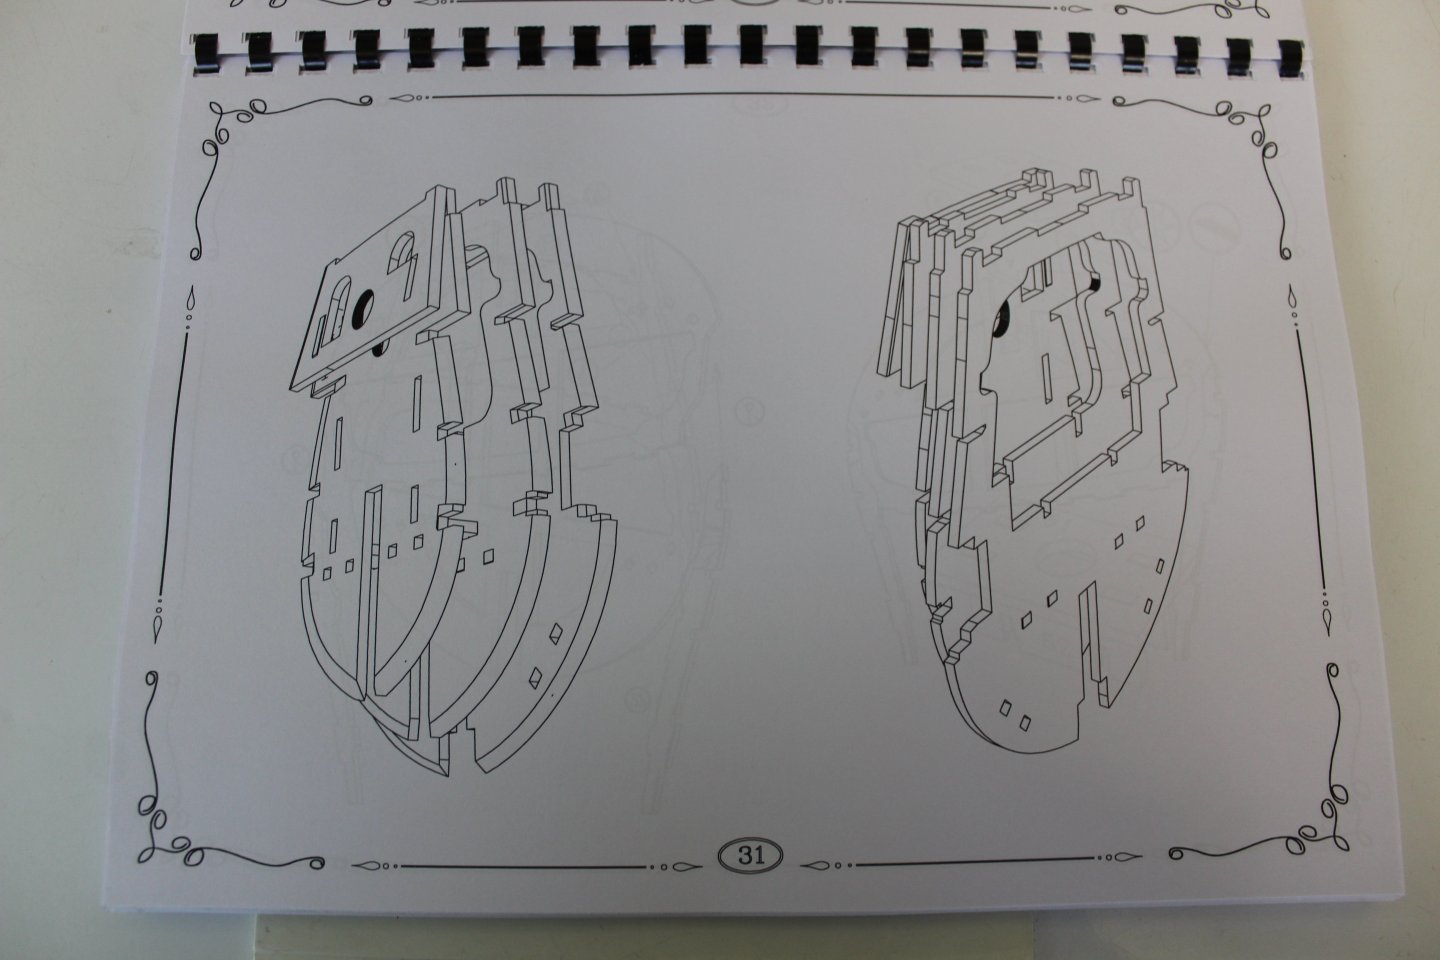
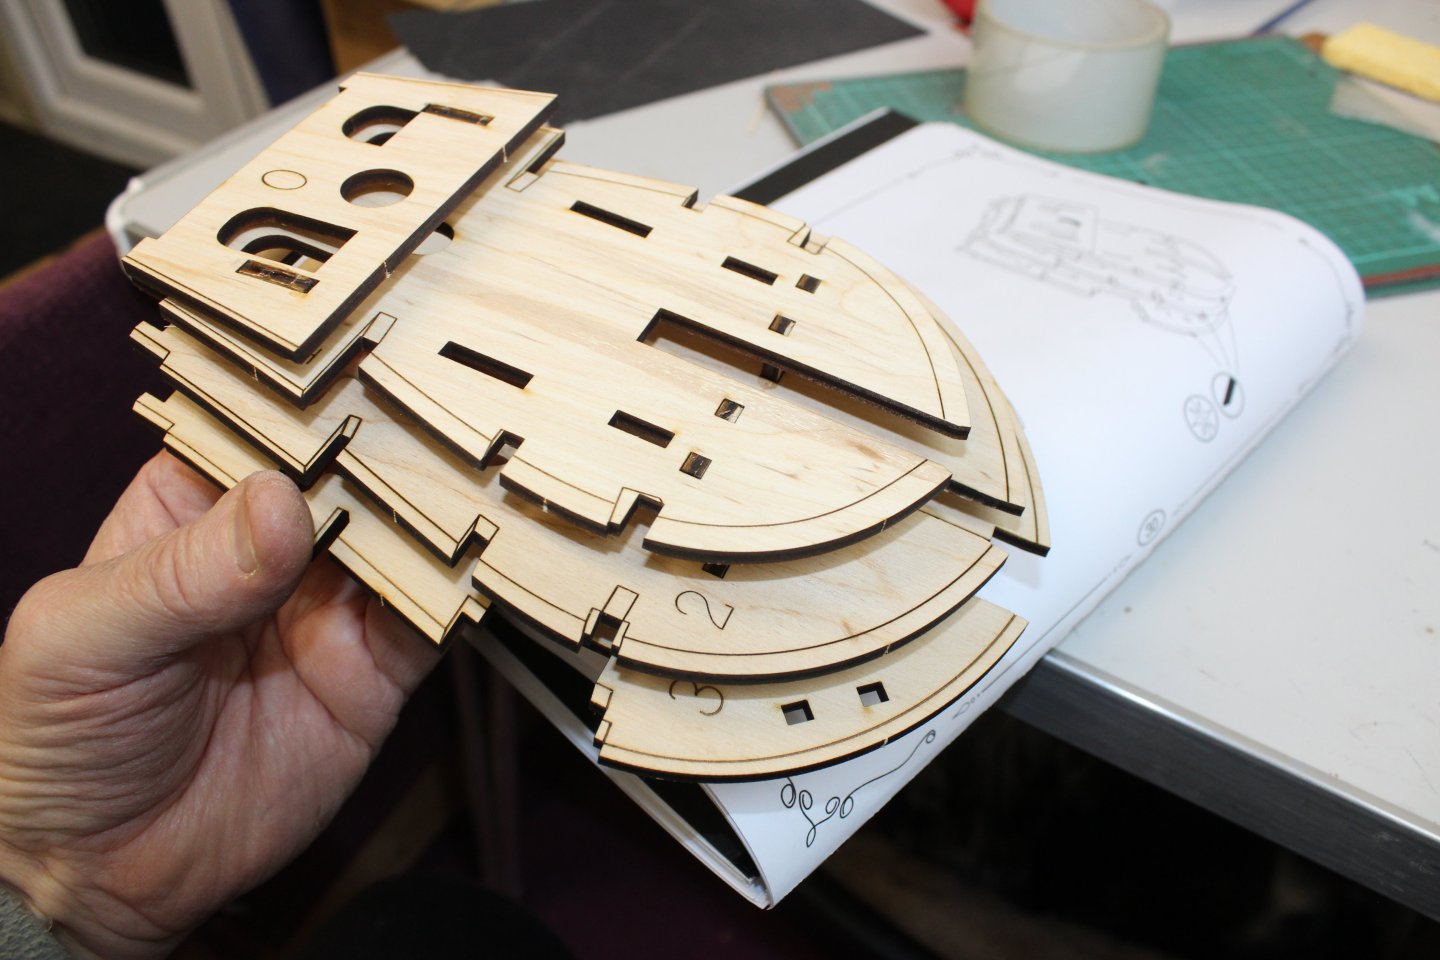
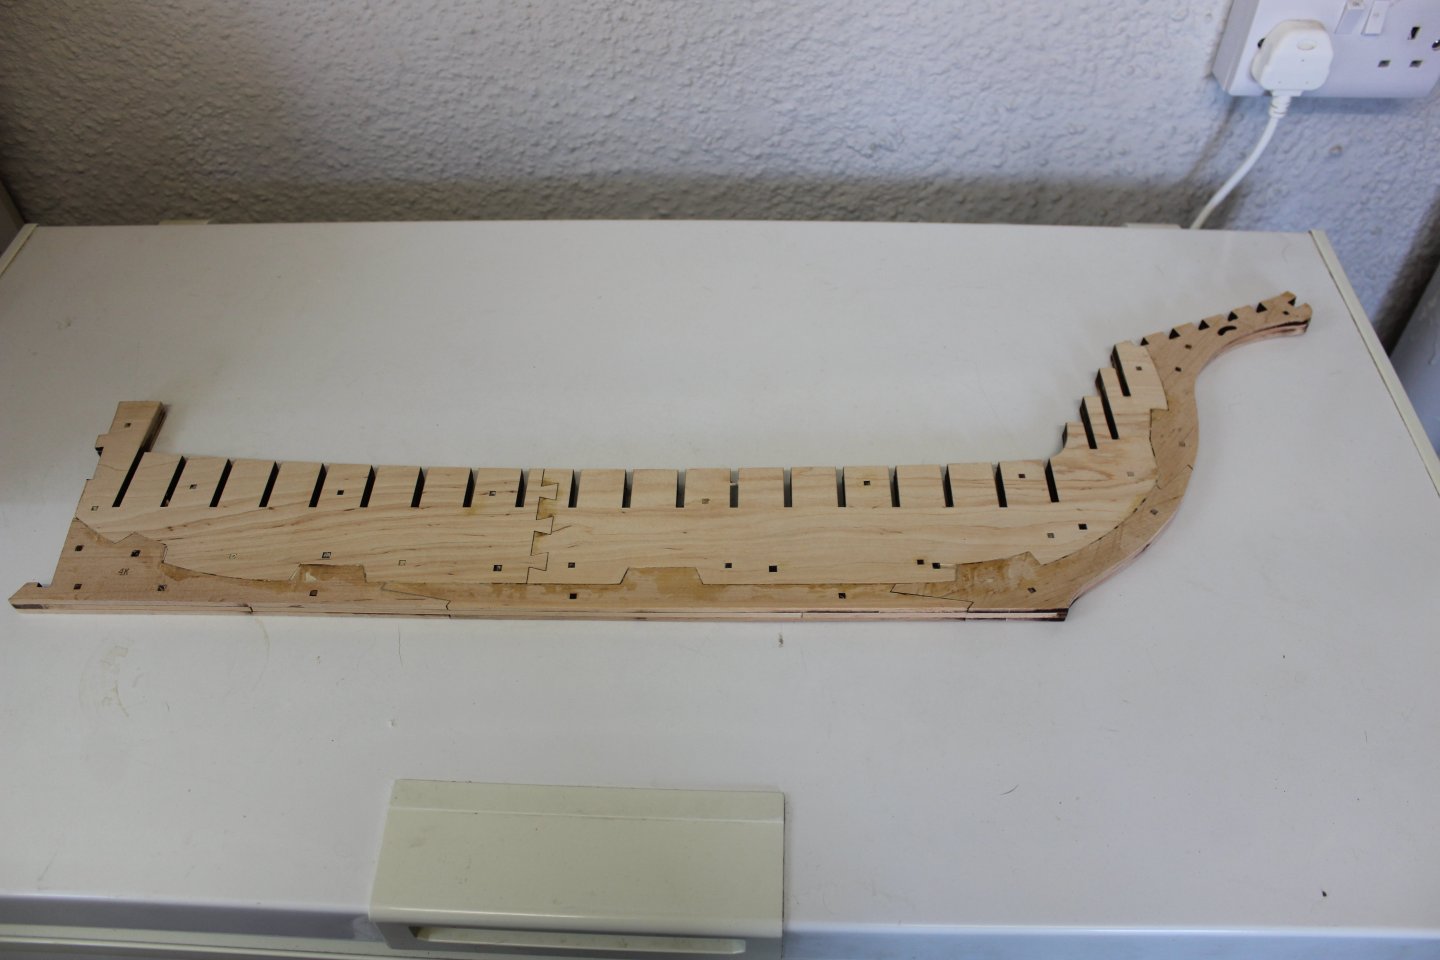
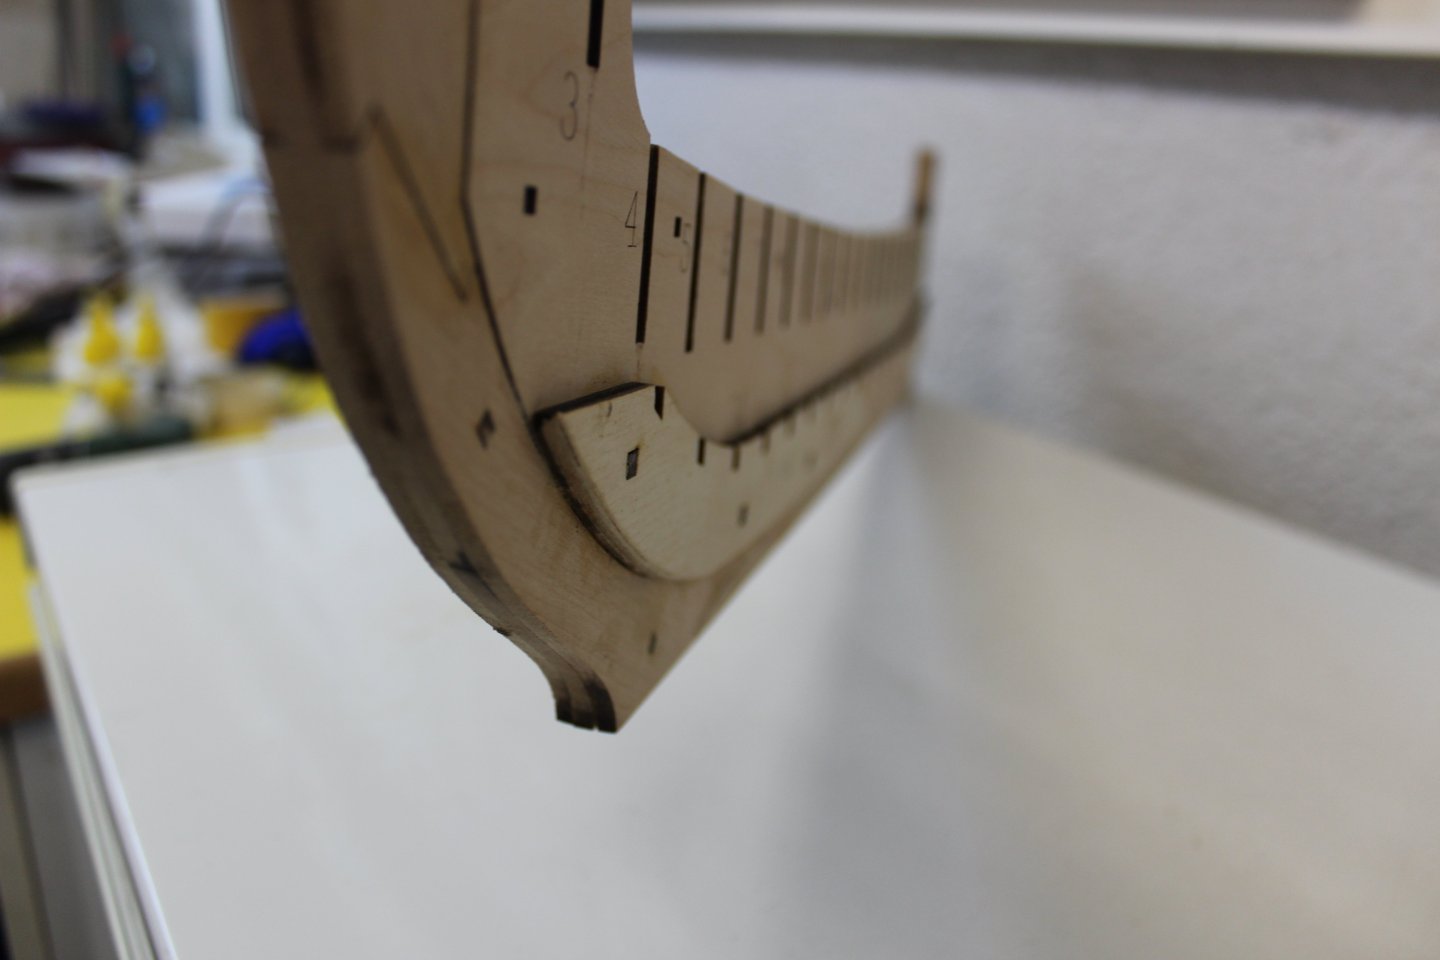
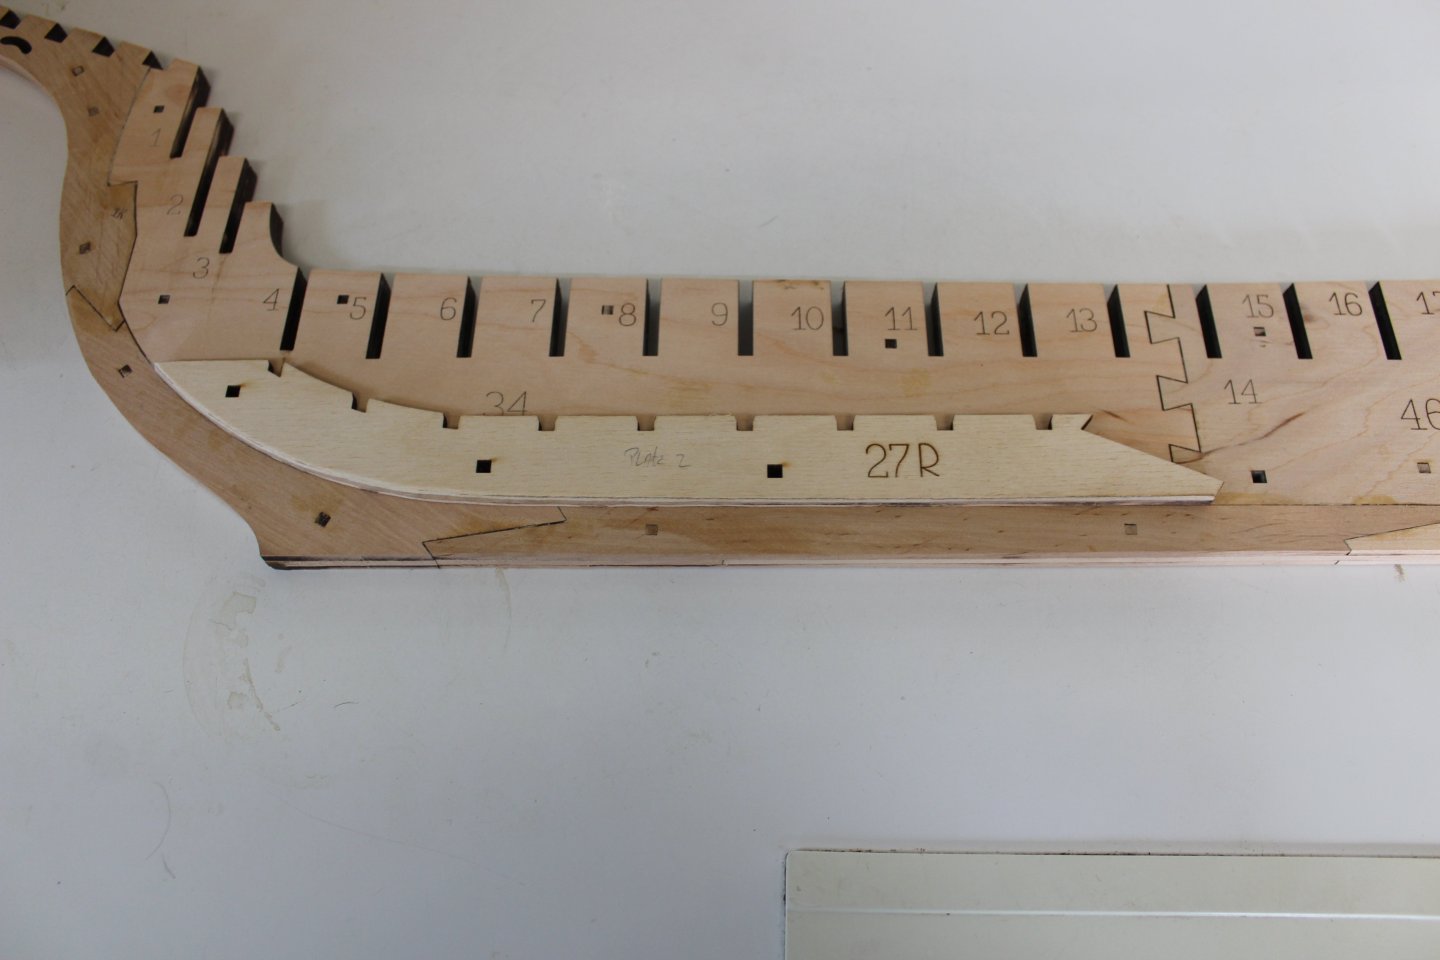
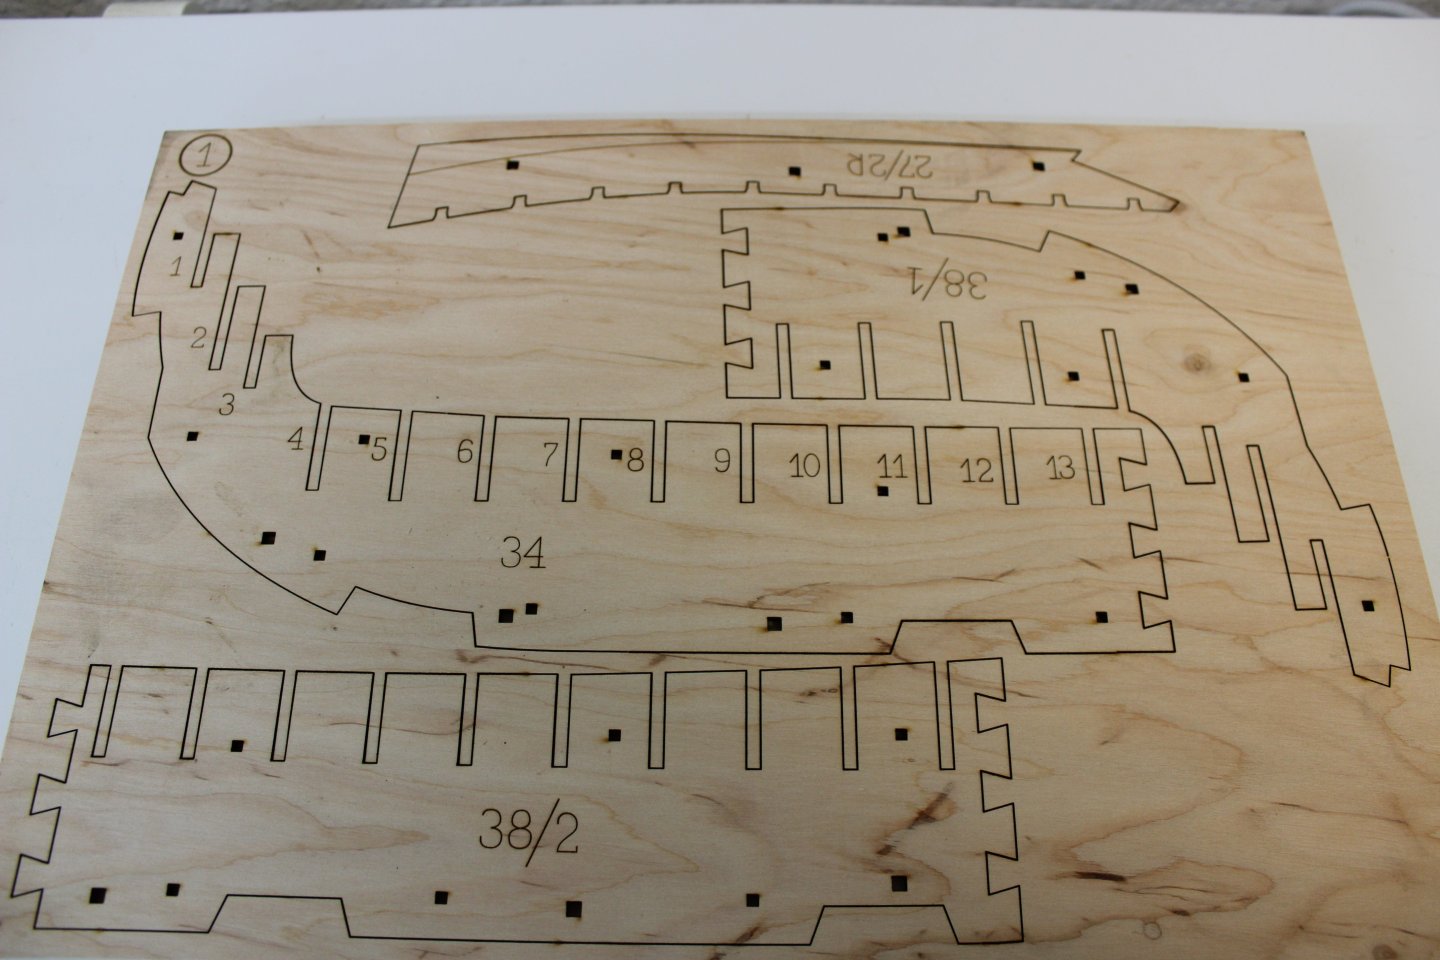
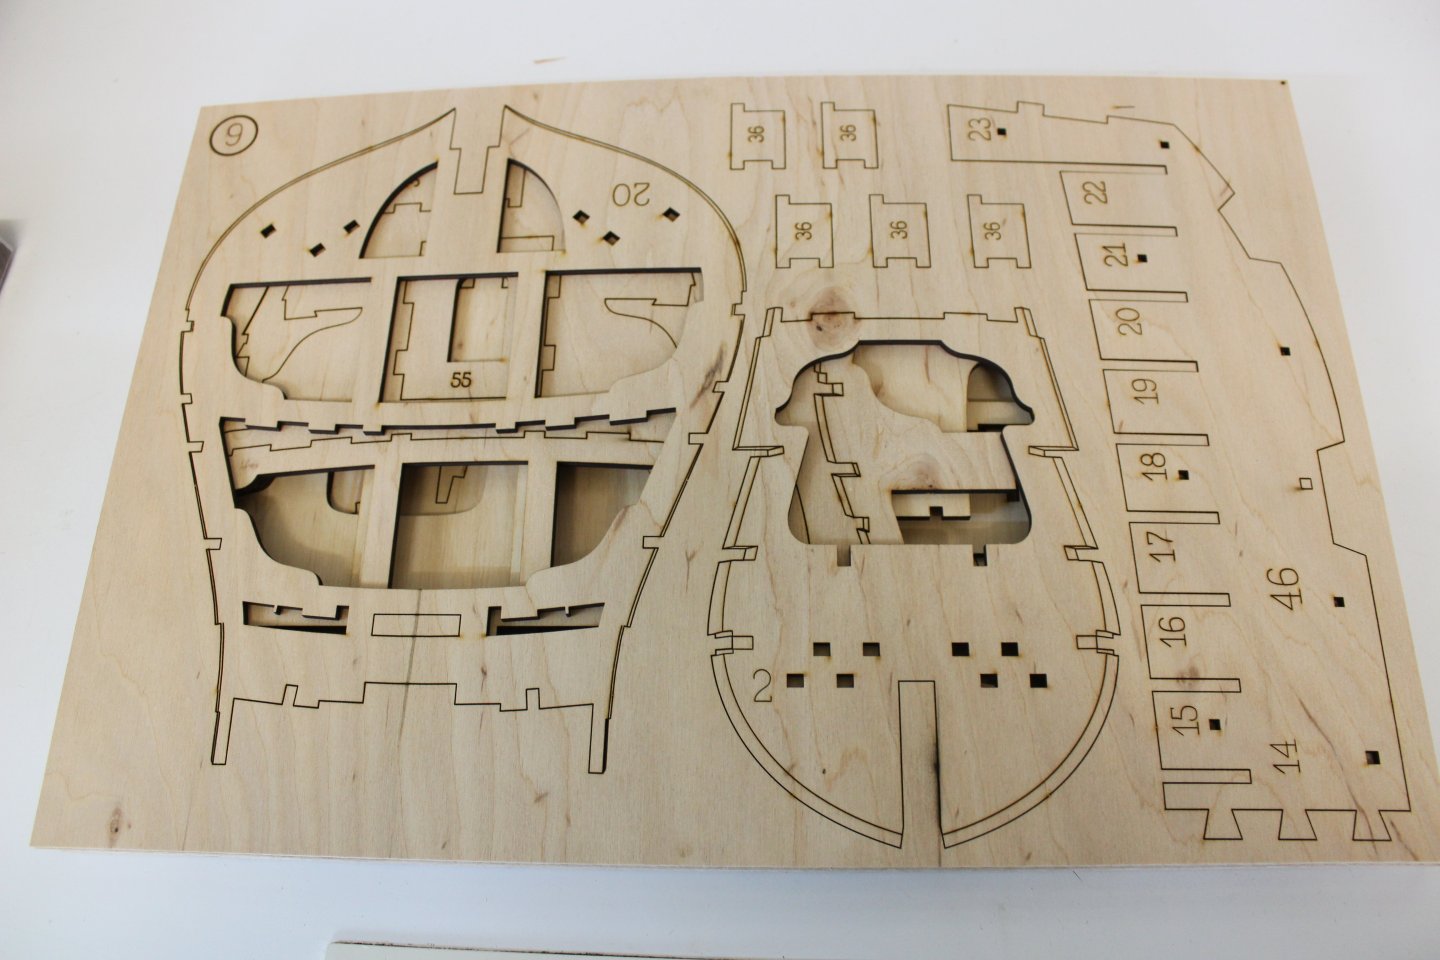
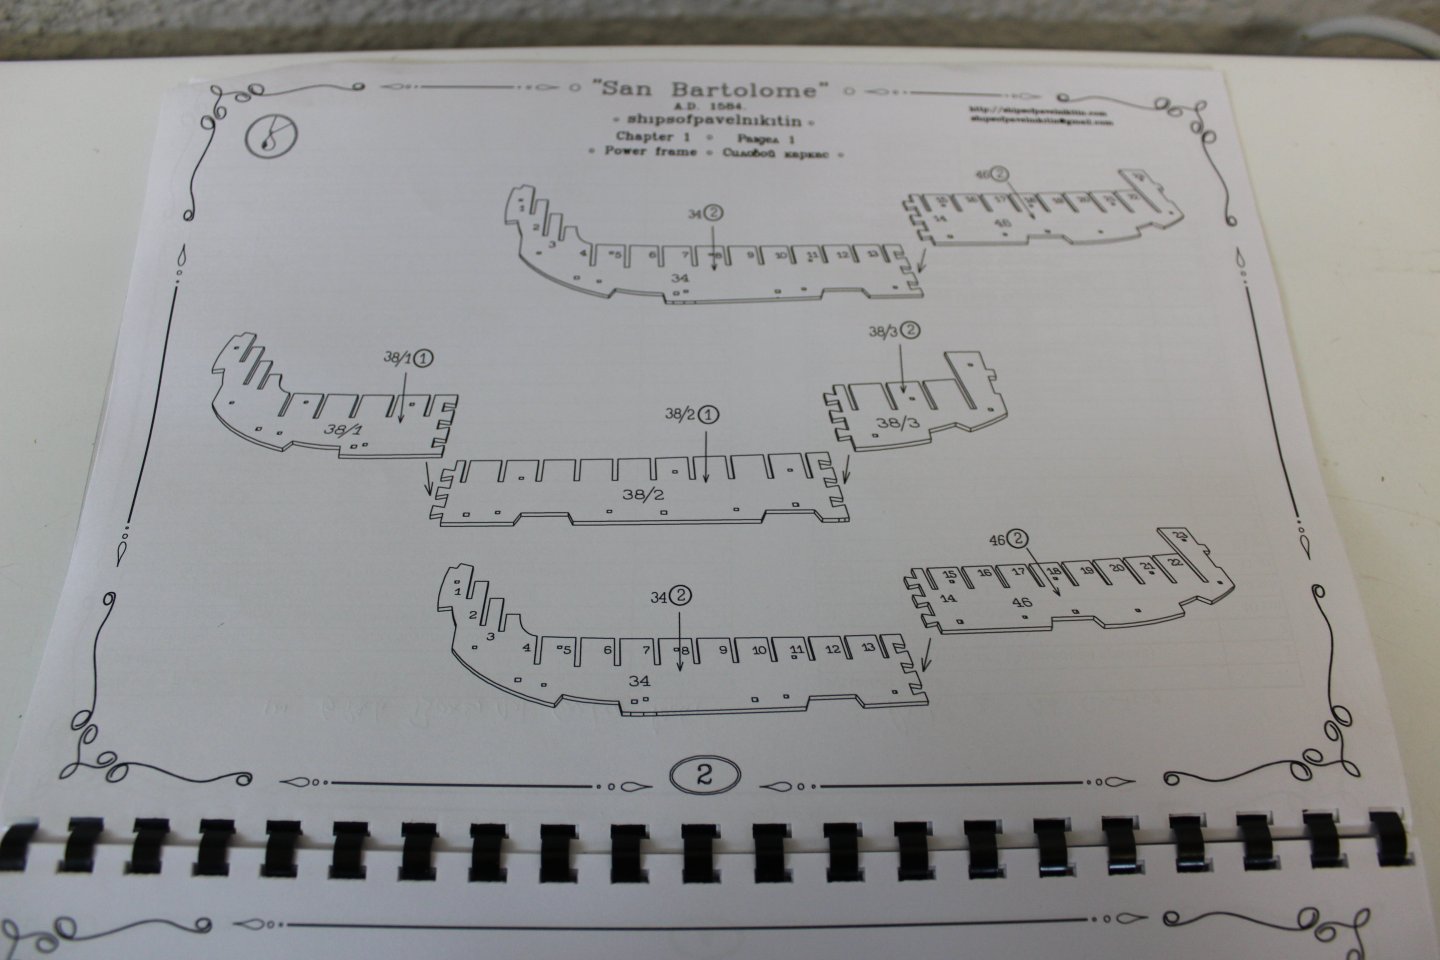
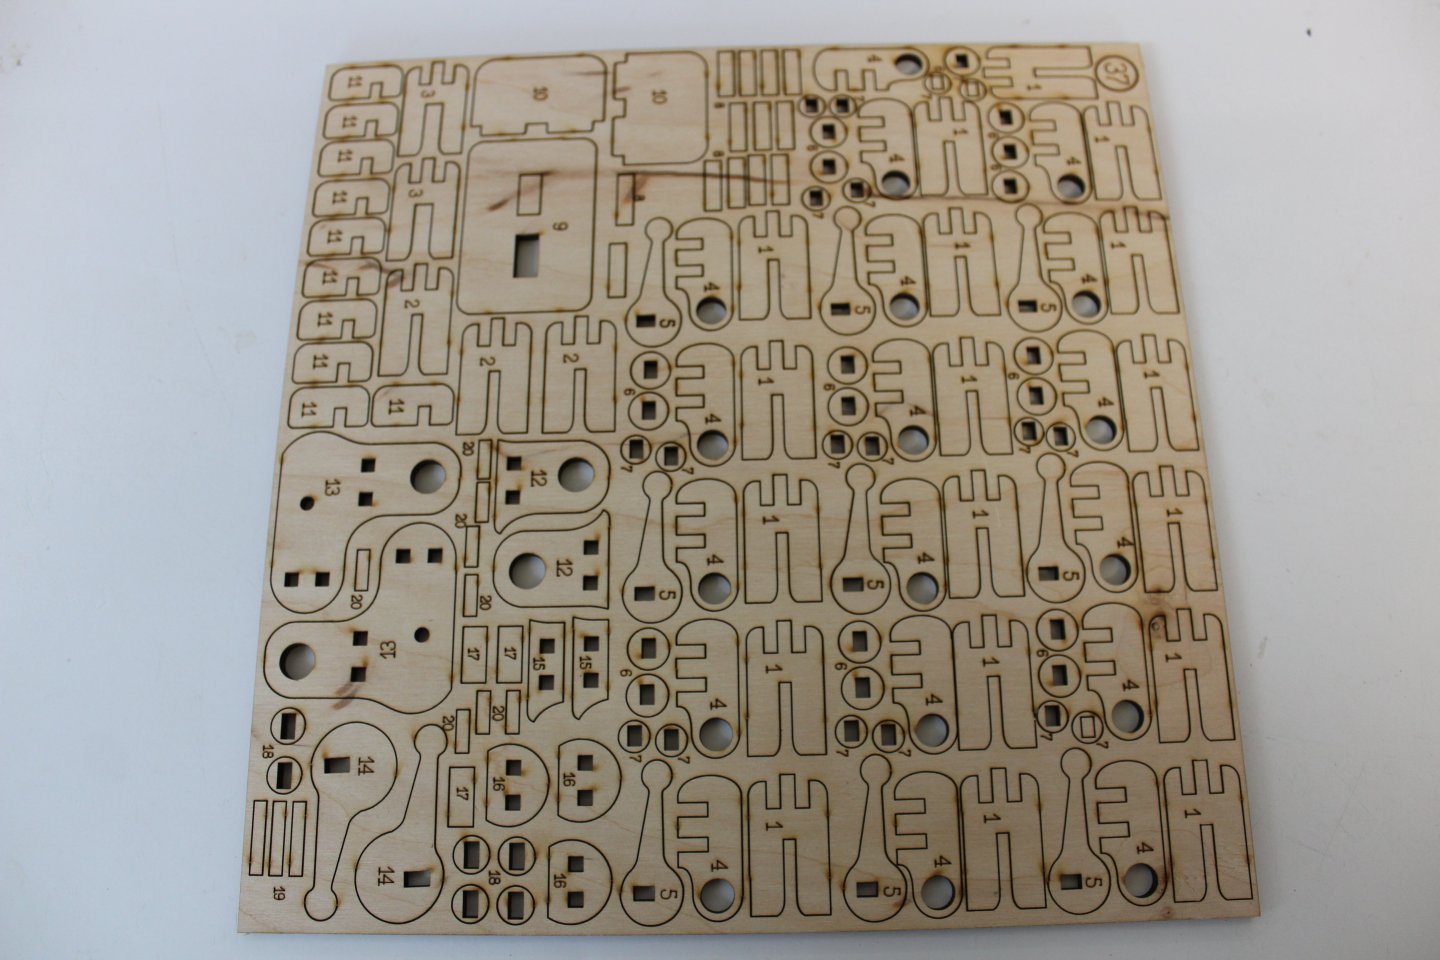
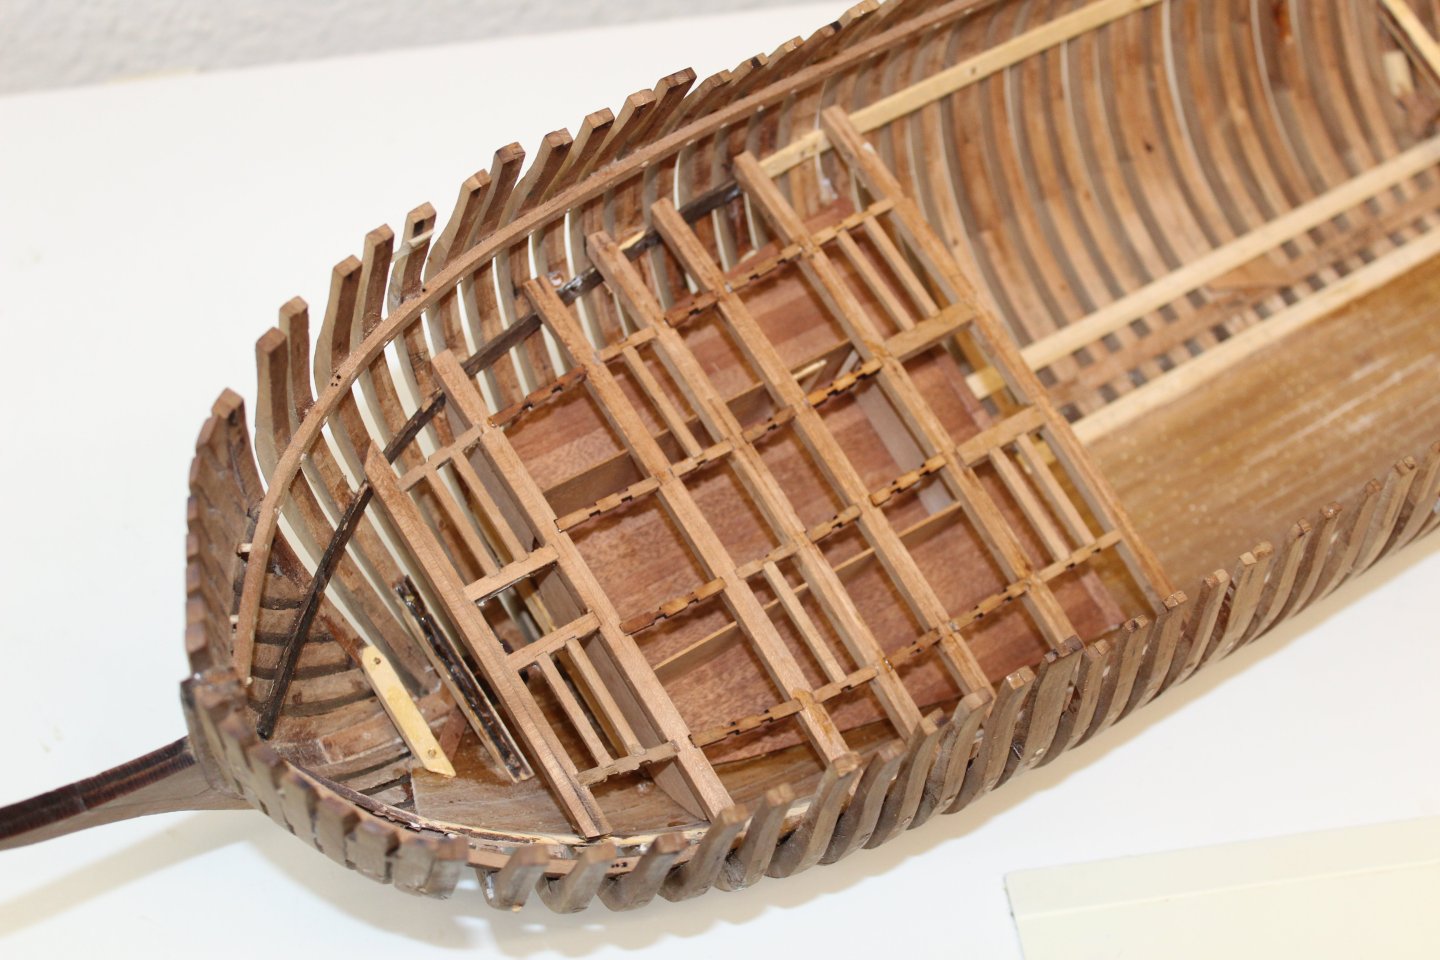
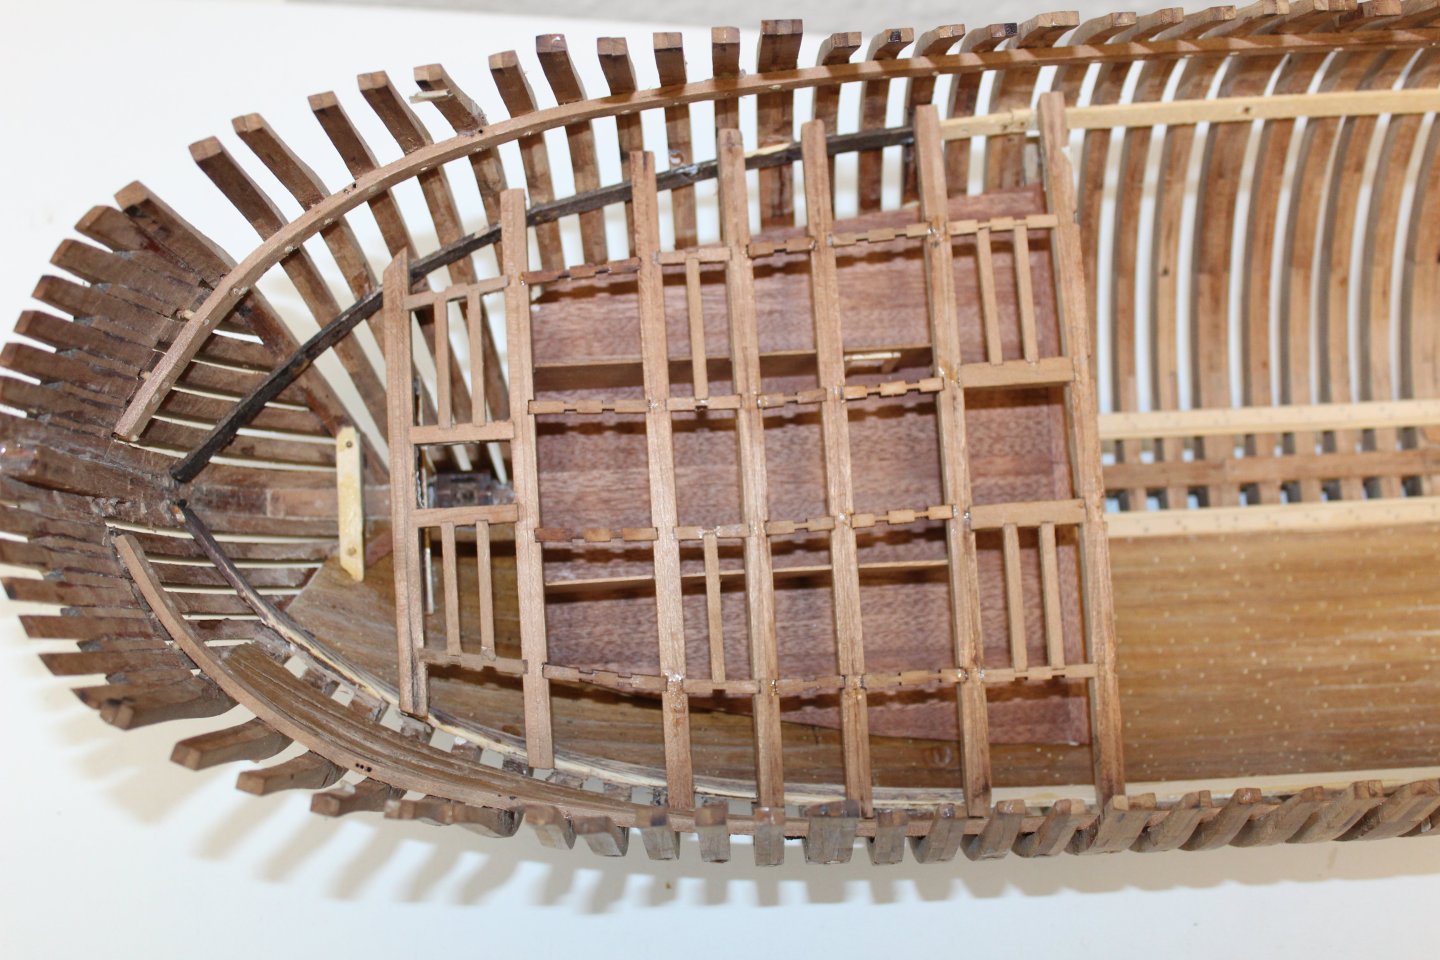
good evening everyone, thank you for comments and likes Day 3 all frames test fitted on centre line, and roughly faired 24 frames all needed some attention to get them to fit ok, most of that was just removing the laser char, and they have all been roughly faired, will sand smooth when they are fixed in position frame 1to3 go in together frames 1-9 need fairing frame 18 is not marked, but all frames passed that are reversed and need some fairing required


-
im afraid those crows wont be coming in your direction, i dont think @chris watton would ever contemplate doing her again, and it looks like Amati will never release his 1/64 version
-
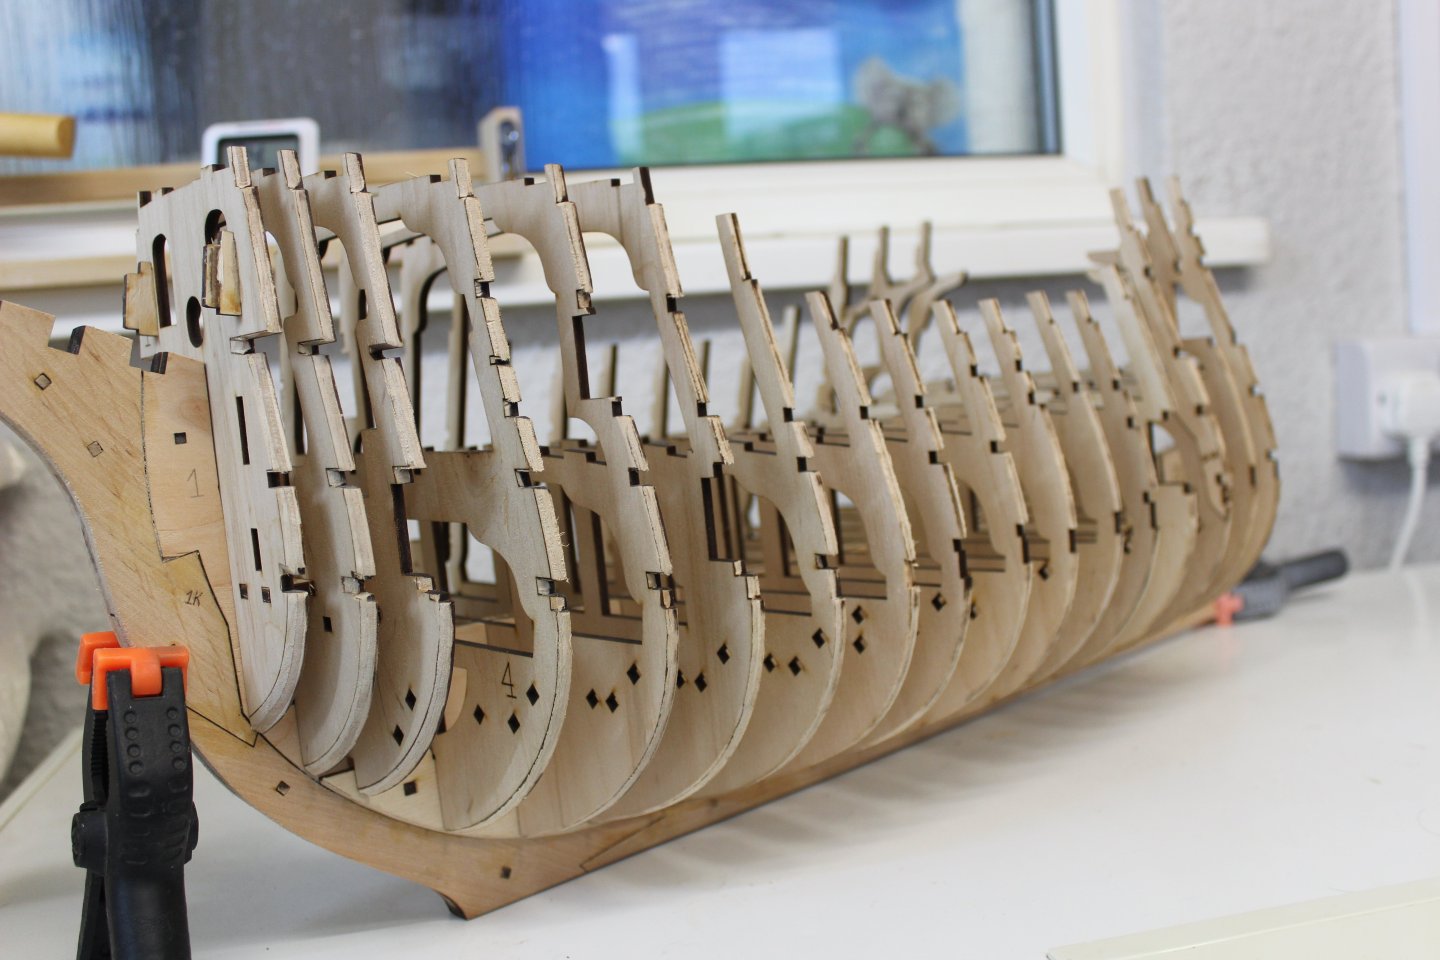
day 2 today 16th Jan 26 a lot of frames on this build, 24 of them, they are all tight on the centre line, but just removing the laser char enables the to slide on ok, the fwd and after ones however have faring lines all over the place to ensure the plank runs flow ok but also to ensure they fit on the centre line and doubler, the beech is easy to work with and sands down quite fast the first three go on together, matched as a unit, i am however not ready for that and going to do all the frames before i commit to glue 24 frames to go fairing lines to get a good fit


-
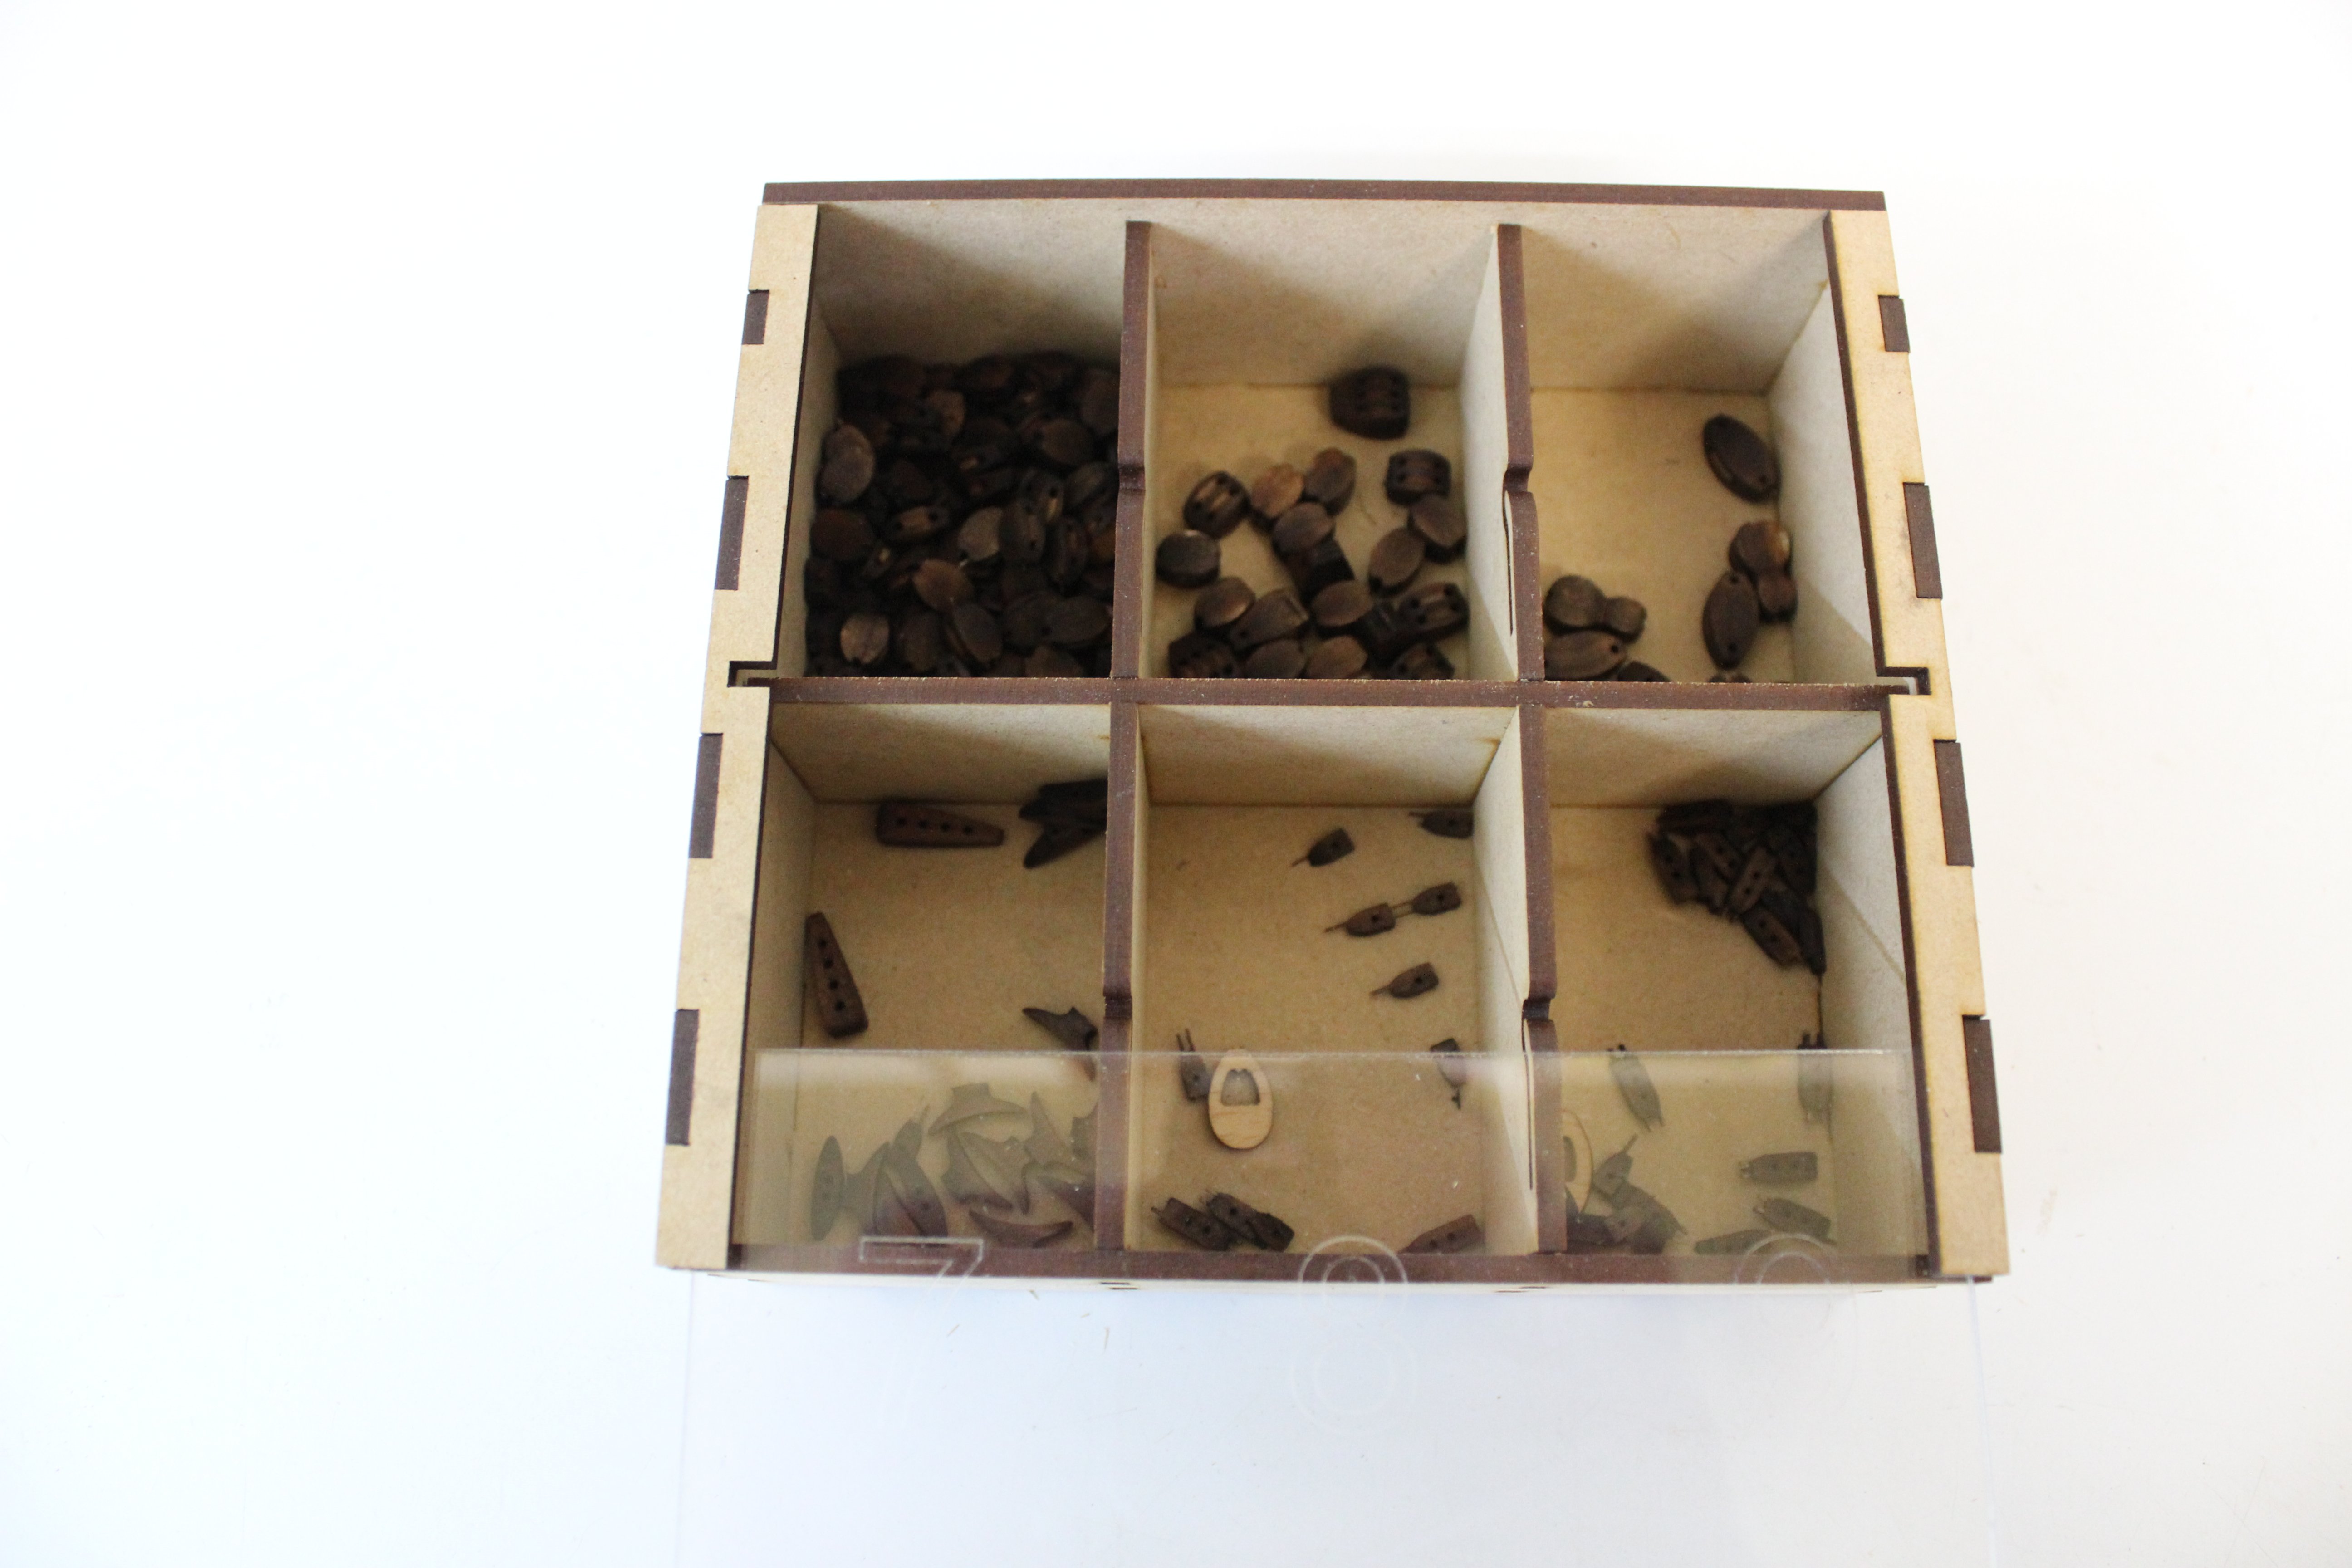
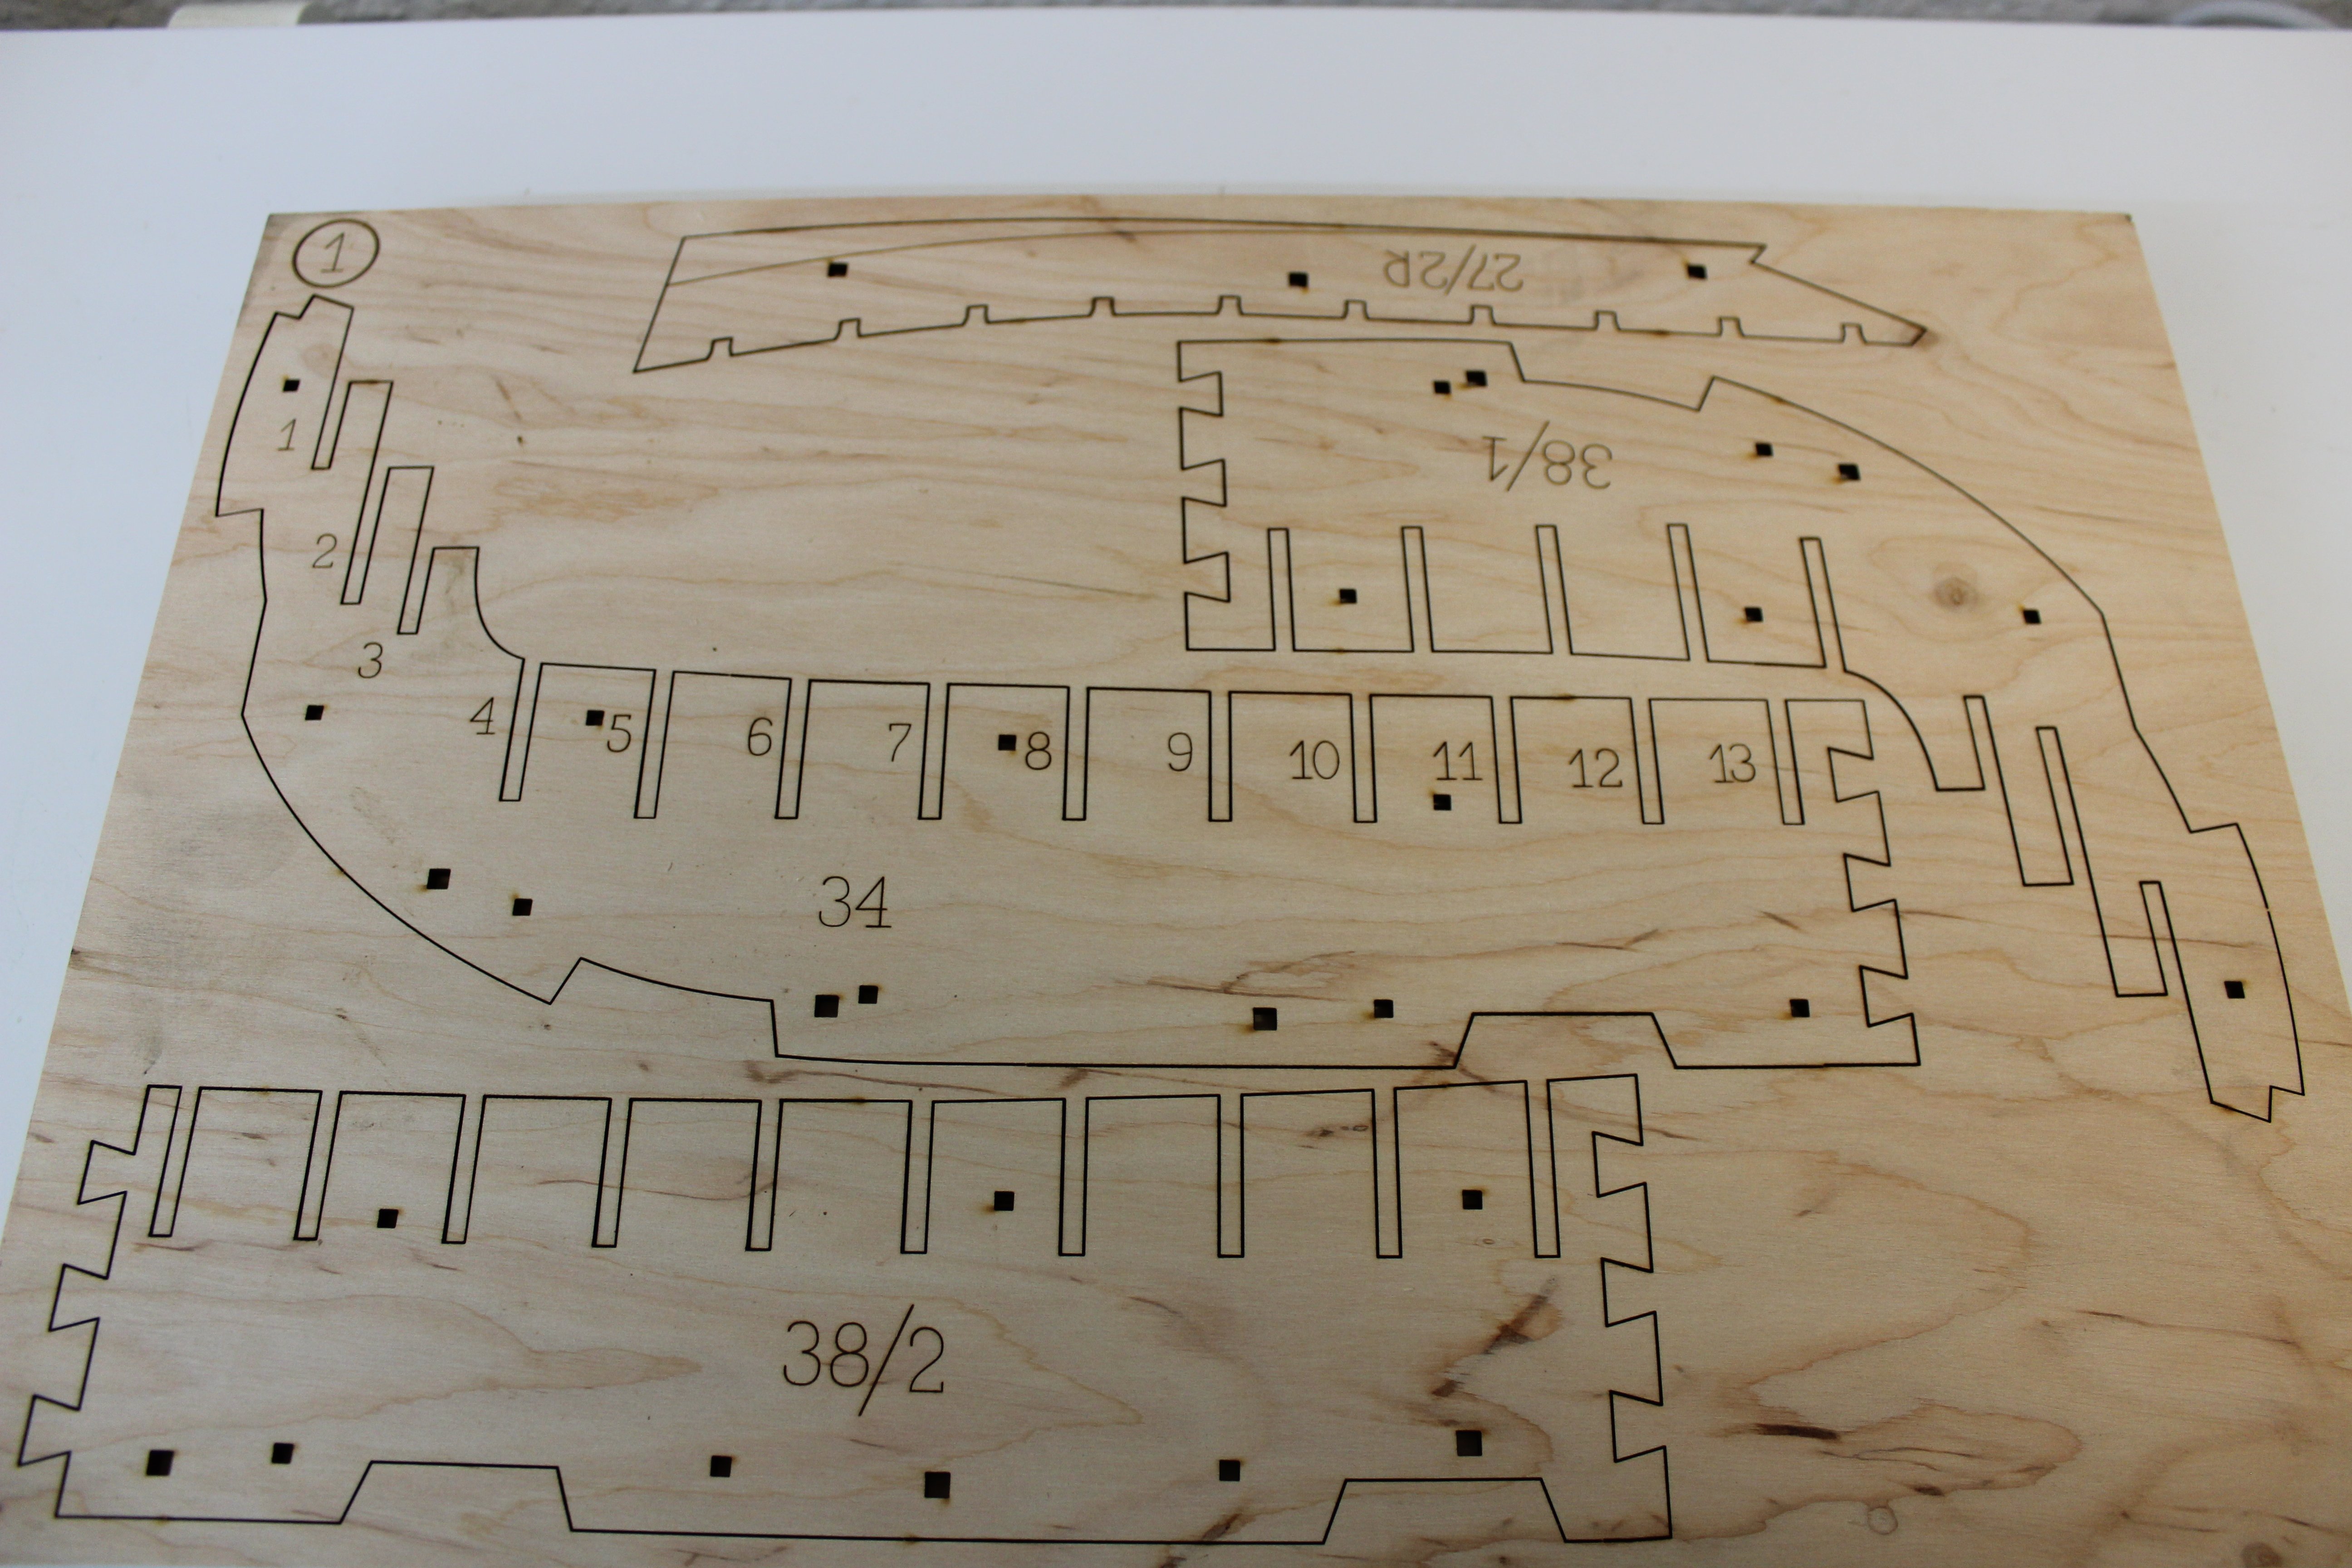
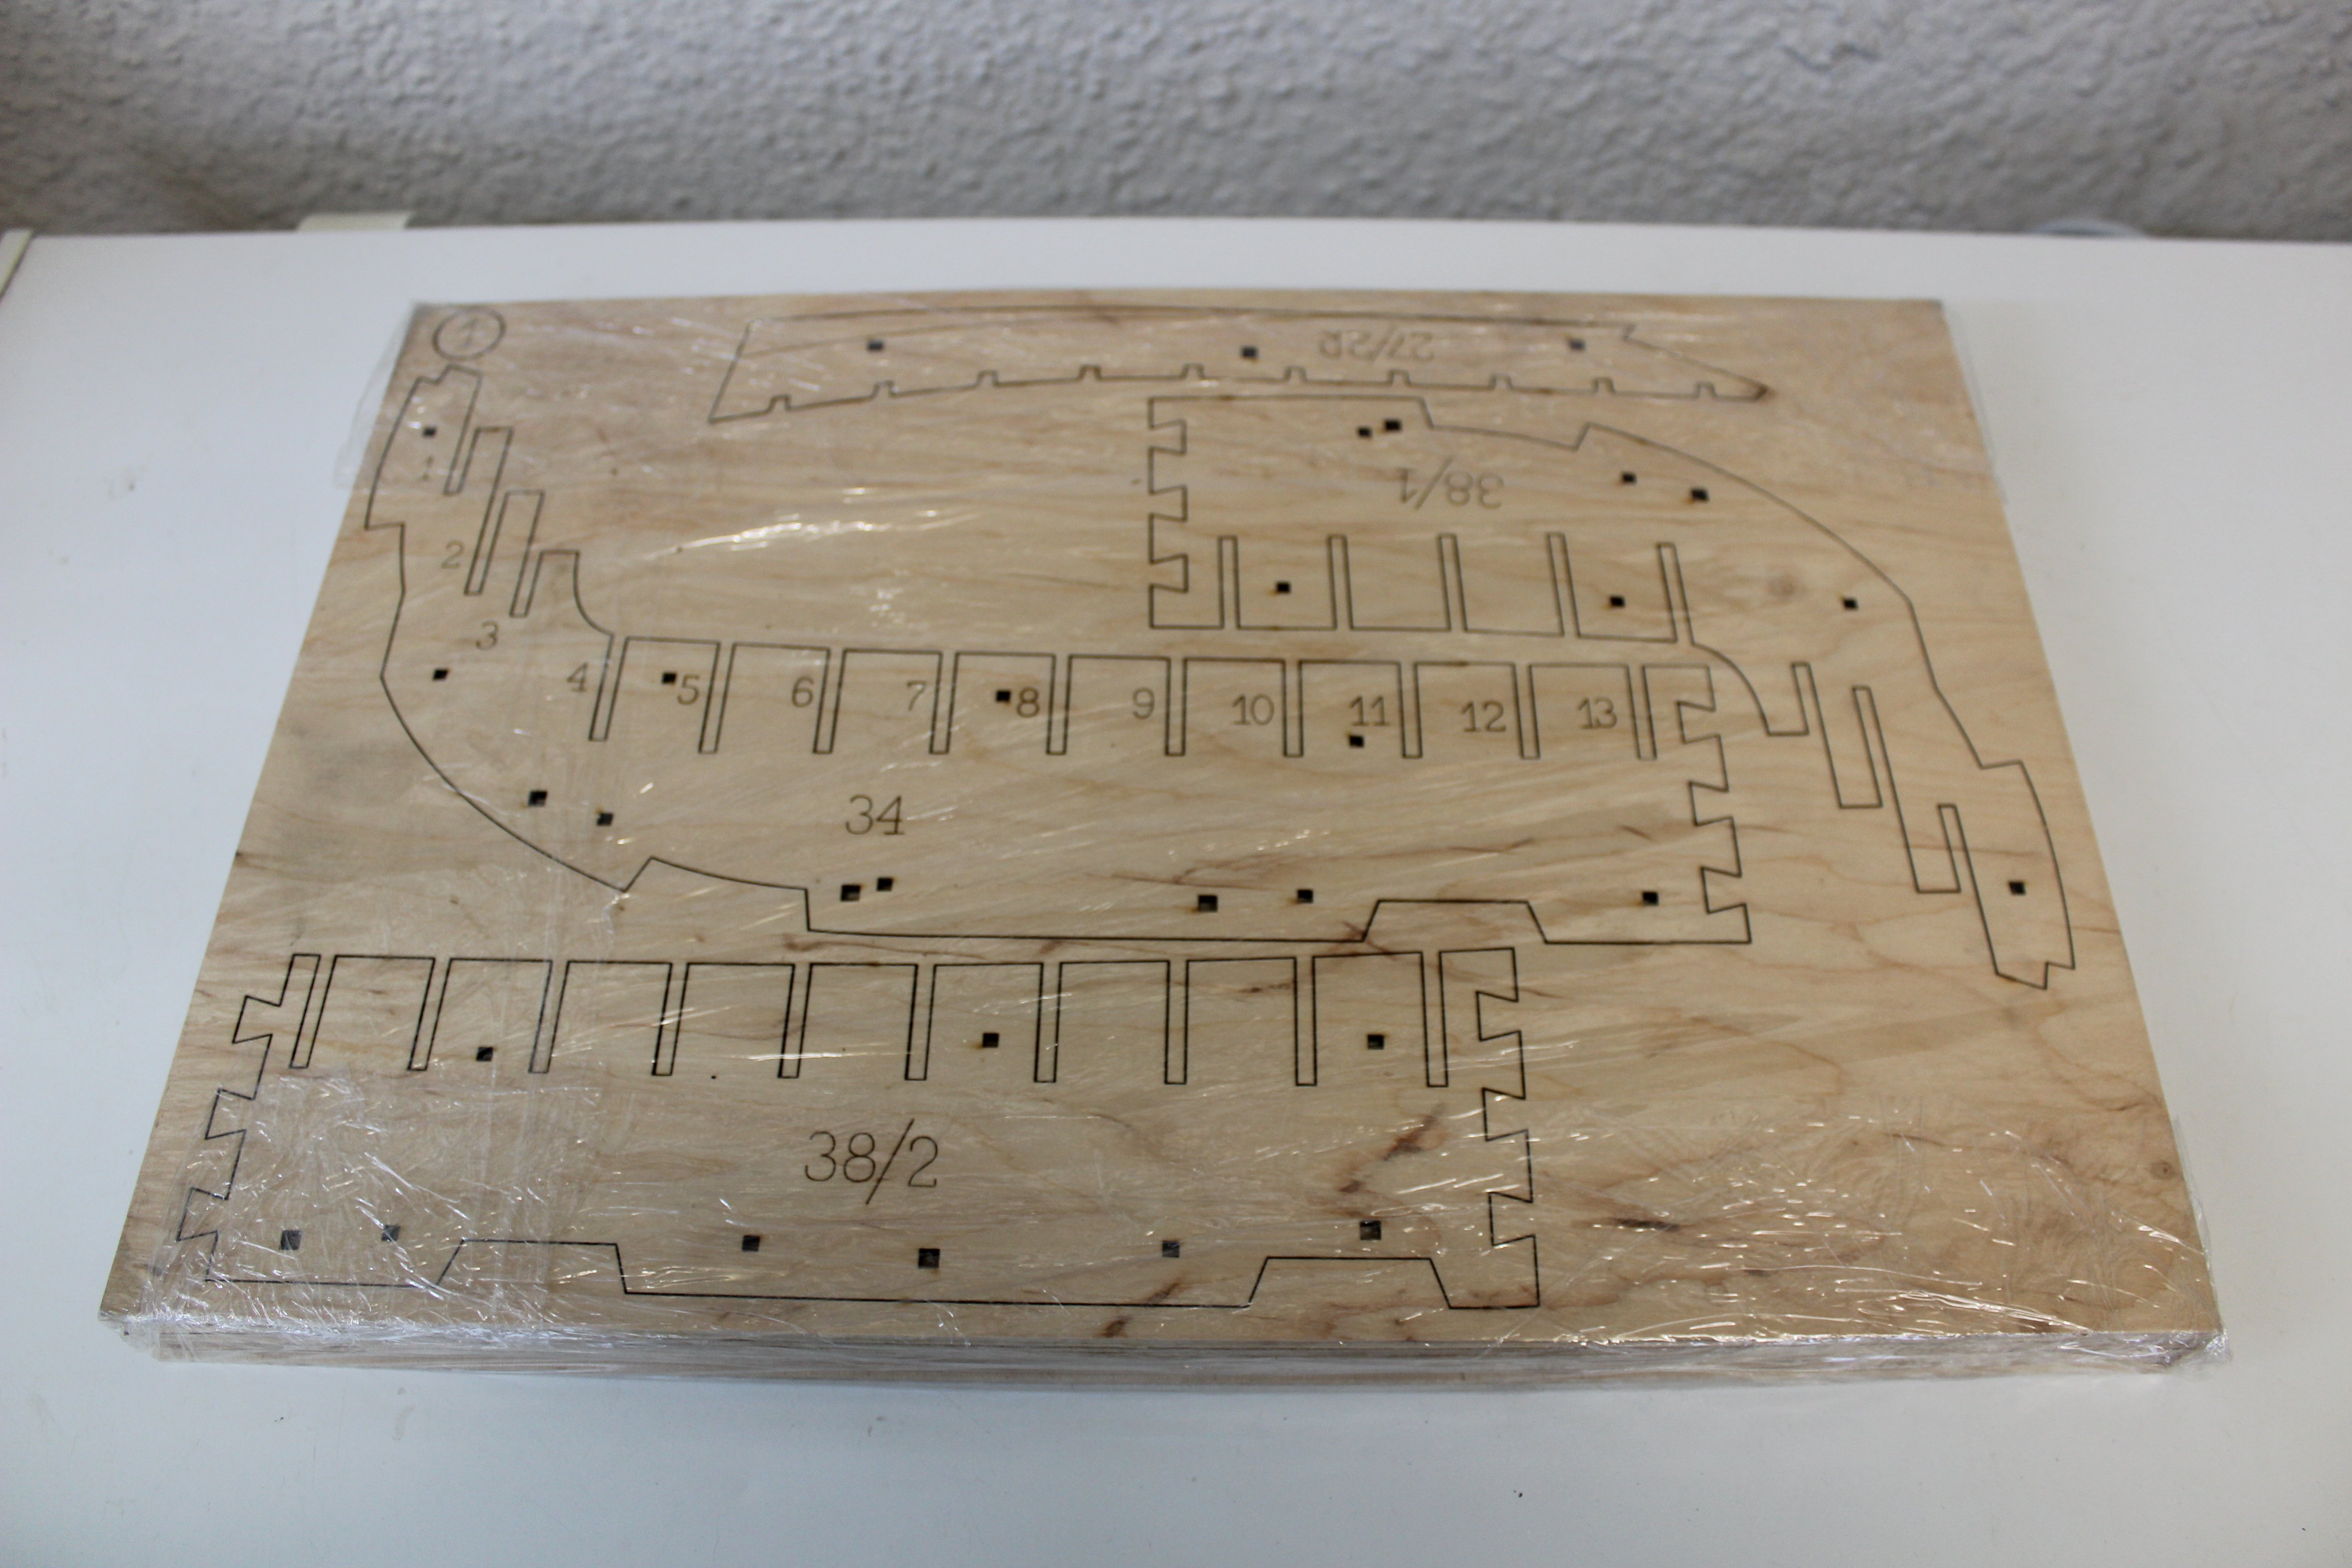
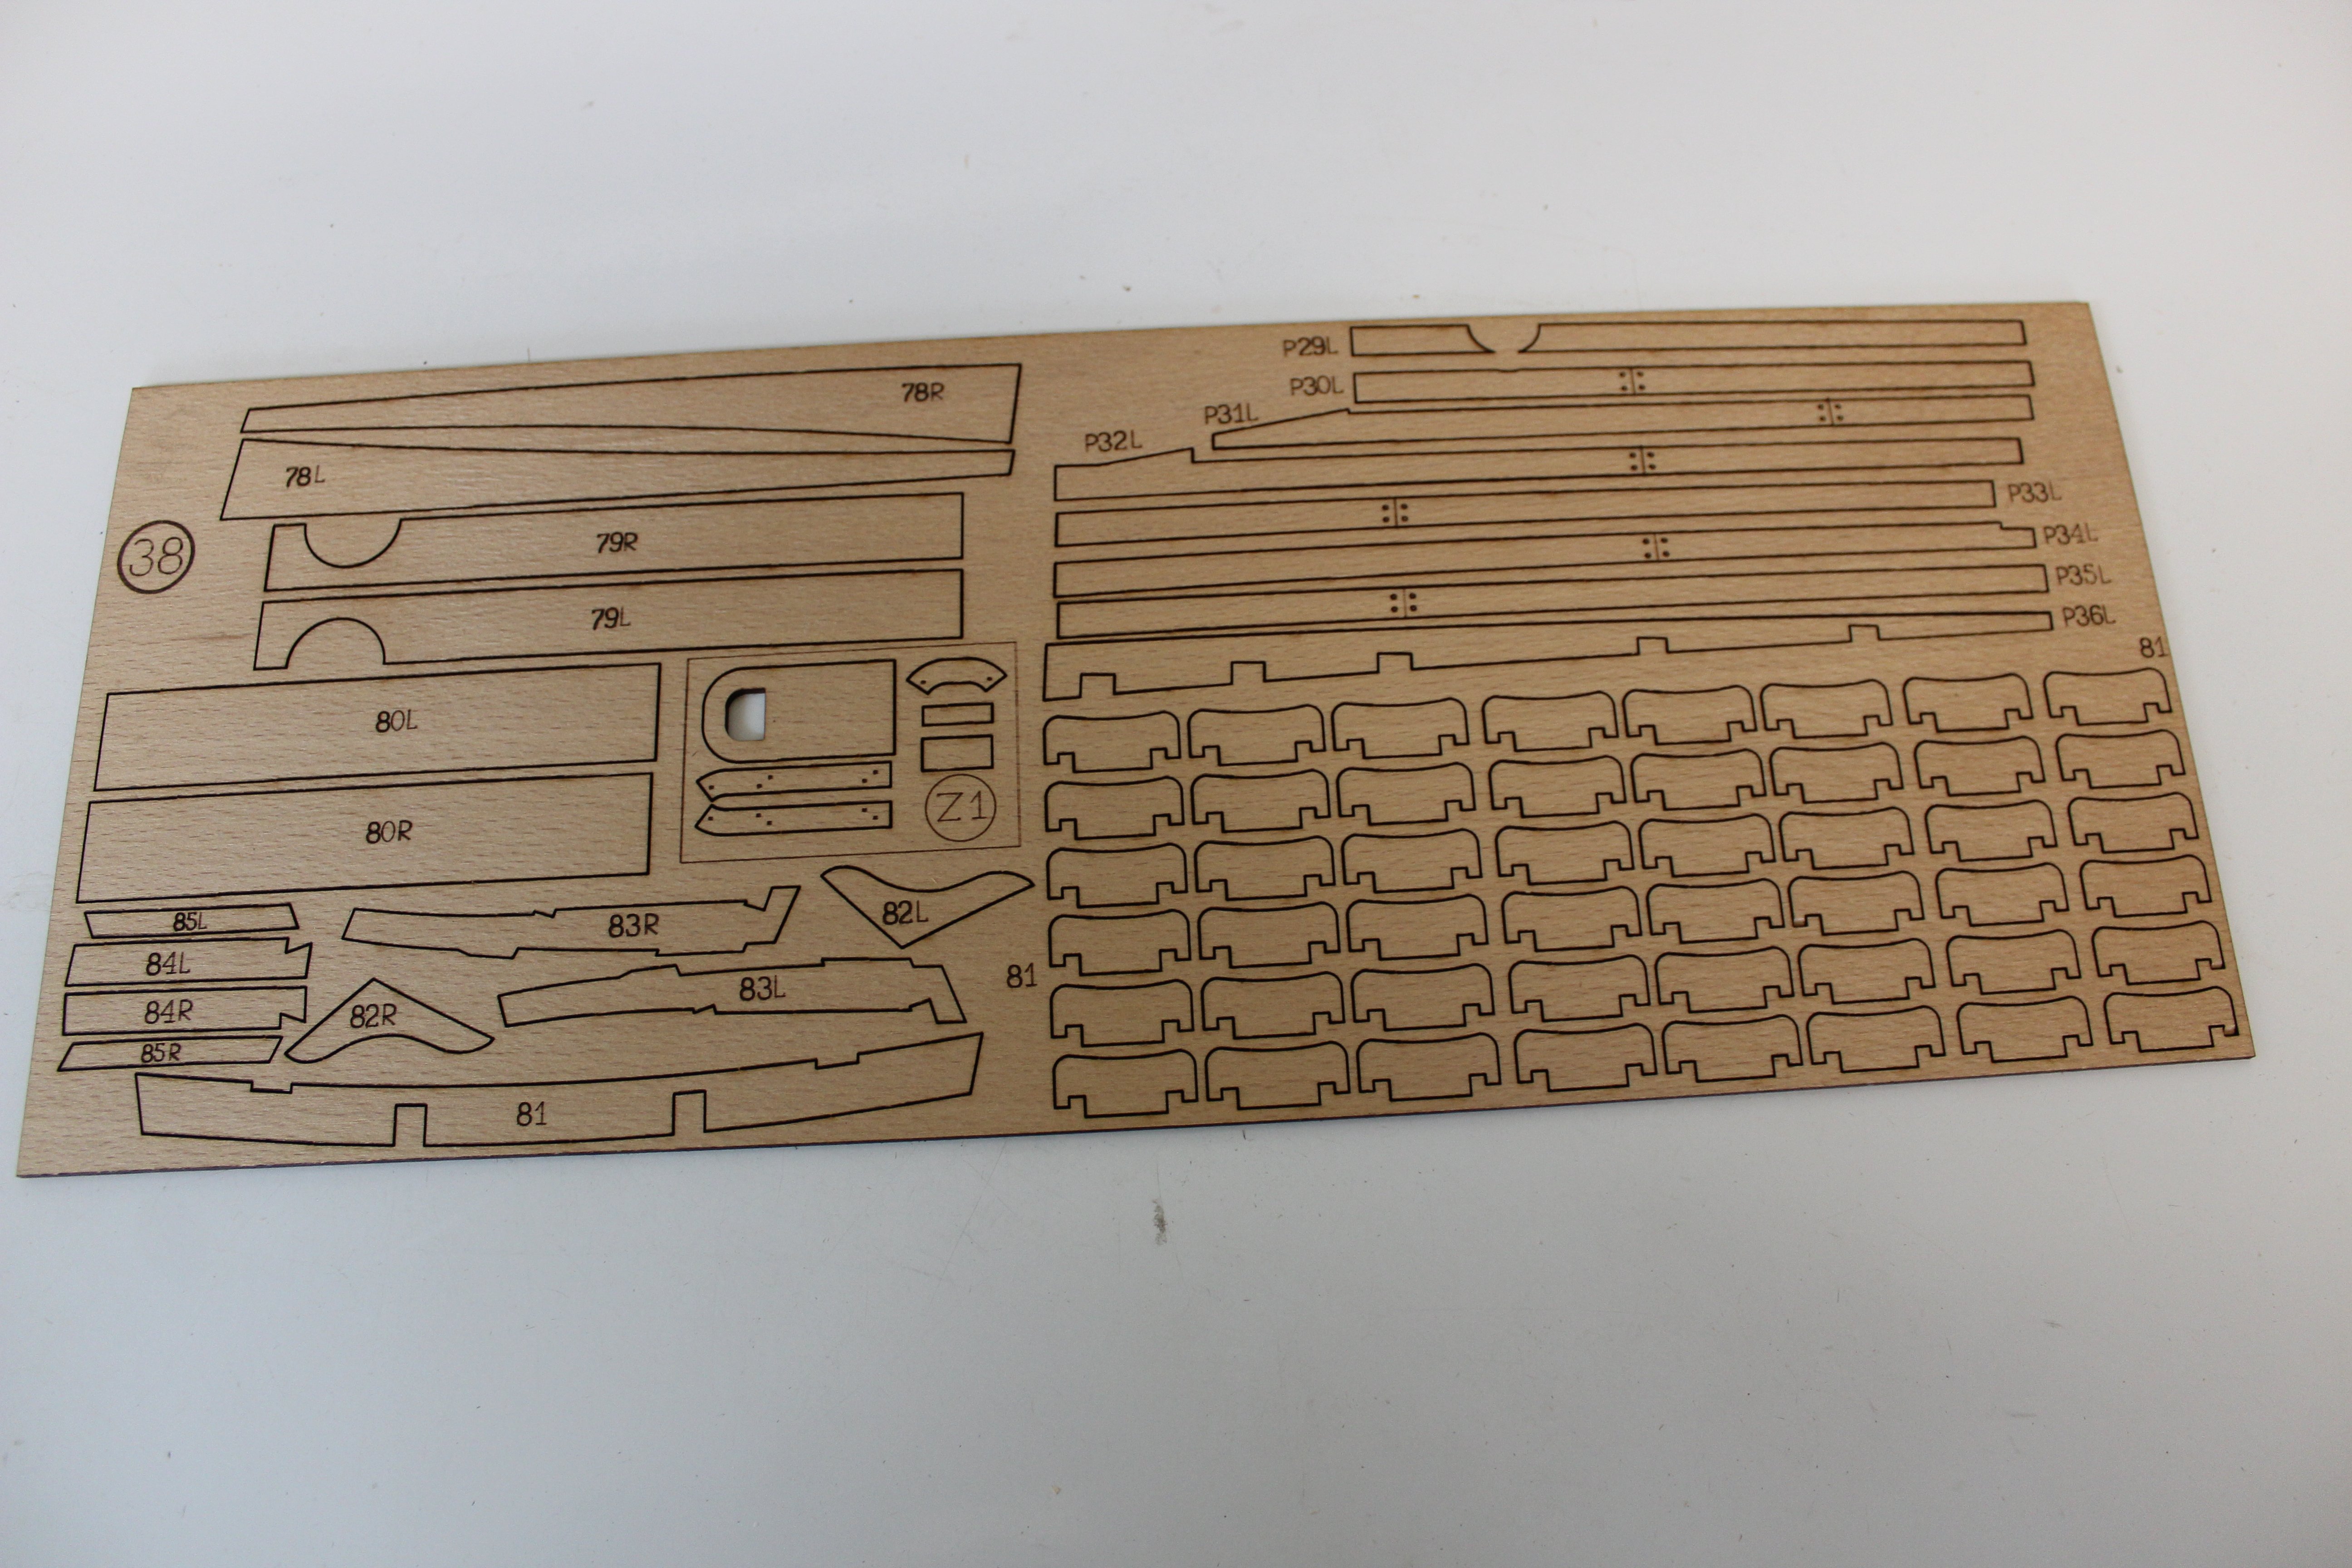
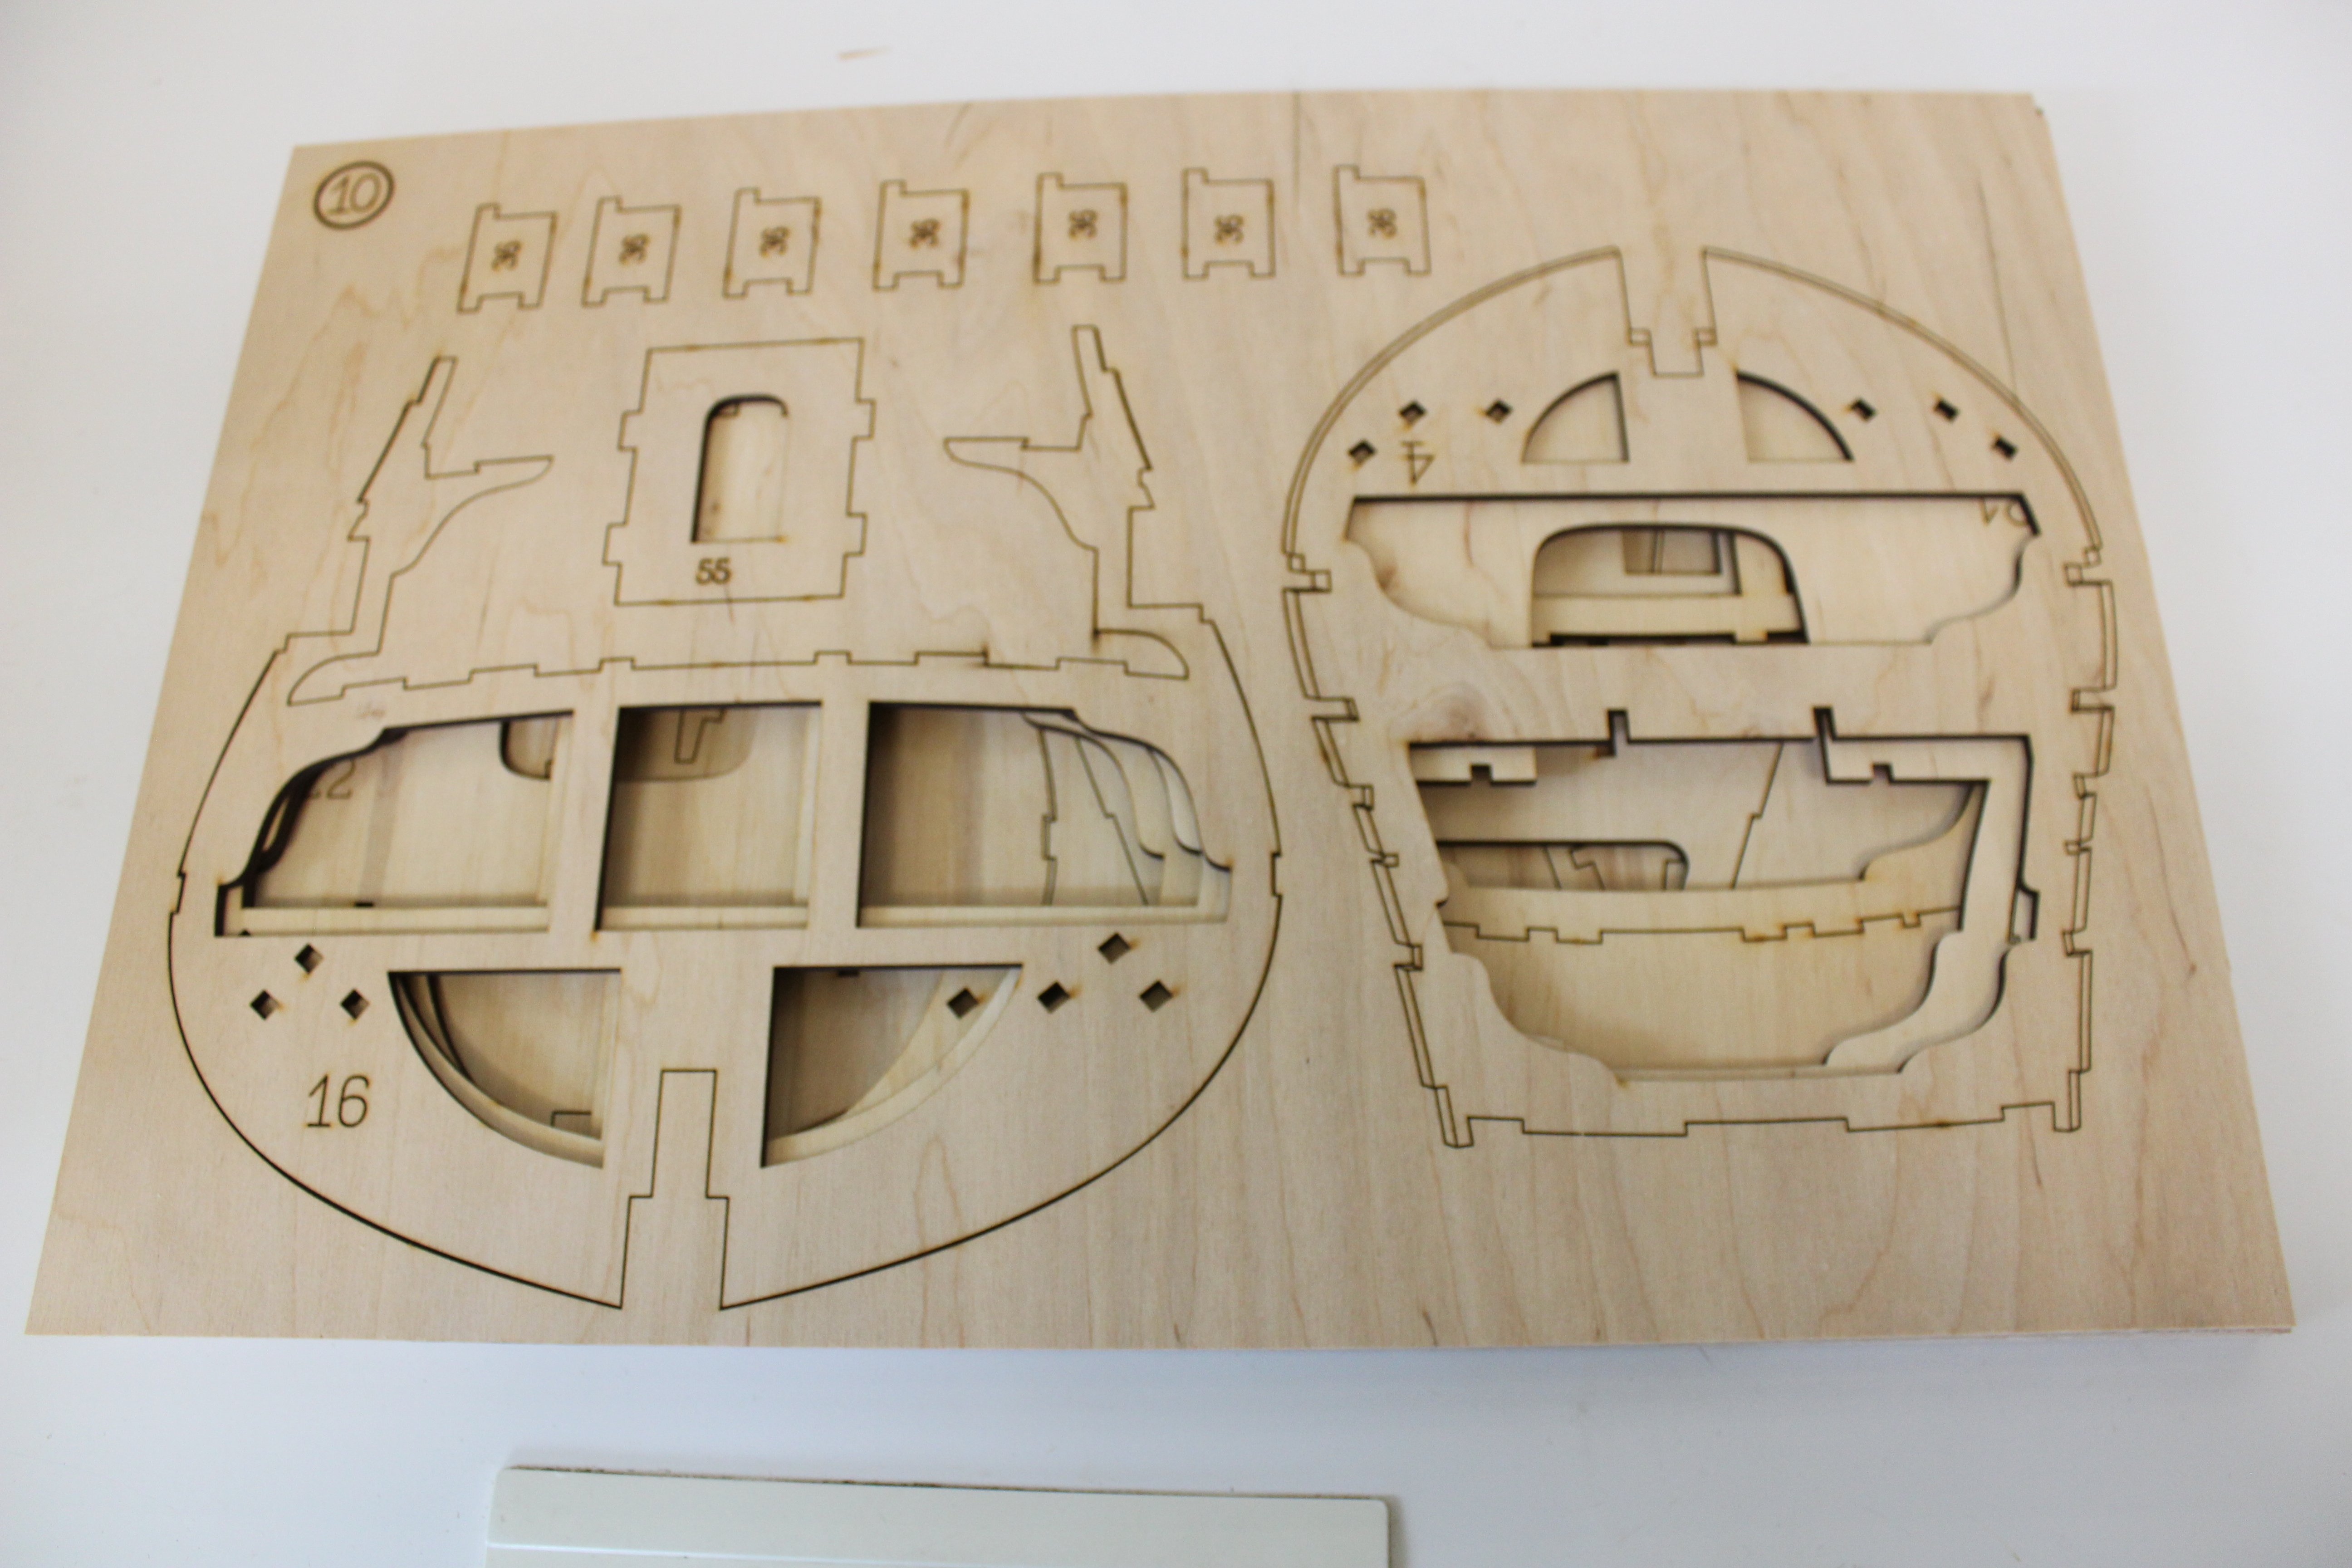
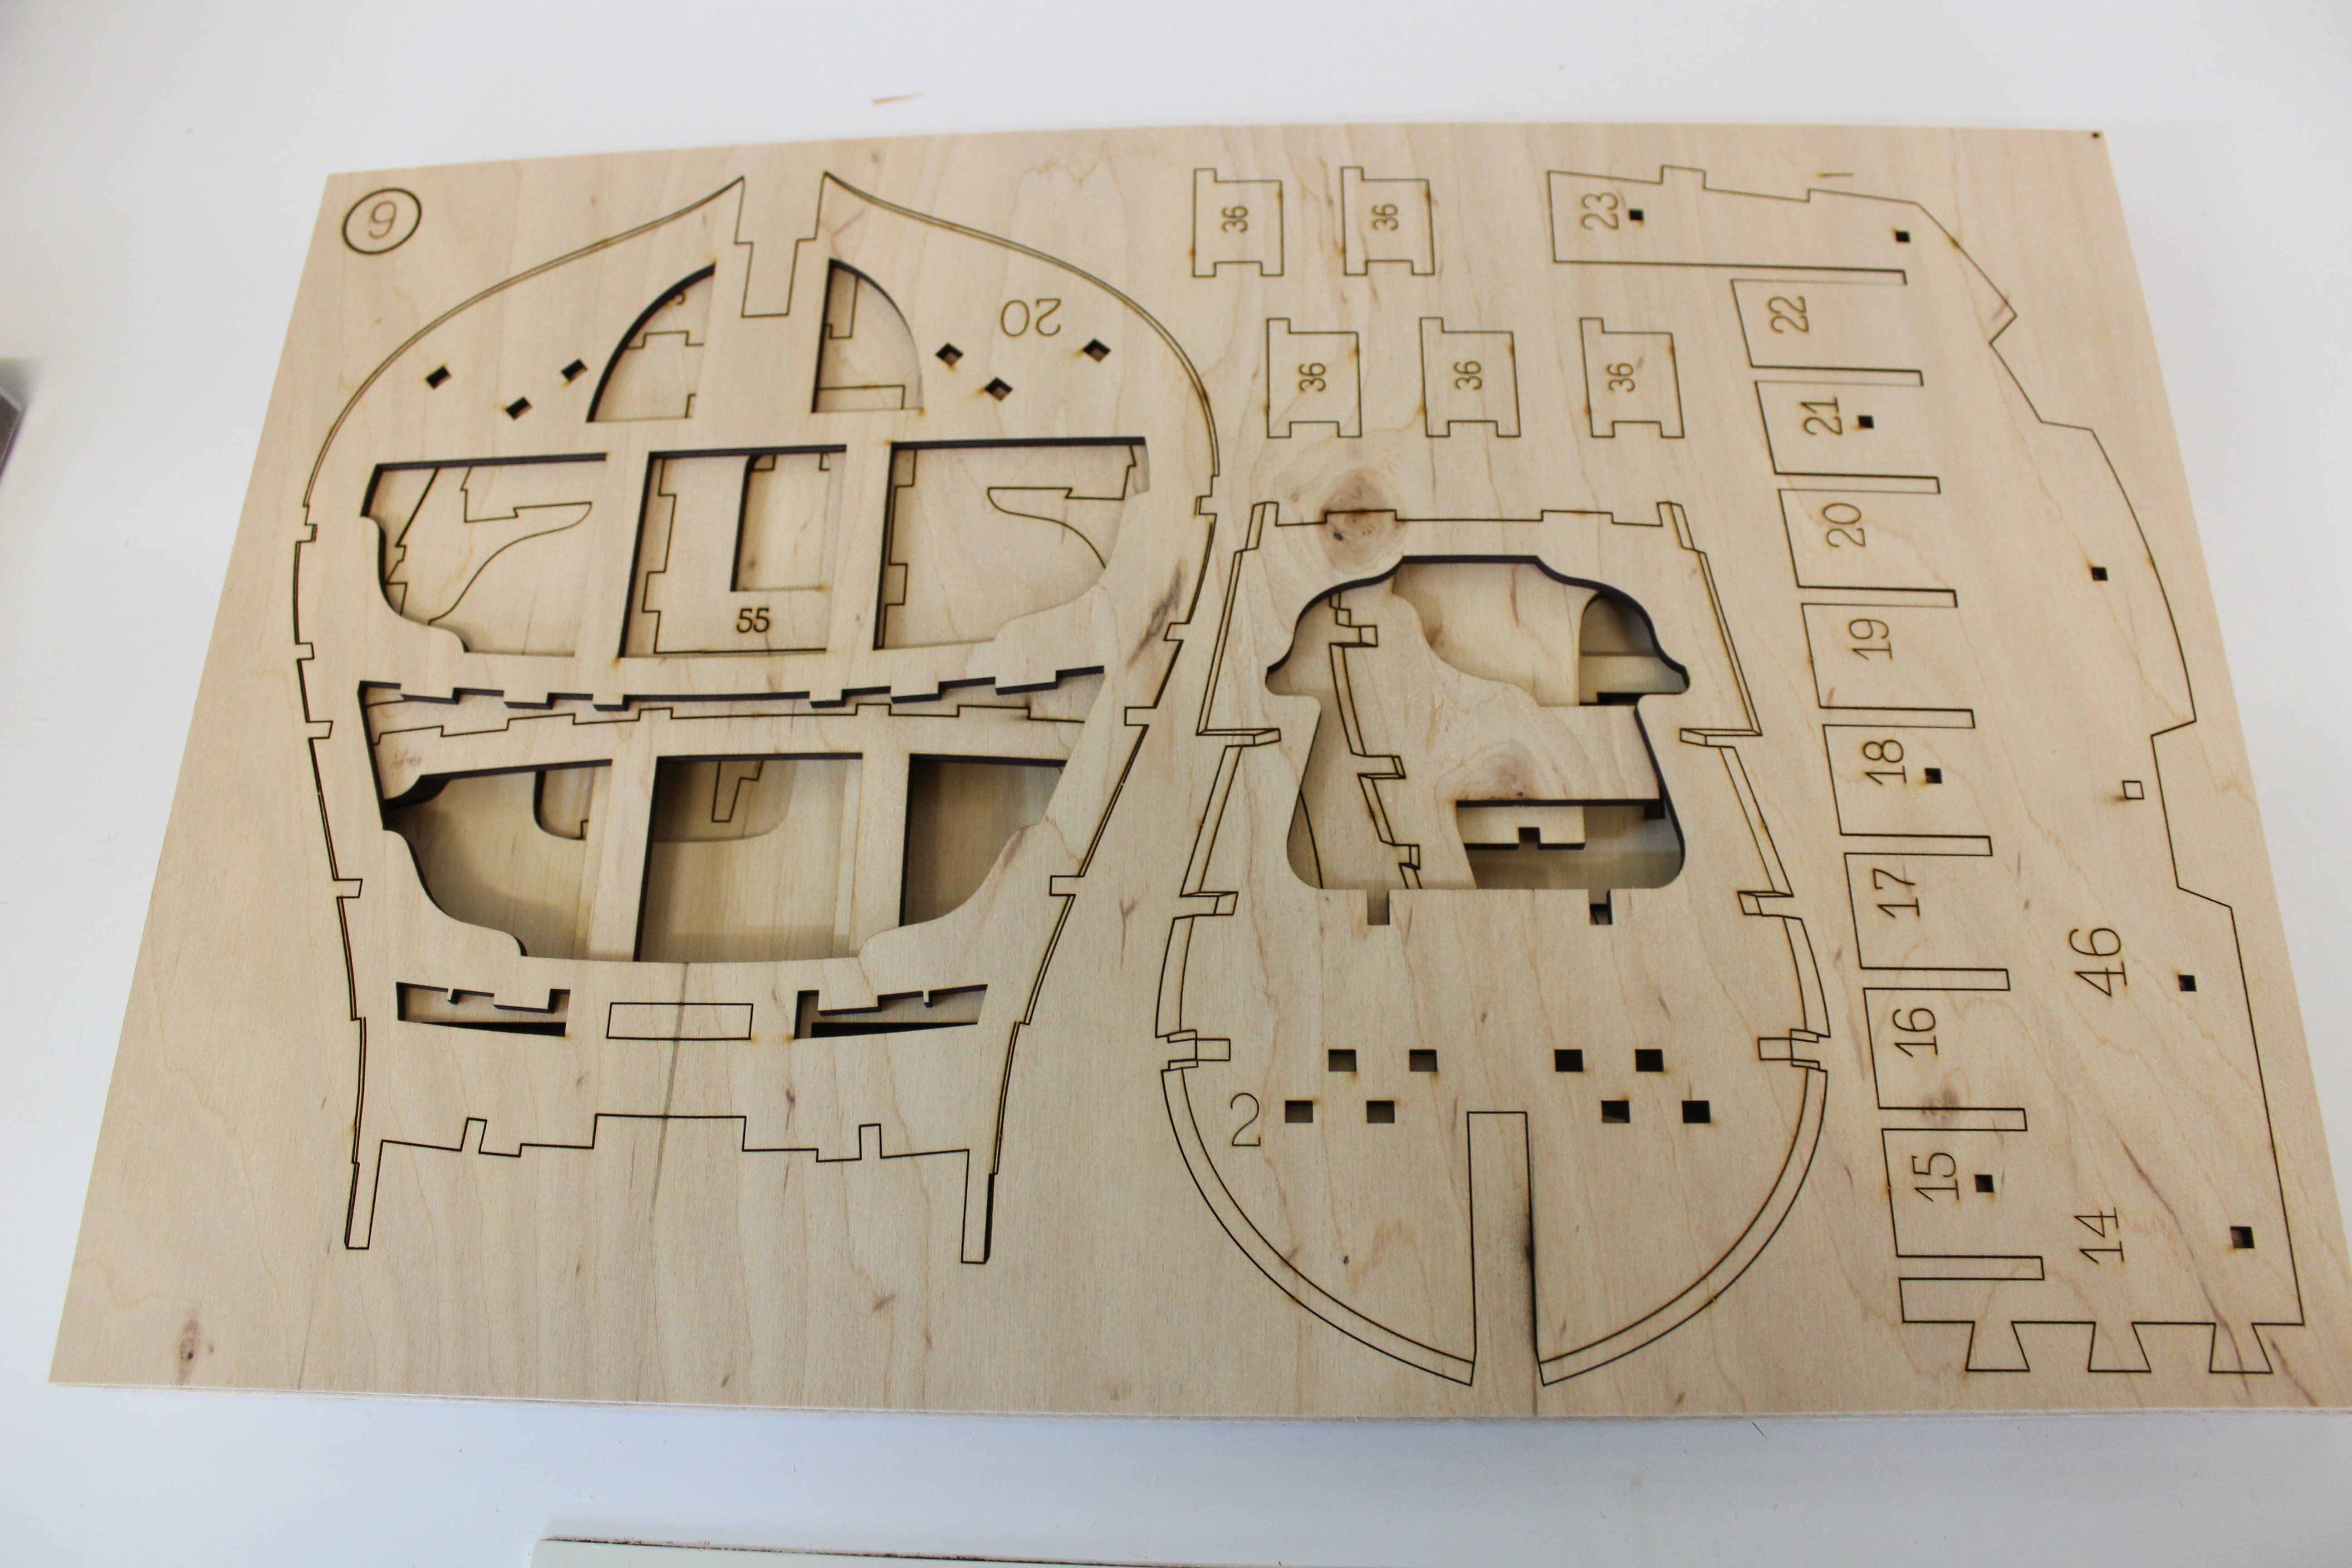
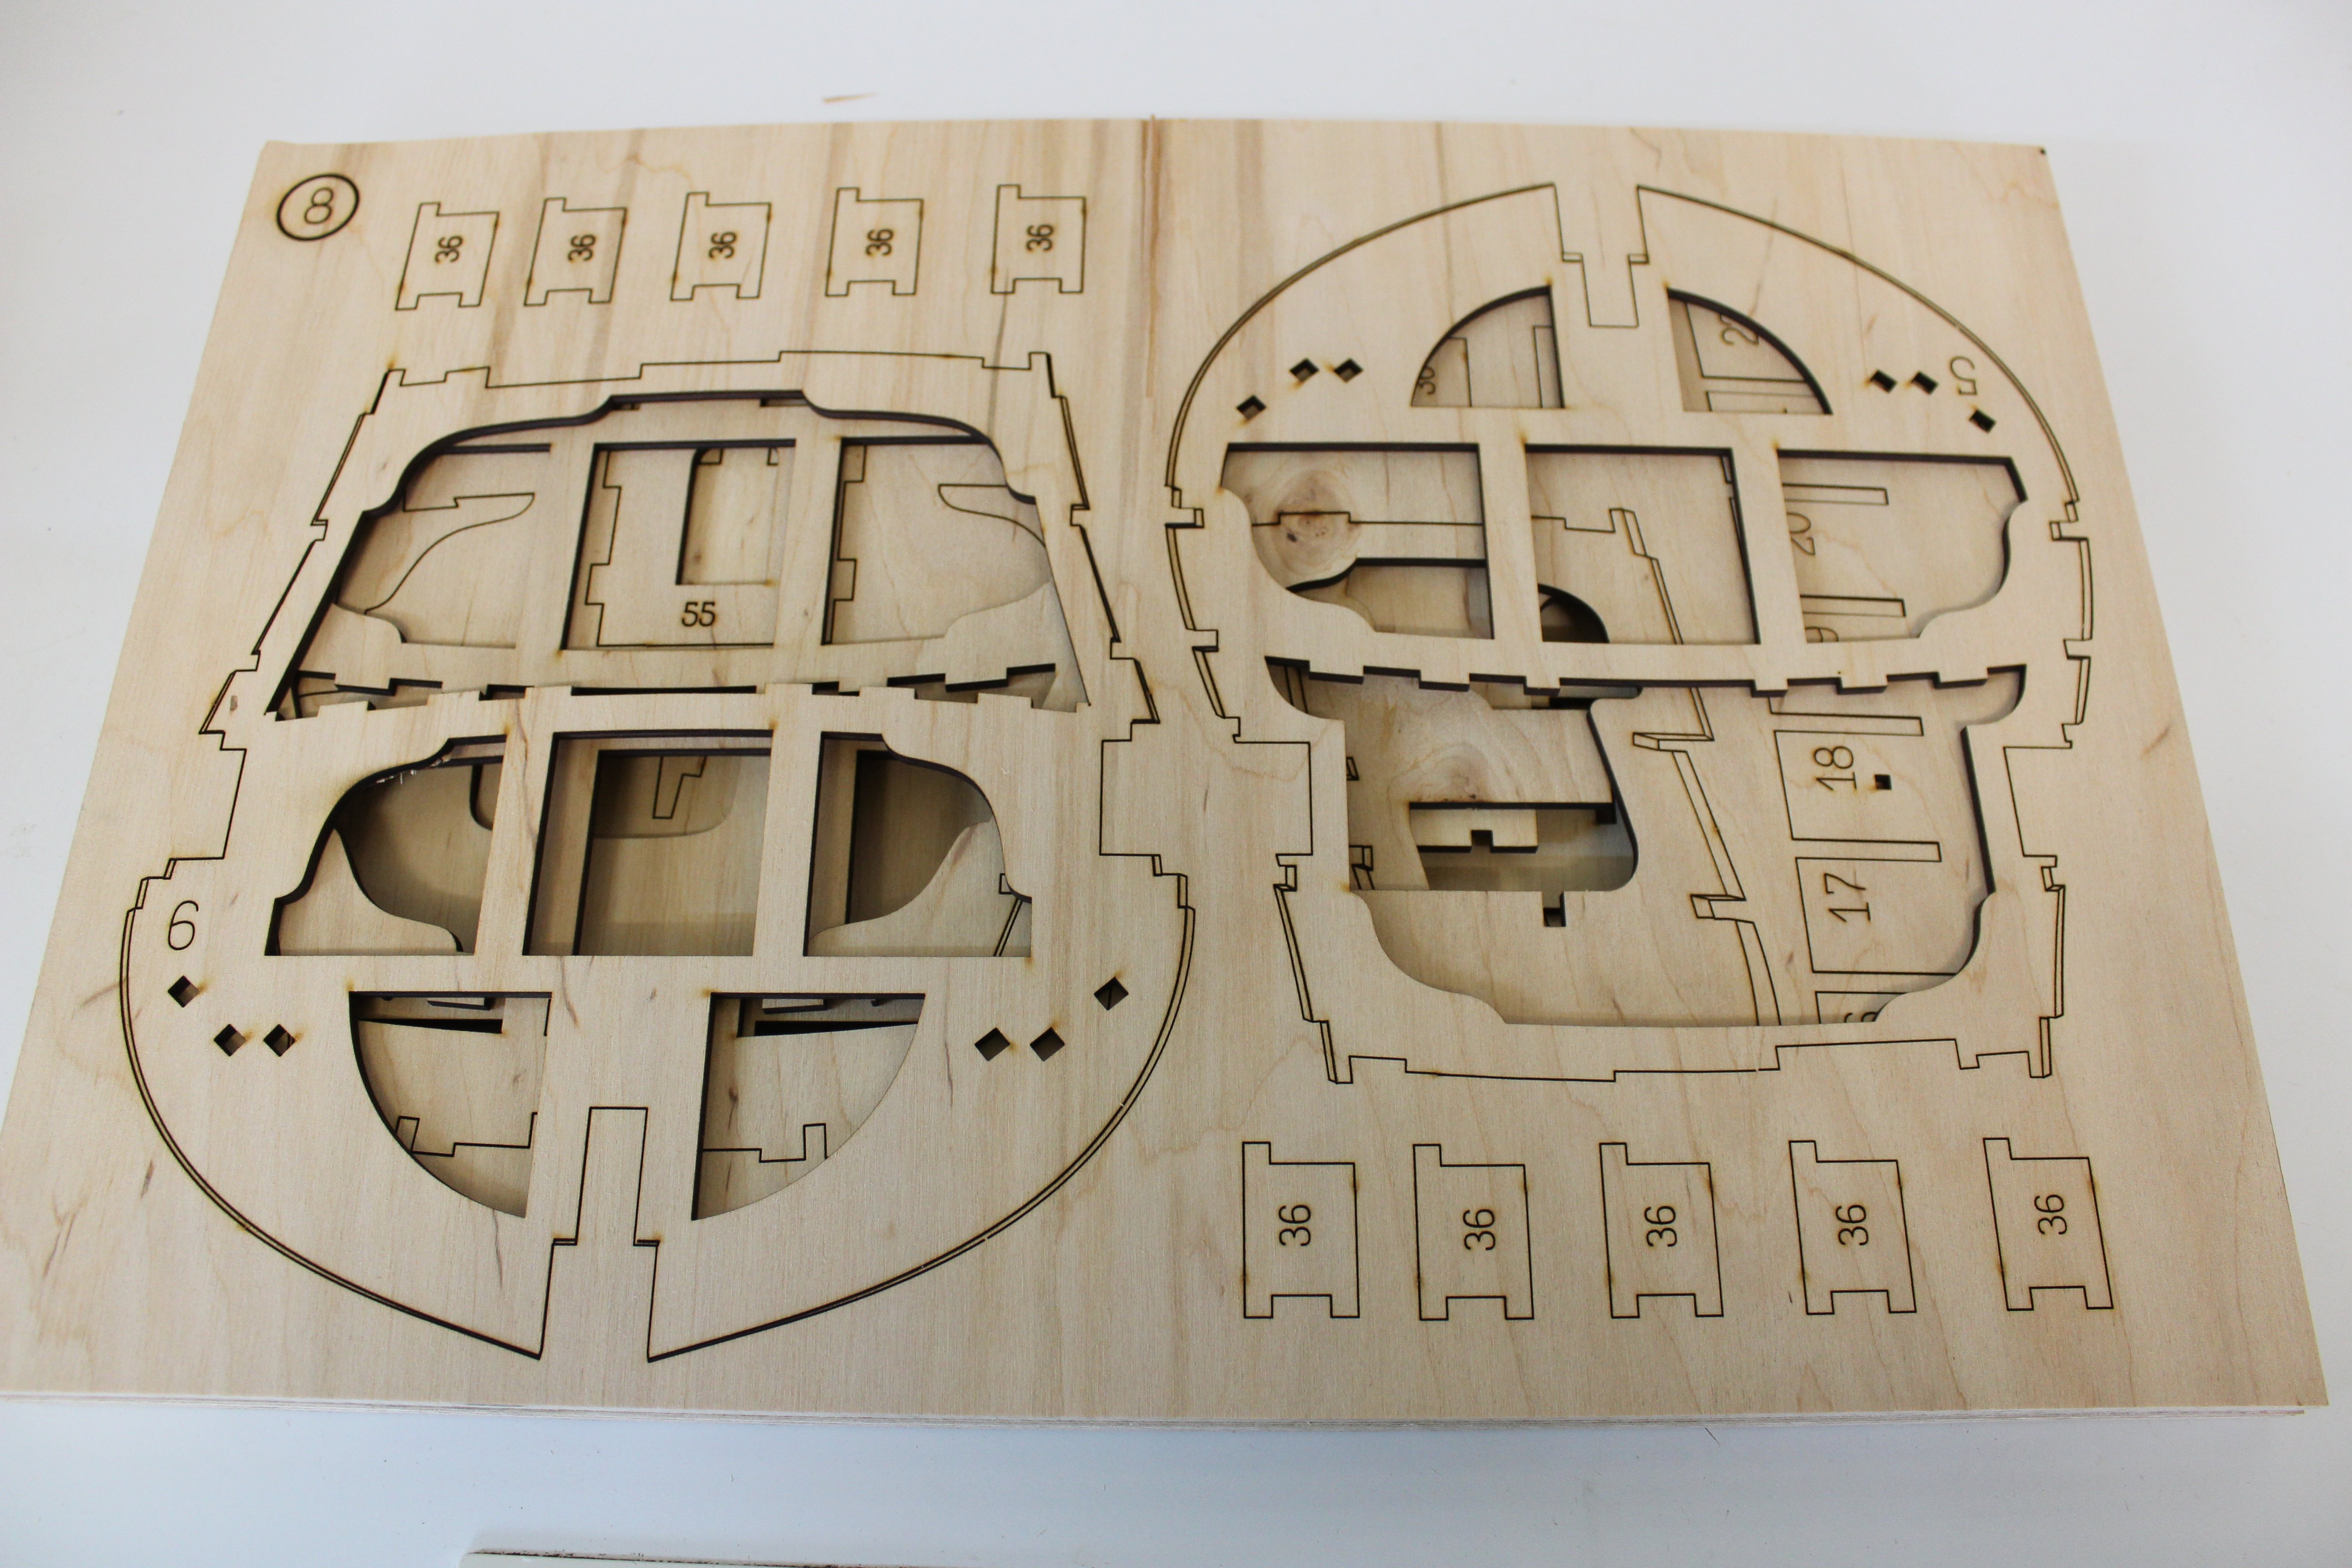
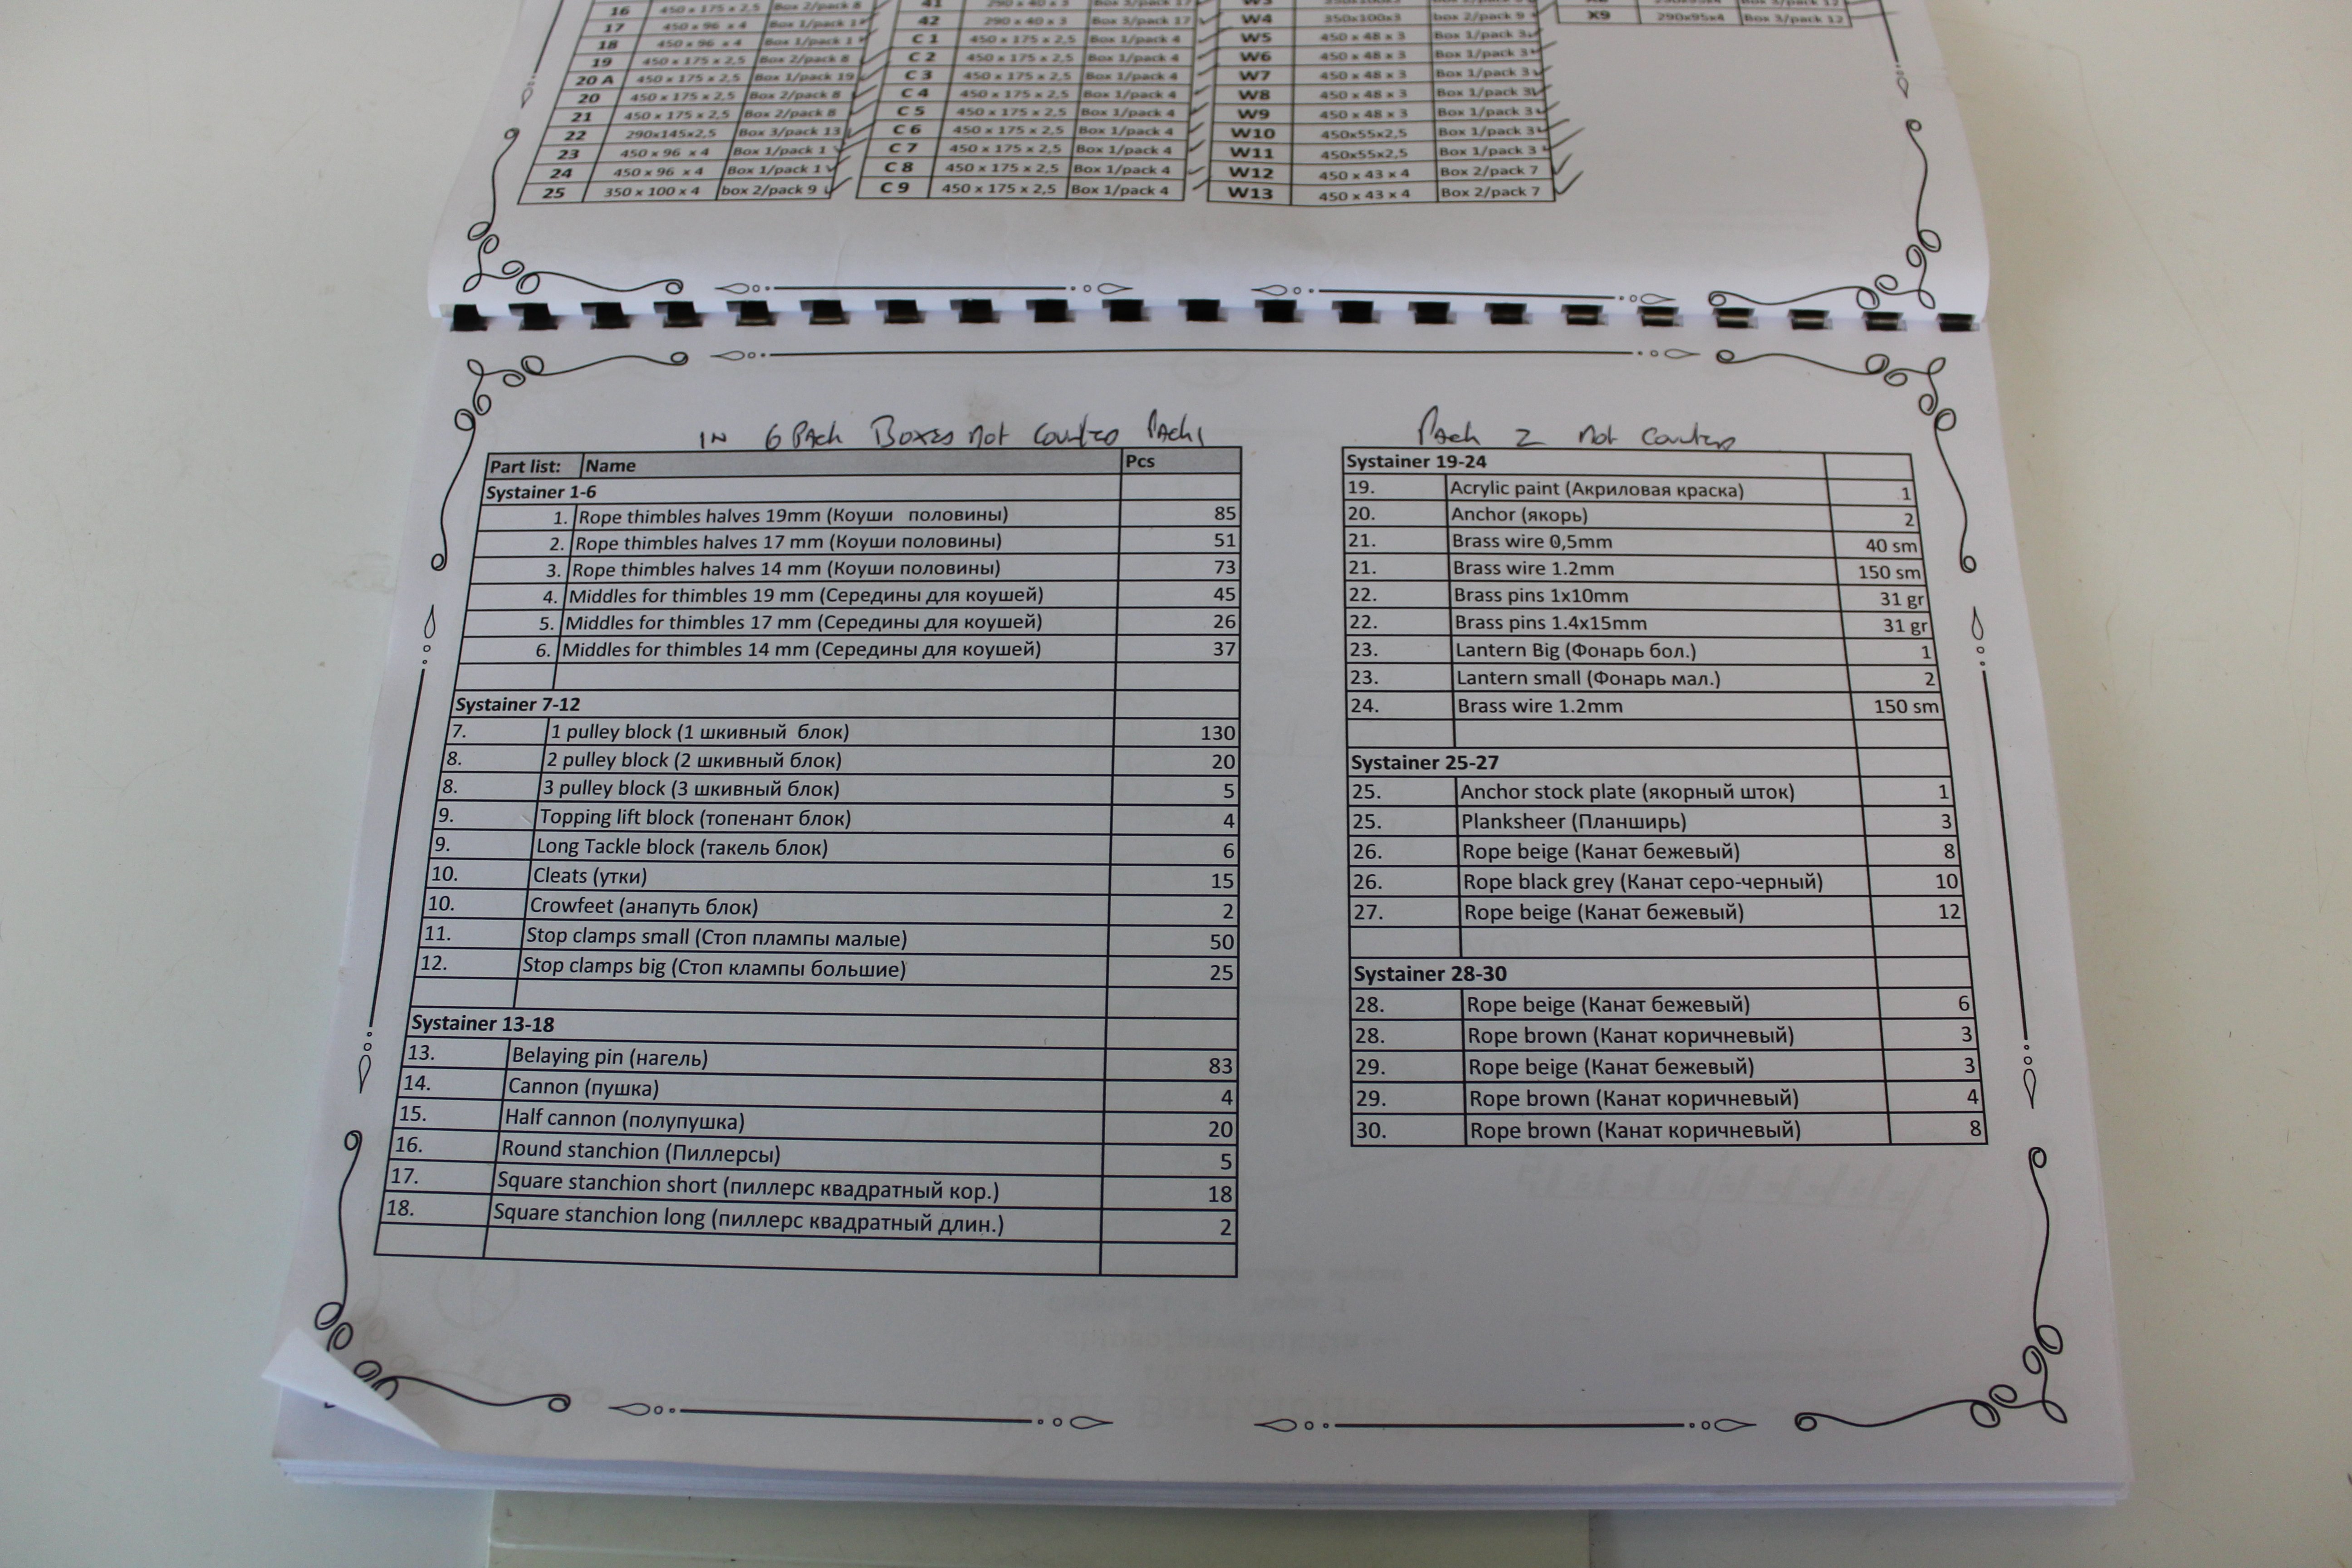
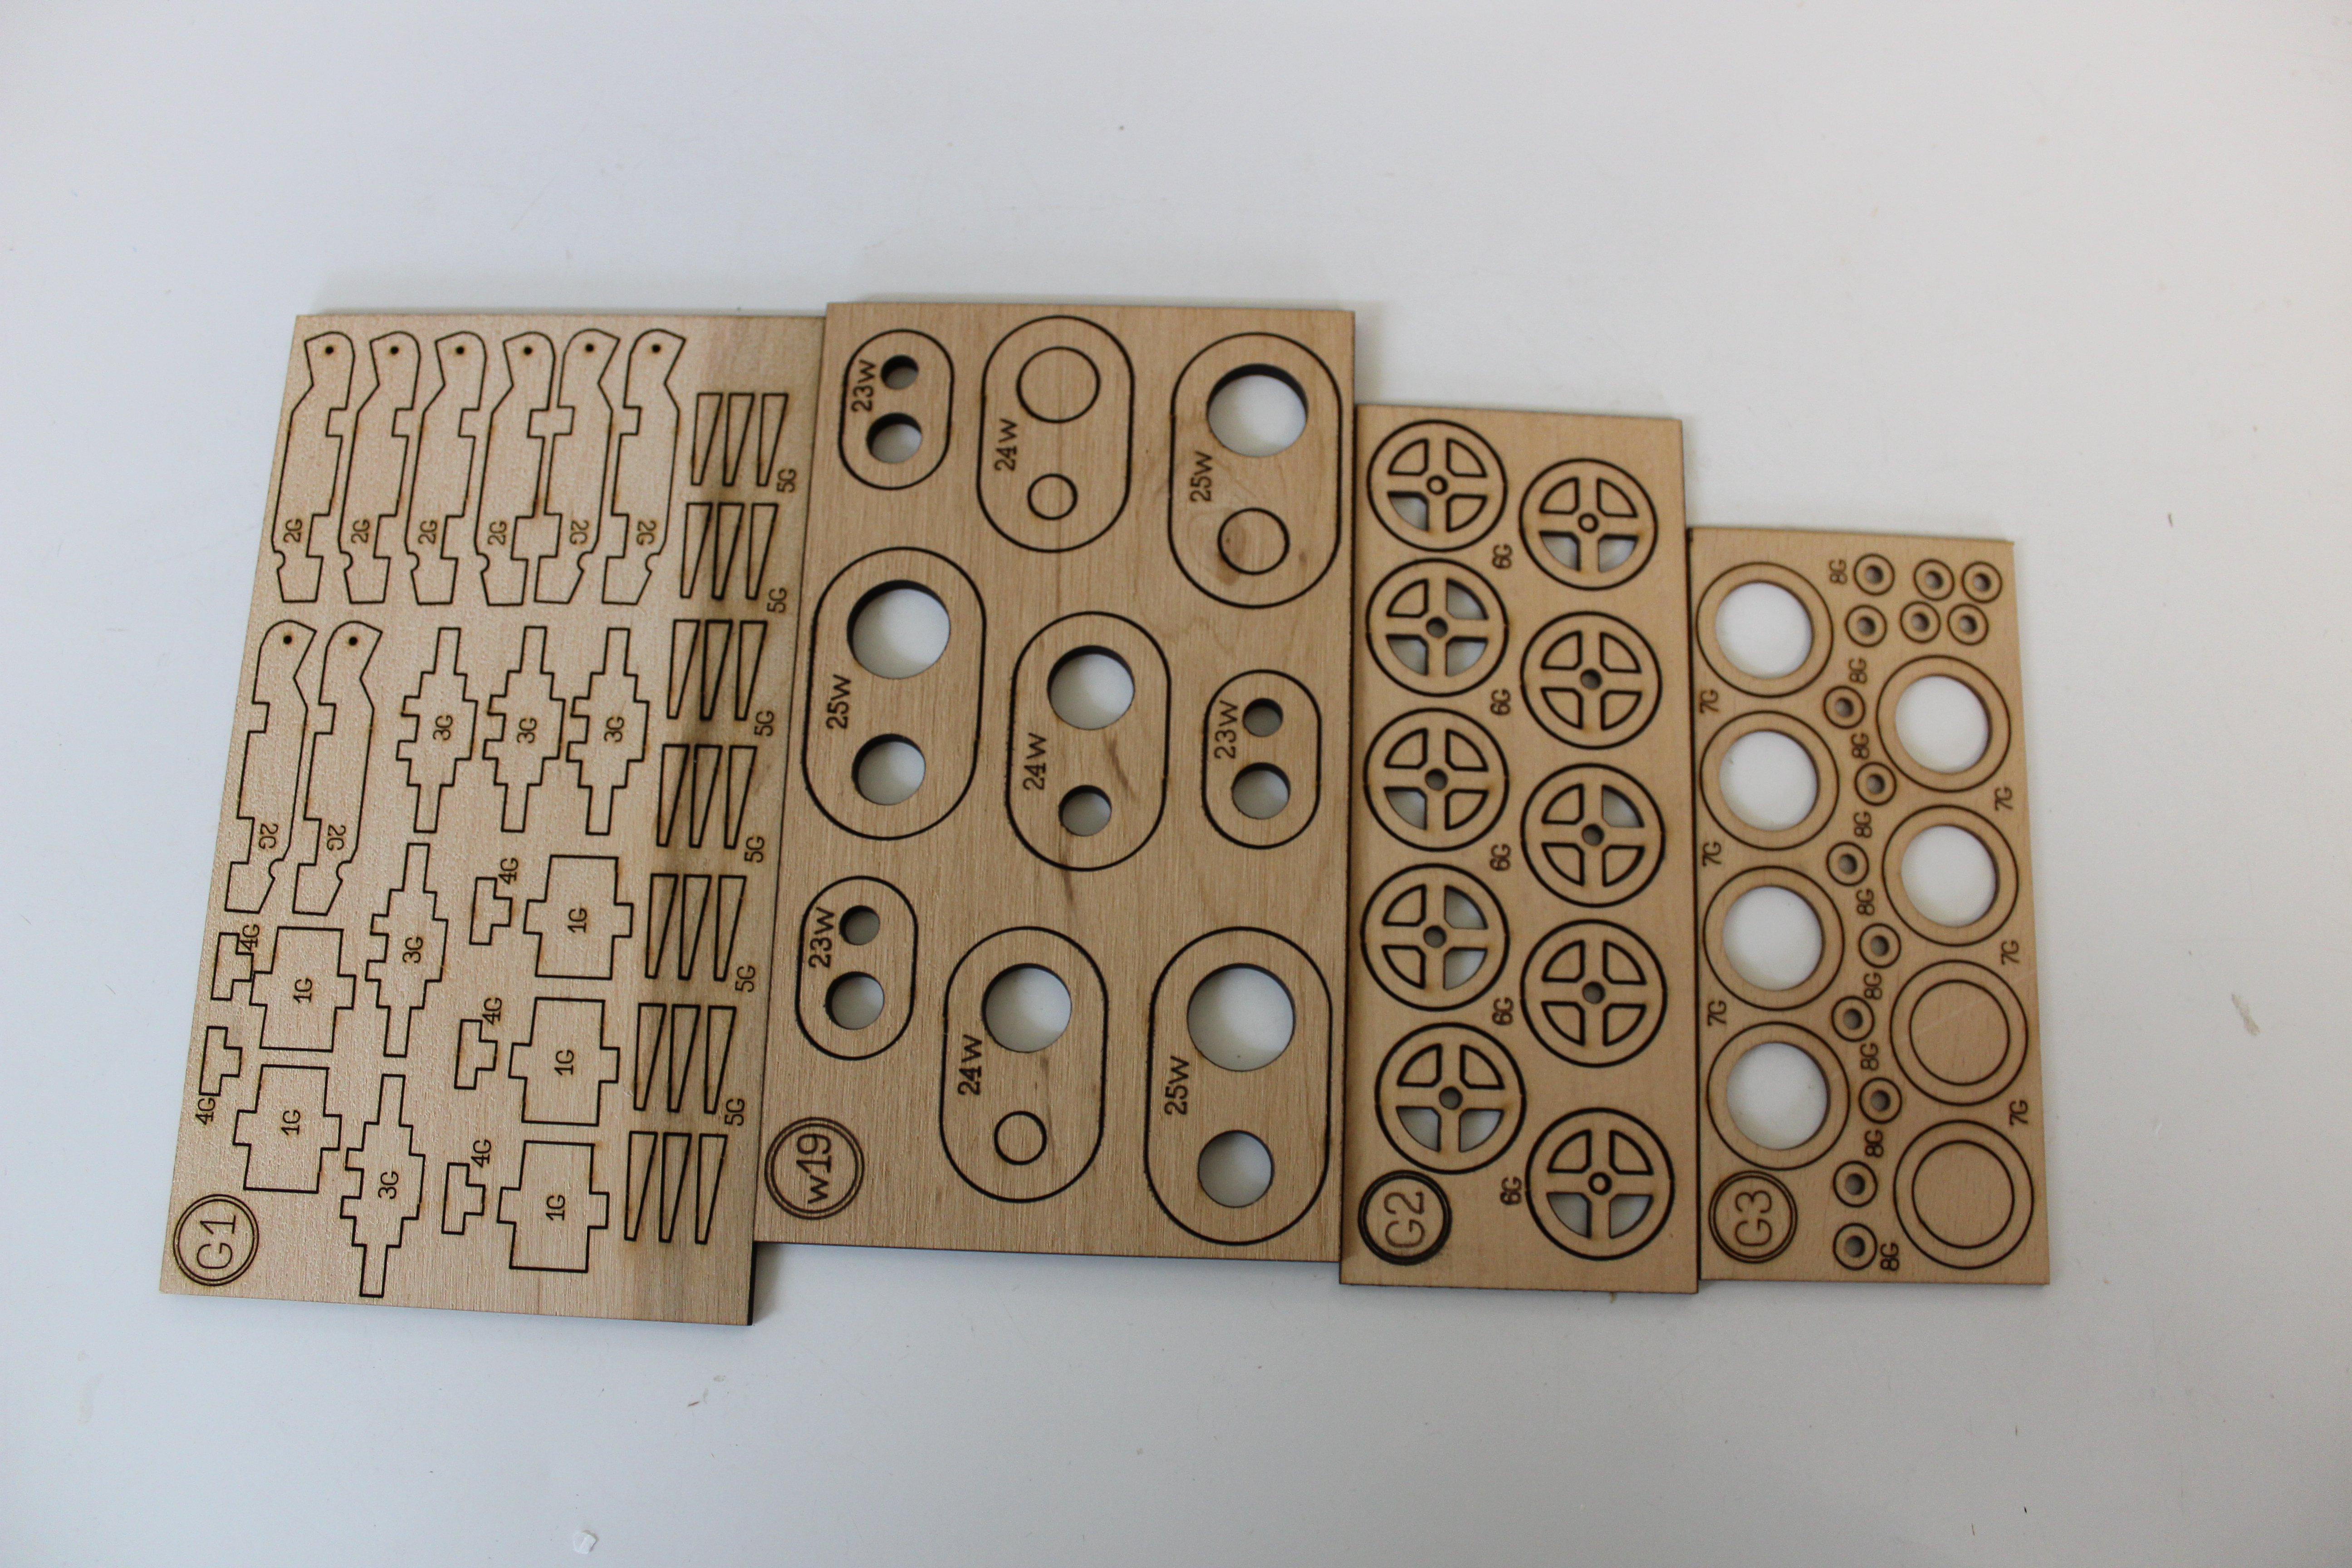
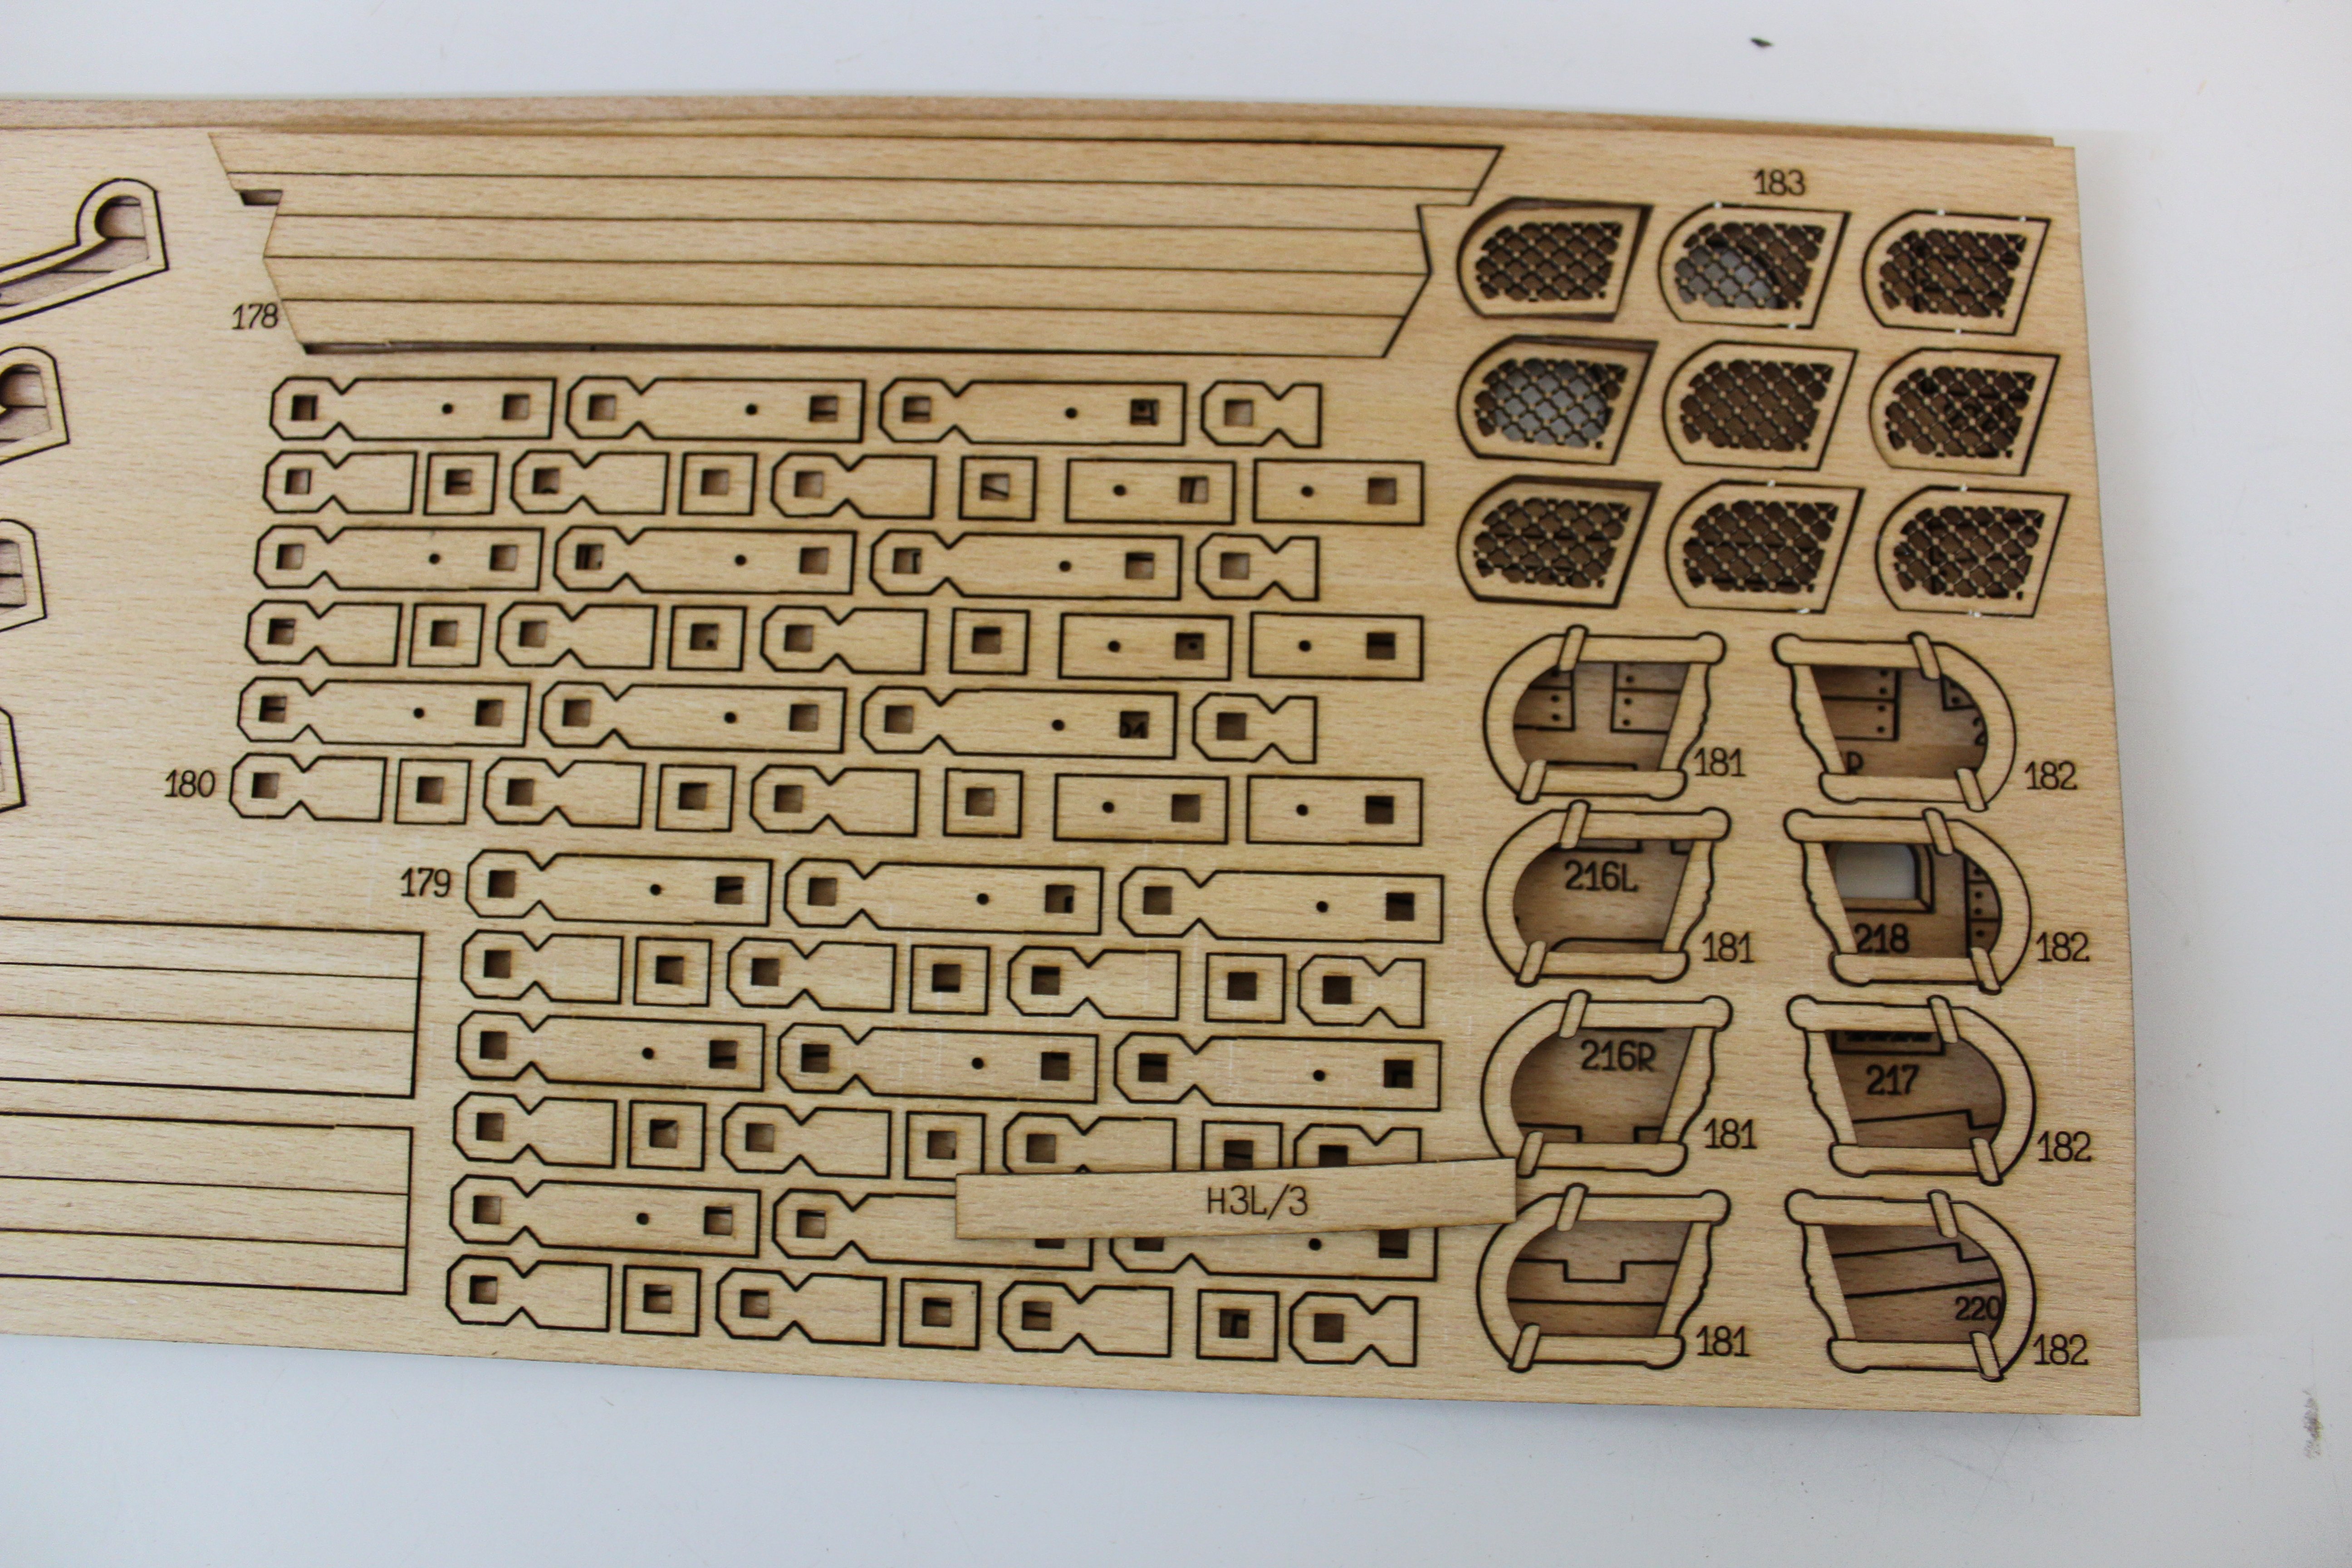
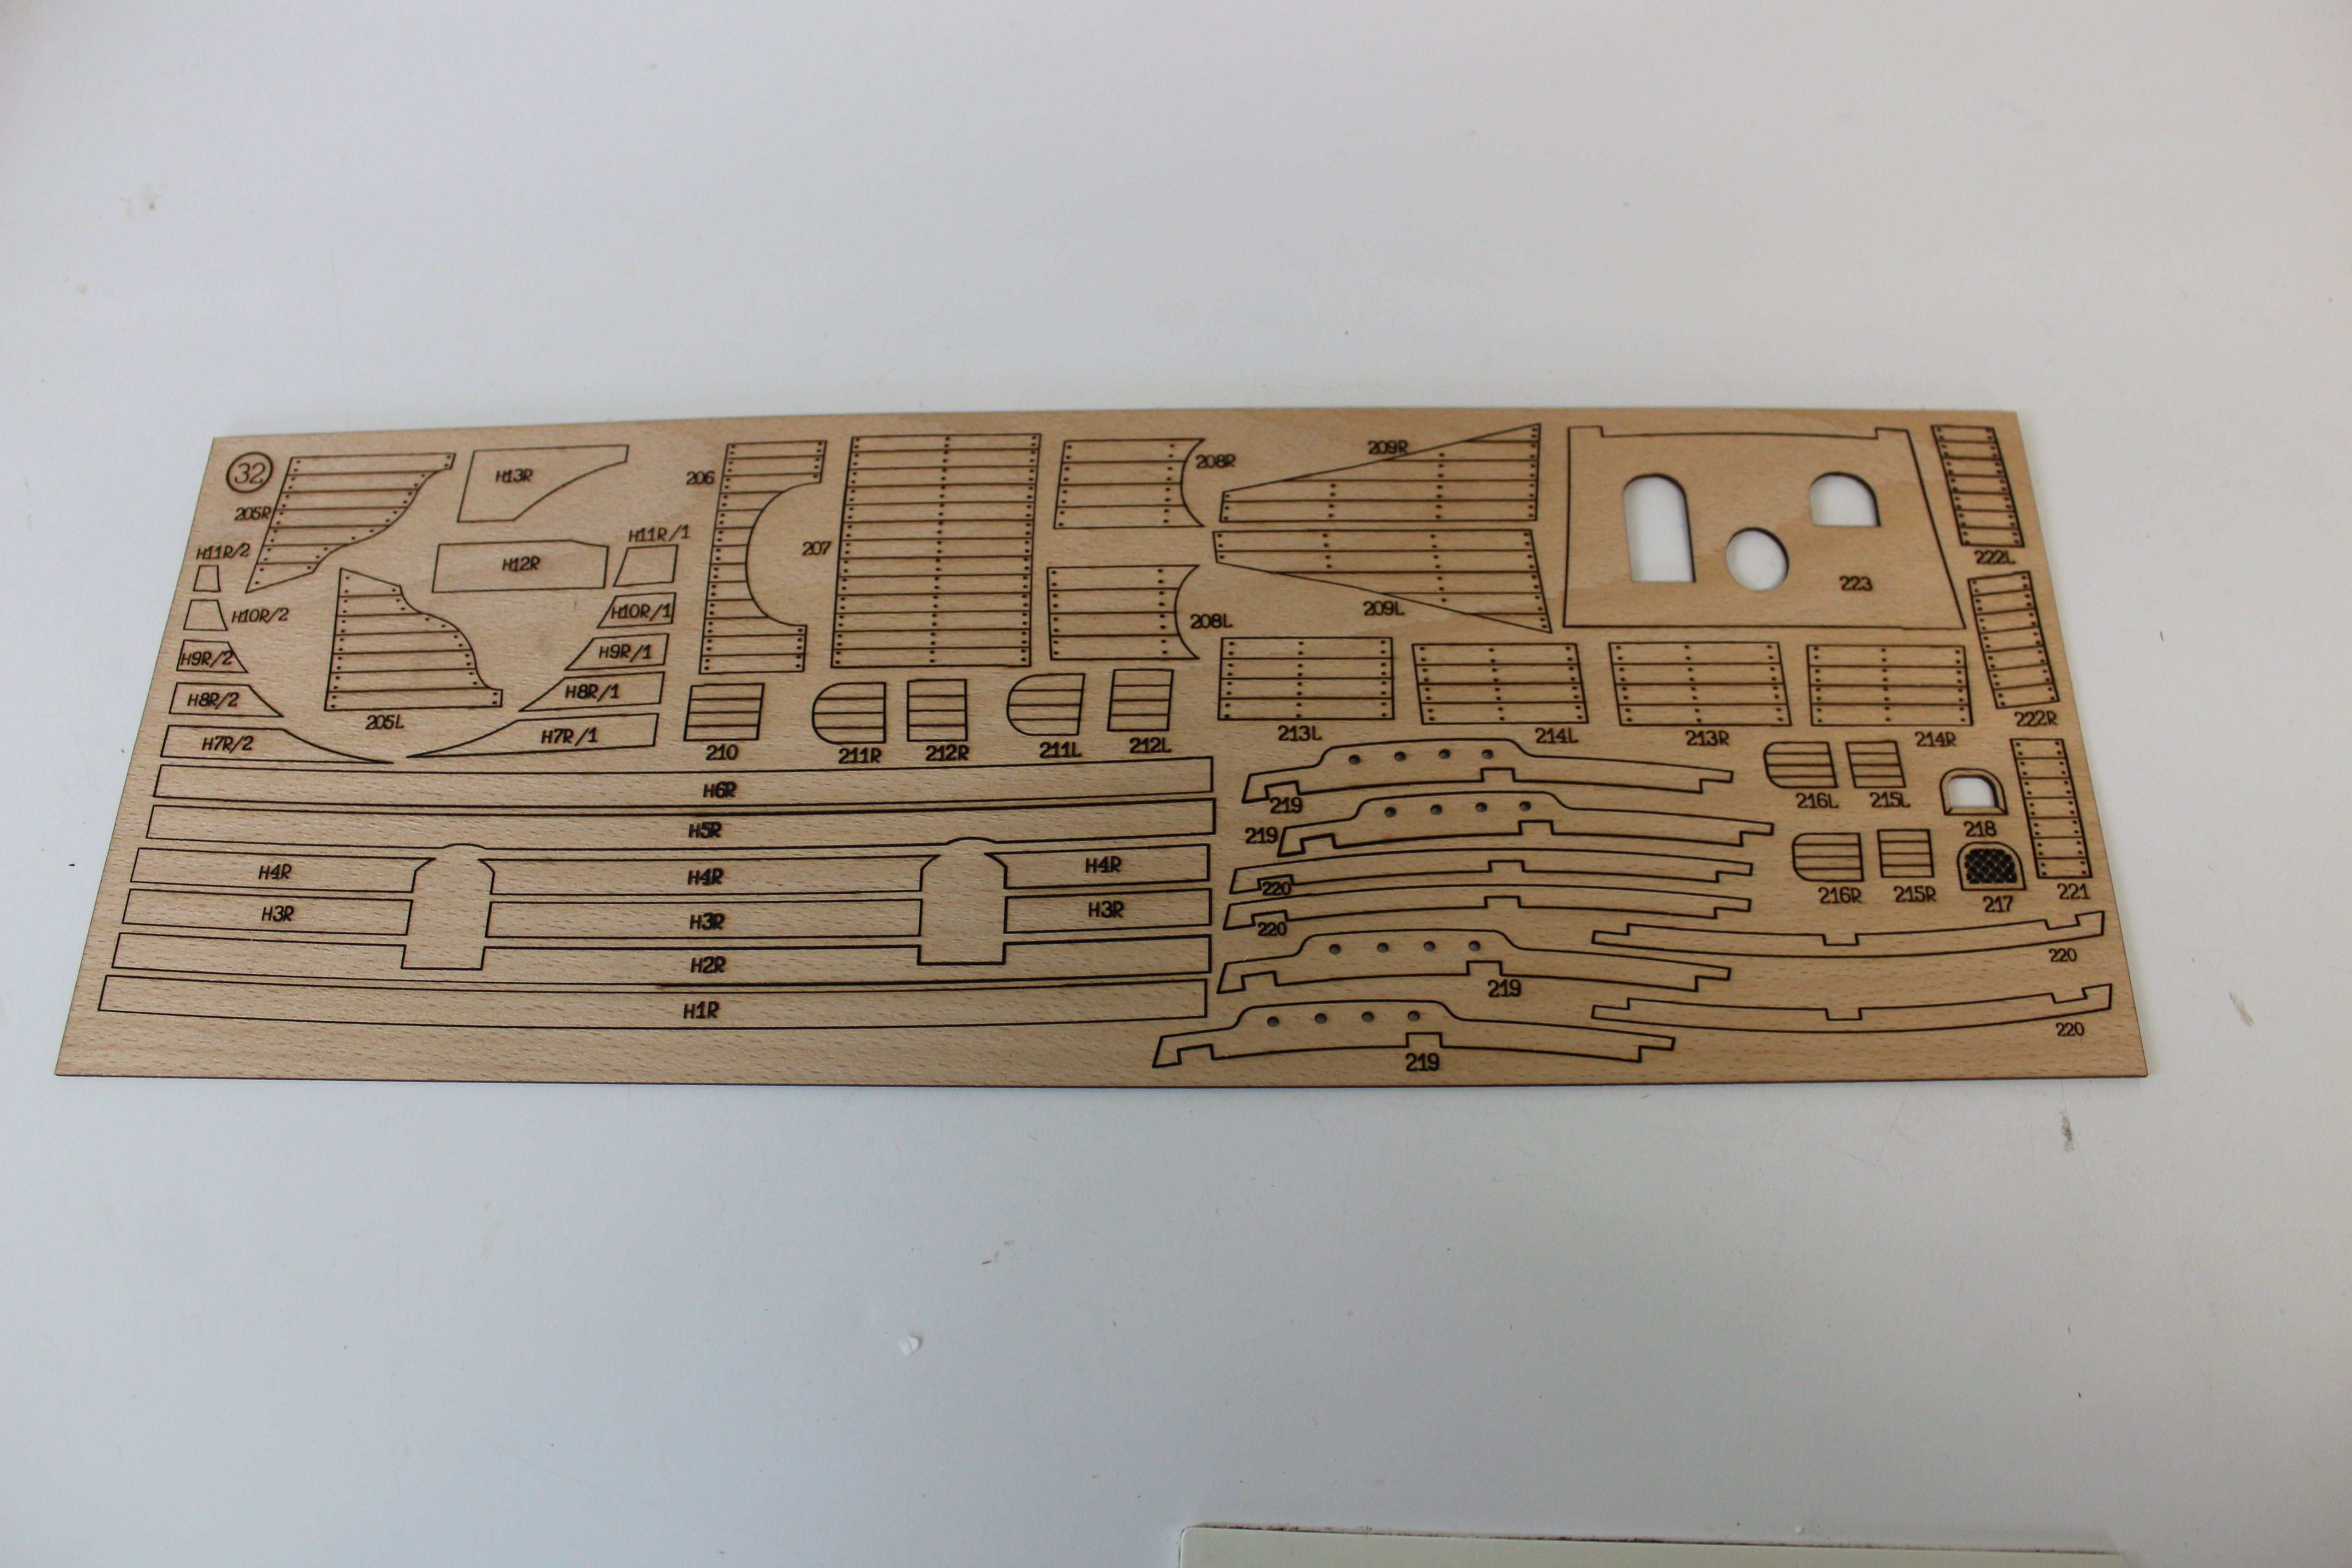
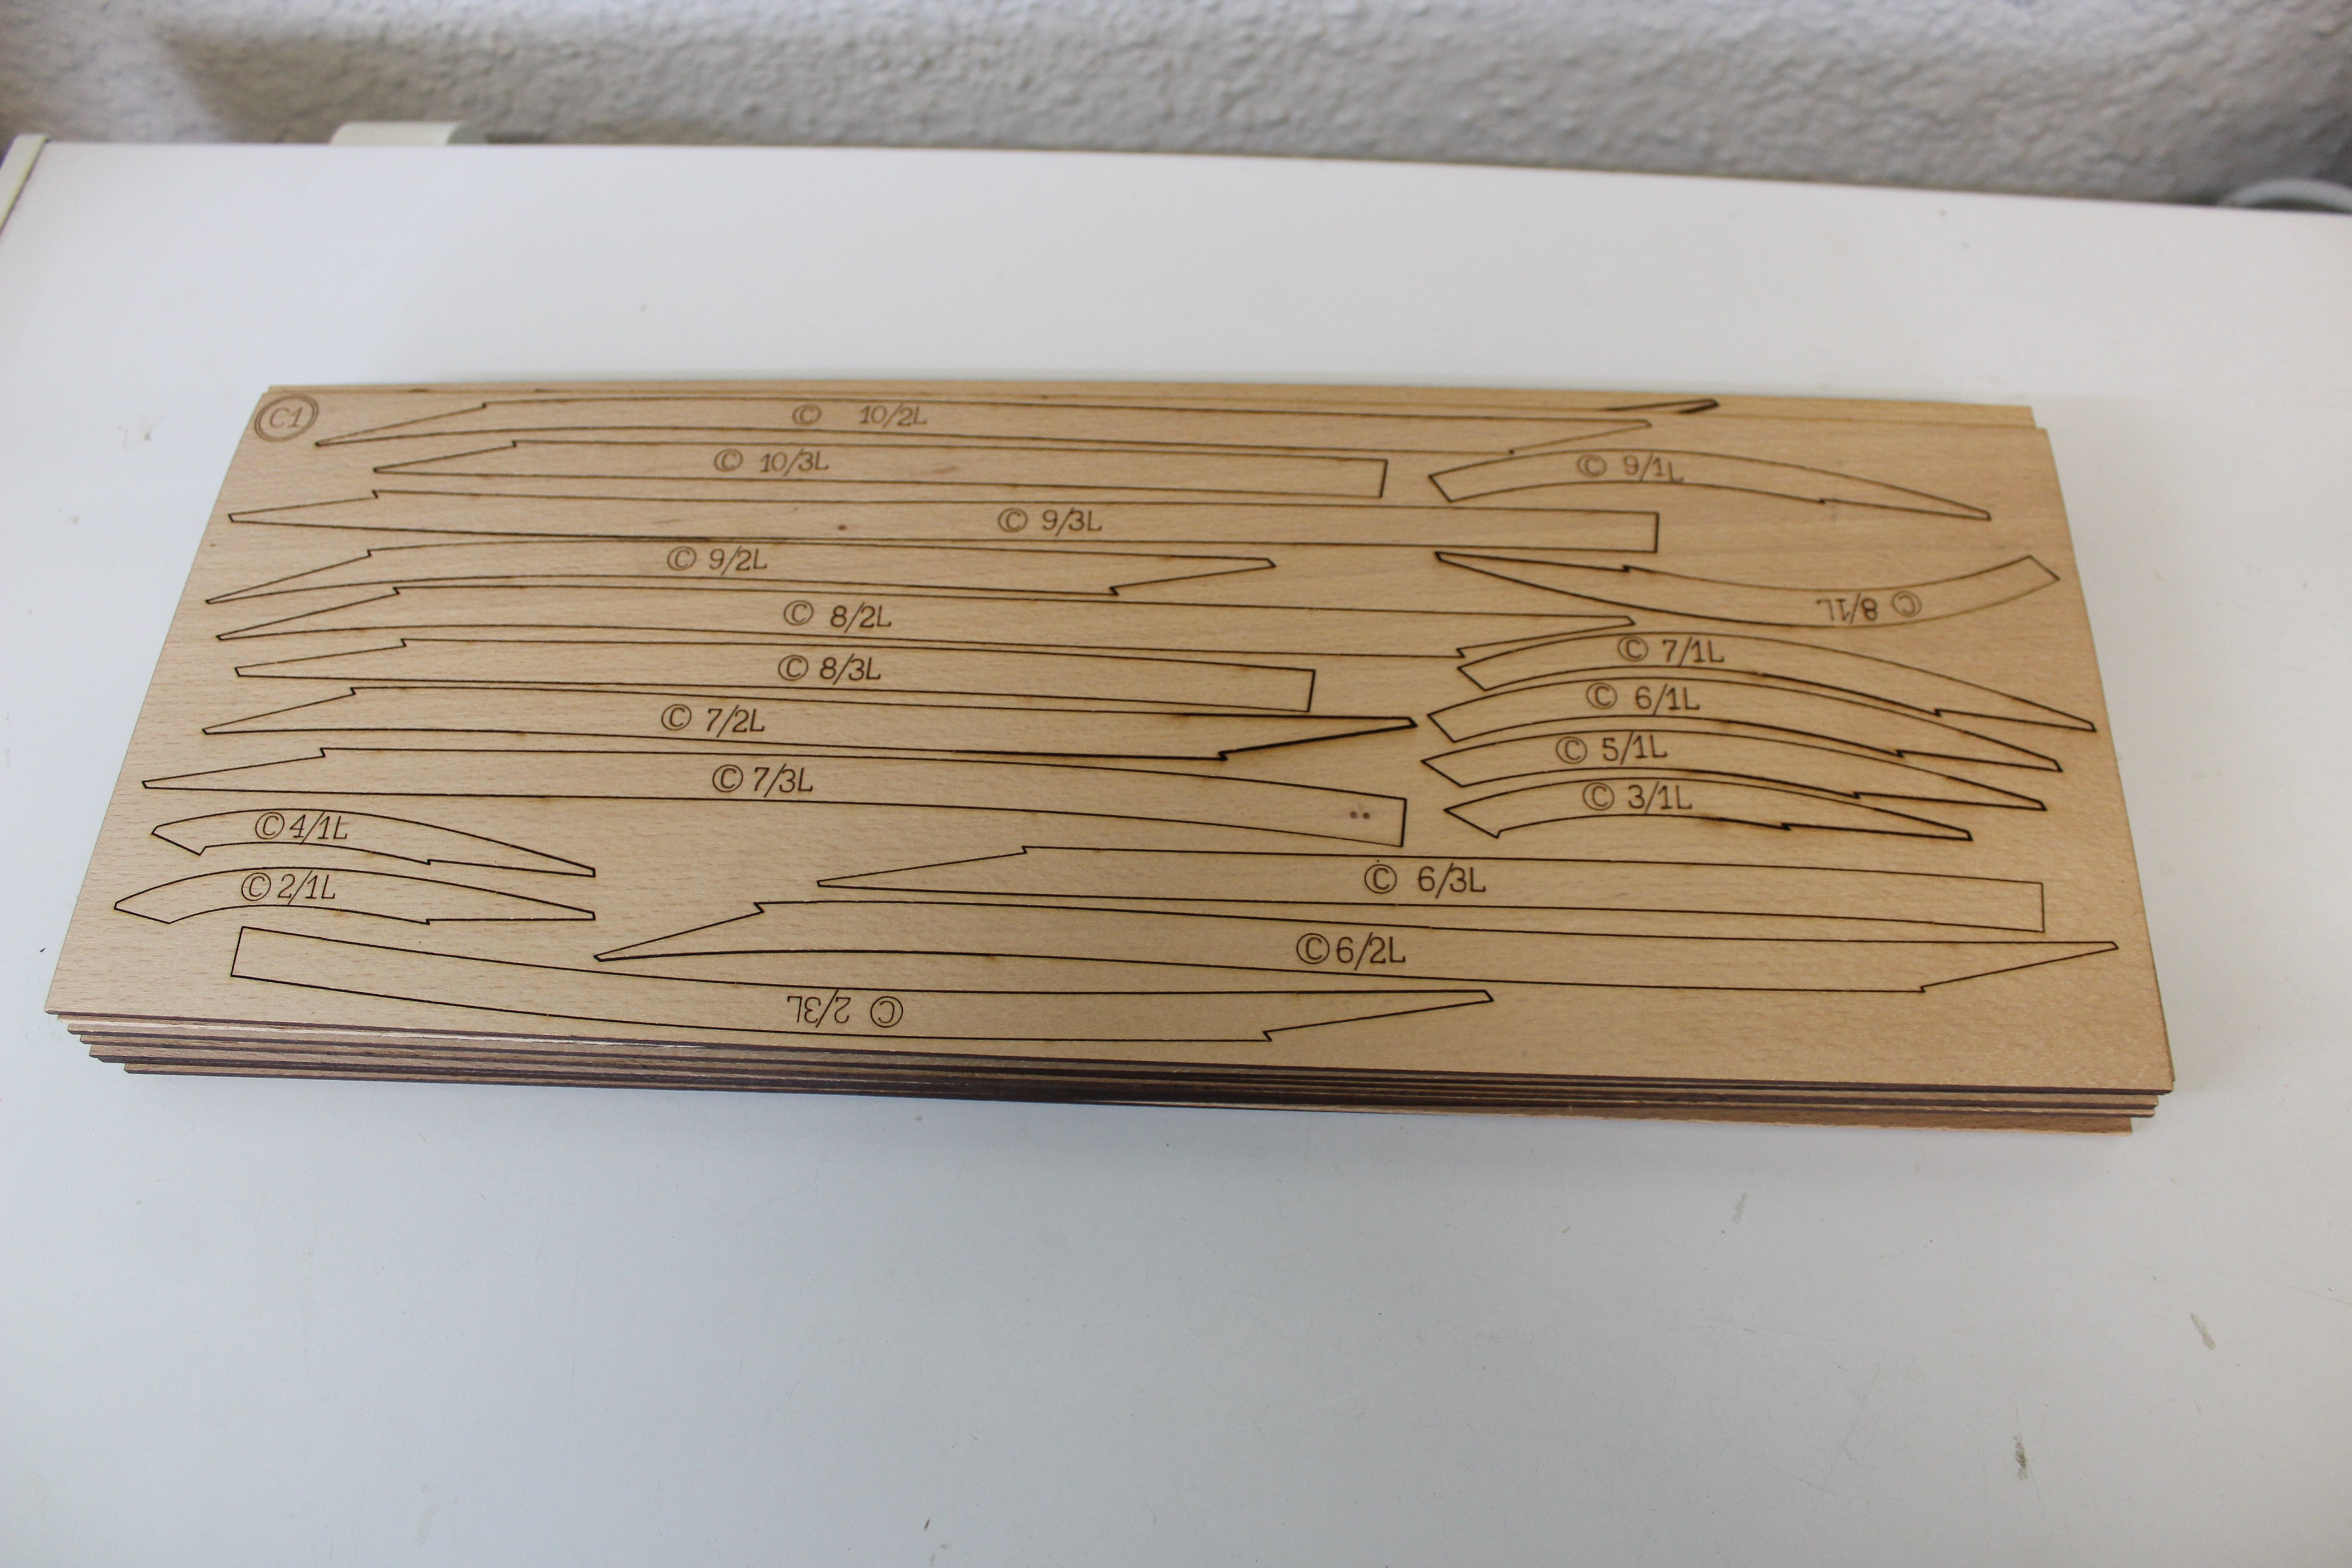
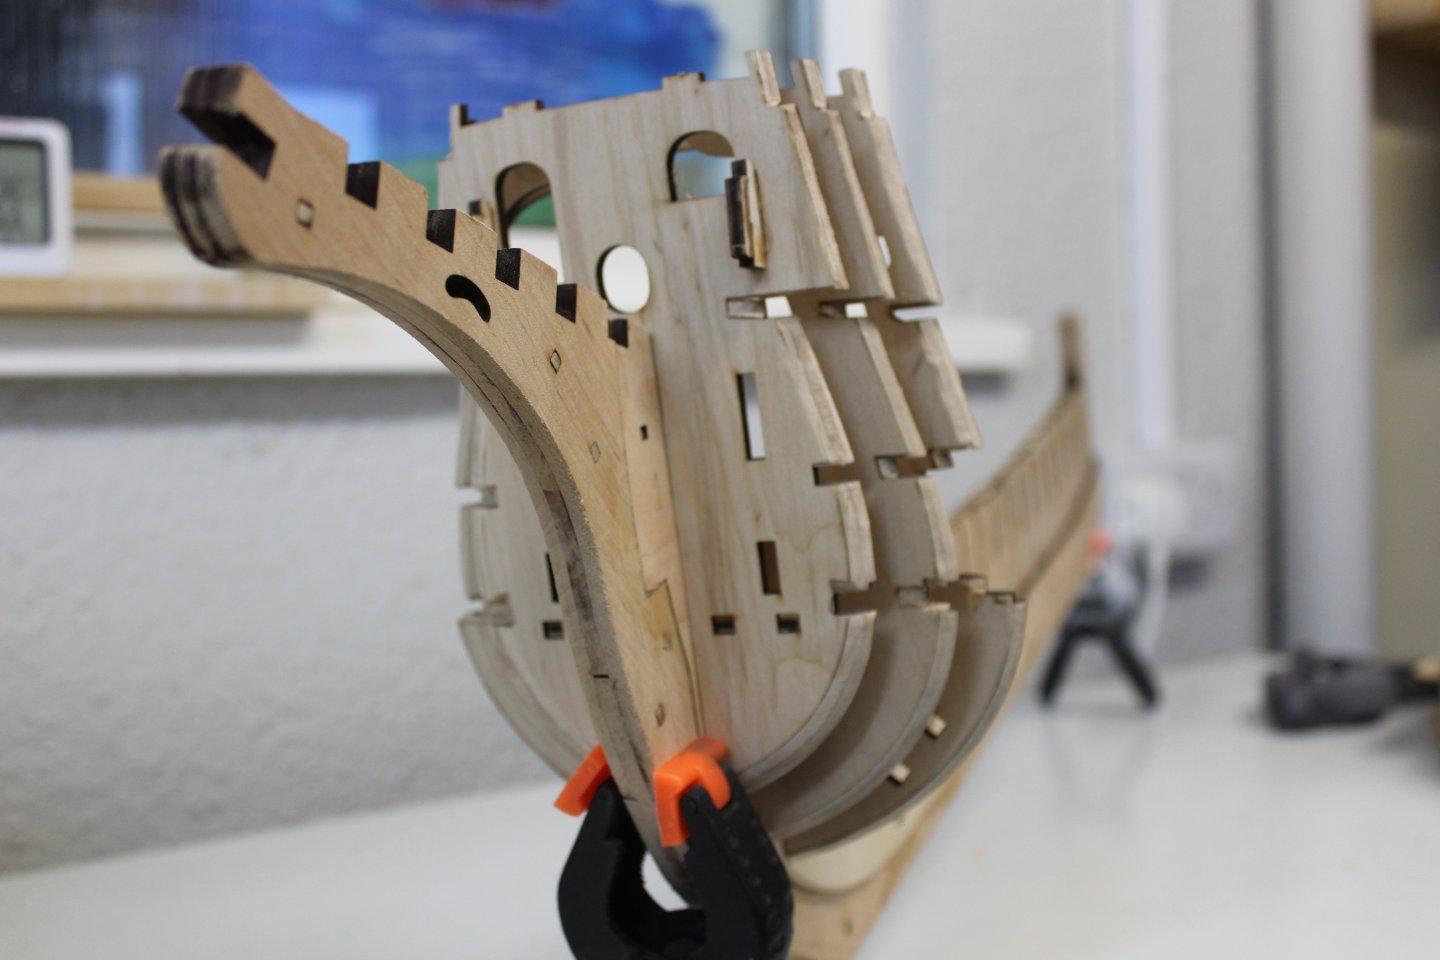
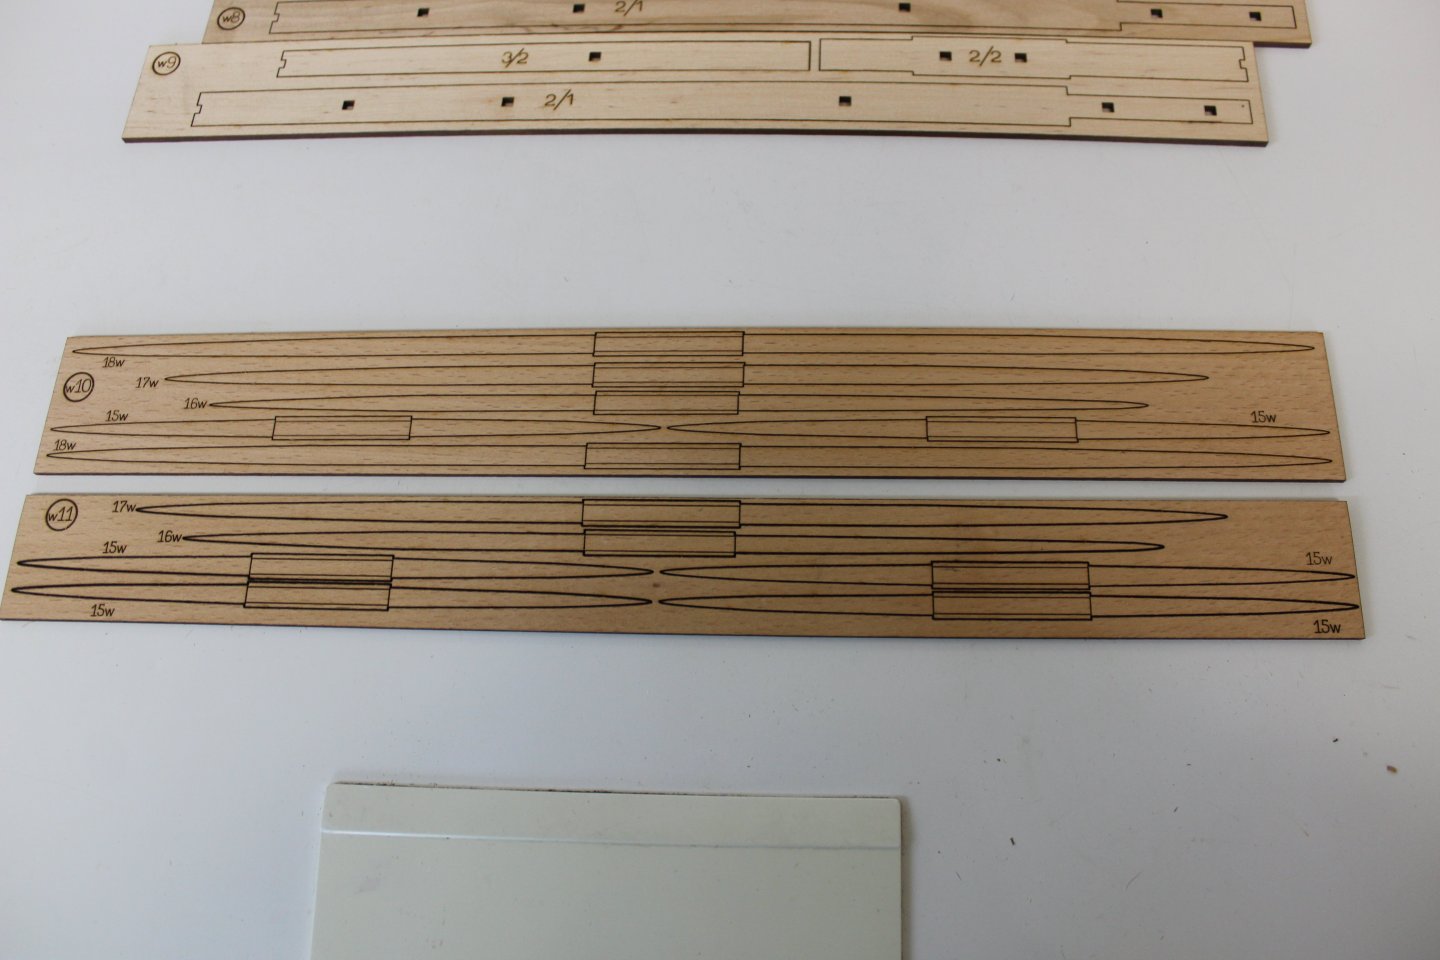
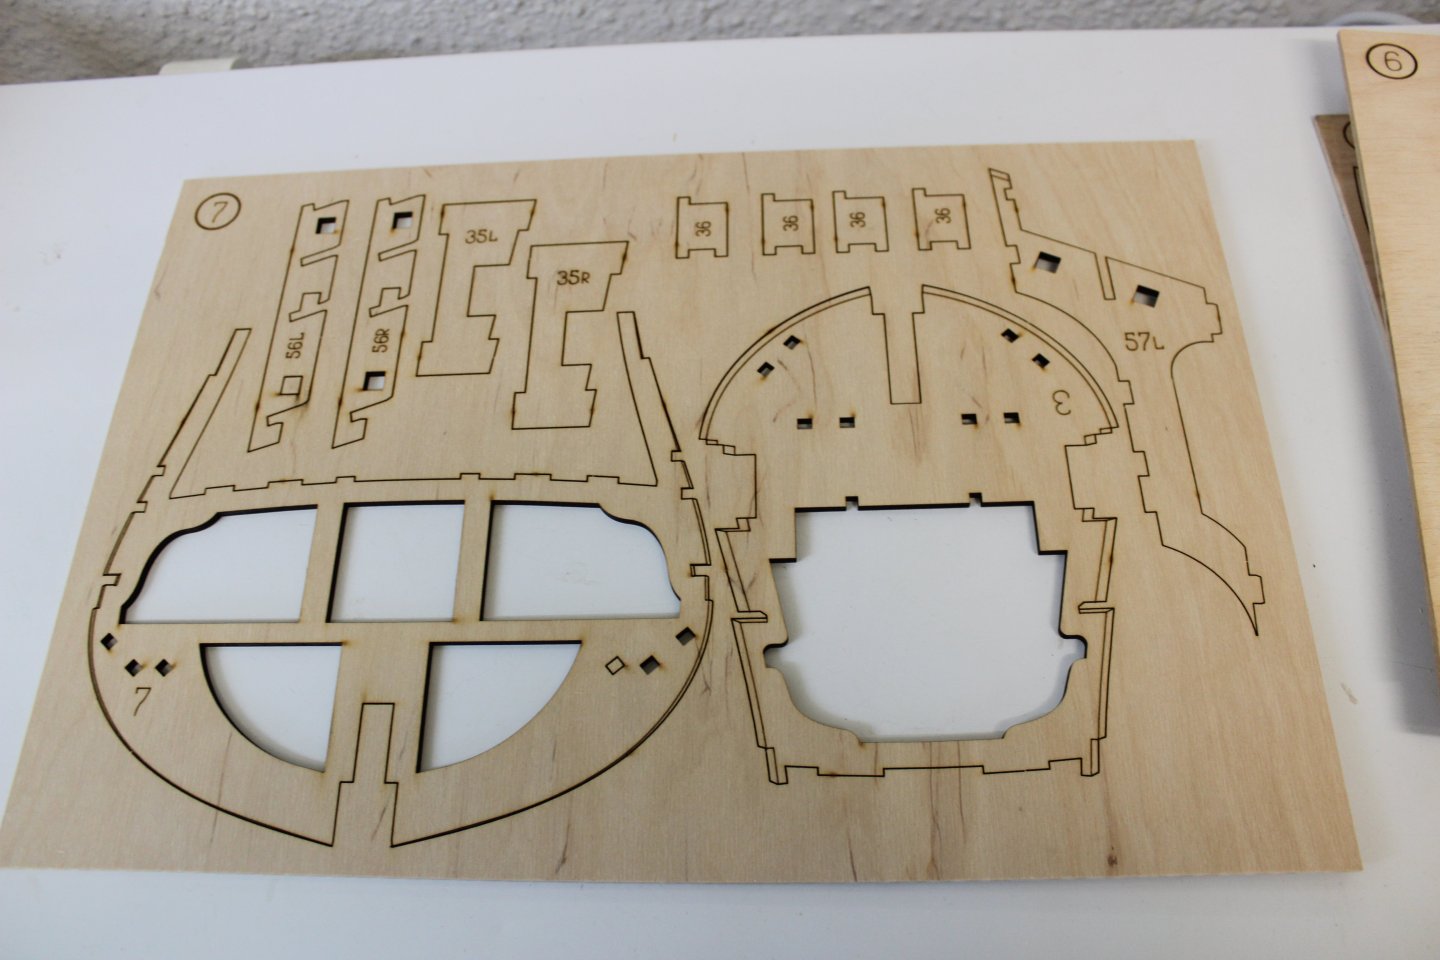
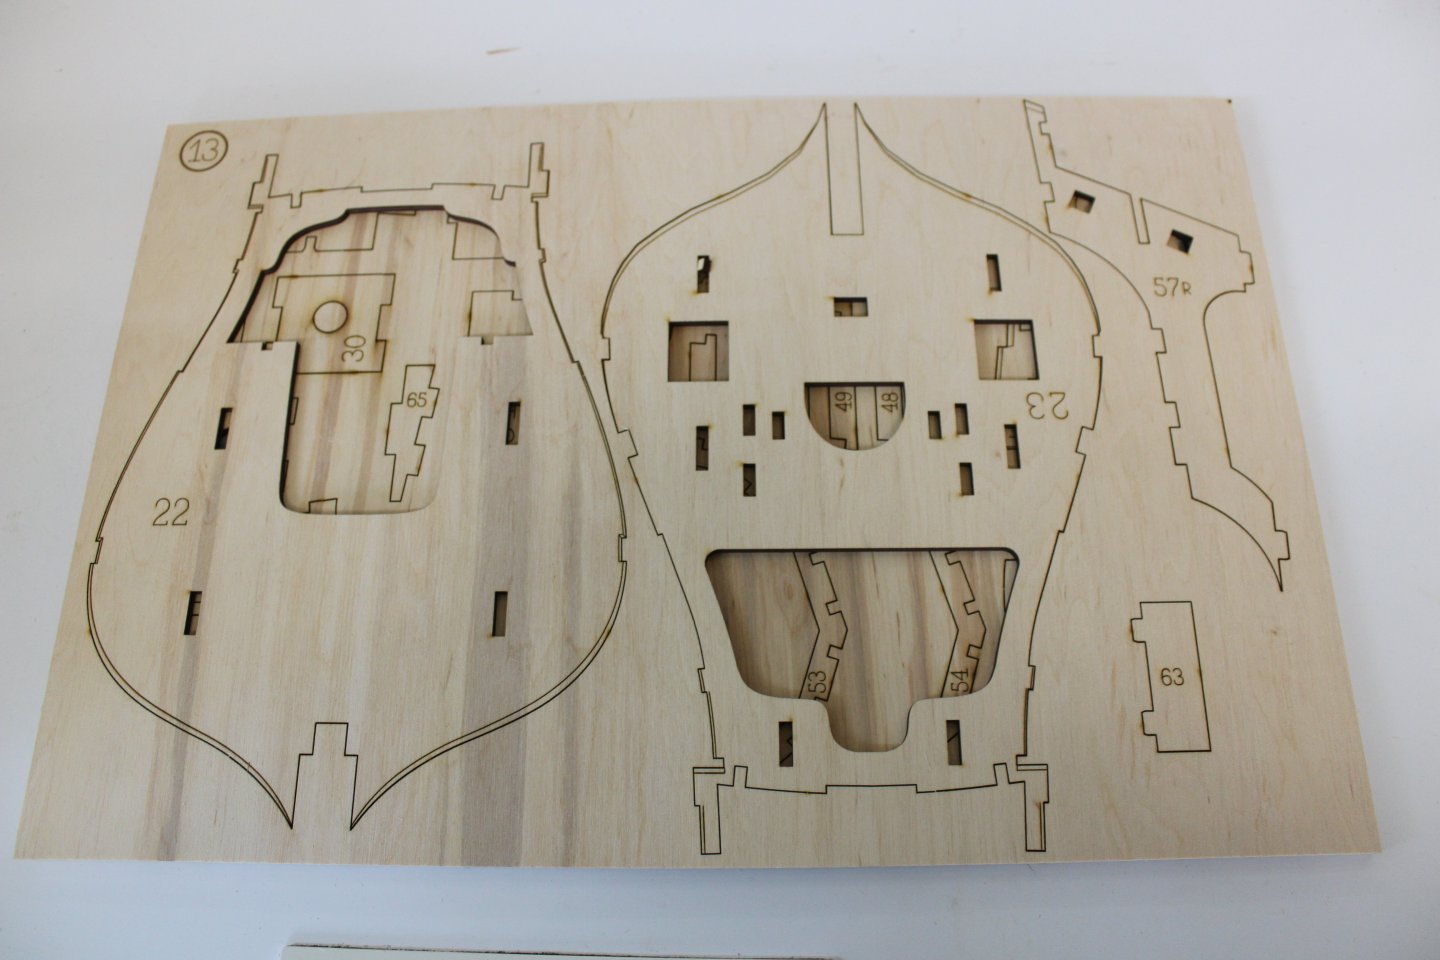
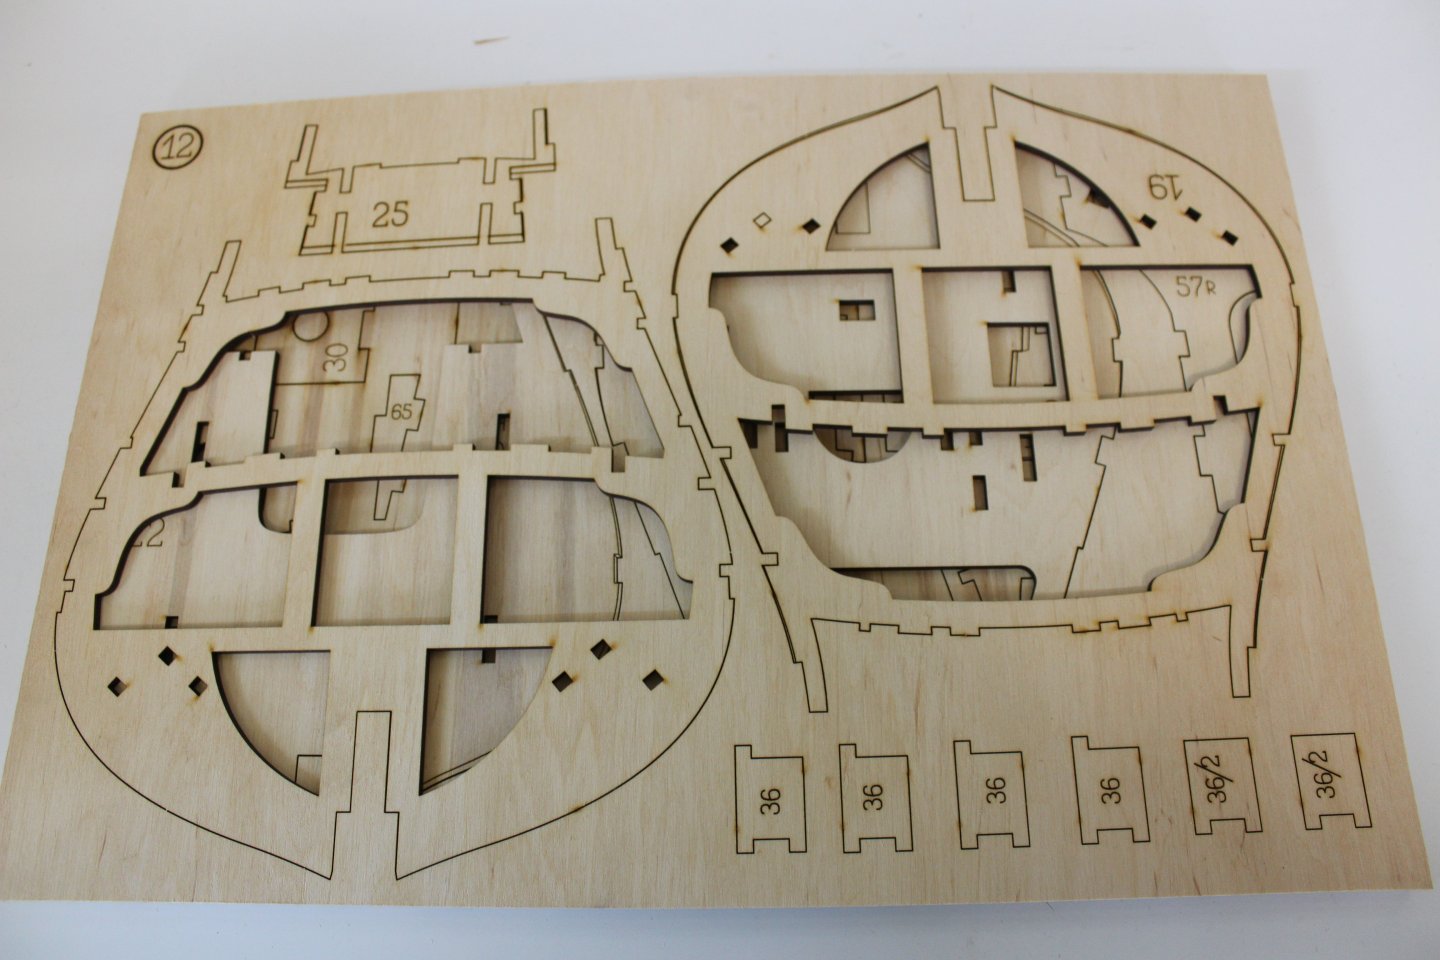
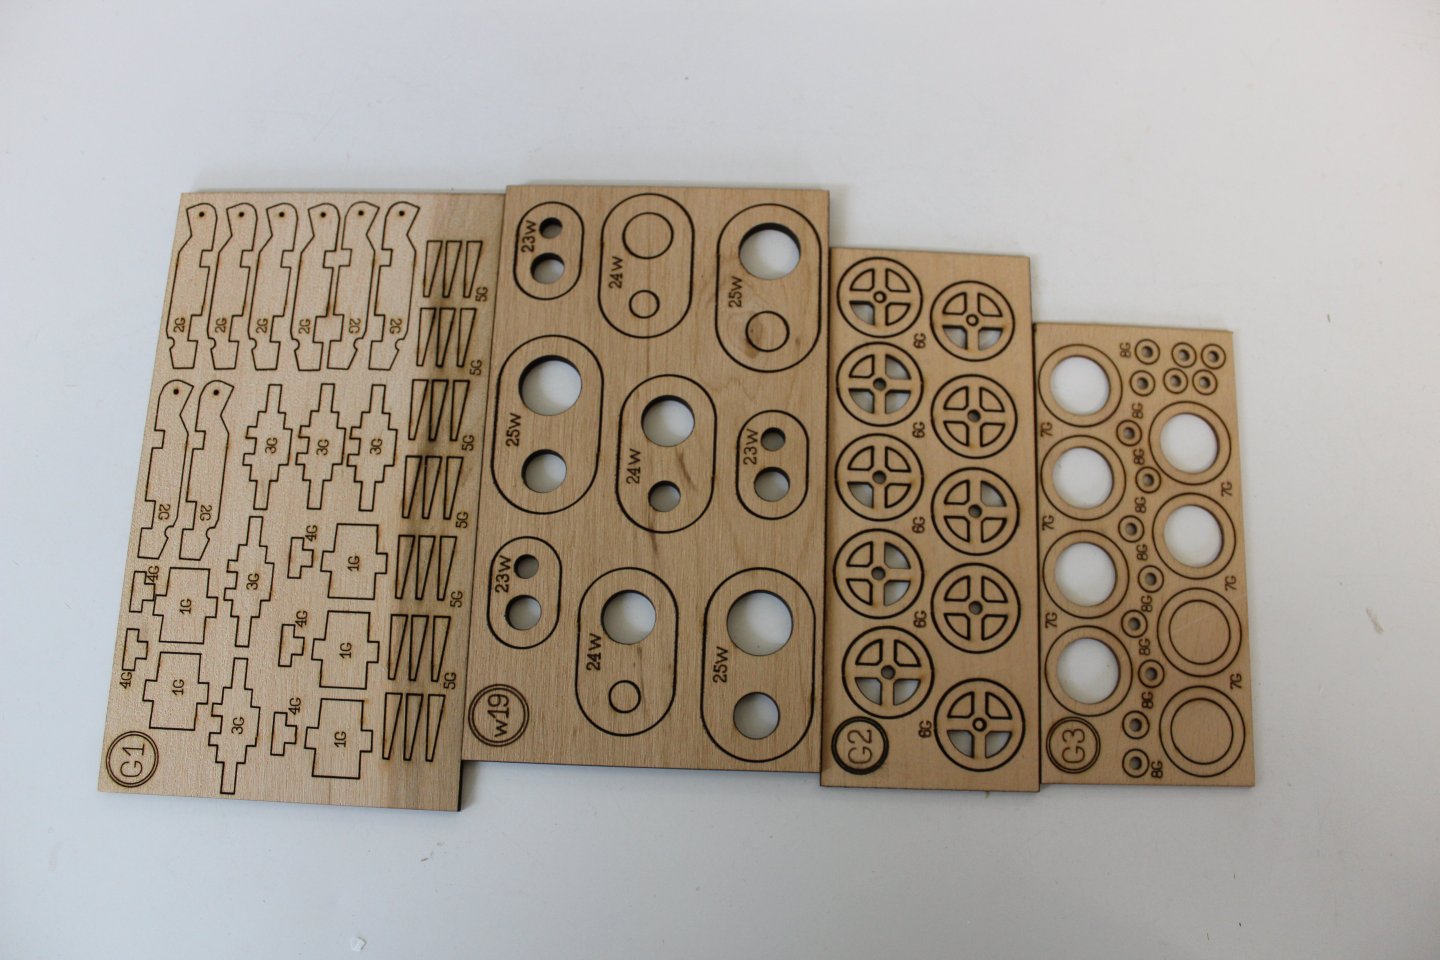
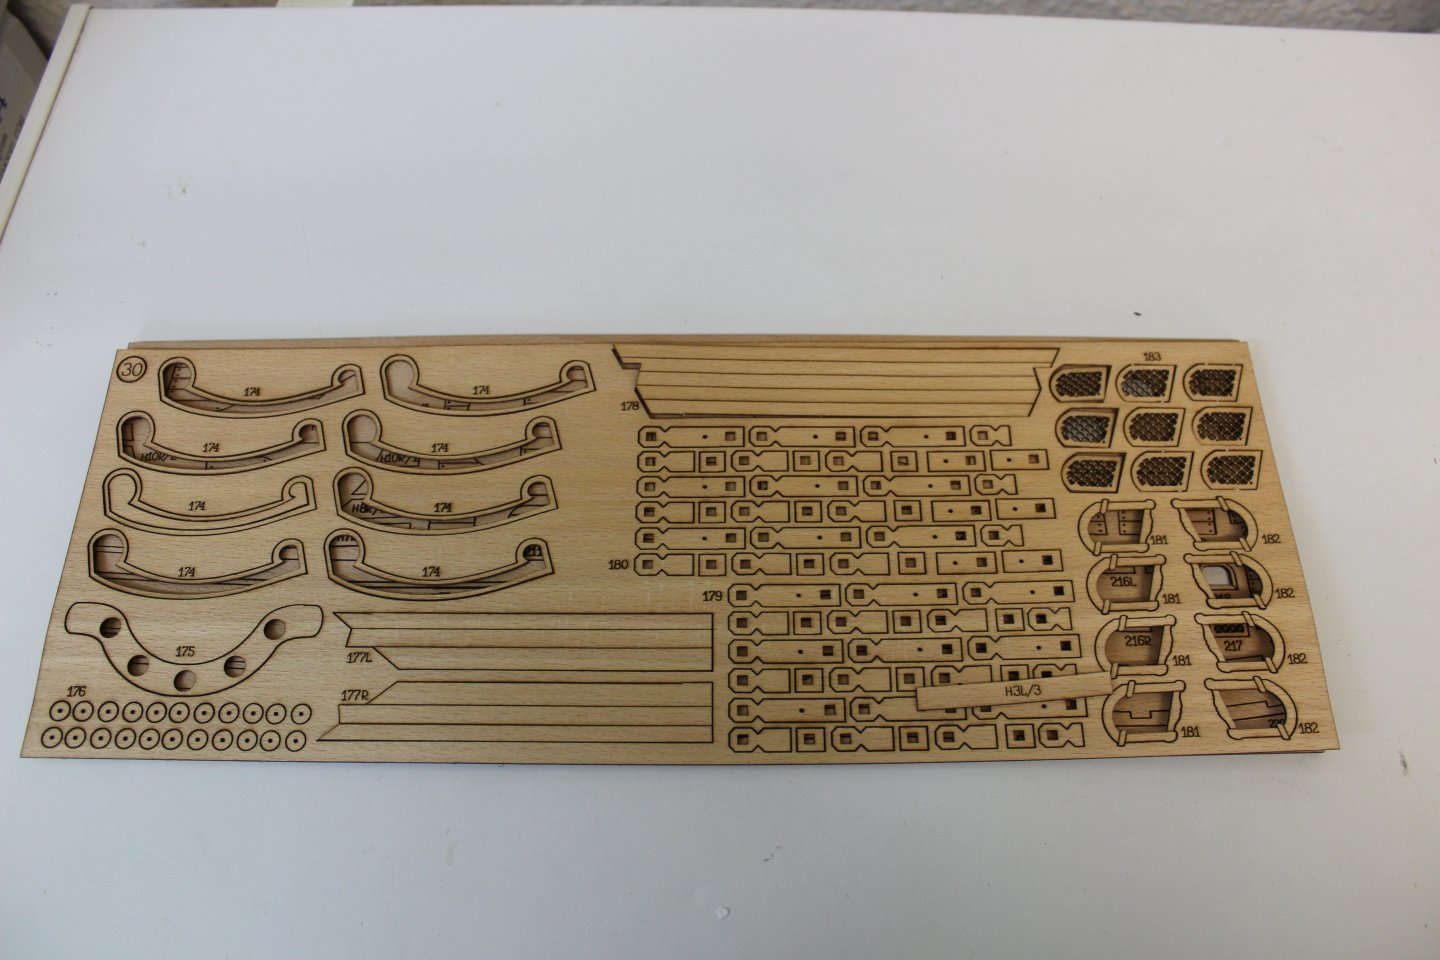
Day 1 wed 14th Jan 2026 did a full contests check against the instructions the quality of the wood is excellent, and a lot of it, the frames from Ply are well lasered, the rest of the contents is mainly beech and again well cut with little laser burn, looking forward to this, so lets get on with it , everything was there, any issues now, i will blame the bois the centre line is made up from 7 pieces that are sandwiched together, and kept in place with inserts, this was then allowed to dry under weights the same with the Keel and then attached together with tape keeping them together whilst drying the next part has fairing lines marked on, so using a Dremel this work was quickly sorted, and sanded before fitting in place with inserts again, im noticing a few errors with part identification, , they are not always shown and some are not where they are instructed


-
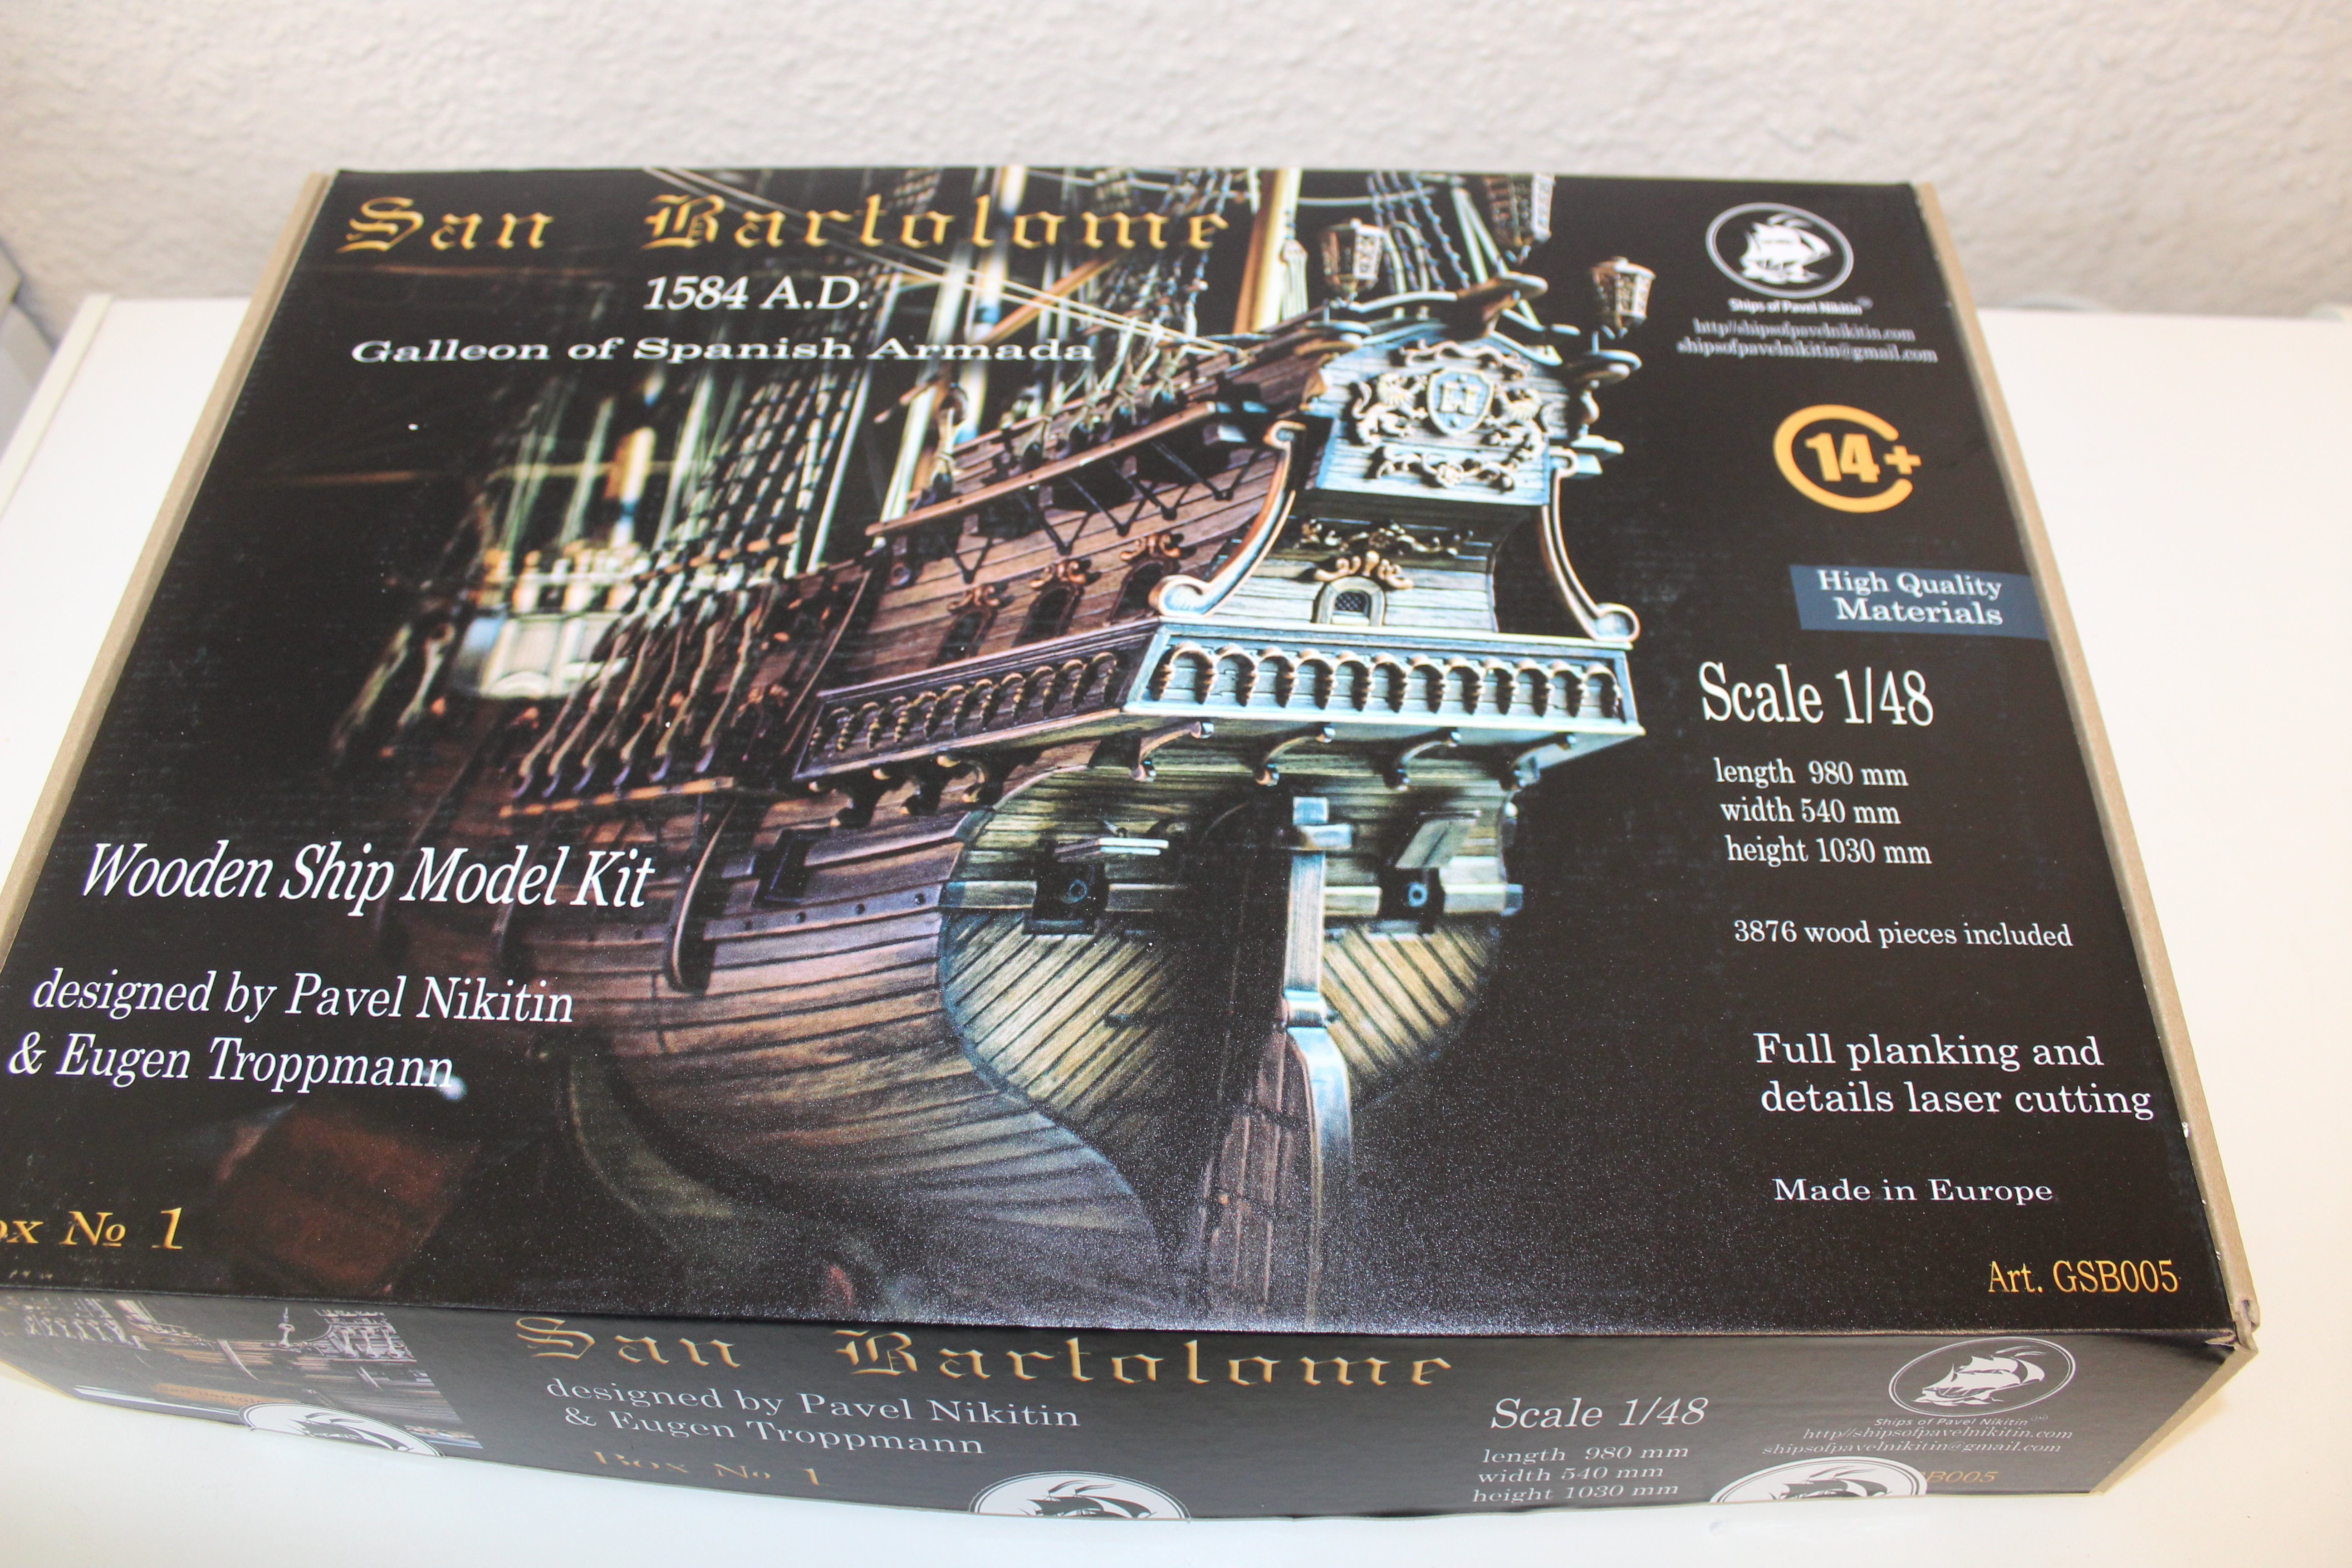
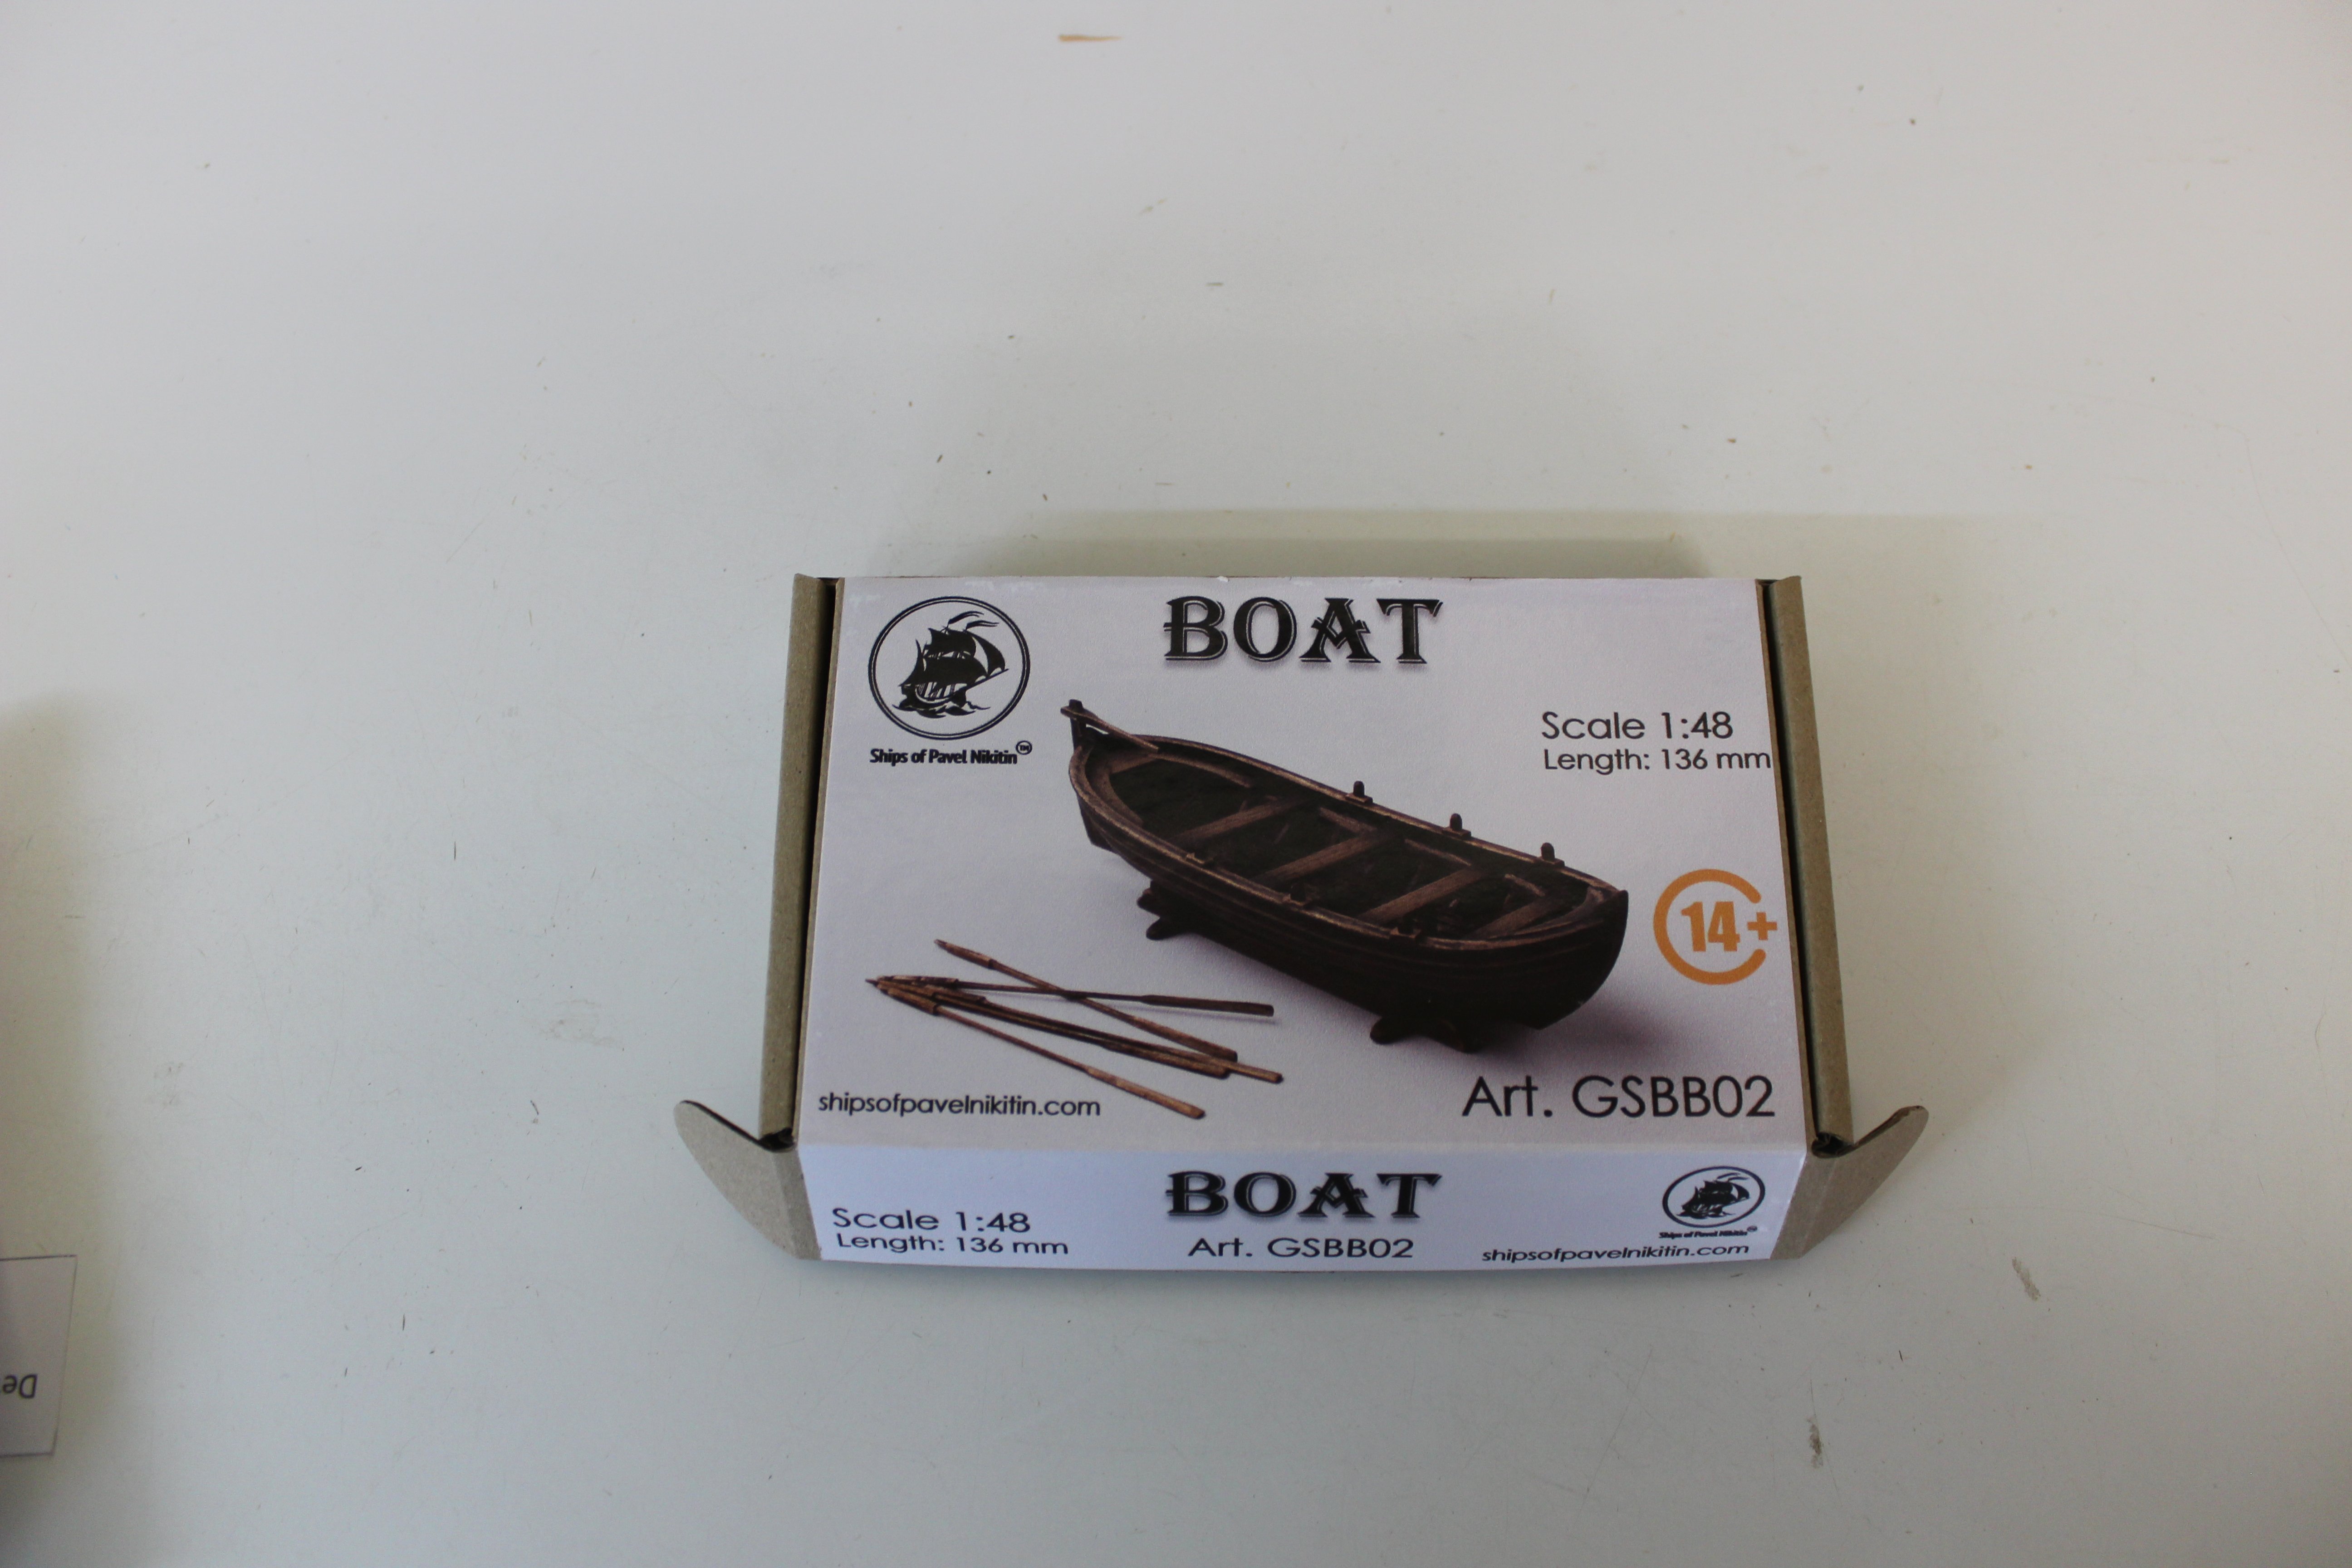
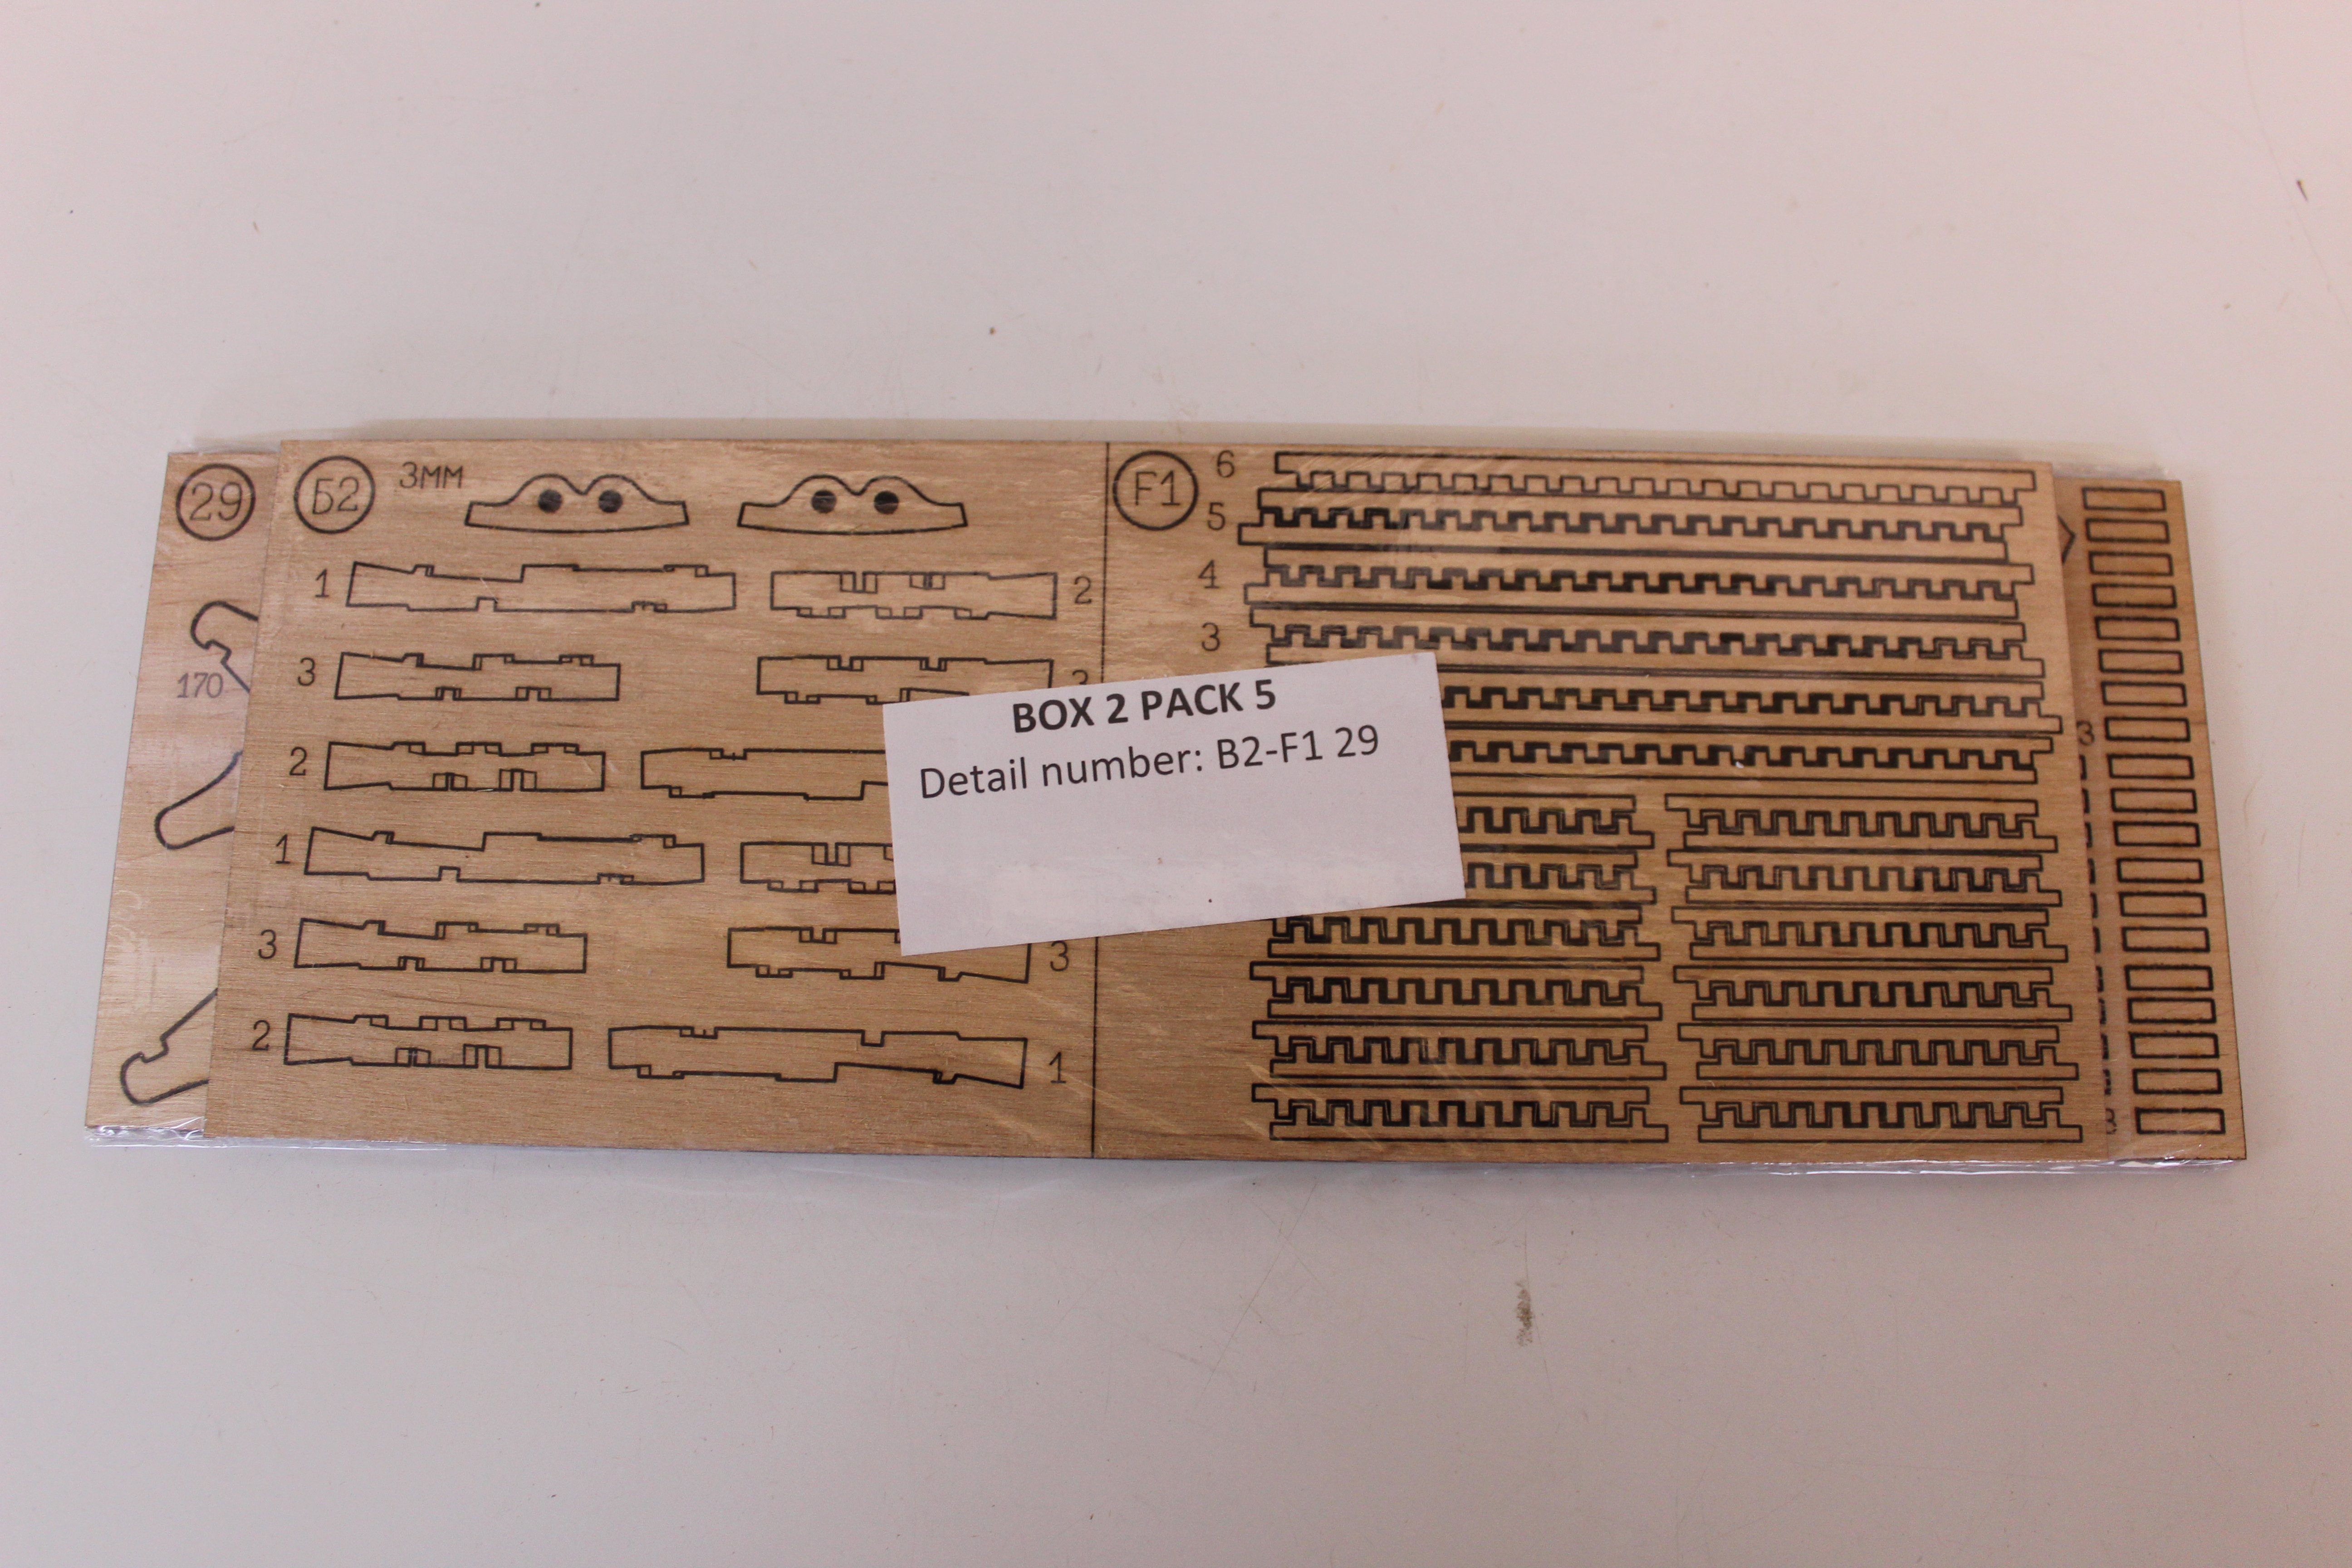
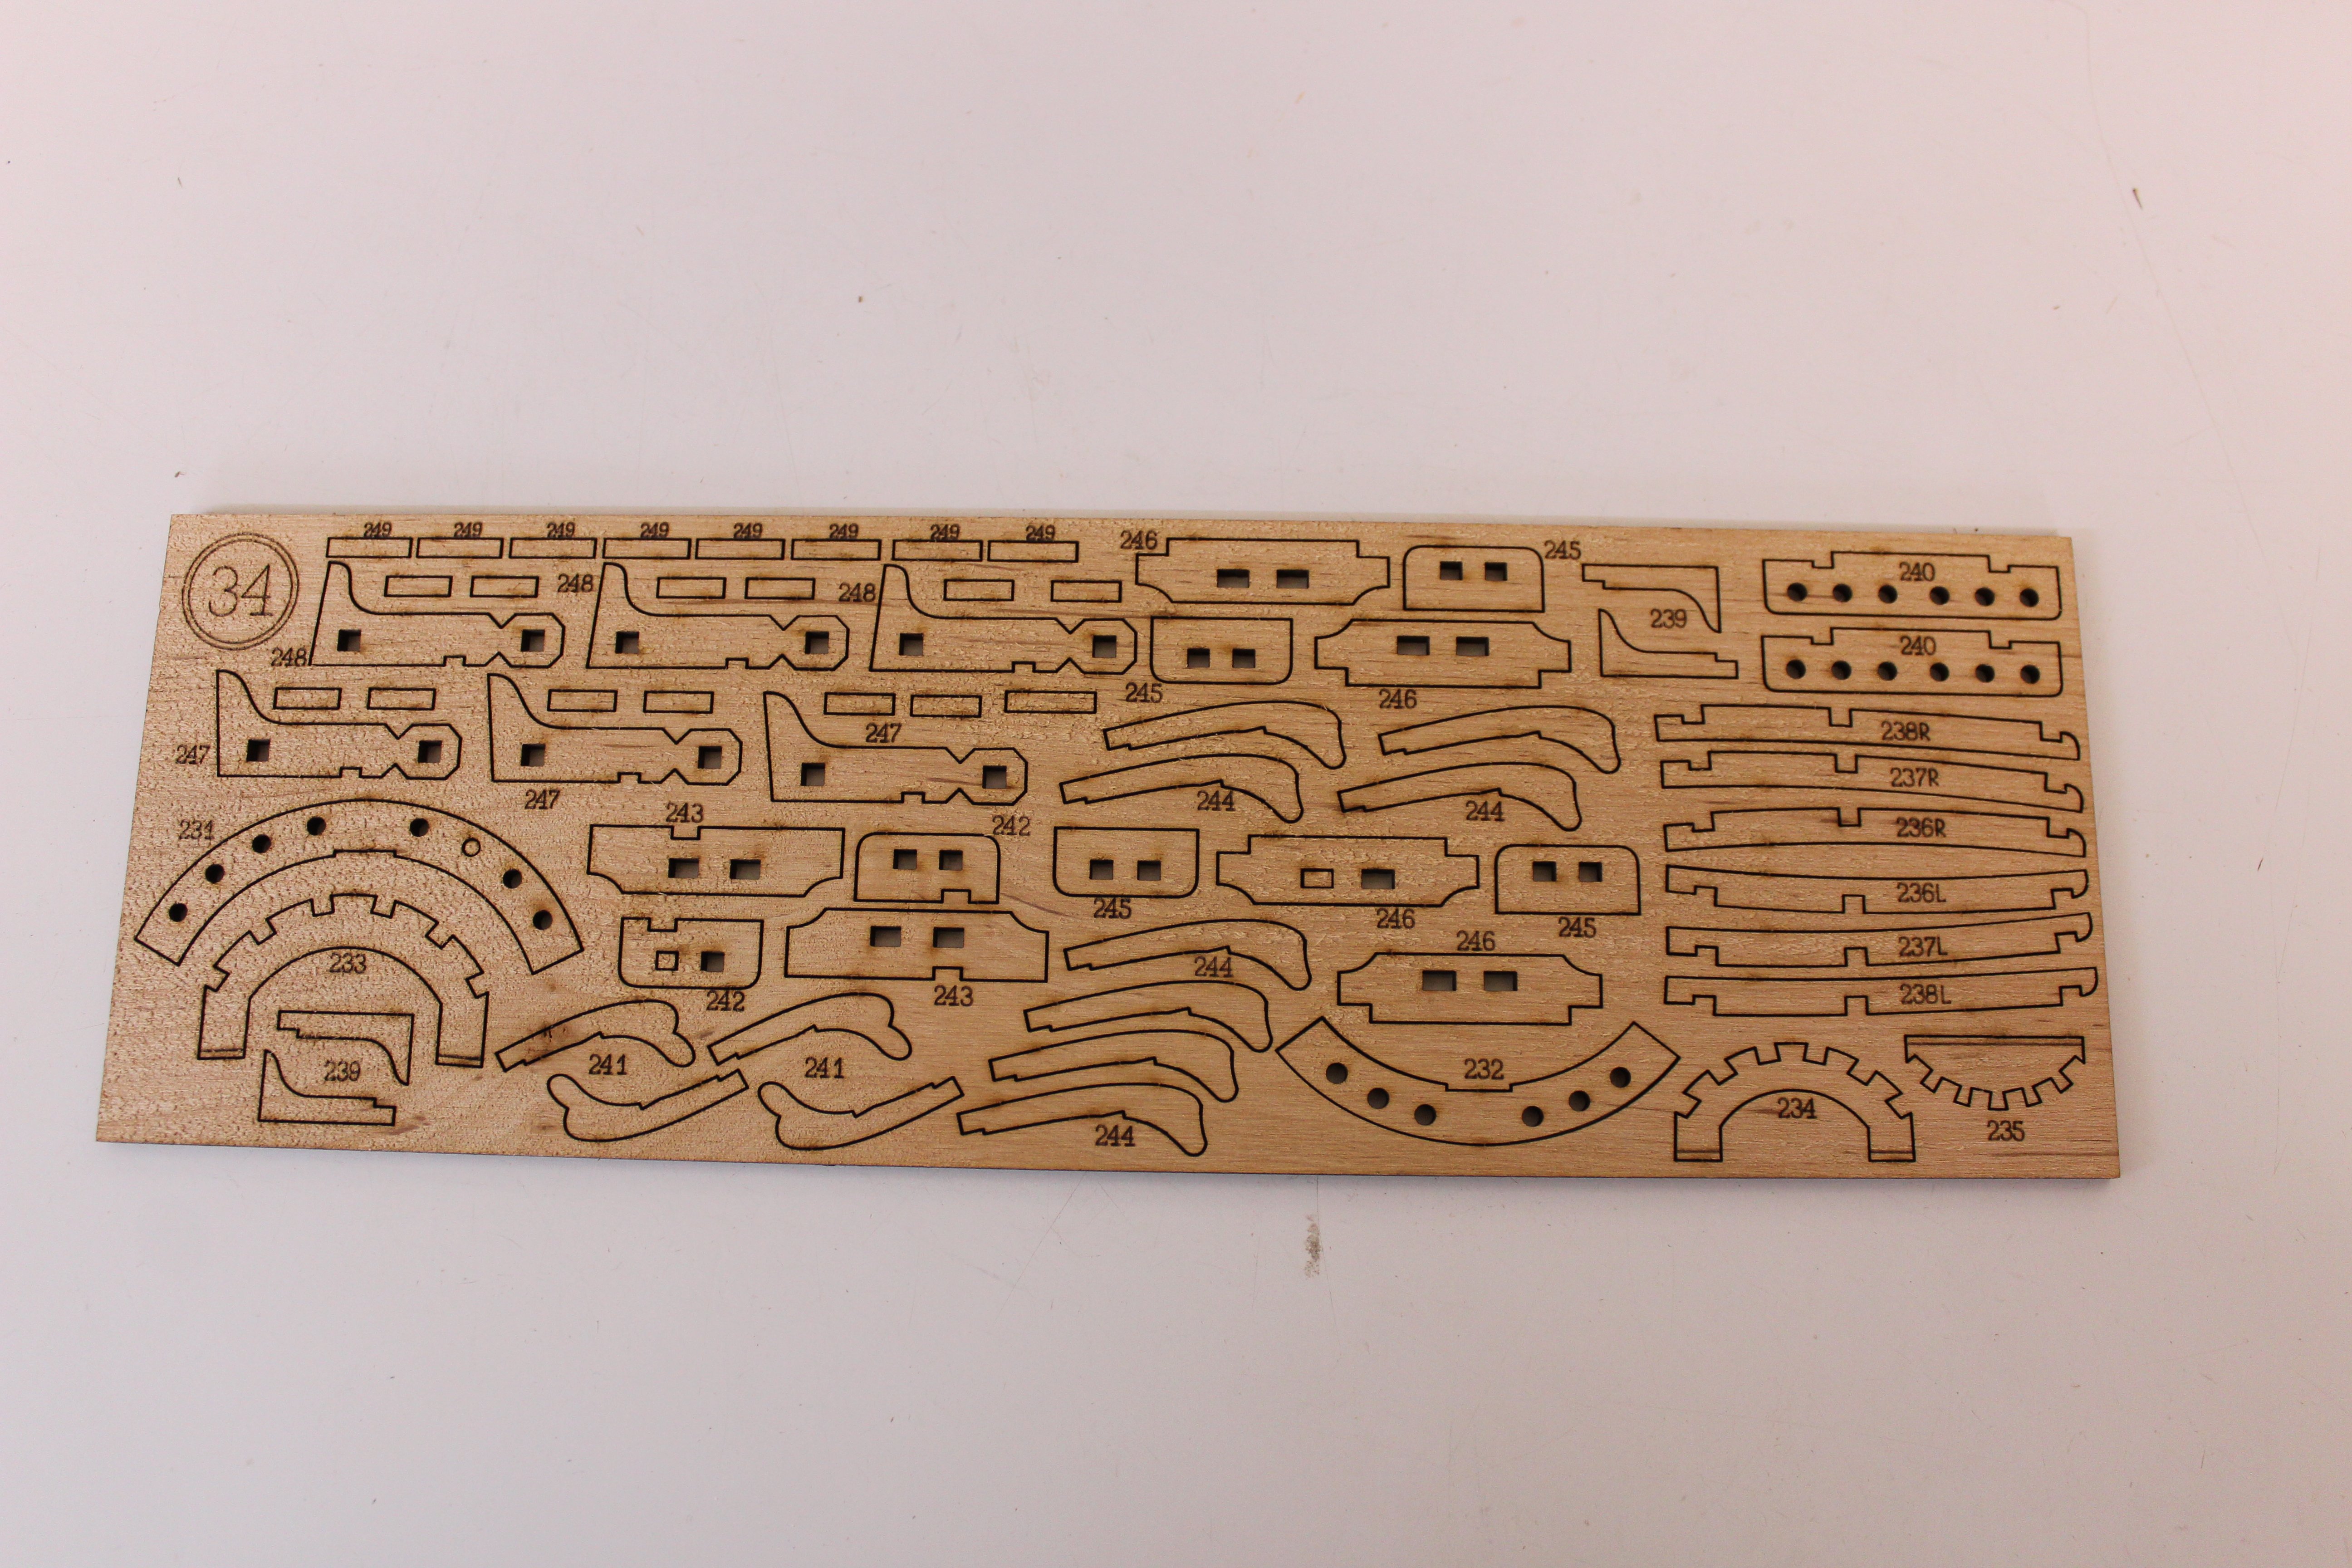
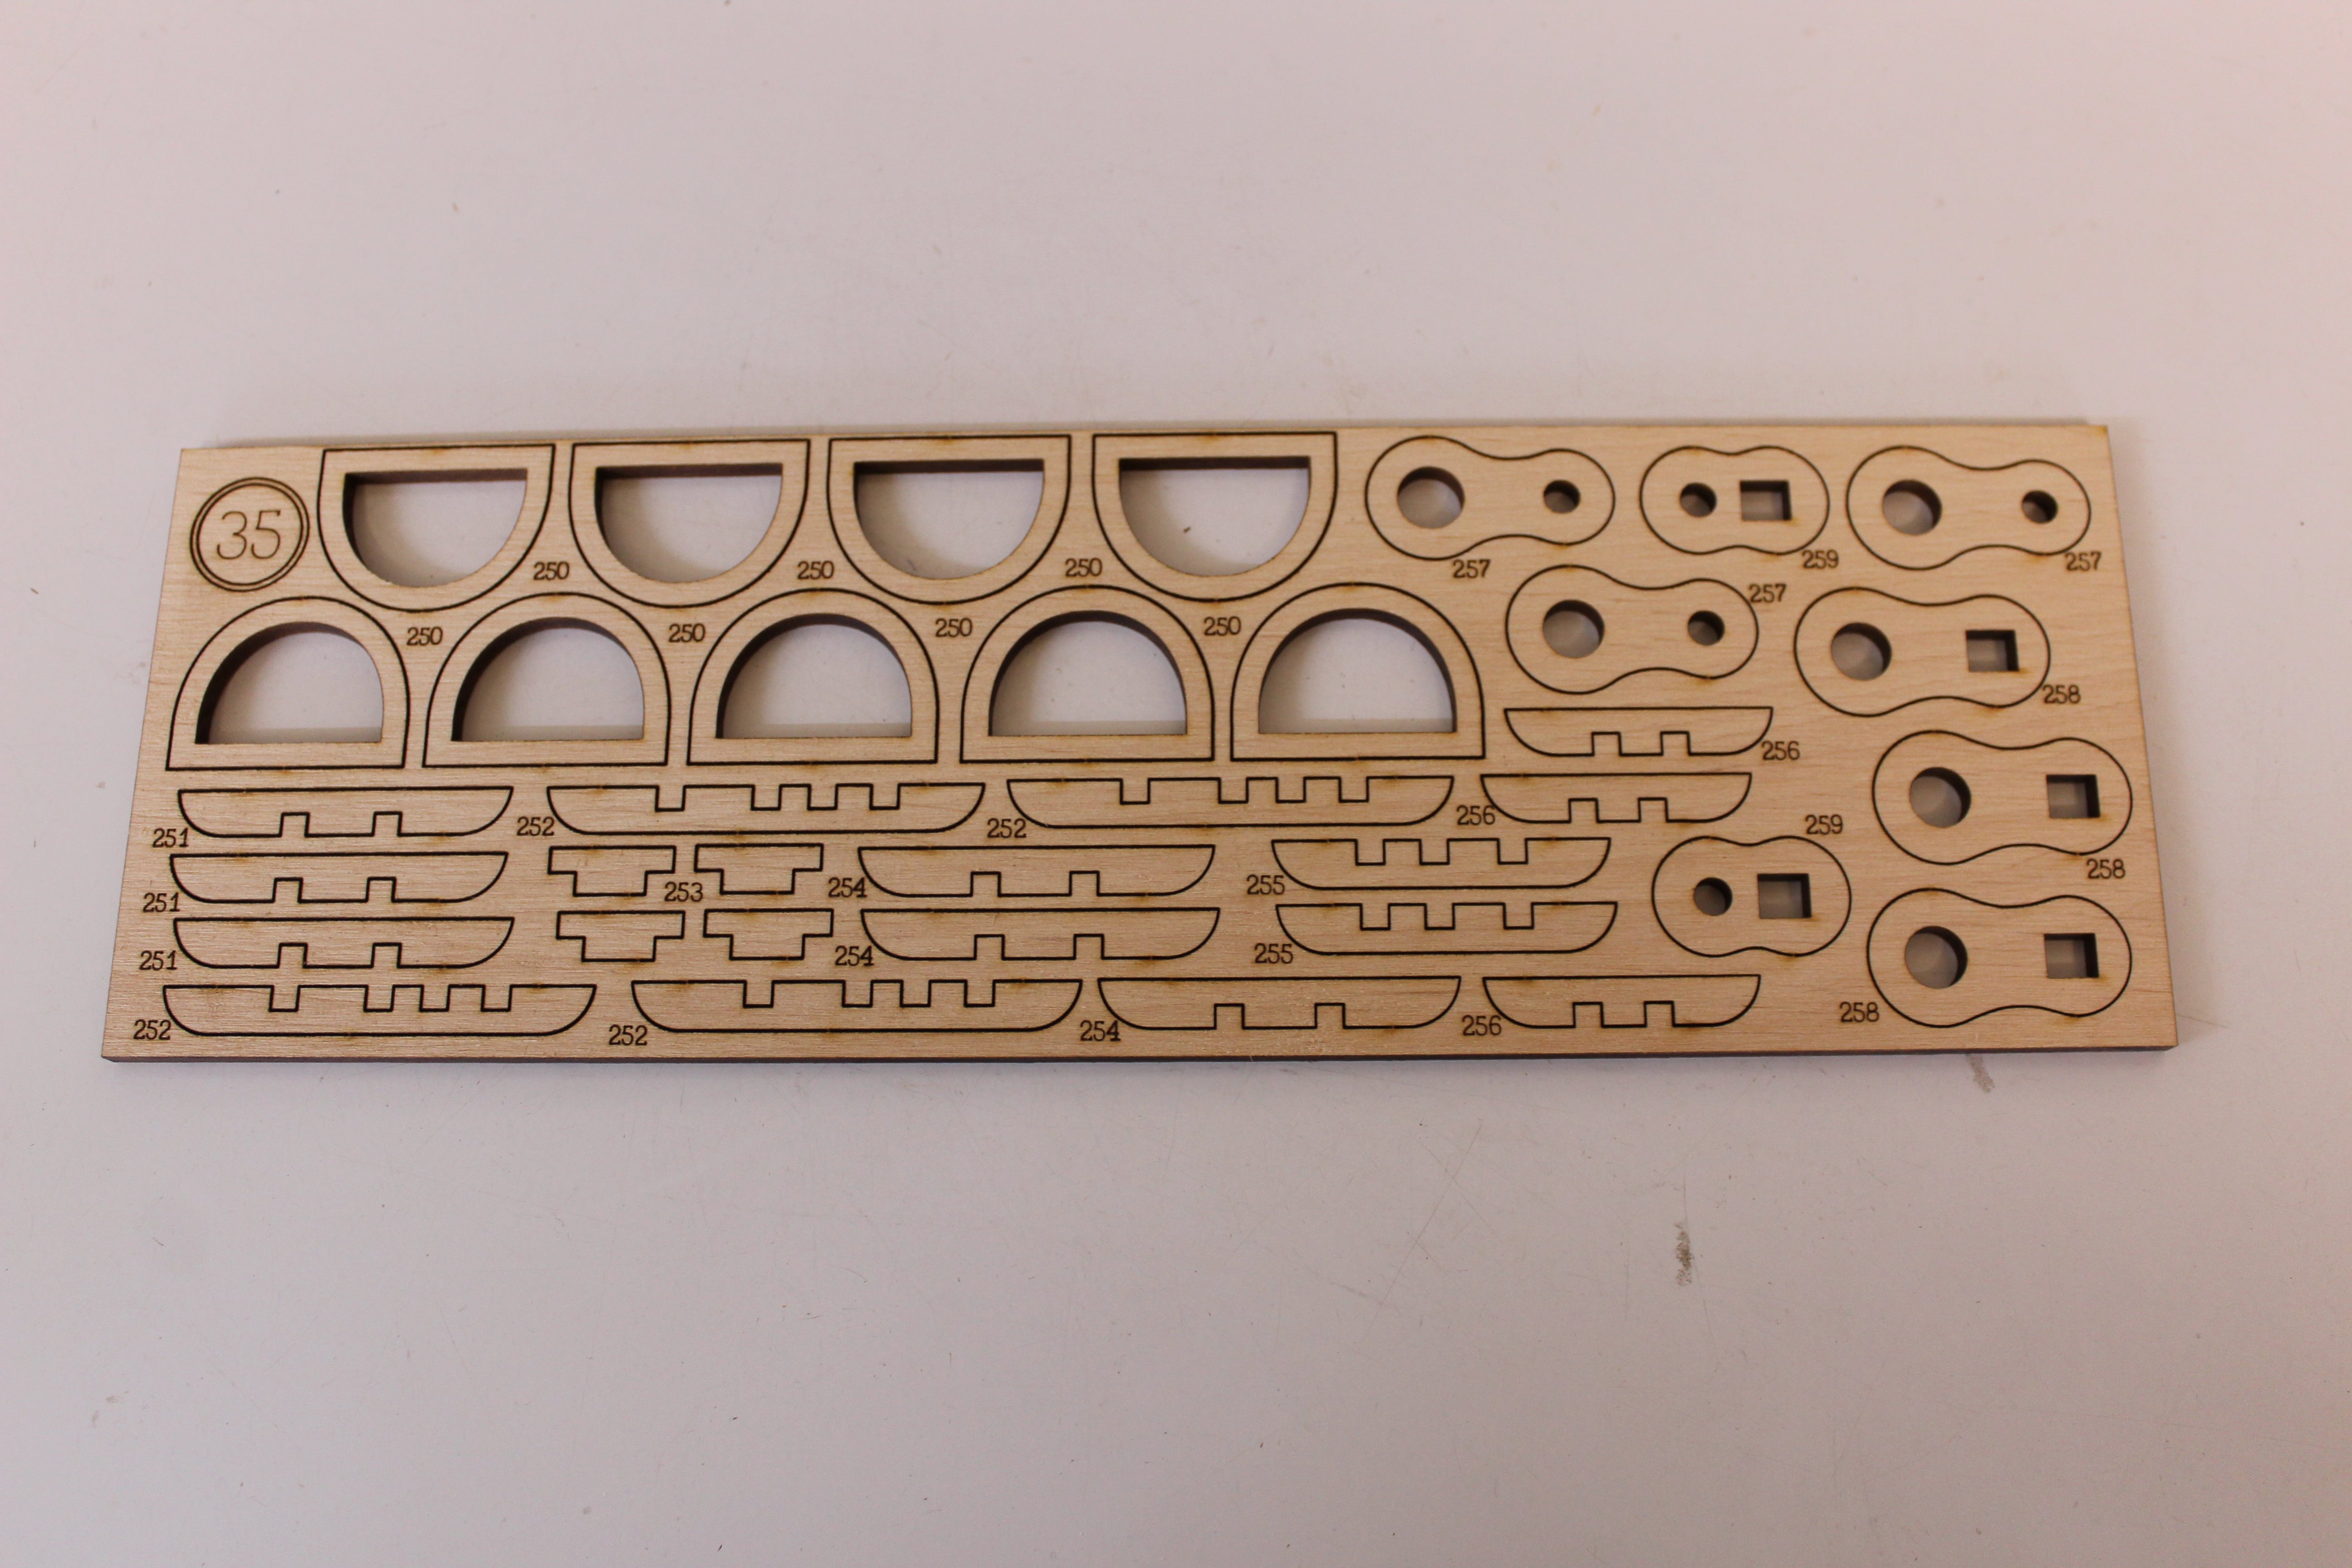
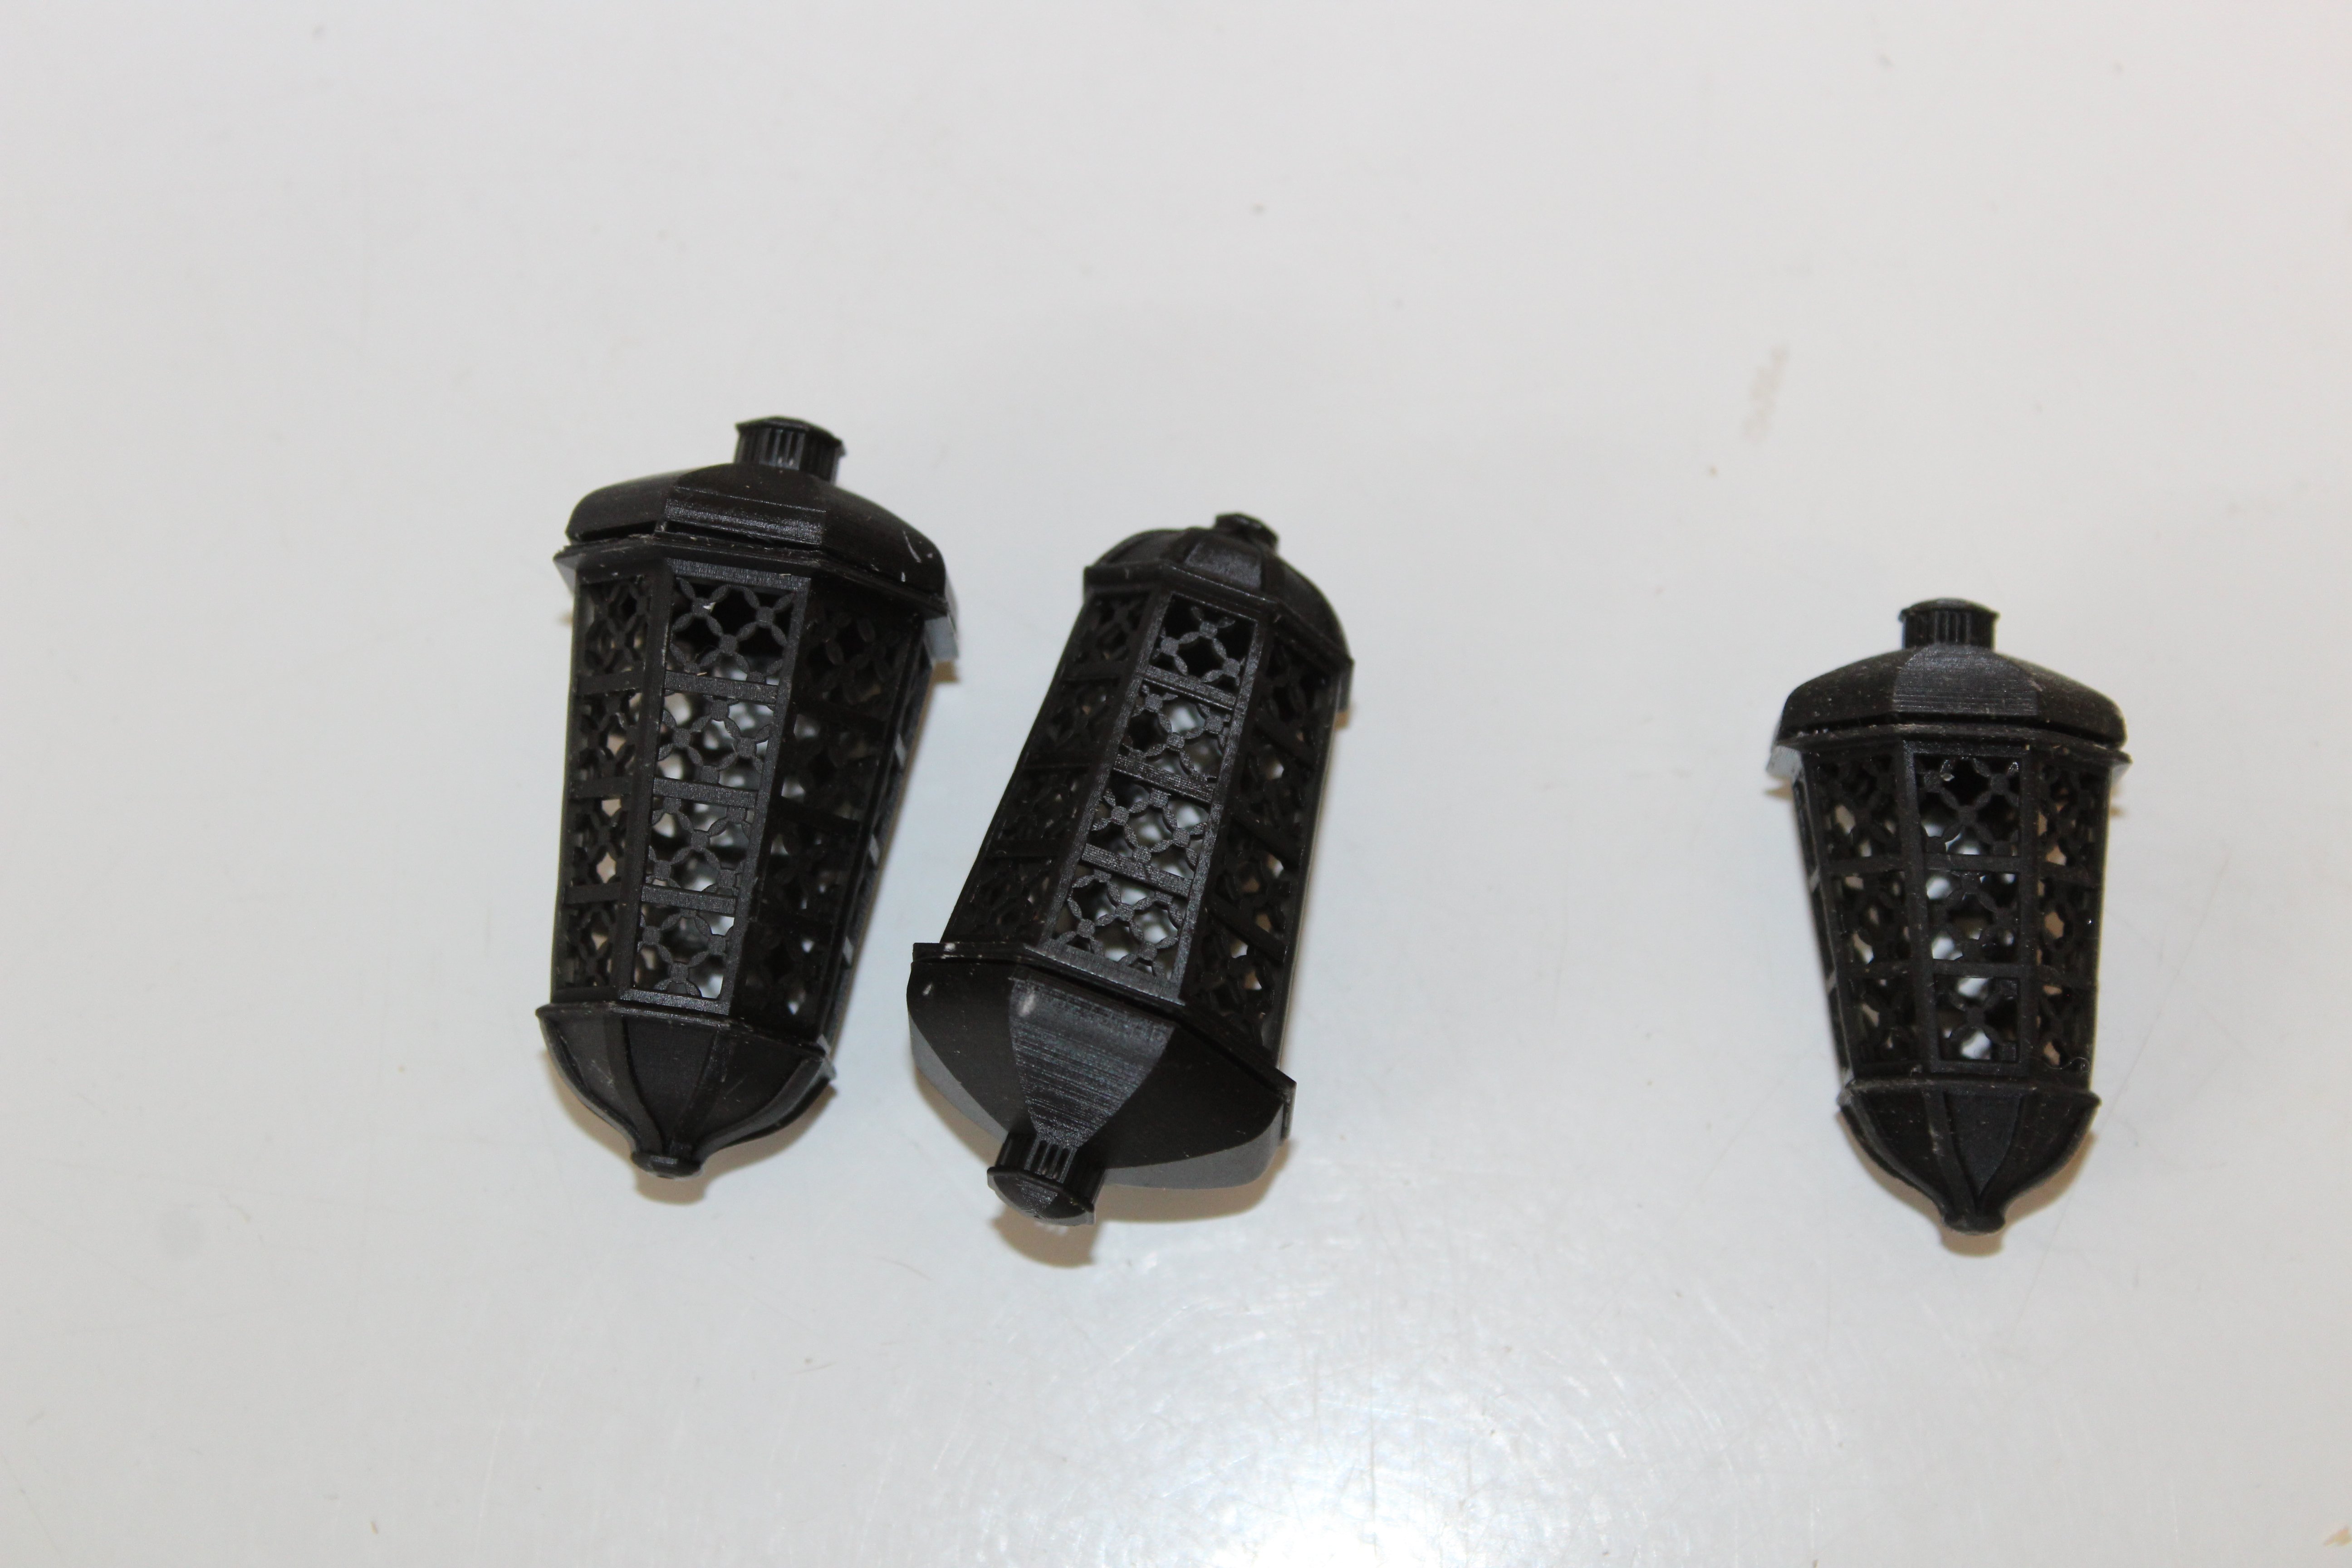
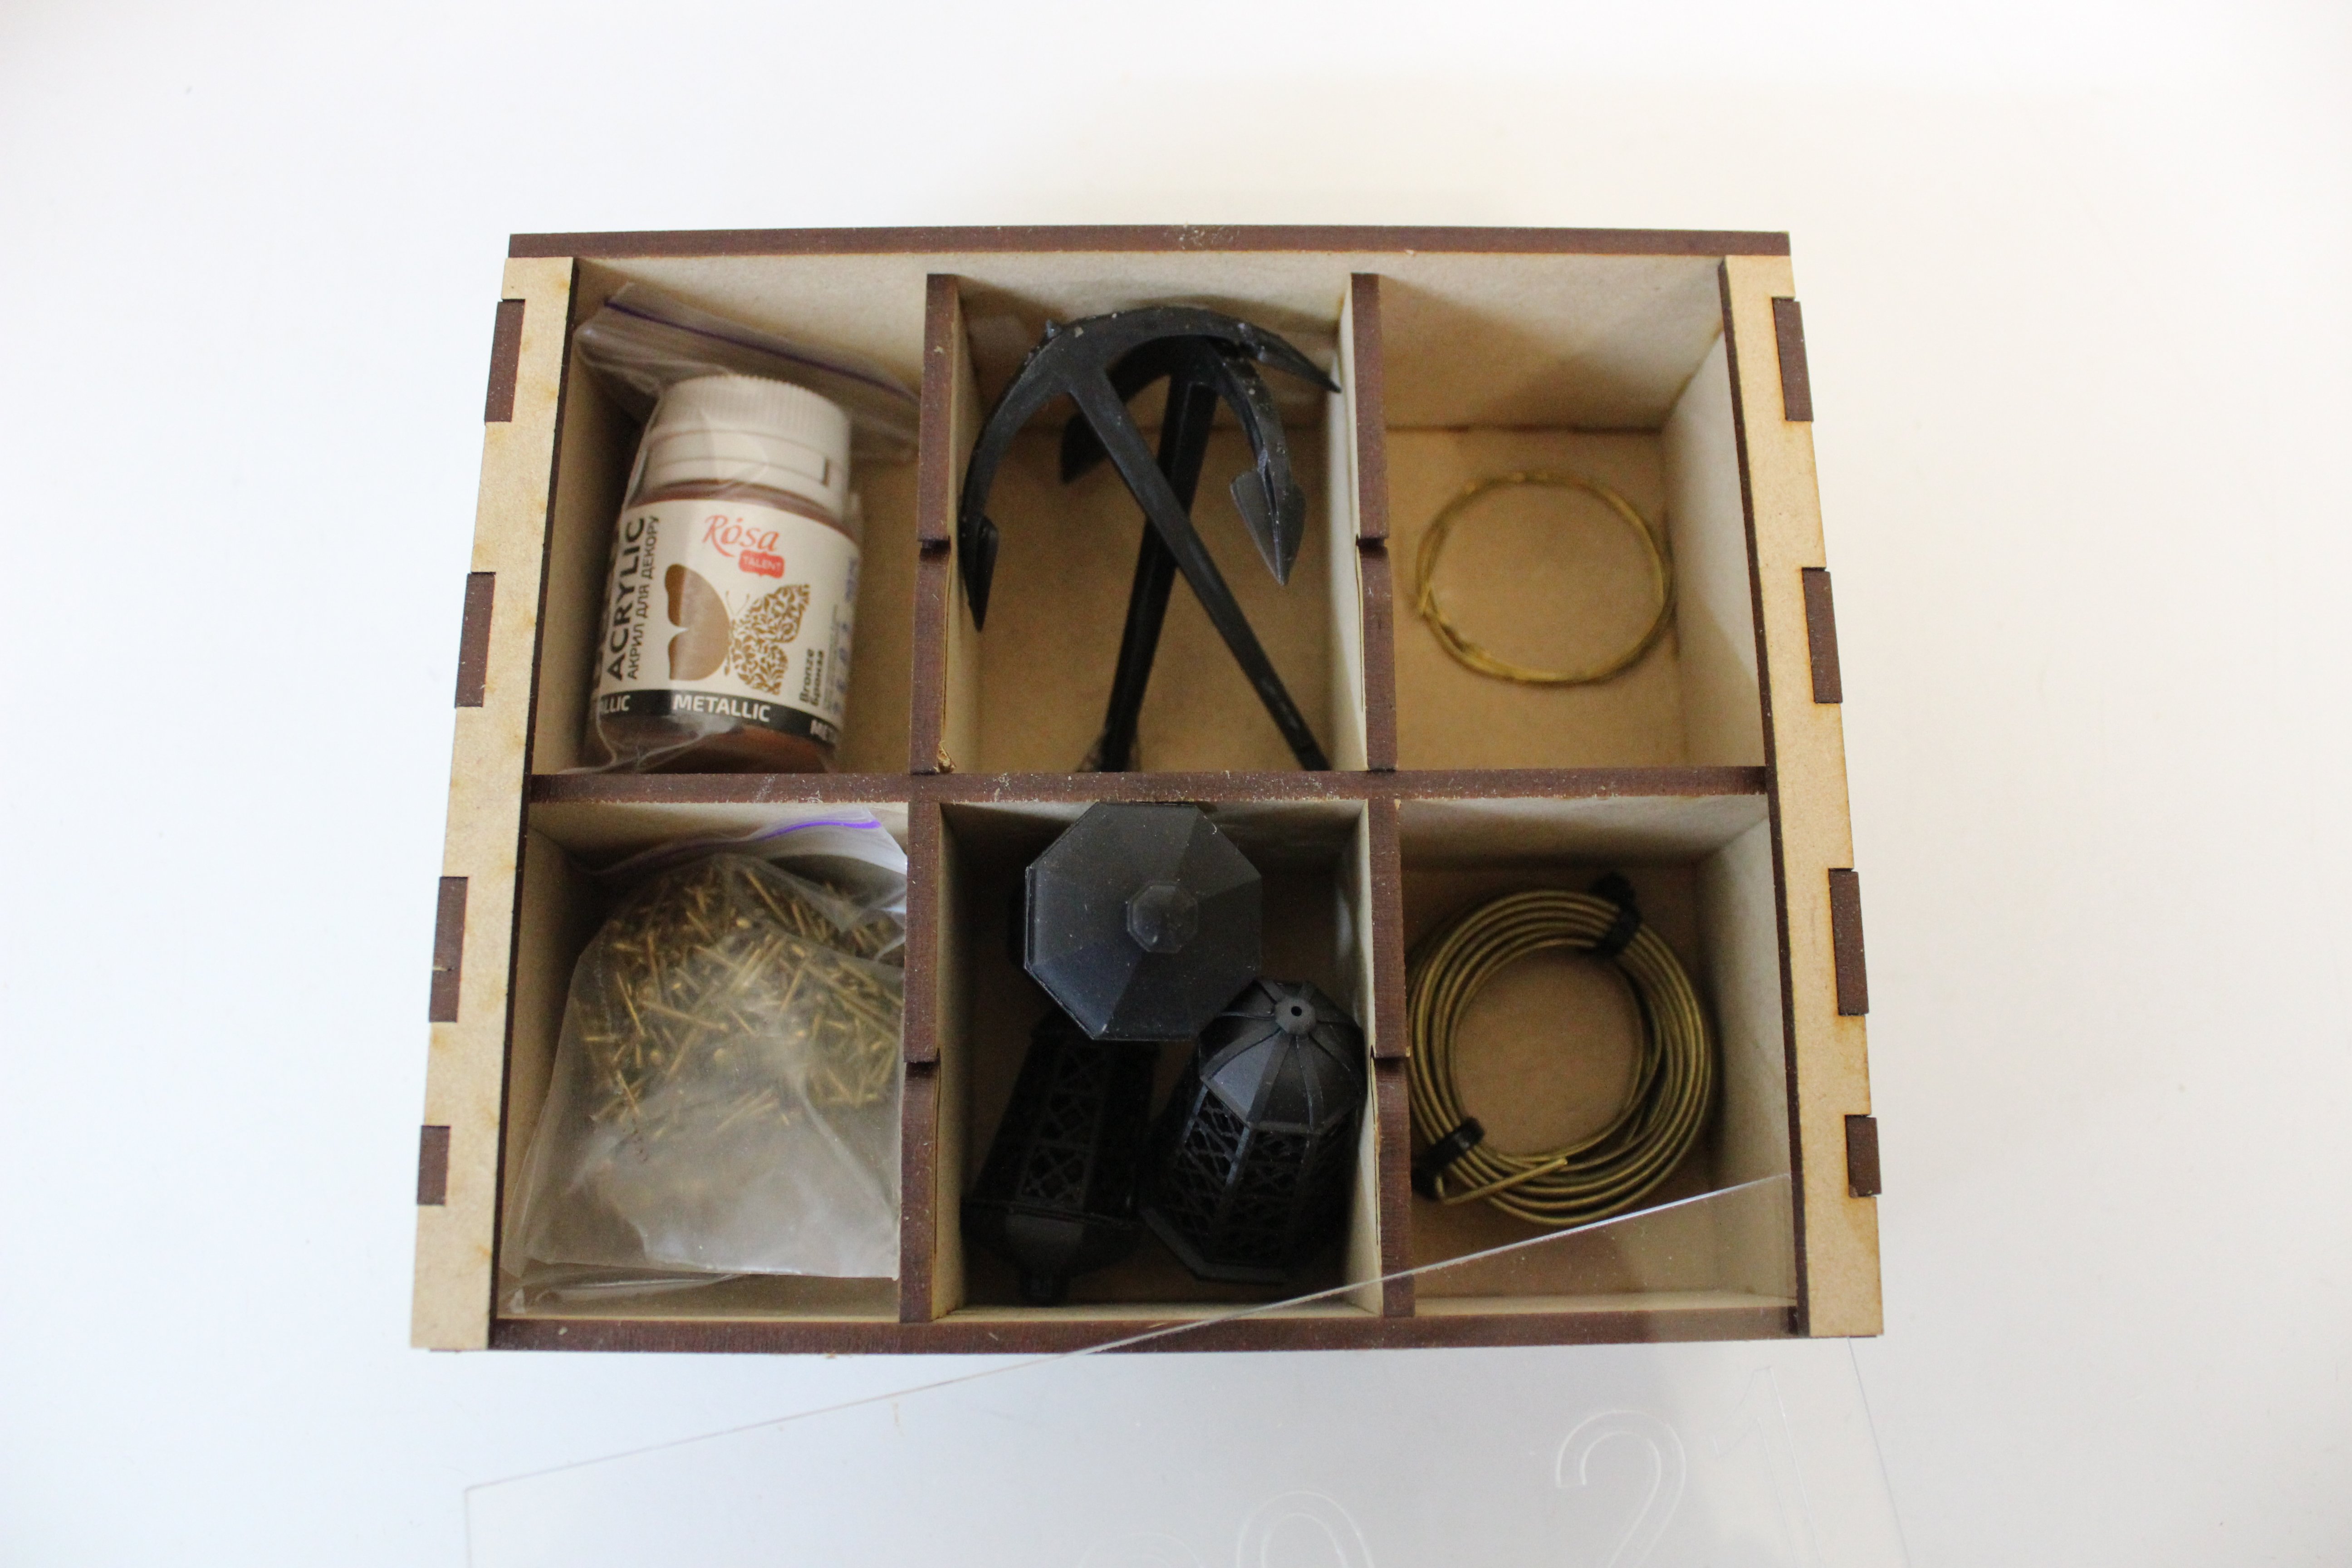
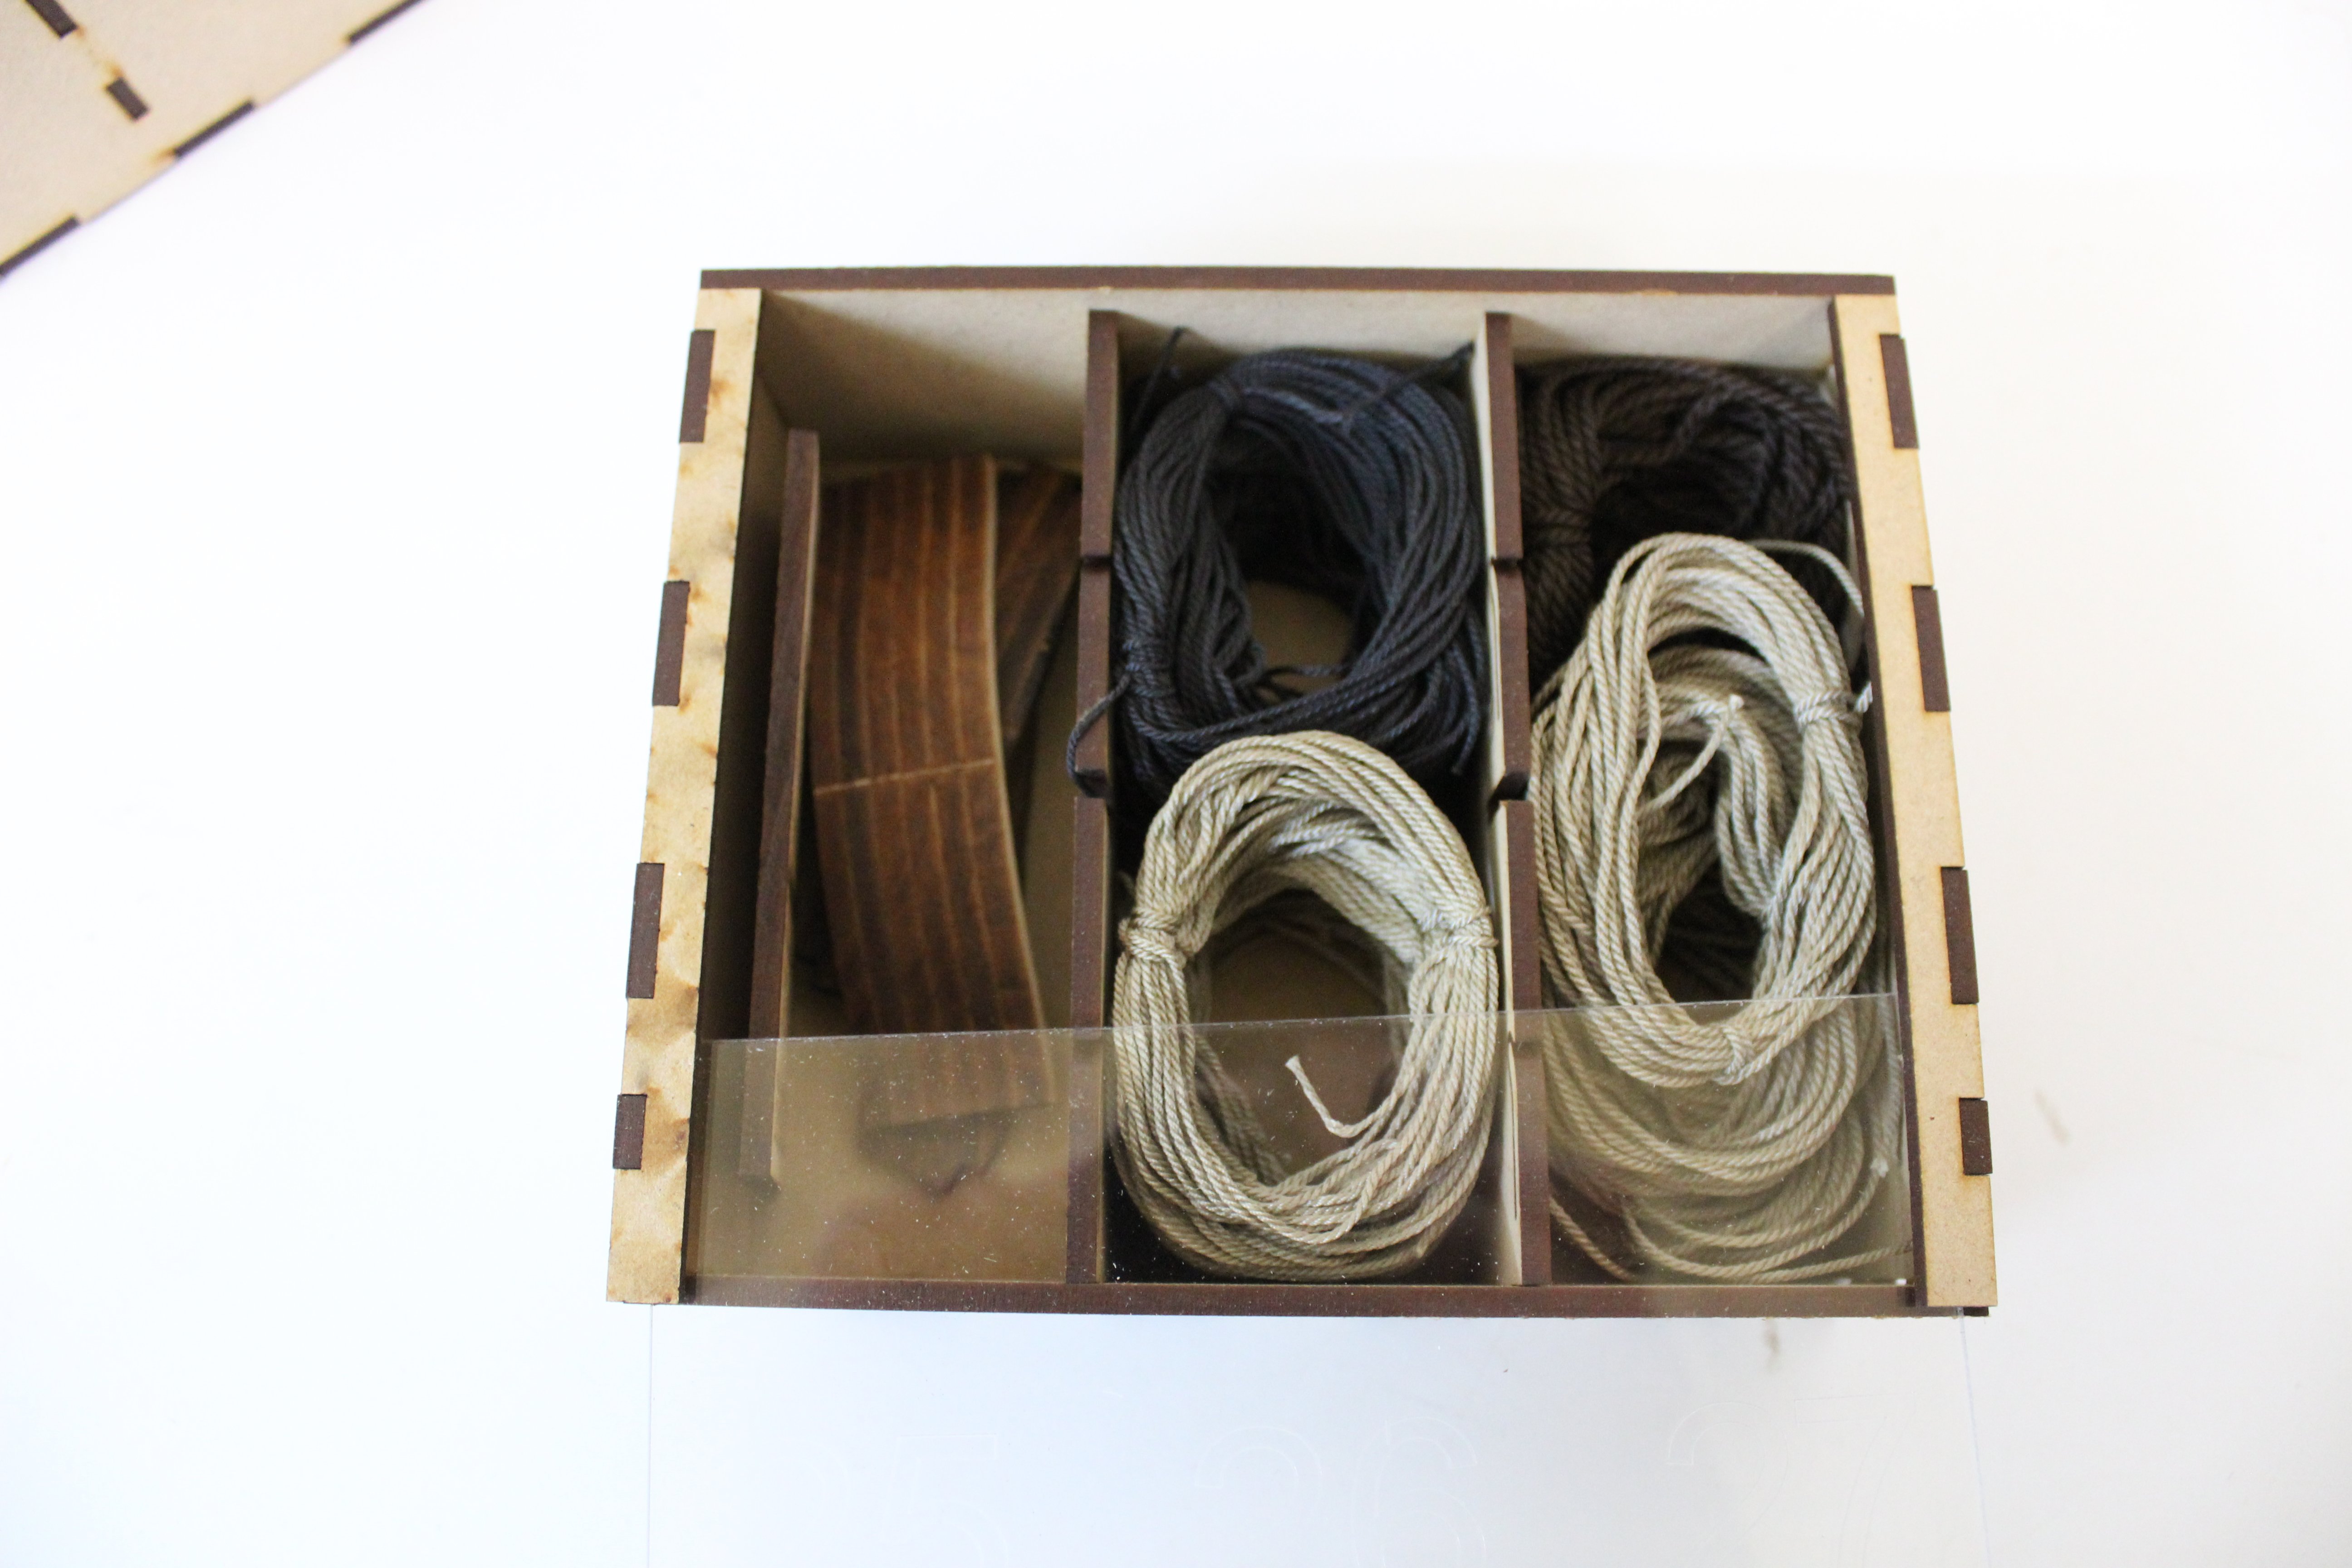
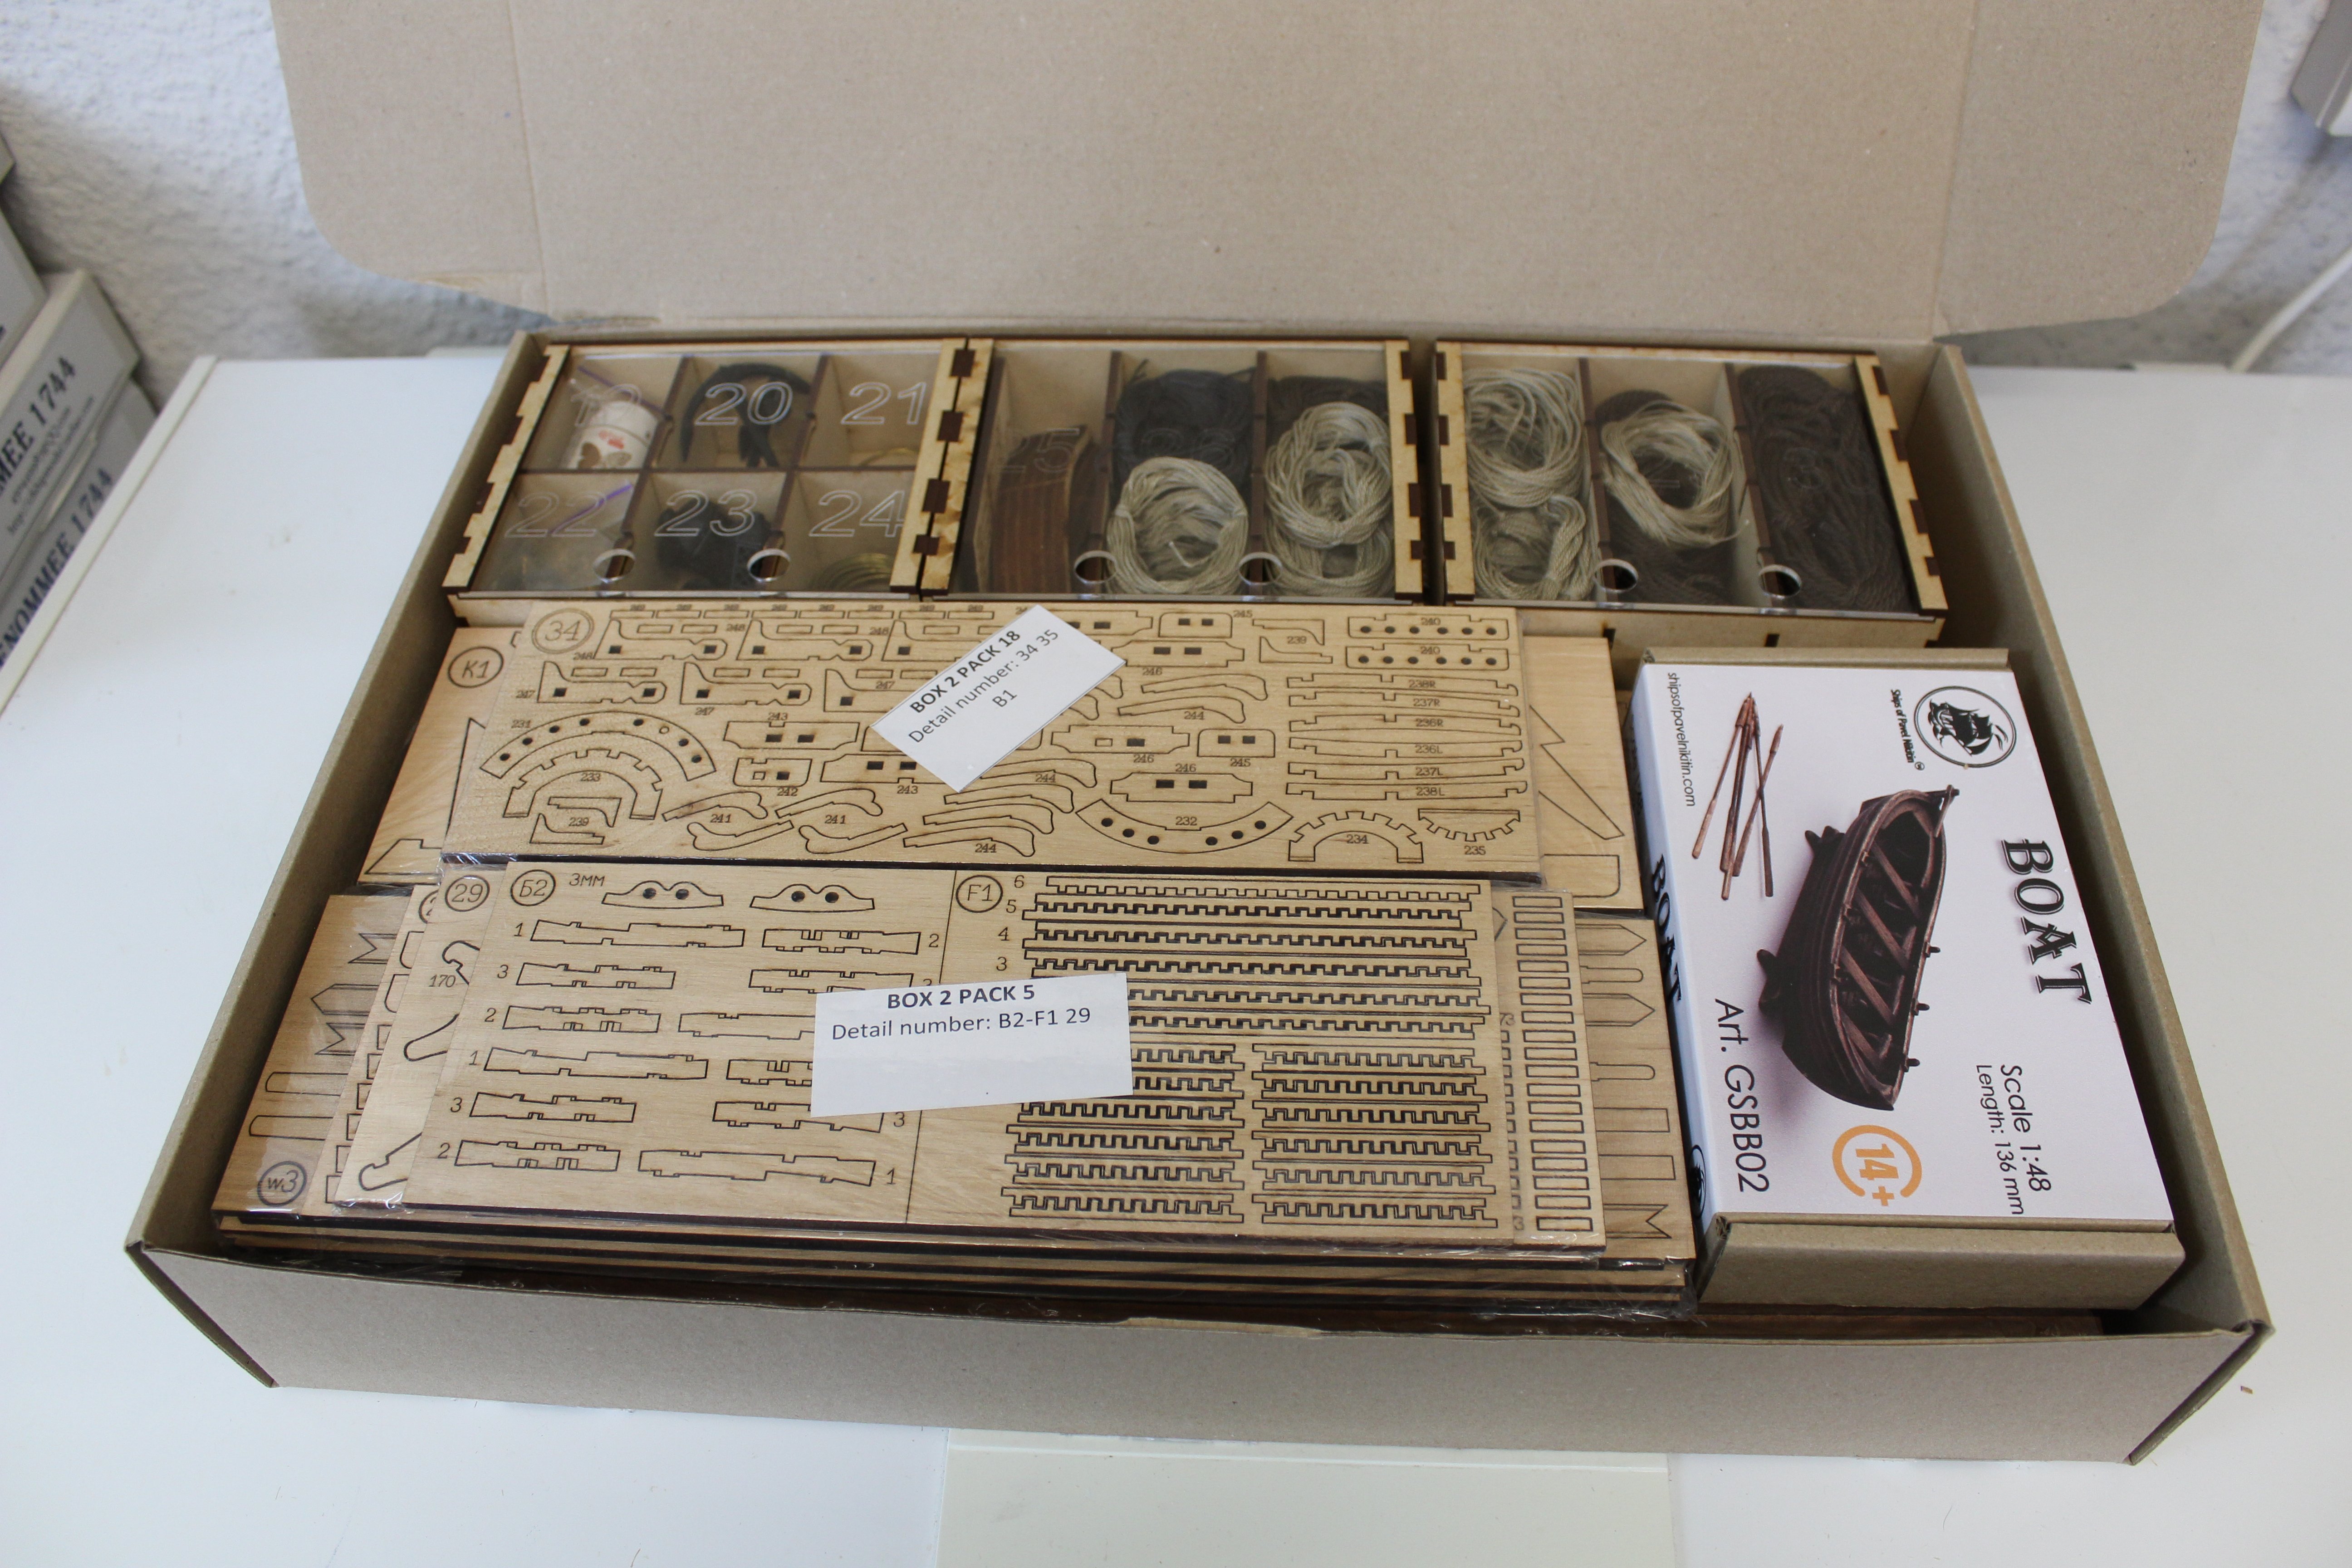
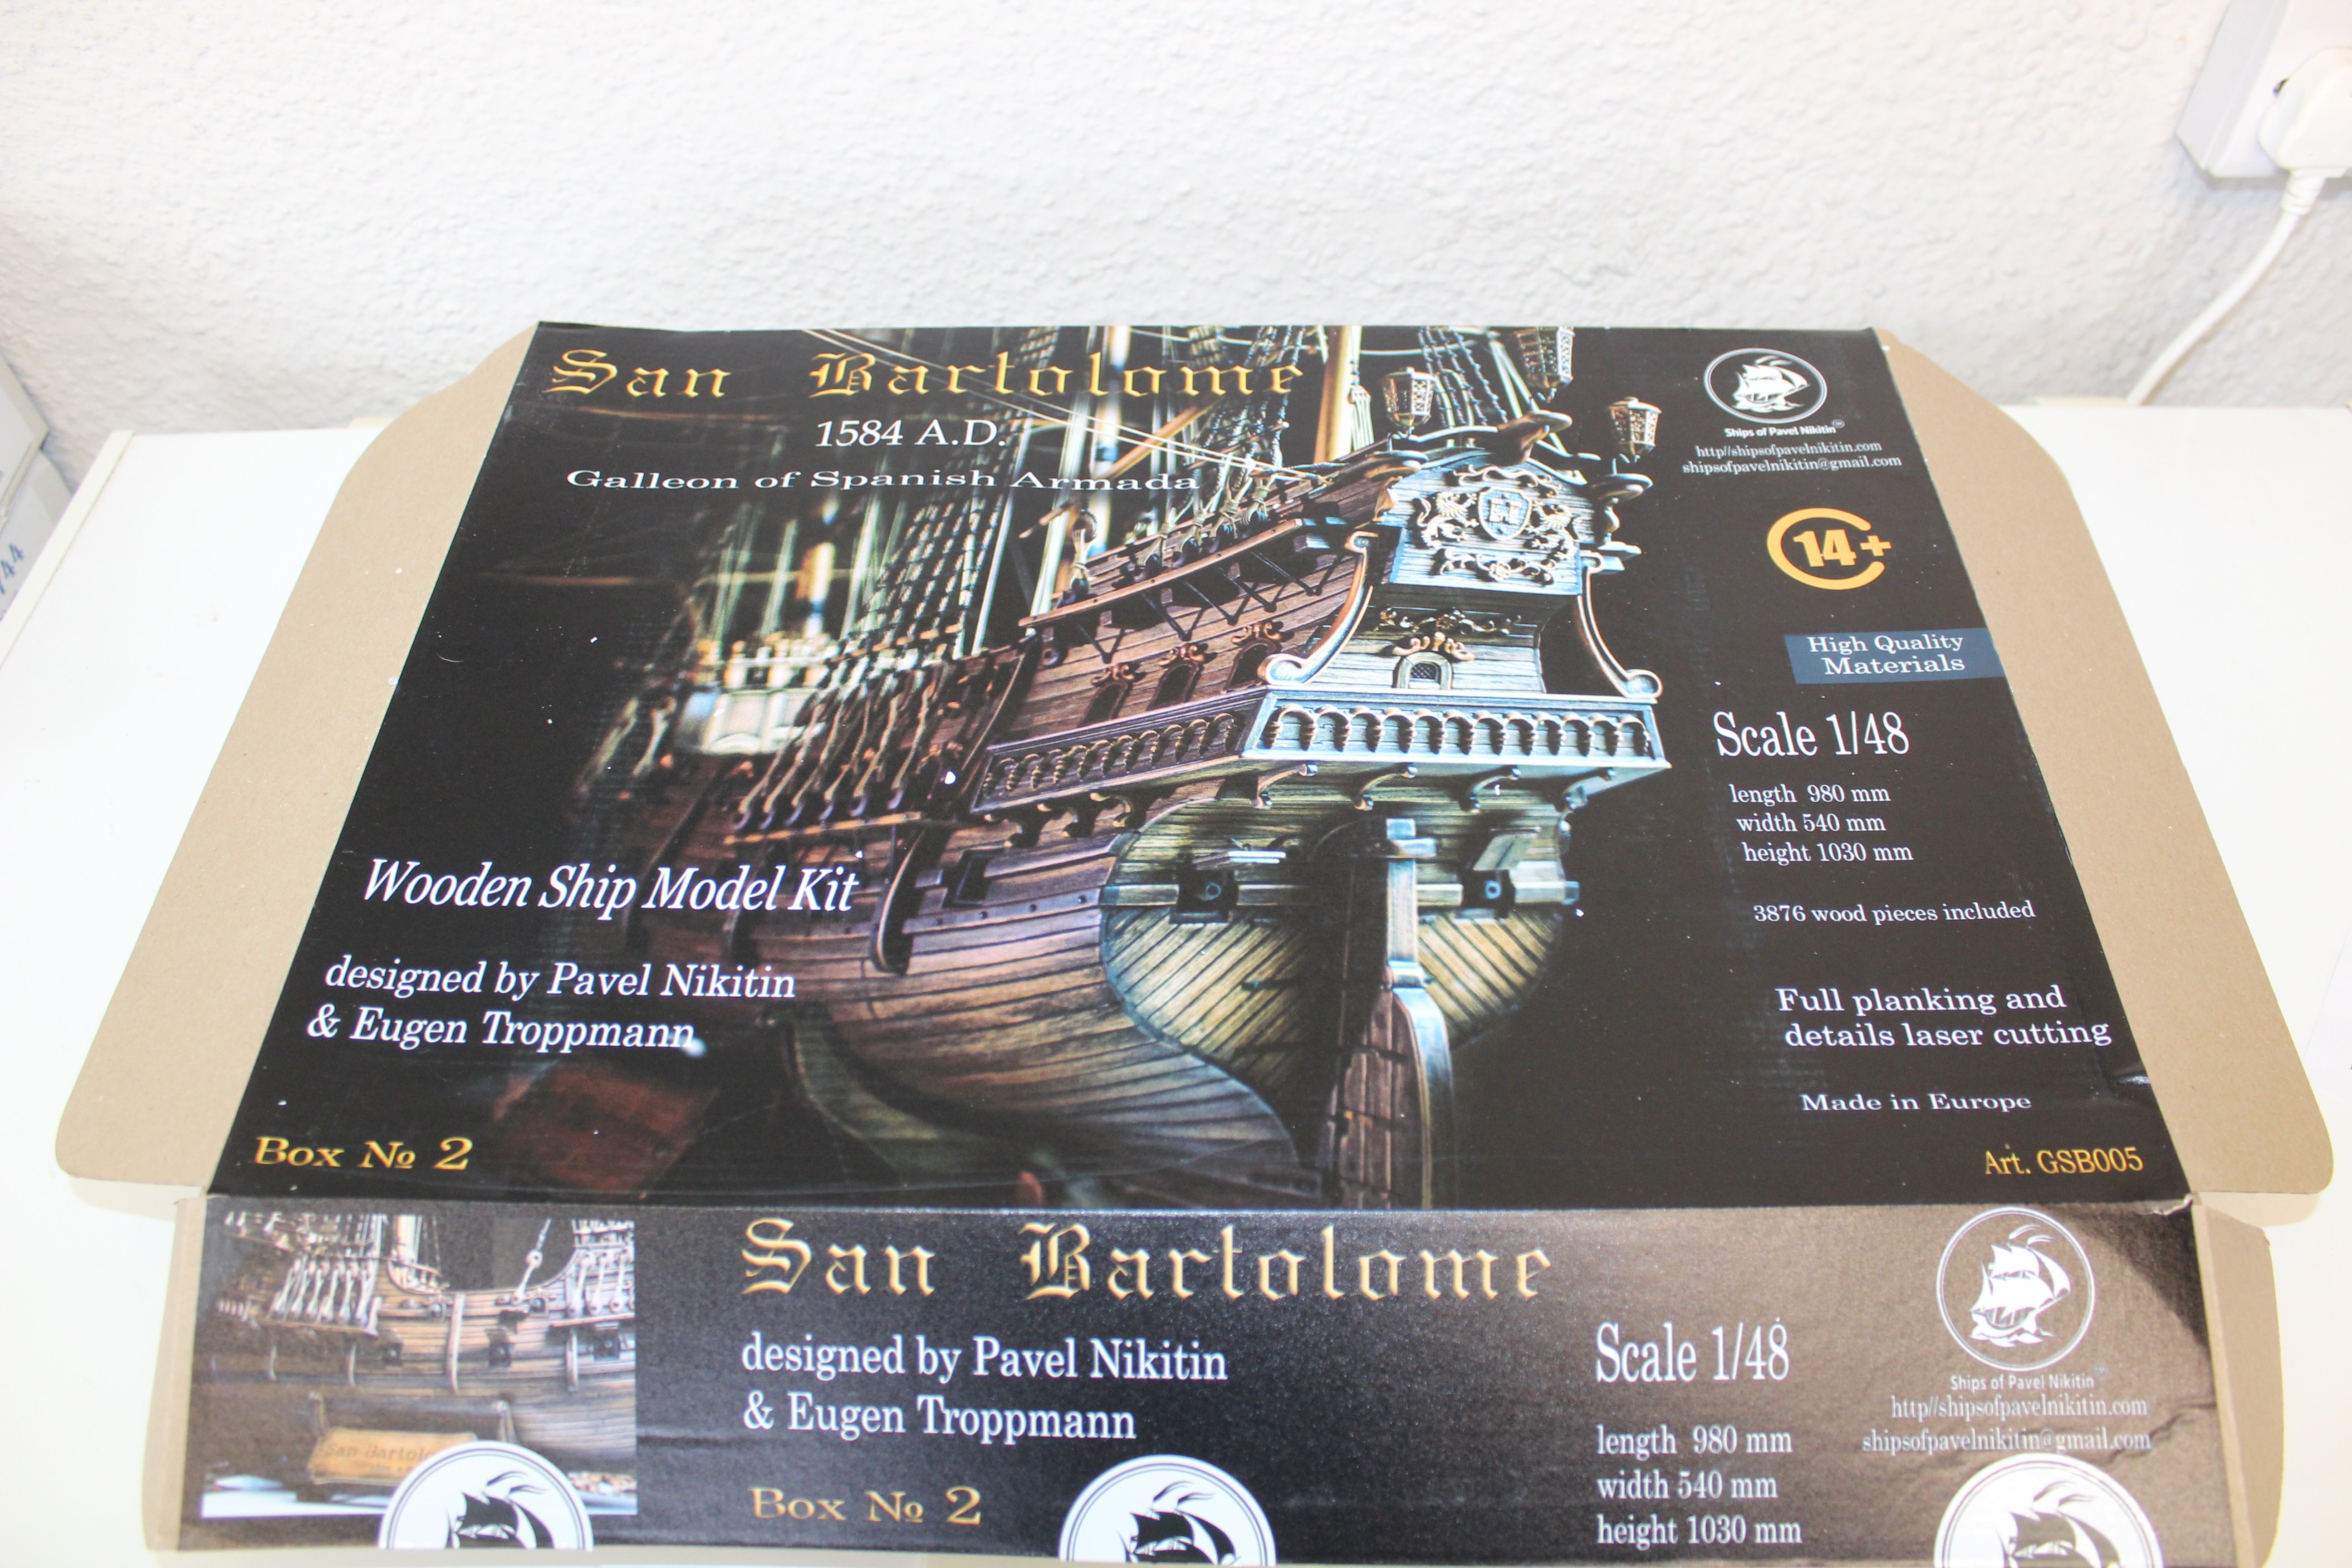
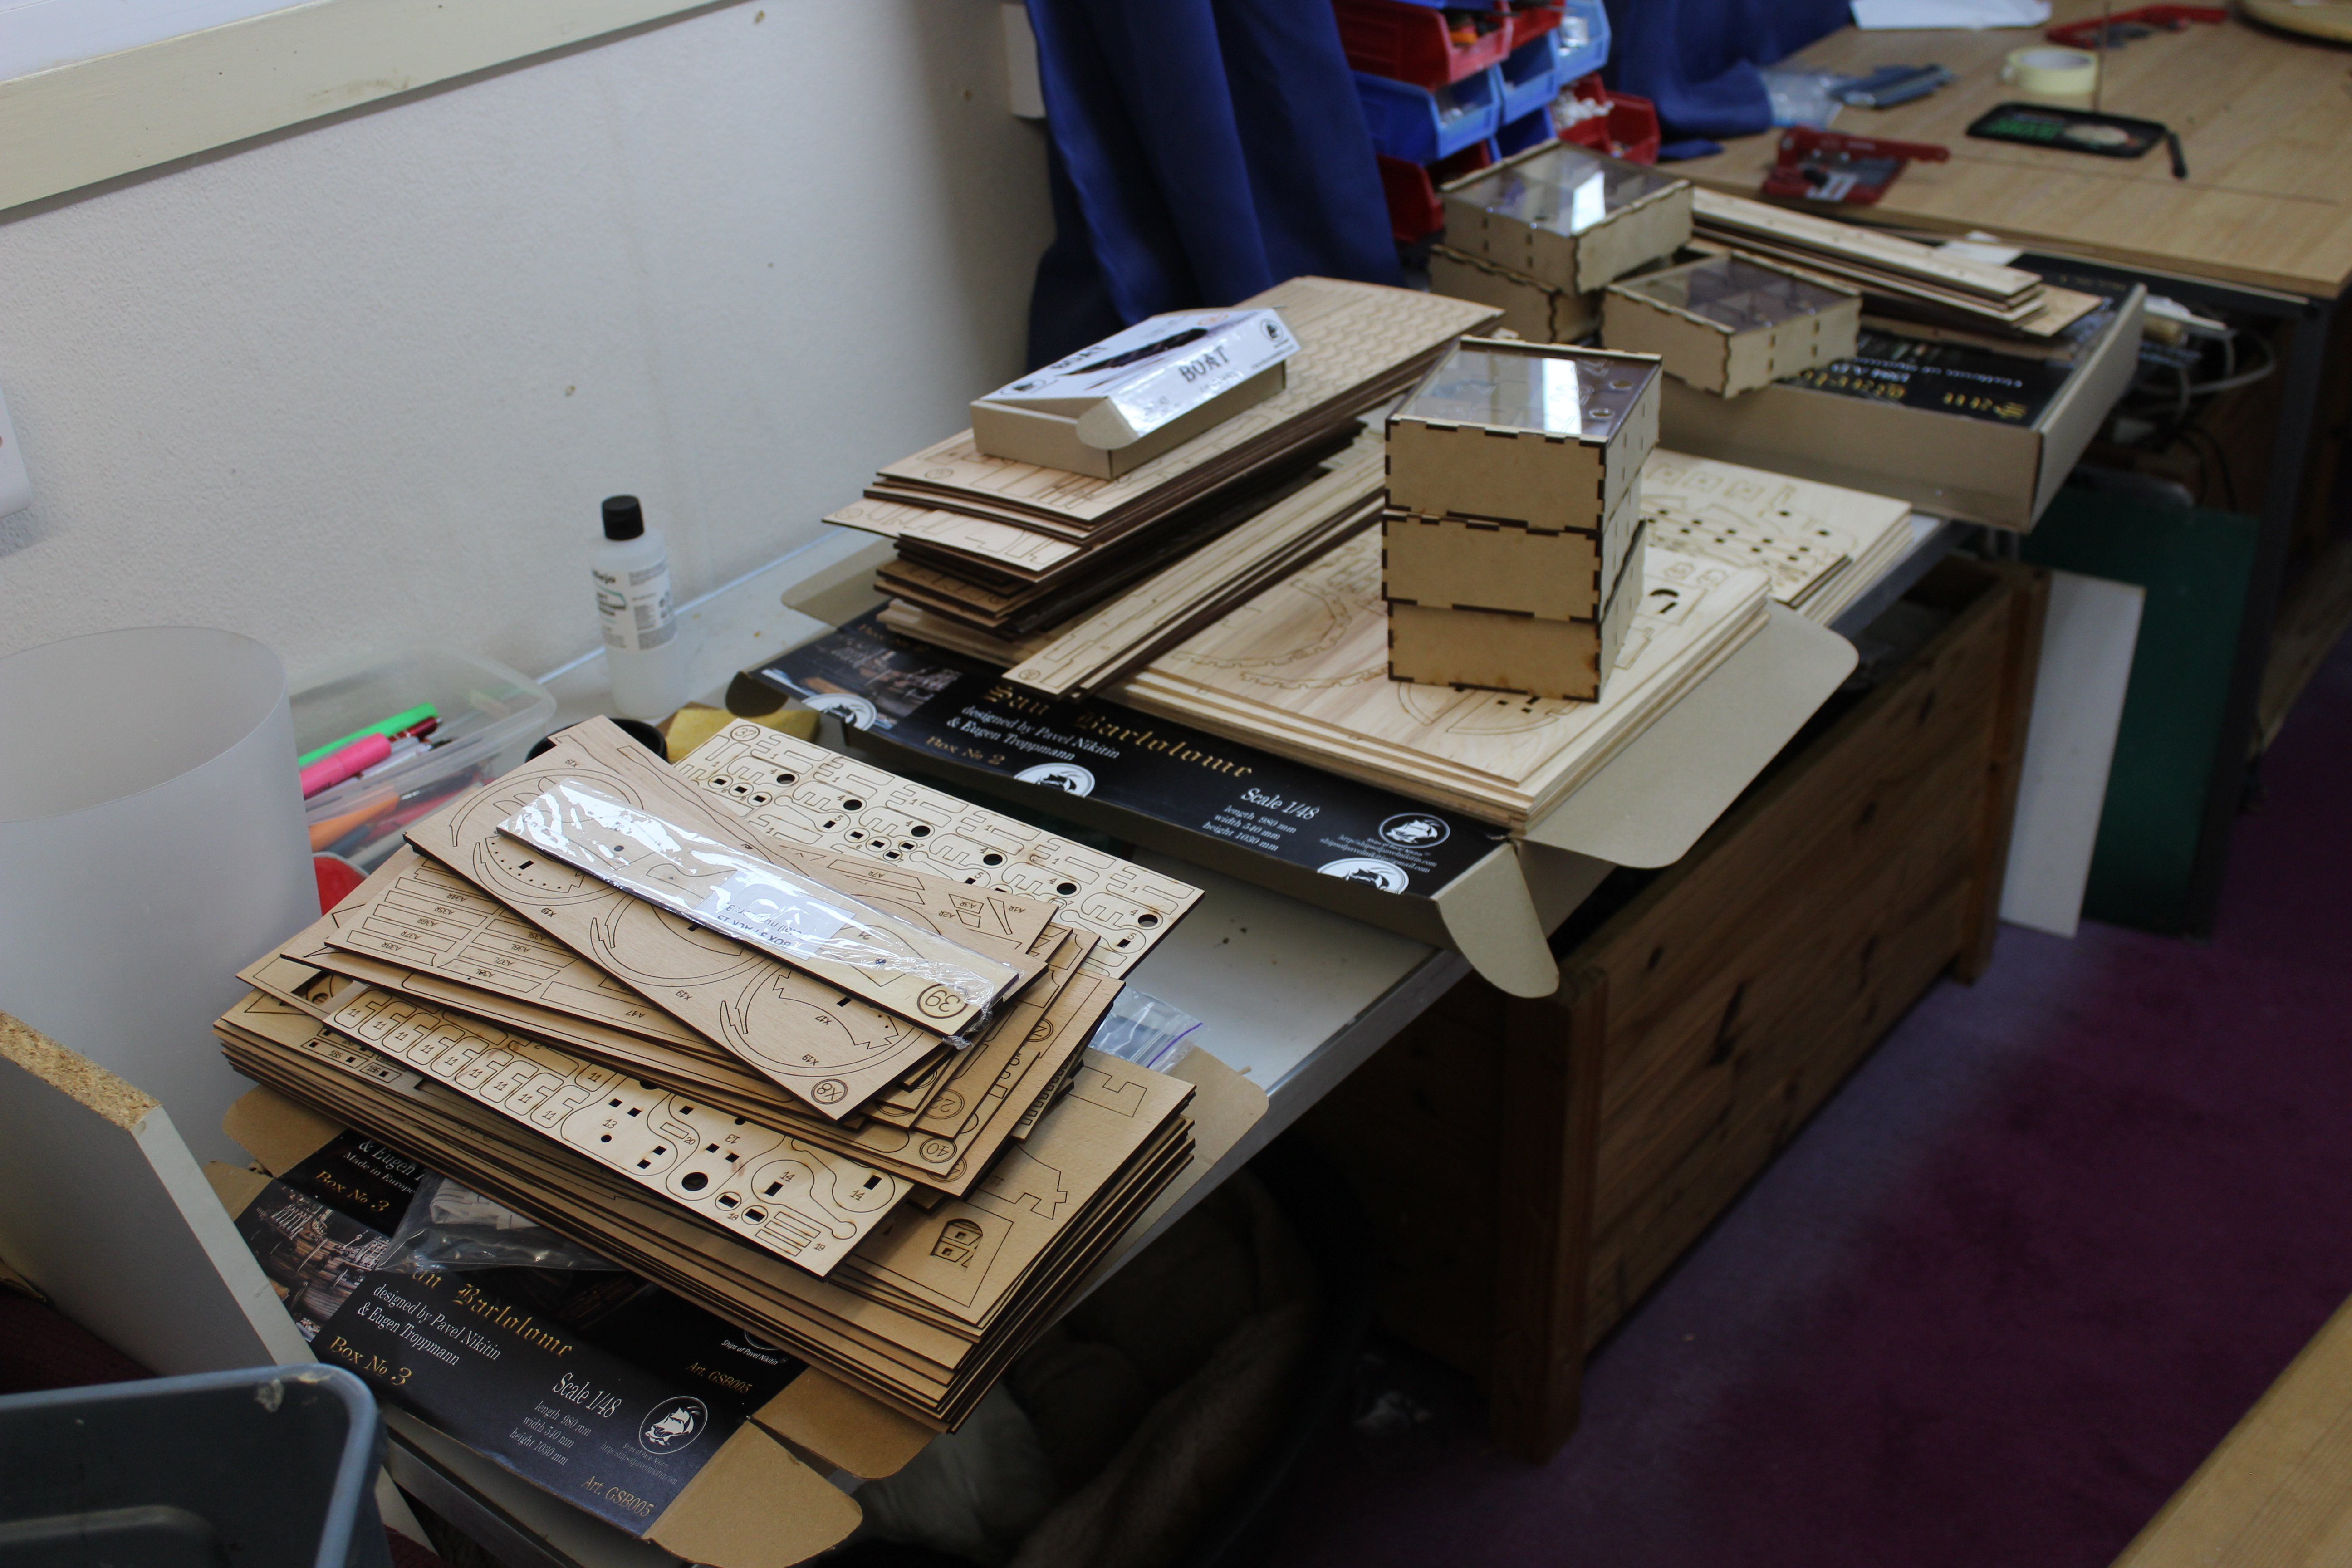
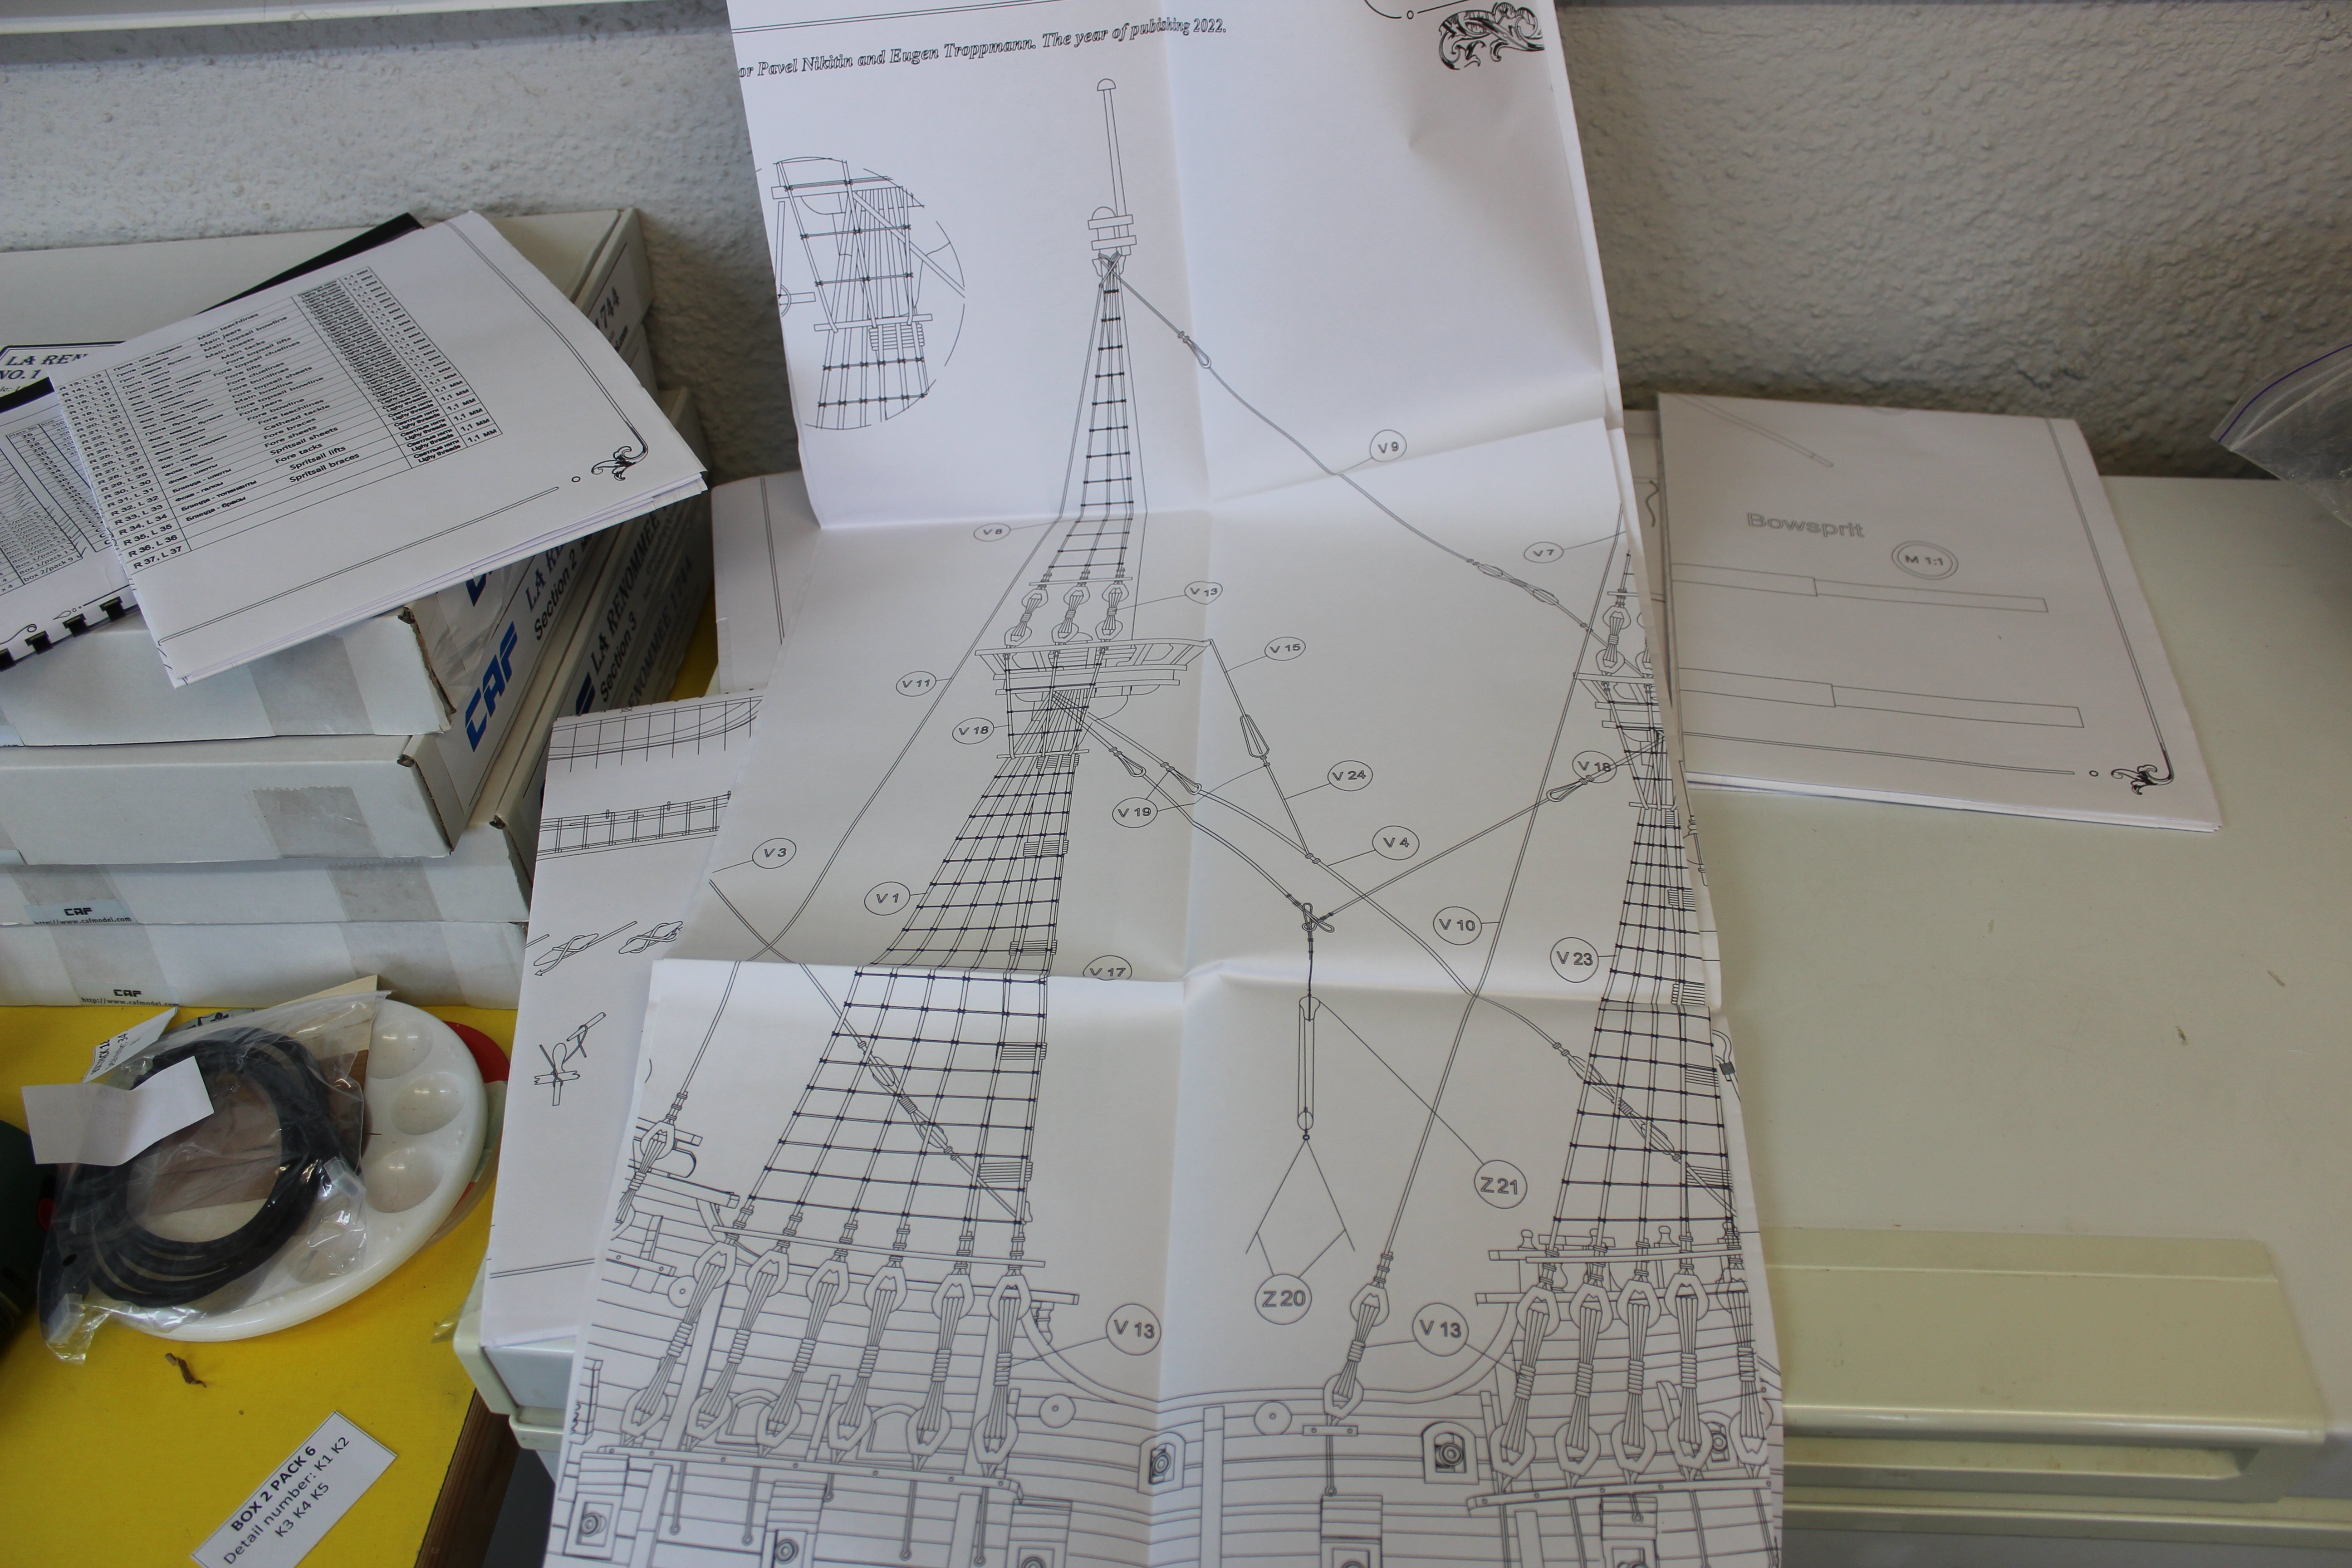
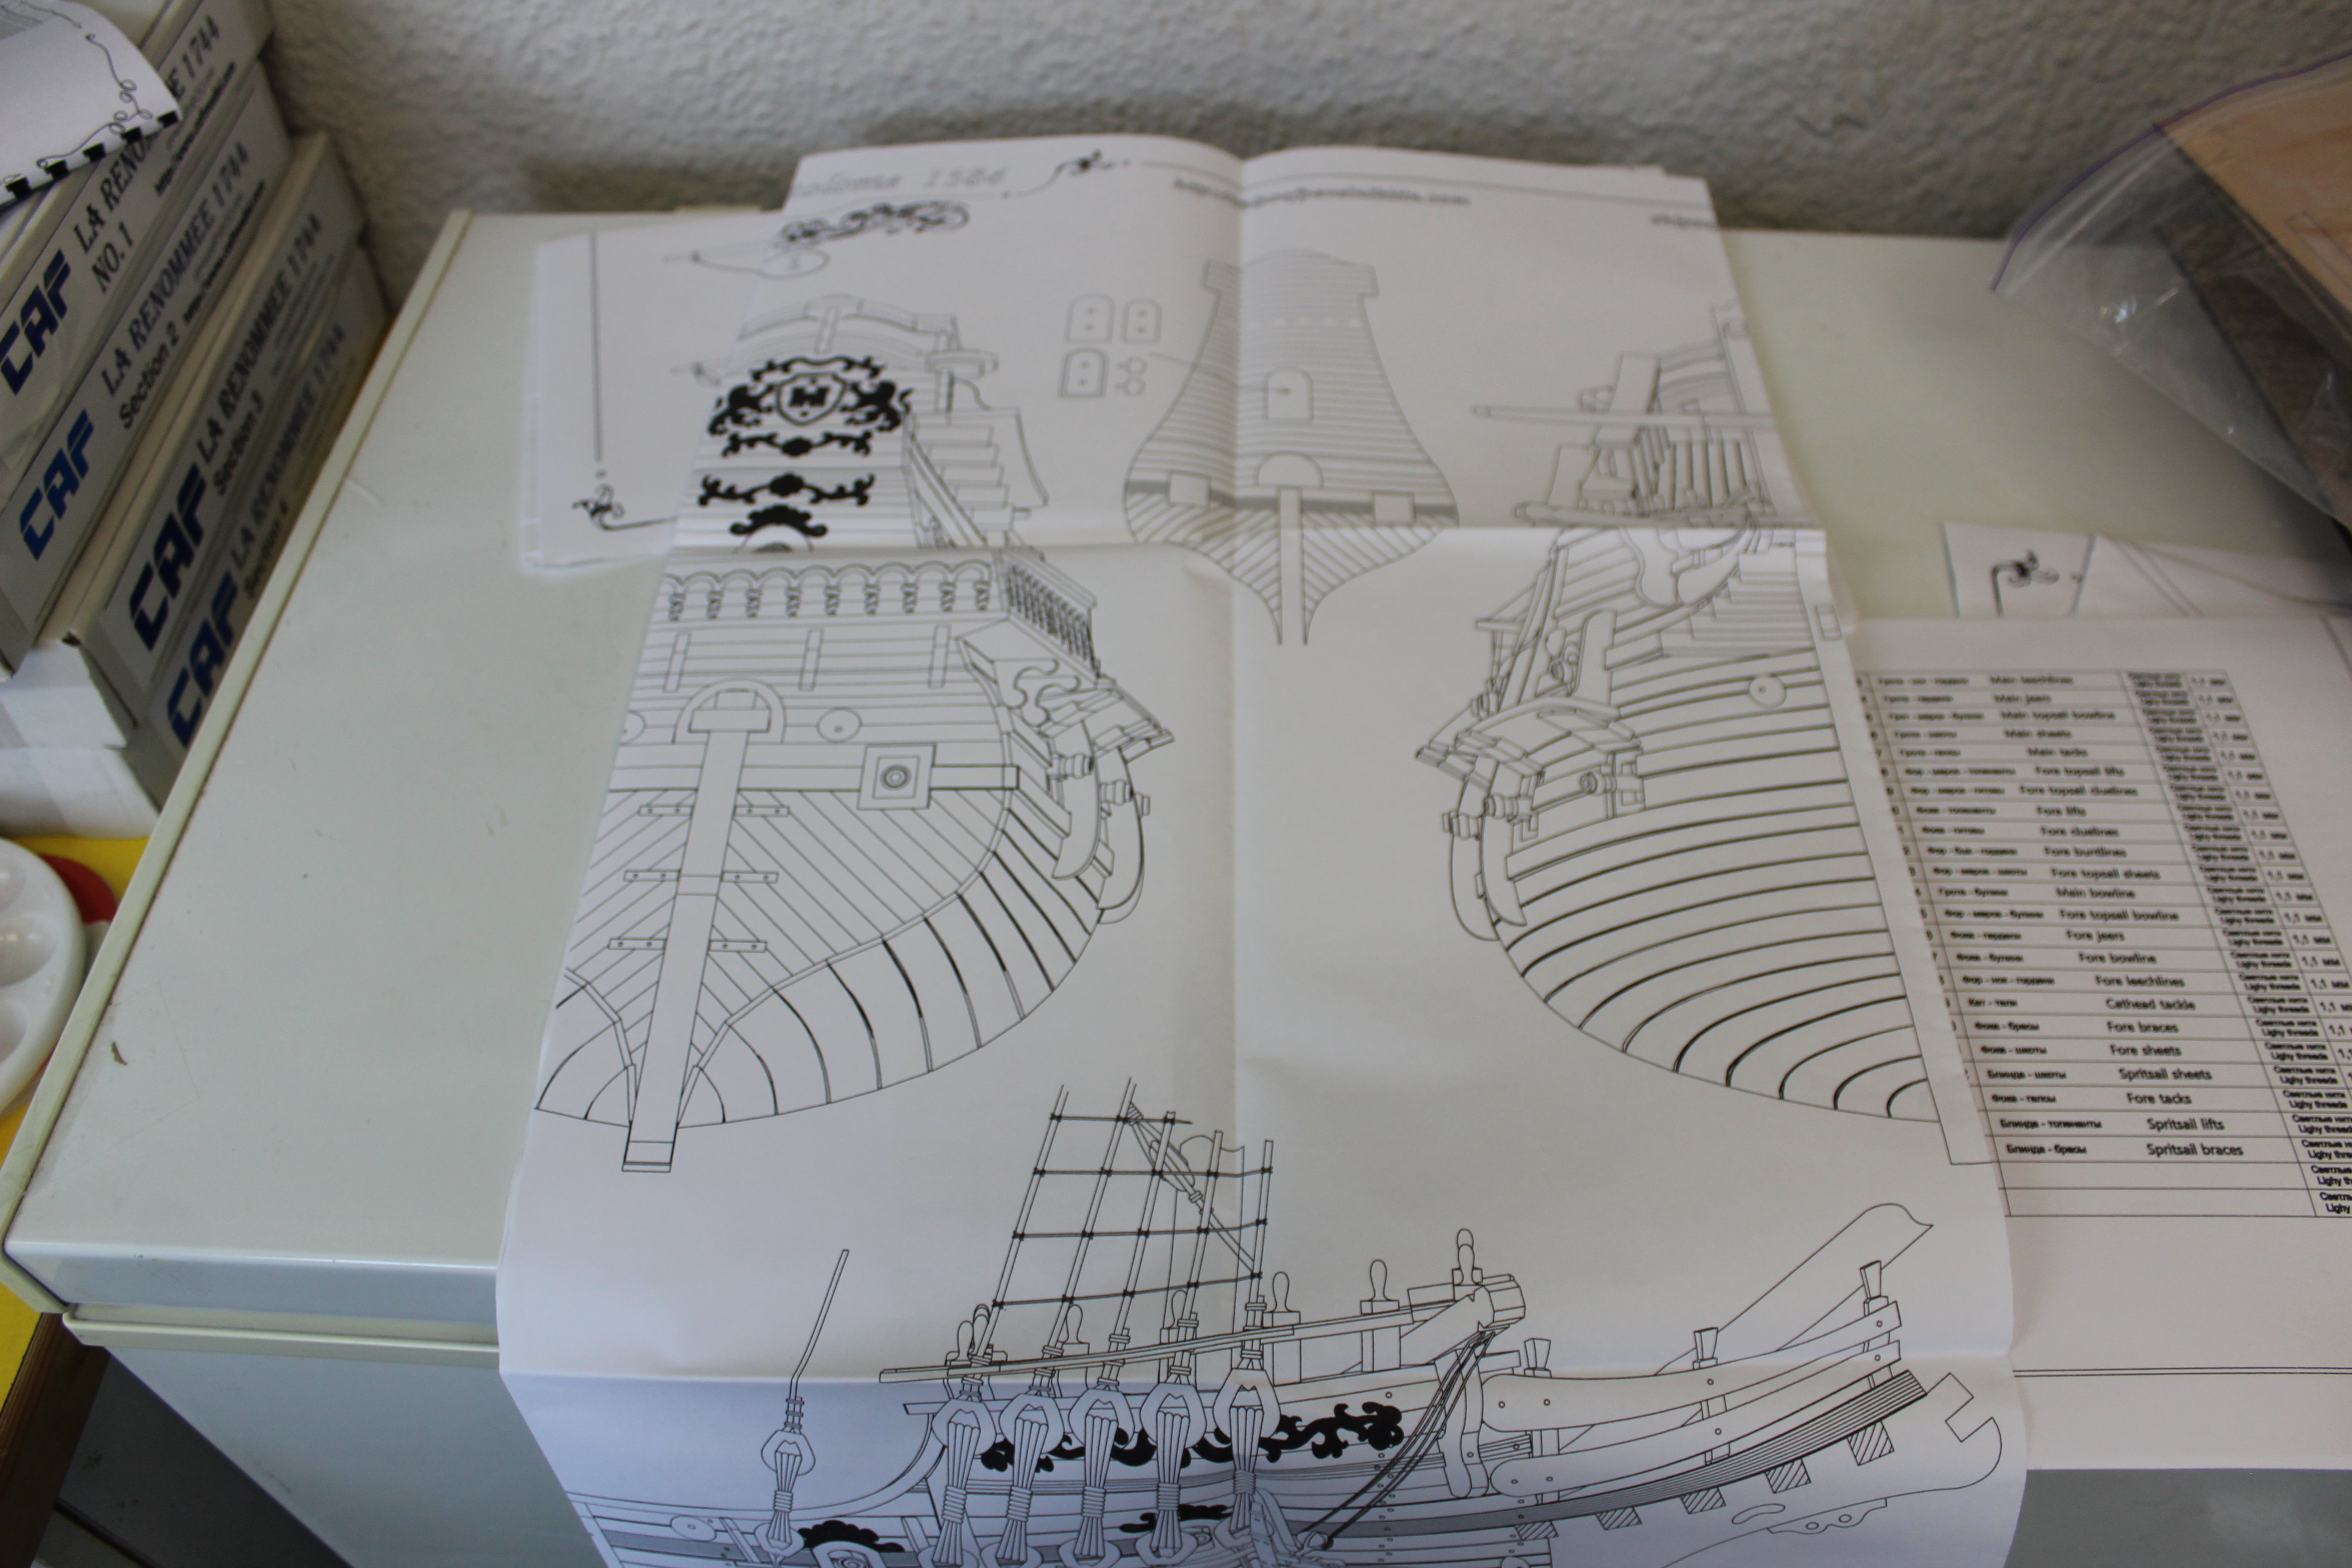
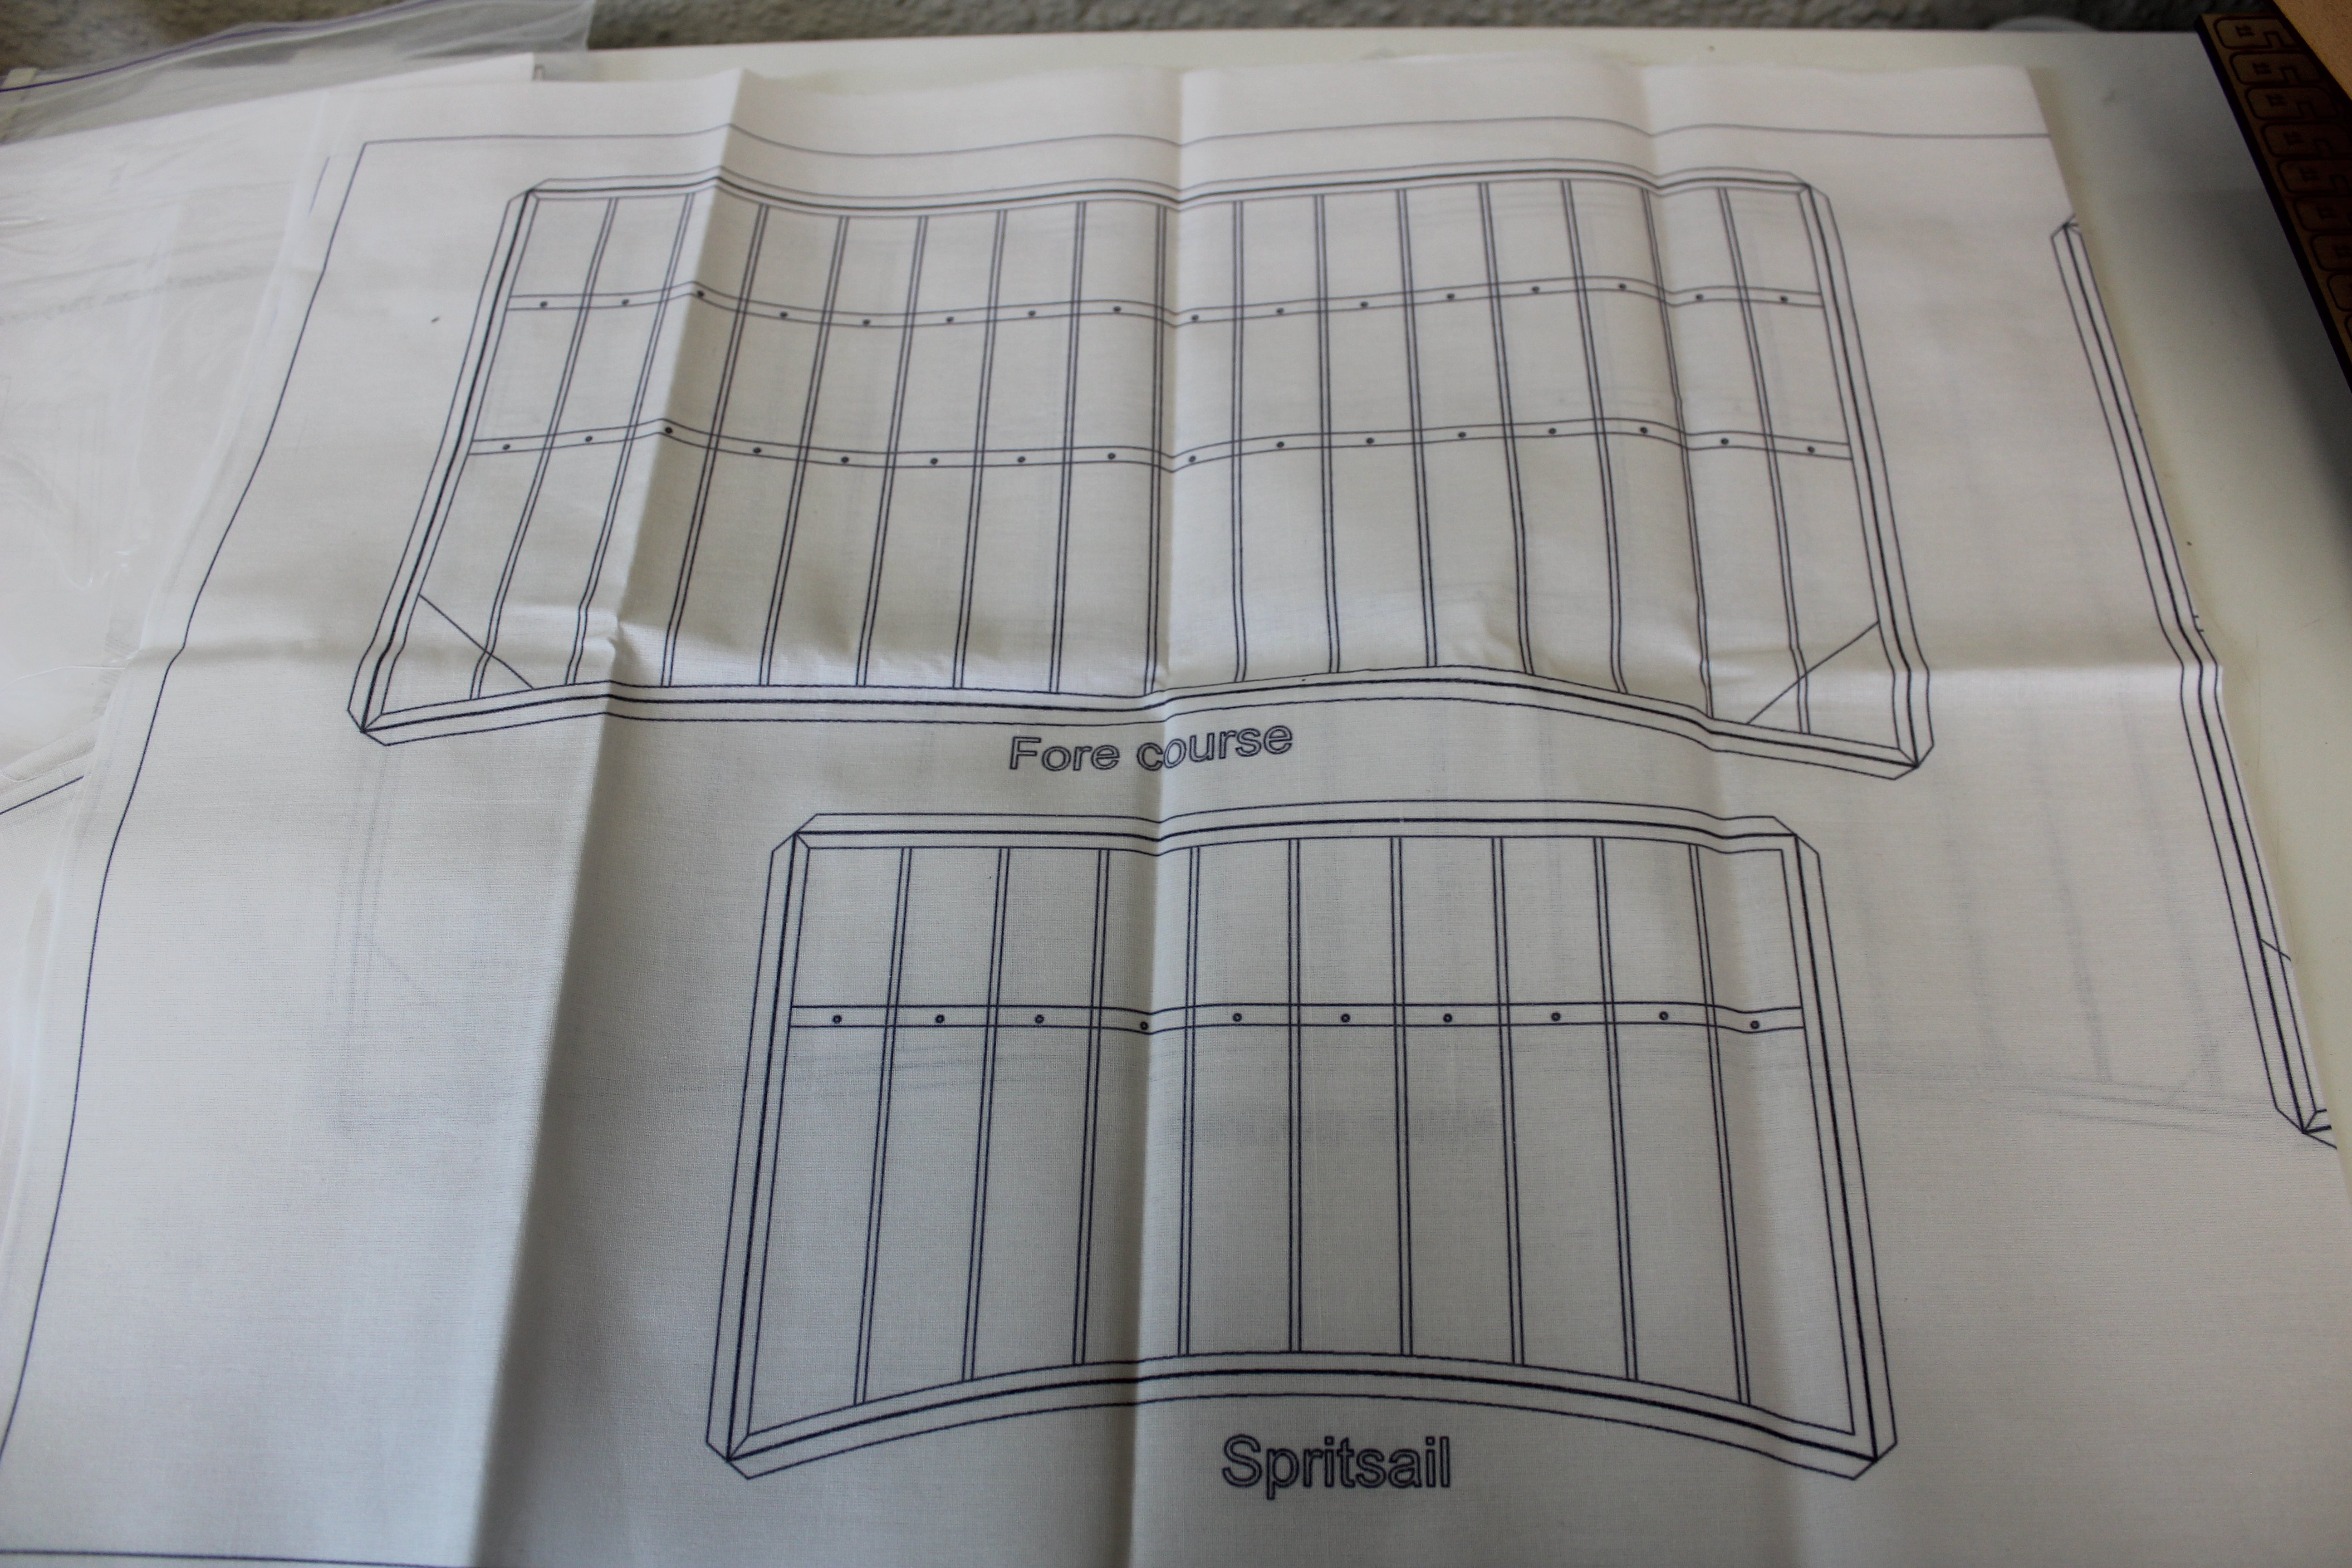
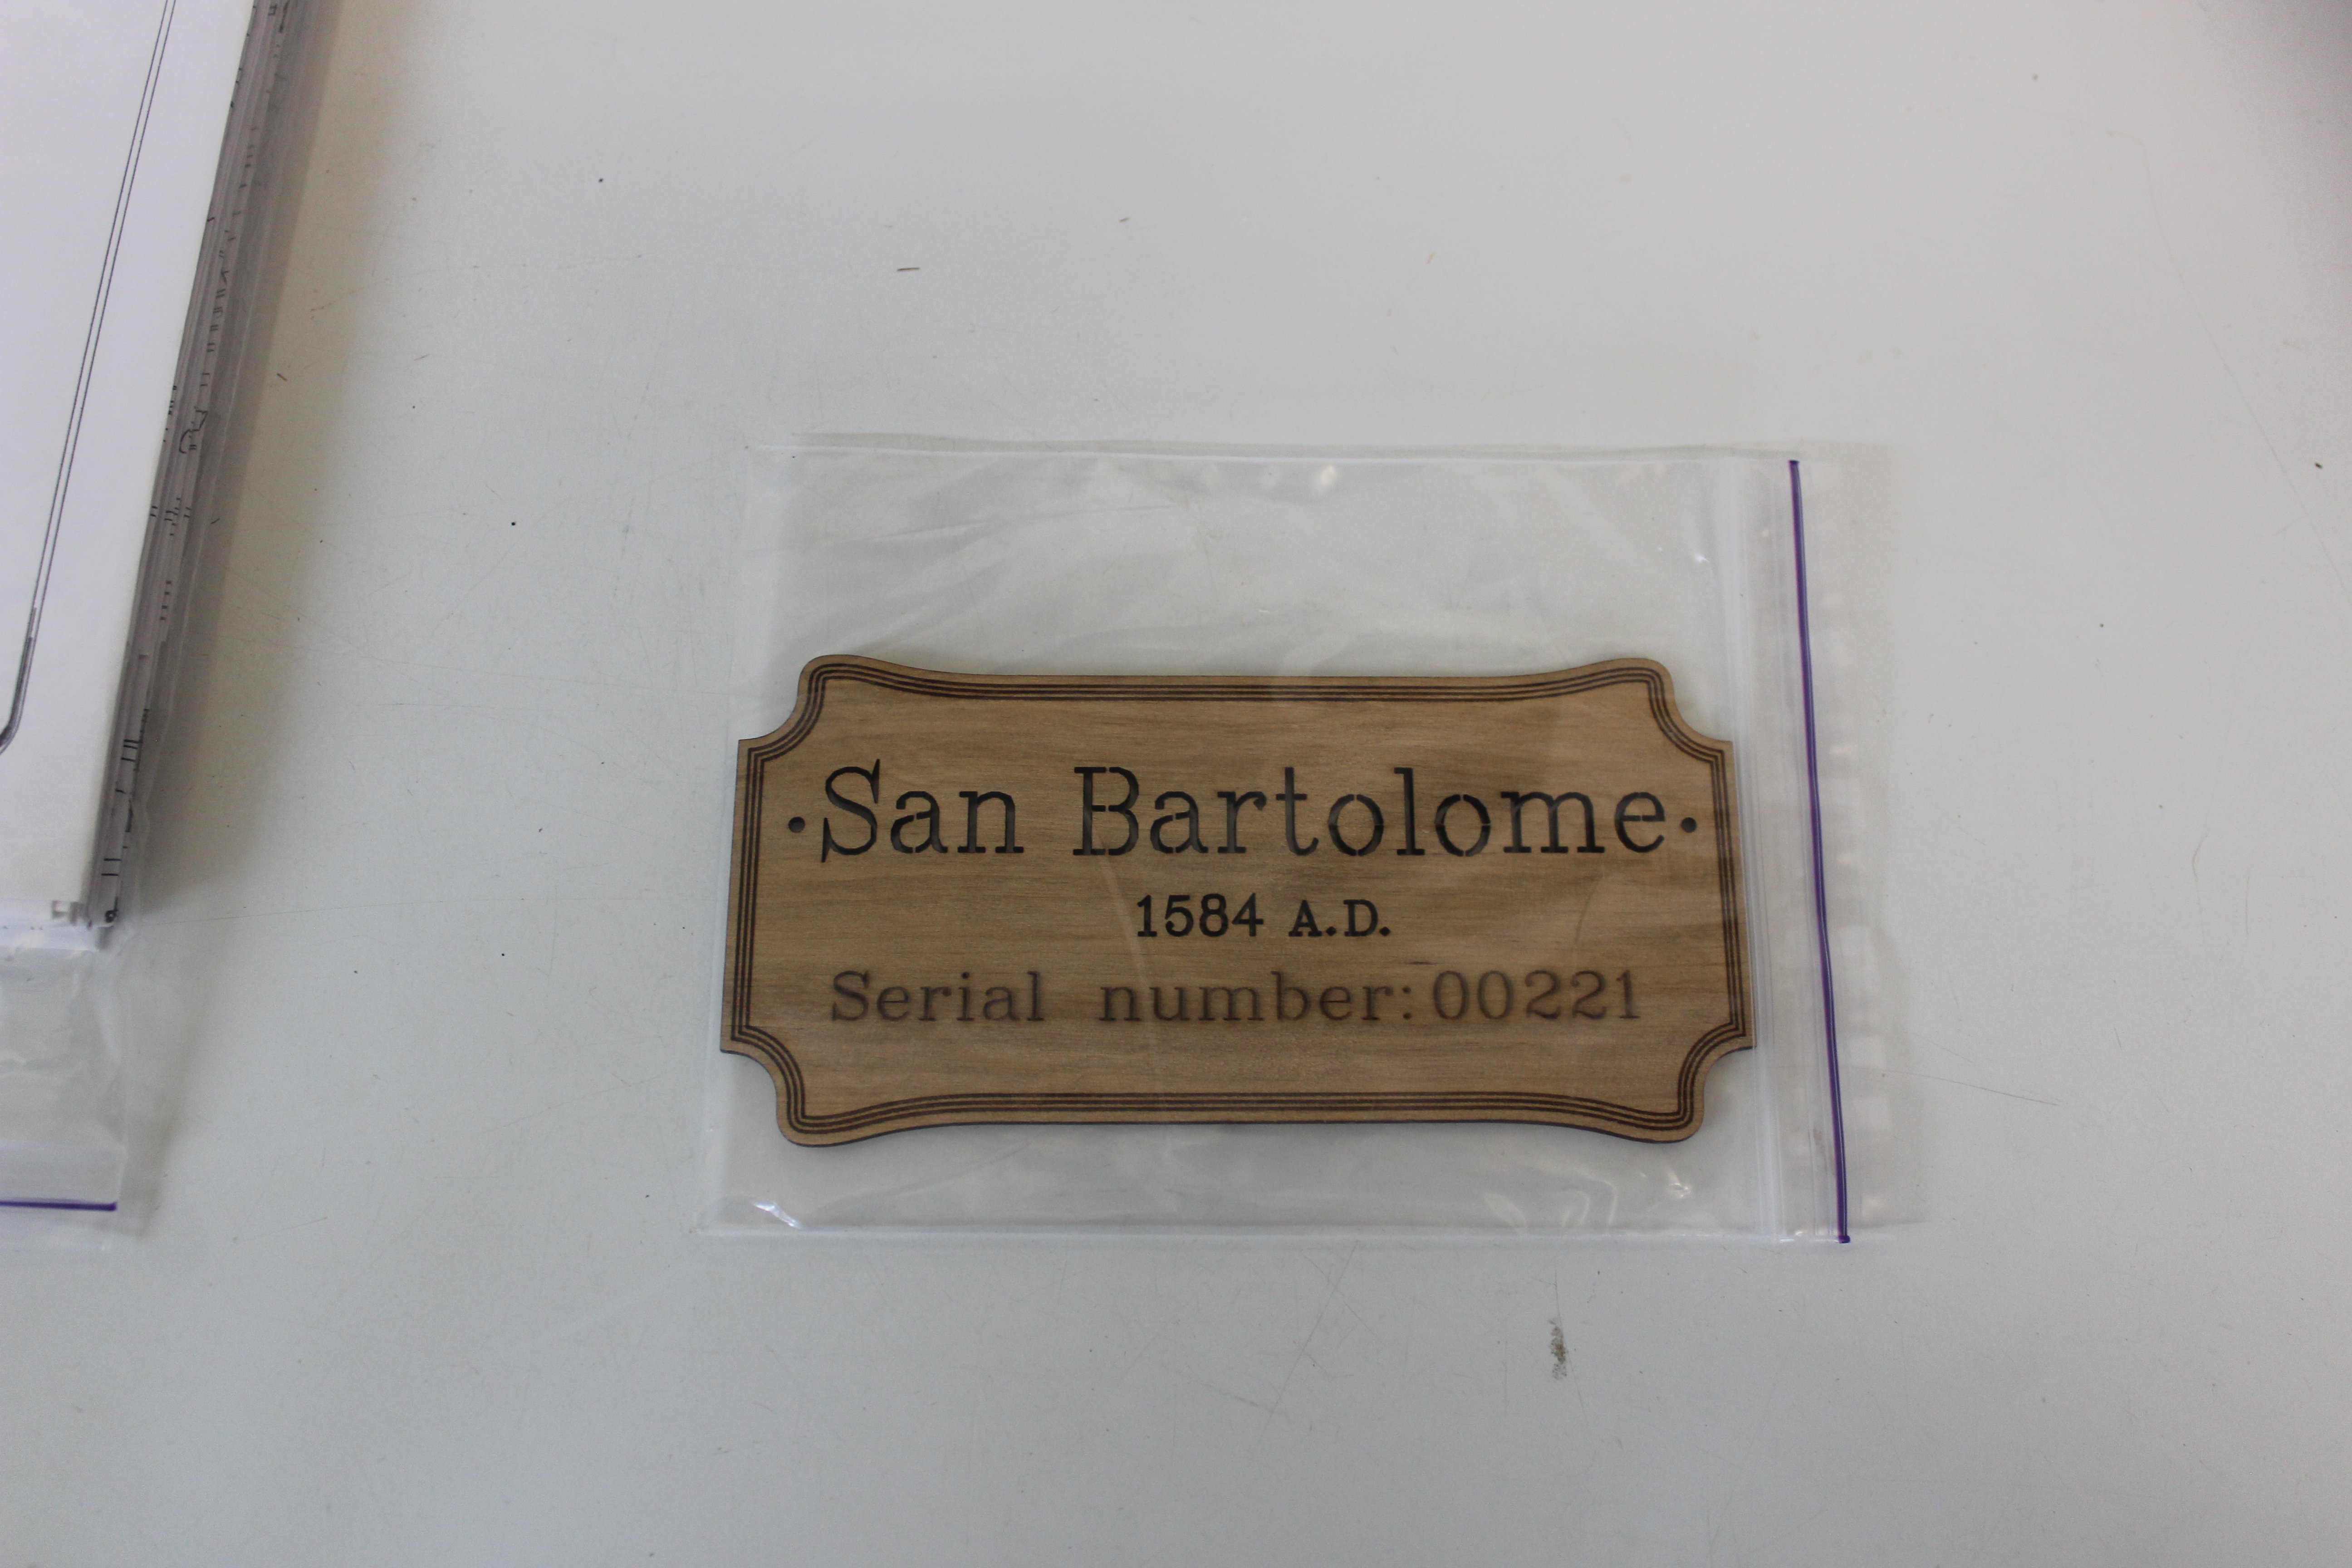
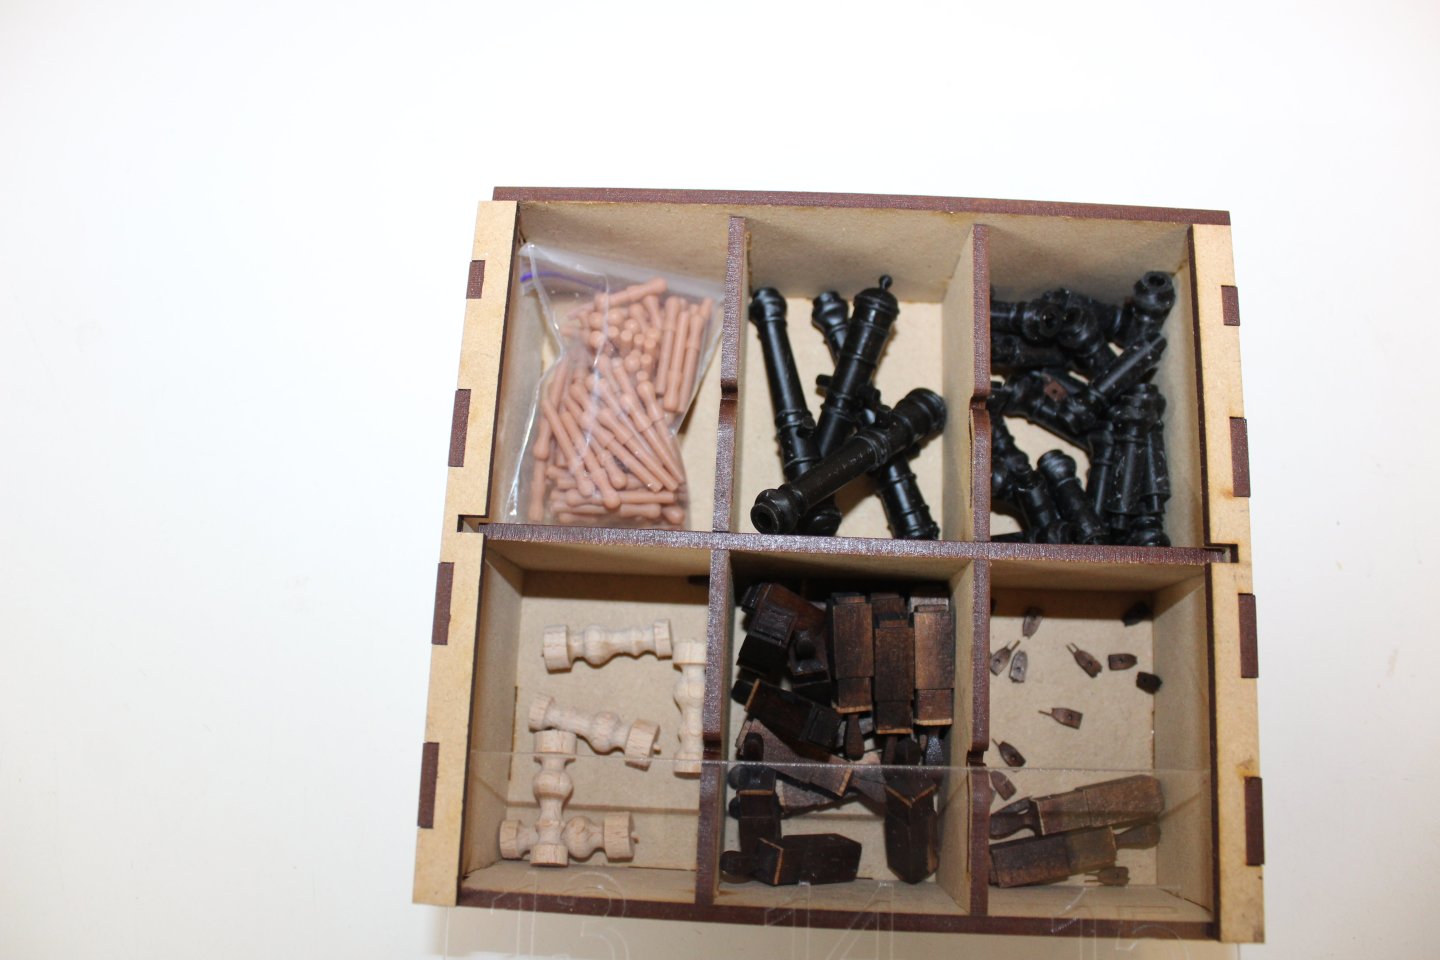
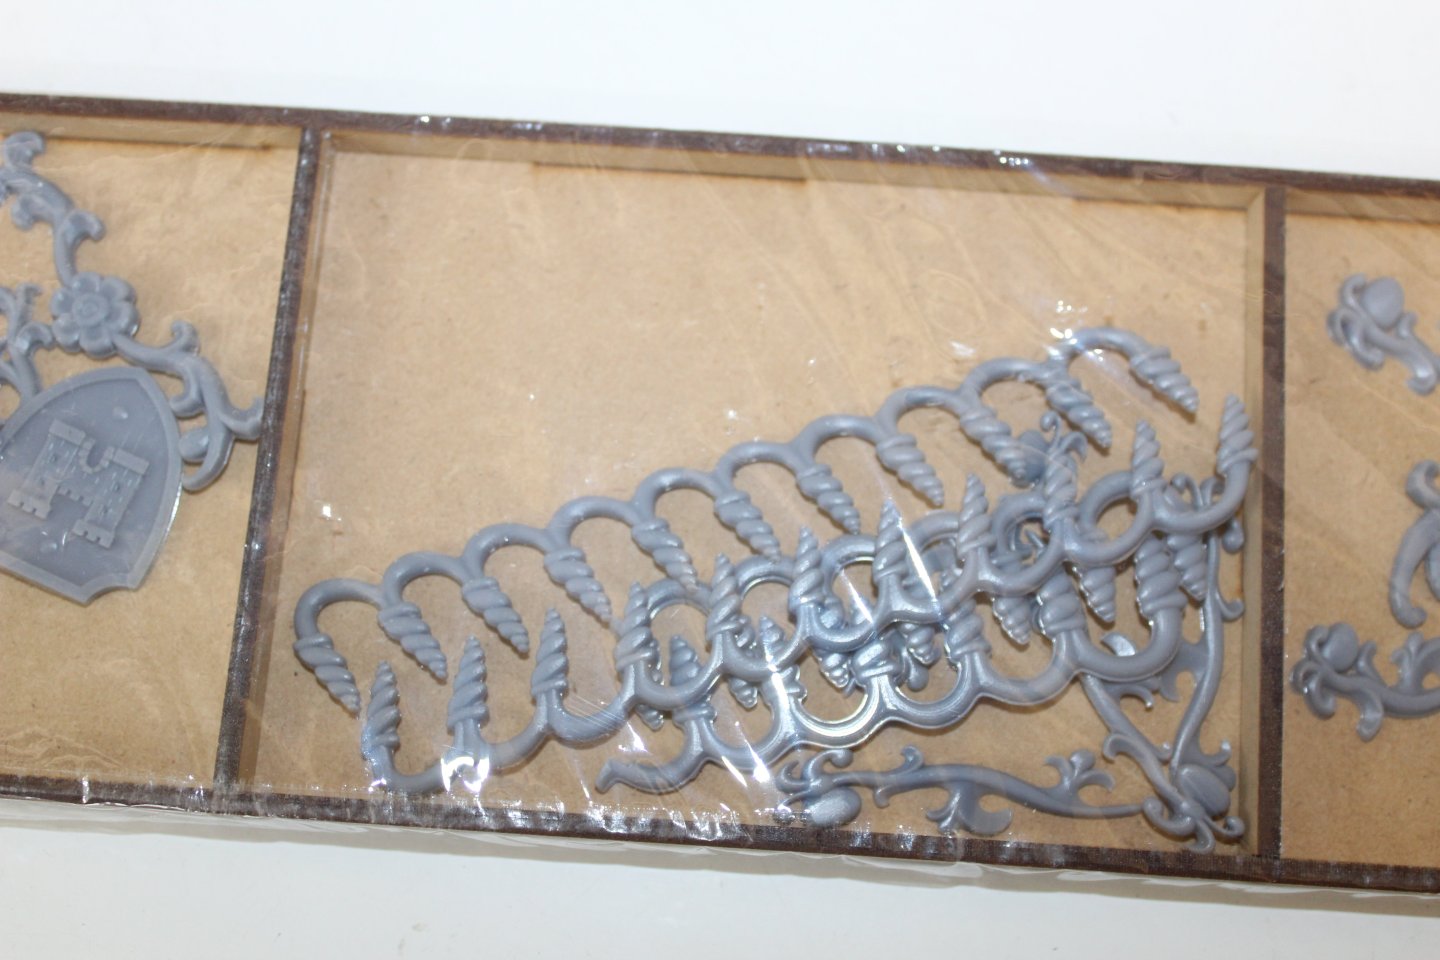
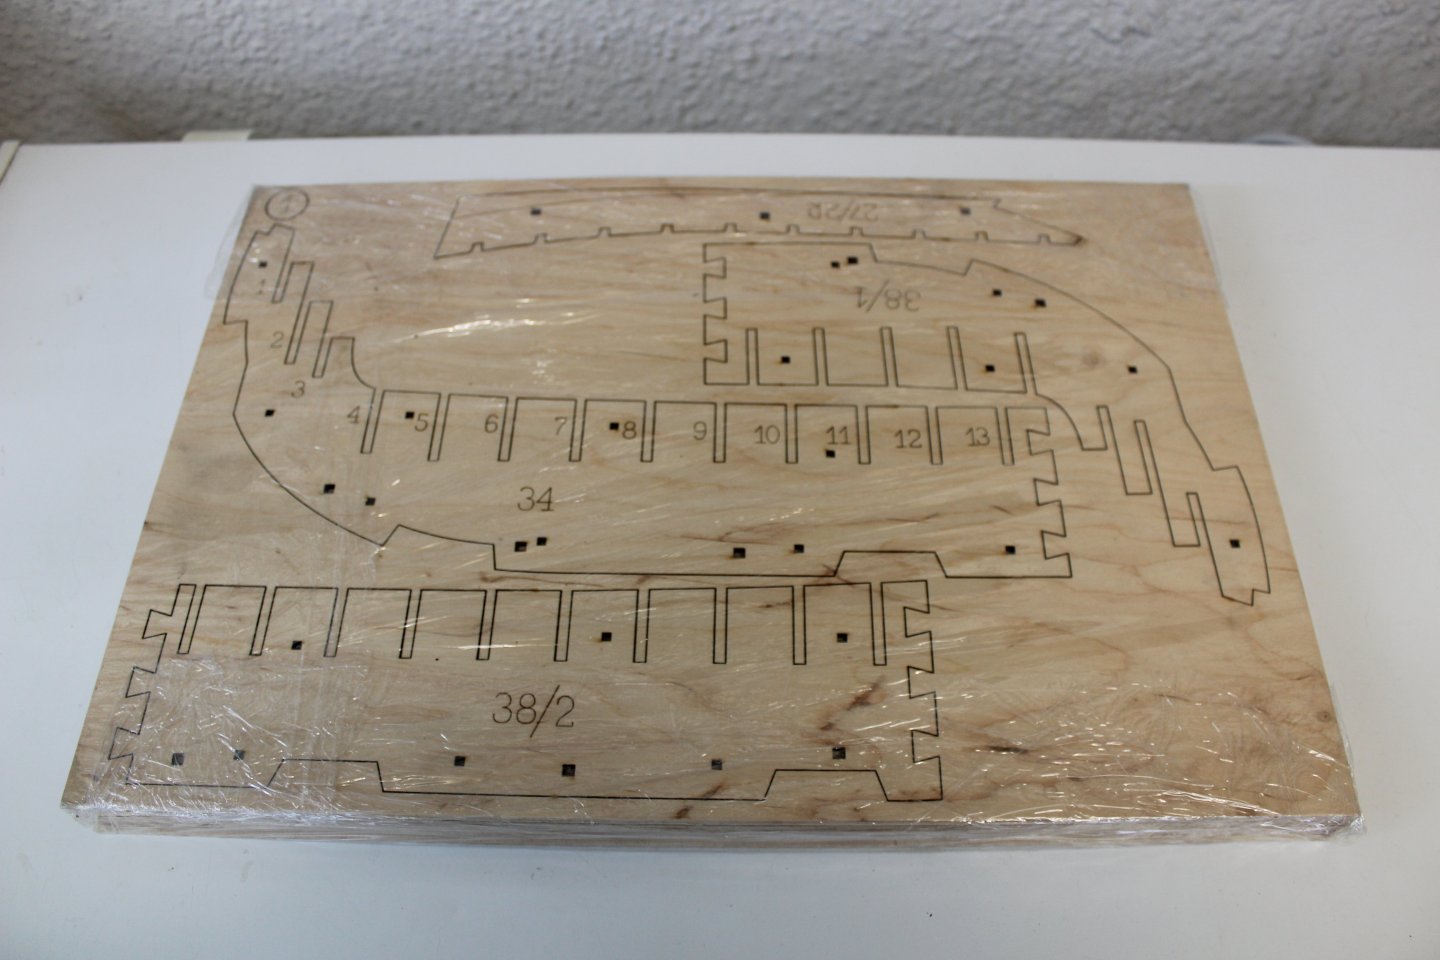
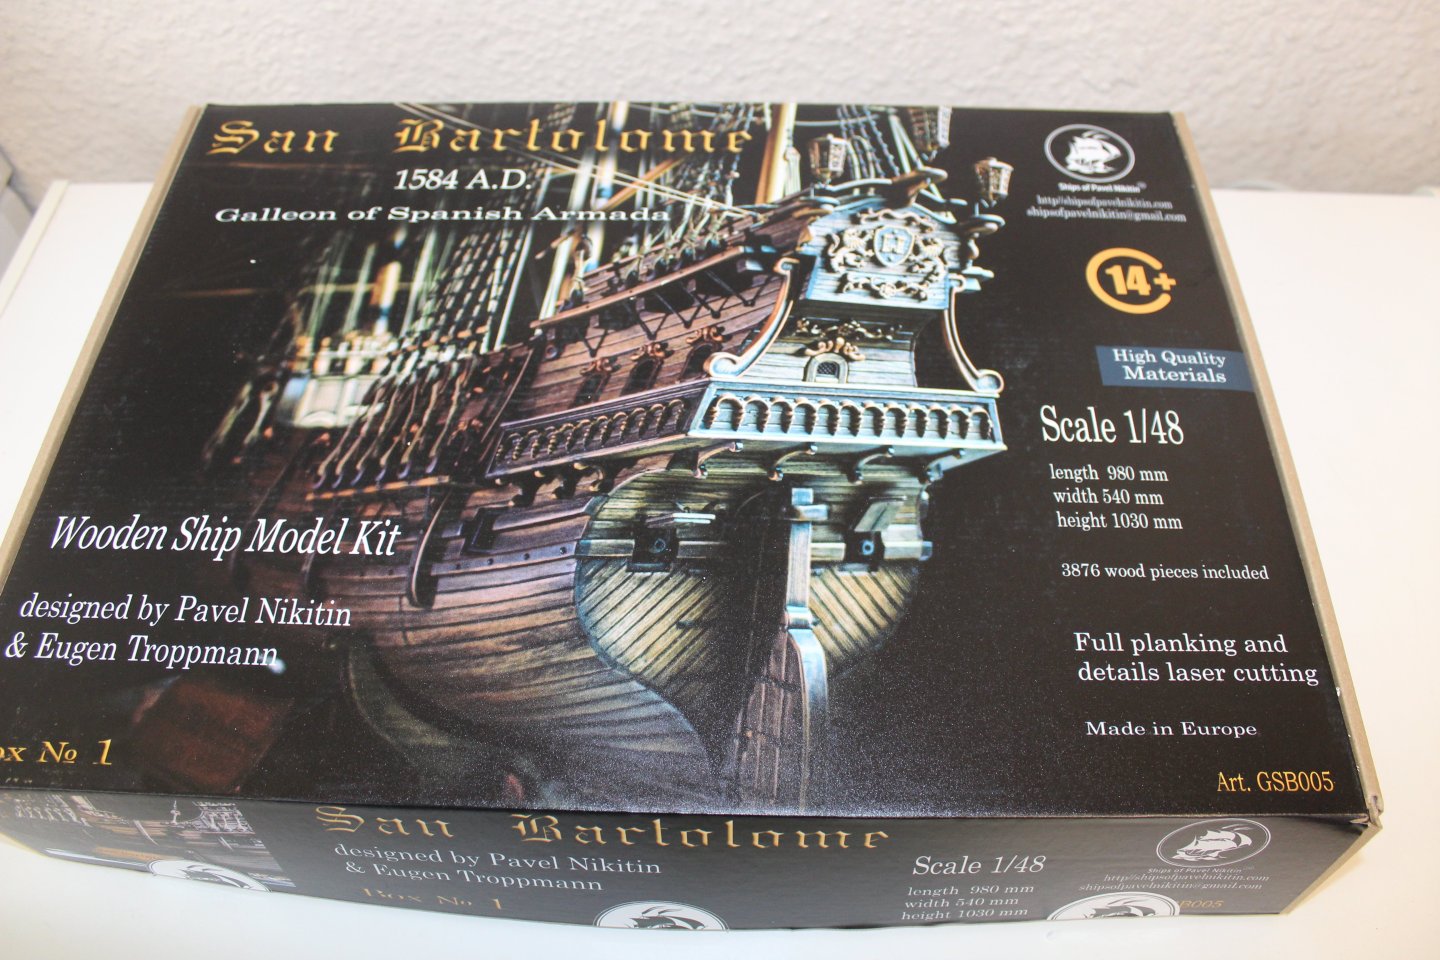
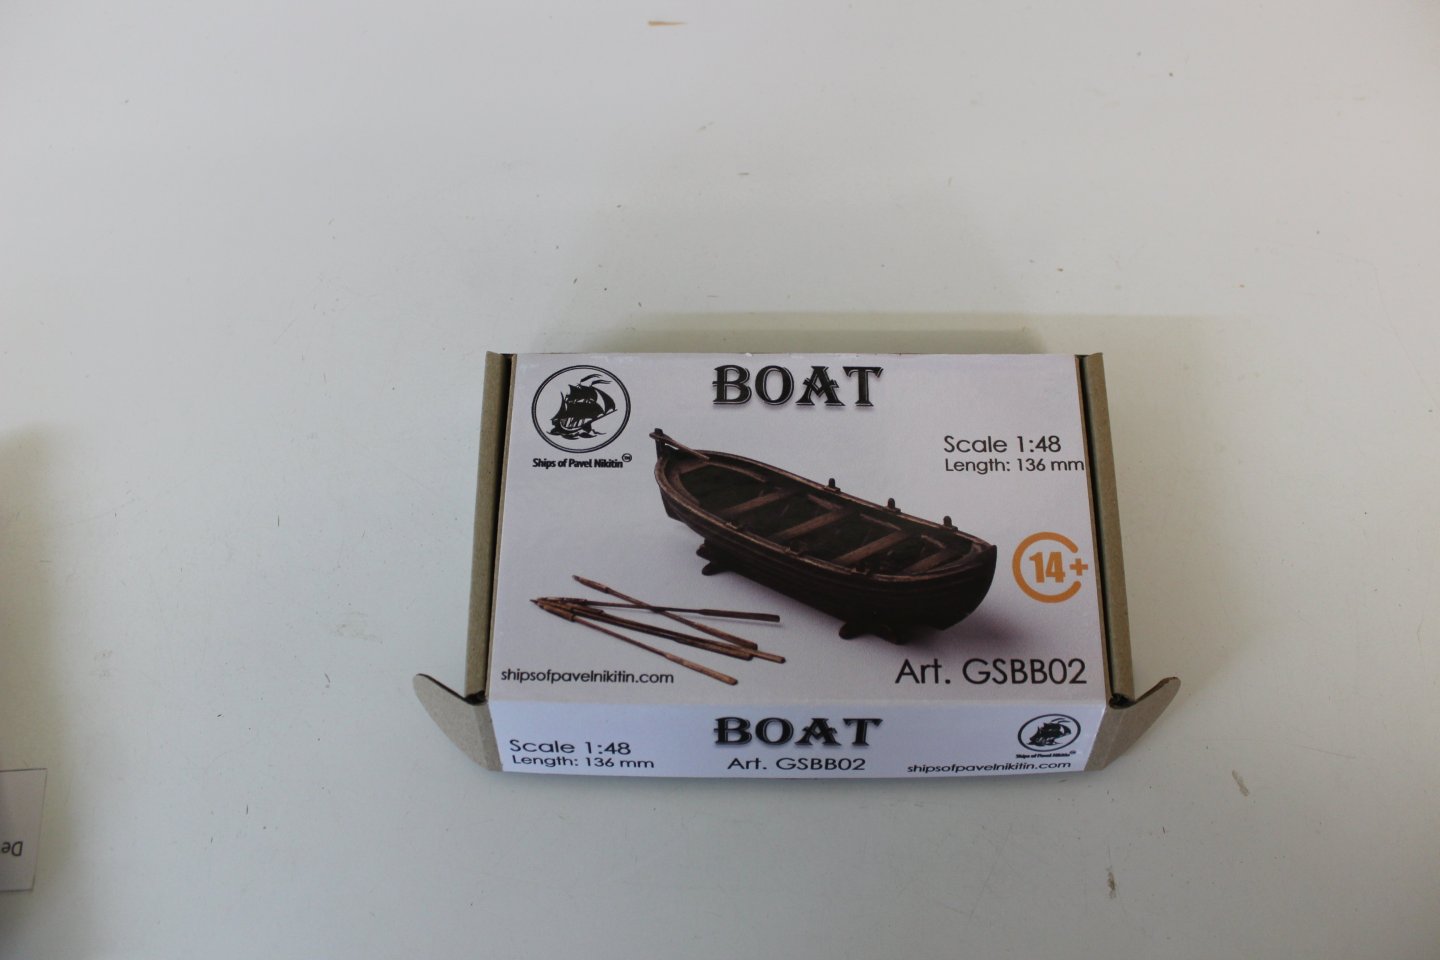
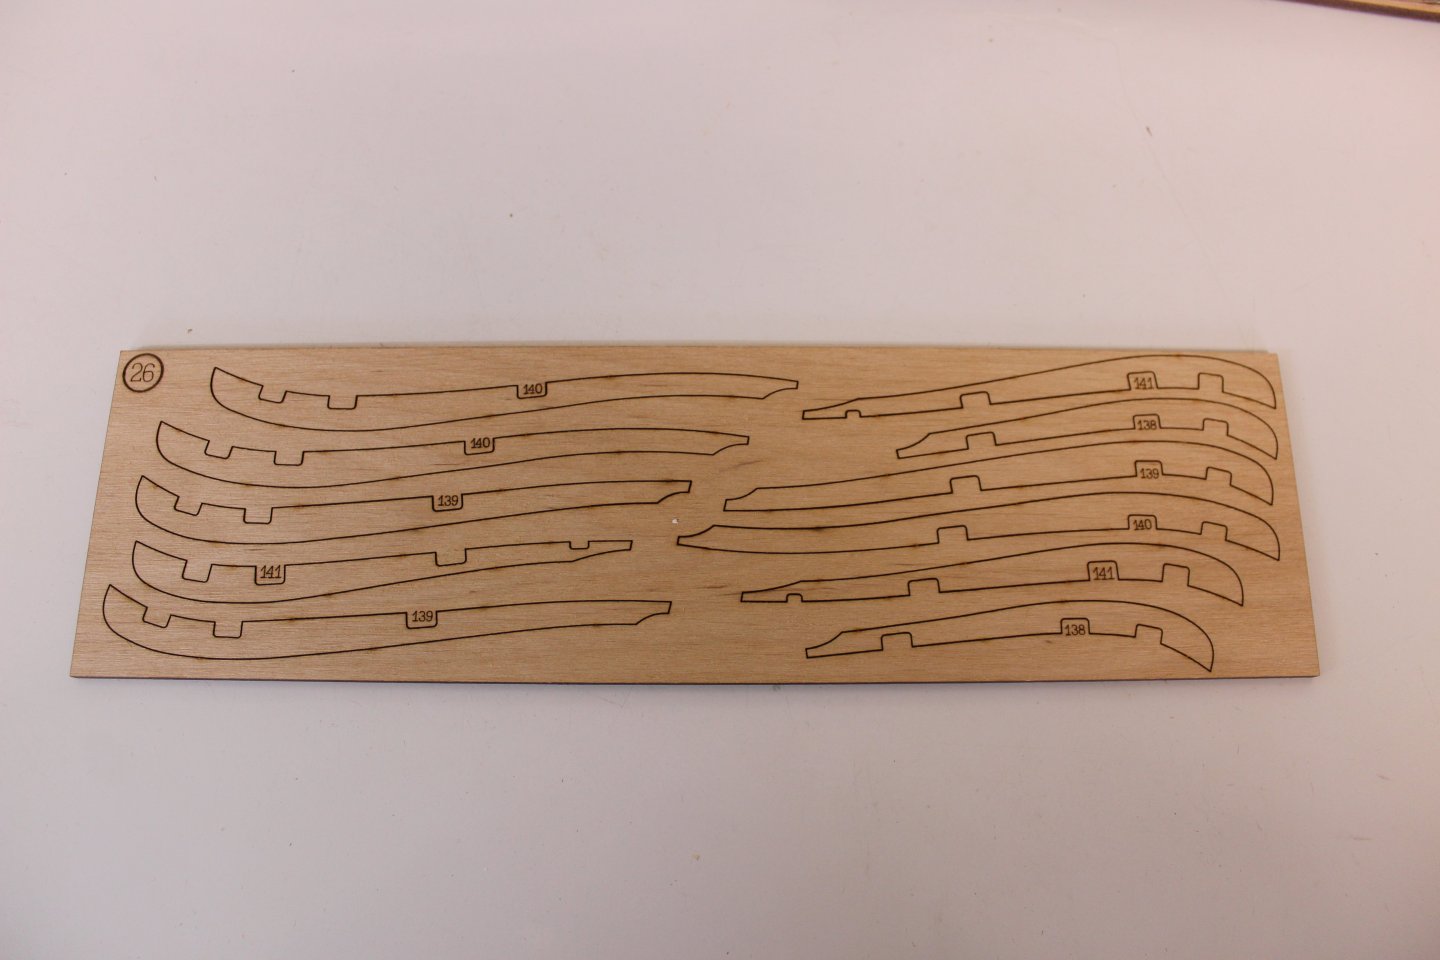
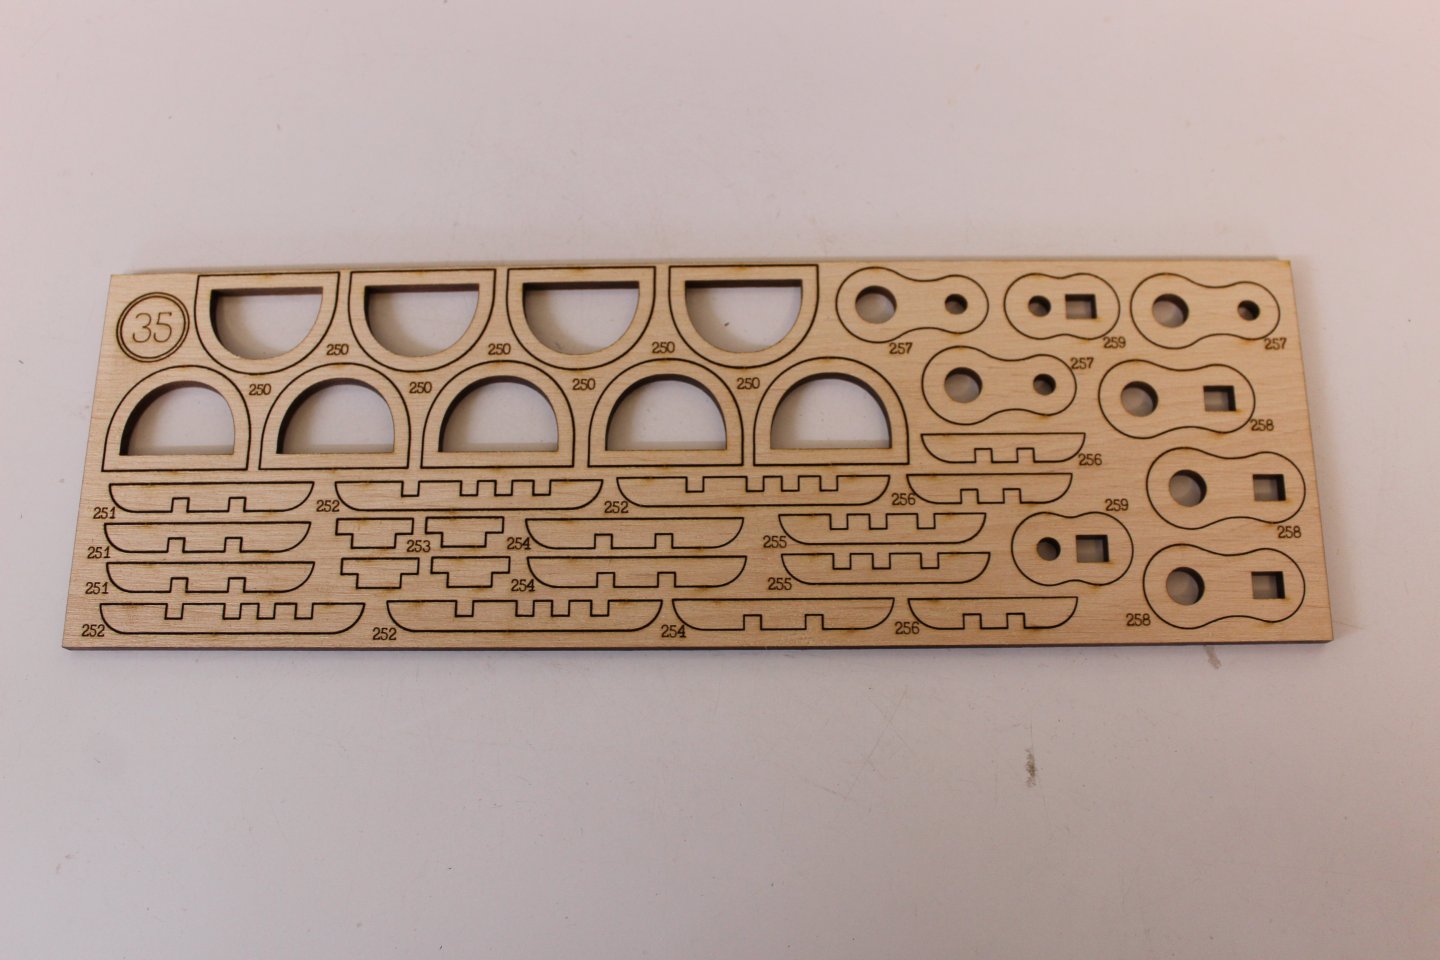
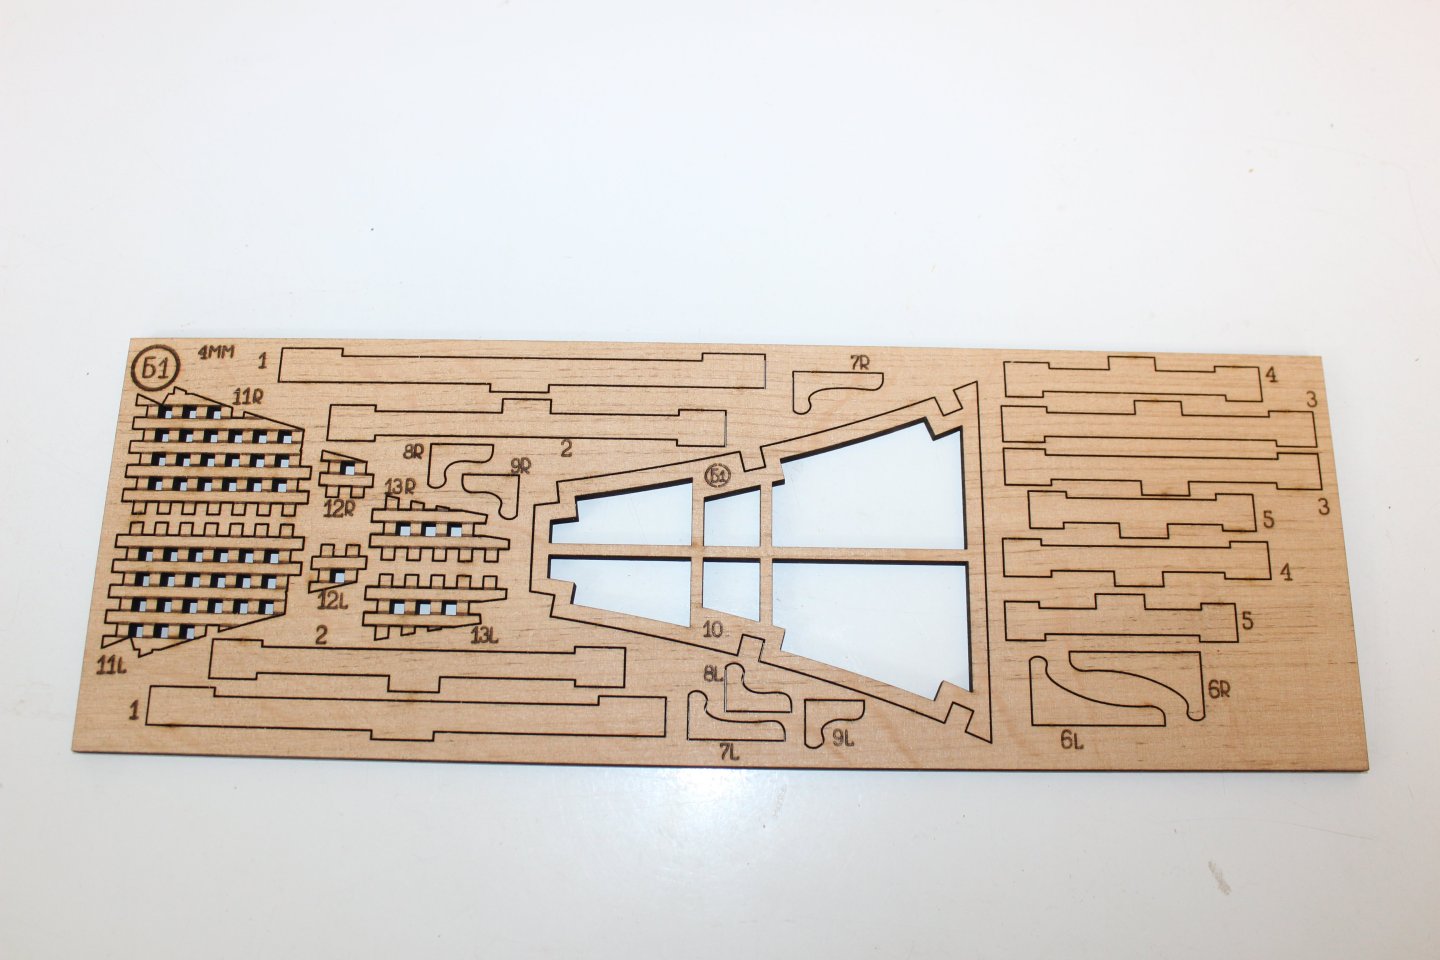
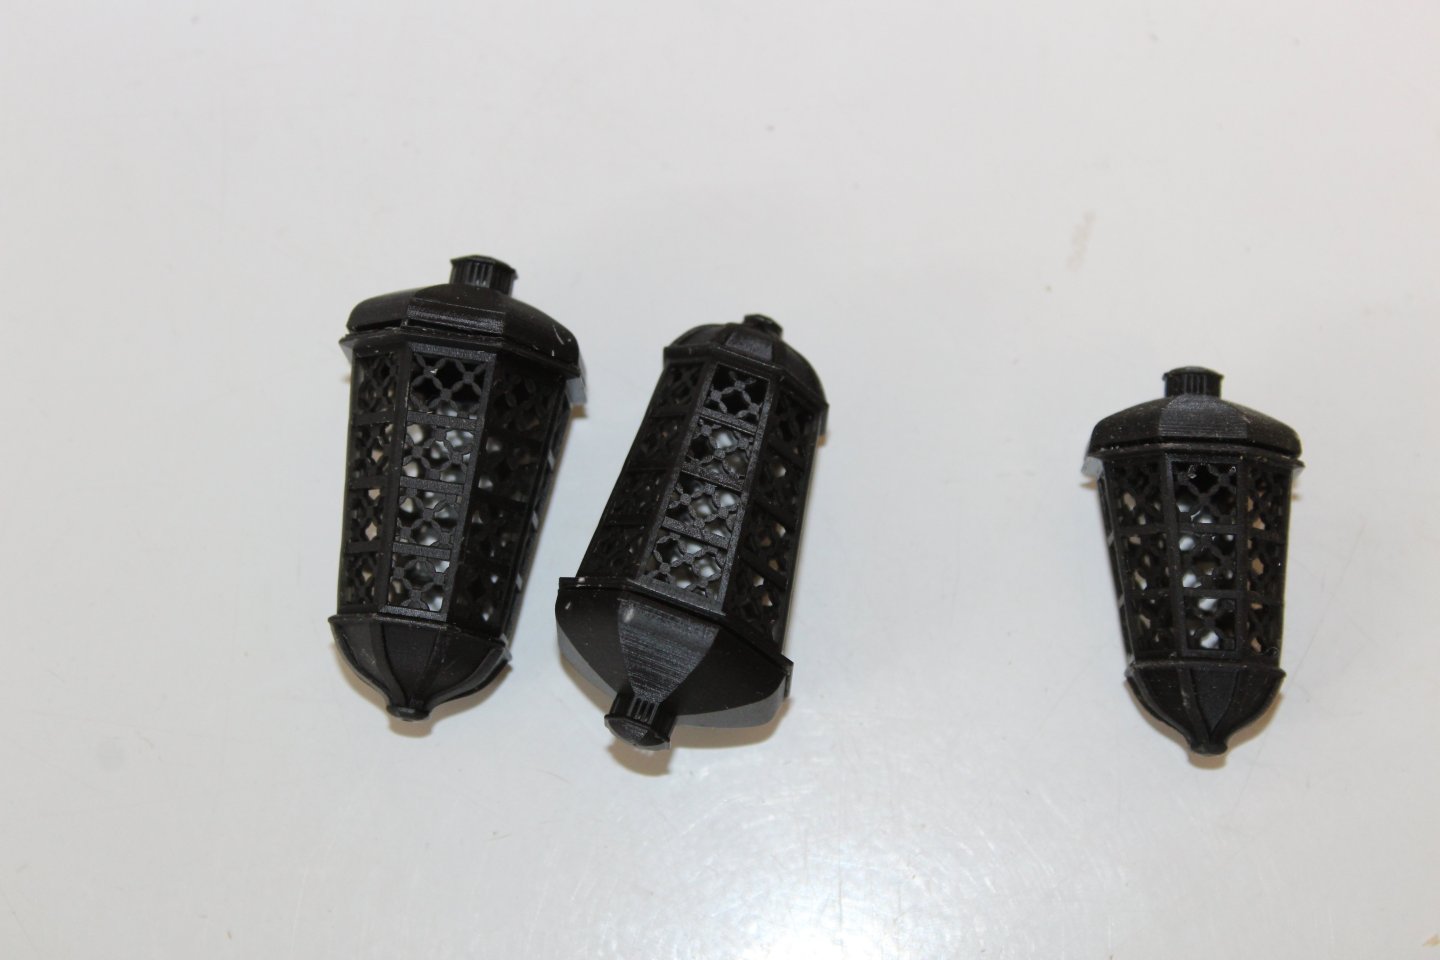
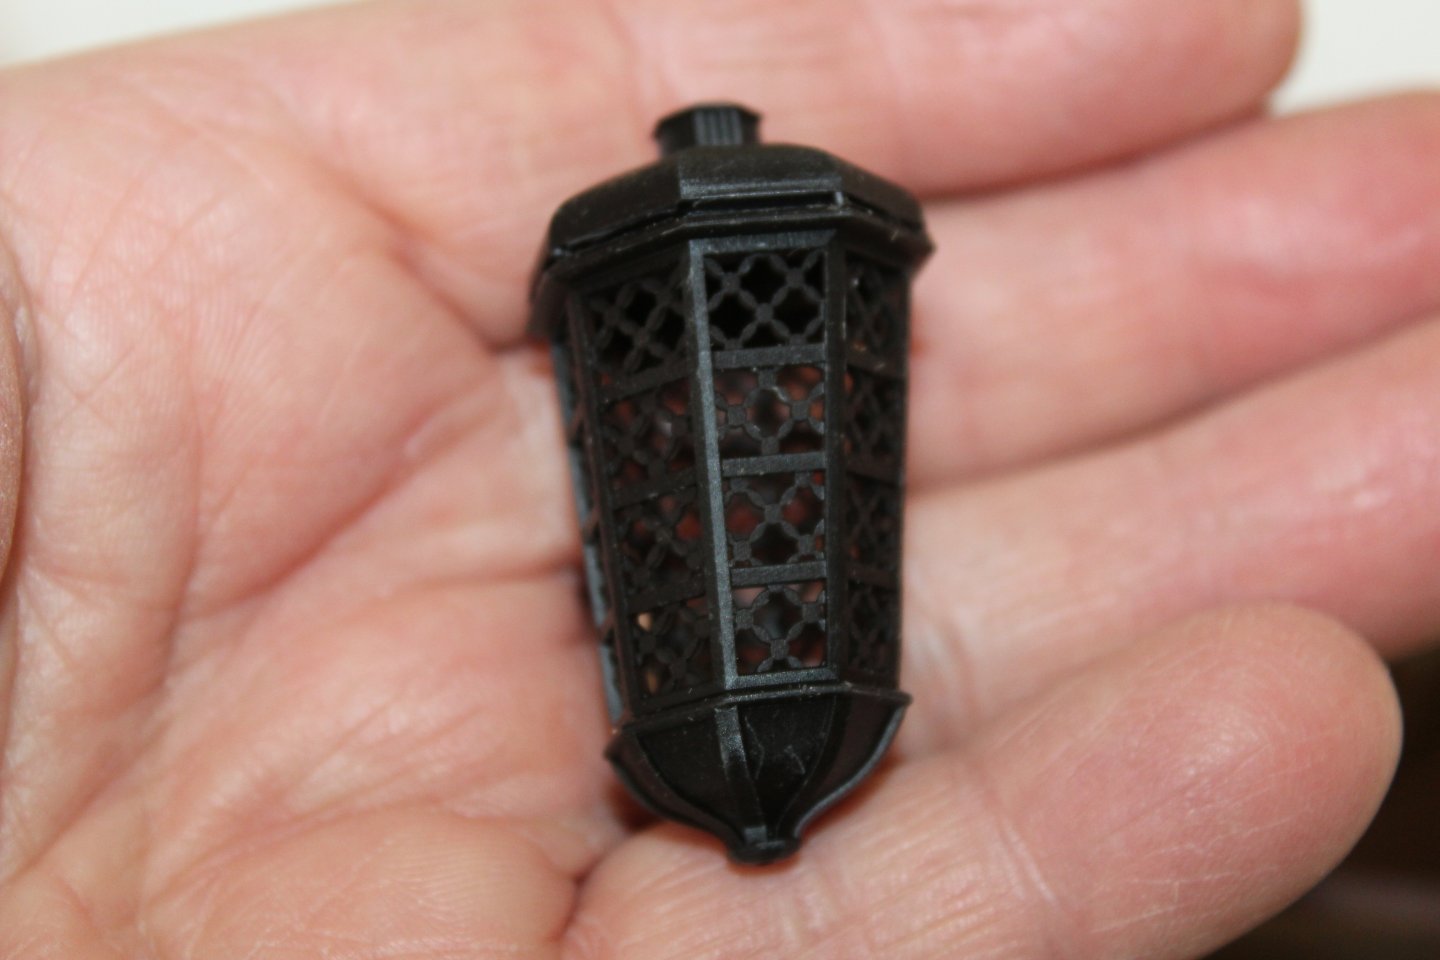
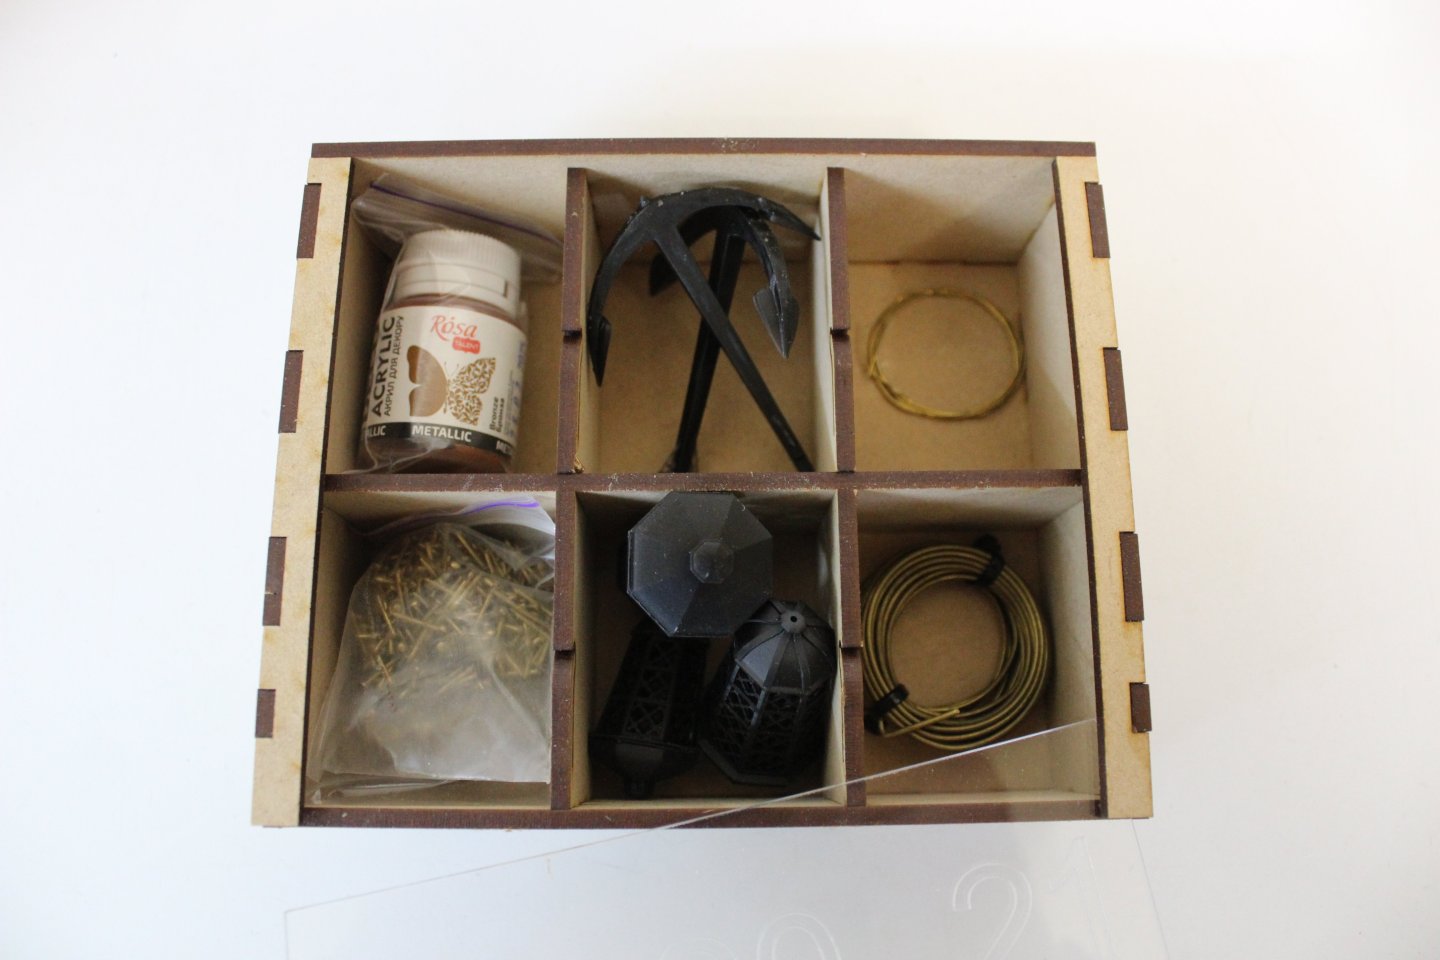
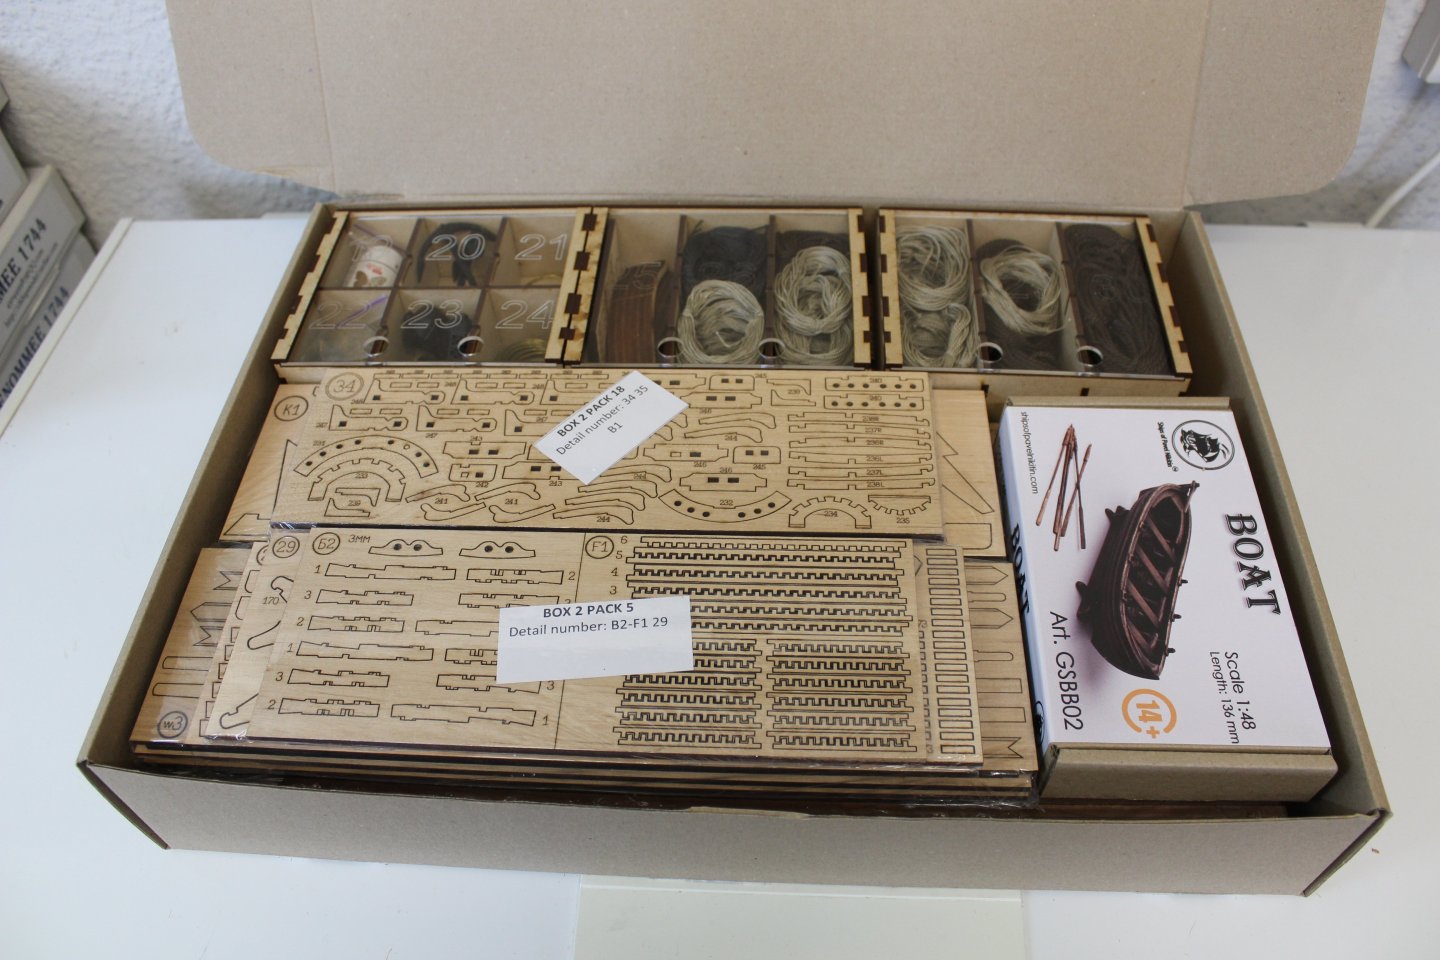
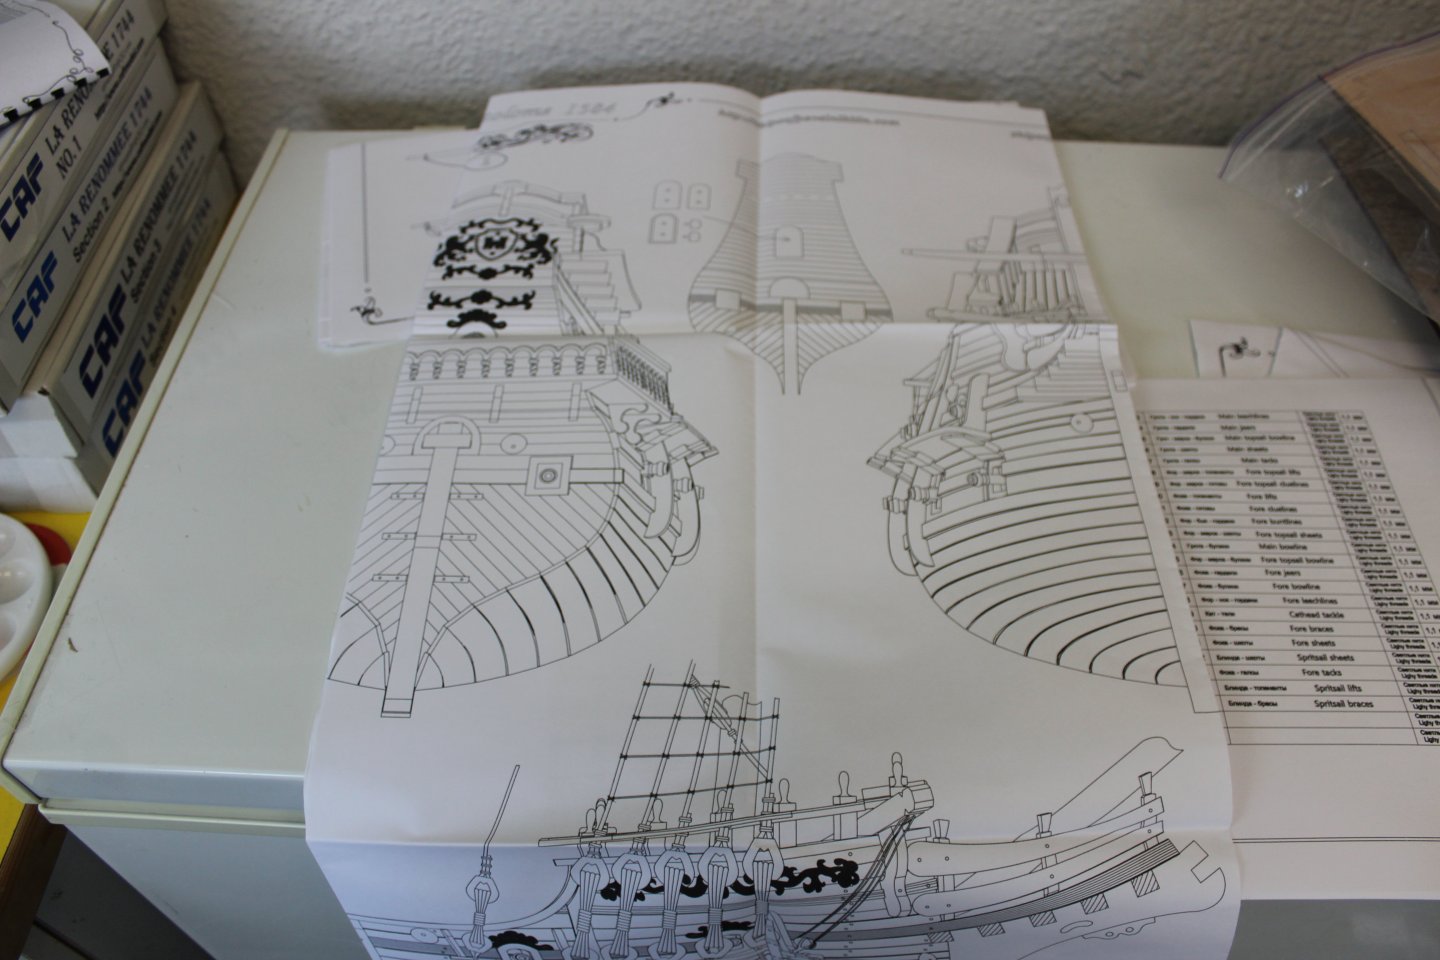
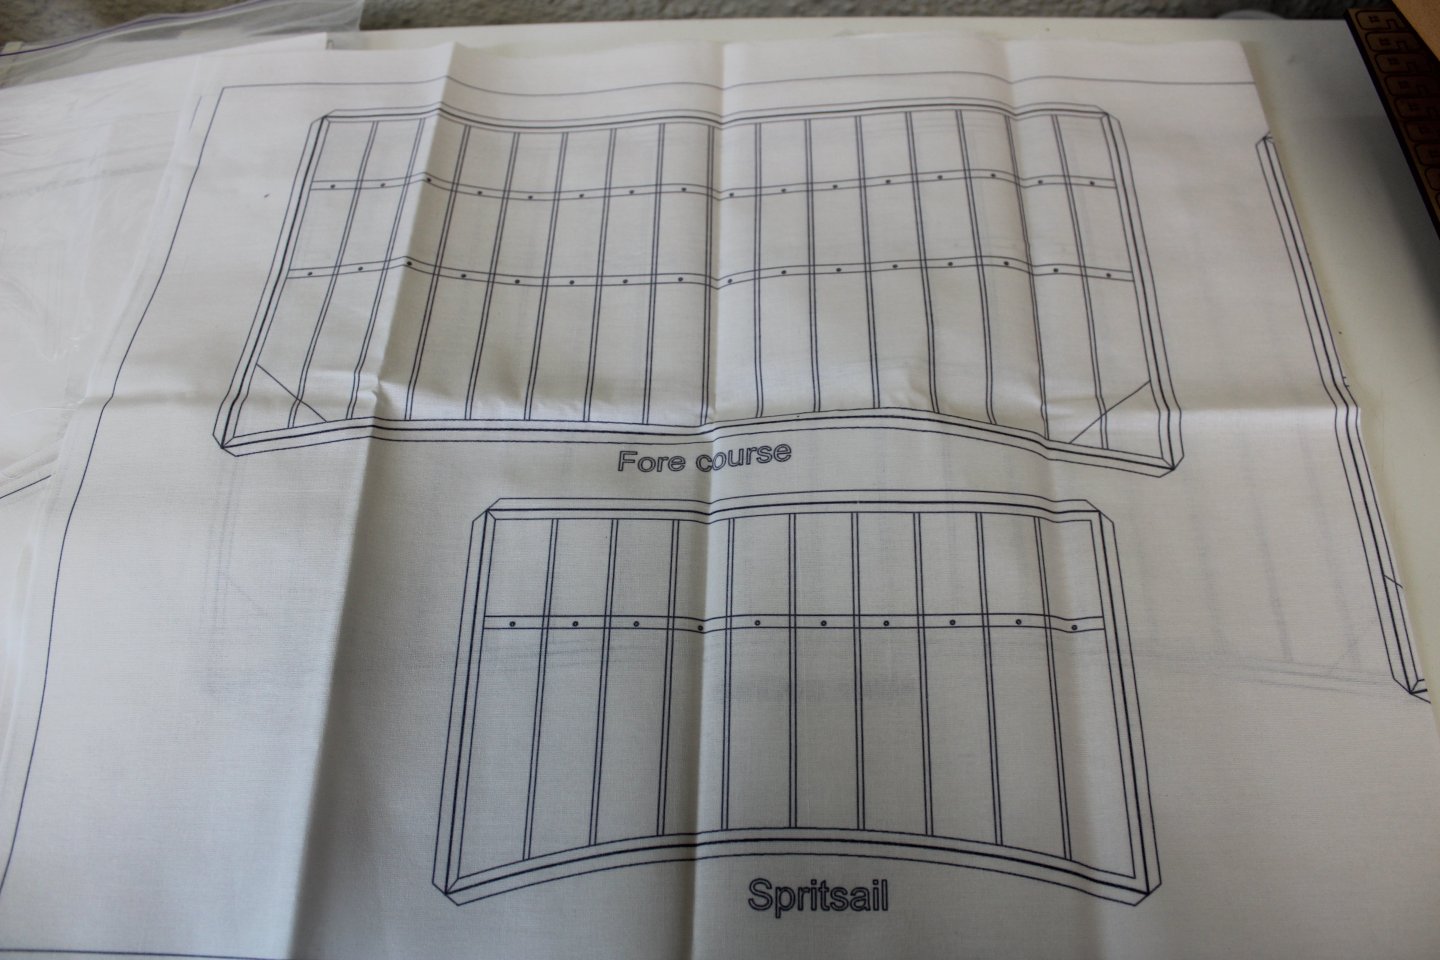
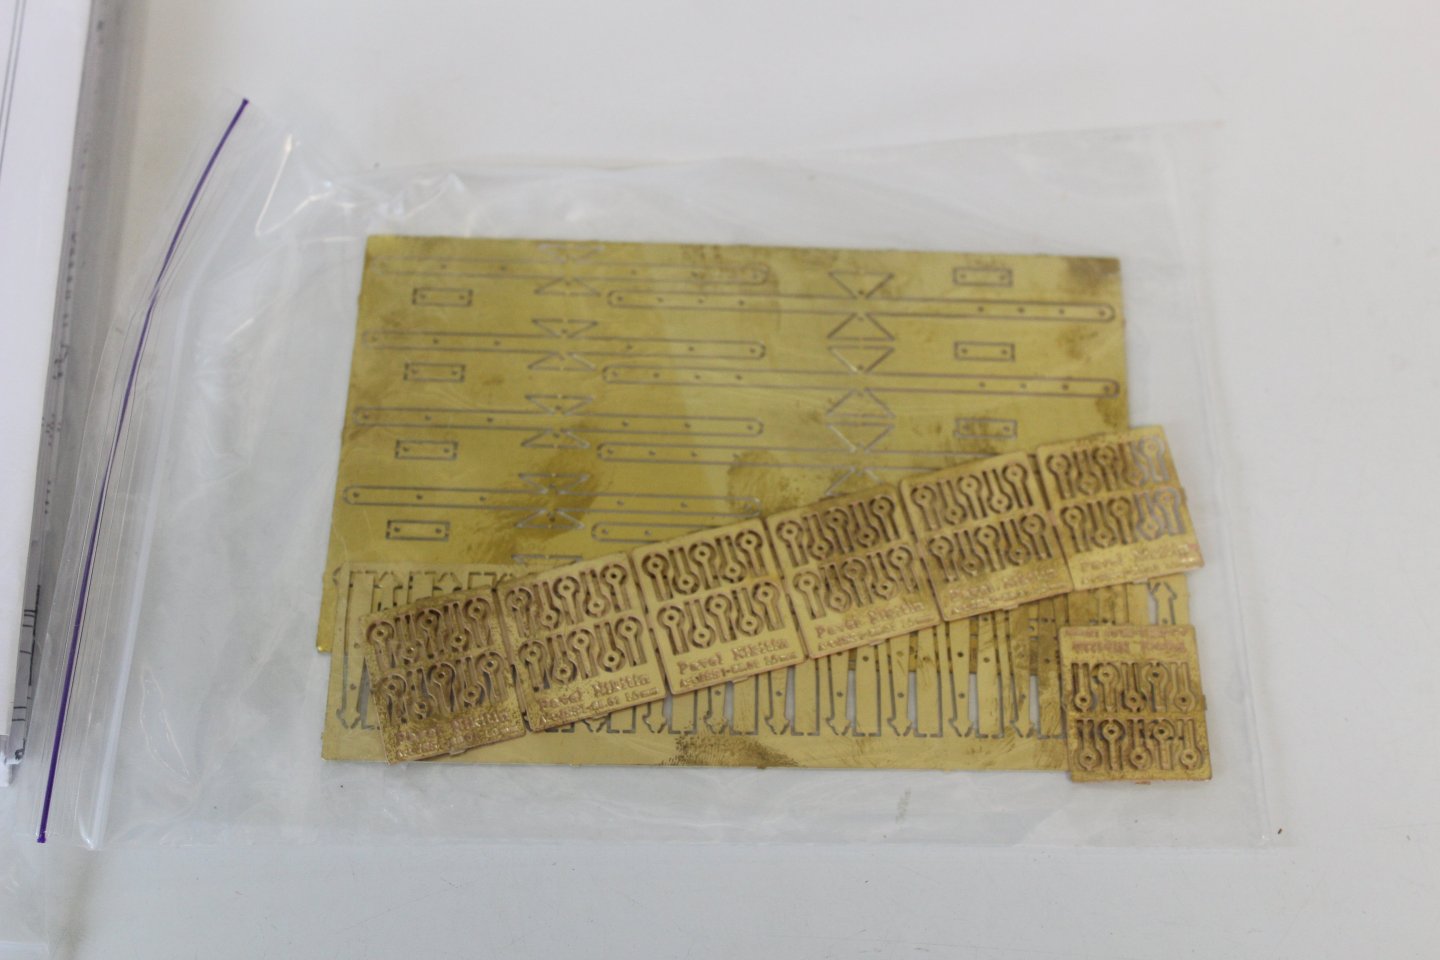
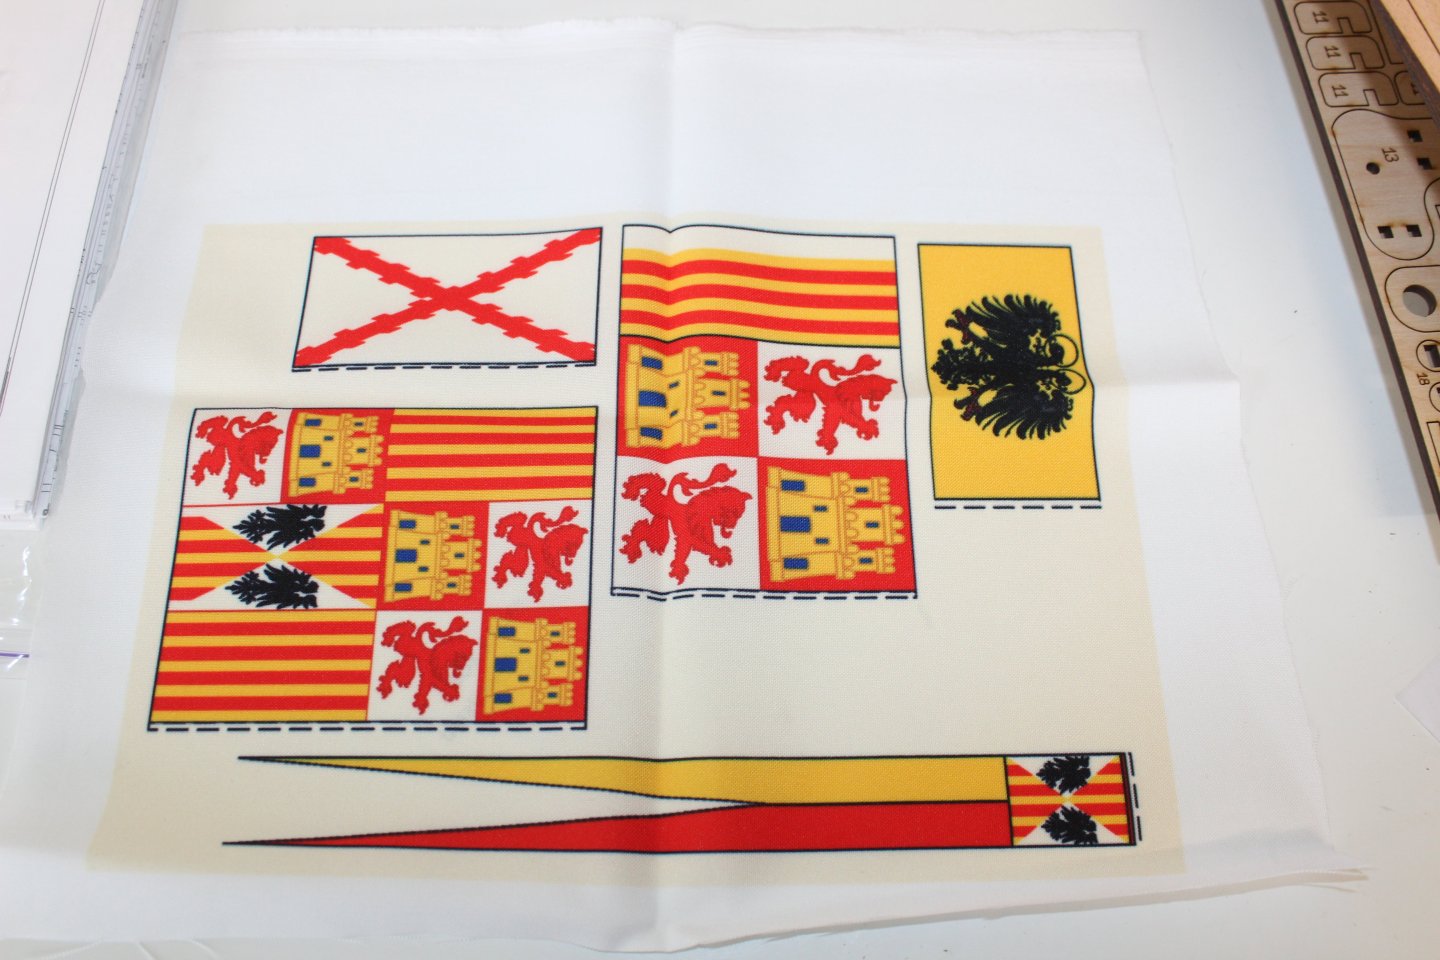
good evening everyone, Welcome to my new 2026 build, I wasnt allowed to purchase this kit as the delivery costs and import duties were deemed to high by the admiral, but i dropped it into the basket to see how much, and it created an invoice, never ever seen that happen before, but i honoured the agreement and waited for arrival a great kit review here by @James H 1:48 San Bartolome by Pavel Nikitin - REVIEWS: Model kits - Model Ship World™ here are a few shots from each of the three boxes i received, i however never ordered the cradle or stand Box two box 3


-
This San Bartolome was supposedly a part of the ‘invincible’ Spanish Armada led by Alonso Perez de Guzman, 7th Duke of Medina Sidonia, from May to September of 1588. The Armada was battered in multiple skirmishes with the Anglo-Dutch naval fleet, composed of light and manoeuvrable ships led by Charles Howard. This clash is known as the Battle of Gravelines. Elizabethan Pirates excelled in that battle, especially the notorious Francis Drake. The confrontation between Spanish and Anglo-Dutch fleets lasted for two weeks. The Armada could not regroup and, refusing to invade England, headed North. The English fleet followed the Armada along the East coast of the British Islands. The Armada’s return was very challenging, having to go through the north side of the Atlantic Ocean, along the West coast of Ireland. Due to strong storms, the Armada’s ships were taken to the far North and West shores of Ireland. During this expedition, the Armada lost more than 60 ships, of which only 7 of them were lost in battle.
-
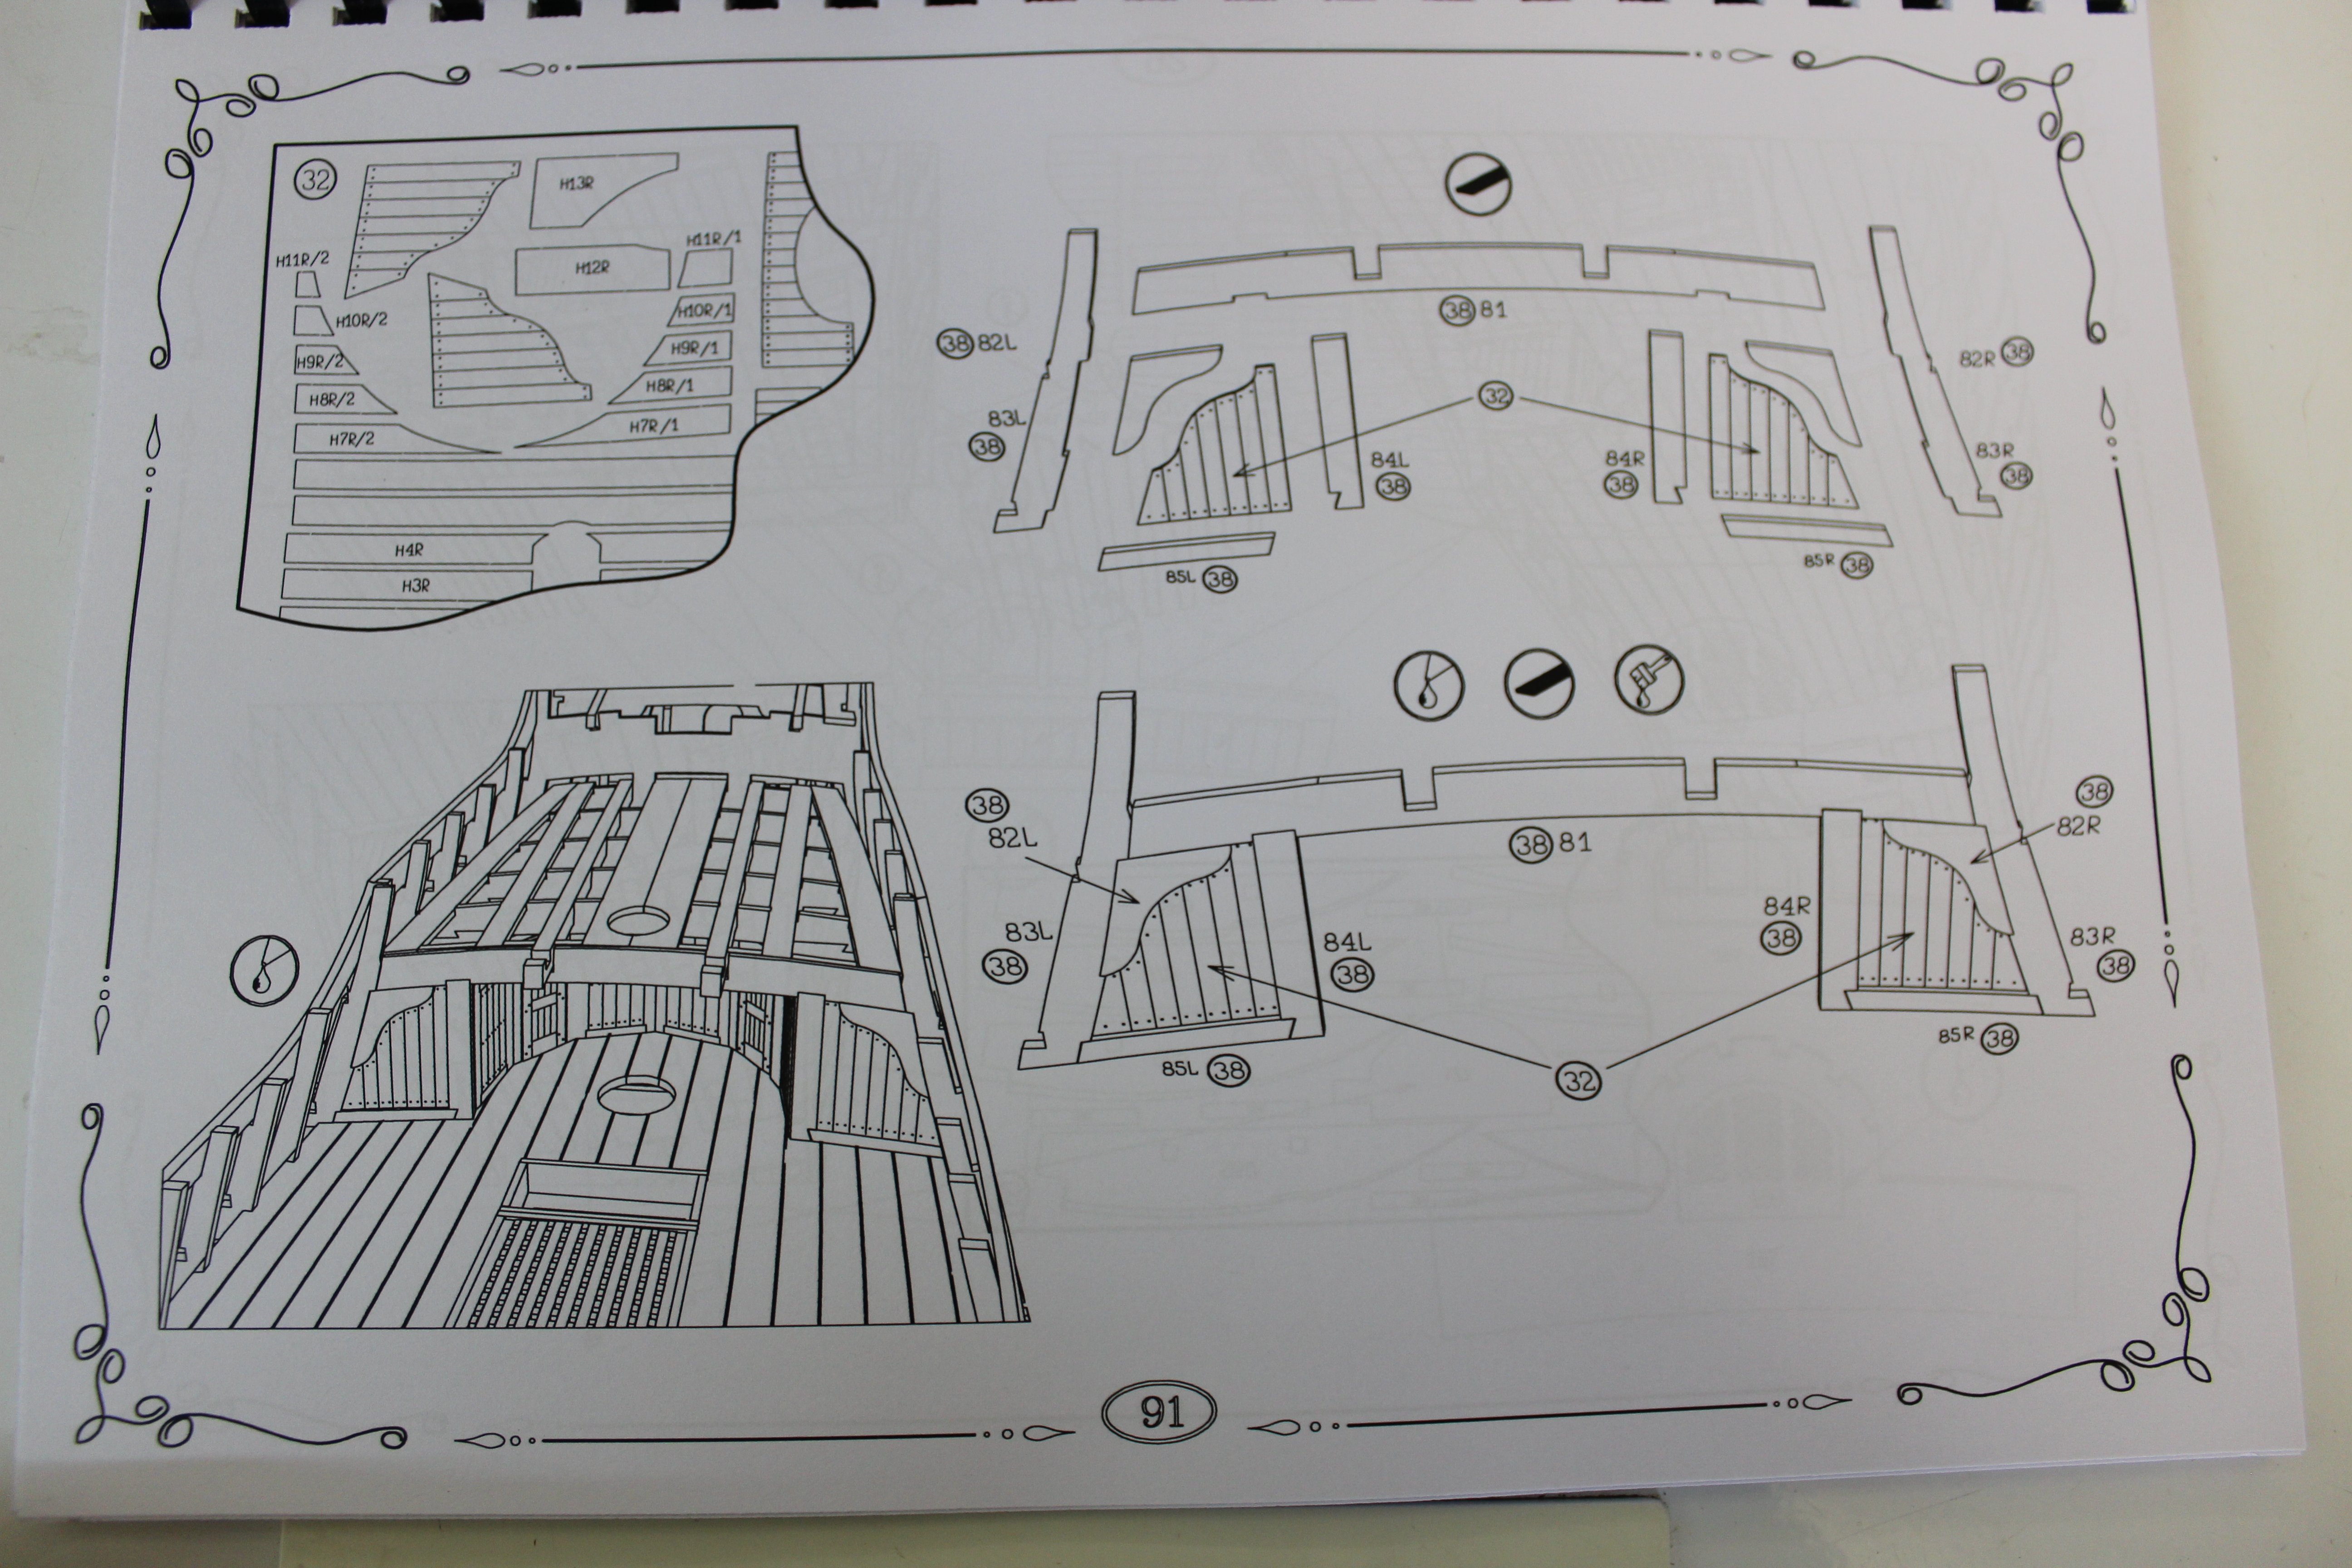
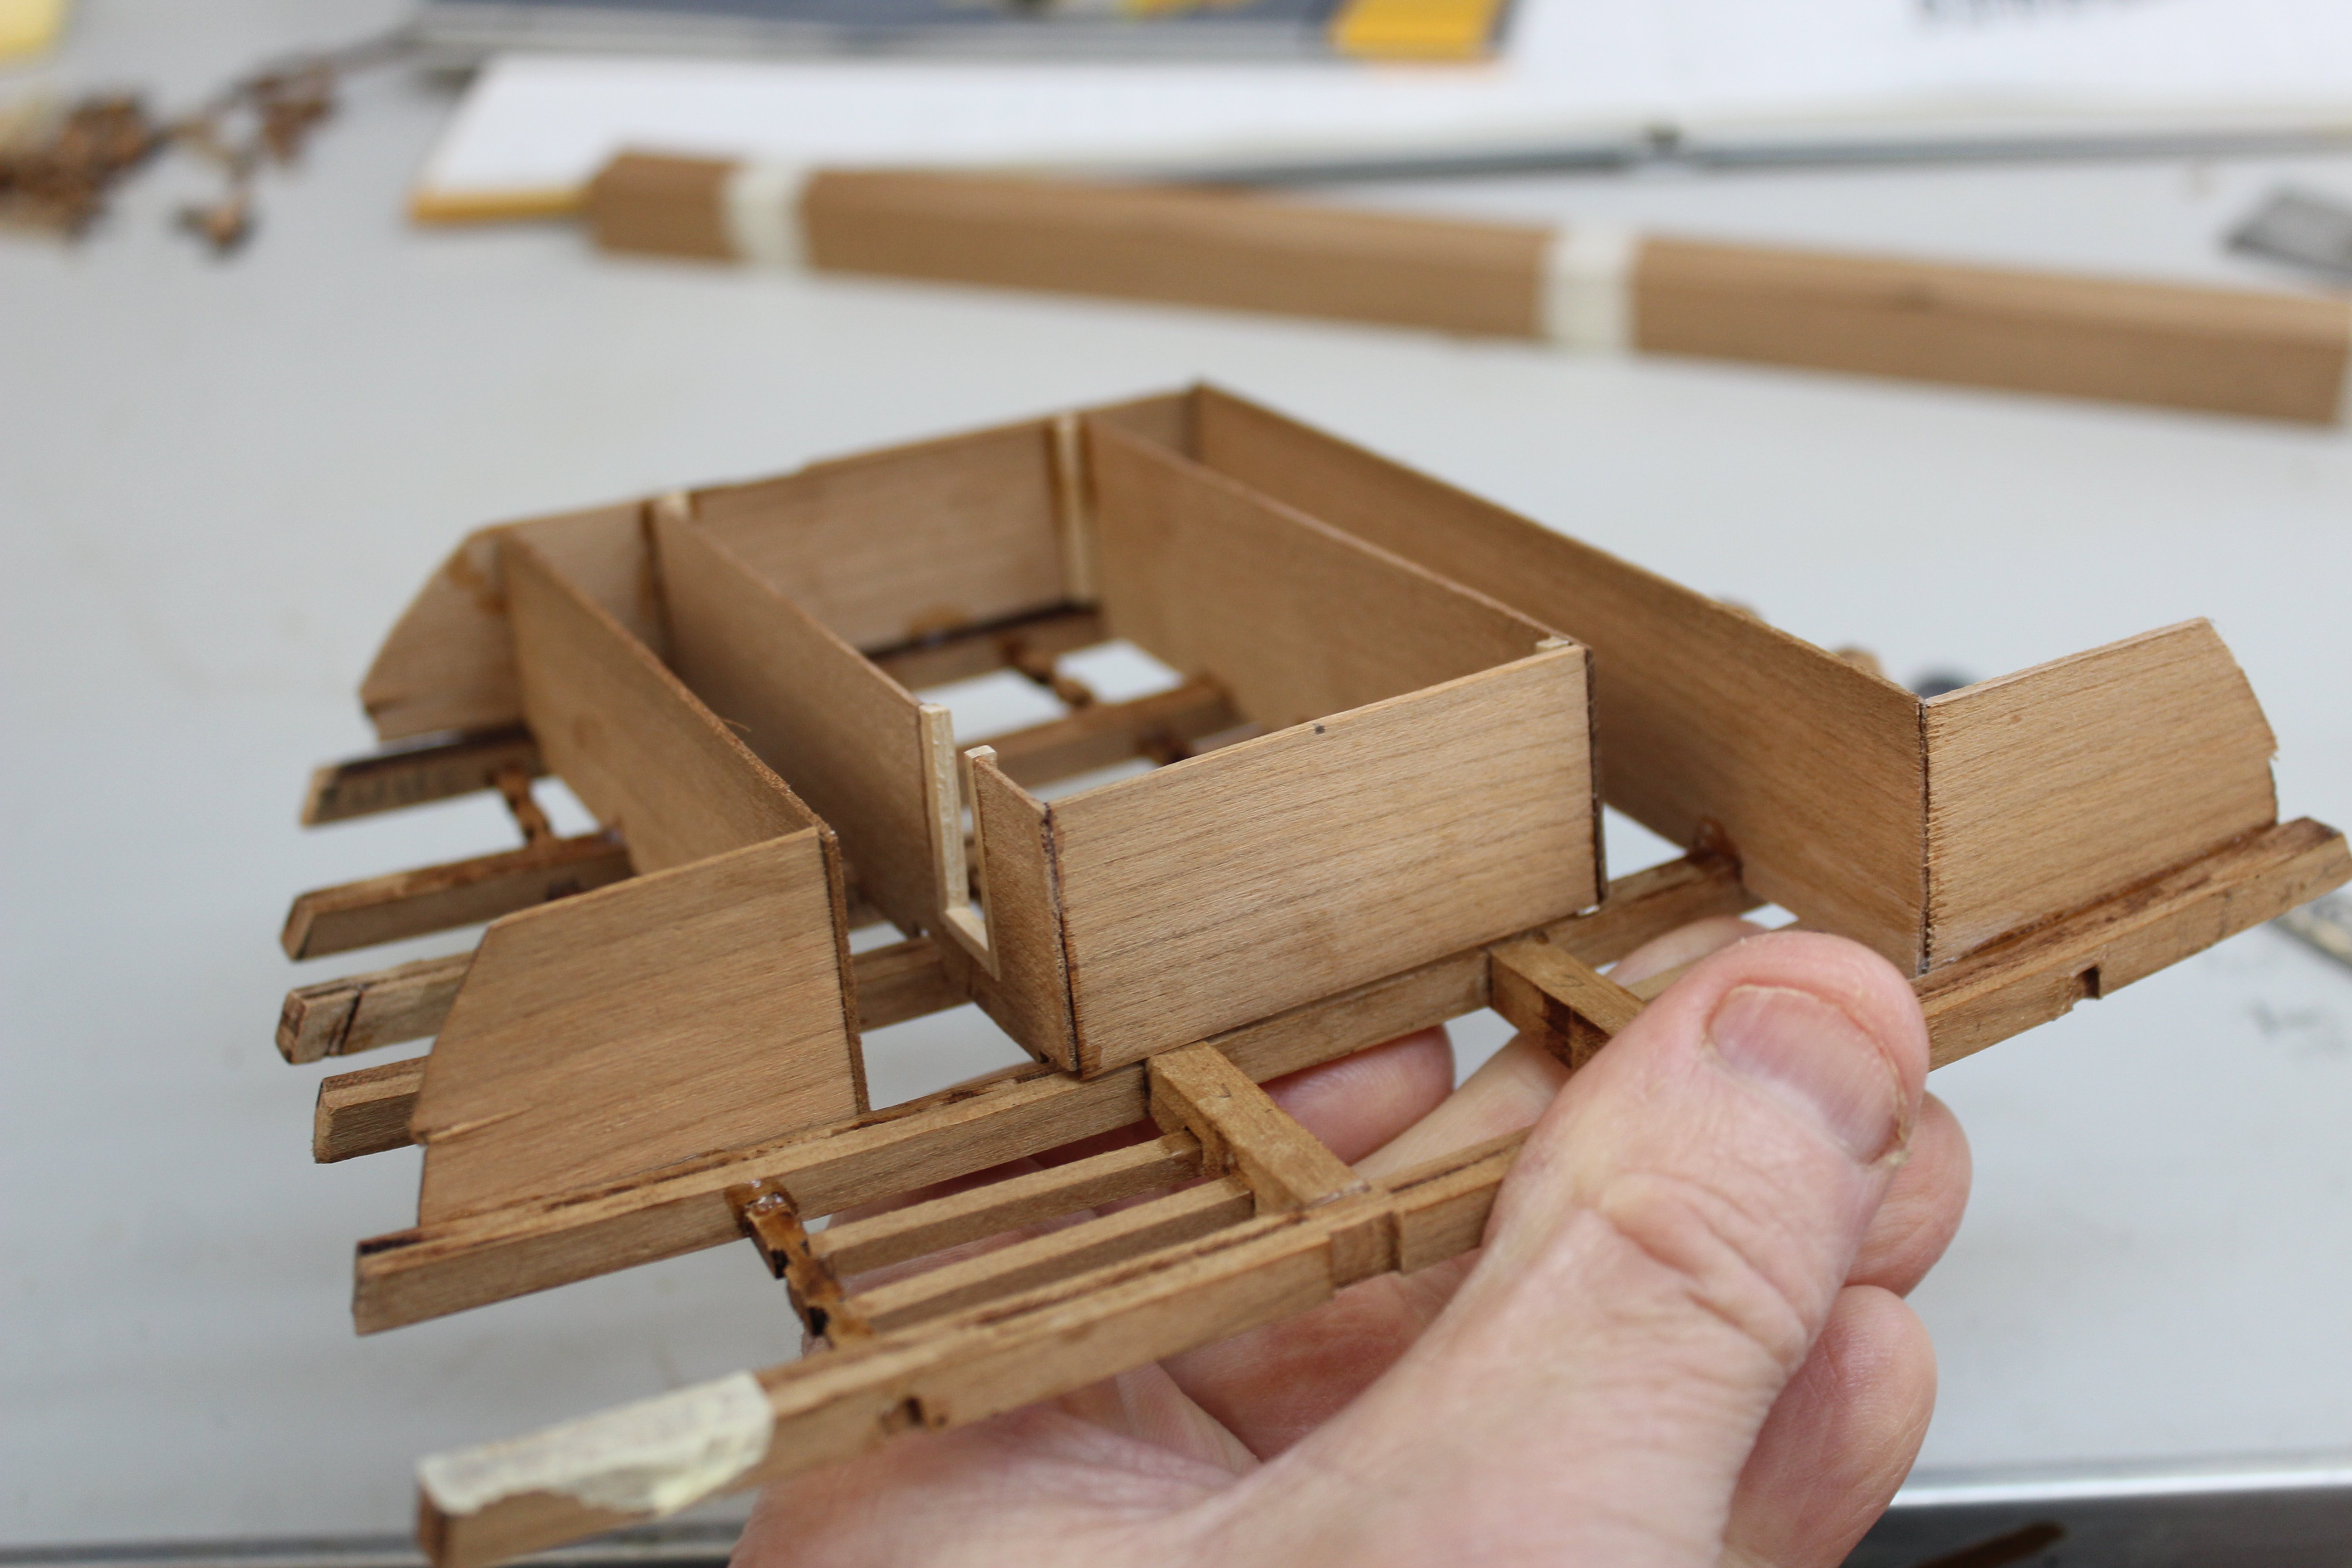
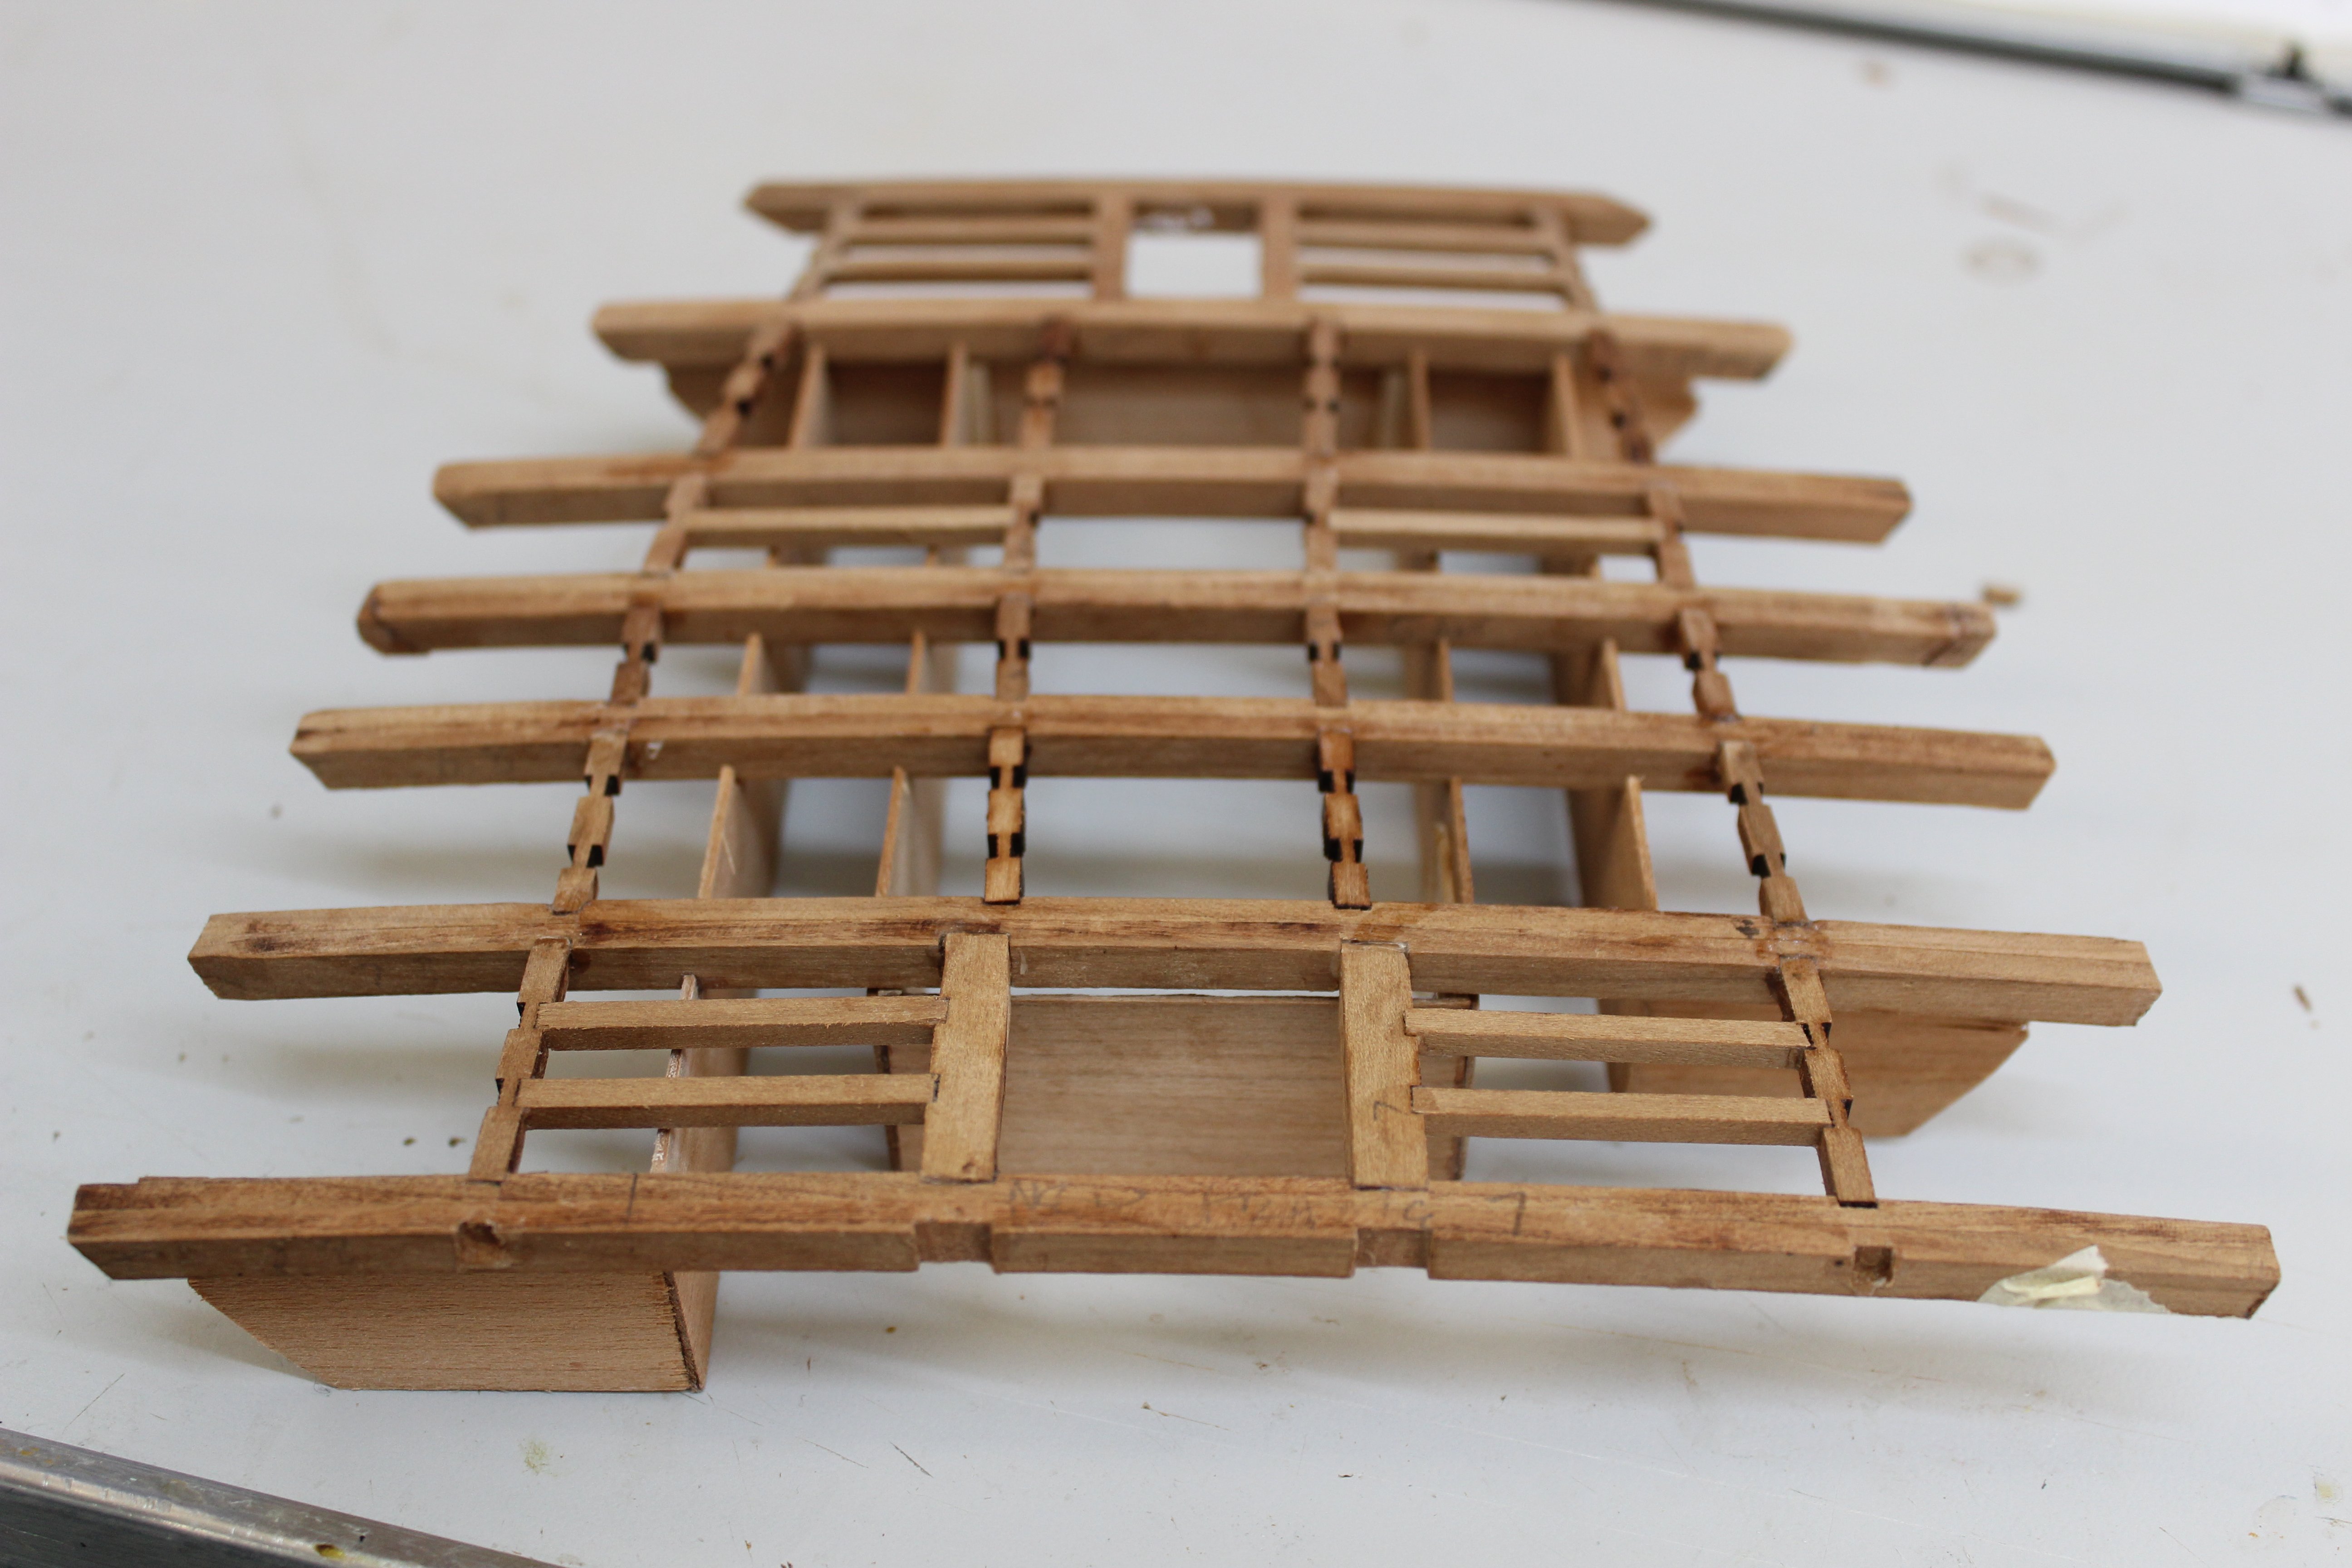
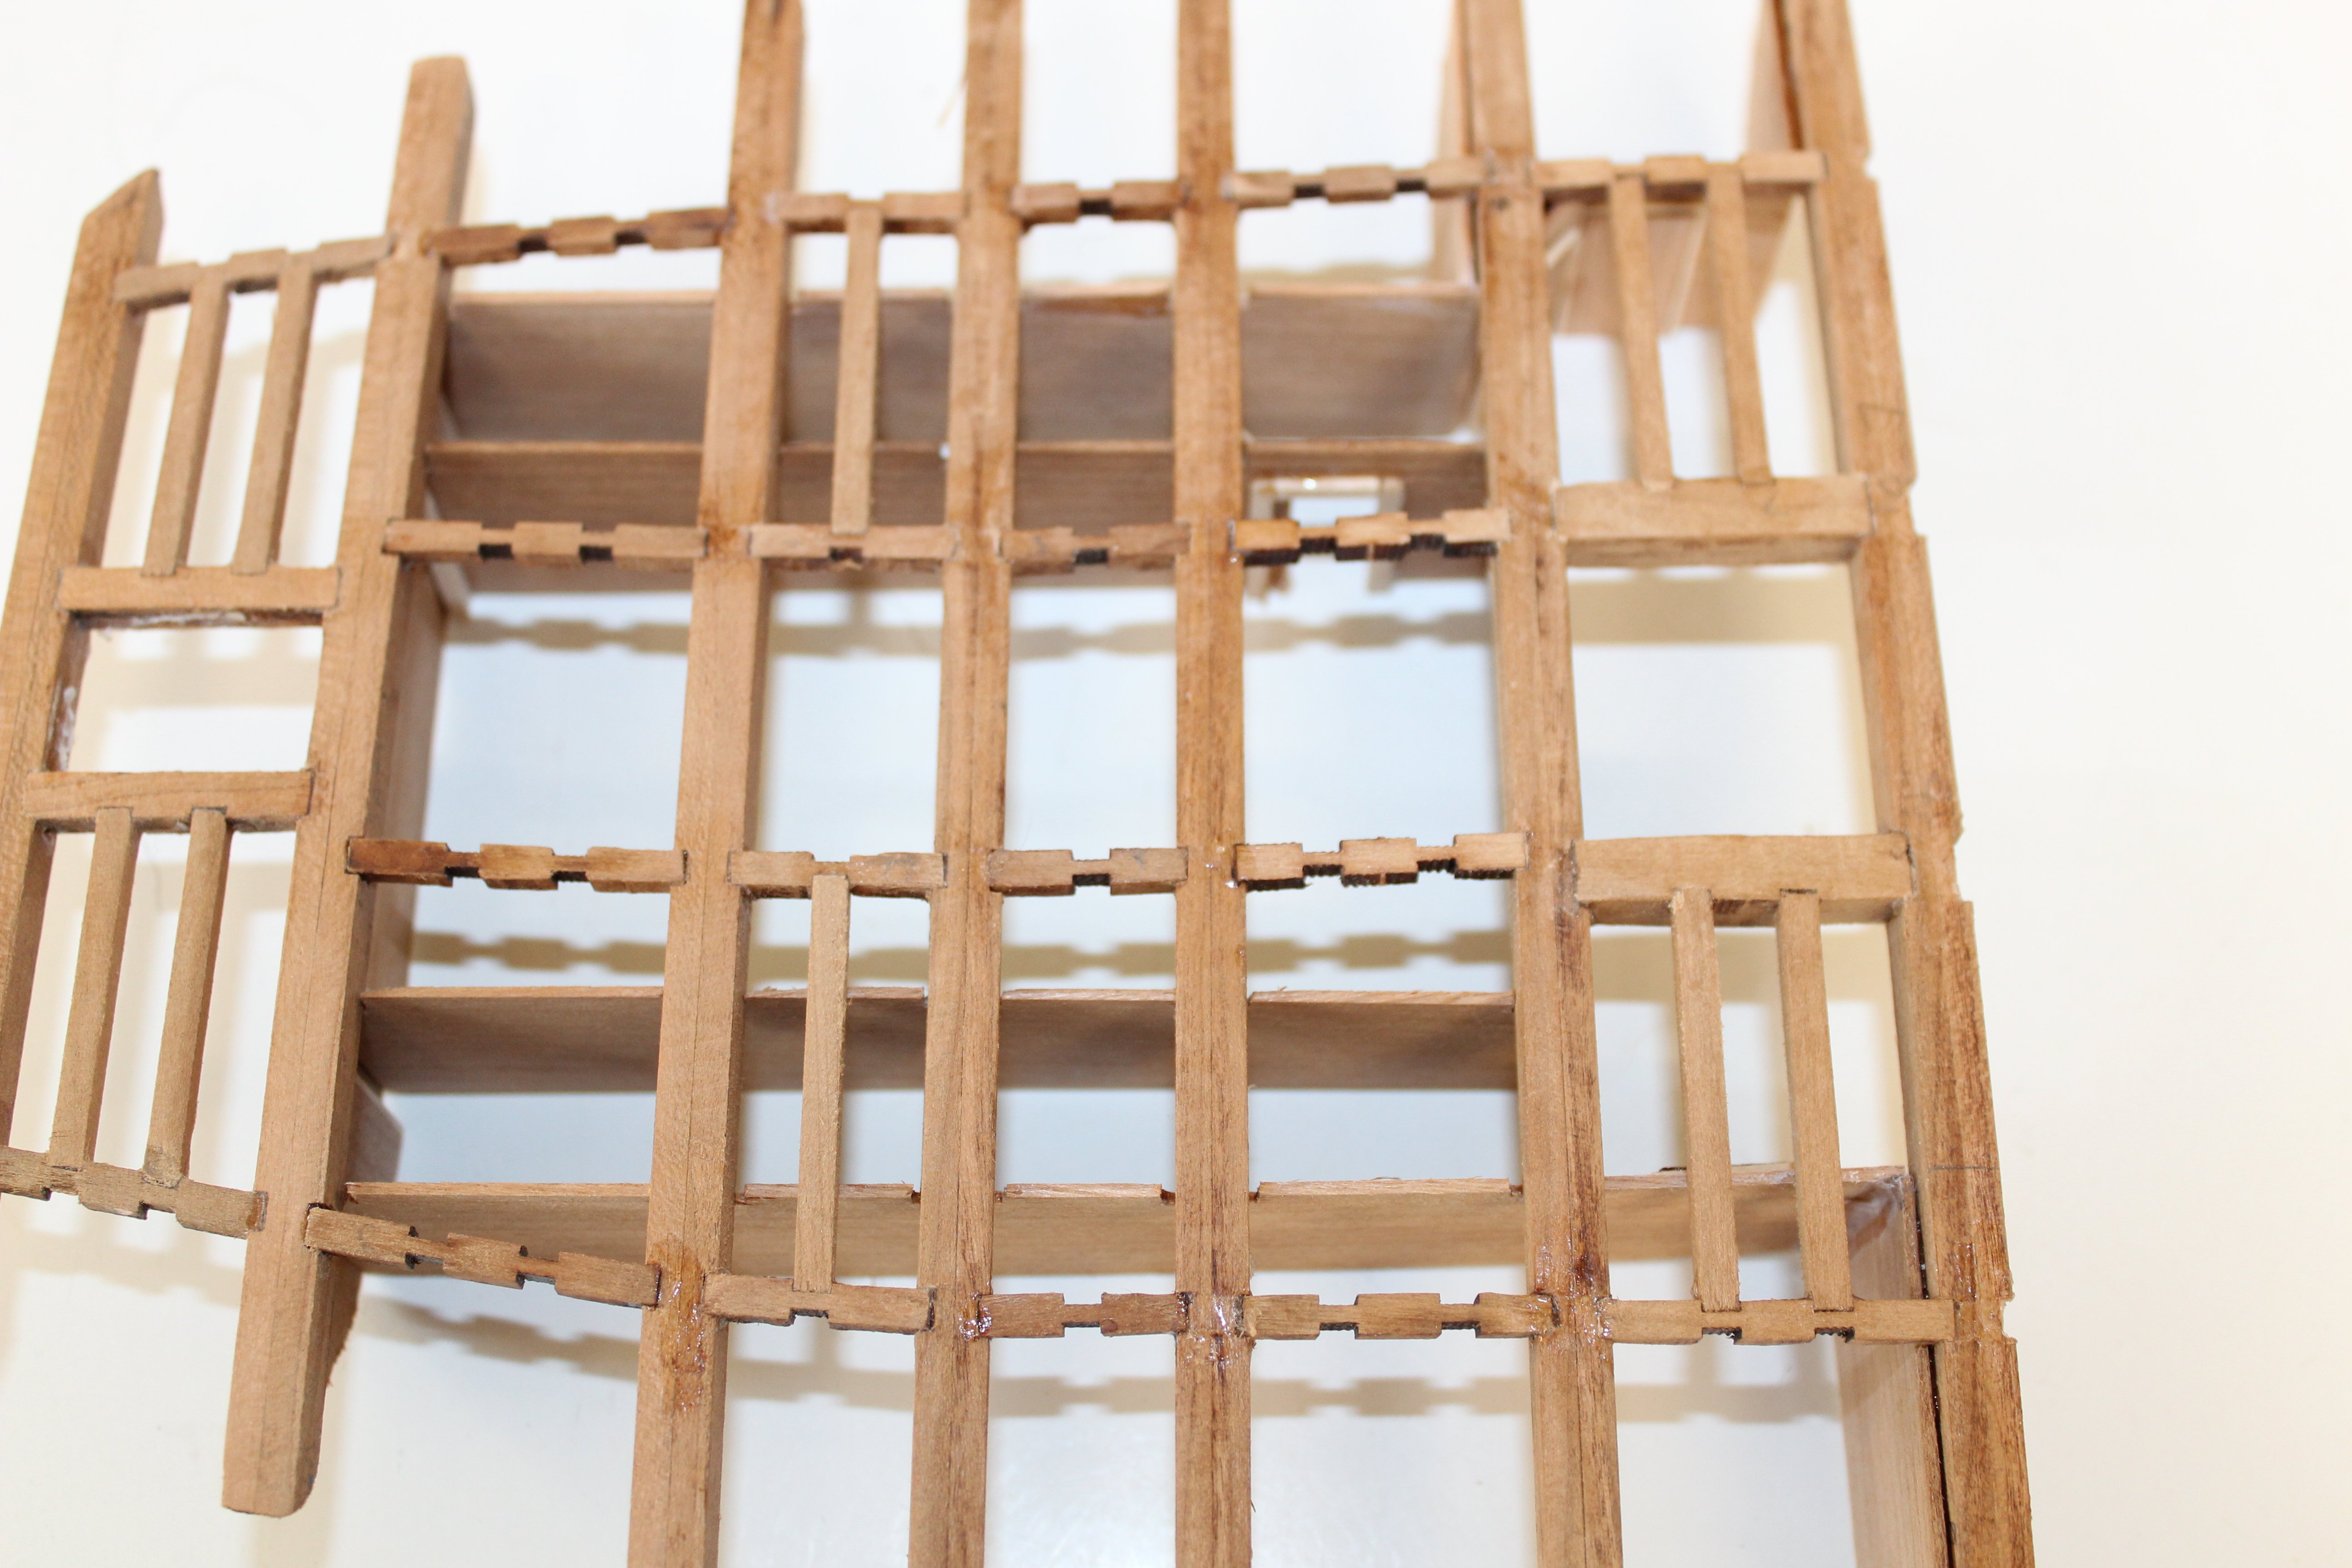
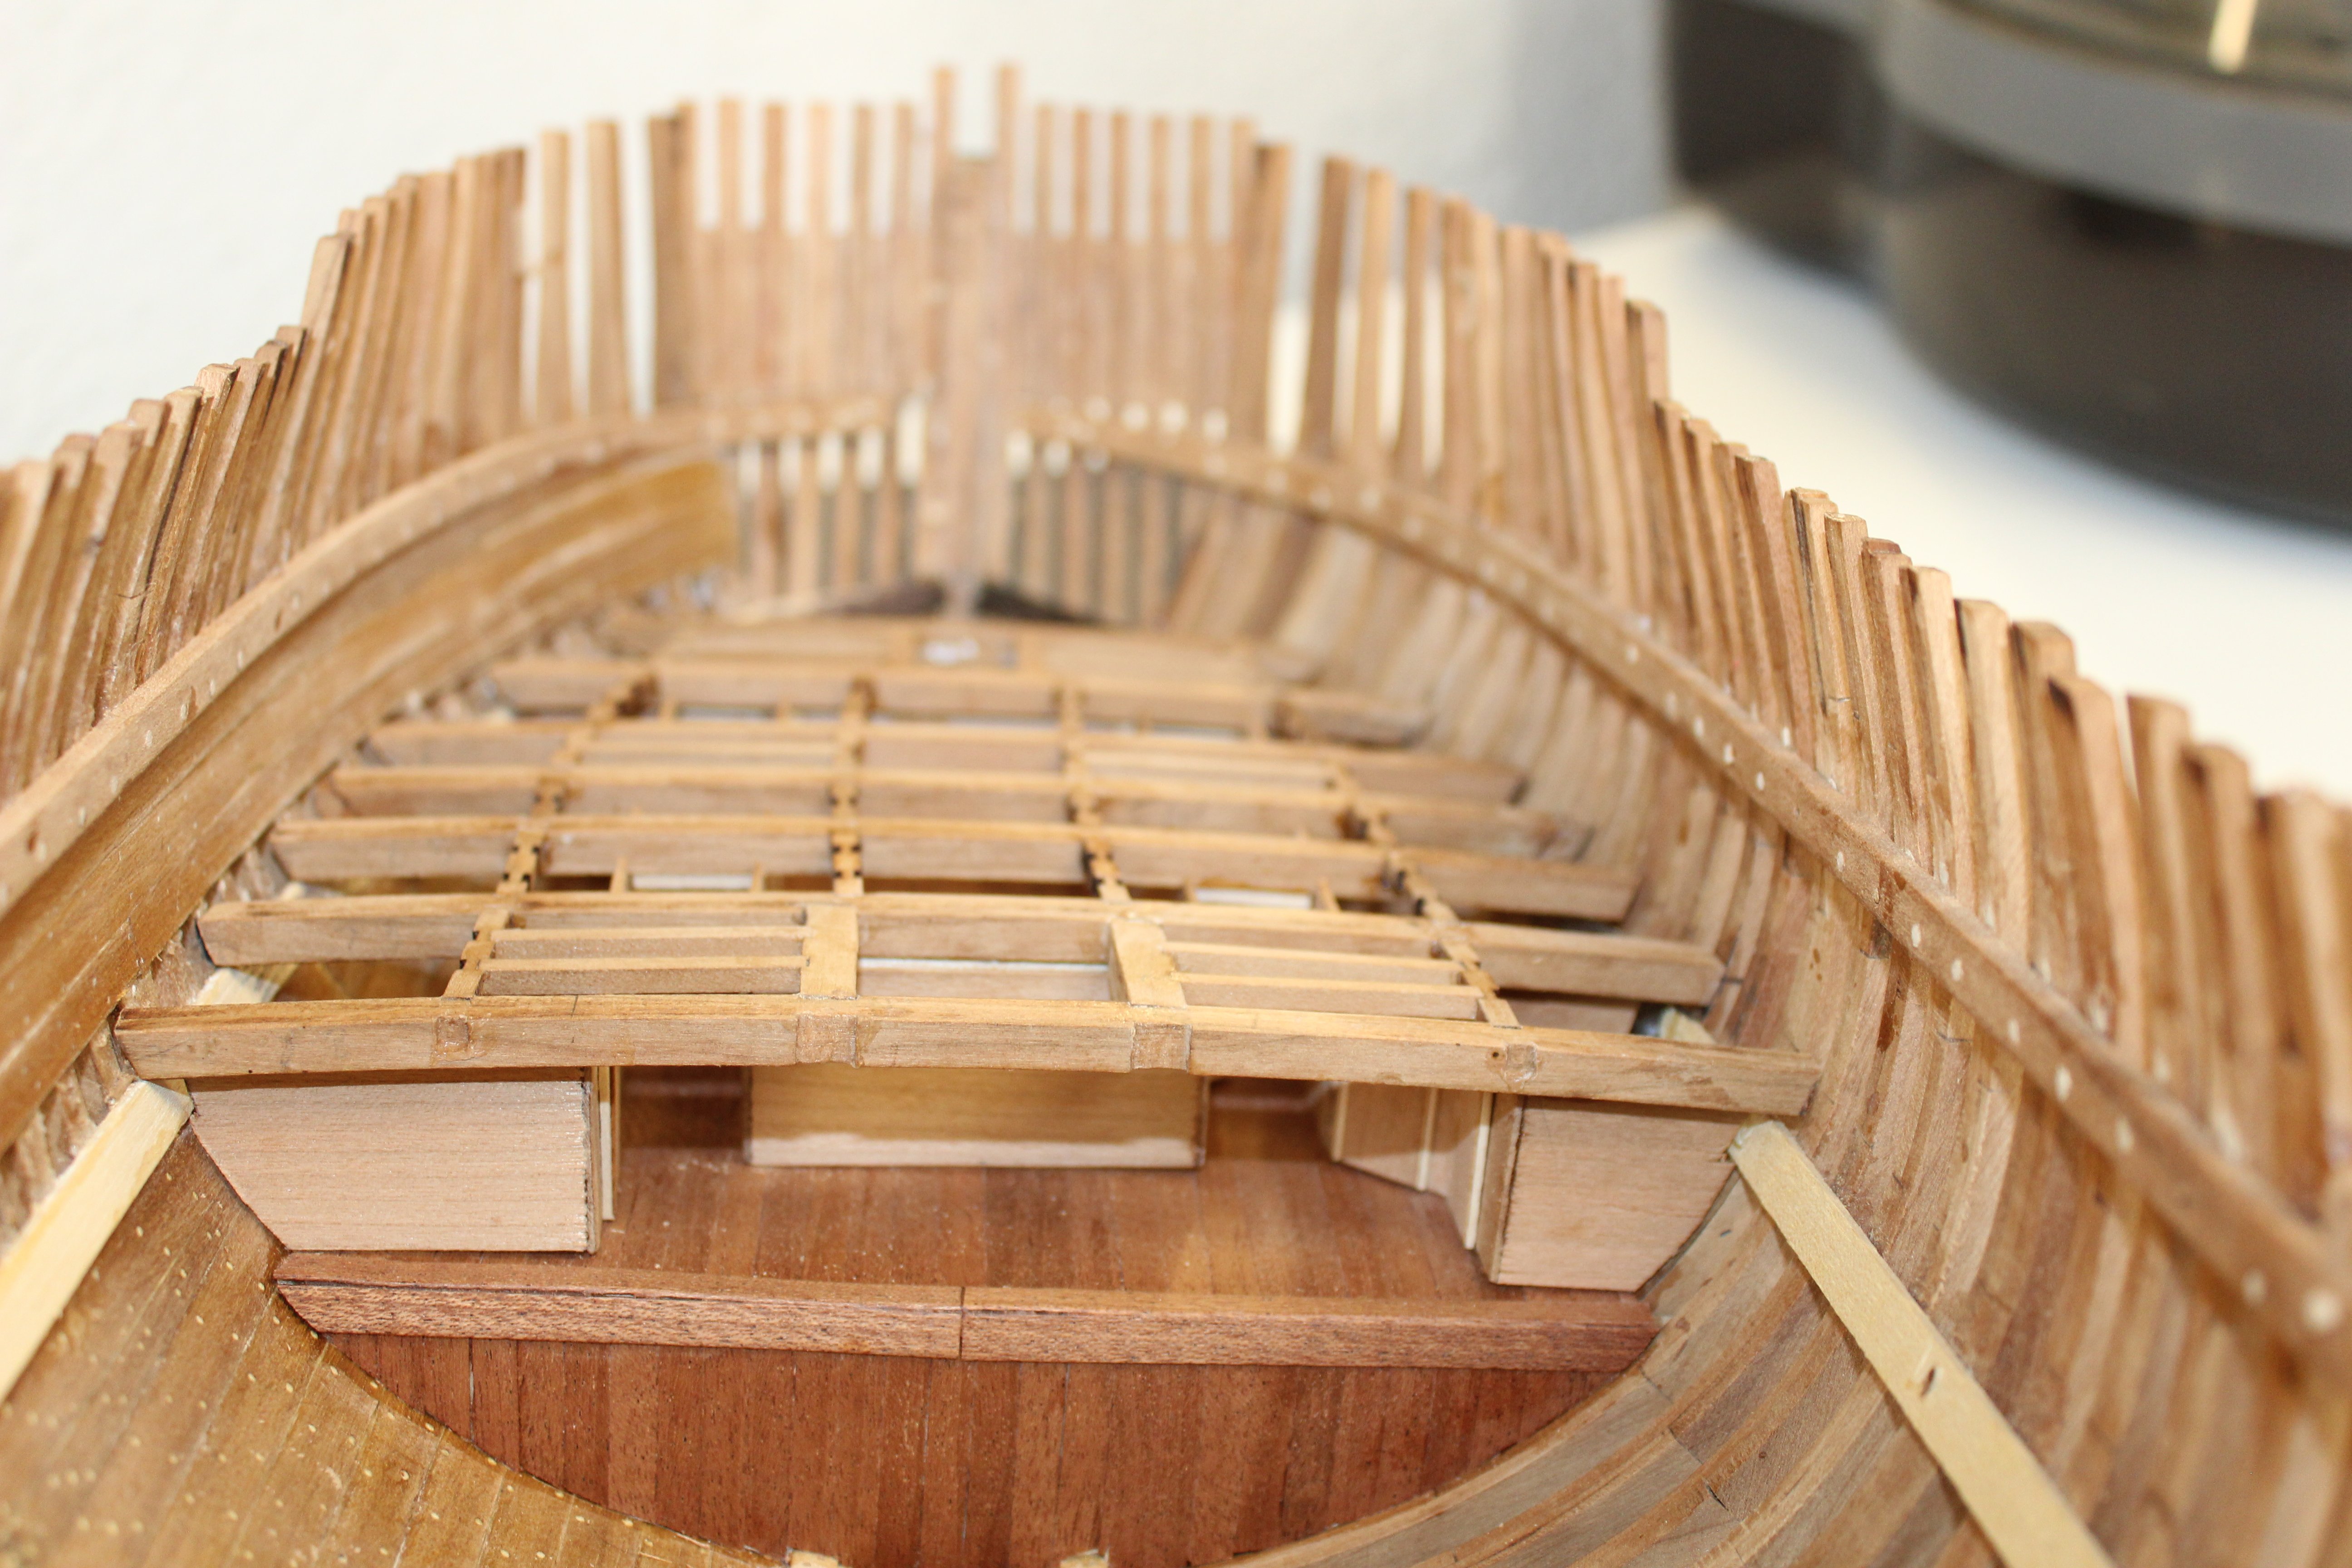
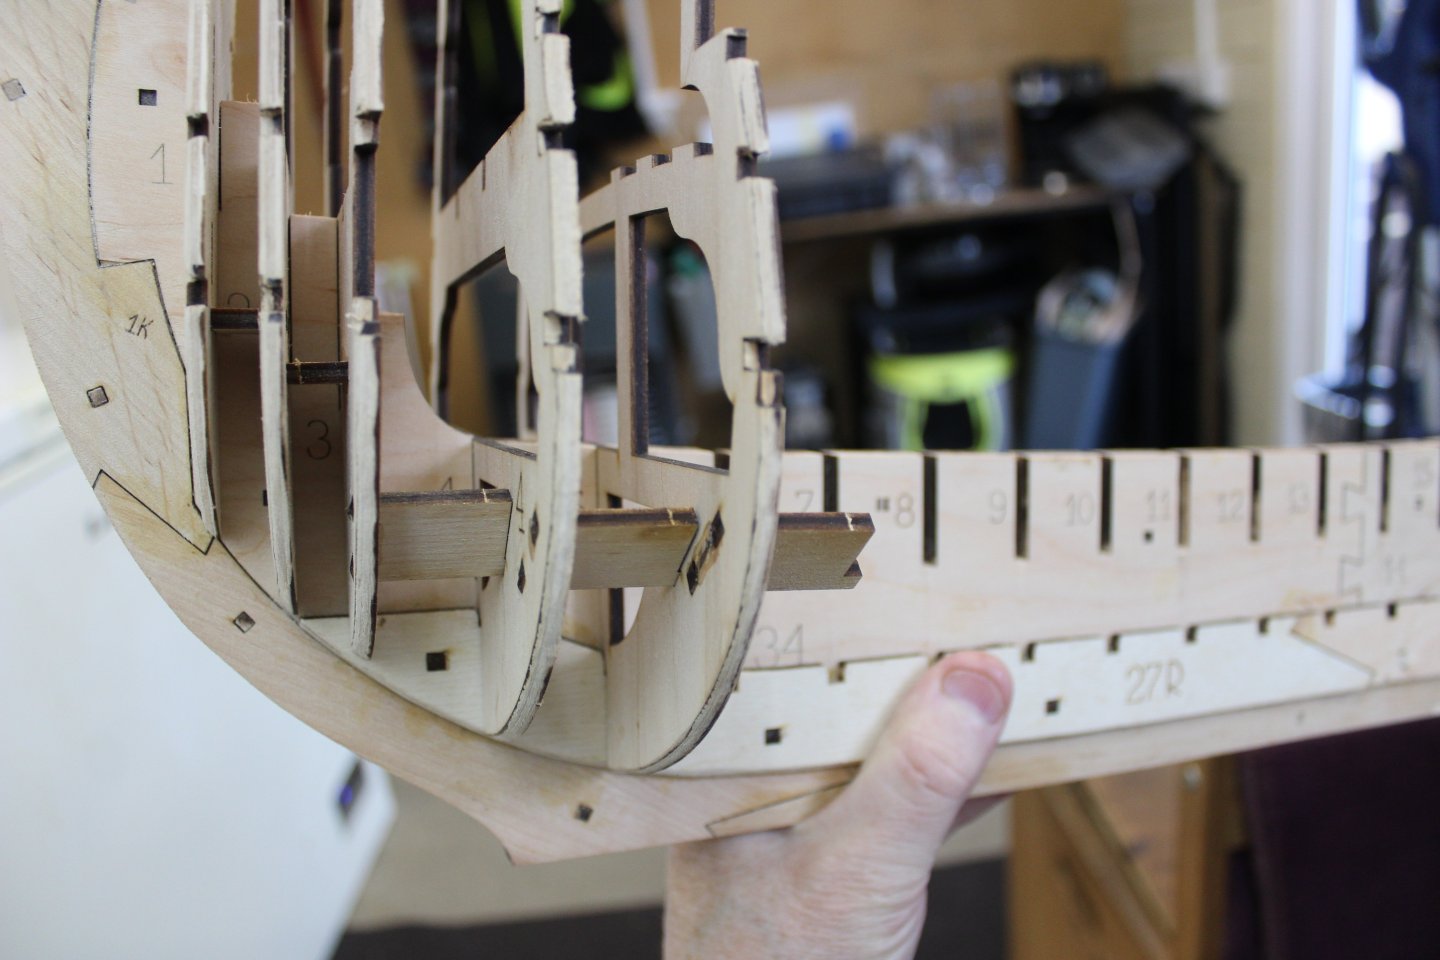
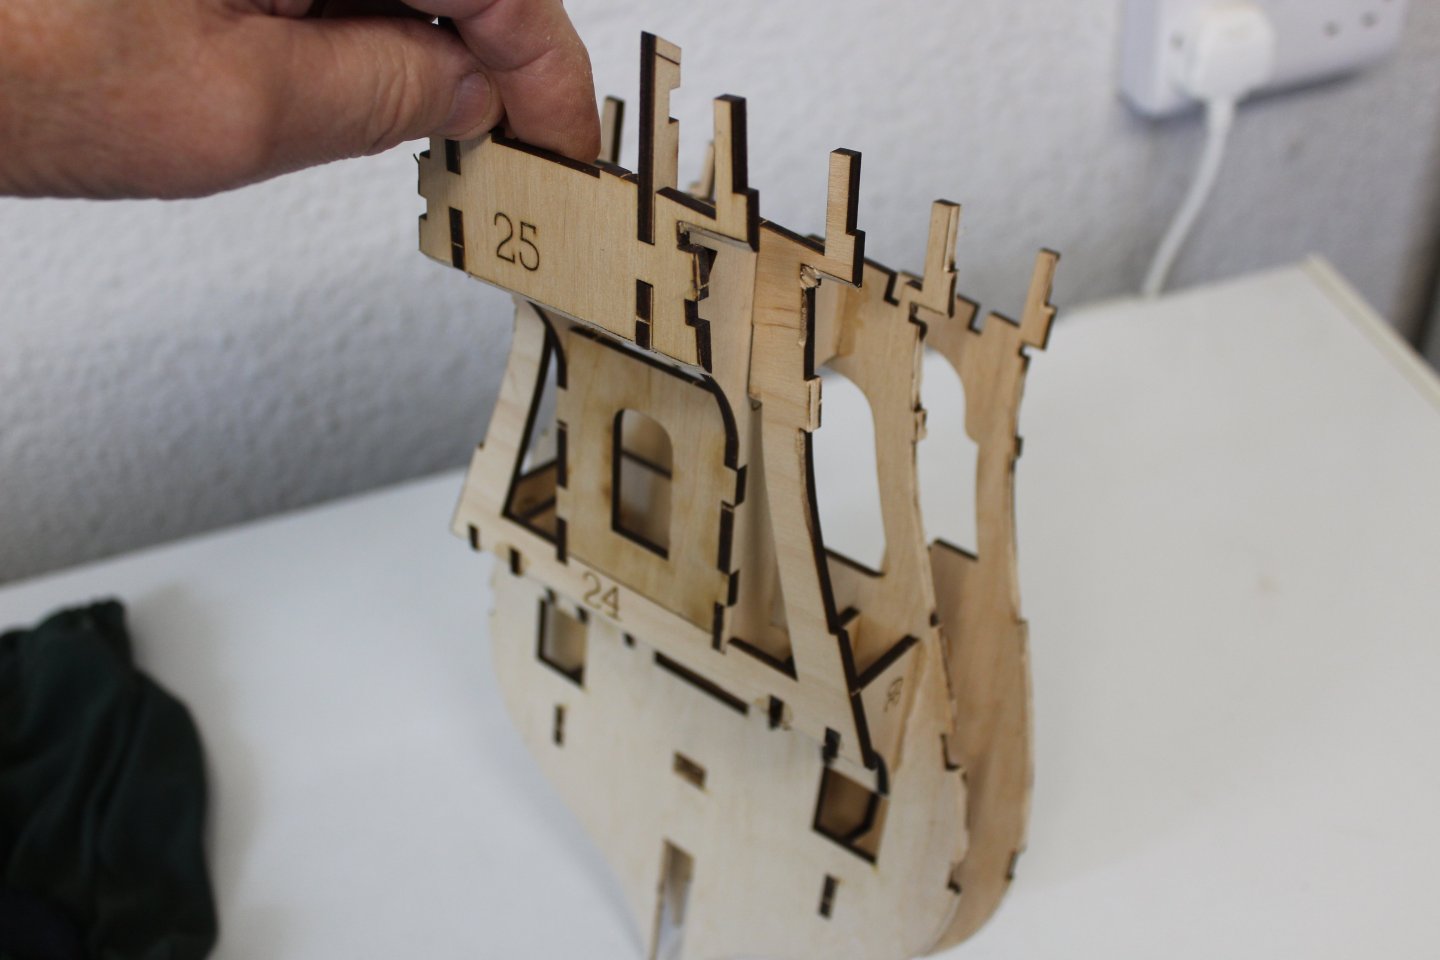
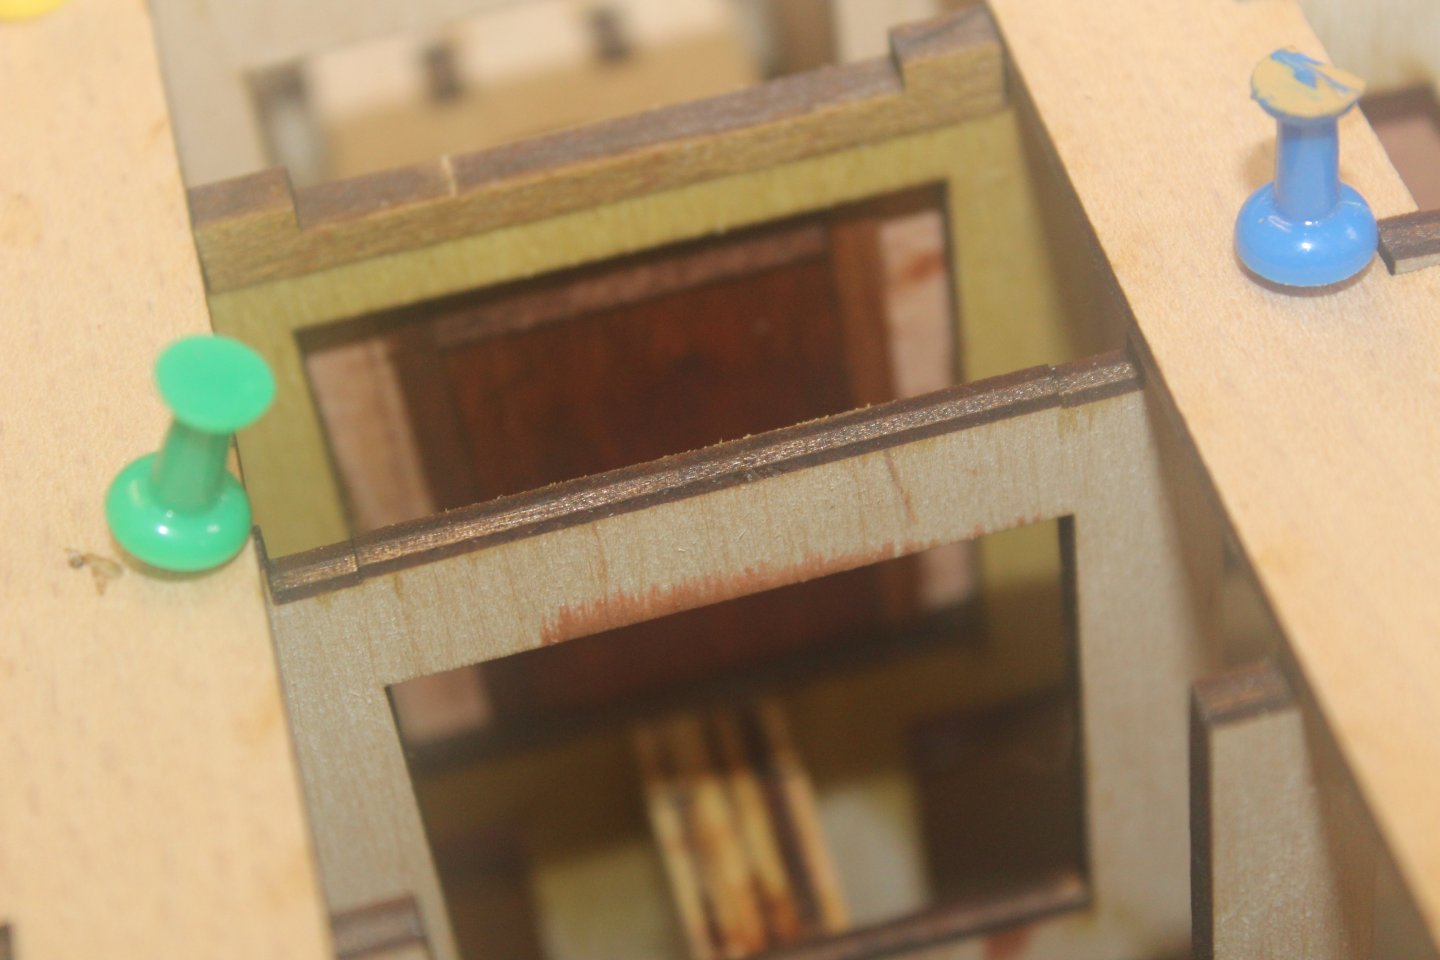
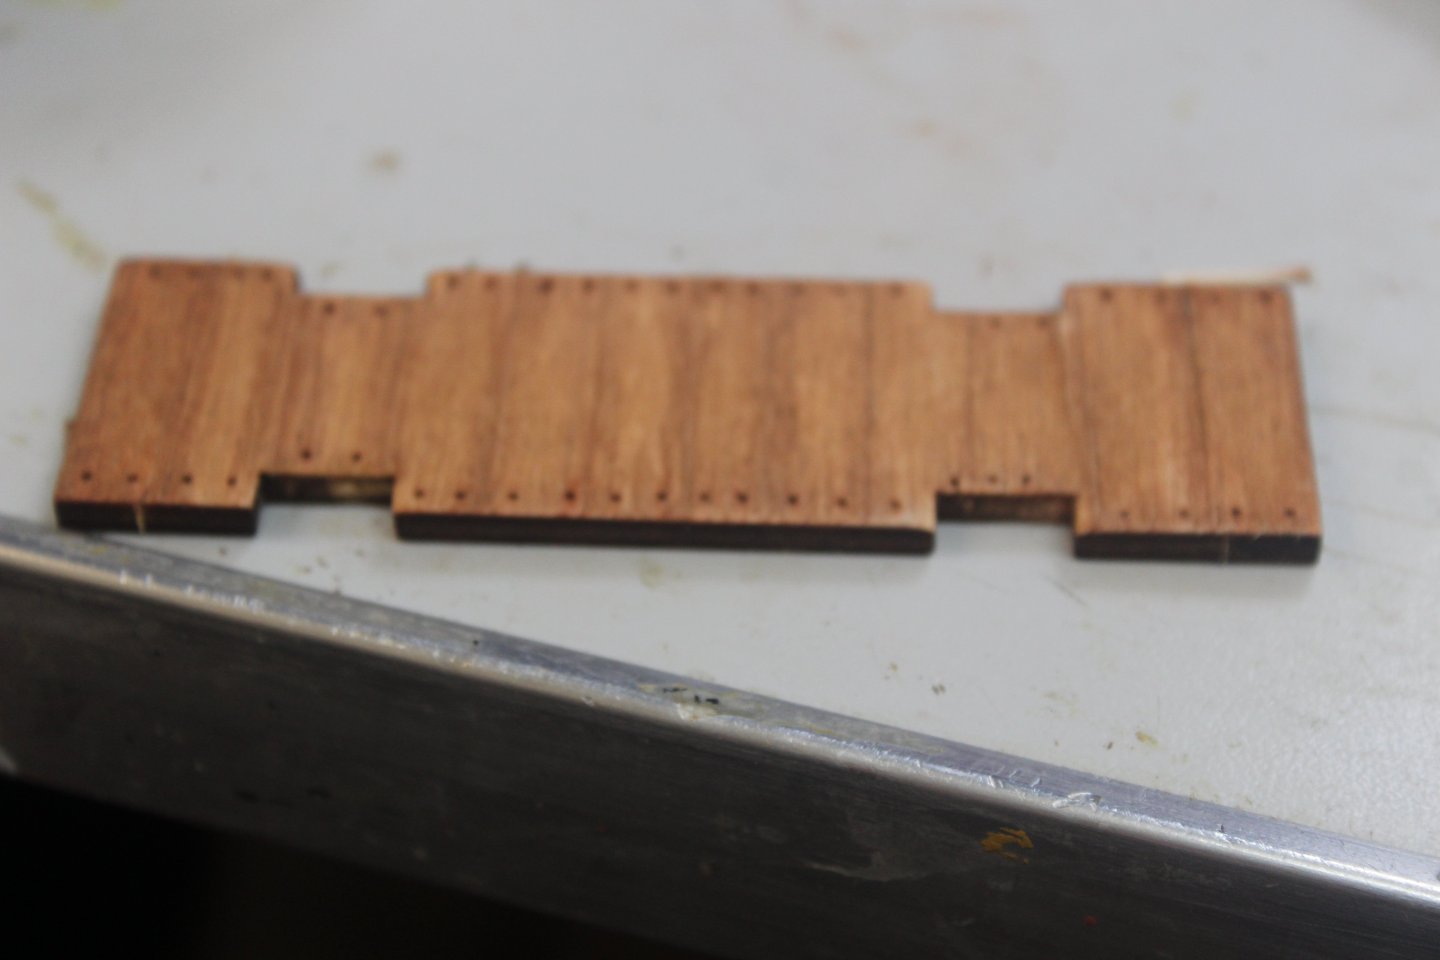
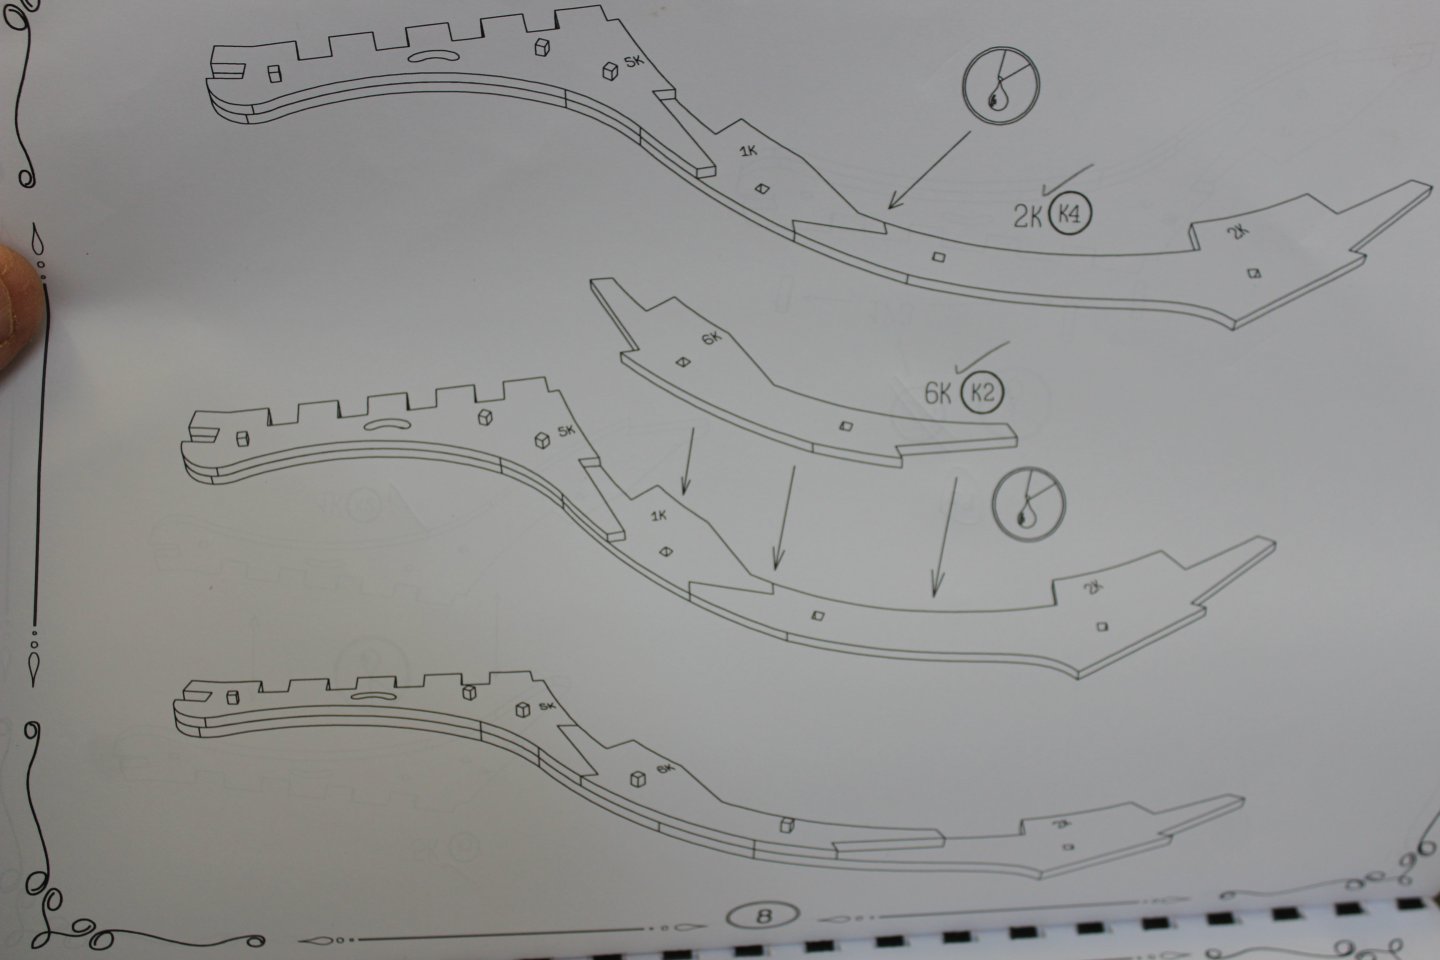
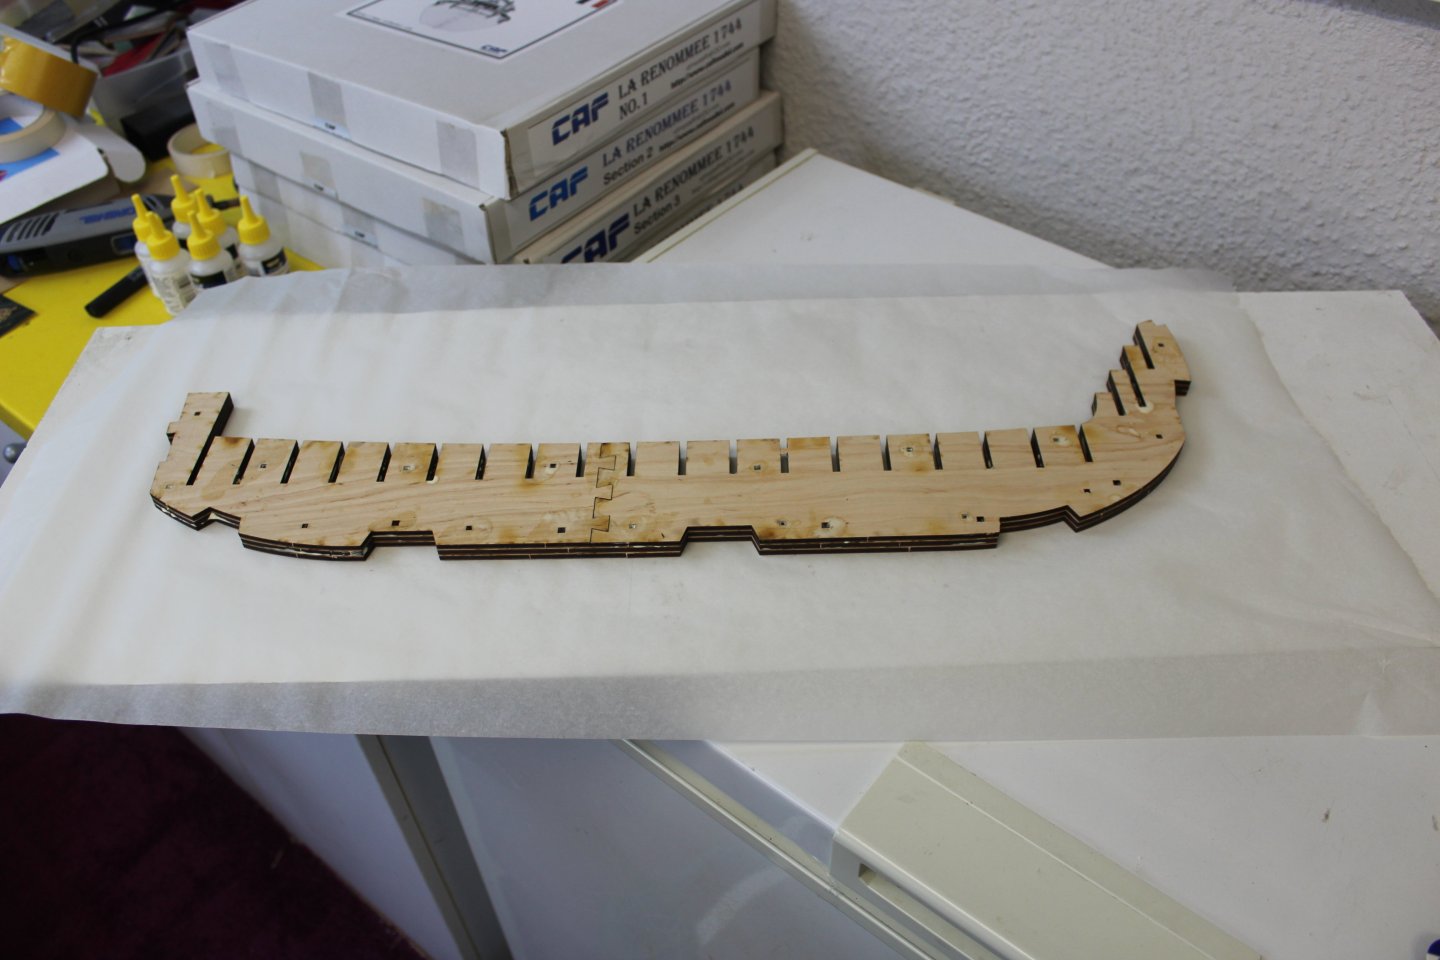
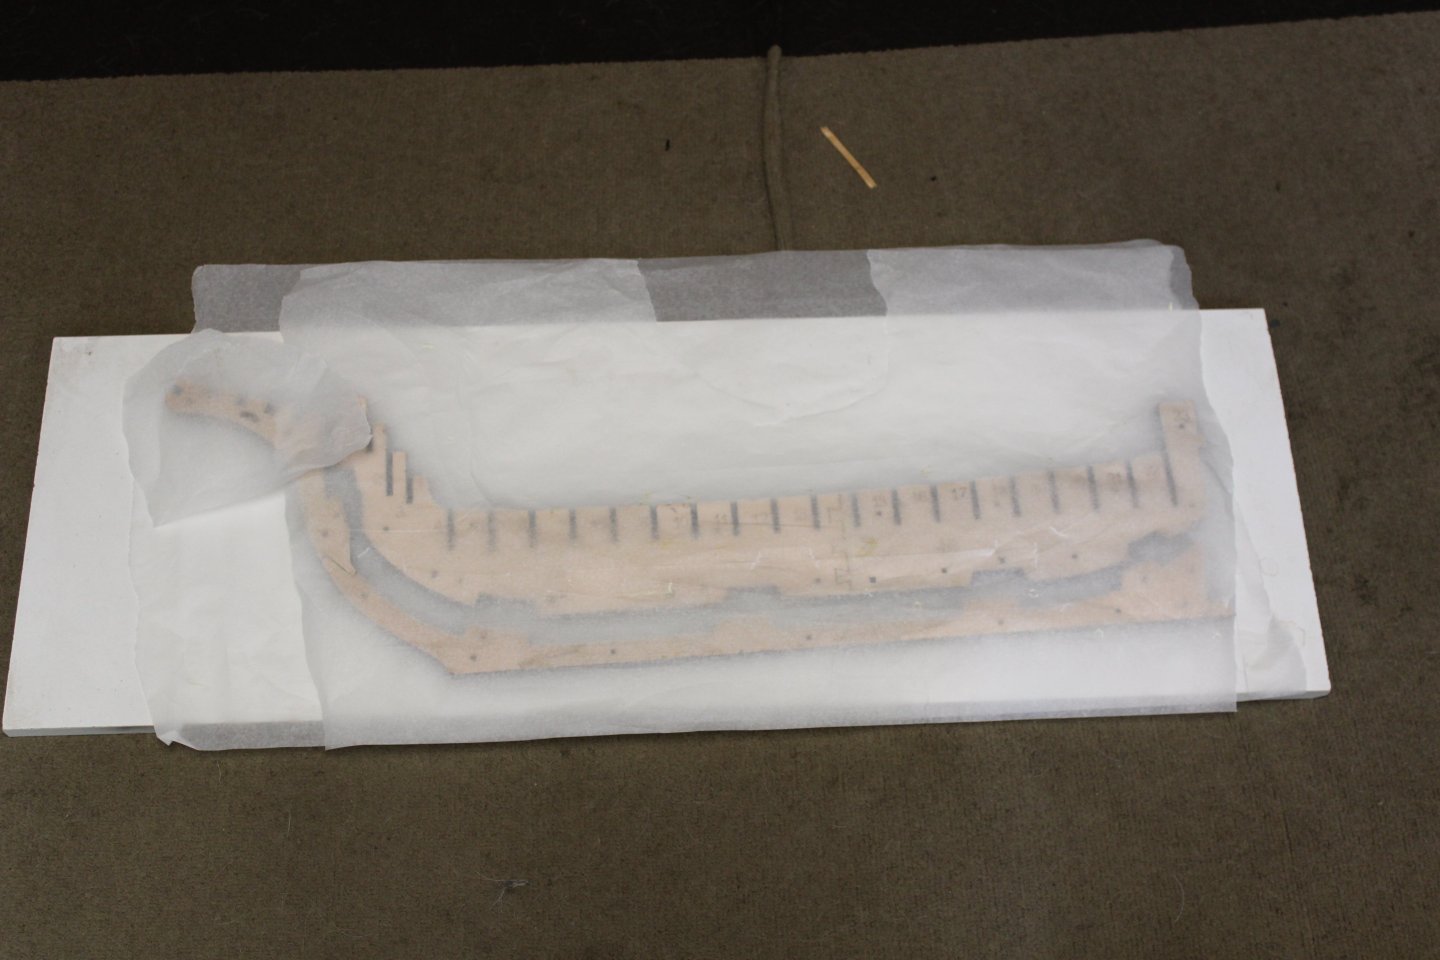
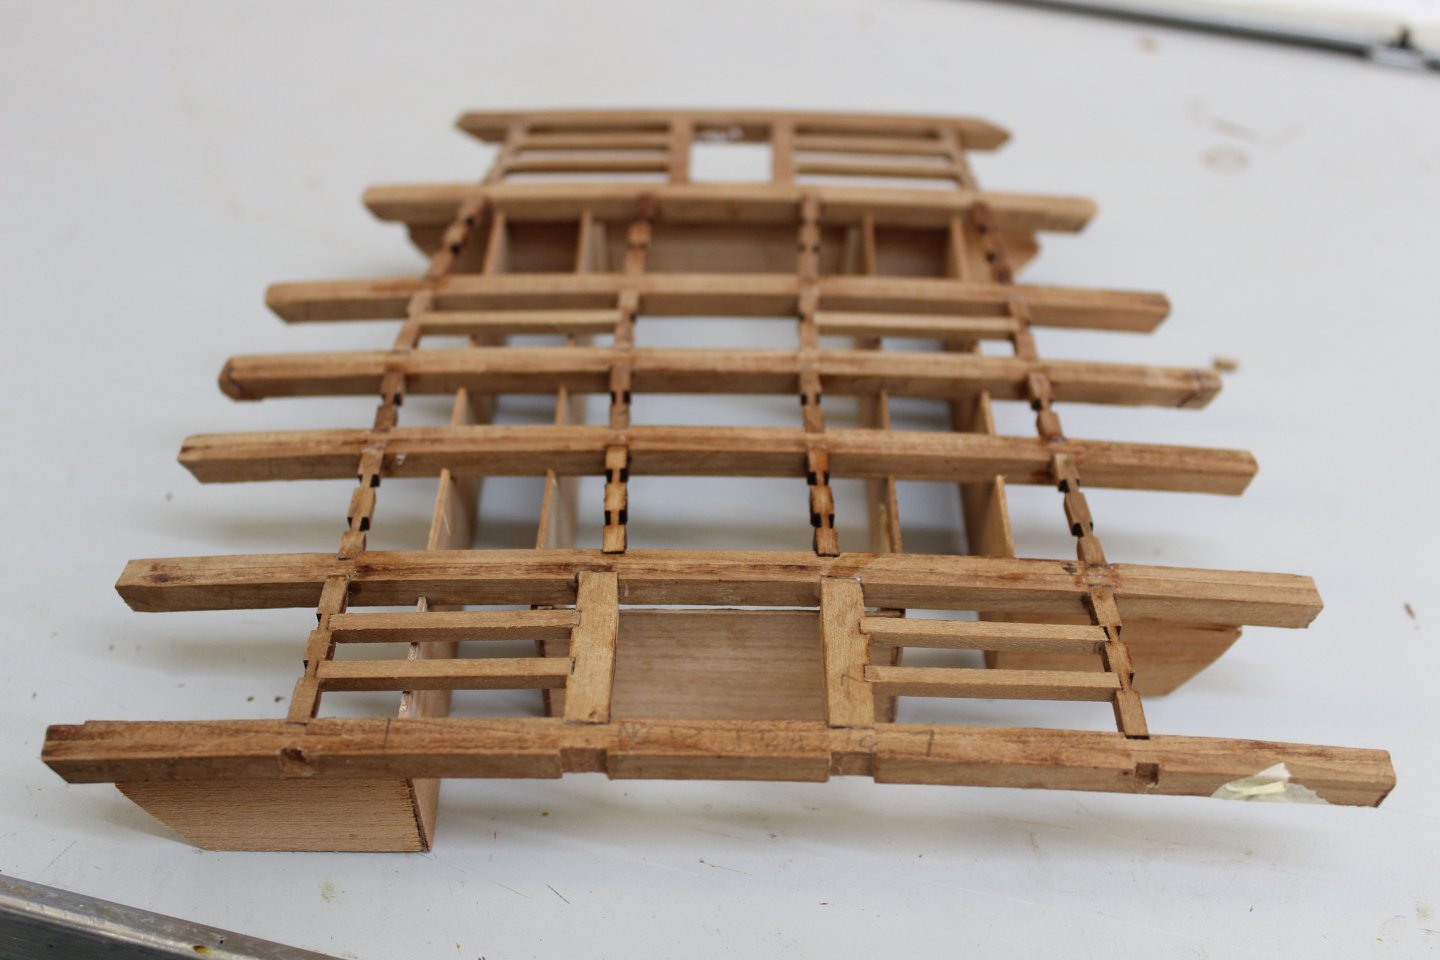
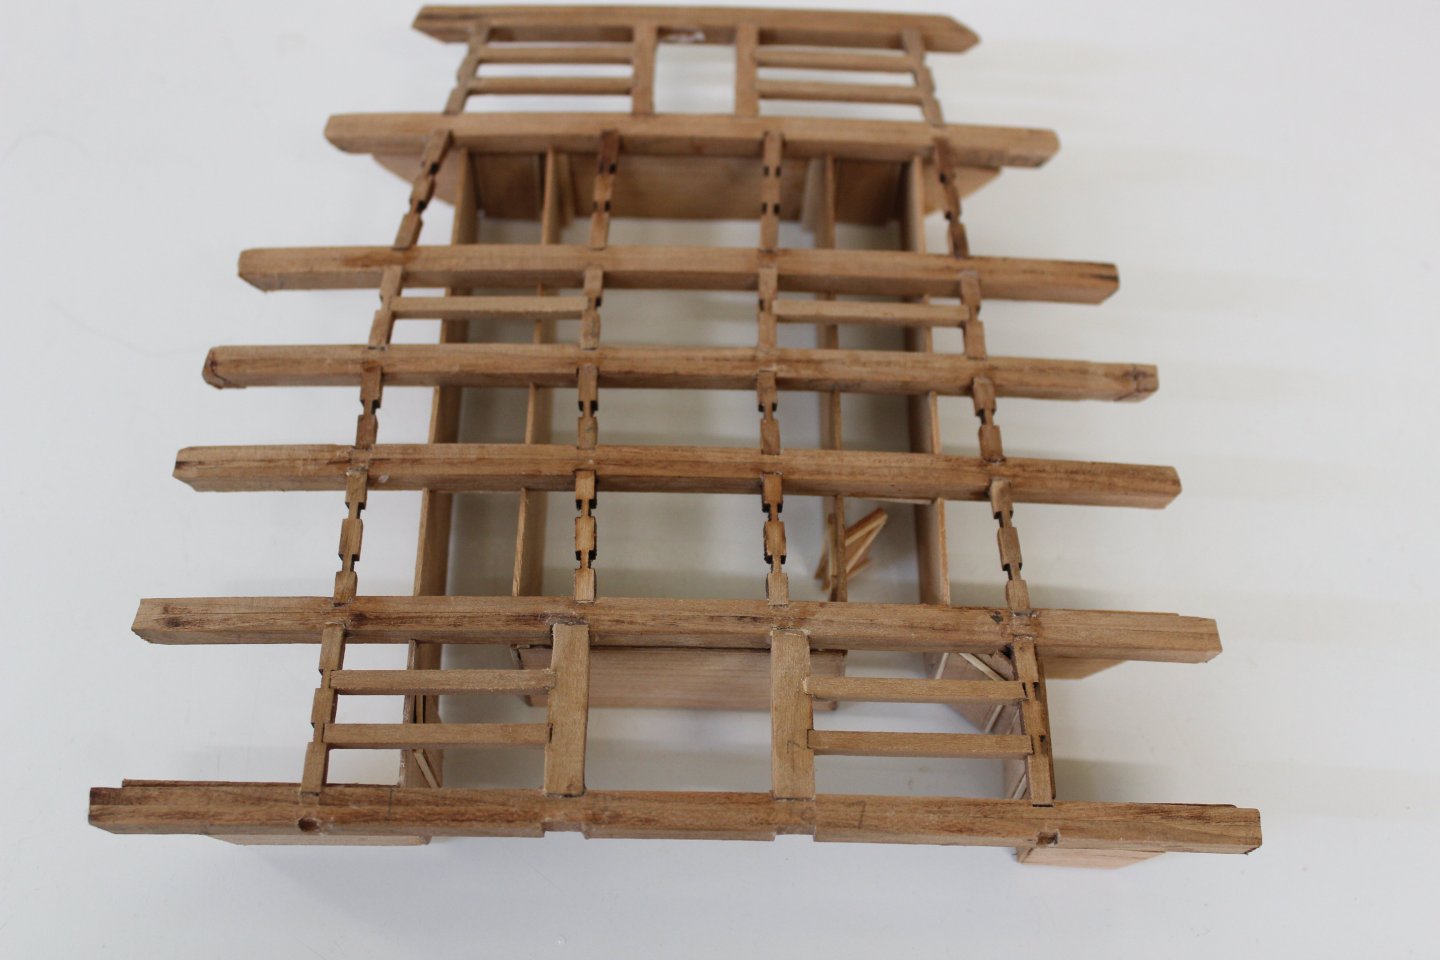
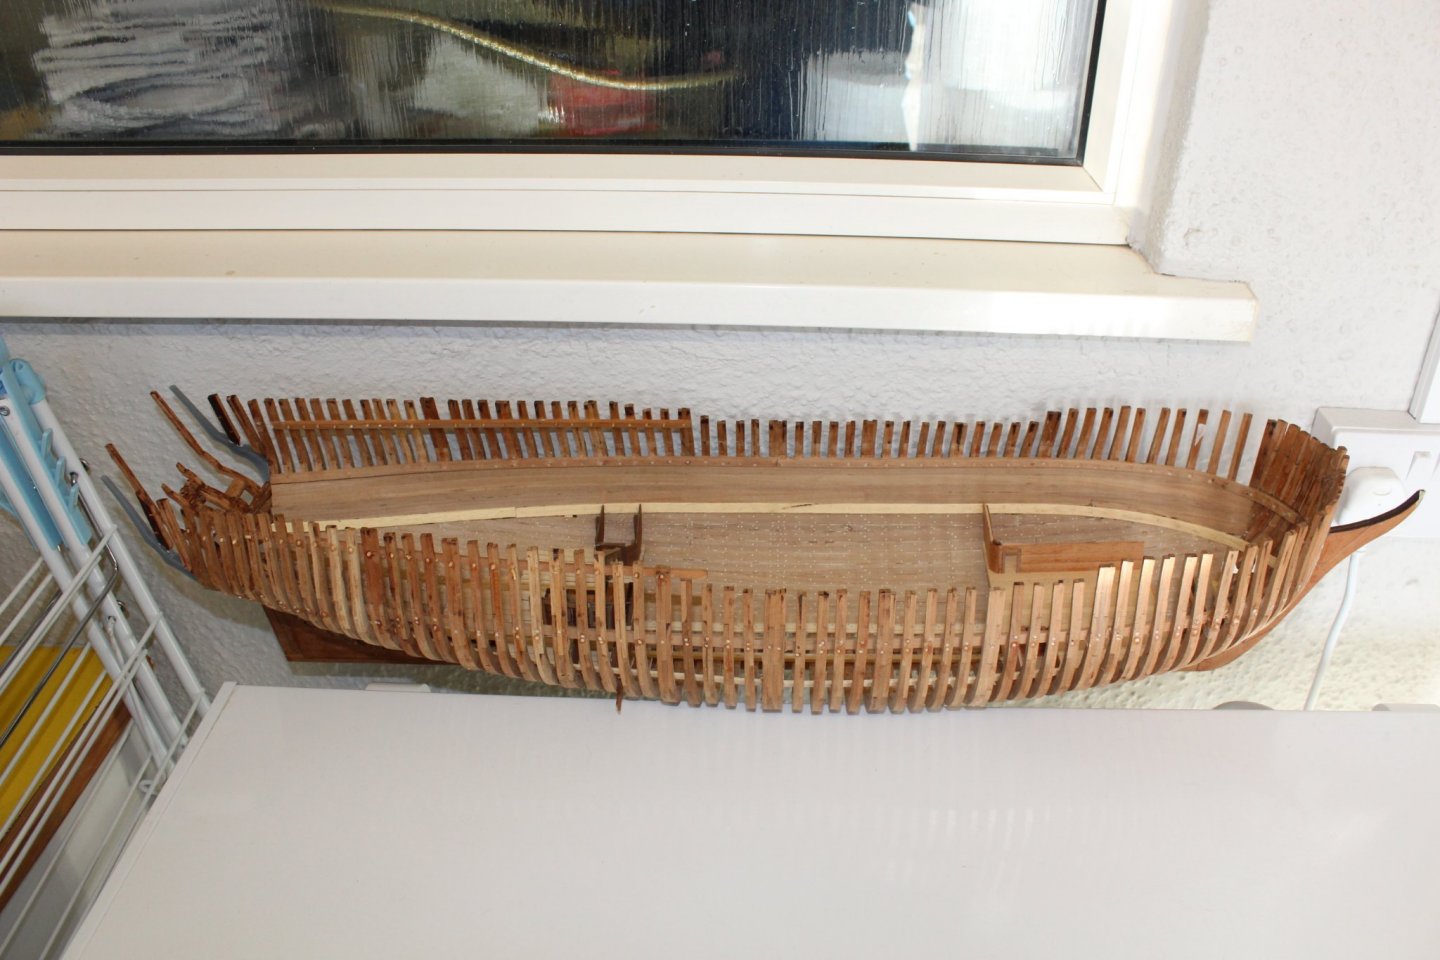
4 years later yes the fwd 1/2 deck is to short by 3 frames, an access ladder comes from the 1/2 deck upto the lower deck, i presumed the ladder went fwd to aft so i set my basis on that, in fact it goes port to stbd. i there fore ripped the 1/2 deck out and made a new one by extending it by 3 frames the deck frames now fit much better after being sanded, and all the storerooms have been remade, to me it looks better


- 322 replies
-
- 17
-
-

-
- enterprise
- caf
- (and 1 more)
-
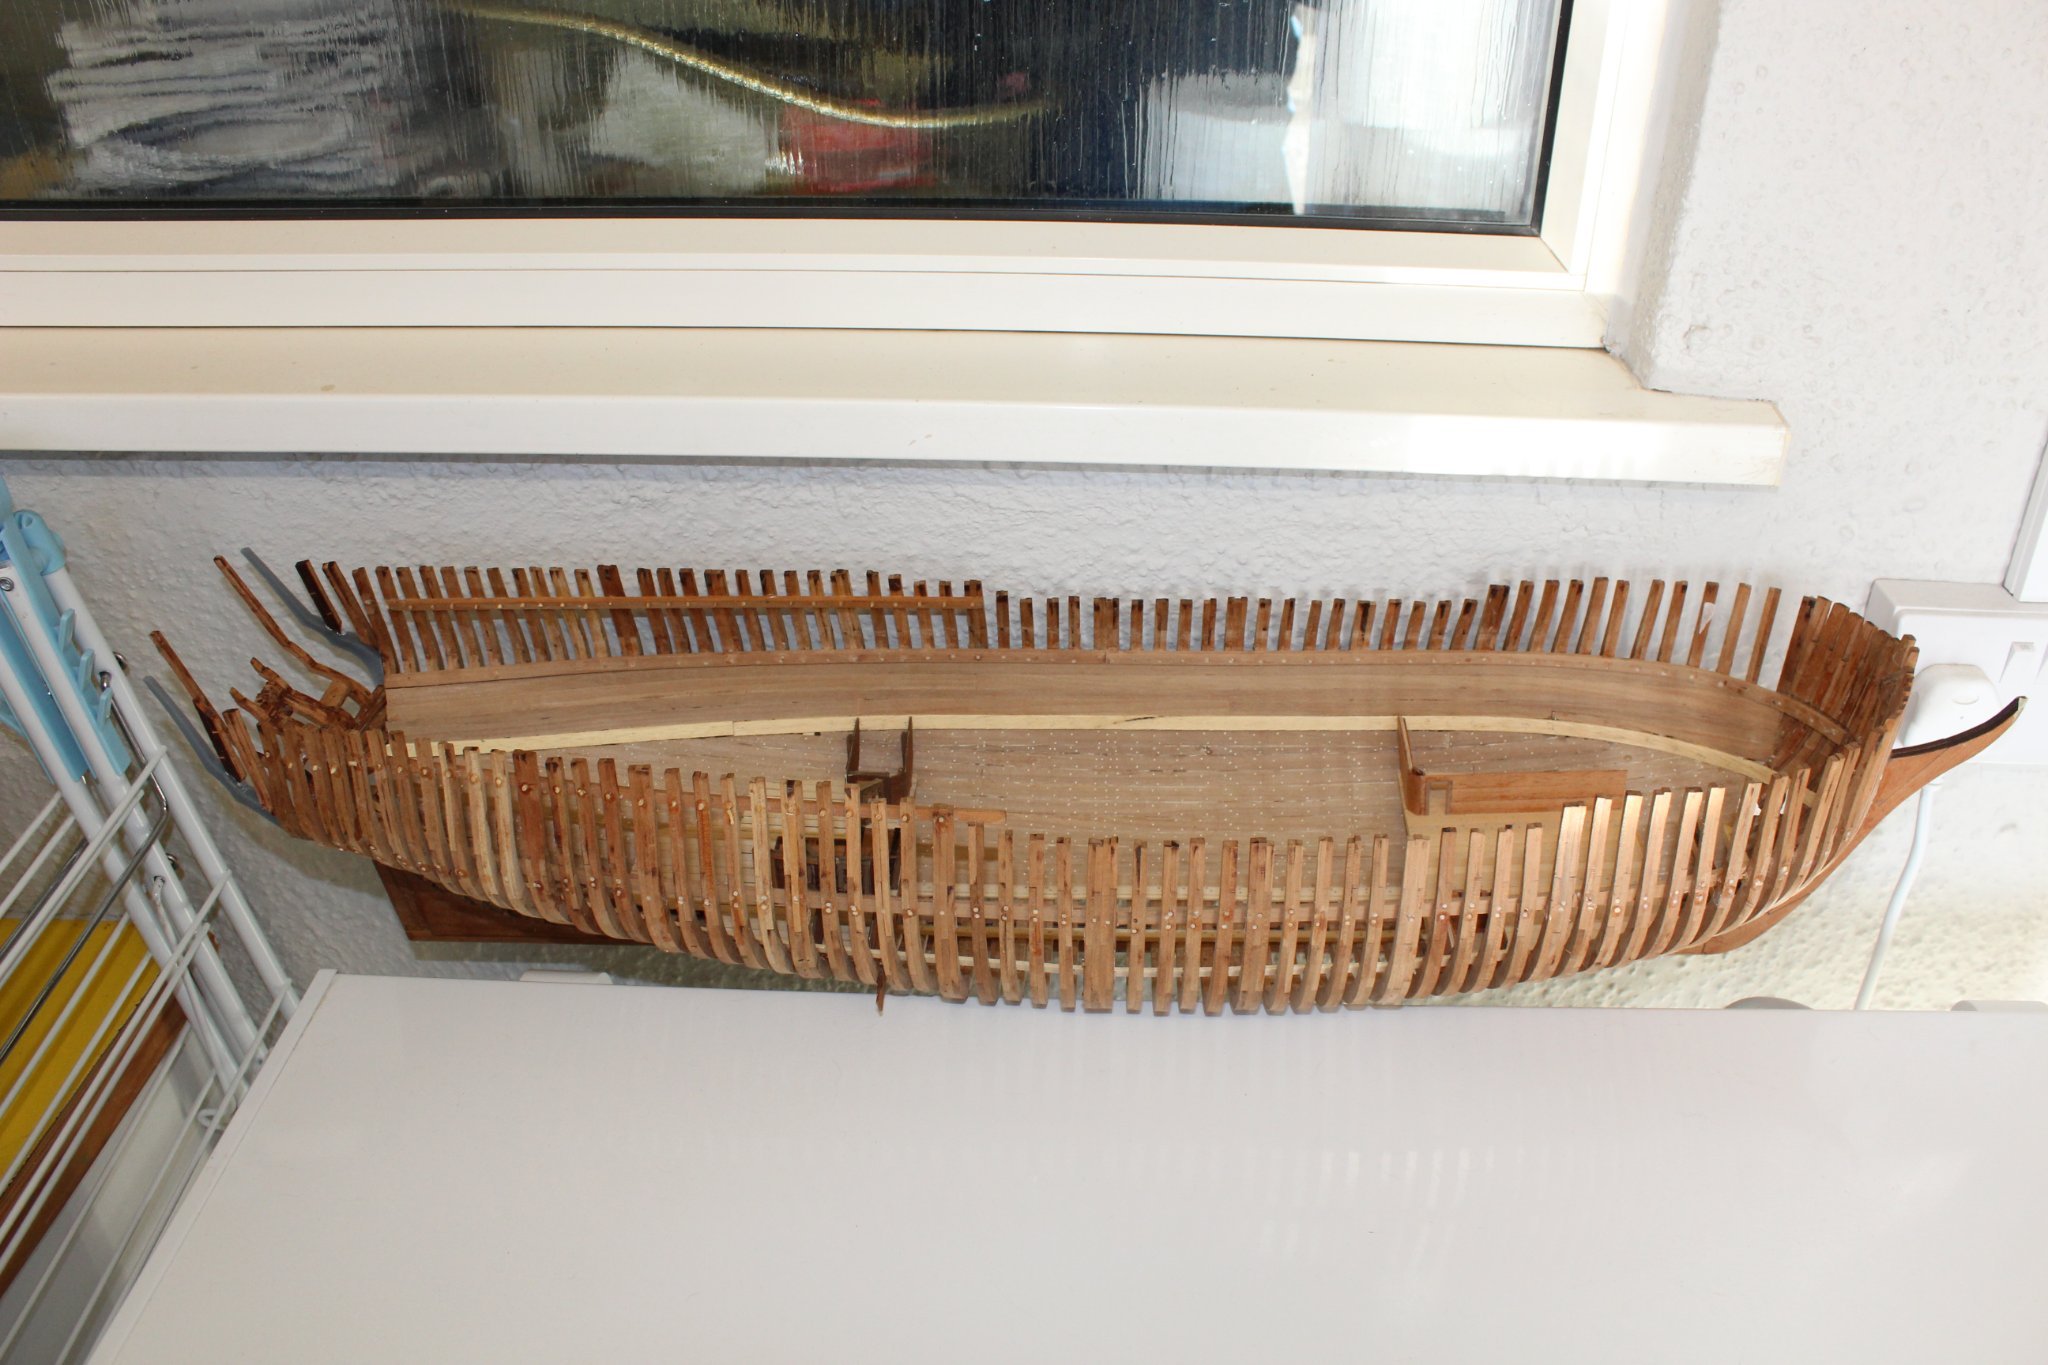
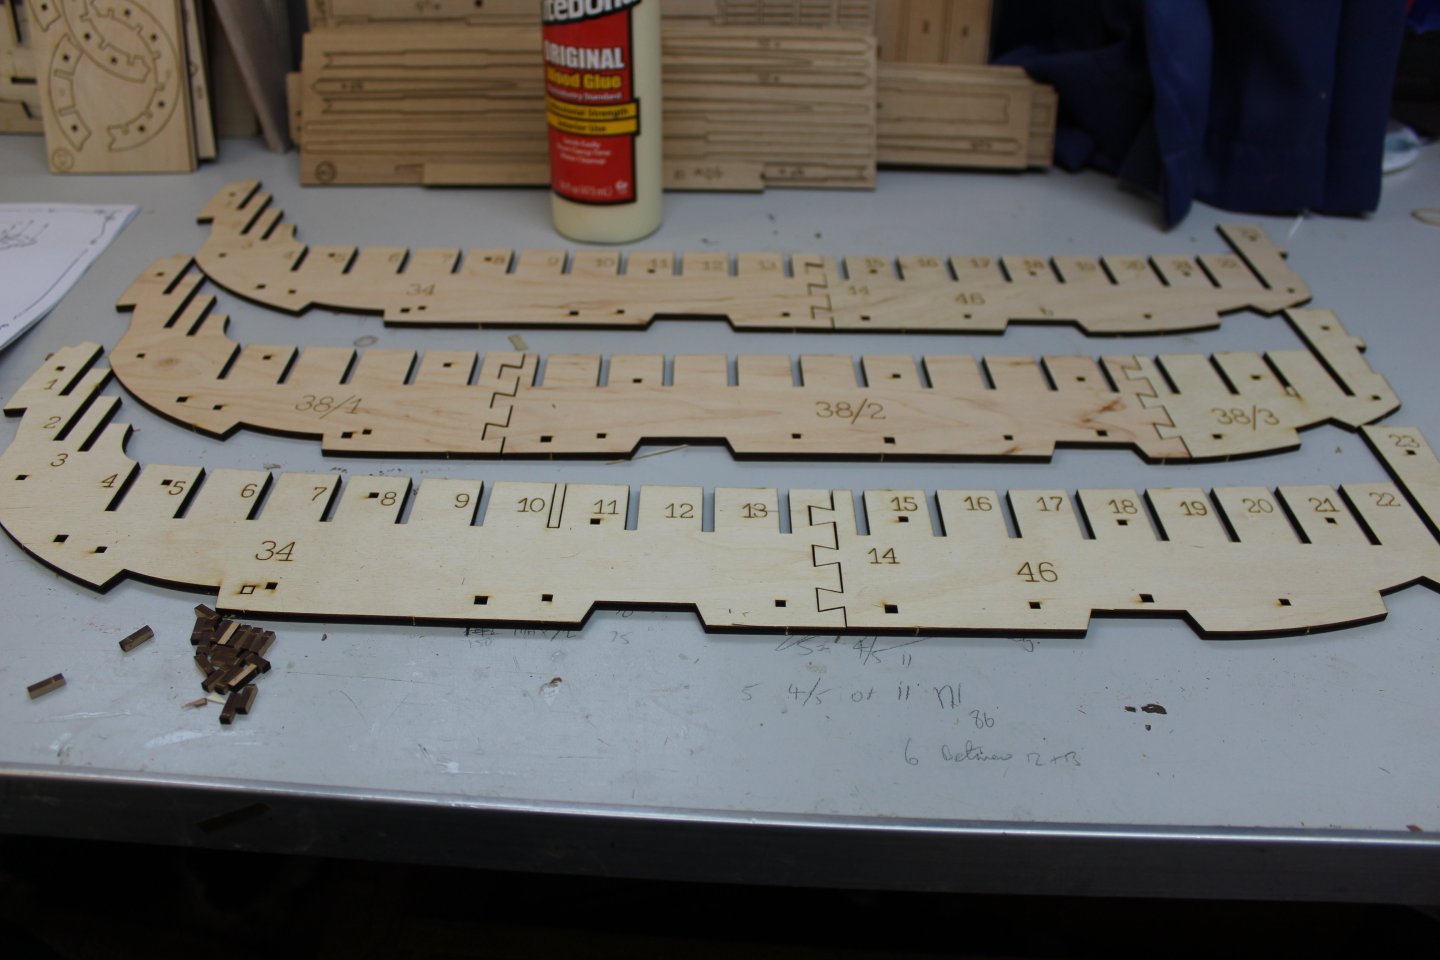
good evening everyone Before i mention the build i would like to thank everyone for the morale support given to me over the last few months, for anyone who doesn't know, my wife went into hospital on September 2nd for a planned appointment, they admitted her there and then, and she passed away on 4th November, ov things were deteriorating prior to this event, my demise on the forums shows the decline. Christmas just gone was orrible, i hate new year anyway, and our 20 wedding anniversary would have been 29th December. Just the 12 February date to get out of the way, would have been Ruths 75 birthday. As of now im moving forward, i have new boats i want to build and unfinished projects i wish to finish, Enterprise, this kit frightened me, i was never comfortable with it, and i never enjoyed posting about it, because im stoooopid, i tried to do more than the kit provided for and never understood the terms being used when being asked questions about her, and so i abandoned her 0ct 2021. i have changed, ive build some good kits since then, i love the hobby i will have more free time to do things, subject to the bois and all the things i have to do and the 1001 things that the wife did lol this is my last full profile photo of her in 0ct 21 the kit only provides for the man upper deck, i wanted to put in the lower and 1/2 decks, so just before i put her away nothing quite fits and i have a horrible feeling i have underestimated the the 1/2 deck length
- 322 replies
-
- 9
-
-
- enterprise
- caf
- (and 1 more)
-
What a lovely Christmas treat, thank you @James H and @chris watton
-
Good afternoon everyone following on from my thread, Life continues" Life continues - i have decide to bring this build back to the table whilst i get the mancave sorted out, i would like to say Merry Christmas everyone from the Boi's and myself

- 322 replies
-
- 13
-
-
- enterprise
- caf
- (and 1 more)
-
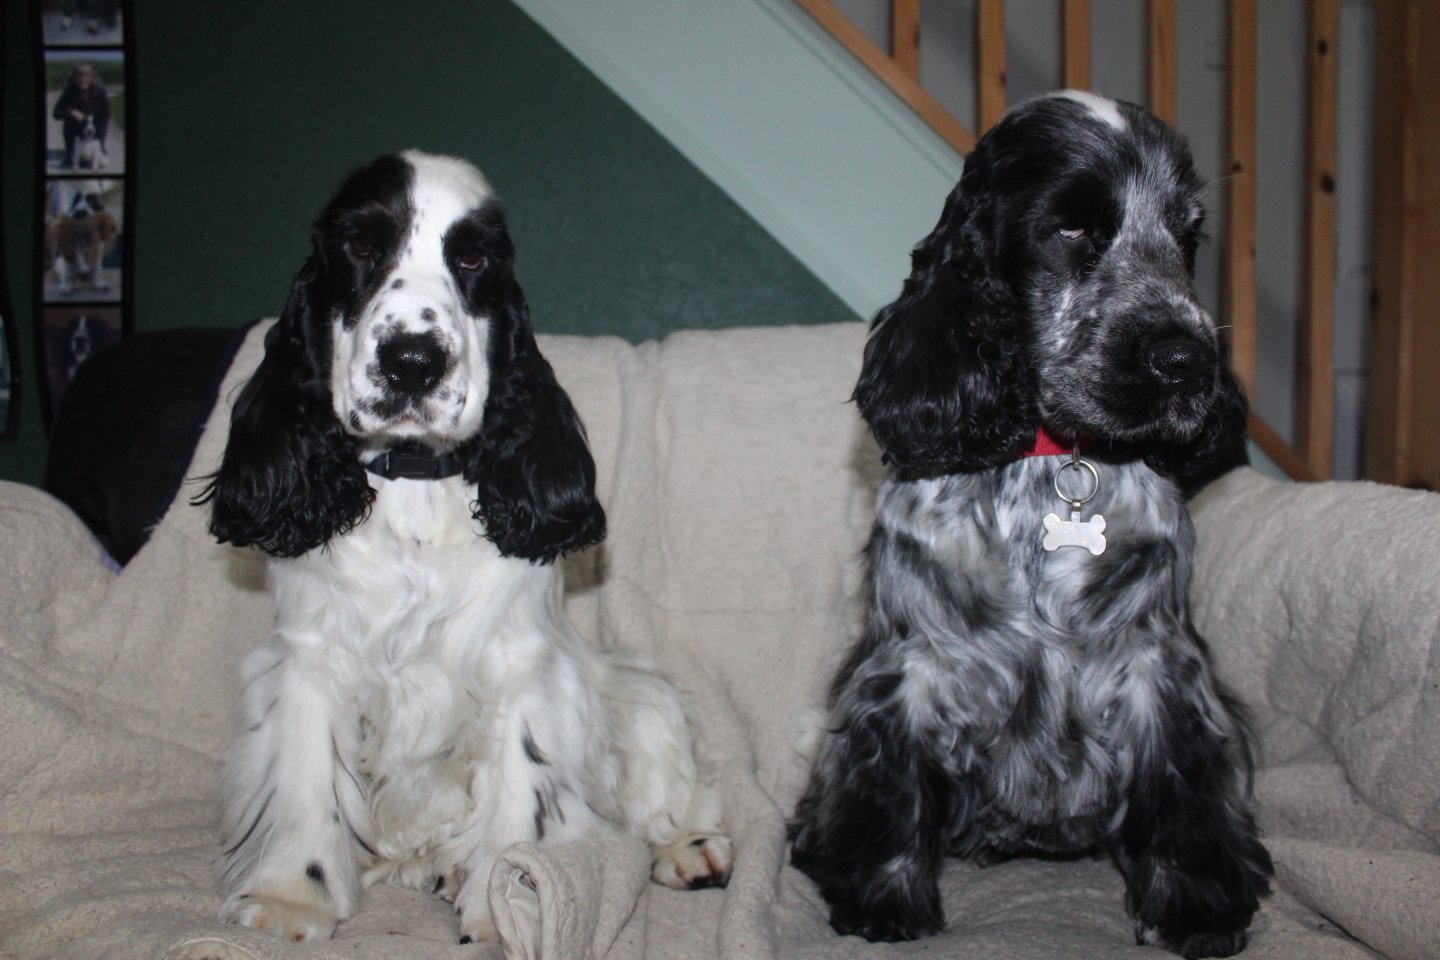
is there room for me and two dogs to help you out now