scott larkins
-
Posts
489 -
Joined
-
Last visited
Content Type
Profiles
Forums
Gallery
Events
Everything posted by scott larkins
-
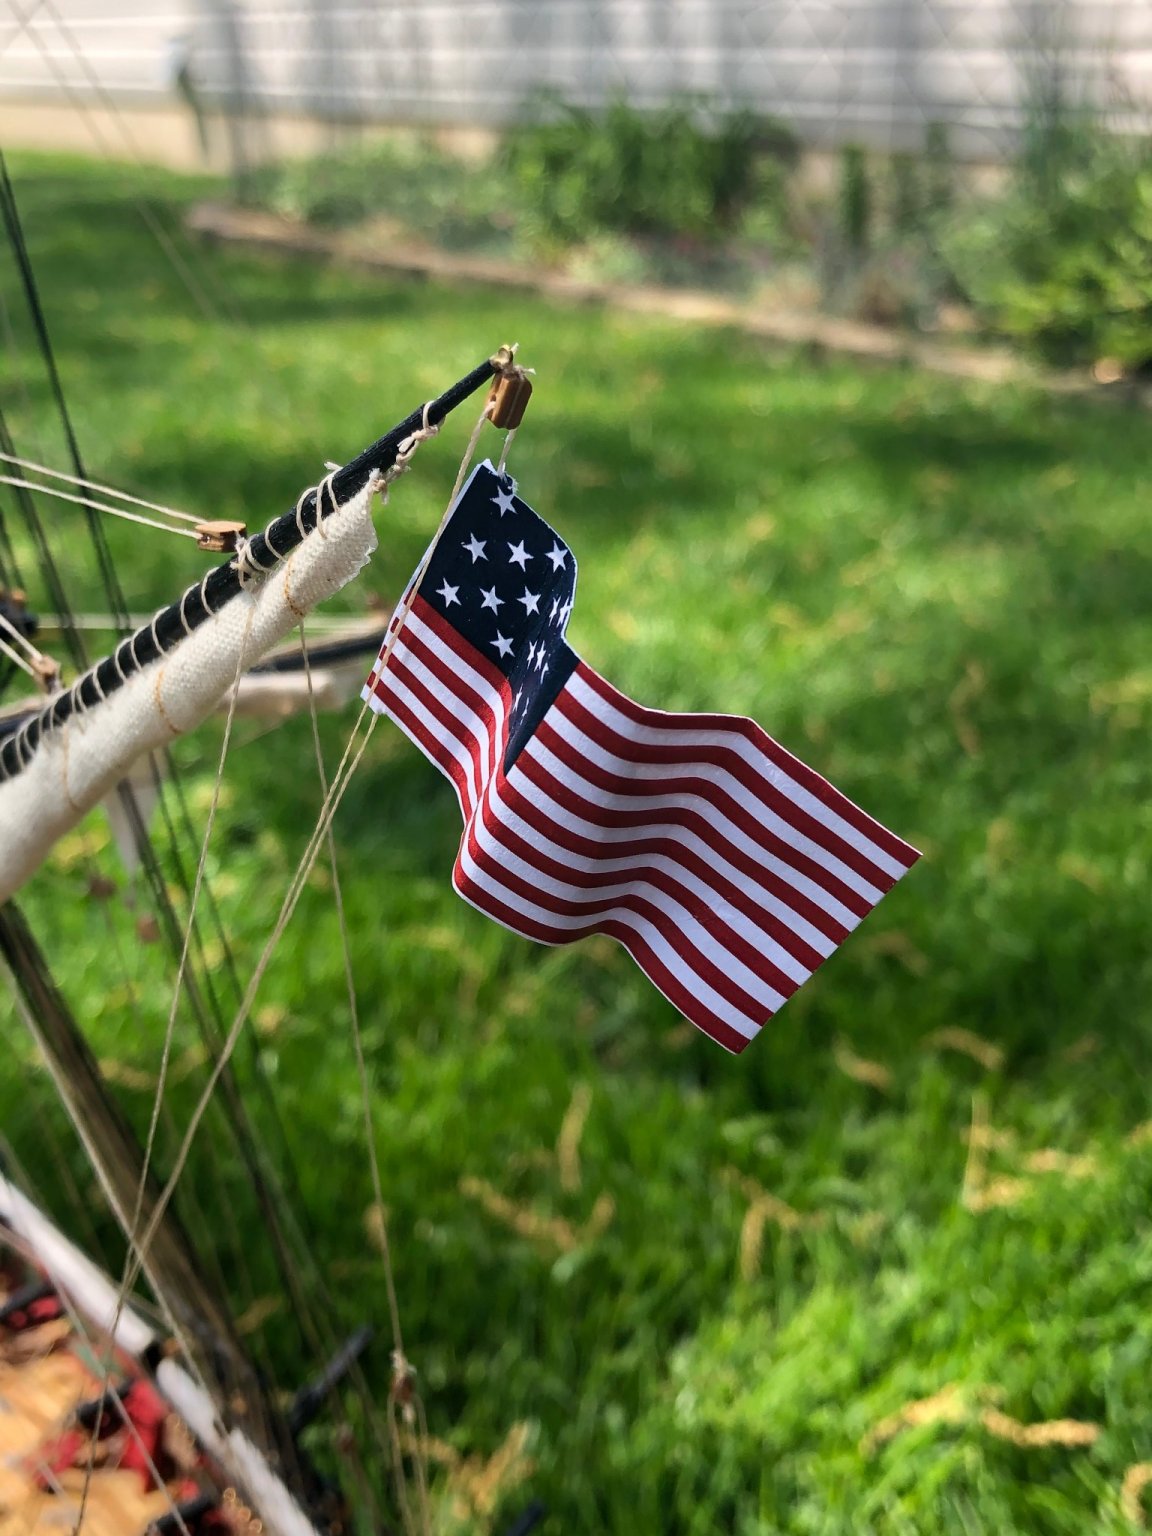
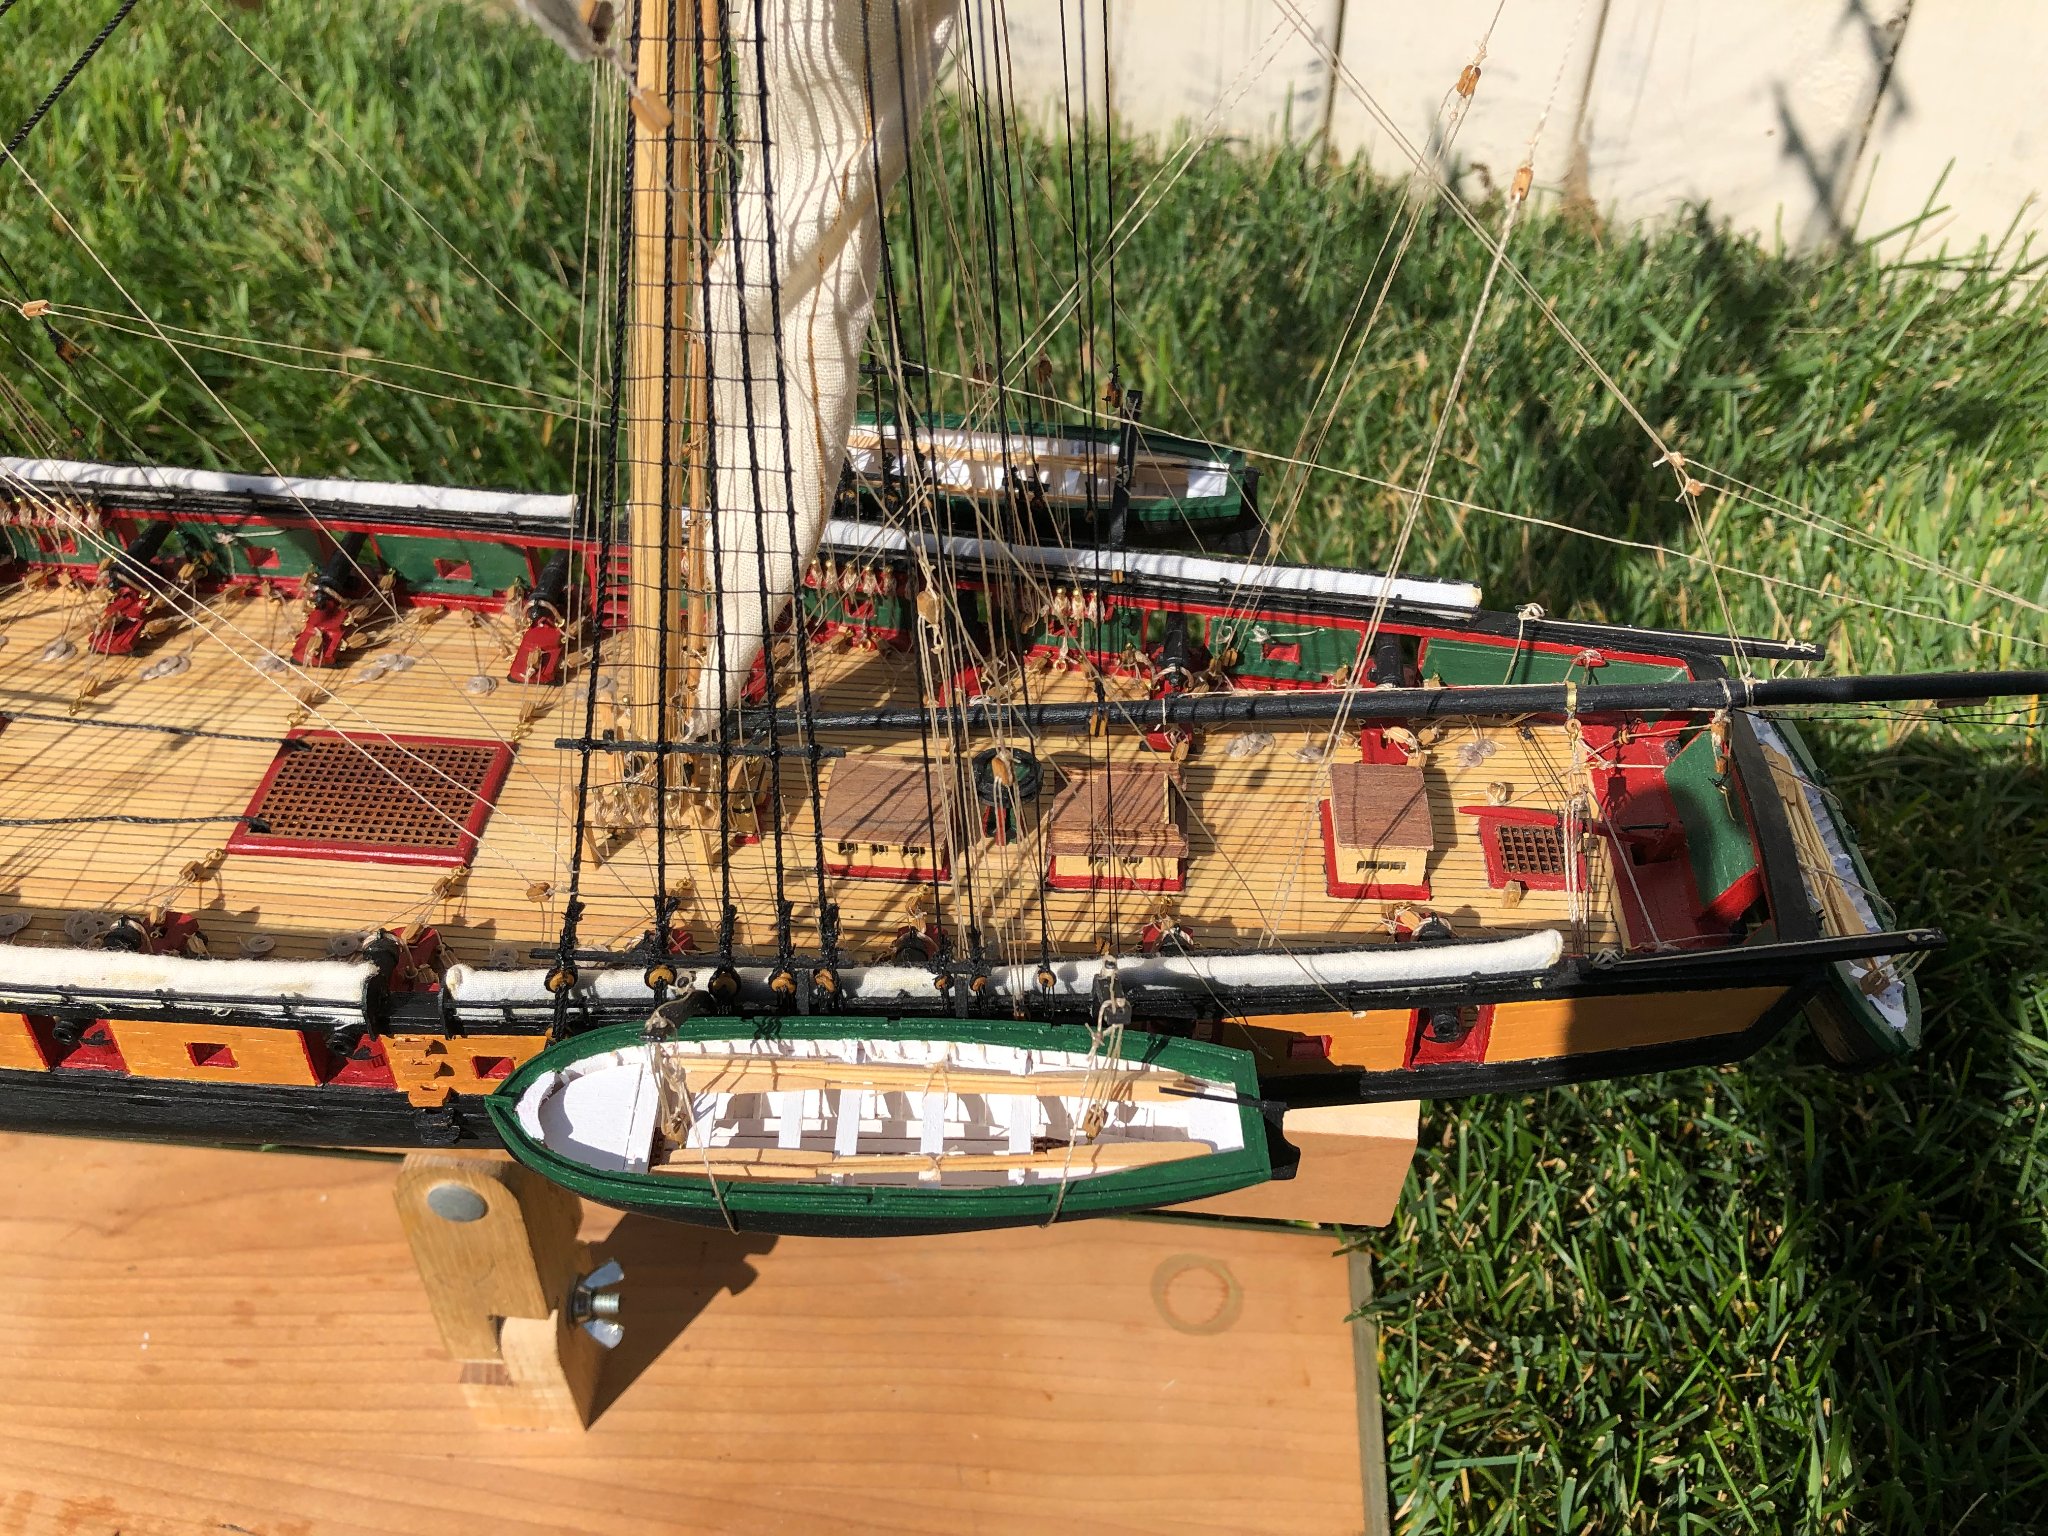
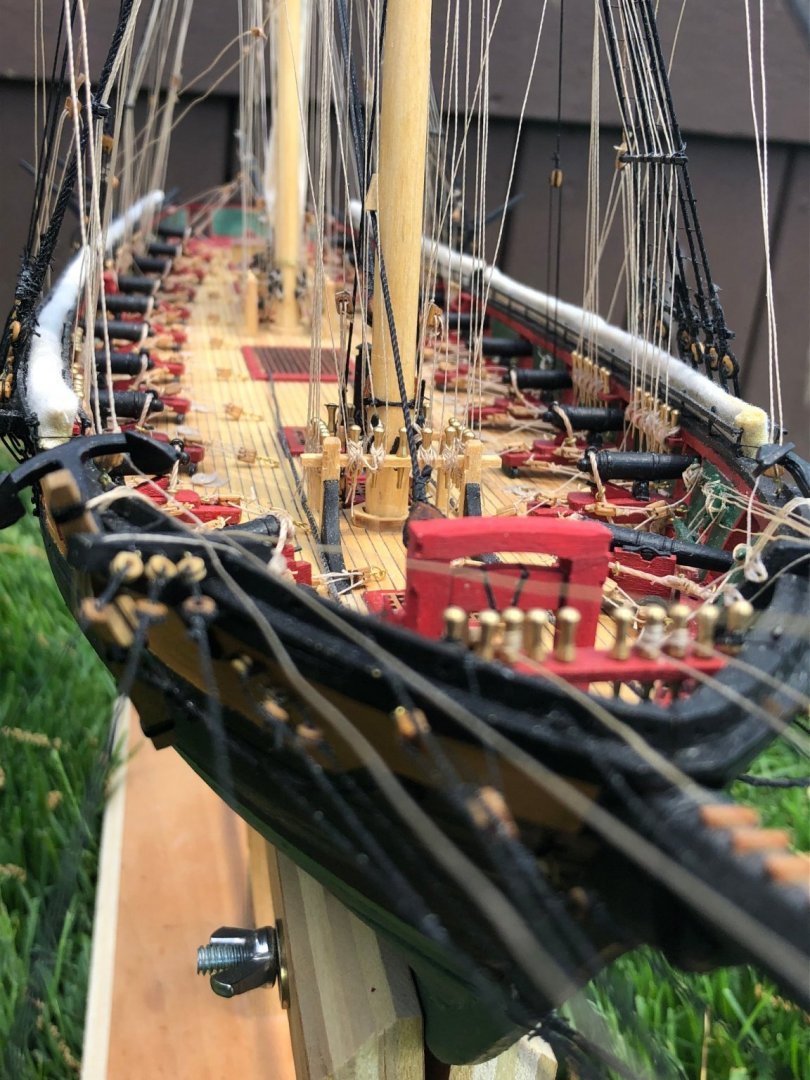
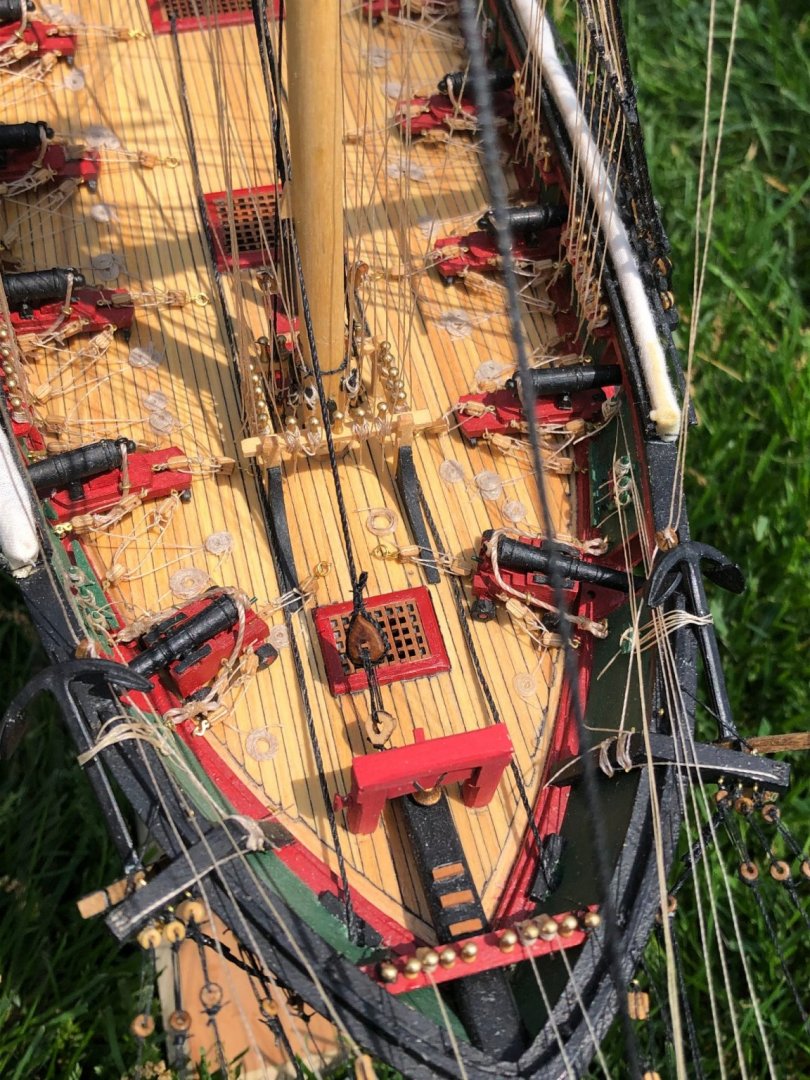
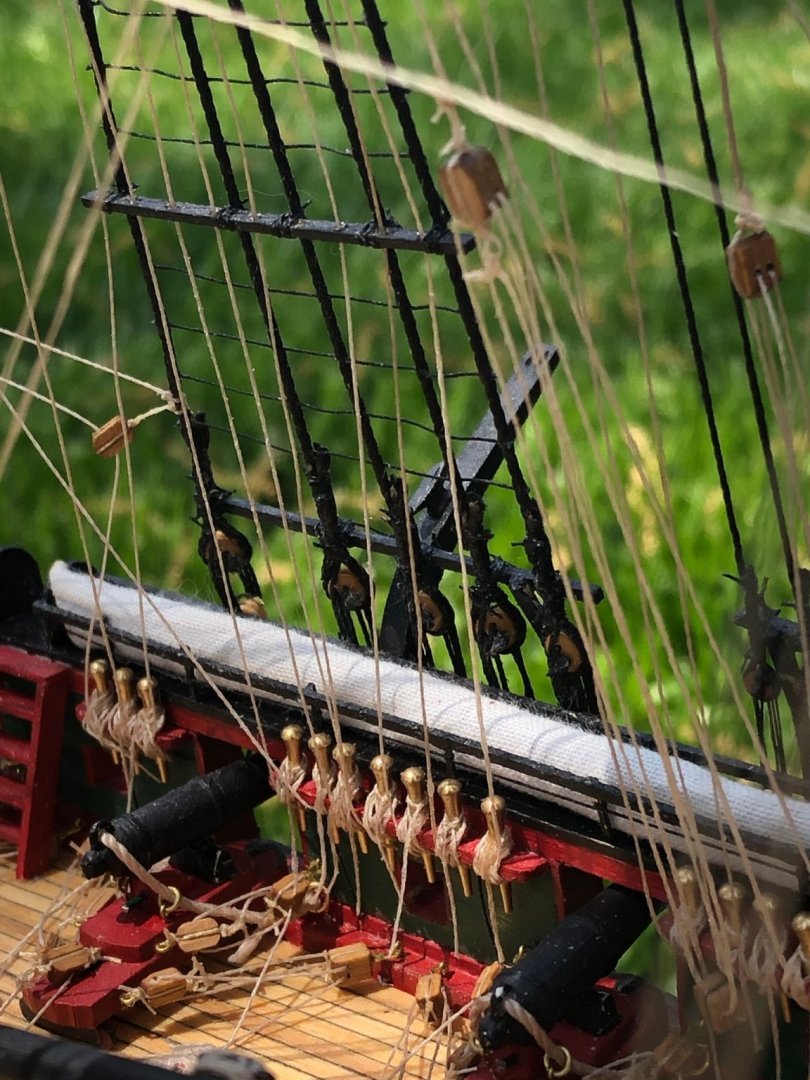
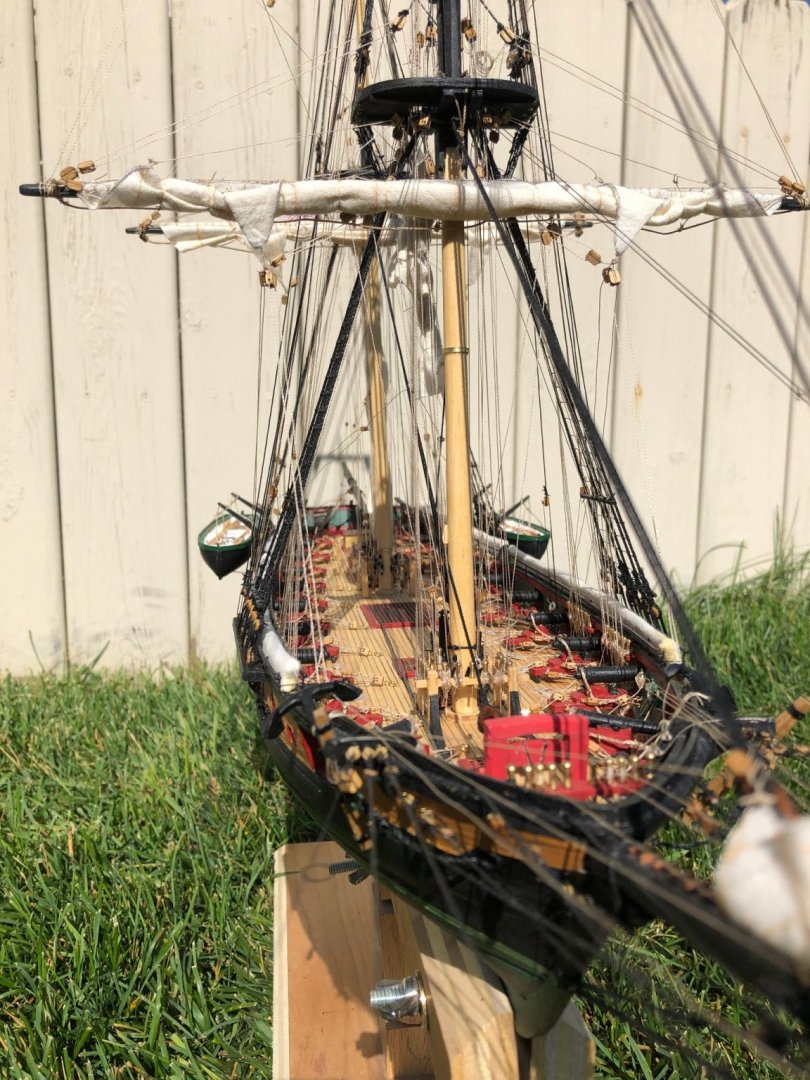
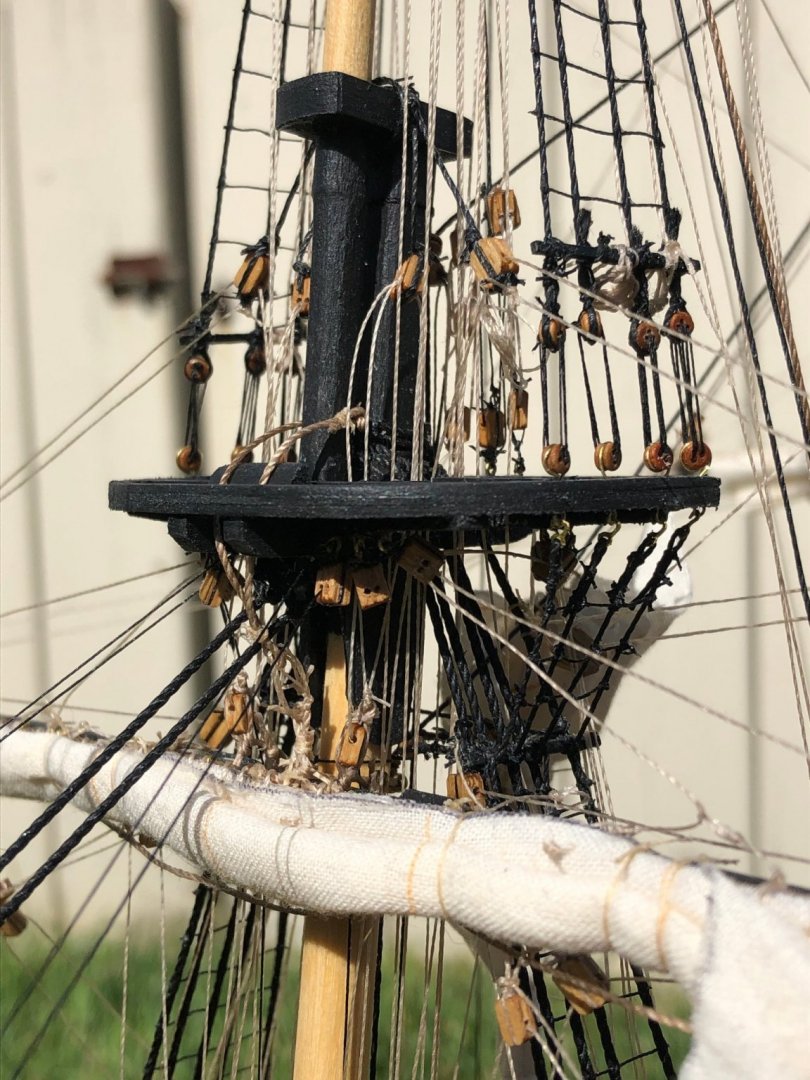
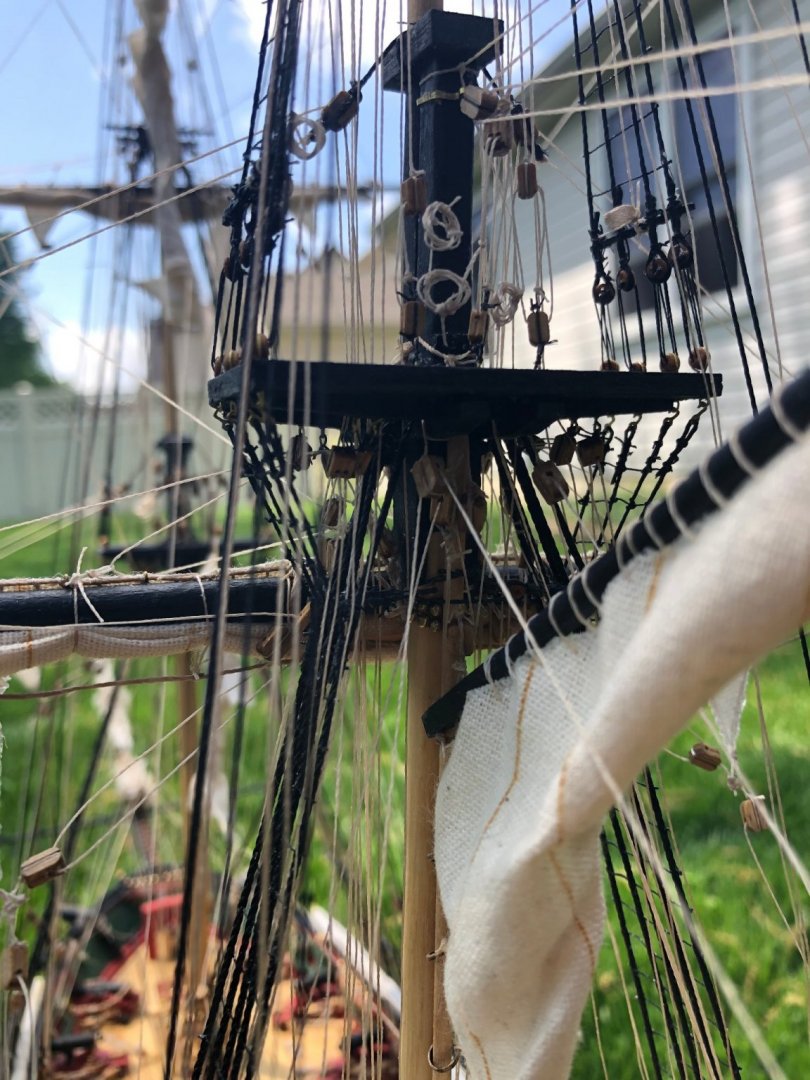
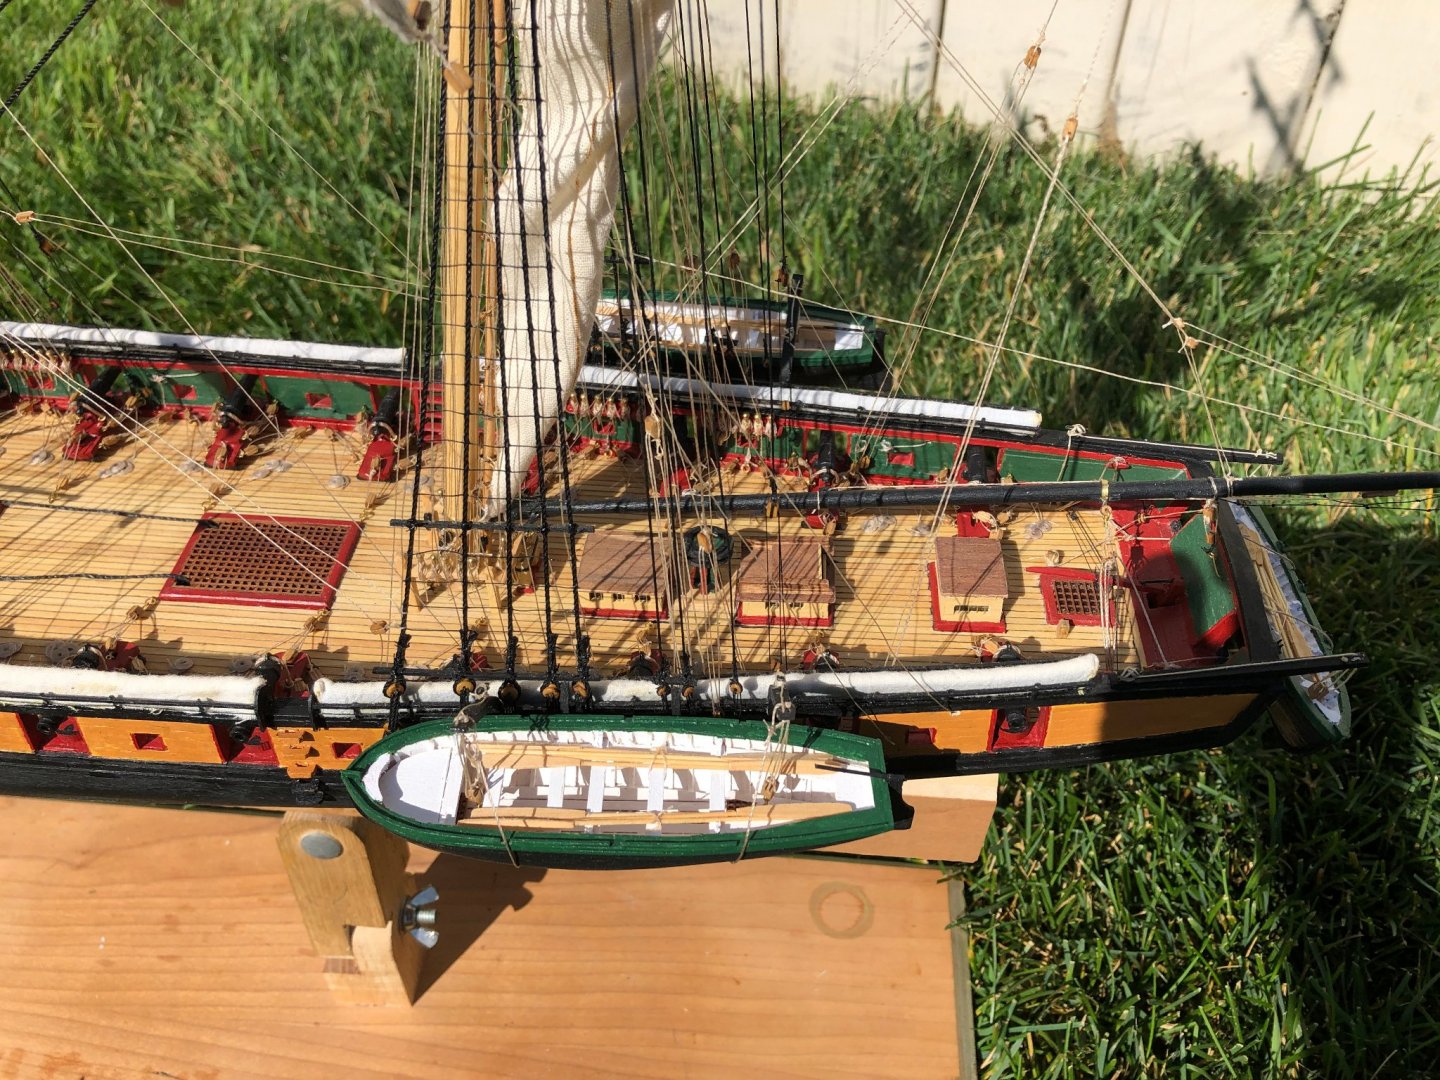
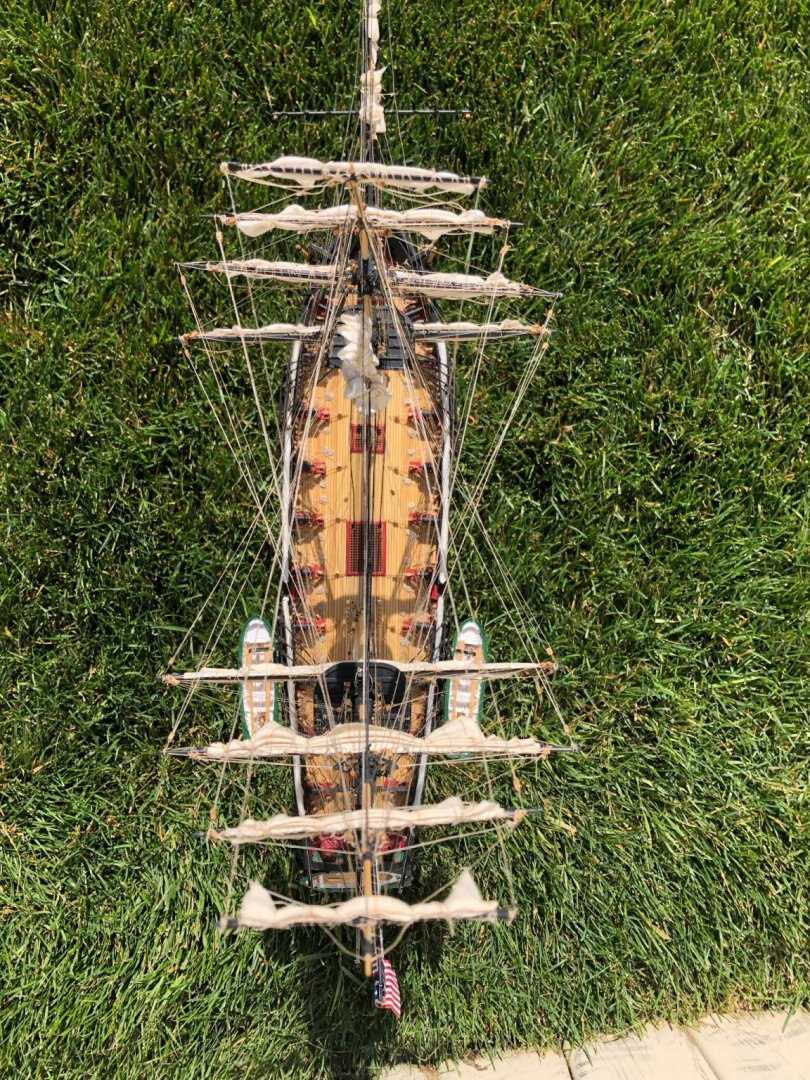
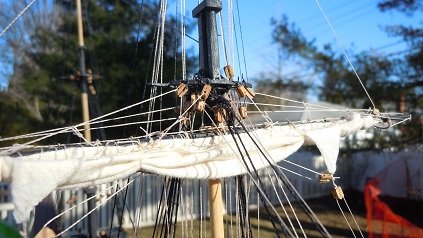
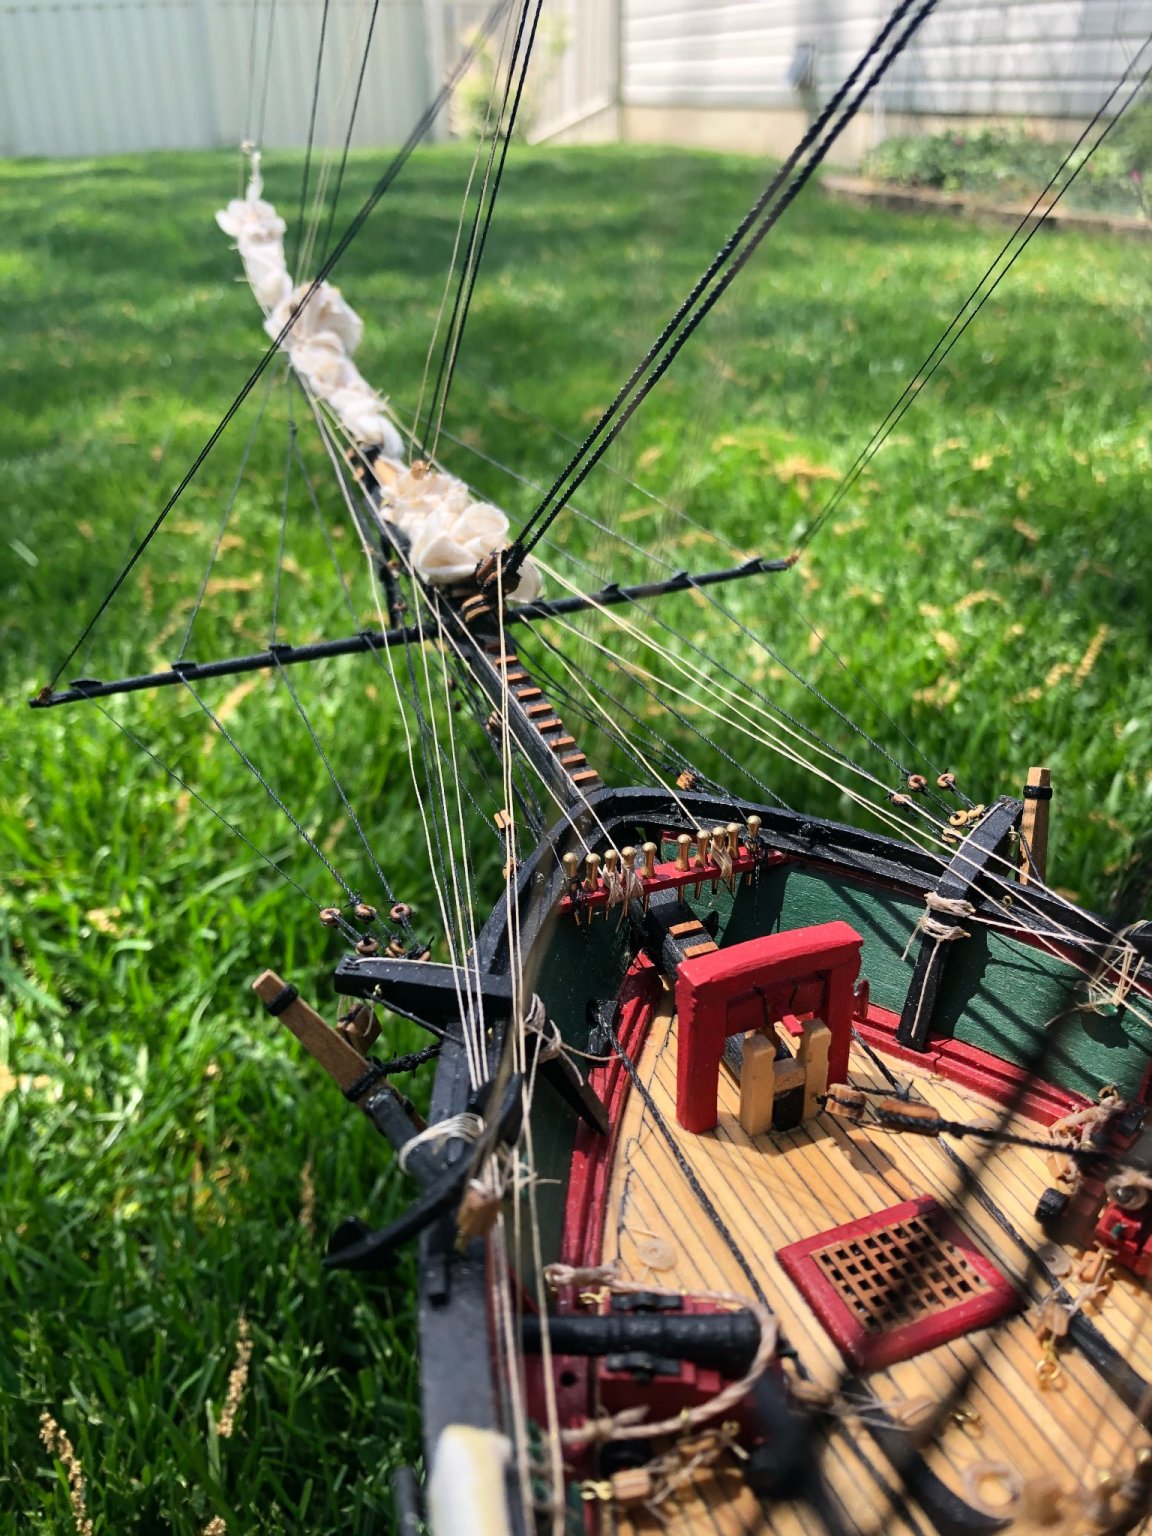
 Finally finished. This will be my last build. I'm trying to cut back on the number of hobbies. Thanks to all of you that posted pics of your Niagara so I could see where to go with my build. It's been a joy being a part of this group. Perhaps some day in the far future I may get back into ship building. Until then, you all keep up the great work.
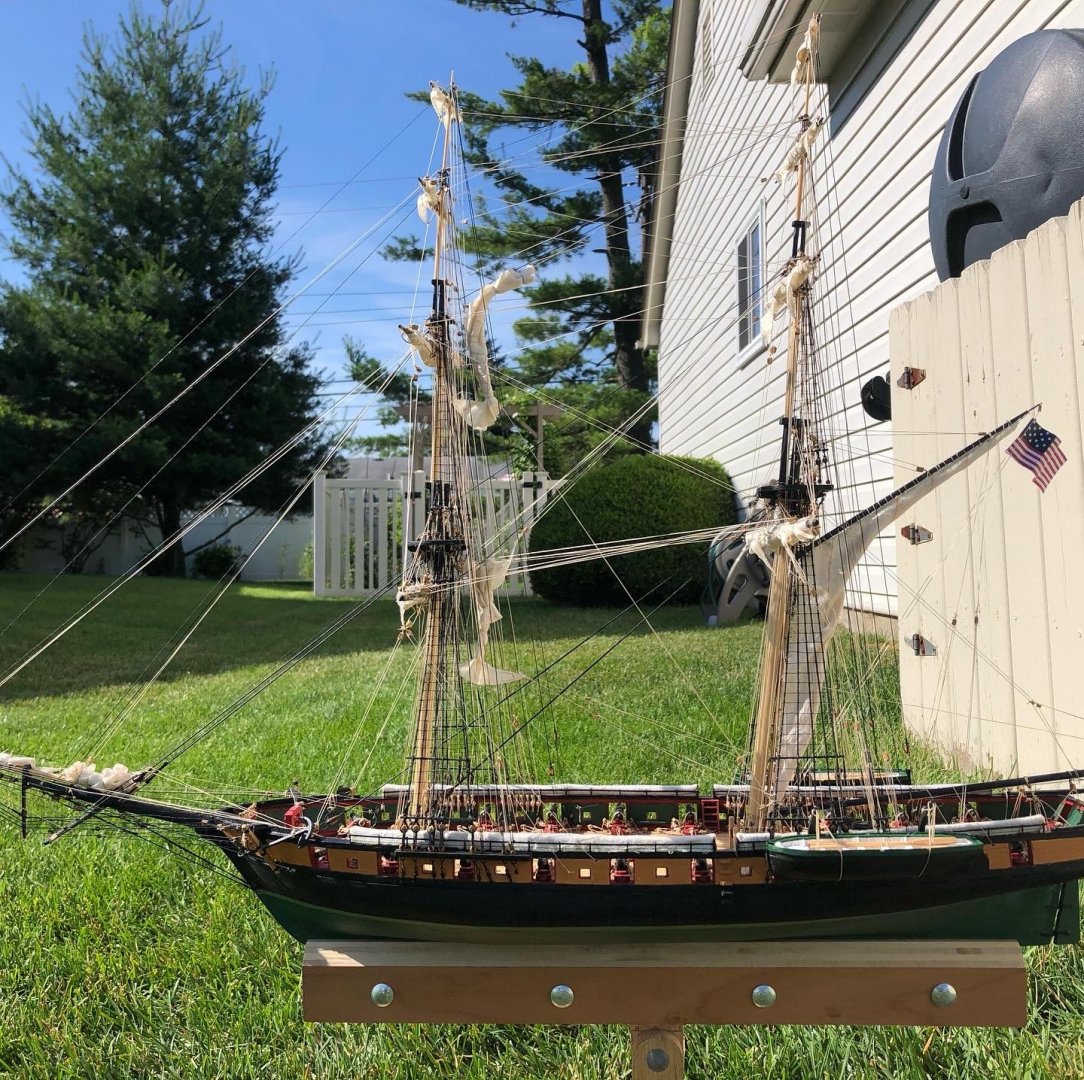
.thumb.jpg.8c0c6f00c2b9b95dcb78bb605ce7ea2c.jpg)
.thumb.jpg.1e3b212d302a20c36864b7c098c5458d.jpg)

.thumb.jpg.85912d9752d66cab0199e491cce9b76d.jpg)

-
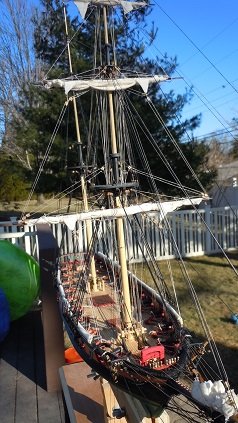
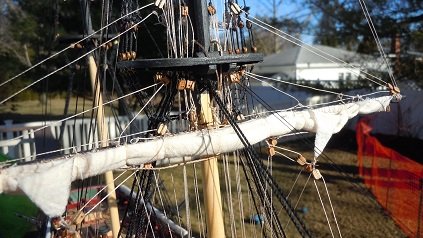
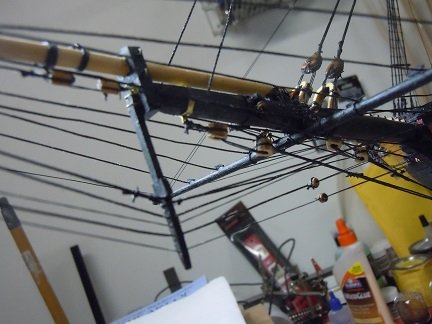
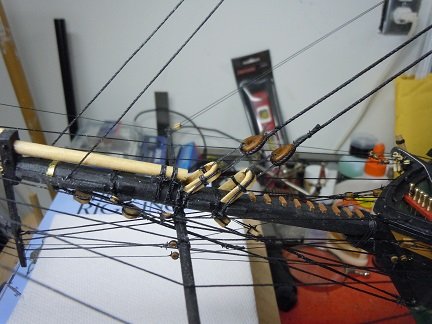
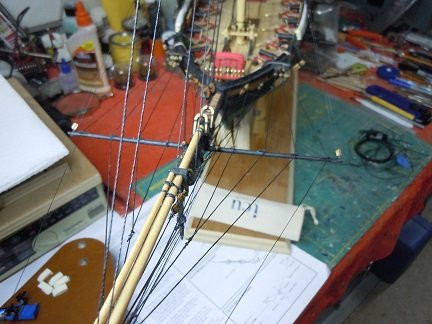
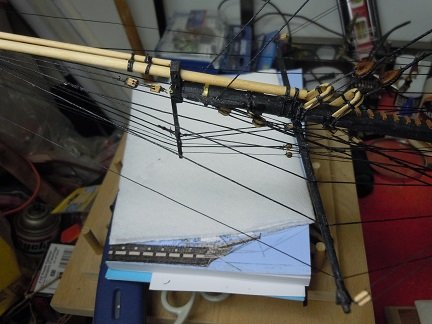
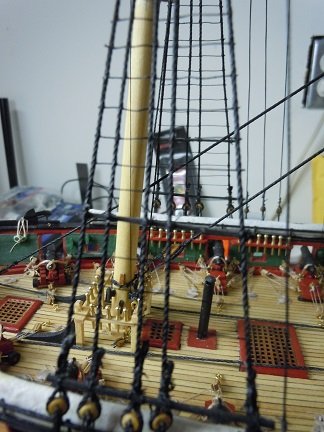
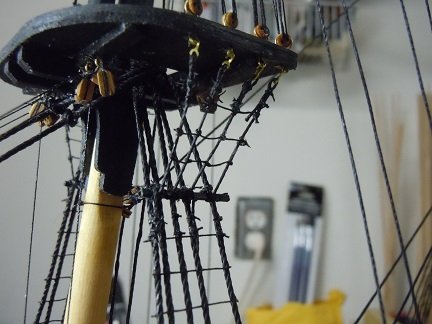
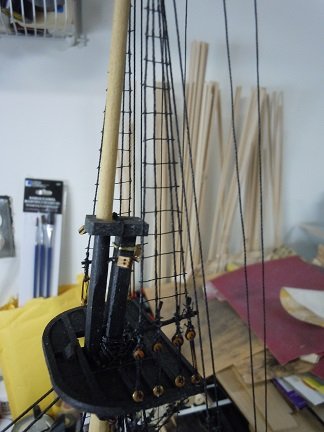
Finally have finished the work on the Foremast. Half way done with the sails now. Sorry it's been so long between posts. A lot of work here.

-
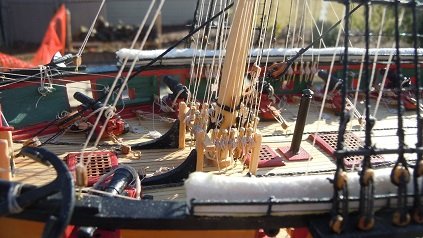
Sorry I've been out so long. Spent the better part of 8 months making a Mandalorian Cosplay kit and then out for shoulder surgery for 6 months. Couldn't raise the arm up to do modeling, let alone have a steady arm. But I'm back after a long time and have been making progress since last November. So here are some pics of my work on my Niagara. Hope you enjoy them. Some of that bow work took a lot of time to get the details right.
-
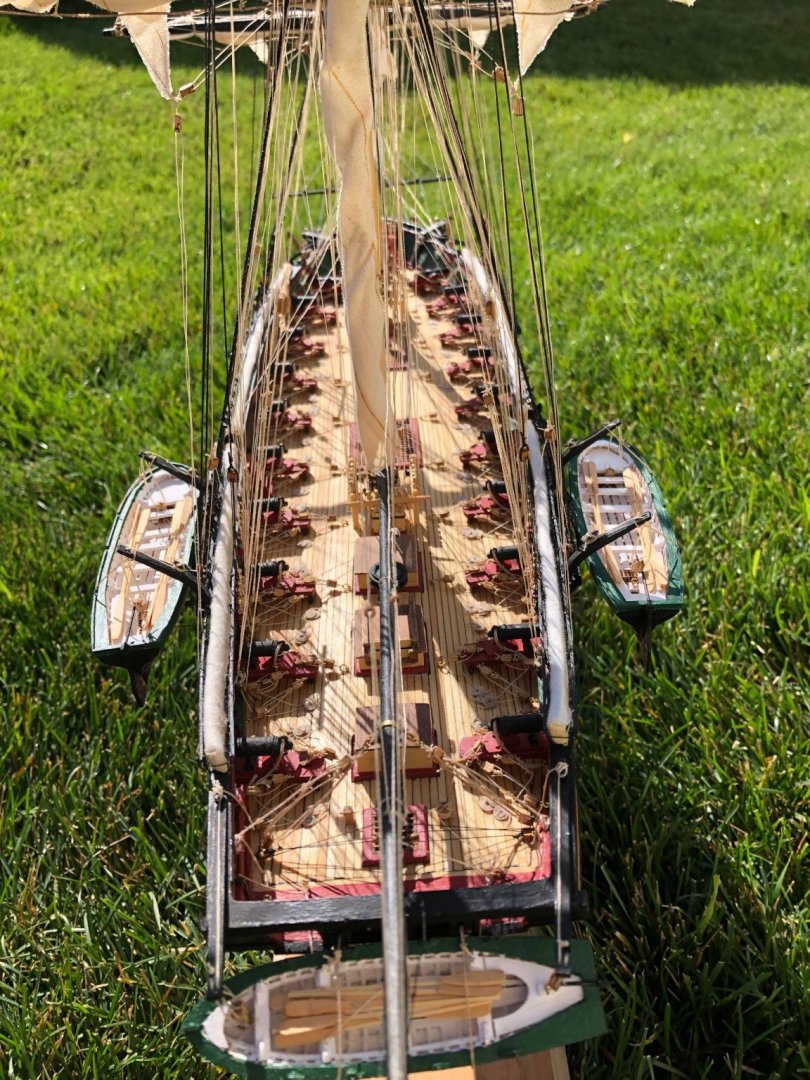
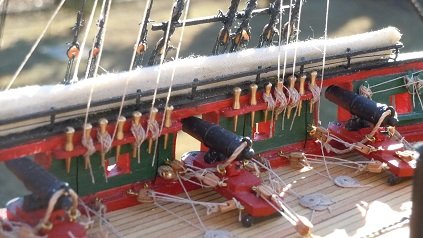
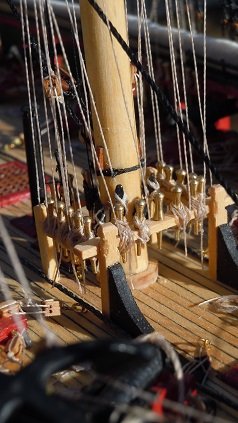
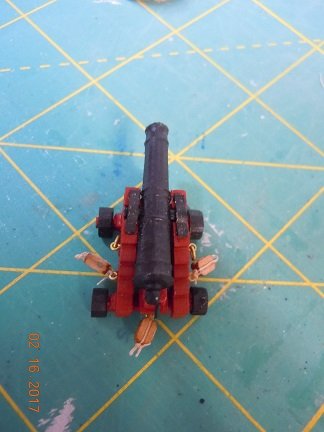
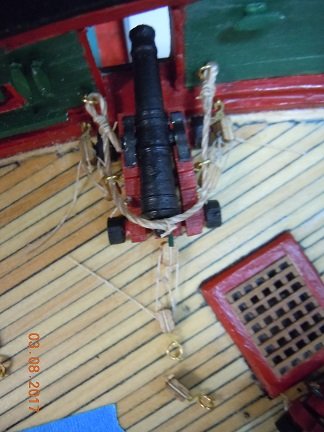
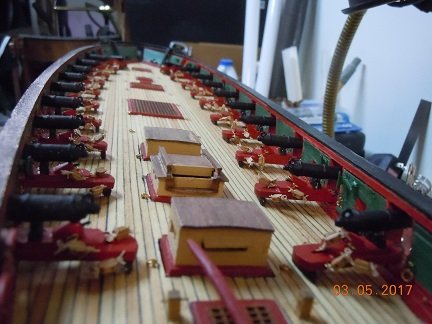
Finally, after building a failed new Cosplay outfit for the 2017 motor city comic con, no thanks to the vendor I hired to 3D print my helmet and he failed, and finishing home improvements for my son's wedding rehearsal dinner in my backyard, his wedding, a vacation to Disney, the start of my next and last cosplay outfit, I have finished all of the cannon work. Pics to follow. Man that took a long time.
-
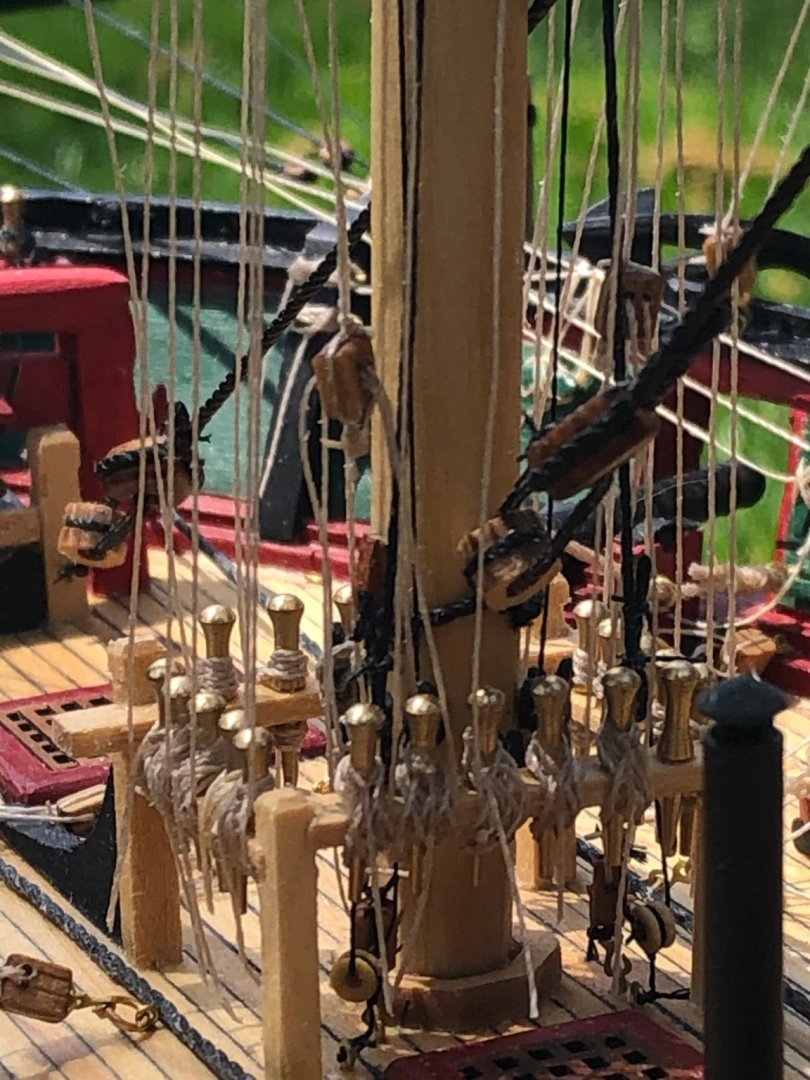
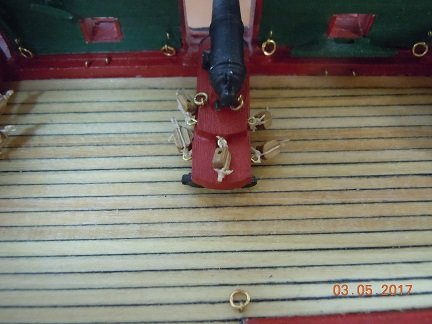
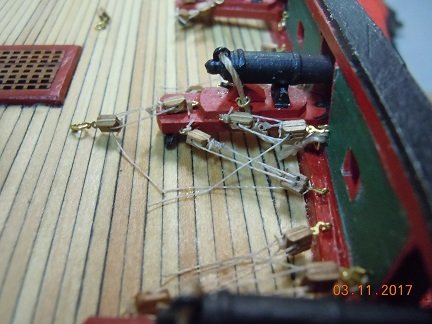
Here's an update. Working on the cannons. OMG these are worse than the hull planking. IMHO. Doing everything 20 times is truly the definition of insanity. It's already taken a few months and going to take a few more I think. Tied more blocks than I can count. Well, not really, I did have to count them. LOL. I want to thank Ken for posting where he got the hooks from for these blocks. Purchasing them saved me so much time from having to make them. Plus they look so much better. So I posted a few pics of my progress. Yes, the ropes ends are glued to the deck. I plan on putting coiled ropes down over those ends. I did it for my Rattlesnake and I liked the way it turned out.

-
A real piece of art here Ken. Really really nice job.
- 440 replies
-
- 2
-

-
- niagara
- model shipways
- (and 1 more)
-
Coming along great. Been a while since I checked in. I always like the furled sail. Makes a ship look alive I think.
- 481 replies
-
- 1
-
-
- rattlesnake
- model shipways
- (and 1 more)
-
Is this what I have to look forward to? LOL. Nice work
- 648 replies
-
- 3
-
-
- niagara
- model shipways
- (and 1 more)
-
Very nice job, well done. I can only hope my Niagara looks half that good when I am done with it. I bow at our mastery.
- 440 replies
-
- 2
-
-
- niagara
- model shipways
- (and 1 more)
-
Why did you chose tan instead of black rat lines? Not criticizing, just wondering. I had always assumed due to the weather conditions that black lines were always used.
- 648 replies
-
- 2
-
-
- niagara
- model shipways
- (and 1 more)
-
Do you mean like a polyurethane finish? Flat or semi-gloss?
-
Man those look great. I understnd what you mean about those rat lines. Using only the special knot for those is tough enough, but making sure you don't pull the shrouds out of place on each rat line is madening. I remember tieing over 400 knots on my Rattlesnake lines. It is mindless work. Maybe mind numbing is more accurate.
- 648 replies
-
- 3
-
-
- niagara
- model shipways
- (and 1 more)
-
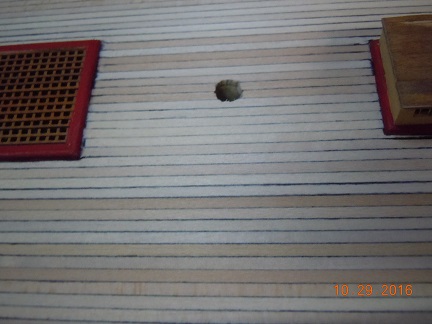
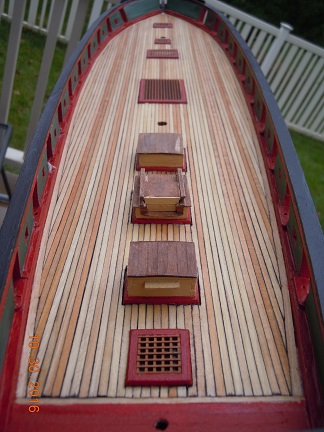
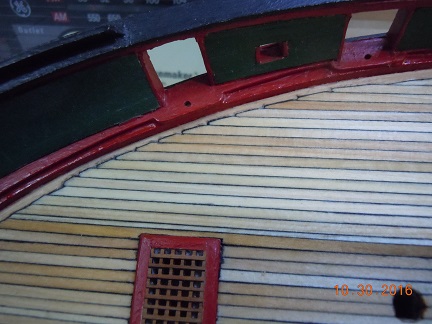
The deck is finished, didn't take as long as I thought. I found out that I hadn't put my hatches on as straight as I first thought. Not horribly off but I did notice the imperfection. The decking between the hatches told me that a little but putting on that first full length plank made it obvious. I was able to work it out though. Unless I pointed it out most people probably would not see it at first glance. The worst part of the decking was those itty bitty planks between the last hatch and the stern - right under the tiller. Tough to fit those properly. Below are the pics. Here is the sanded deck. Had a bit of a scare when it seemed that the sanding paper was dragging the Sharpy painted saw dust and staining the tops of some of the decking. But I just made a better effort to clean off the sand paper more often and blow off the saw dust on the deck more often. It was warm enough that I could hand sand the deck outside. Close up of the sanded deck. Stained with natural stain. I looked at some color stains on some scrap pieces but I liked the natural staining the best. The outside pic makes the stain look better. I took the leap to cut the bow pieces like the plans showed. Not easy. If you do this, make sure to use a very sharp knife. One slip and the little notching is messed all up. And unfortunately once you make that first cut you can't just stop because having one notched plank and no others would look just silly. It is a real leap of faith.
-
Thanks for the thoughts guys. It would be interesting to really know how the Niagara decking was done for the time, but as I said, there was no way I was going to, IMO, waste wood trying to taper those planks. It was stressful enough tapering the hull planking in the bow area. Pretty sure I messed those up. Yeah, the sanding helped it look better, but a good modeler would probably laugh me into oblivion. LOL. I'm about 75% done now. I'll have the finished pics up for the rough finish, the sanded finish and the stained finish ASAP. For those following, my one advise for the deck planking, once you get to the first full deck plank, make sure the plank is as straight as possible. All of the ones following on the outside will show any bends or unevenness. I say that because I made darn sure mine was. It's the old "build a good foundation and everything else will be good" idea. I'm sure you can picture how that is possible. Good luck.
-
Yea Mikiek, I looked at that tapper and how long it was and said no way, I'm not that good, especially at this scale. May not look as realistic but one must know the limit of one's skills.
-
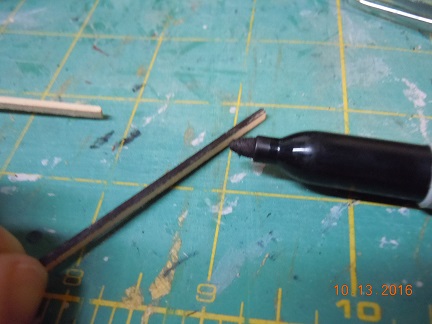
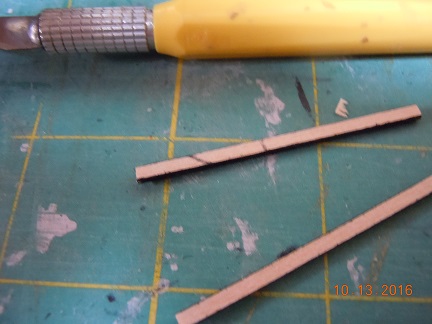
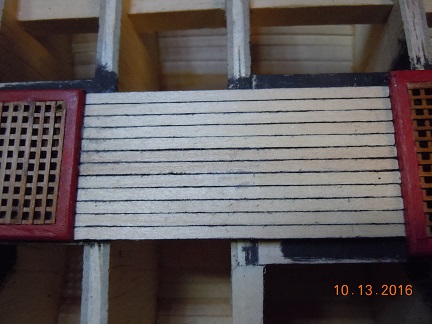
I've started the deck work now. The first thing I did, after cutting the deck plank to size was to use a sharpy to darken in the sides and ends of the deck plank. I also use the sharpy to sharpen up the top edges to make it look like the tarred rope is pushed into the crease between the deck planks. I used this method with my Rattlesnake. I don't like using paint because, IMO, it gets too messy and IMO dark glue gets messy when you have to glue the sides and the bottom where it attaches to the ribs. Occasionally I had an oops with the pen. Fortunately in this case I ended up marking the bottom of the deck plank This was the first small portion of the deck work. I think it came out pretty well. Half the deck is done. I think it came out pretty well. I will clean it up when I sand the deck. The black marks are just some of the black that came off with the clue. No biggy really.
-
Mike, Thanks, yeah, I had to think a little ahead and use my engineering practices to make sure I had the plans set in my head. But I did get it all up to snuff. For some reason they look a little roughly finished in those pics. Not sure why. I was very careful with my painting and sanded all of the sides so they looked smooth. Odd.
-
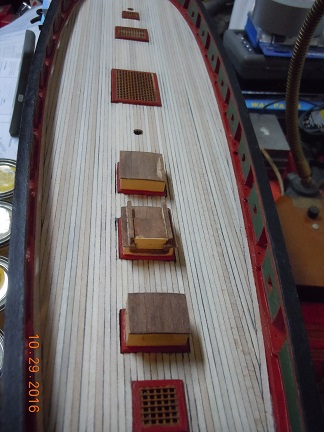
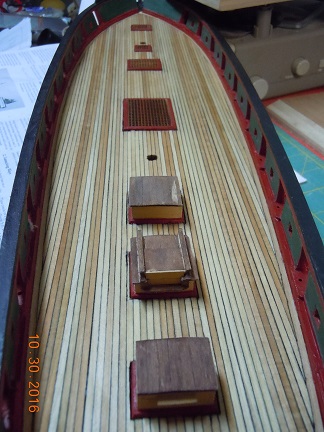
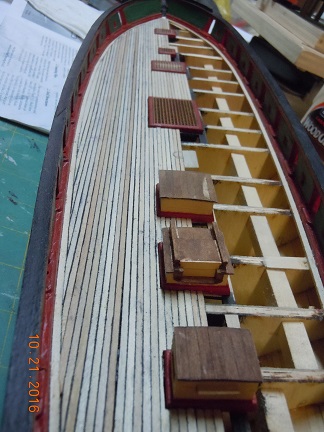
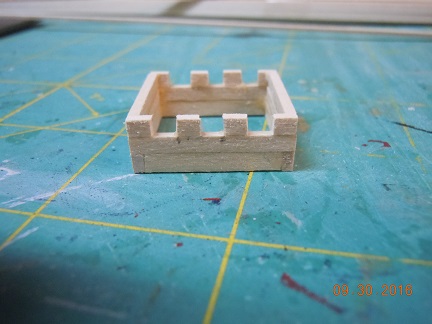
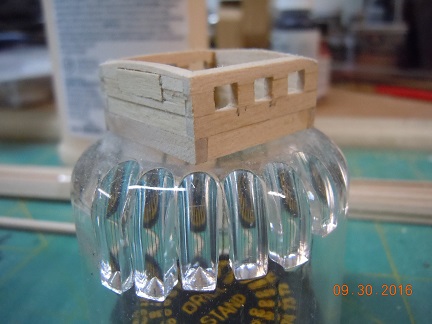
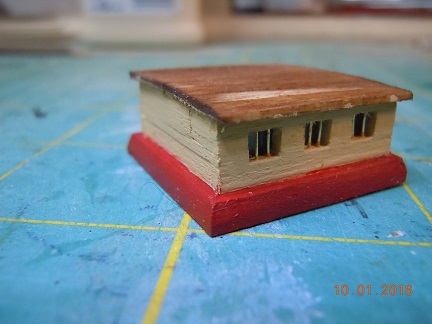
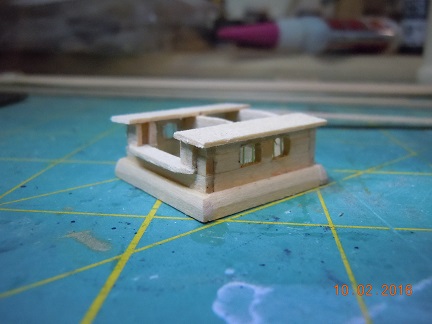
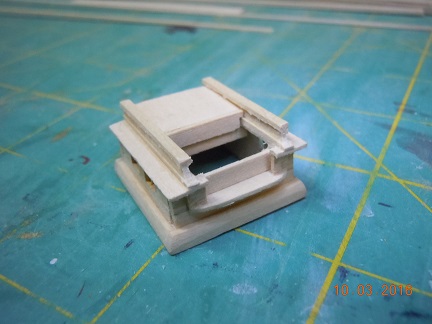
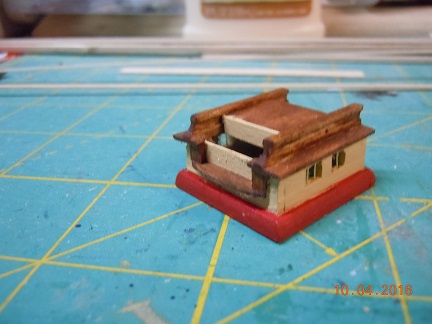
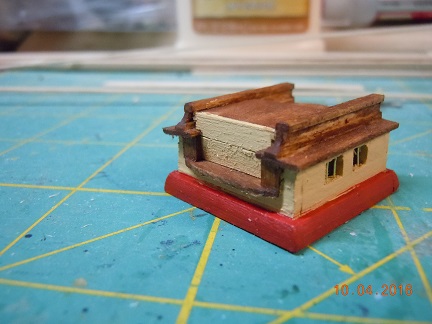
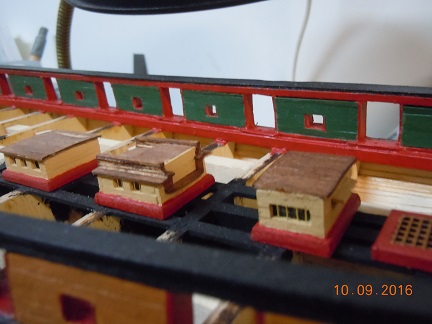
Okay I've started the deck work. Here are my three structures. Not much advise for you on these. Simply follow the plans. Yes, I chose to put in the brass wire window bars instead of painting them on the plastic I put behind them. I had to be cautious about drilling the holes straight but I think I managed to pull it off. yes, I built this structure to actually slide open and the front panel does come out. Perhaps not practical for a model but it was fun trying to see if I could actually do it.
-
Truly magnificent work there. I bow and your skills.
-
Coming along great. Looks like you'll be done very soon.
- 974 replies
-
- 1
-
-
- rattlesnake
- mamoli
- (and 1 more)
-
Holy Crap that's incredible. I was just on the Constitution and that looks great.

.jpg.ae0c27ee96dab3f1efebc2e136000316.jpg)
.jpg.f01bbb7eb7a5487722adba8ef326c720.jpg)
.jpg.b506c28d19c2682761e713020043d889.jpg)