


scott larkins
-
Posts
489 -
Joined
-
Last visited
Content Type
Profiles
Forums
Gallery
Events
Everything posted by scott larkins
-
 Damn, that is beautiful. I'll be lucky enough to actually go visit that ship tomorrow. Check this off my bucket list. Yea!
 -
WOW! That looks great. I've just started the hatches today and looking at yours for reference really helped. Any tips besides simply follow the plans, measures twice and cut once?
- 648 replies
-
- 3
-

-
- niagara
- model shipways
- (and 1 more)
-
I have noticed that. My black does seem to chip off more than any other color. I wonder why? I'm very careful. Perhaps I need to bring a rag down to the shop to sit it on.
-
Yes, that transform was something different. Where I could picture the symetry from the drawings, it just didn't come out that way in the end. At least I think I have now painted the outside of the hull. Stage 1 is complete.
-
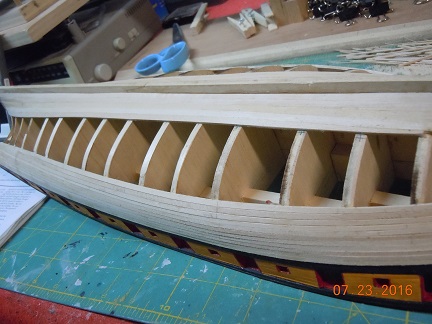
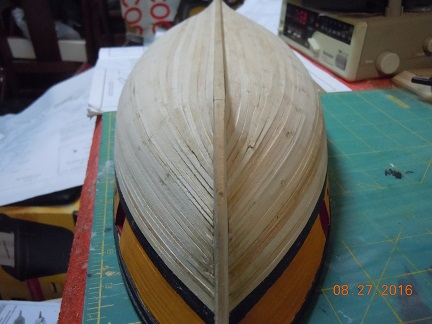
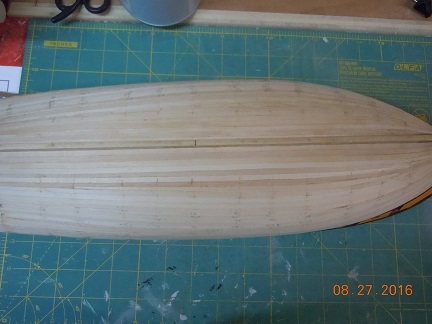
I'm back as promised, or I warned you. The hull work is done. I followed the diagrams and instructions the best I could. I can tell you there was a lot more plank work on this ship than the Rattlesnake. Primarily due to the fact that there are three different plank widths to use. The Rattlesnake used just one so using the planking pattern guides out there was easy but not for the Niagara was virtually impossible. Or I'm too stupid to figure out how to use that plank guide on three different plank sizes. Either way, I found that every single plank was sized down to as small at 1/16 wide at the bow and had to be tapered as the plank went back. And then at the stern, the plank was resized but not to the same extent as the front. This is primarily because the plank twisted and had to cover much more space at the stern. I did use stealers but not the exact ones shown on the plans. The instructions did say that that situation was possible. I can say it didn't all go as planned. I'm sure if a die-hard ship building looked closely at my model he/she would probably shake their head on the last three planks I put on. Was it truly ugly, well no, but probably not realistic either. Did my puzzle work on those planks fit? Yes, with a little effort. So below are my pics. I wouldn't suggest you ask me how I did a specific plank. There are people on this site I think you should ask that question of. She's planked and ready to be painted and still looks like a ship, so I guess I had some success.

-
Wasn't it just a peach trying to get those cleats tied to the shroud lines? I absolutely hated it. I got them on, but they were not fun. How did you manage it?
- 974 replies
-
- 2
-
-
- rattlesnake
- mamoli
- (and 1 more)
-
Looking good, truly an inspiration for us ship builders still behind you. Where did you find the figure? I'd love to get some.
- 843 replies
-
- 2
-
-
- niagara
- model shipways
- (and 2 more)
-
looking great
-
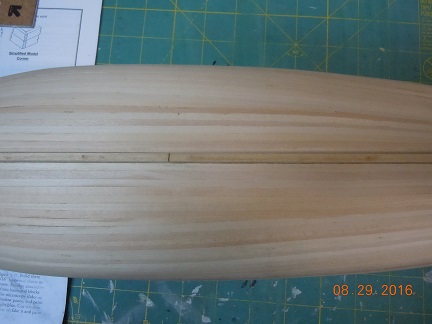
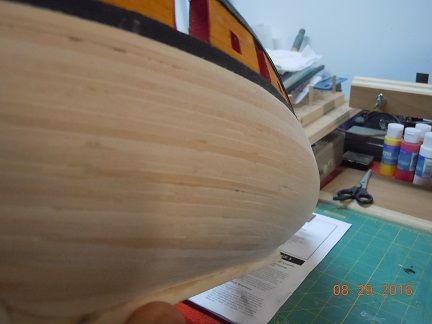
Okay, the hull is planked and sanded. Finishing the transom and decrative end pieces. Then I'll post pics. Been a busy summer between work, house improvements and writing weekly lesson plans for my first college class I am teaching. So soon.
-
Thanks for that pic. i'm adding it to my collection so I can make my ship look as accurate as possible.
- 843 replies
-
- 2
-
-
- niagara
- model shipways
- (and 2 more)
-
Those chains came out really well.
-
I'm still alive guys. Been a little busy with outdoor work and other life things. Currently planking the hull. I'll get some stuff up soon. I'm just over 50% done with it.
-
Damn man, that is some incredible work.
-
Oh I see you have entered the nightmarish and twisted world of the ropes. Good luck my friend. Word of advise, as you thread them through the various blocks and holes, make sure you give them a little tug before tying them. It will help to see if you accidently wrapped a rope around another or could find a better way to route them up into the platforms. Plenty of times I found I had to reroute as things got more cluttered.
- 974 replies
-
- 2
-
-
- rattlesnake
- mamoli
- (and 1 more)
-
Nope, didn't drill the holes yet. I was going to wait until I get to the rigging part and figure it out then. The only thing I saw was a pic in the instructions booklet, but nothing specific.
-
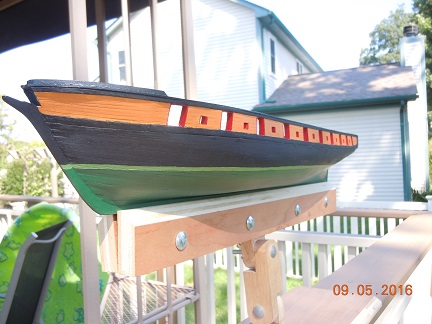
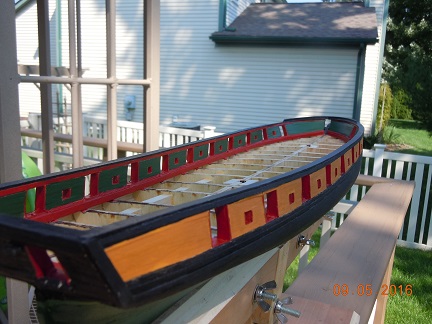
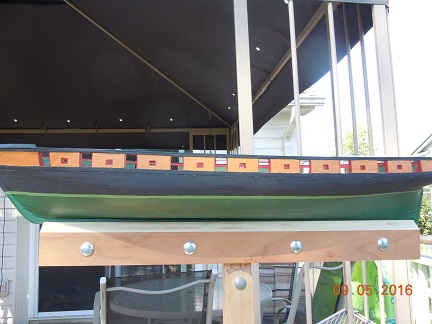
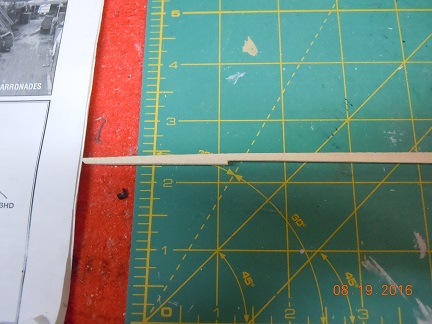
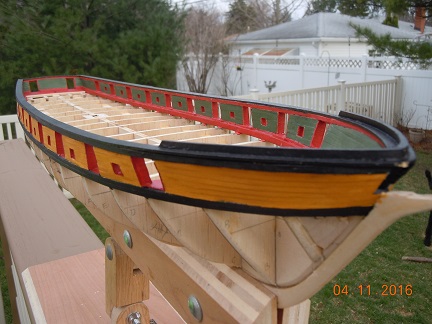
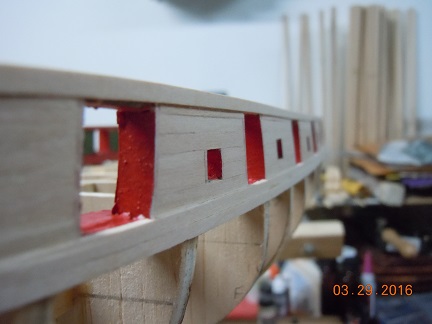
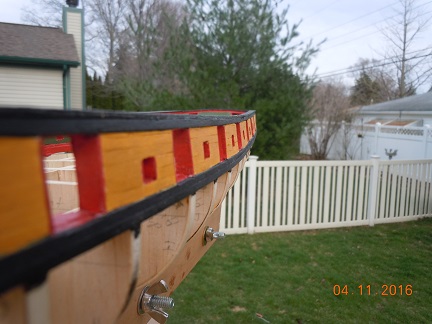
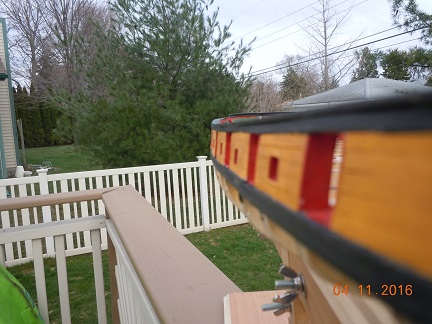
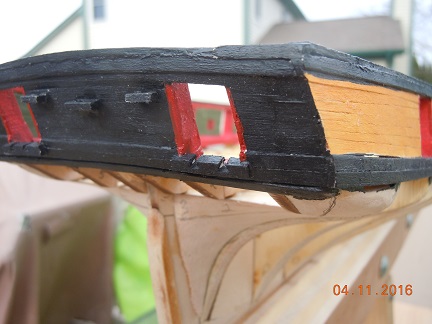
Got in a couple of good full days of work on the outside upper walls on my ship. Here are the pics. Unpainted bow wood work. Looks like I got lucky with the two different wood thicknesses. I did have to soak the thicker pieces of wood in hot water to get them to bend but not really a difficult issue. The thinner planks I had no issues with. Yep, I painted the top rail black. I initially painted it the model suggested buff and I didn't think it looked right. I looked at Niagara ship pictures from over the years that were taken by ship visitors. I noticed that the top rail had been pained buff, yellow ocra and black. So I opted for the black. I thought it flowed better. And the unpainted sides vs the painted sides. The most difficult part was trying to paint that little lip on the thicker wood. Small brush and a steady hand...... and of course some scraping and repainted where I goofed. LOL No one's perfect. And finally the stern. For some reason those back rope chocks look like they are angled down in the pic but they aren't. I used a very small jewel's file to file down into the wood and then used a jeweler's hack saw blade, without the hack saw, to cut out the little lower wider rope area. Then I glued the whole piece into place.

-
Jon, Also watch to bow sprit and the yards out there. Again, a ton of ropes. If you aren't doing sails like I did though there will be a few less for you to deal with. If you look back at my montage of pics and look at my bow pic you will find out what I am talking about. But keep it going man, this is looking great.
-
Holy crap this is a great build!! If my current ship wasn't going to be my last one I definetely would feel the pull to build my second favorite ship in the U.S. Navy.
-
Jon, Been a while since I dropped in on your build. I see it is coming along well. I read a few pages back to catch up and I see you discovered the same fun I had when you came to find out some cleats where not added when they could have been. Just one of my frustrations with the written instructions of the building company. Especially in your case where you didn't put in all of the deck to show things underneath it. I still find it amazing, now that I finished mine, that so many ropes were on a ship and tucked into so many spots. Word of warning to your upcoming rigging. There are going to be cleats on almost, if not all, of your shrouds. They are tuff to put on and tie on so they are straight. Plus to very careful of routing those lines. Don't let them wrap around your previous lines. There were a few times I had to rethread lines, and I was paying attention. Keep up the good work, your build is amazing.
- 974 replies
-
- 2
-
-
- rattlesnake
- mamoli
- (and 1 more)