
HOLIDAY DONATION DRIVE - SUPPORT MSW - DO YOUR PART TO KEEP THIS GREAT FORUM GOING! (Only 20 donations so far - C'mon guys!)
×


Maury S
-
Posts
1,490 -
Joined
-
Last visited
Content Type
Profiles
Forums
Gallery
Events
Everything posted by Maury S
-
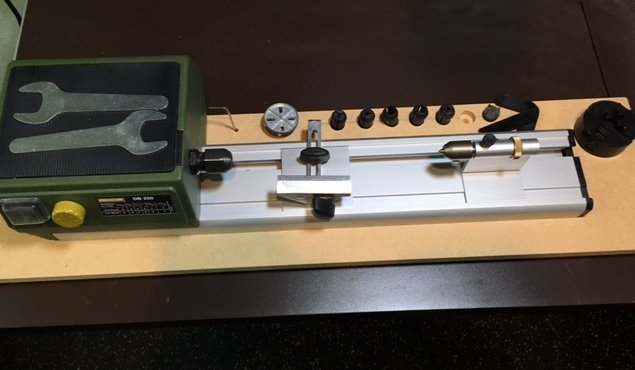
 I have a slightly used Proxxon DB250 Lathe for sale. It is mounted on a board and will be sent either on the board or in the original box. Shipping is included in the Continental US. $125.00. Send me a PM if interested.
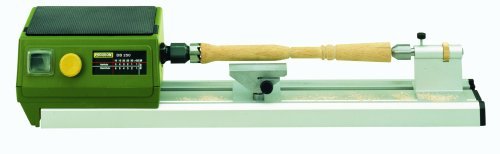
-
Druxey, Thank you. I came to the same conclusion. The capstans do seem a bit under-sized considering their function. I'm going to shift some things around and make a new barrel / spindle larger to match the drumhead and I'll make a smaller drumhead to fit on the existing barrel as the smaller of the two. It's all about learning and advancing. Steep curve sometimes and I'm significantly more confident on both tools than I was a week ago. Maury
- 525 replies
-
- 4
-

-
- anchor hoy
- hoy
- (and 1 more)
-
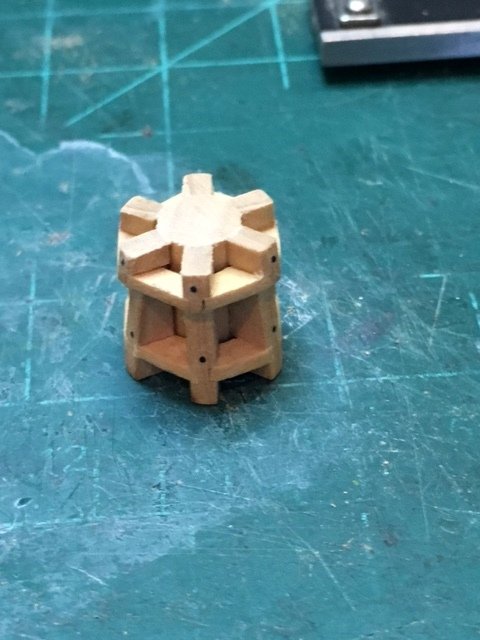
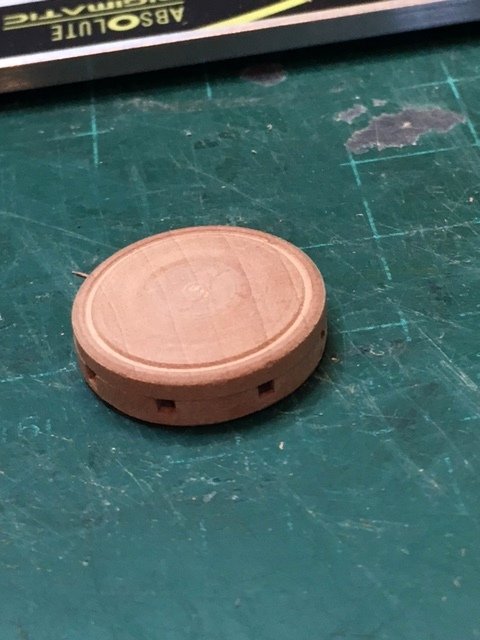
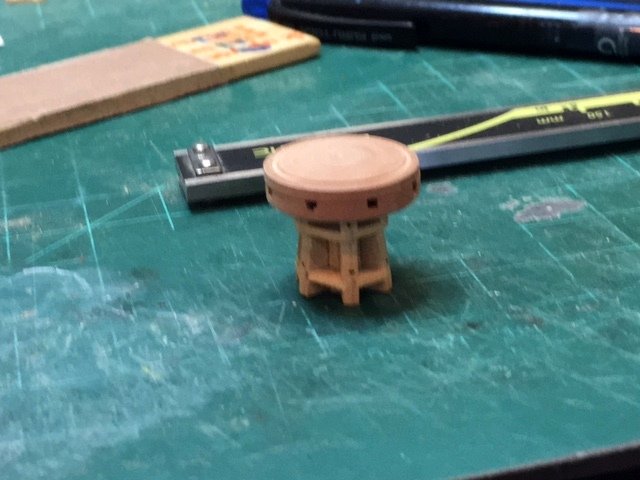
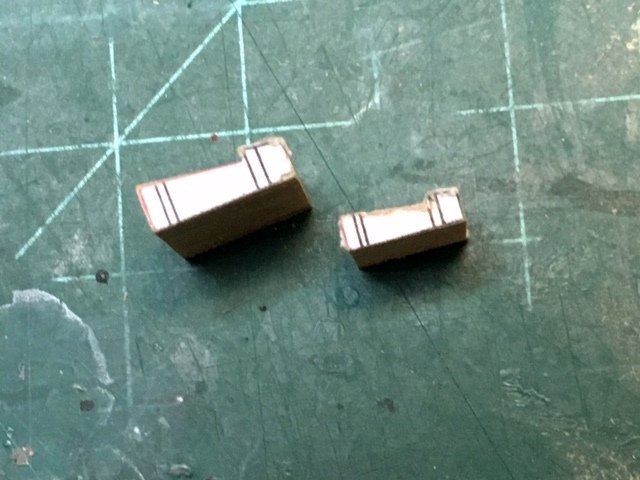
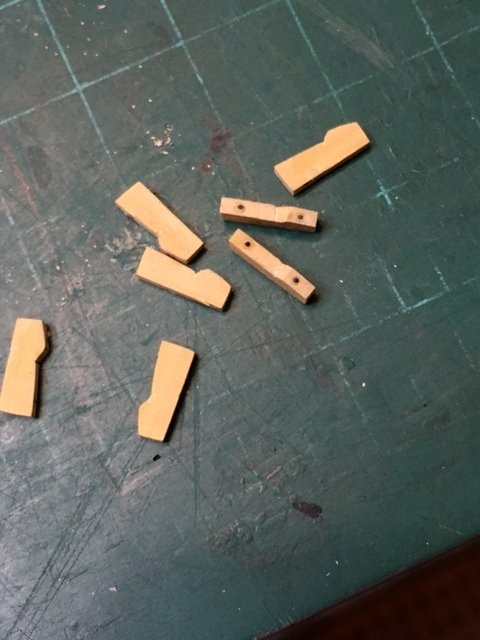
The barrels and whelps are done...better. The drumhead is next and I need more experience on the lathe and mill. I have a 3-jaw chuck so I took a piece of square stock of pear down to eight sides, then 16 to get close to a round piece that will fit securely in the chuck. I turned it down to the right diameter then transferred the chuck to the rotary table on the mill. When tightening, I mistakenly loosened the chuck so knowing it was scrap, I continued on and milled the slots for the bars as practice. Going back to the lathe showed how an ever-so-slight loosening of the jaws threw everything off. I had a bit of a problem parting the piece (burning and binding), so off to YouTube for hints and techniques. Perfect alignment, half the rotation speed and a slow feed of the parting tool. Second attempt: Two pieces, the bottom one milled for the bar slots and parted off on the lathe. The top one finished on the lathe with a slight crown and a ring for a reinforcing band. Everything still in just test fitted. Next the base for the pawl ring. Maury
- 525 replies
-
- 5
-
-
- anchor hoy
- hoy
- (and 1 more)
-
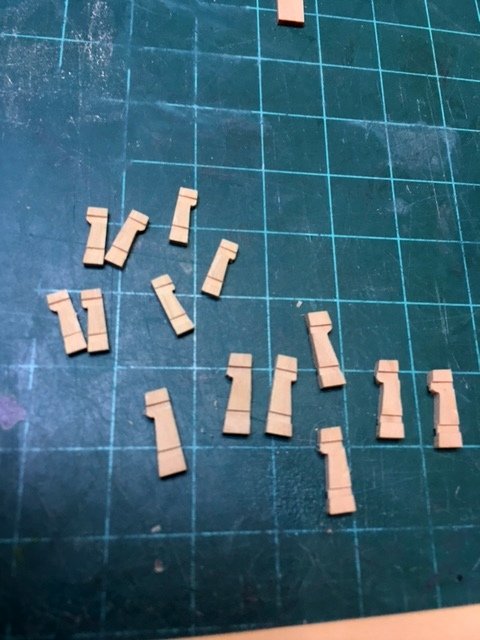
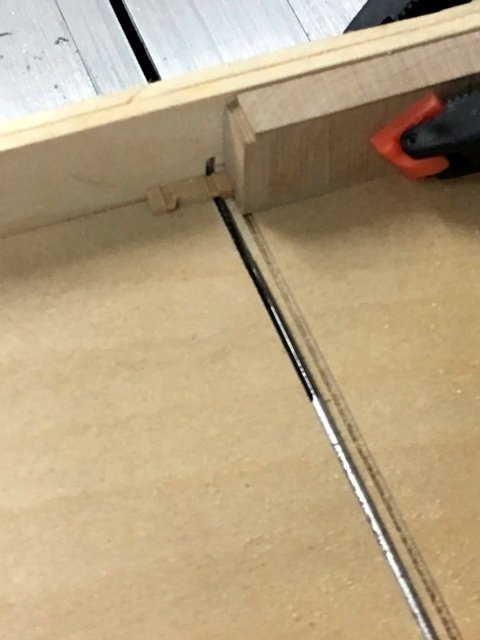
The notches for the chocks have been cut into the whelps. I doubled-up two thin blades to make grooves of 0.048". The whelps are carried on a sled on the saw. The chocks are 2 1/4" or .047" at scale. Next are the simulated bolts in the whelps. Maury
- 525 replies
-
- 8
-
-
- anchor hoy
- hoy
- (and 1 more)
-
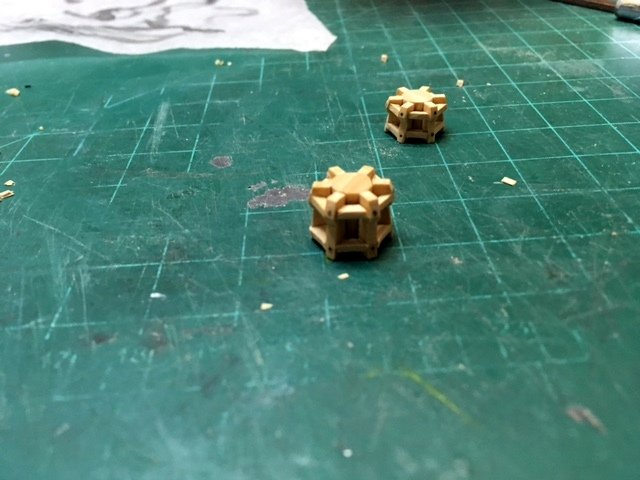
The barrels have been re-made (smaller is 80% of larger) but not yet cut to final length and the edges of the faces marked. The whelps were glued together and then shaped on the mill. Much cleaner than the previous attempt. They are soaking in Iso. to separate, then I'll dado thin channels to accept the chocks. Maury
- 525 replies
-
- 6
-
-
- anchor hoy
- hoy
- (and 1 more)
-
Toni, No, the double capstans are connected by a 8:1 gearing in a horizontal plane. See the original Grice drawing on the first posting (https://modelshipworld.com/index.php?/topic/13002-anchor-hoy-by-maurys-pof-harbor-craft-c-1825-148/). After reviewing the capstan dimensions as described in Yedlinsk's book, and a closer look at the original drawing, I think the capstans need to be a bit taller than I originally drew. I'm going from whelps of 18" to 24" on the second try. Total height will now be about 40". Maury
- 525 replies
-
- 3
-
-
- anchor hoy
- hoy
- (and 1 more)
-
Whelps and chocks installed. OK for a first attempt and I can do better. The chocks don't line up perfectly and I know I'll regret it if I don't do them again. When I started the barrel on the mill, I figured it was a test run so here I go again. Back to the equipment and a better result. Maury
- 525 replies
-
- 7
-
-
- anchor hoy
- hoy
- (and 1 more)
-
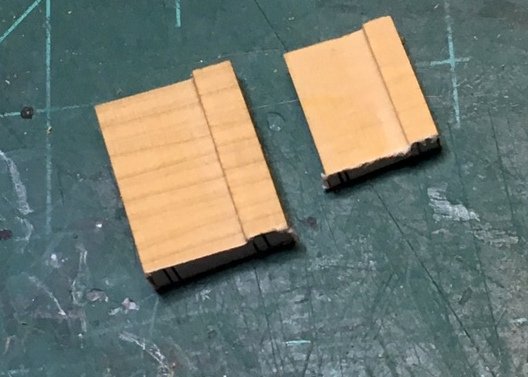
Thanks for the likes and all the comments. Very helpful. More work on the capstan parts. I marked the edges of the 12 sides of the barrels by lightly rubbing a pencil. This will help me see the edges of the 12 faces when I line up the whelps. I lightly glued the barrels to the whelp pattern. Arms radiating were extended to help alignment. I had cut out the whelps earlier. I needed to add the simulated bolts (15 lb. black monofilament line, #75 drill) and lightly sand everything. There are two capstans. The smaller one is 80% of the size of the larger. I'm using the same 12-sided barrel, but it is a bit shorter (14.4" vs. 18") and the whelps (not shown) are a bit smaller. Next up is to attach the whelps to the barrels. Maury
- 525 replies
-
- 7
-
-
- anchor hoy
- hoy
- (and 1 more)
-
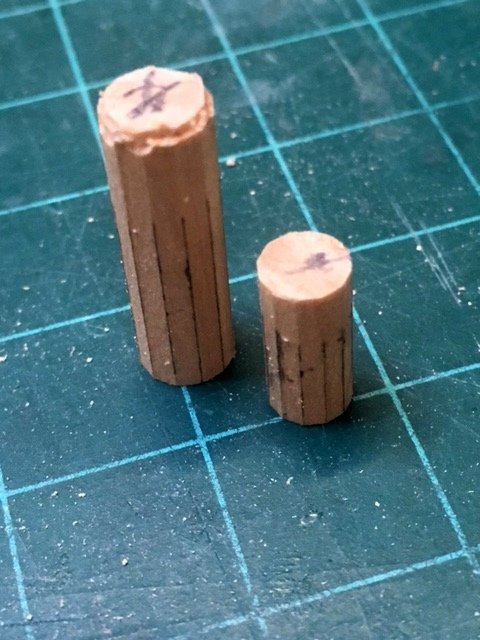
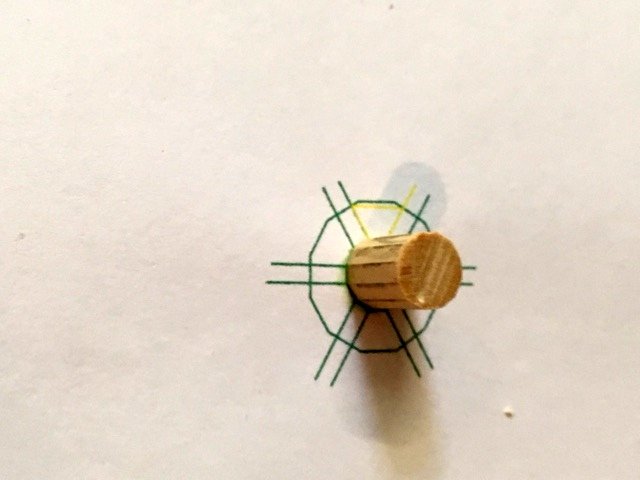
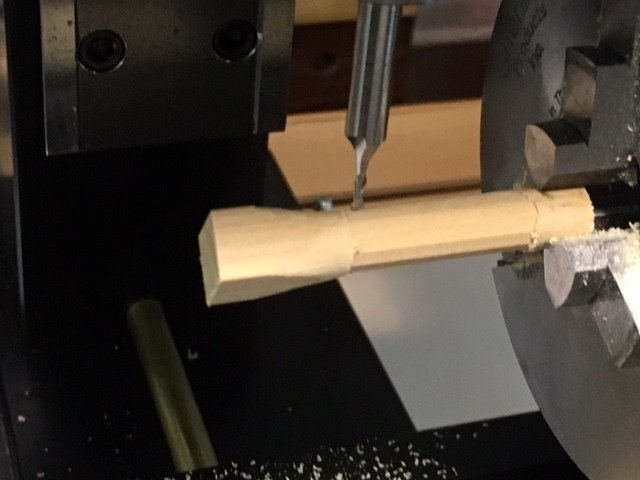
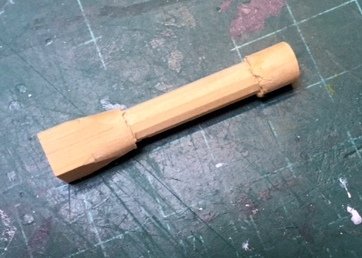
I started on the capstans while waiting for paint to dry. These need lathe and mill work (or so I've convinced myself) so I get to experiment with those tools. There are a lot of descriptions and tutorials on building a capstan. I think I read most of them. There are several little parts that go into a capstan, starting with the barrel. I have chosen a design with six whelps. Therefore the barrel has either six or twelve sides. Six if the whelps are lined up in the center of each face or 12 if each whelp takes up the full face. I chose the latter. I started with a piece of square stock (about < 3/8") and manually shaved one end to eight sided, then filed/sanded round to fit in the three-jaw vise on the lathe. It was then brought down to about 0.30" (the final 12-sided barrel is 0.25" across). Setting up the mill with a rotating table for the first time was a challenge. It took me some time to figure how all the accessories fit together, but finally it all came together. The idea is to leave the piece in the 3-jaw vise and move that to the rotary table on the mill. The rotary table is mounted on a tilting table set at 90 degrees so the piece is in the same plane as it was in the lathe. Since I've learned I do not have the collets for the larger end mills I got with the mill, I had to use a 1/8" end mill and had to make several passes. The rotary table was set at 0 and I stepped through 30 degree increments (360 / 12) where I moved the end mill across the face of the round piece making a perfect 12 sided barrel (actually the table moves, the mill just spins). Final result before cutting to the proper height: And I've learned a bit about using a mill. Maury
- 525 replies
-
- 8
-
-
- anchor hoy
- hoy
- (and 1 more)
-
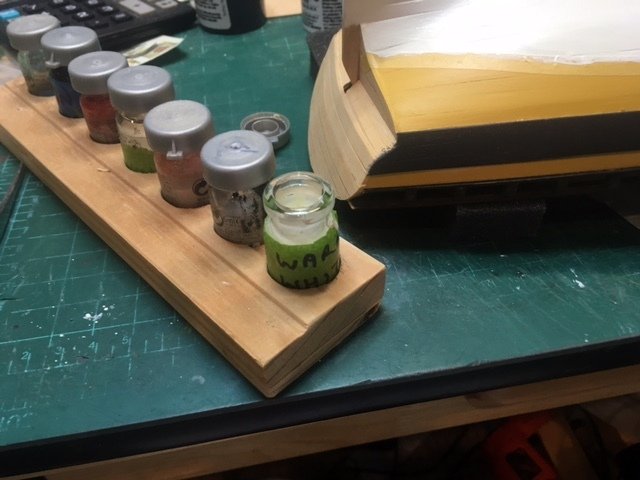
A lot of time waiting for paint to dry. By the way, I mix my colors in small glass jars that seal up tight. You can wipe excess paint off the rim easily so they close and re-open without a problem. A piece of masking tape identifies the color or mixture formula. The small ones were from some cosmetic liquids my wife uses. The only problem is knocking them over while painting, so I bored out a bunch of holes in a piece of scrap fir and keep the jars in the holder when I am painting. For larger volumes of paint, I use the single-serving Jam / jelly jars you get in a restaurant. They too seal up tight. Maury
- 525 replies
-
- 6
-
-
- anchor hoy
- hoy
- (and 1 more)
-
Druxey, Thanks for the tip! Line it out by eye and fair the line? Maury
- 525 replies
-
- 2
-
-
- anchor hoy
- hoy
- (and 1 more)
-
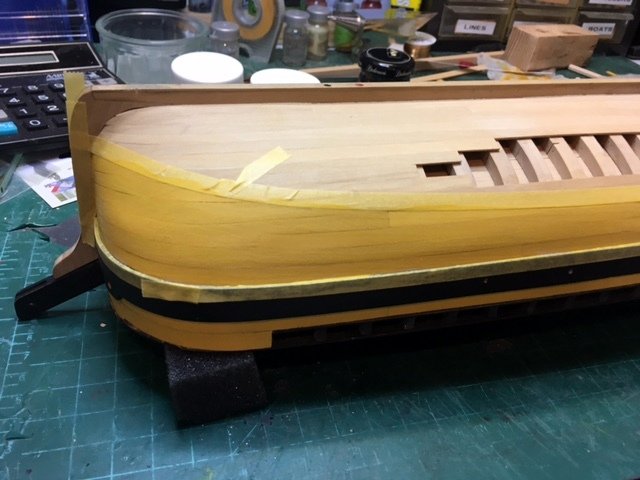
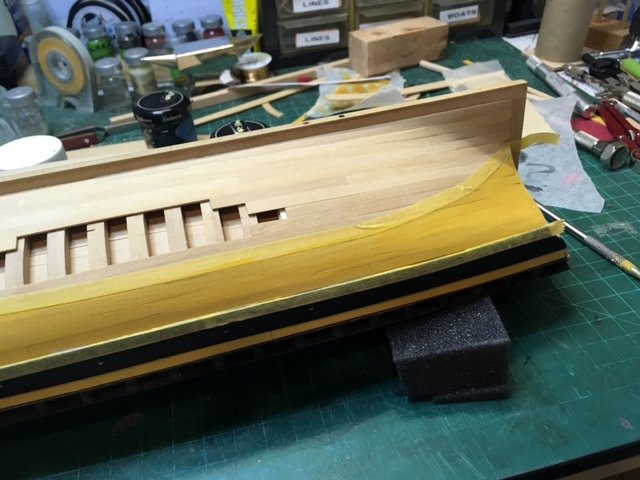
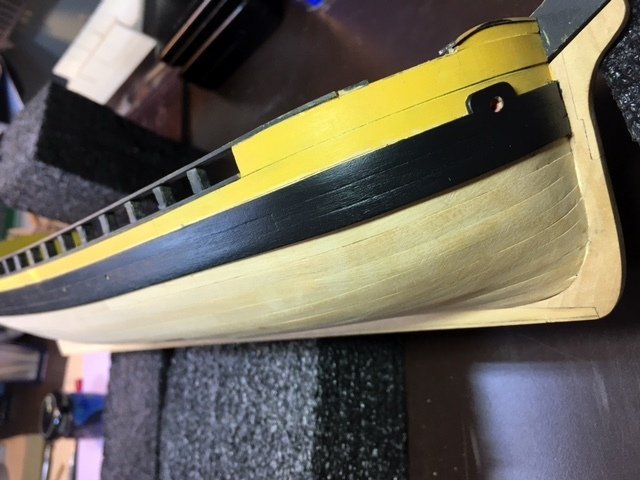
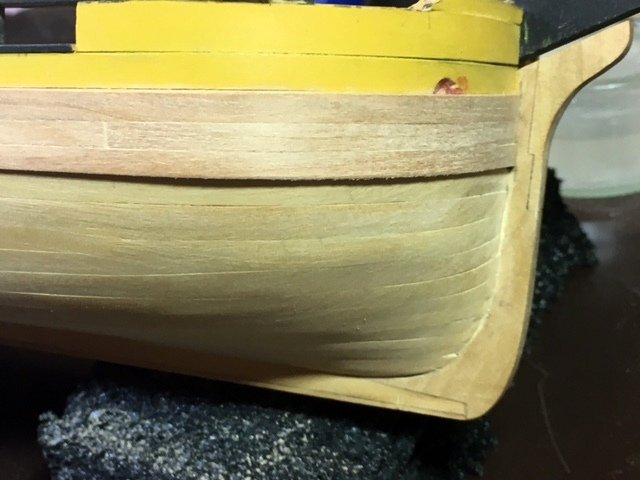
The waterline was defined with Tamiya tape and the first two coats of yellow / ocher between the wales and the waterline. A few more coats and then I'll paint the "White stuff"... Maury
- 525 replies
-
- 8
-
-
- anchor hoy
- hoy
- (and 1 more)
-
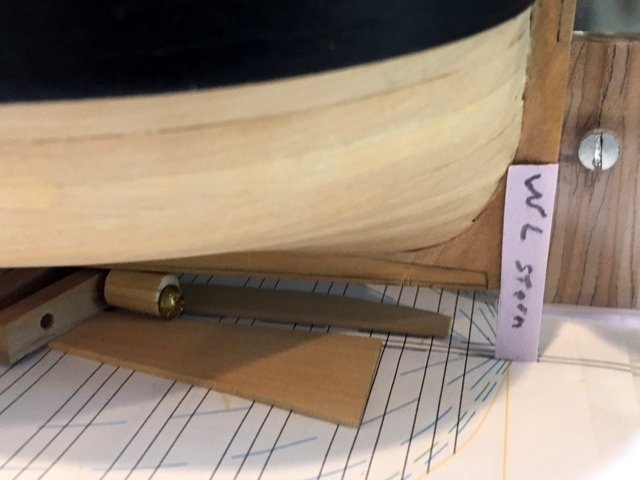
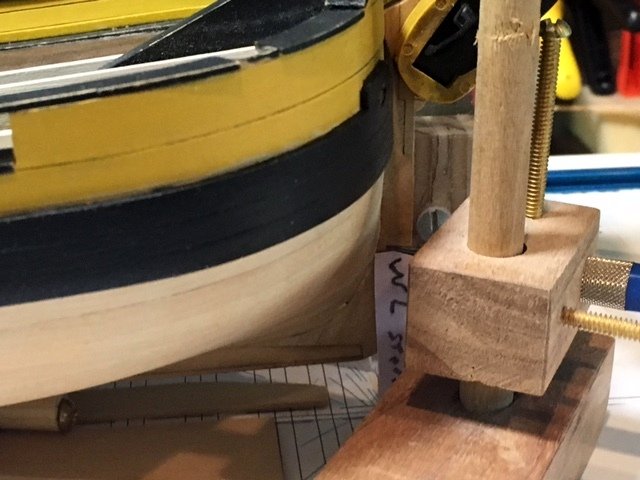
The water line was marked at the bow and stem from the plans from the keel up. The hull was lifted at the bow until the mark on the stem matched the height at the keelpost. It was held vertical while the line was marked both port and starboard. Pretty straight forward, just making sure the hull is perfectly vertical and the marks on both sides match. Maury Next is to tape off along that line.

- 525 replies
-
- 6
-
-
- anchor hoy
- hoy
- (and 1 more)
-
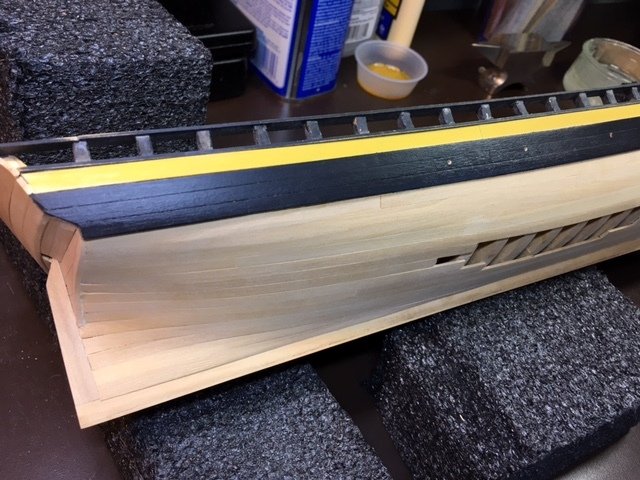
I've been on vacation for a while (AZ & UT National Parks). I painted the stb'd side wales. Six coats of thinned MS Spar & Hull Black. Below the wales will be yellow until the water line, then "white stuff" below. Lots of little repairs and paint touch-up to do. Maury
- 525 replies
-
- 11
-
-
- anchor hoy
- hoy
- (and 1 more)
-
Ed, I made the comment in jest. And you could always rub a brown pencil against the inside of the hole like many do with planking if you are going that far. Maury
- 3,618 replies
-
- 2
-
-
- young america
- clipper
- (and 1 more)
-
Surely the very thin lining will be added later? Maury
- 3,618 replies
-
- 4
-
-
- young america
- clipper
- (and 1 more)
-
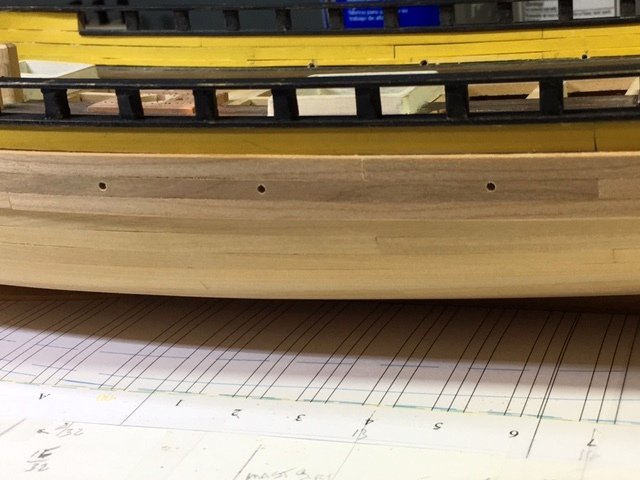
Now that the wales are in, I can place the scuppers. Care was taken to keep them away from planking joints and between frames. The original Grice sketches as well as Grimwood's and Cairo's drawings provide no information. Some common sense must prevail. There is a question of how many and what size. I don't have access to my references from Steel right now. Can anyone give me some guidelines if they were sized and counted to the boat? The holes as drilled out in the picture below are about 3". Maury
- 525 replies
-
- 6
-
-
- anchor hoy
- hoy
- (and 1 more)
-
The wales are in. Minor sanding and a few repairs then to finishing the transom.
- 525 replies
-
- 7
-
-
- anchor hoy
- hoy
- (and 1 more)
-
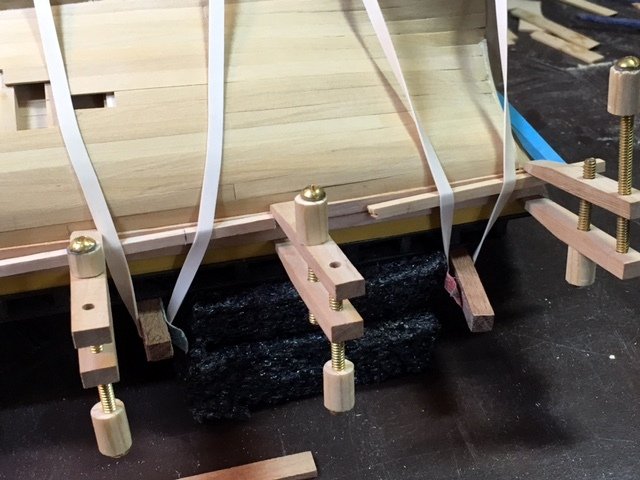
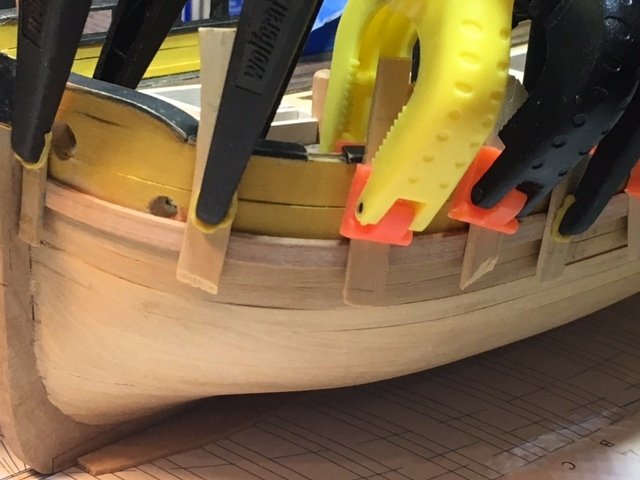
No secret to clamping in areas where regular clamps do not reach. Rubber bands and some blocking do wonders. Be careful that the bands are held on beams (see ends of two sanding sticks in the picture below). Wrapping the bands around the entire hull puts undue strain on the rails and pulls them in. You can increase / decrease pressure by shifting the bands. The parallel clamps hold the two planks together, even though they mate perfectly. This is the aft end of the second wale plank going on. Maury
- 525 replies
-
- 8
-
-
- anchor hoy
- hoy
- (and 1 more)
-
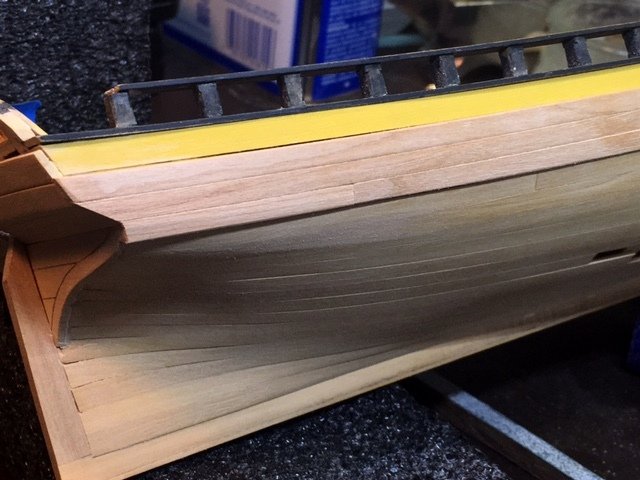
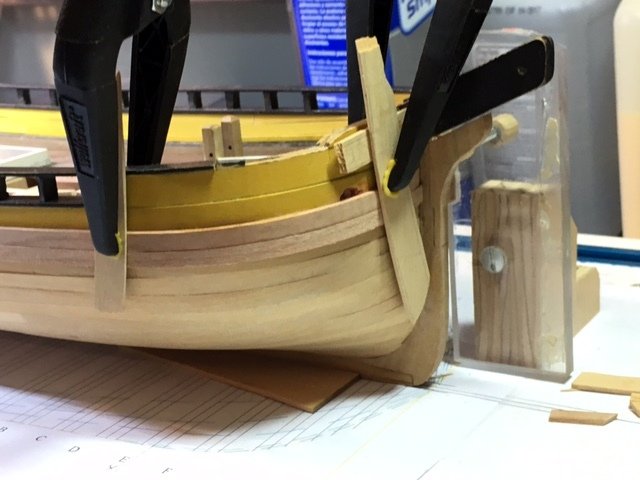
The bending of the Cherry is going much easier than the Box. The heat-only edge bending seems a bit tougher. I microwaved the plank in a wet paper towel and clamped it to a form (glass dish the approximate size of the bend in the bow). After an hour or two, I transferred the plank to the boat and clamped again. I have to do a bit of tapering, and it is going smoothly. Maury
- 525 replies
-
- 6
-
-
- anchor hoy
- hoy
- (and 1 more)
-
Ed, Amazing work! BTW, how is the anchor handled without fouling in the chains? Maury
- 3,618 replies
-
- 2
-
-
- young america
- clipper
- (and 1 more)
-
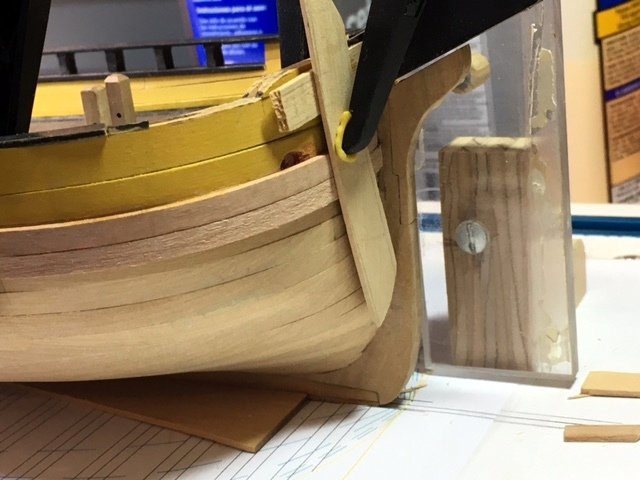
Thanks again for the tip about other species for bending. I had some Cherry left over from my Fair American build that was the correct width. I thinned it to 2 5/8" (scale .056") and did some bending and painting tests. It bent well and held the shape. another piece was painted with three coats of the Hull and Spar black paint and it came out fine. First wale plank on the port side going in. You can never have enough clamps. Maury
- 525 replies
-
- 6
-
-
- anchor hoy
- hoy
- (and 1 more)
-
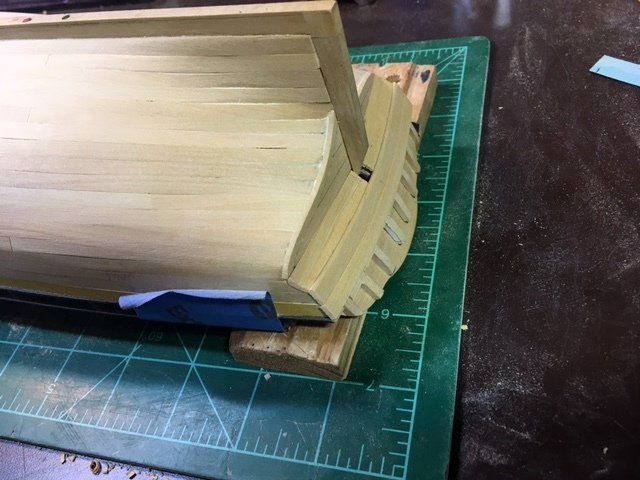
I roughed in the counter and part of the transom. Minor adjustments to do. Maury
- 525 replies
-
- 7
-
-
- anchor hoy
- hoy
- (and 1 more)