HOLIDAY DONATION DRIVE - SUPPORT MSW - DO YOUR PART TO KEEP THIS GREAT FORUM GOING! (Only 24 donations so far out of 49,000 members - C'mon guys!)
×


Javlin
-
Posts
1,681 -
Joined
-
Last visited
Content Type
Profiles
Forums
Gallery
Events
Everything posted by Javlin
-
MRAP ATV by CDW - FINISHED - Rye Field - 1:35 Scale
Javlin replied to CDW's topic in Non-ship/categorised builds
It was worth it Craig sometimes I go WTf! Why? -
Timber-framed outdoor kitchen - Cathead - 1:1 scale
Javlin replied to Cathead's topic in Non-ship/categorised builds
And significantly stronger way stronger.I notched my rafters for a shed were they met the walls then ran a member from wall to wall on the rafter with two angled uprights from the cross member to the rafter.I have three Oaks in my back yard one is 7/8' in diameter to which I lost 2X limbs during Katrina one landed on that shed 's roof bounced off and laid against the back wall.The limb was about 14/18" thick and 30/35' in length it was heavy no damage at all needless to say the workshop got the same treatment.That aromatic Cedar is some beautiful wood and smells so good when cut. -
Timber-framed outdoor kitchen - Cathead - 1:1 scale
Javlin replied to Cathead's topic in Non-ship/categorised builds
Some common thinking going about.....? -
Timber-framed outdoor kitchen - Cathead - 1:1 scale
Javlin replied to Cathead's topic in Non-ship/categorised builds
Eric does G lay on top or my thinking F/G are notched? I like working cedar strong enough but easy to sand made my last door for the shop out of Cedar will be my last termites 2x. -
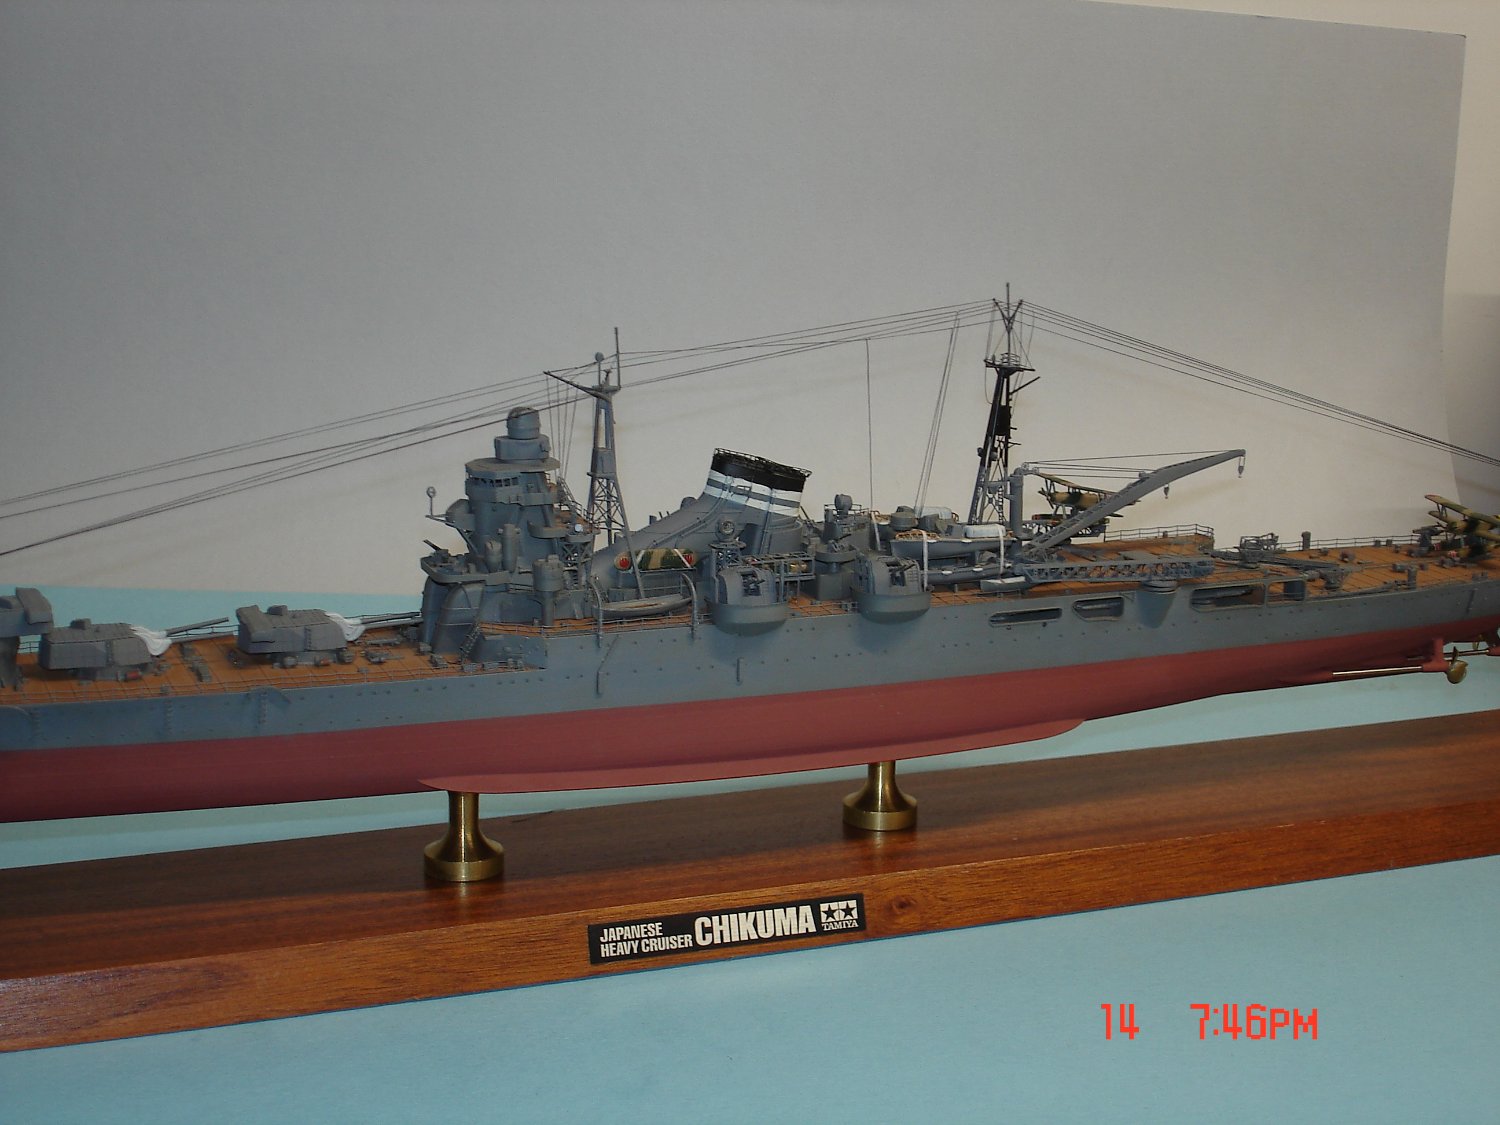
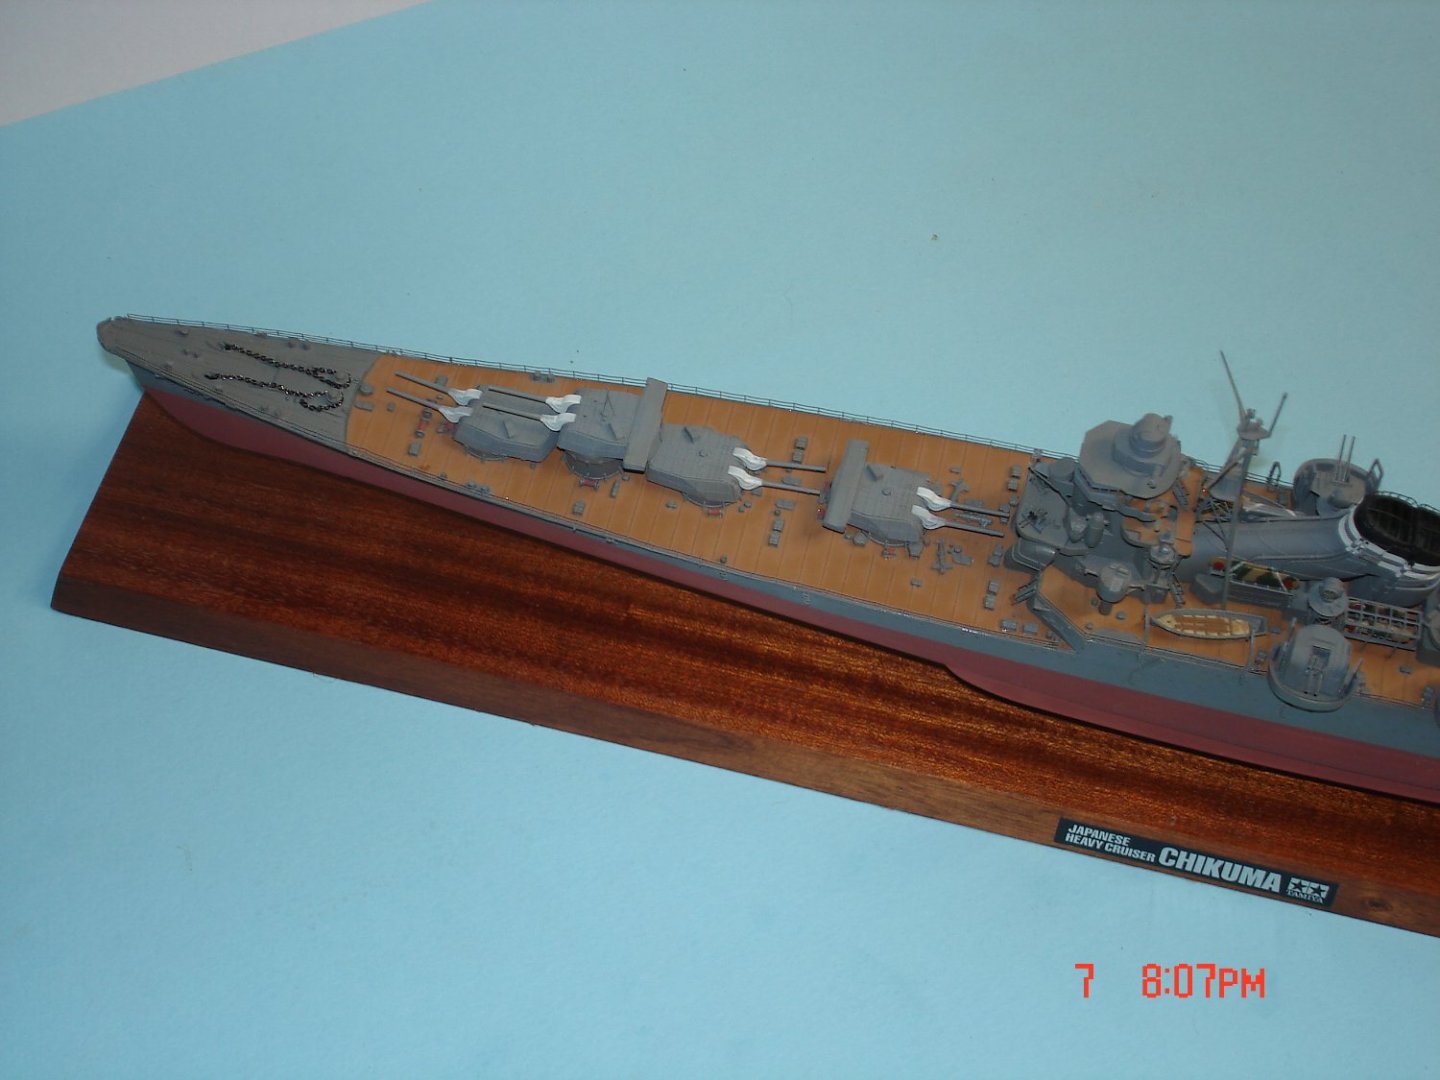
See I was thinking those lines were for radio com. but they are for flags.Now what about when not in use they are fairly taut?He gave a big bend to give the effect of movement.wind.The drawings still show taut for the most part and with the double line means a pulley thus flags learn every day.
-
I usually see radio and turret targeting lines to sag.So the lines out front of the bridge and the ones in this case off the rear mast there's a radio station in the mast.The four lines off the main mast I would go fairly taut never seen in drawings otherwise.You could prove me wrong though.
-
I am now working the the lines for the SS probably 15/20 more out front it's hard to get a sag?Maybe I need to go to stretched sprue?Some pics............


-
Sanity!!
-
A multiple front kind of Guy? Looking good Craig.
-
I was hoping they did this one since I am about to embark on a new project.I thinks it would be neat to build that portion of deck from beam-to-beam(?) with all the goodies on deck?

-
Quick builds are suppose to be that way no pressure just fun.
-
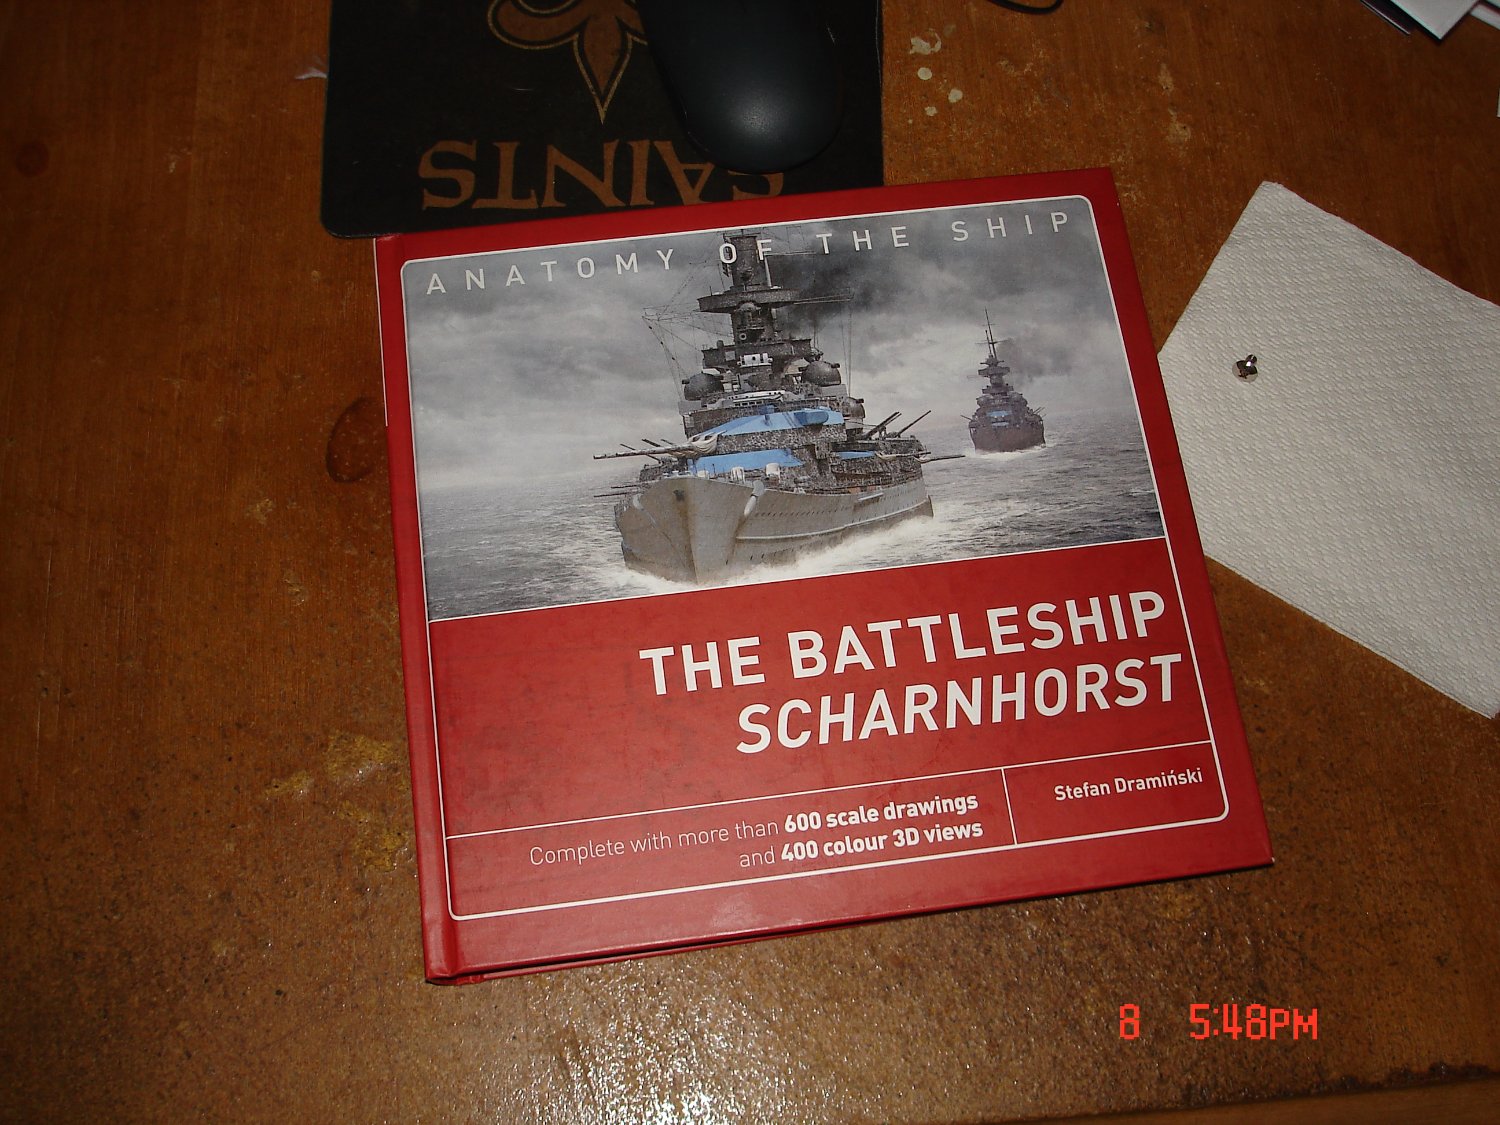
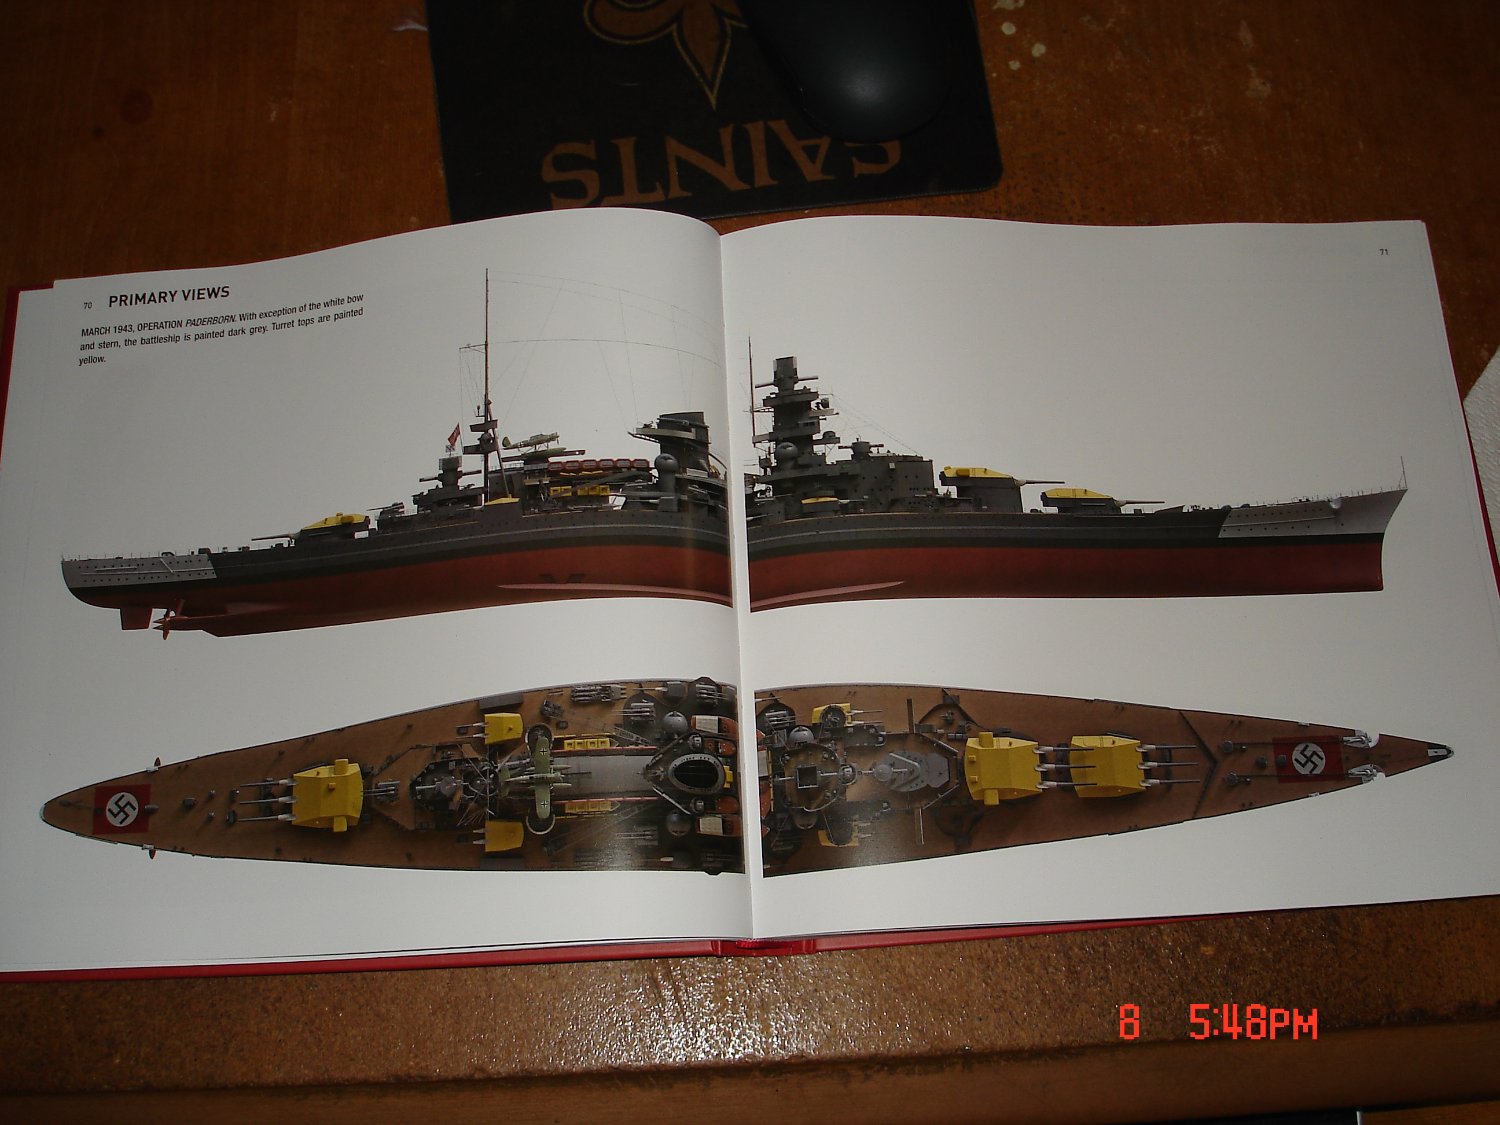
Got a book for the future build and I think I have found the timeline March 1943 Operation Paderborn.


-
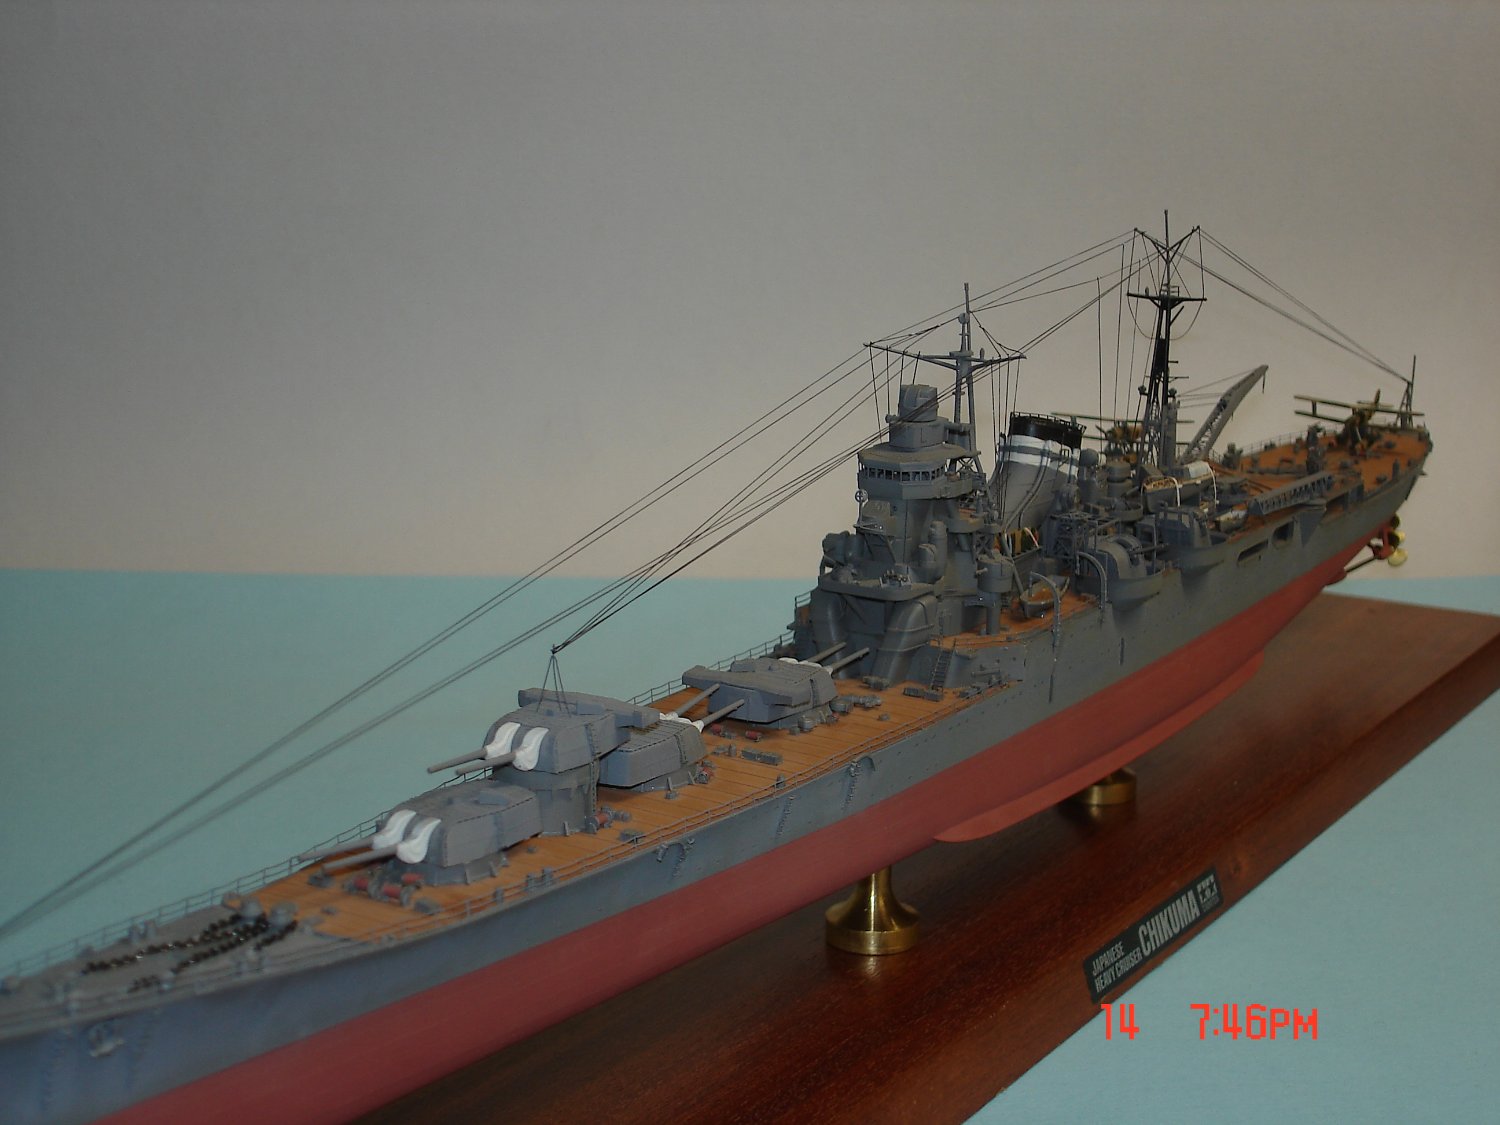
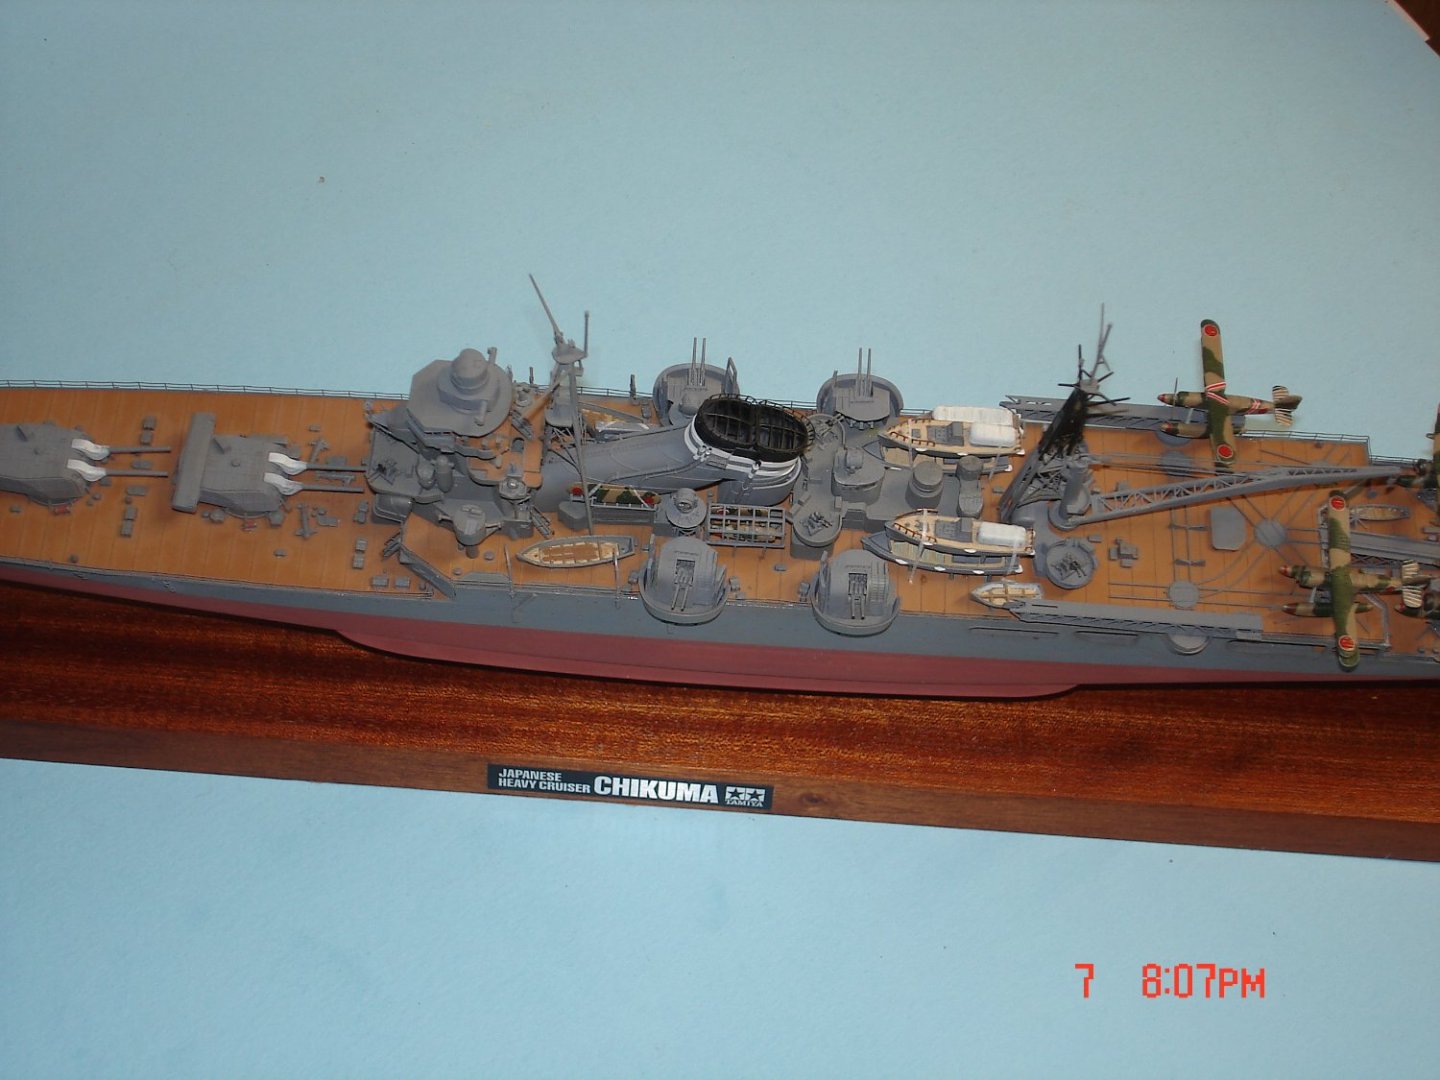
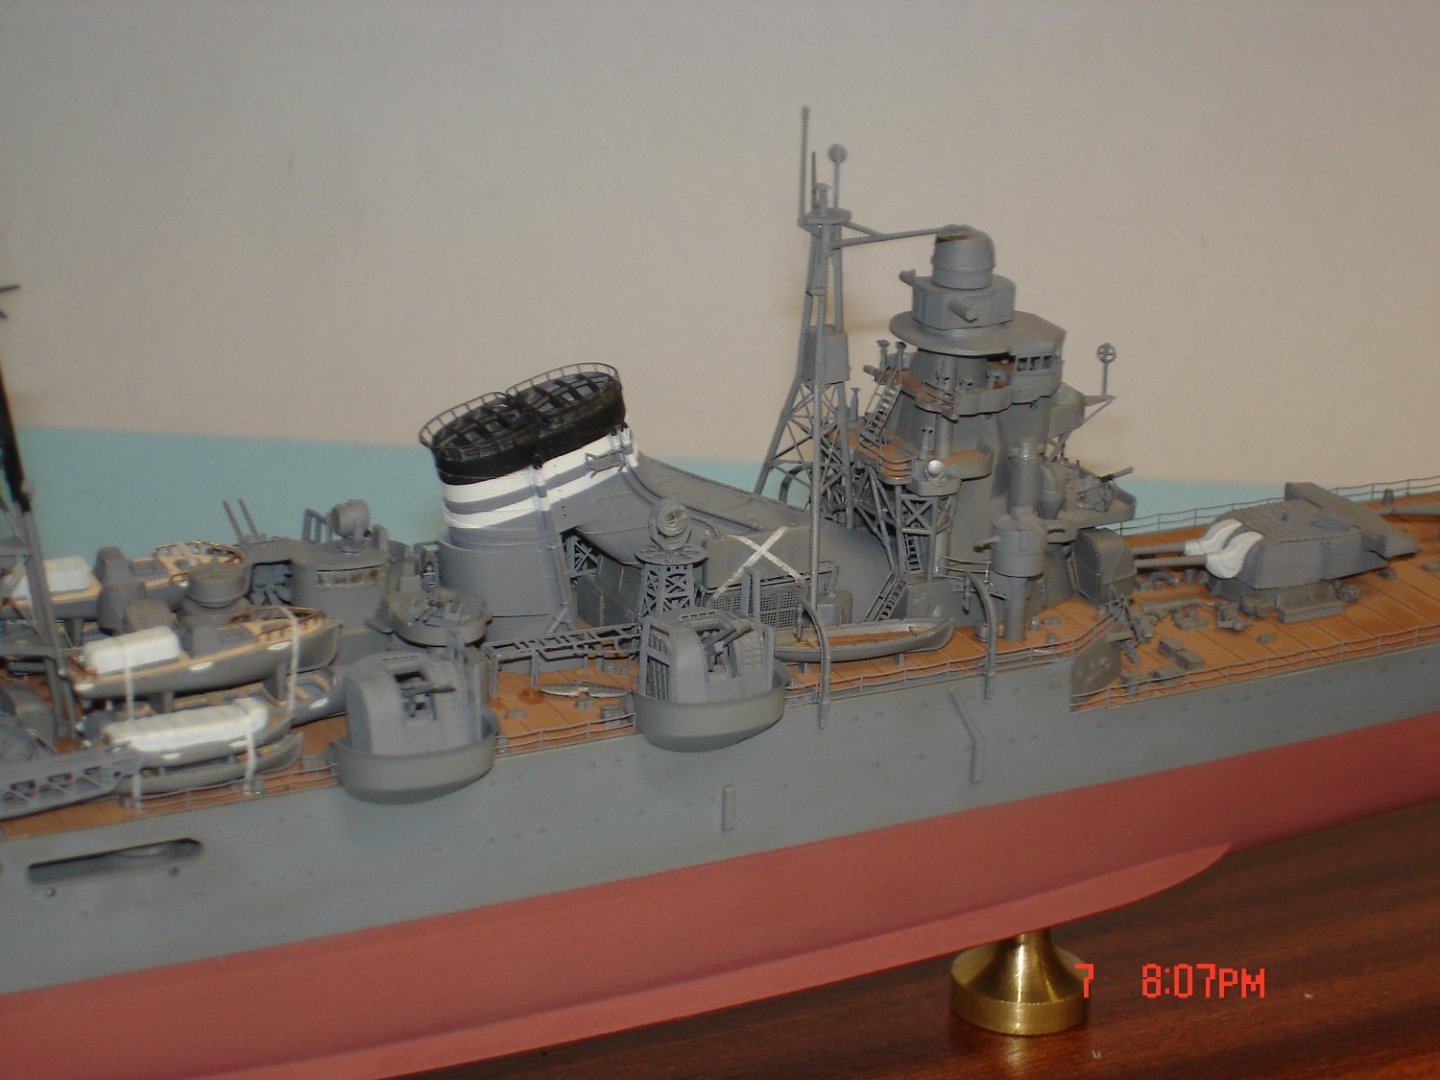
I am just about finished with the railing with the SS L/side being the last little bit.The chain up front needs some glue ,deck R/side under storage rack more paint glue mark and then on too the rigging.I added a target to the R/side of the funnel not real wild about the strapping "is what it is"


-
Martin B-26B Marauder by CDW - FINISHED - Airfix - 1:72 Scale
Javlin replied to CDW's topic in Non-ship/categorised builds
And their was issues with the glass? one would never know great job Craig!! -
I found one on the site about the 1/350 scale aircraft carrier they made some valid points one being no locking pins for alignment on the hull pieces.I have yet to see buildup yet would be interesting to follow.
-
Martin B-26B Marauder by CDW - FINISHED - Airfix - 1:72 Scale
Javlin replied to CDW's topic in Non-ship/categorised builds
That is one big tail on that bird!Can't wait to see her decaled. -
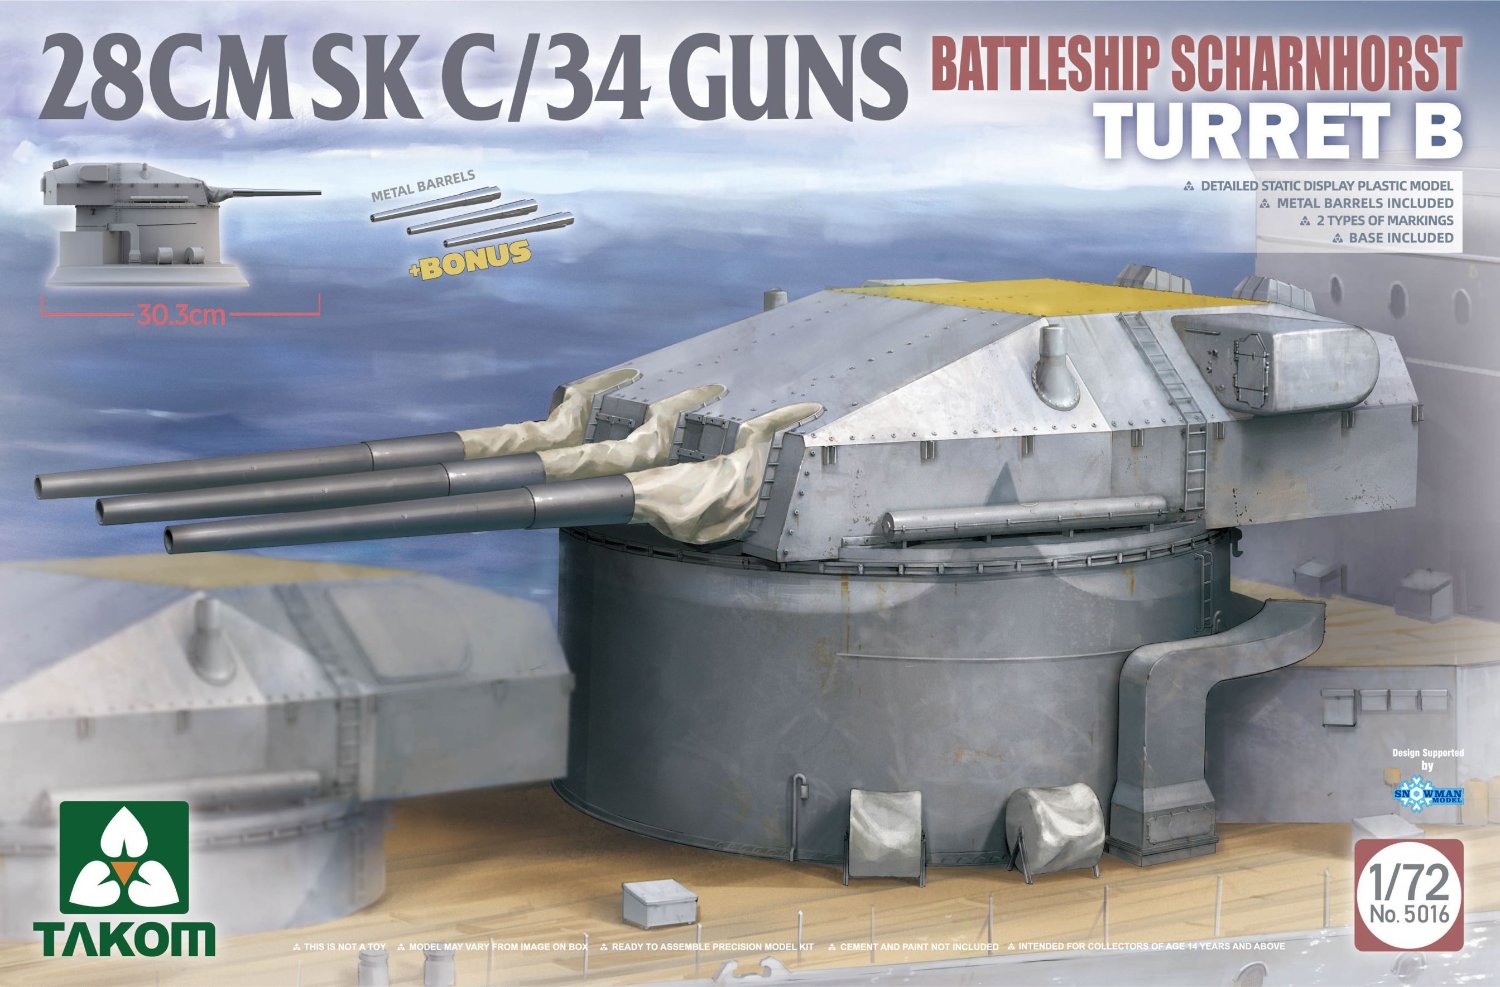
Yes Sir ree a not modeled subject to often I keep thinking about painting but you know the wooden decks I just got for the Sharnhorst come with mask I wonder I think I am about to blow up Mike's wallet
-
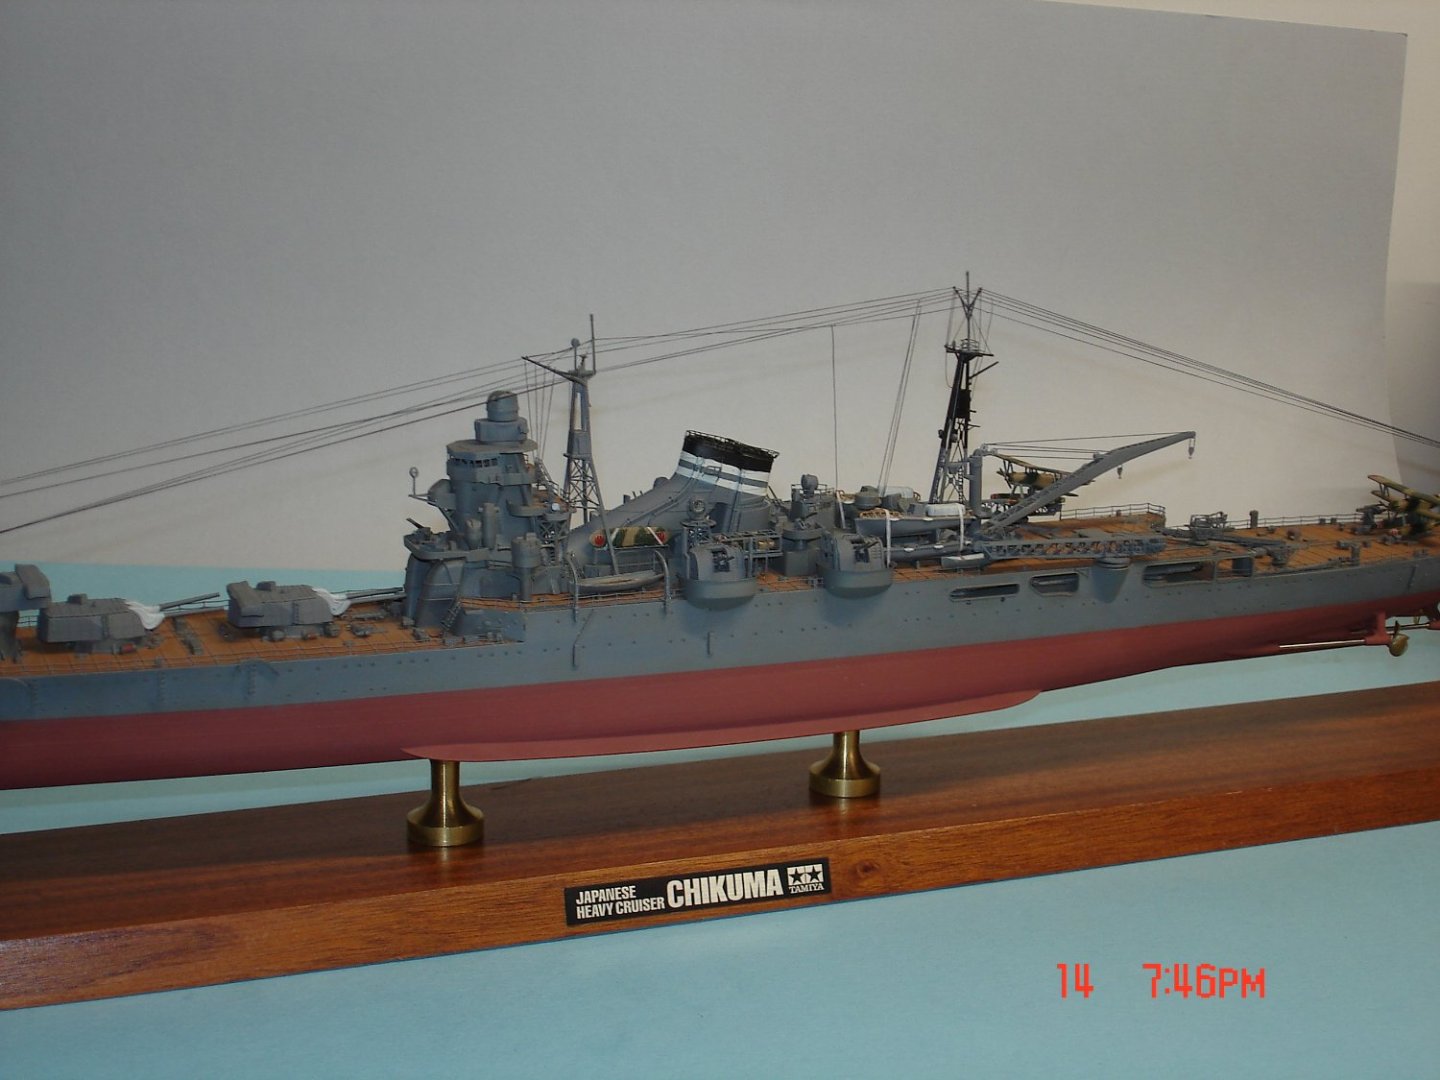
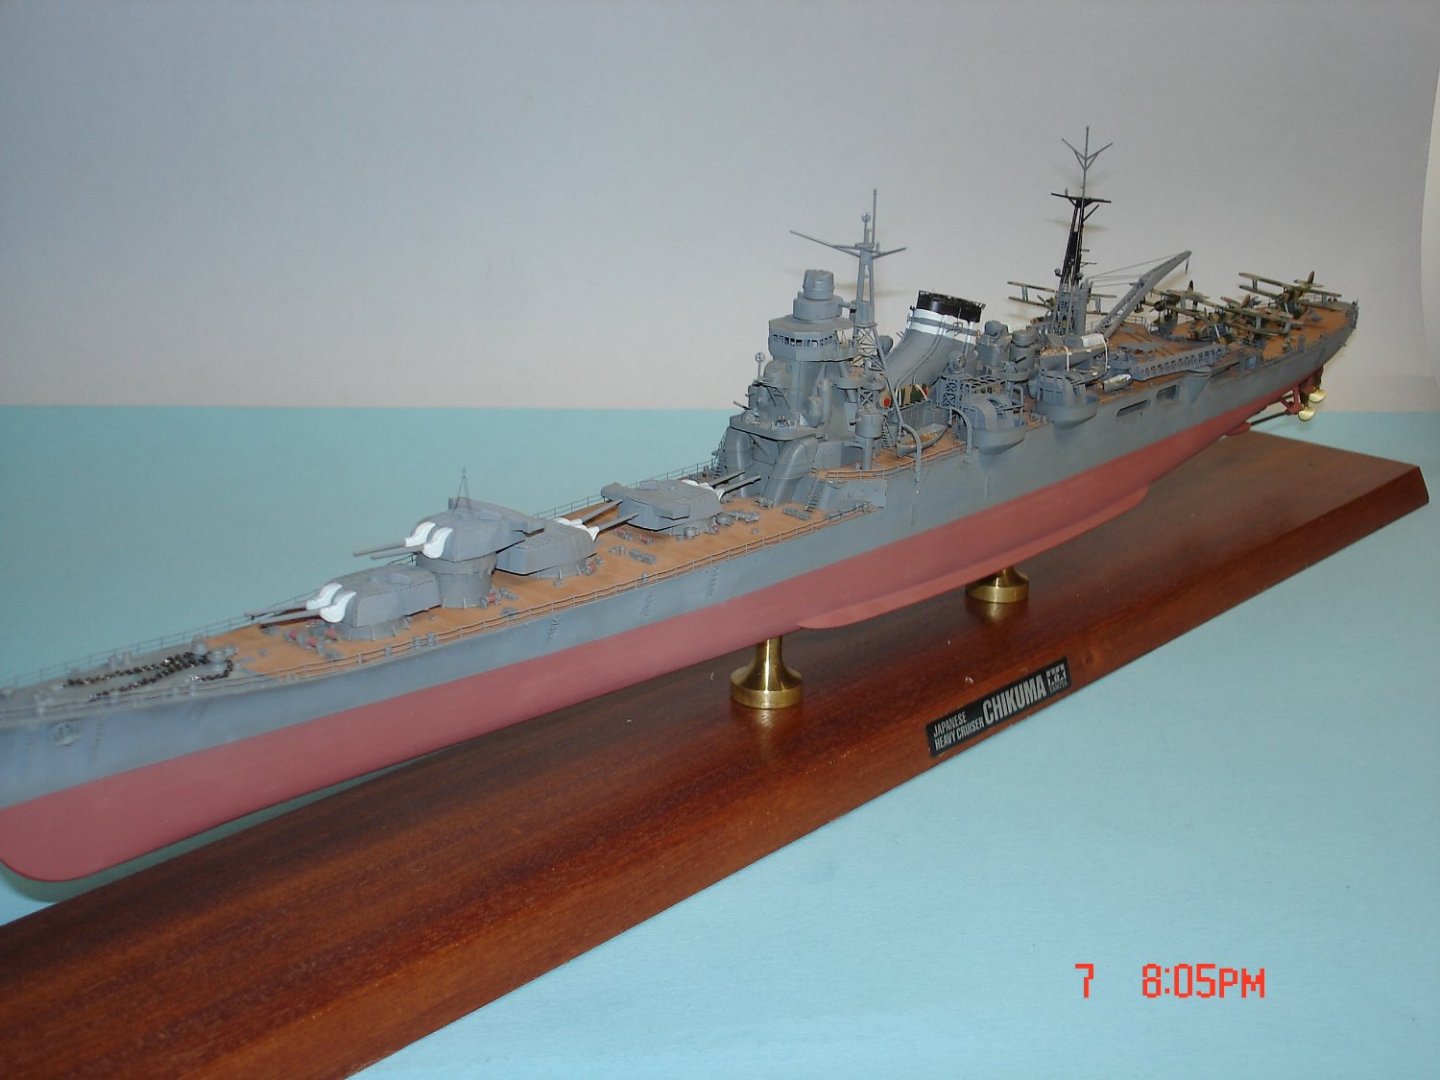
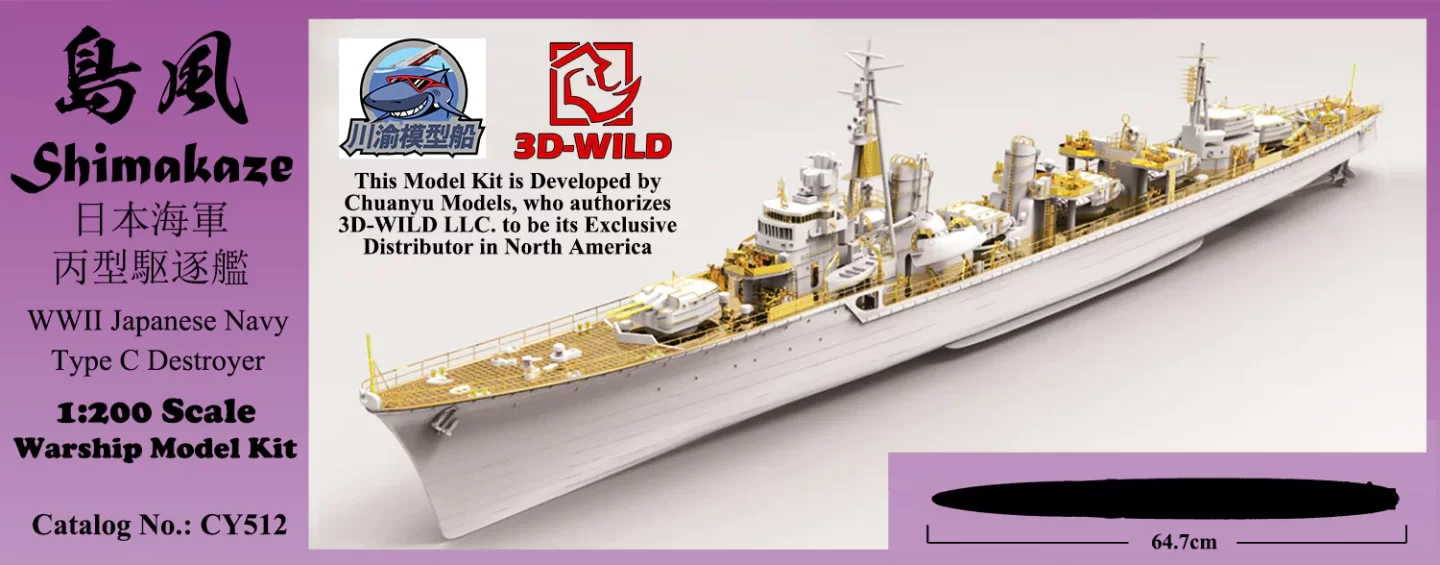
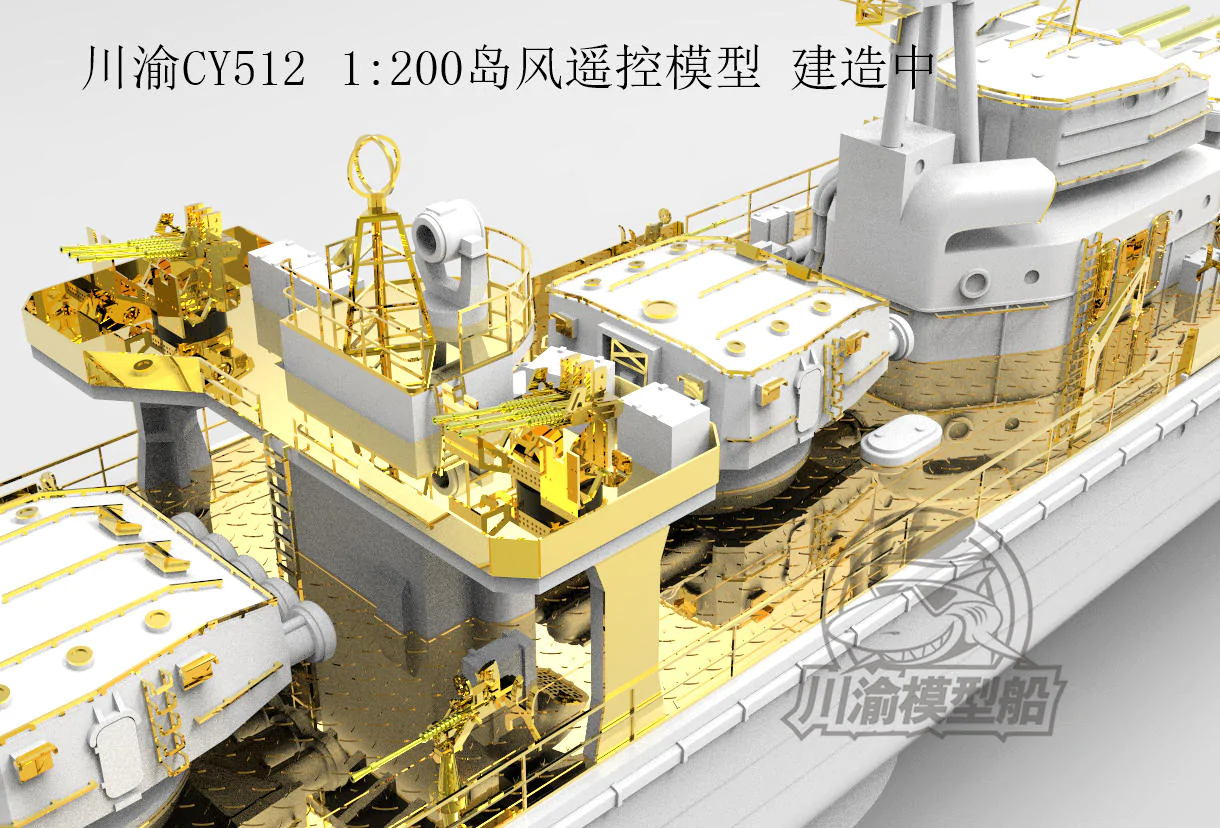
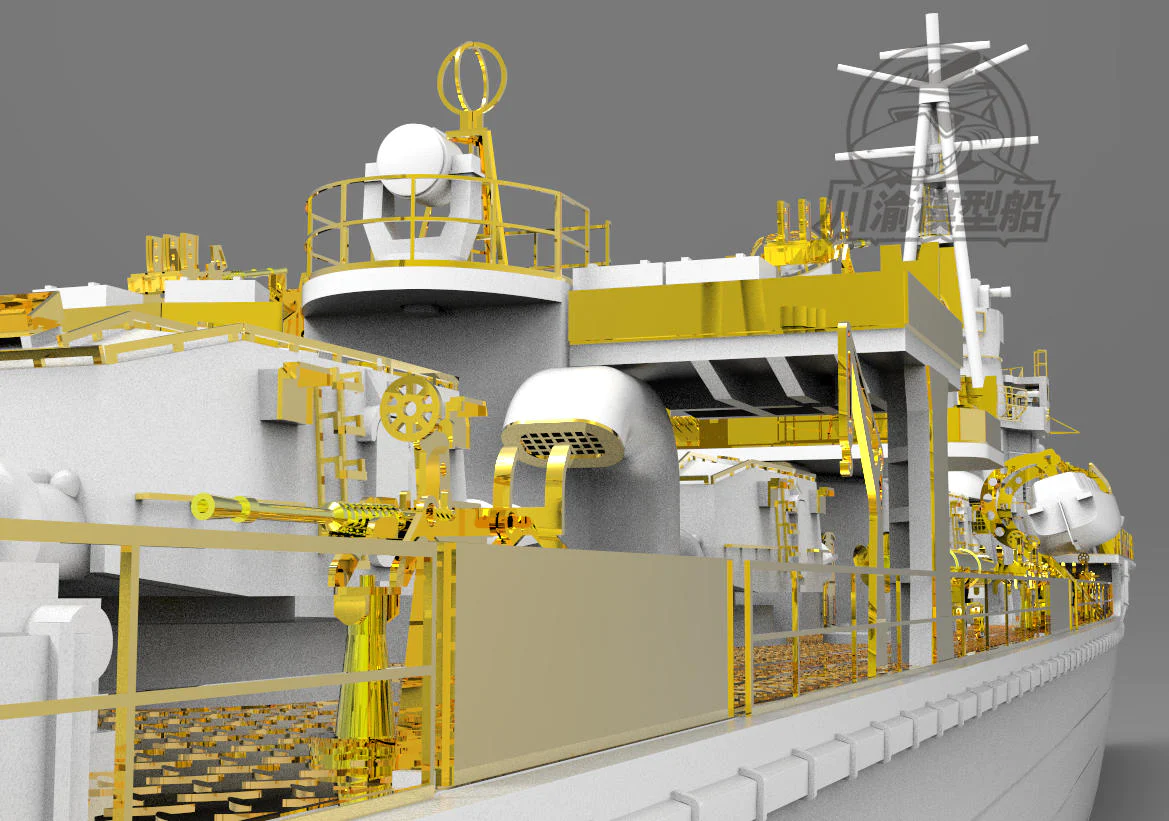
Very Easy to build Mike I think the build took me 4/6 weeks from start to finish that's fast for a ship.I now want you to feast your eyes upon this a company I have never heard of but provided the other part of the up-grade for the Scharnhorst.I think a destroyer 25" would be a Nice start to see if the kits are build able and to cut your teeth on. https://3d-wild.com/products/1-200-wwii-japanese-navy-shimakaze-destroyer-model-kit?pr_prod_strat=description&pr_rec_id=e0572105d&pr_rec_pid=6934498476085&pr_ref_pid=6947497115701&pr_seq=uniform
-
Yeah I was noticing Destroyer,Light Cruiser and Heavy Cruiser.........Then I have the Mogami in the stash with the 1/2 flight deck about 20/25 planes. A better listing for some reason Craig Norton/Google wants to block http://www.acaciahardwoods.net/