HOLIDAY DONATION DRIVE - SUPPORT MSW - DO YOUR PART TO KEEP THIS GREAT FORUM GOING! (Only 36 donations so far out of 49,000 members - C'mon guys!)
×


Javlin
-
Posts
1,681 -
Joined
-
Last visited
Content Type
Profiles
Forums
Gallery
Events
Everything posted by Javlin
-
I only used Eduard's copit PE kit Craig to much glass to not.
-
Yes they have Craig I have bought a few of their kits just for the fact good subject and "ICM"
-
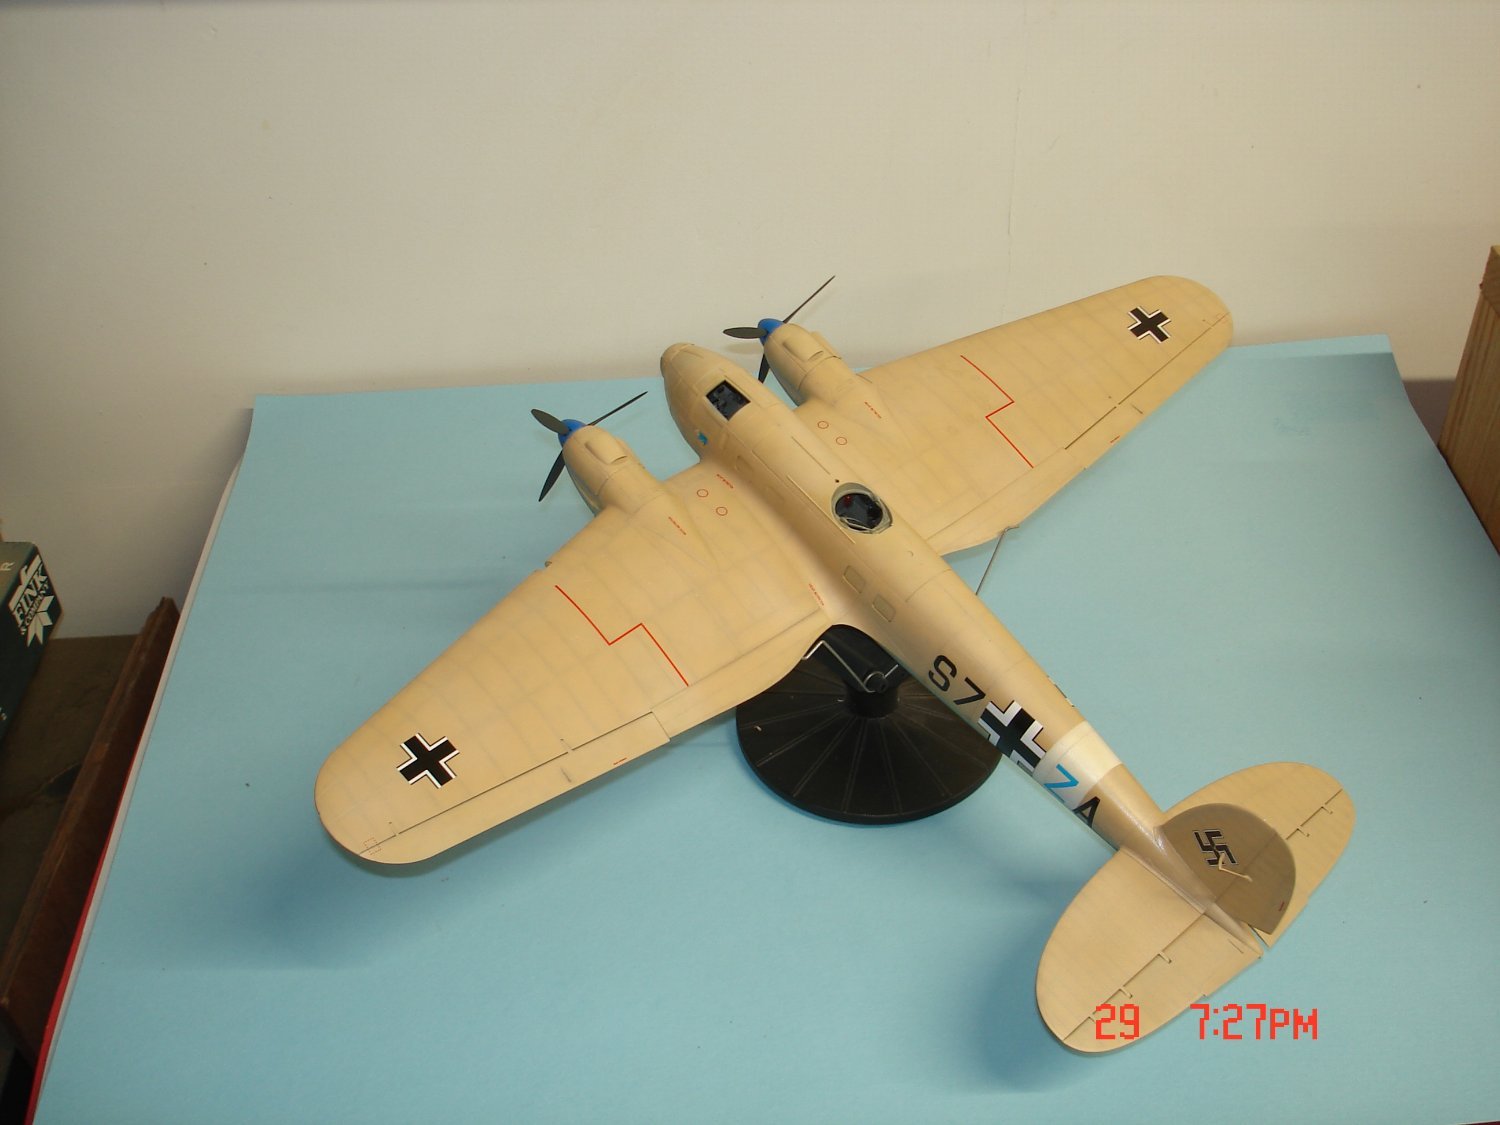
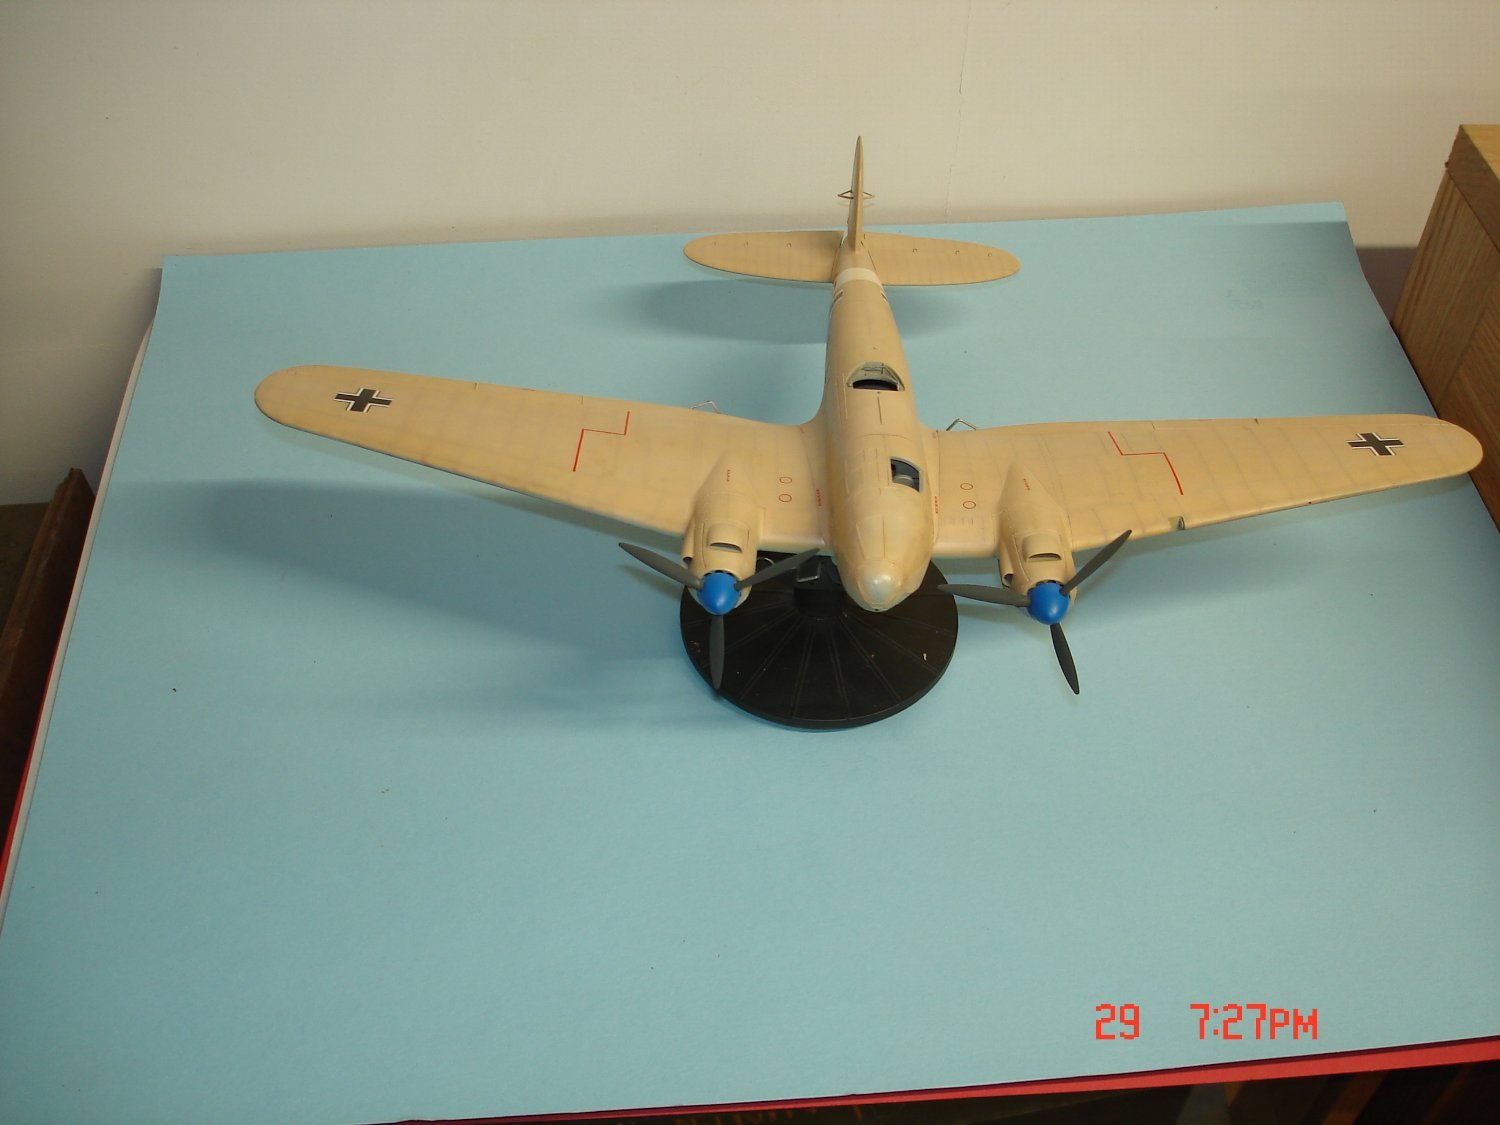
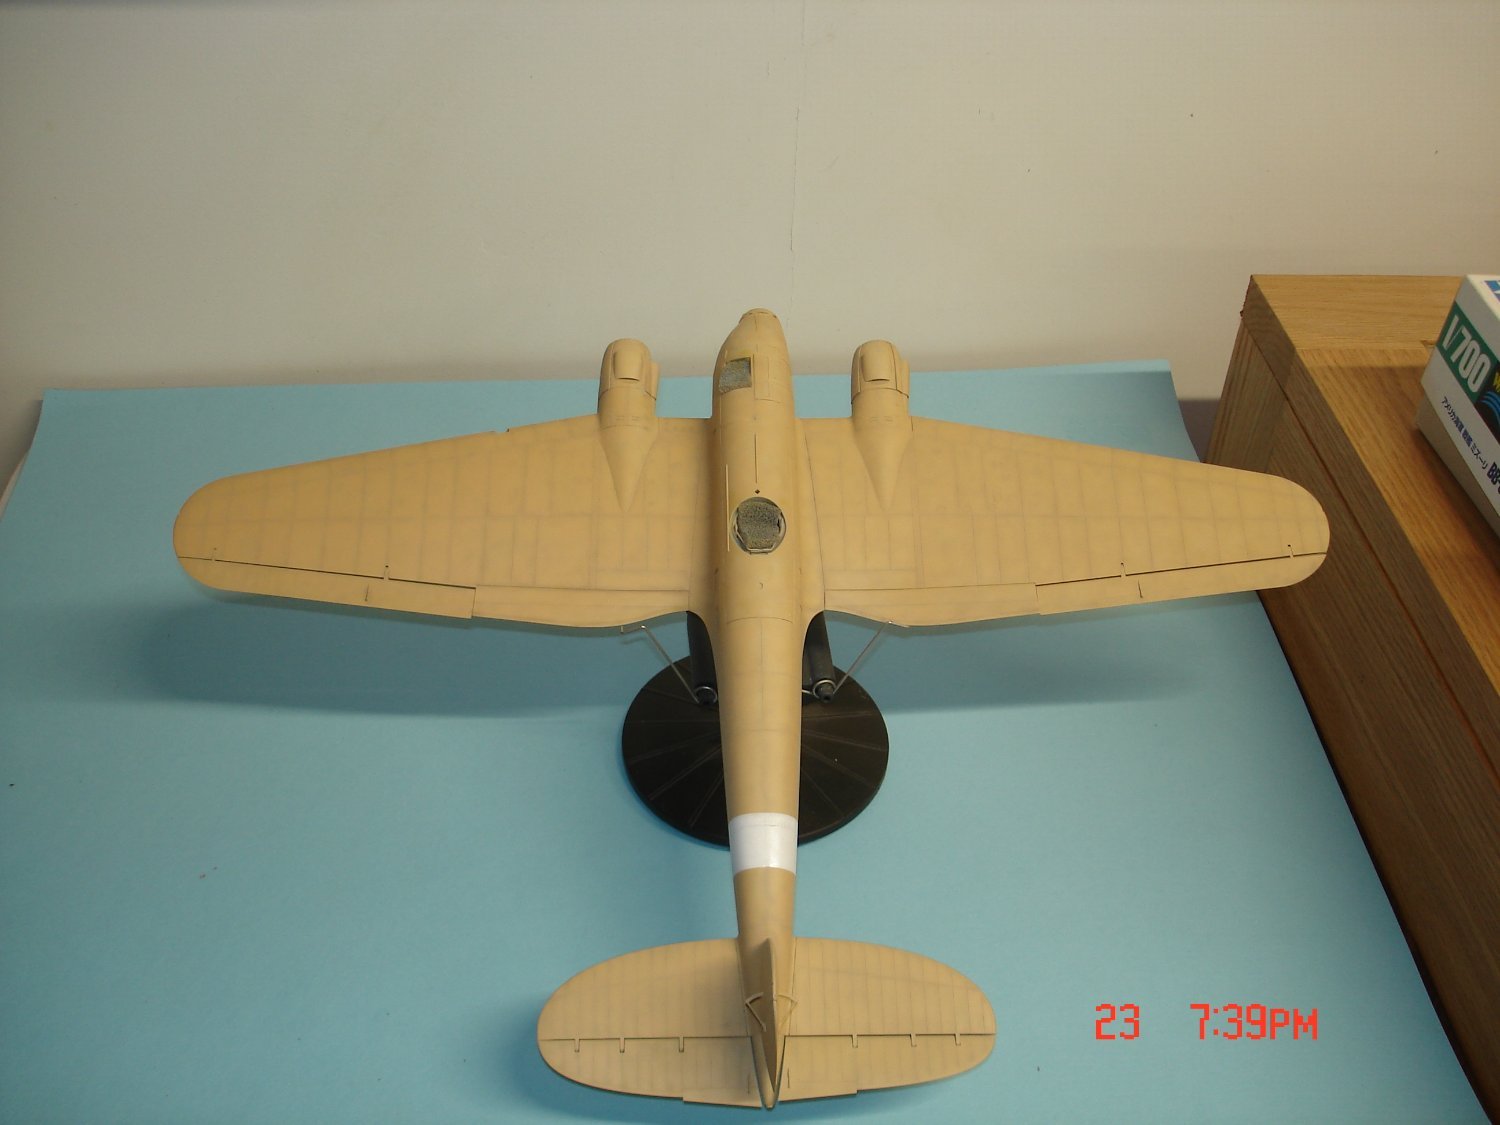
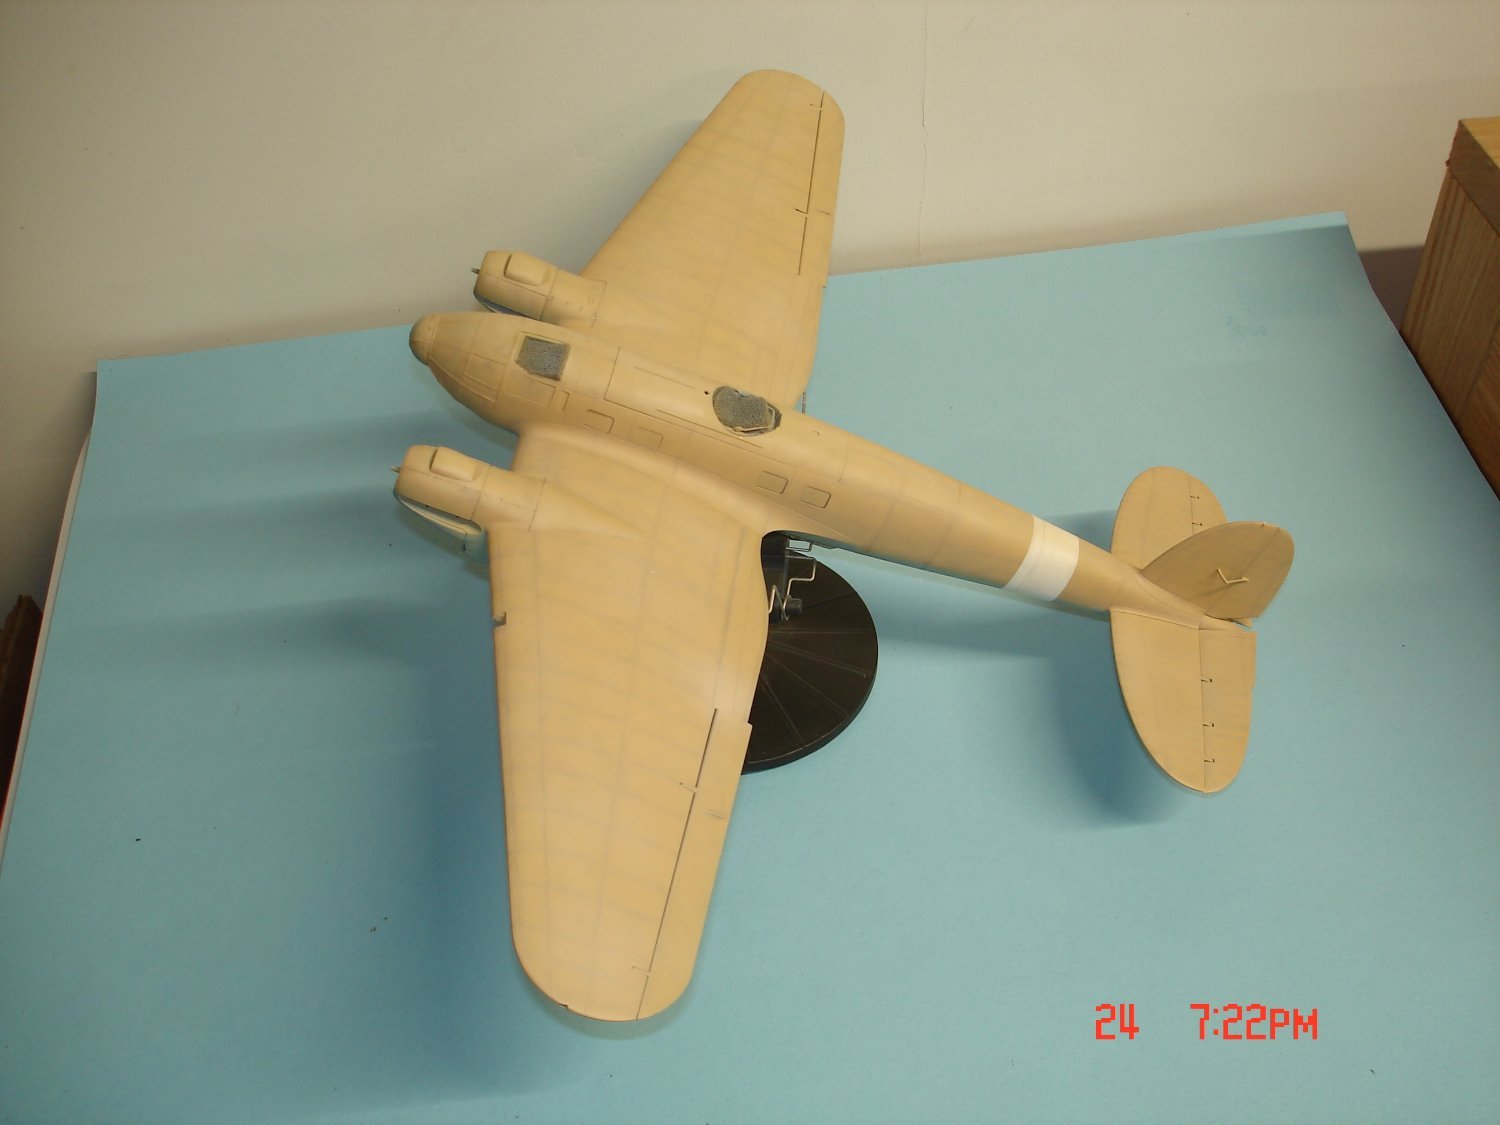
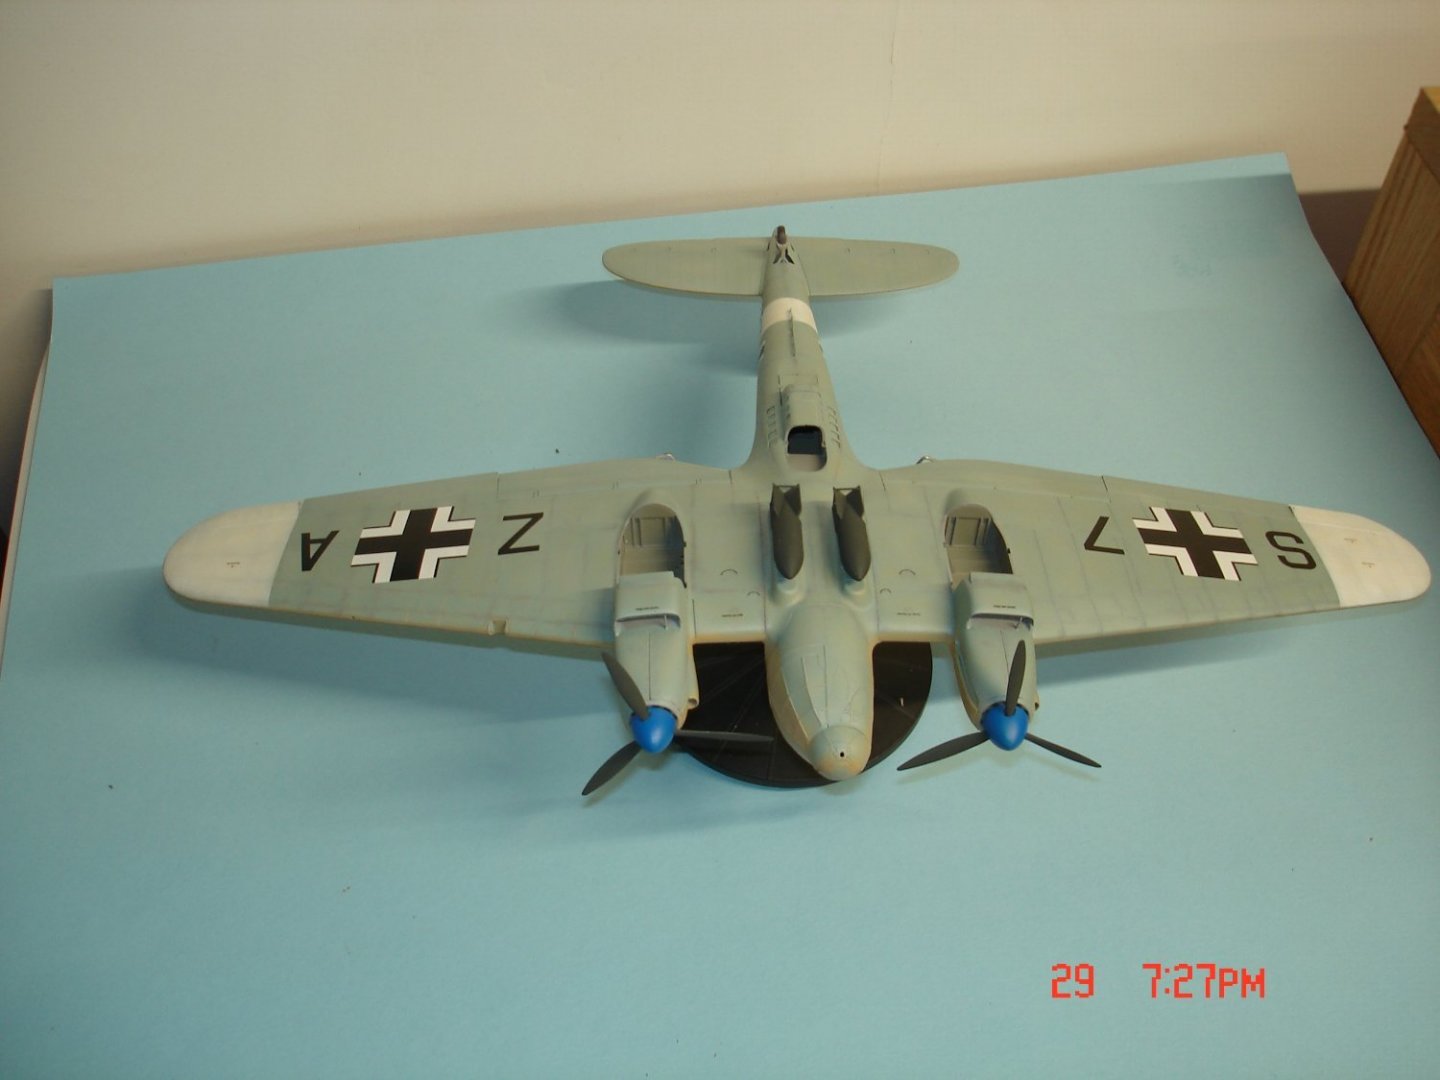
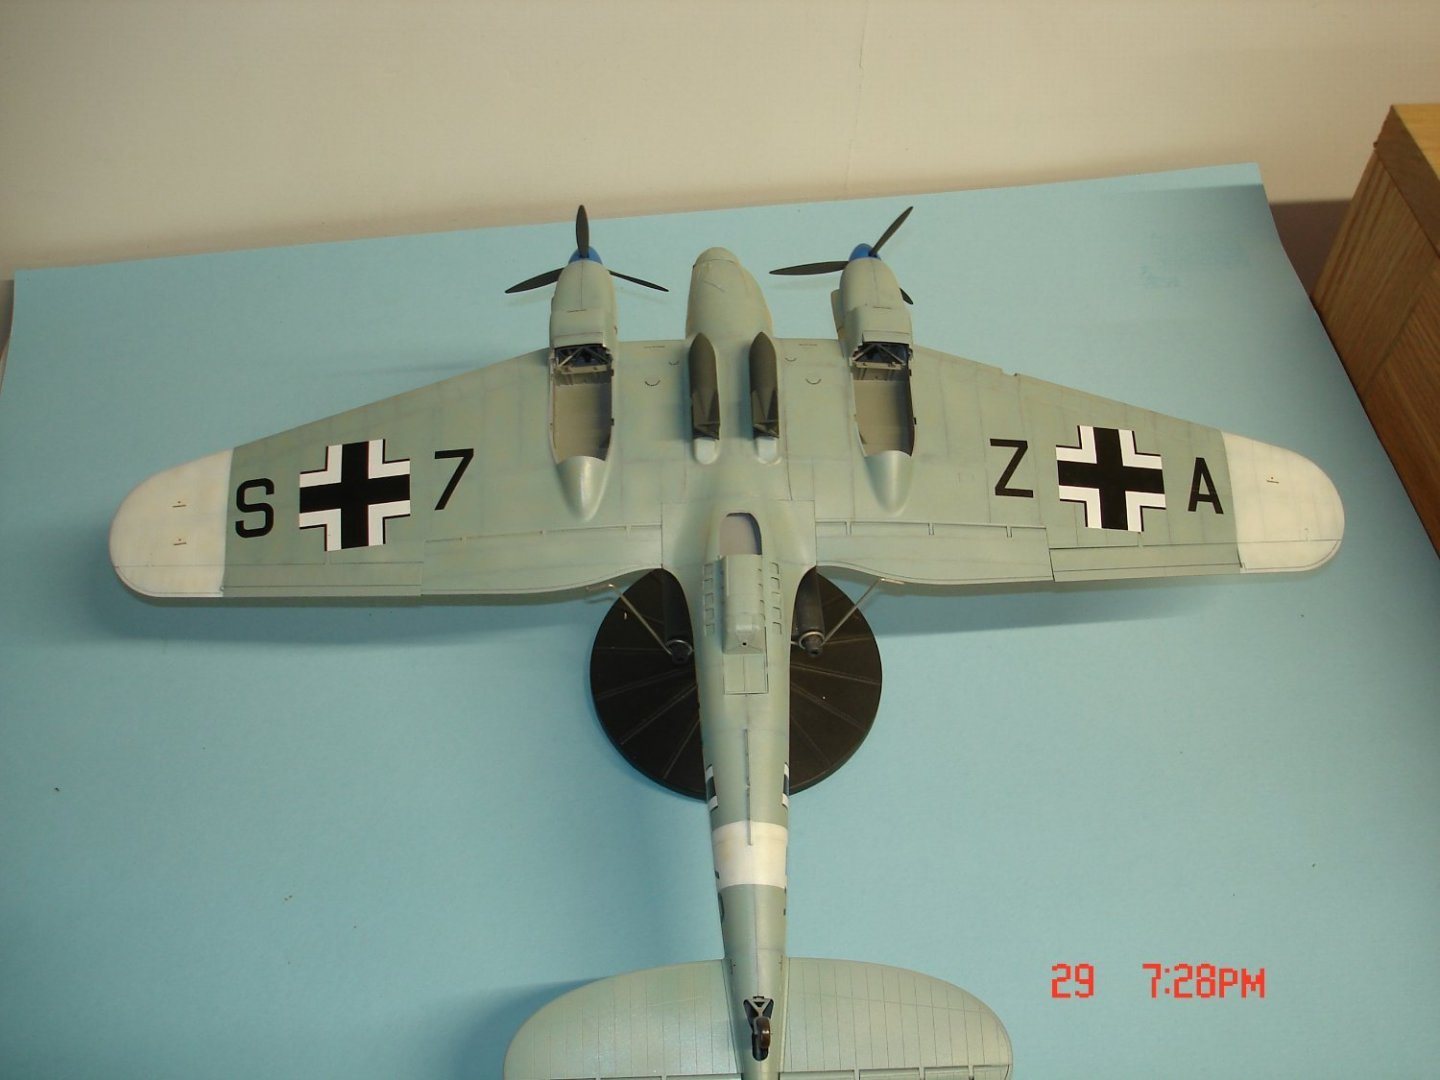
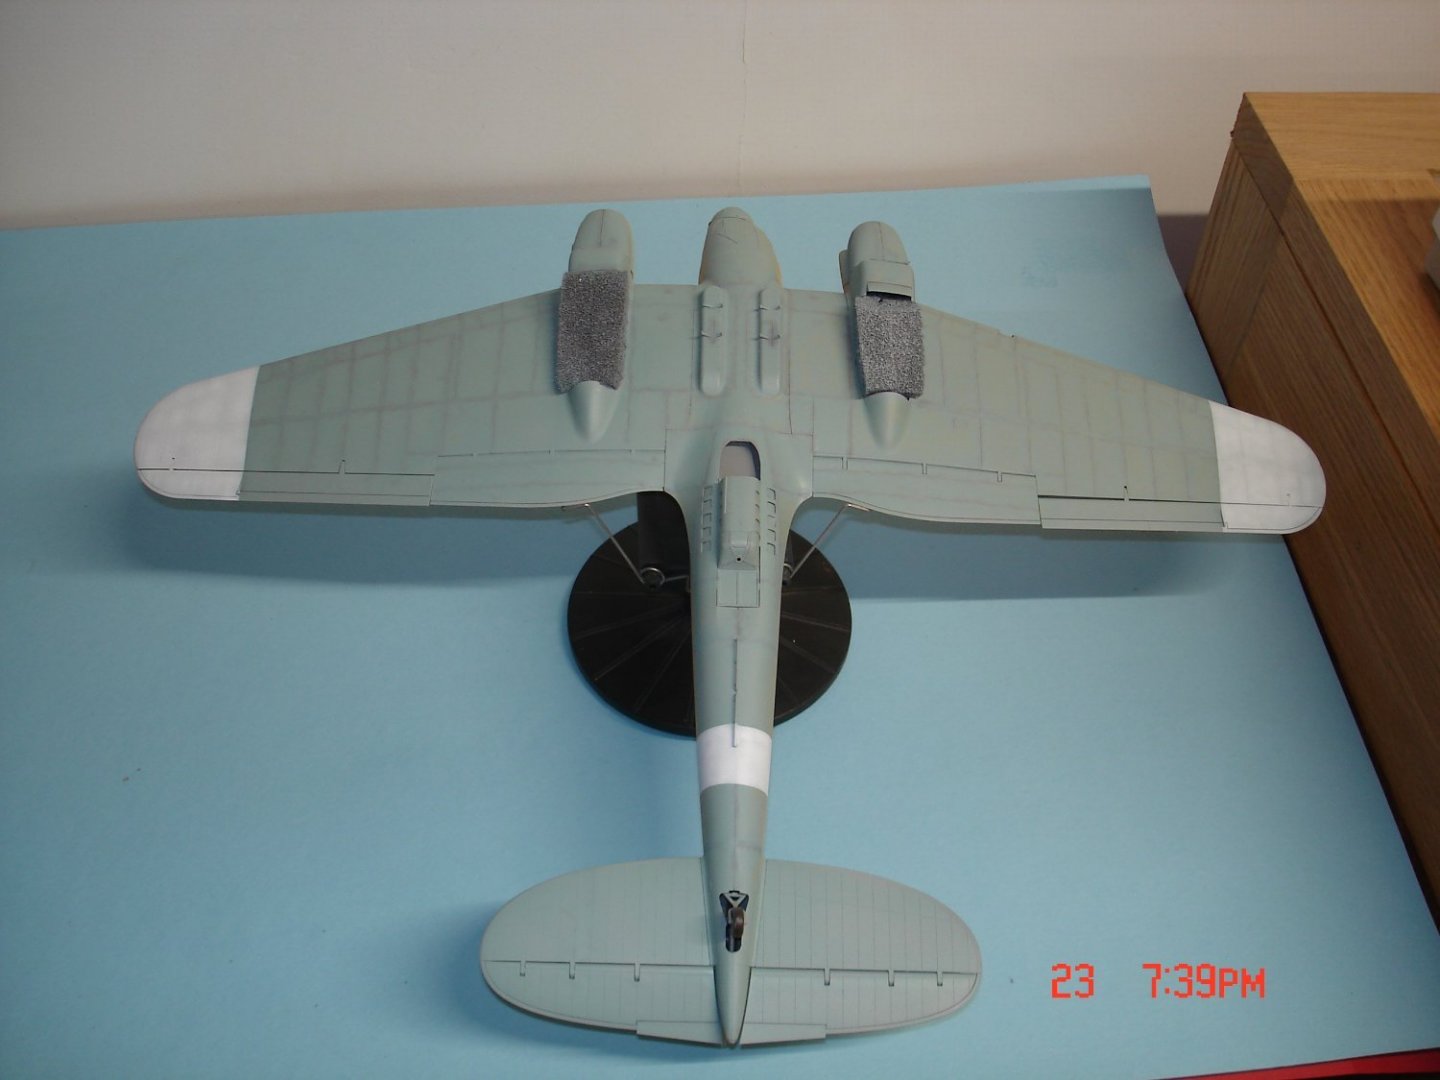
Decals have been applied I know we like thin but man some of these were just to thin I lost several.I have several mistakes in the paint all on the undersides 1) the white under the wings went one panel to far inboard.2) the white band on the tail is 1/16" to wide hint the "A" hit the white centering the "Z" and 3) the RLM 78 was to go much lower between the wing and tailplanes live and learn.I think when done 9 out of 10 people will never notice those mistakes so I march on.I made up the colors for the props,bombs and prop covers.

- 49 replies
-
- 14
-

-
Thks for the complement Dan I hope I do her justice.
-
Thks Ken the build has had it's learning curves in weathering for me liking it thus far. I don't know what it is about the Africa Campaign but it does interest me alot these days Chris,Marseille's crate is in the stash also. Thks Alan this one is a teacher we wait and see if the student can take it forward. Last coat of clear hit the plane this morning already decals soon.
-
F-86F-30 Sabre by Javlin - FINISHED - Kinetic - 1/32
Javlin replied to Javlin's topic in Non-ship/categorised builds
I figured I was getting close enough to the end to post Mark. -
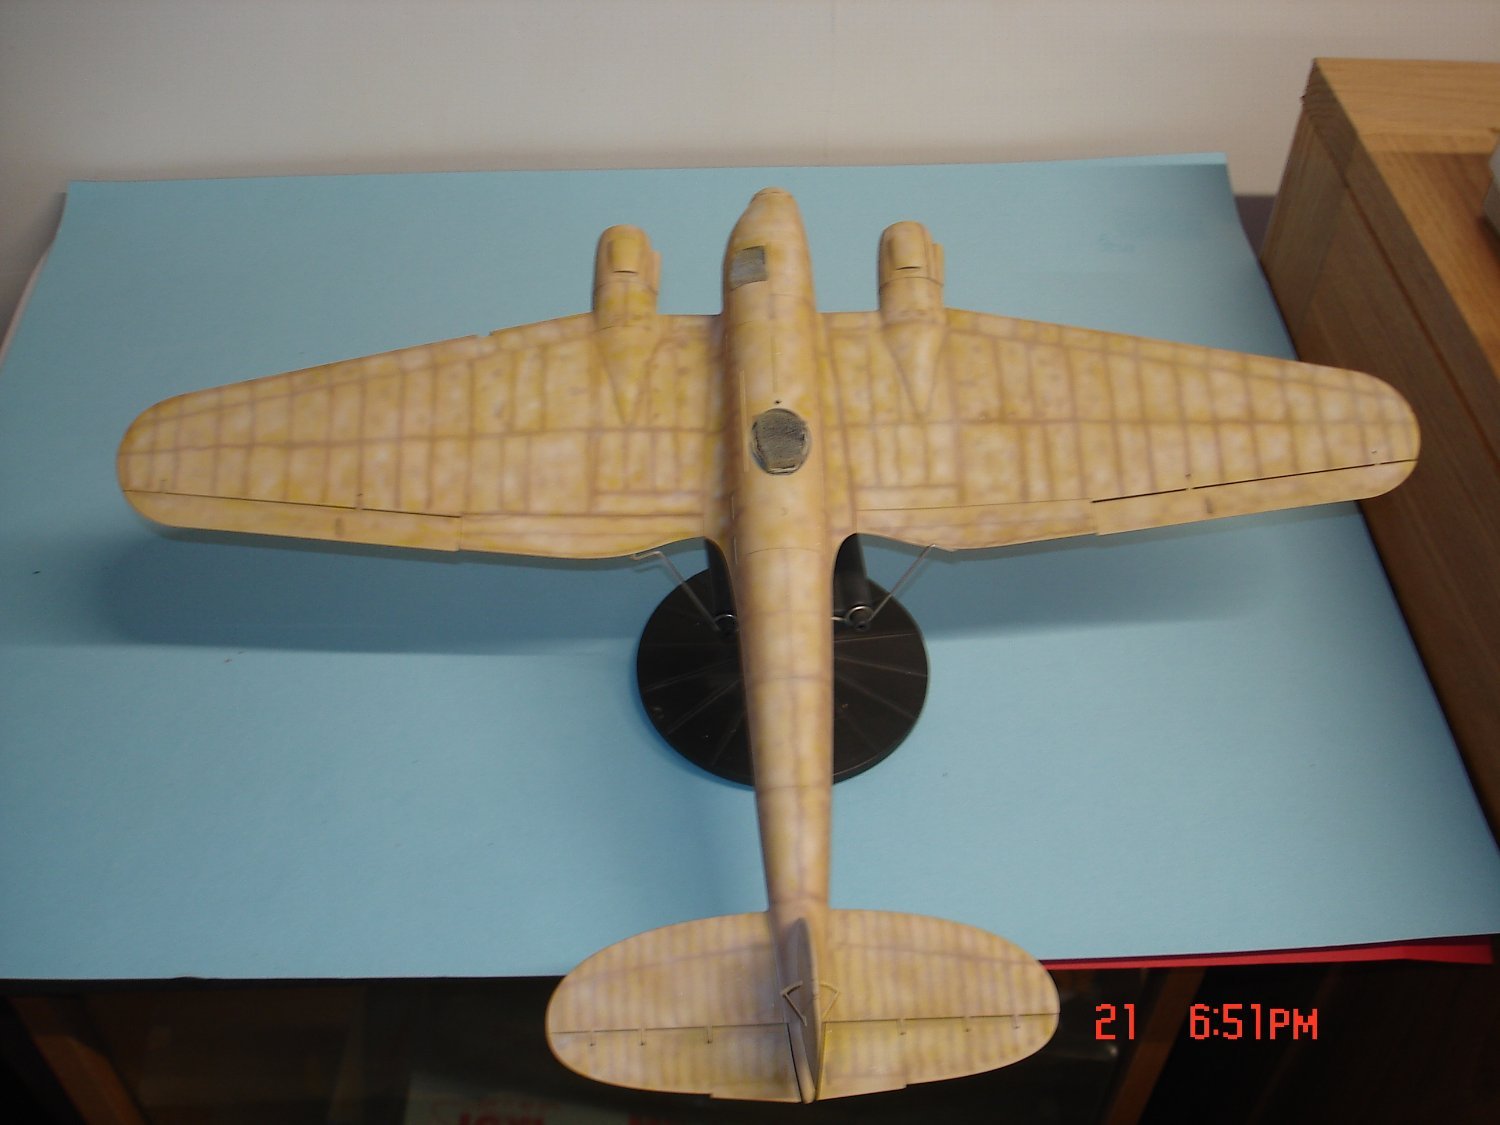
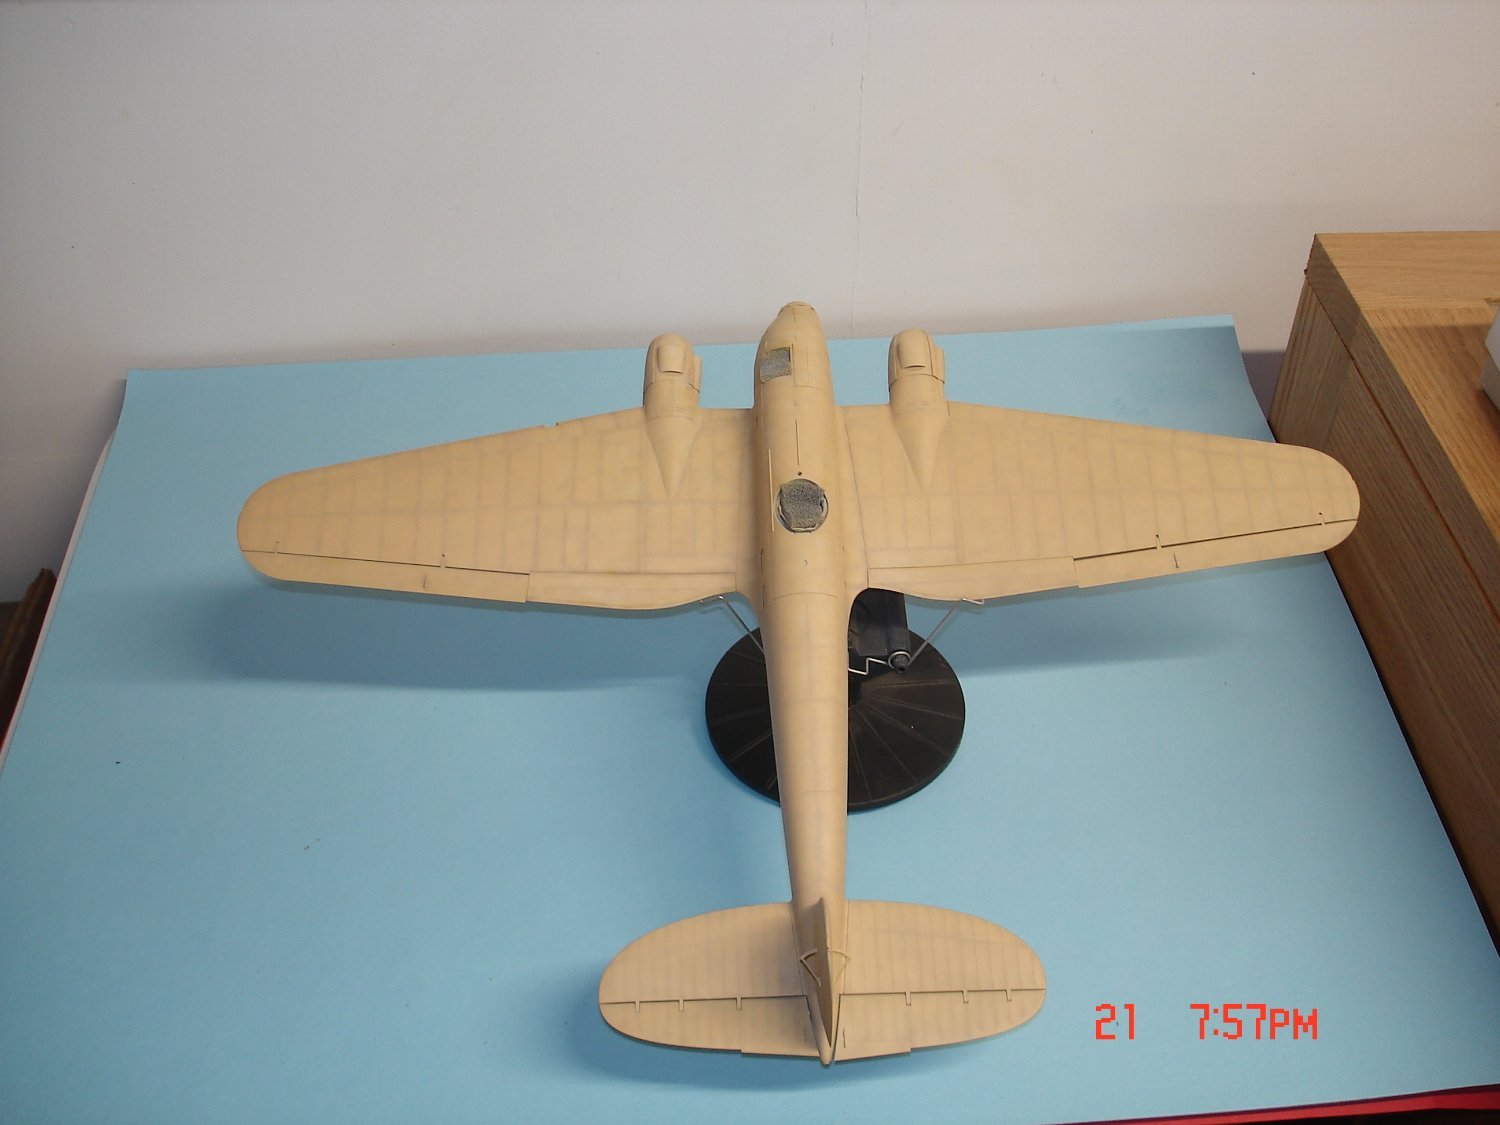
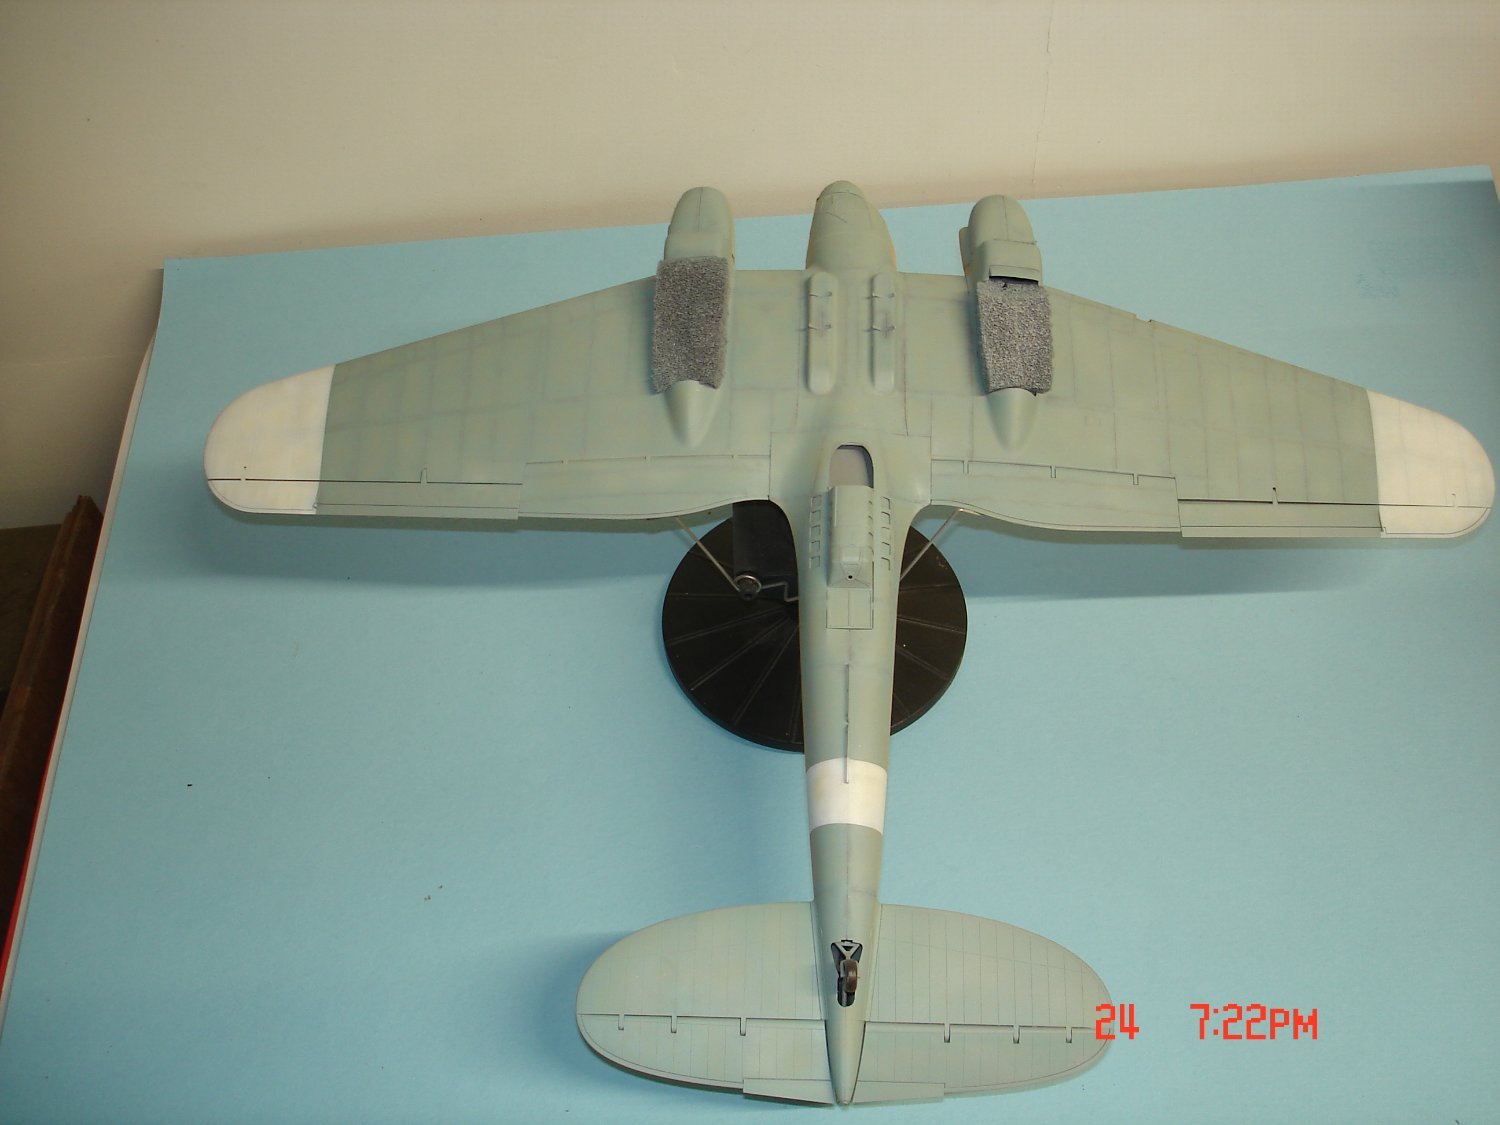
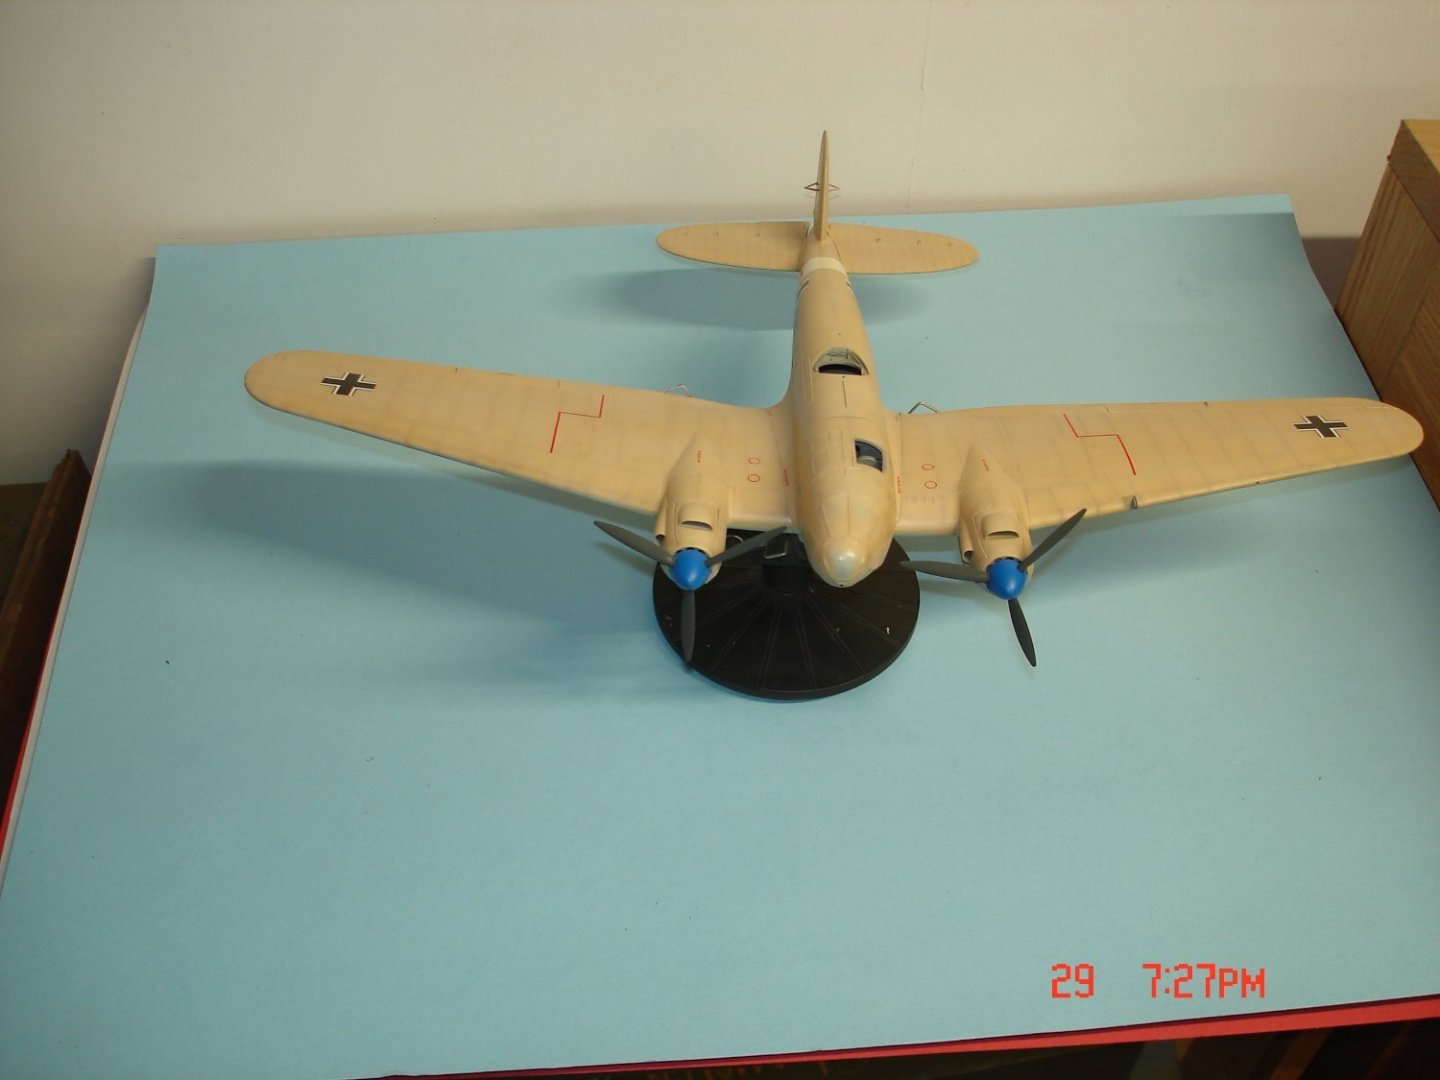
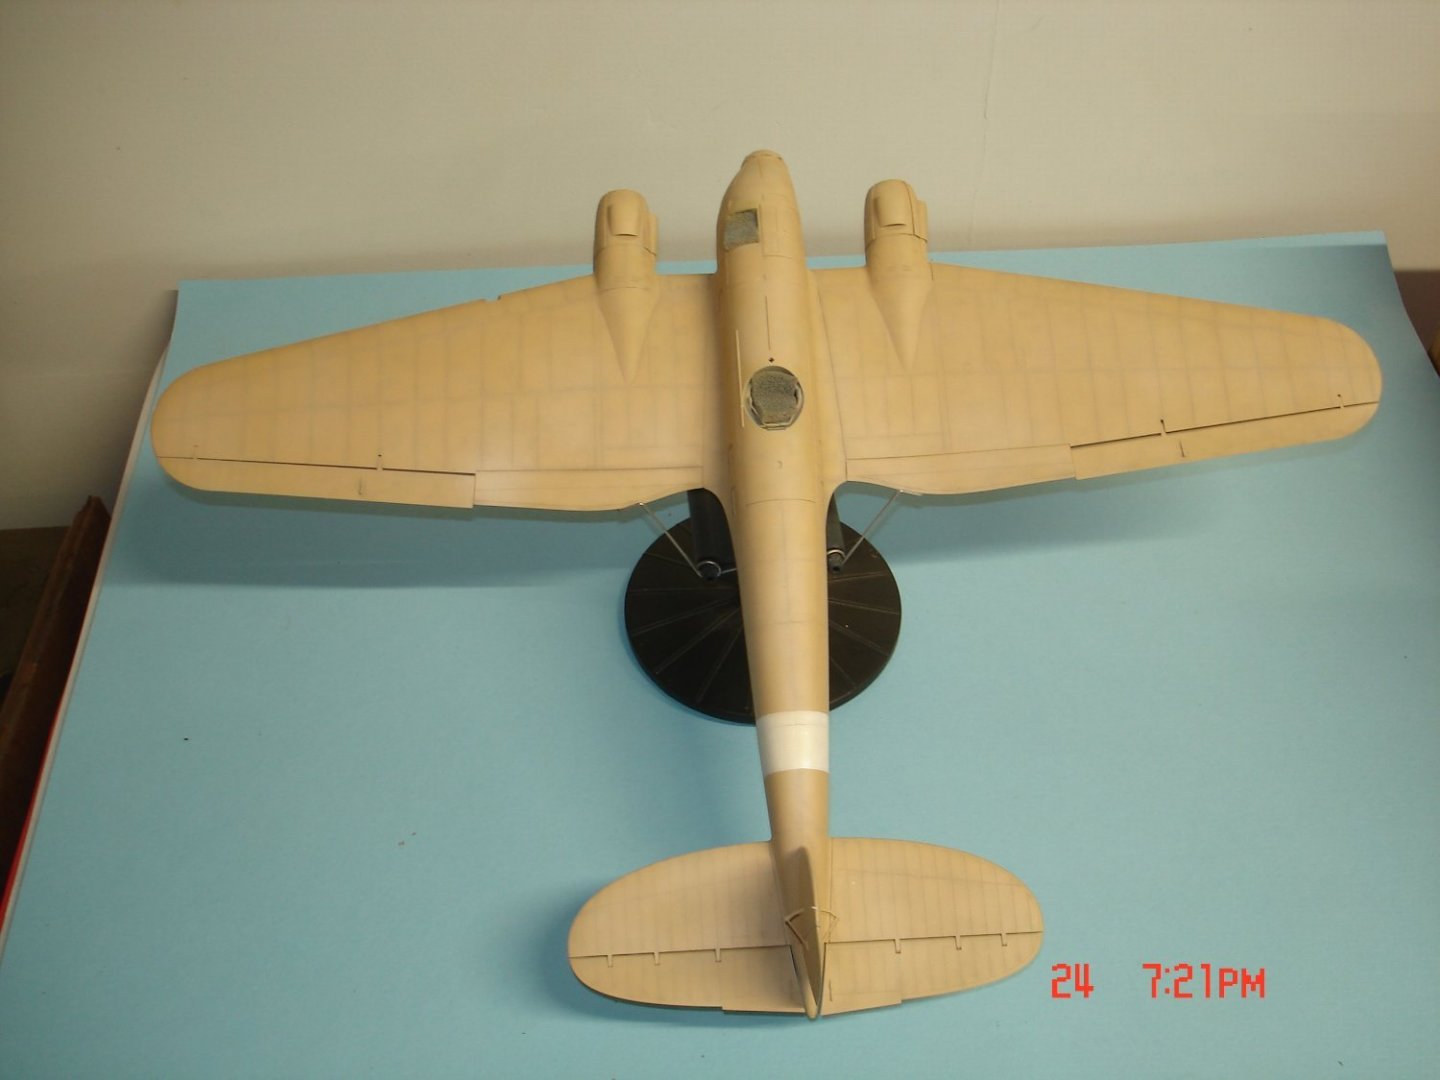
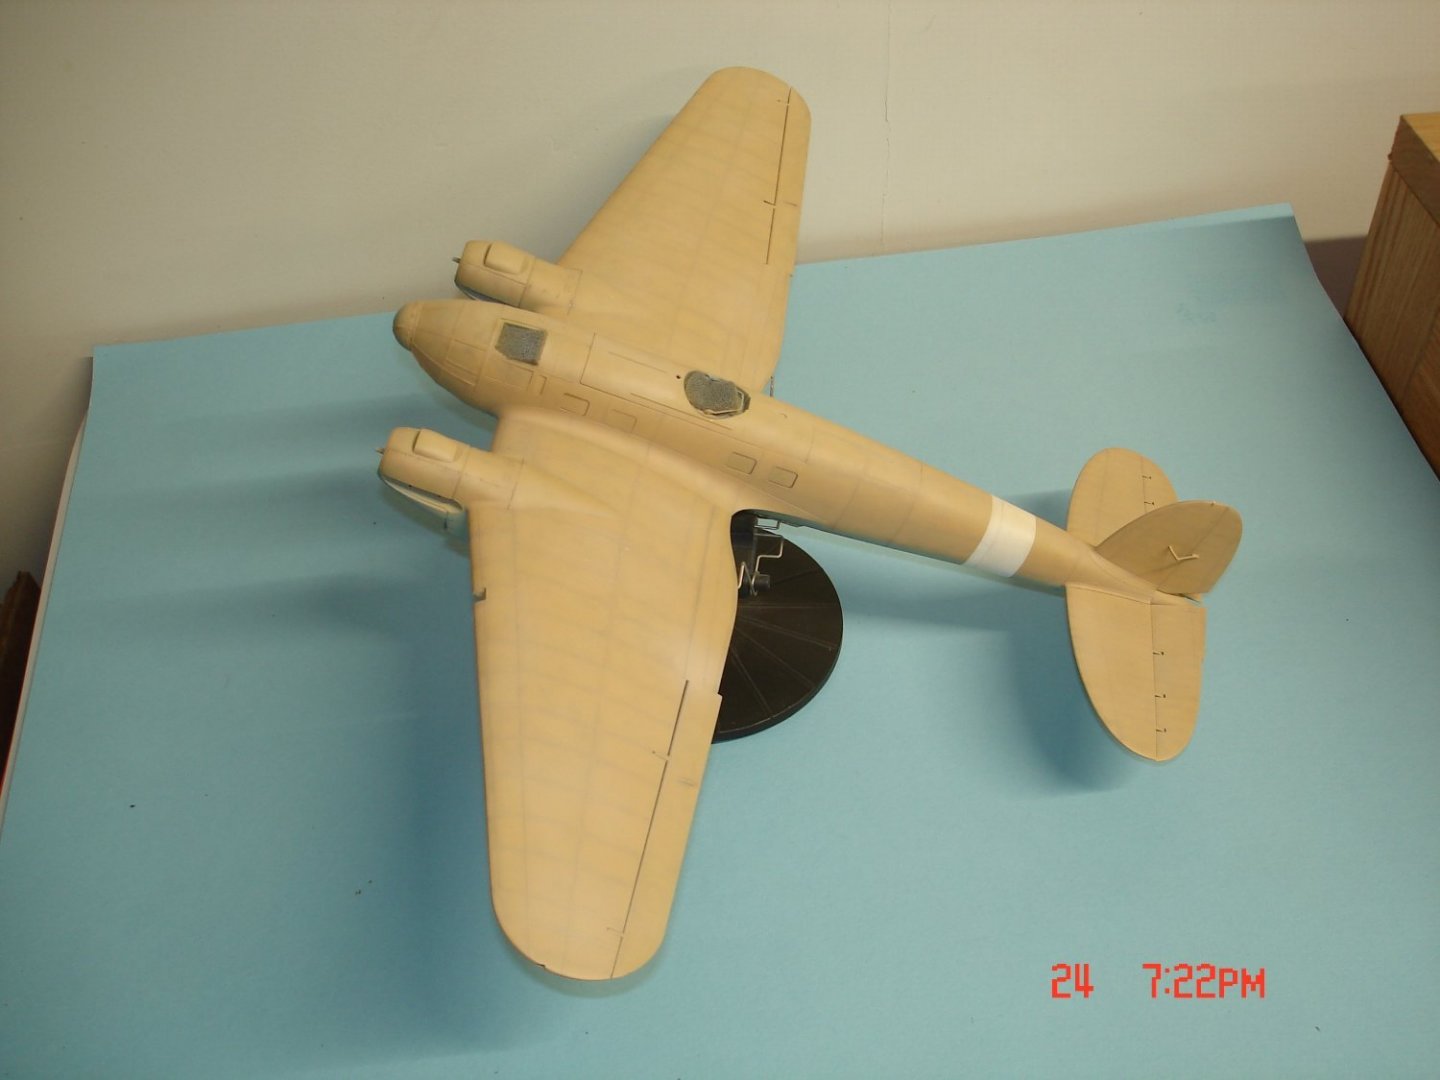
Now here is the progression on the shading I did not go black base on this typical Mr Surfacer 1200 was the laid and MM Africa 1942 Sand then the upper panel lines were done in MM Italian Sand.I then started inside of the panels with the Italian Sand(darkest) next came Yellow Zinc Chromate and on to white.I then came back over that with the 1942 slowly building it up I was still not happy with it pic2 so I laid down more #3.I started on the bottom with a med Grey for the panel lines and ever so lightly in a few panel started with the 1942 and went back over with RLM 78 you will notice in #4 R/wing has the dust and the L/wing needs more toning down.The toning down and dust came in #7 I like the effect.I then made a color of a lot of white 70% and 30%1942 almost pink I misted the wings up top and the spine of the fuselage a dust effect sun fade #5 did all the white also.I have the clear on it now and will do some more tomorrow before work and let dry good then decals and pastels


- 49 replies
-
- 17
-
-
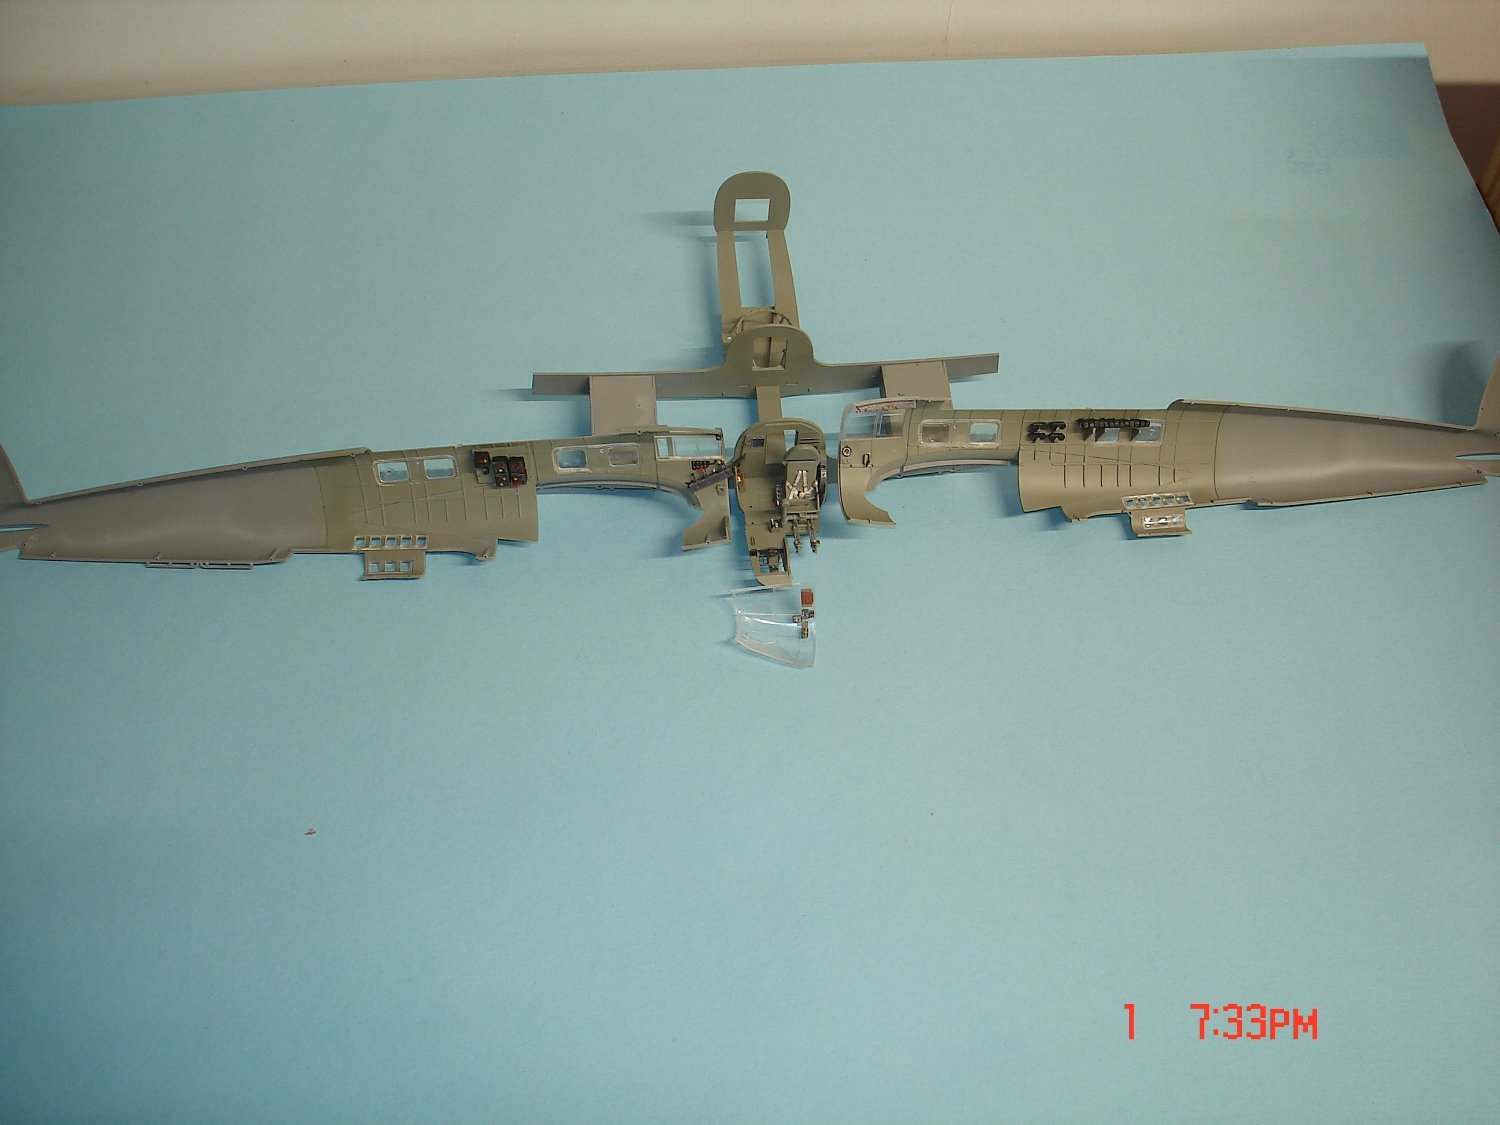
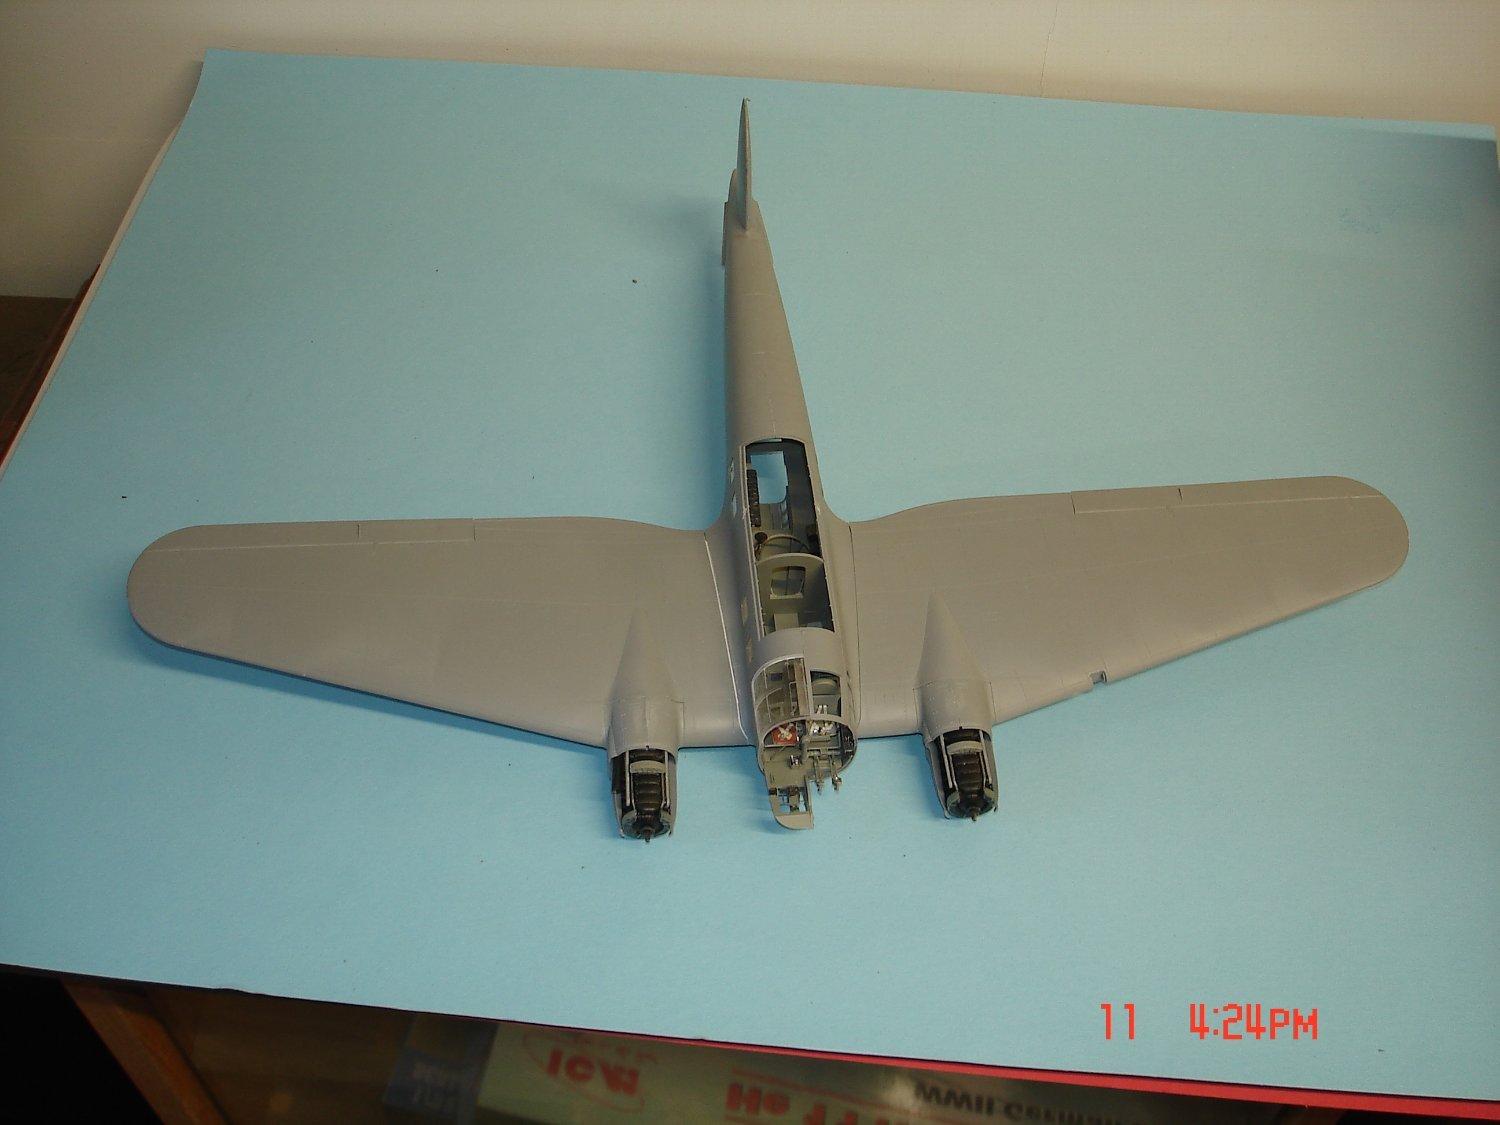
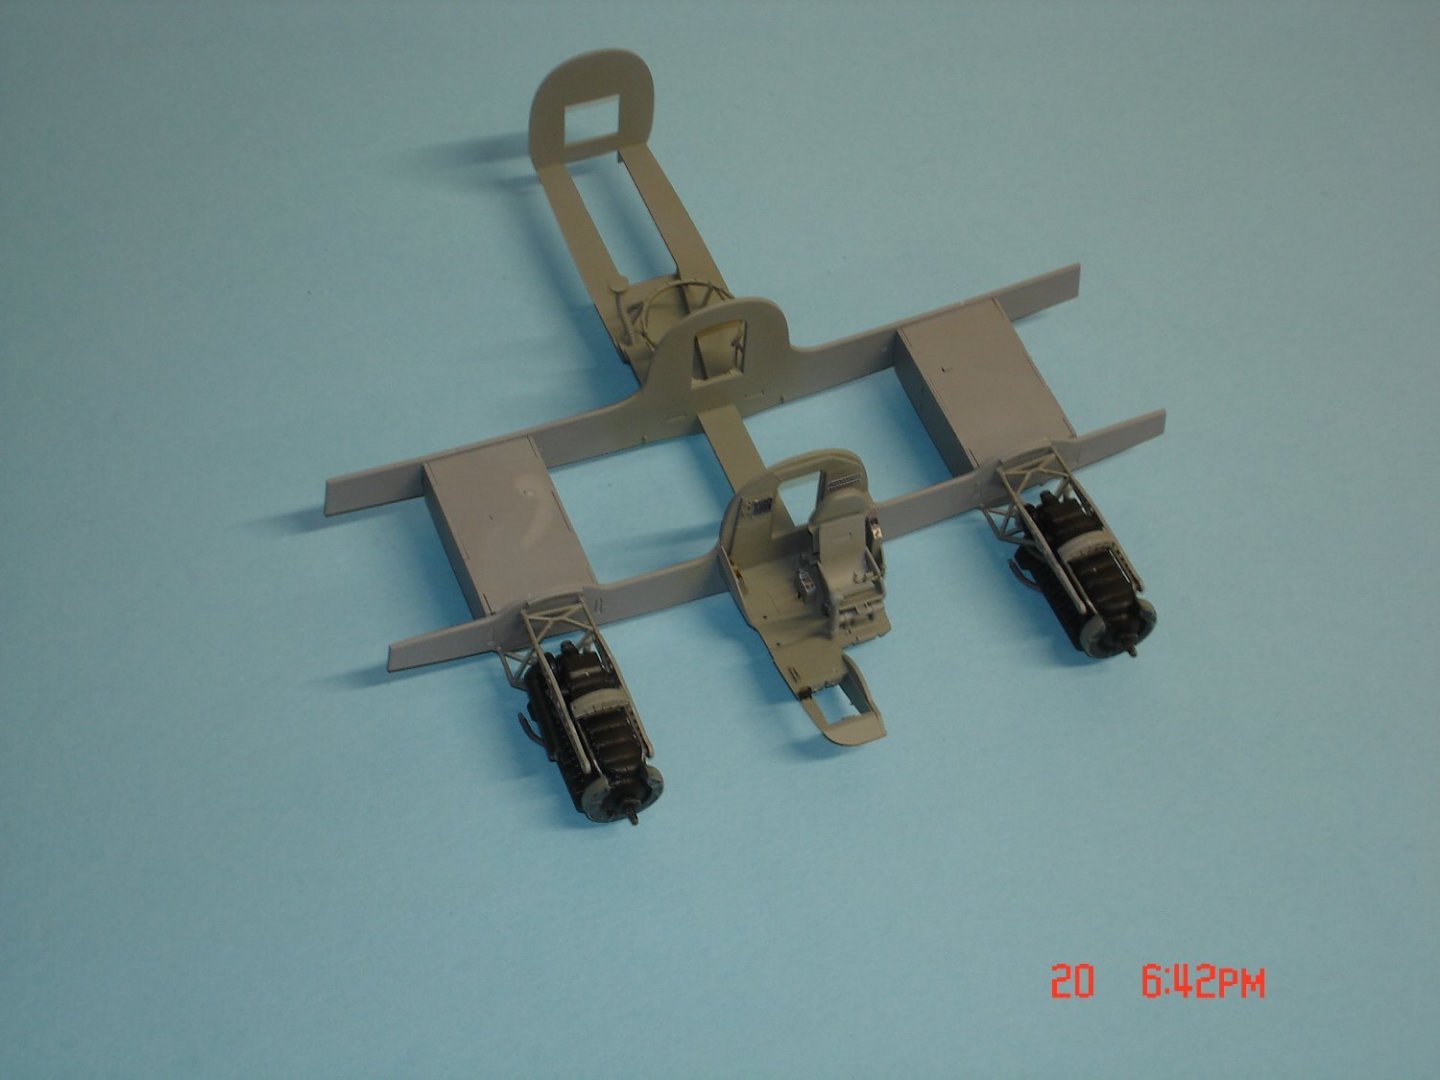
I have been at this for some time now made my share of mistakes not ICM's fault mine not paying attention still a great fit.I am just going to lay down some pics of the pit first Eduard PE was used inside that area.


- 49 replies
-
- 12
-
-
F-86F-30 Sabre by Javlin - FINISHED - Kinetic - 1/32
Javlin replied to Javlin's topic in Non-ship/categorised builds
Thanks Phil she was bear of sorts doing a 1/48 ICM He-111 H-6 Africa Corp right now she is coming out Nice thus far let's hope I don't muck it up. -
M3 Lee Tank by CDW - Miniart - 1:35 Scale - FINISHED
Javlin replied to CDW's topic in Non-ship/categorised builds
Coming along nicely Craig is the interior white on the Lee I know this is primer but the Germans liked a white of sorts I guess for reflection?I have the Miniart 1/32 French Helo .- 99 replies
-
- 10
-
-
Mitsubishi A6M2b by CDW - Tamiya - 1:72 scale - Finished
Javlin replied to CDW's topic in Non-ship/categorised builds
Me the same just an assembler. -
It's called a torch
-
Mitsubishi A6M2b by CDW - Tamiya - 1:72 scale - Finished
Javlin replied to CDW's topic in Non-ship/categorised builds
Craig a fella I know from Aussie who I would say is an expert on the PTO and Japanese a/c and docked me on a GB for to light of a shade of grey(correct) and not enough sheen(correct).I think you have both Sir,Nice Work! -
Mitsubishi A6M2b by CDW - Tamiya - 1:72 scale - Finished
Javlin replied to CDW's topic in Non-ship/categorised builds
I am liking it Craig esp. that black on the cowling looks just a touch of grey? -
Looking good Chris been seeing so many HellCats and F4F's lately it's trying to make me bite.
-
Kevin that came out Quite Nice Sir!!but dogs do not pull coaches(a pic) you need some horses.
-
John that is looking Very Nice from this end.I kept looking at the wood going "what is it?" thinking a mahogany mainly Sapele could be?
-
Just going through some of your ole builds she came out Nice Craig got this one in the stash.I am about to embark on some WWI builds once I finish the ICM He-111 on a GB on another site.
-
Mitsubishi A6M2b by CDW - Tamiya - 1:72 scale - Finished
Javlin replied to CDW's topic in Non-ship/categorised builds
Craig I have been seeing more of that technique showing up on YT builds.I like the technique over just doing pre-shading of panel lines breaks up the color ever so slightly.I like the effect you accomplished in 1/72 it would seem as one moves of in scale more you can play. -
OC that field /hedge look well the part Sir.
-
Well Mike it's hard to say a full white but it's real close look at how the forward gun projects itself on the building.Then their is a building behind the center of the ship a couple hundred yards looks white.I think if you go for this pic as your driving force for the build white with a touch of grey better yet find some other pics of peace time no matter the ship as long as Japanese Navy.
-
I like to run that stuff through my bandsaw quick and effective!So what's the length on this ship in real life Mike?What glue are you using to attach the rails and doors?
-
Mike I missed this one lovely details and the deck is gorgeous bud!!So what's going on with the build now rigging is not to be feared with something like EZ-line.Looking forward to the final dio.
-
OOOHH the stash is growing Mikee I seem to remember a conversation about Momma? Nice Build