DONATION DRIVE - SUPPORT MSW - DO YOUR PART TO KEEP THIS GREAT FORUM GOING!
×


Javlin
-
Posts
1,681 -
Joined
-
Last visited
Content Type
Profiles
Forums
Gallery
Events
Everything posted by Javlin
-
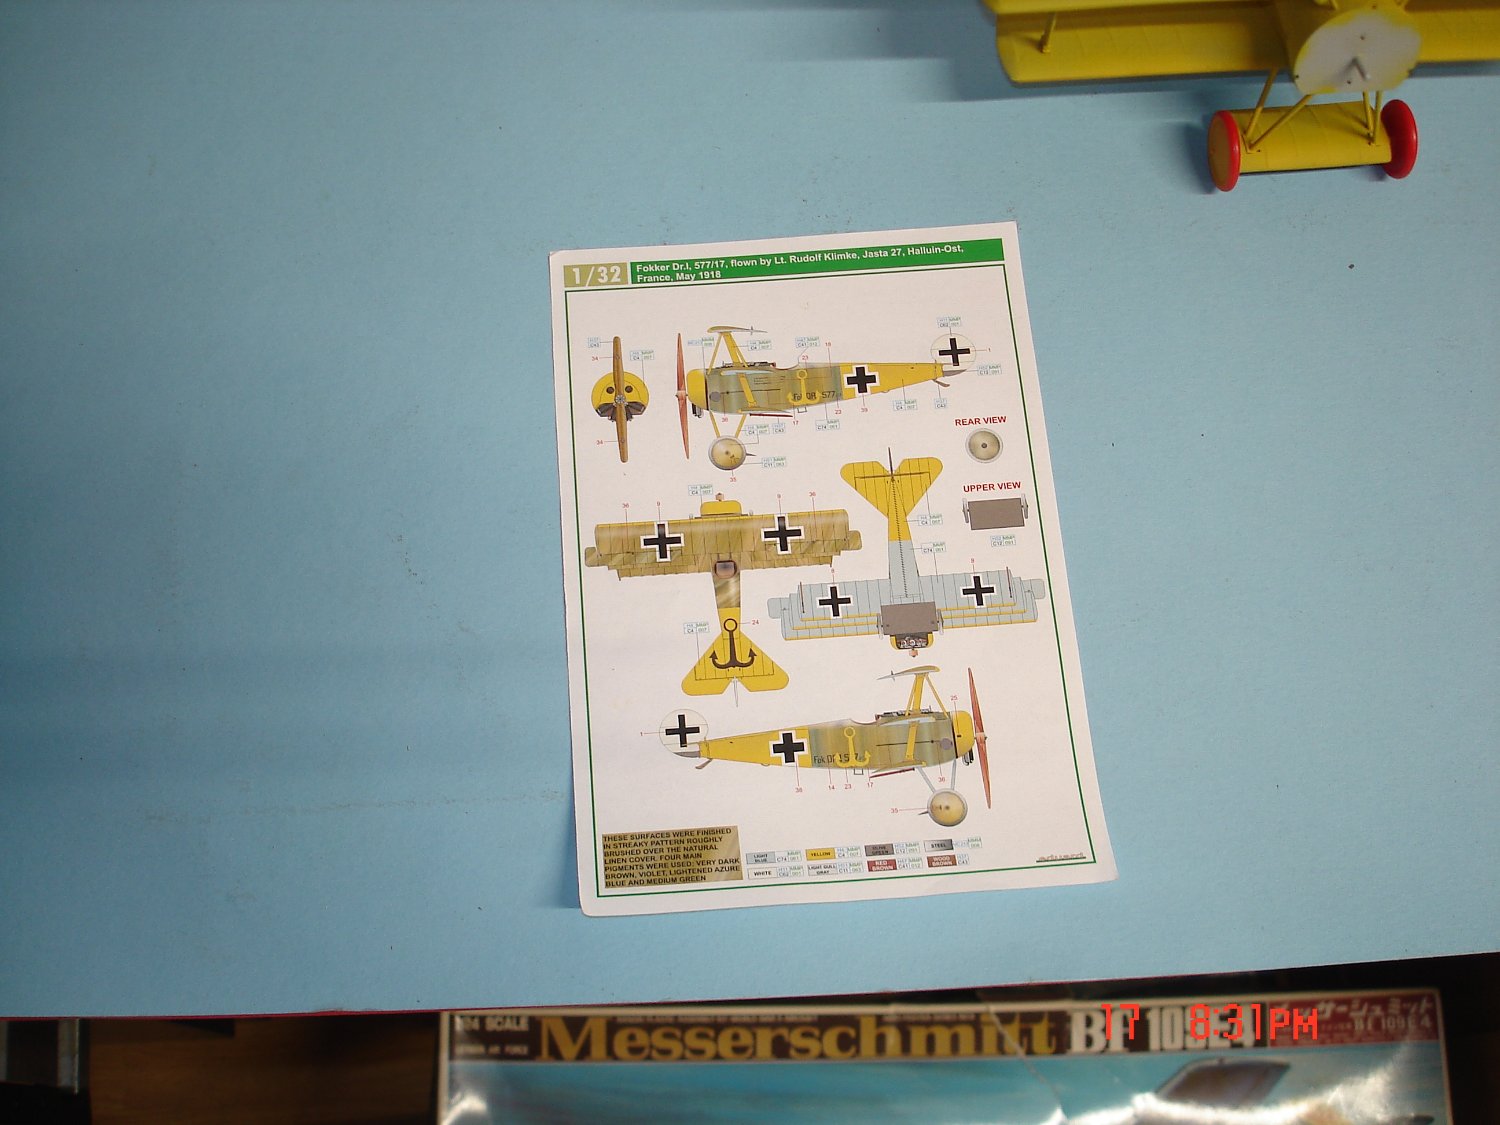
Fokker Dr1 by Javlin - FINISHED - Revell - 1/28 - PLASTIC
Javlin replied to Javlin's topic in Non-ship/categorised builds
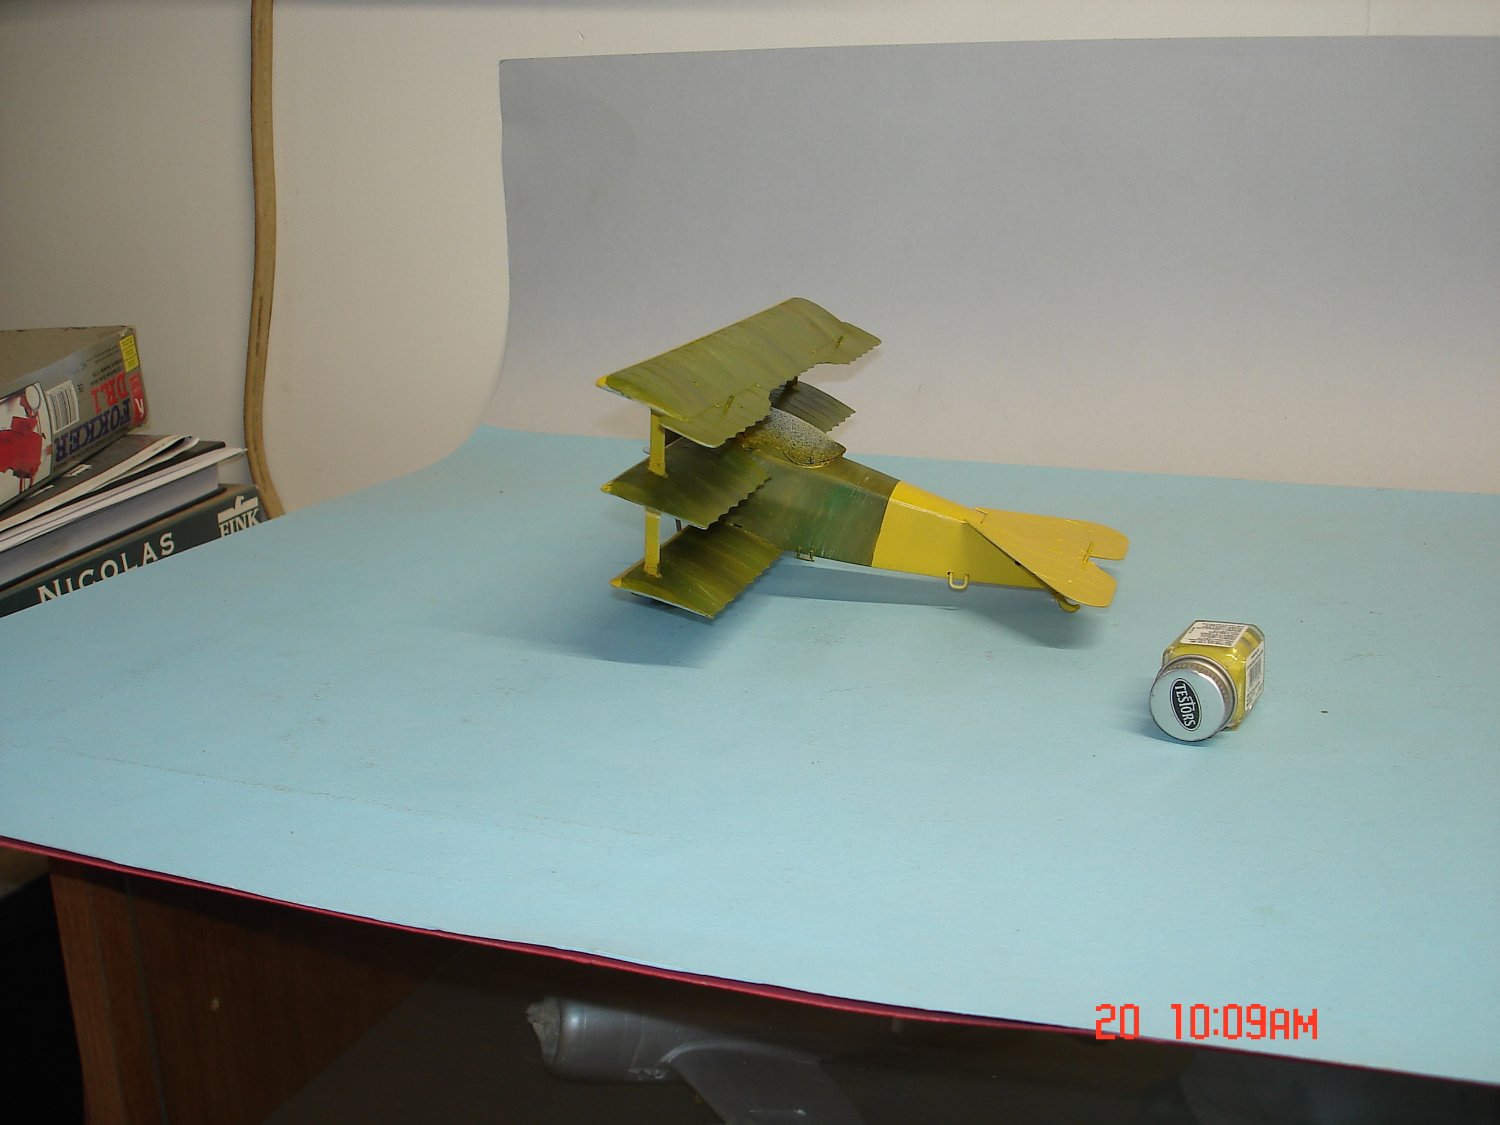
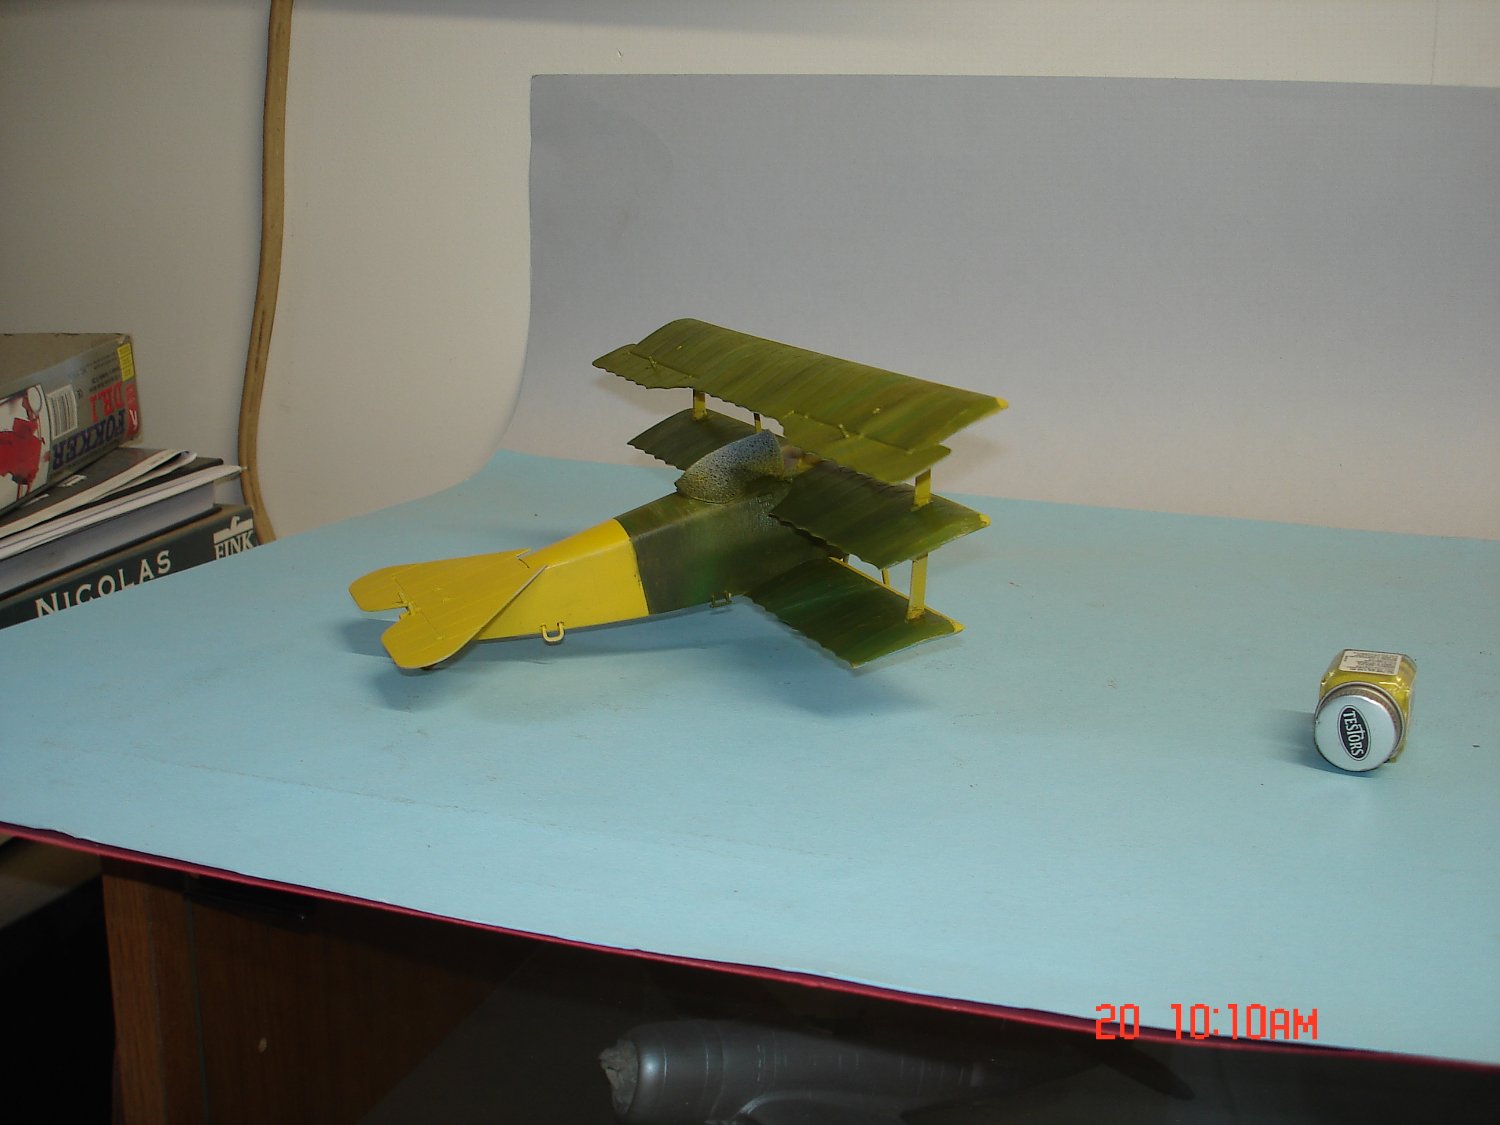
Thanks Dan this kit almost hit the trash can some time back been at it for 3/5 months now.I had already bought the decals and I am waiting for a GB to start on another forum and decided to give it another go.The idea is as you stated to lend itself to that impression and think once rigged and decaled it will look the part methinks. Got some touch-ups but not much.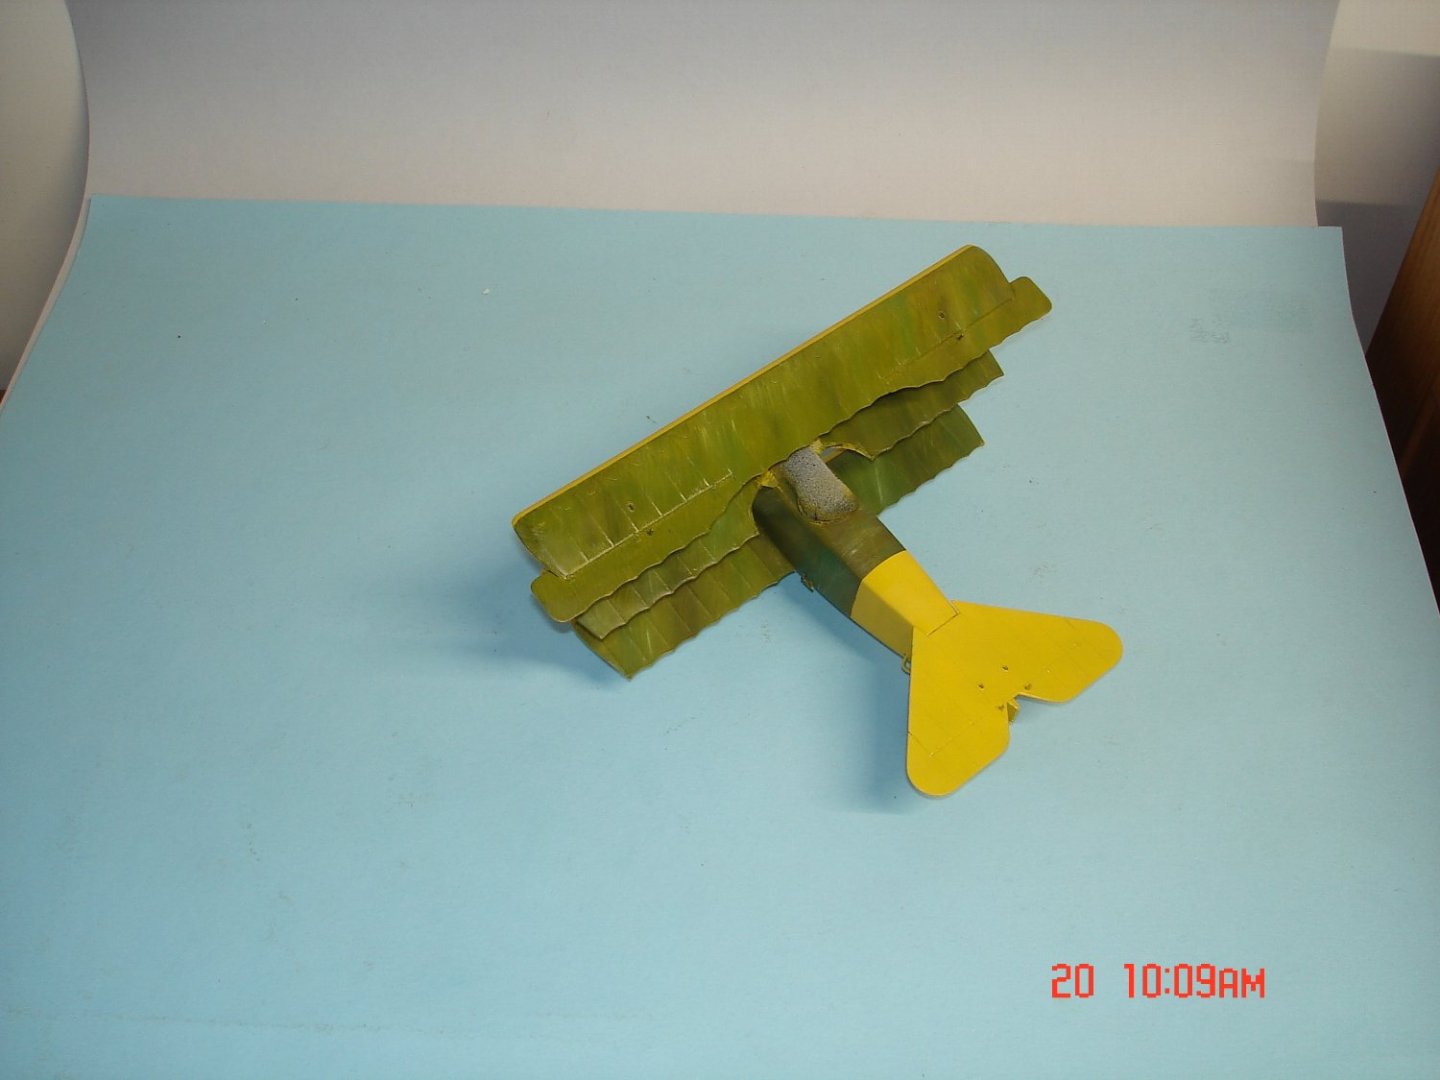


- 24 replies
-
- 13
-

-
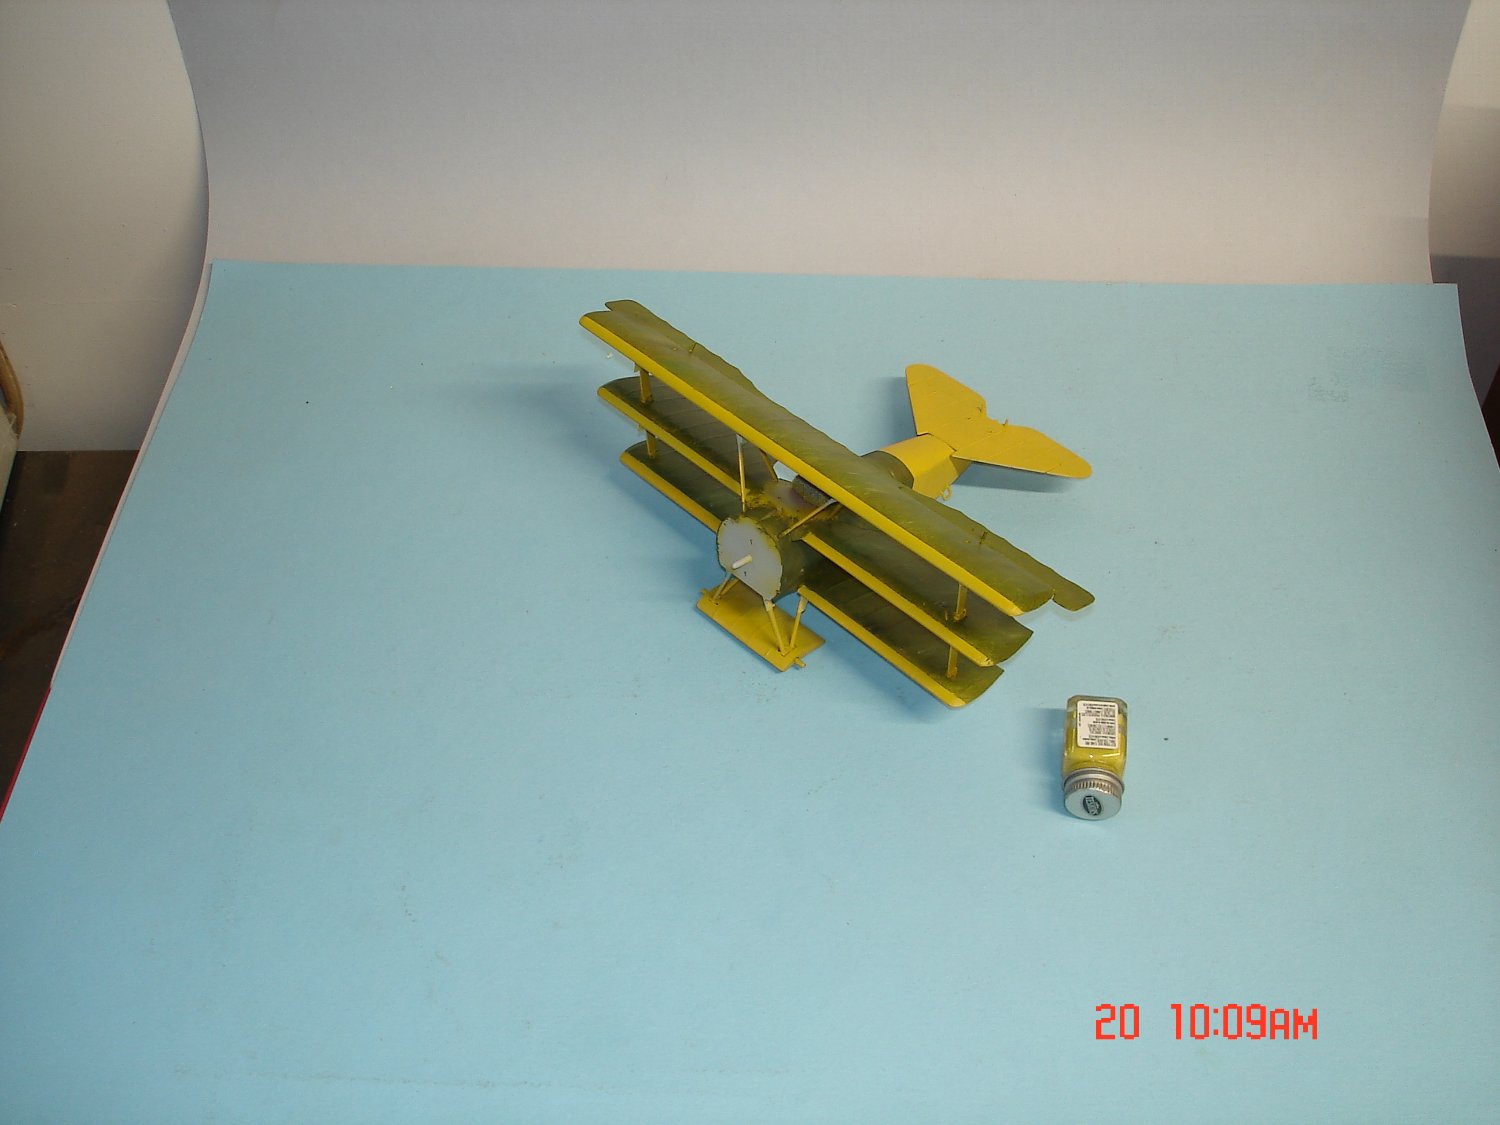
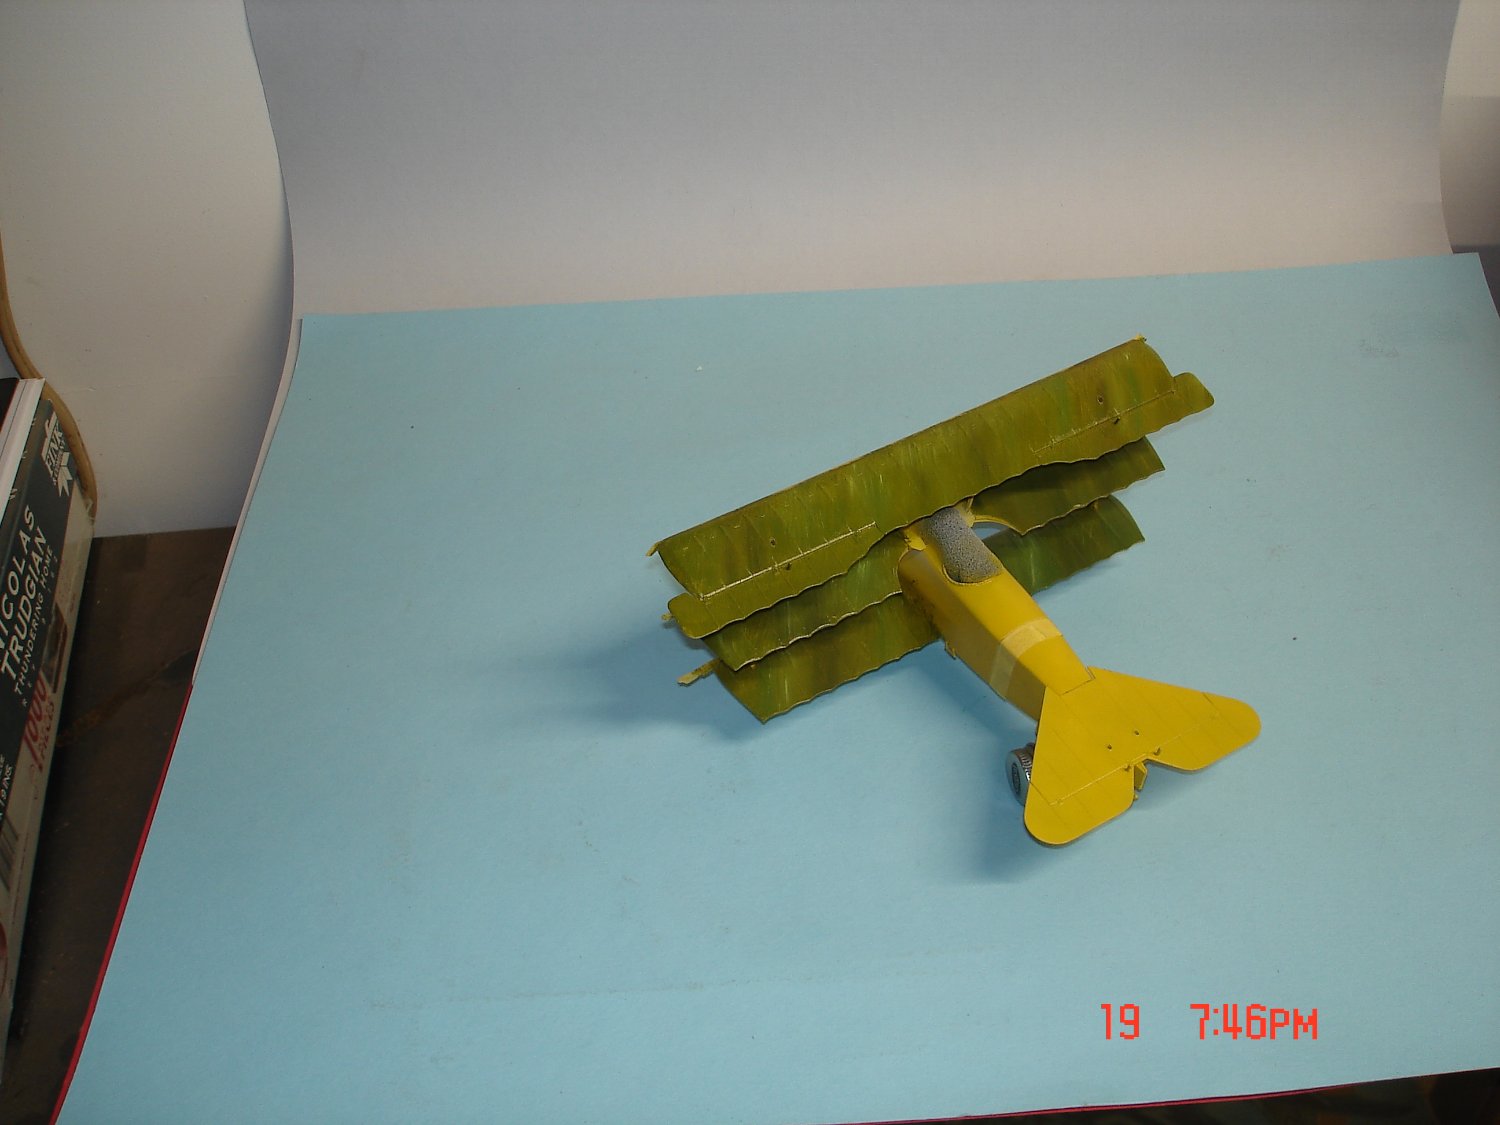
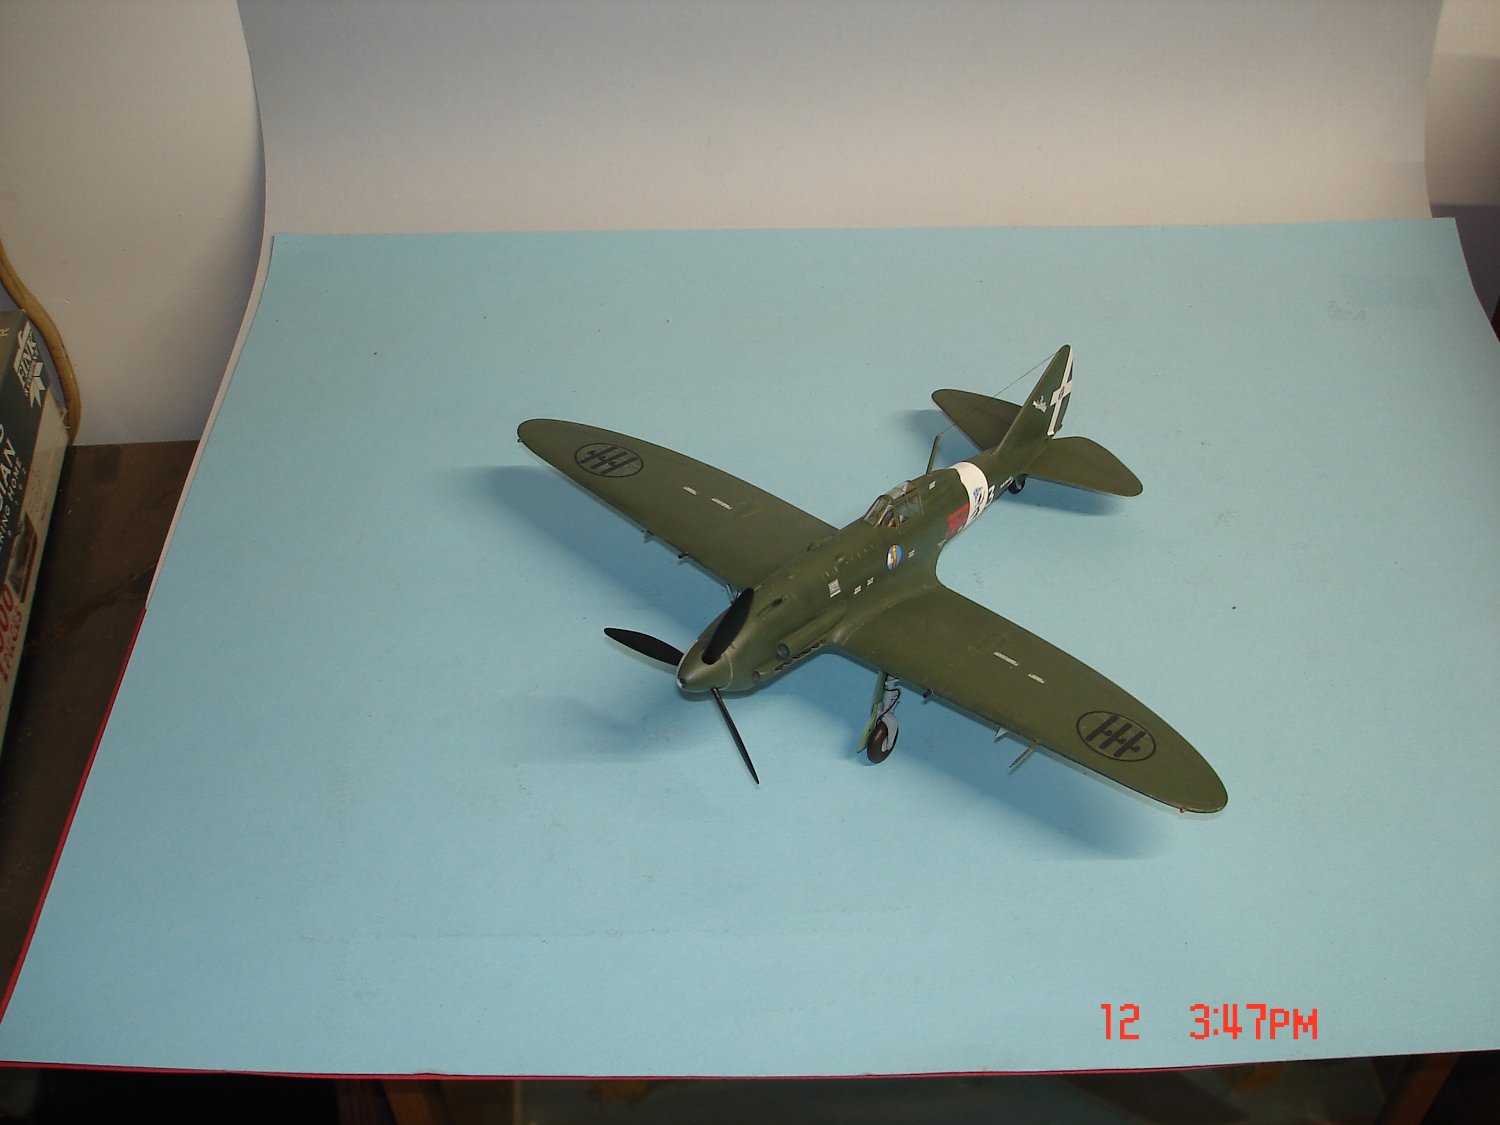
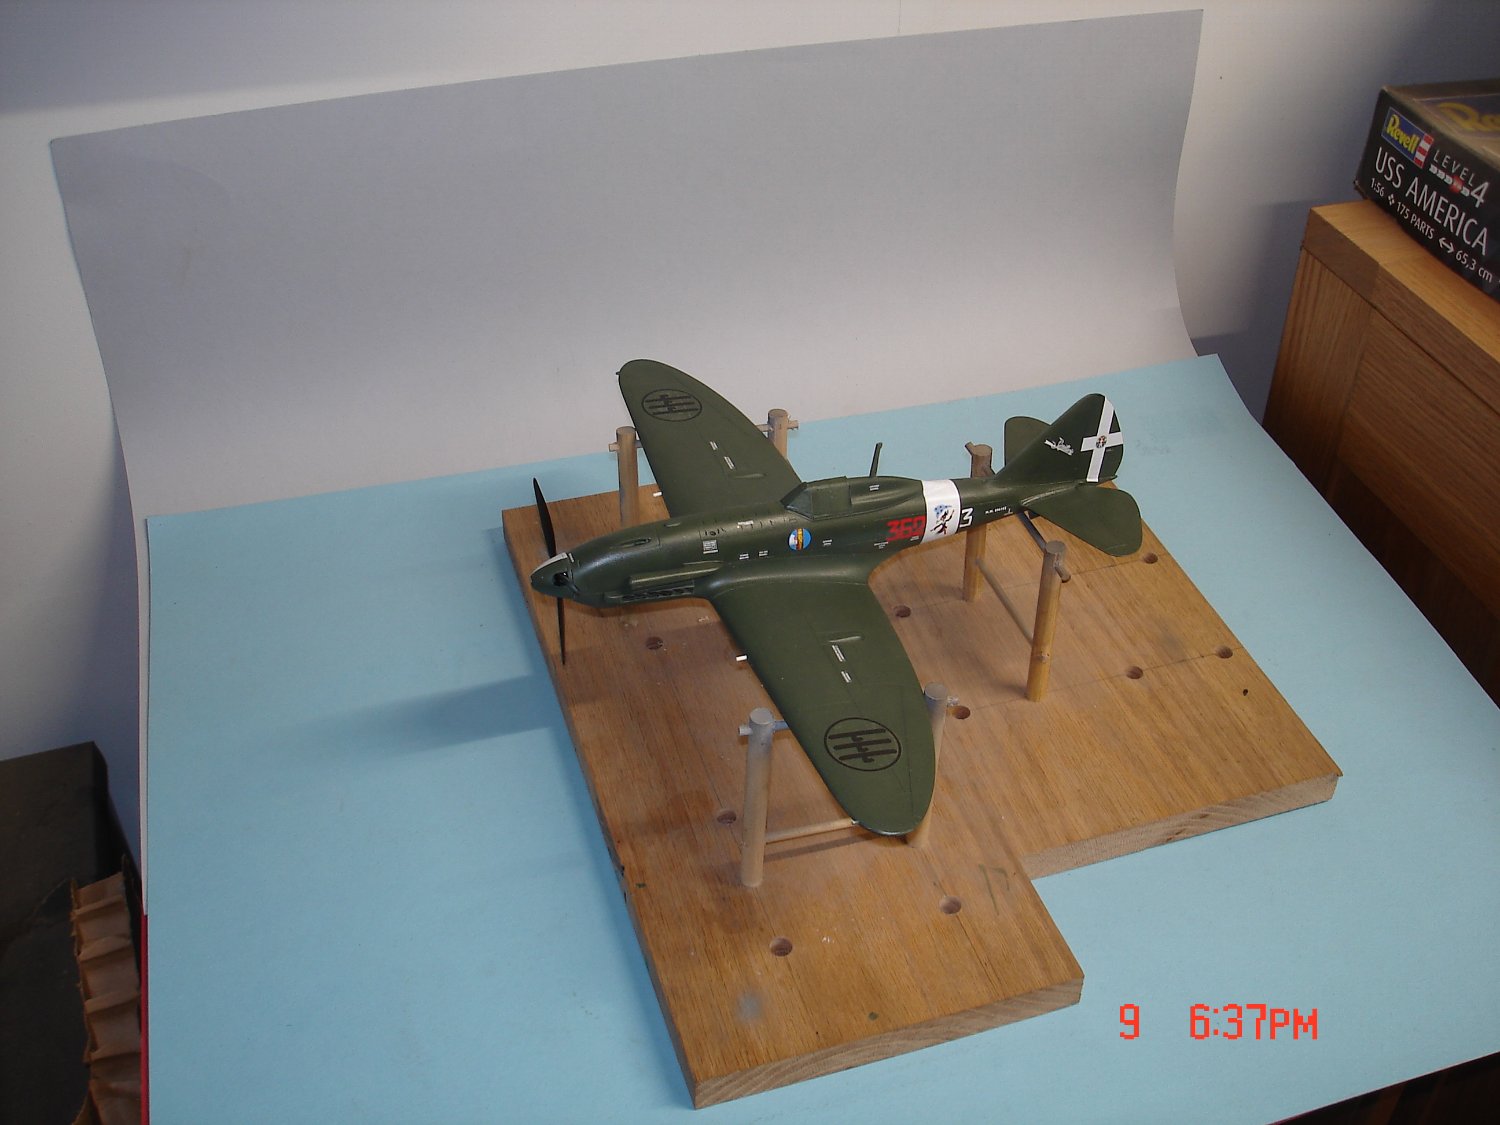
I thought it be best to start a thread on this instead of posting in the Re.2005 thread.I have applied some oils I actually have the whole plane done now dare not touch anymore ATTM.The oils do leave a brush stroke pattern even with me thinning some with mineral sprites it is a little better but strokes still present.I am thinking this may just work??


- 24 replies
-
- 11
-

-
-
Ed the Corsair for an older kit looks the part mighty well indeed.
-
Dehavilland Mosquito by Edwardkenway - Tamiya -1:48
Javlin replied to Edwardkenway's topic in Non-ship/categorised builds
I have built this kit and the fit is super Nice carry on. -
I will get a pic of the box cover tomorrow for you Chris.I bought it at Hobby Town Mobile for like $20 maybe box was rough.
-
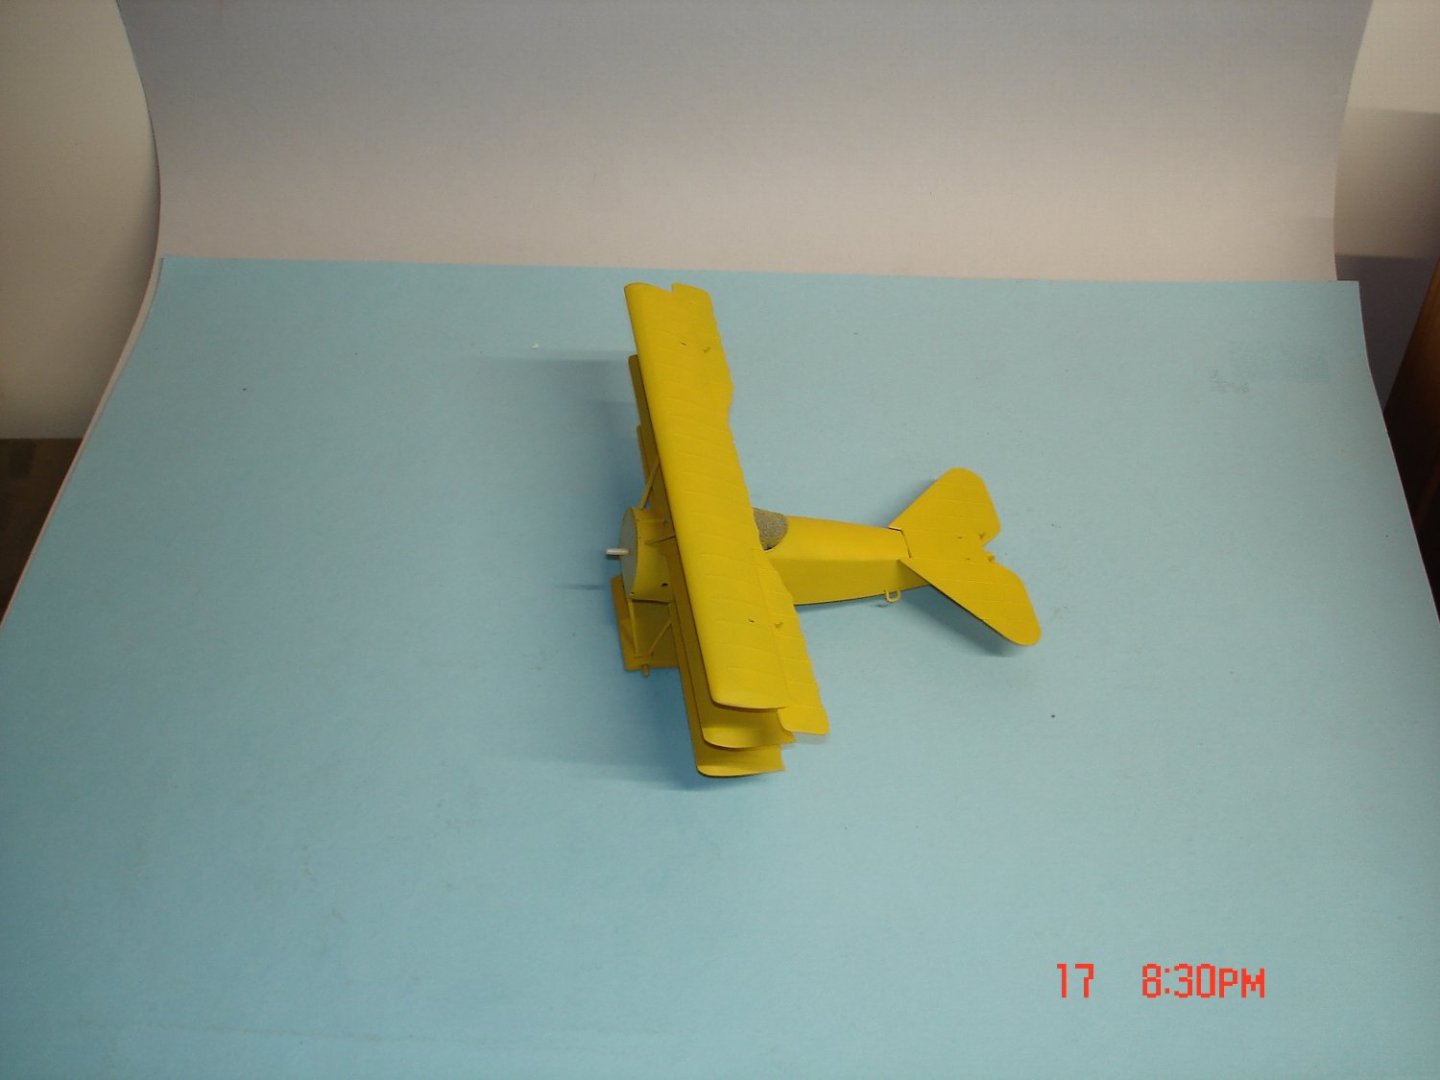
Thanks Phil She looks like a Stallion/Ferrari to my eyes Craig hope the Mc-202 works out better. Thanks Andrew limited run kits can be a challenge at times PCM's last few were better. The old Revell 1/28 Dr1 has hit the desk for an in between GB on another site.This build will be to play with some new techniques using oils for the streaking effect.

-
F4U-1A Corsair by DocRob - FINISHED - Tamiya - 1/32
Javlin replied to DocRob's topic in Non-ship/categorised builds
She's looking good Rob.Kevin -
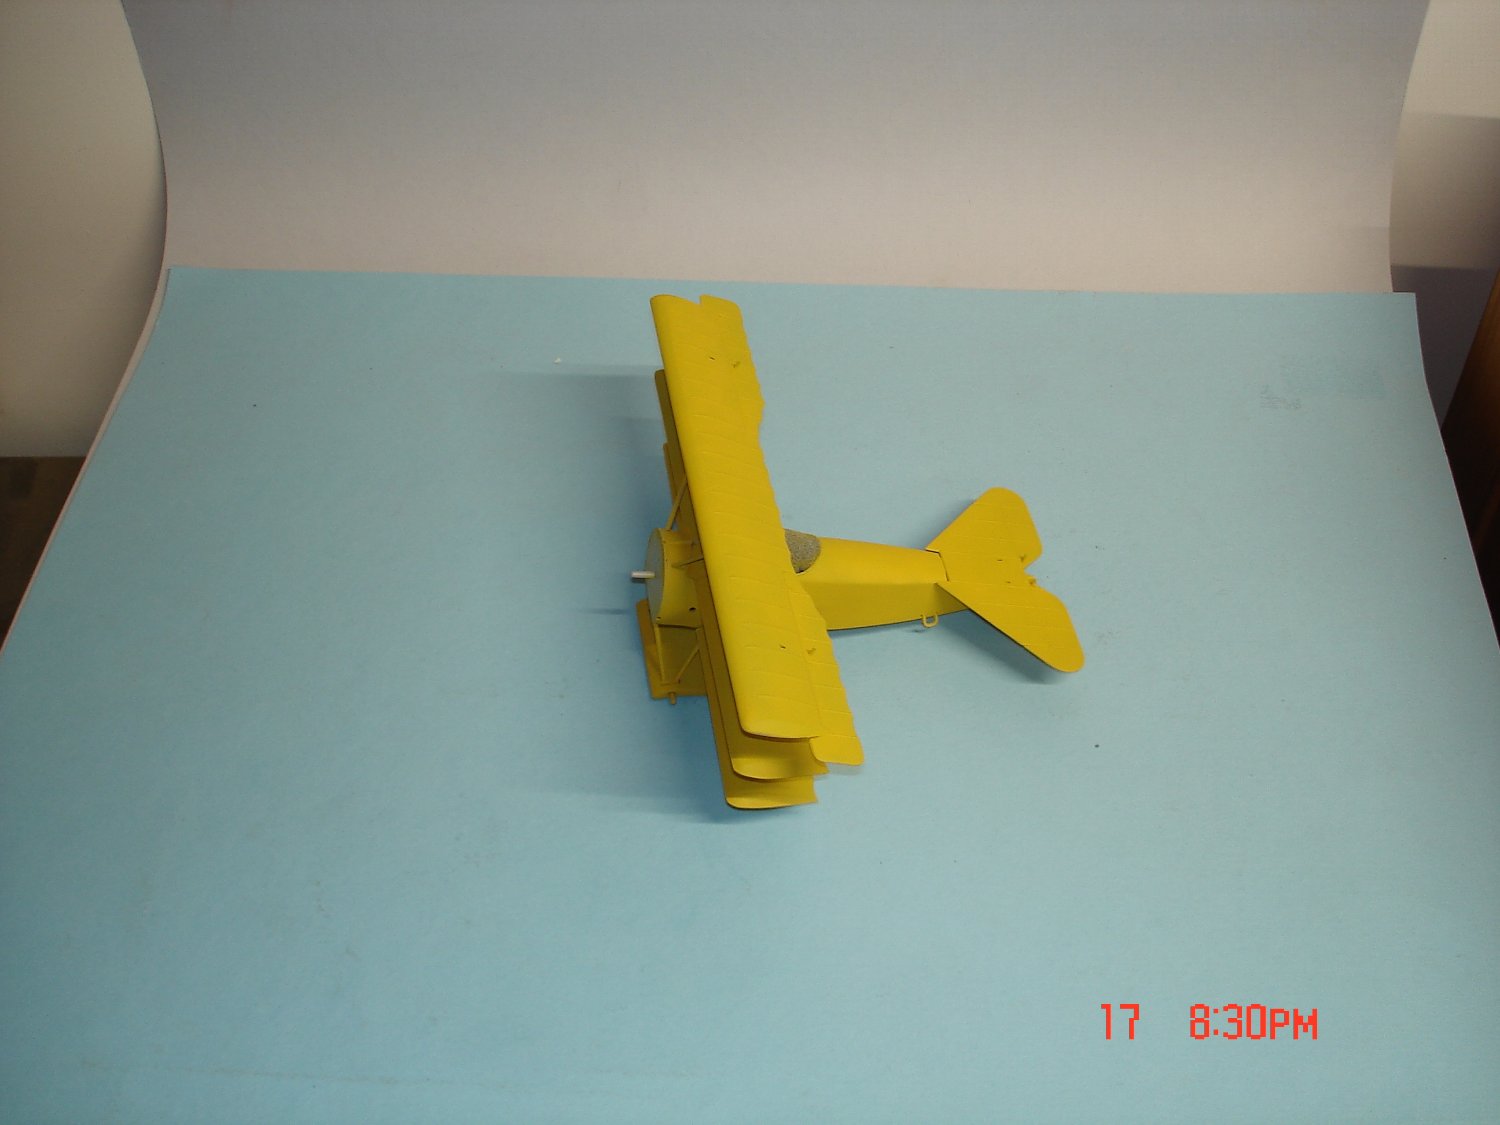
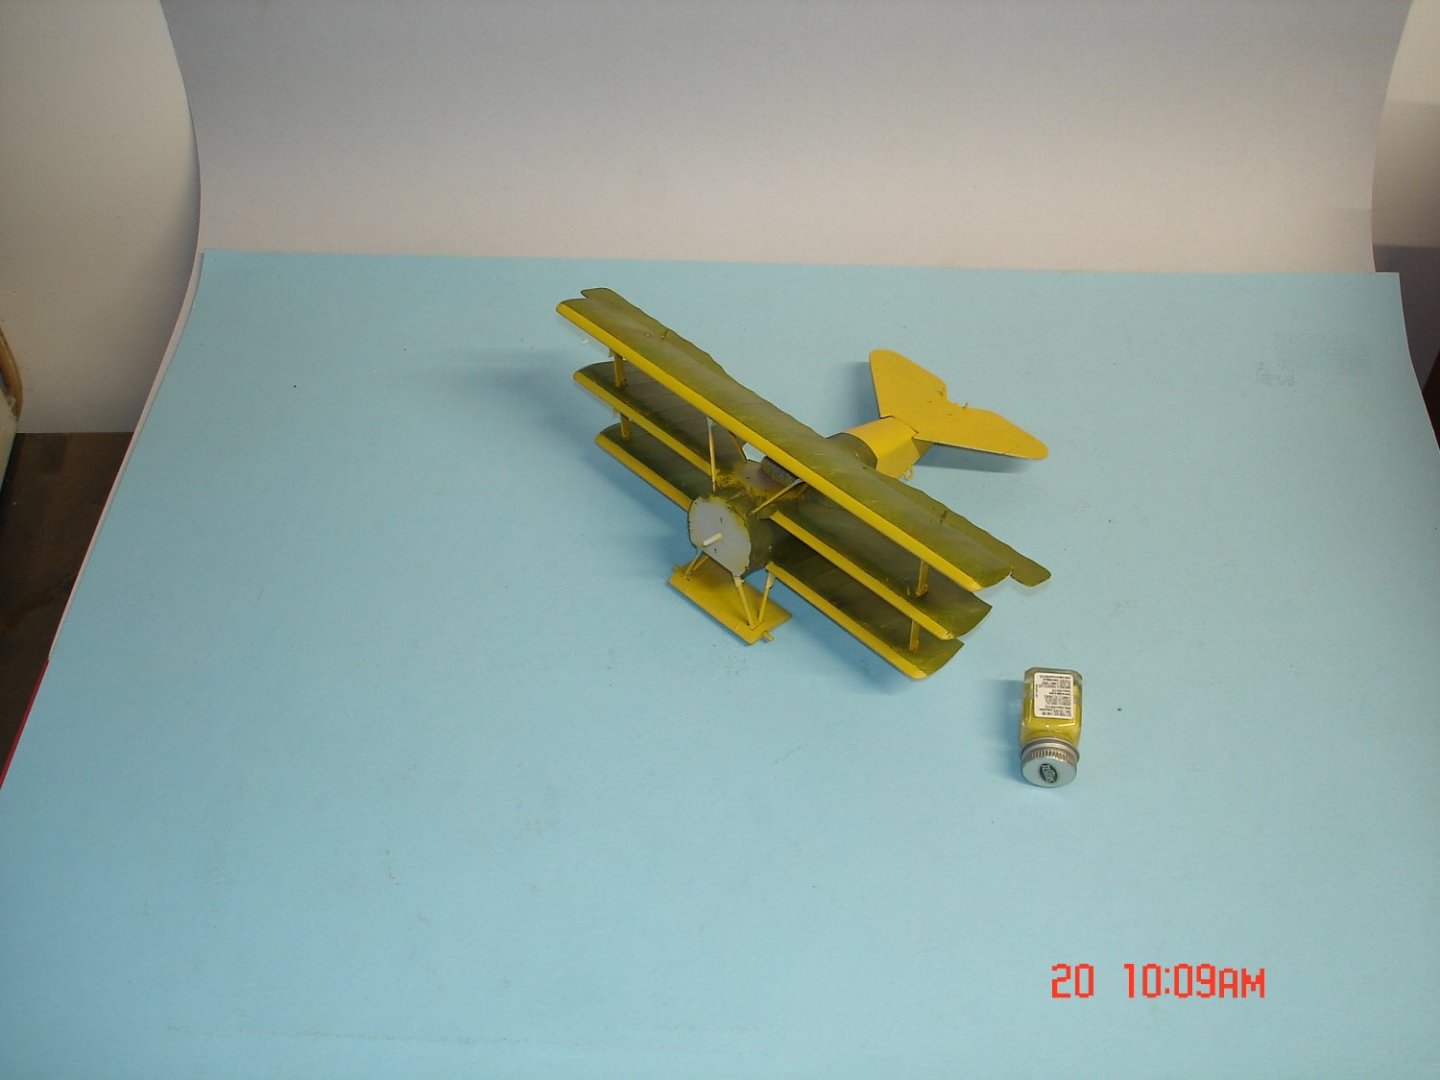
I like the Italian Birds they do look sleek.I am now trying to finish an old kit it's just for fun nothing special HC Fokker DR.1 1/28 have some other decals no RB.
-
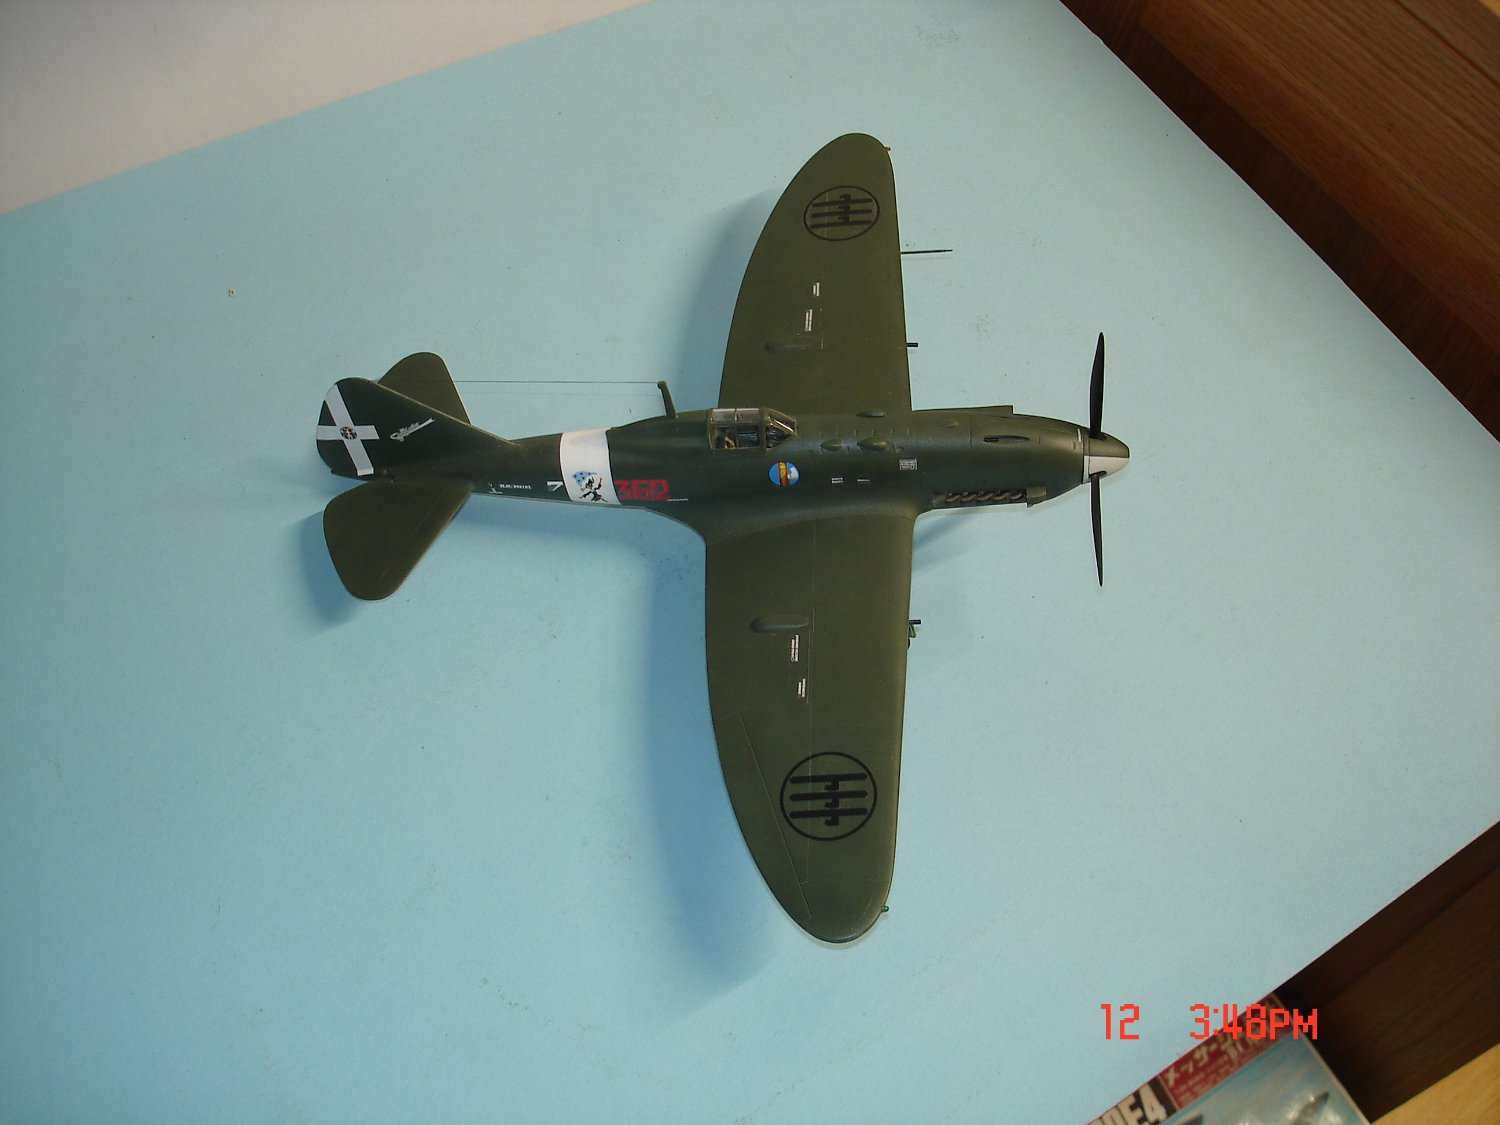
I have a couple more pics and have reversed the fuselage decals with the axe blade UP.I could not get the wings decals to lift and feared messing up the paint better to let it be.The prop is just stuck on ATTM the 20mm cannons are bigger than what was supplied in the kit but match closer to what is in the wheel well.I have one LG with a hose just need to get after the other,

- 38 replies
-
- 14
-
-
-
Thanks Craig even with the miscue on the decals.Dan I fixed the ones on the fuselage as mentioned before they are kinda thick but those wings will not budge but thanks for heads up for the Folgore Mc-202.
-
Thanks Dan I knew they pointed outwards but figured blade down.I think I got some extras if not steal from the 202 and order for it.
-
Fokker D.VII by RGL - Eduard - 1/72 - PLASTIC
Javlin replied to RGL's topic in Completed non-ship models
I missed this Greg she came out pretty good. -
Bristol F.2B WW1 Fighter by CDW - FINISHED - Eduard - 1:48 Scale
Javlin replied to CDW's topic in Non-ship/categorised builds
That's looking real good Craig.I saw a fella I think @LSM use foam in between the wings/struts a fat piece then tape or a light rubber band.That's all the guy builds is WNW/WWI of course I think it keeps from sliding? -
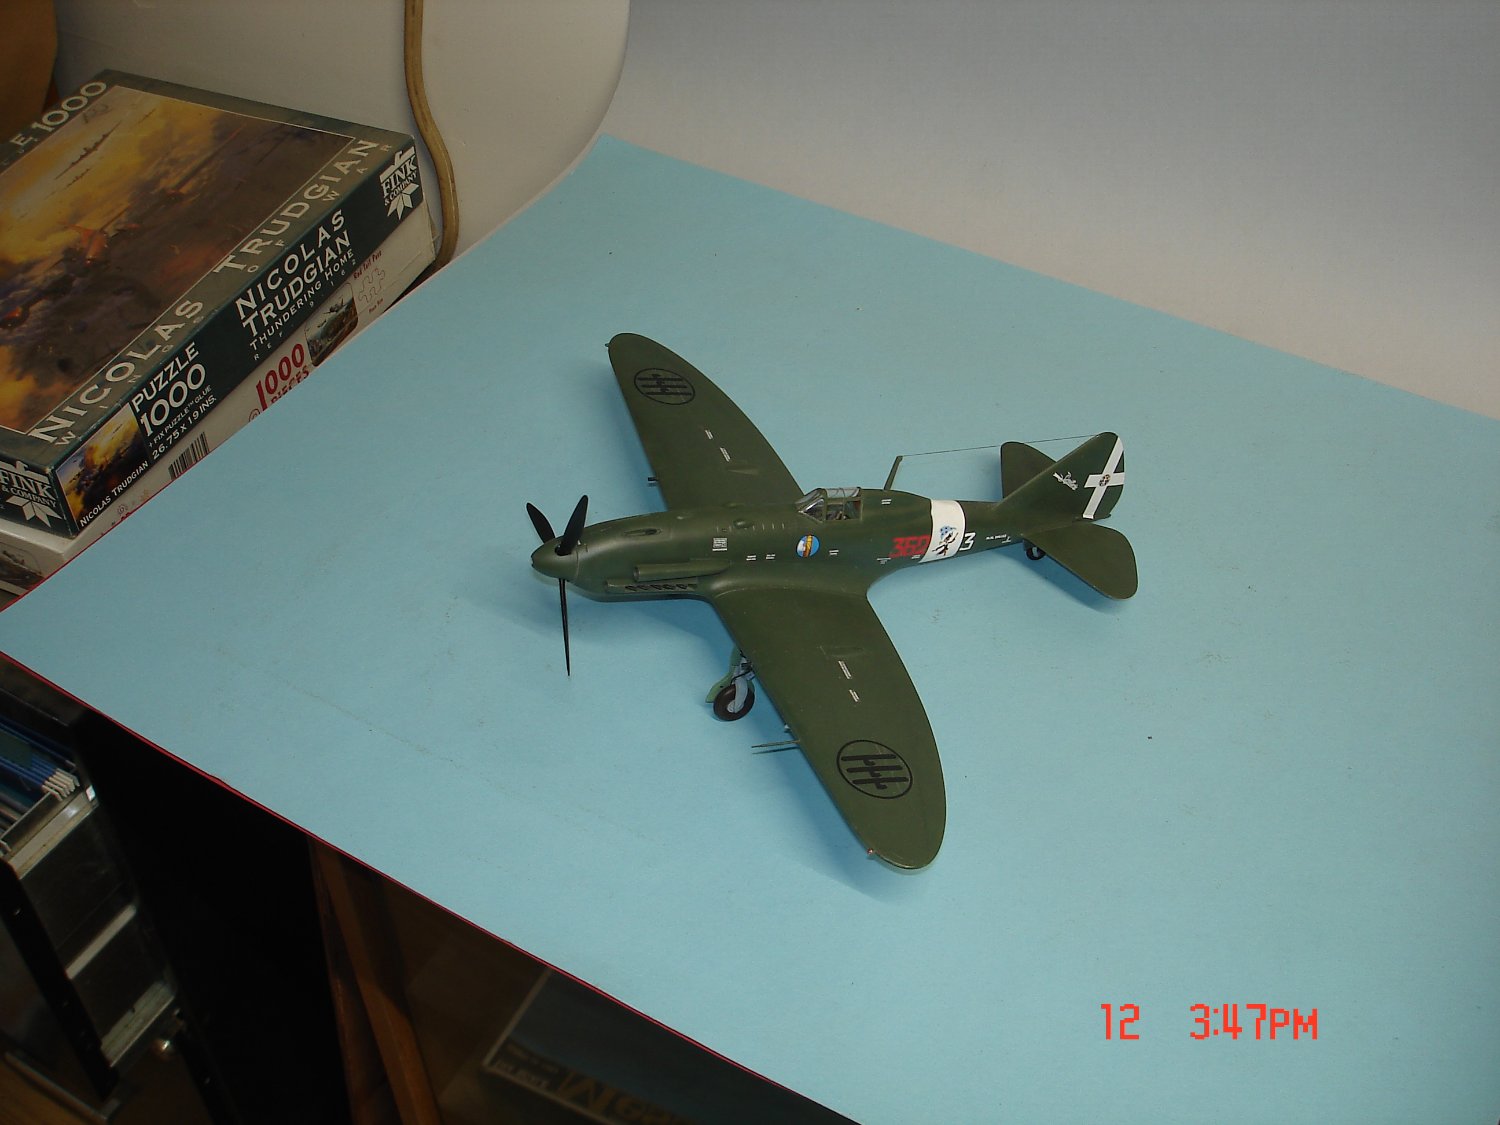
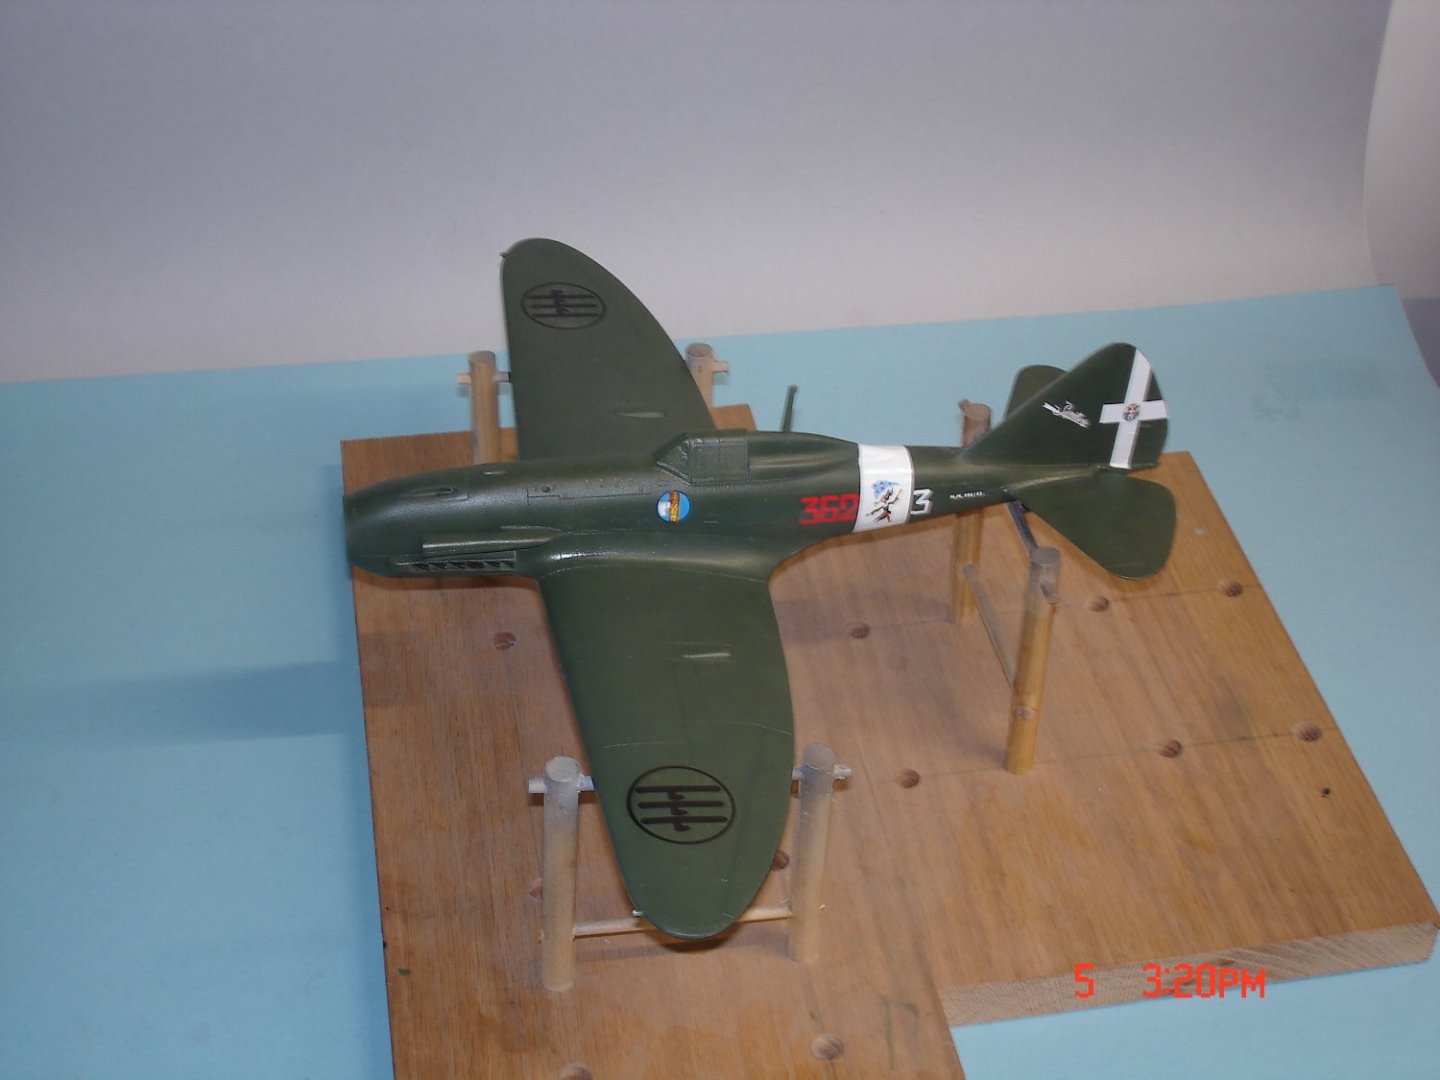
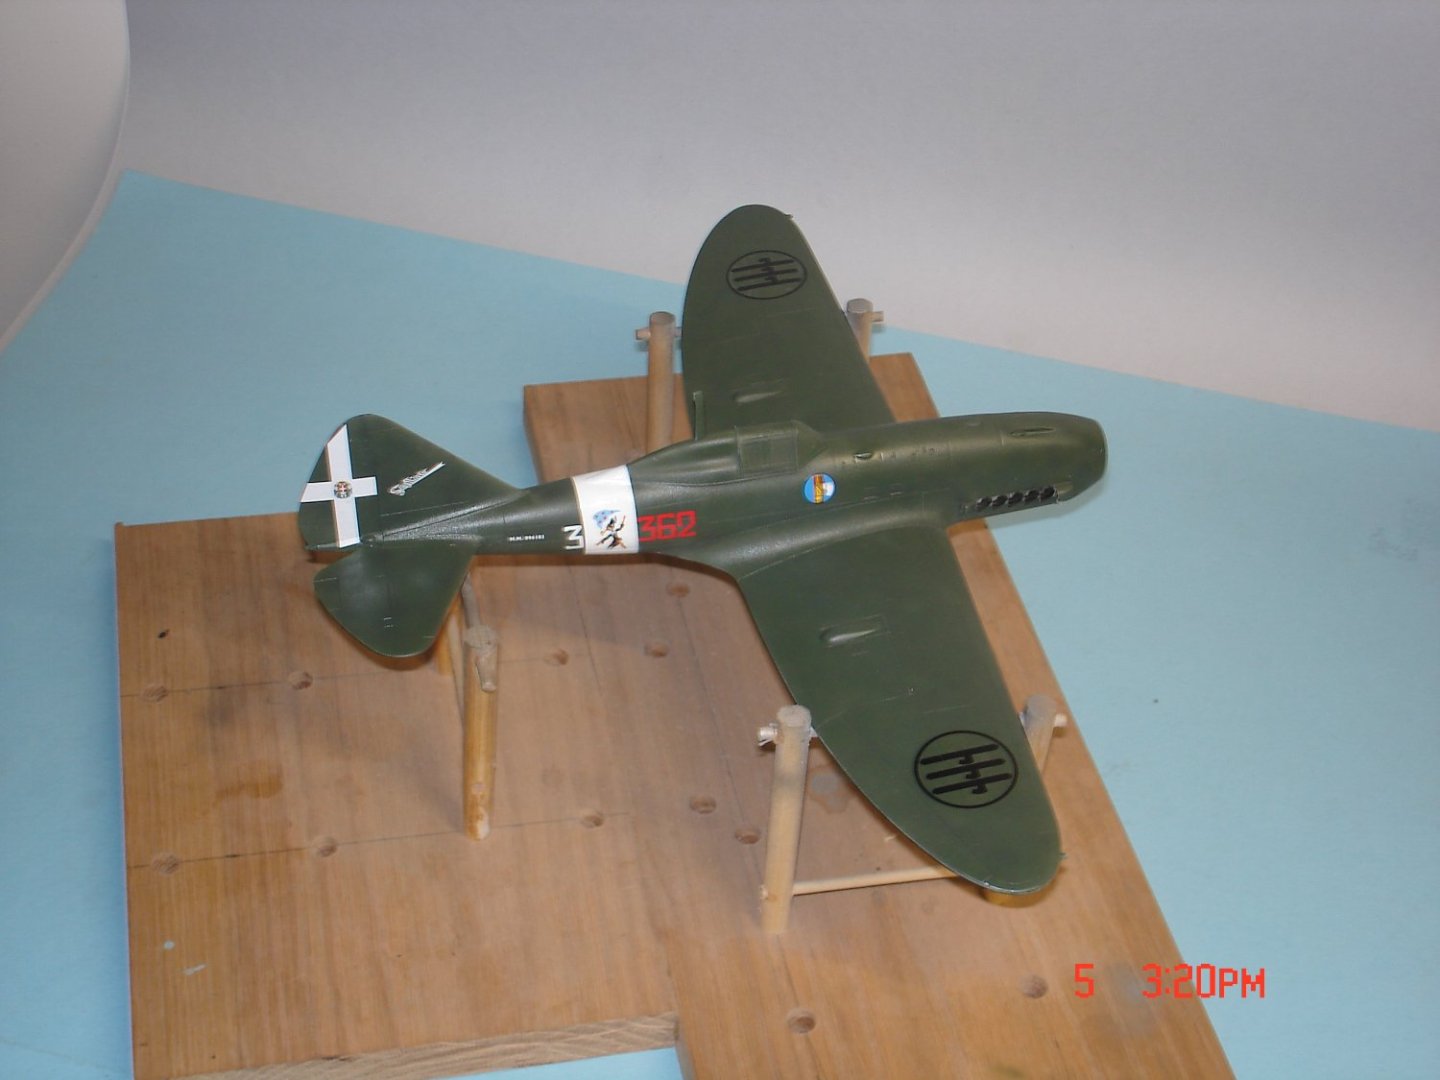
She continues to move forward decals going down they appear to be a little on the thick side give it overnight but the Walters may make a showing tomorrow.She is starting to get that Stallion look.


- 38 replies
-
- 12
-
-
I use to play in this scale with some of that details in the day but my patience and eyesight won't go there anymore.Nice work Andy!
-
I was just trying to replicate what to my eye was happening on some of the real ones in the pics but you are right it breaks it up quite nicely.
-
That is cool OC
-
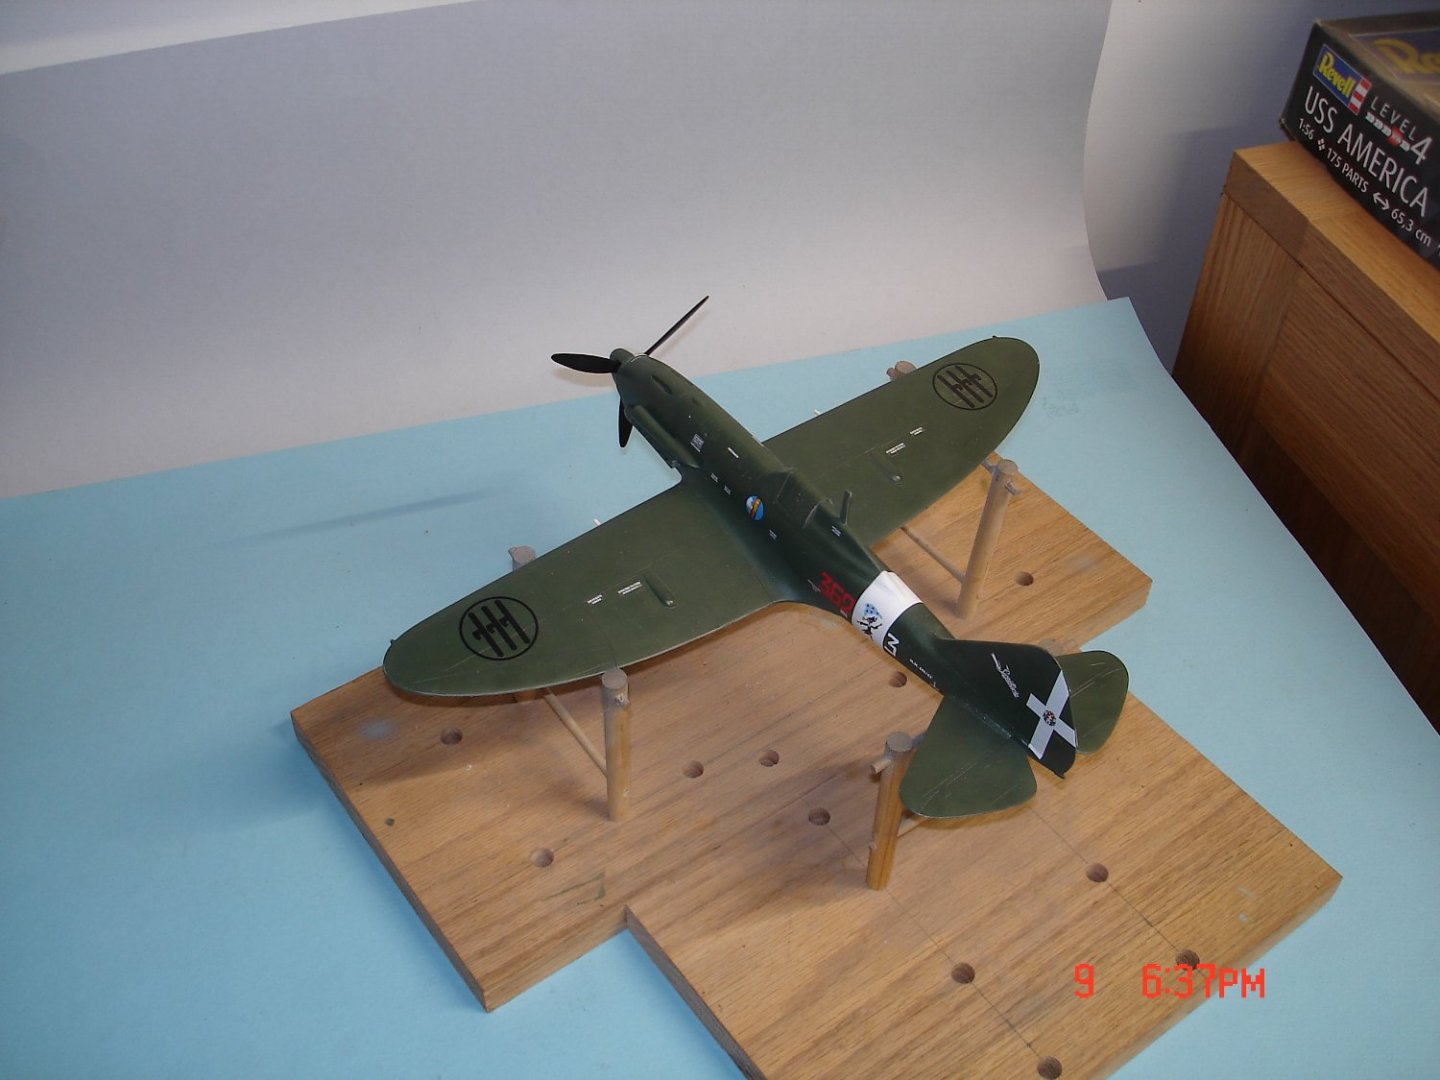
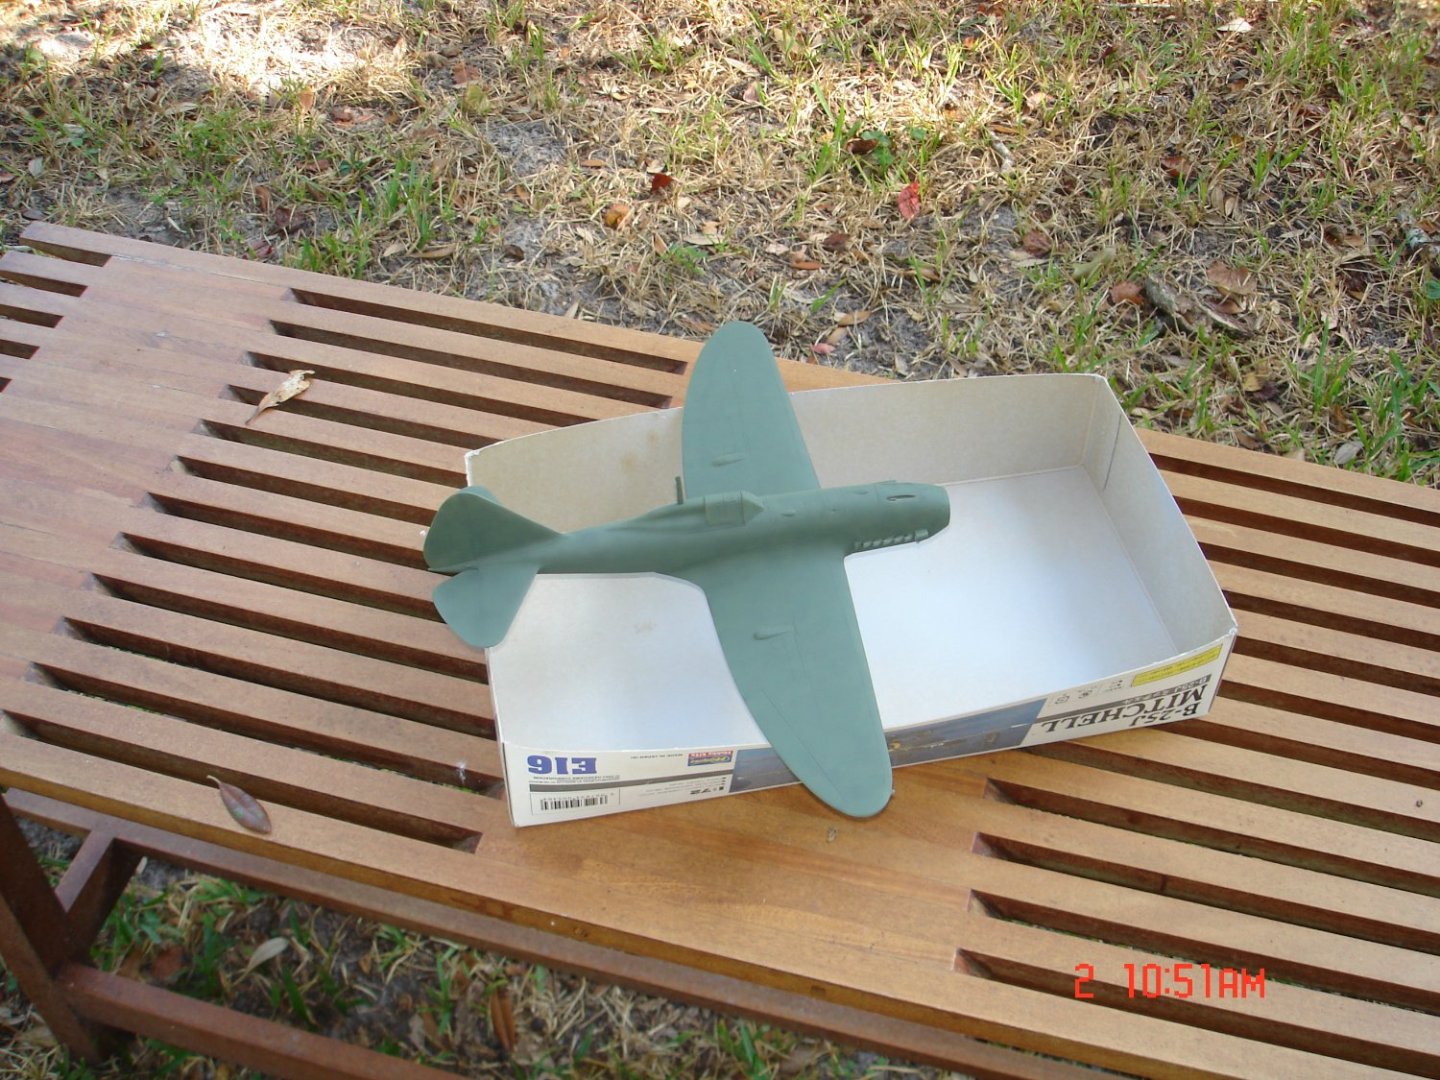
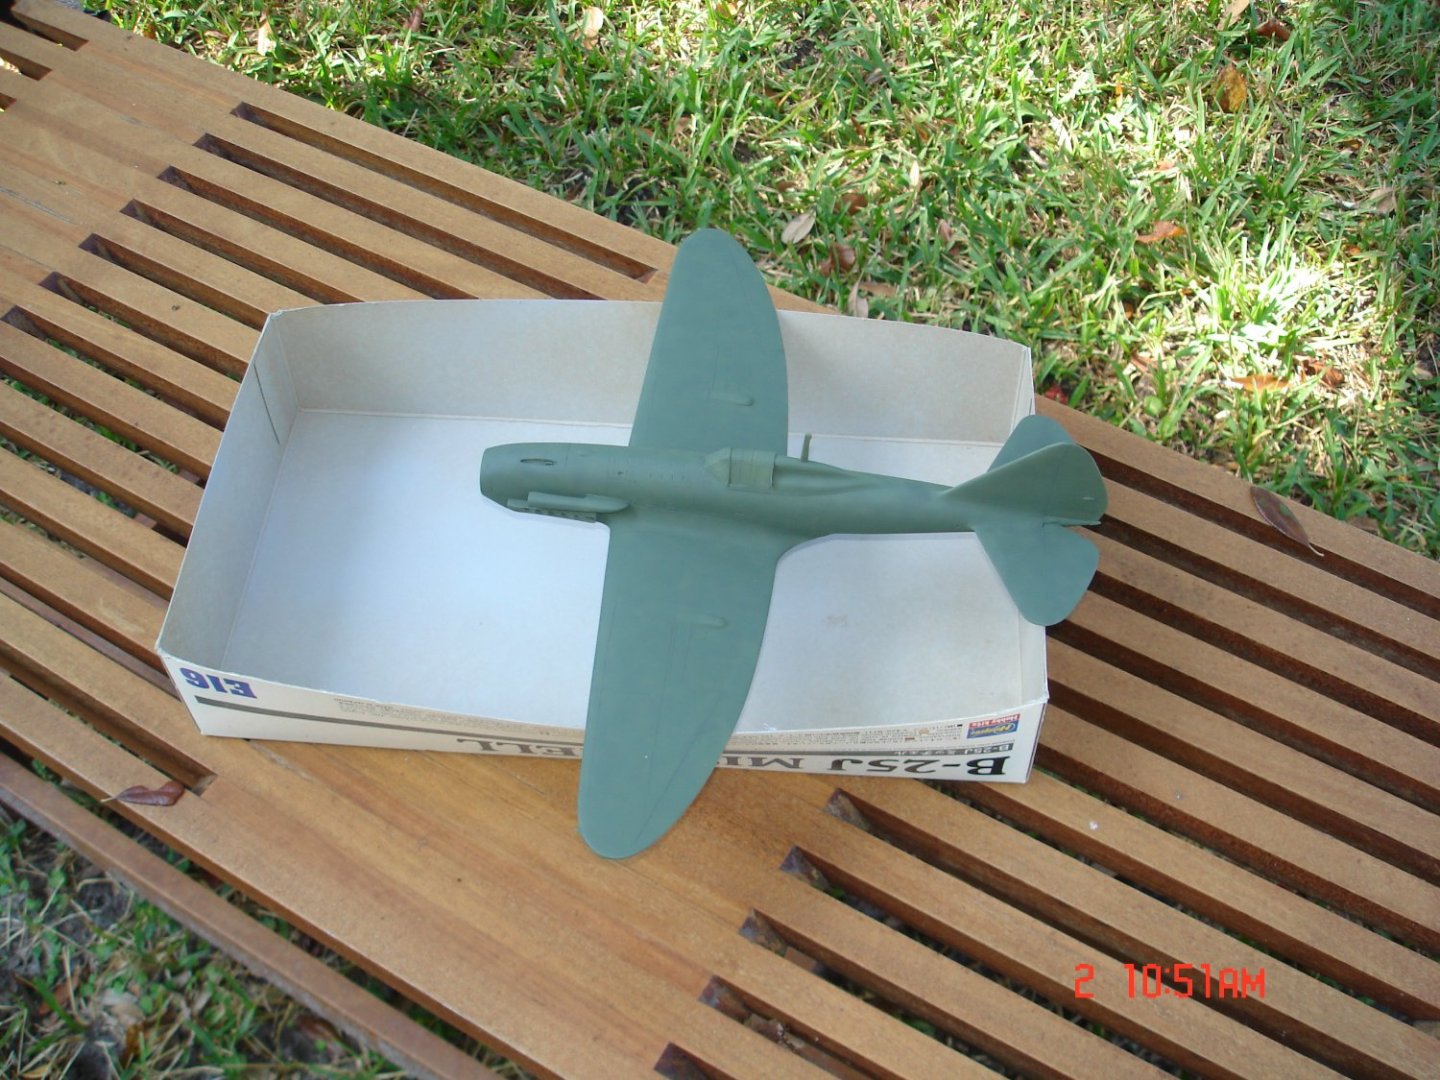
Some more pics the white fuselage stripe tomorrow night. I used a different setting on the camera outside and the green was way lighter?I am no photographer.
- 38 replies
-
- 12
-
-
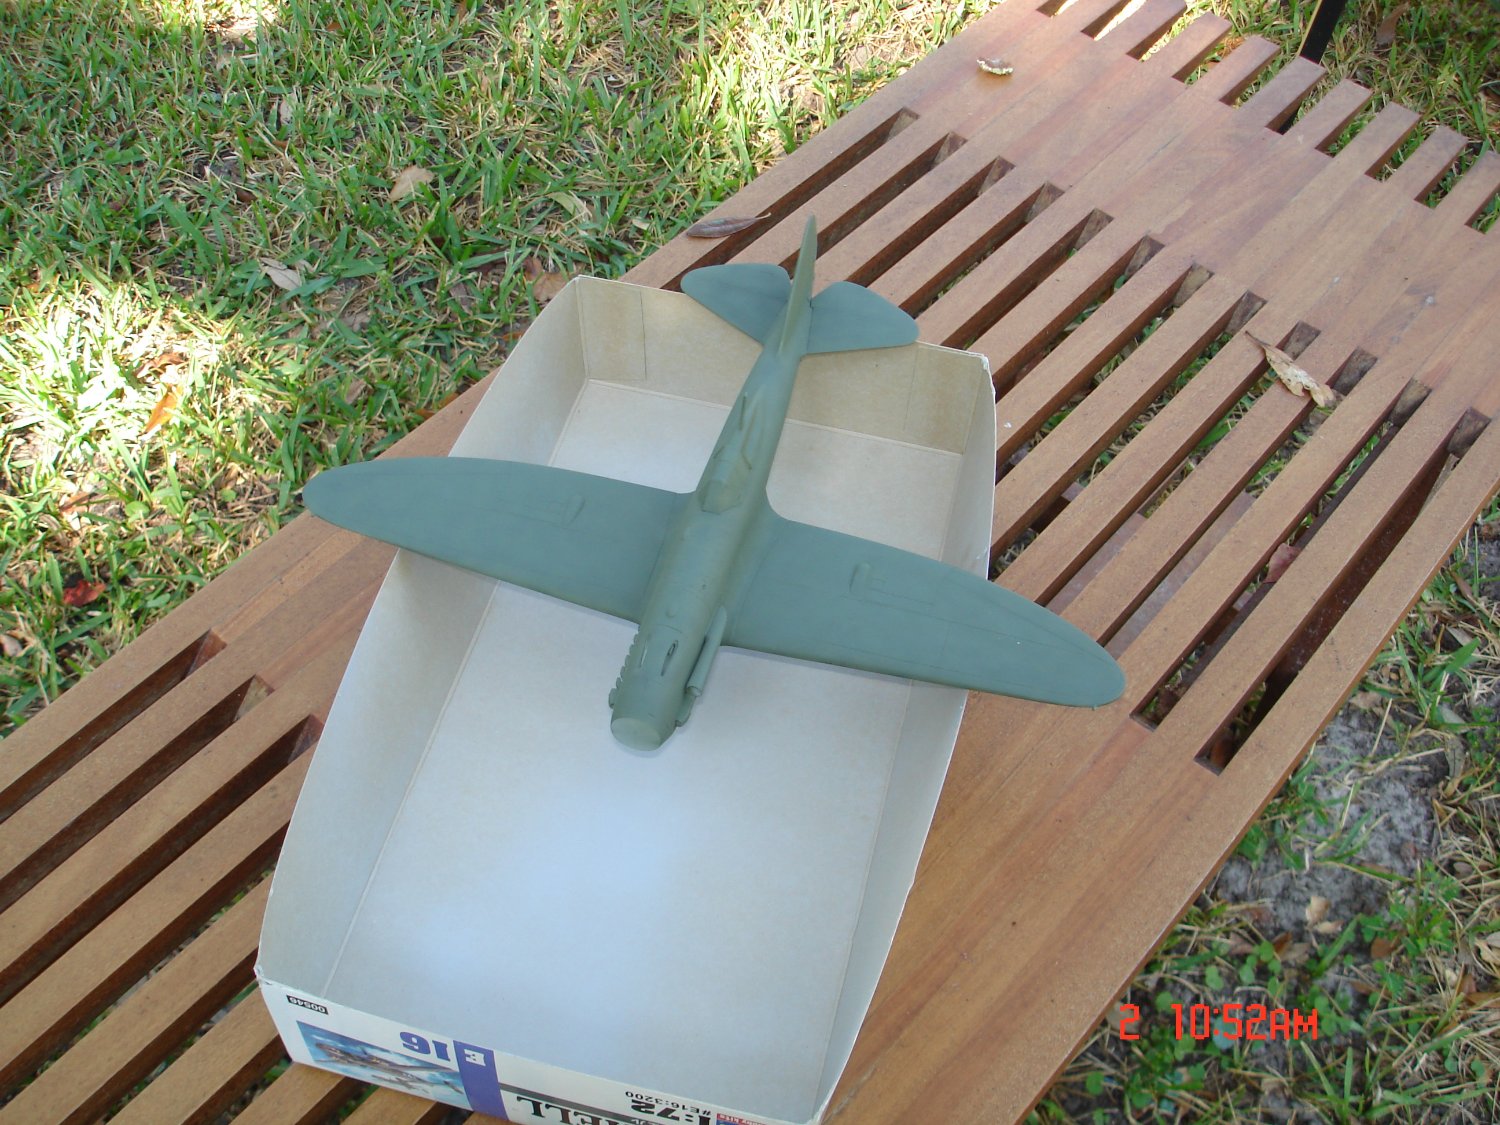
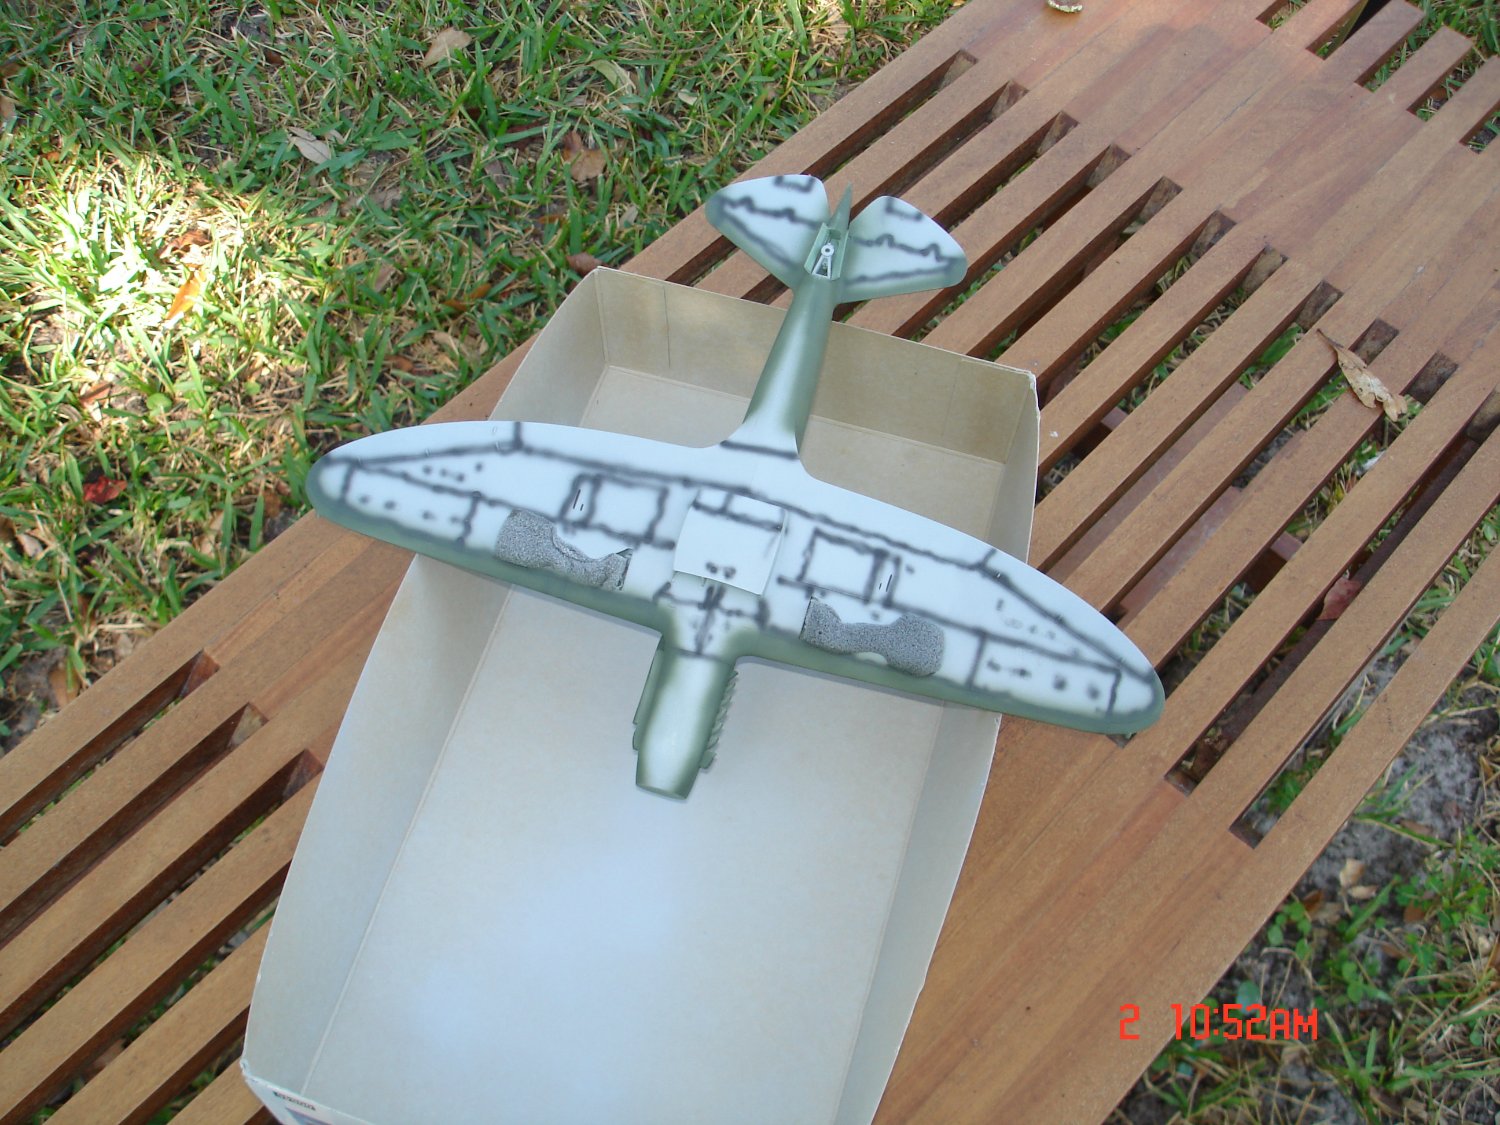
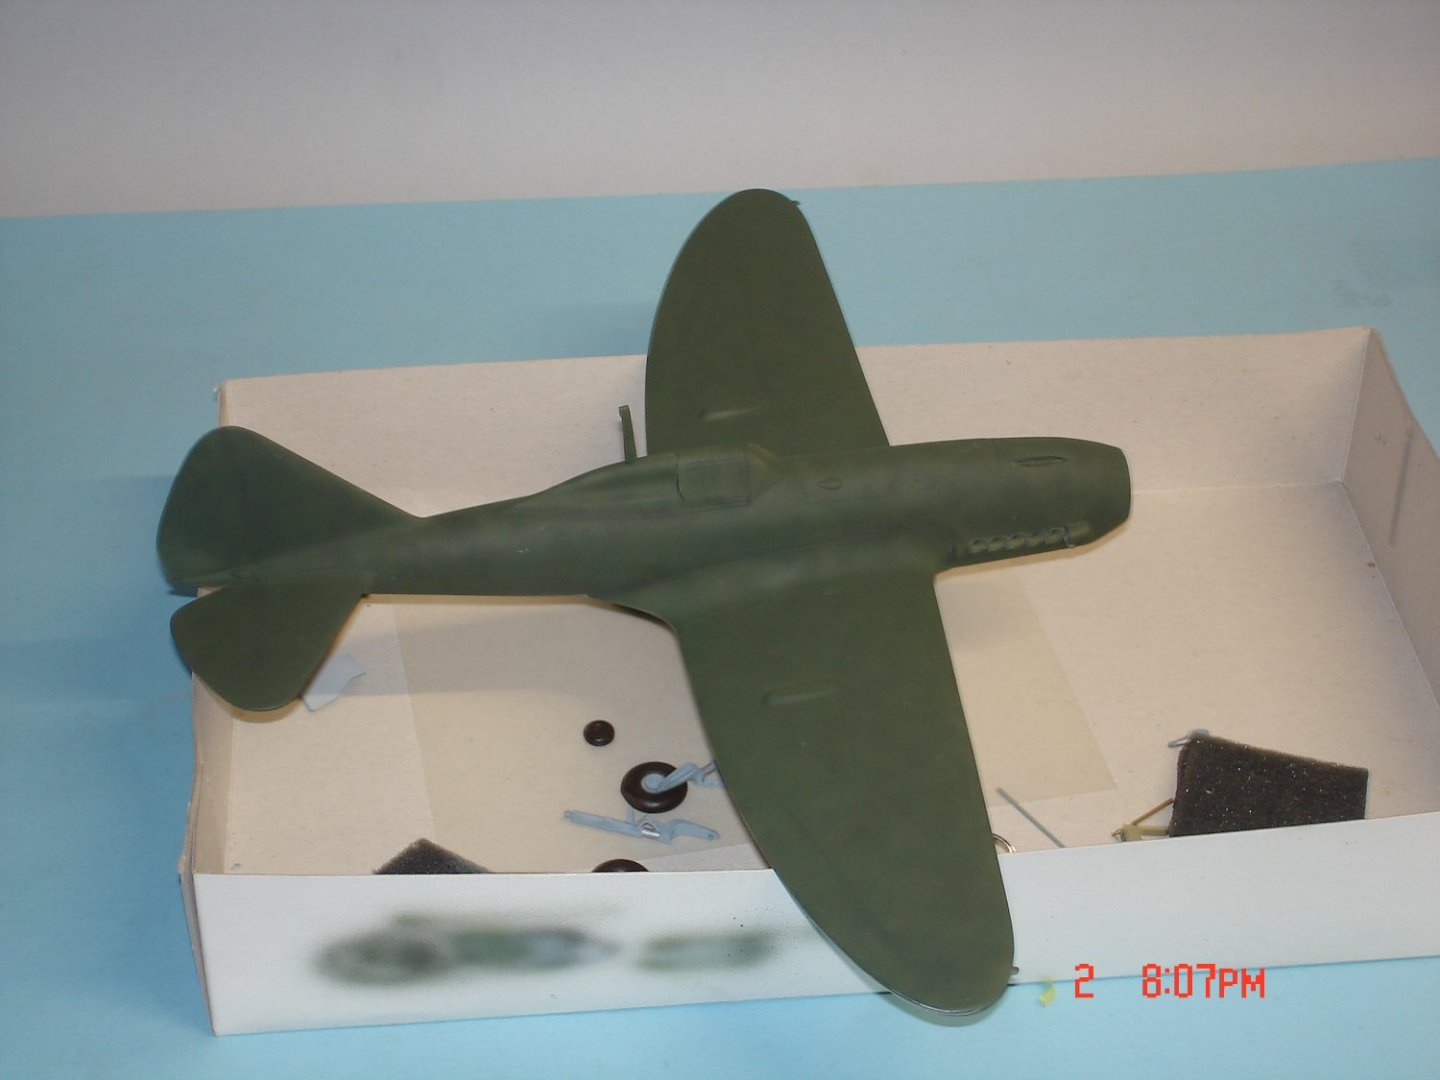
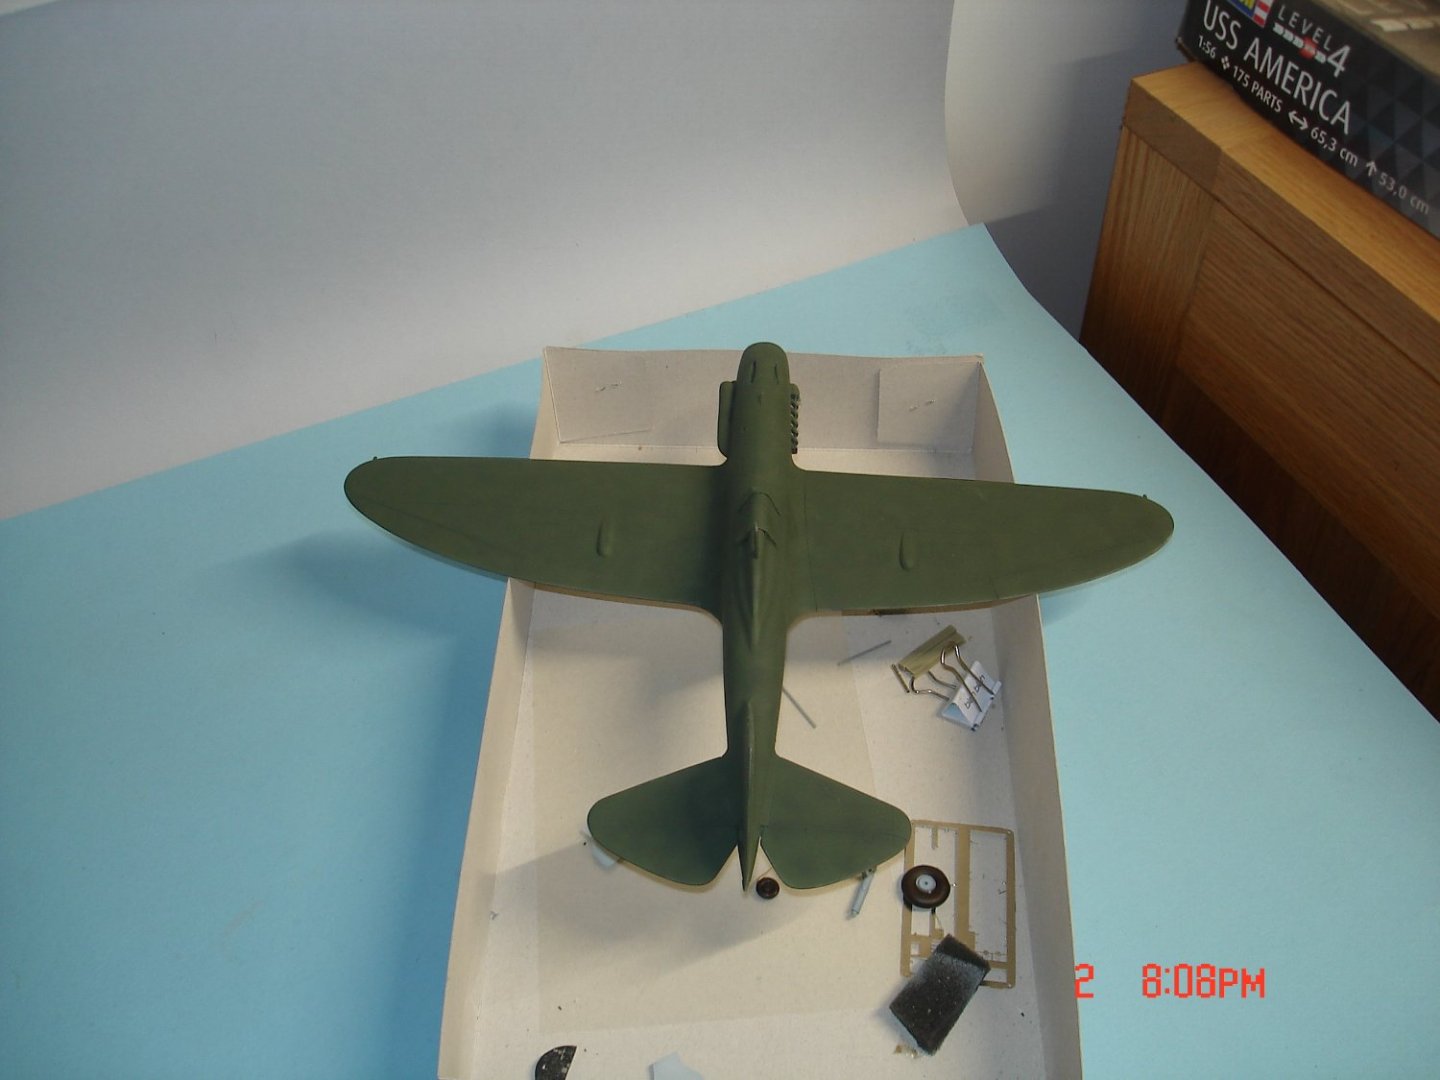
I made up some Dk It.Olive from regular It.Olive pretty close to the chips.I started by spraying the the plane with black botches then lined them loosely and erratically.The next step was to fill in the grey areas with the green then to covering the black and an overall spray to my liking.The pics I have seen of the crates was of a spotty appearance for a quick build is dragging out some.


- 38 replies
-
- 12
-
-
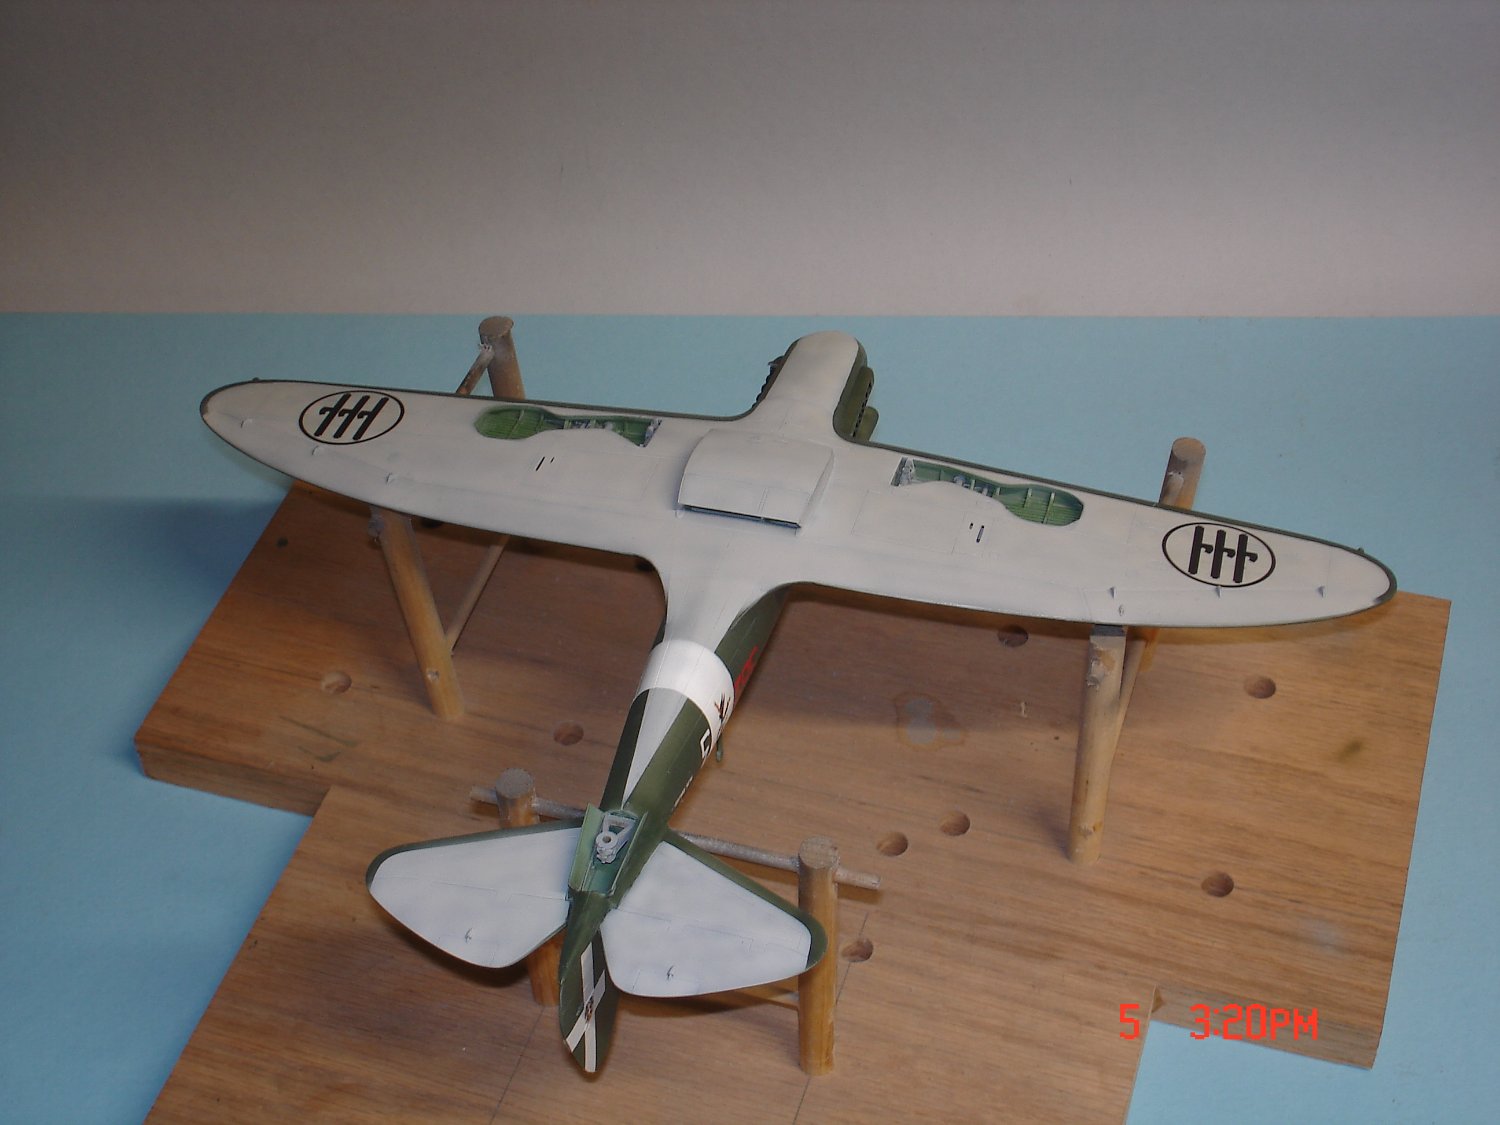
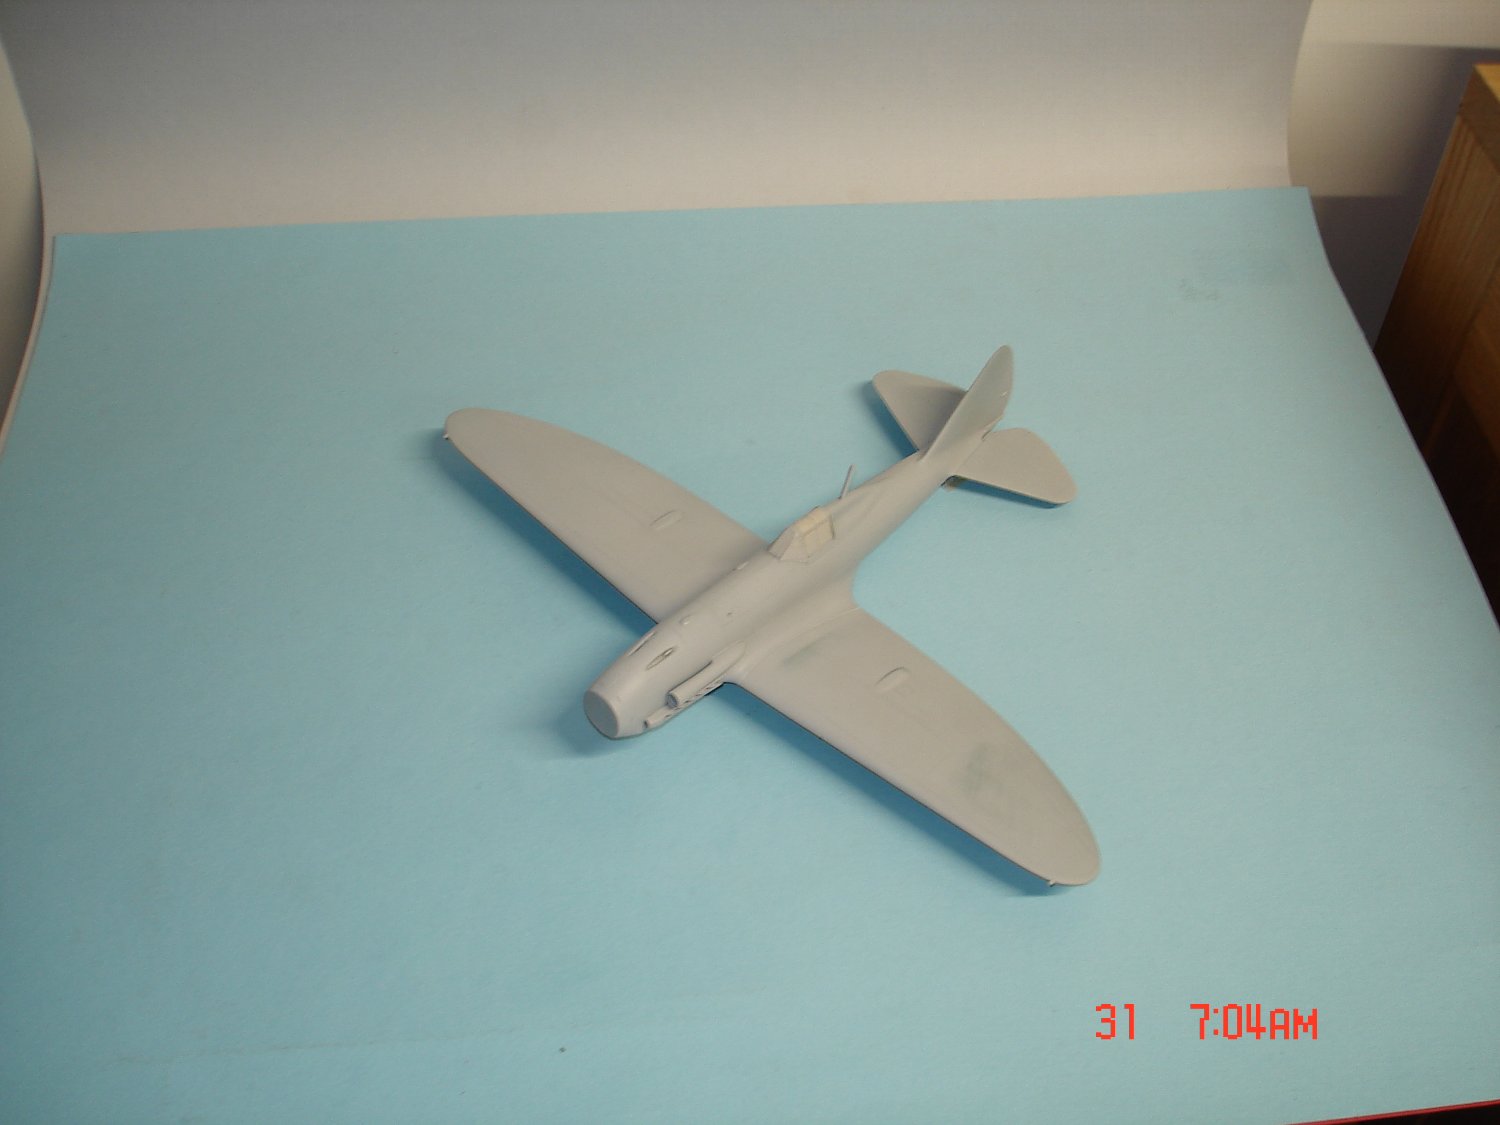
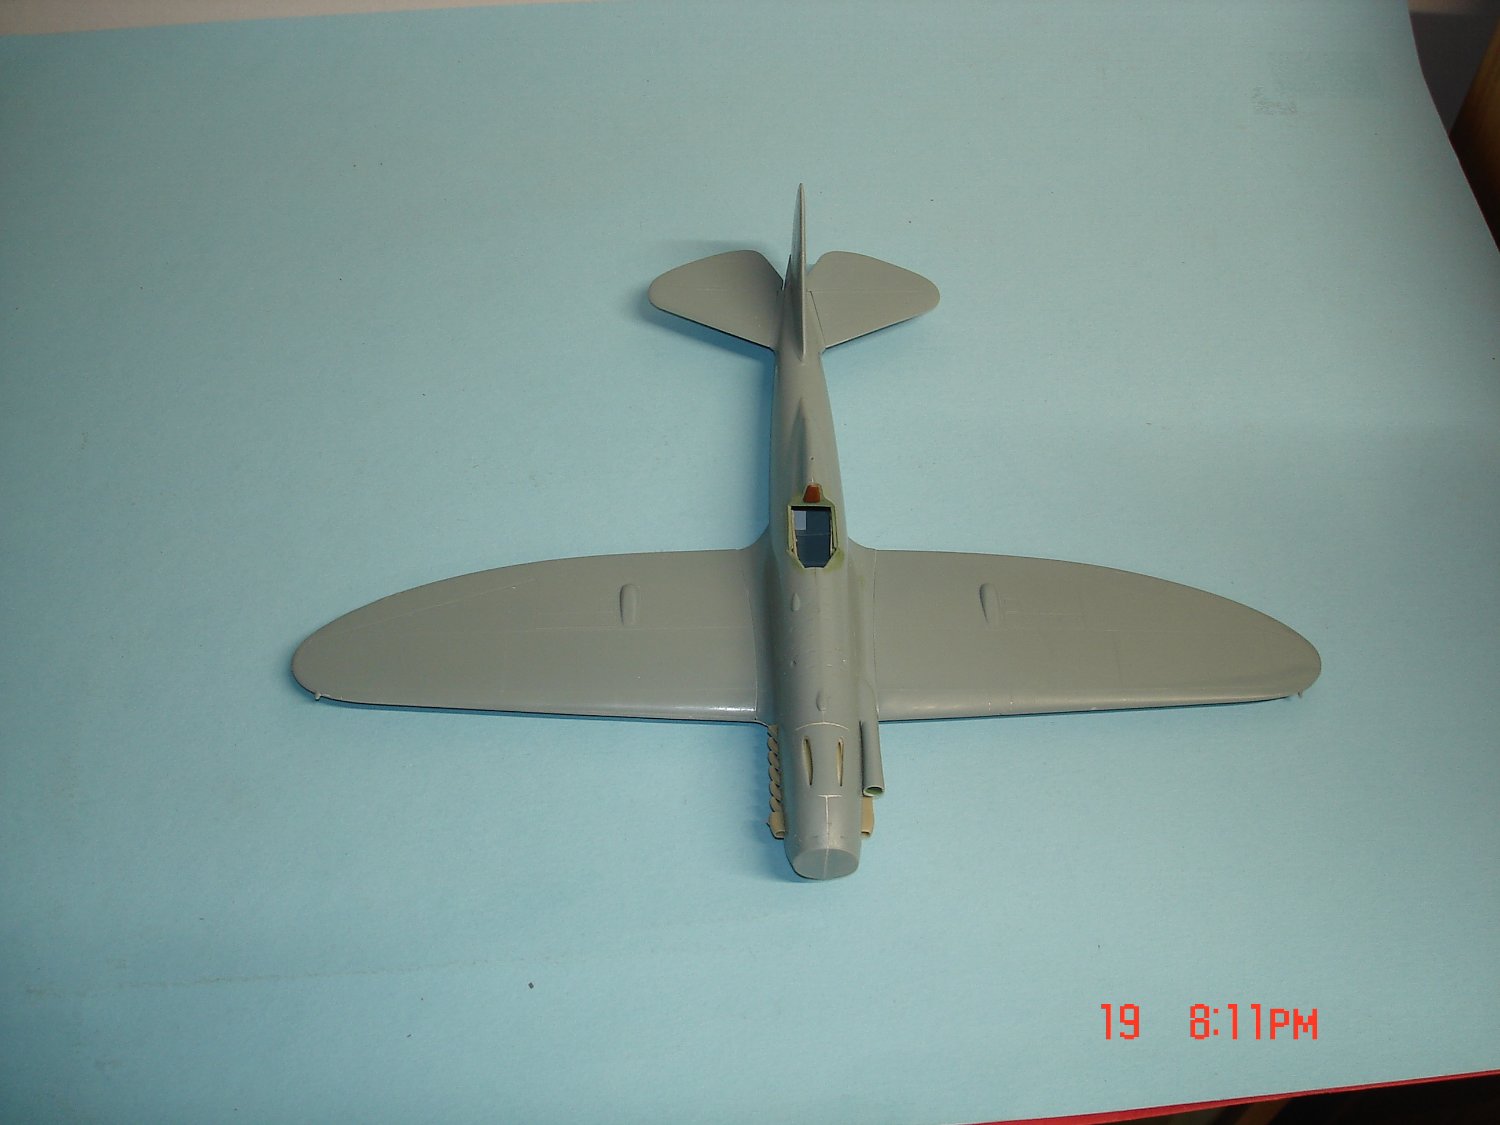
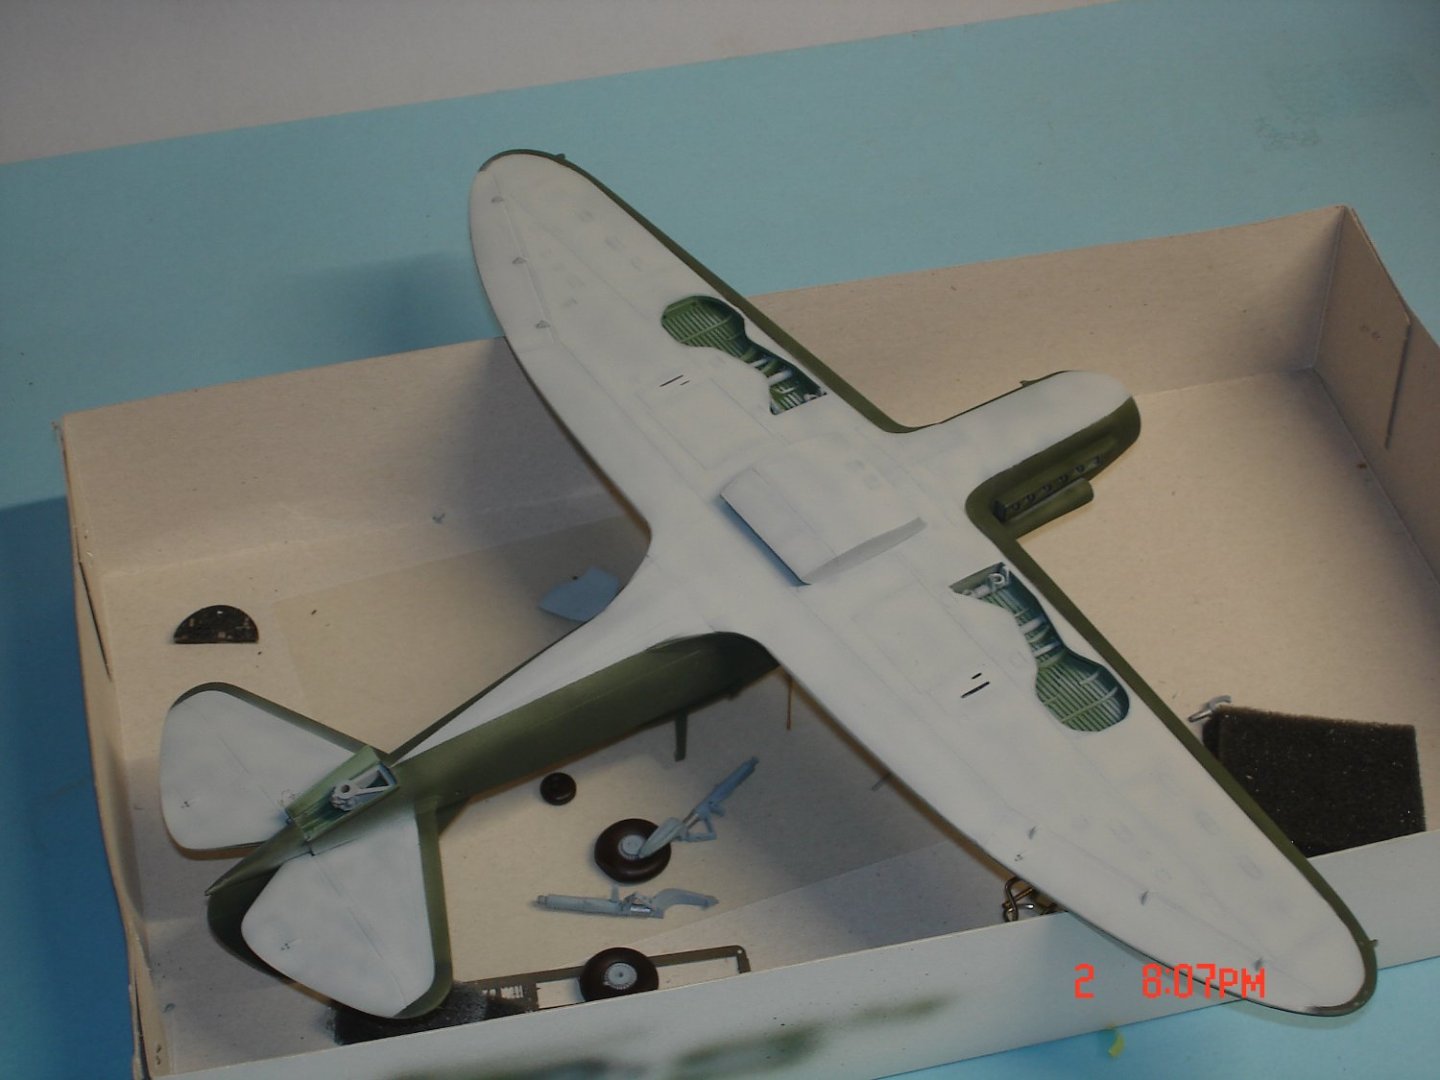
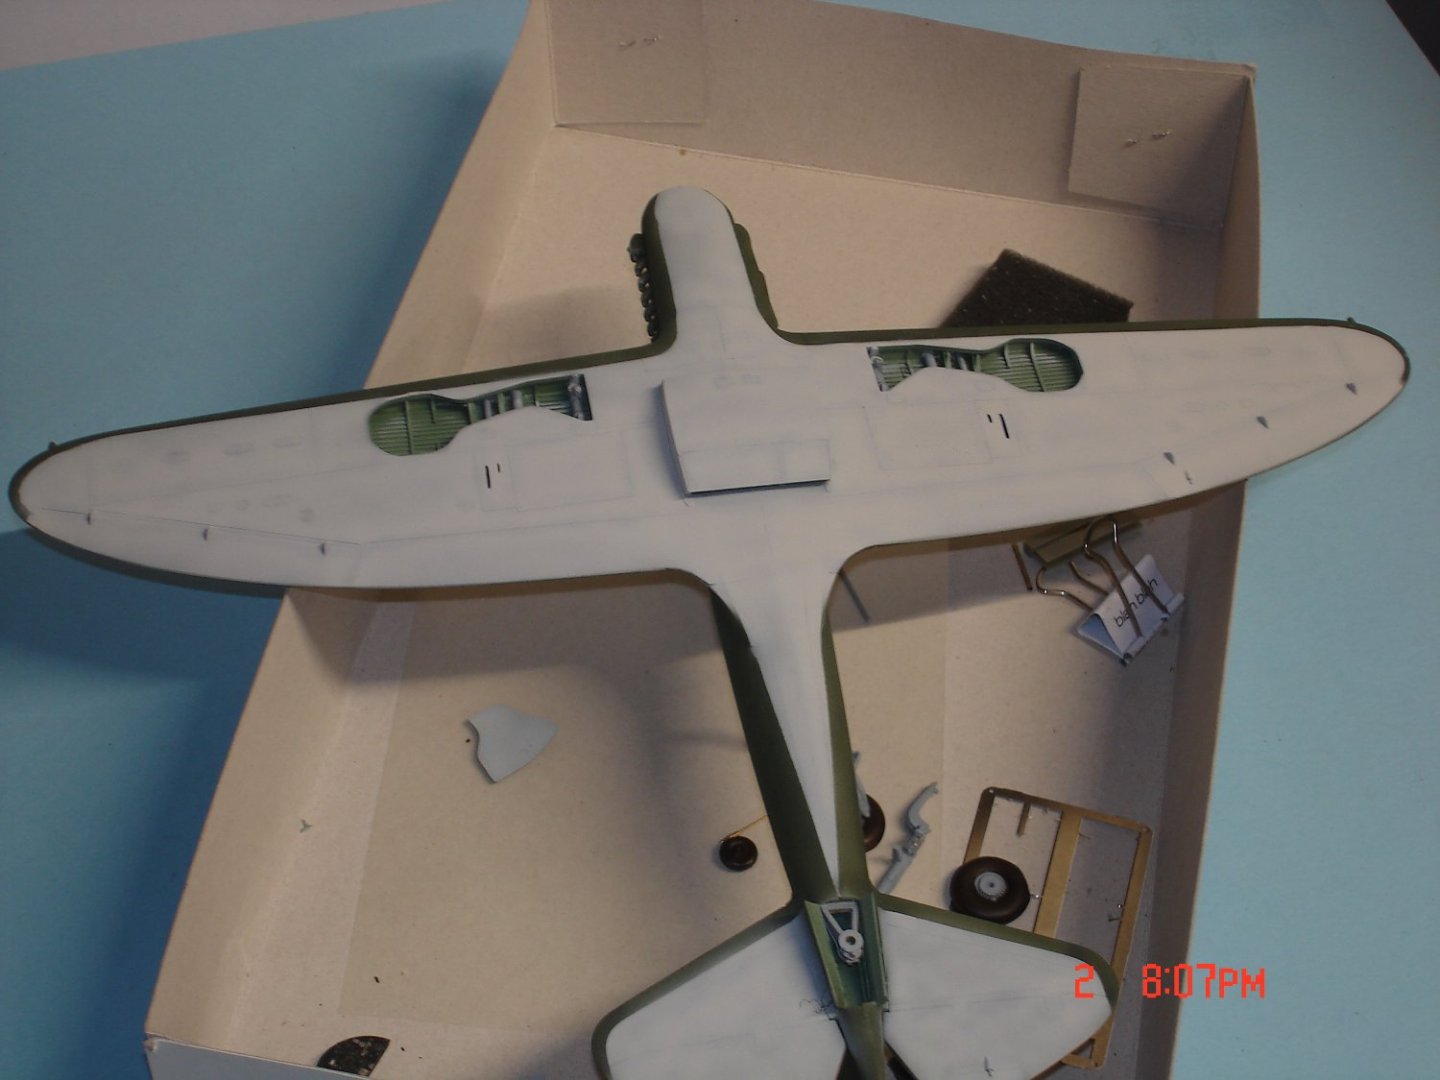
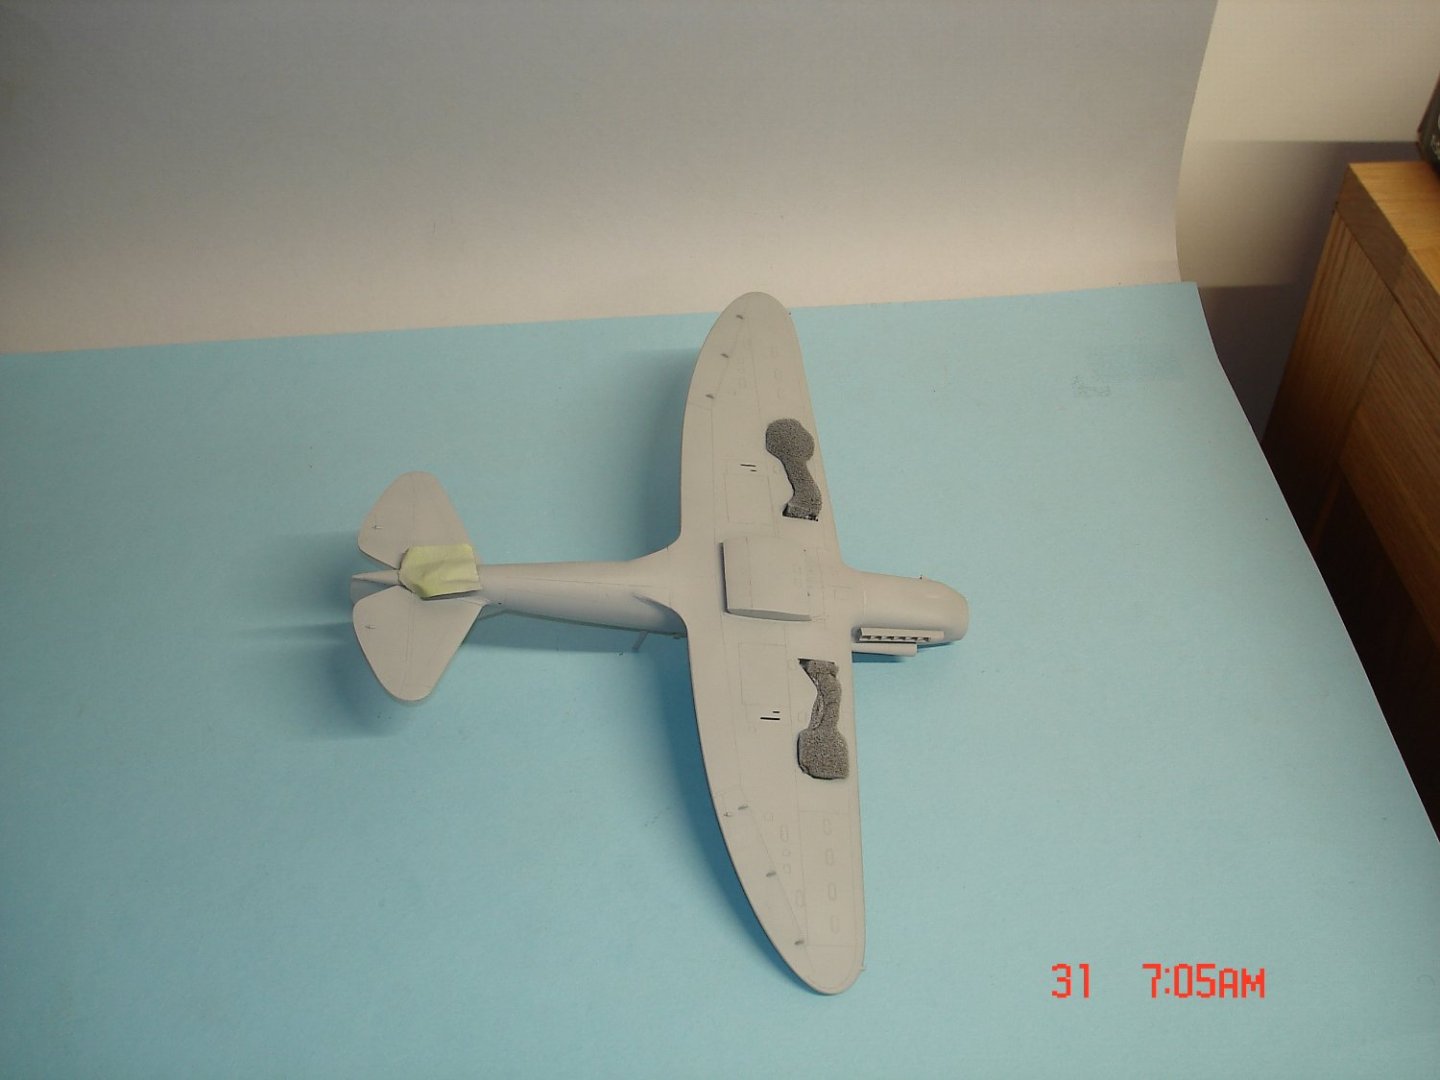
It's been slow working in the other side of the shop on a piece for Sis.The Re.2005 has been primer fit overall was pretty good for a limited -run kit I think my projection of the exhaust is a bit extreme should of looked at more pics of the real thing instead went with the positive stops of the mold.I tried to loosen with acetone and about brought the whole build to a halt I managed to save the build after several cracks to the nose were repaired.The MG's in the nose are from the spares box while they gave resin for the wings which will be discarded for metal tubing.I still need to see if I have a suitable color for the top in the stash.

- 38 replies
-
- 11
-
-
She is coming along Nicely Mike man I wish I could do 1/700 just so small.
-
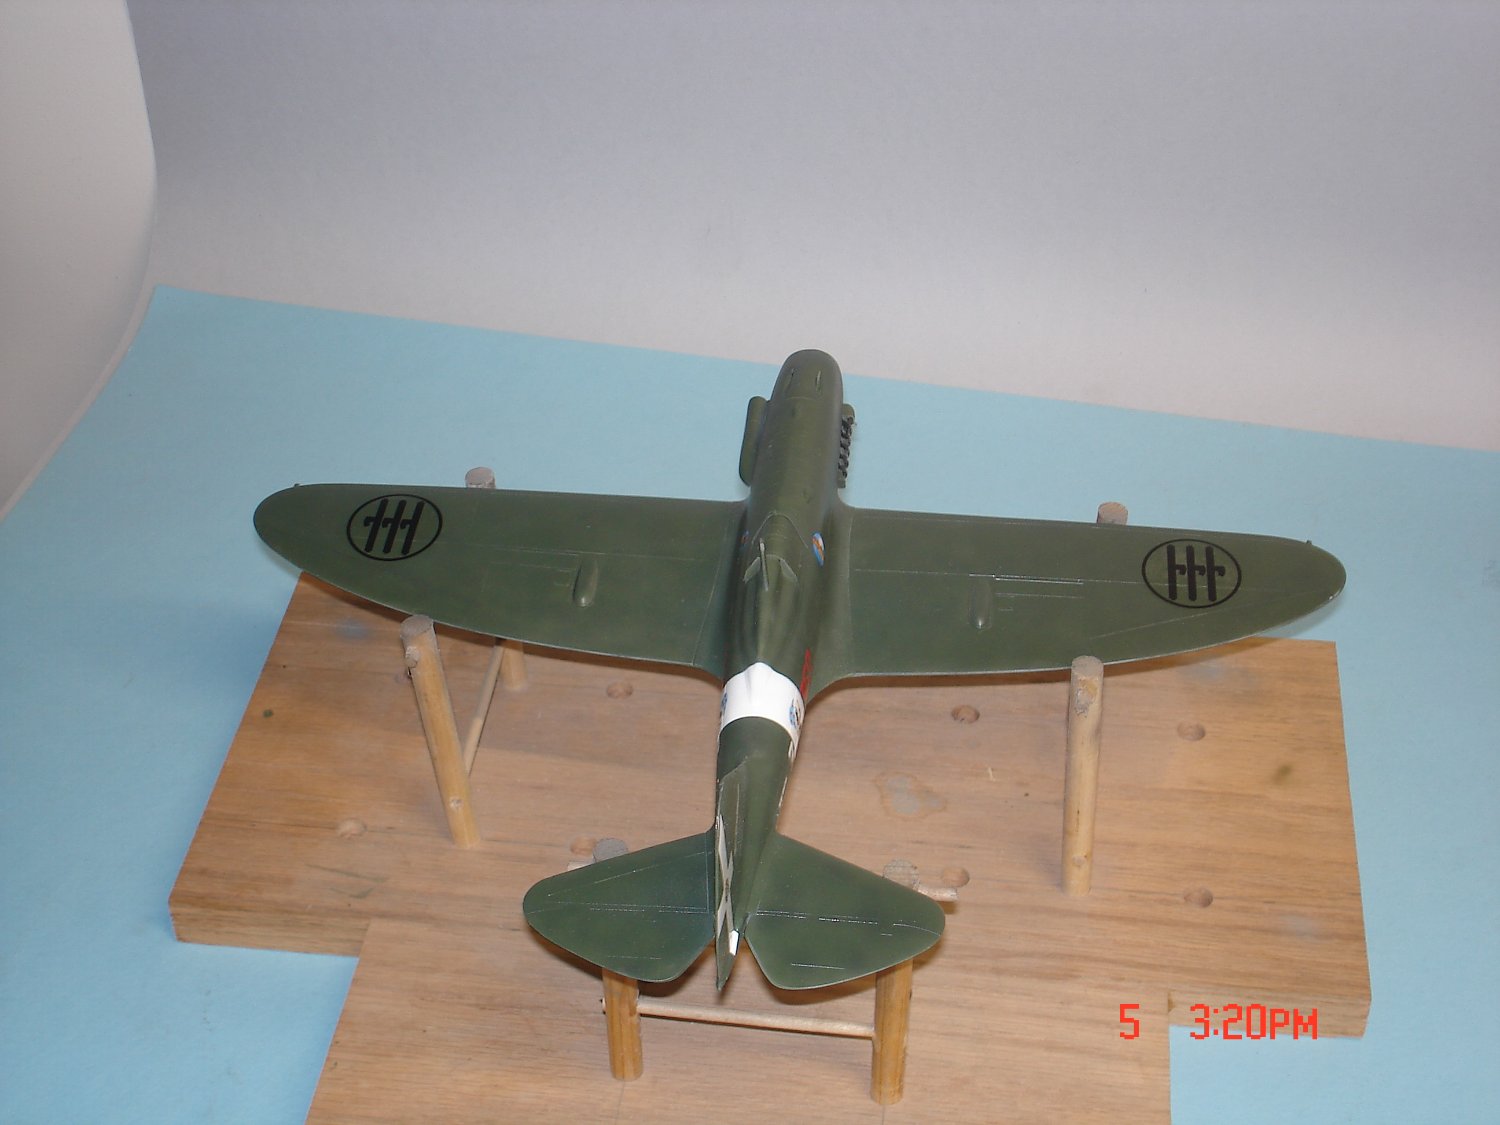
I have glued the wings up a bit of sanding on the top of the wheel wells on the one I had to repair that .010" made a difference but was accomplished.The fit between the wing and the fuselage is exceptional for now......their is no dihedral looks like maybe 10'tops got to fix that.I f#$% up the exhaust and I knew I should not of glued them really snug/tight fit they stick out to far.The instructions do not show how much and I moved them to the point of a positive stop on the mold.I also made some bolts for the oleo's that were lost in removing them from casting block and will add hydraulics to the LG.I am still thinking when all said and done she will look good.


- 38 replies
-
- 13
-
-
Not that one I heard that one is a bear.