HOLIDAY DONATION DRIVE - SUPPORT MSW - DO YOUR PART TO KEEP THIS GREAT FORUM GOING! (Only 24 donations so far out of 49,000 members - C'mon guys!)
×


Javlin
-
Posts
1,681 -
Joined
-
Last visited
Content Type
Profiles
Forums
Gallery
Events
Everything posted by Javlin
-
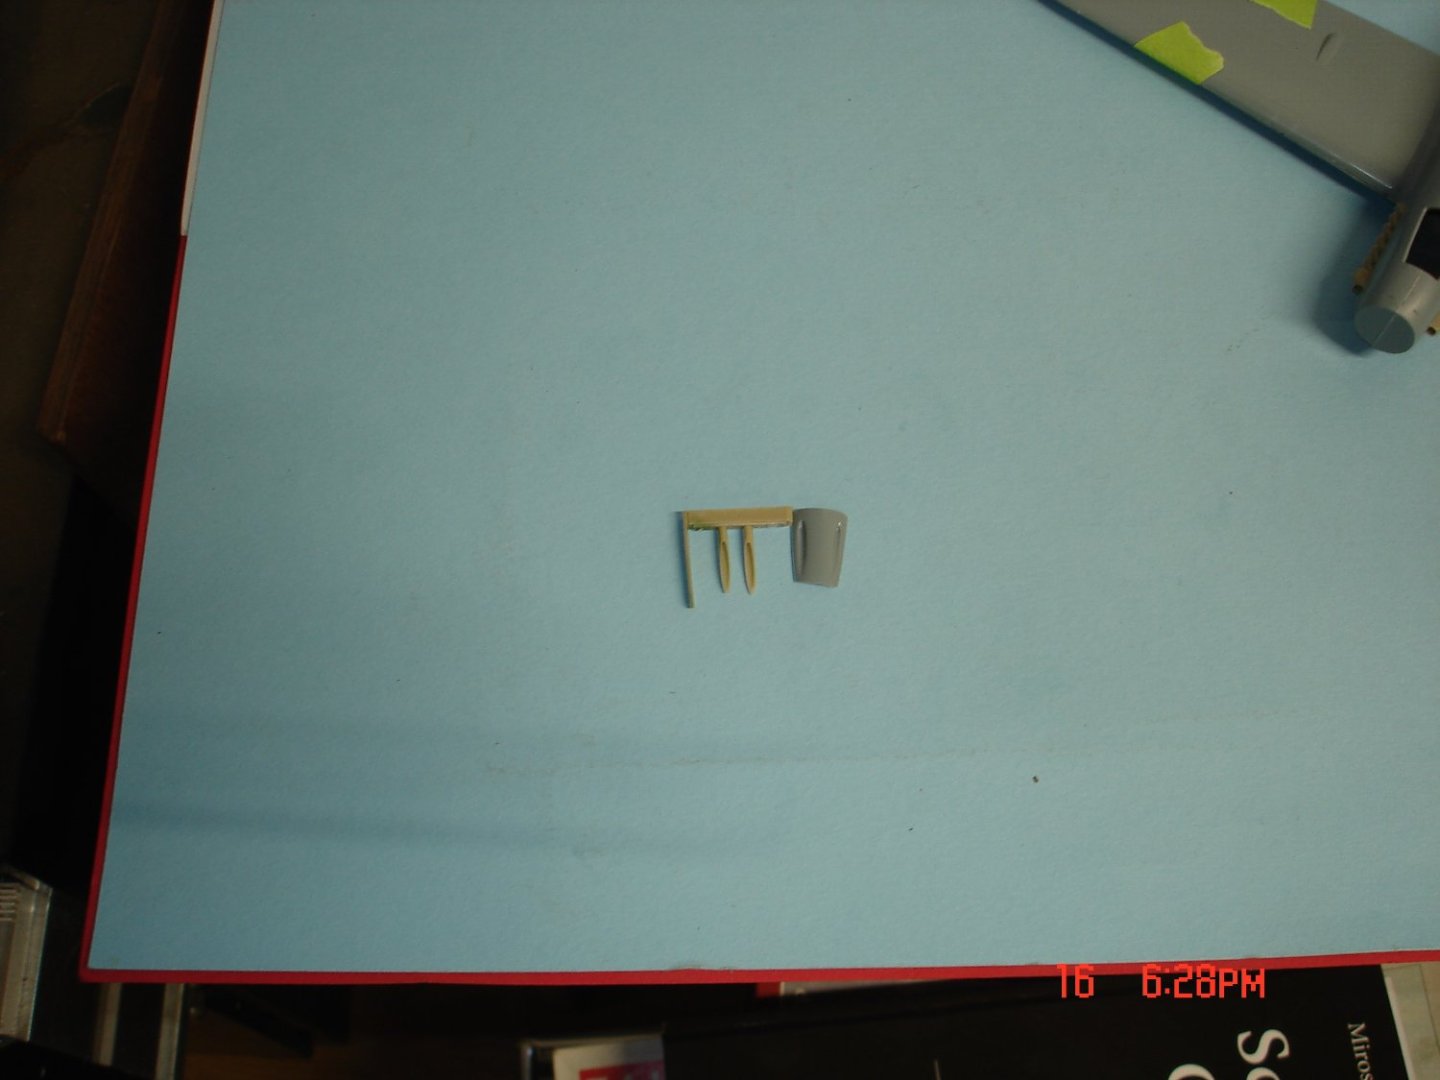
I got the 202 also Craig.The one gun fairing is in one to go thinking of inserting some metal barrels if the originals protruded enough.
-
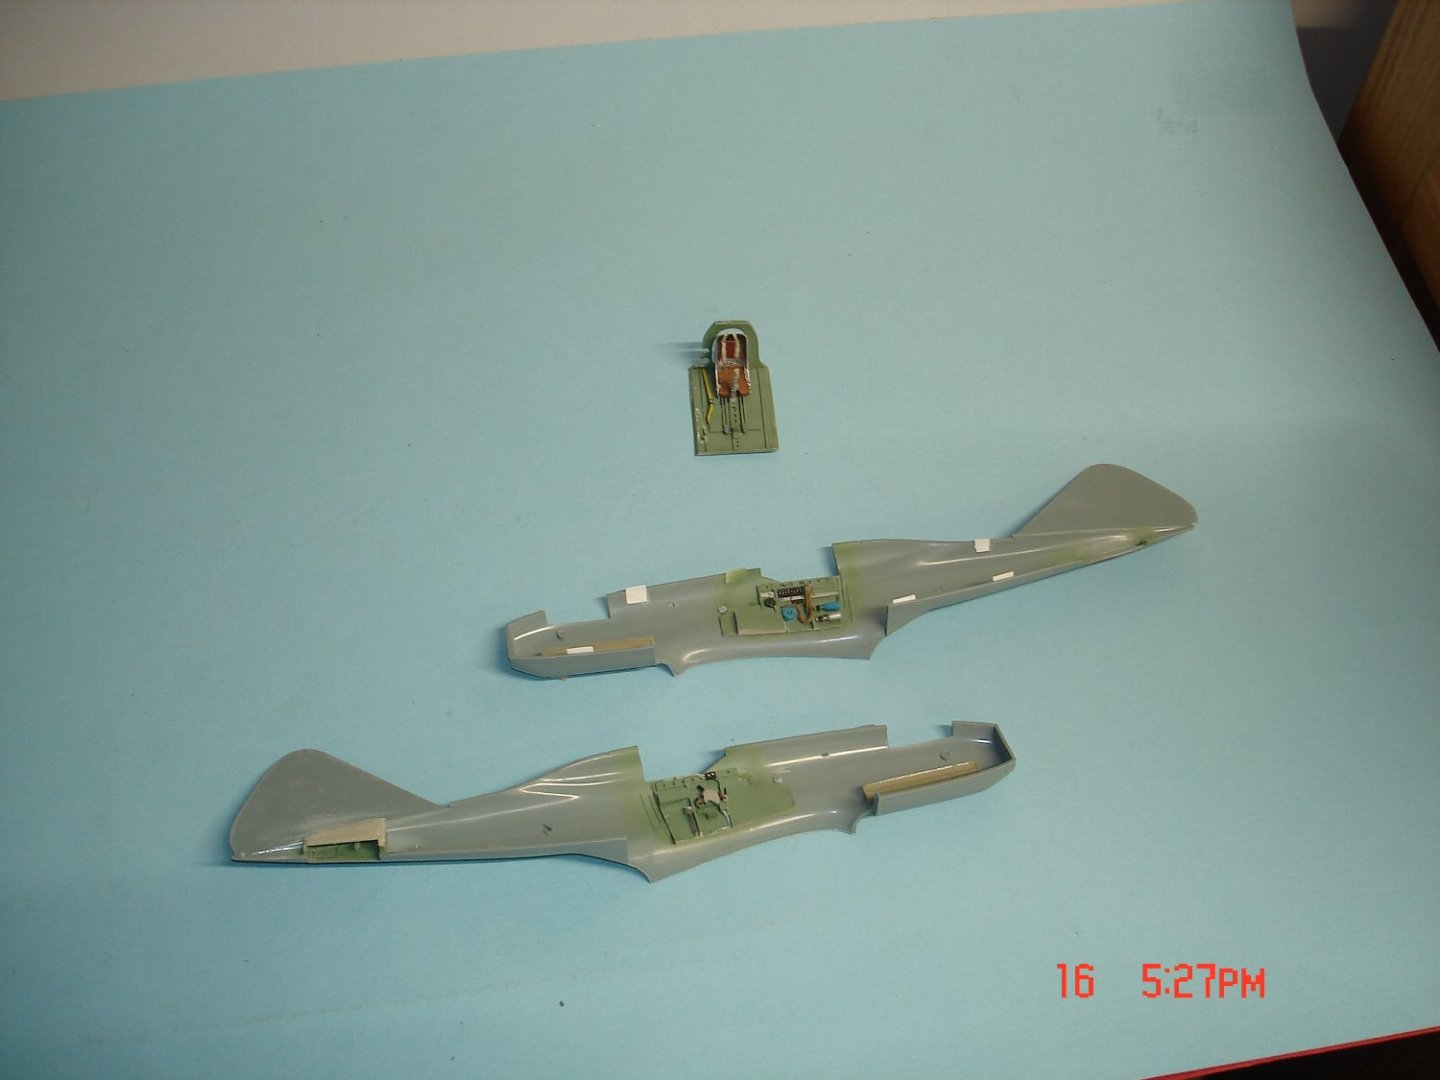
OK a couple more pics are started cleaning up the fuse wingroots look good have clearance from the copit tub and lower wing I cleaned enough off the wing.The second pic is the scary part dremel off the molded and insert the resin resin looks much better and realistic but I am going there maybe a little metal mg's?
- 38 replies
-
- 10
-

-
The fuse is getting closed up tonight not much of an update have that feeling ready to move on.I had to cut the back half of the tanks to build this way just to much gap between the copit walls and the fuselage.I broke the rudder pedals off have to reattach not that anybody will ever see them a tight copit.FYI the tailwheel housing sat right on a pour plug has to be removed I think I have 35/45 sanding to get a good fit and paper thin in some areas .
- 38 replies
-
- 10
-
-
I have built the G-55 it was pretty straight forward and easy this one also.I have an update coming but life has been getting in the way lately.The only thing about PCM is they were short run kits and the panel engraving is not like what we have today but they do look the part.
-
F-86F-30 Sabre by Egilman - Kinetic - 1/32nd scale
Javlin replied to Egilman's topic in Non-ship/categorised builds
I do not know why EG but those brakes look baD ***!! -
On Hold - Nakajima Type KO 3 by CDW - Answer - 1:33 Scale - CARD
Javlin replied to CDW's topic in Non-ship/categorised builds
I like the looks thus far Craig. -
I always felt EG the delineation between straight/fuzzy comes down alot to the scale of the subject and 1/72 was always straight in my book.The crate is looking Nice Andrew!
-
That came out Quite Nice Alan!!
-
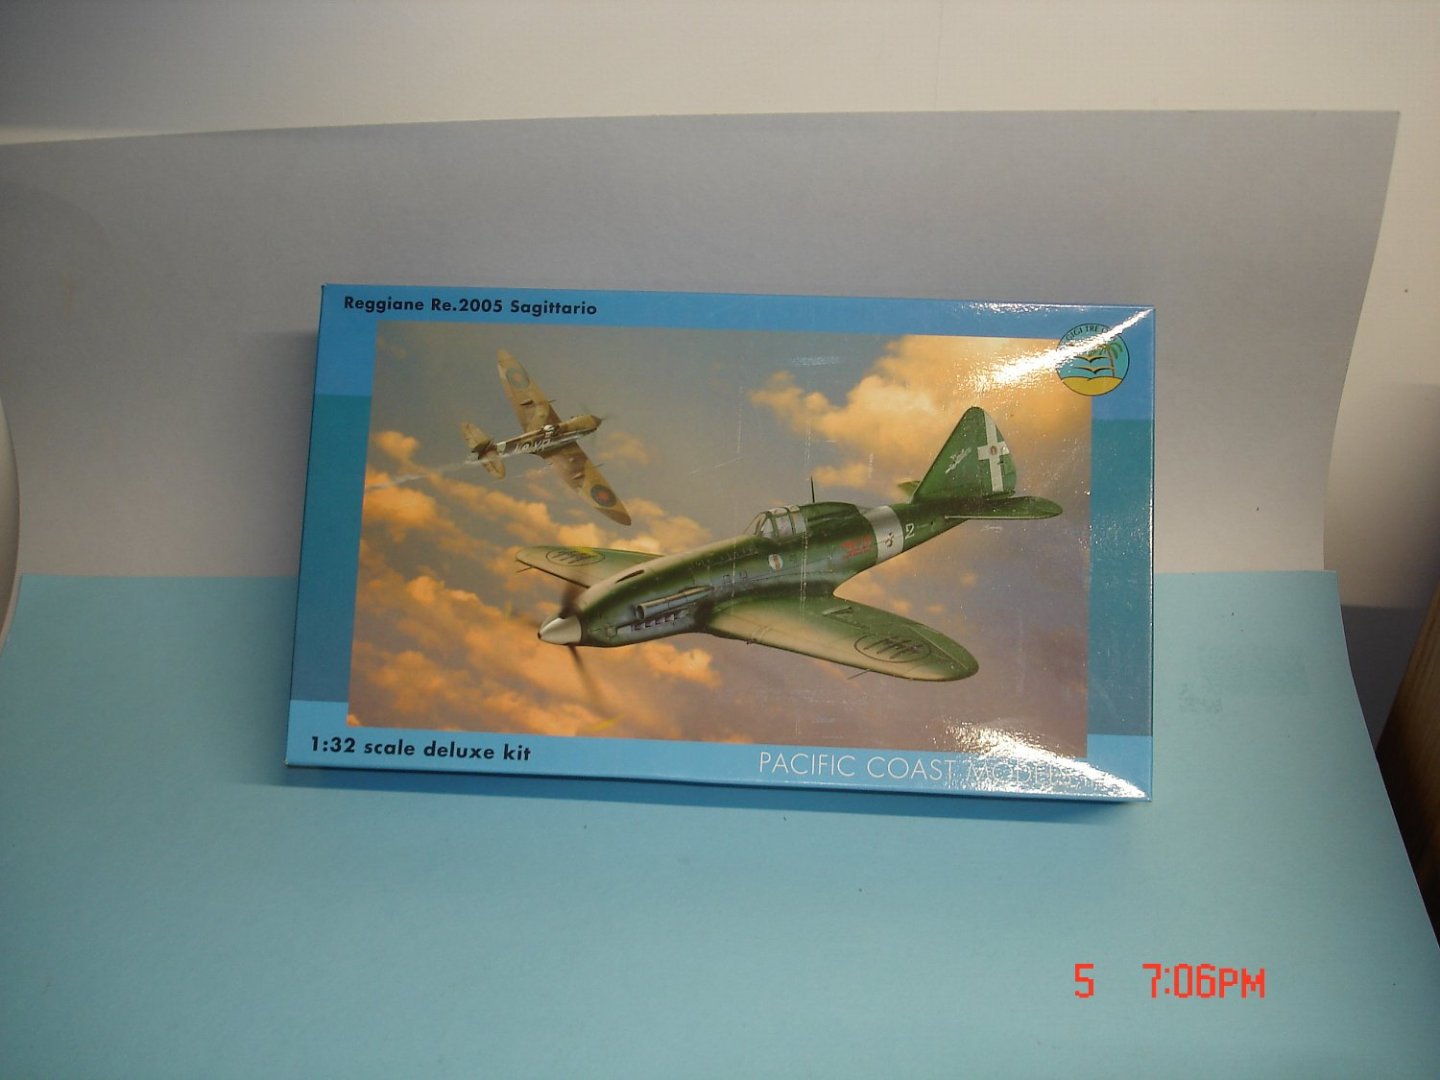
A fast little crate at that published as 391MPH.Interesting discussion not certain I believe all the dribble though. http://www.aviastar.org/air/italy/reggiane_sagittario.php Re.2005 Specifications Wingspans 36 ft 1 in / 11 m Length 28 ft 7 in / 8,7 m Height 10 ft 4 in / 3.15 m Wing Area 220 ft² / 20.4 m² Engine One Fiat R.A.1050 RC.58 12-cylinder 1475 hp engine Empty Weight 5732 lbs / 2.600 kg Maximum Takeoff Weight 7.960 lbs / 3.610 kg Fuel Capacity 580 + 440 l Climb to 8 km (19,700 ft) 7 minutes 50 seconds Maximum Speed 390 mph / 630 km/h Cruising speed 319 mph / 515 km/h Range 776 mile / 1.250 km
- 38 replies
-
- 10
-
-
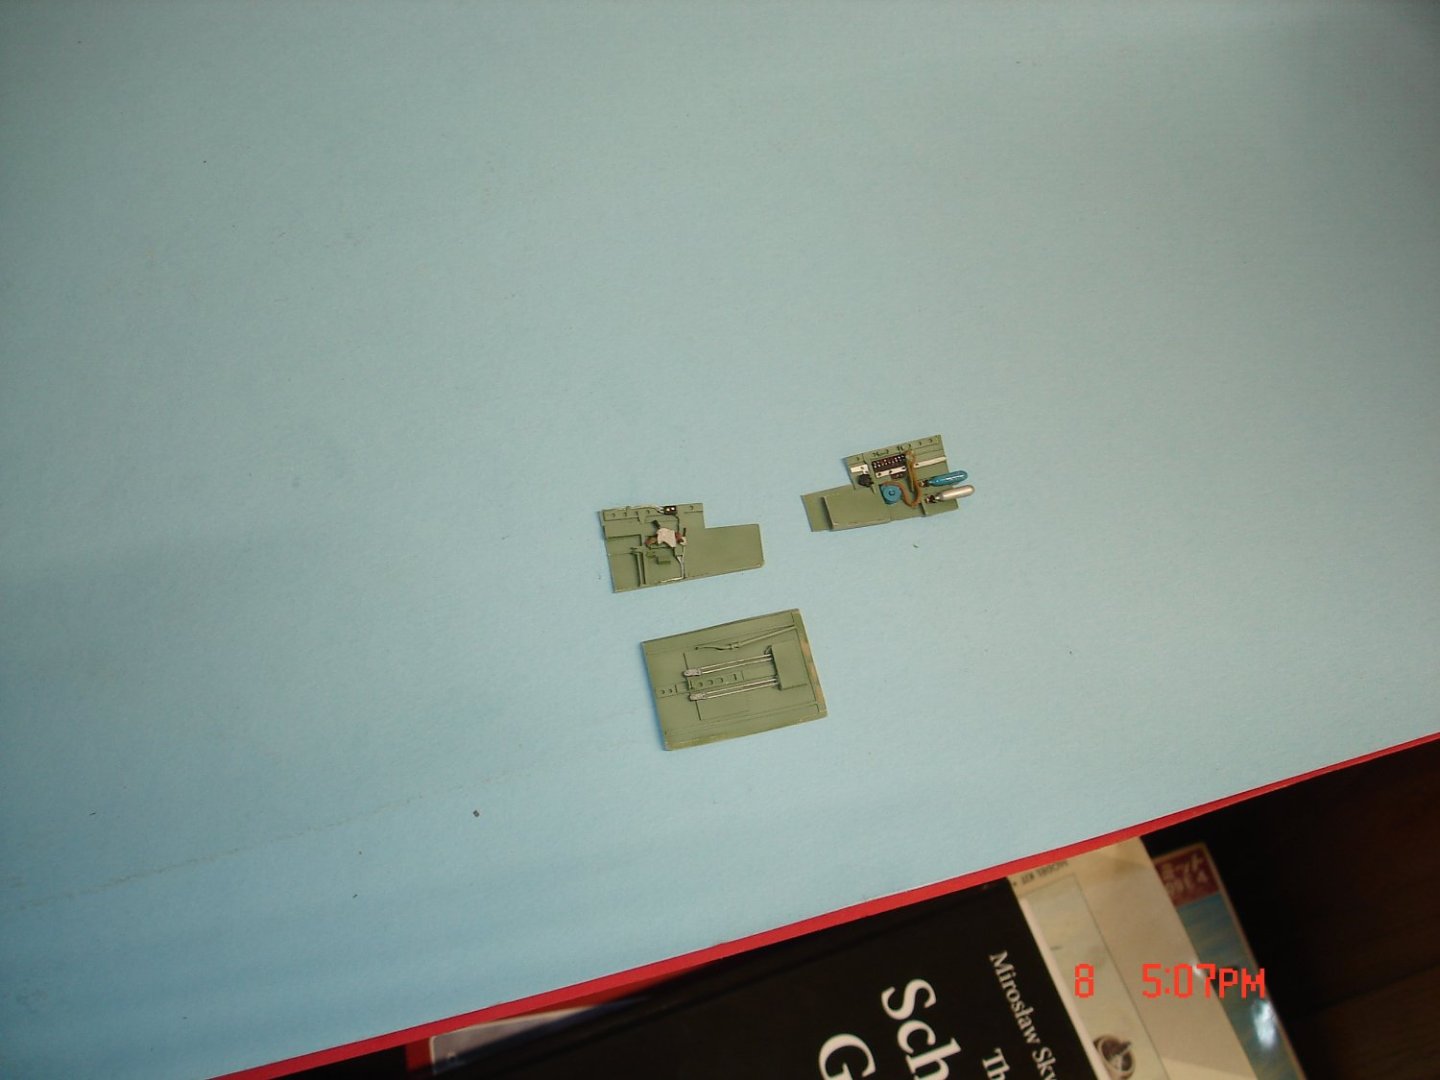
I appreciate the interest and all this is only my second PCM to build the G/55 was the last one I did.I just about have the sidewalls completed paint-wise some by the instructions for color switches and stuff will let's say fantasy some what?I started doing a little test fitting the firewall behind the pilot seat has a decent incline molded into it looked to much it was.I taped the fuselage together put the firewall in with it aligning with the headrest(trim).I then after some determination changed that angle and tack the floor in place.I also wanted to check clearance between the floor and upper part of the radiator built into the lower wing looks good thus far.It looks like the copit can be assembled as per instruction as a module and slide in place...fingers crossed.Hey guys on the floor board right side does that look like a fuel line?
- 38 replies
-
- 12
-
-
On Hold - Nakajima Type KO 3 by CDW - Answer - 1:33 Scale - CARD
Javlin replied to CDW's topic in Non-ship/categorised builds
I expect to see this build completed by tomorrow Craig it took this guy all of 6:29m/s to get his in the air.By the way I think this is Chris's way of building he thinks about it. -
Cool Alan like it whether 46 Luft or not neat ideas abound!
-
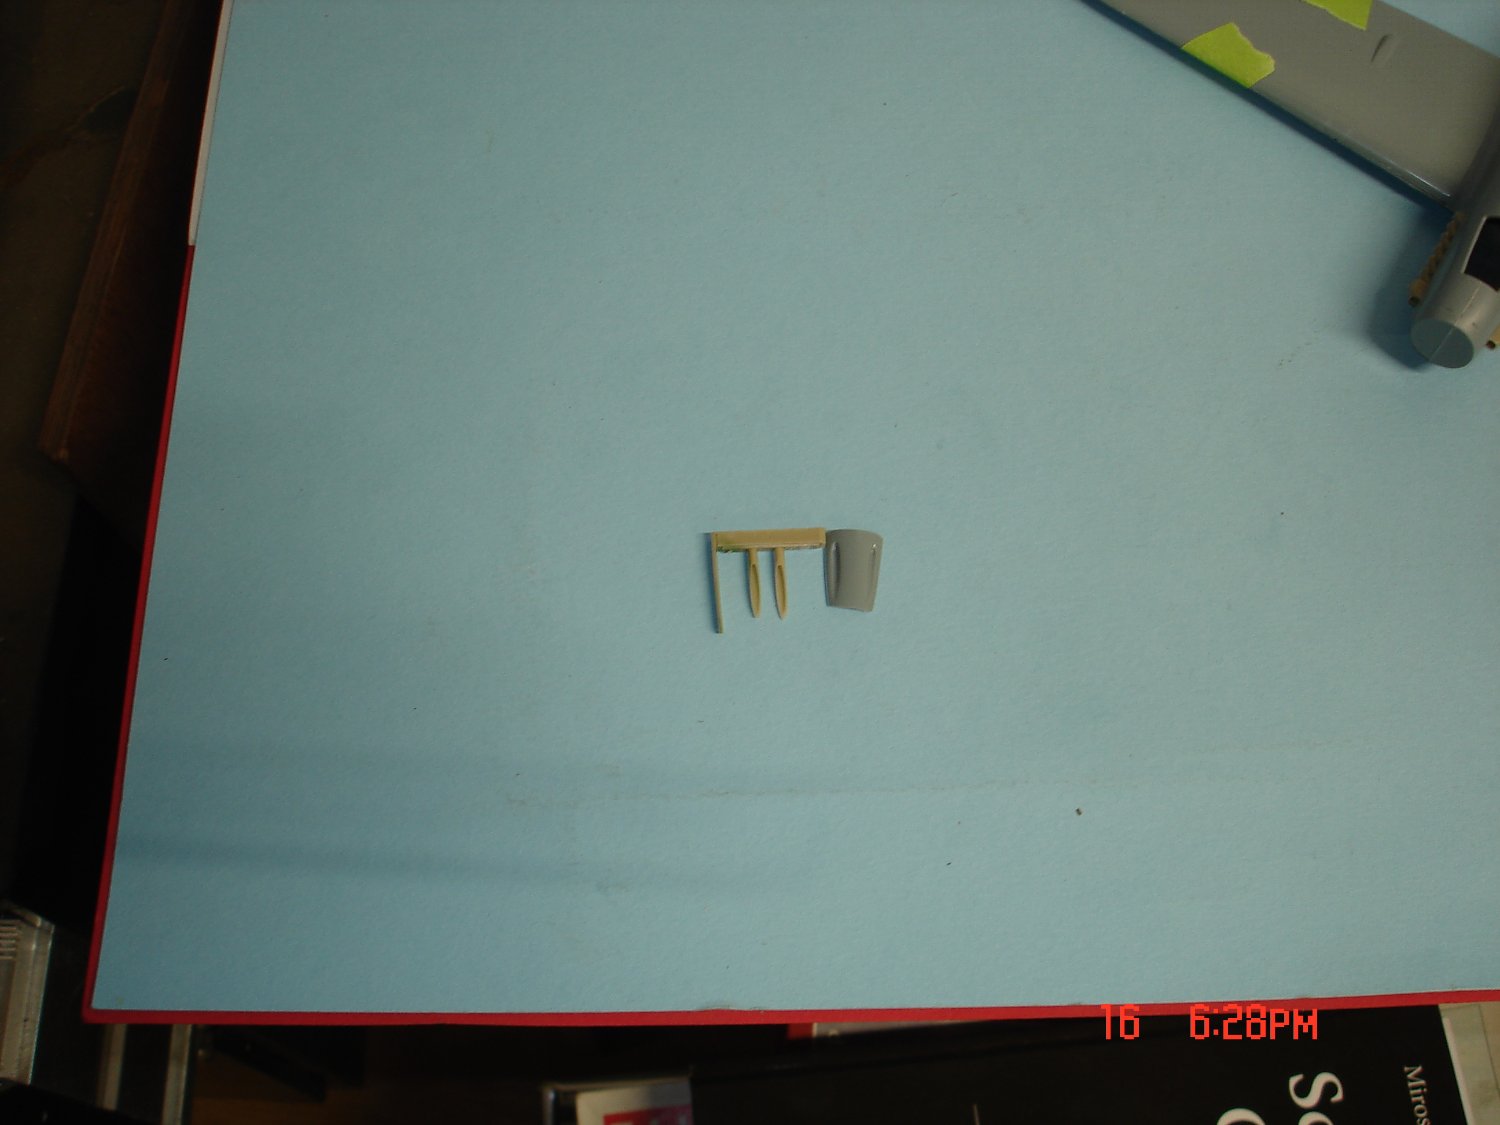
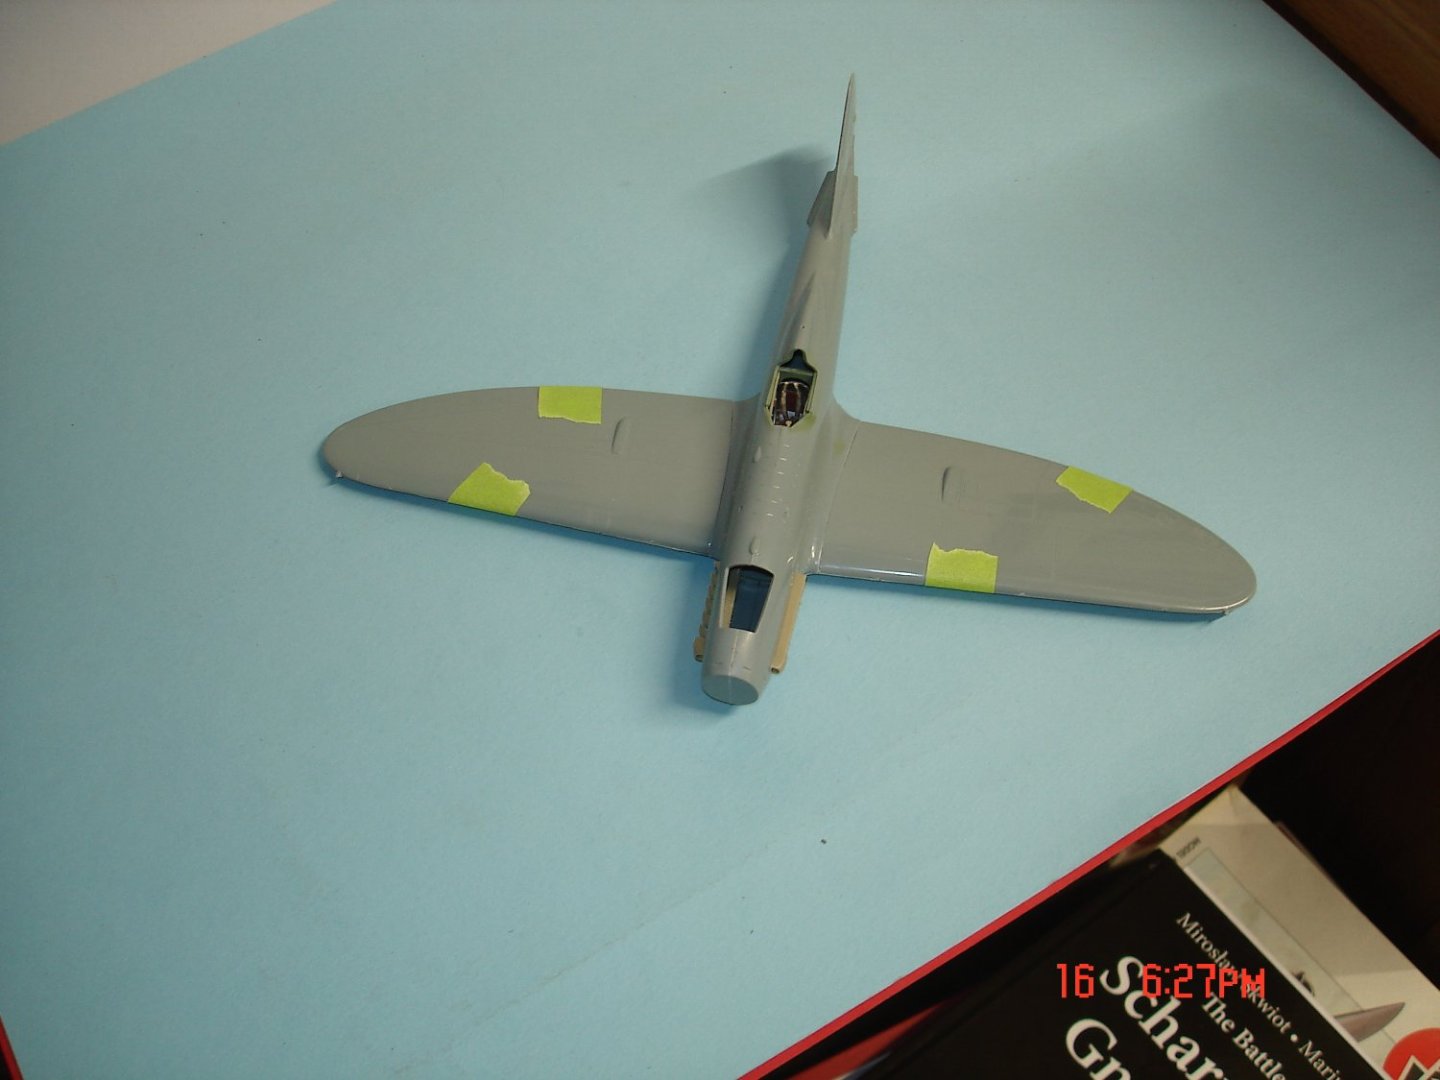
While I am waiting for more accessories from HobbyLink Japan for the Scharnhorst thought I start on a quick easy build figuring 3/4 weeks maybe?I first had to repair a screw-up from some years ago weras I fell asleep at the bandsaw cutting off the resin pour I spent about 45 minutes this evening fixing the wheel well with .010 flat card and some .010 round stock it went well enough.The parts have been cleaned with alcohol and primer is drying as I type.The decals allow me a couple planes from that squadron and one other the boxart being the best.The PCM kits are limited run kits with no mounting holes anywhere but they are of interesting subjects I have the Mc-202 in the stash also .........smoke rings..........

- 38 replies
-
- 13
-
-
Thanks Craig!I am trying to figure what plane to bring to show now.I know the He-111 in the MTO is going for 1/48 but 1/32?? Kevin
-
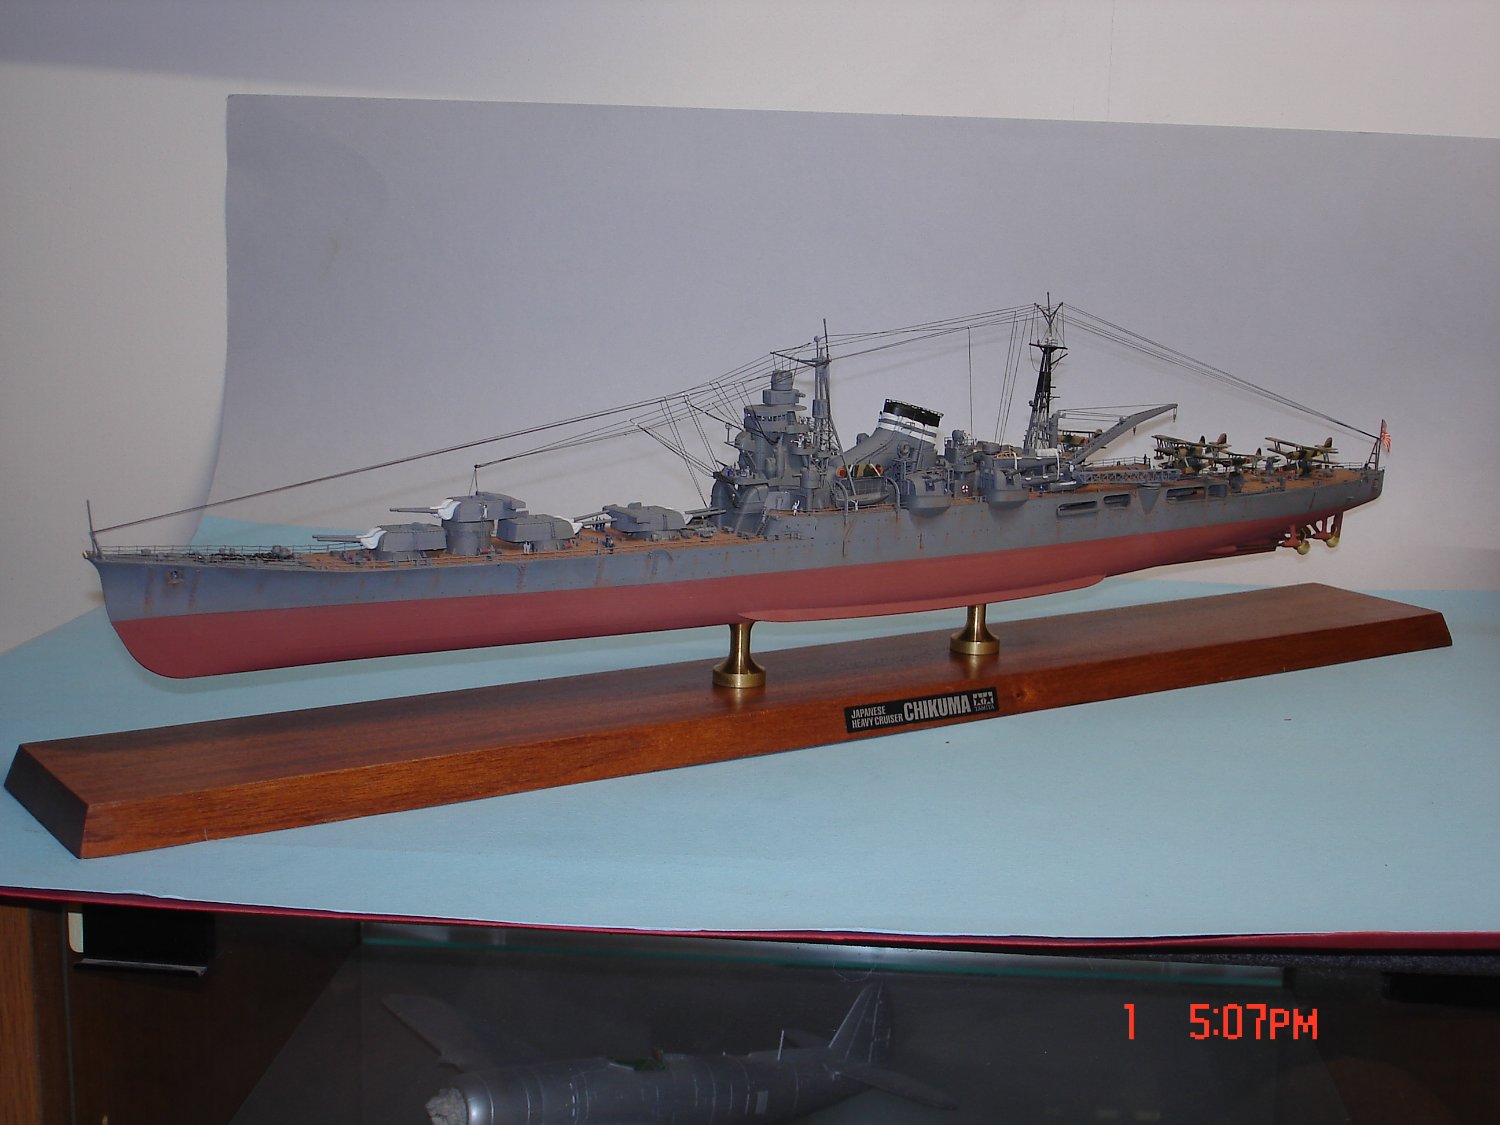
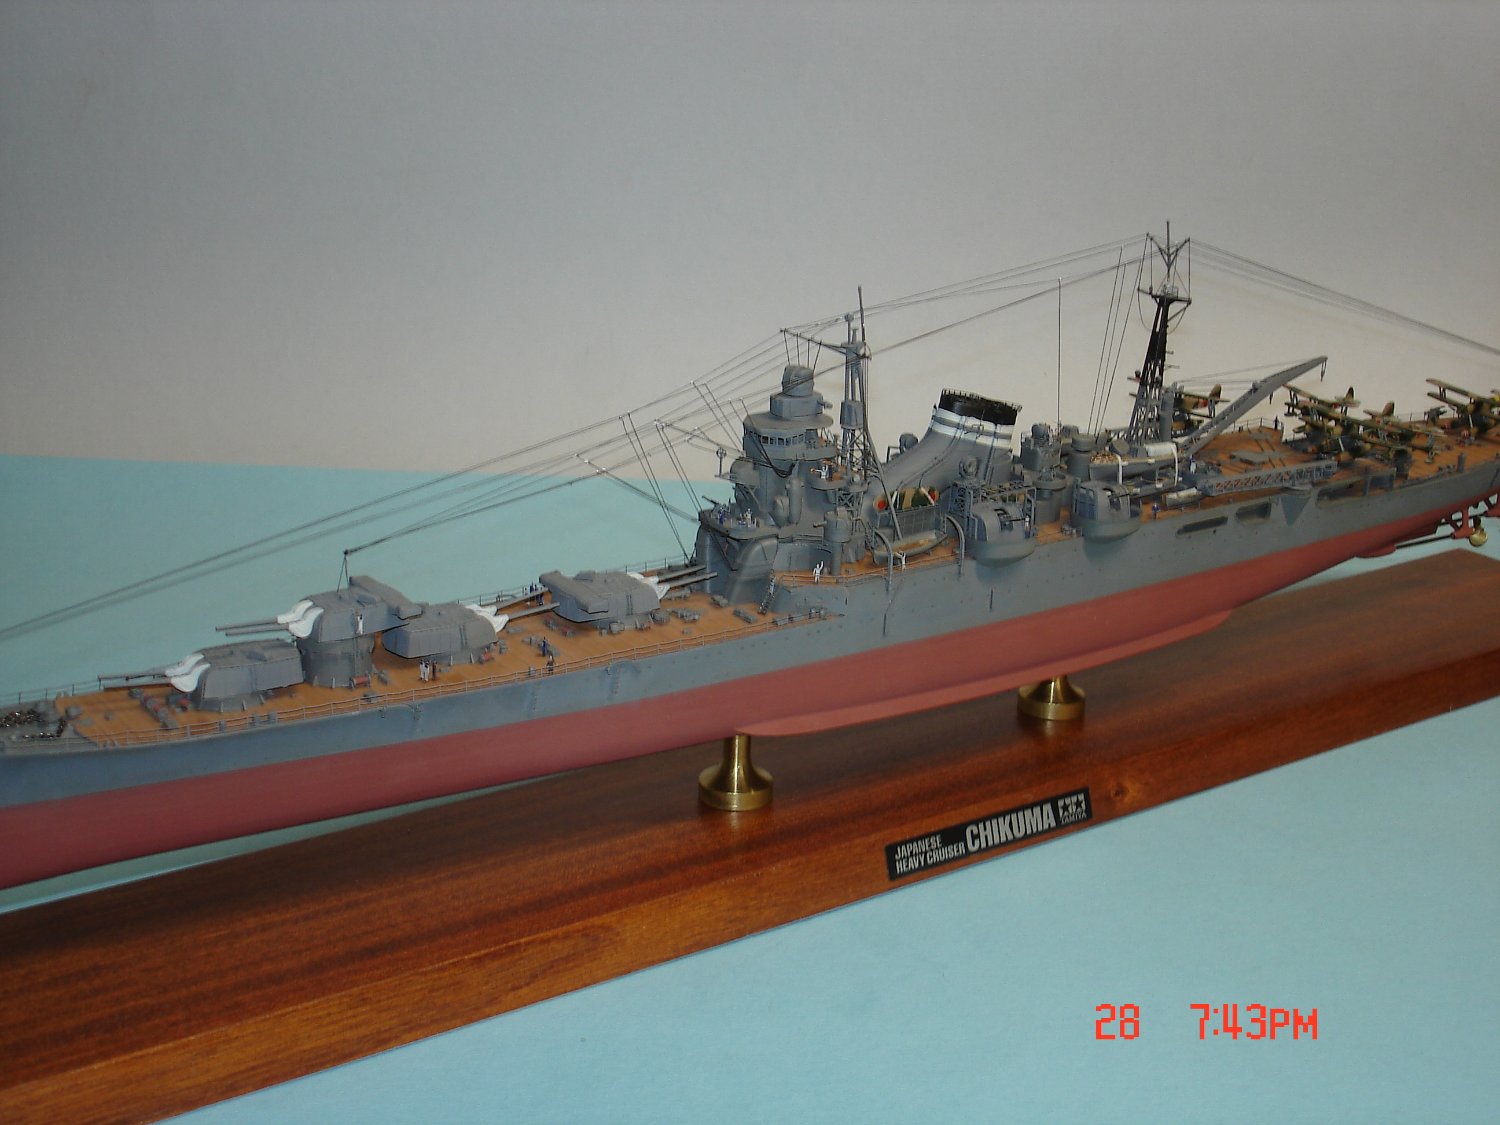
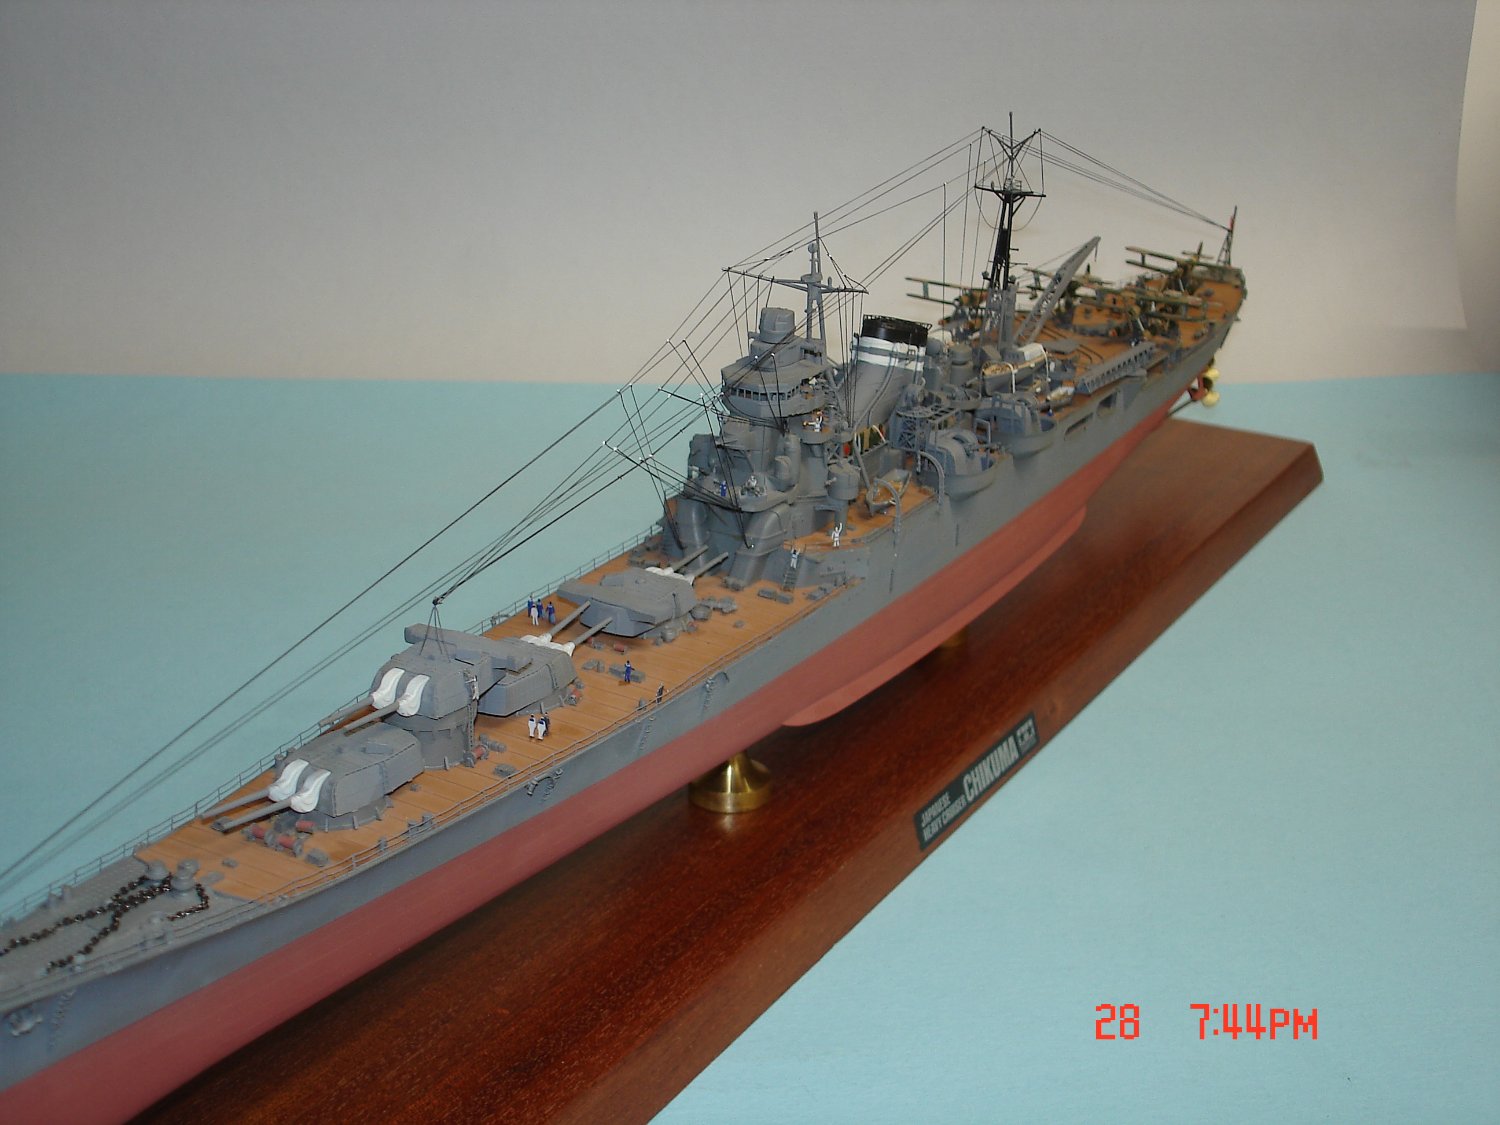
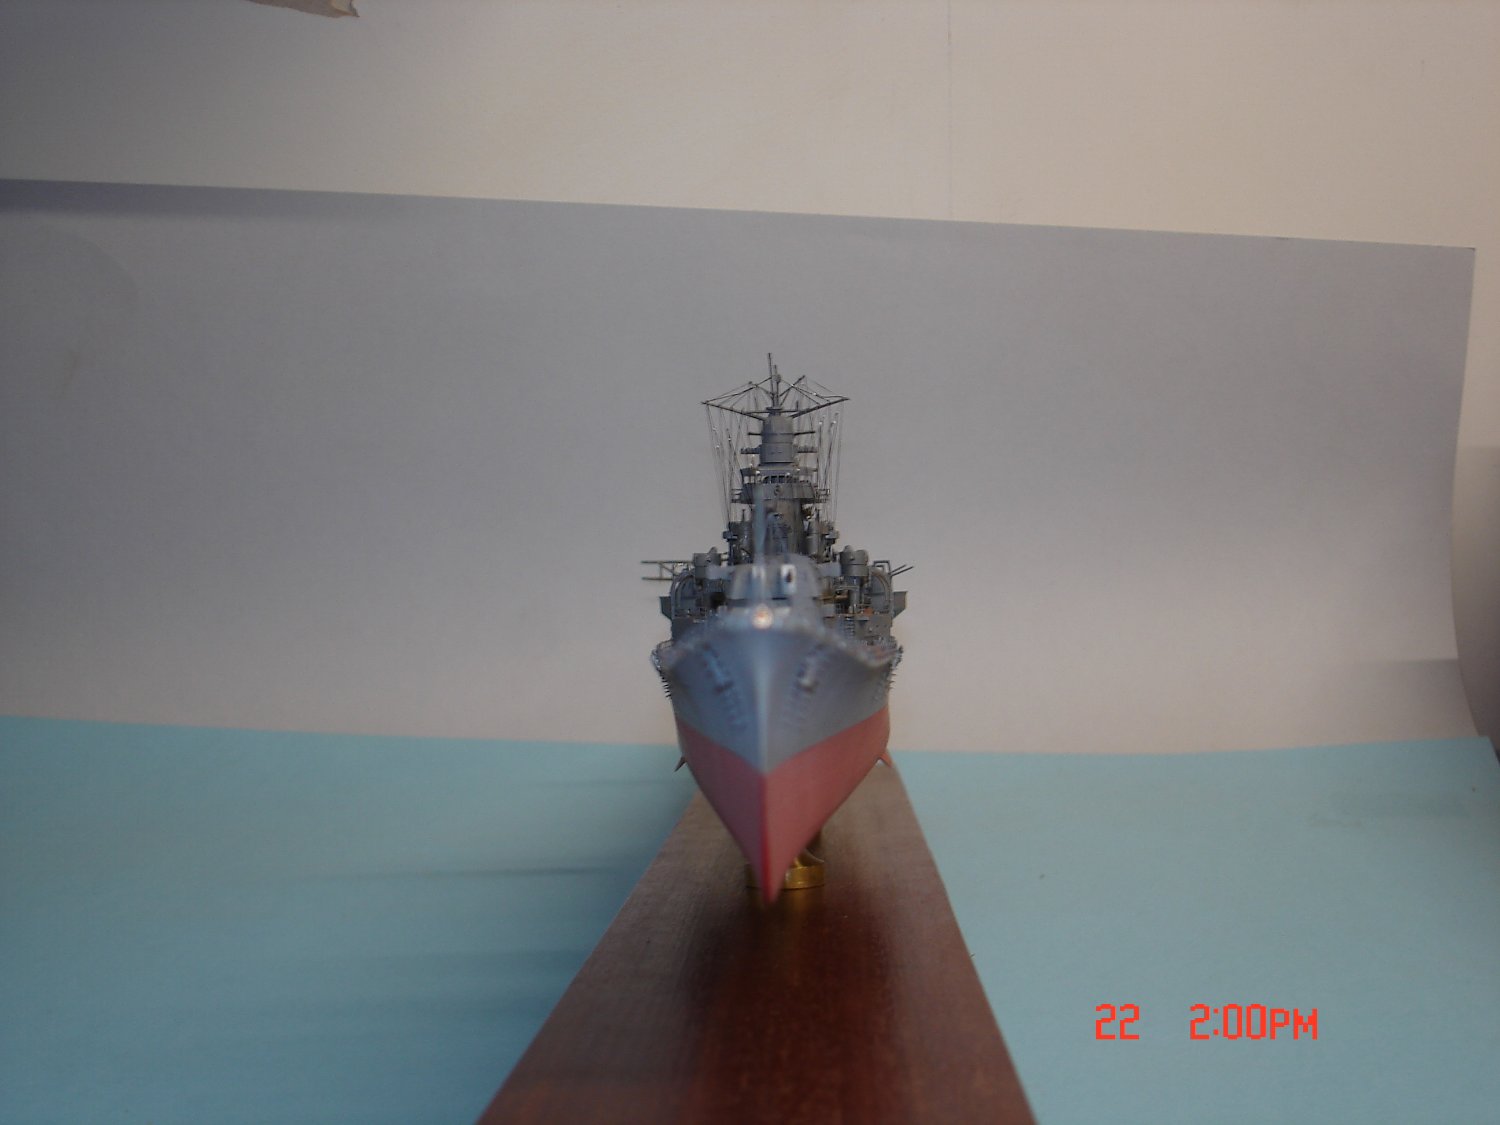
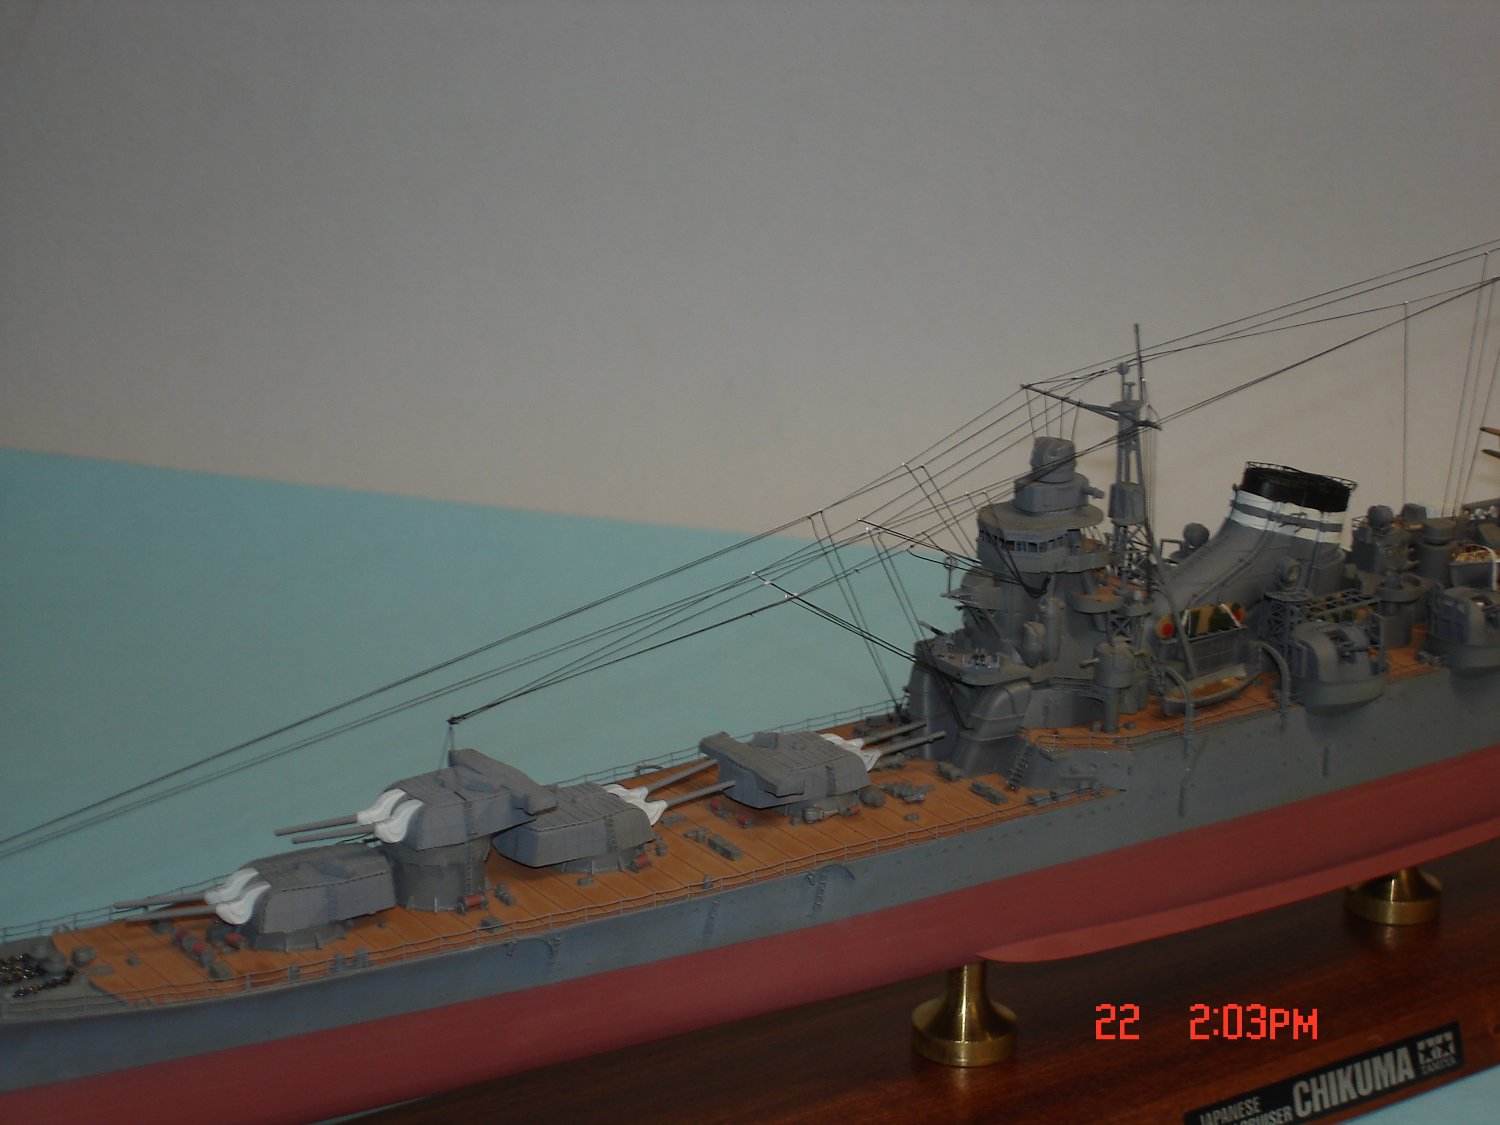
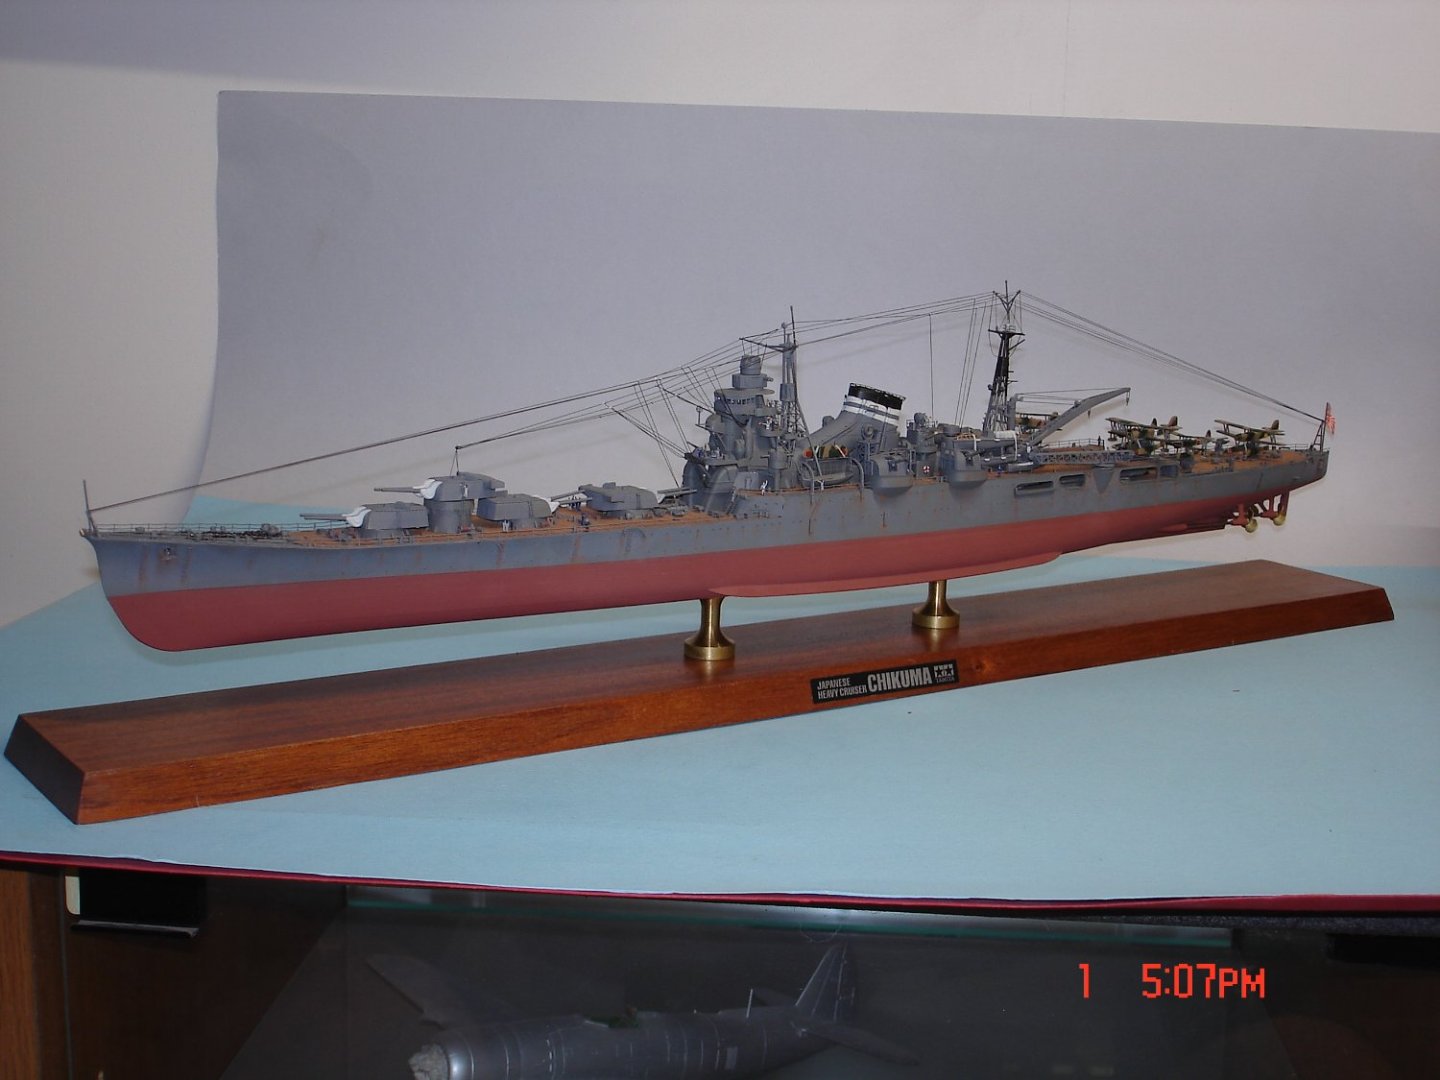
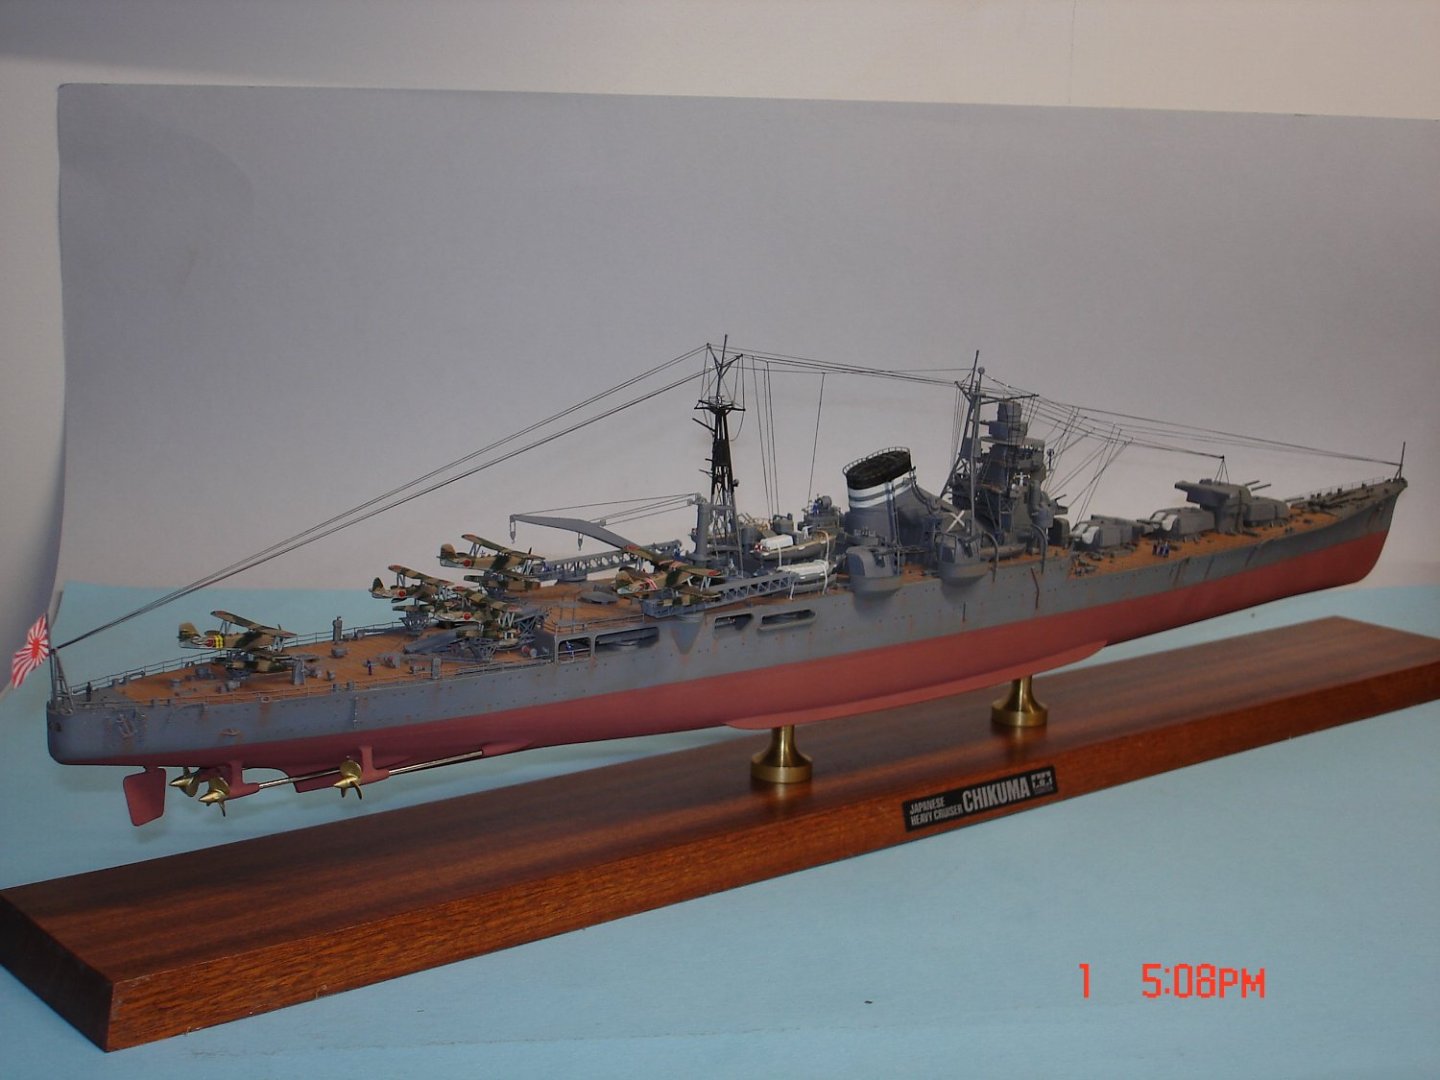
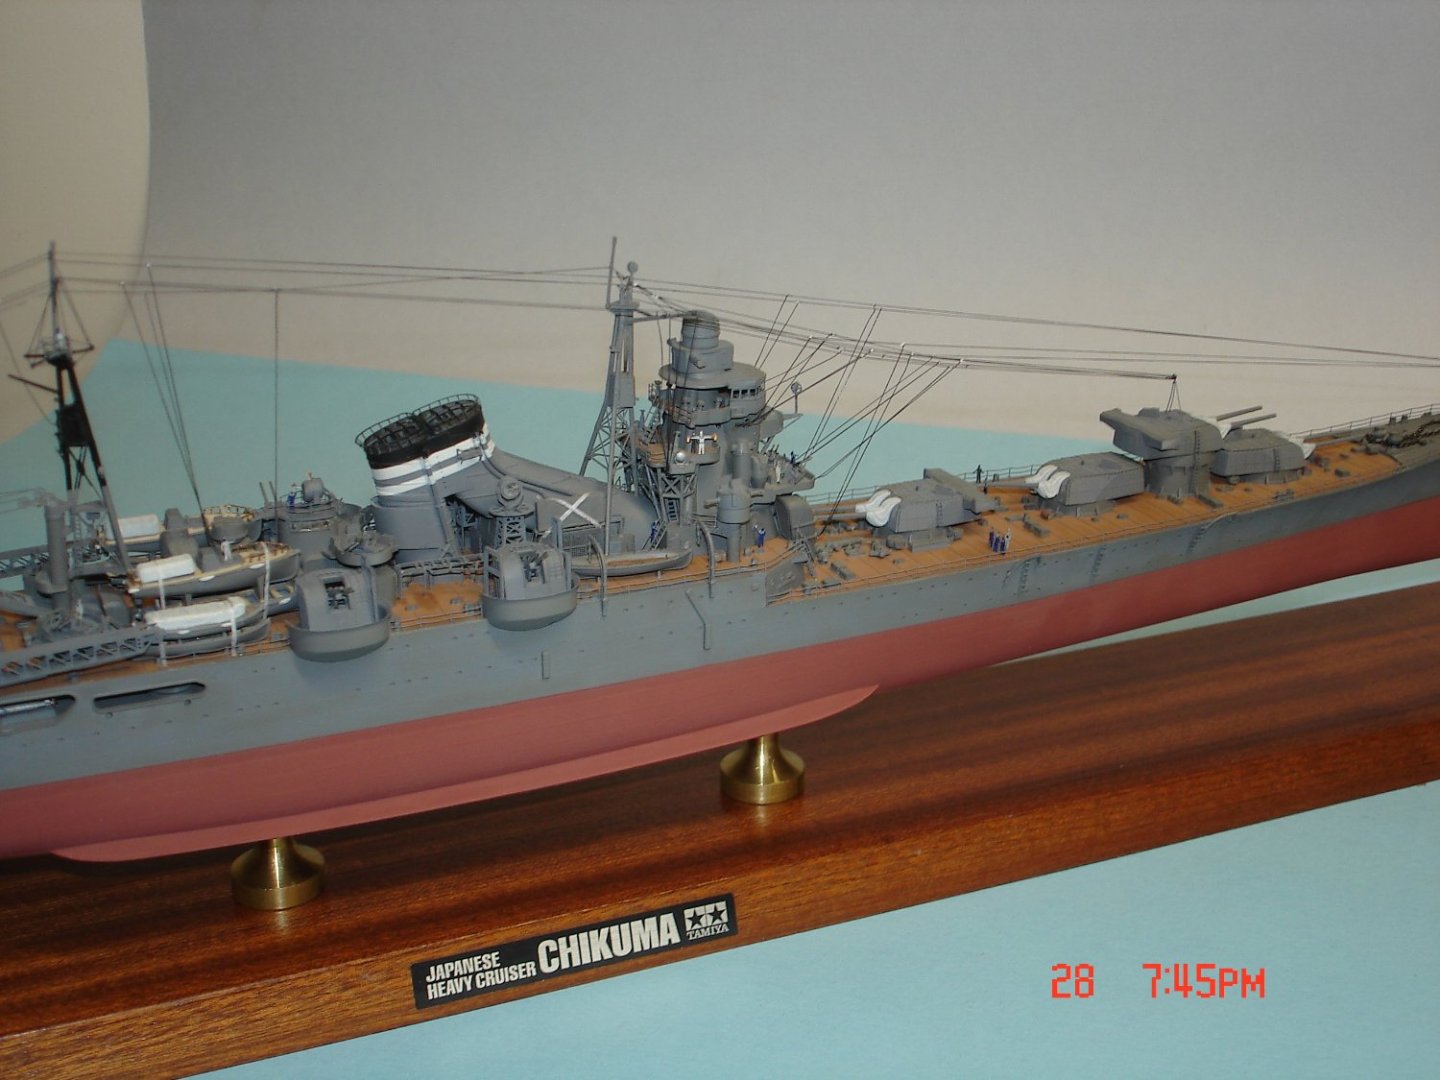
This one is finished and ready for the show.I went a very light rust for a ship probably could of gone lighter seeing I did nothing with the deck area but it was to be a clean build but once men hit the decks that changed. FYI when I over did the rust I used those rubber brushes to remove it it worked frigg'in excellent!!

- 115 replies
-
- 10
-

-
-
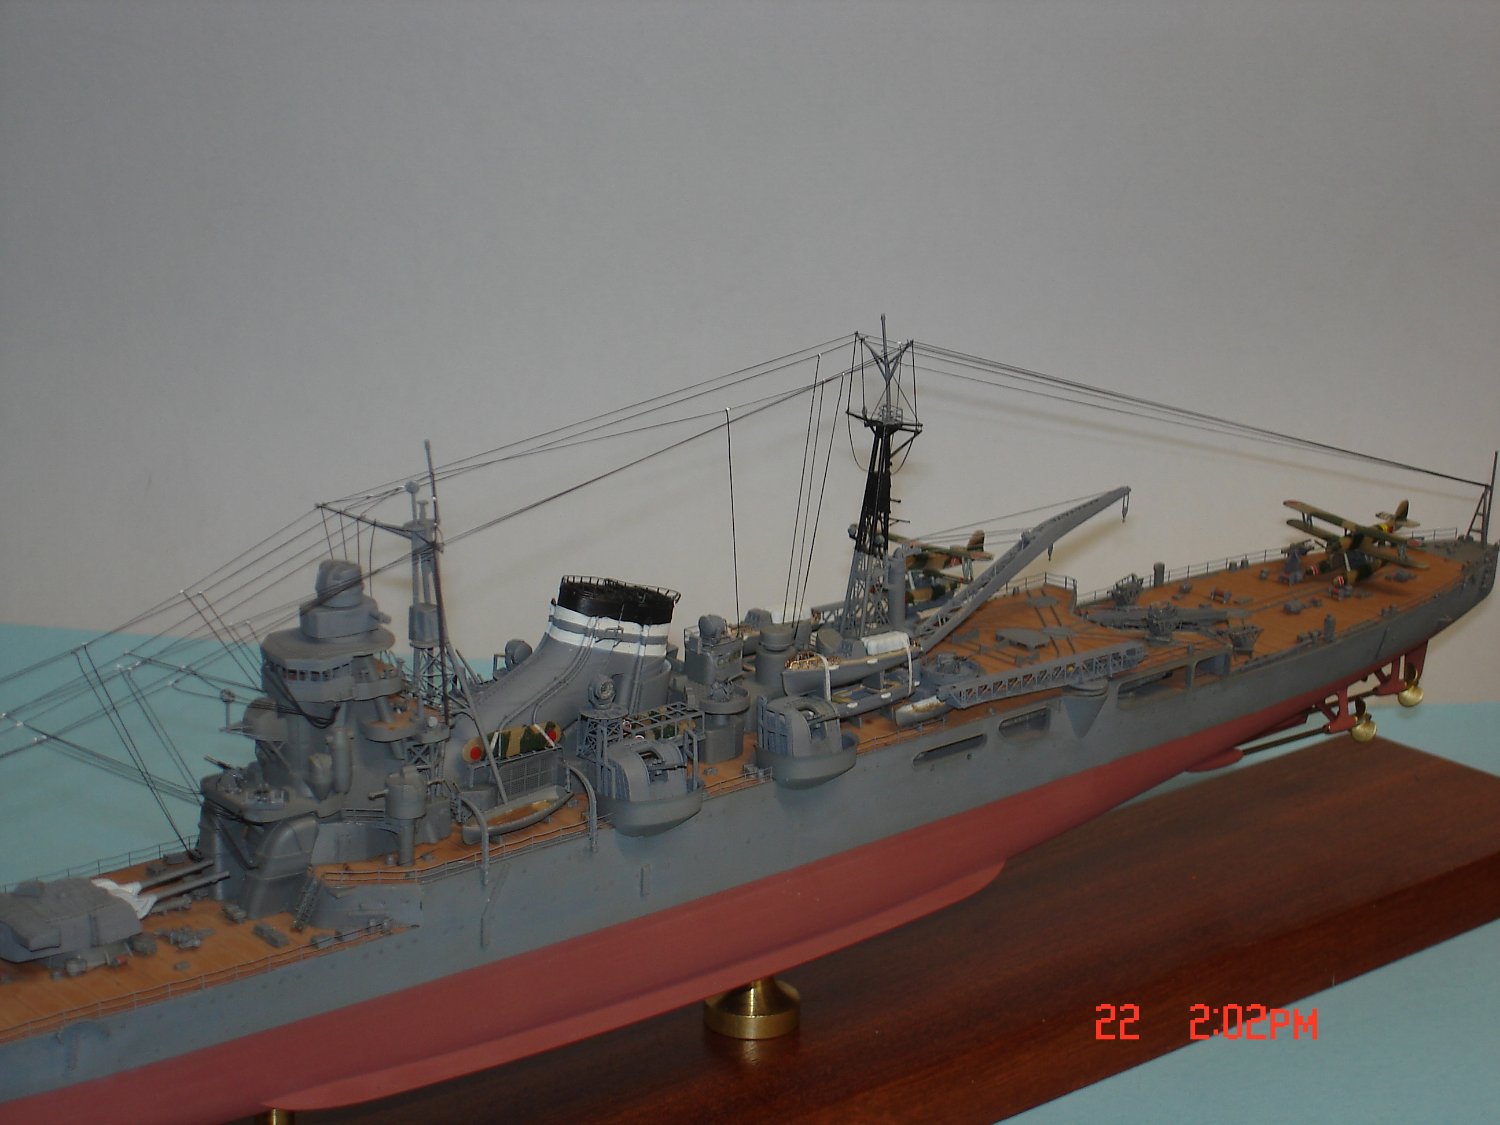
They are isolators Mike their is actually a lot more on Chikuma than what I depicted.I believe they operated much like on a plane to keep the line from vibrating so much in the wind.I used Mike the same glue we use for making clear glass.
-
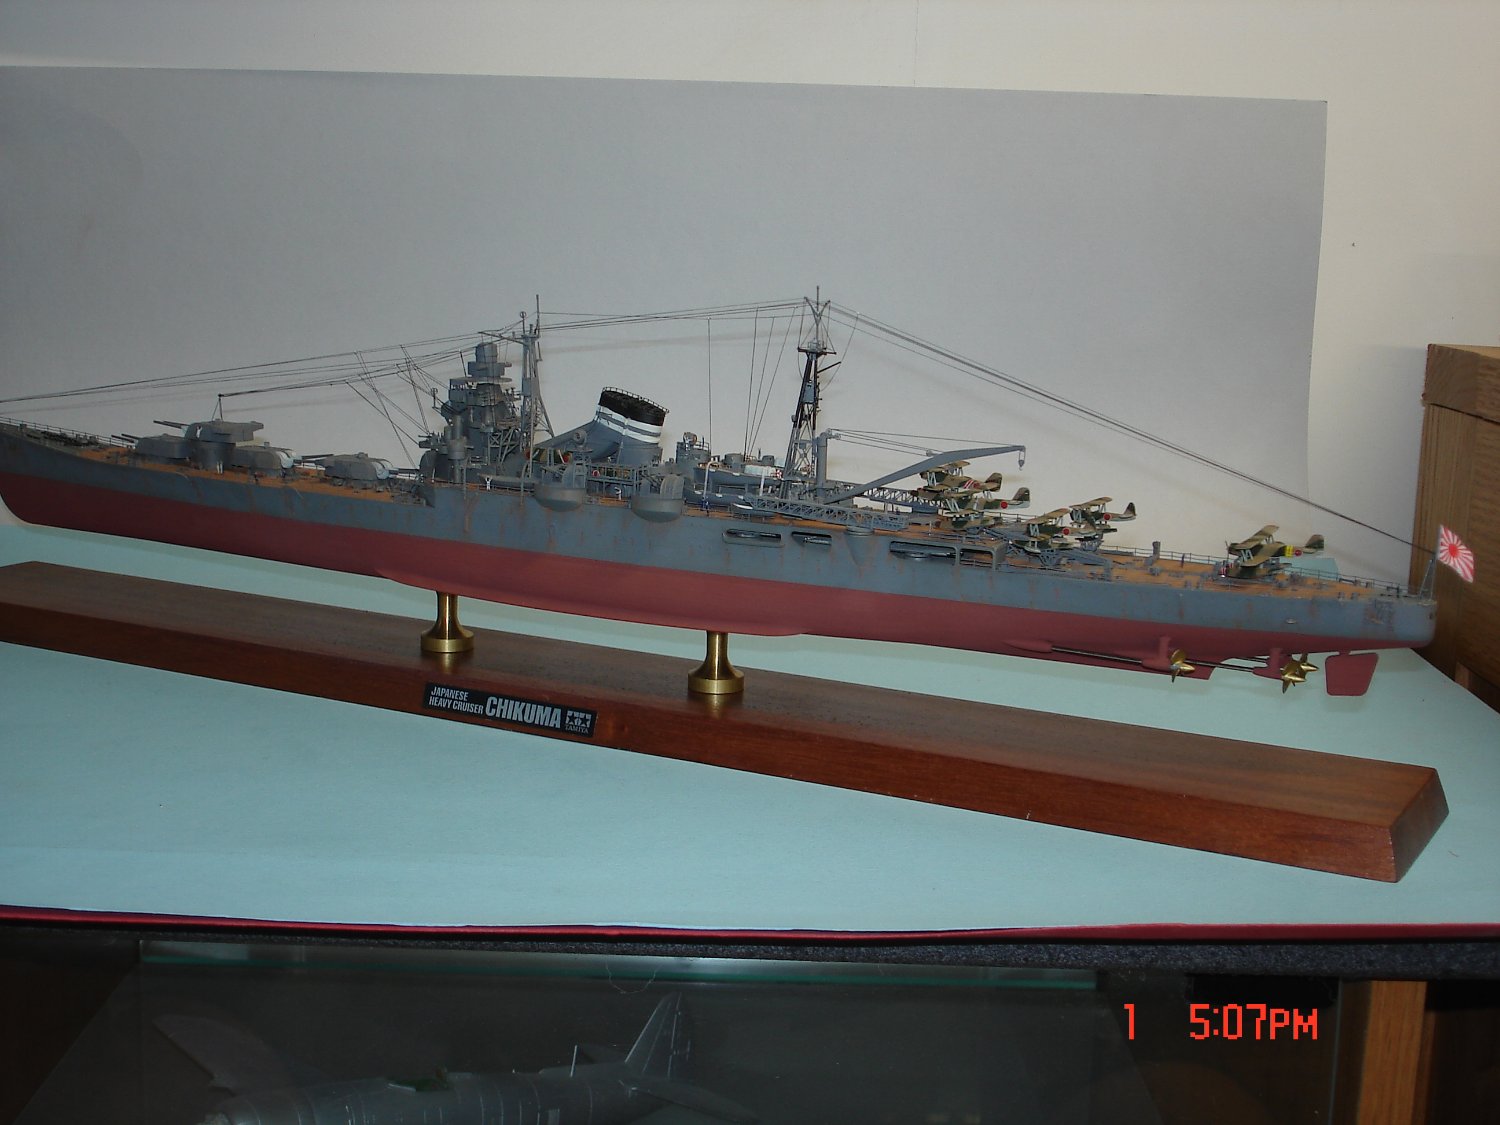
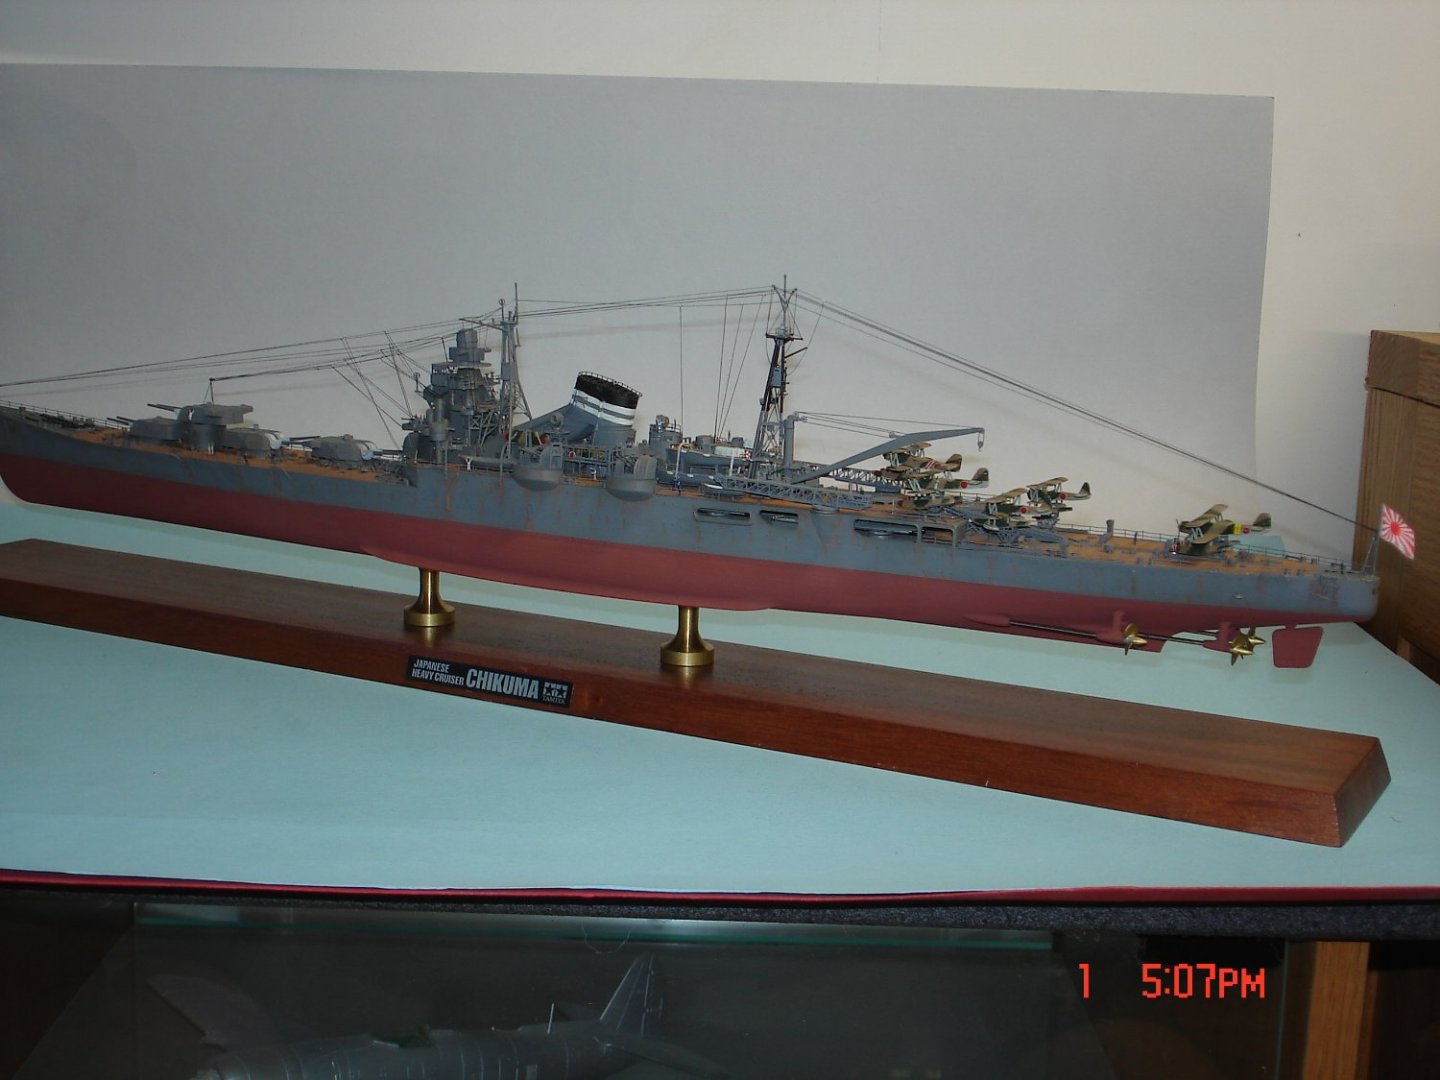
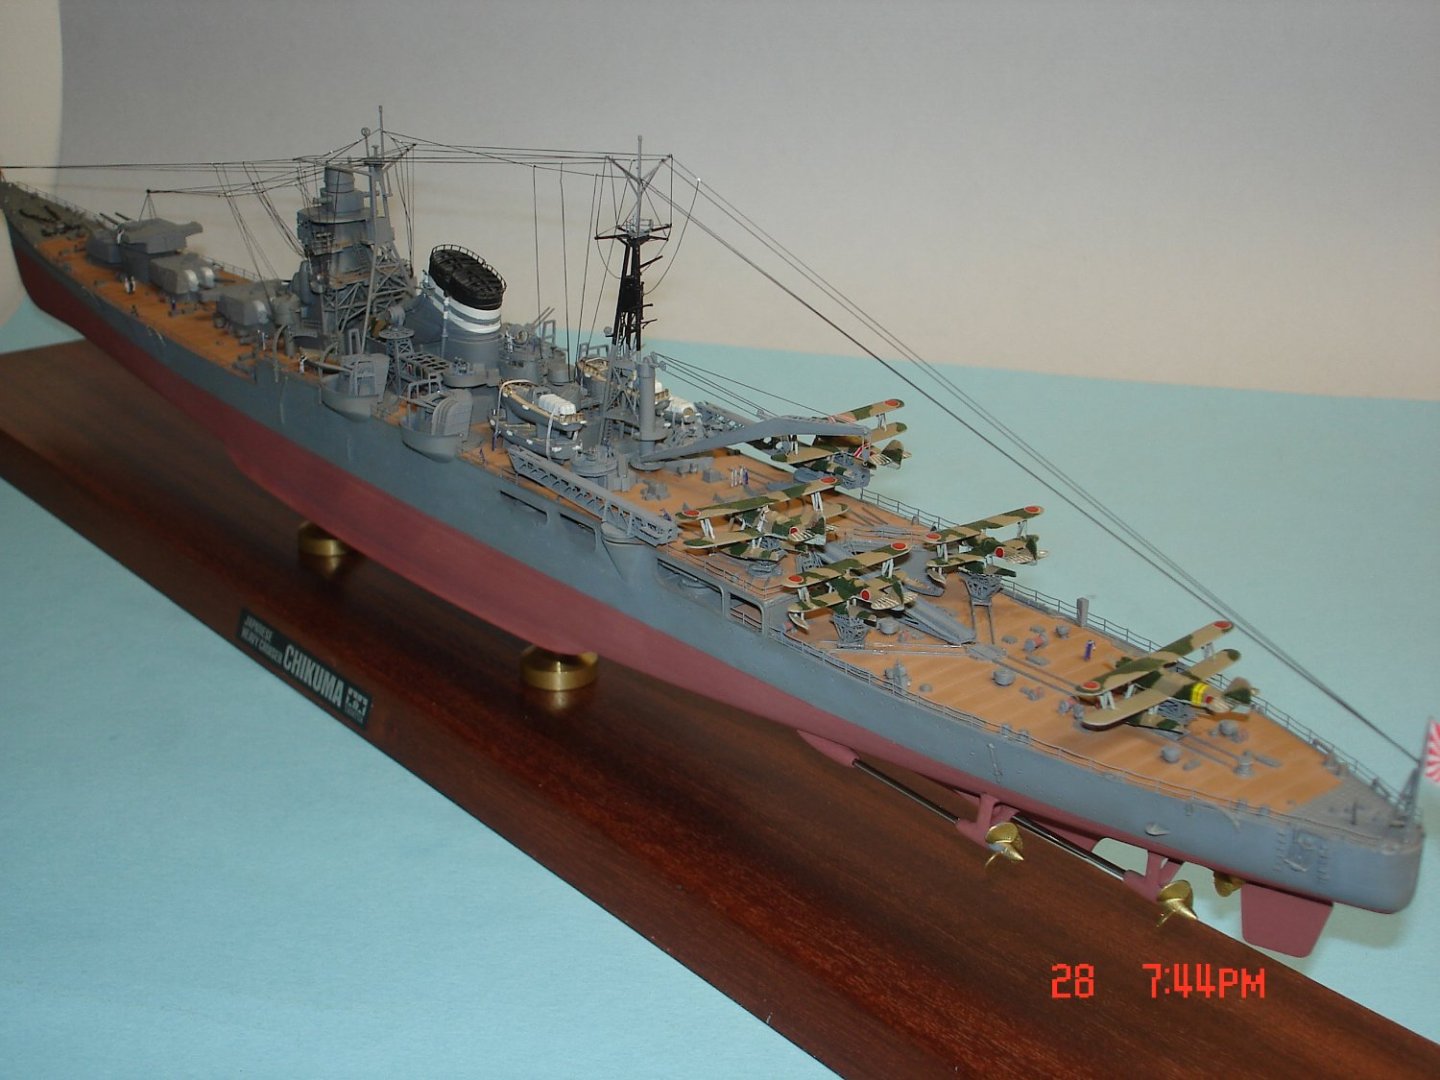
I am getting really close here on this one being completed the men are the PE started realizing I can been them?Duh!The flag is paper from a spares box the colors look more natural and easy to fold.That's all for now.

-
MRAP ATV by CDW - FINISHED - Rye Field - 1:35 Scale
Javlin replied to CDW's topic in Non-ship/categorised builds
I like 3 and 5. -
MRAP ATV by CDW - FINISHED - Rye Field - 1:35 Scale
Javlin replied to CDW's topic in Non-ship/categorised builds
Deuce looking good Storm looking bad @155mph -
MRAP ATV by CDW - FINISHED - Rye Field - 1:35 Scale
Javlin replied to CDW's topic in Non-ship/categorised builds
First one for Tampa since 1921!!!!!!! Stay high and dry. -
Mike I use a medium CA glue sticking to plastic yeah an accelerator helps but the line to line No-No man I got caught a few times instant bond fighting it to come loose.I have some men may put back there on the flight deck?
-
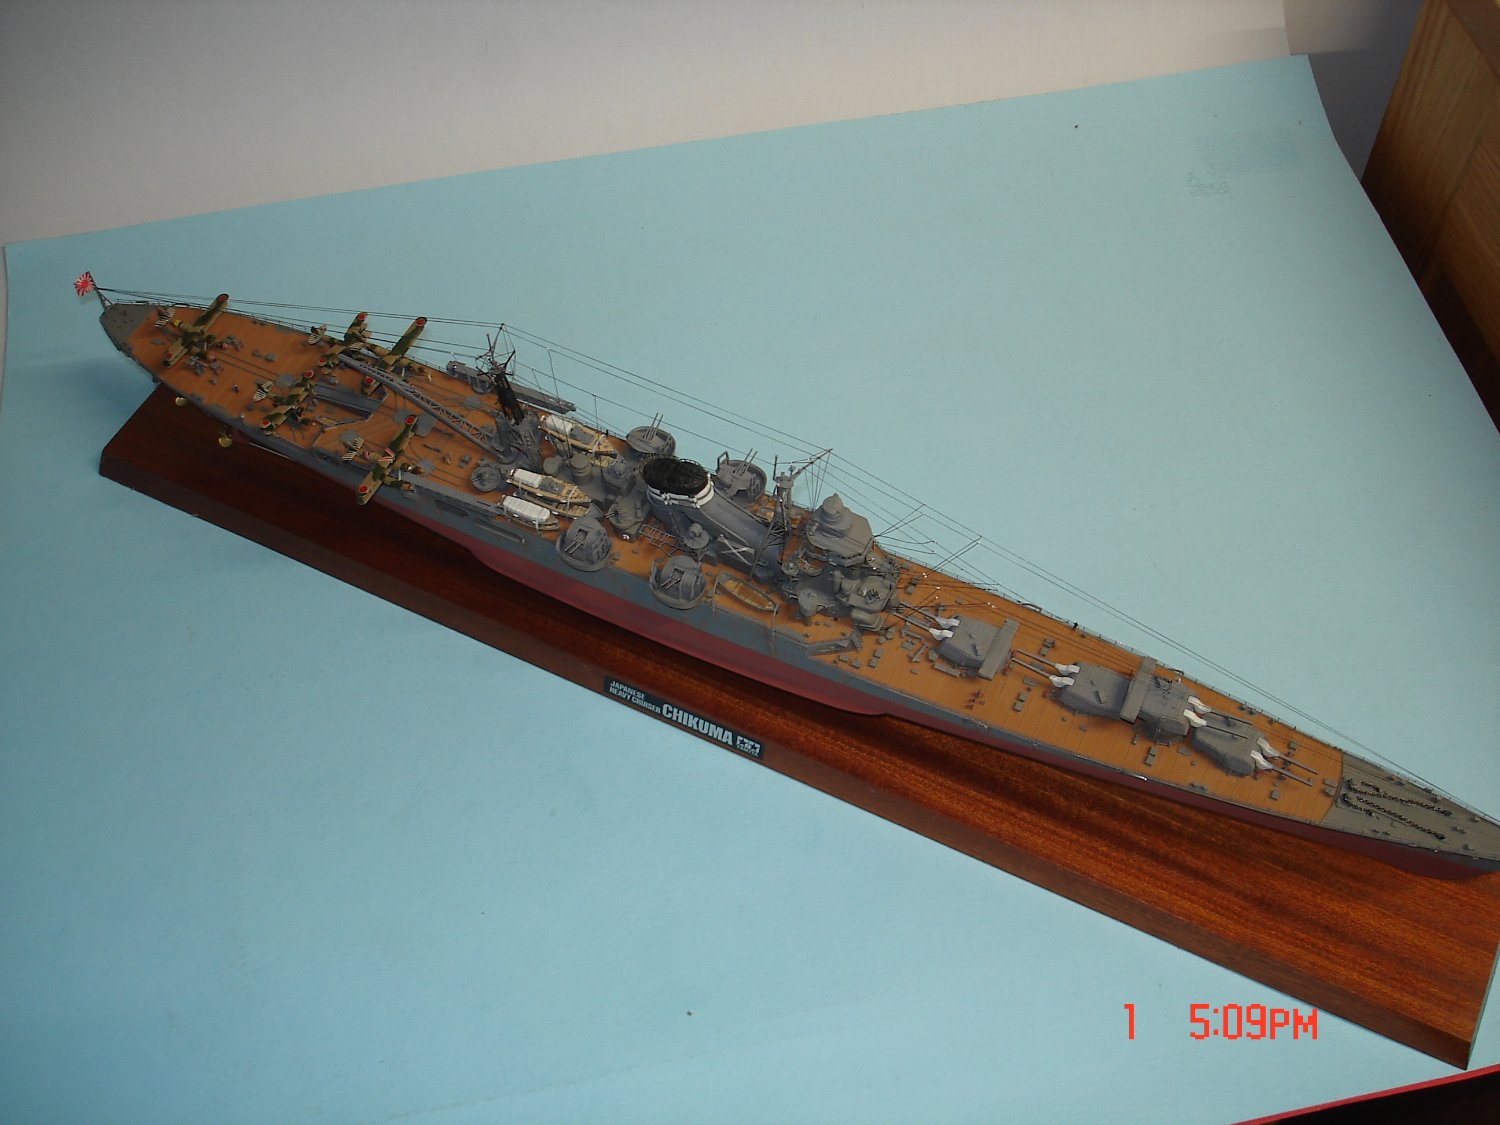
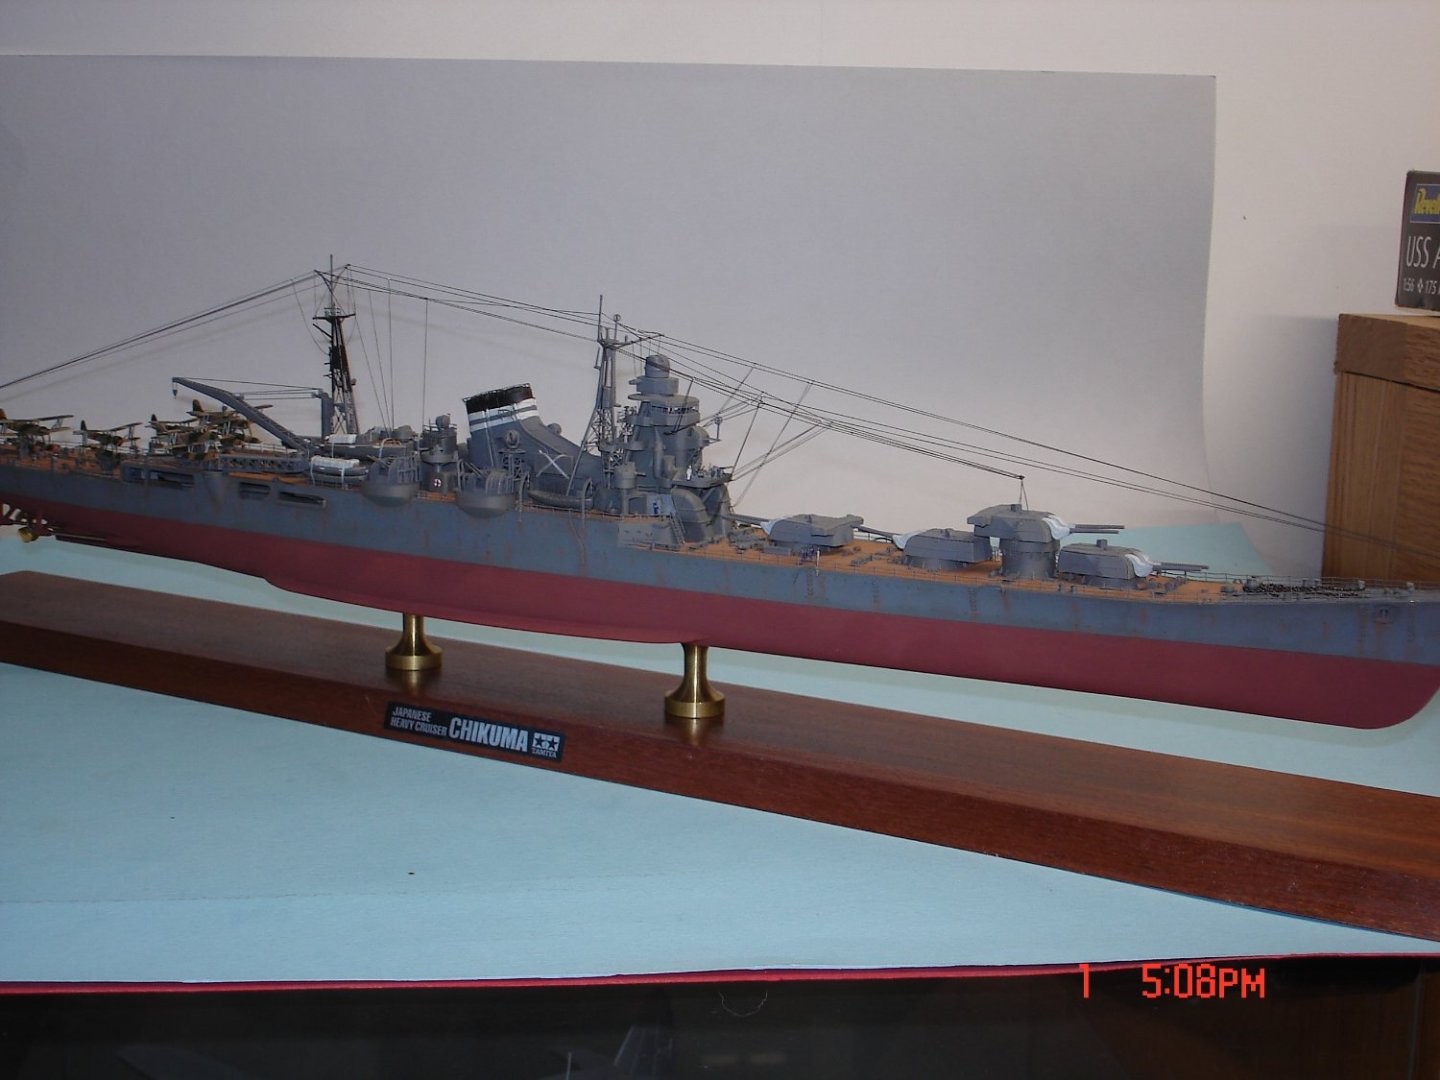
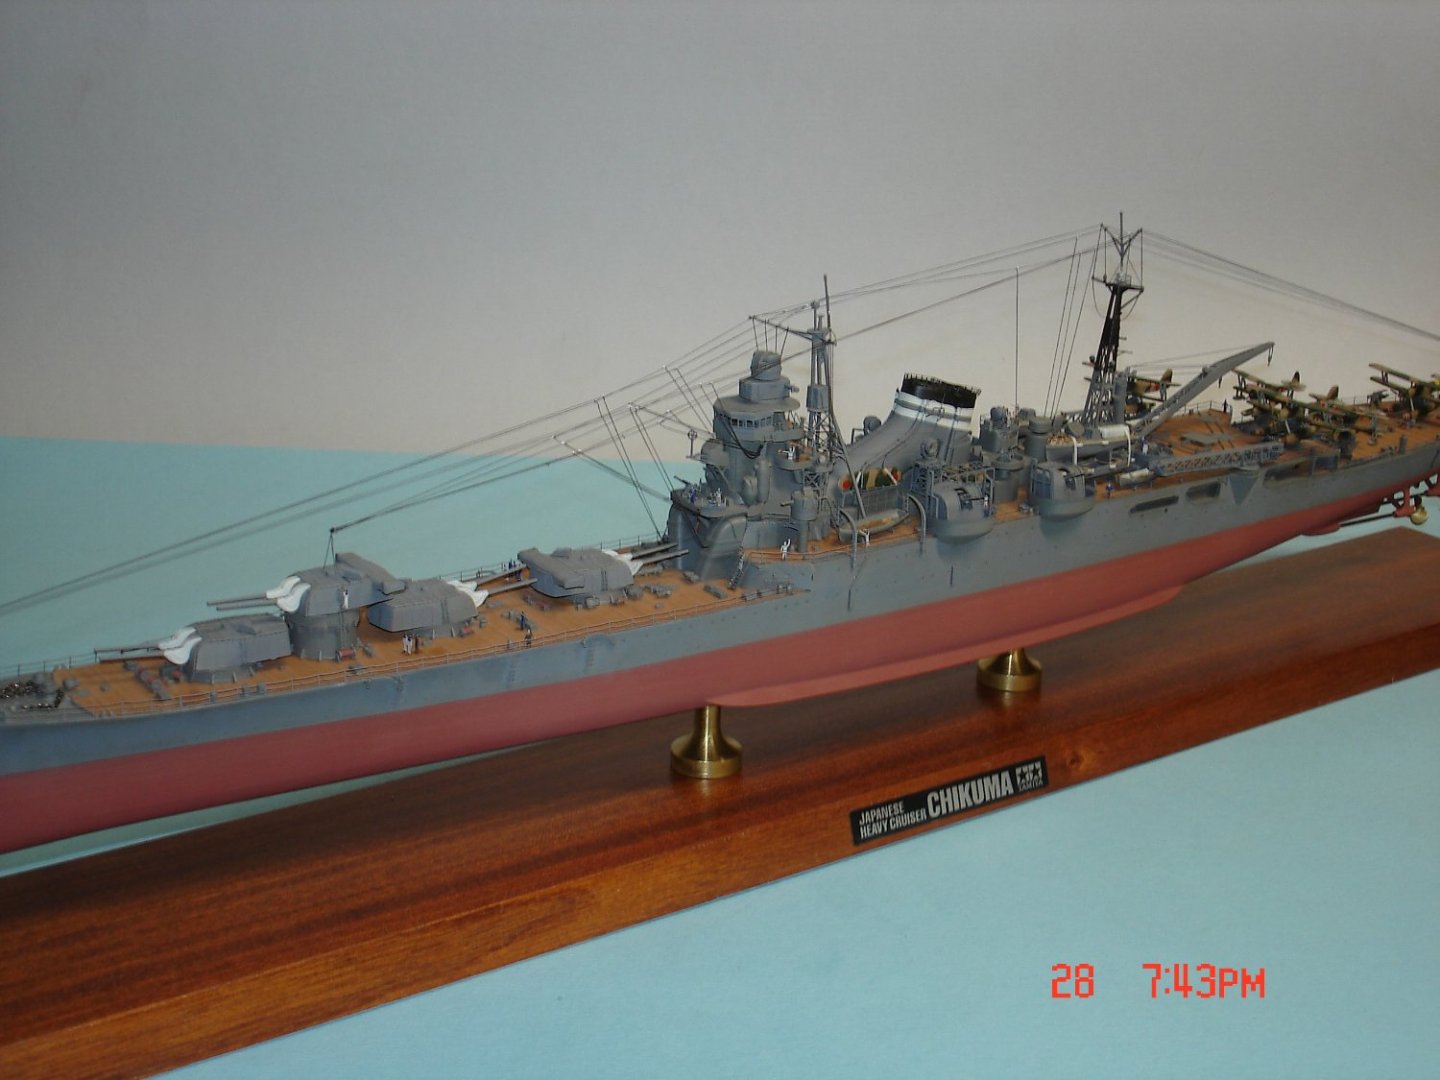
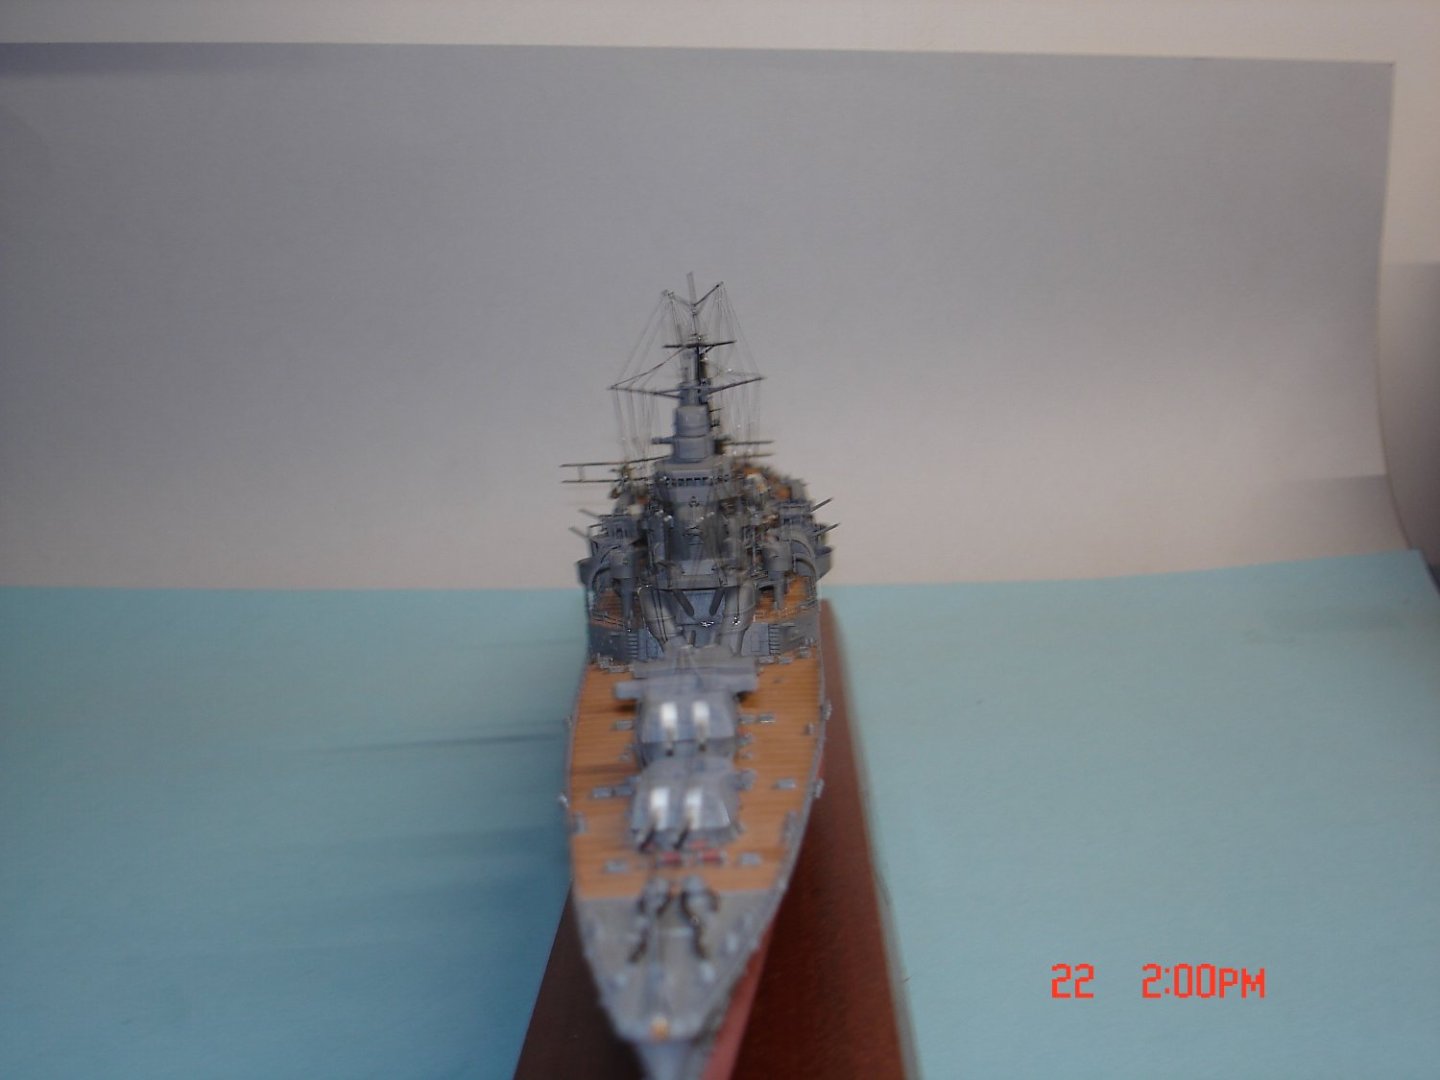
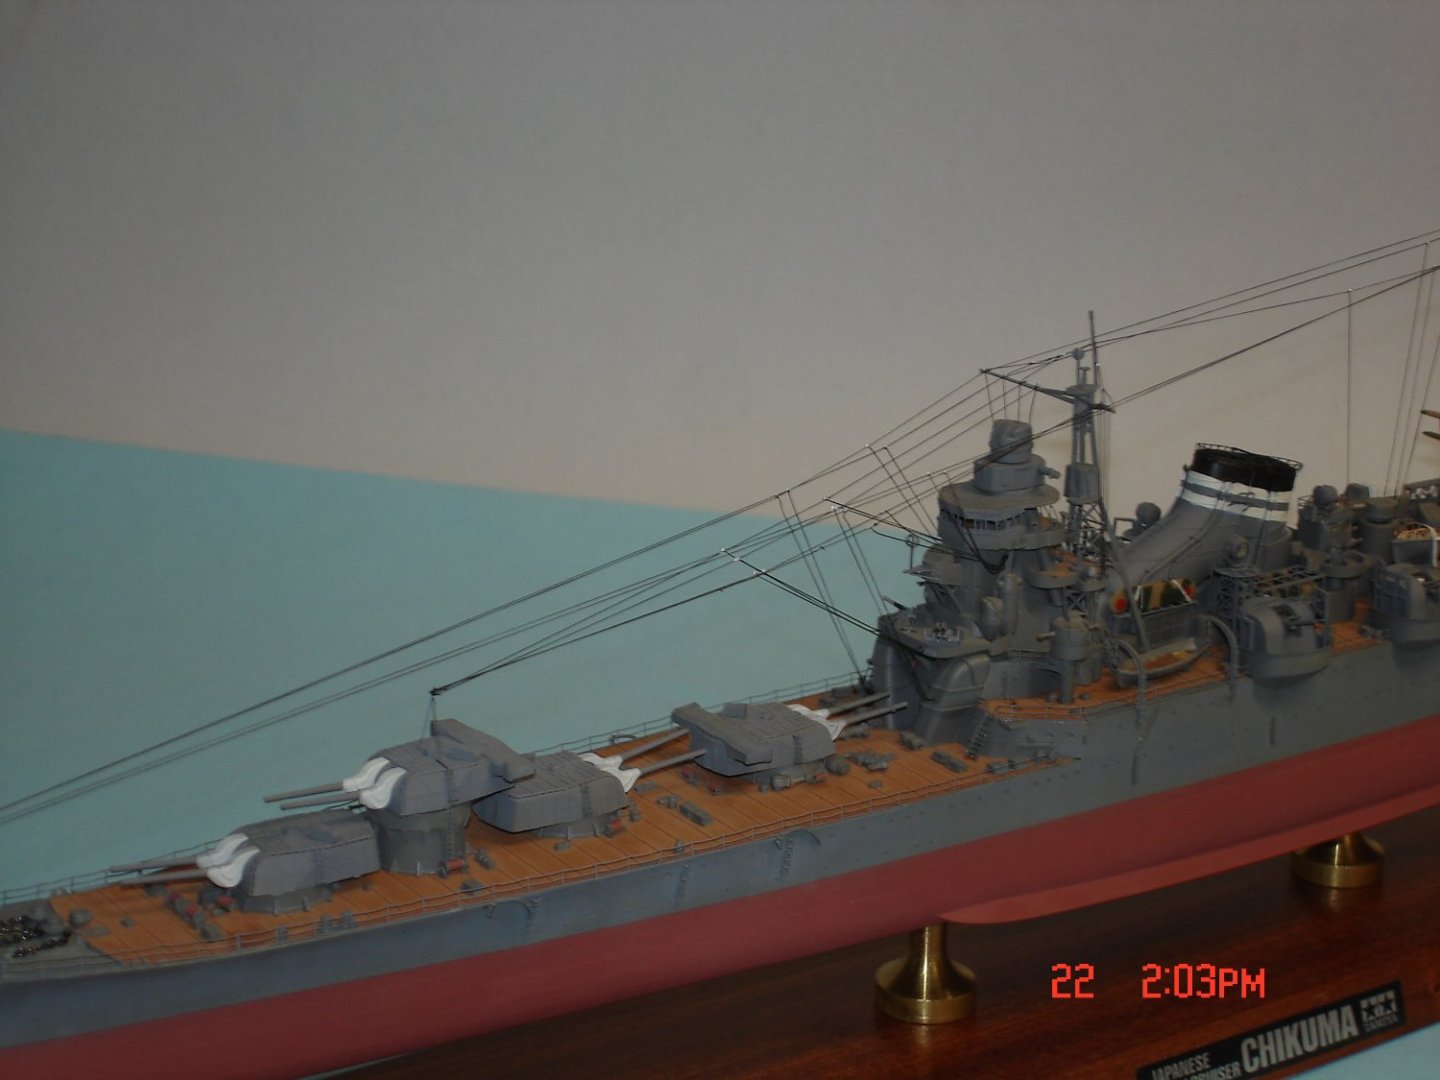
So,this is were I am at the rigging is completed I tried quite a few times to get a sagging line that is not hard getting two next to each other do the same thing.I finally in the end went a taut line though one or two are to taut that area out front of the SS was a little of a PIA till I just backed off an maybe try Mike's idea about some sprue for curved line on Mogami.I knocked off some planes that need to be reattached and the decals for the sternwith some touchups in paint..


- 115 replies
-
- 10
-
-
-
Timber-framed outdoor kitchen - Cathead - 1:1 scale
Javlin replied to Cathead's topic in Non-ship/categorised builds
It's not an issue for you up there Eric but 90miles from New Orleans we have Formosan Termites little bastards and they are ravenous. I used the shavings from planing all the way around the shop base since mine is pole barn built.I know you are more excited than us here but will be nice to see the walls go up I like building like that kinda like that treehouse guy.