Javlin
-
Posts
1,681 -
Joined
-
Last visited
Content Type
Profiles
Forums
Gallery
Events
Everything posted by Javlin
-
100% in agreement!
-
Your prop looks very good I have used orange acrylic clear that I made up it will give it a little of an aged look if so desired.
-
I had a bit of a snafu with the pit the consoles I installed on the opposite sides making the front part of the fuselage not able to close by a 1/16".The other problem was I had glued the the fuse all the way to rear gunners position! I let the rookie mistake sit for a couple of days was looking at ordering another kit and Quintas??The idea came wet the seam down a curve blade and start the seperation it was complete in 5/10 minutes with zero damage.Once I had the front portion of the pit out could see the consoles extending out beyond the IP.The Quinta's was carefully removed and sanding commenced till it fit and then reassembly.The wings are now glued on just a little filler up front and below no biggee.

- 22 replies
-
- 15
-

-
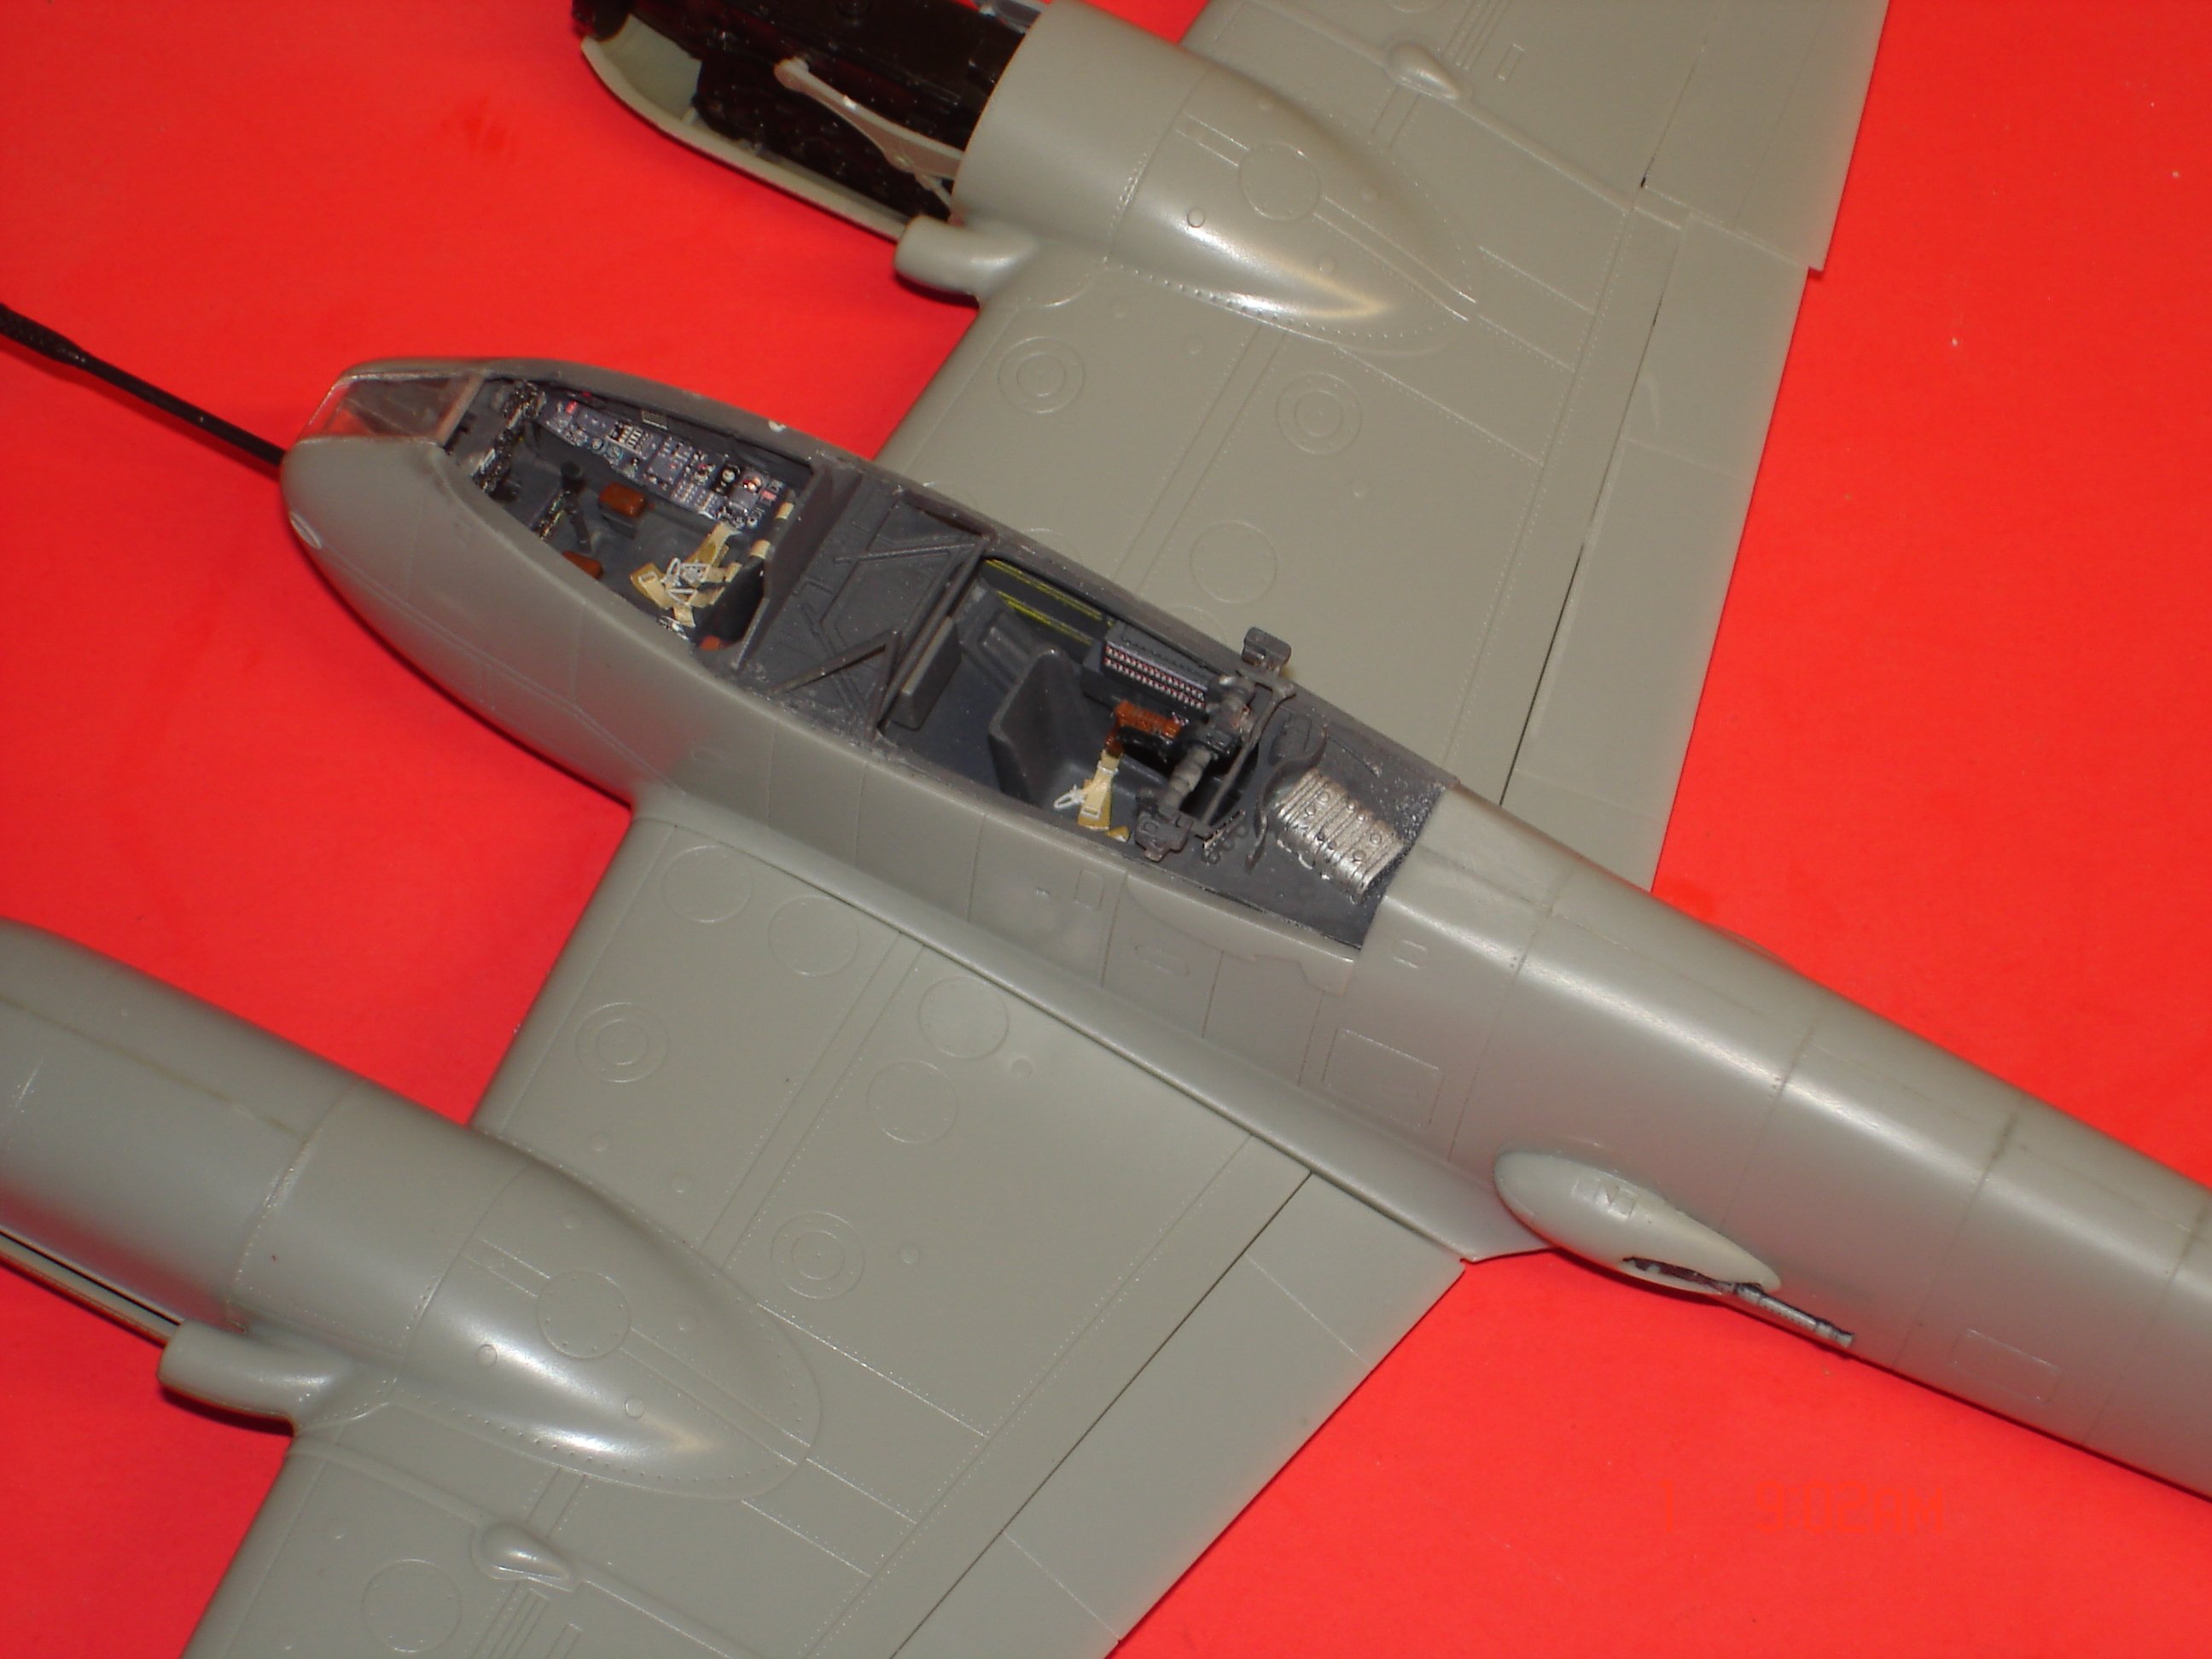
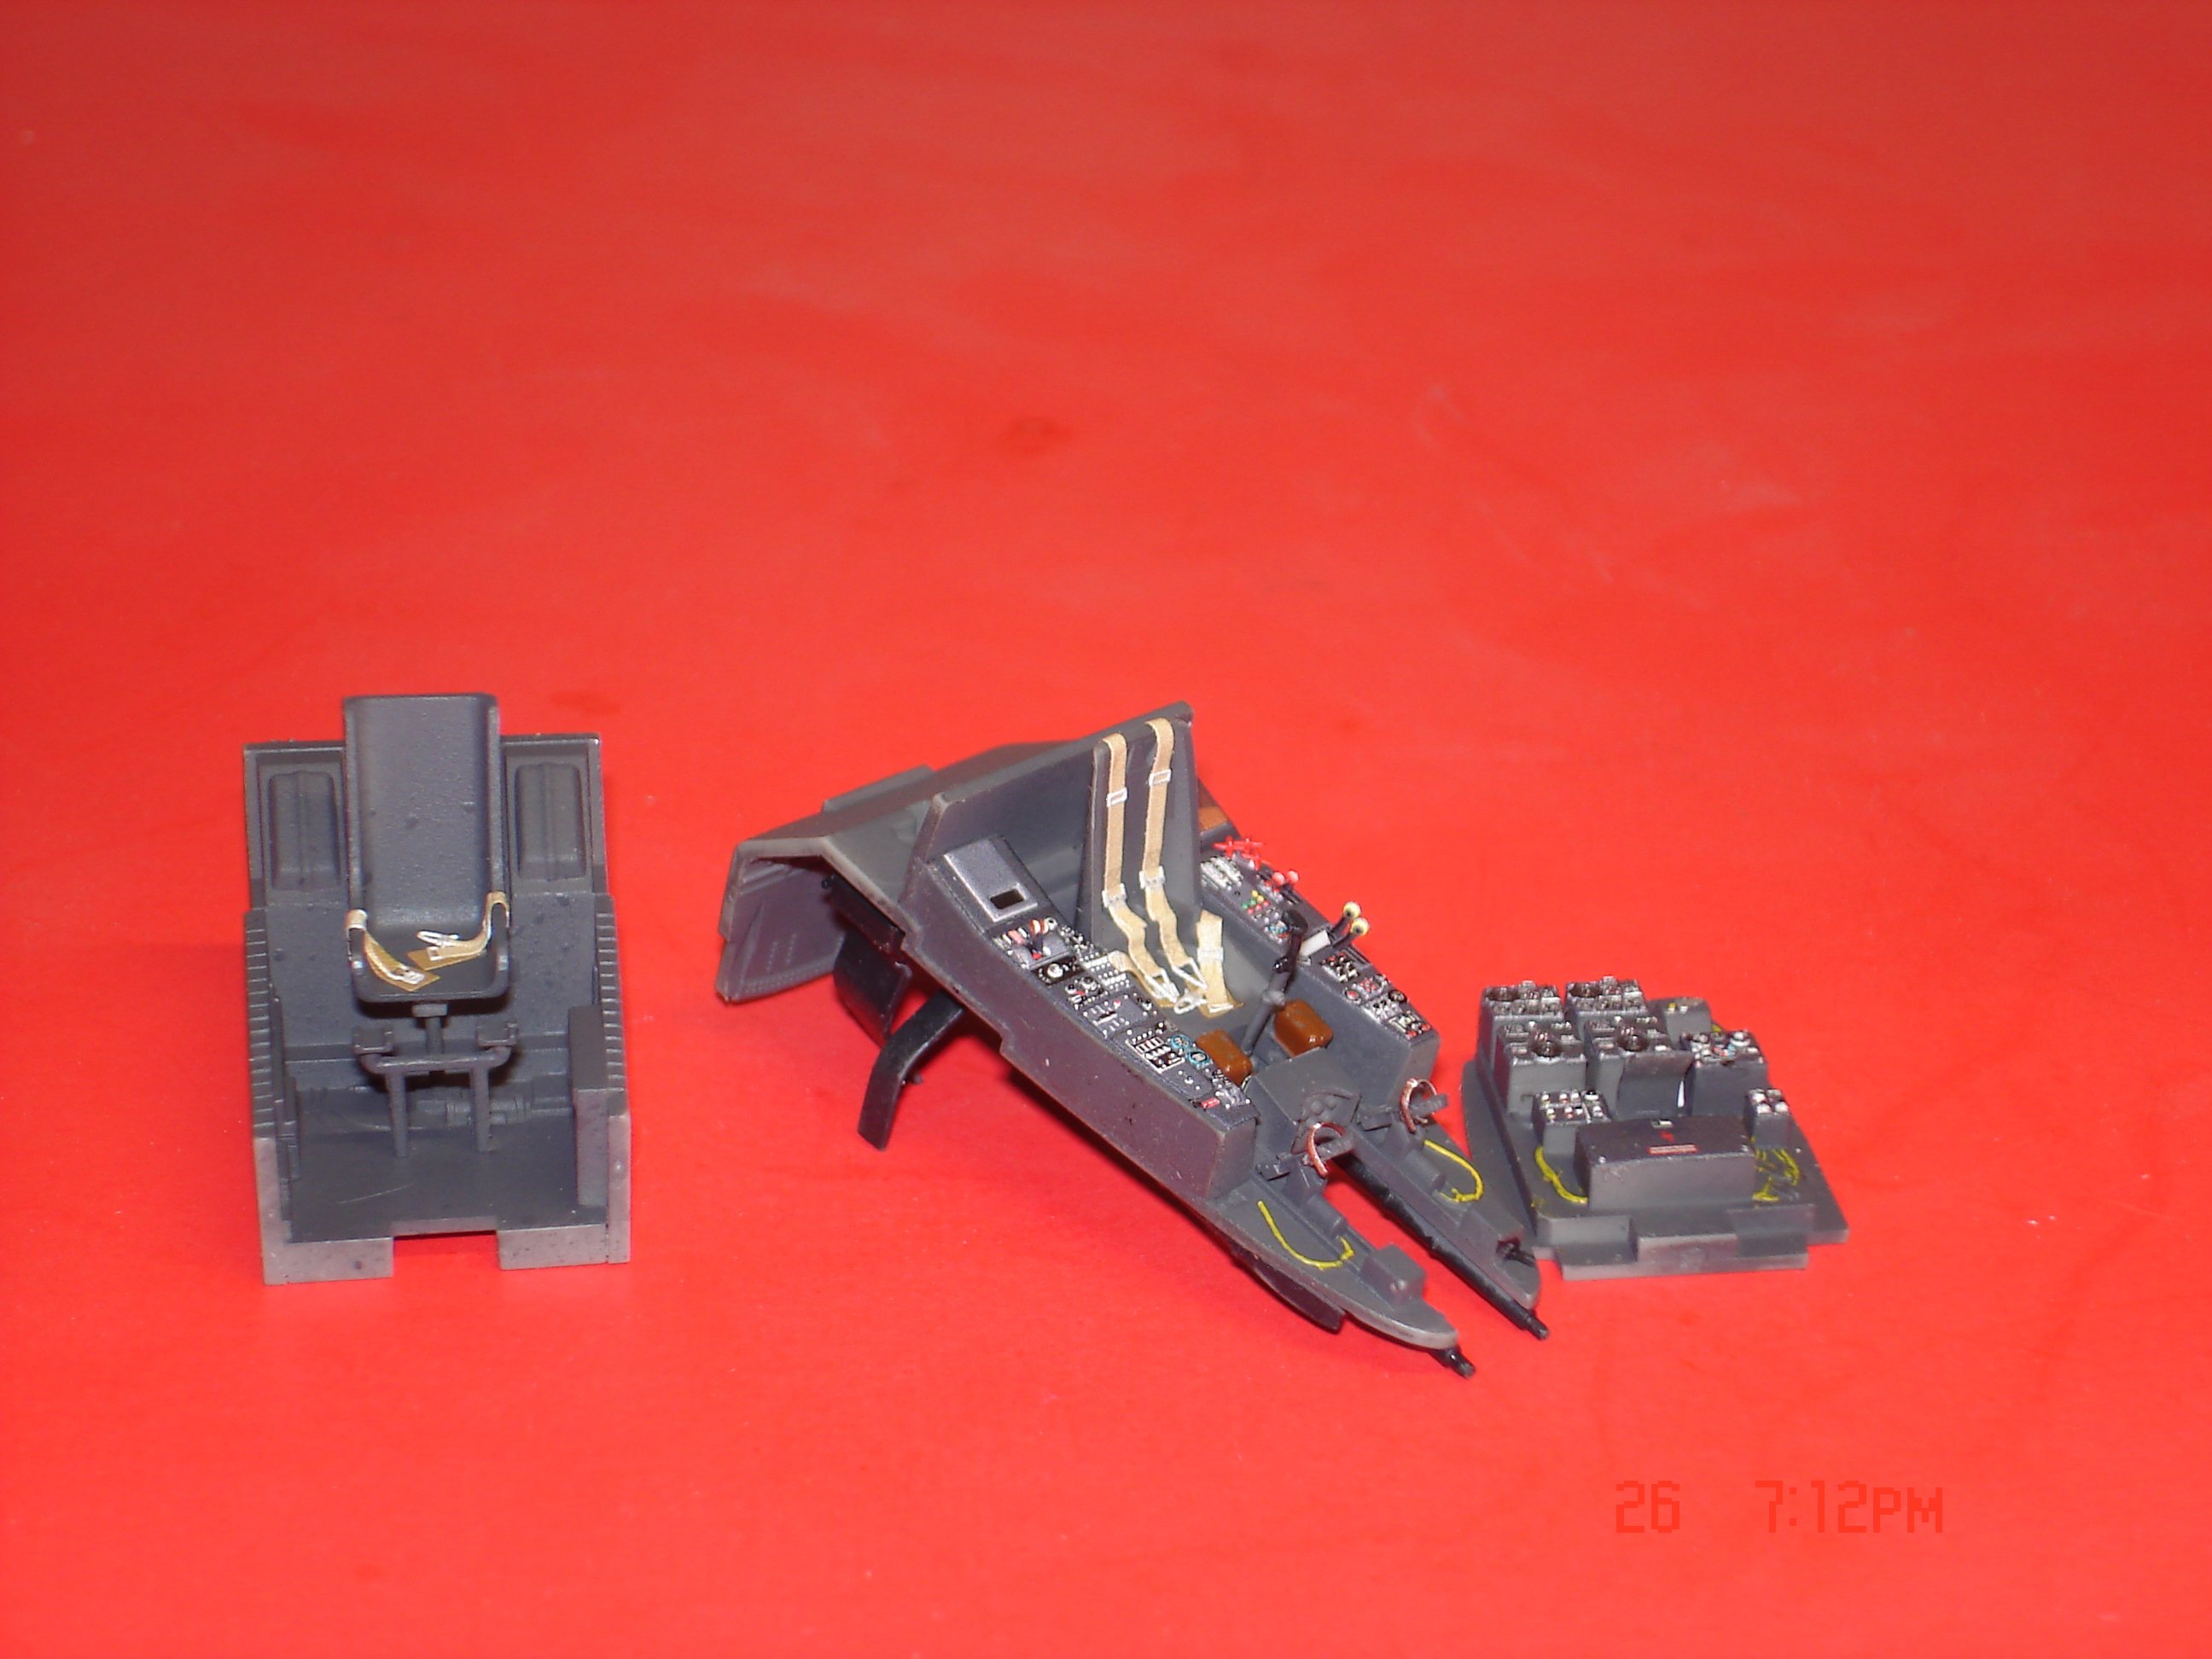
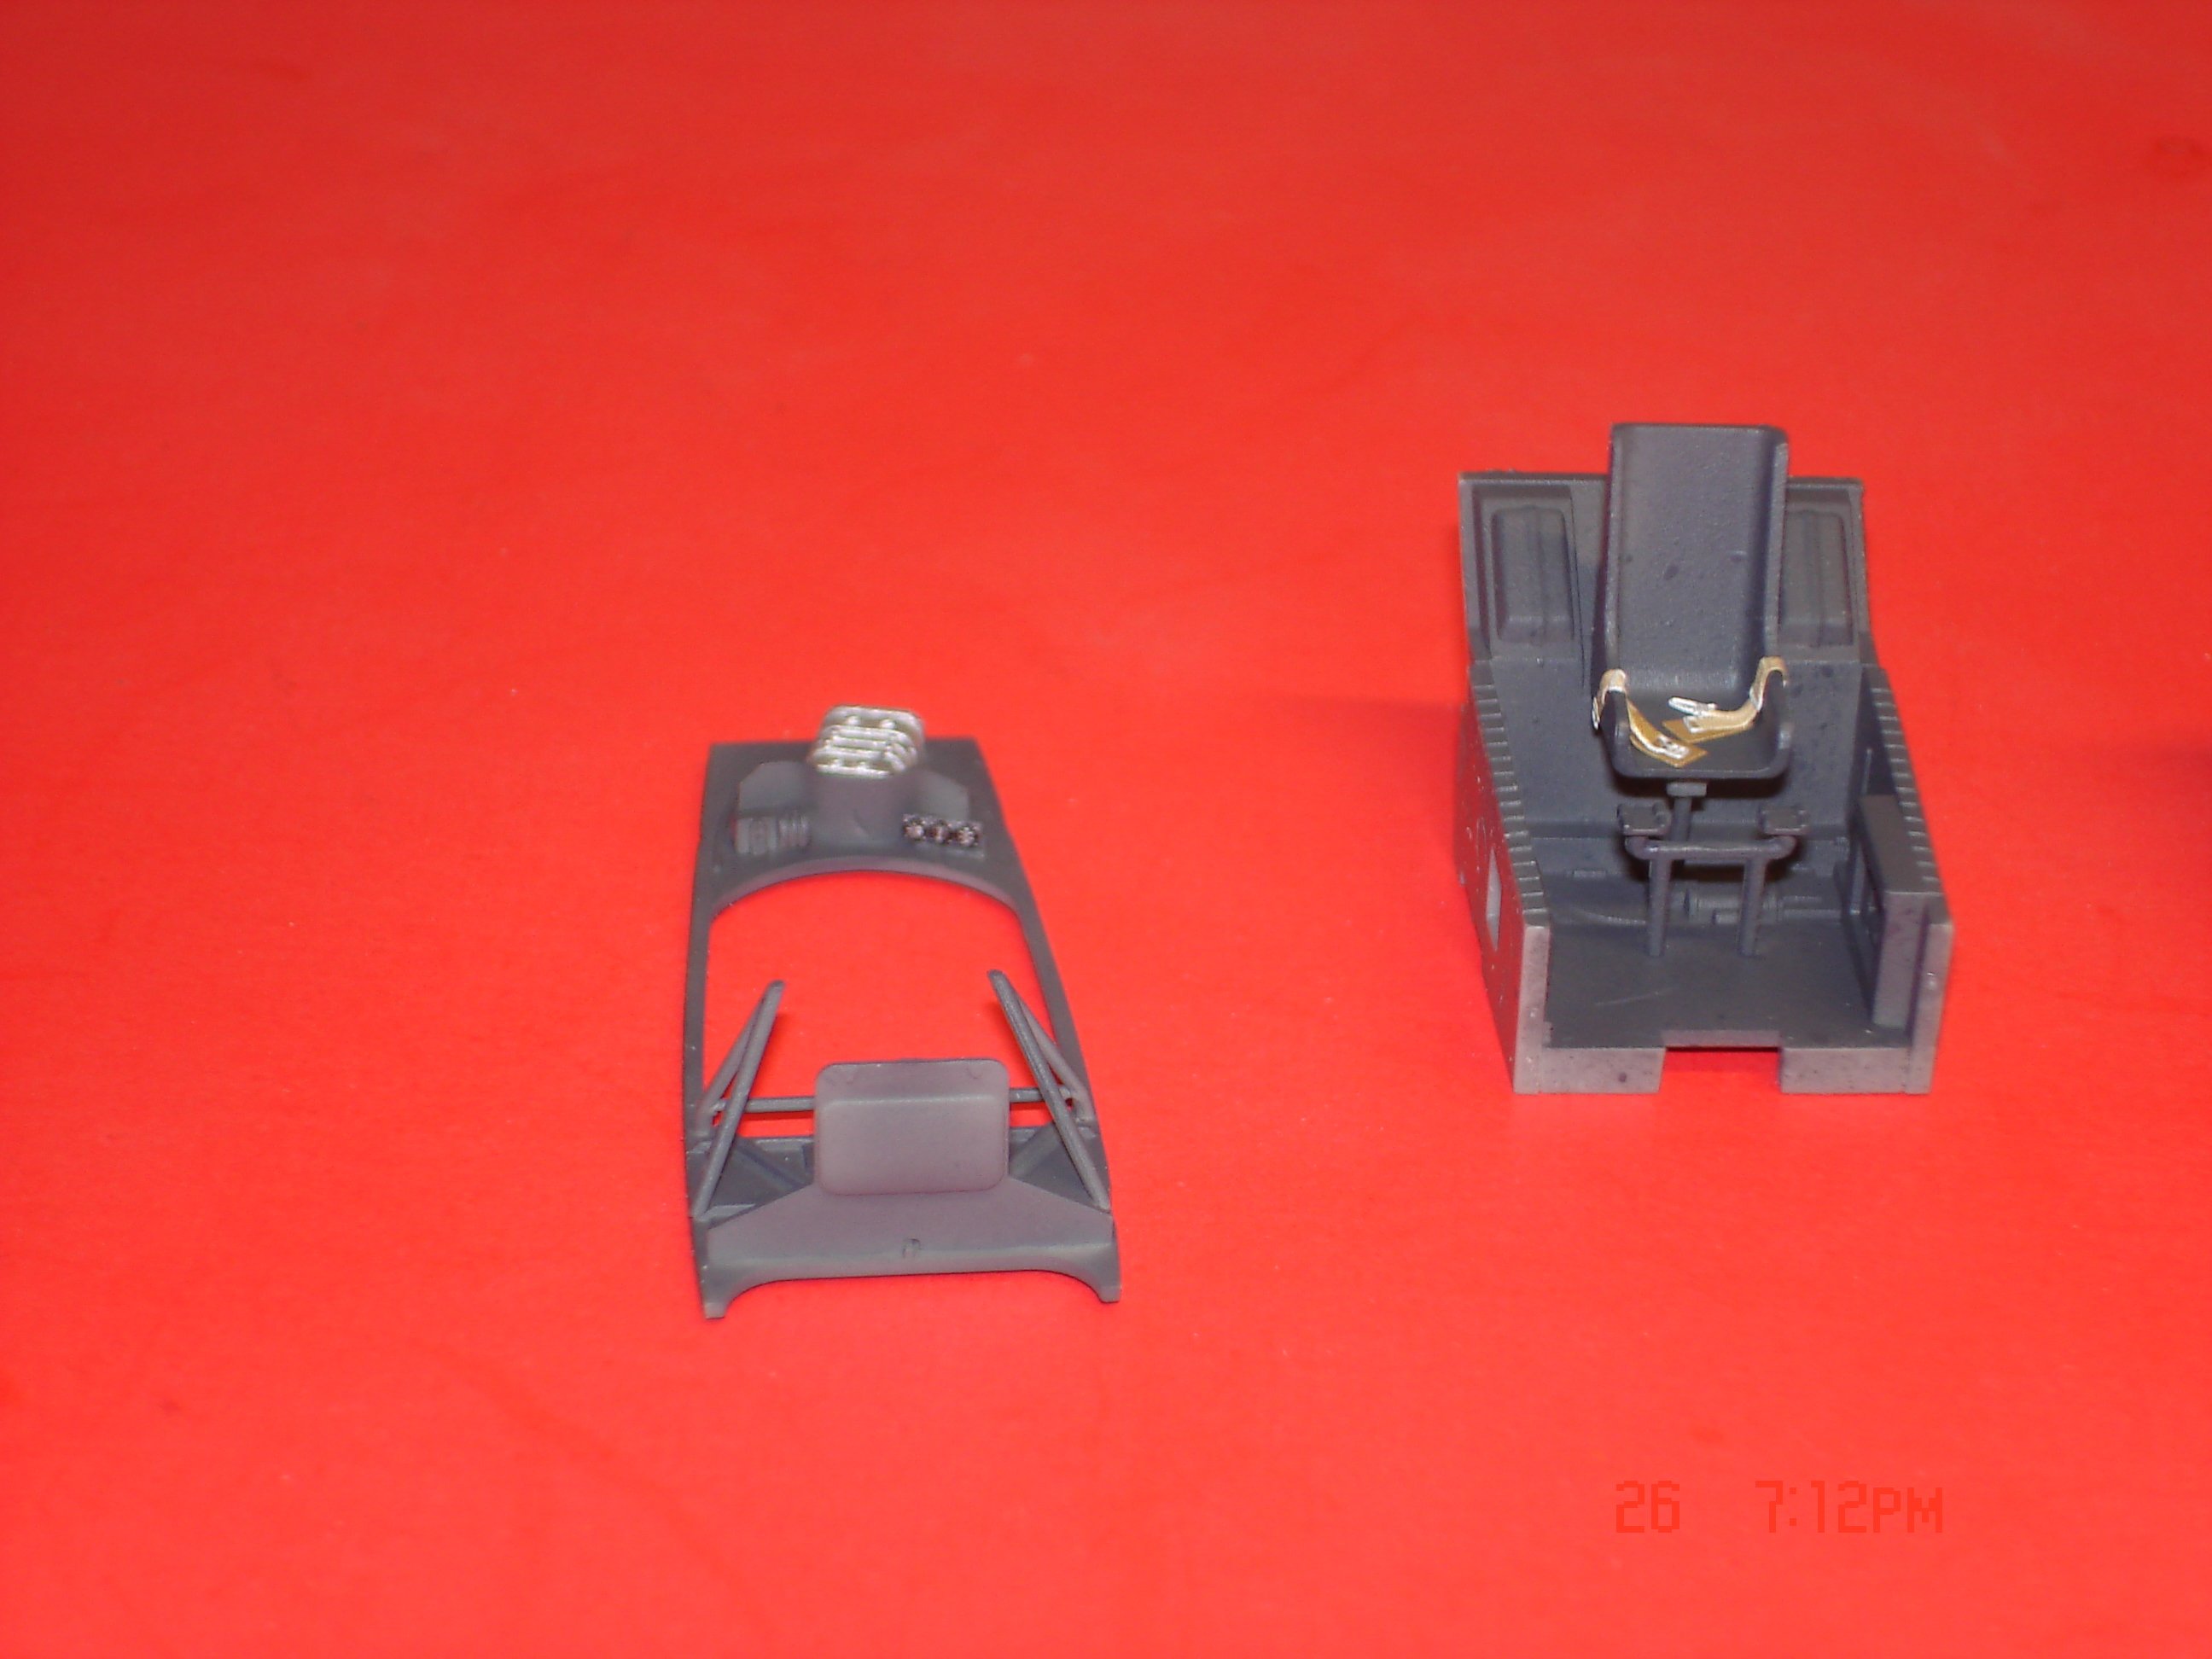
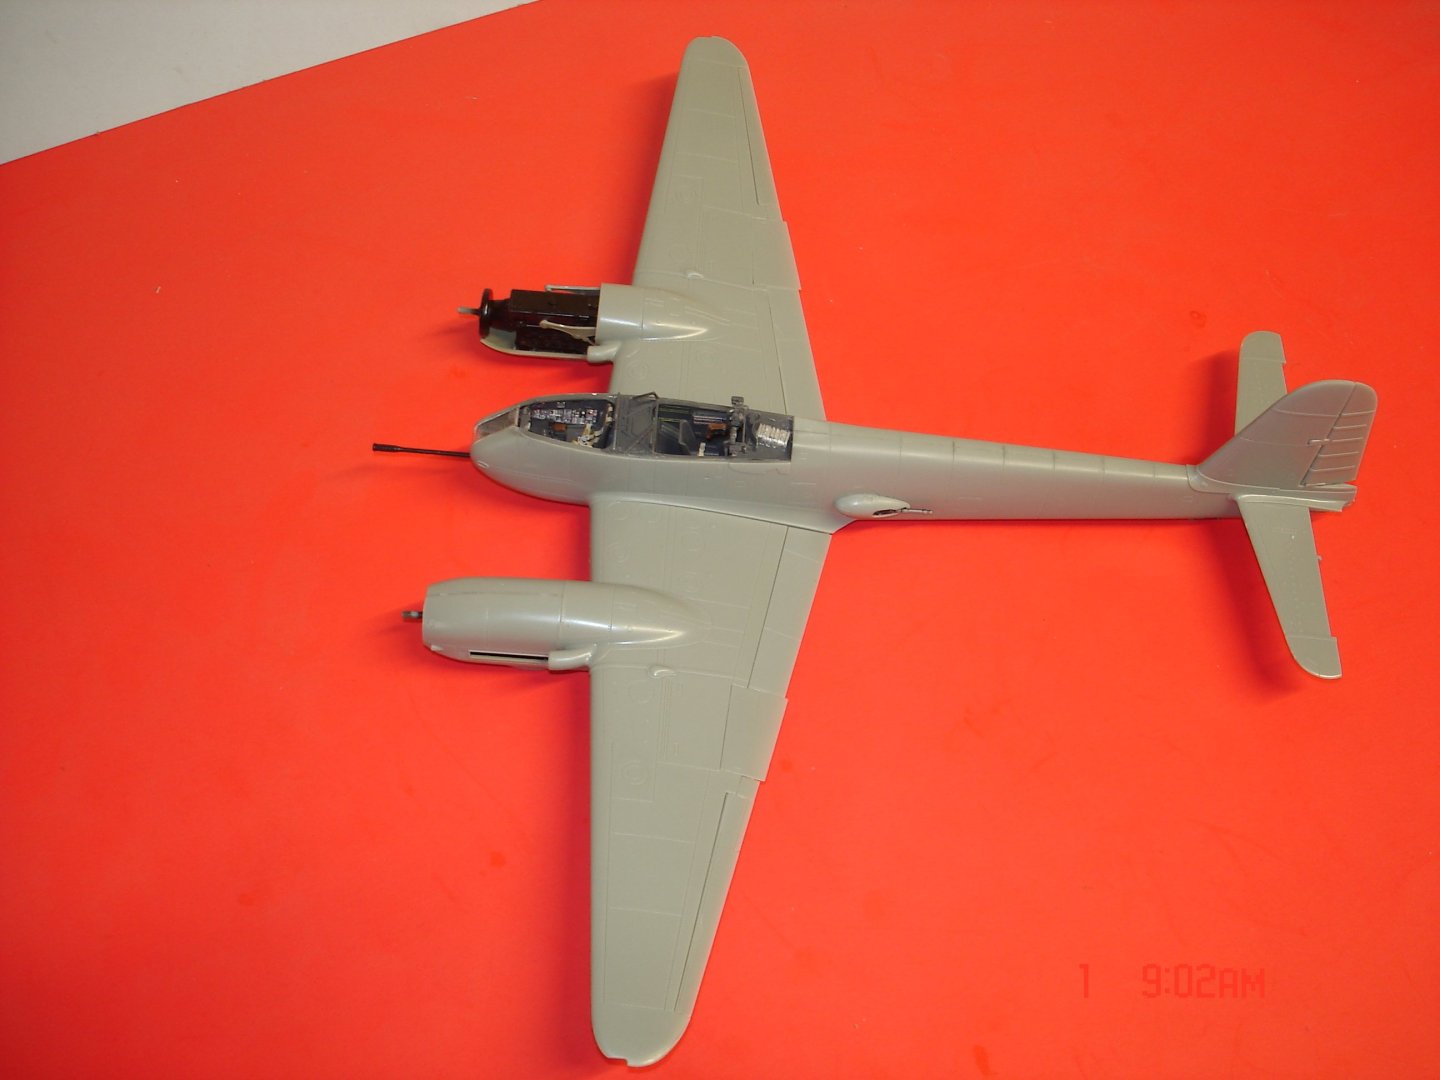
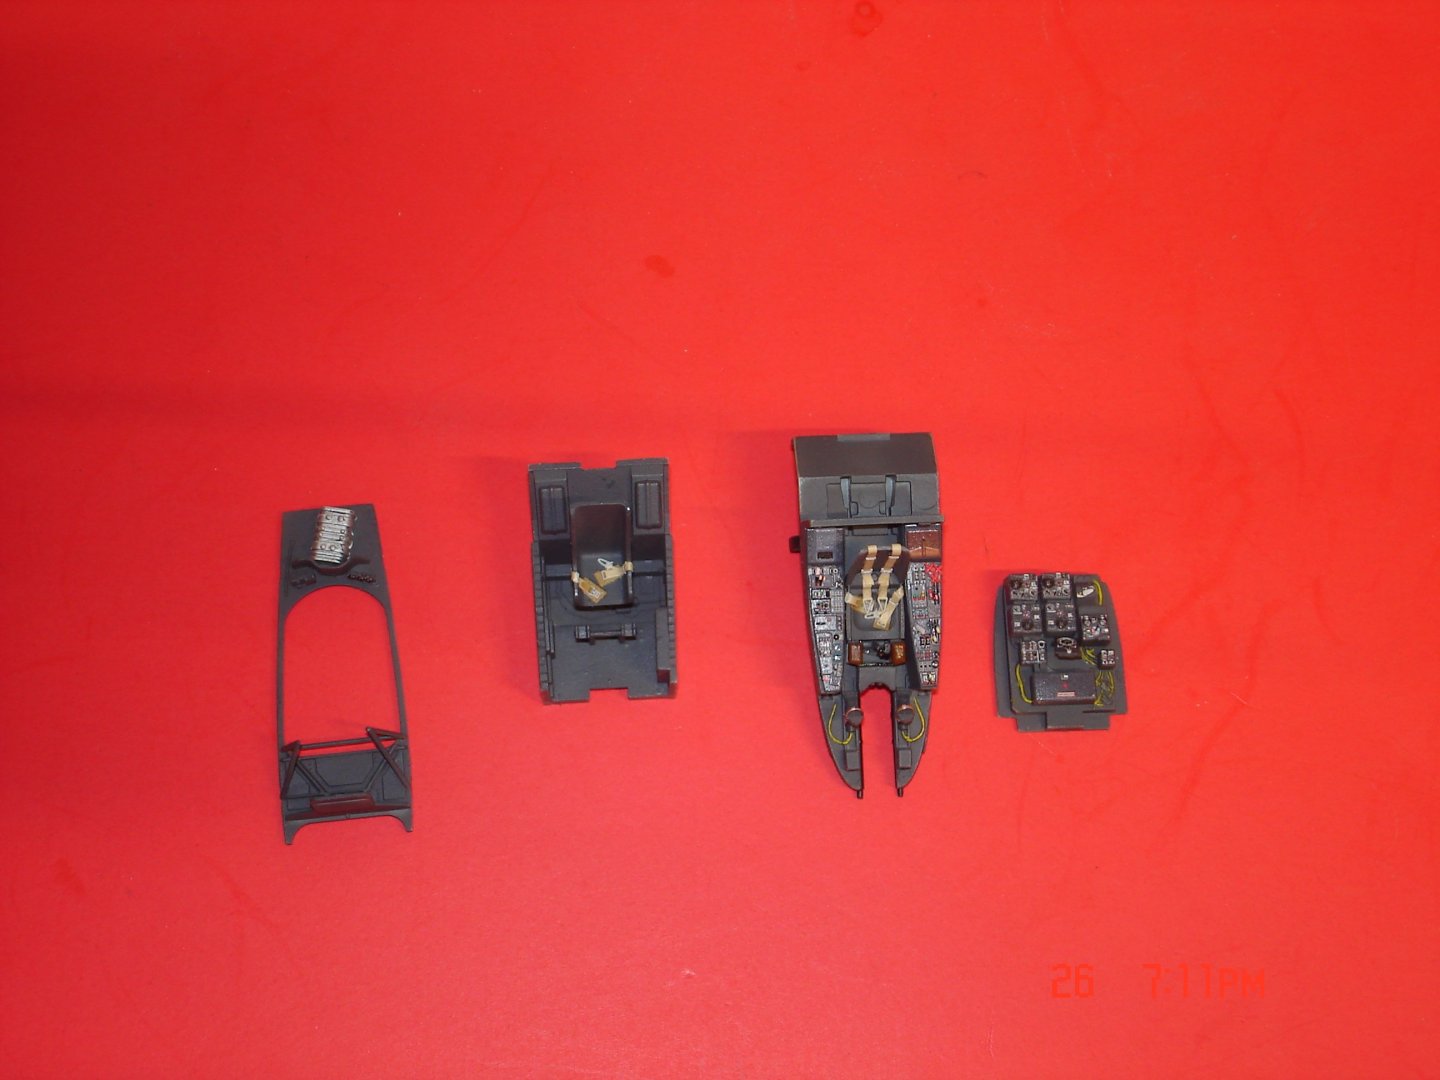
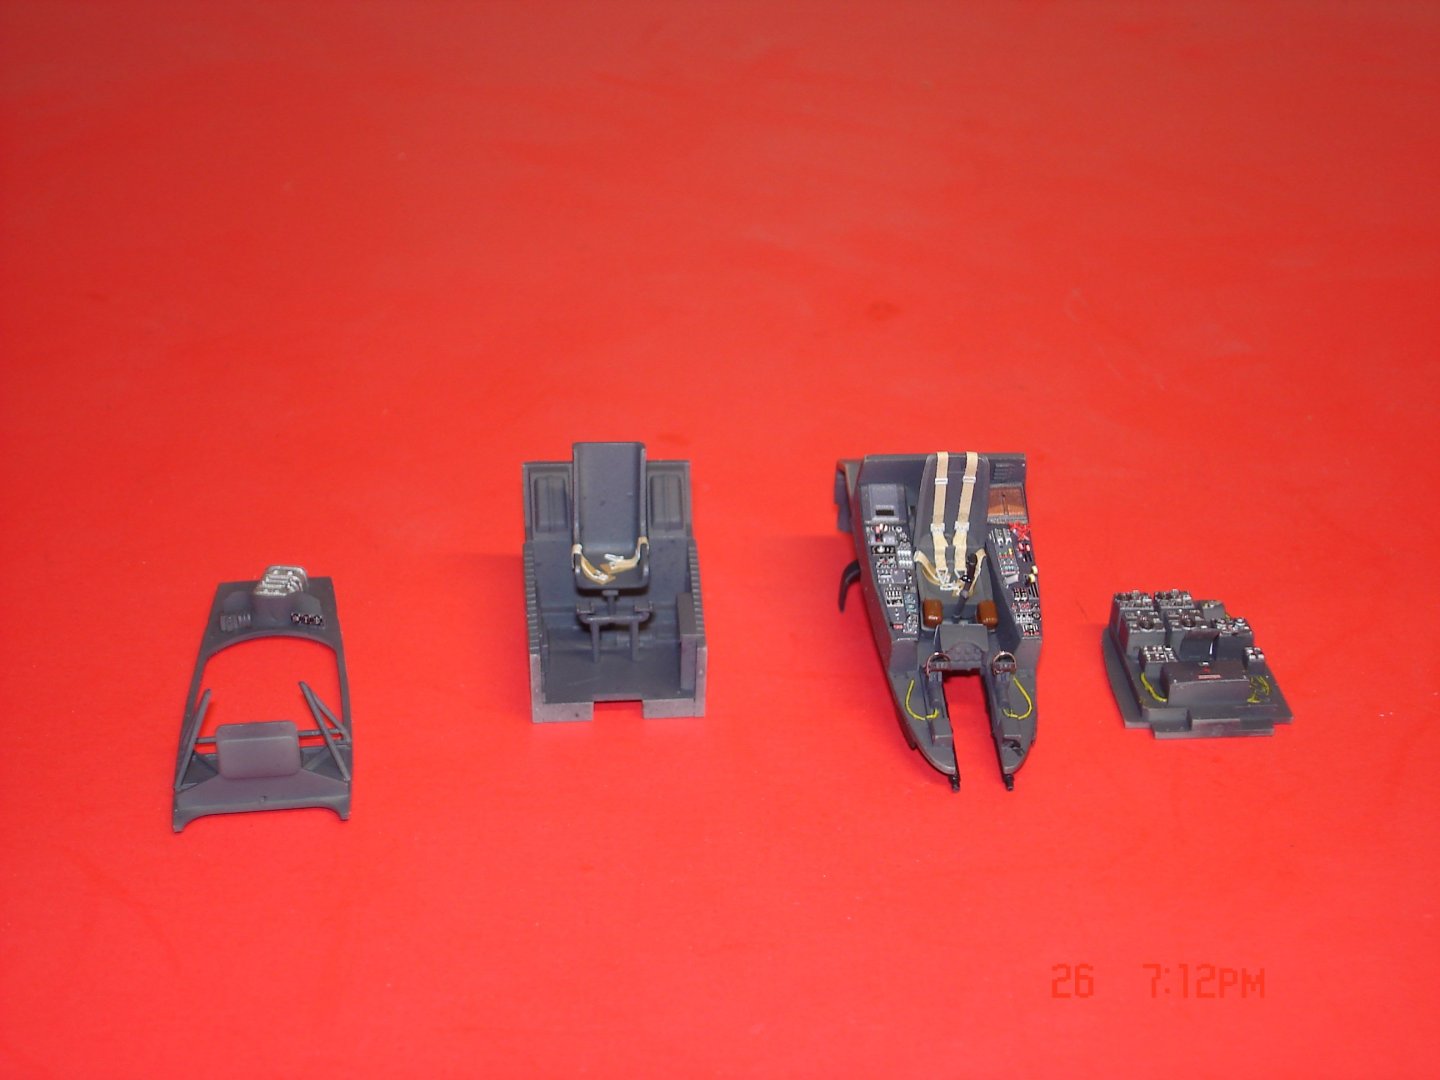
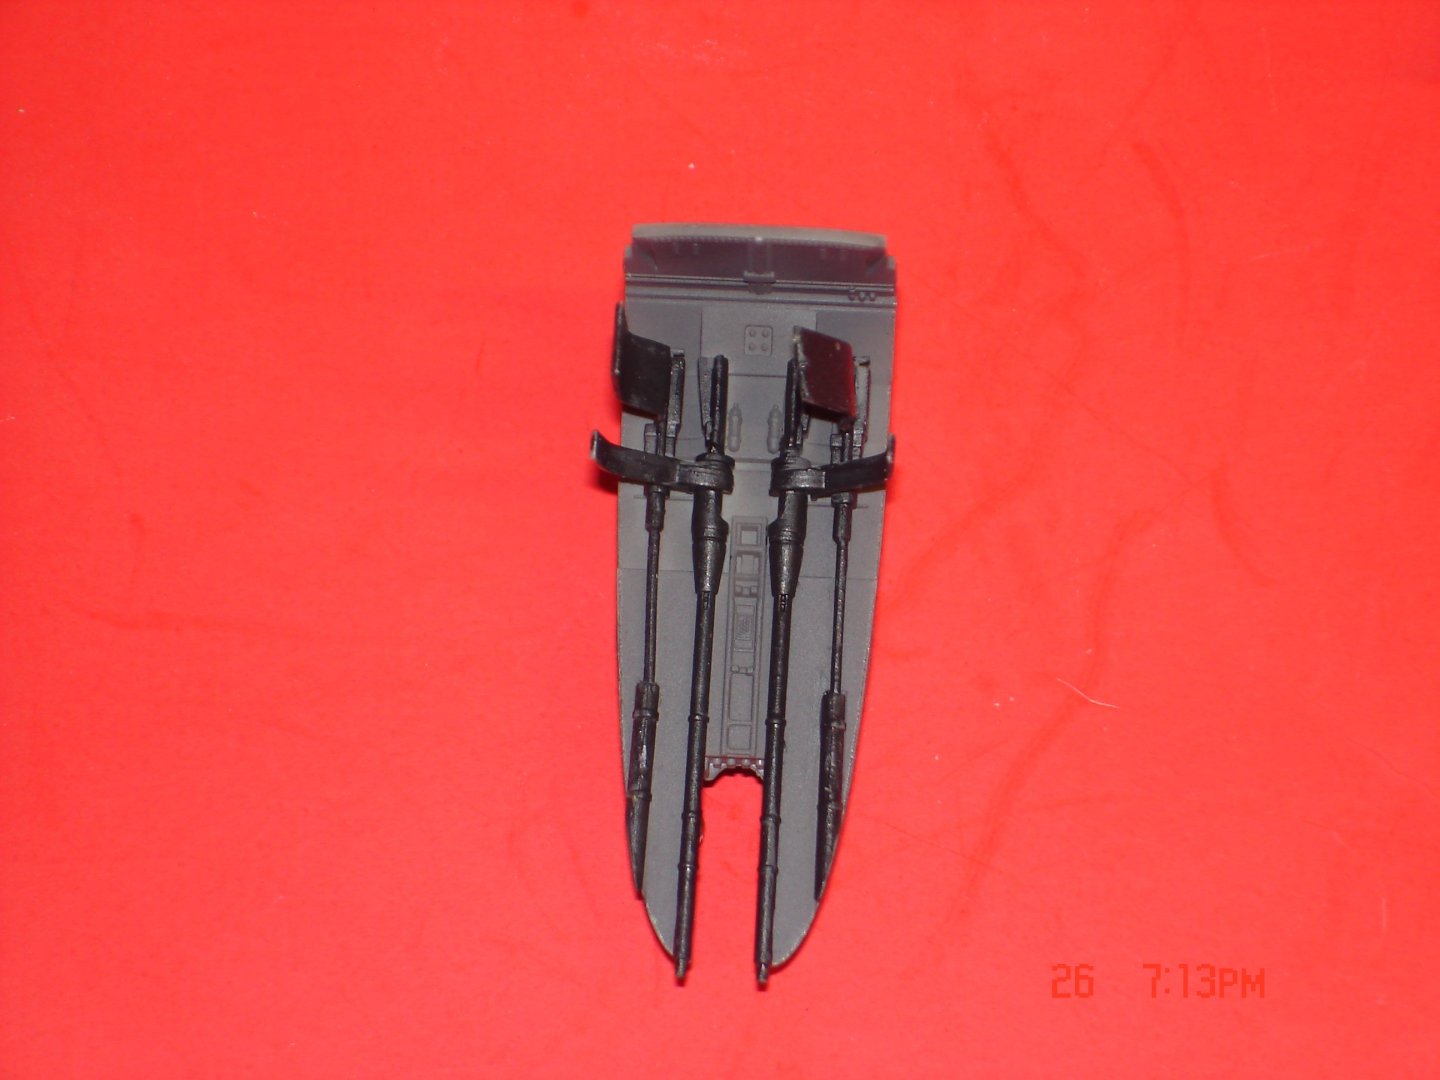
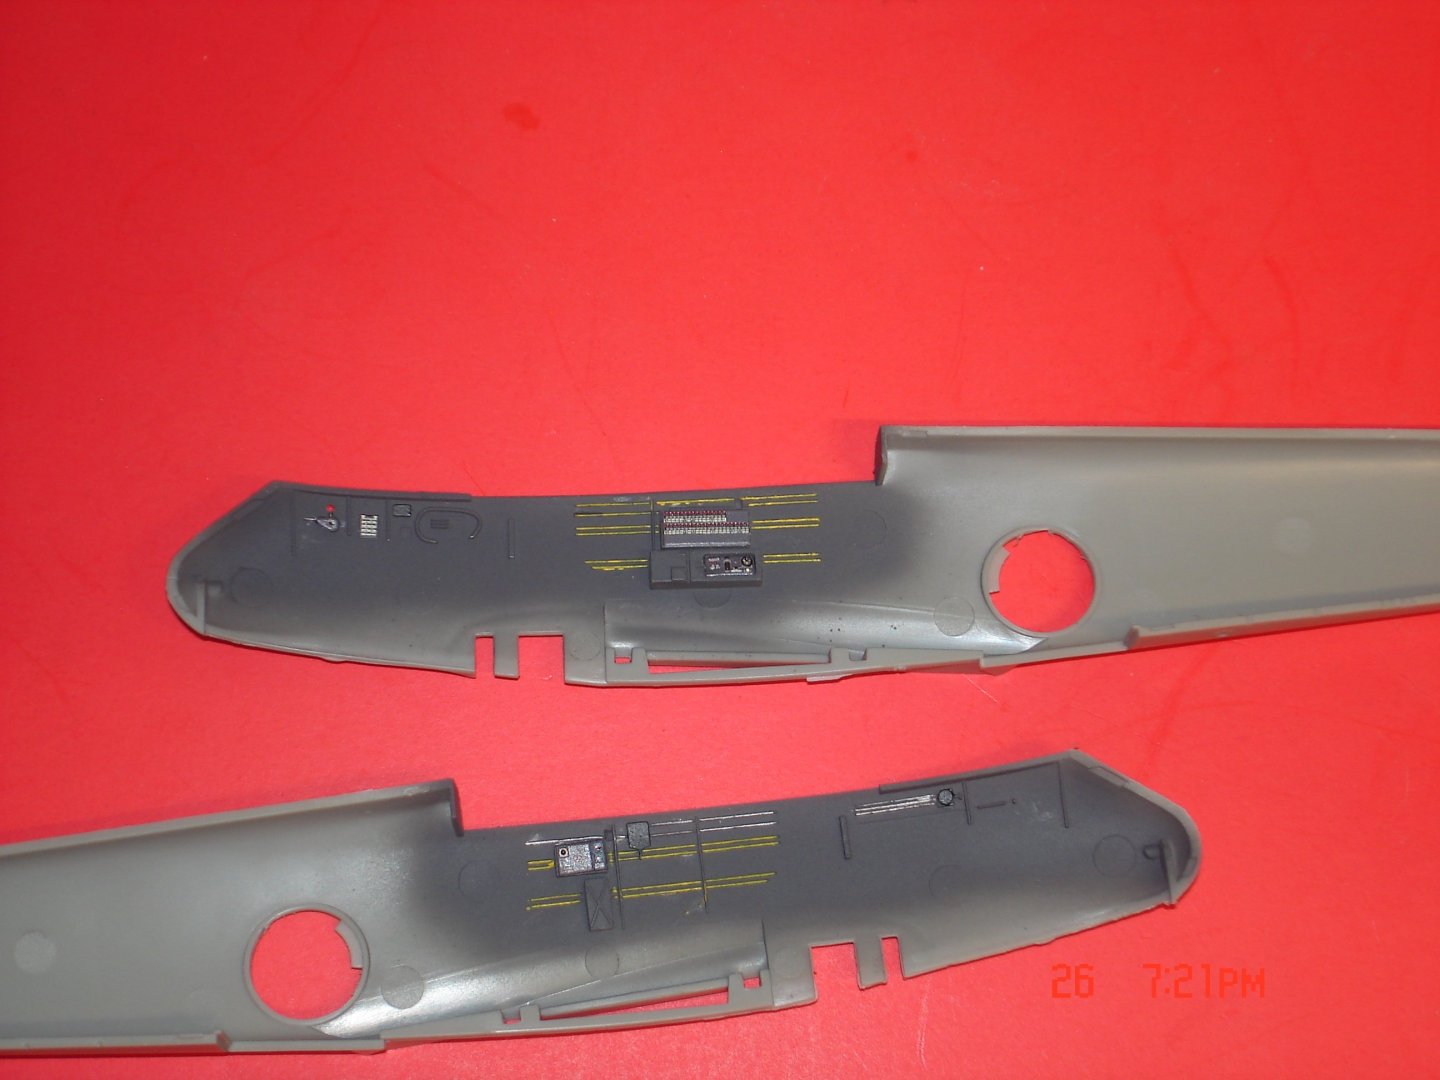
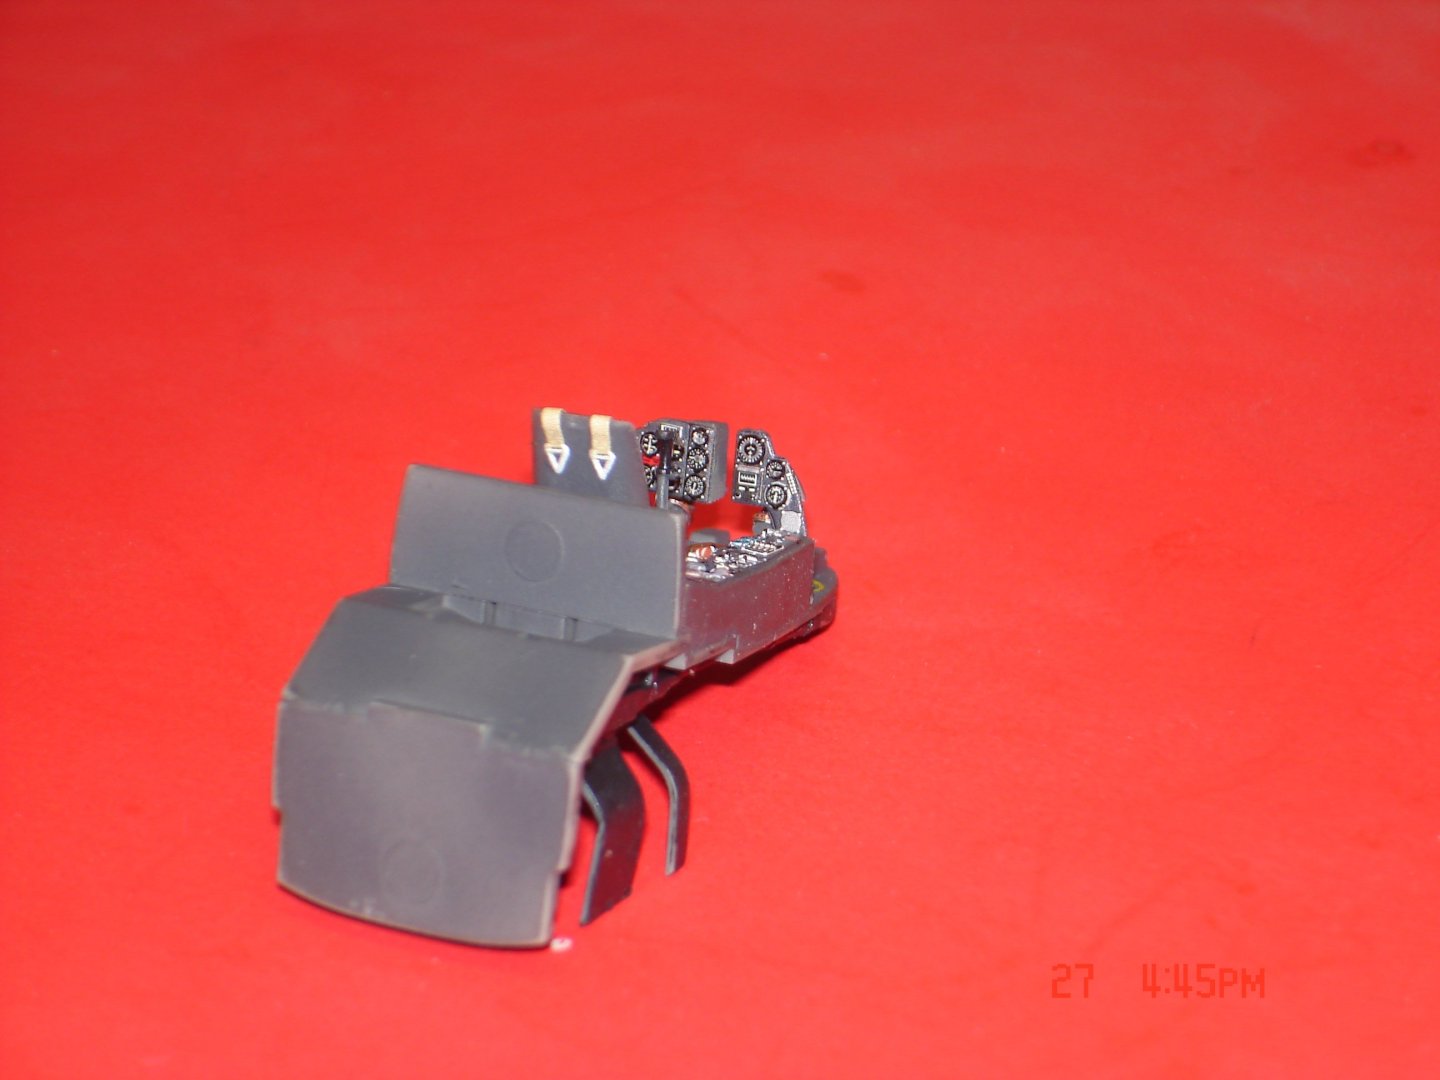
I have started another little 1/48 seeing space is starting to run out the Meng Me-410 with the only add-ons being the Quintas Interior.The fit thus far has been quite Nice I have even placed the copit and gunner section within the fuselage halves fit looks excellent.The kit also supplies both engines and look like they might be pretty good for 1/48 sadly I will properly close those up once built.I also have the Revell 1/48 in the stash to which I order my mask for it when I ordered this one's mask.Pics of work done thus far....


- 22 replies
-
- 16
-
-
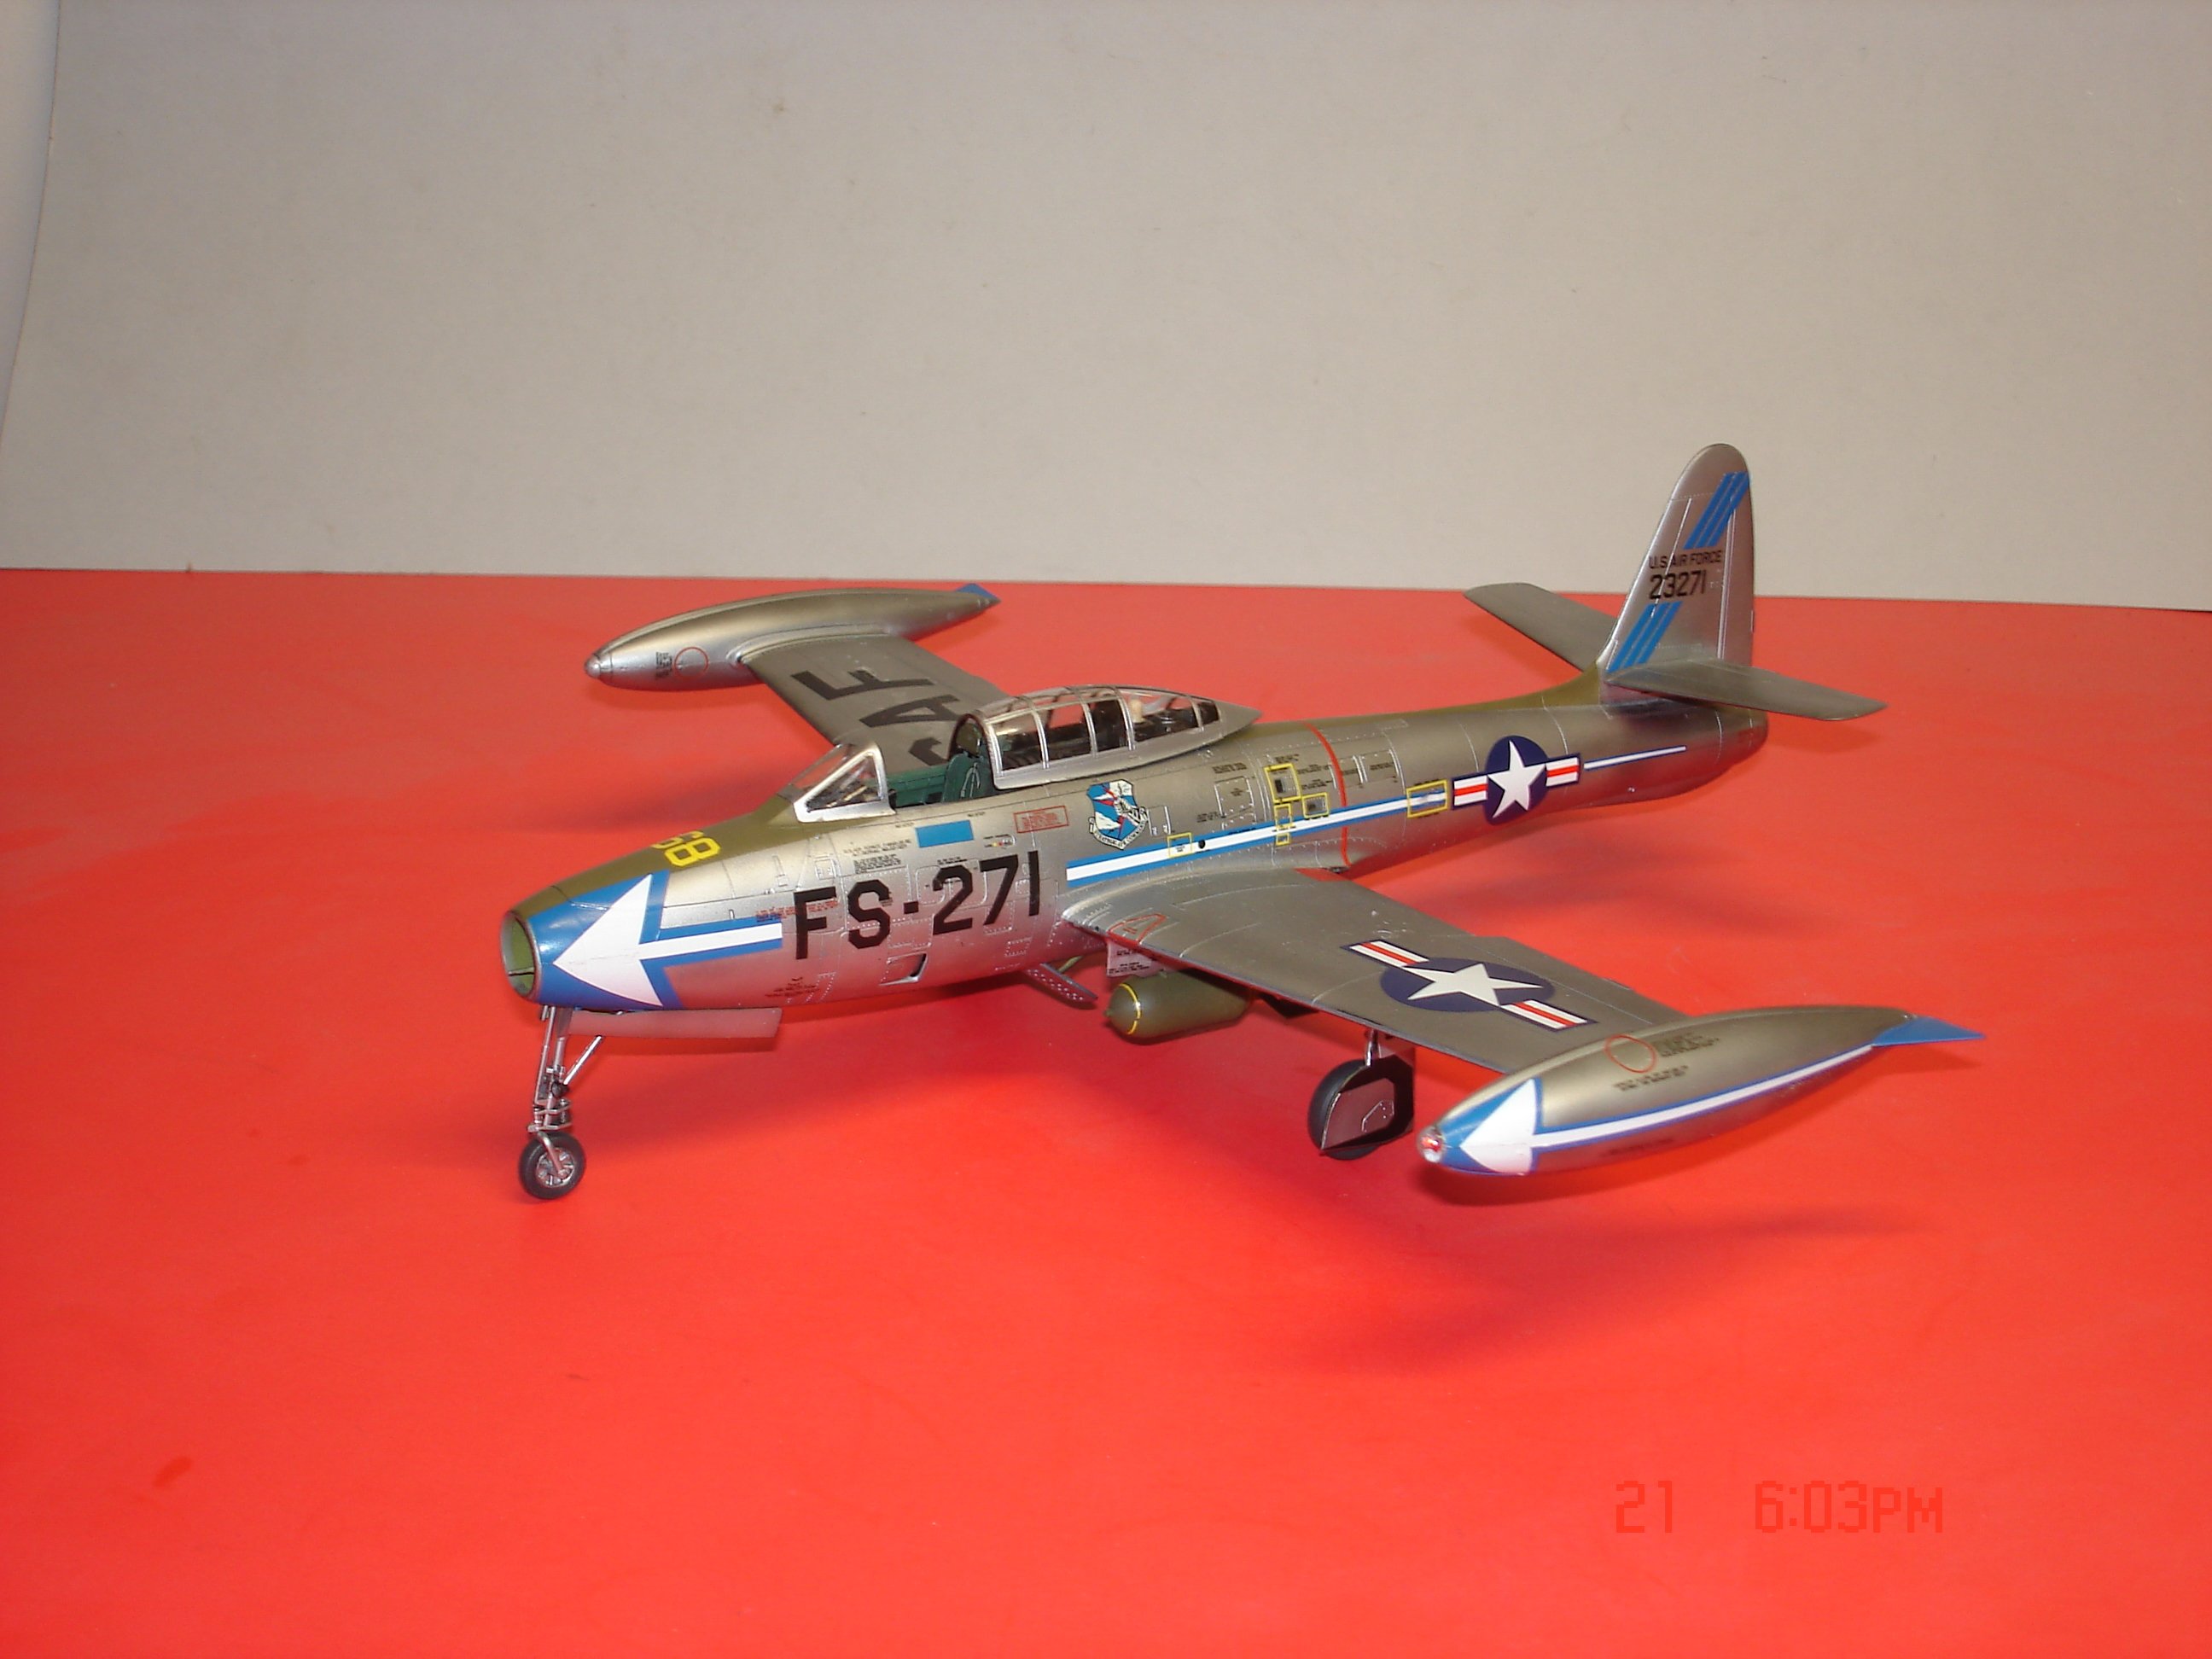
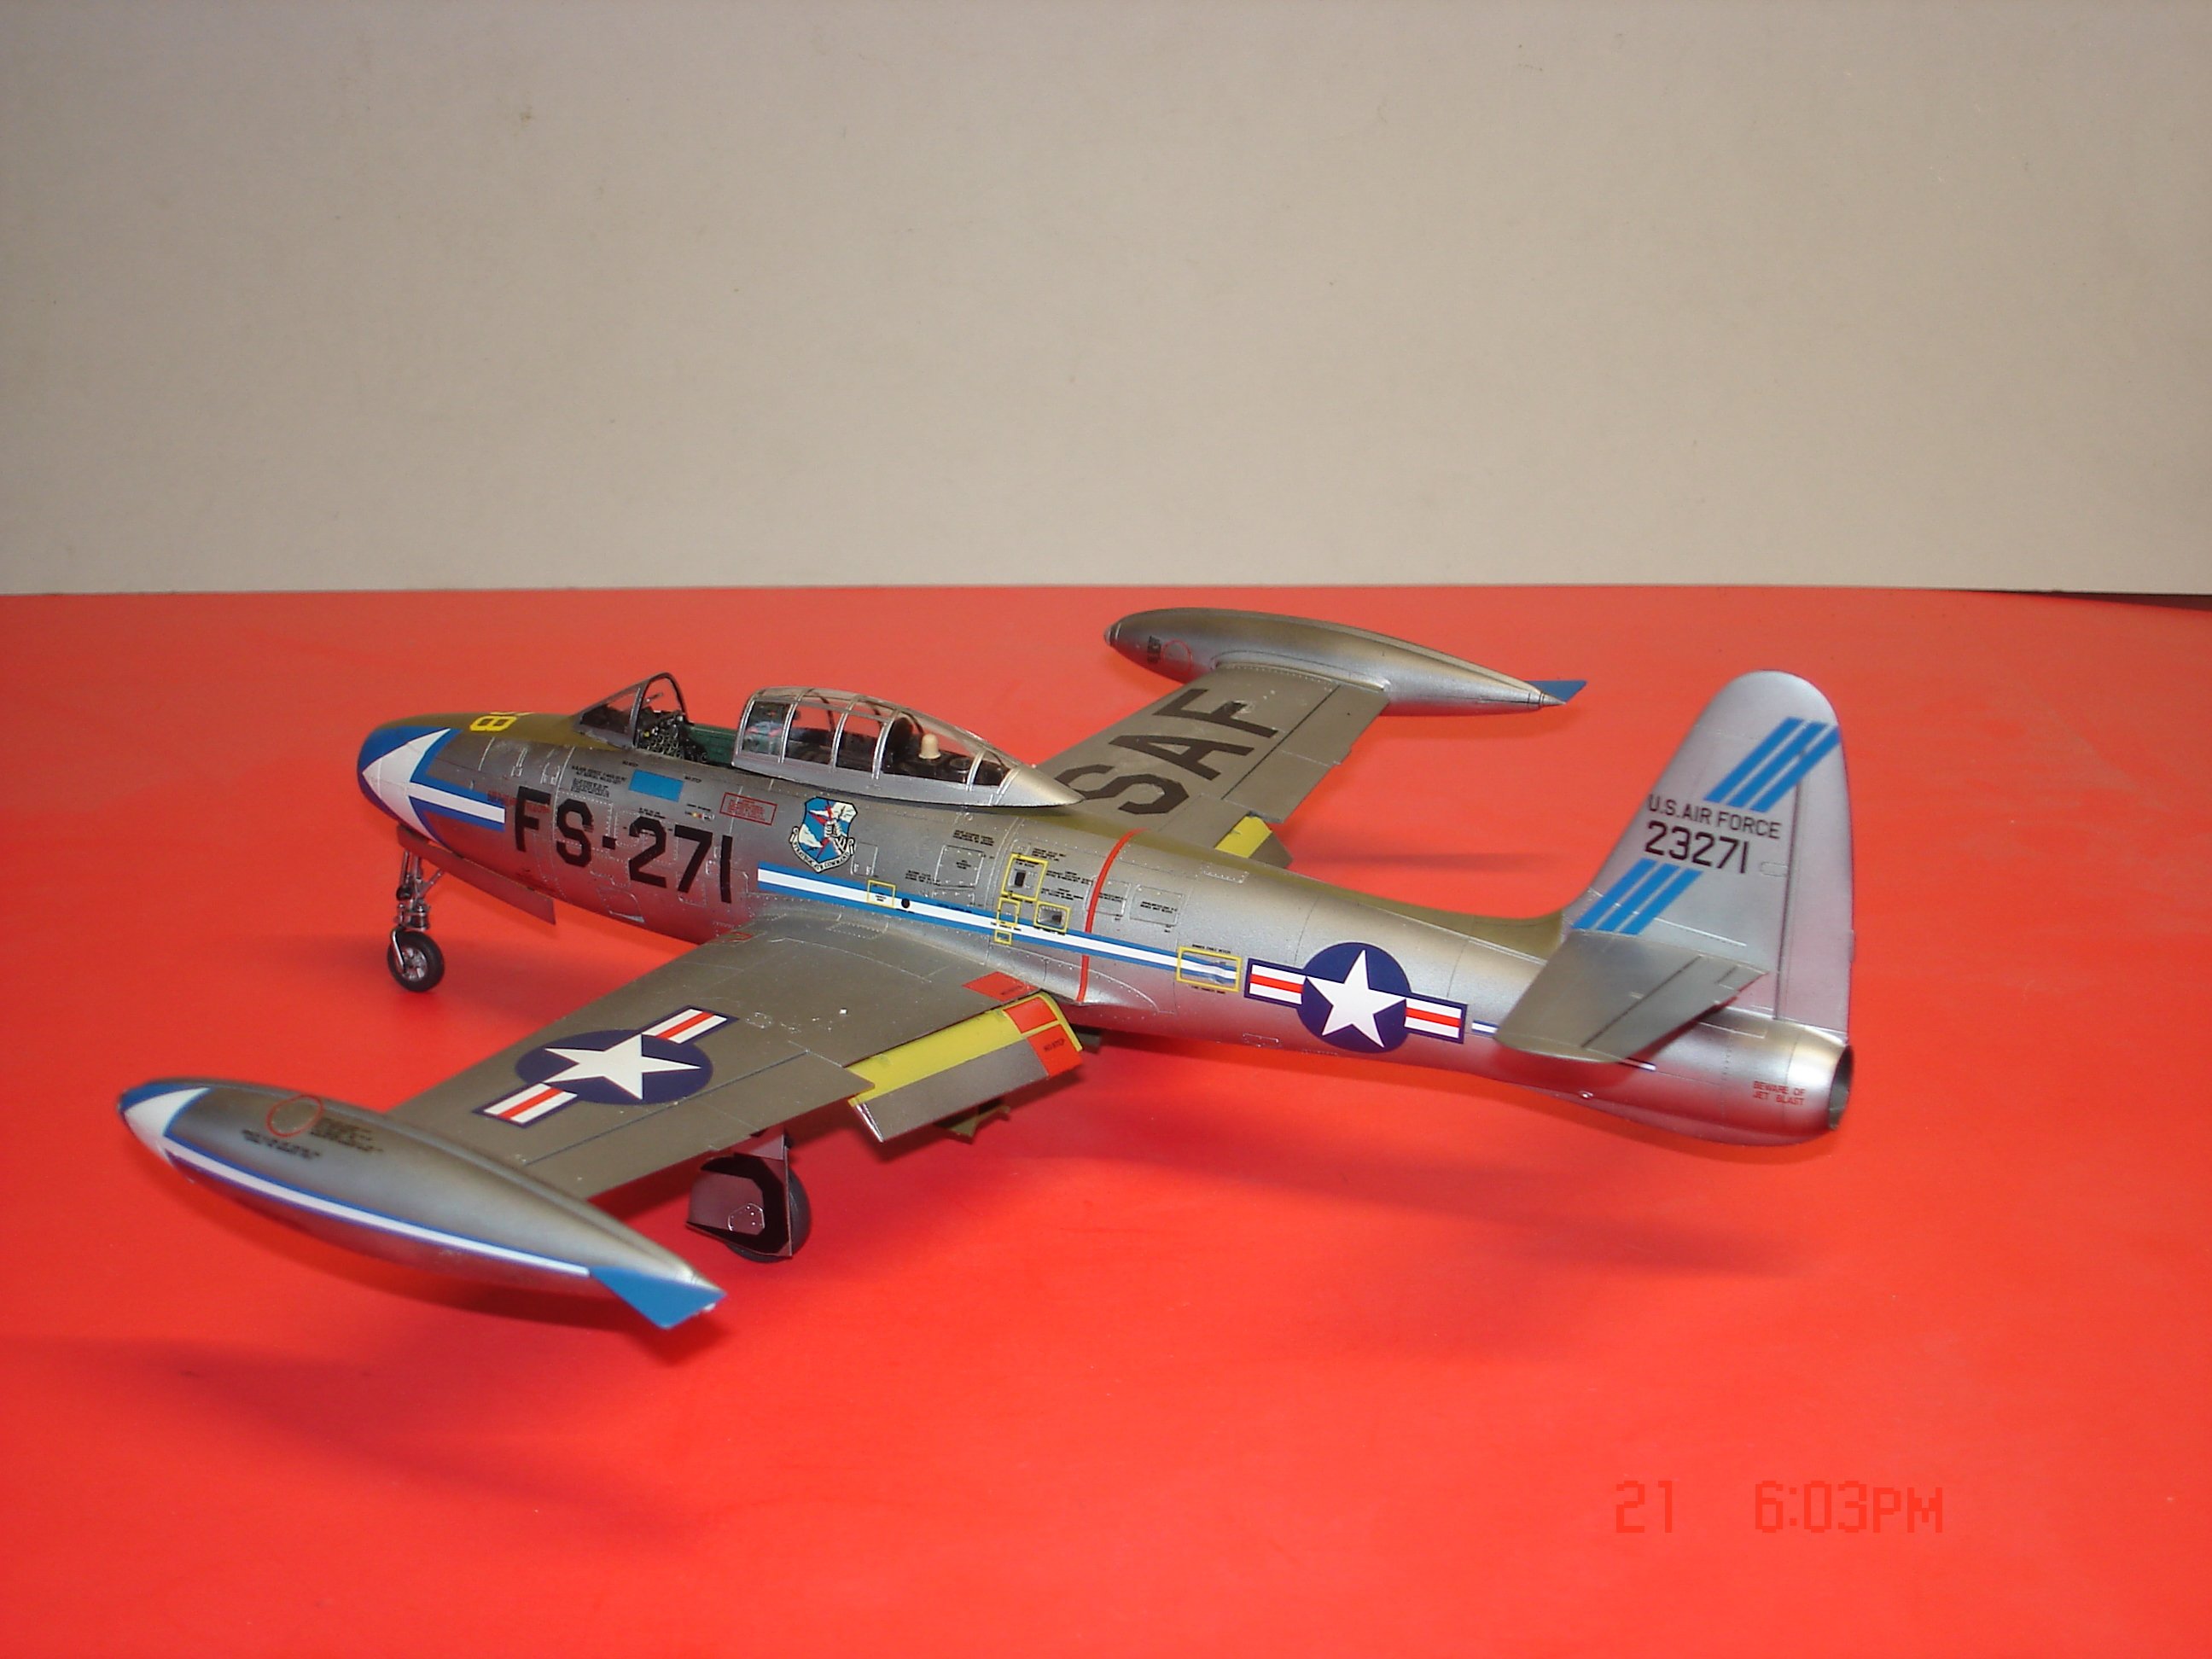
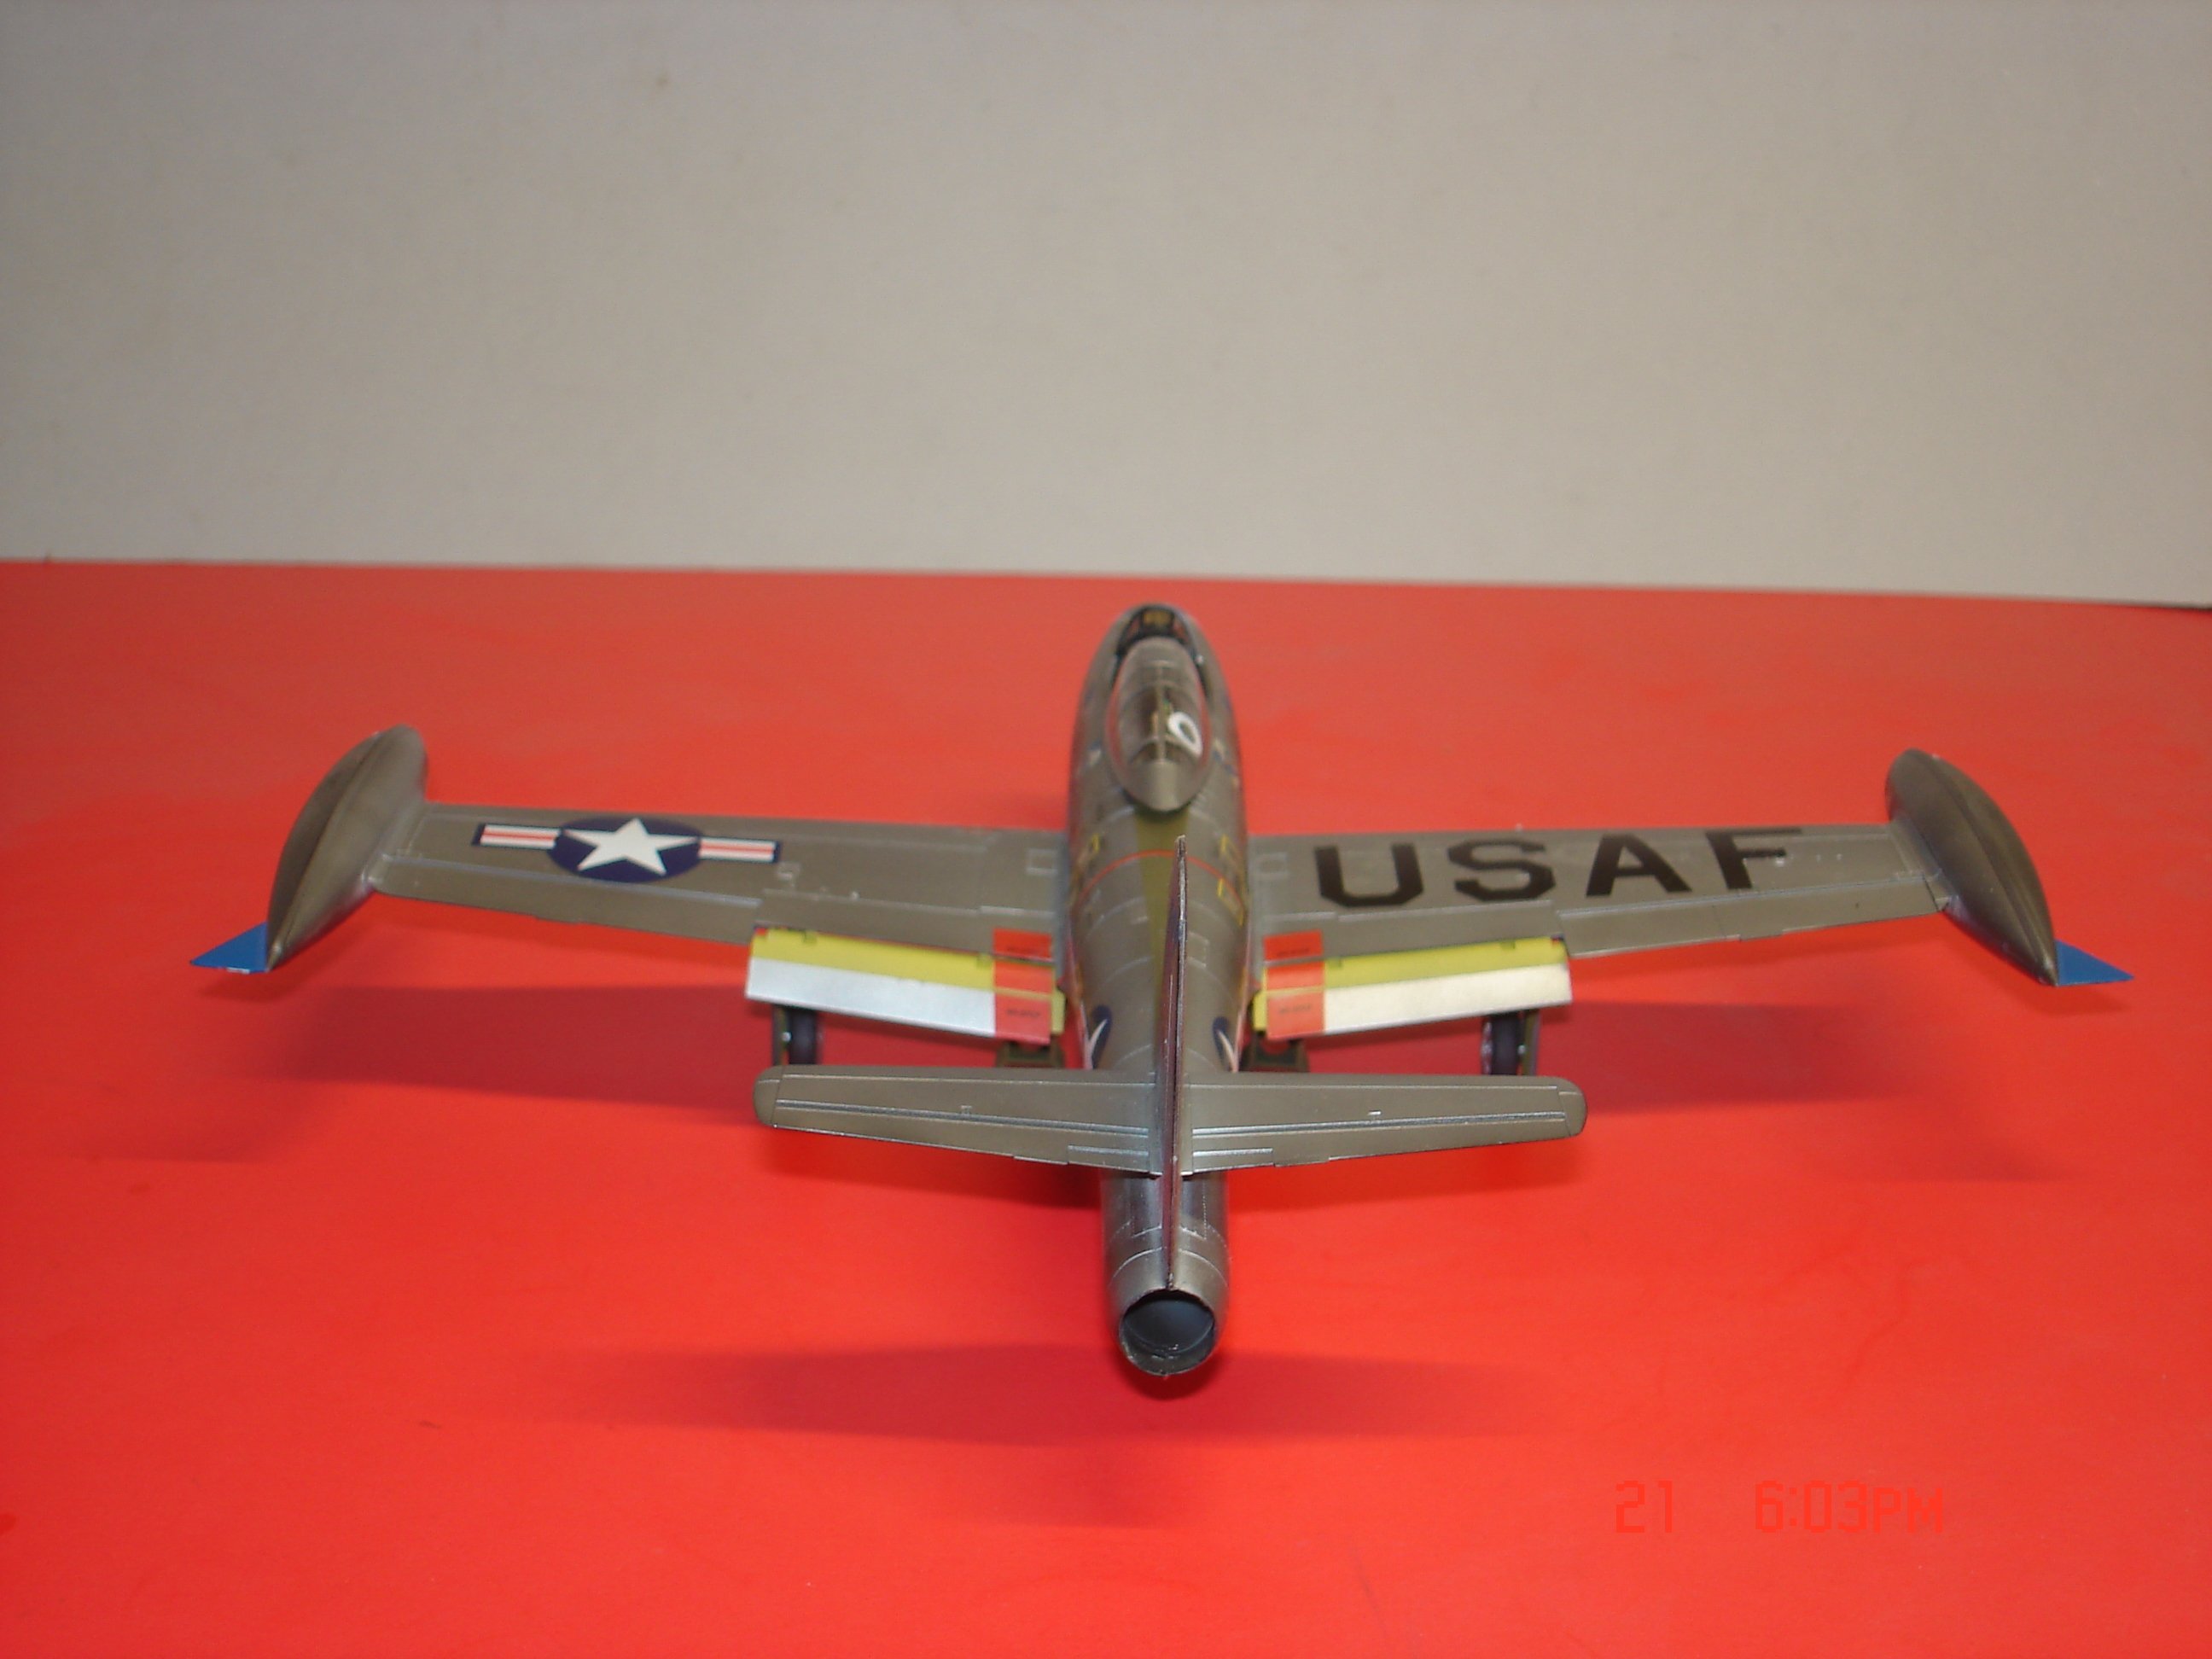
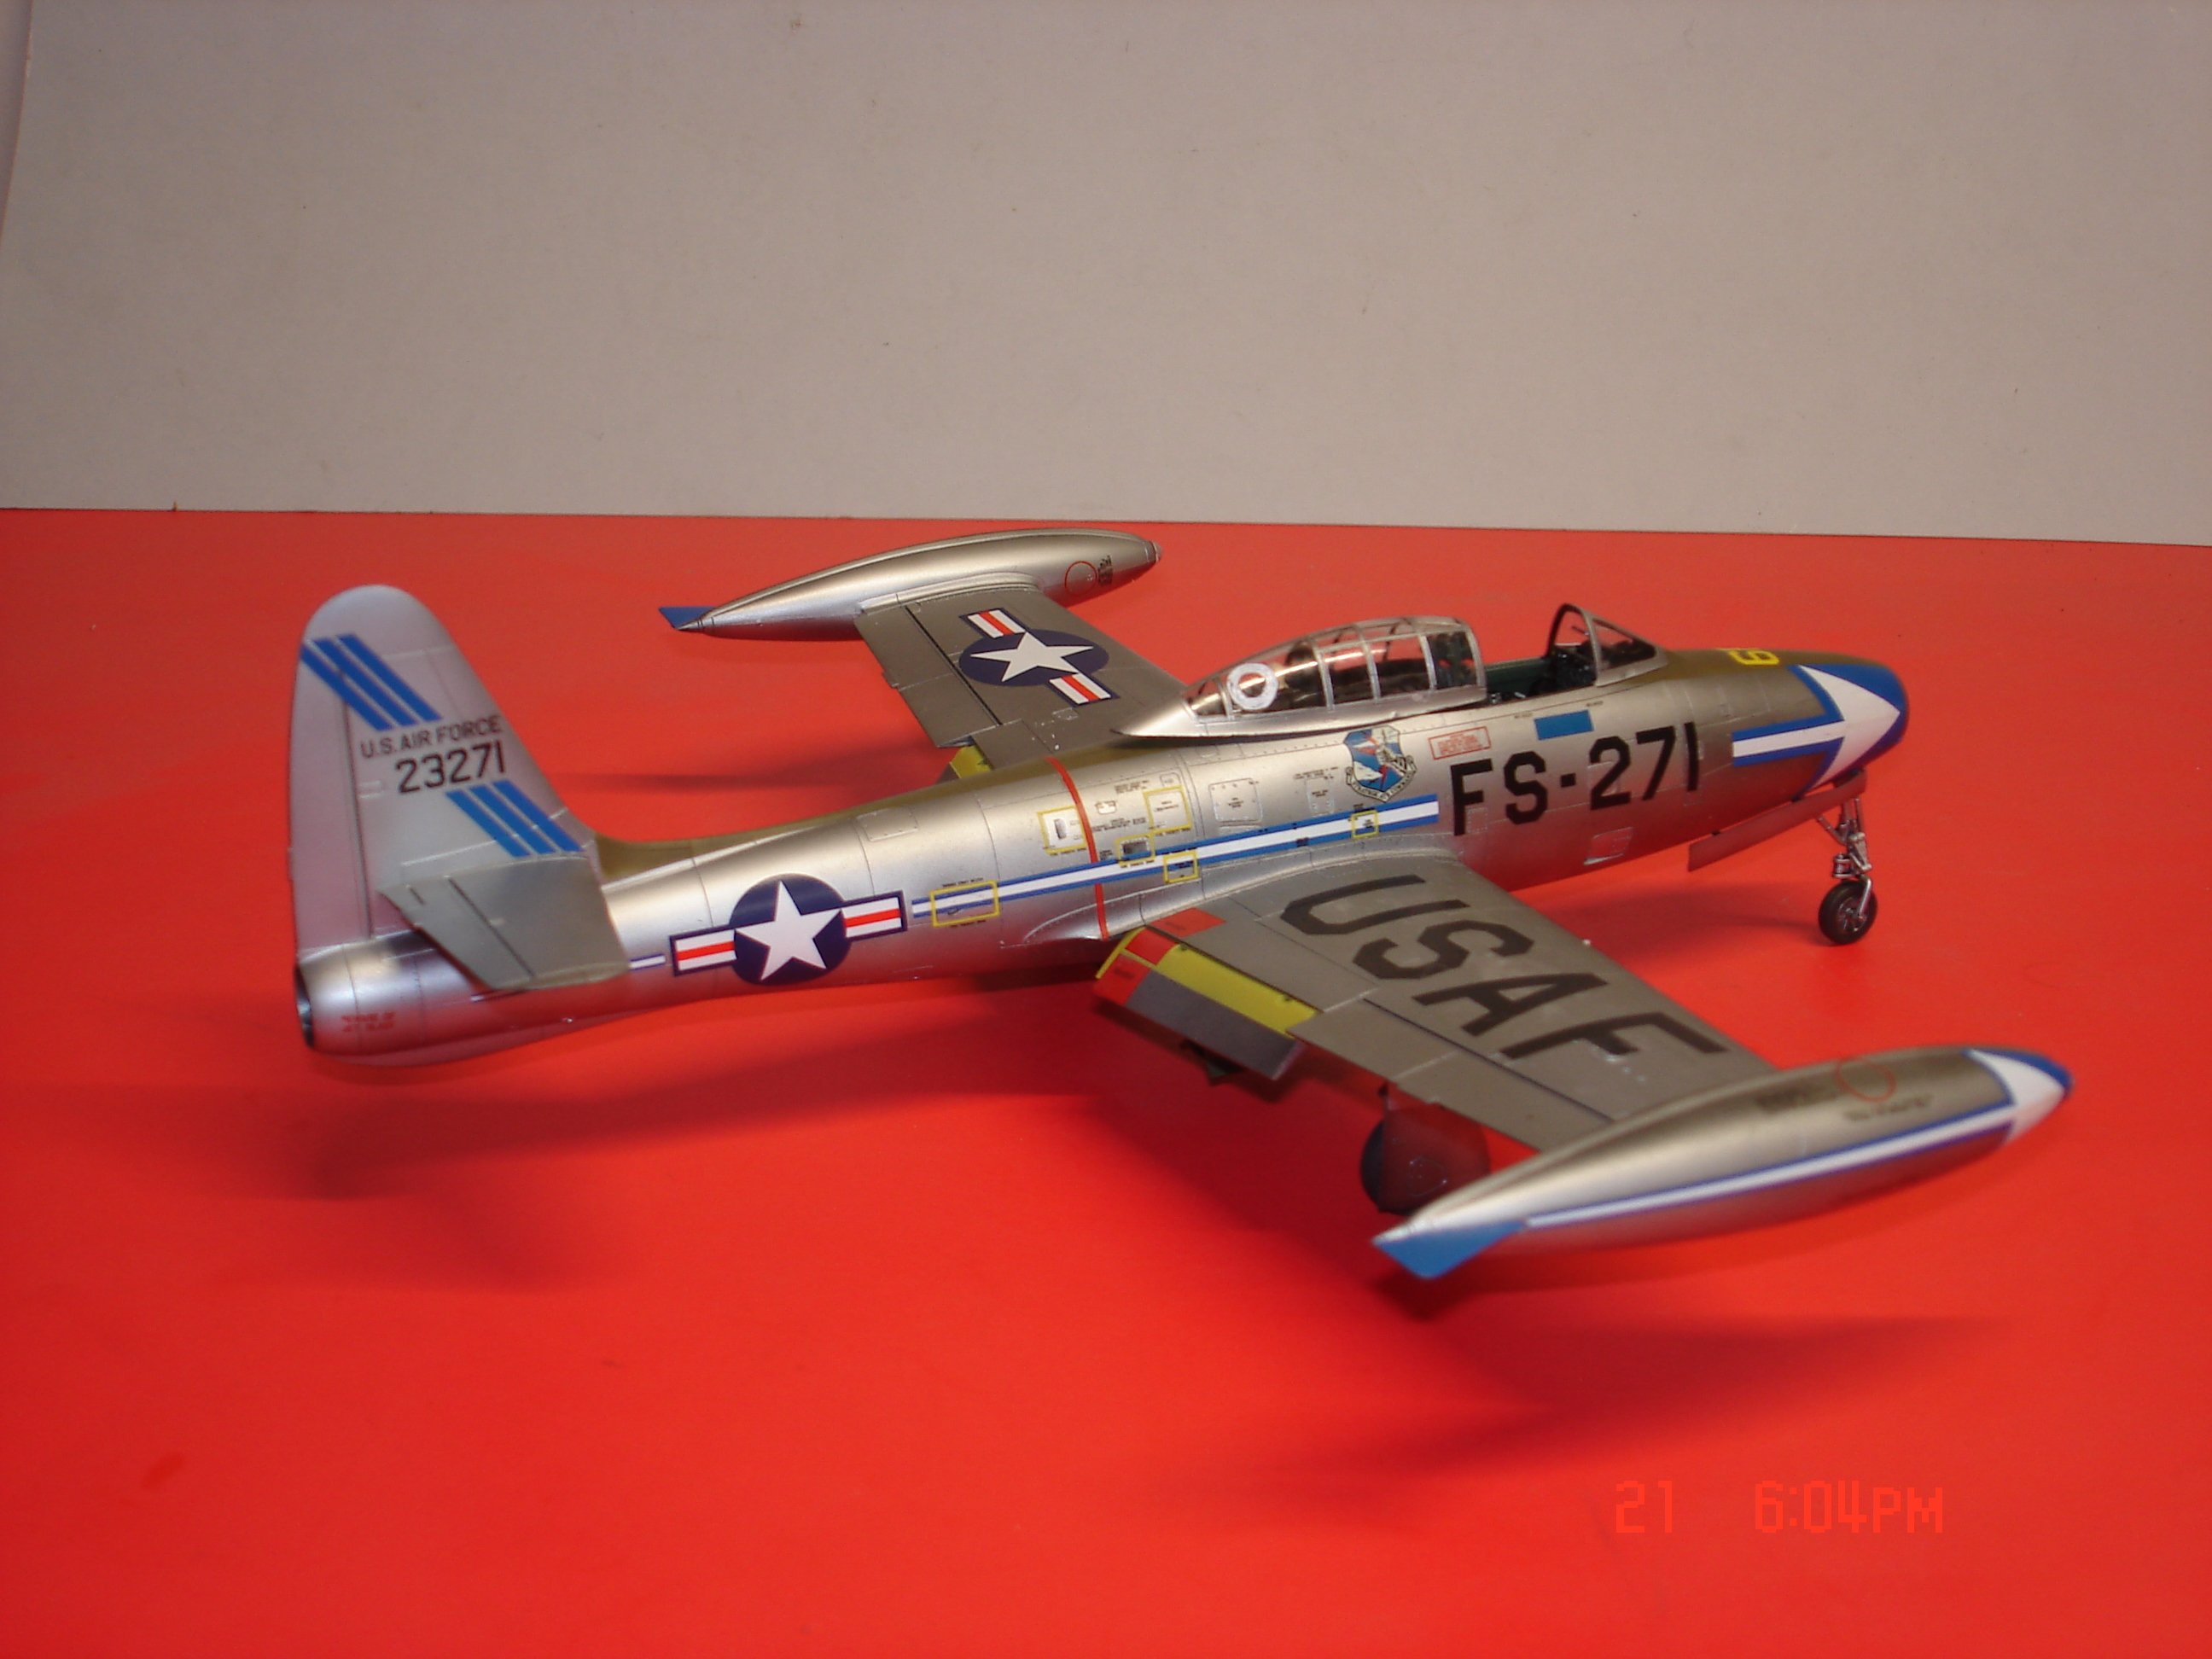
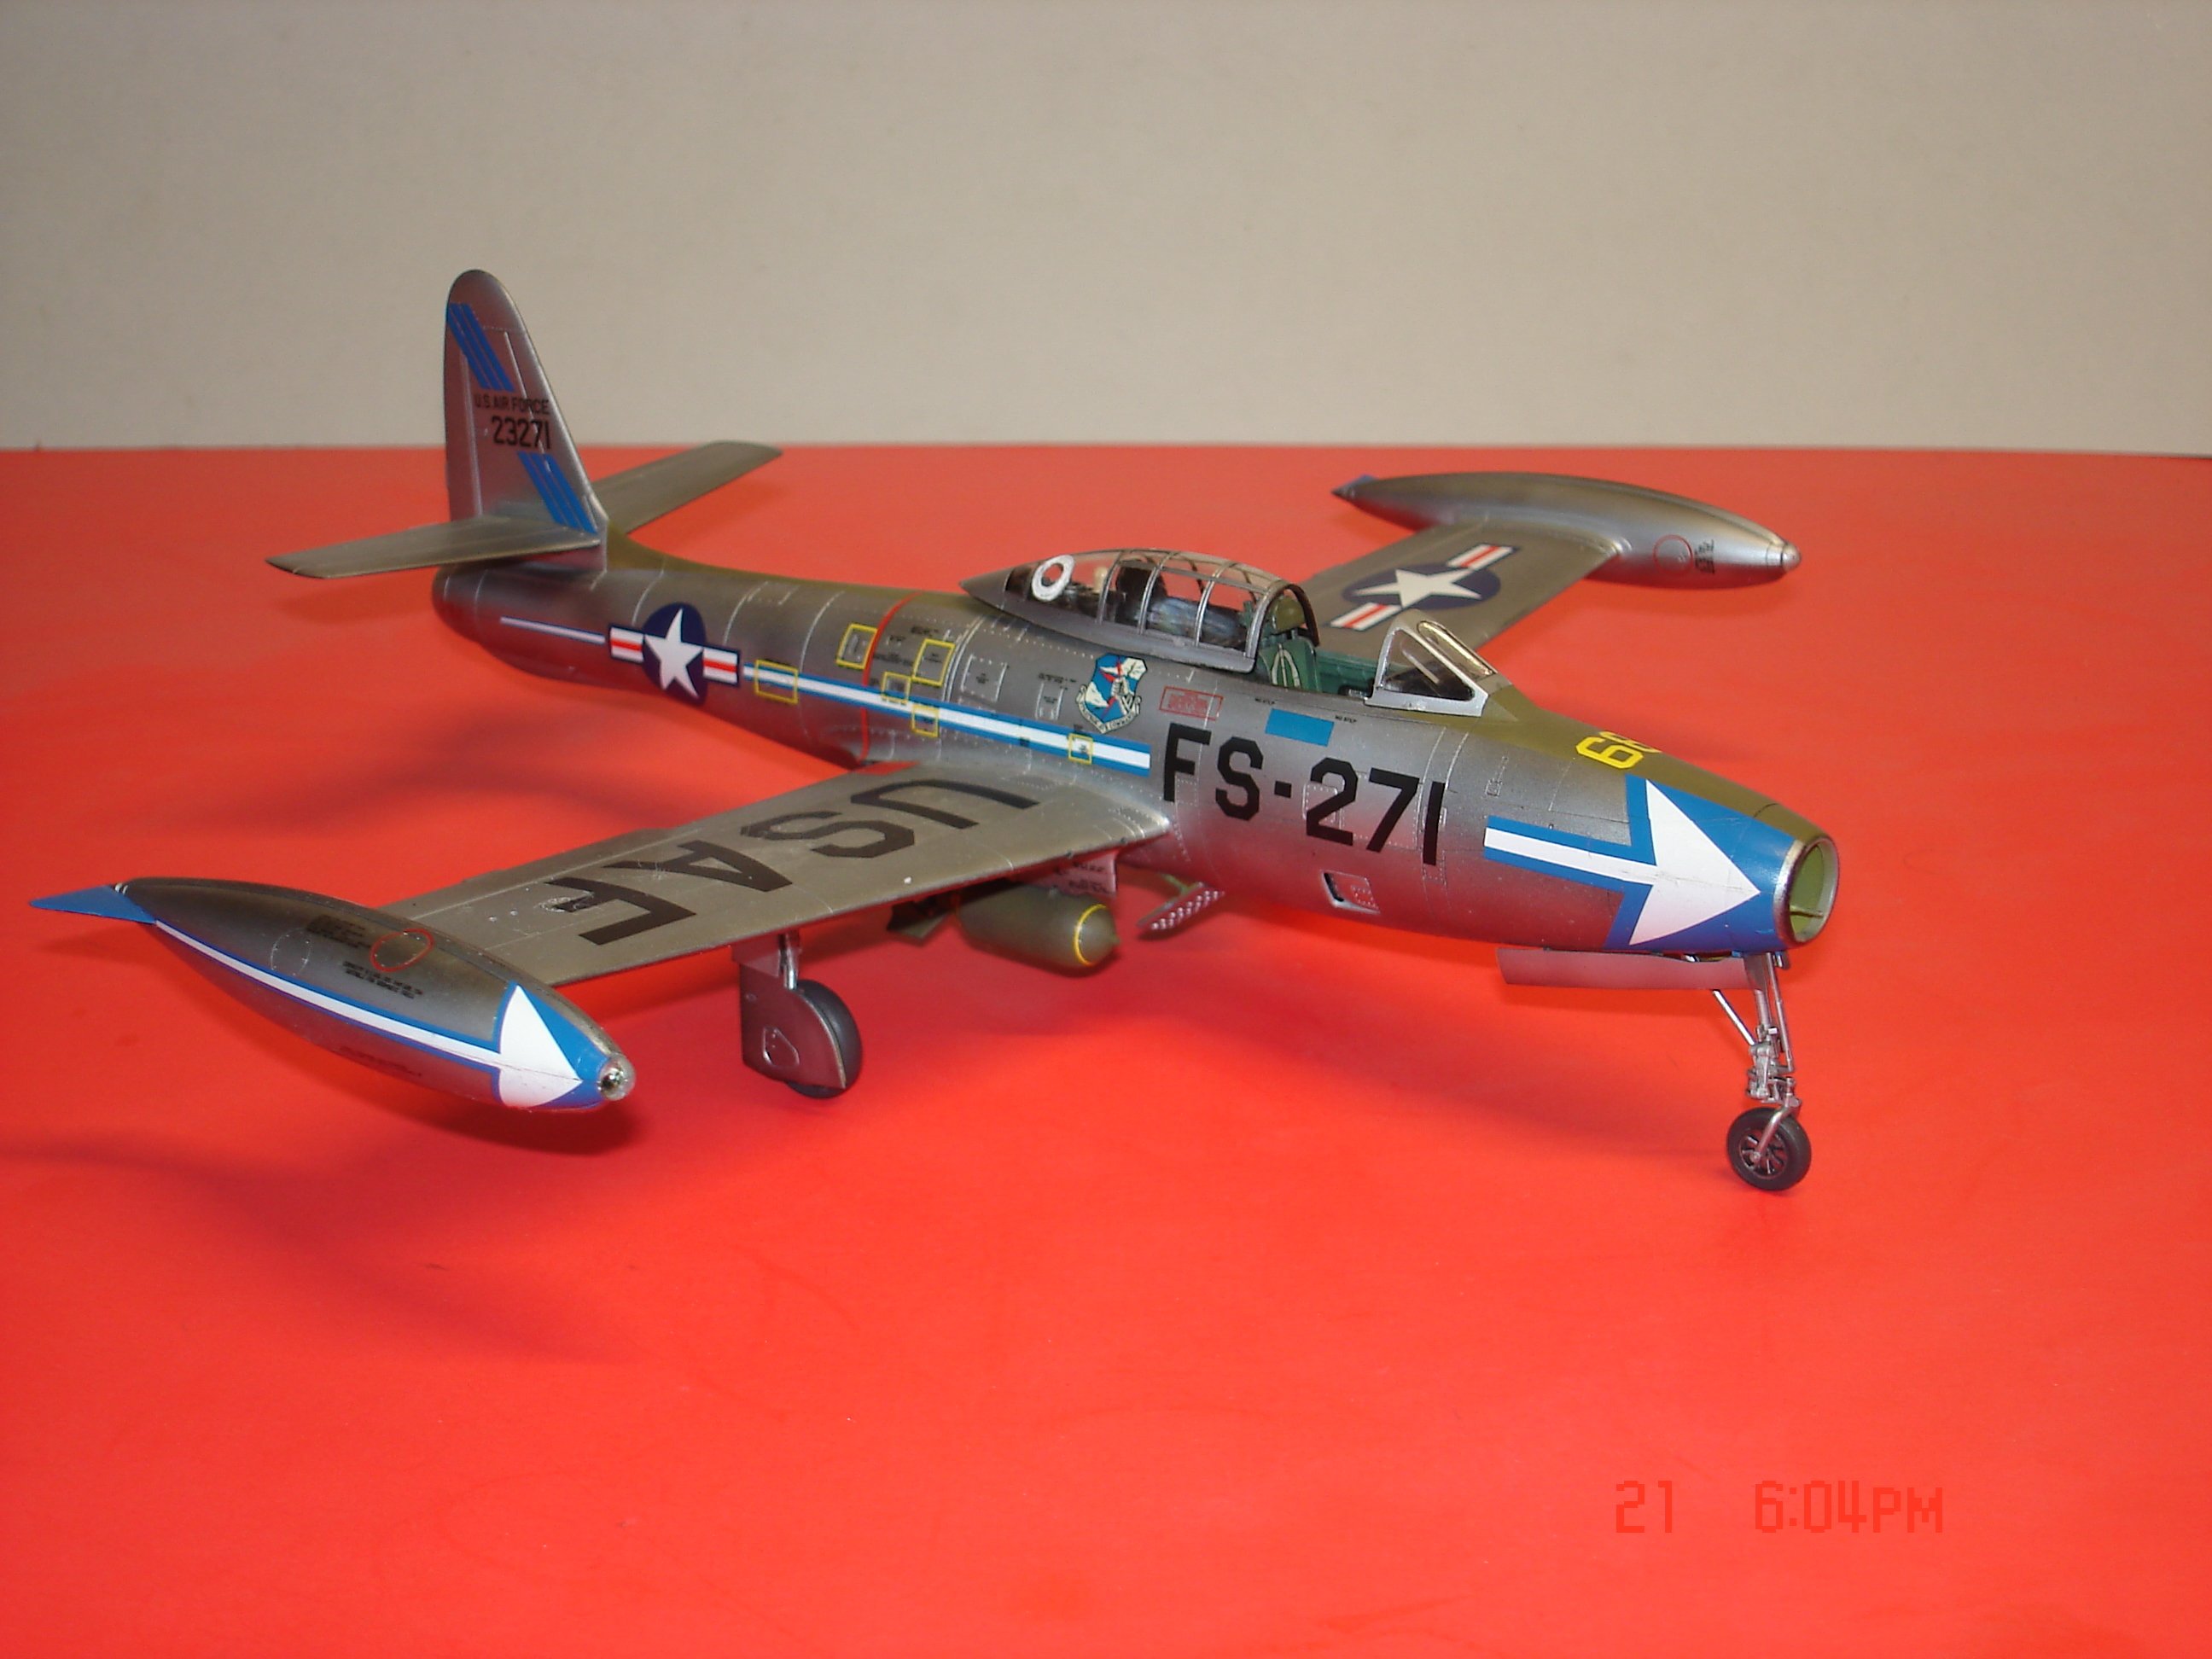
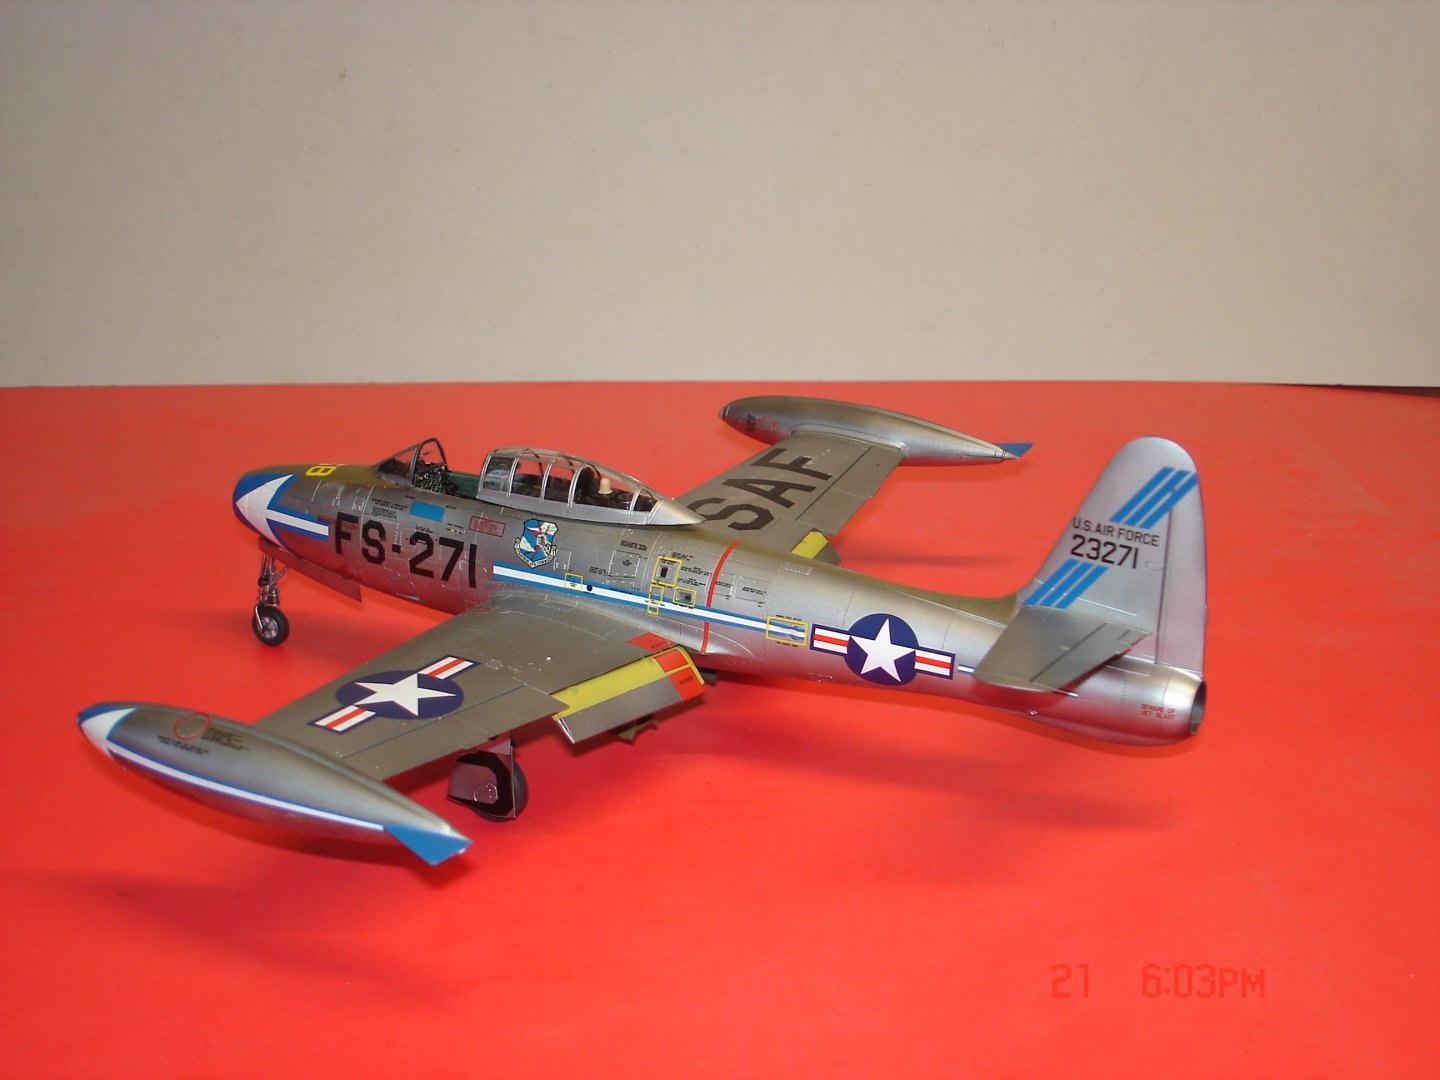
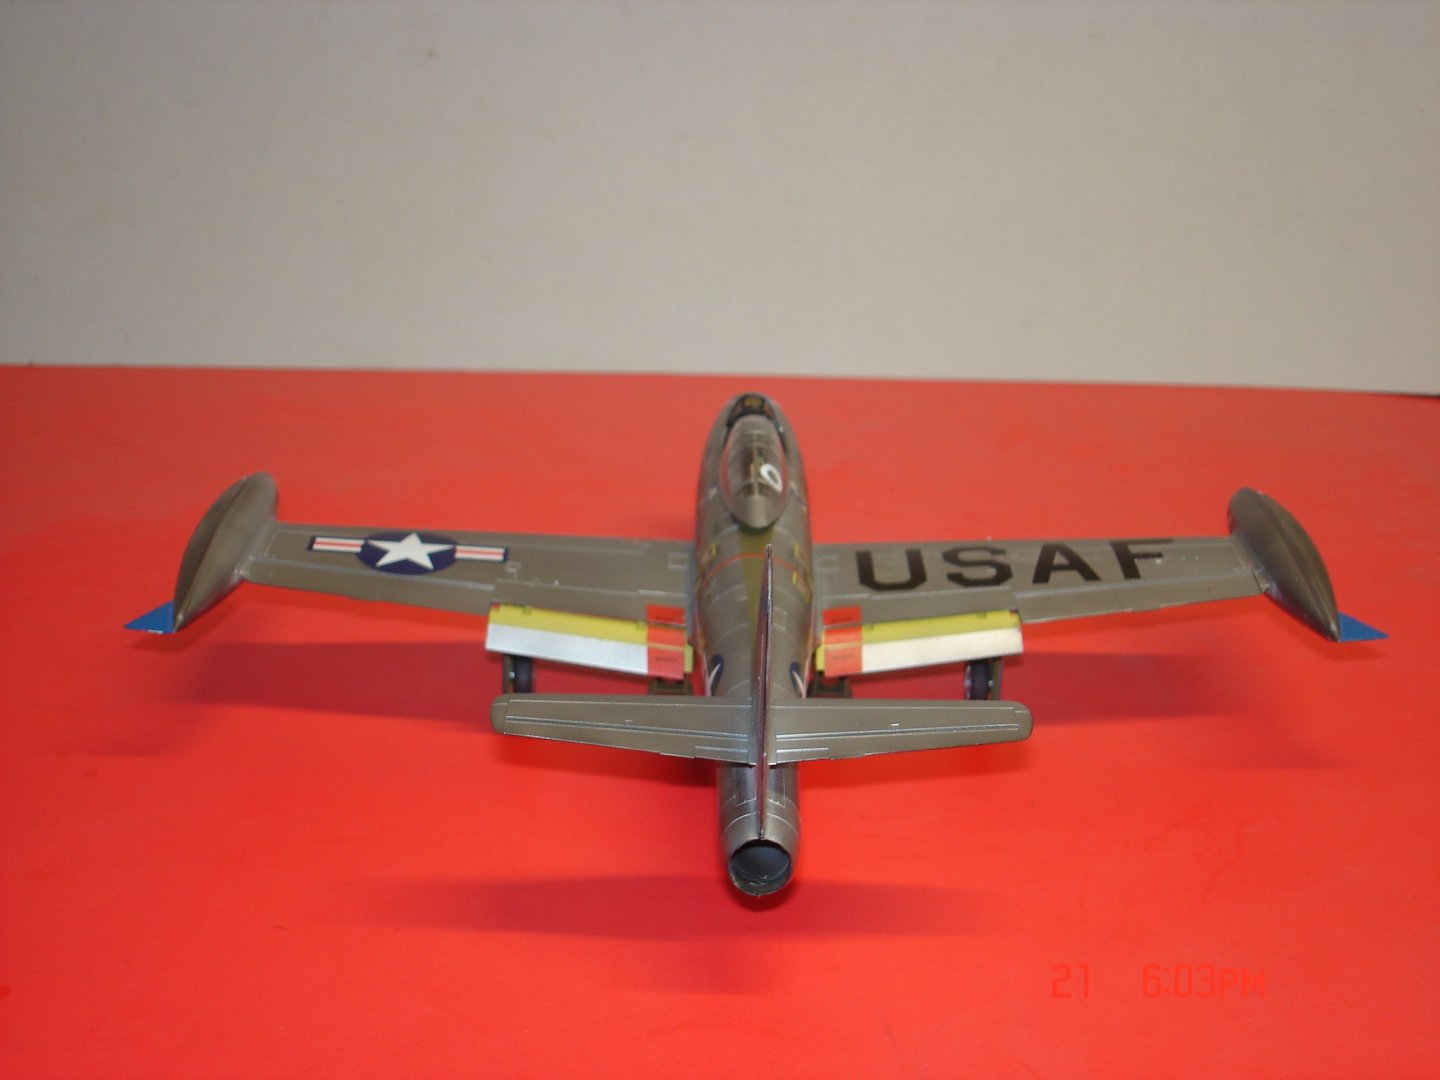
F-84G by Javlin -Tamiya - 1/48 - PLASTIC
Javlin replied to Javlin's topic in Completed non-ship models
I may of used a different AB on the first coats now you mention it that had a higher volume?🤨 -
F-84G by Javlin -Tamiya - 1/48 - PLASTIC
Javlin replied to Javlin's topic in Completed non-ship models
I have used that in the past the experiment seemed to be working till the last coats Tom don't know why? -
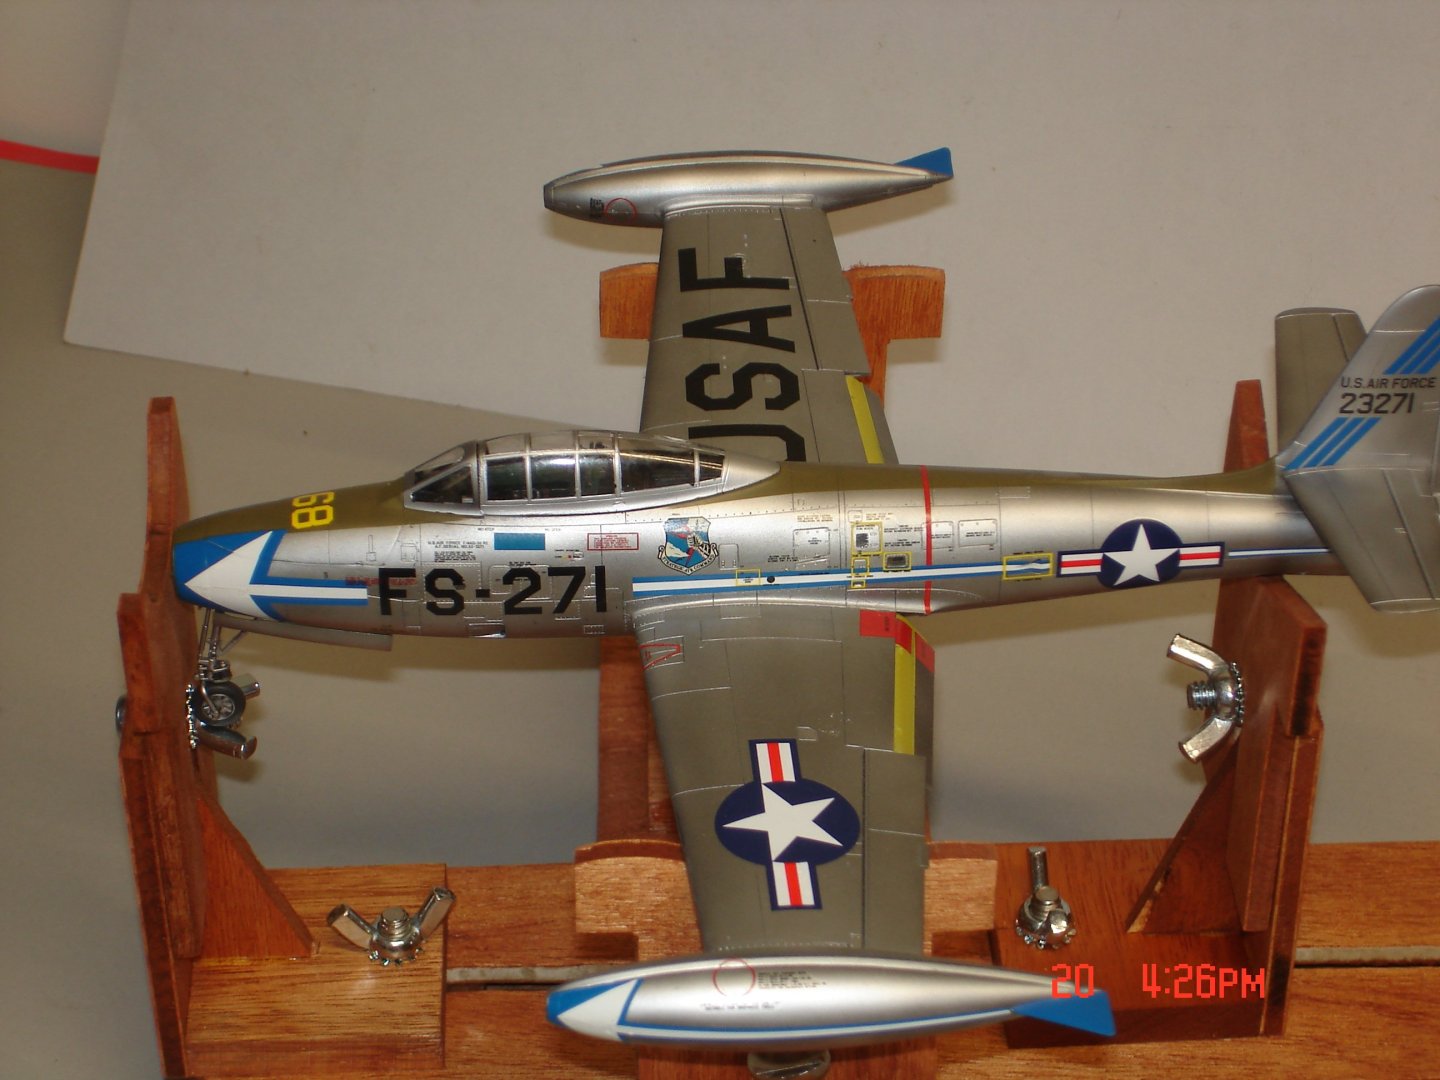
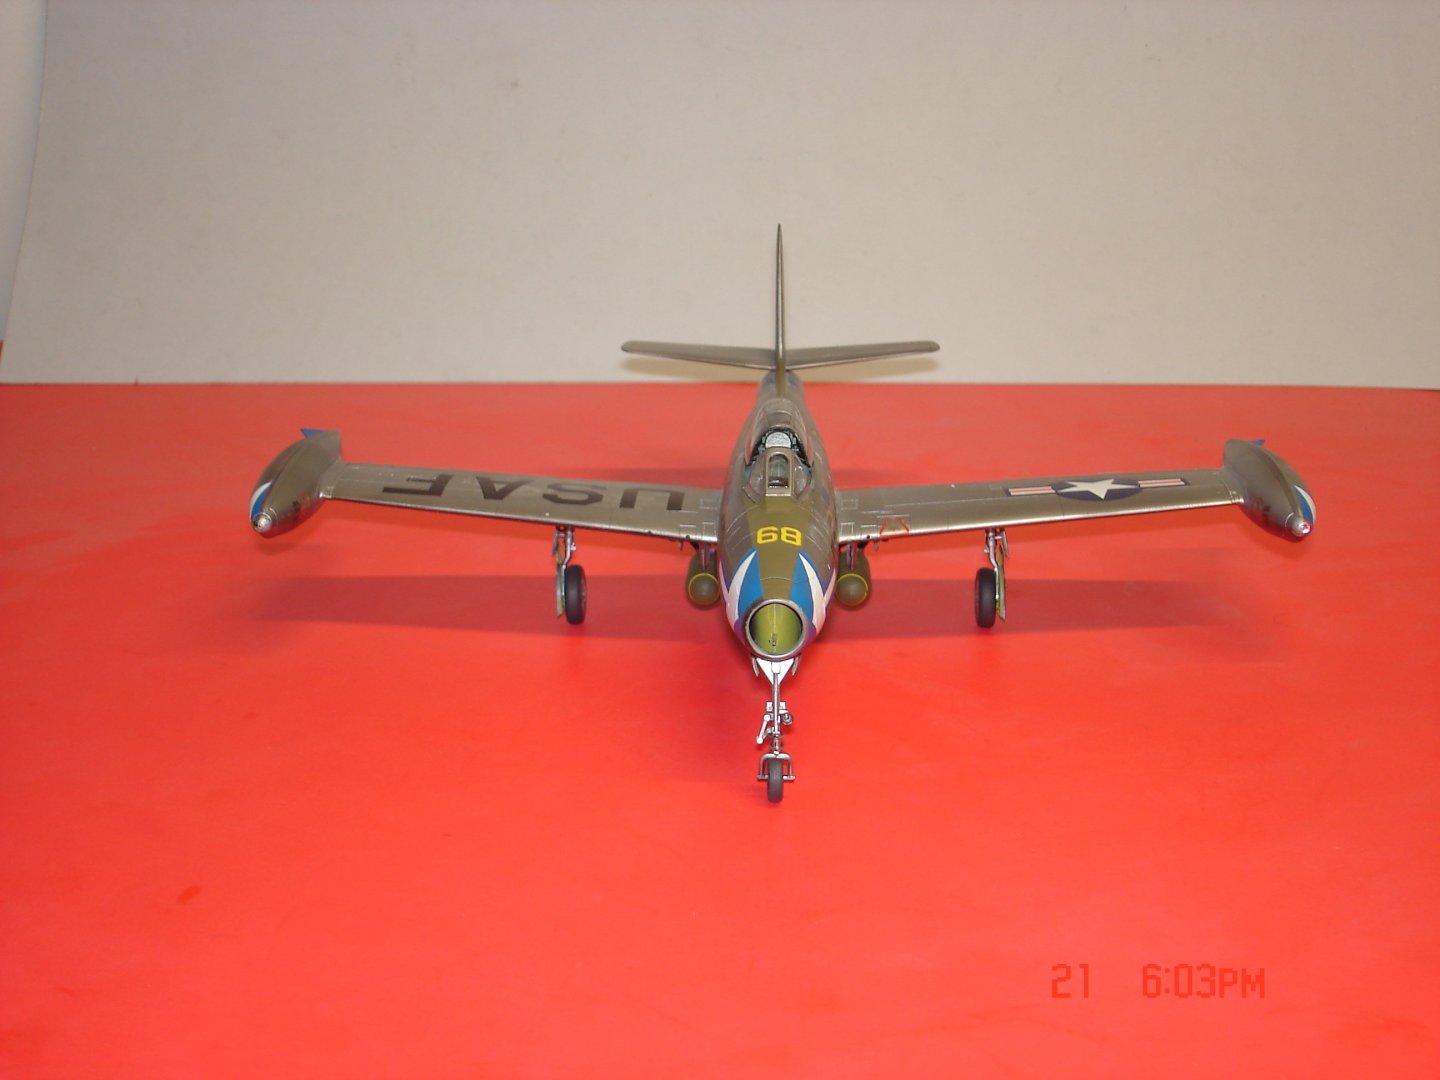
I have been building this one while doing the George was really liking the look alot just shiny enough and the same clear same bottle the last coats lost a shade of shine.The pic on the stand is right before the last clear 🤨


- 6 replies
-
- 12
-

-
-
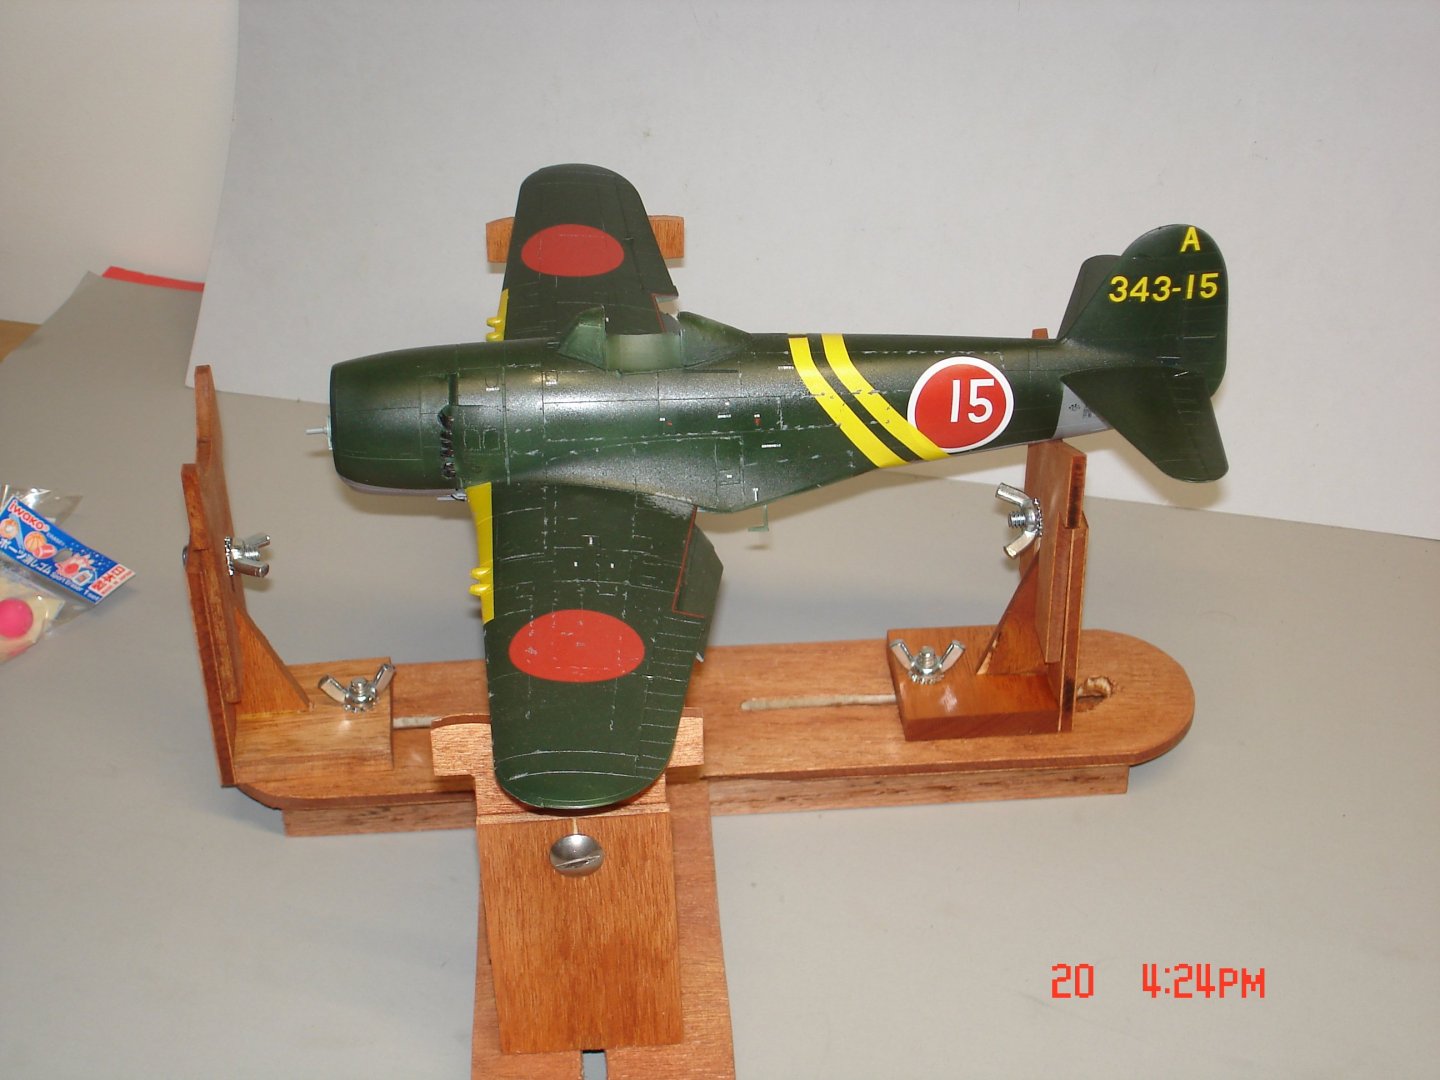
Coming along slowly got a bit of chipping done last night it seems a bit geometric to me will try to break that habit.The stand I built today had all the wood of course(lyptus,black oak,red oak and 3/16 plywood) scraps just had to buy wingnuts.
- 25 replies
-
- 13
-
-
PWS Z-17 by ccoyle - CardPlane - 1/33 - CARD
Javlin replied to ccoyle's topic in Completed non-ship models
Now that's a weird looking duckling.🤨 -
Work moves slowly these days the red Himors were very thick even Walthers hardly touched them so on the wings had to knife the seams and more Walthers even then....🤨

- 25 replies
-
- 12
-
-
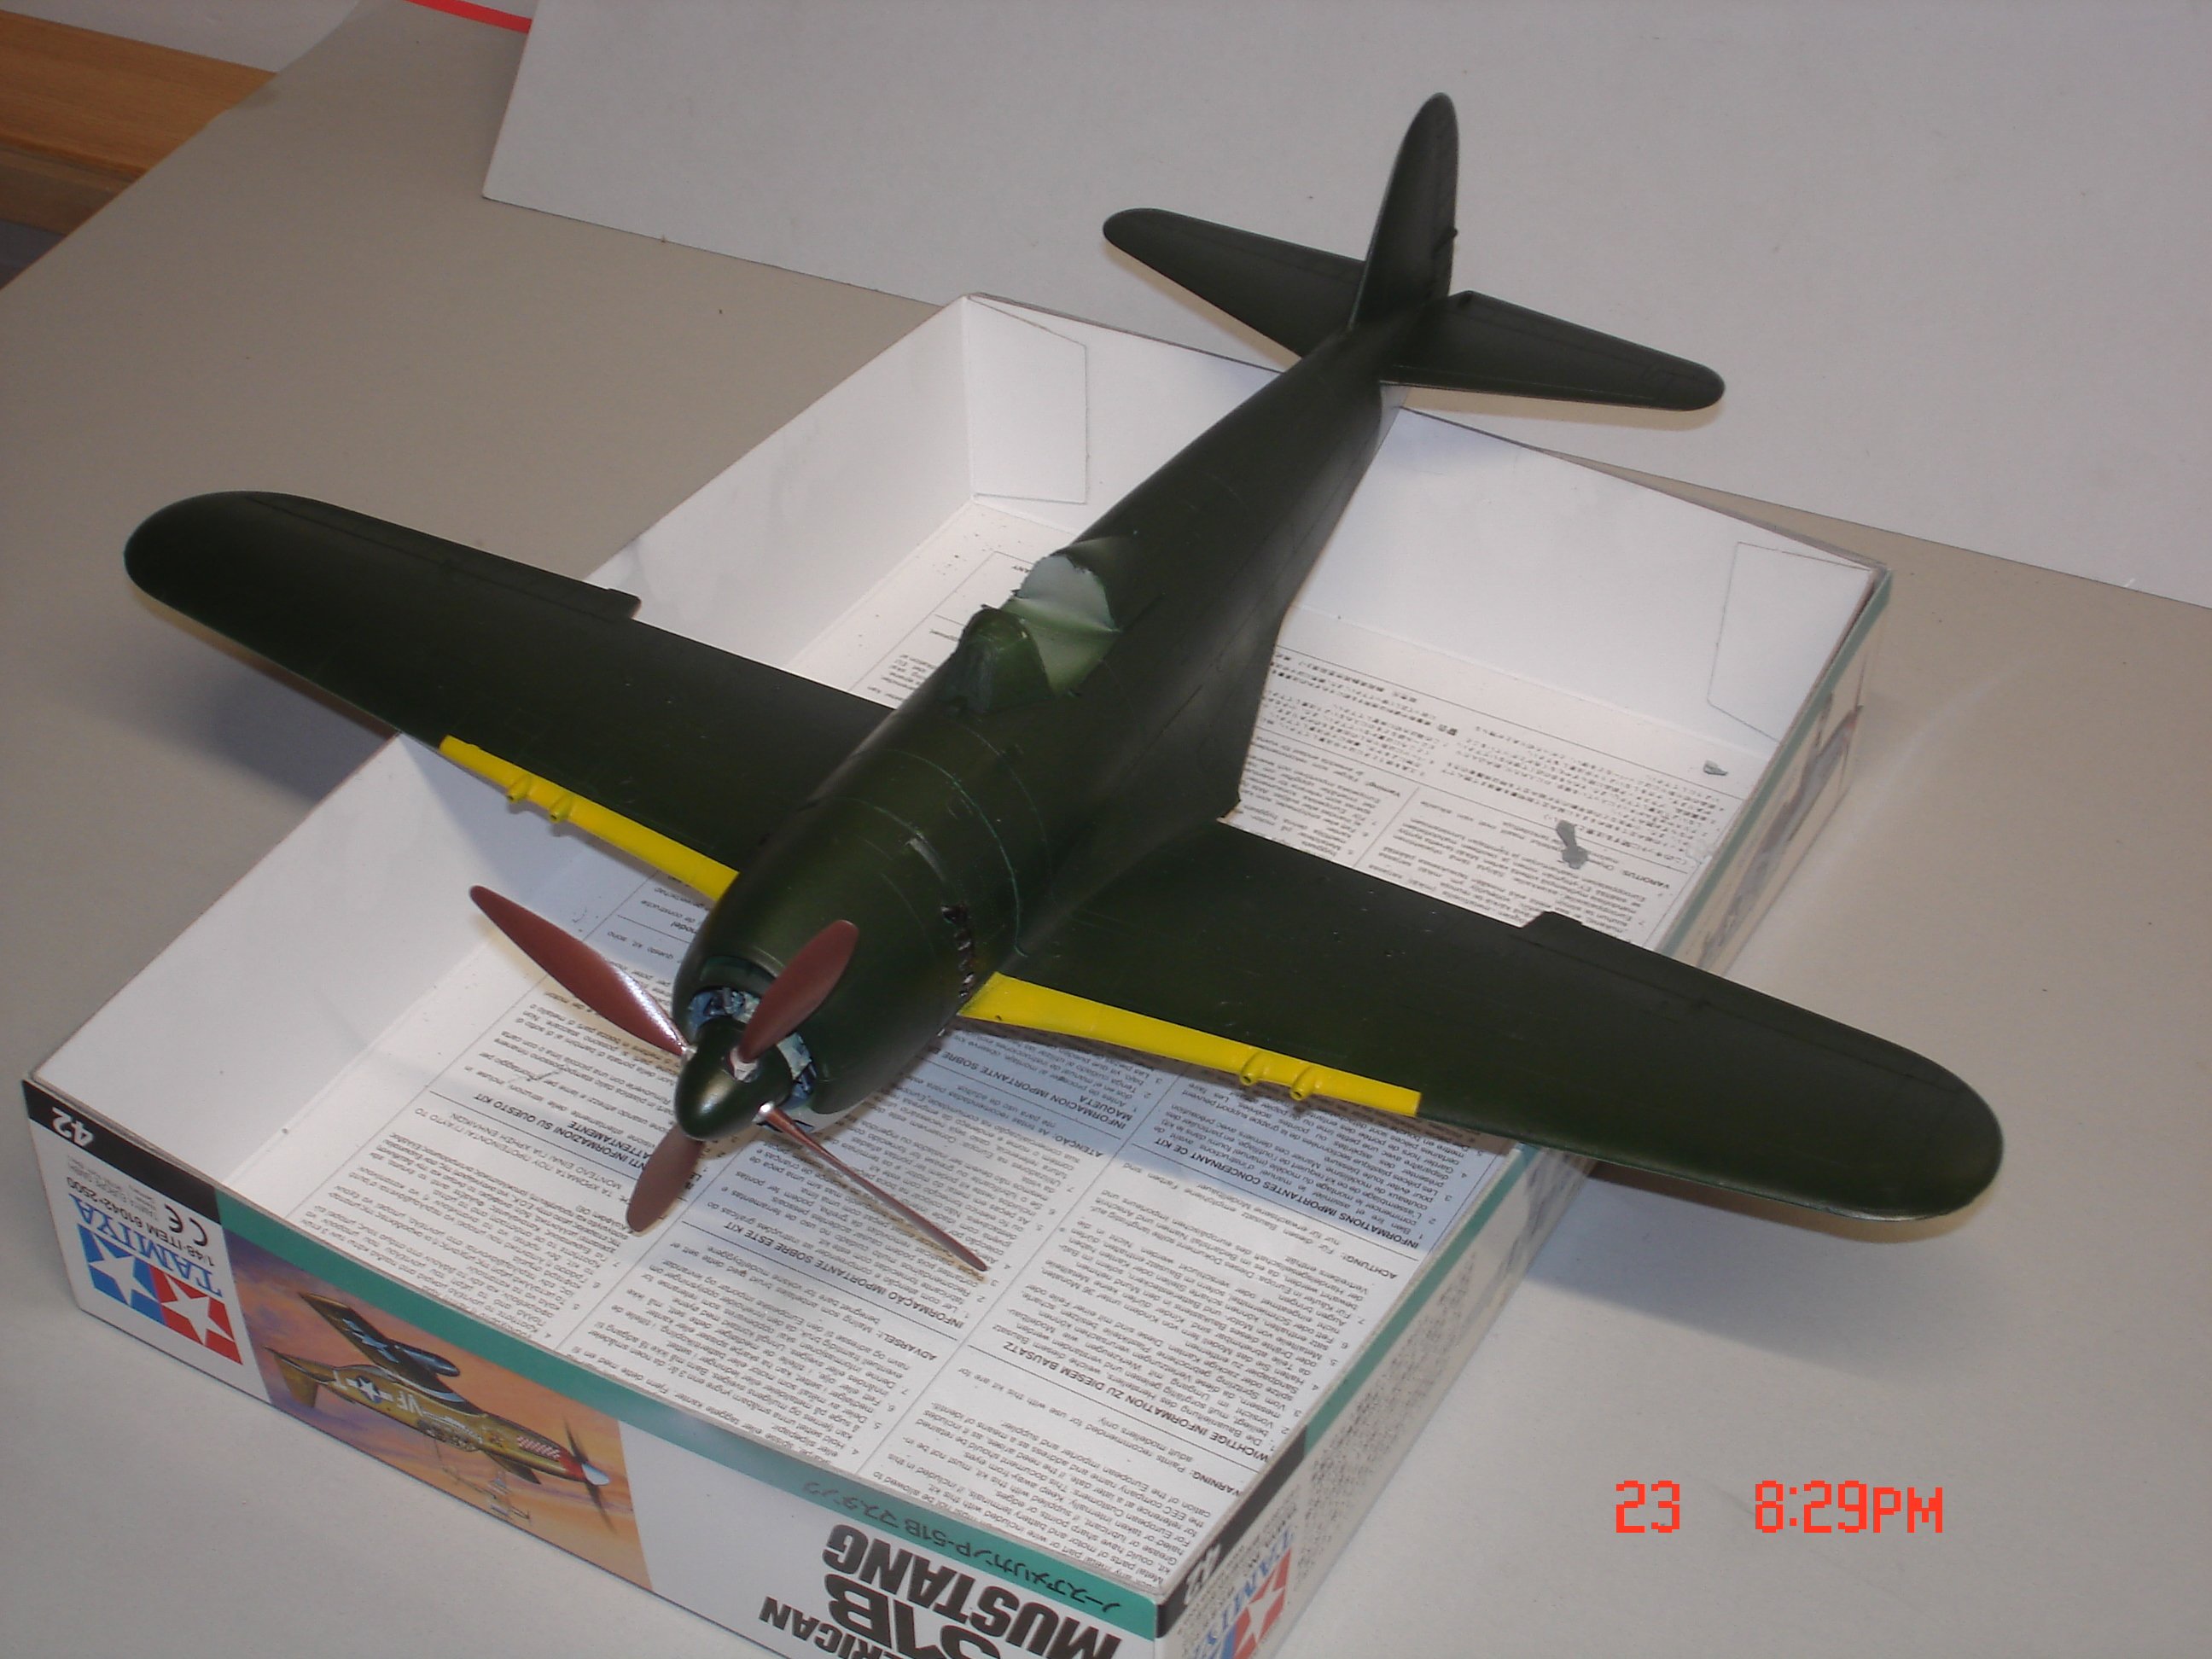
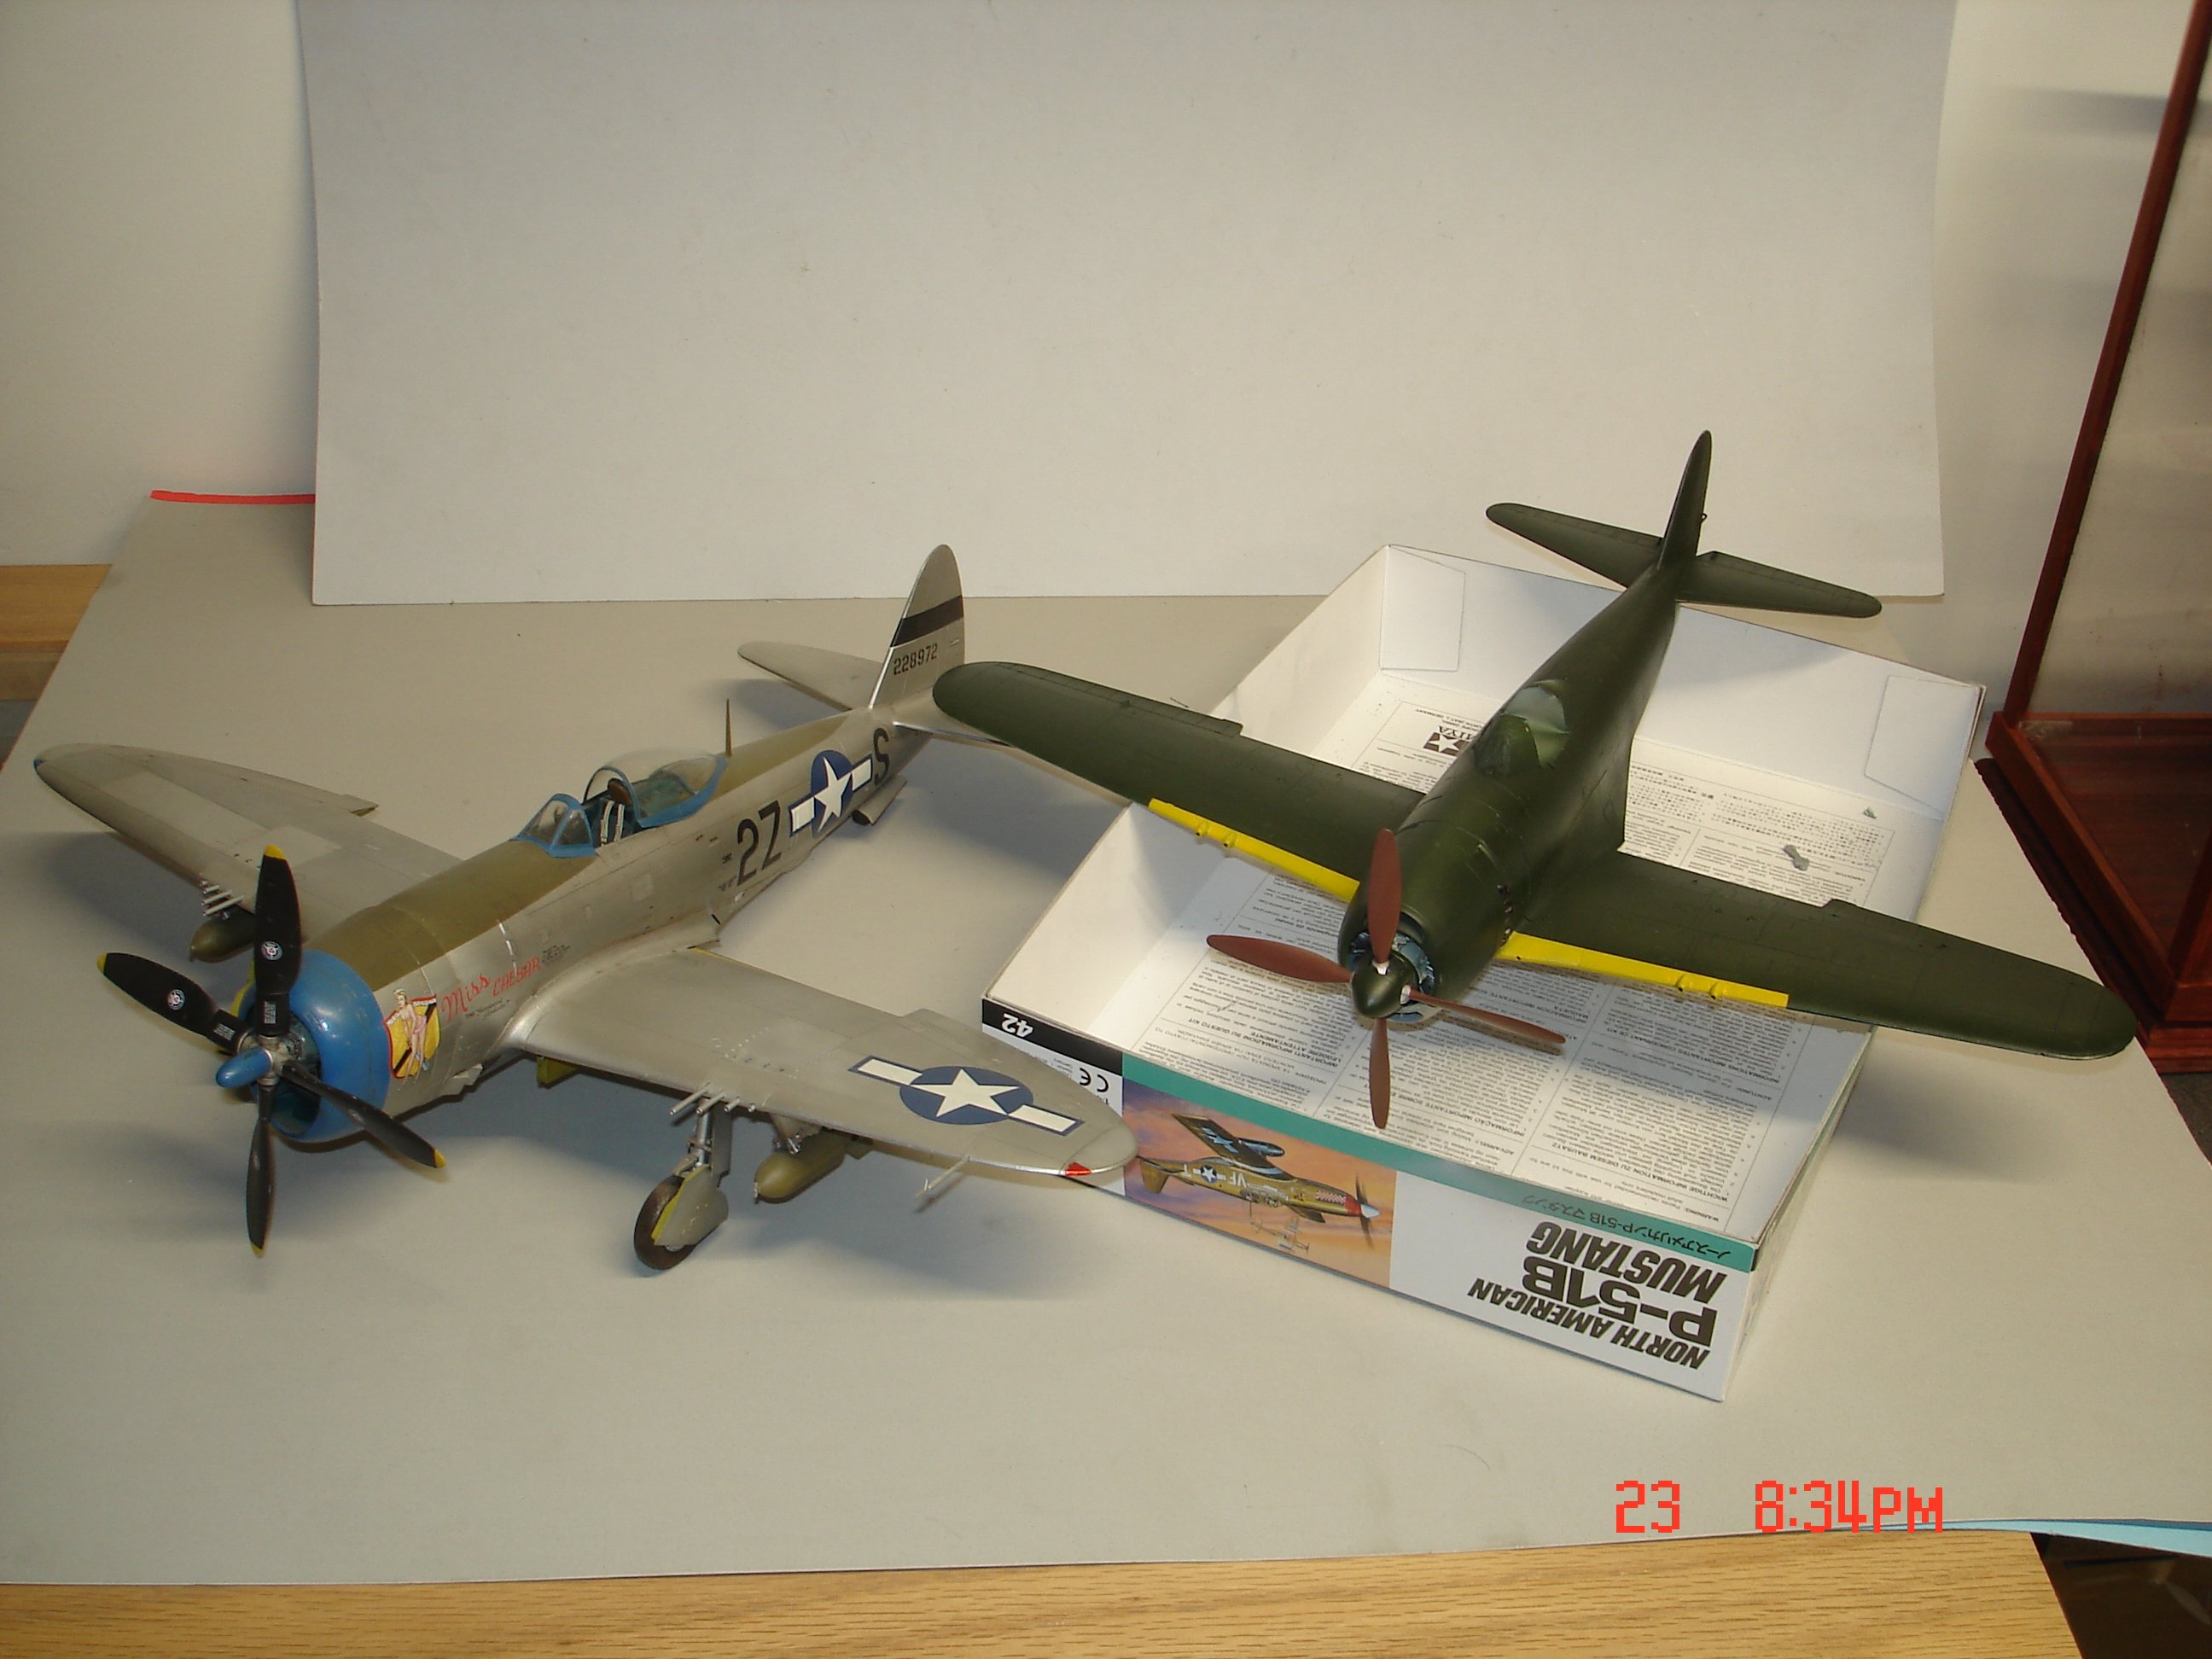
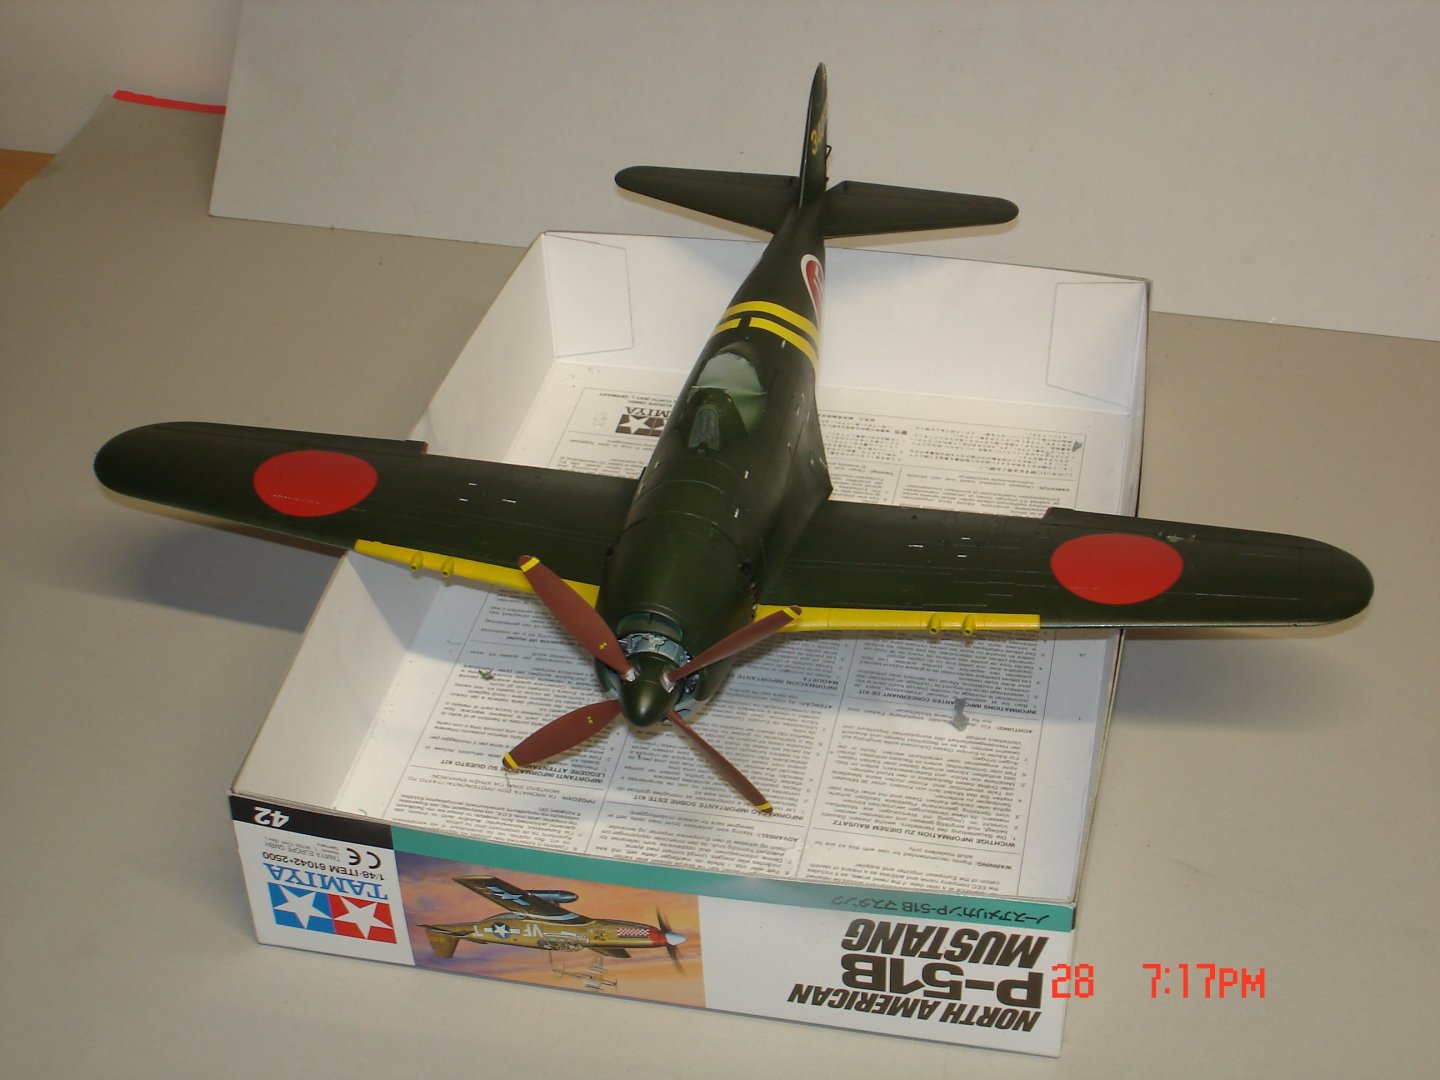
Well I got some paint laid down tonight JN Green Tamiya Acrylics over AlClad Silver 101 on the whole plane.I was spraying the Future straight was pooling up on the forks I was kinda hmmmn?I usually find that being the mixture to thick so I added alcohol turned cloudy Nope out it goes.I then added MrColor Leveling thinner stayed clear and what a difference and it dried to the touch so fast.The chipping will start after the the decal have been laid and sealed. The P-47 just to show the George was about 85/90% that of a P-47!

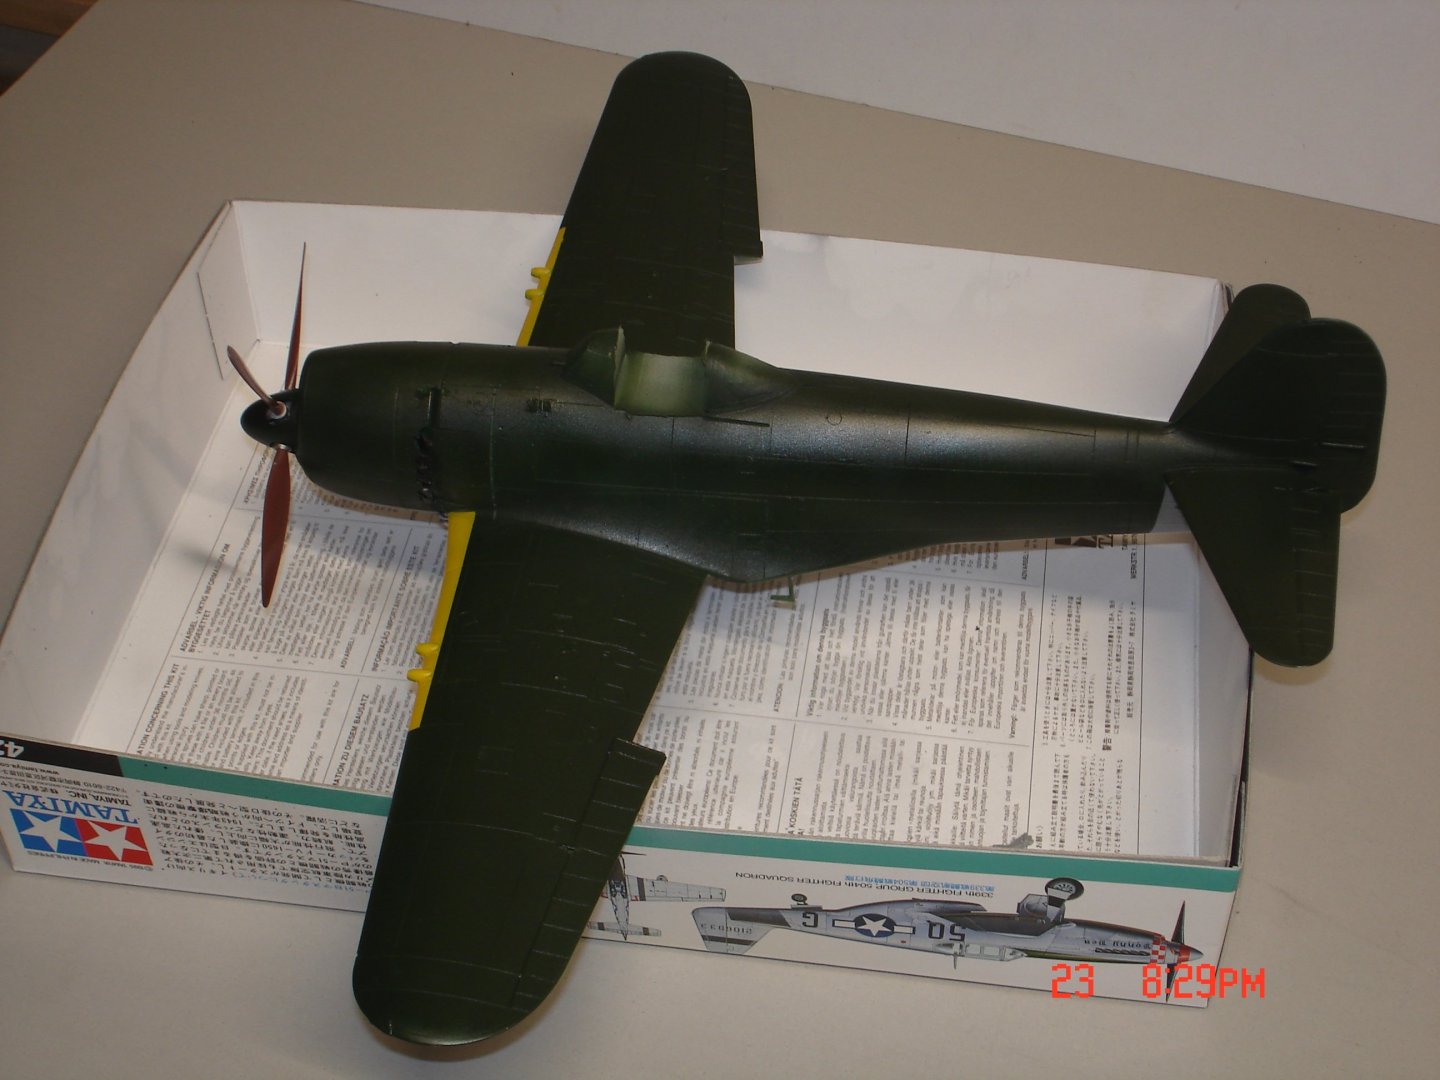

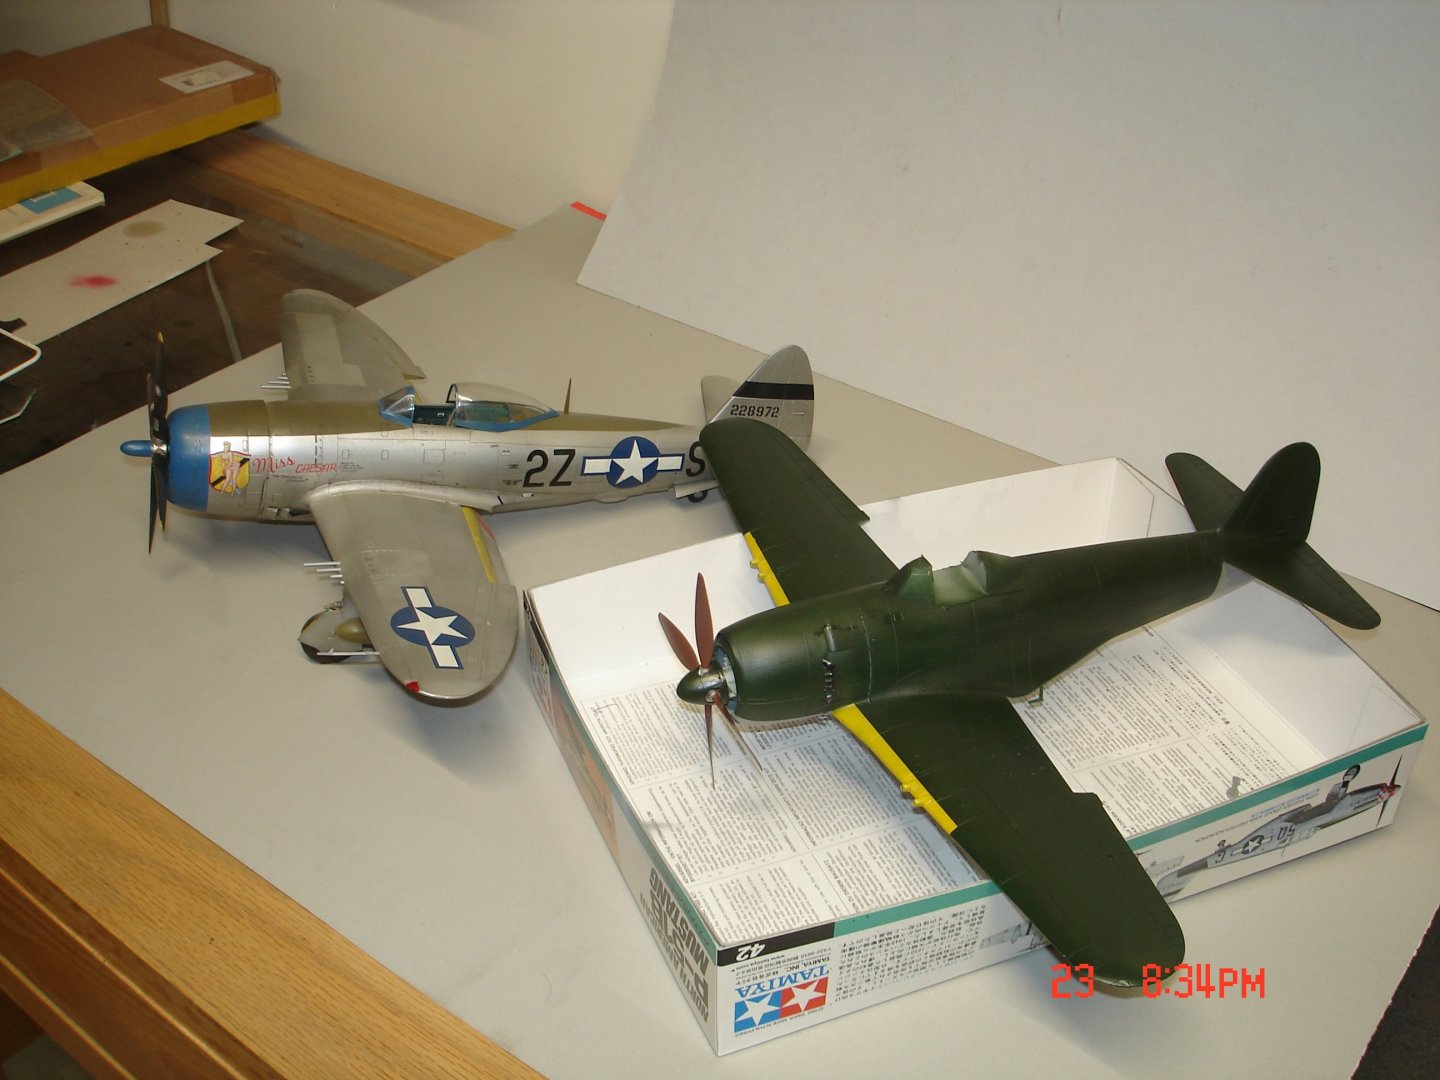
- 25 replies
-
- 11
-
-
Liking the scheme Andy some very Nice work!She will stand out like that Canary amongst the crows once in the cabinet.
-
Those look great together Greg.
-
Stuff like that can **** you off Rob nice save though....perseverance.
-
Looking good there Craig.
-
This has been moving slower than expected on my part being the kit fits so well together.The belts from RB were lets say a bit of a challenge or maybe I been spoiled by Quintas?I spent three nights doing these belts one night just walking away....The pics I wish I would of looked at one last time before assembly being a little fuzzy.The wing is glued,canopies masked and working the LG's now.I am hoping things start moving a little bit quicker.

- 25 replies
-
- 11
-
-
Those came out really Nice Phil!!
-
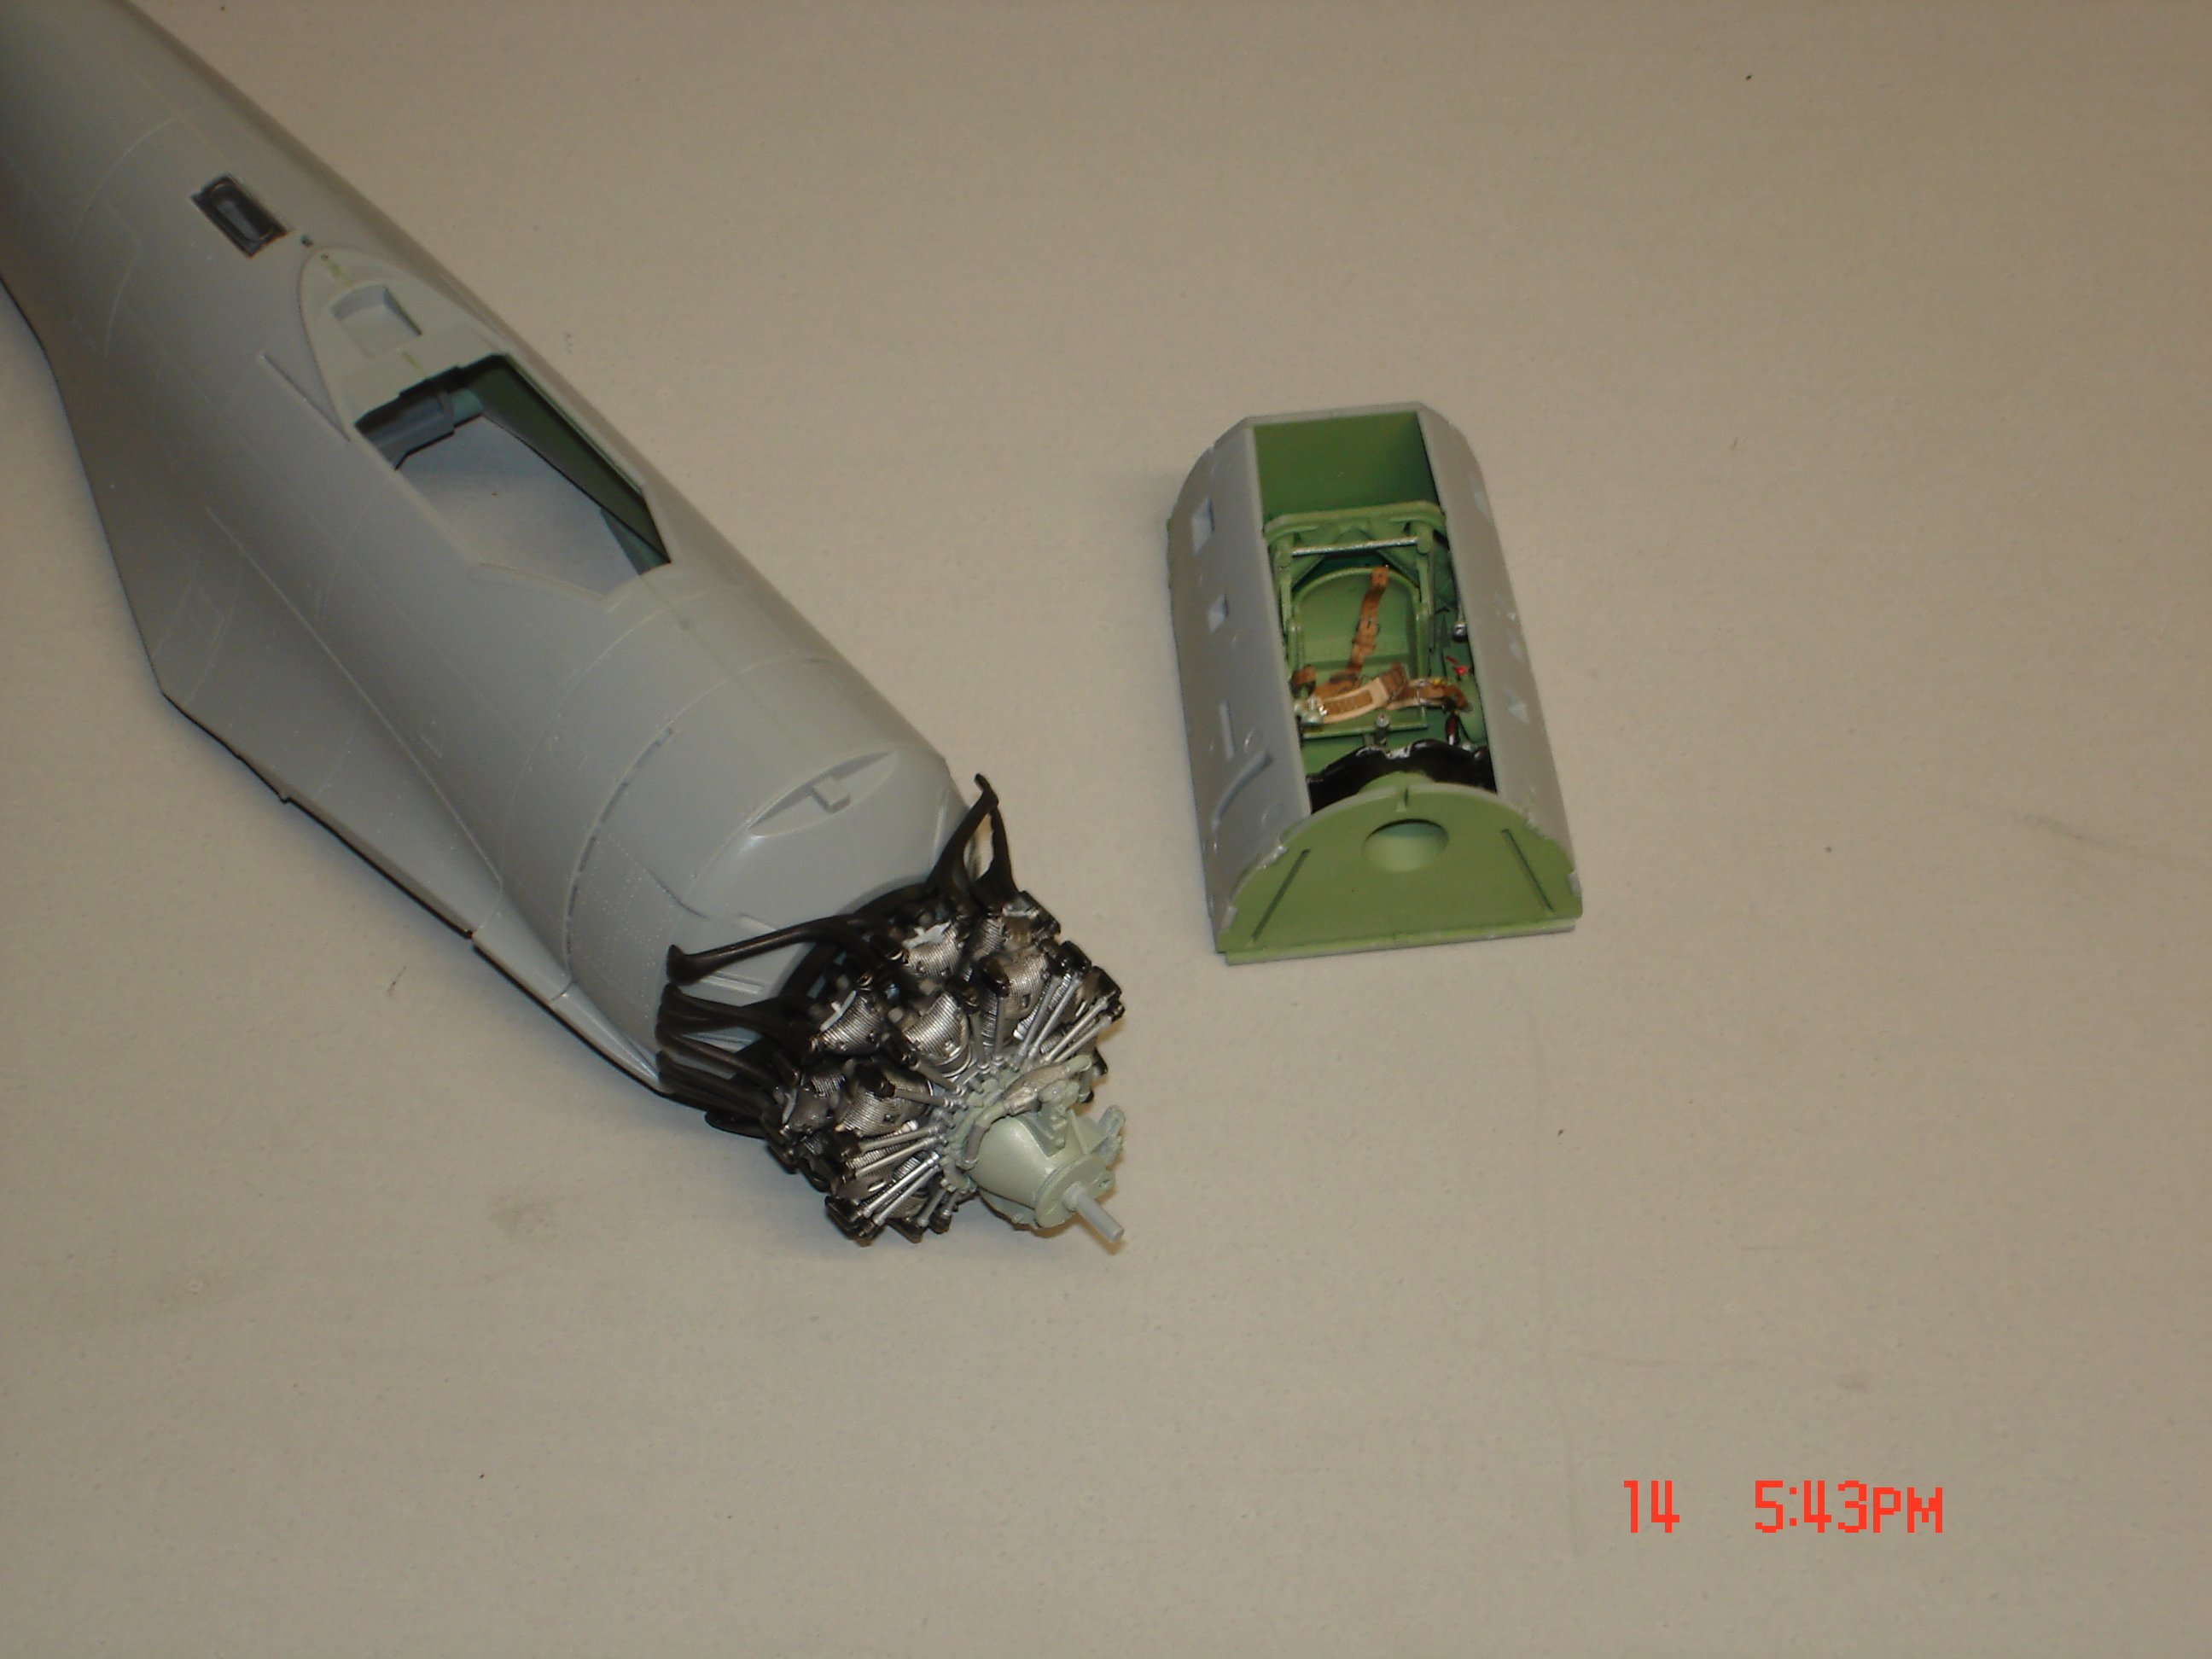
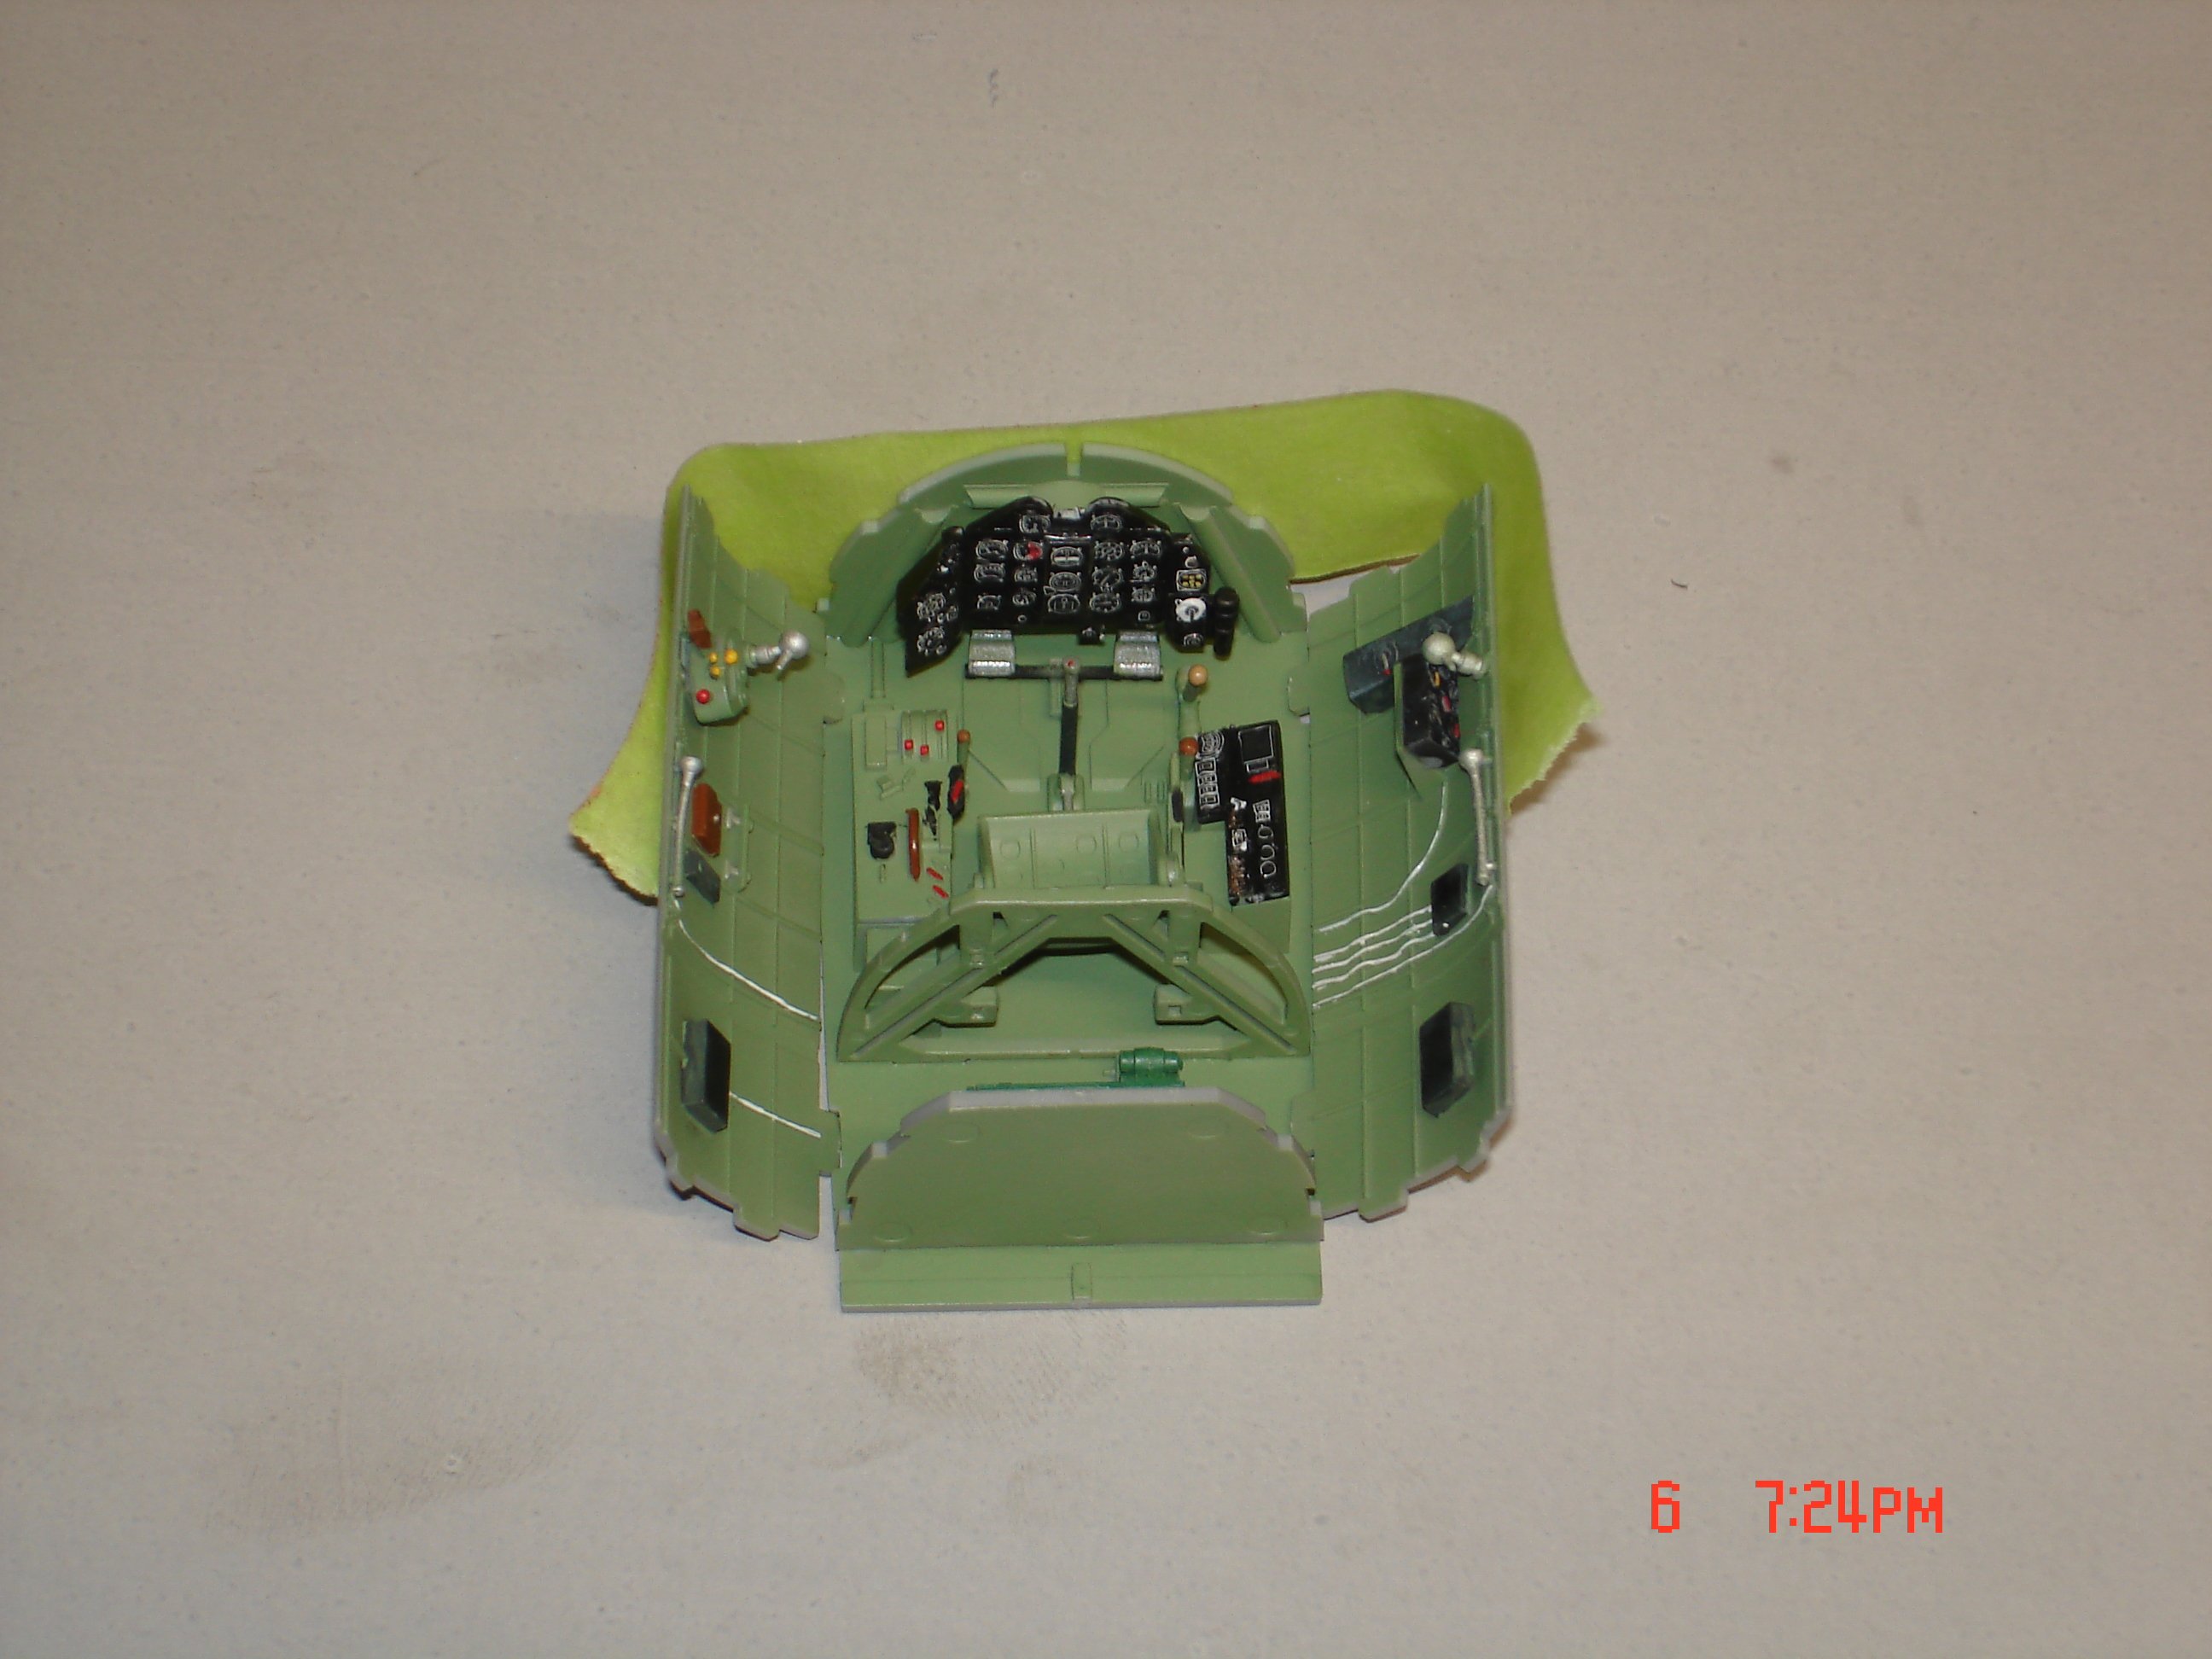
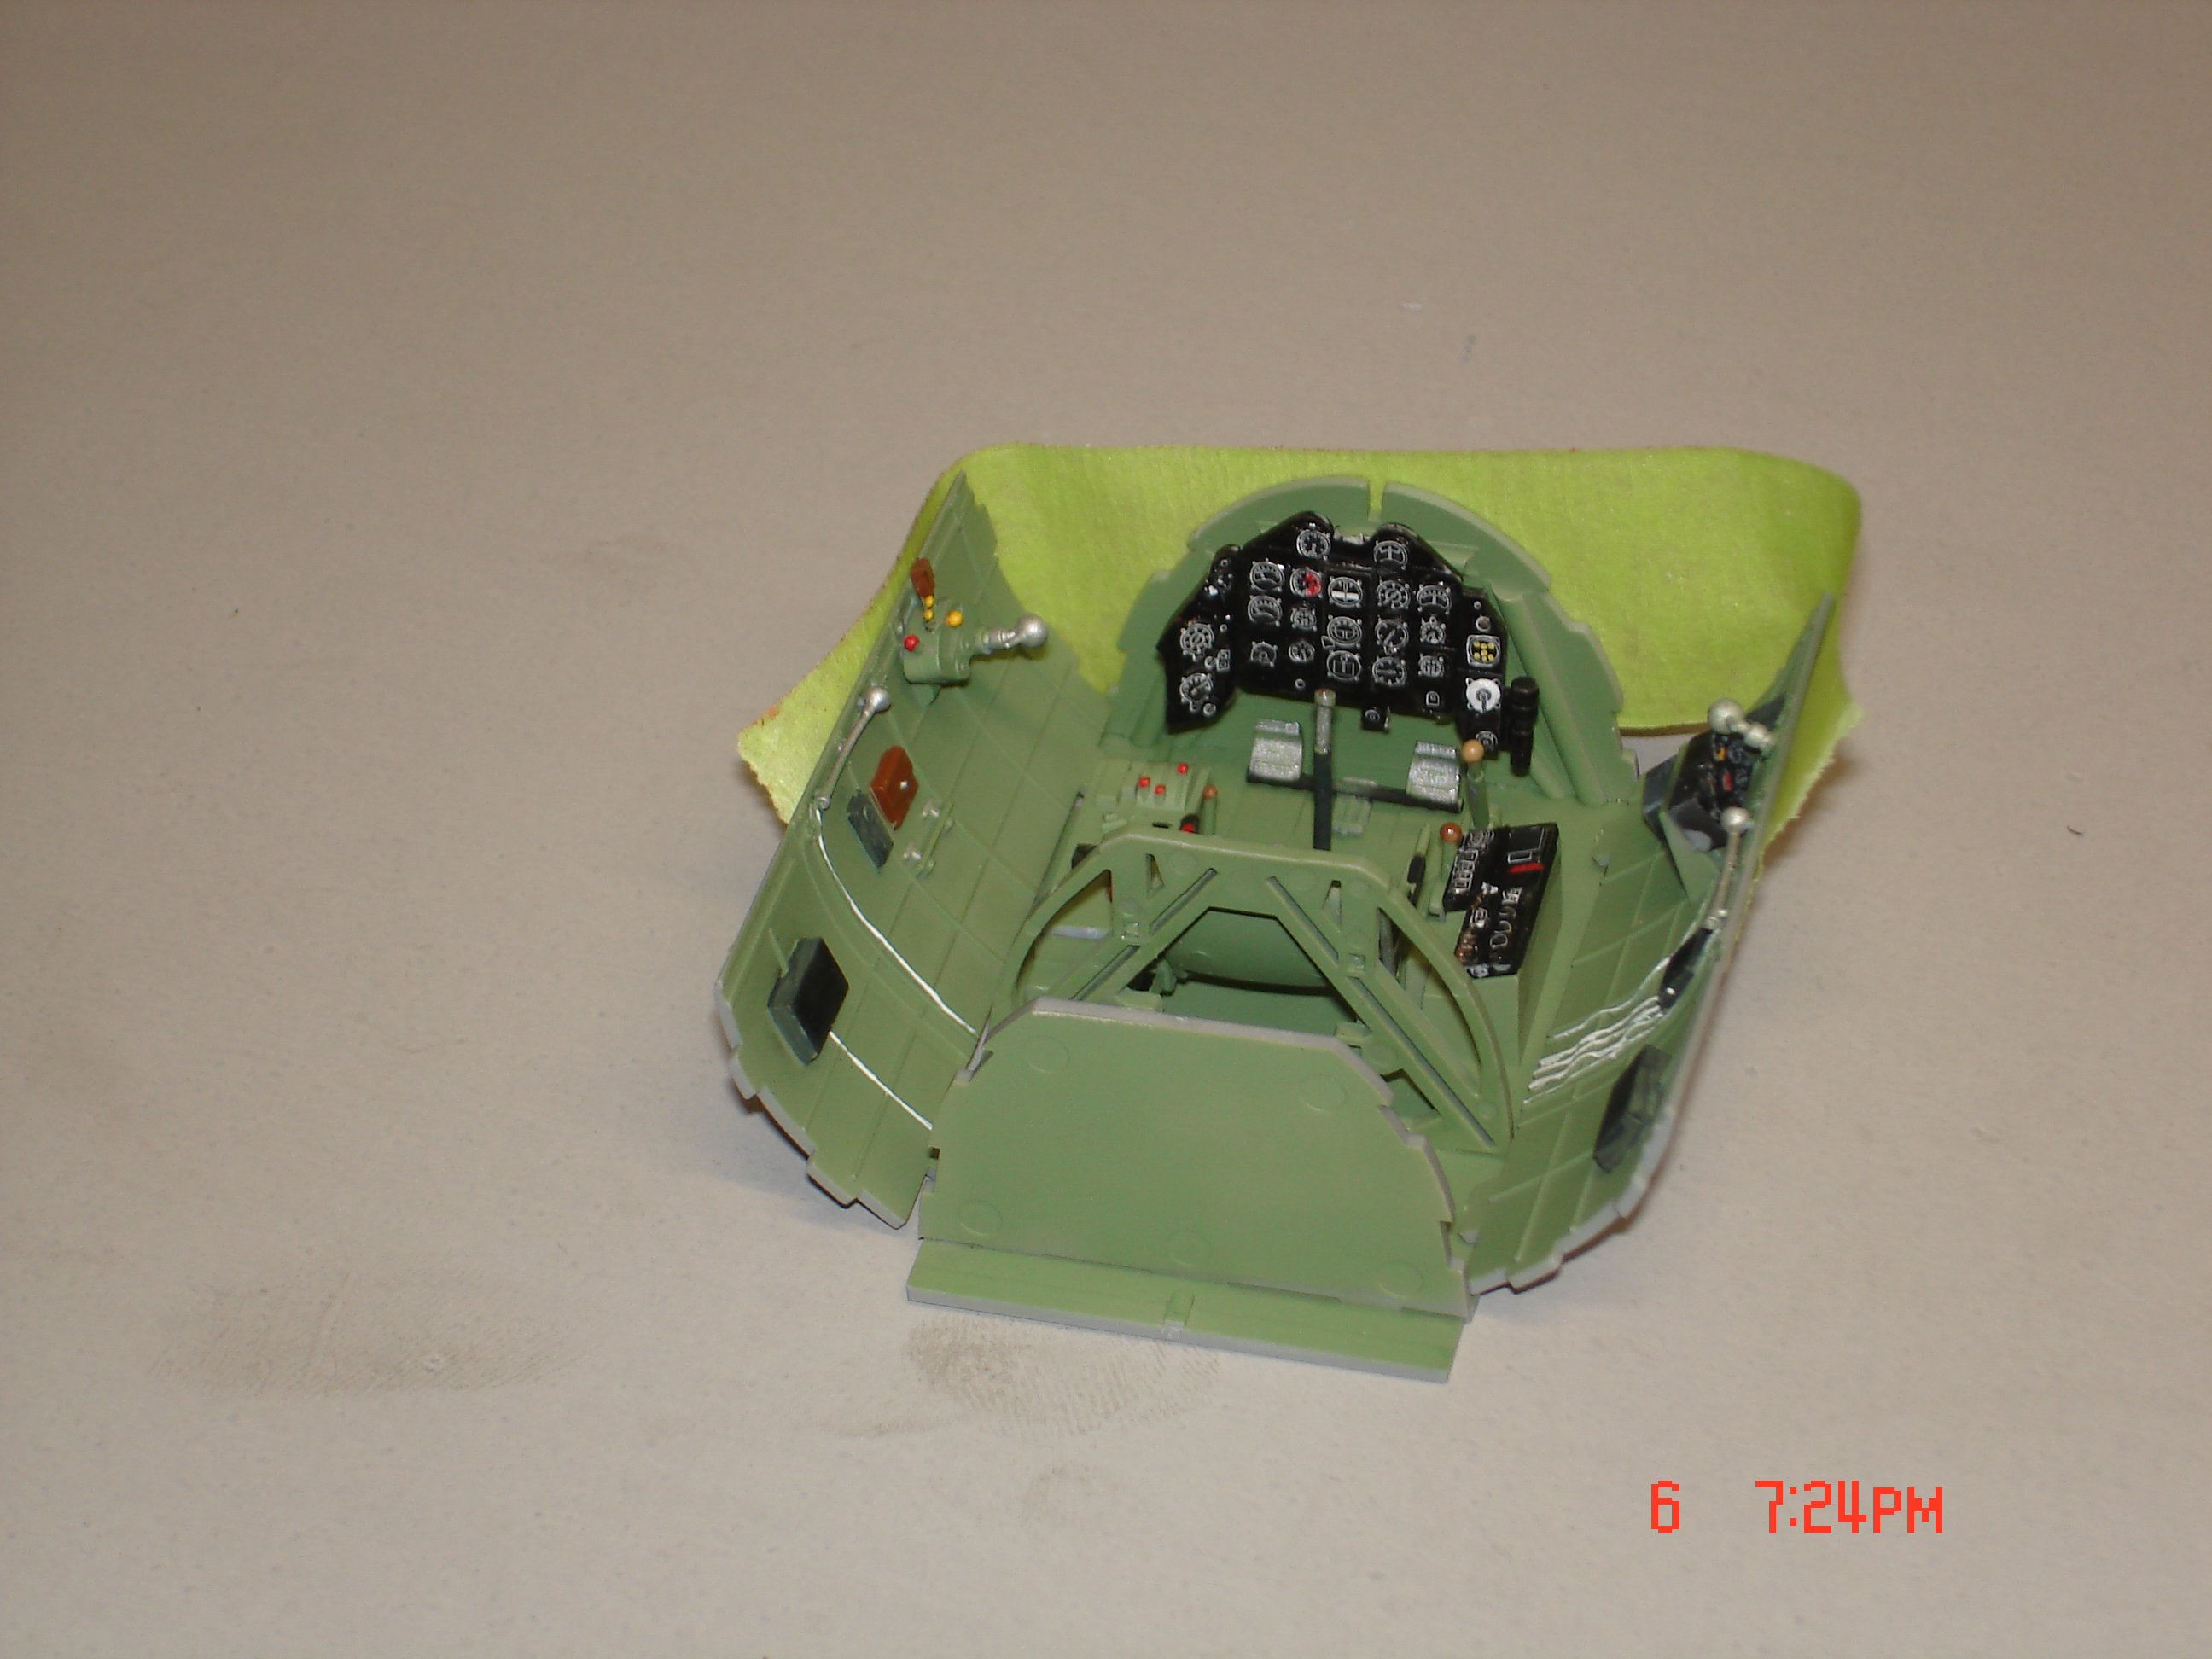
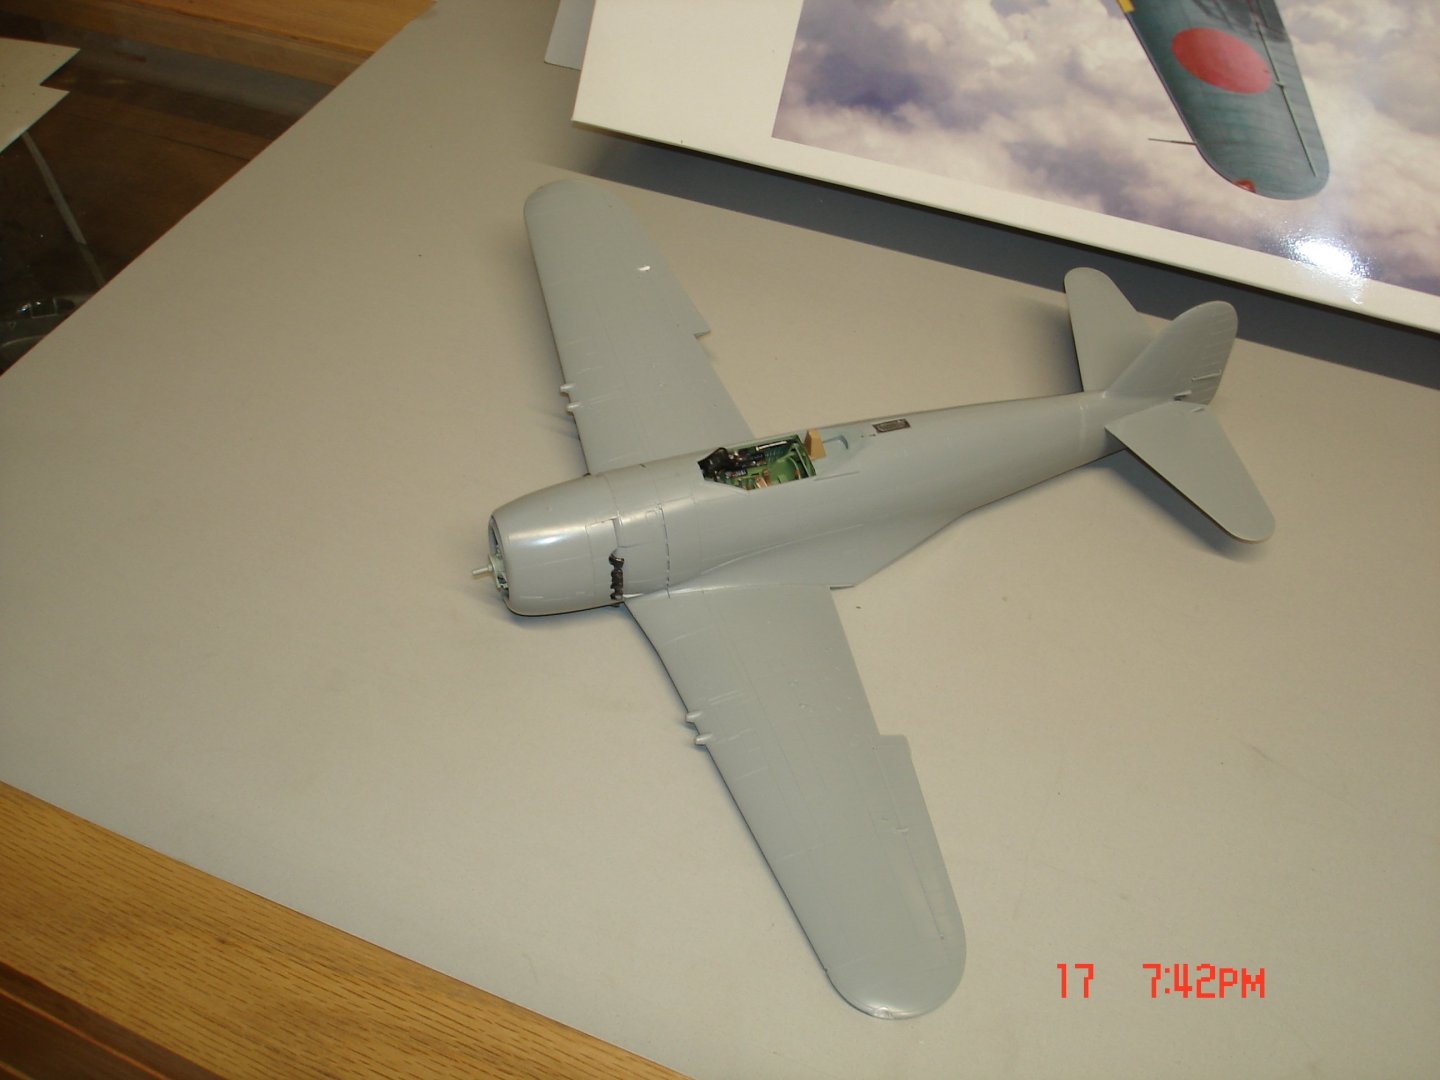
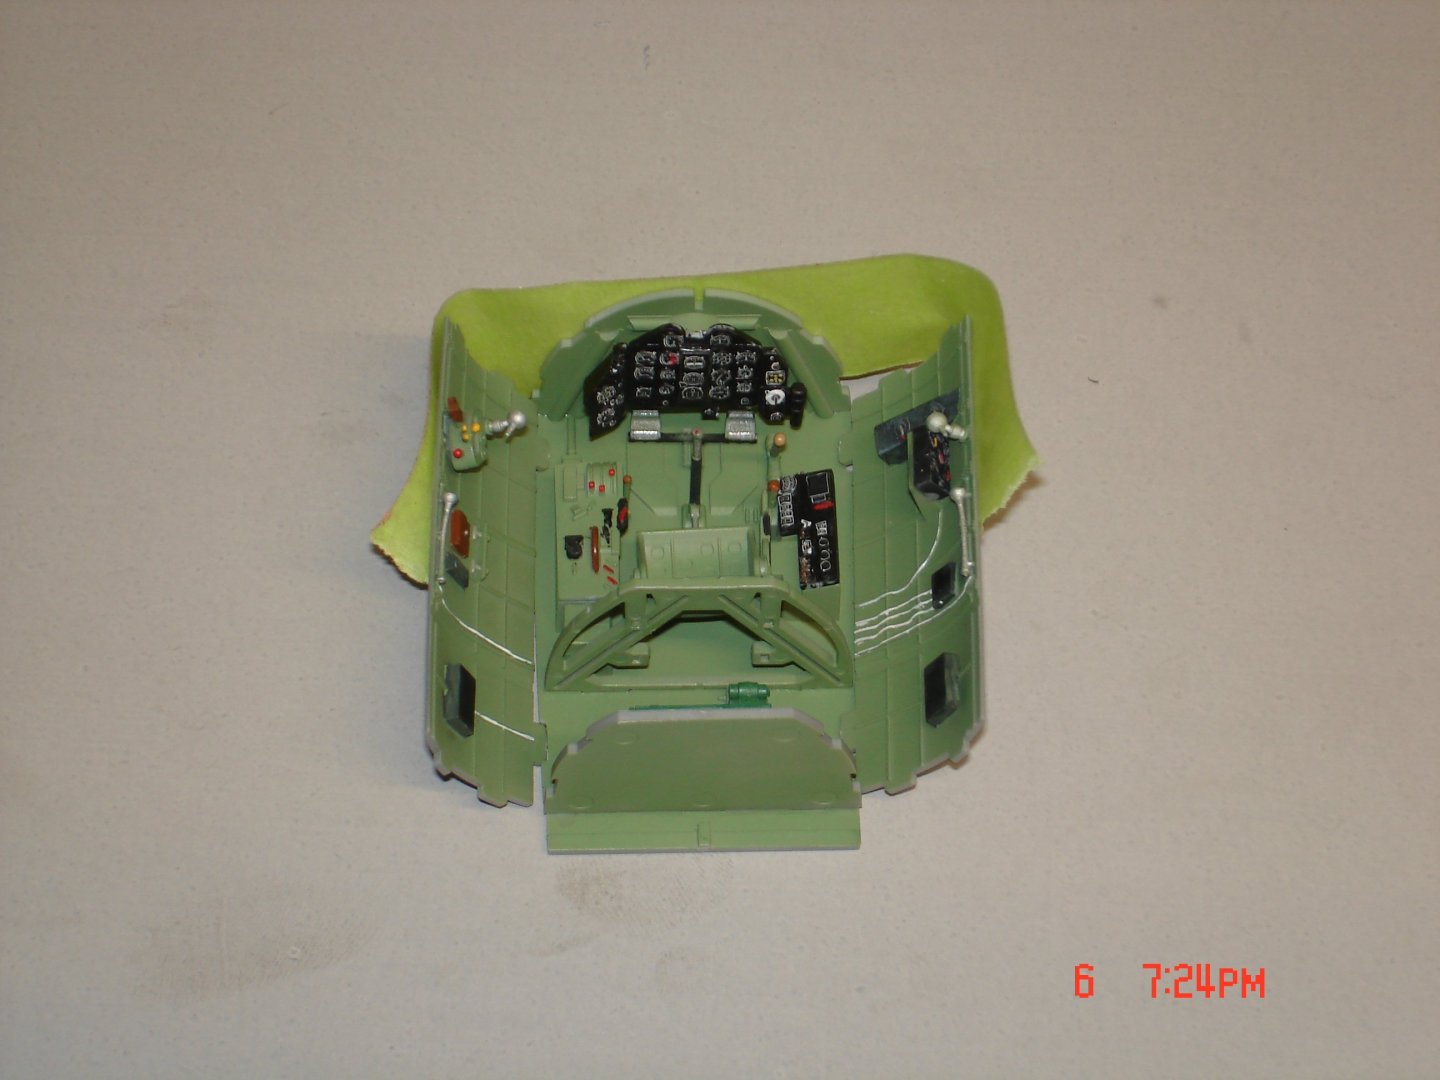
I have gotten a the copit just about finished only thing left now is the bottles behind the seat.The two yellow handles on top of the main control are PE from a 1/48 kit with white glue then painted.The AC on display here in the US shows two red and three yellows bent inward.I have AM seatbelts in the stash/wall just need to locate.

- 25 replies
-
- 11
-
-
The few pictures I have seen on the net it's not so heavily flake like the rest I'll keep studying got plenty of time.
-
I have noticed Chris on this plane the wear/flaking is not your regular Japanese aircraft it seems to originate at the seam(s) itself of spar joints 🤨
-
Chris if not to much hassle post some pics interested in the chipping these planes were not a Zero with tons of it those card guys are usually quite realistic.I plan to paint the whole plane black,silver then the green and chip from there.
-
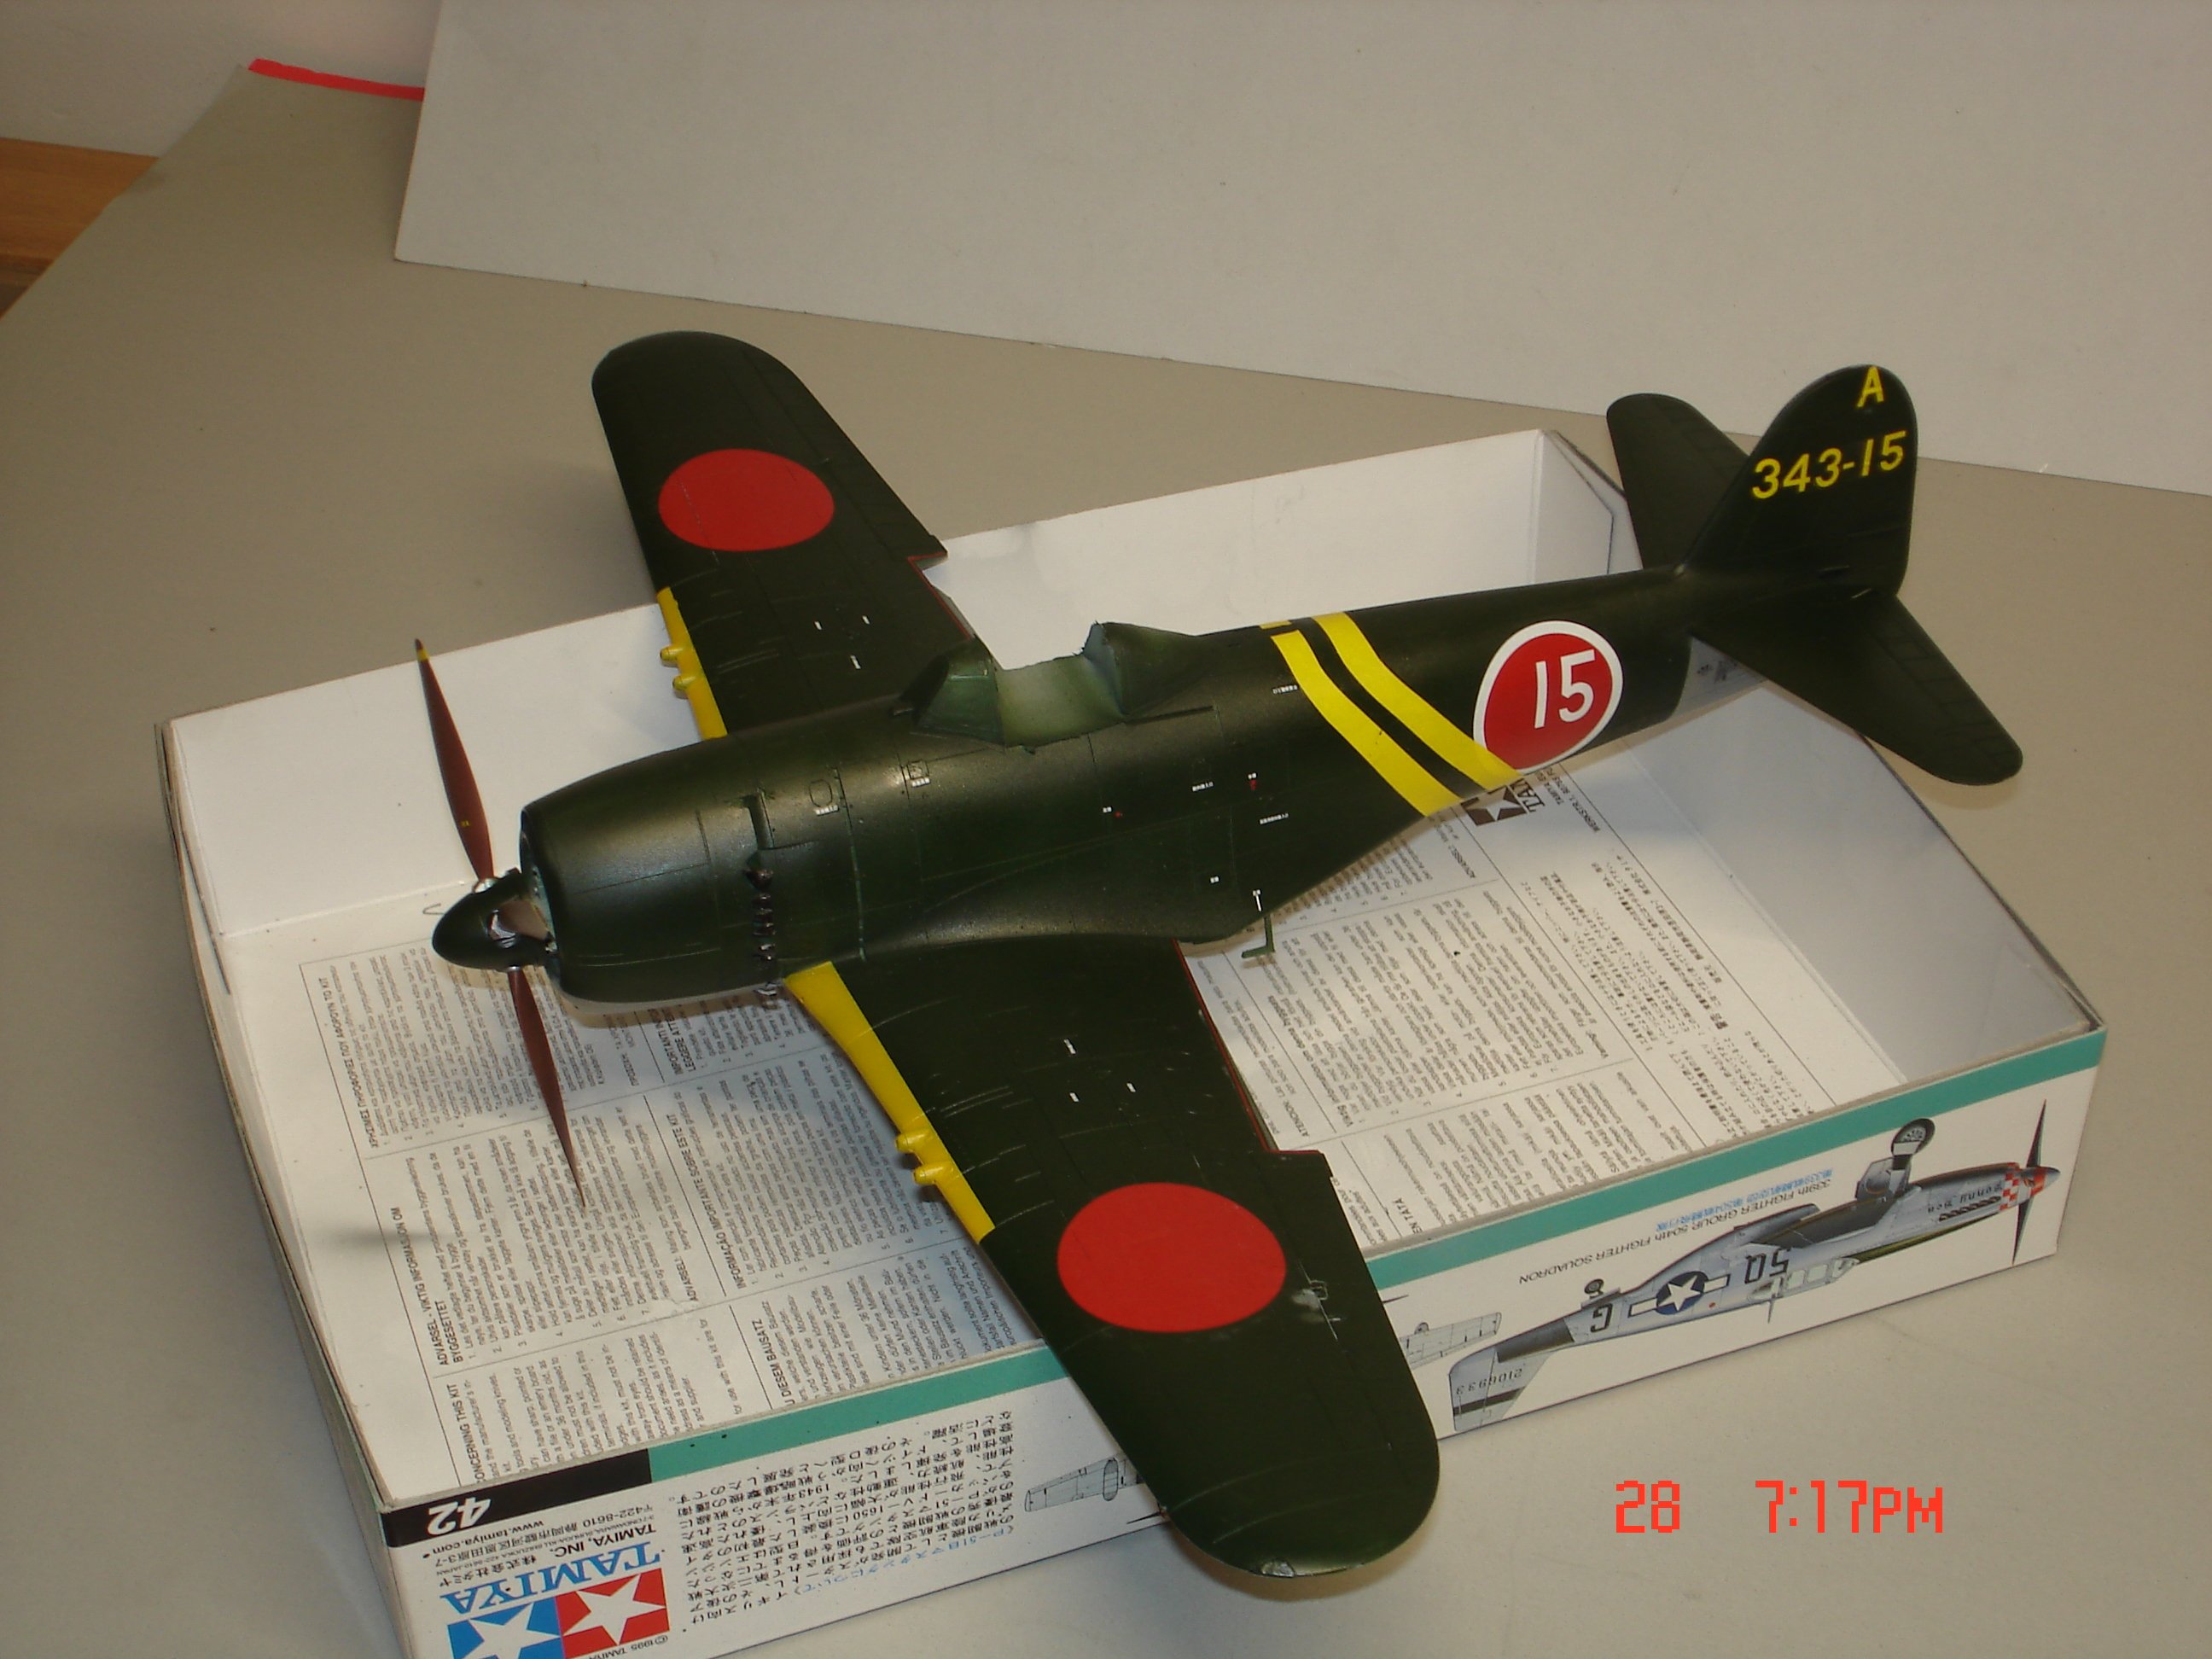
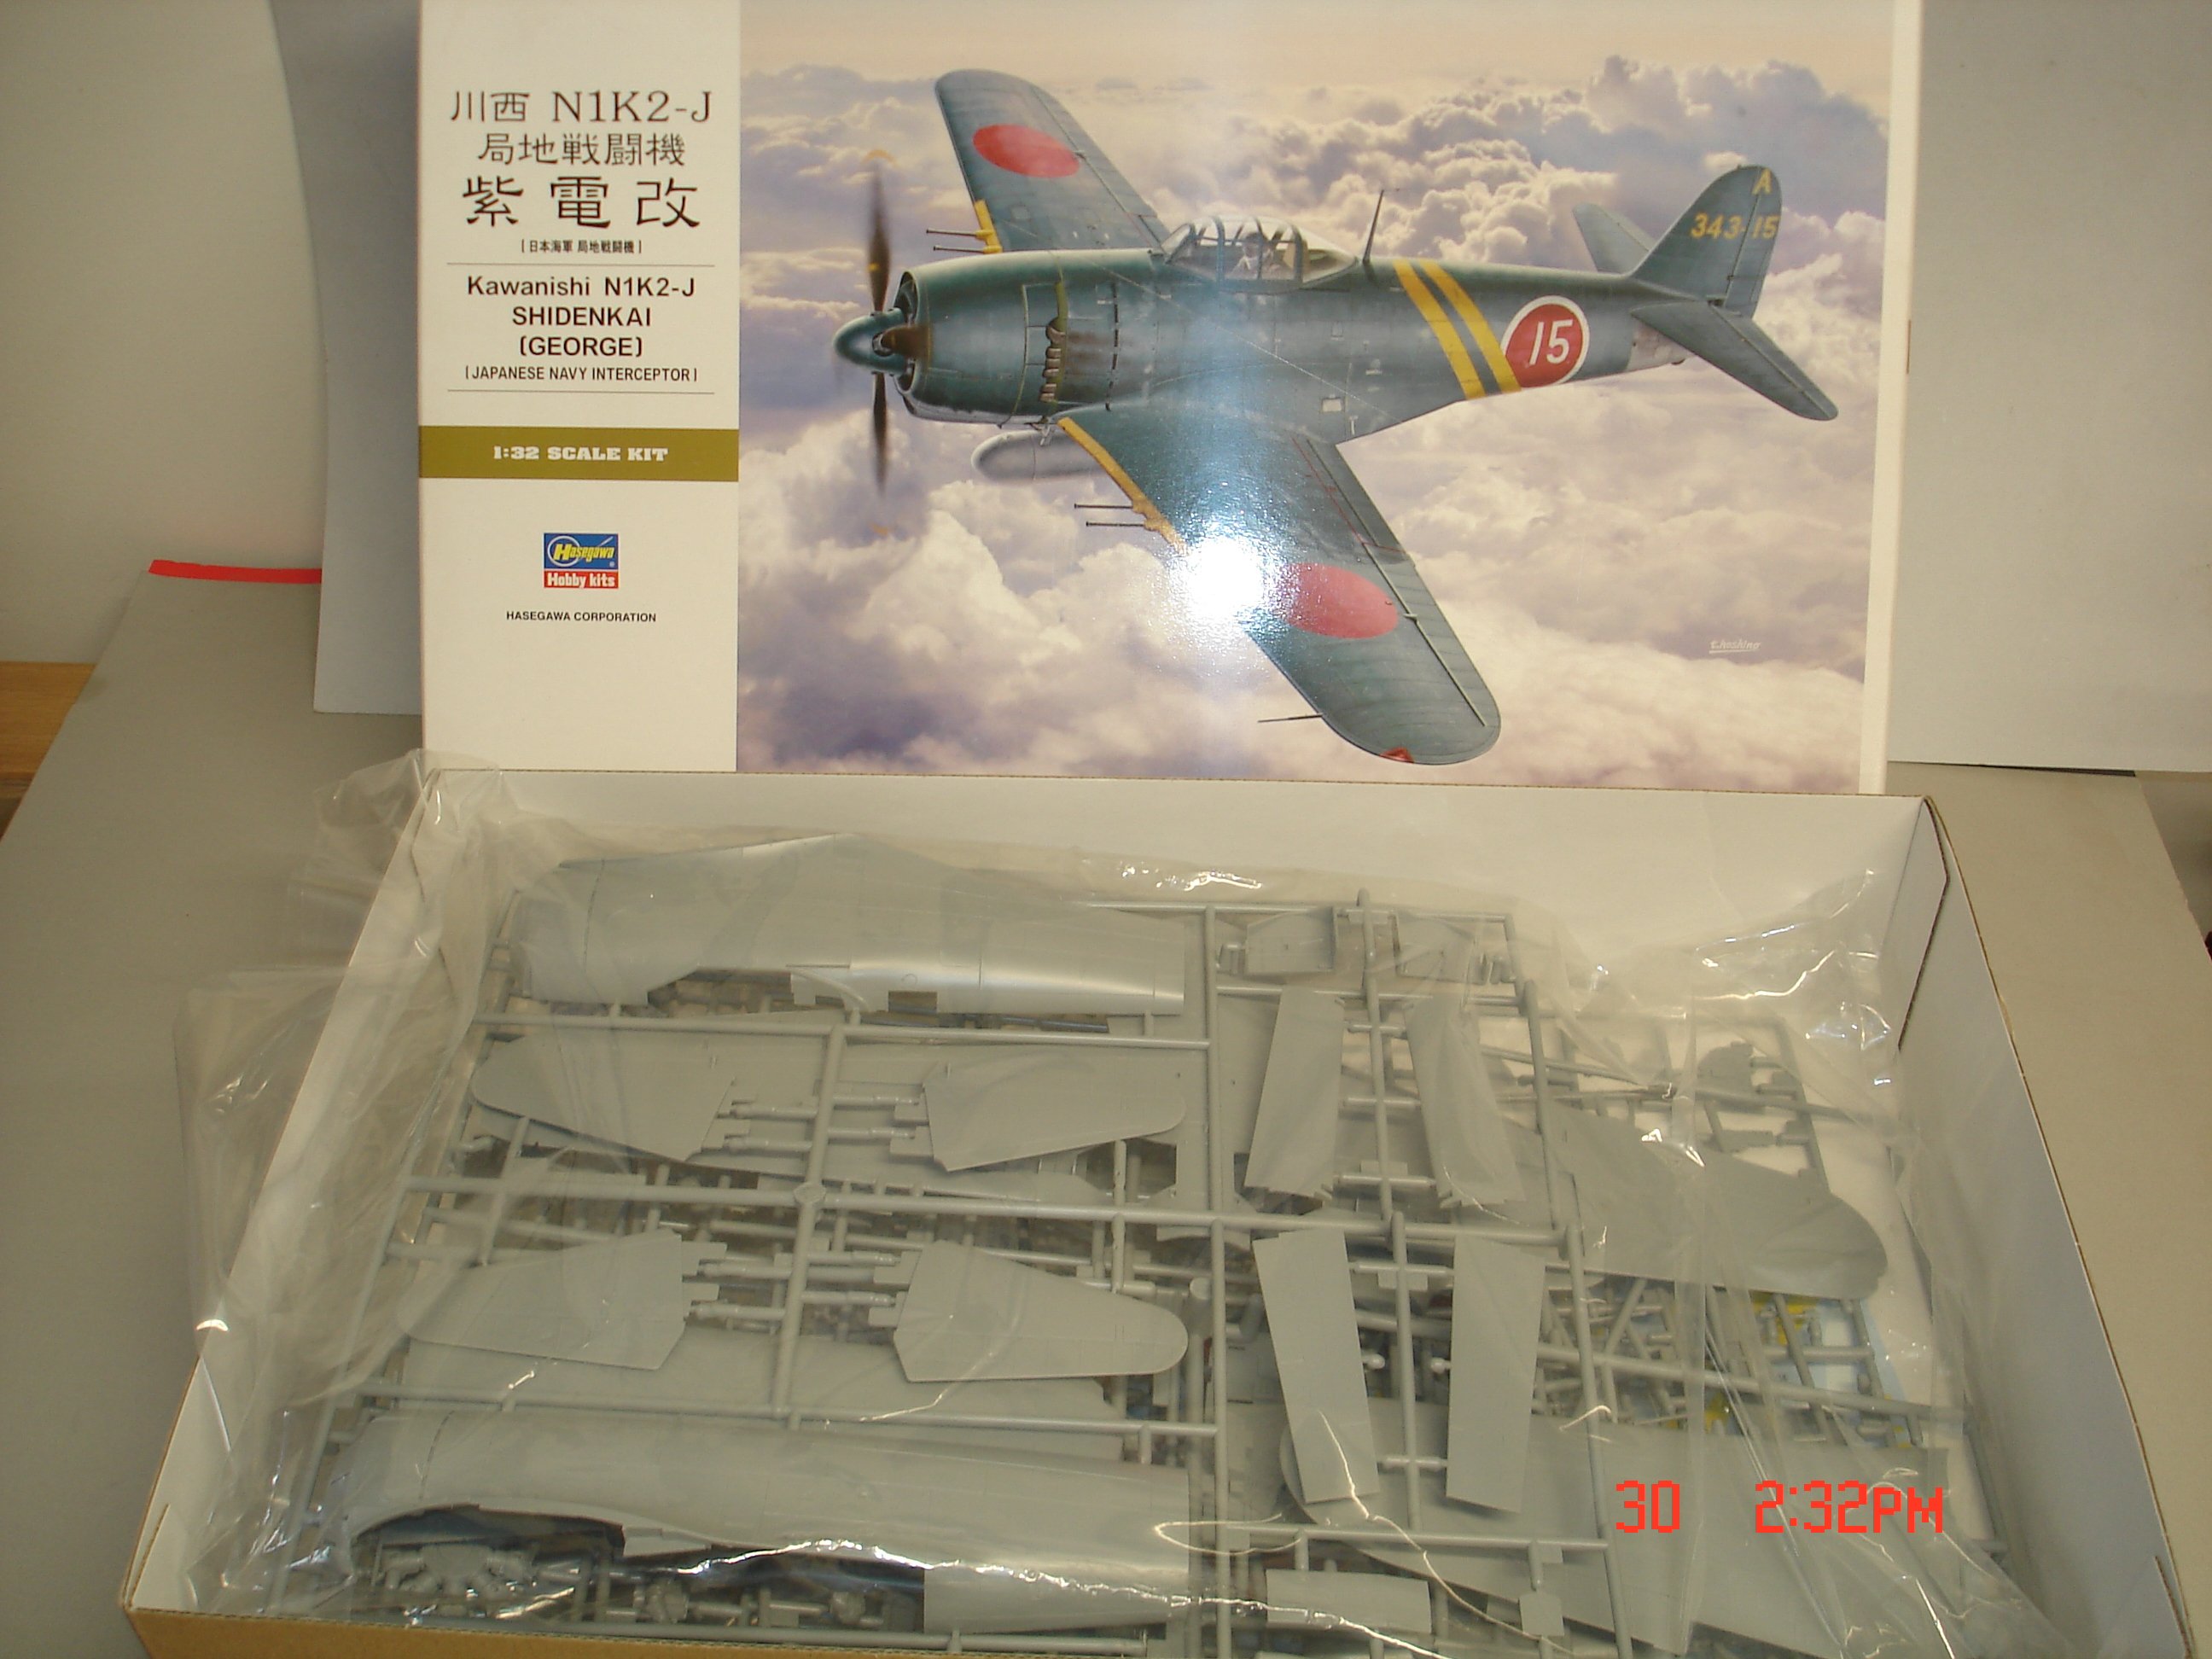
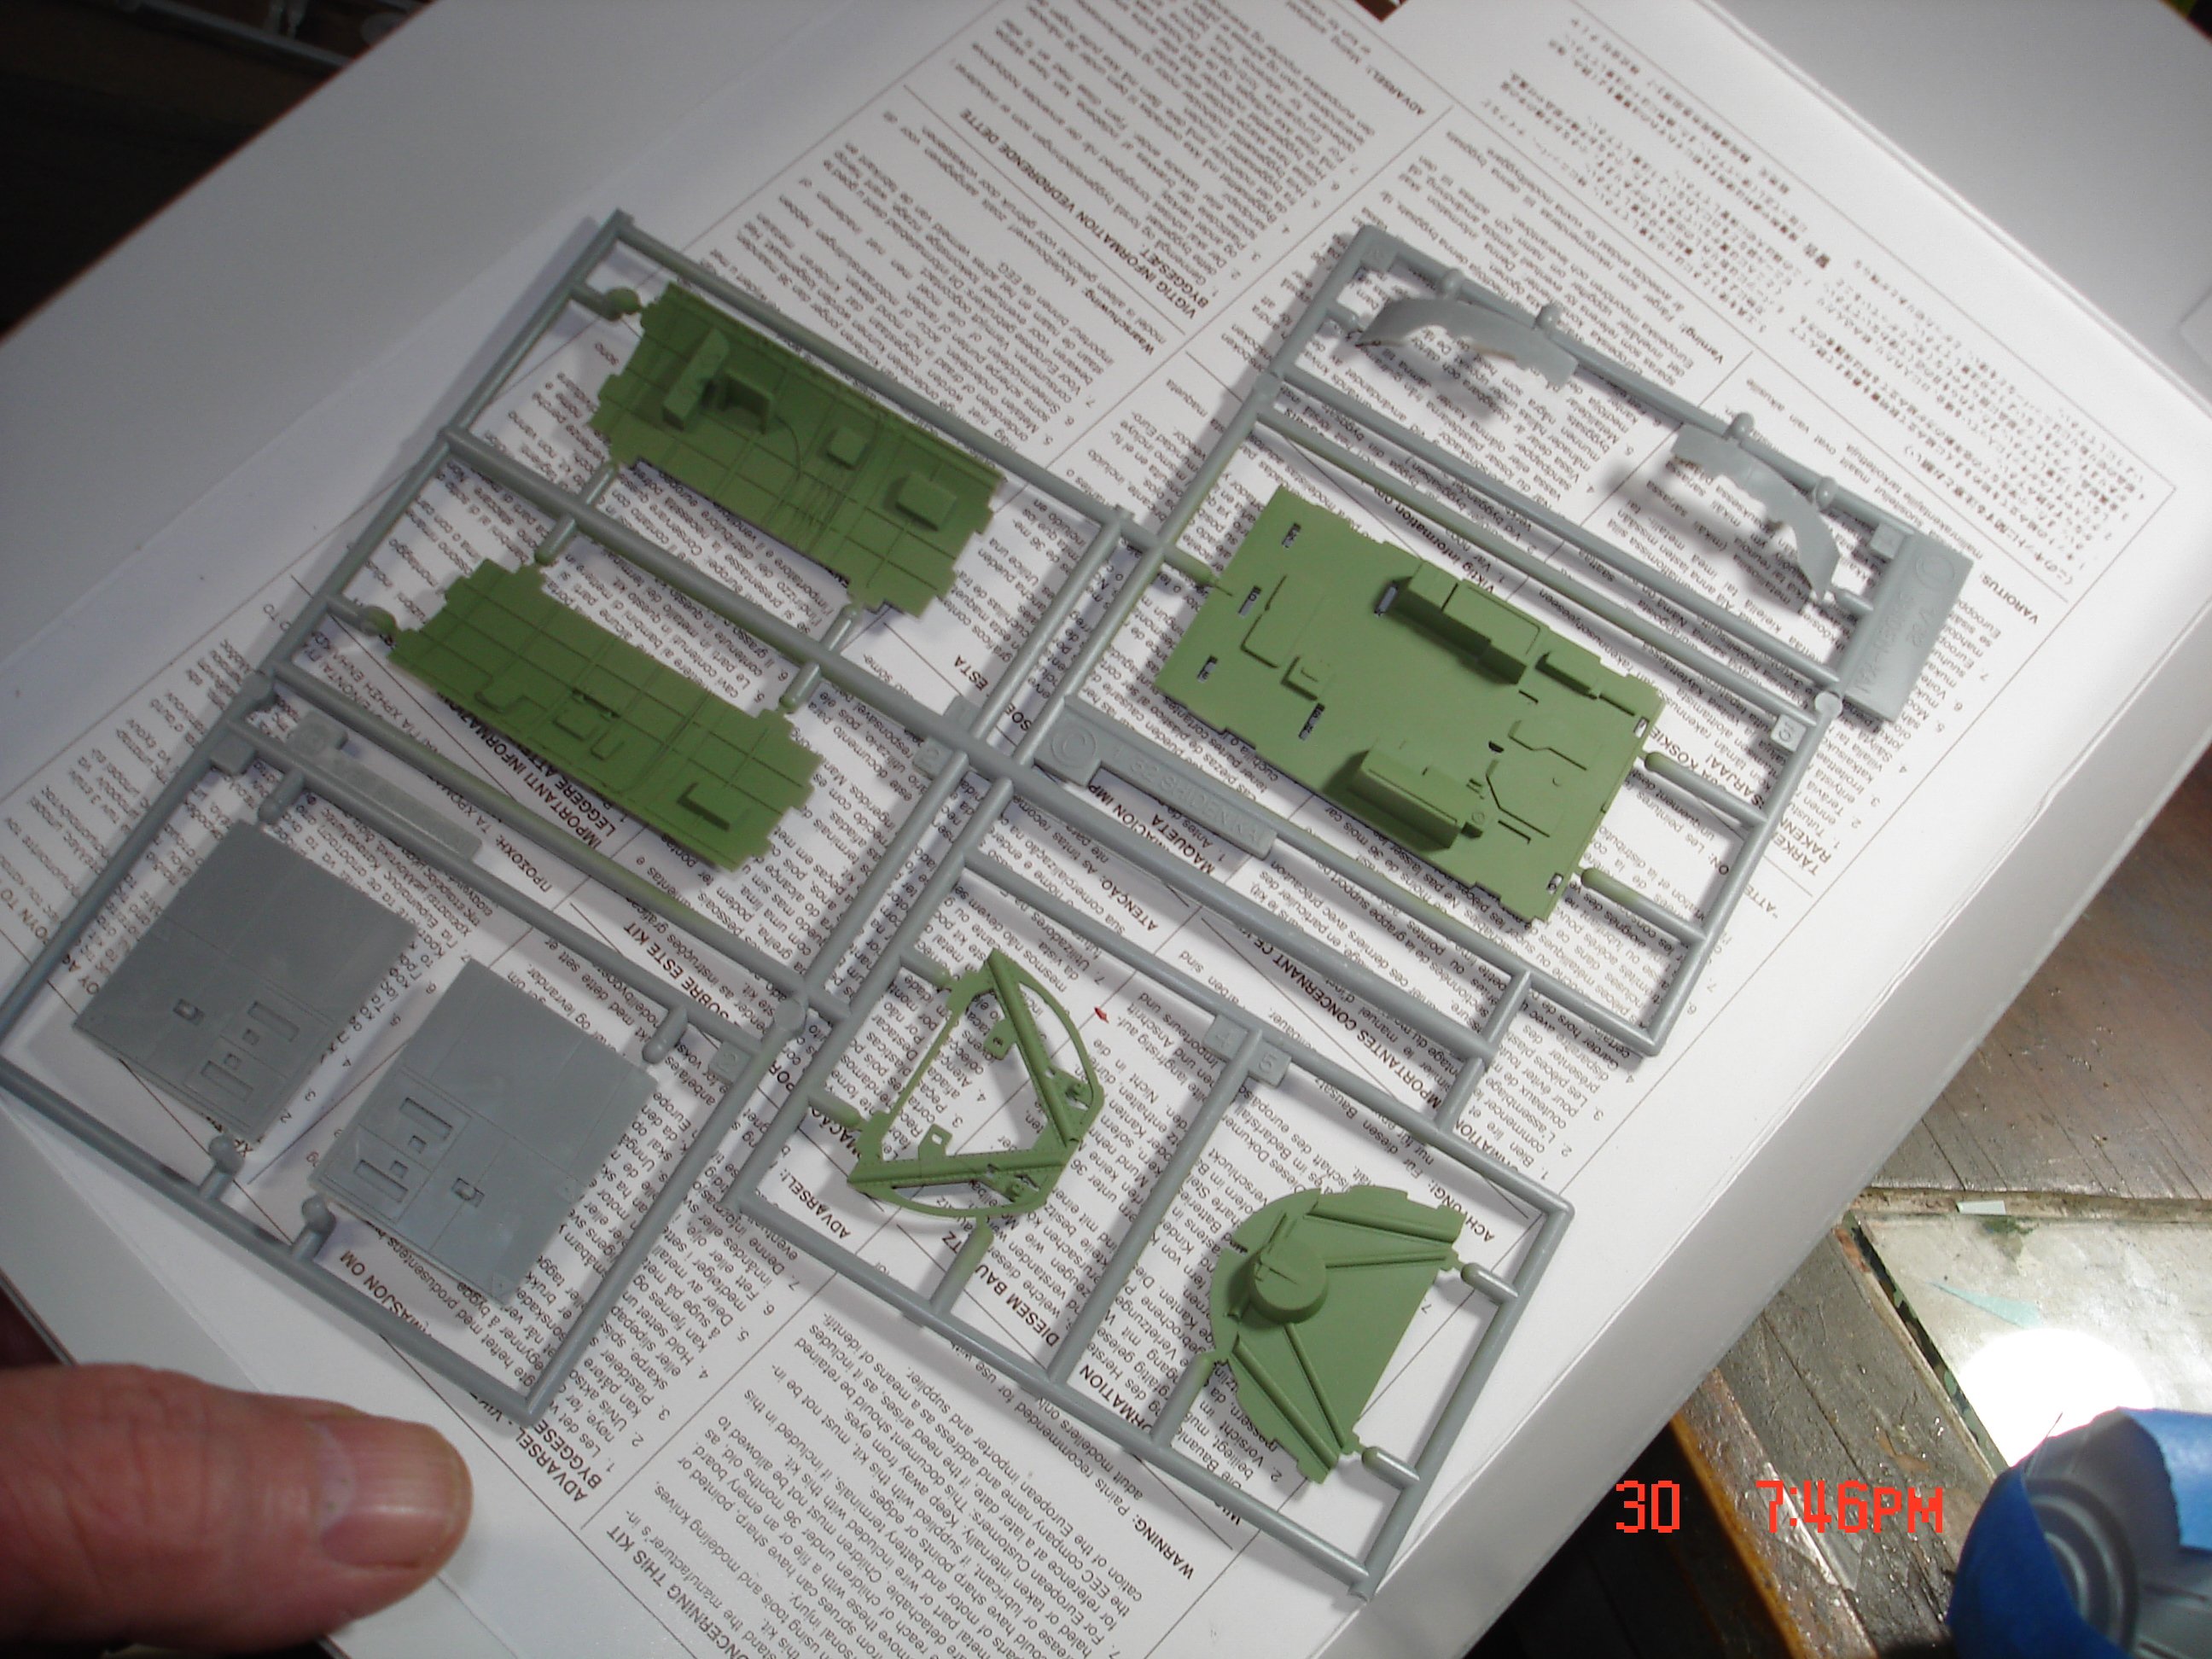
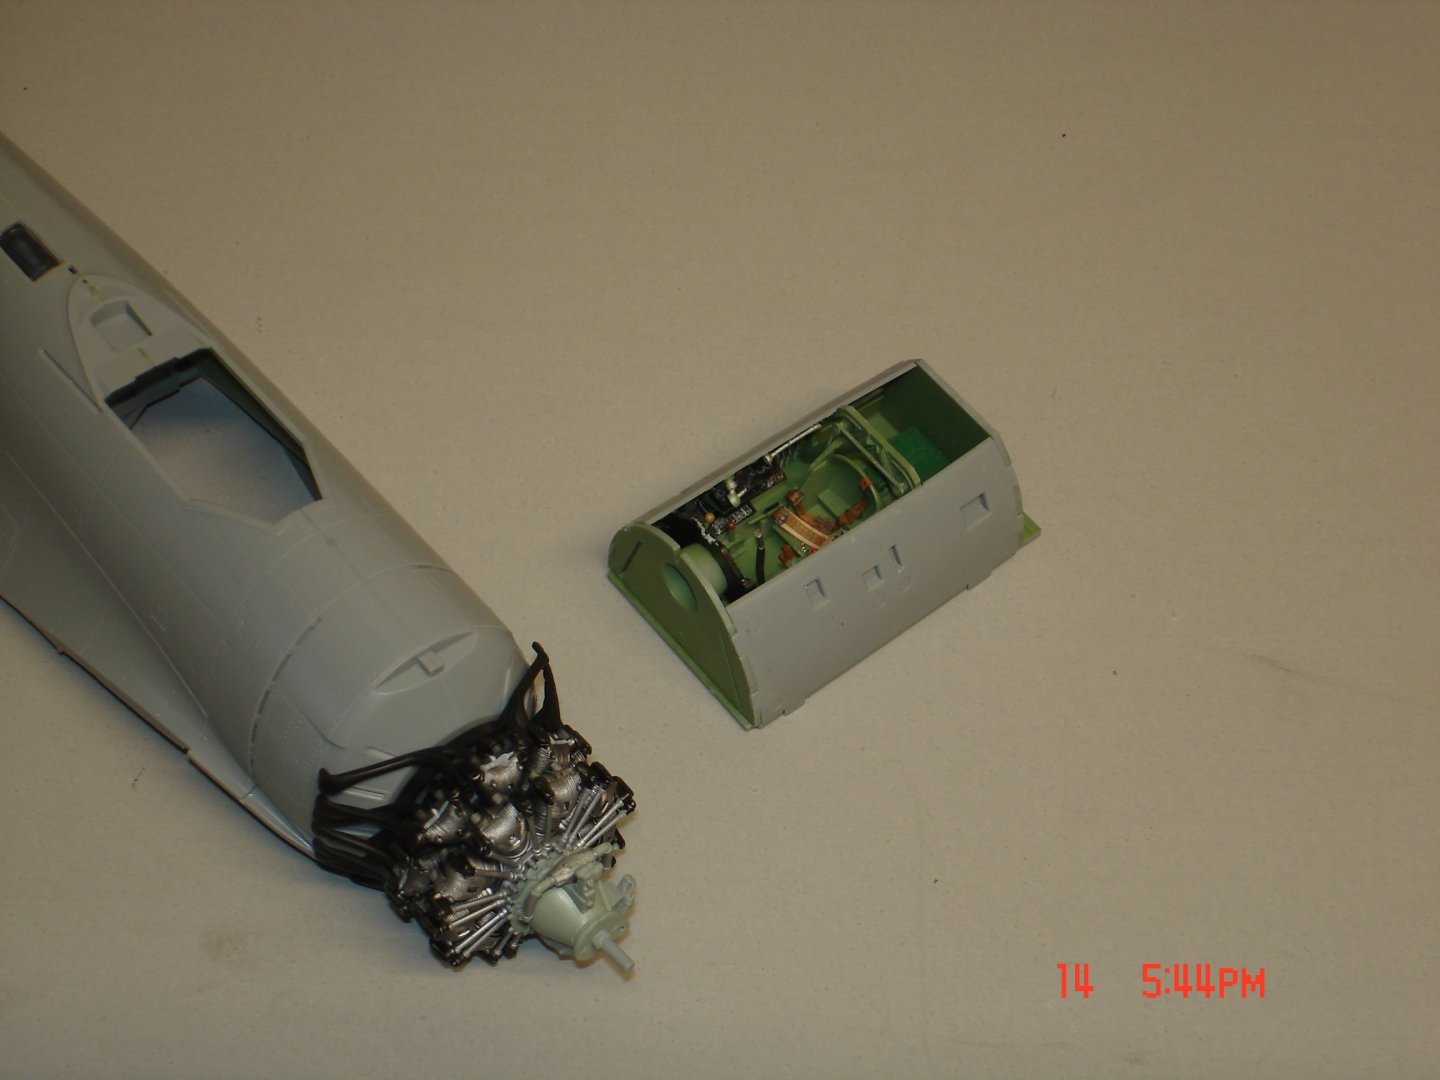
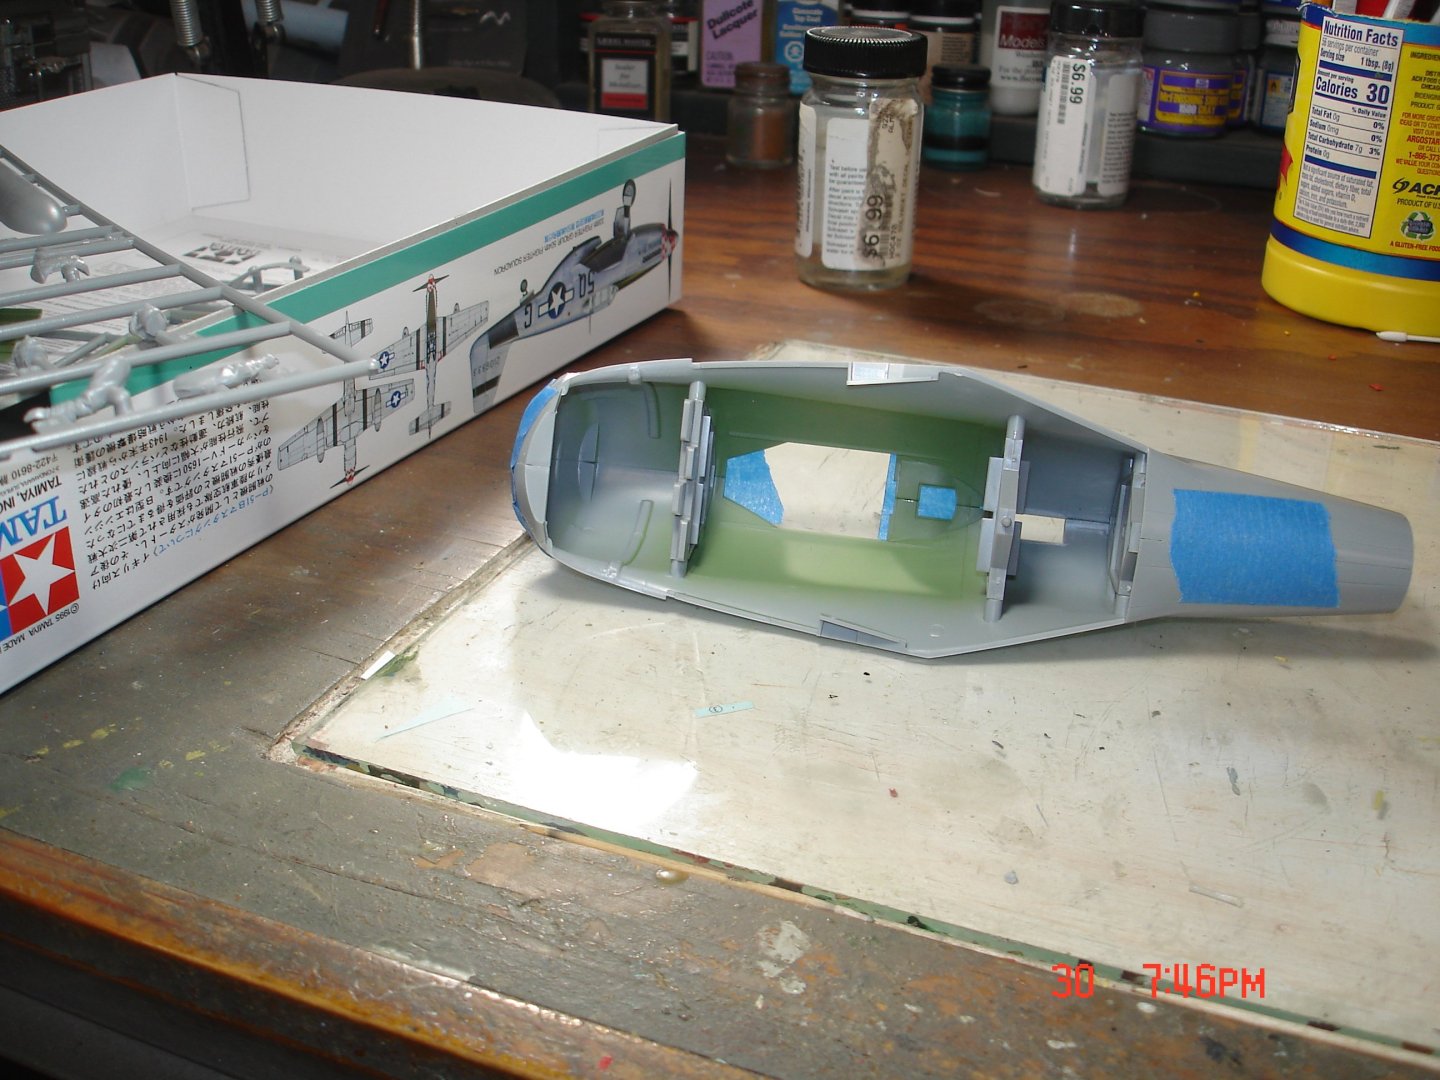
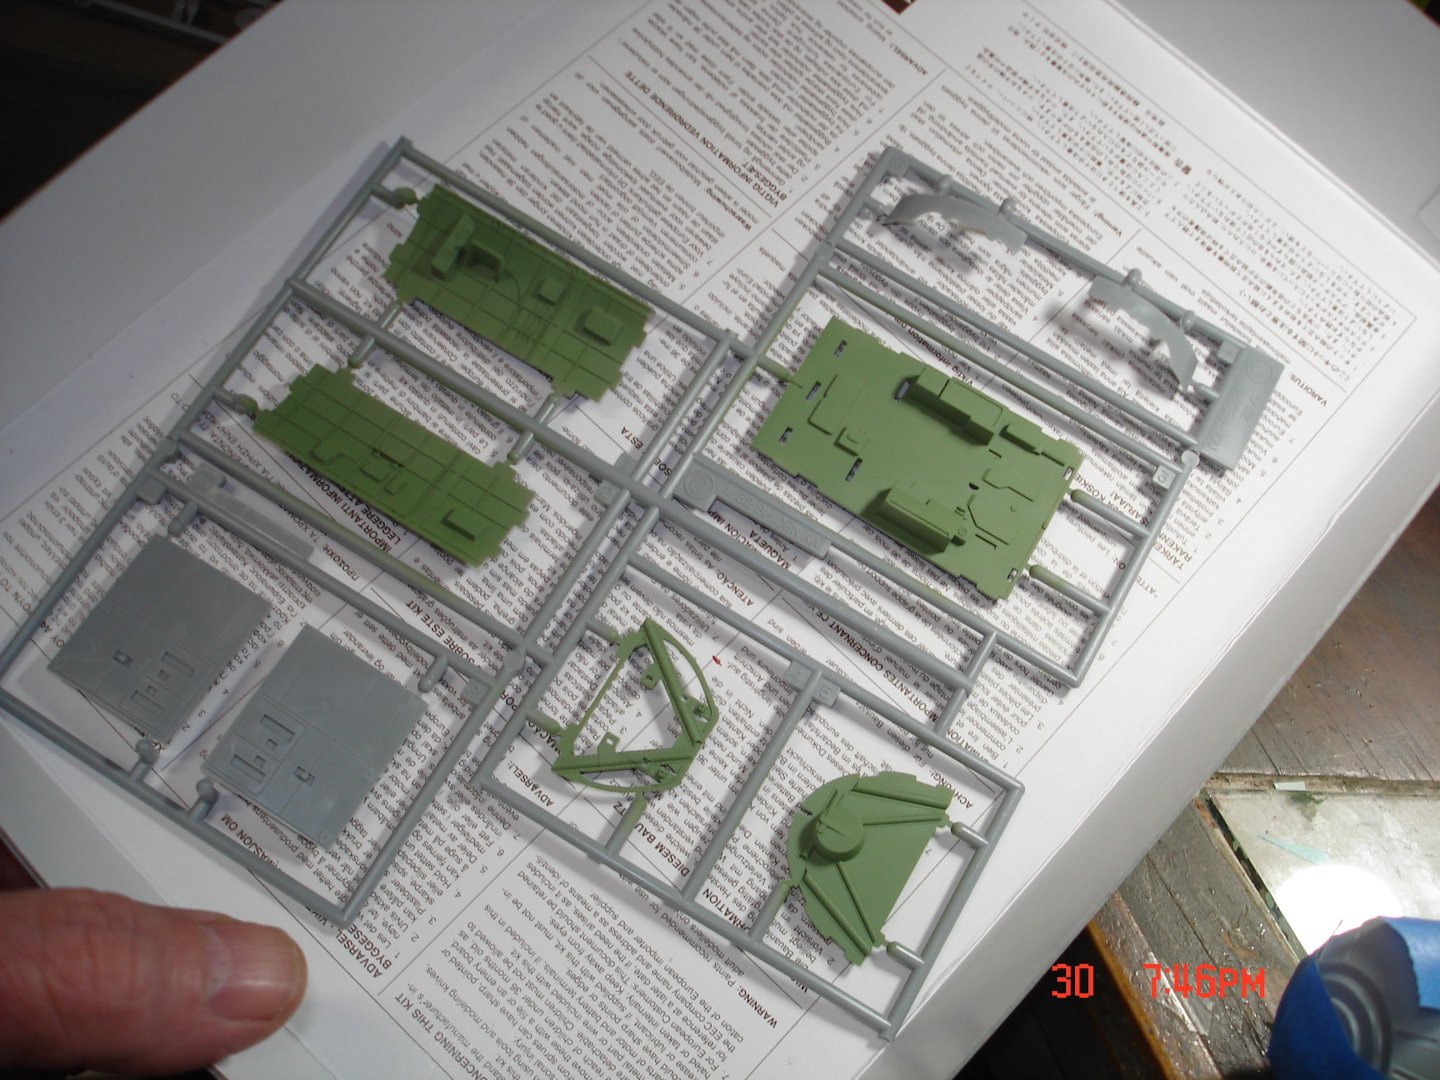
I started this evening one of my favorites of the Japanese Army much their version of the P-47 in my book just has that bulky look about it.I painted the interior colors Tamiya Interior Japanese Green 71 very close to MrHobby 23 letting that part dry overnight but I could not stop there.The fuselage builds like a ship model with three bridges that really align and stabilize the fuse.I also went ahead and started the tail,tailplane and the landing flaps the model just builds like many little sub-assemblies!I rather like!I will probably have the copit finished tomorrow.
- 25 replies
-
- 13
-
-
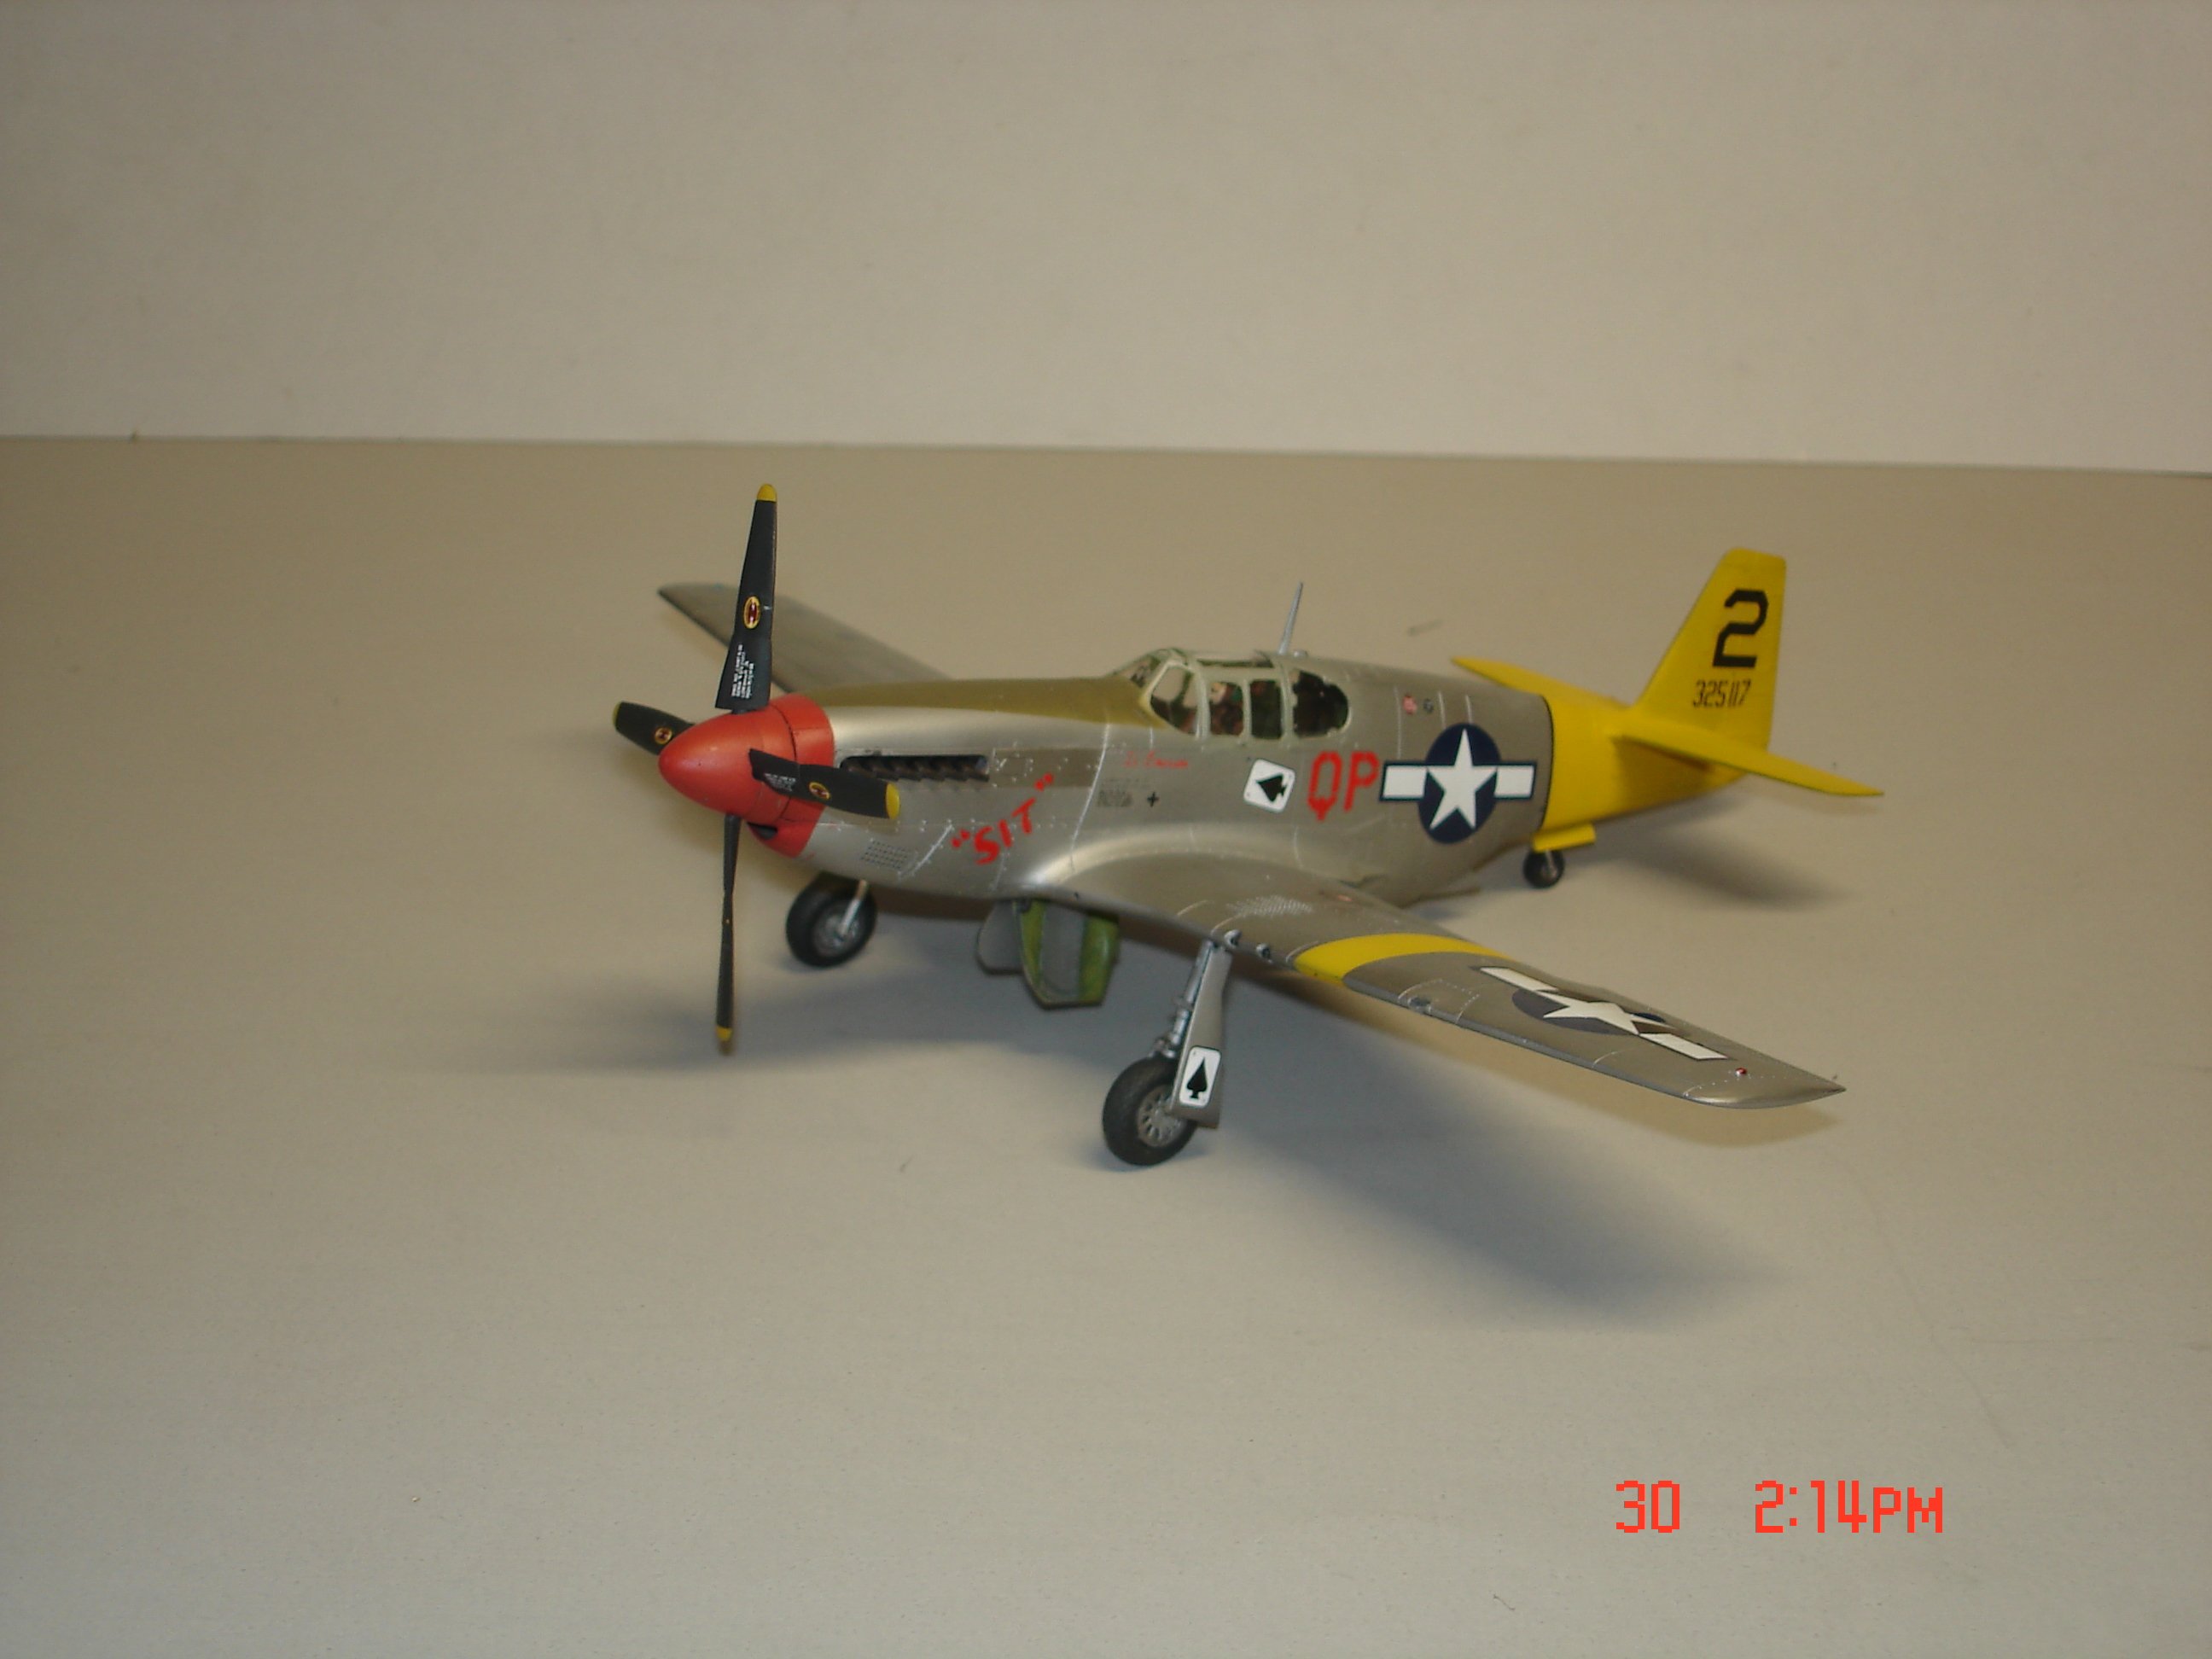
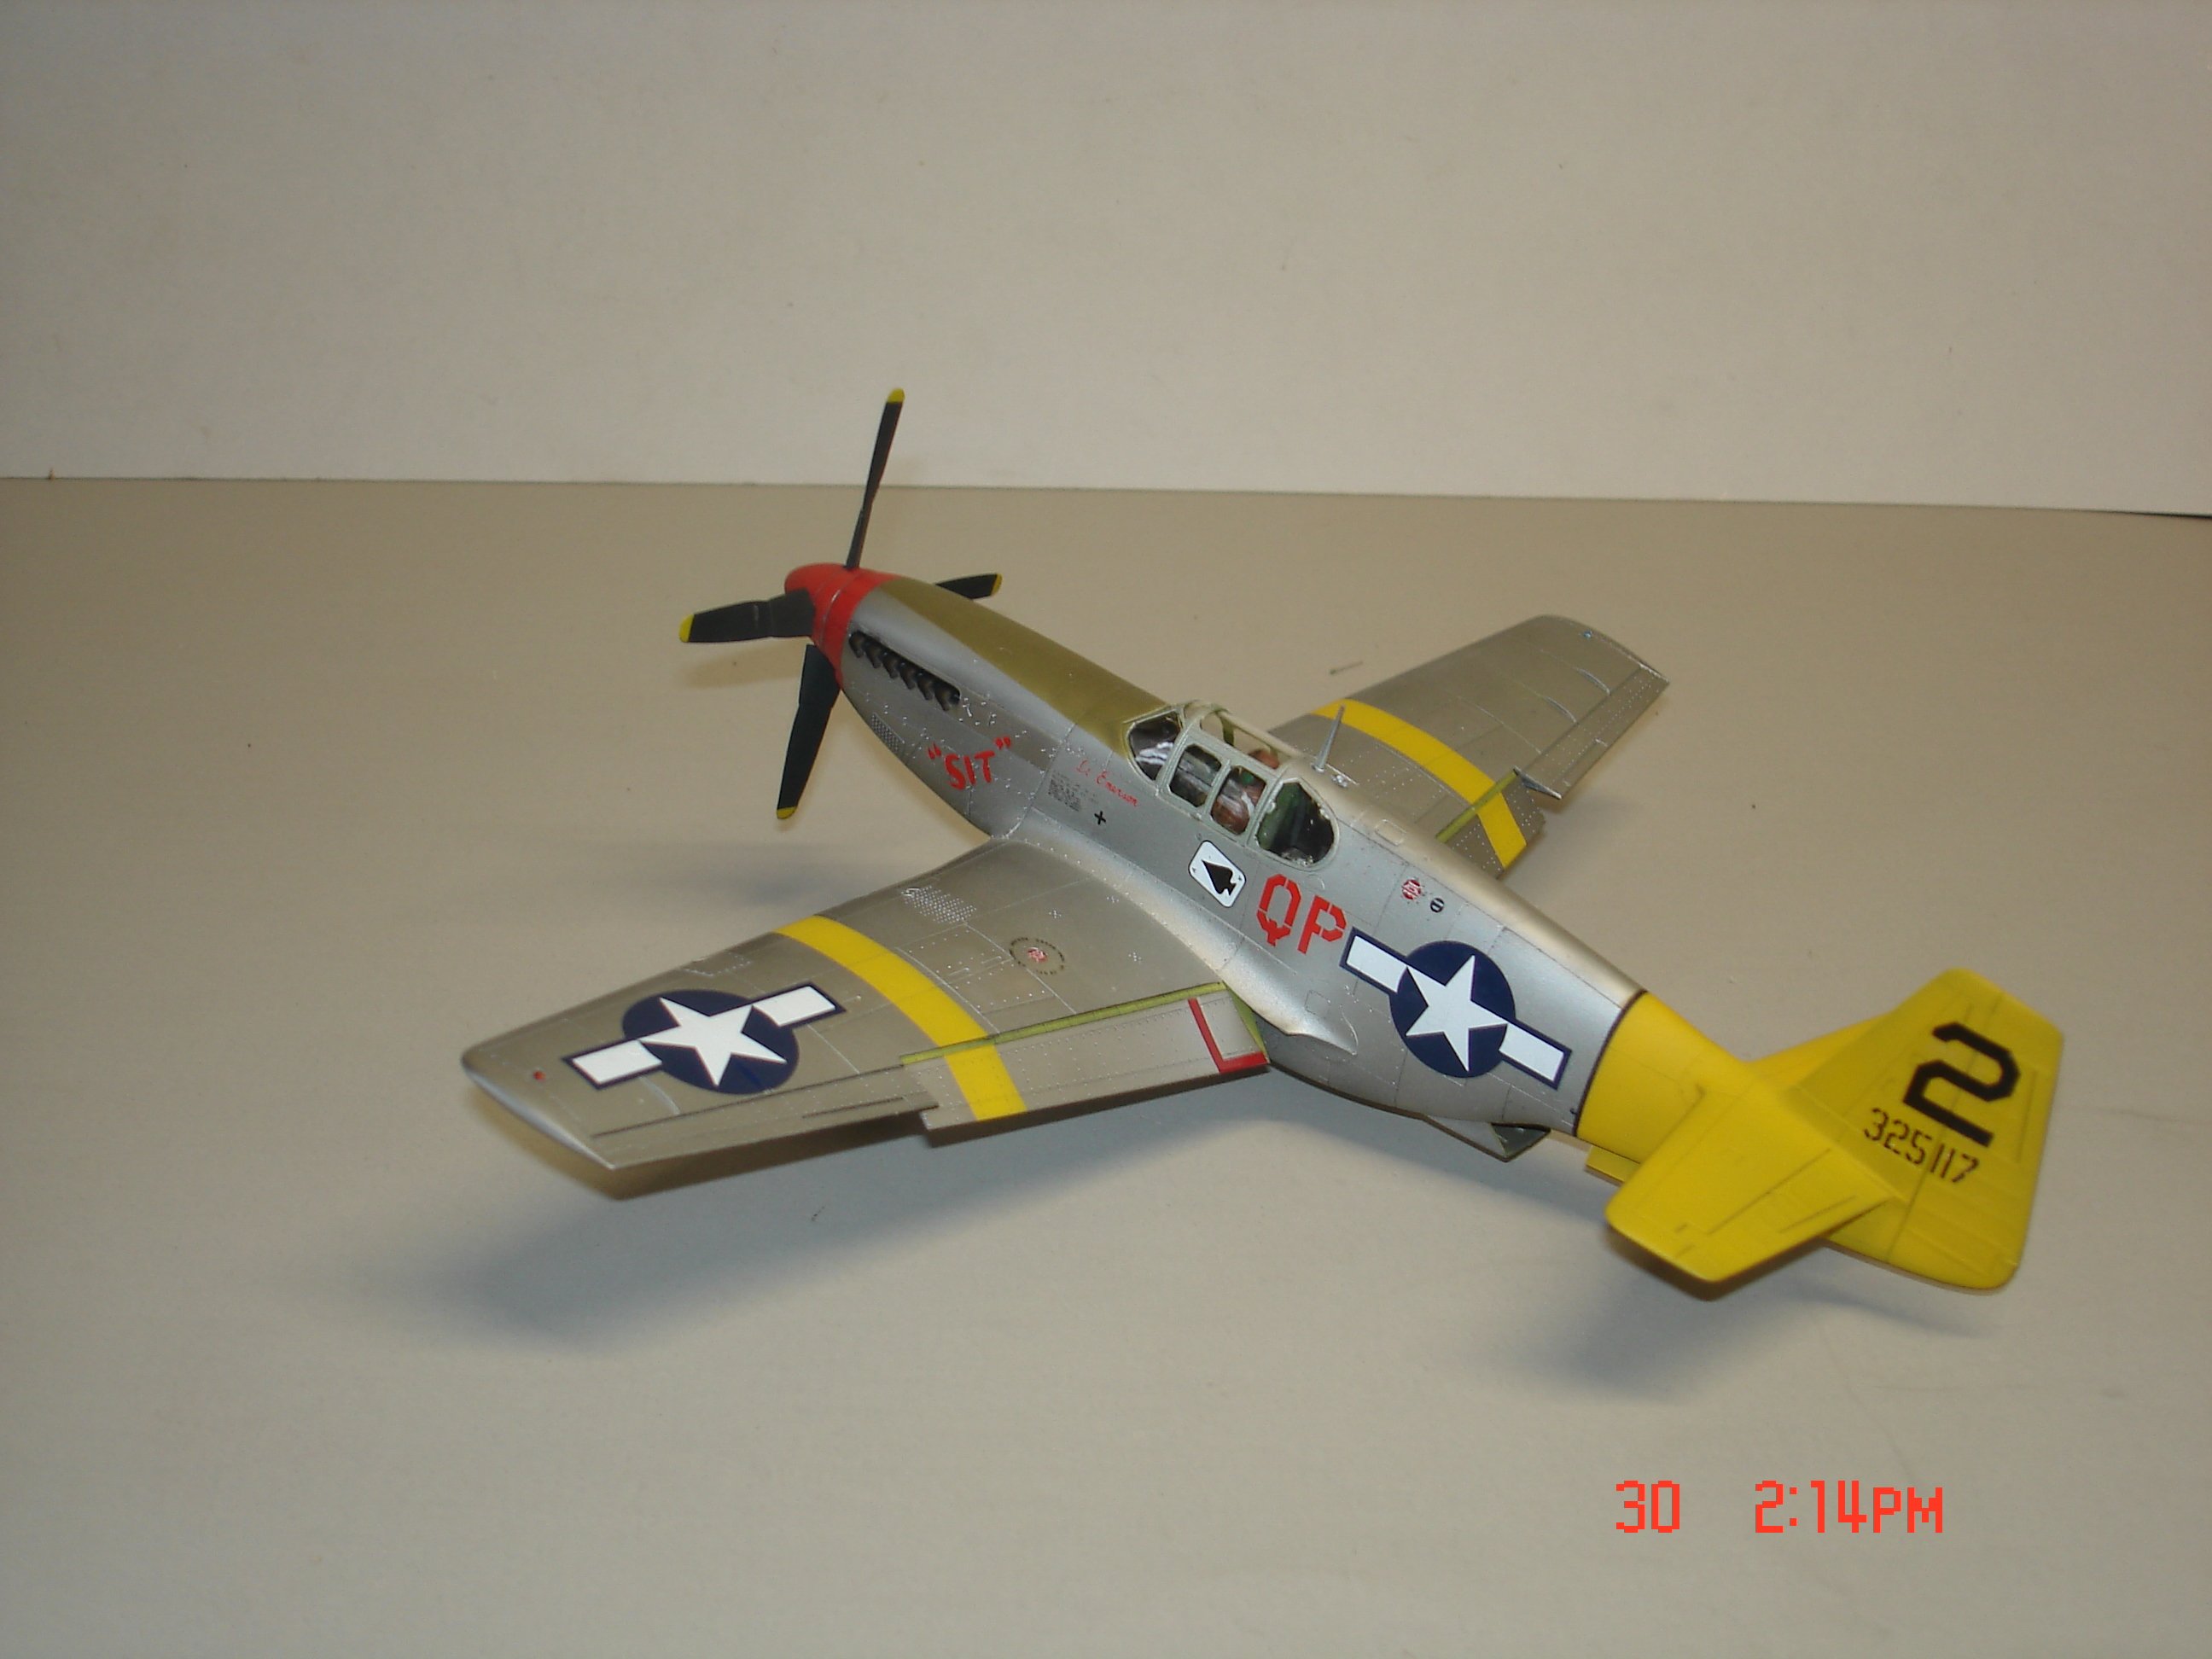
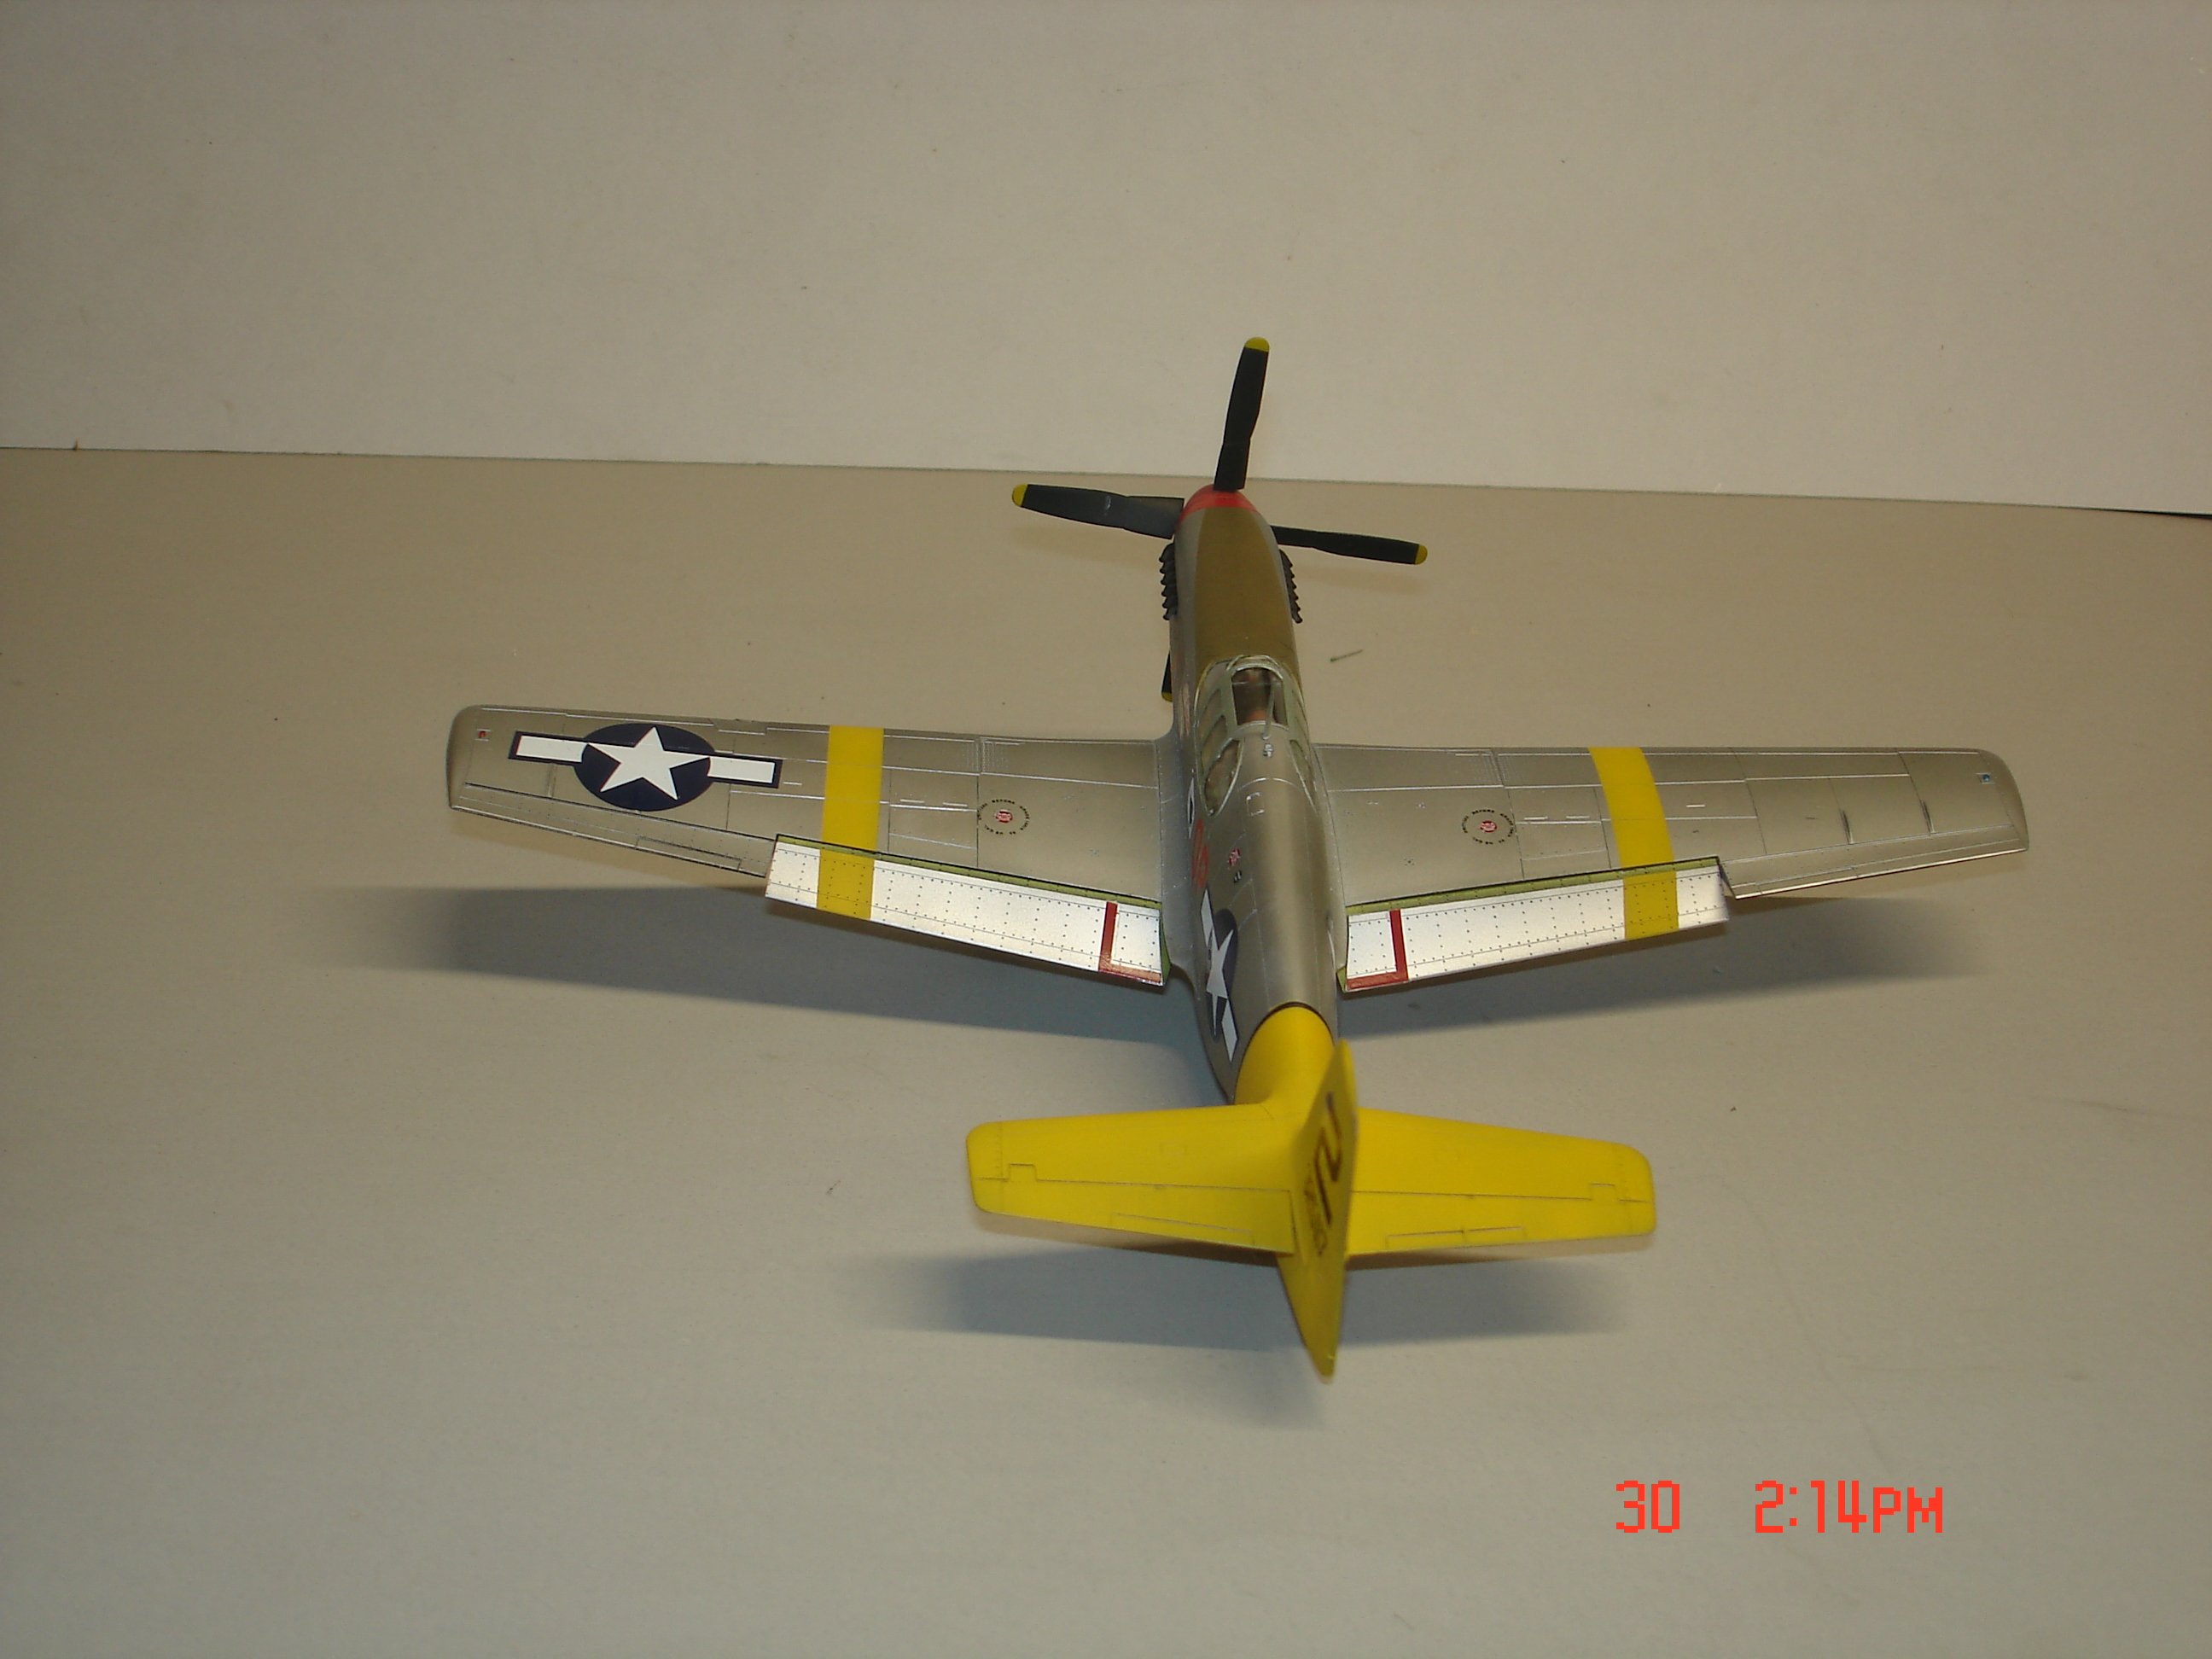
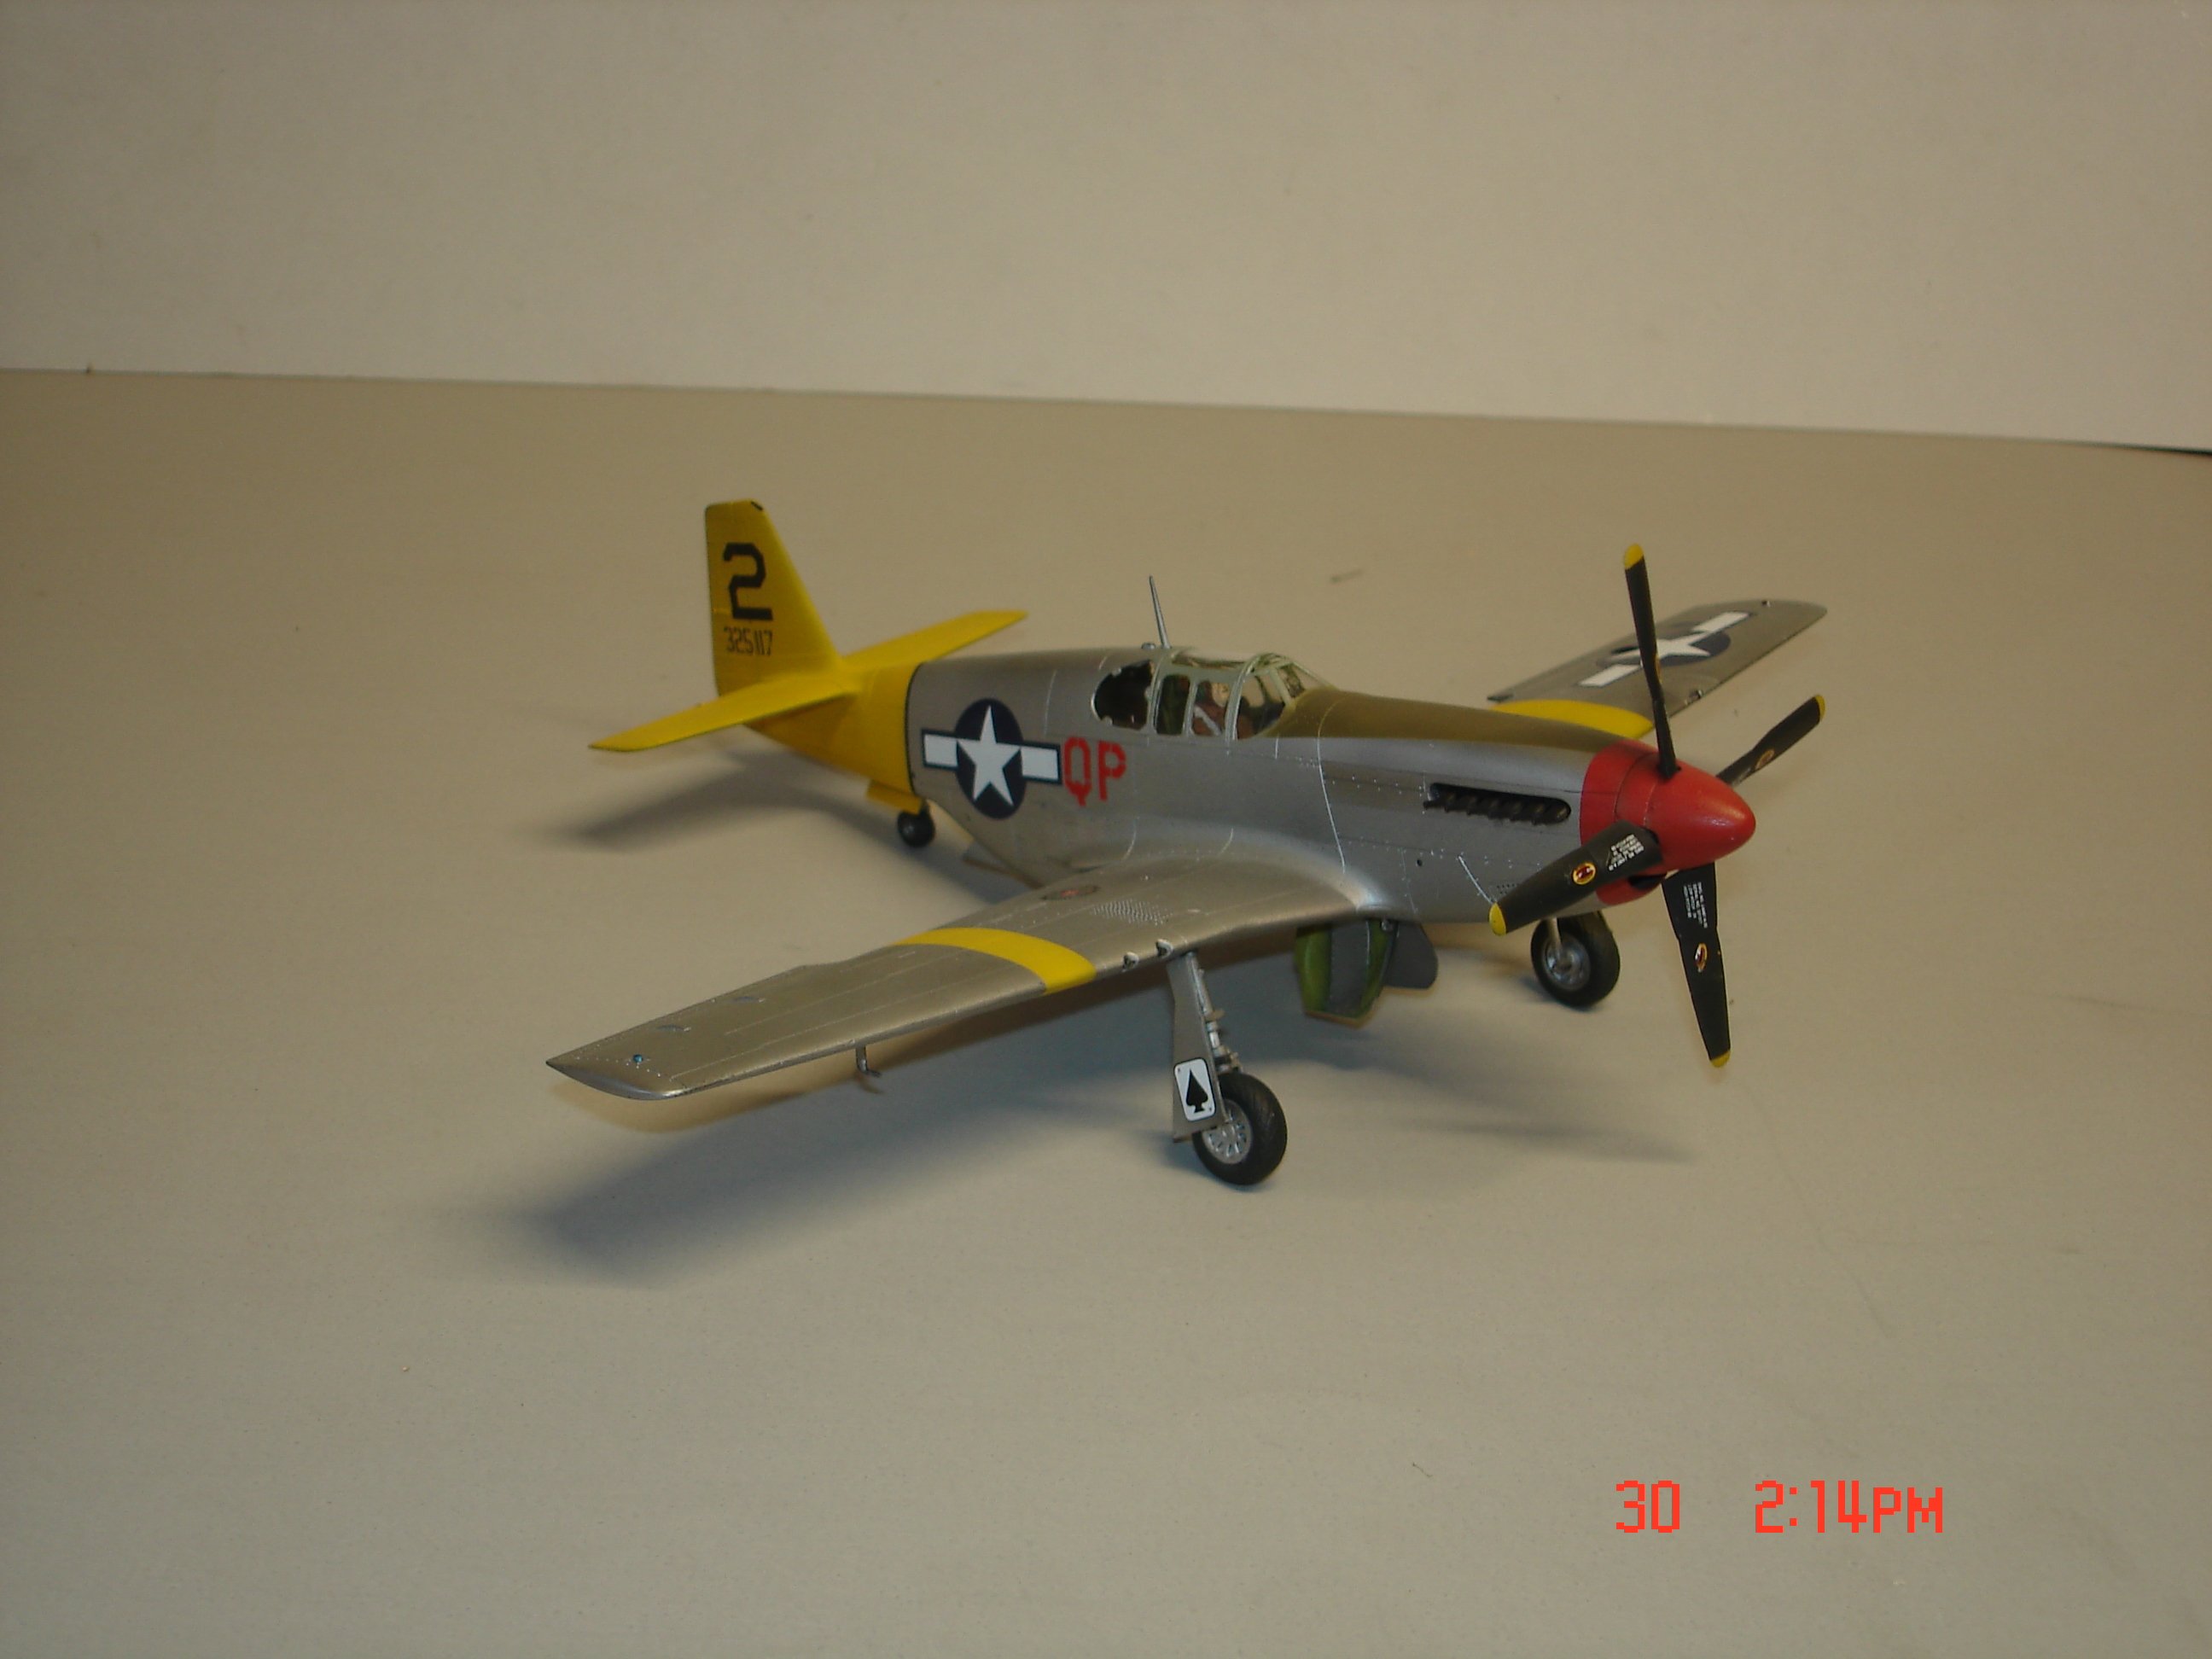
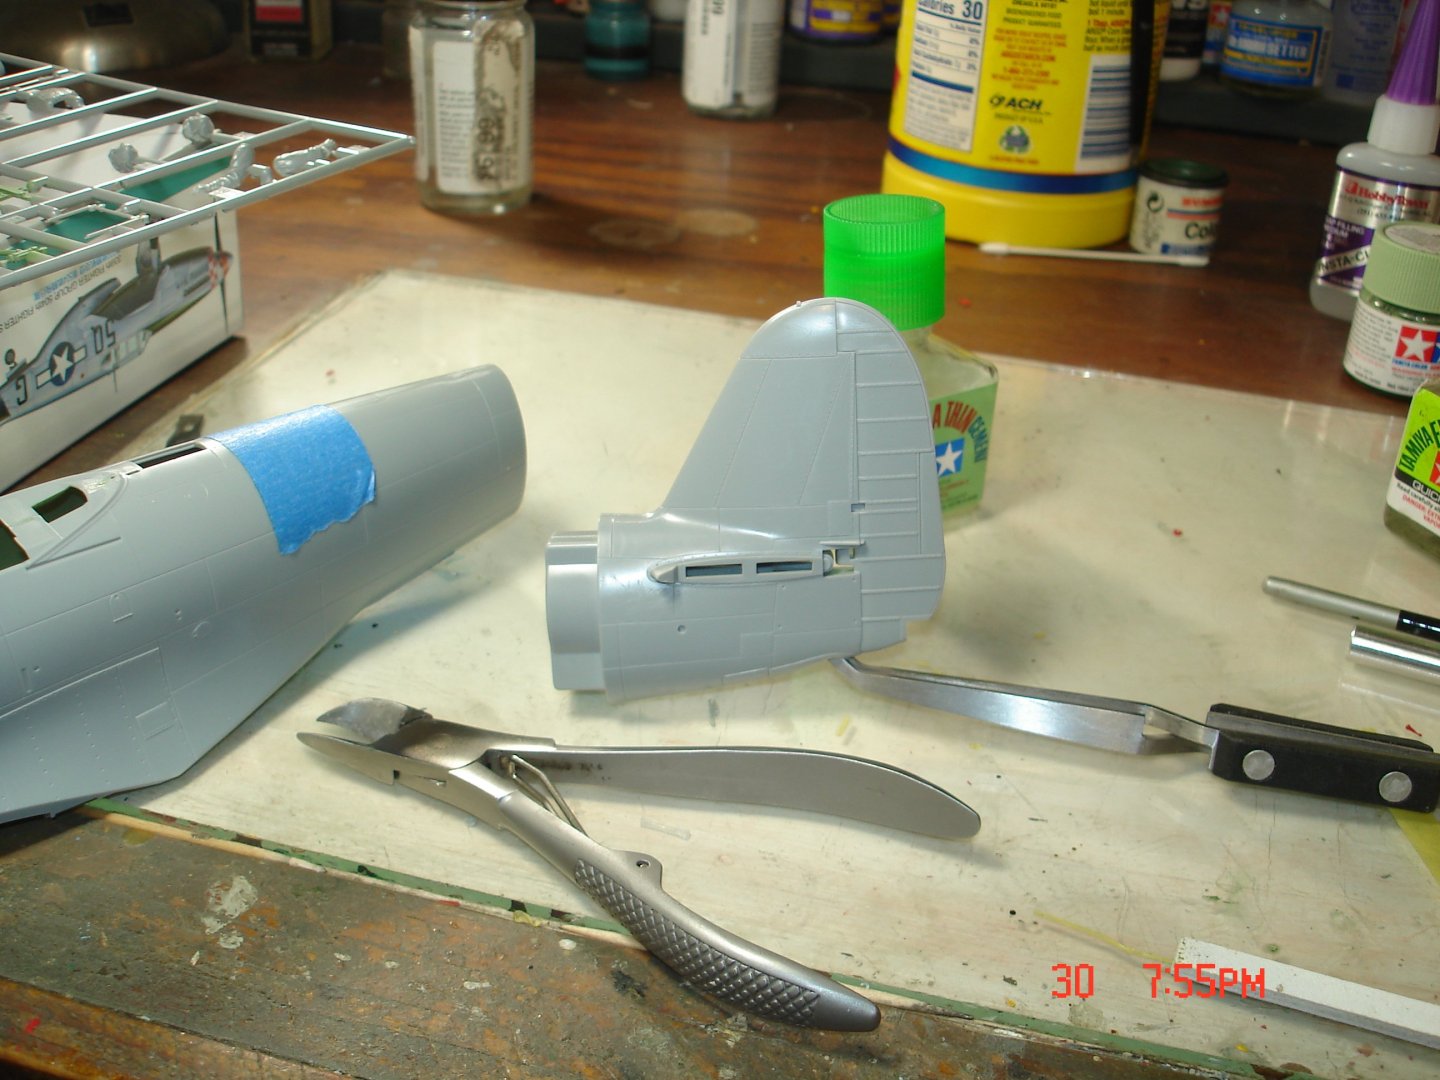
I thought I share a build I did as a quick GB for another site main thing was using some AM decals out the collection other than that she is OOB guys.The whole plane was covered in Alclad Light Sheen for metal surfaces it seems to work well.I did have a couple of snafus on the decals one the prop and the other was fixed with paint.I was going to Tamyia black panel wash the plane but the yellow just said "No" to me just thinking to stark.Well I hope it somewhat measures up looks good enough to hit the cabinet the last P-51D went to someone else's house it was that or the trash can!!
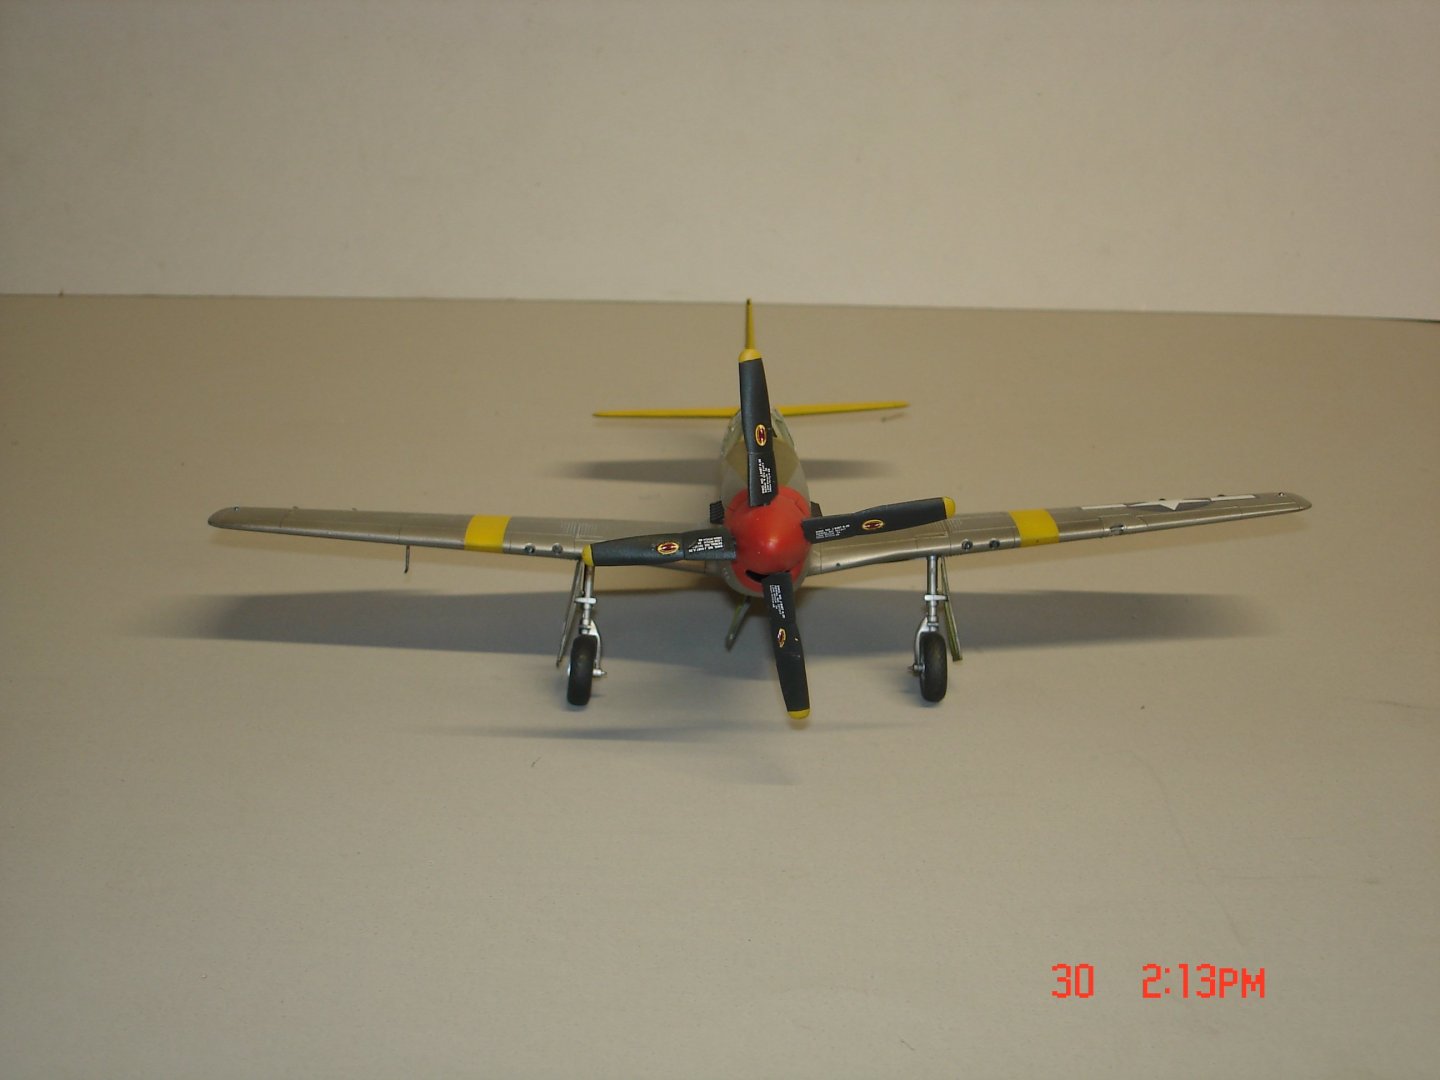
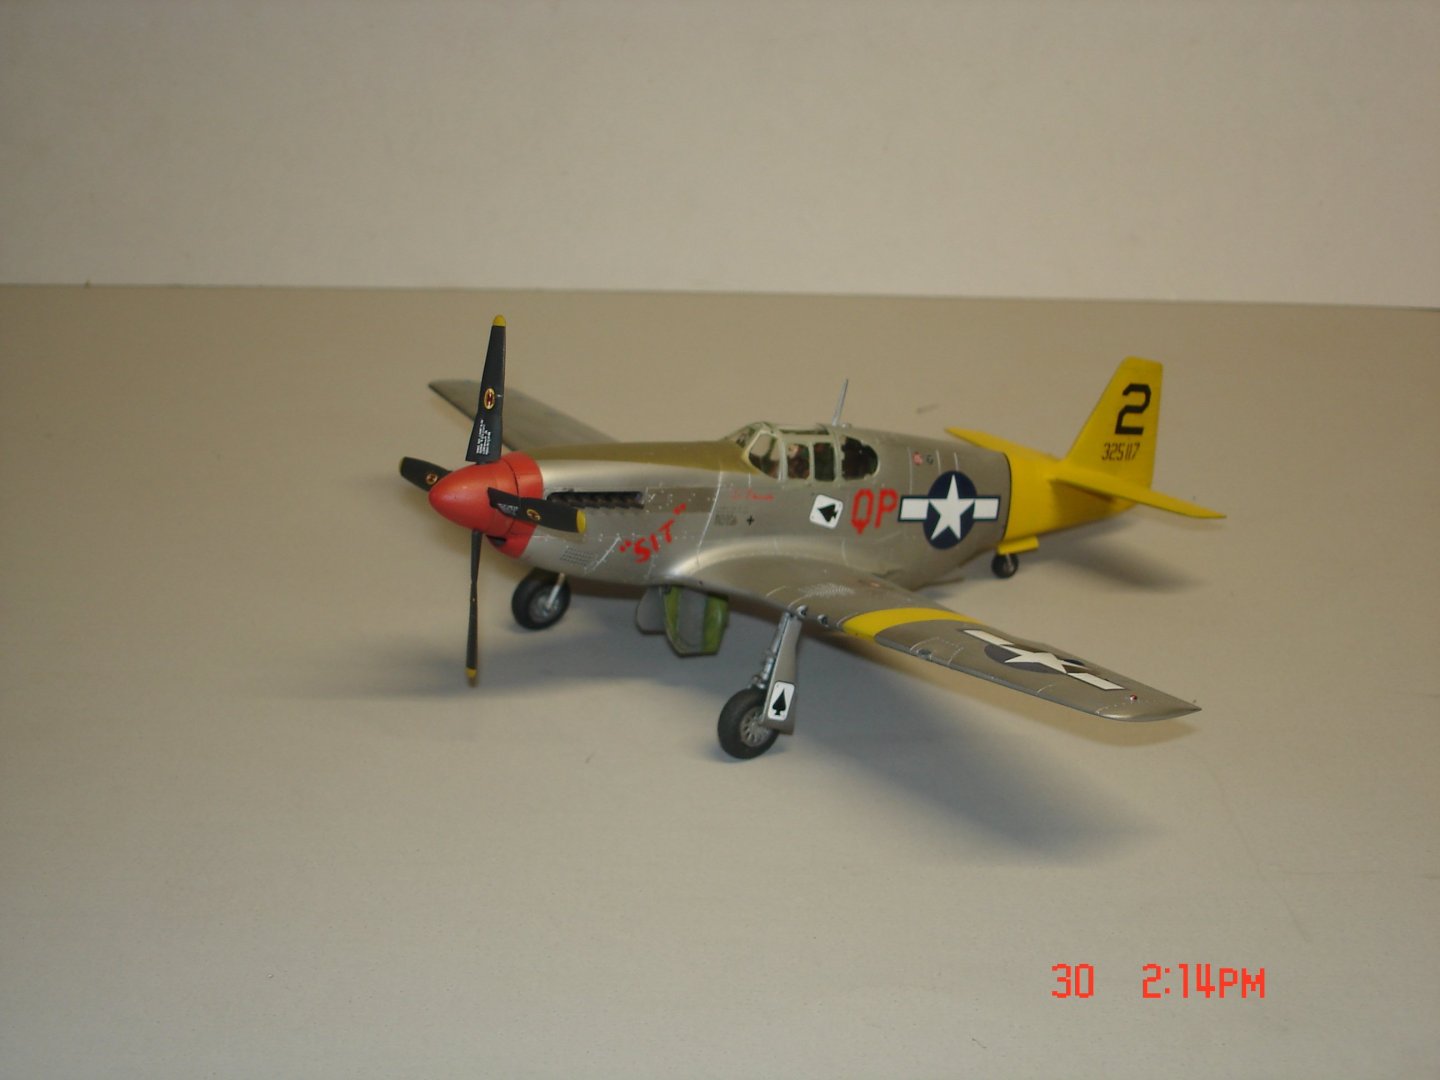

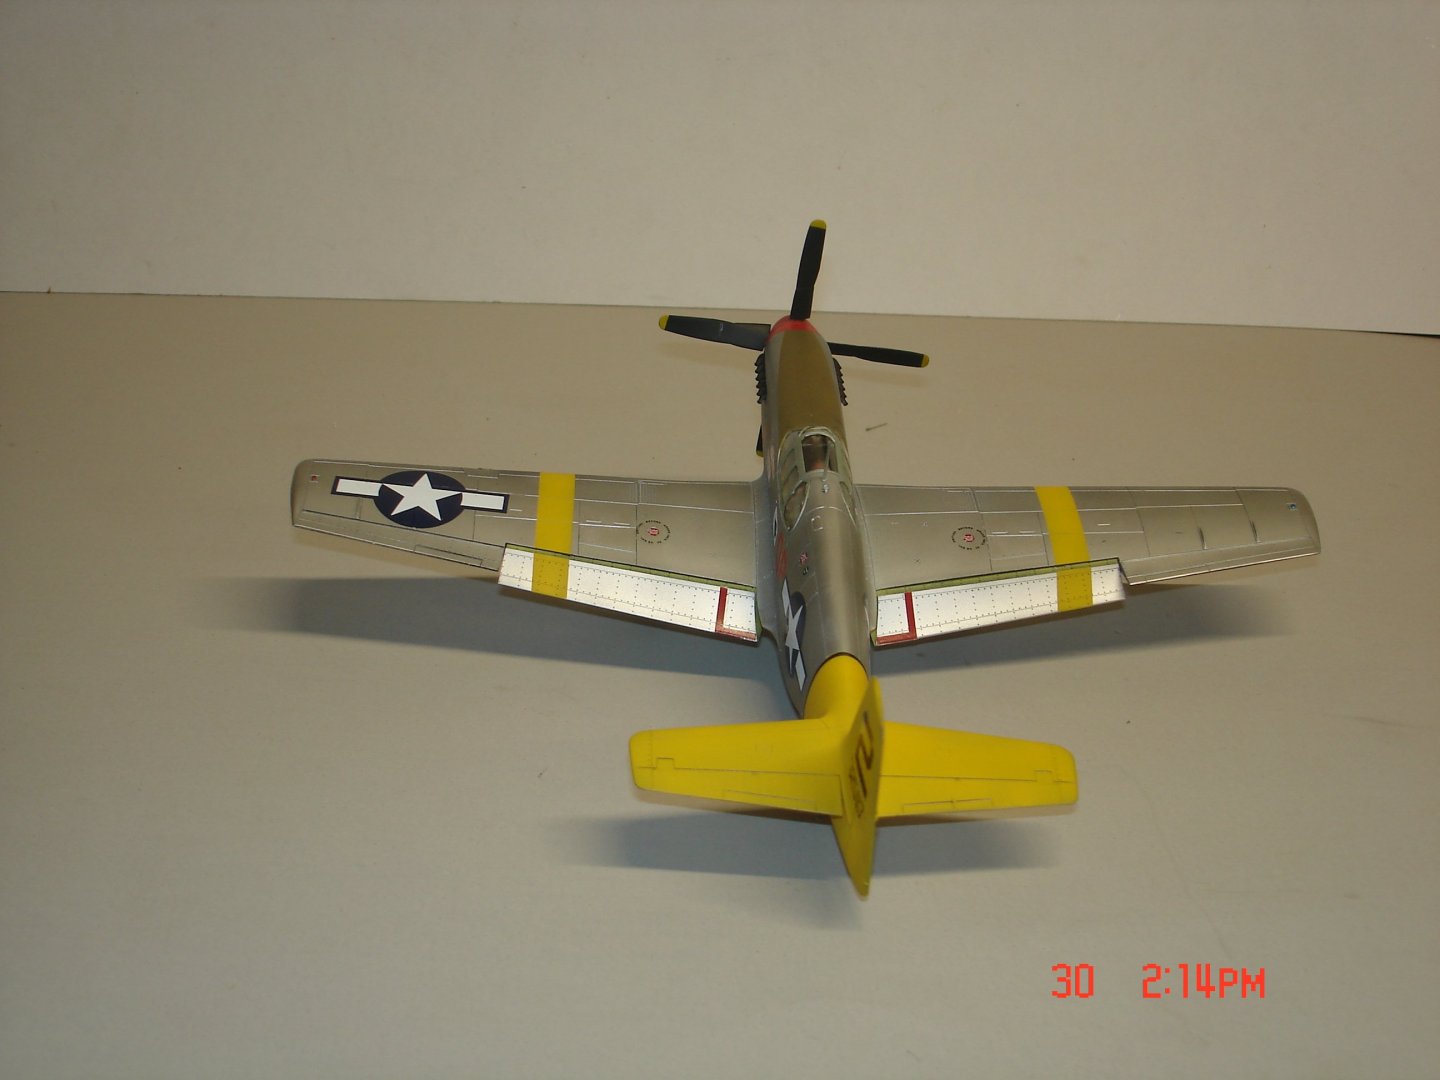
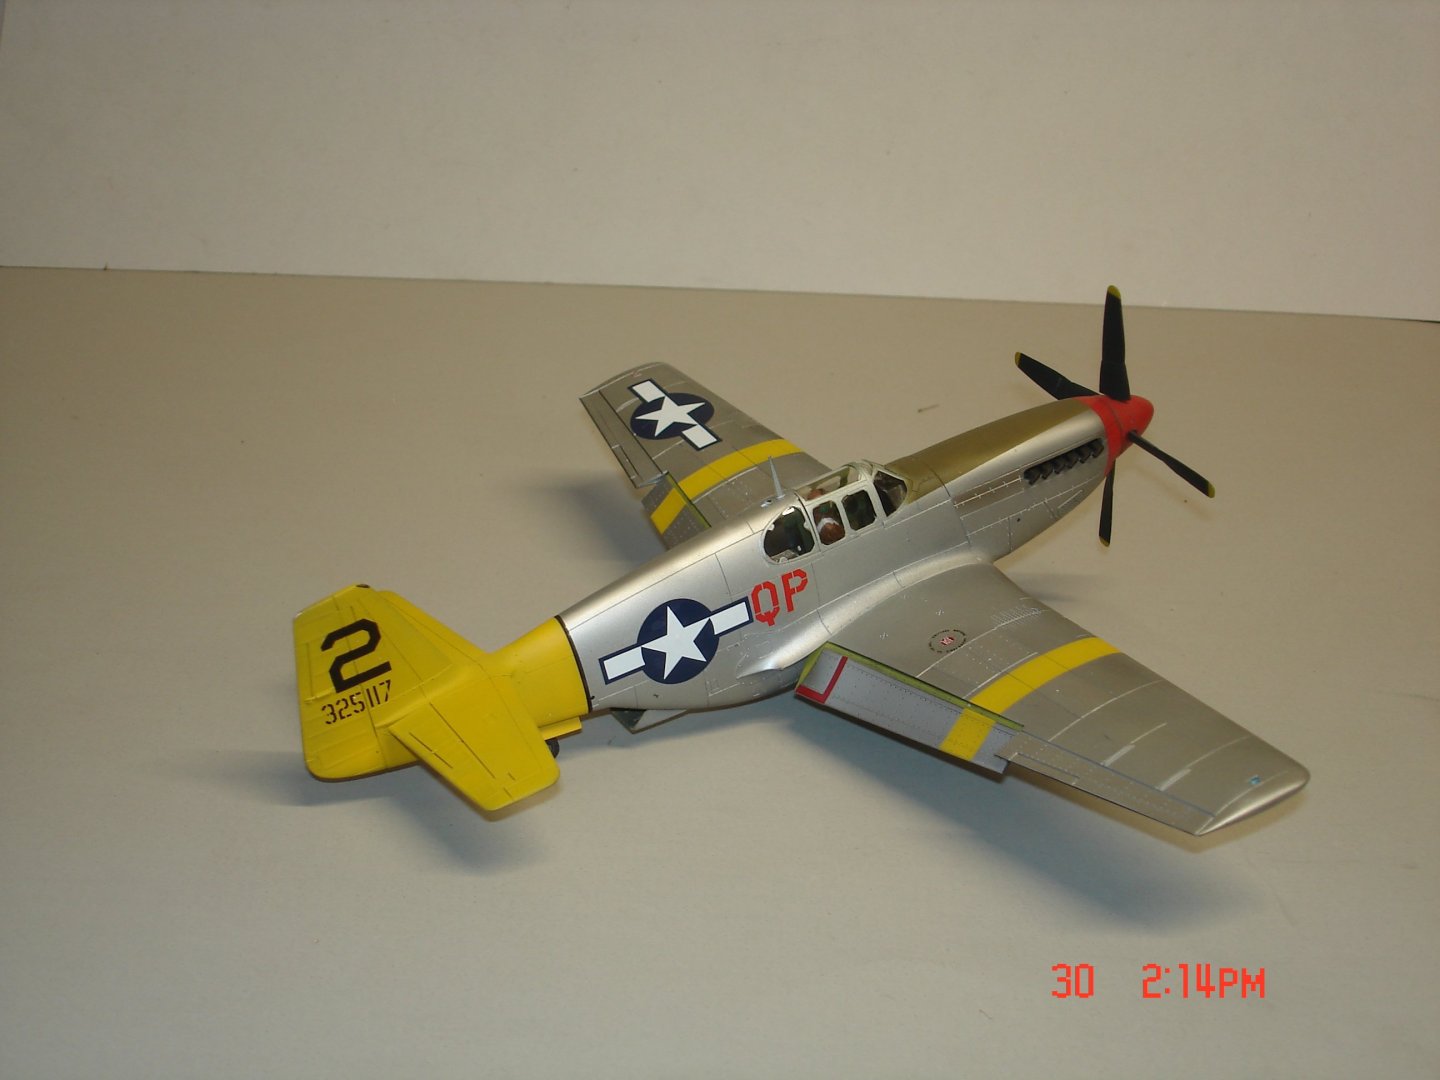

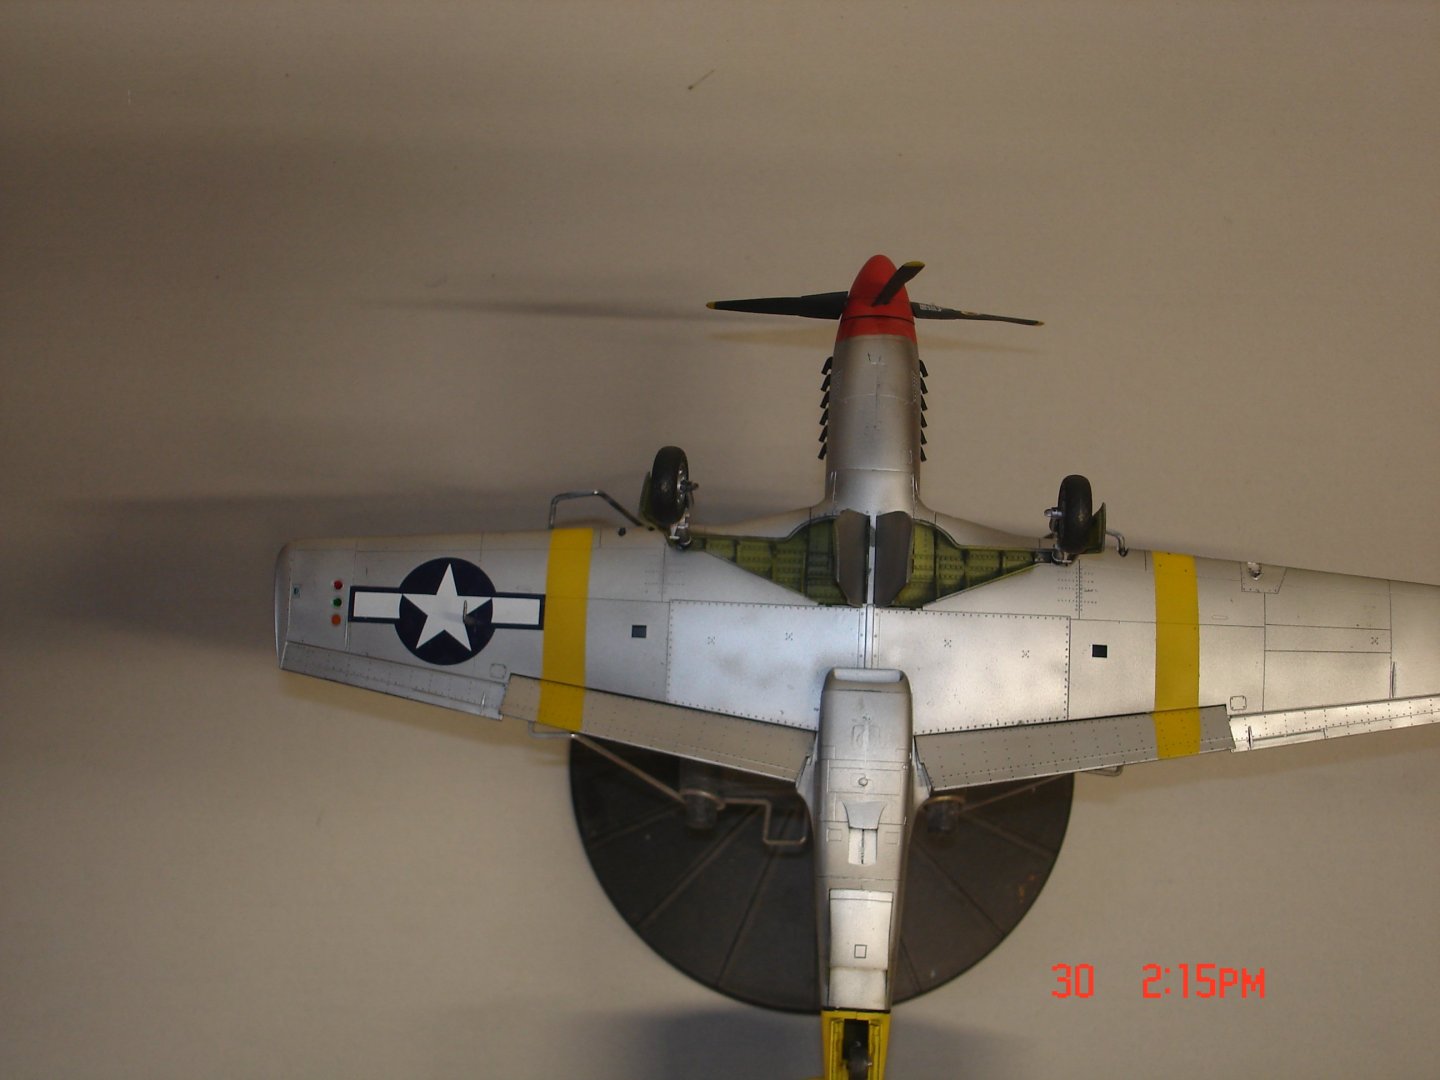
-
- 10
-
-
She looking good Rob and we see the real job comes in handy here also tools tools tools w/precision .