Javlin
-
Posts
1,681 -
Joined
-
Last visited
Content Type
Profiles
Forums
Gallery
Events
Everything posted by Javlin
-
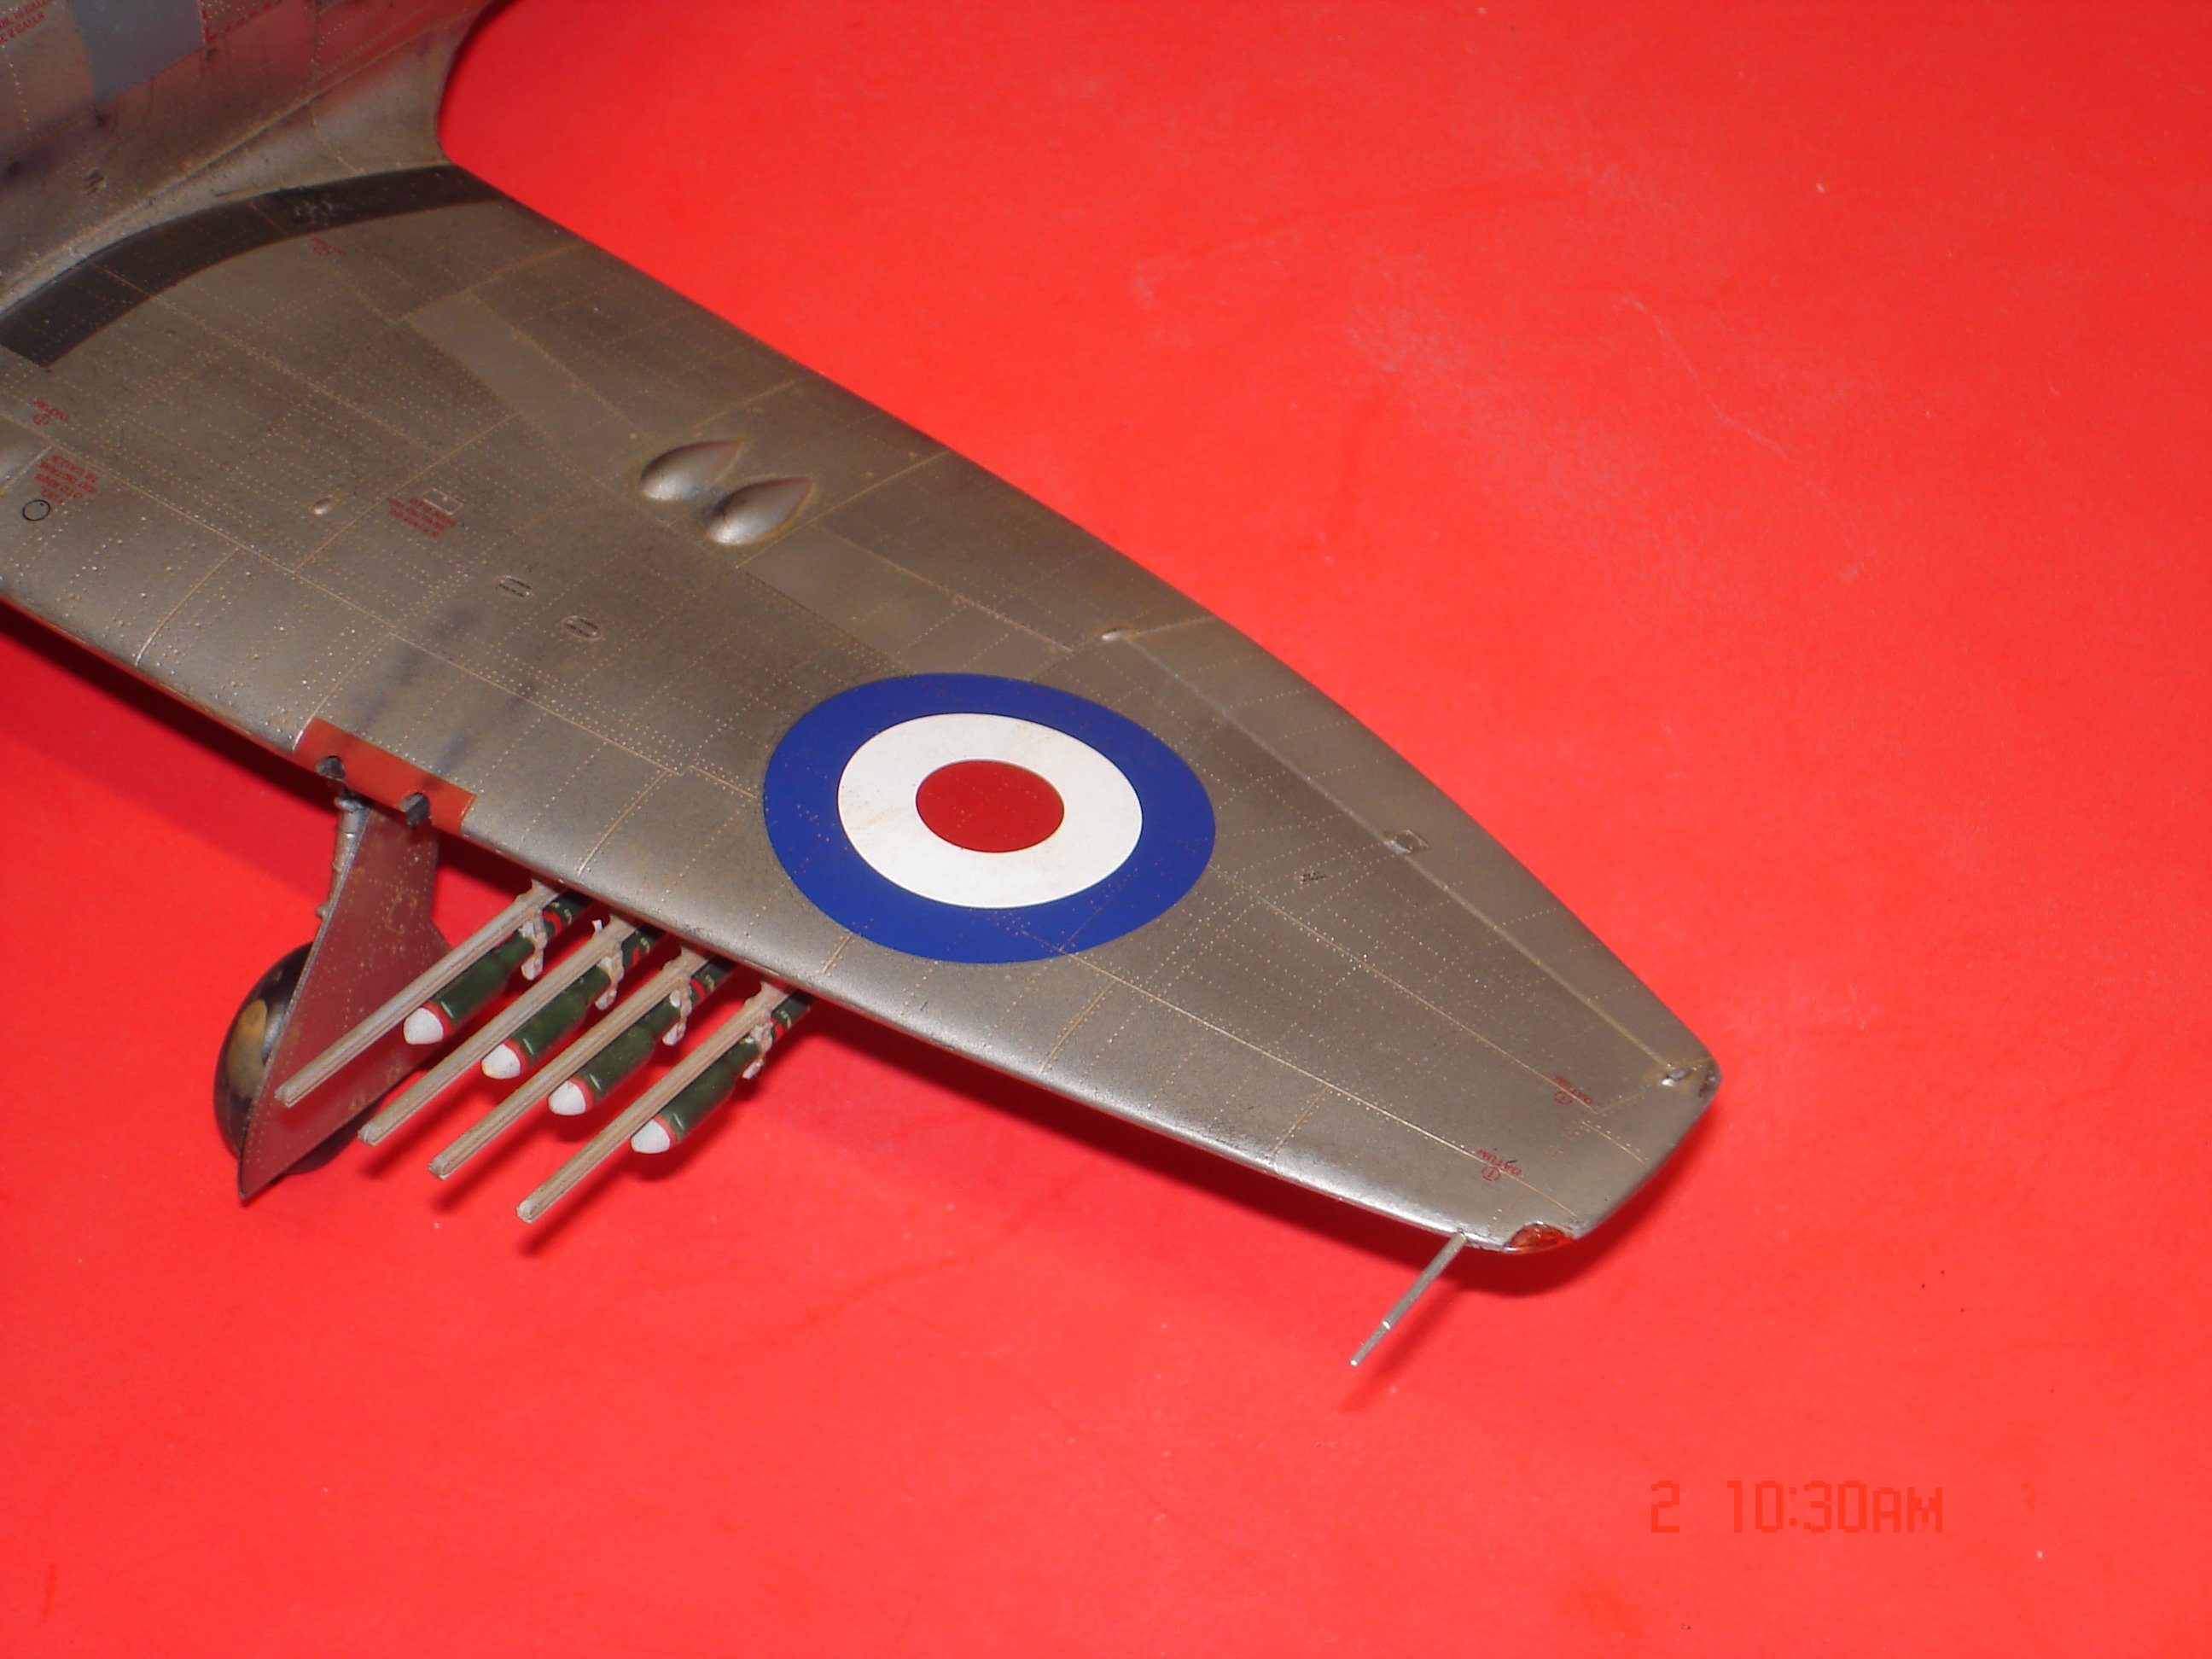
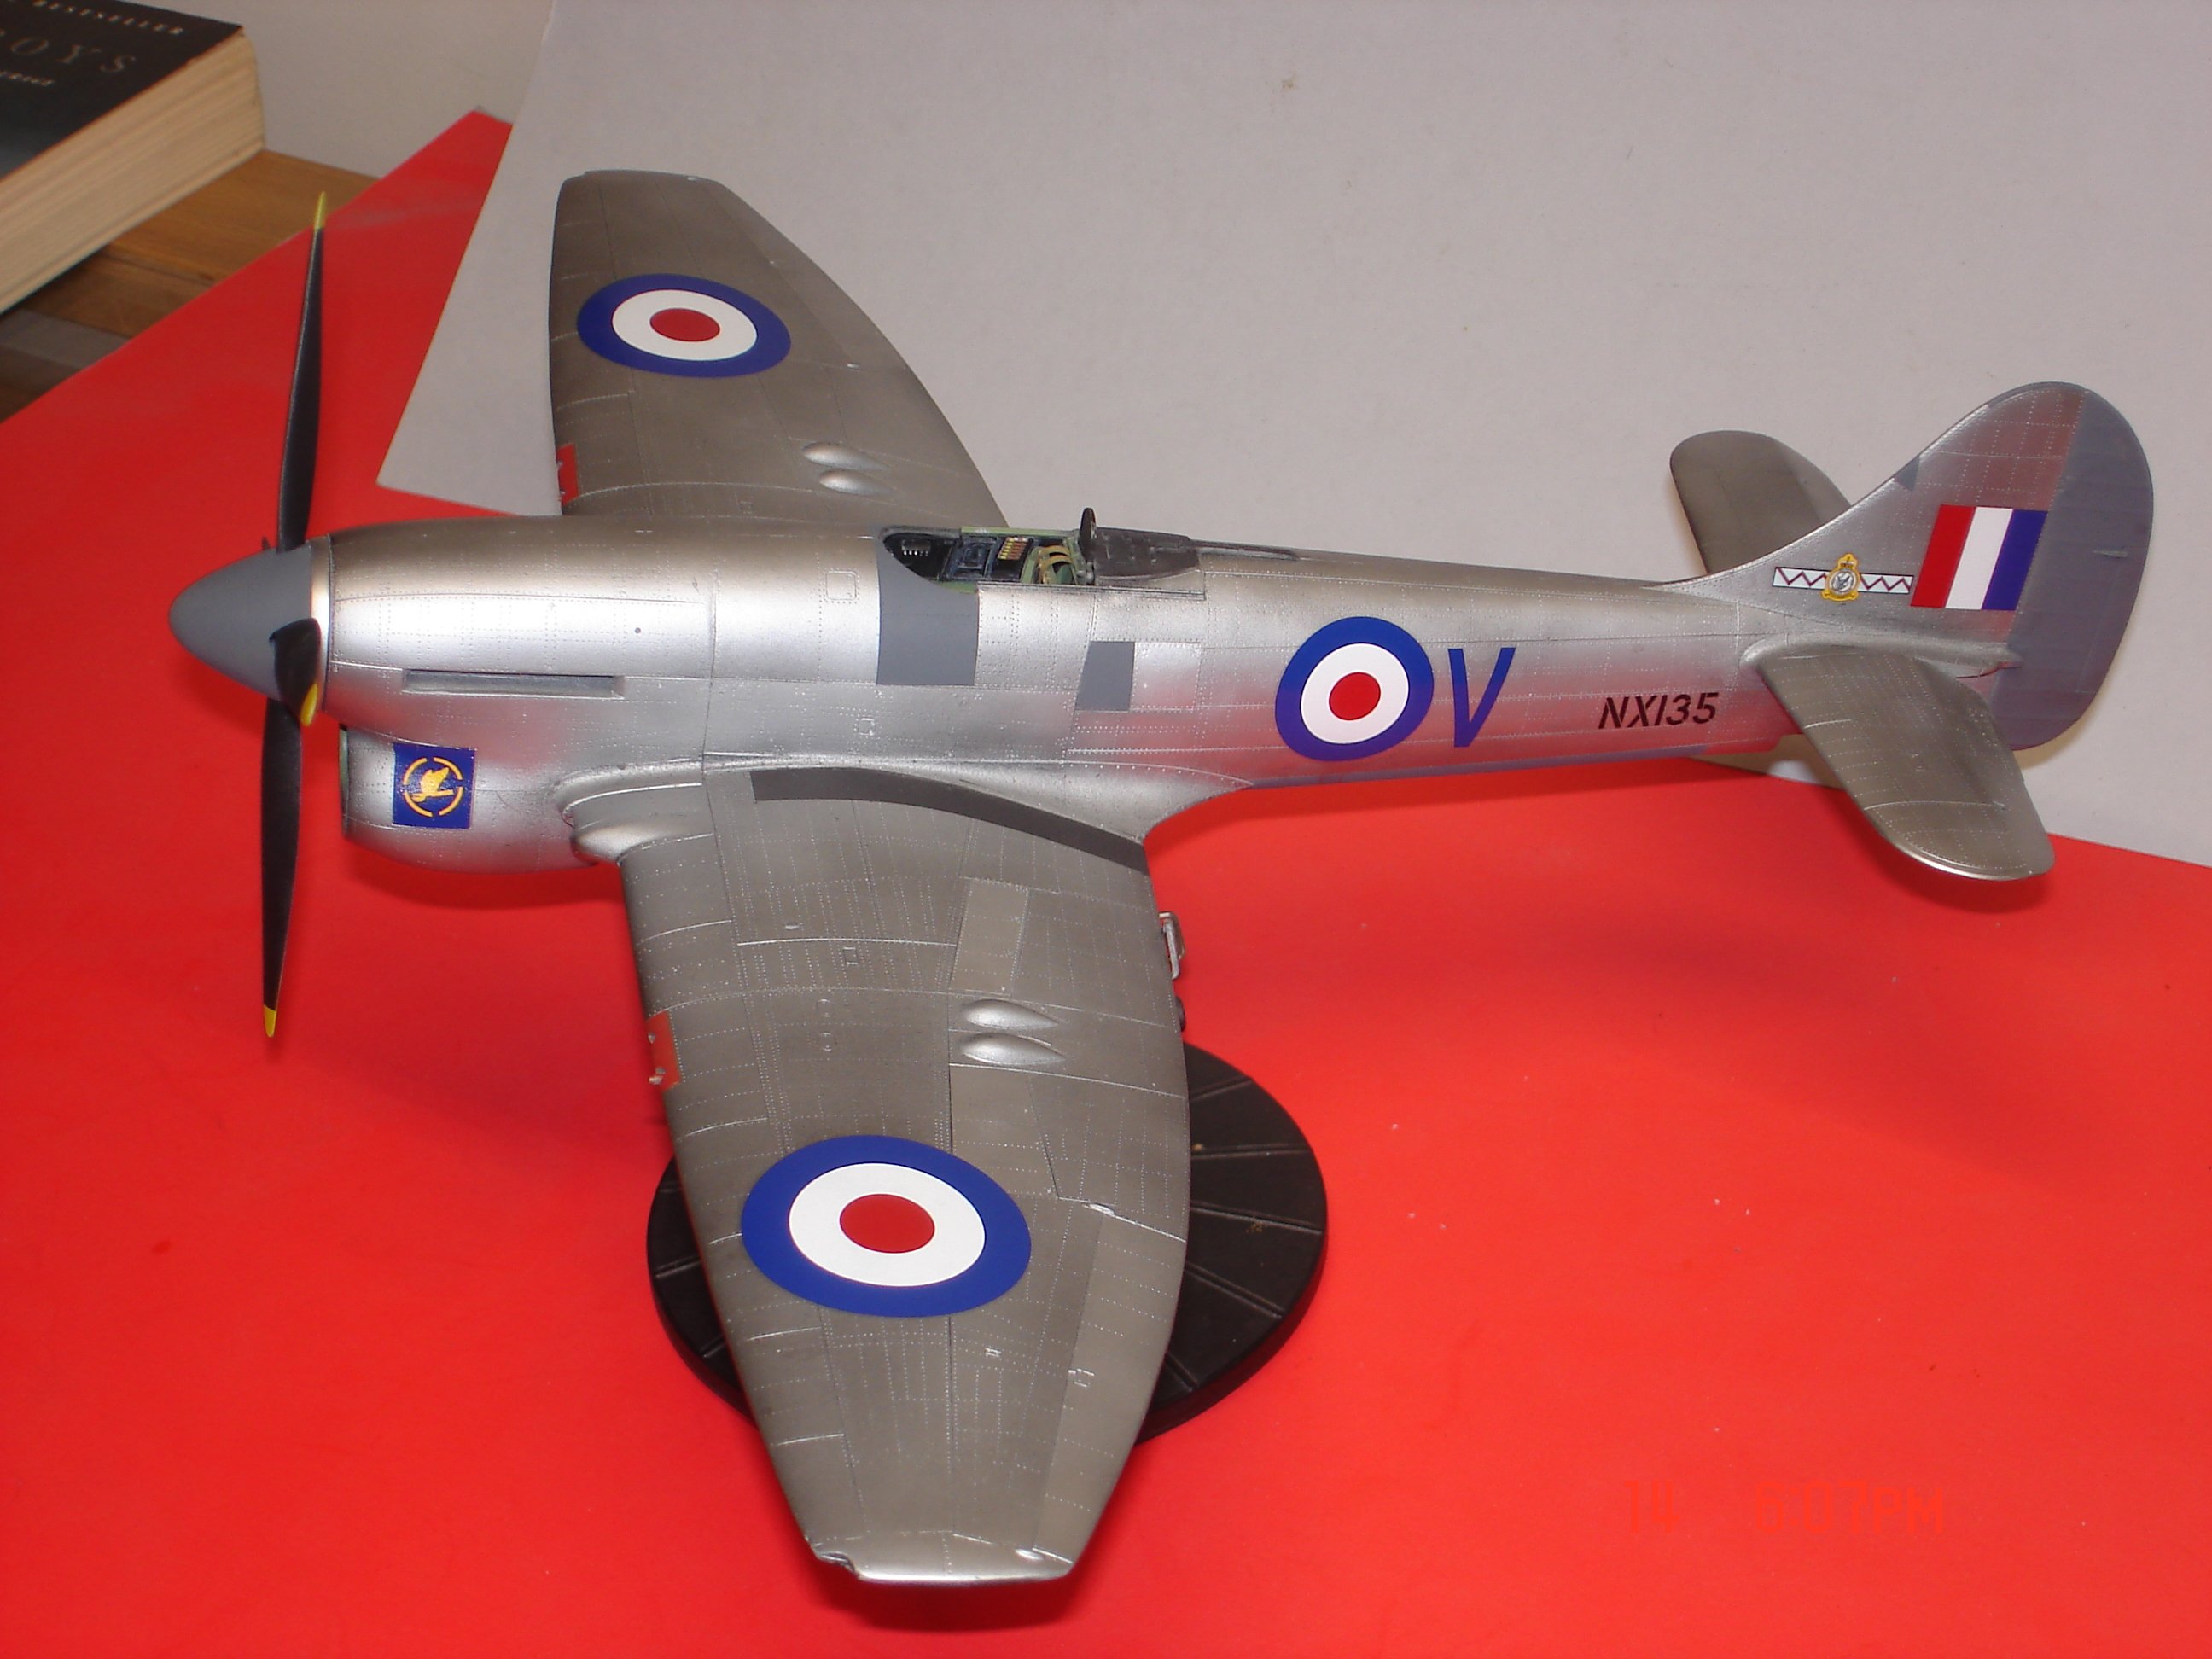
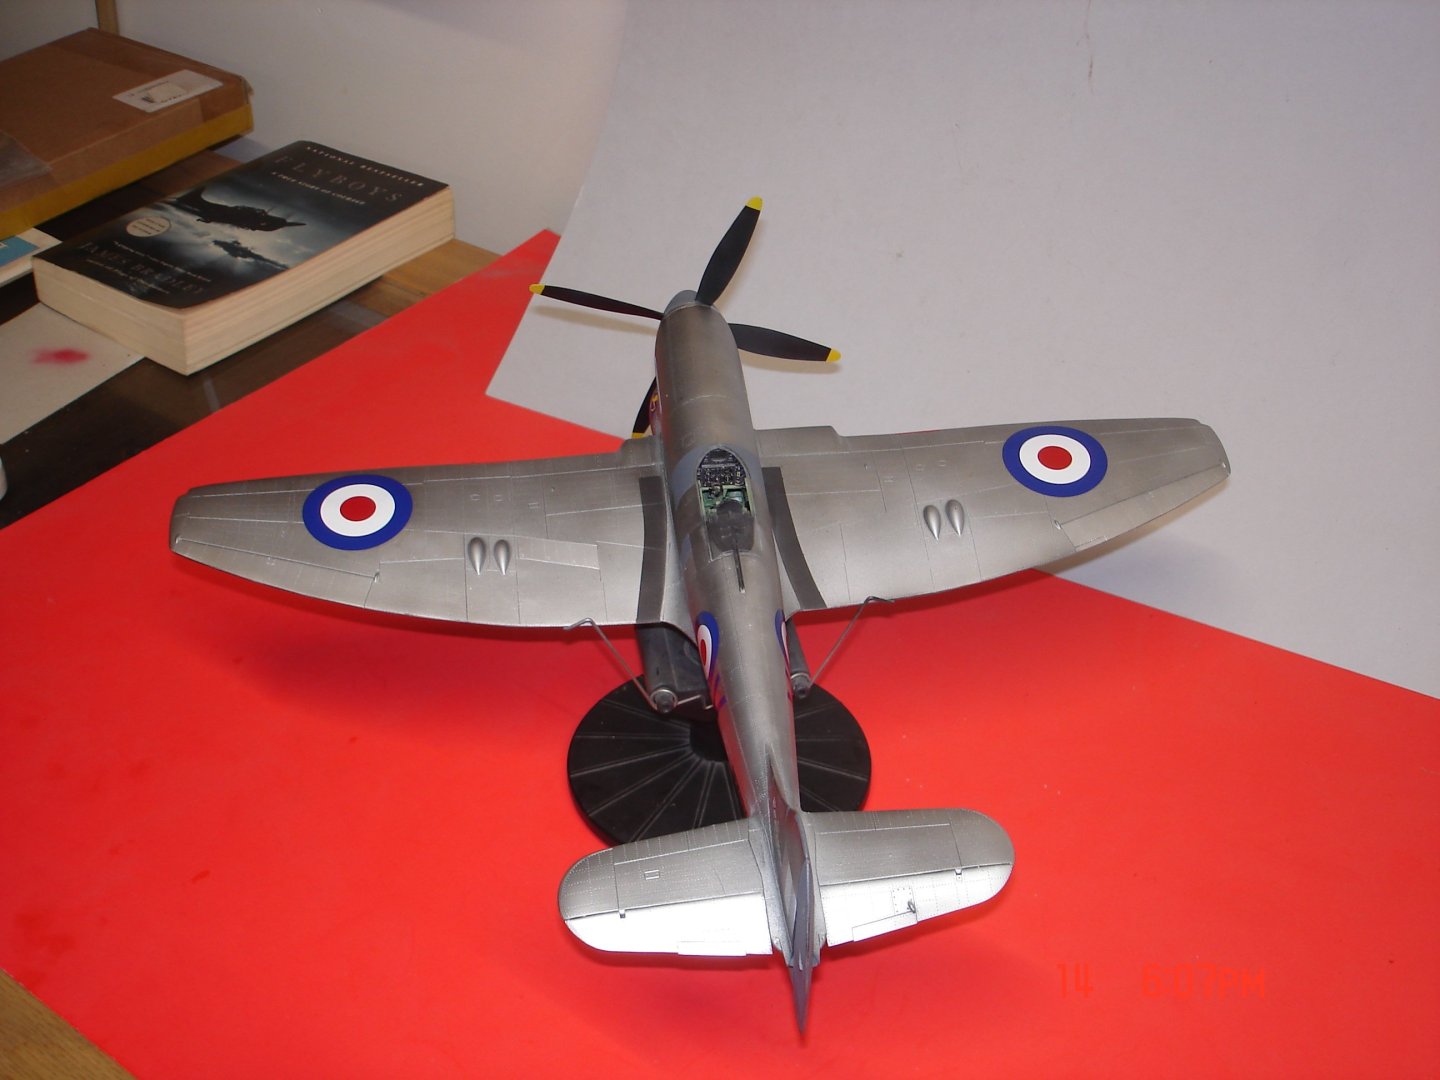
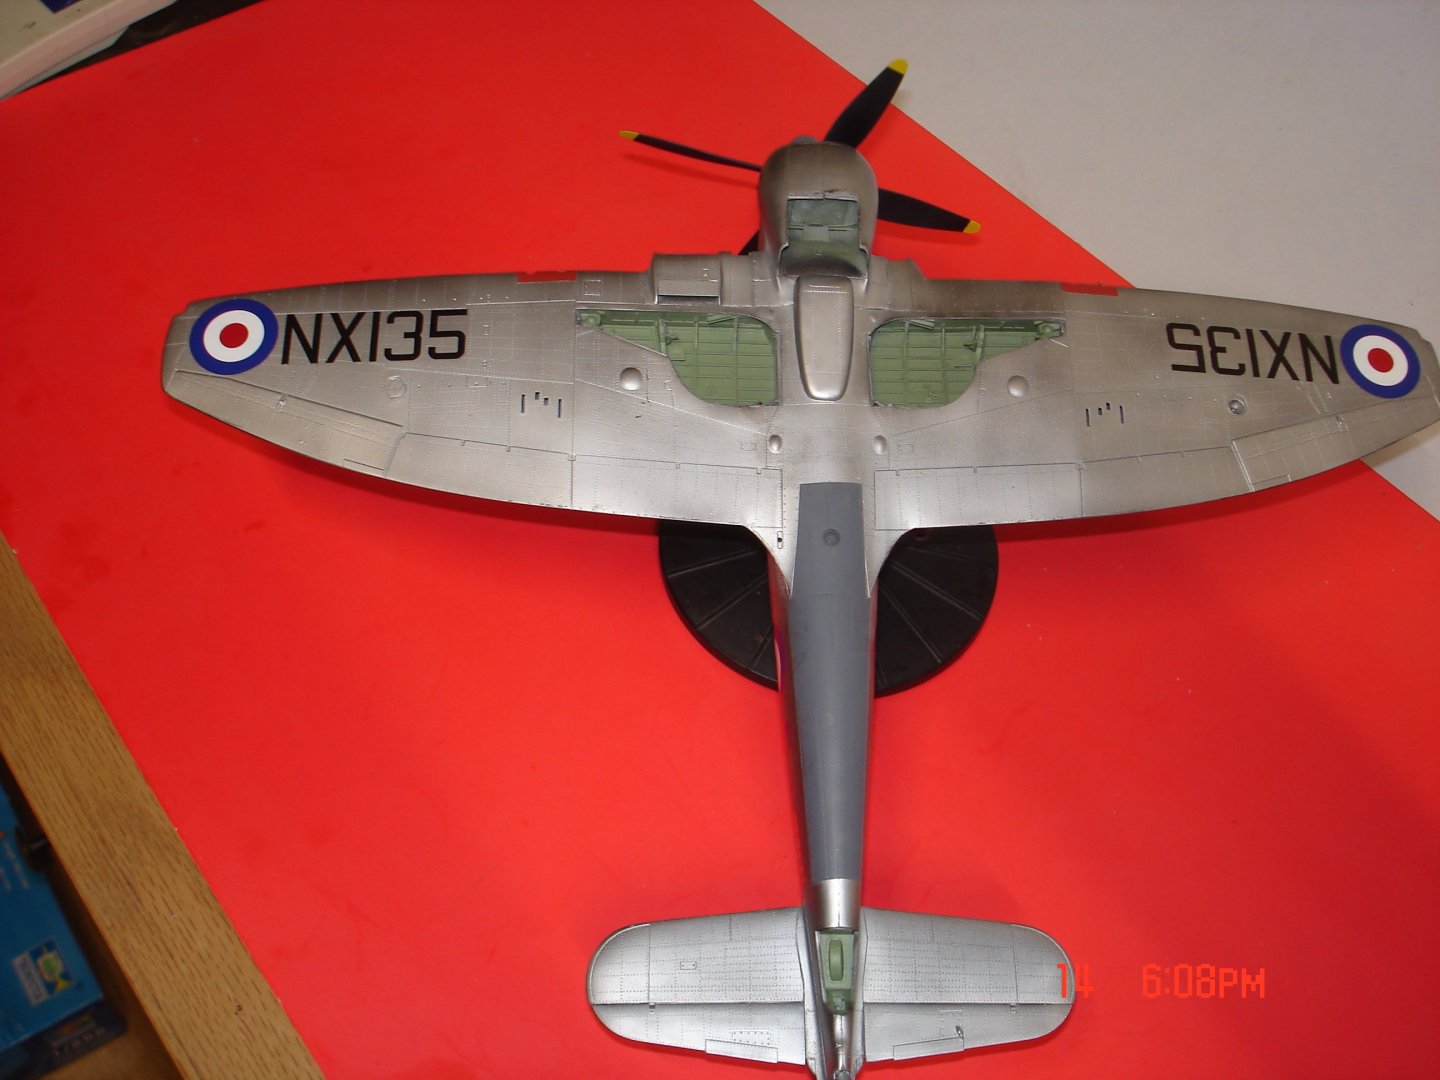
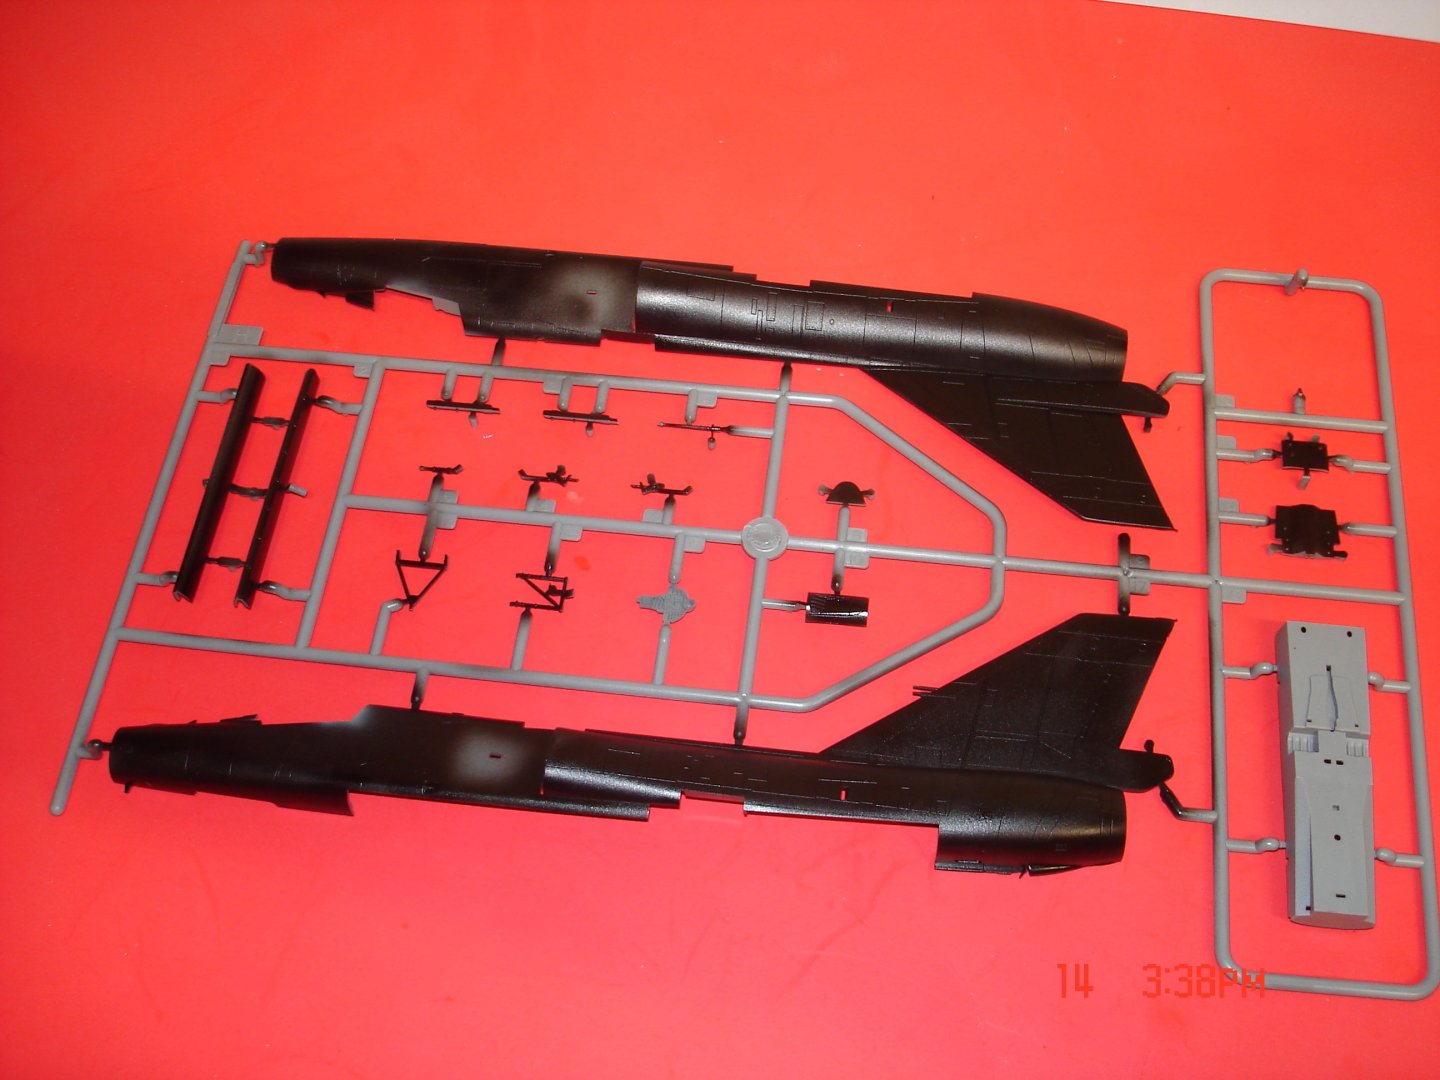
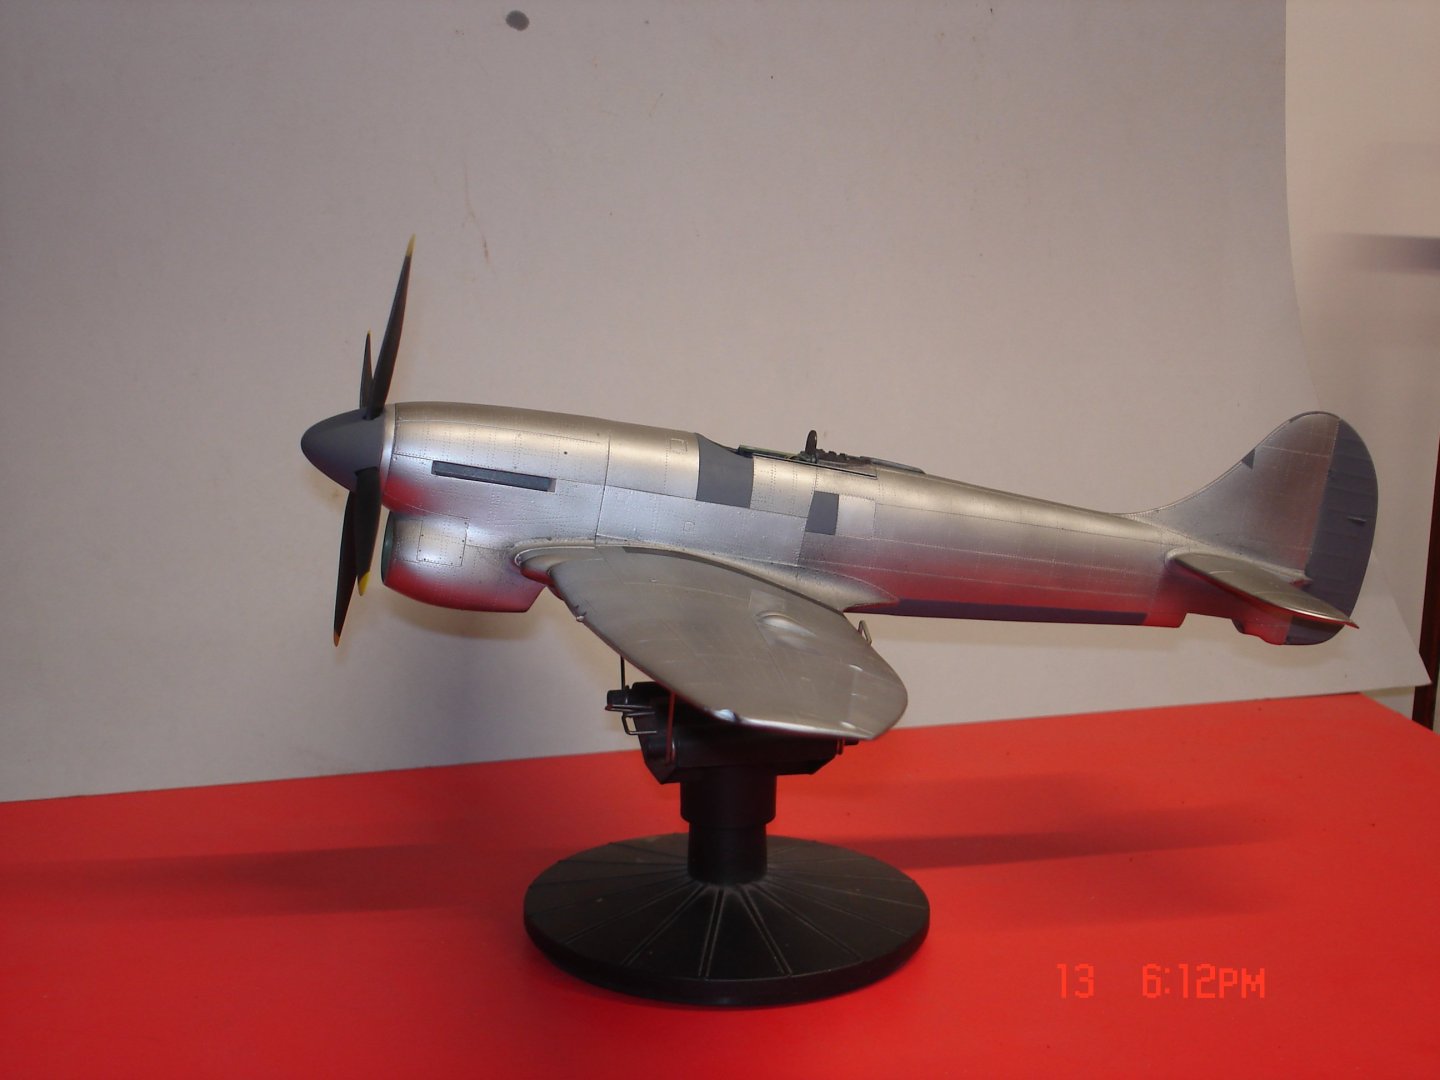
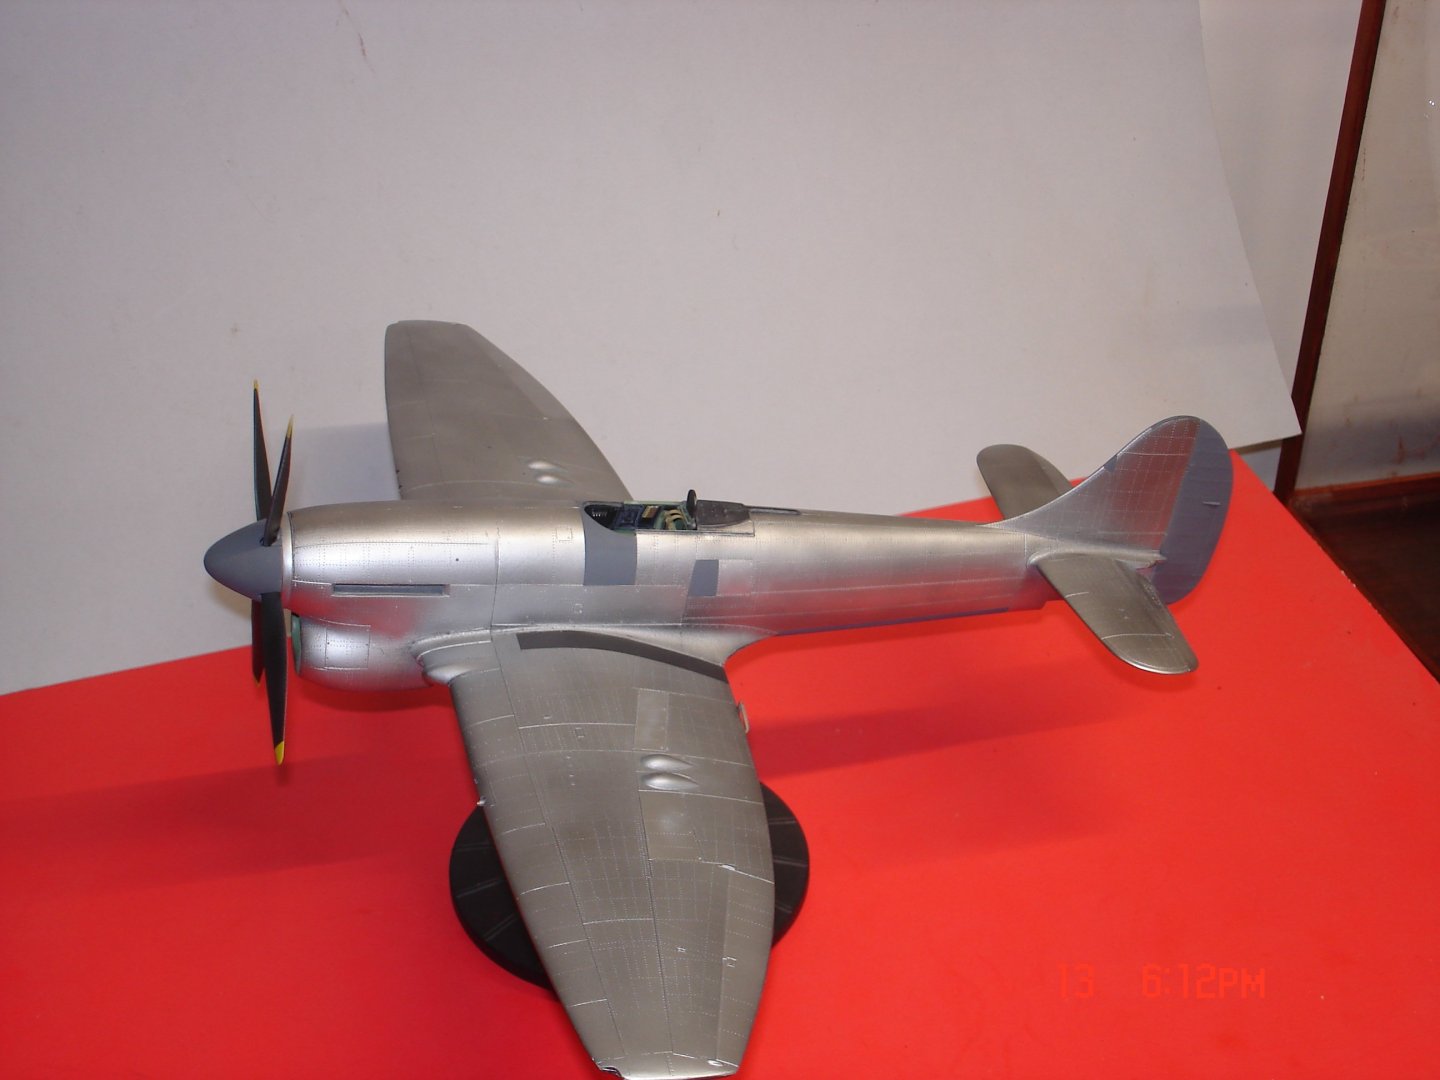
Well Fellas I hope she measures up to standards.I had a few challenges along the way history,paint and loosing LG parts!I think the Florrys Sand blended everything together quite well kinda hid some of the paint issues methinks.The last pic is just to show "yes" I almost forgot to add the tube.She is in the cabinet now but it needs it's yearly cleaning/dusting that may happen today getting the table ready for a little 1/72 F-106 Dart this one will be shinier


- 51 replies
-
- 16
-

-

-
Unfortunately for me Graham I have not done any wood work this year
-
I like the looks of the cladding glad you went in that direction over my thought of sheet rock.I did a lot of outlet(s) like you have just a little higher but I have tall standing equipment and sometimes you just do not want to bend over.
-
Like the toned down version mucha better!
-
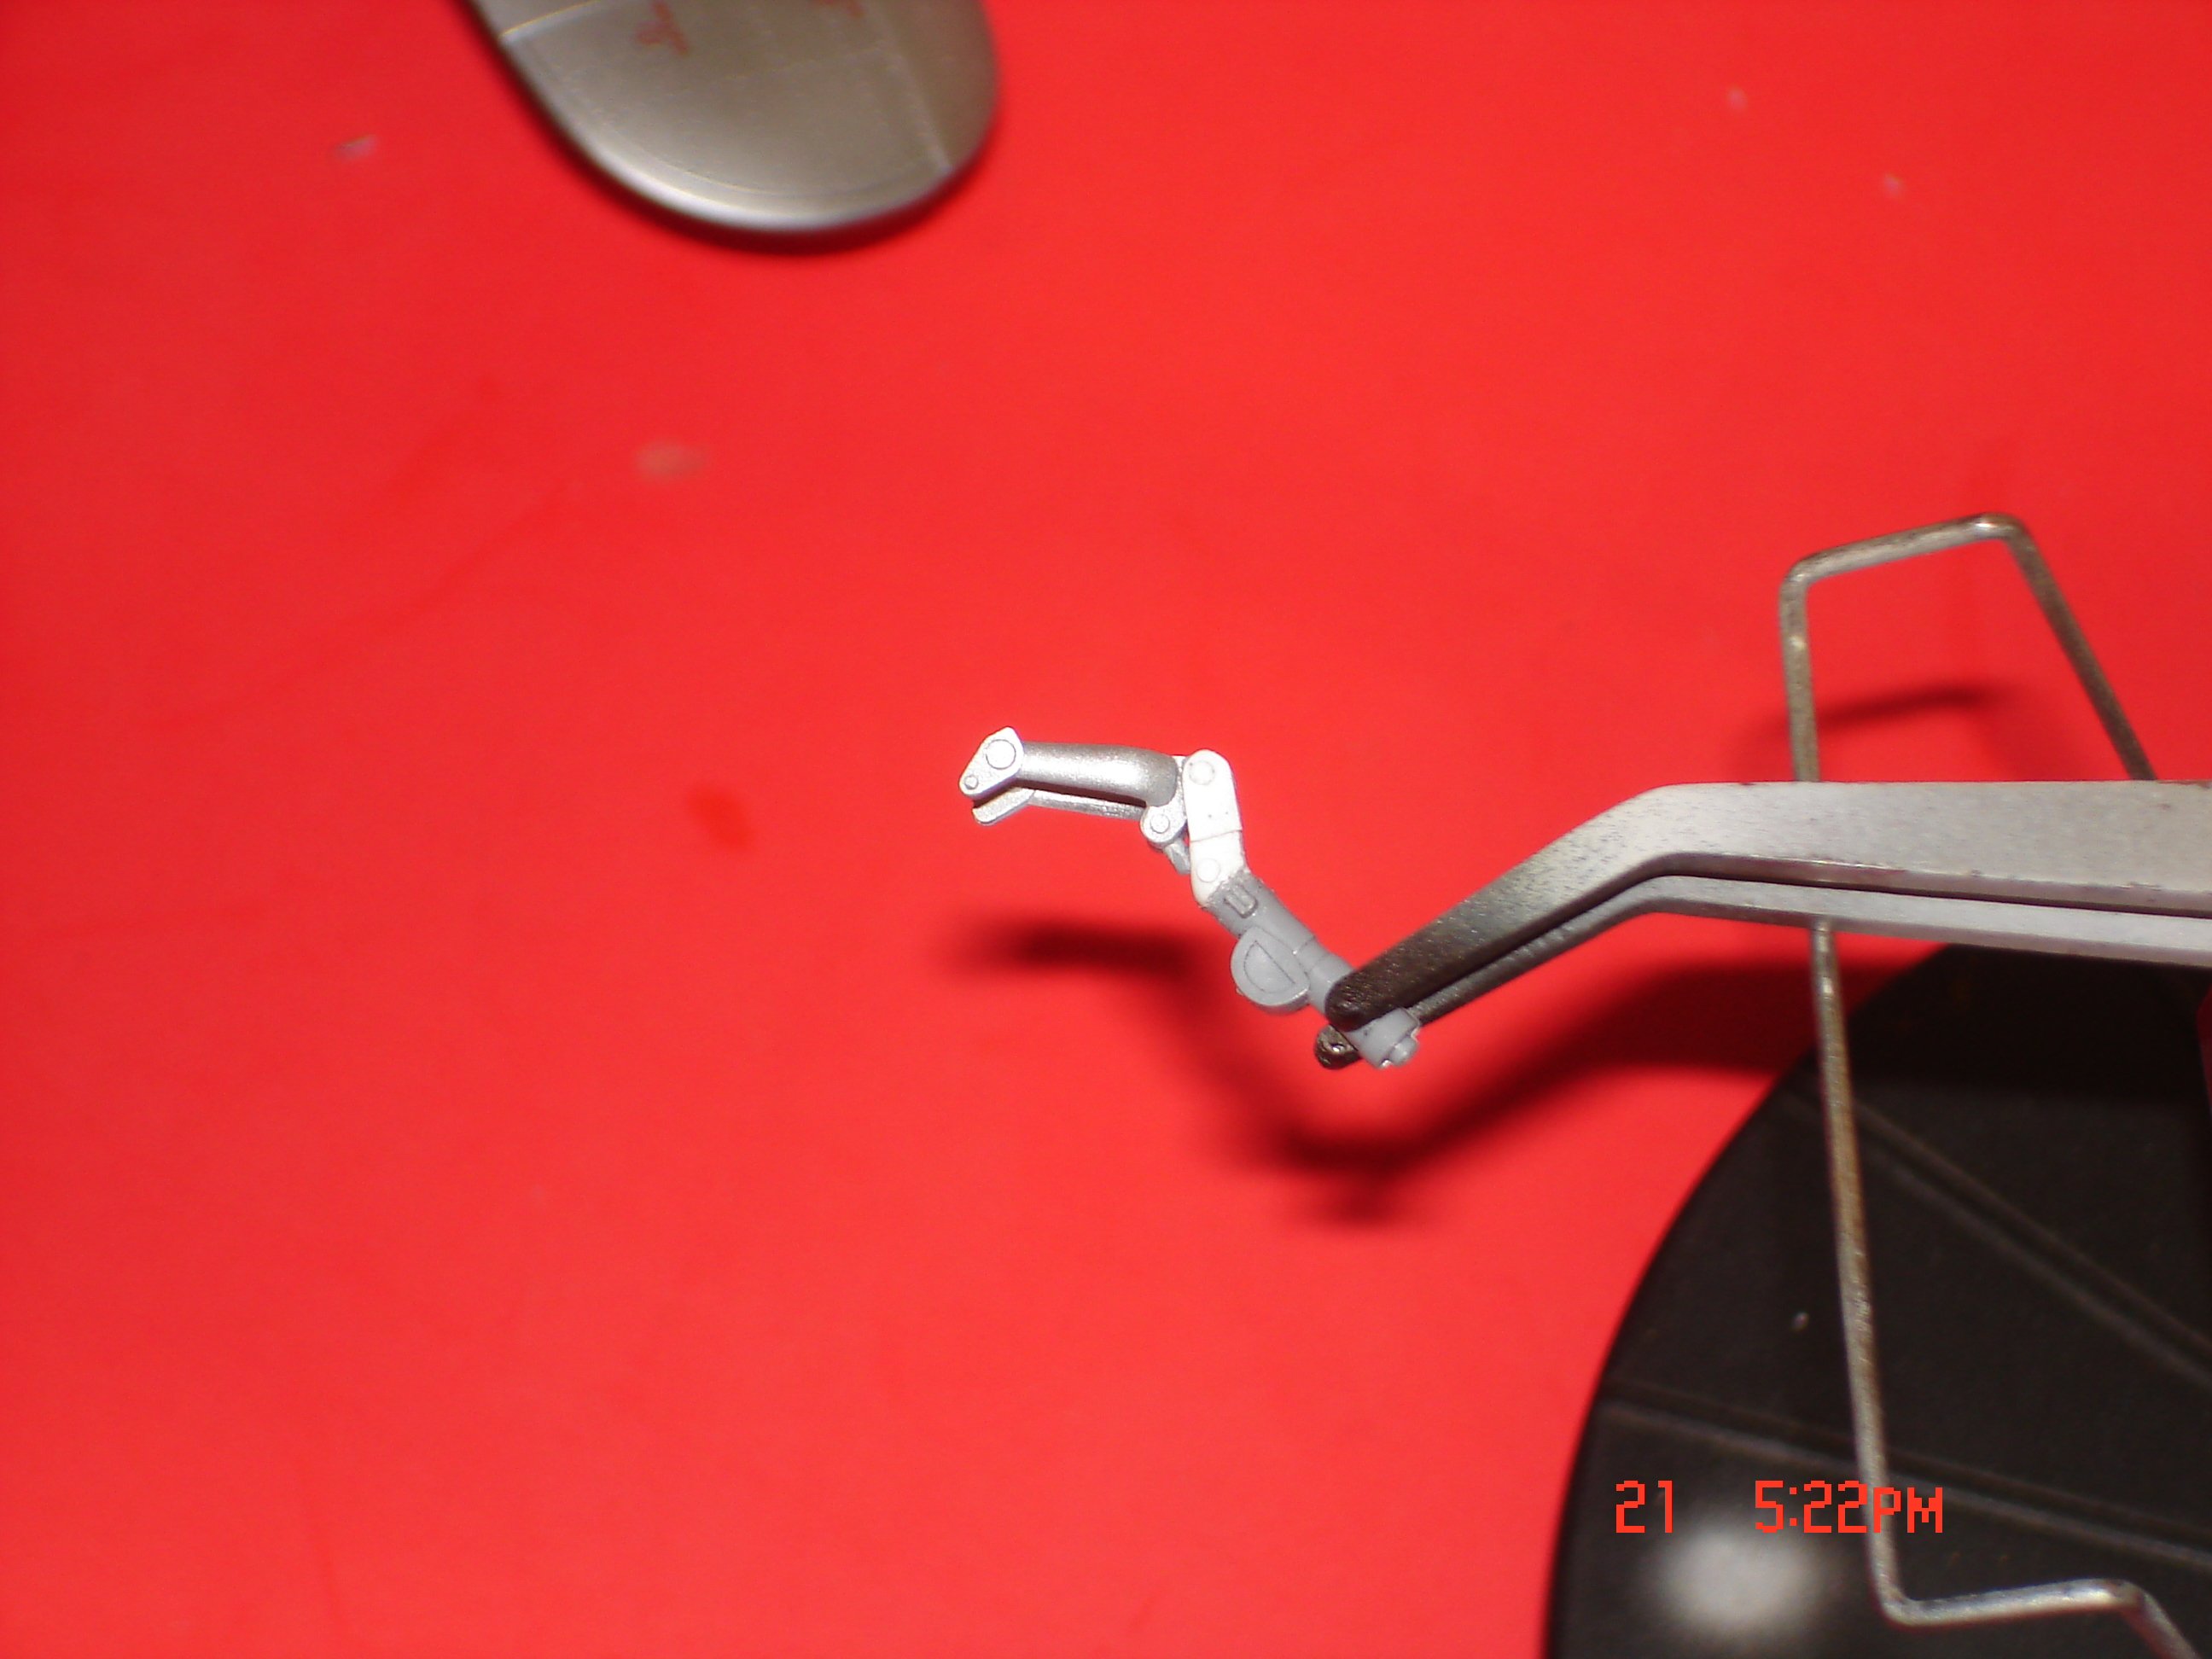
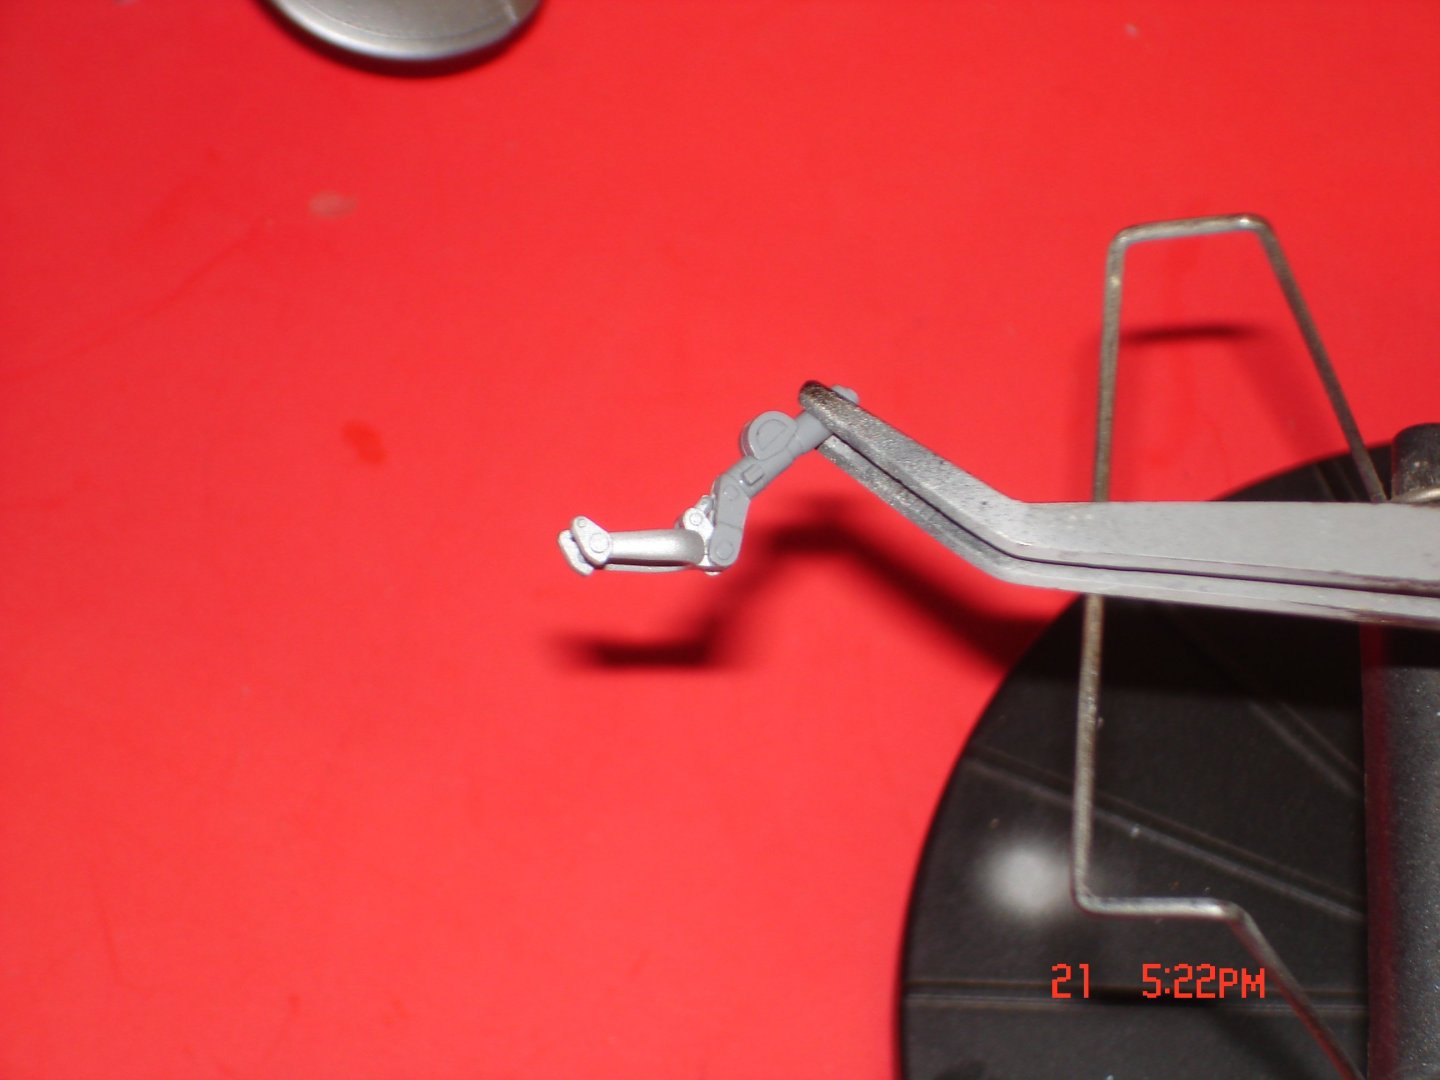
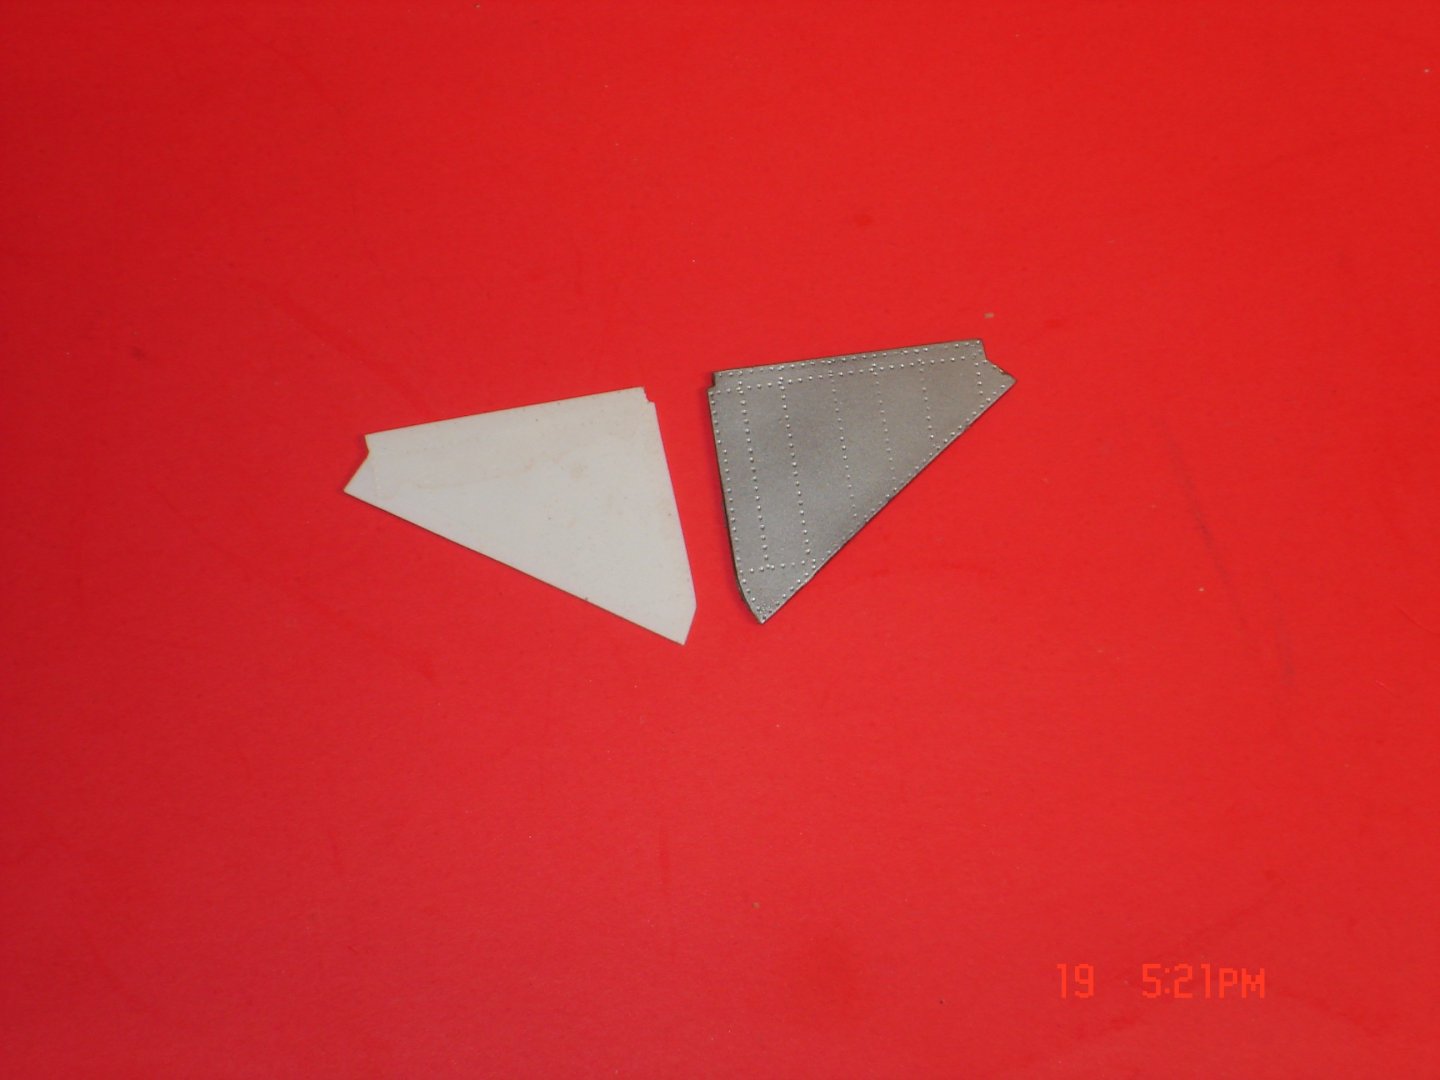
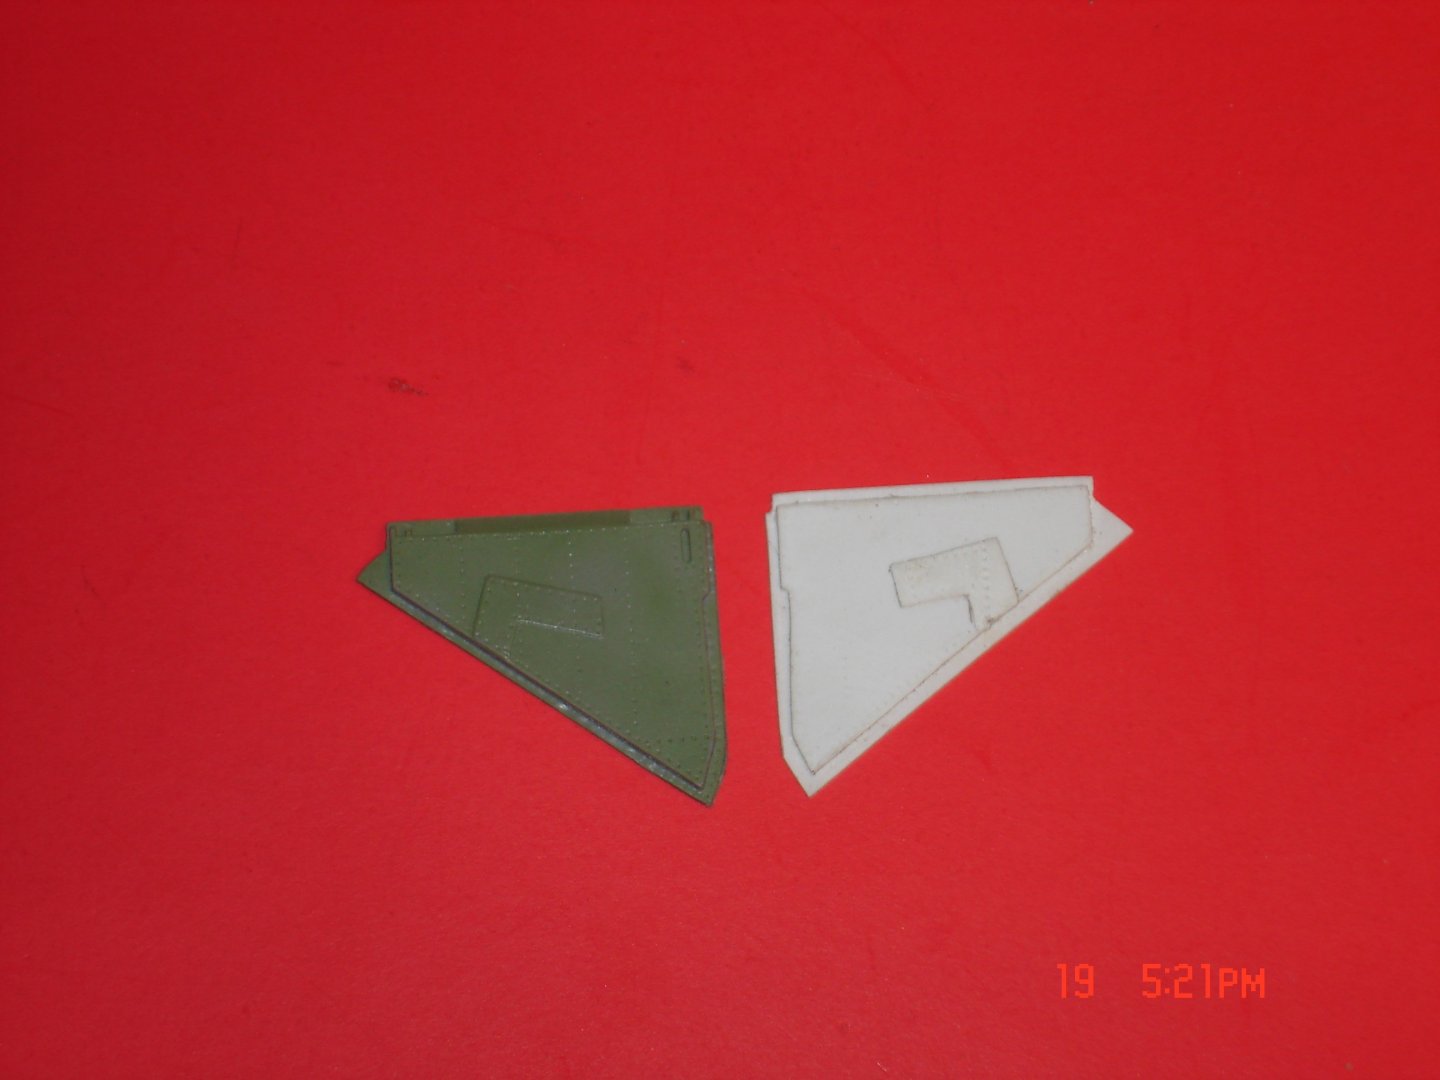
Well if that little gremlin struck again she's not going to be ready for the show this W/E.I was building the tailwheel assembly a piece flipped out the fingers hit the chest and went under the desk on a hardwood floor and that's all it wrote.That little POS grabbed it up and off to his hole it went.The first pick is the factory the white part is what I had to make nothing hard just 30/45 more minutes even got the bolt heads with the punch.The next pic is the rockets and to get a decent crisp lines.I first glued a bigger diameter to my plate and beveled the inside of the tube to cover the light grey all the rockets had been painted in and then painted the green.The next step was to tape off the area below the white/grey for the bottom of the red stripe and got a smaller diameter tube beveled and glued it to the platform and sprayed the red.I think if will work still got some more brush painting but the jig worked.


-
High piece count there Chris.
-
We need a positive ID on these little gremlins ...little rascals
-
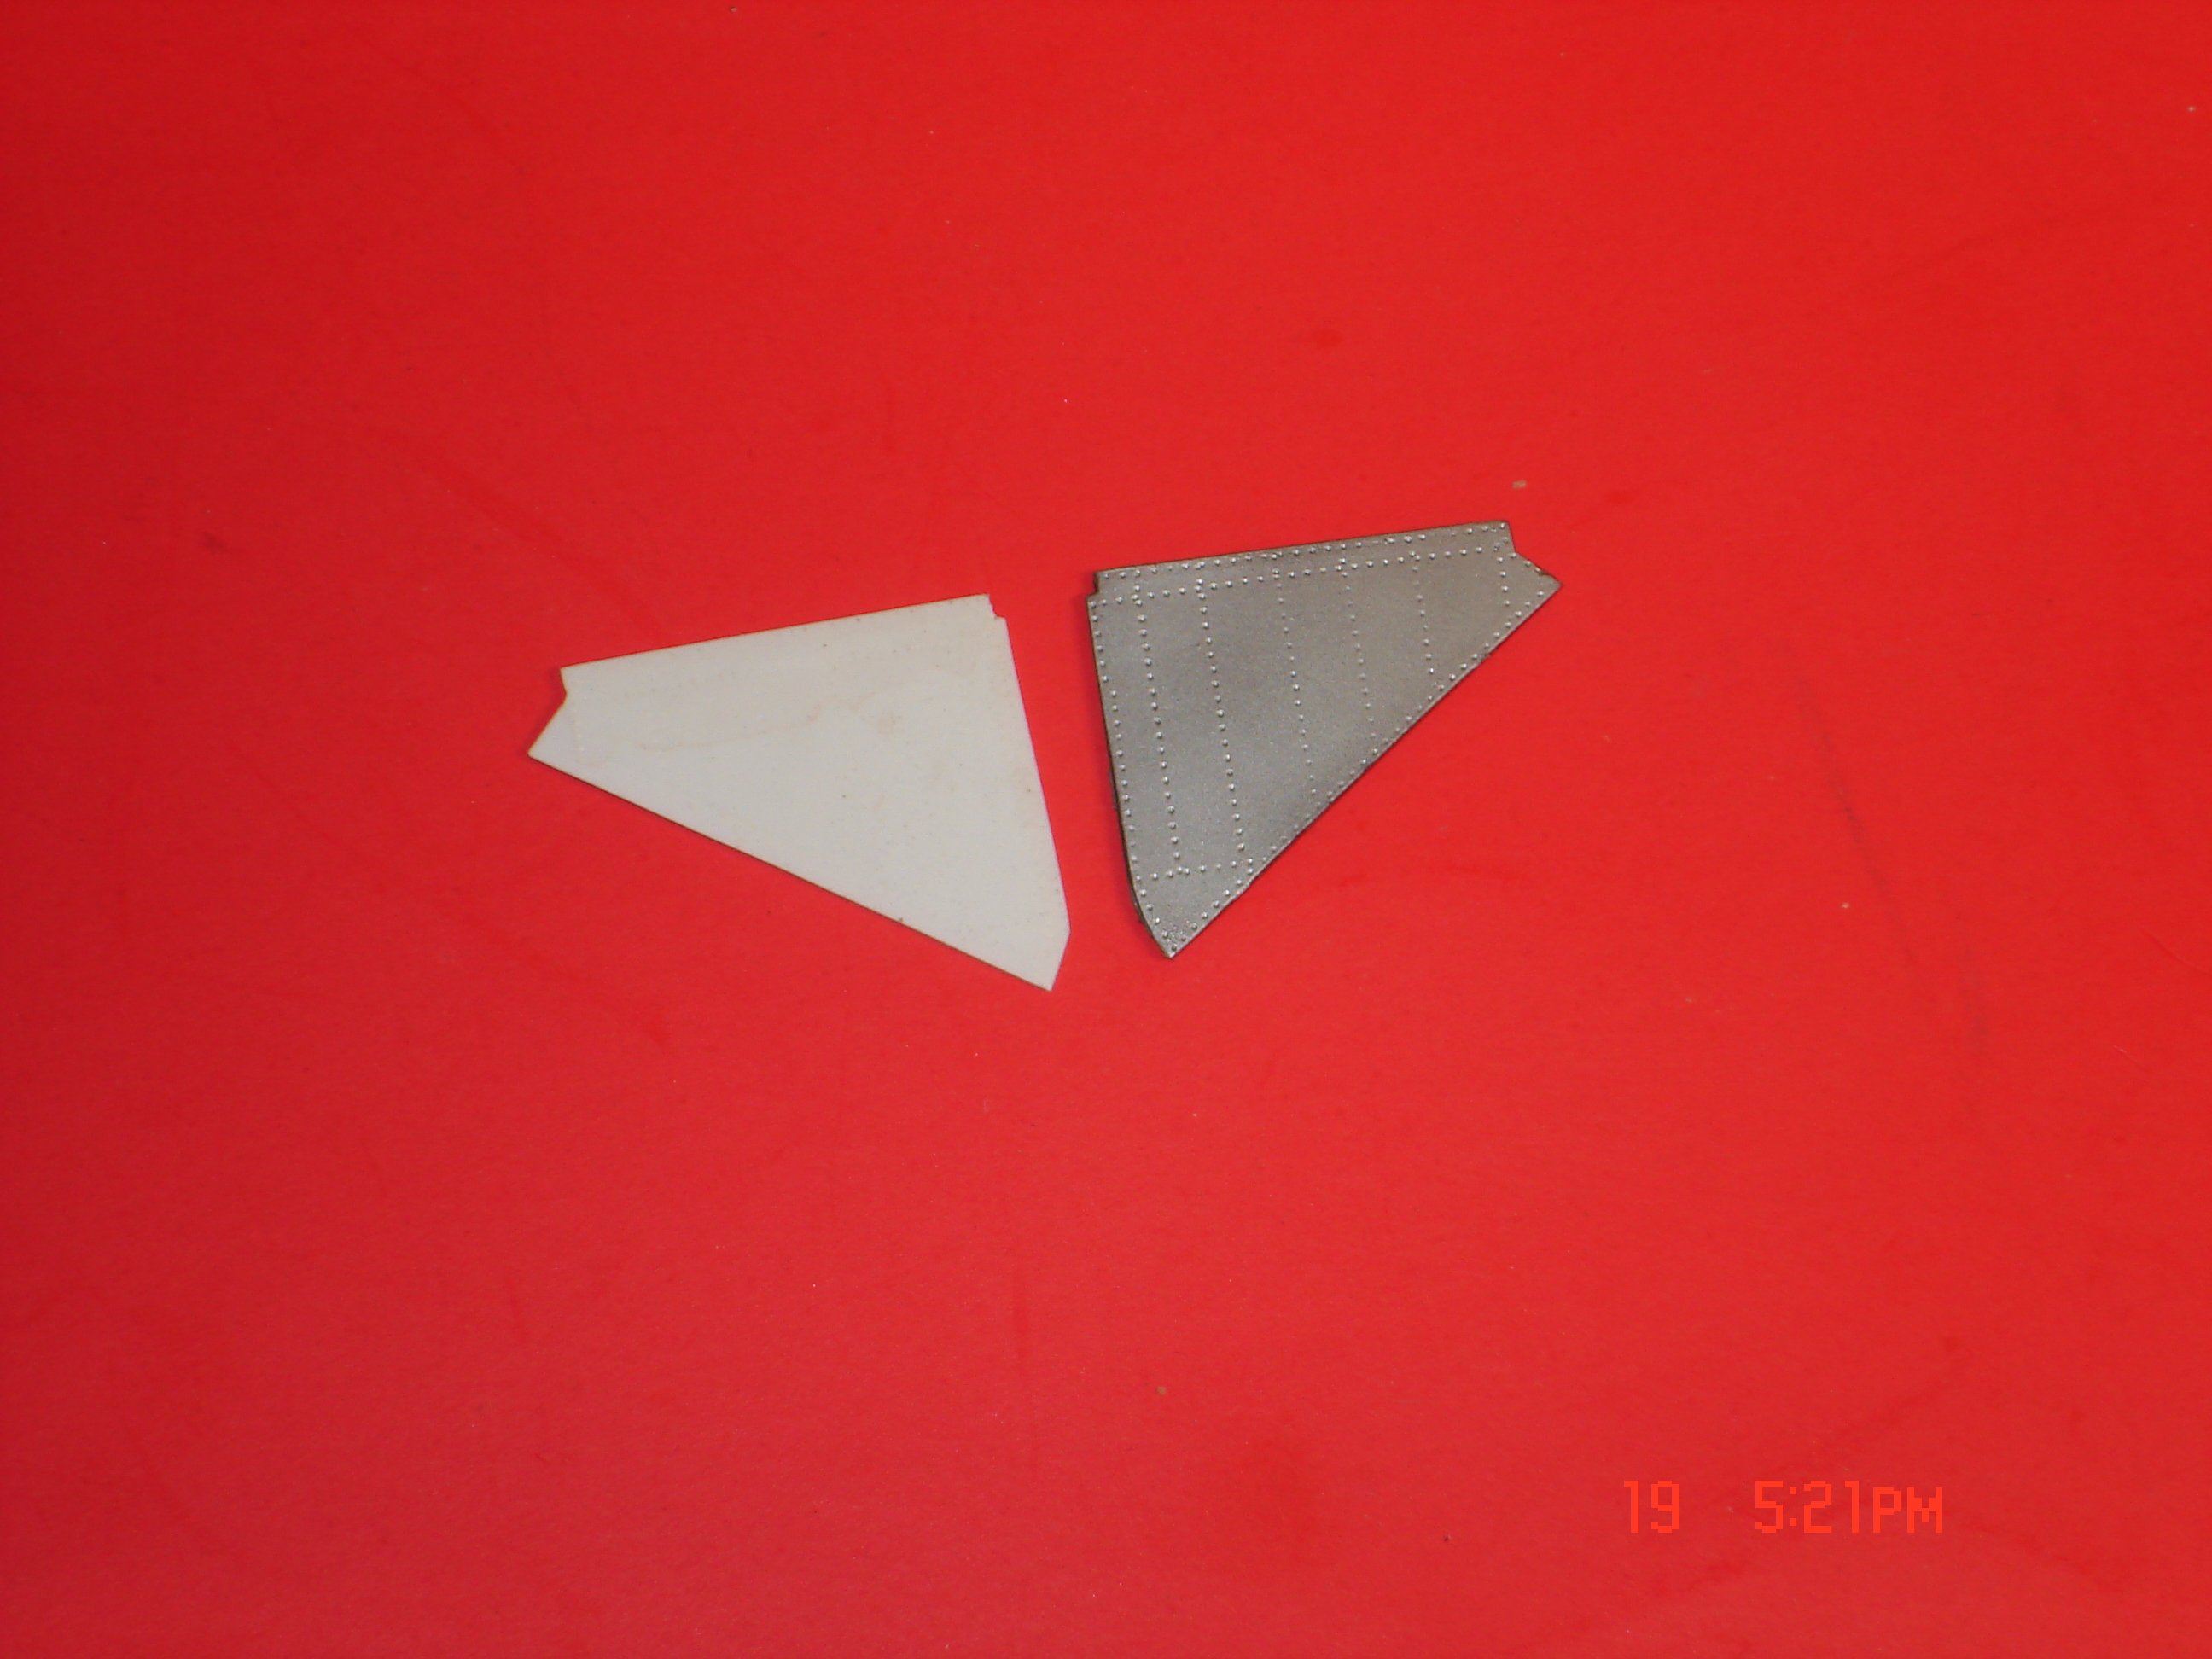
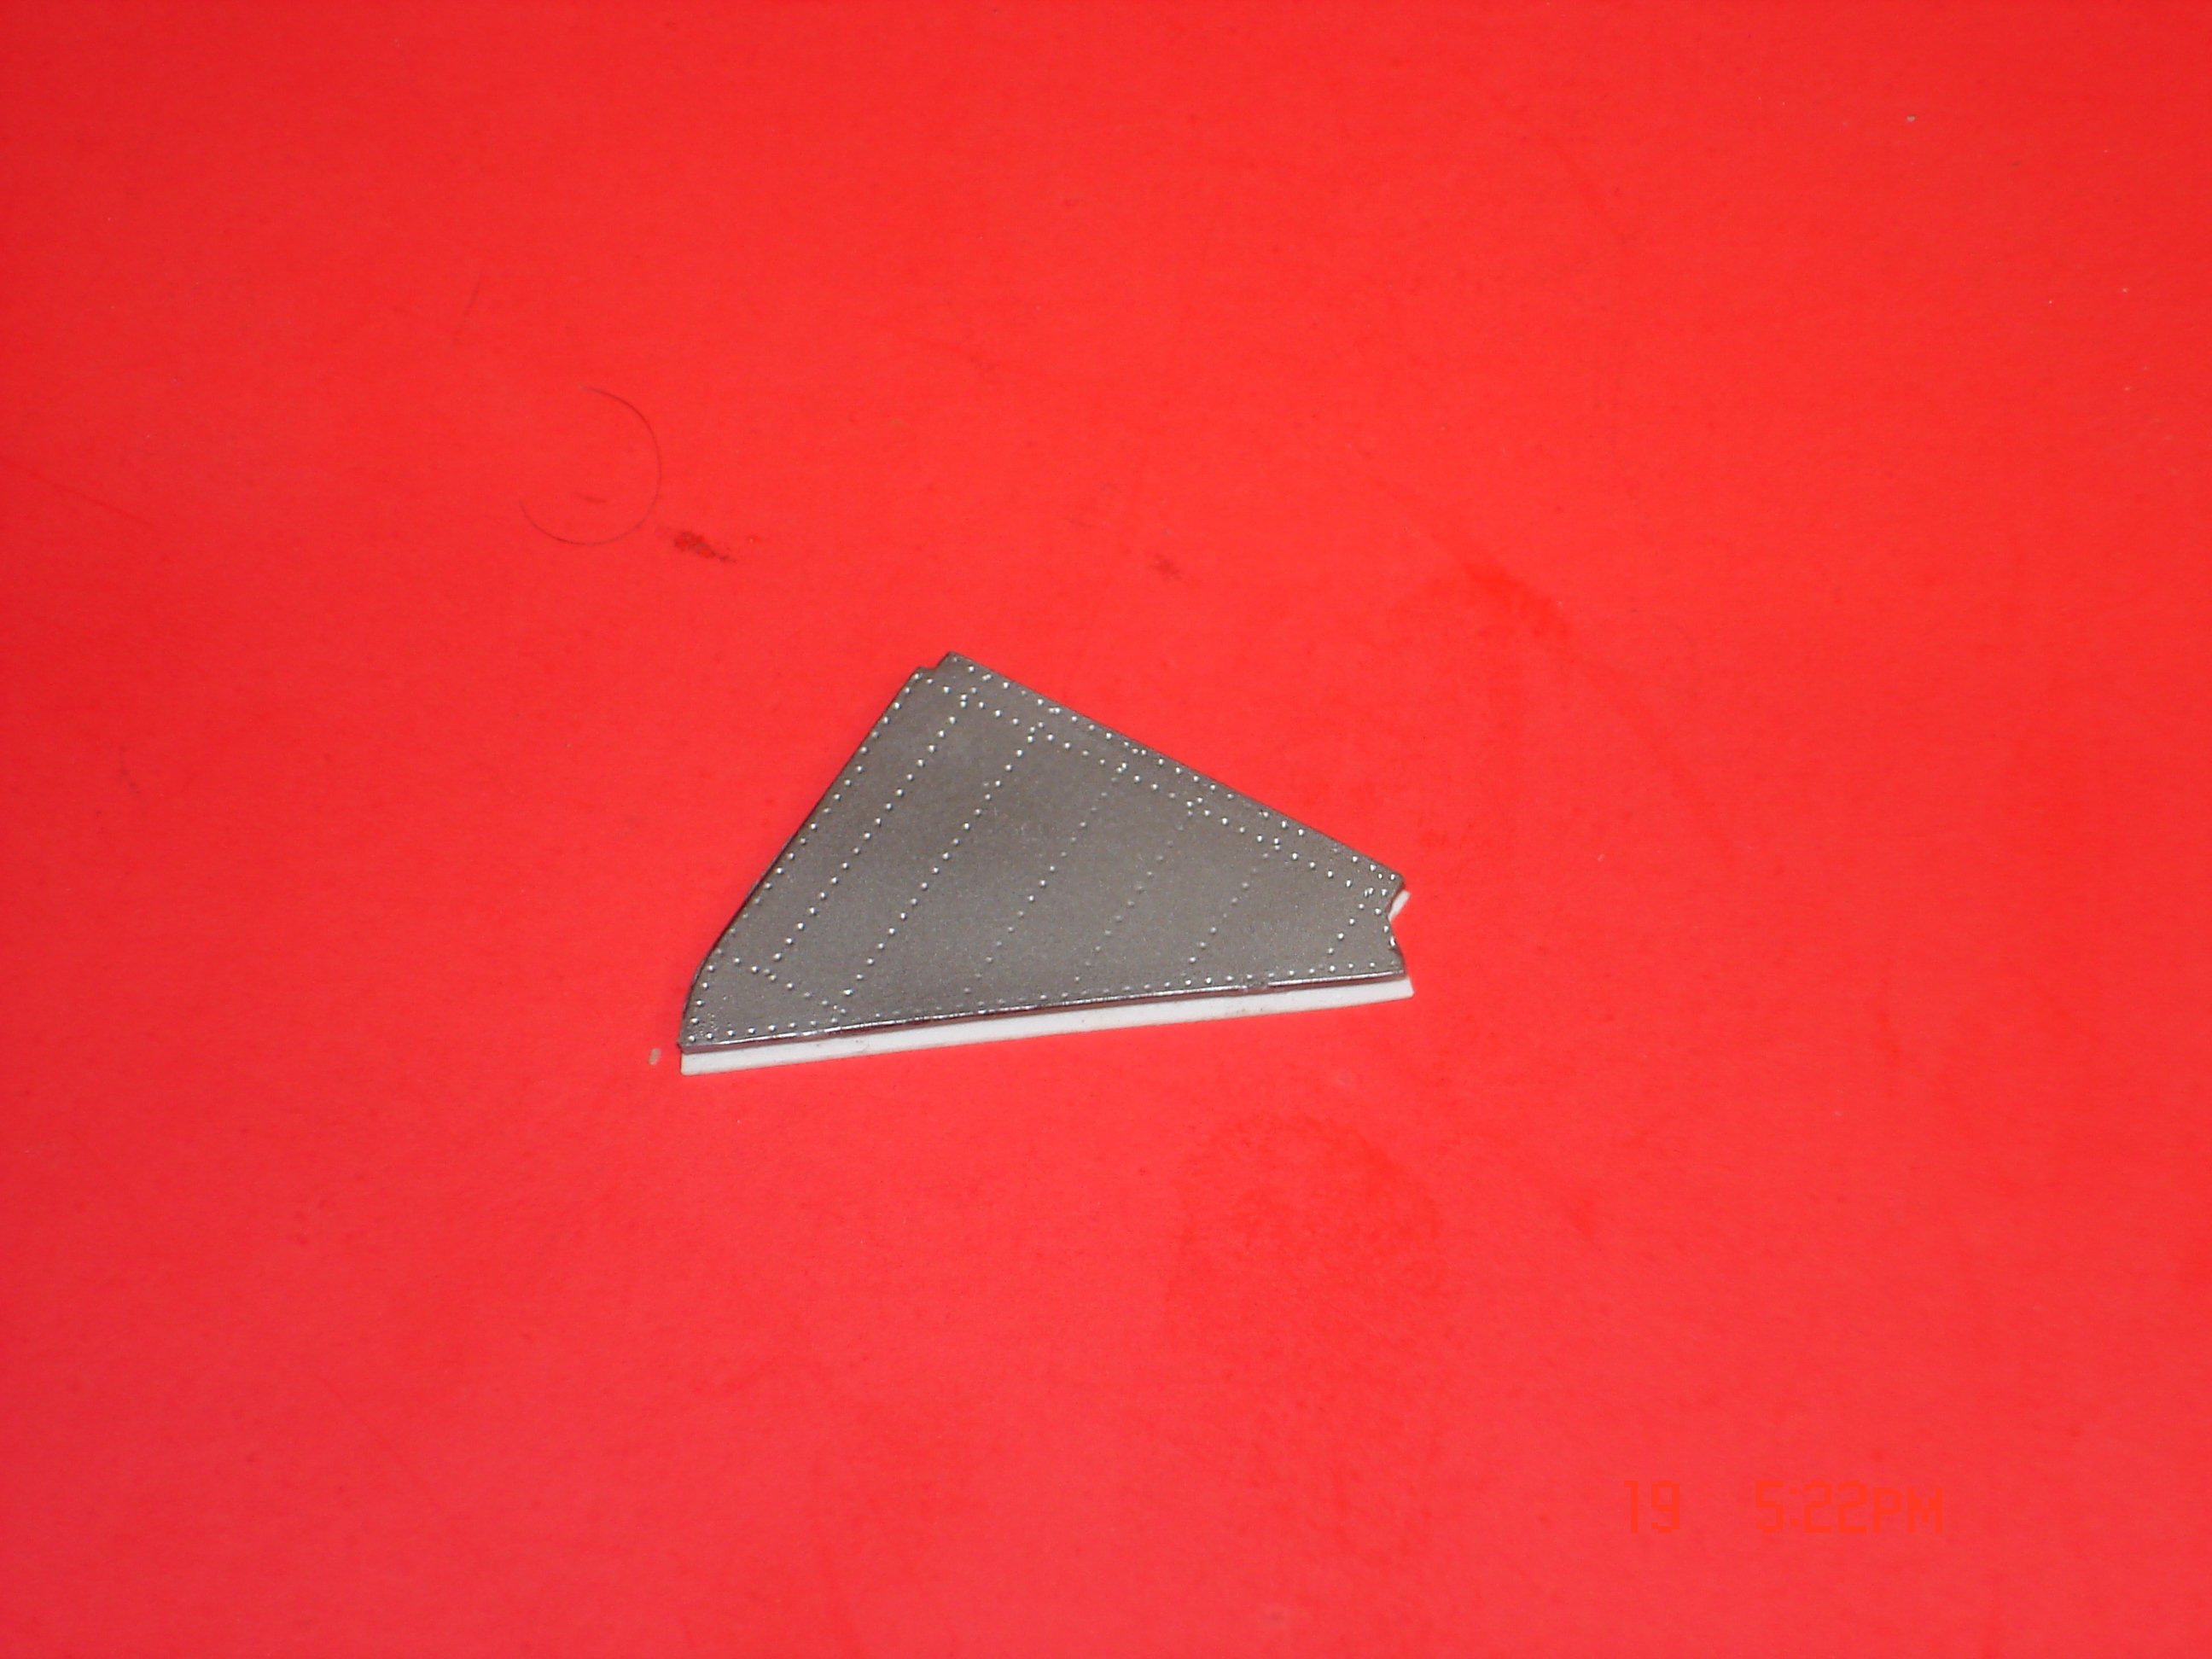
I am beginning to think I have some gremlins in the shop that likes gear bay doors this is the second one in about 4/5 months now and I have hardwood floors?Just a couple more effects and she's ready for paint by the way it is riveted .The inside of the door the riveting sucks outside looks pretty good. The last pic just shows they area equal stacked on top of each other.

- 51 replies
-
- 10
-
-
Glad to hear OC while my eyesight is pretty good no glasses and I am 64 soon I do use 1.0X at the table now my hearing is another deal.Get back to modeling and de-stress.
-
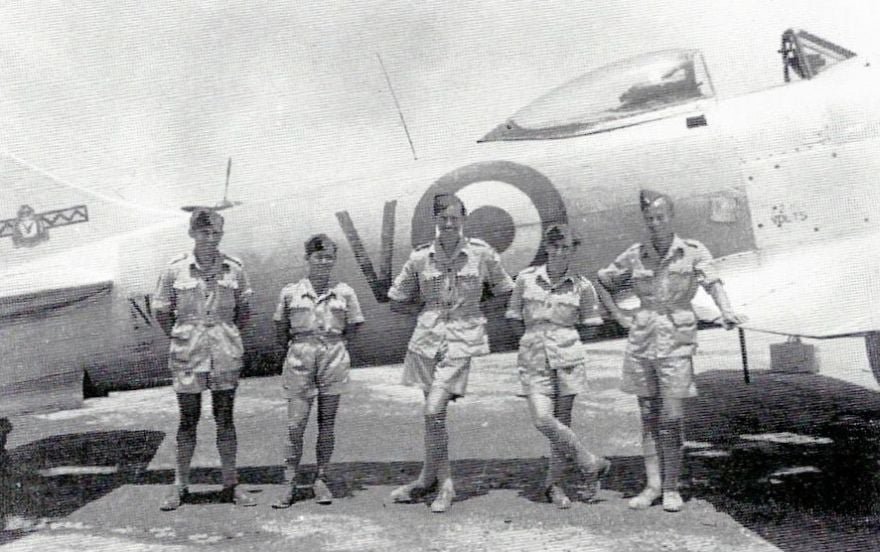
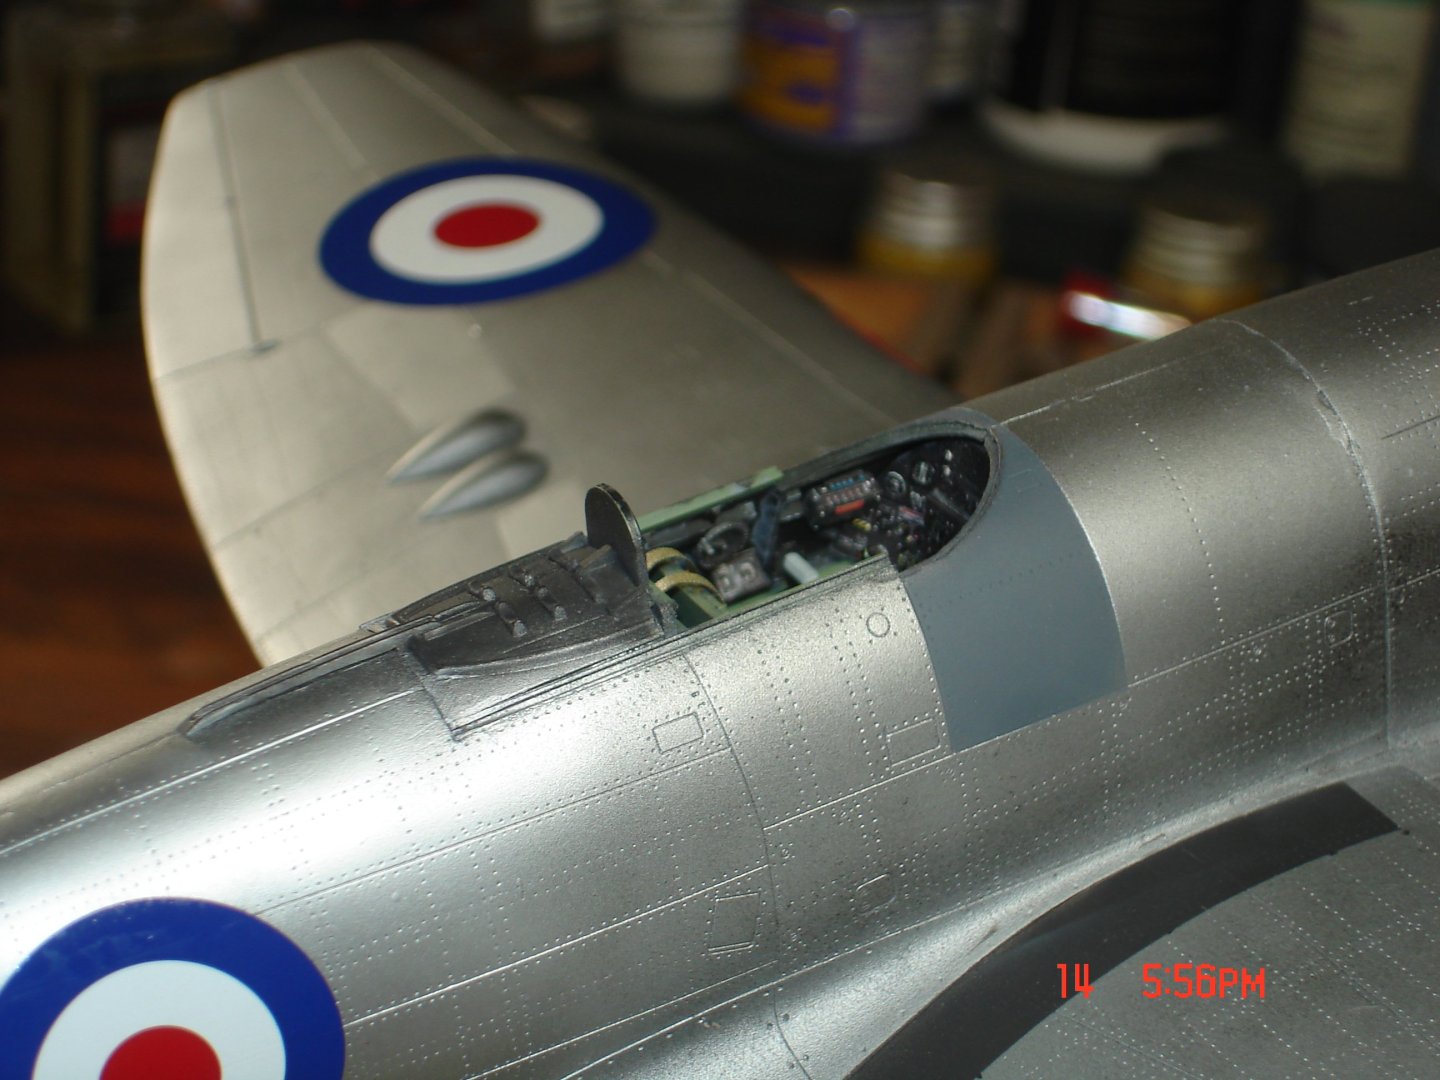
Here's some other pics EG and this fella like you said dope was the order but the pics will...... I am starting to think this plane may of been painted but for reasons had a few replacement panels added even the wing root looks replaced.

-
SPAD XIII c1 by modeller_masa - Roden - 1/32 - PLASTIC
Javlin replied to modeller_masa's topic in Completed non-ship models
For the troubles the build might of caused you cannot tell ...beautiful looking AC. -
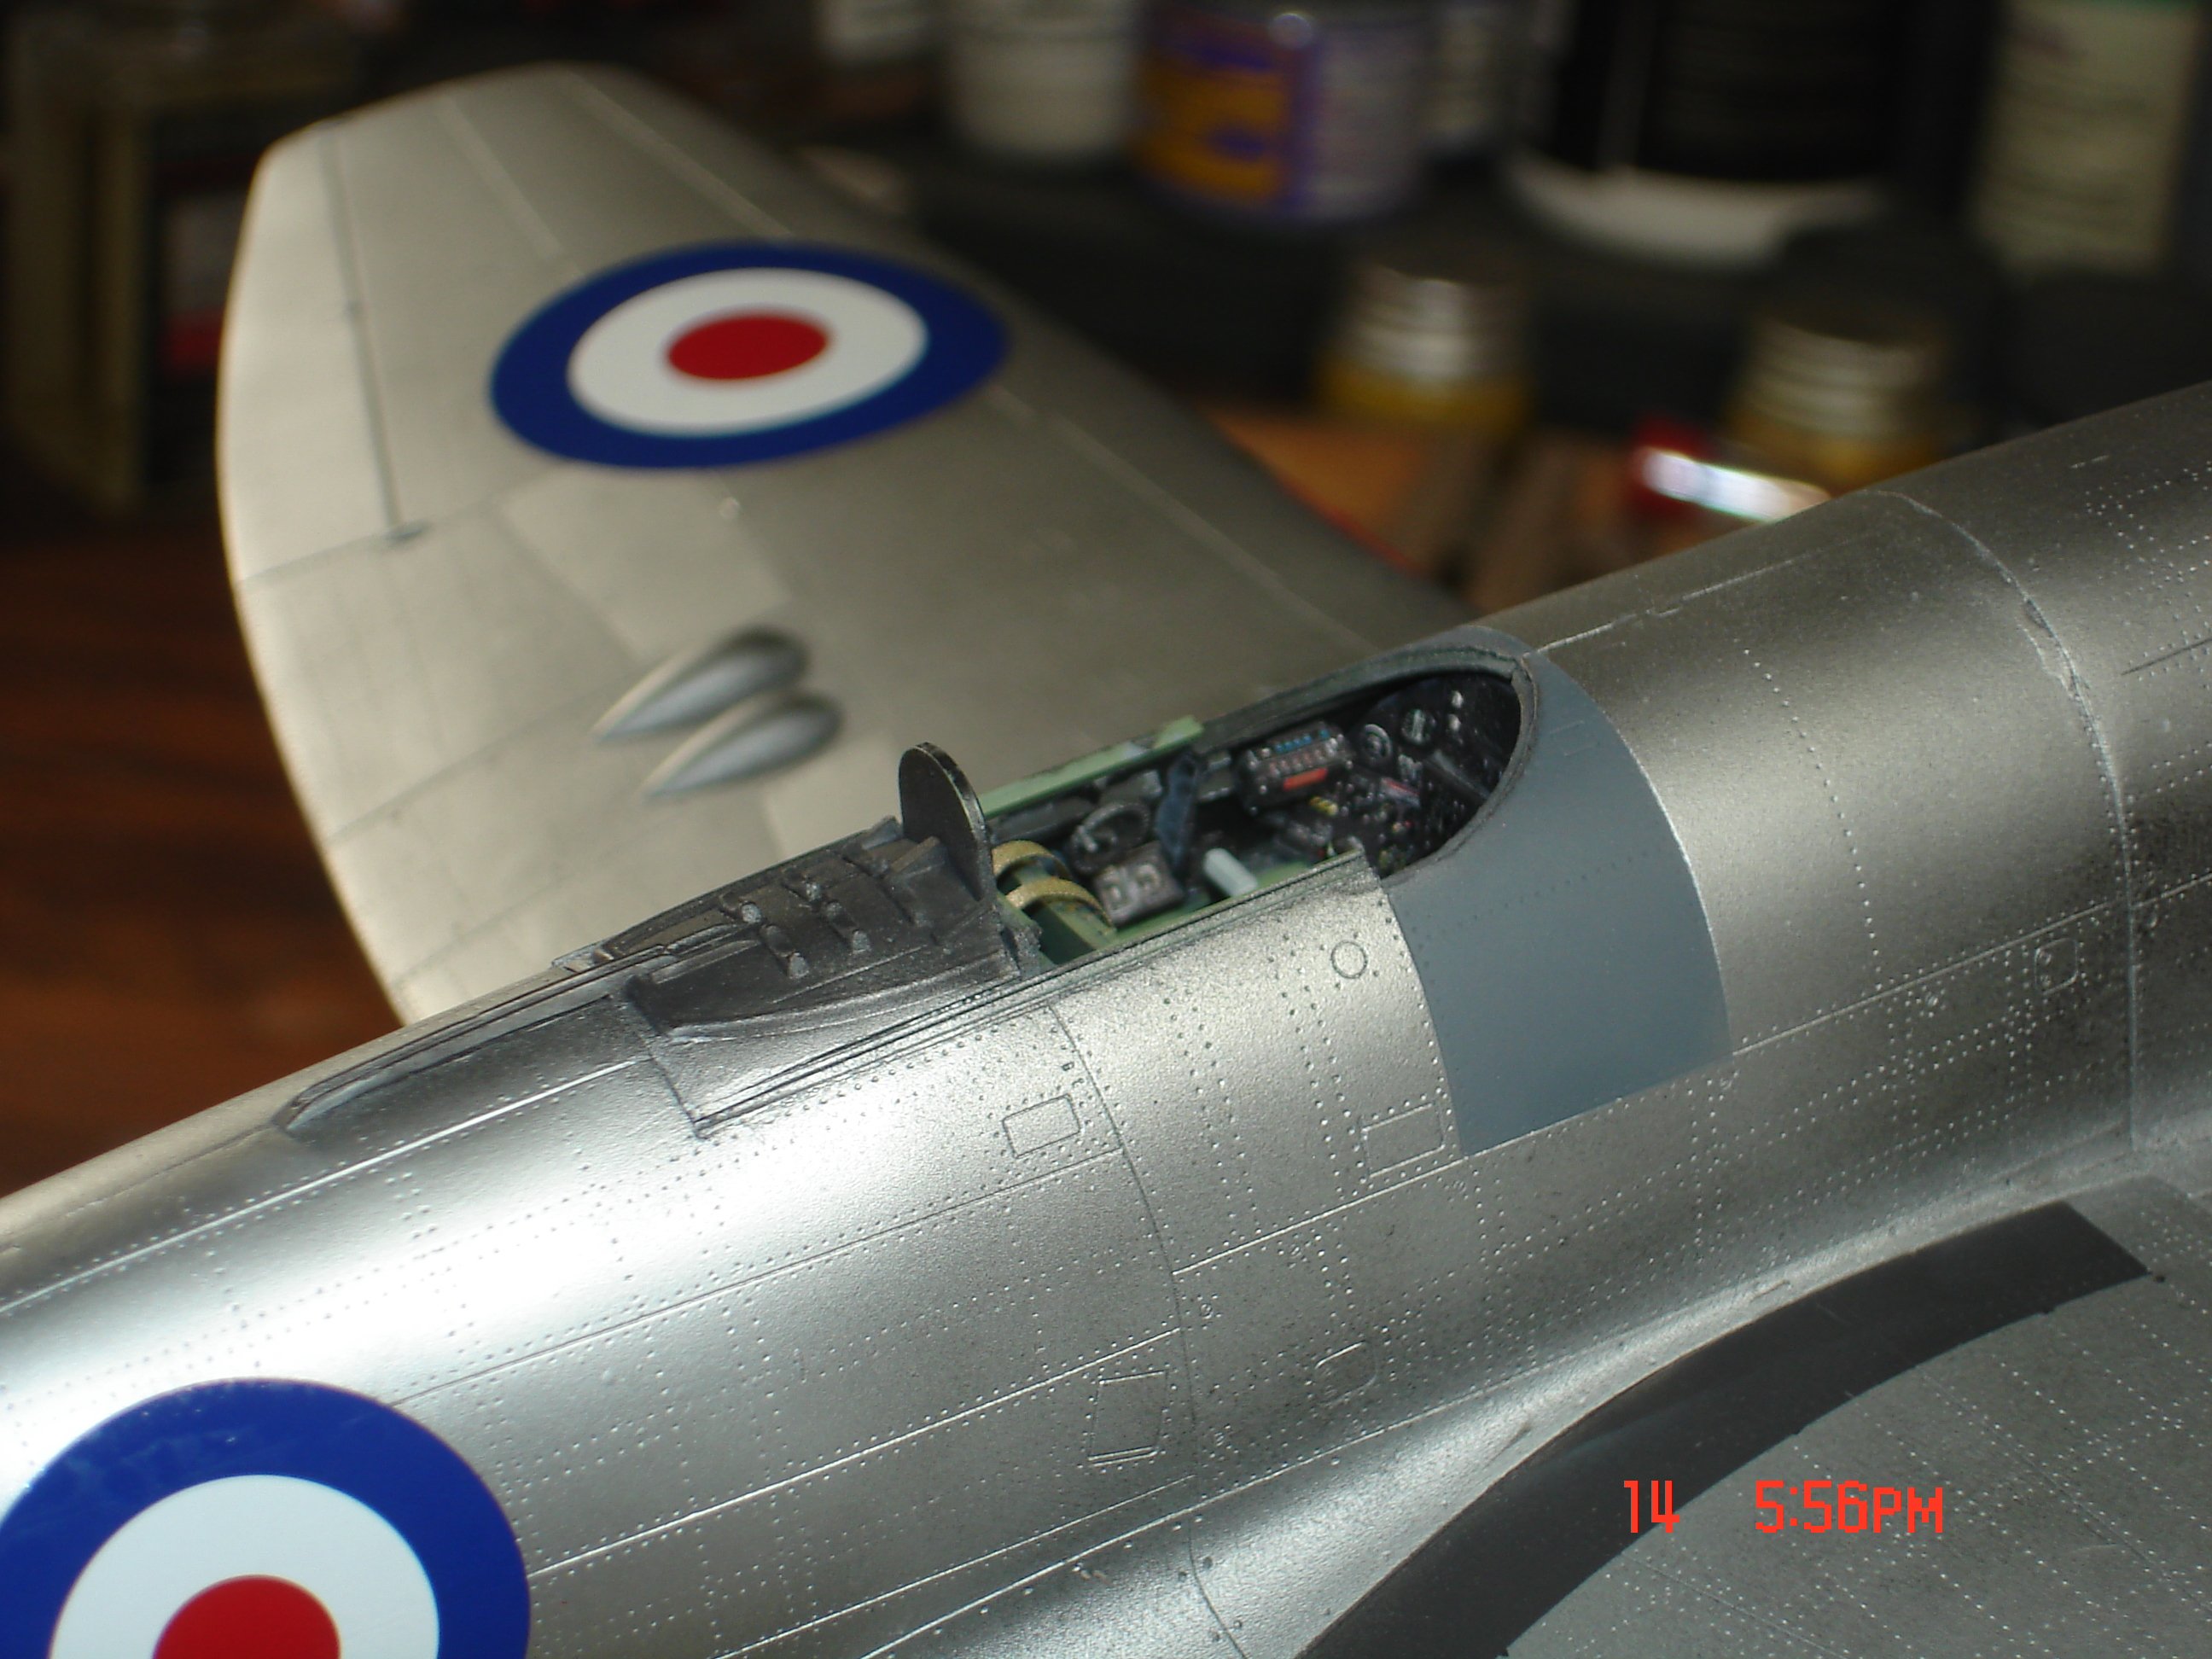
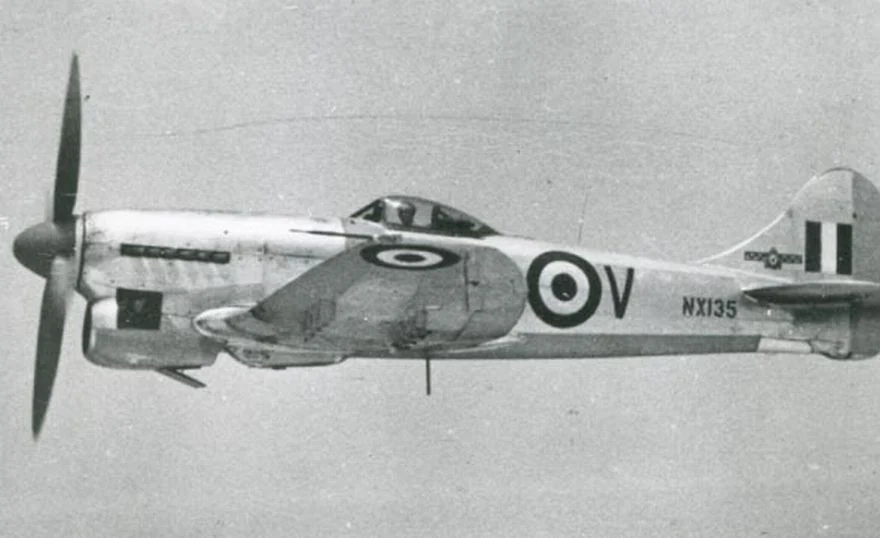
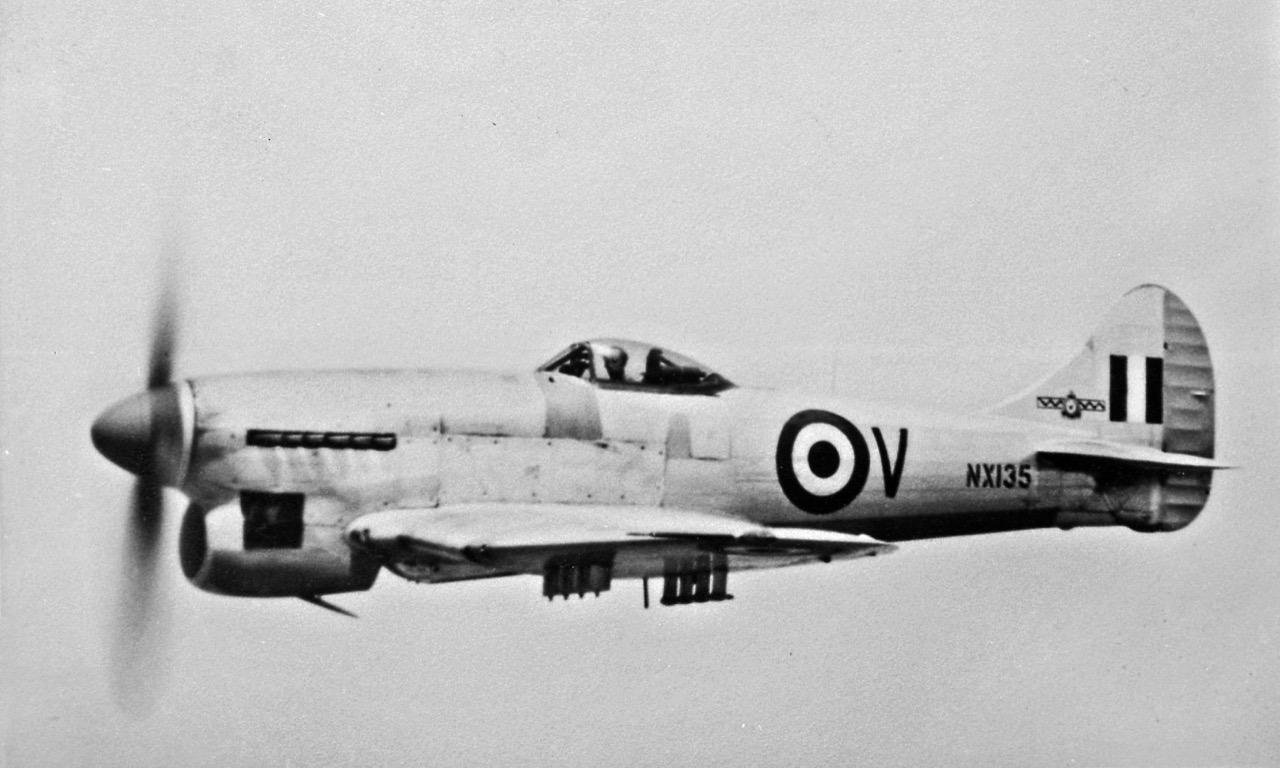
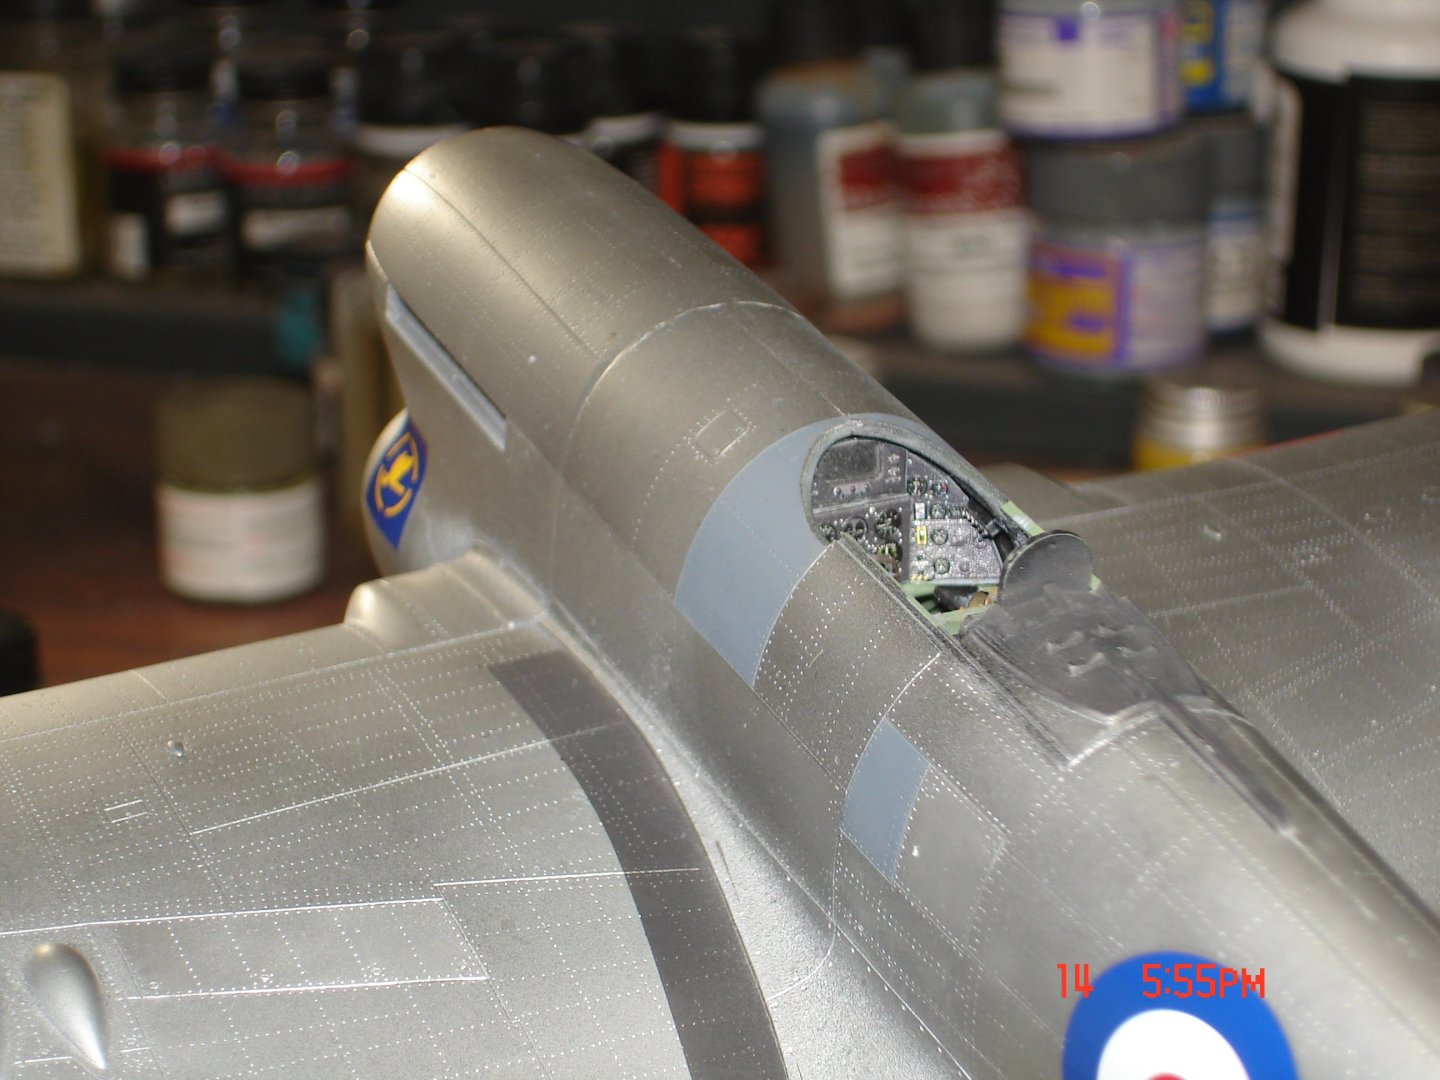
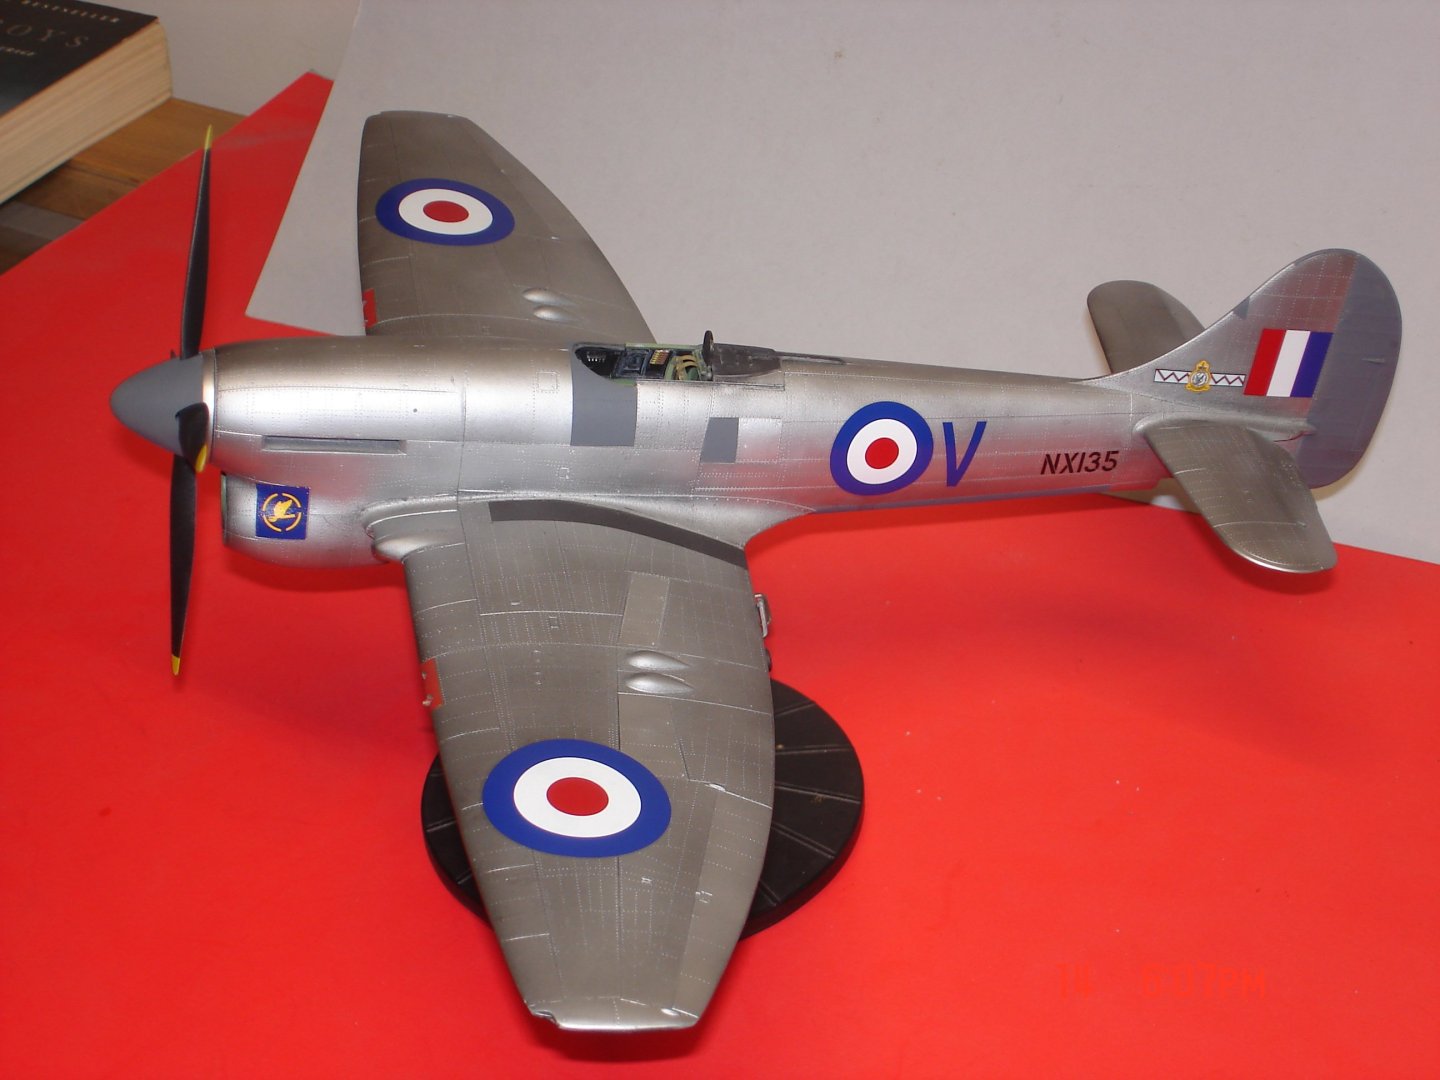
Dan the instructions refer to NX 135 as a bare metal finish and the rest of AC(instructions) as painted silver.The consensus is that the AC had to of been painted silver and that's a discussion over three forums so I digress.I still do not understand how a plane that is painted and things in the shade are brighter/shine than that in the sun?
-
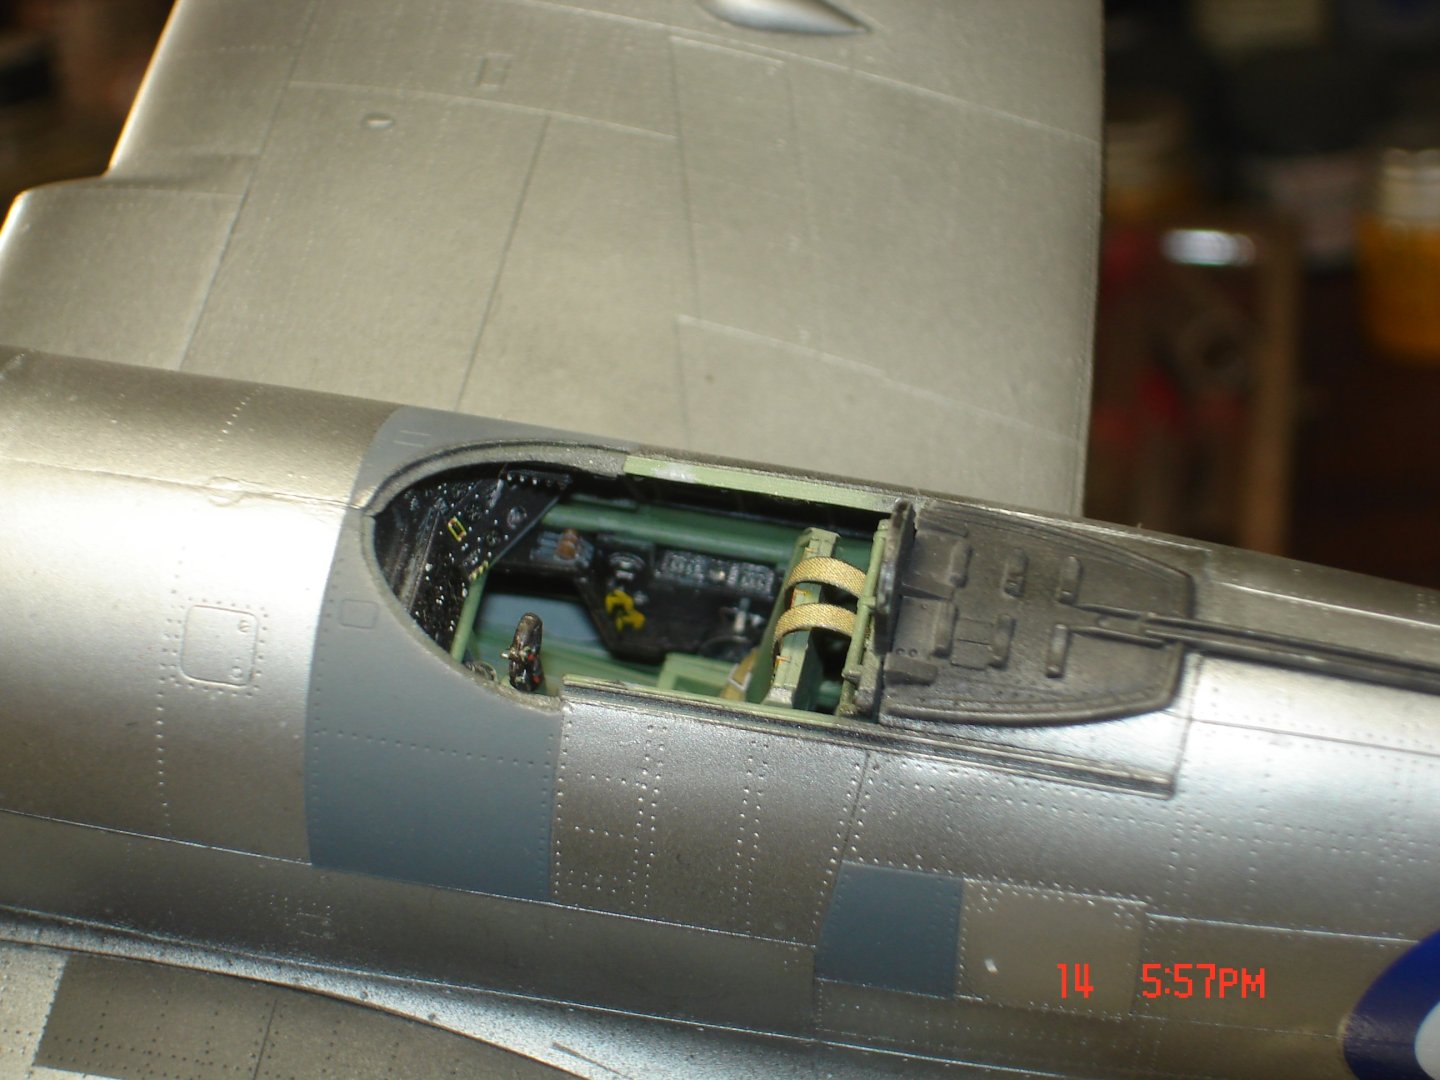
Inbound SN213 is a known NF the similarities...? that panel below the copit.
-
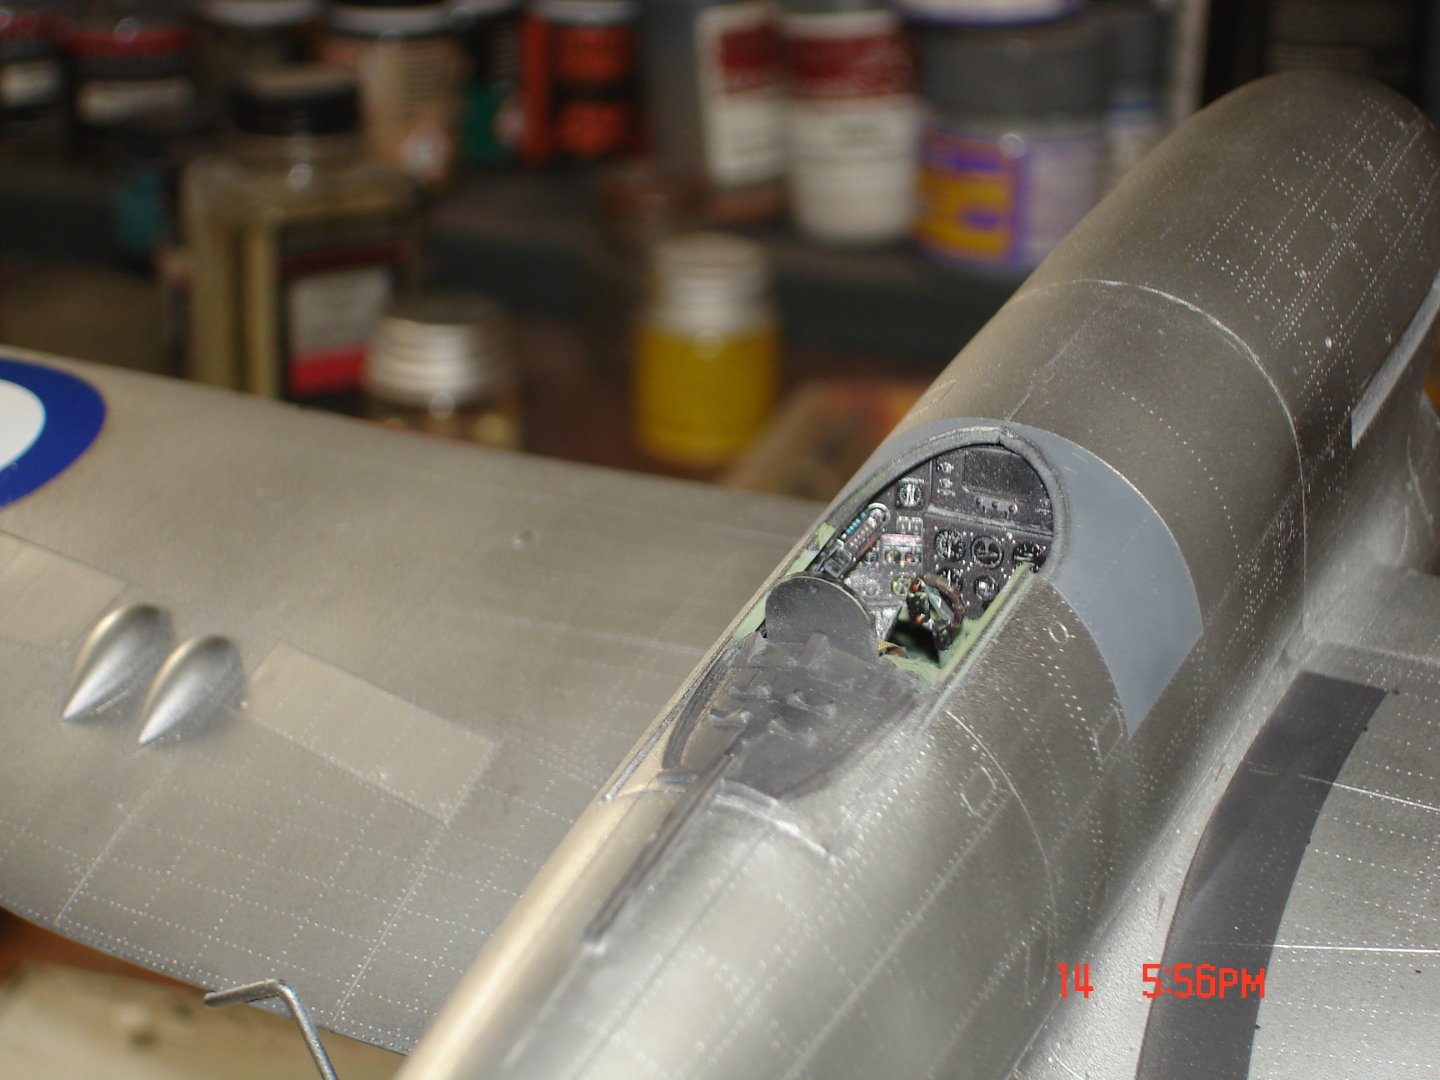
The major decals are in place next are the couple handfuls of stencils.The only stencil needing Walthers was emblem on the chin scoop it made it conform.The Cartograf are settling down real Nice weras the rivets are coming through.The decals look to new for the aircraft but I think I have the solution to the problem. That pit sure looks Nice!
- 51 replies
-
- 12
-
-
-
Me and You were looking at the same time Shipman.I was looking for the pic(s) I received private email and I always reserve those to maybe copyright in a way hence the reason I have not posted it.I was thinking by EG's post he found the pic on the internet then will I can post it just makes you wonder why Cartograf did not catch the changes?EG about posted exactly the way the plane looks some shine but not an odd grey is a good description. major decals going down as I type.
-
That's looking very Nice Chris!
-
So you seen the pic in flight EG?Thanks for kind remarks. I had to spray the Glossy black from Alclad at 8/10" from the surface to obtain a satin effect with a fine tip so as not to lay to much paint.Here's a pic of the Dart I am playing with....
-
Thank you Sir and I know your feelings in the past about painted metal finish and take this as a huge compliment
-
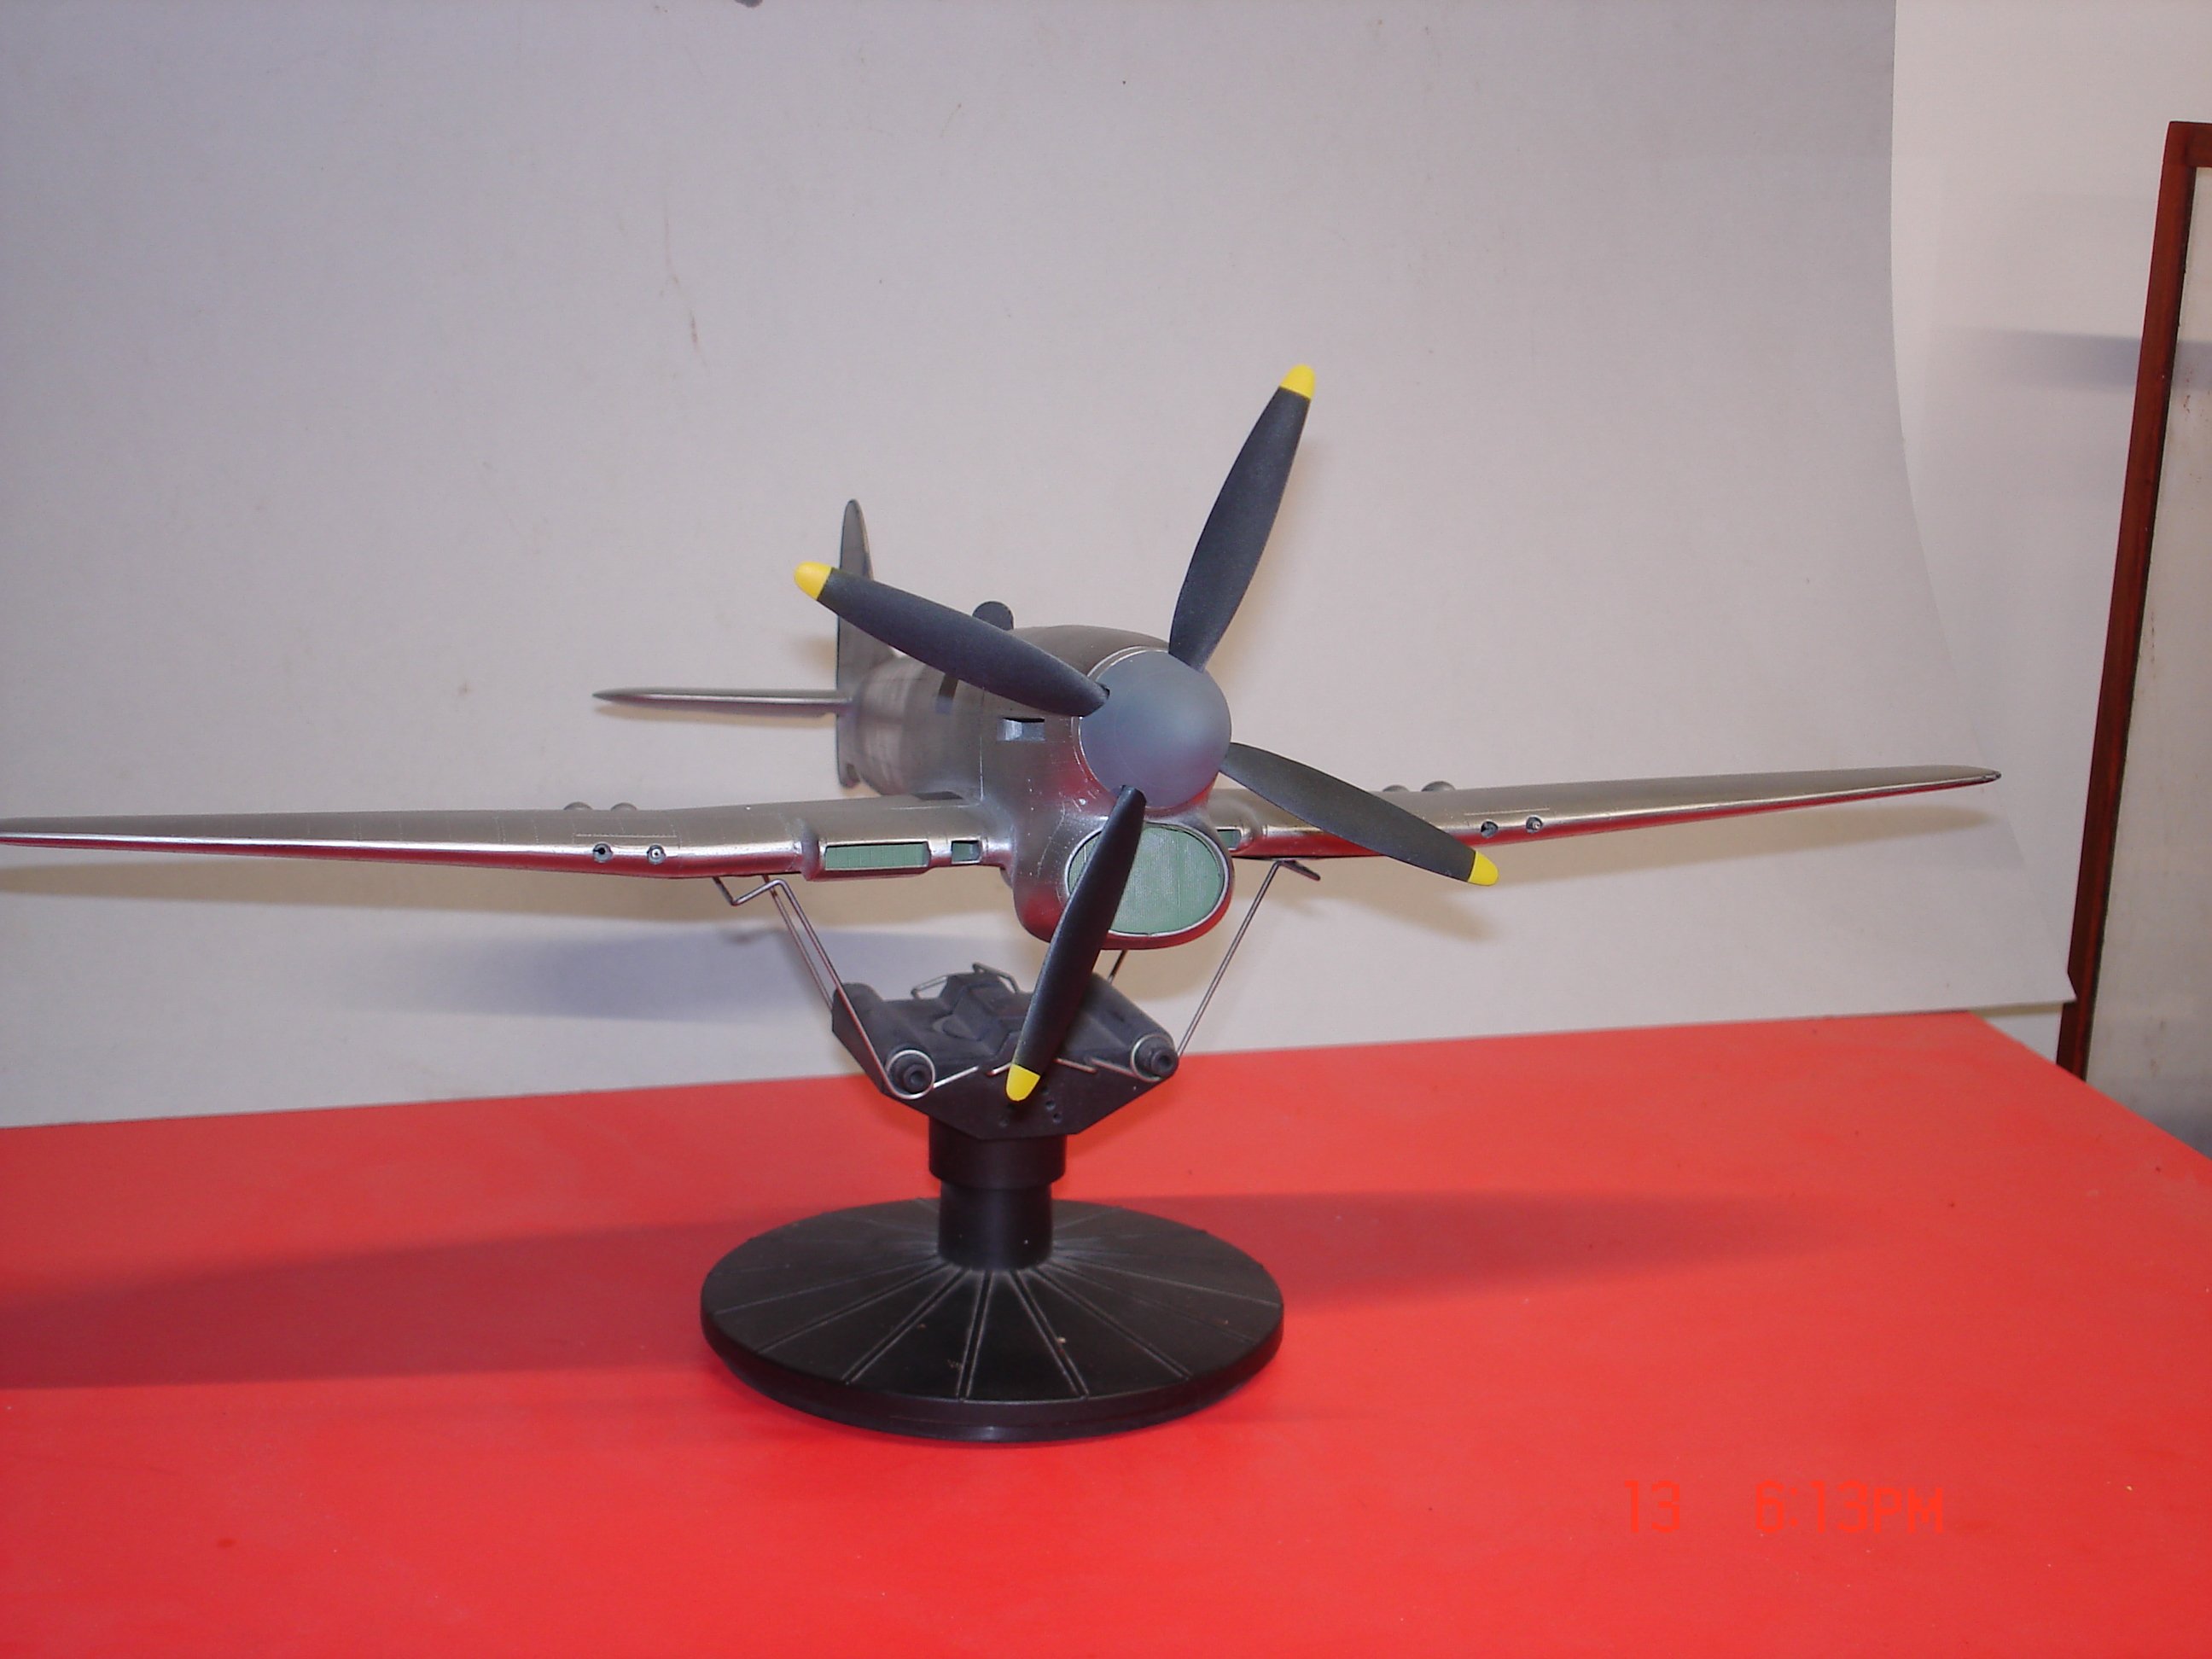
I am getting close to some clear and decals fellas and have changed some of the paint.I have two pics a member of another forum let me look at of this particular AC in flight by the commander wish I could share them but very telling info.I got the impression member does something in the modeling area making/designing decals for a larger firm?Hence he studies pics a lot. 1) the spinner was not yellow it was the same color as the tail.Member was thinking sky for the backing plate,I was thinking yellow and the instructions said silver could very well be silver.This may of occurred because the commanders plane the grey spinner? 2) Member was not 100% convinced the AC was NM but I could see metal panels of different color were they just replacements? I depicted them for what I could see and know.The pics were of the L/side of the AC. 3)The grey down the bottom of the plane from wing root to tail was definitely there something not represented in the SH instructions. 4) The pics also showed some paint around the gun ports something again SH makes no mention I am thinking red but waiting on a response. 5) It's been mention that the leading edge of the wings may of been yellow waiting on response to that question also I can't see them. 6)The pic showed rocket racks empty she getting rockets 7)I think their was a good possibility #135 may of been NM it was reflective to a degree looked like an AC that was weathered/oxidized AL maybe.I had a pic of SN213 which was a known NM AC with the same grey spinner and piece around the forward canopy interesting both AC neither had exhaust stains while the two other pics of silver doped AC did?

- 51 replies
-
- 11
-
-
It did Ken just Vallejo squeeze and wipe that was it now the nose to the fuse was a different story.
-
I just used a black panel wash on my P-51's looks to do the job for the most part.Looking very good by the way!
-
Yeah I am sitting on 2/3 months of patriot supply then what we have in the house Craig along with about 20 empty gallon jugs ATTM still not enough of those.I need to re-stock on fuel been using it before it goes south.I am the hound dog on the porch one eye open.
-
Not bad Alan used 1/8" for that reason maybe 6/7lbs.
- 68 replies
-
- 2
-
-
- Scharnhorst
- Trumpeter
- (and 1 more)