Javlin
-
Posts
1,681 -
Joined
-
Last visited
Content Type
Profiles
Forums
Gallery
Events
Everything posted by Javlin
-
That's some Nice paint you laid down Dan and the subtle weathering it created!
-
Thanks Jack was trying to figure out what.... you did it for me.
-
Another hits the cabinet guys not wild about the pics but this is my third time at it and I am spent photography is not my game.


- 25 replies
-
- 12
-

-
Thanks Chris the Florys really made the colors to kind of meld together.
-
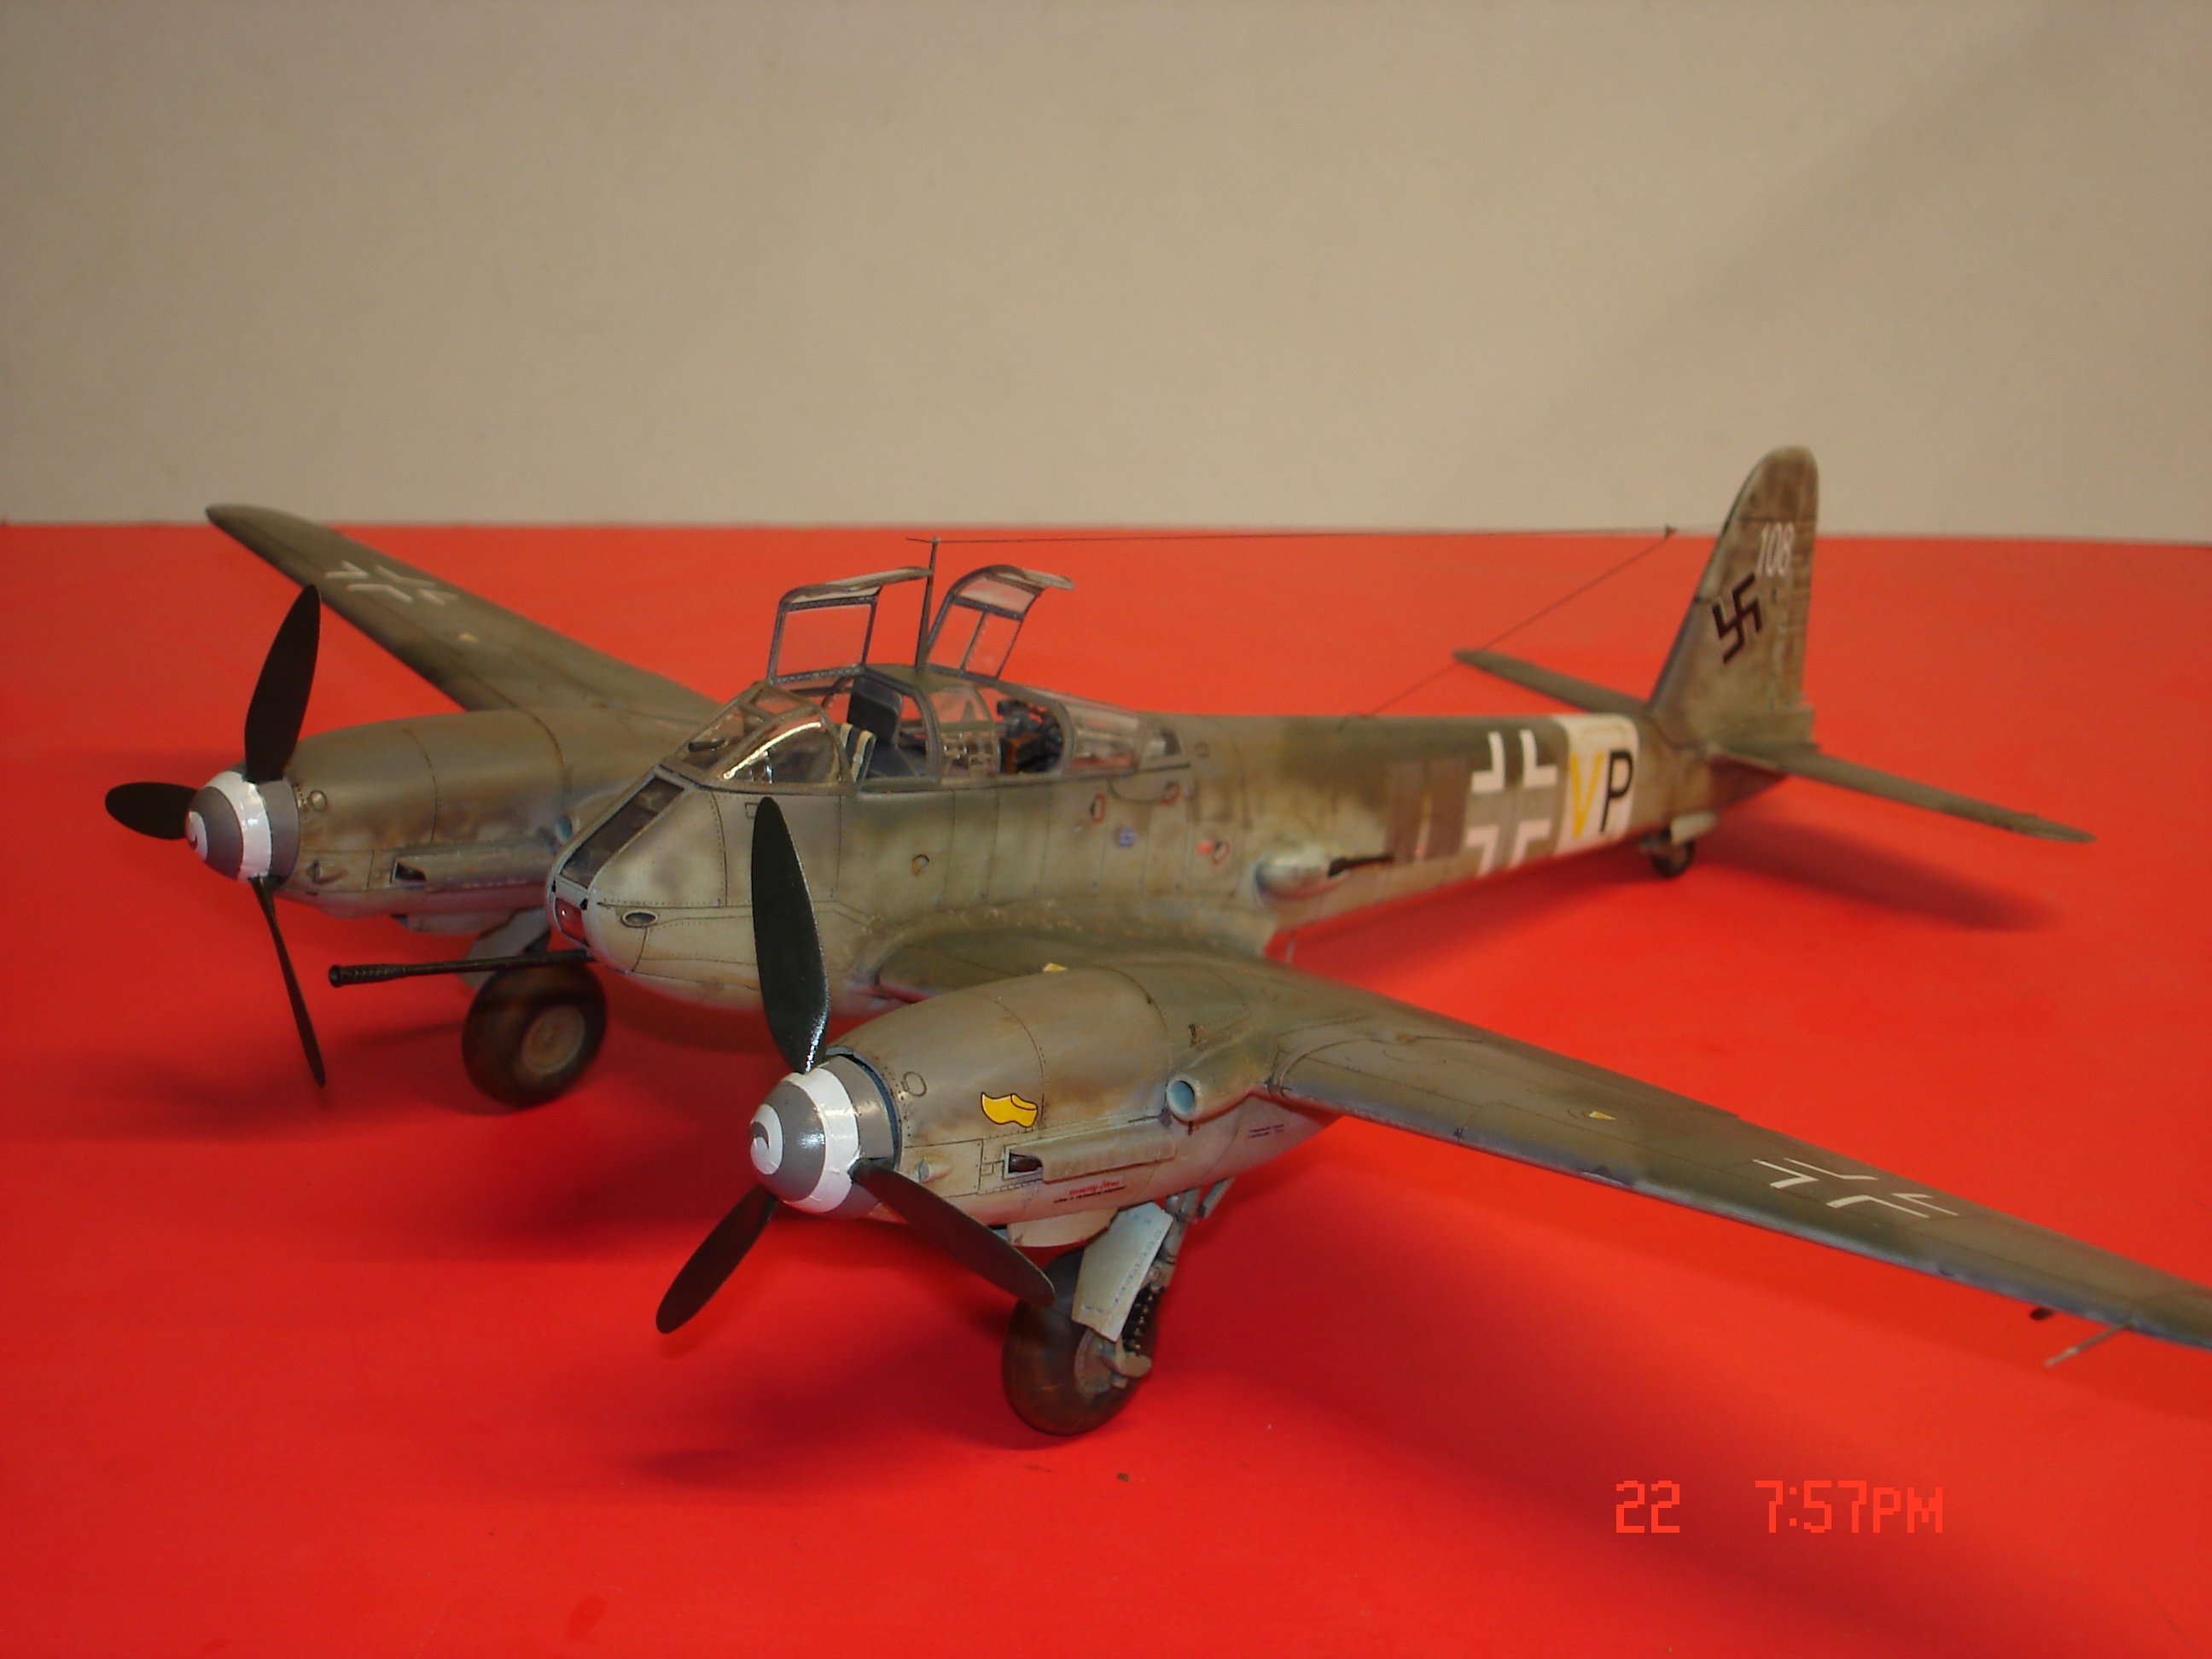
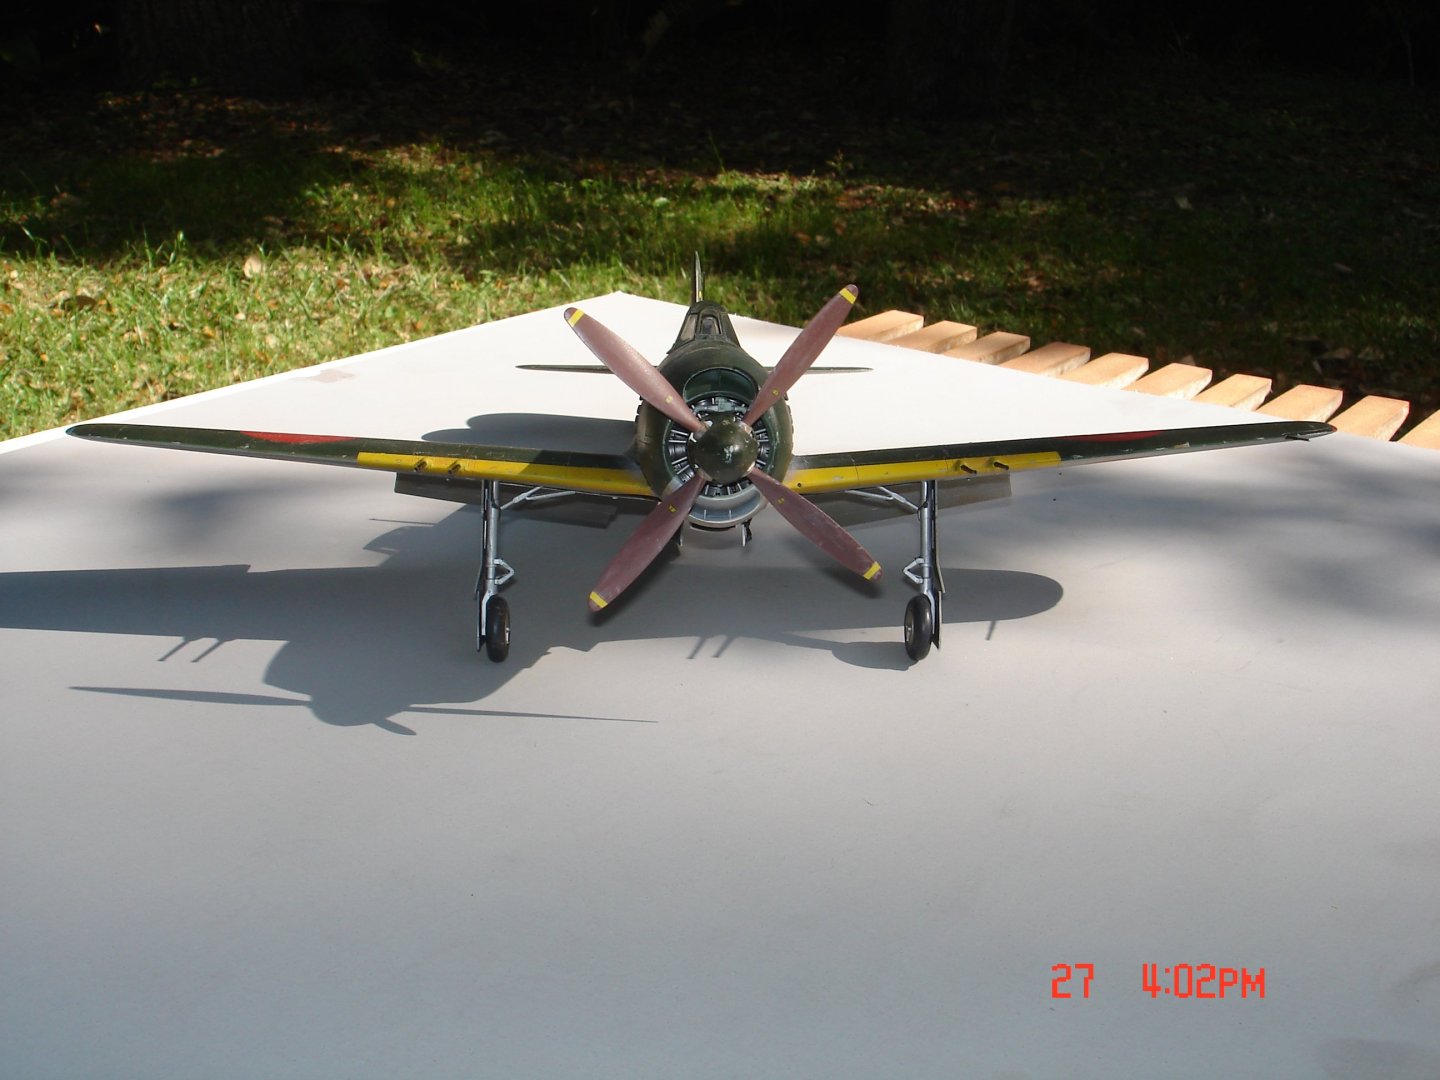
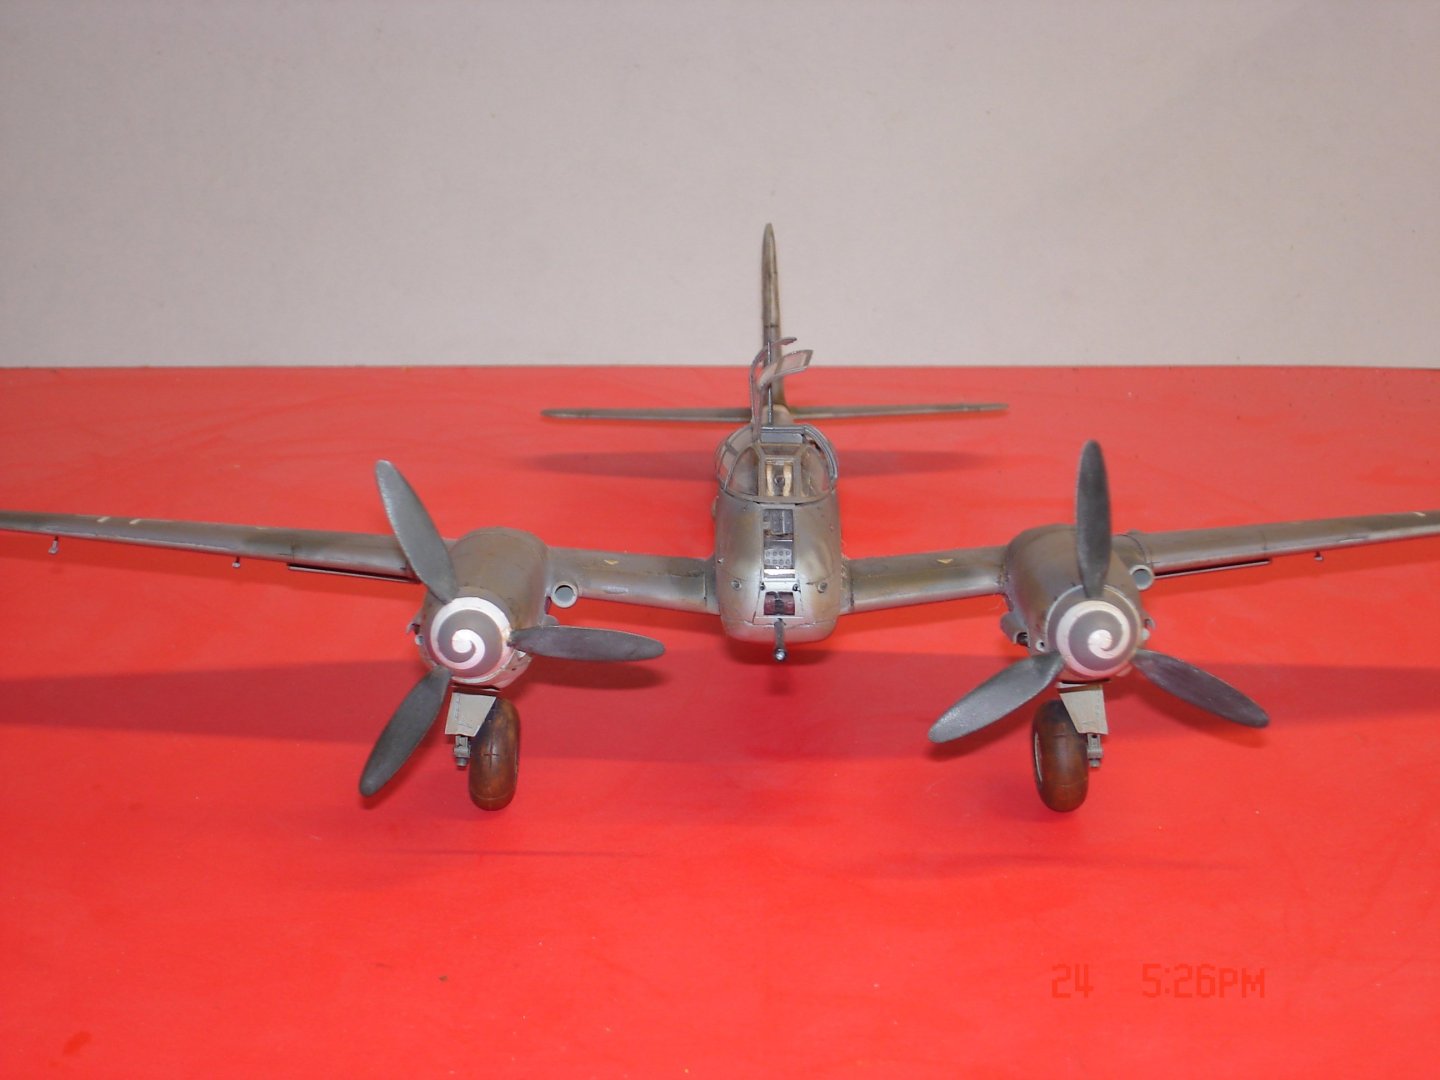
This one hits the cabinet fellas and time to move on to completion of the George.The L/LG was wonky I guess from moving around kept looking looking at some of the pics 🤨.The wing lights were so small I gave up and out came crystal clear to the rescue.


- 22 replies
-
- 14
-
-

-
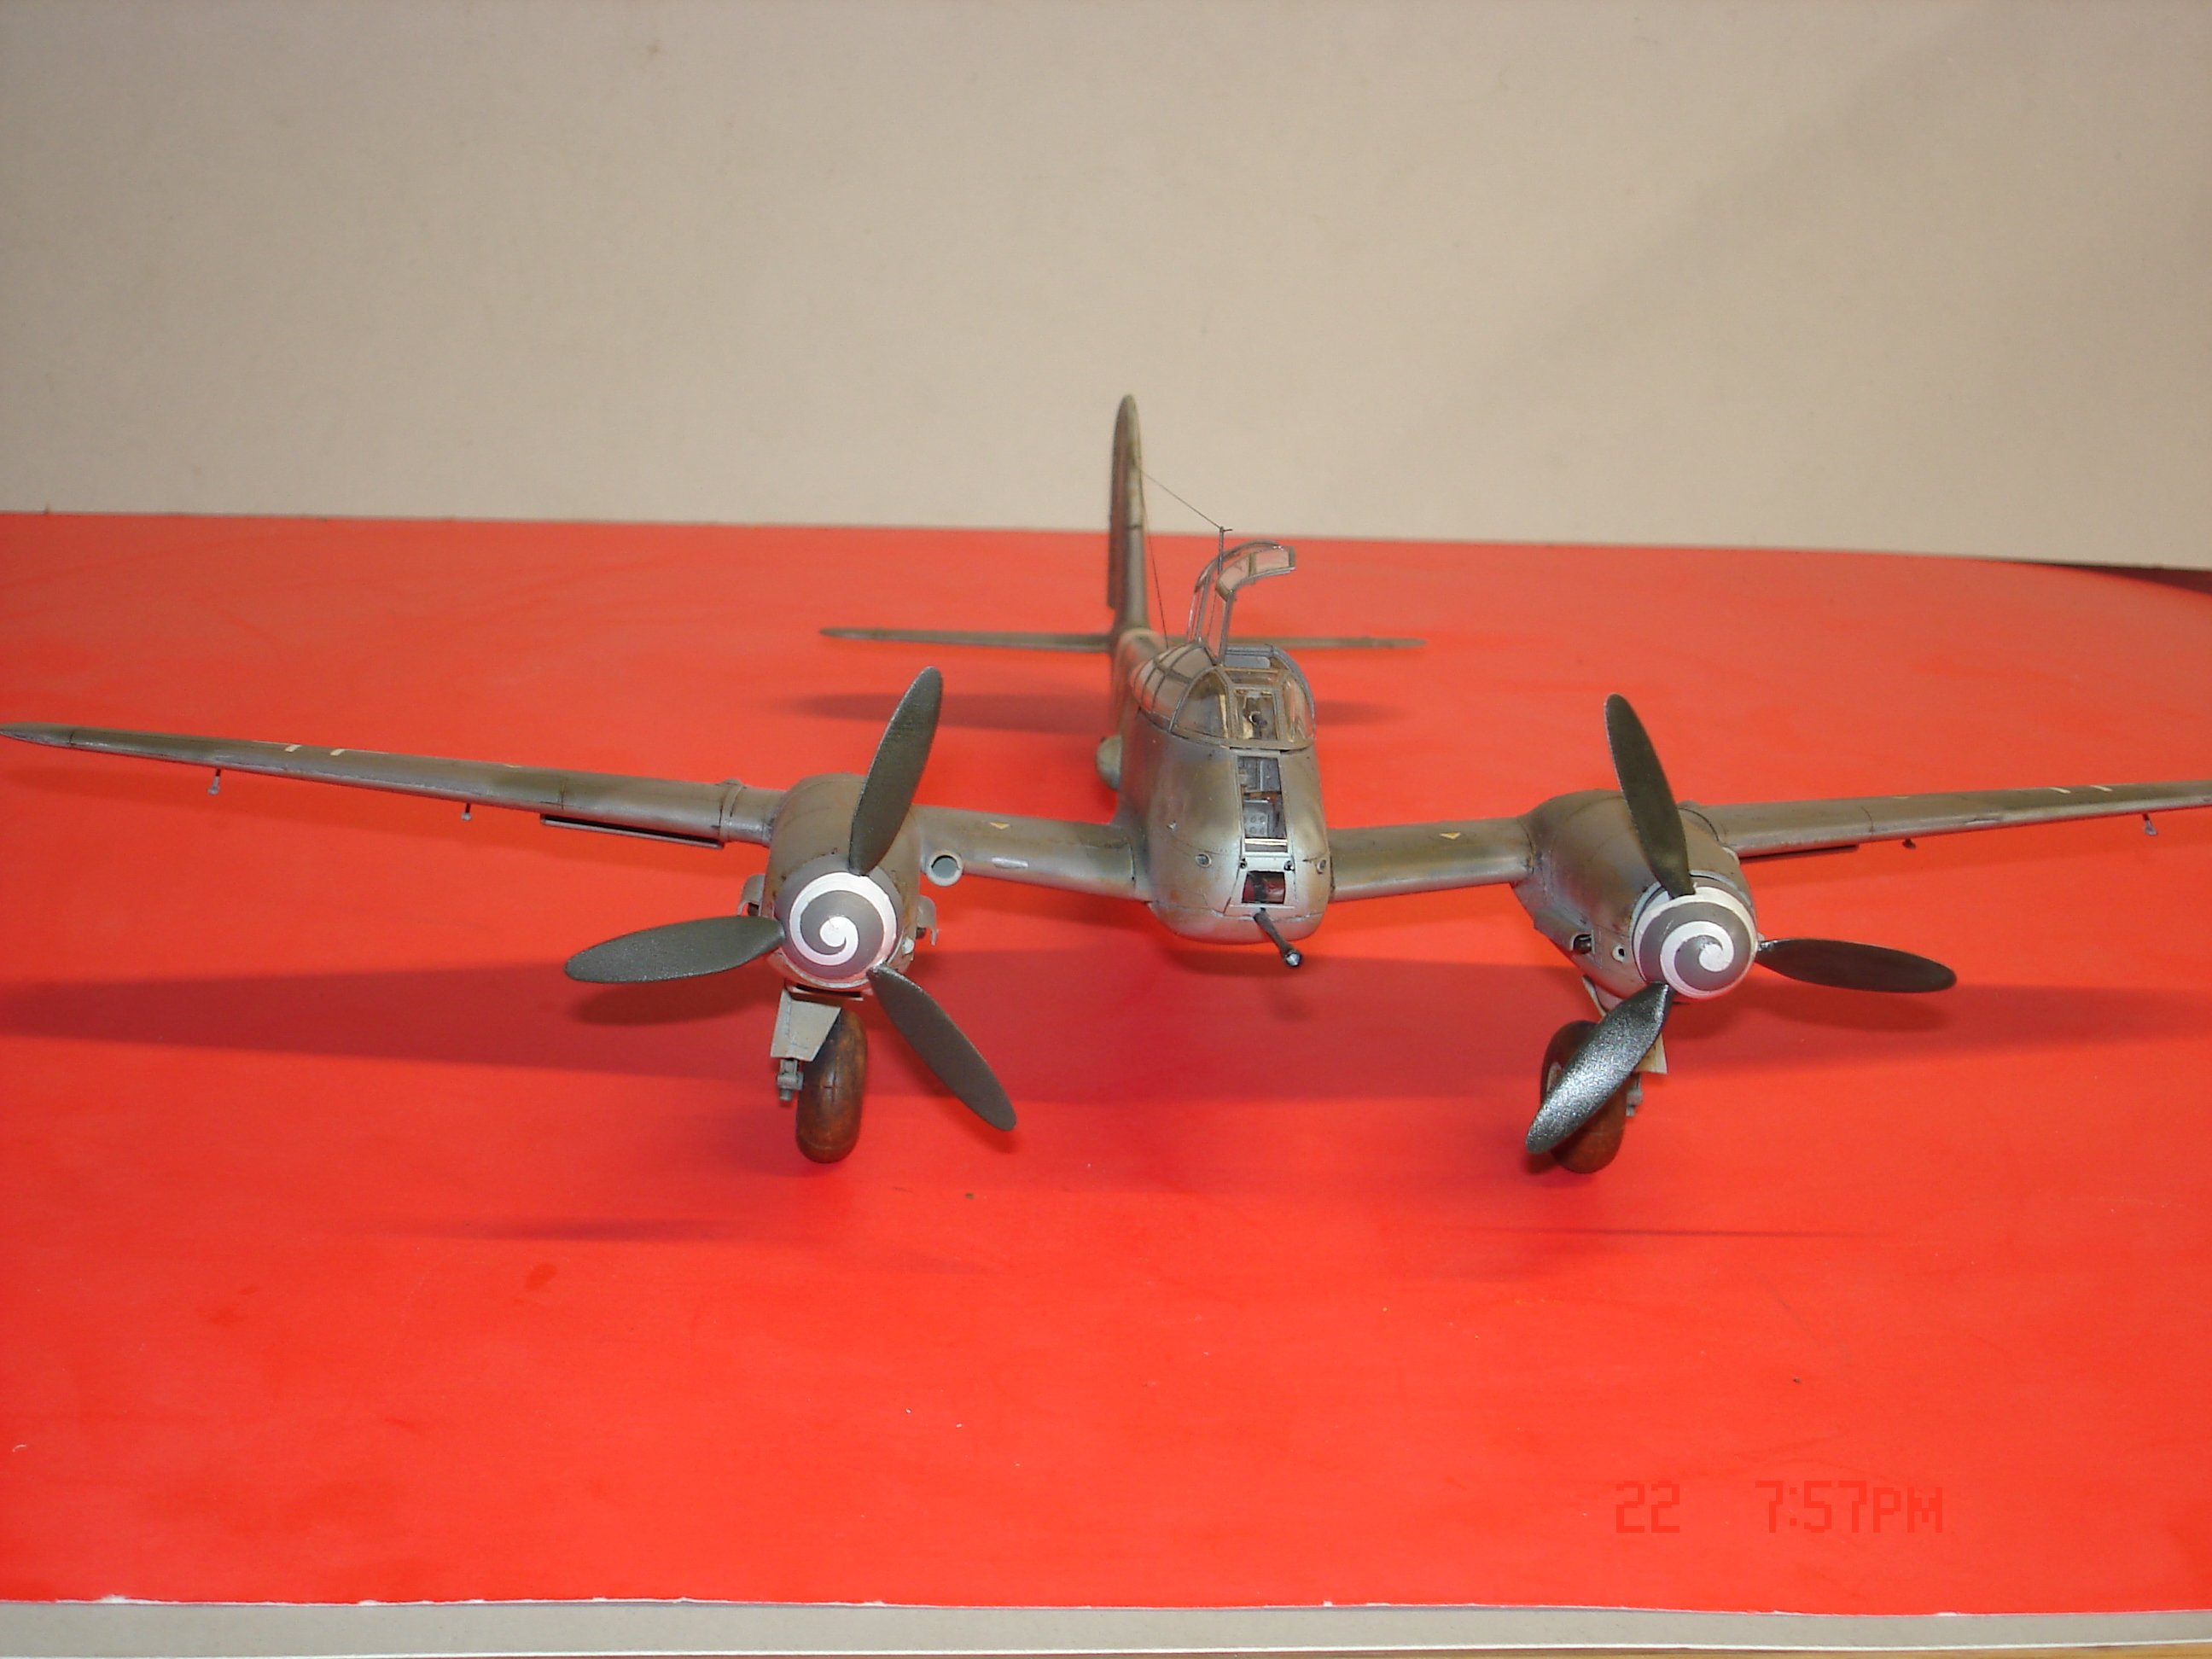
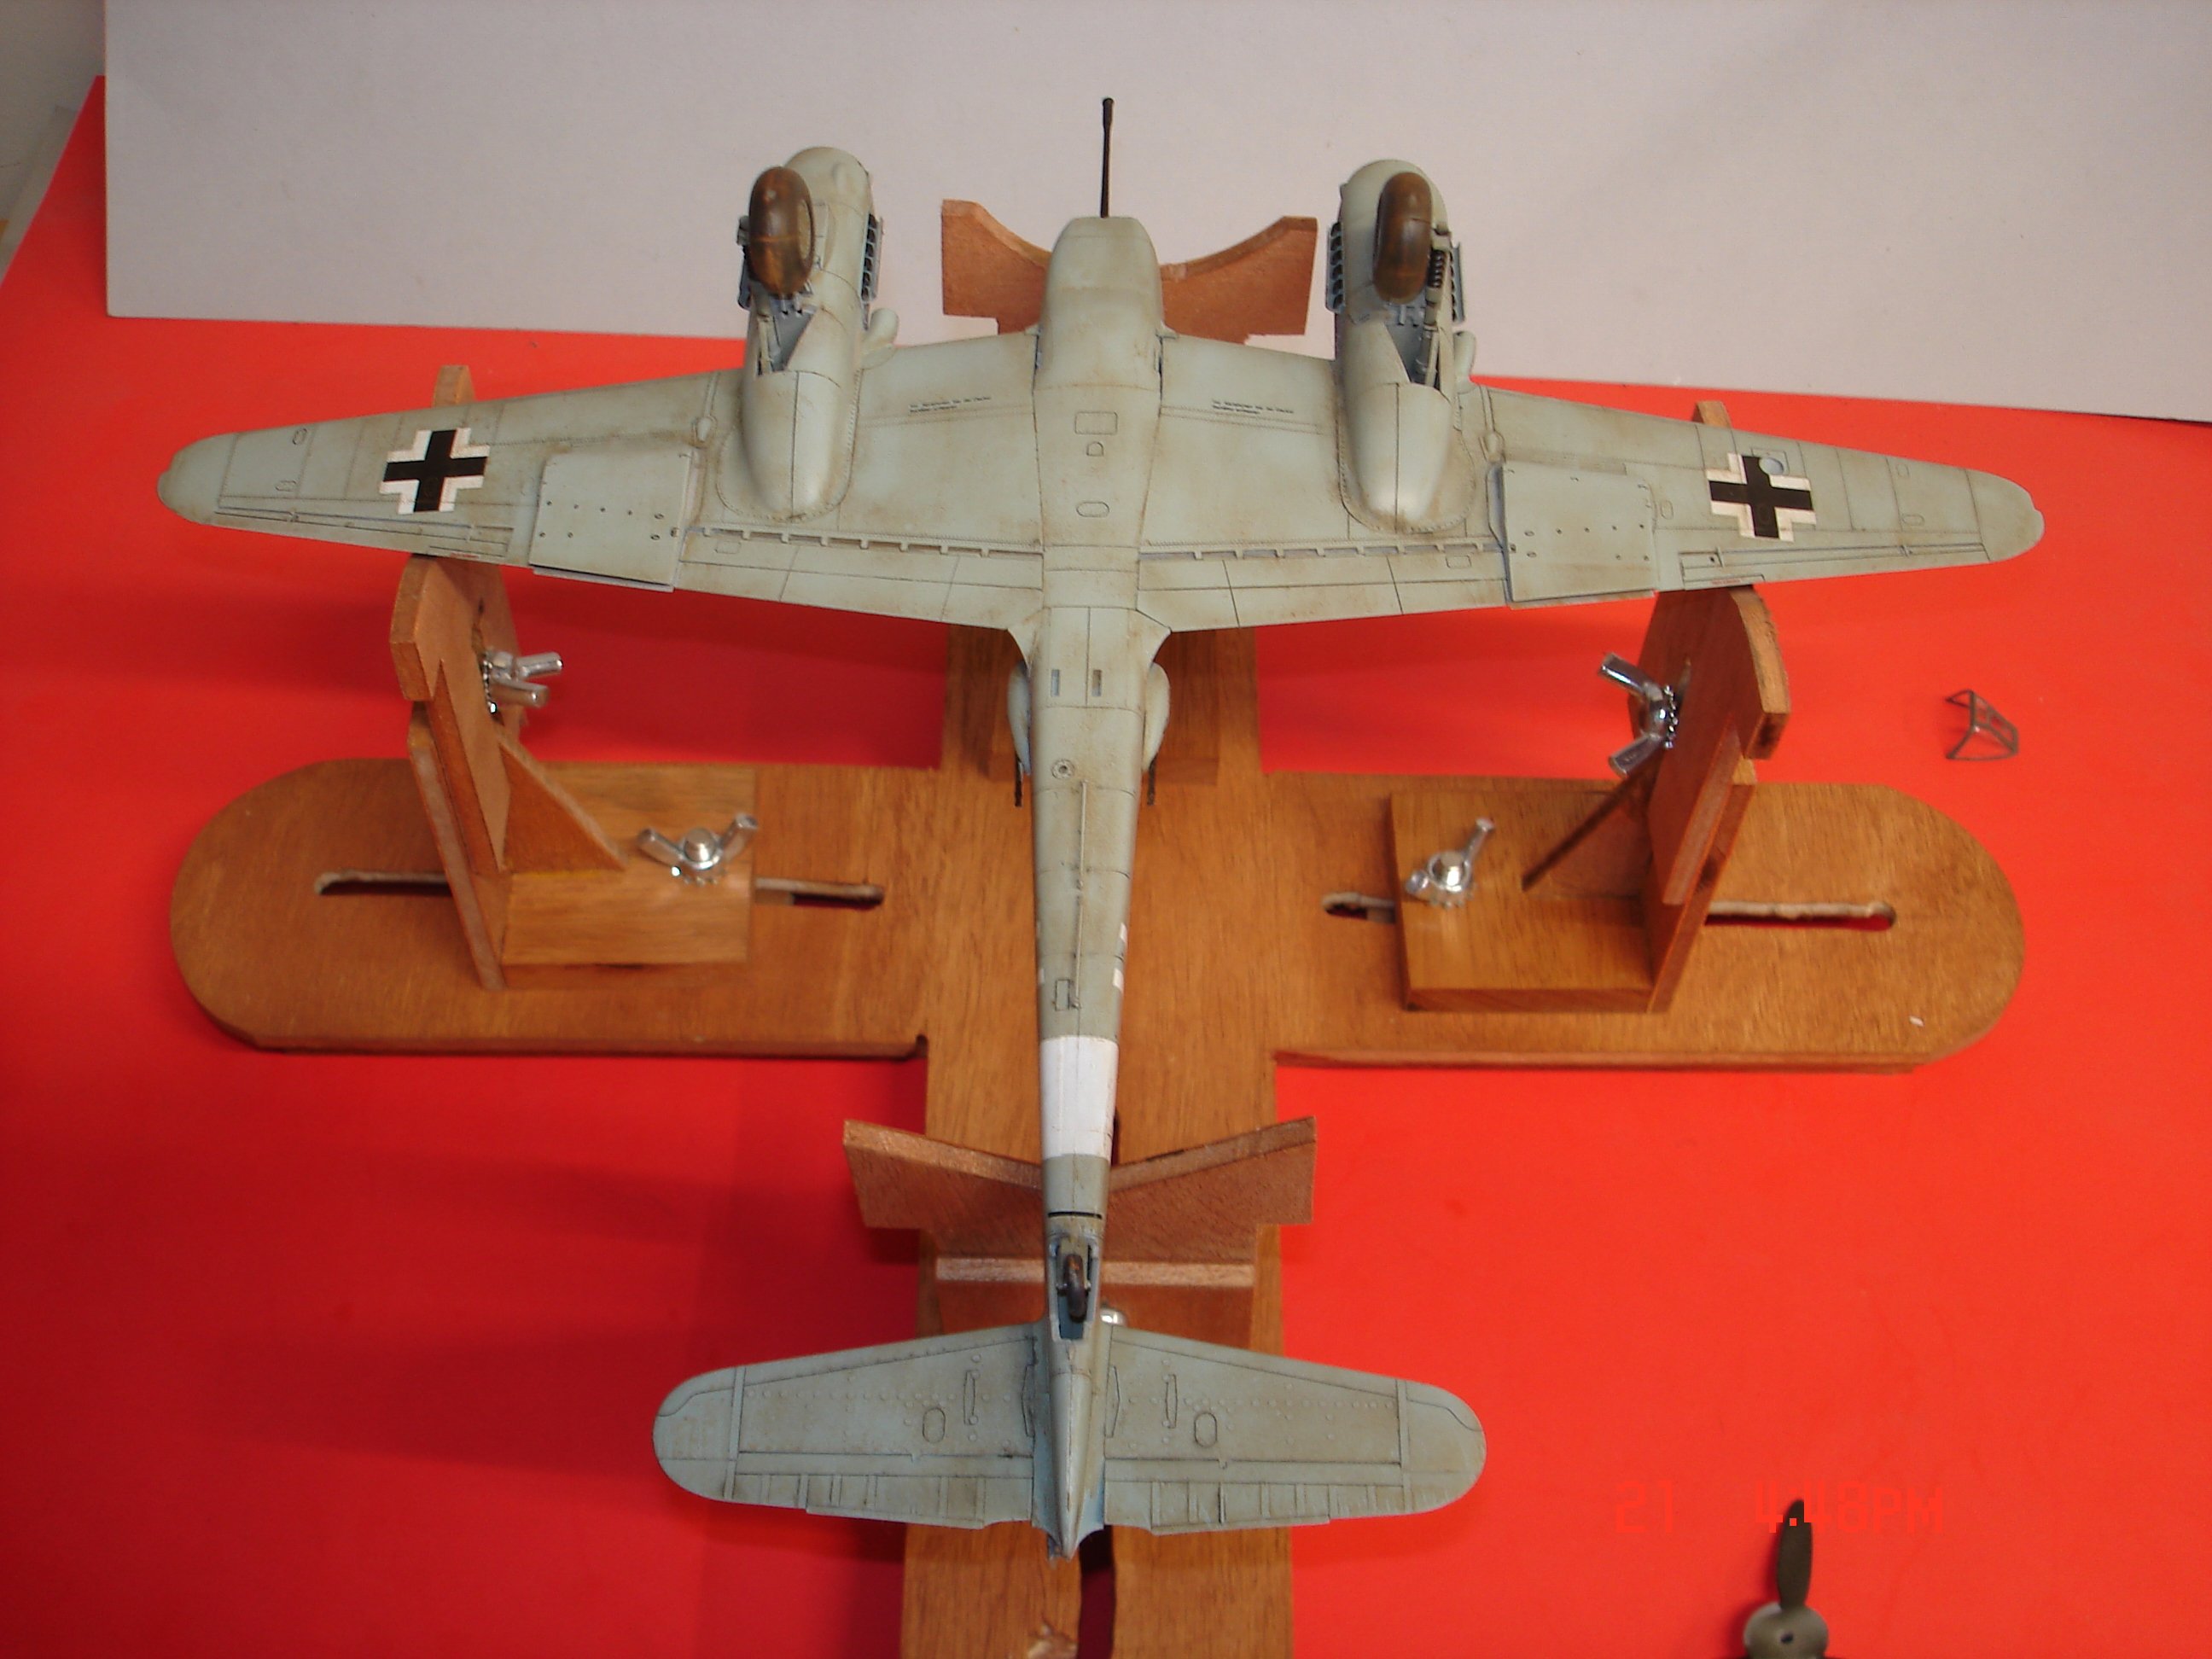
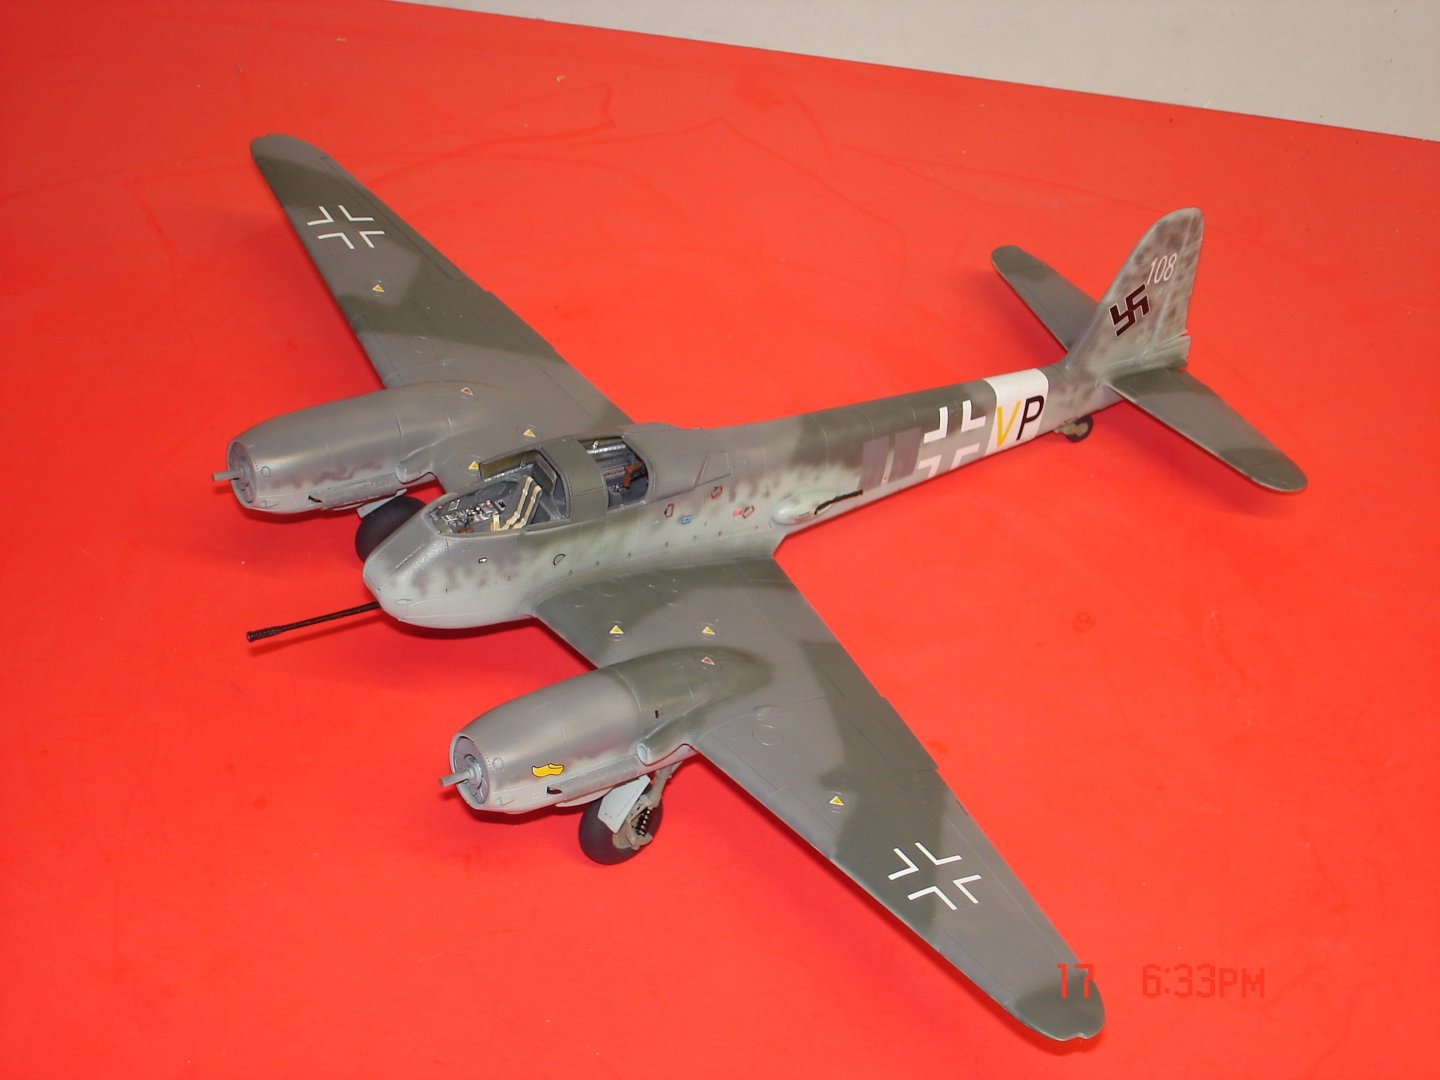
I have some more pics props have the semi-gloss applied just waiting to wash and do the light.The triangle piece for the aerials left over PE from something.I may finish this evening or tomorrow.


- 22 replies
-
- 12
-
-
-
I know what you mean do it on the 1/350 ships often.
-
Thanks Andy and agreed an interesting subject matter on the sister site thoughts of a buddy build are brewing many have kits in the stash but failed to execute.
-
Wow did not know this was happening so small Alan my eyes these days would have a tough time with the PE for sure Great looking result!
-
The Mossy Shipyard by Bryan Woods - 1:1
Javlin replied to Bryan Woods's topic in Non-ship/categorised builds
I would use a Marine Urethane nothing short or if you find something stronger. I used a standard urethane varnish on a table I built for outdoors it went for about 4years and 300+ inches of rain before a redo. -
I hear that alot Dan but I kinda like the red still gives a good outline thanks for the compliment
-
Getting closer methinks it pulled(wash) together the chipping hid some abit and looks more PTO?what's your thoughts?


- 25 replies
-
- 11
-
-
-
Appreciate the compliment Alan I am not one for killing the subject in weathering just enough to make it look used.I do not know how much more staining and such I will do I have a Tamyia Spitfire MkVIII looking at me to which I have never done a 1/32 Tamy kit!
-
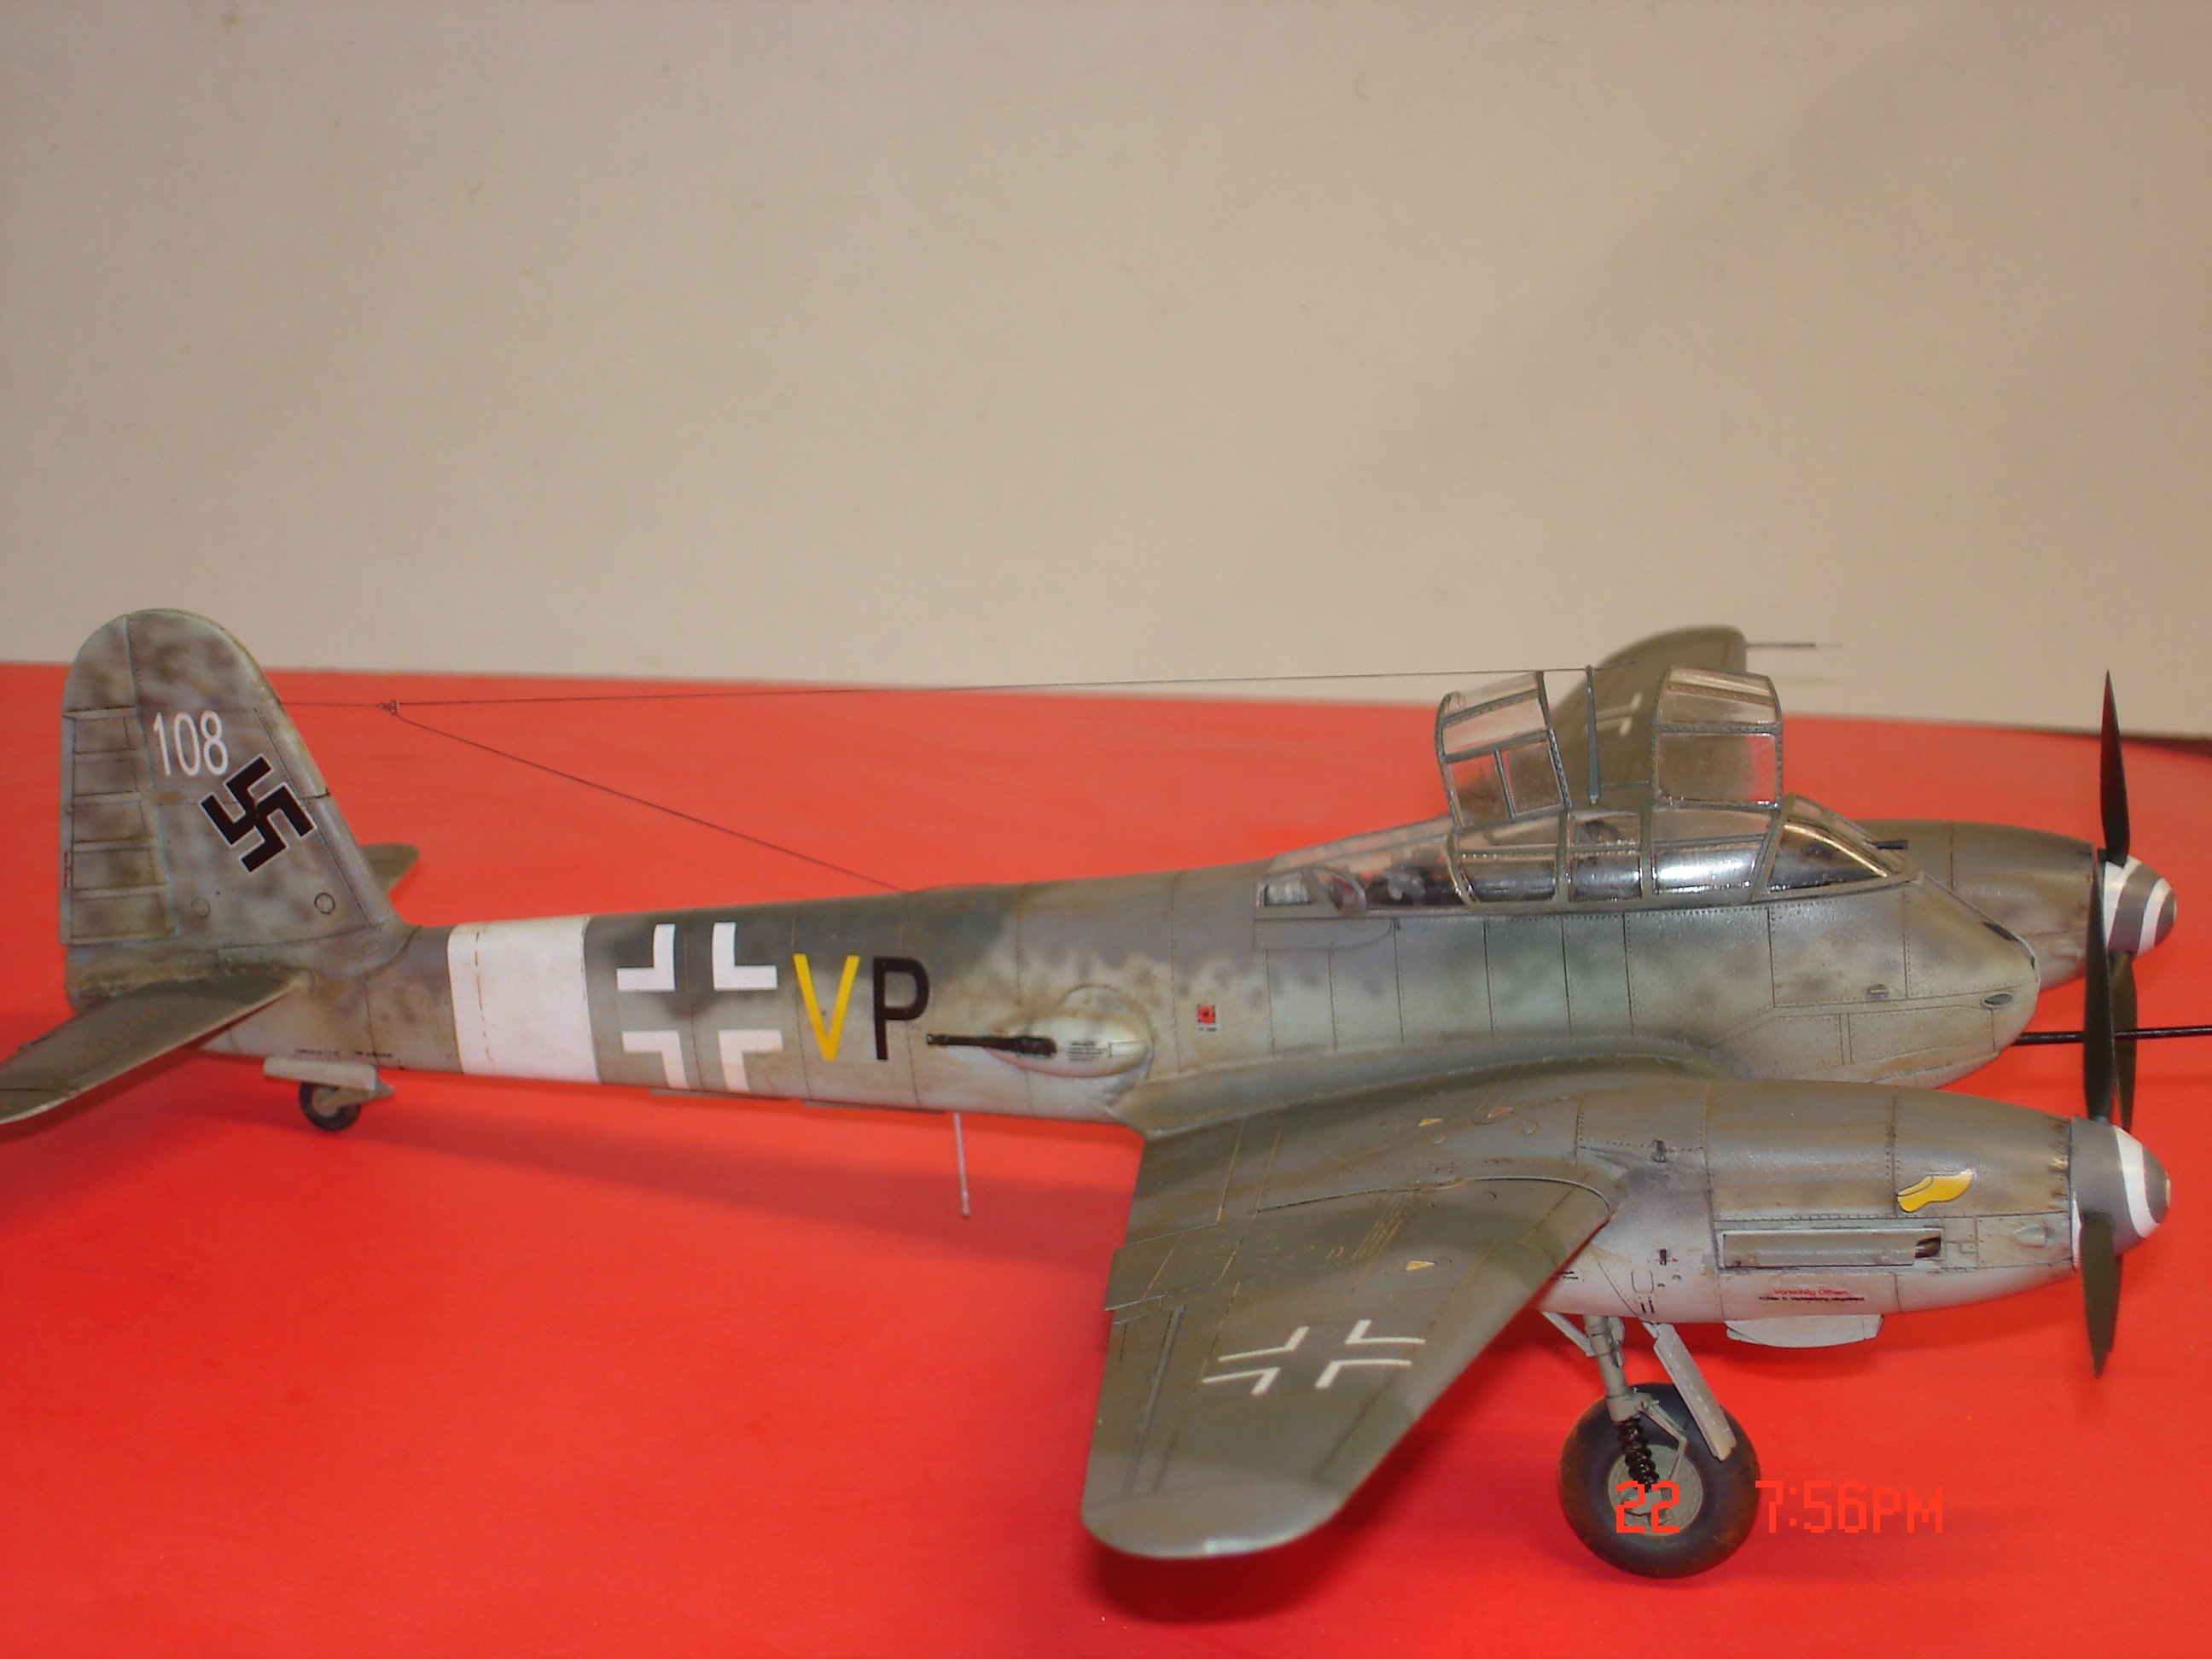
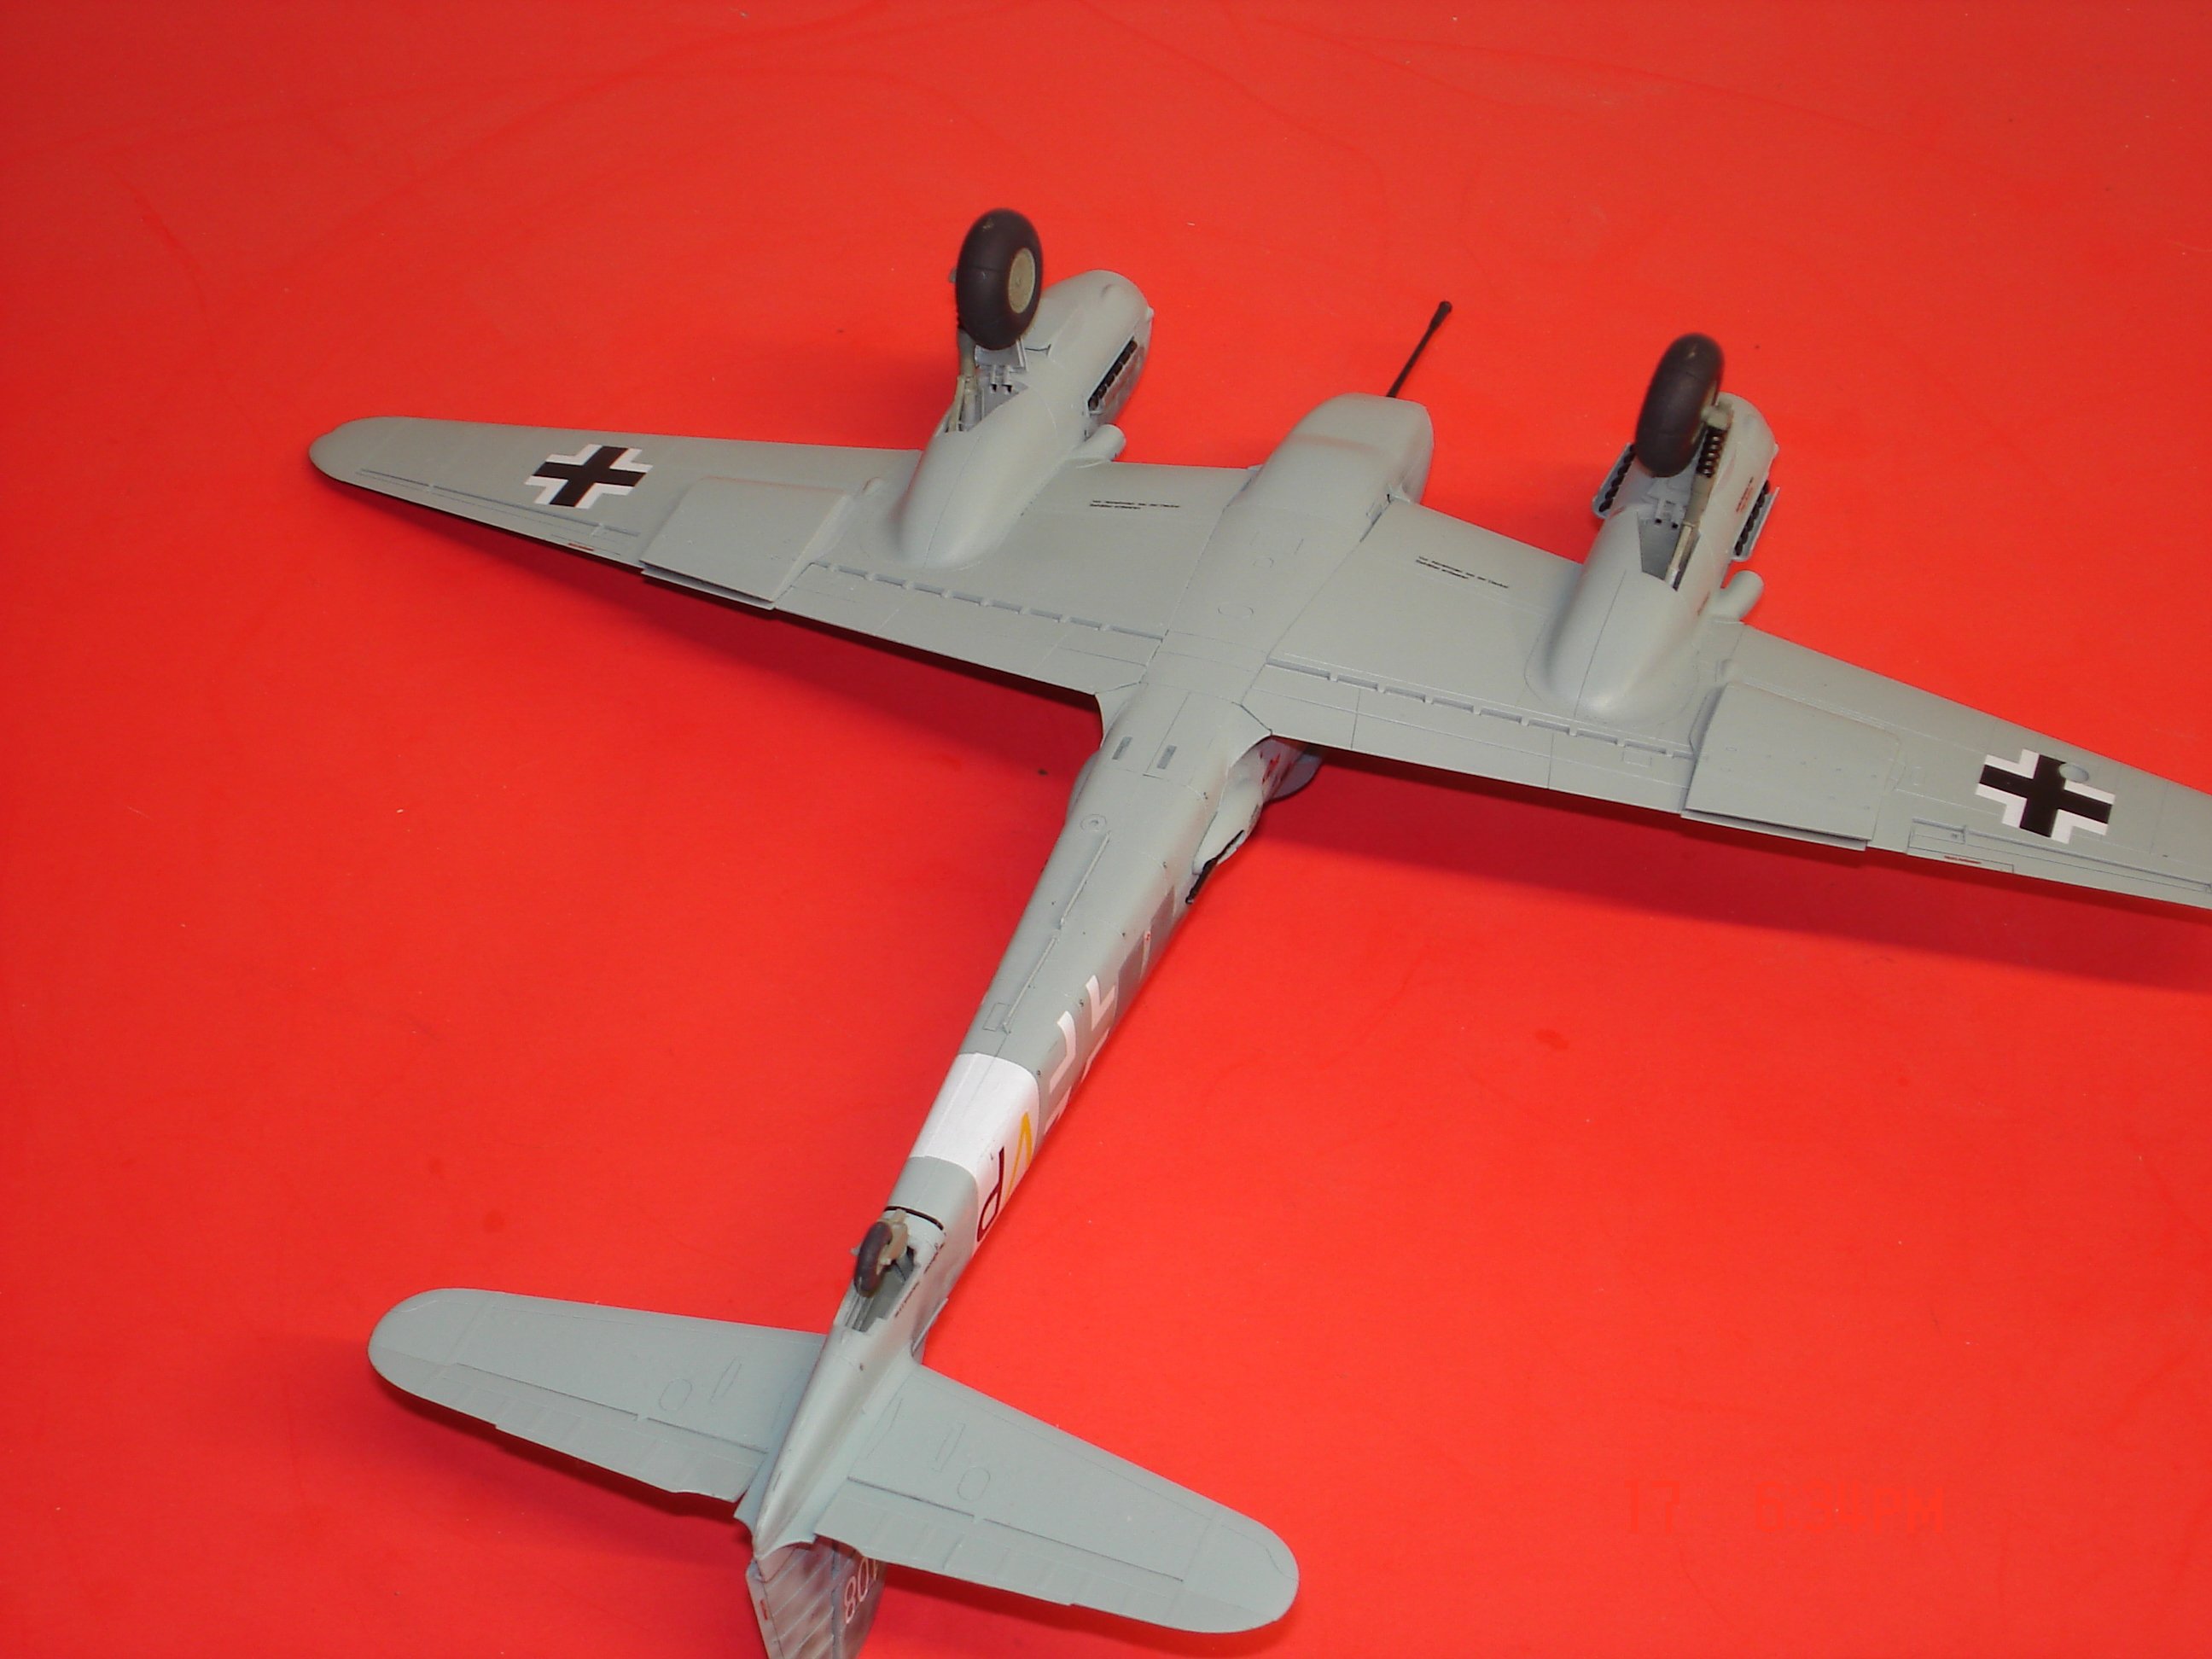
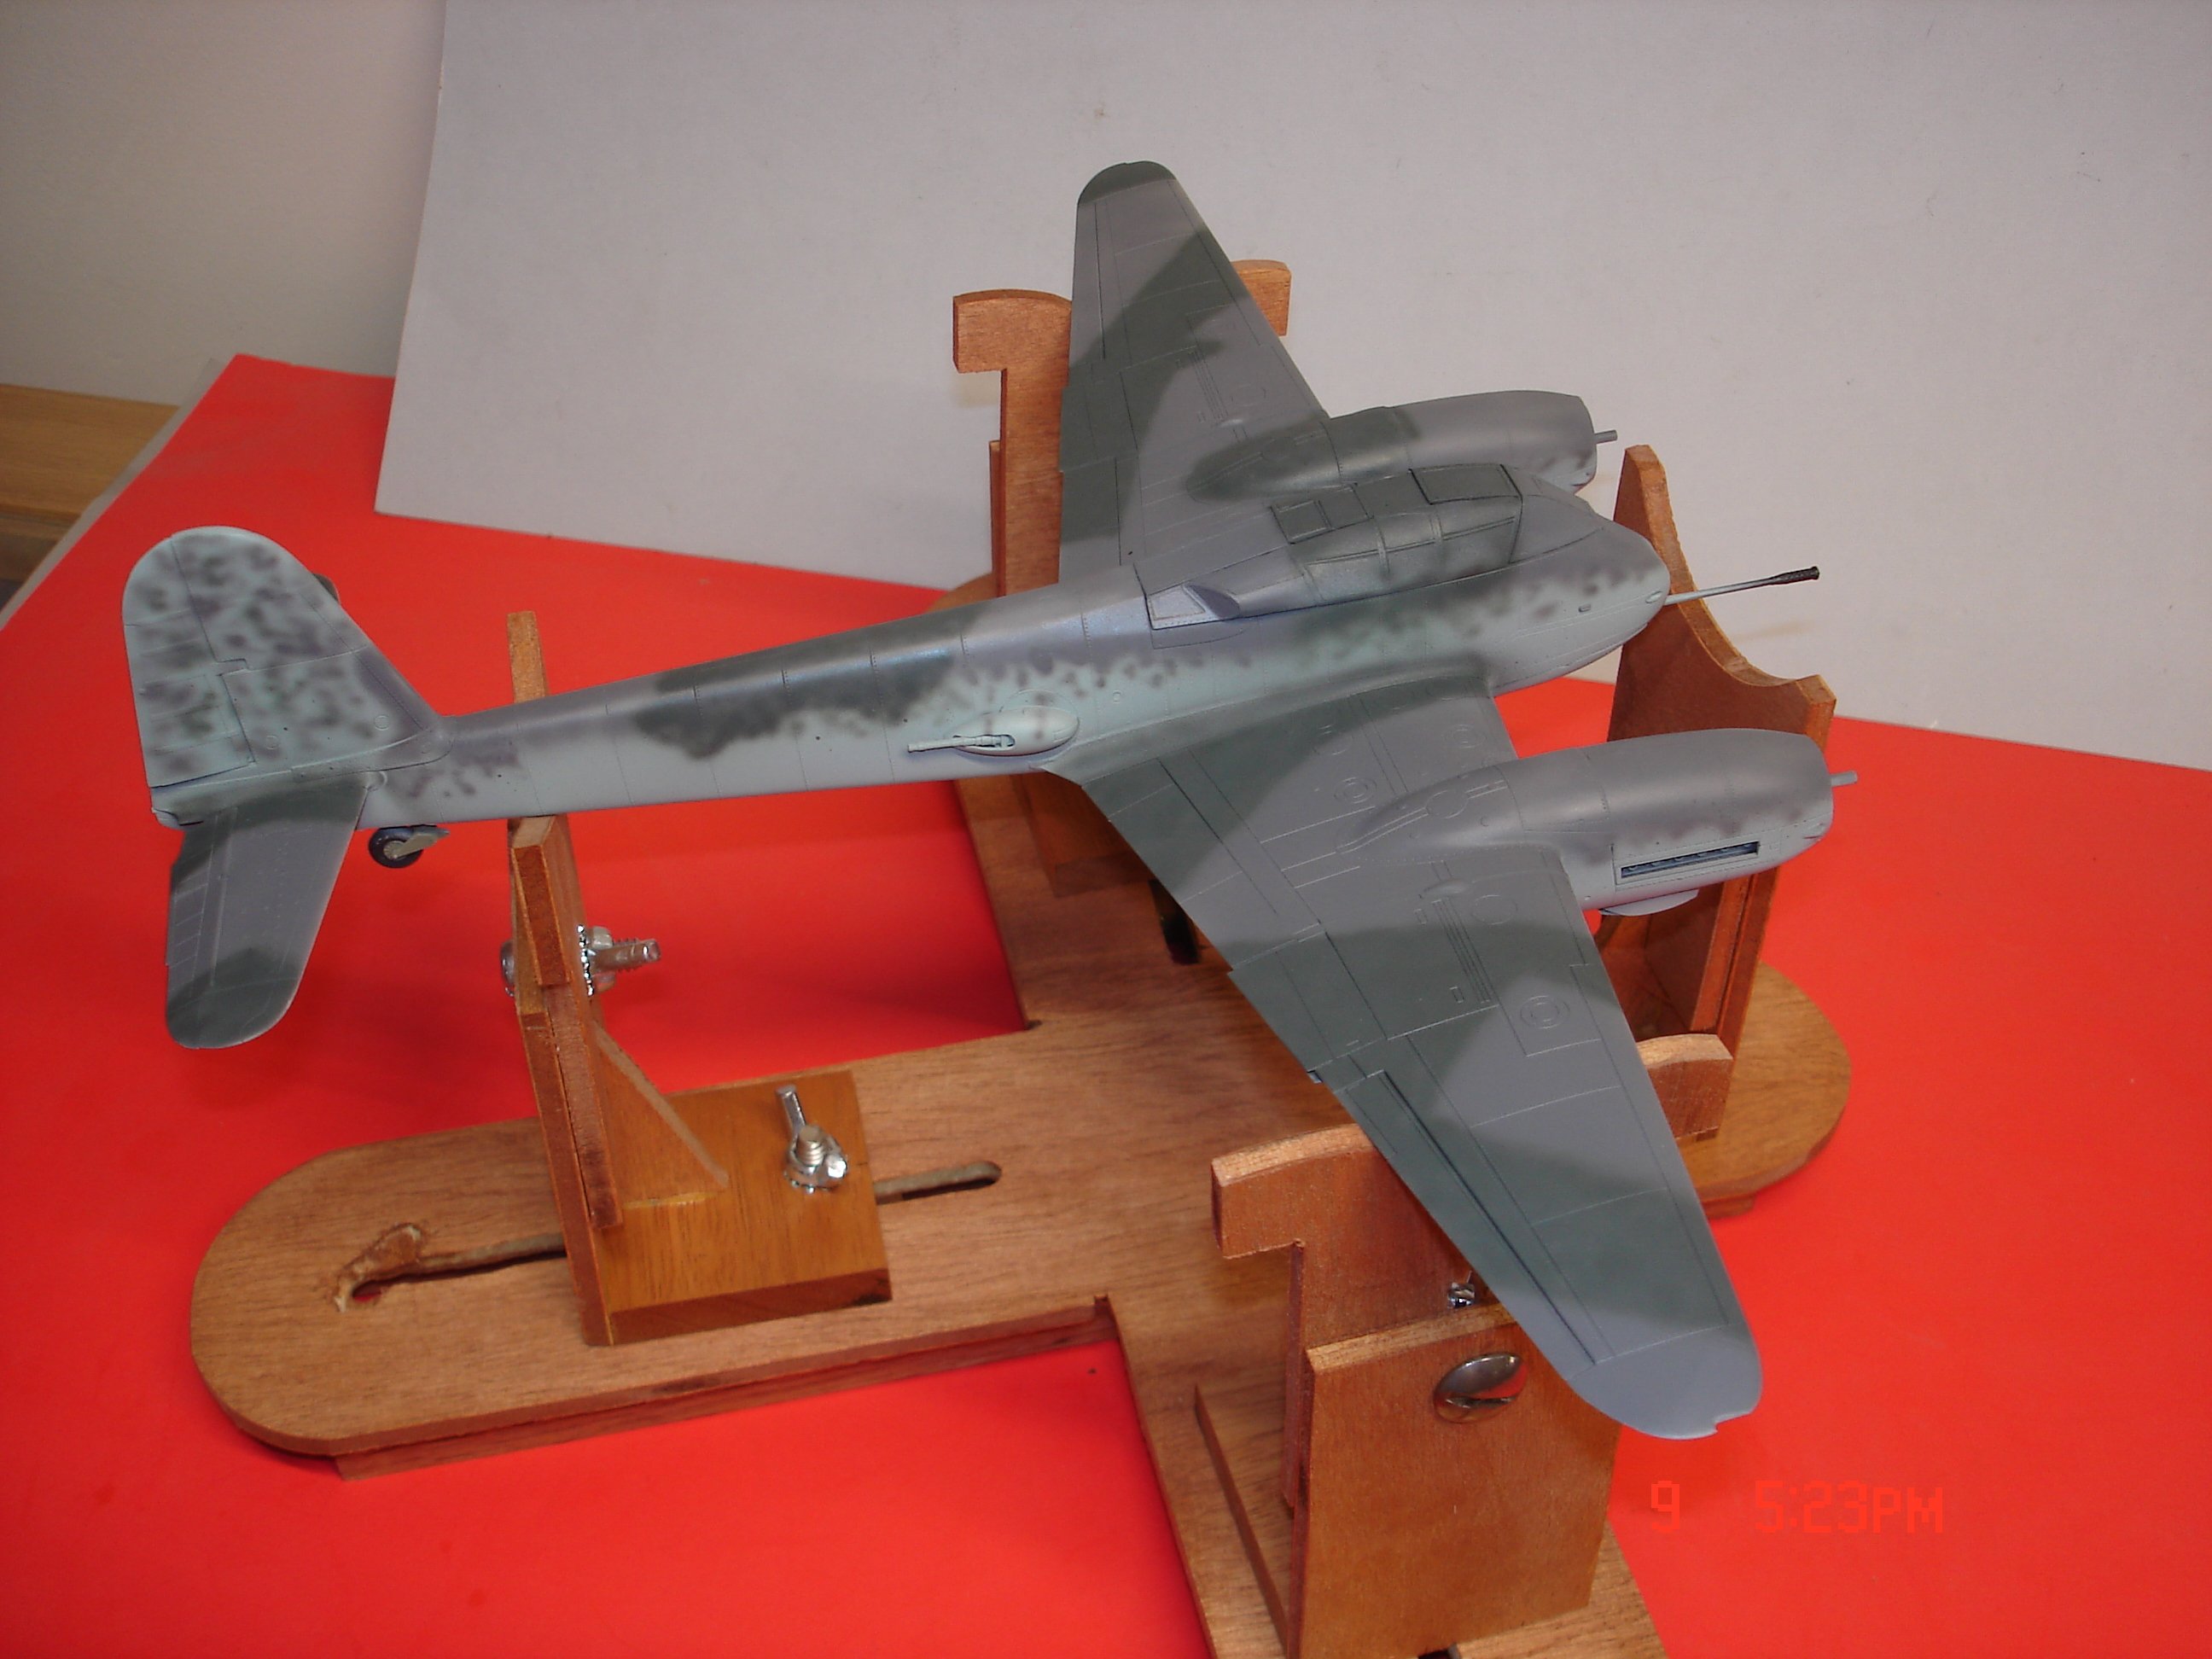
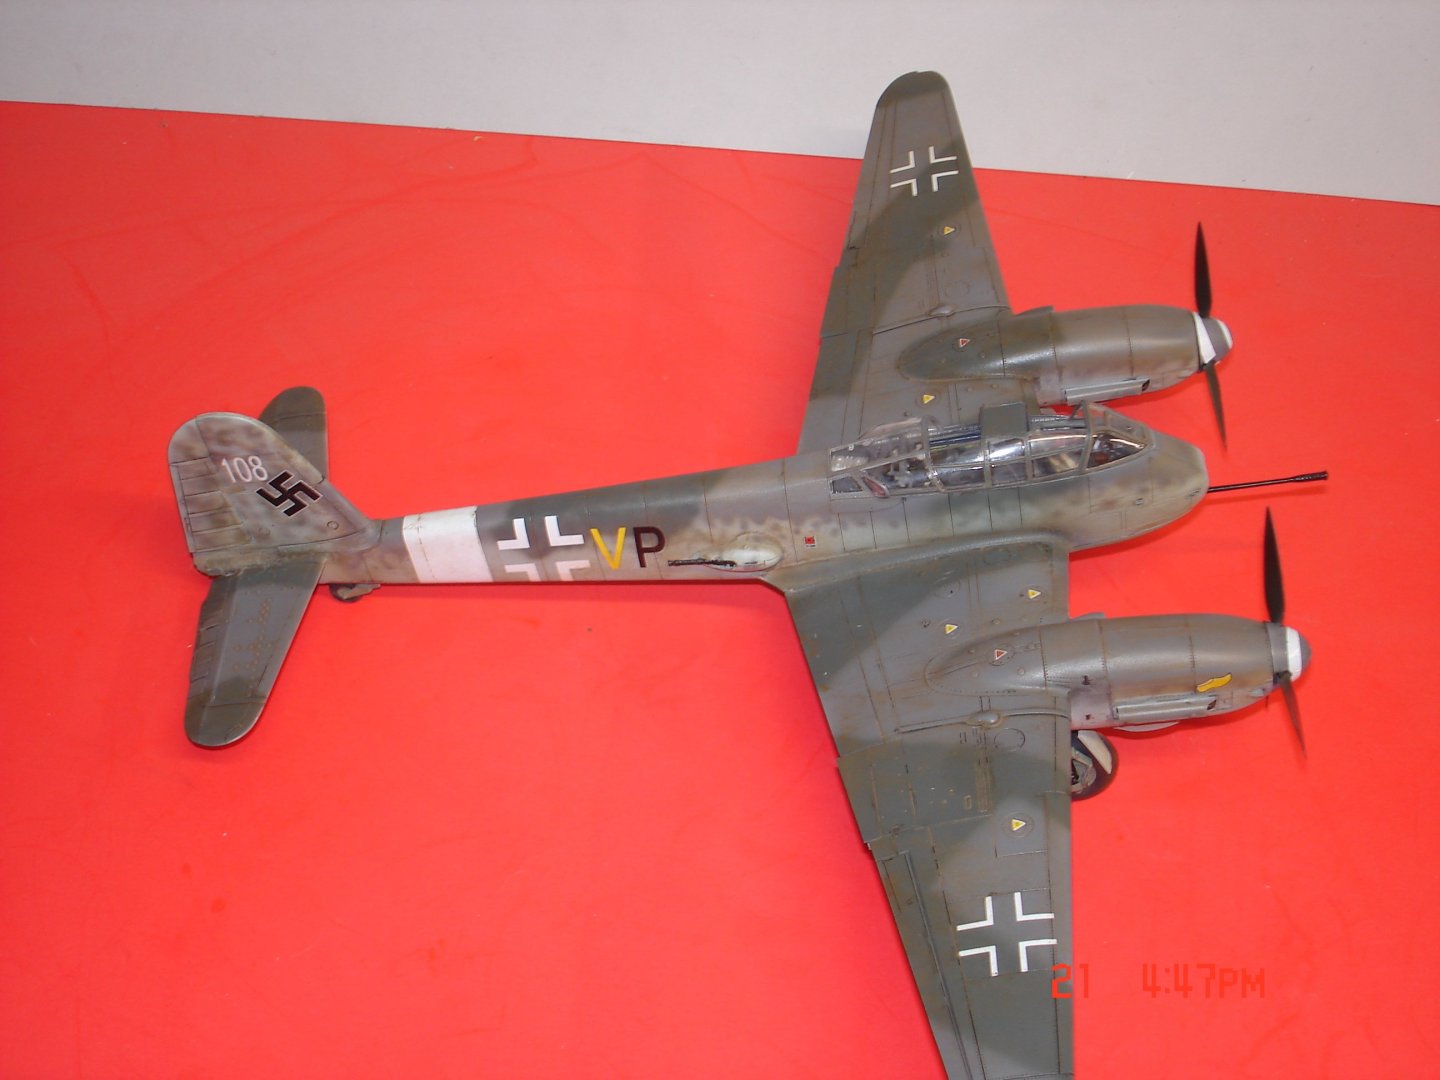
Alright I laid down a tamyia black panel wash.then Florys Sand all covered by Alcad semi clear.The sand looks better in person than in the pics esp. along the fuse giving it a depth look probably be best outside but 100% overcast today.


- 22 replies
-
- 15
-
-
-
The Mossy Shipyard by Bryan Woods - 1:1
Javlin replied to Bryan Woods's topic in Non-ship/categorised builds
That was a lot of concrete to mix looking good and looking for the final results. -
Spindle chair by kgstakes - FINISHED - 1/12th scale
Javlin replied to kgstakes's topic in Non-ship/categorised builds
That's interesting and crazy -
Craig I see why you went the route of the AM engine whoa! The painting looks really good well look much the part under the hood(I like fast cars)
-
Dan staining looks very good thus far and not sure if it existed on the Mossy but the most single engine(inline) the prop would stain 360'.I always figured it was the hydraulics to operate the pitch and such keep up the great work!
-
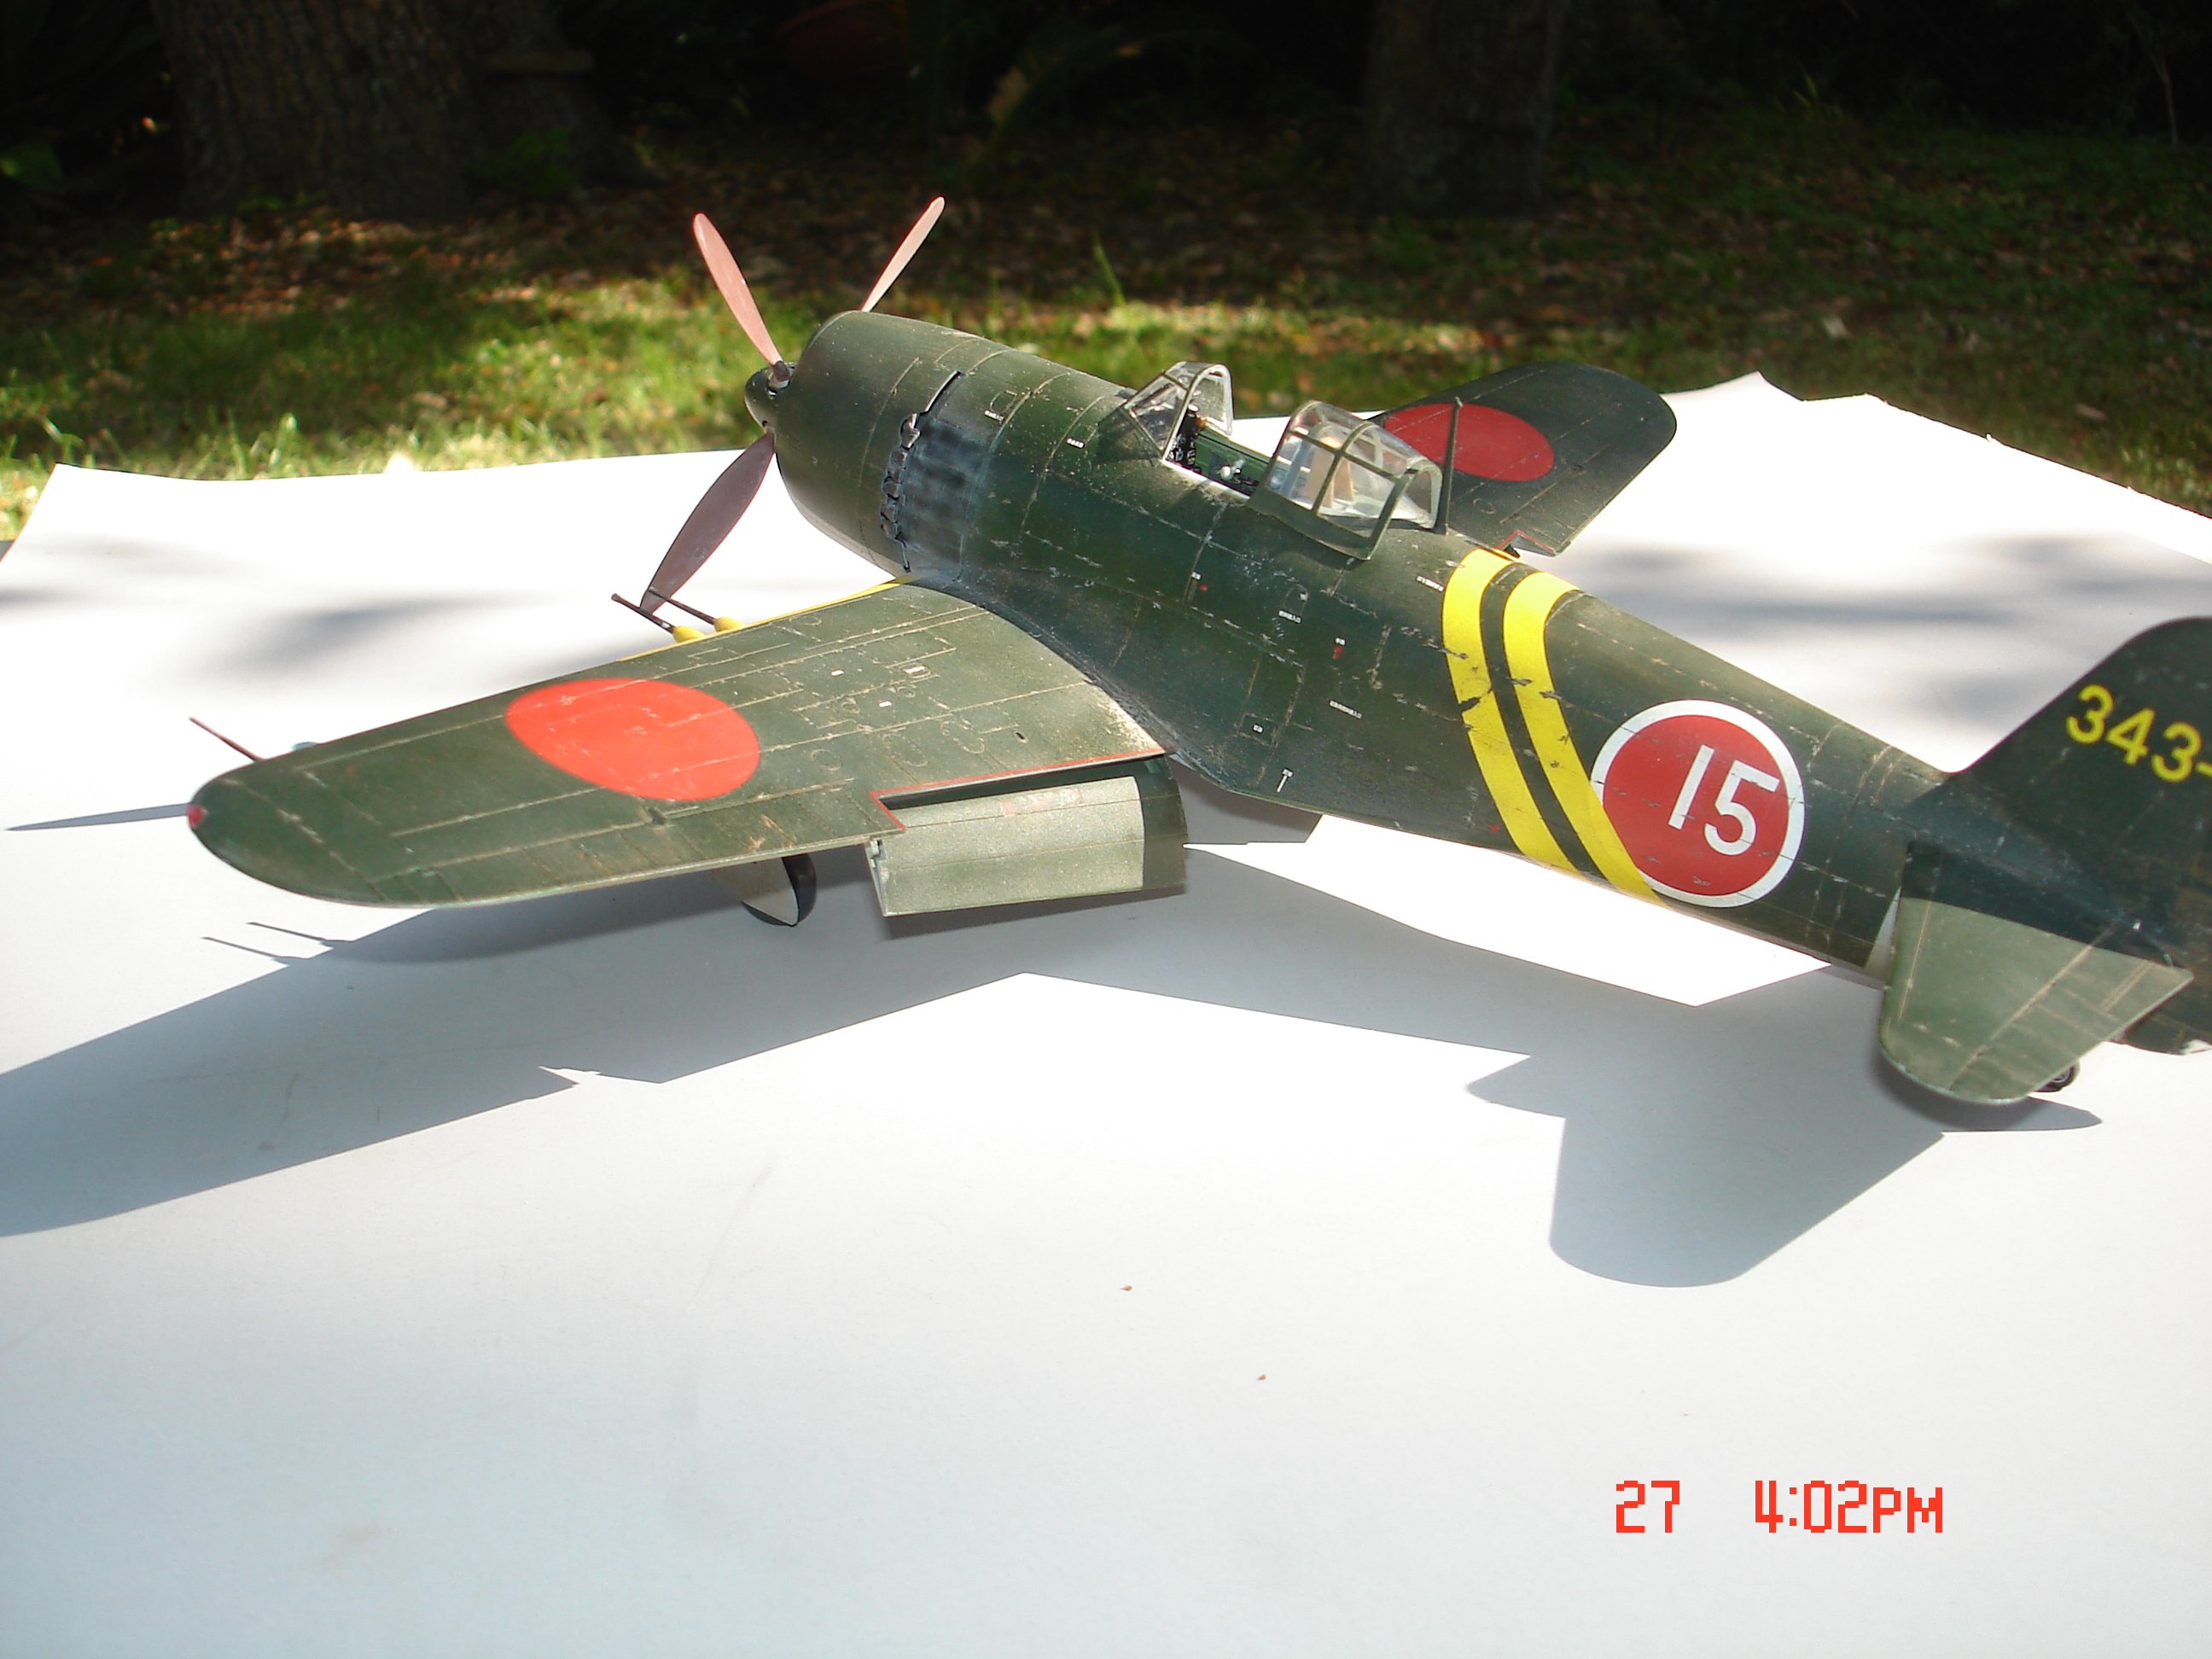
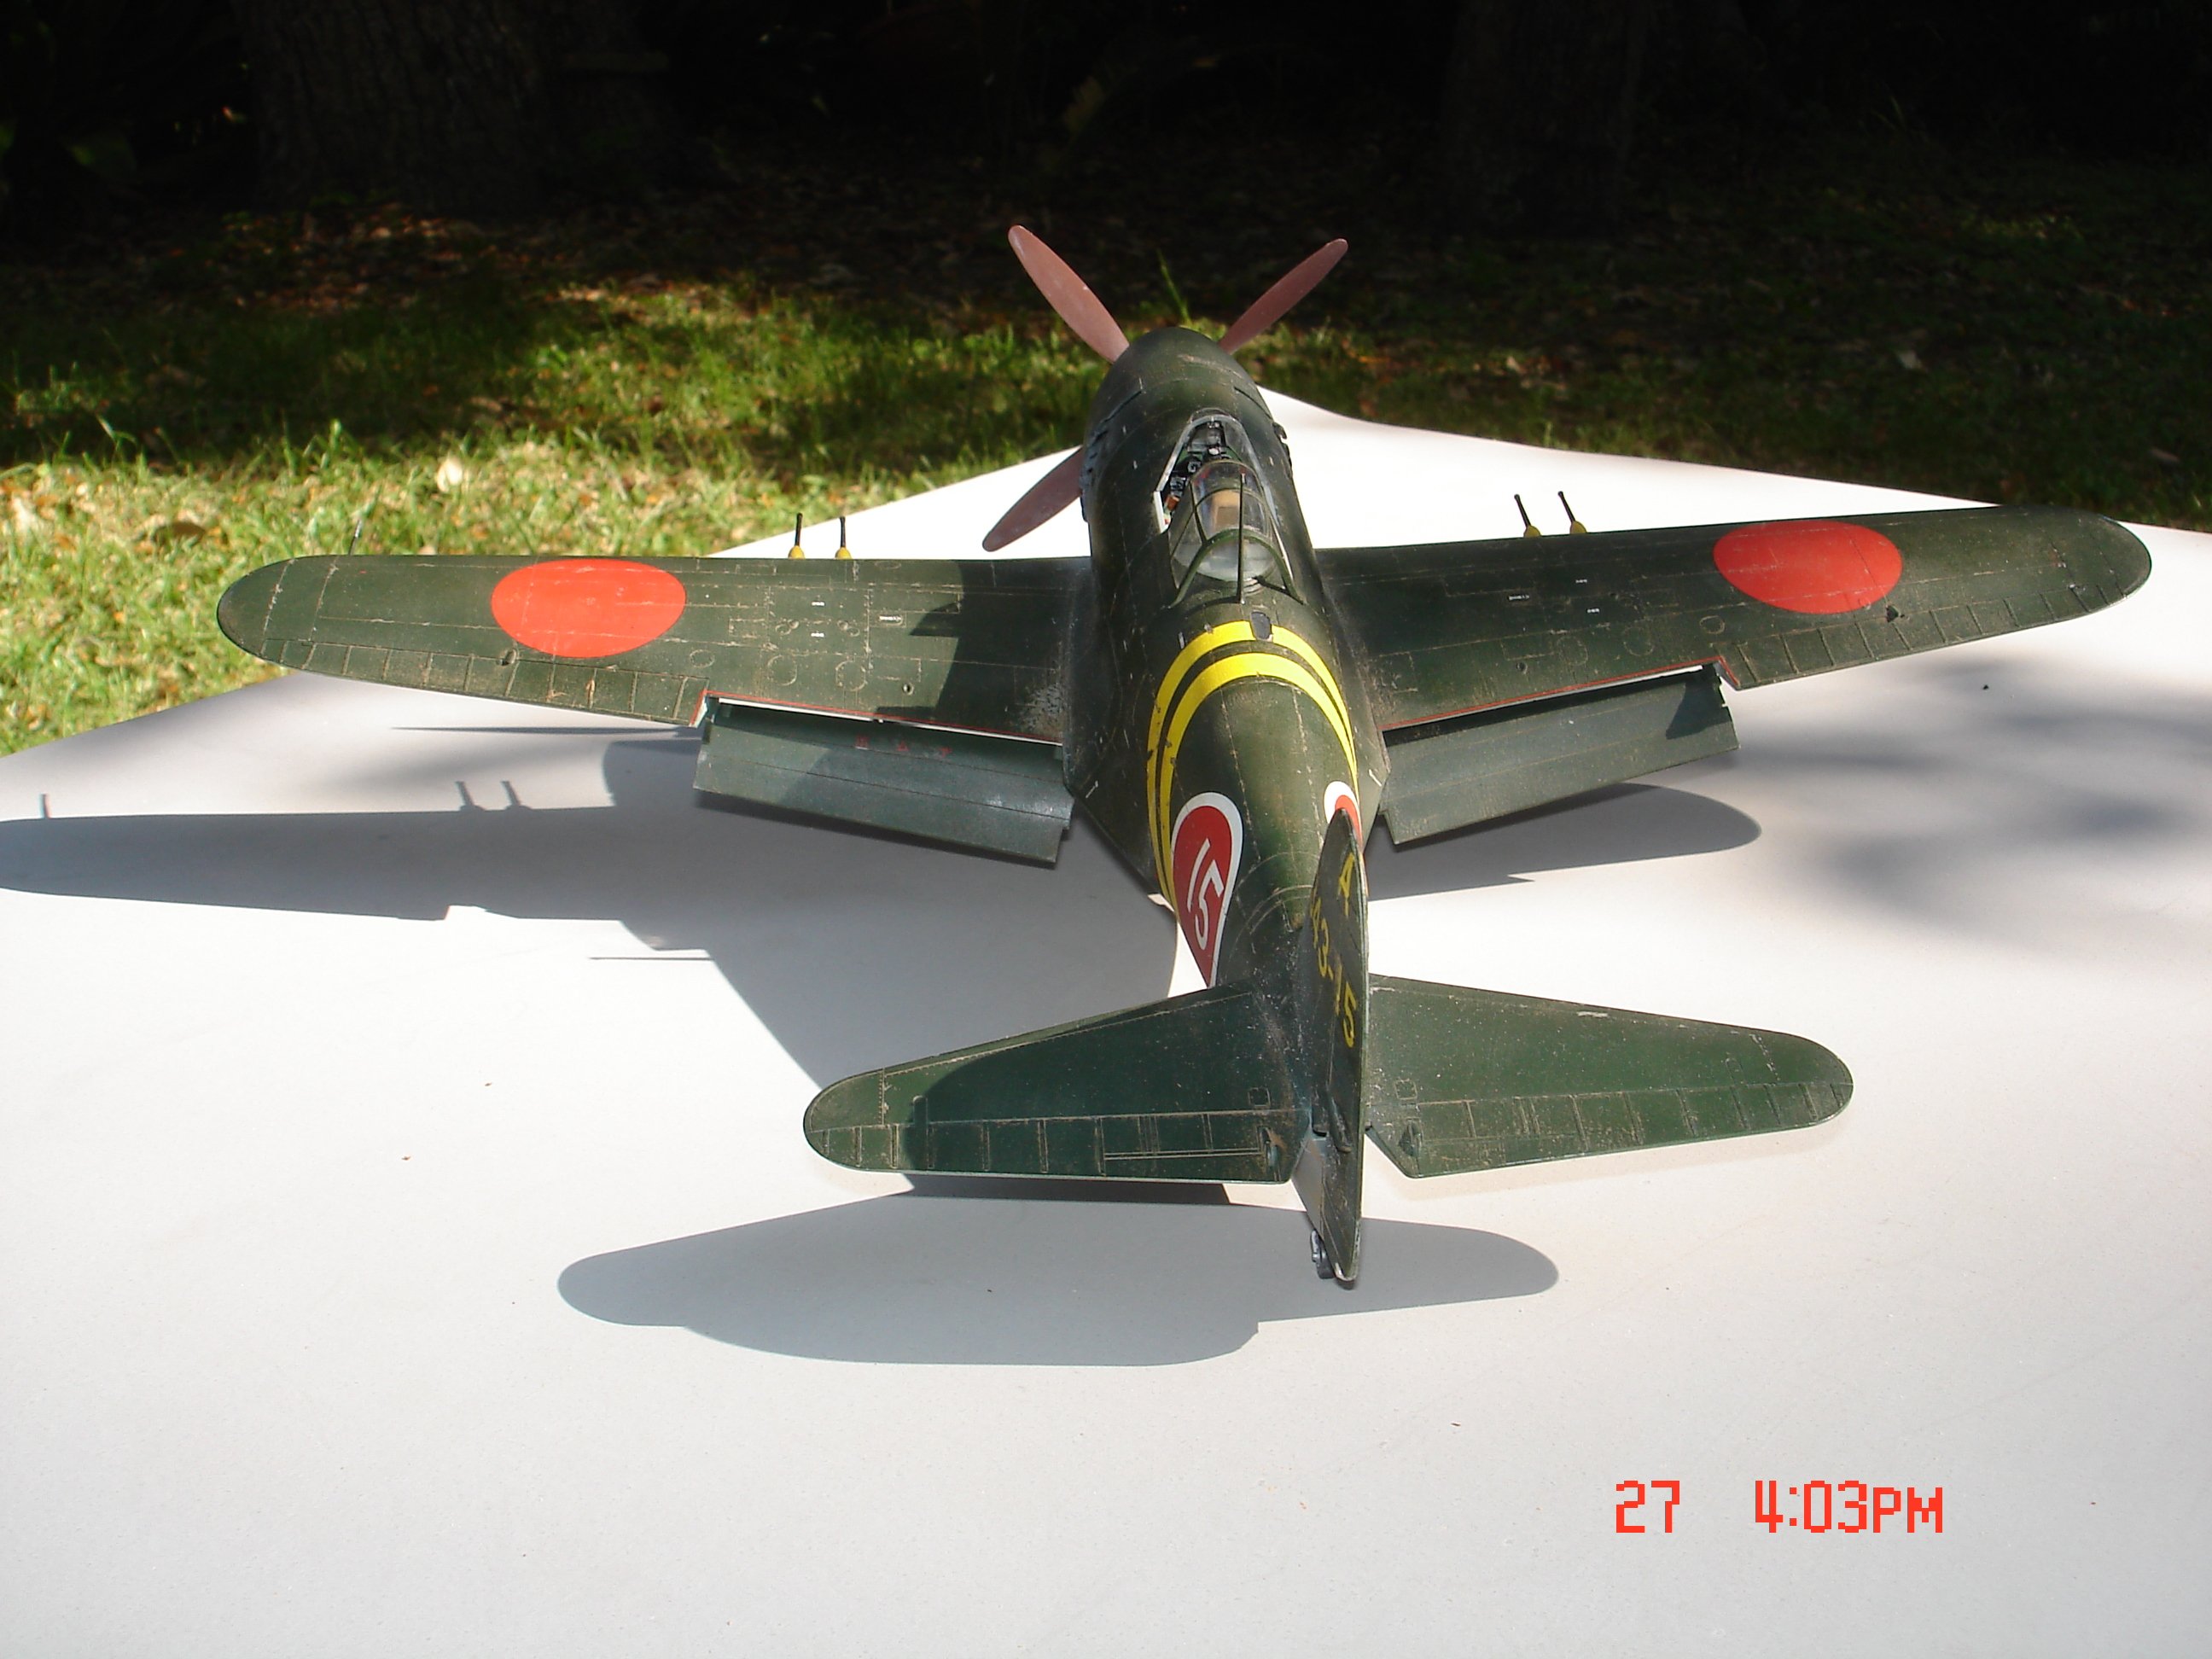
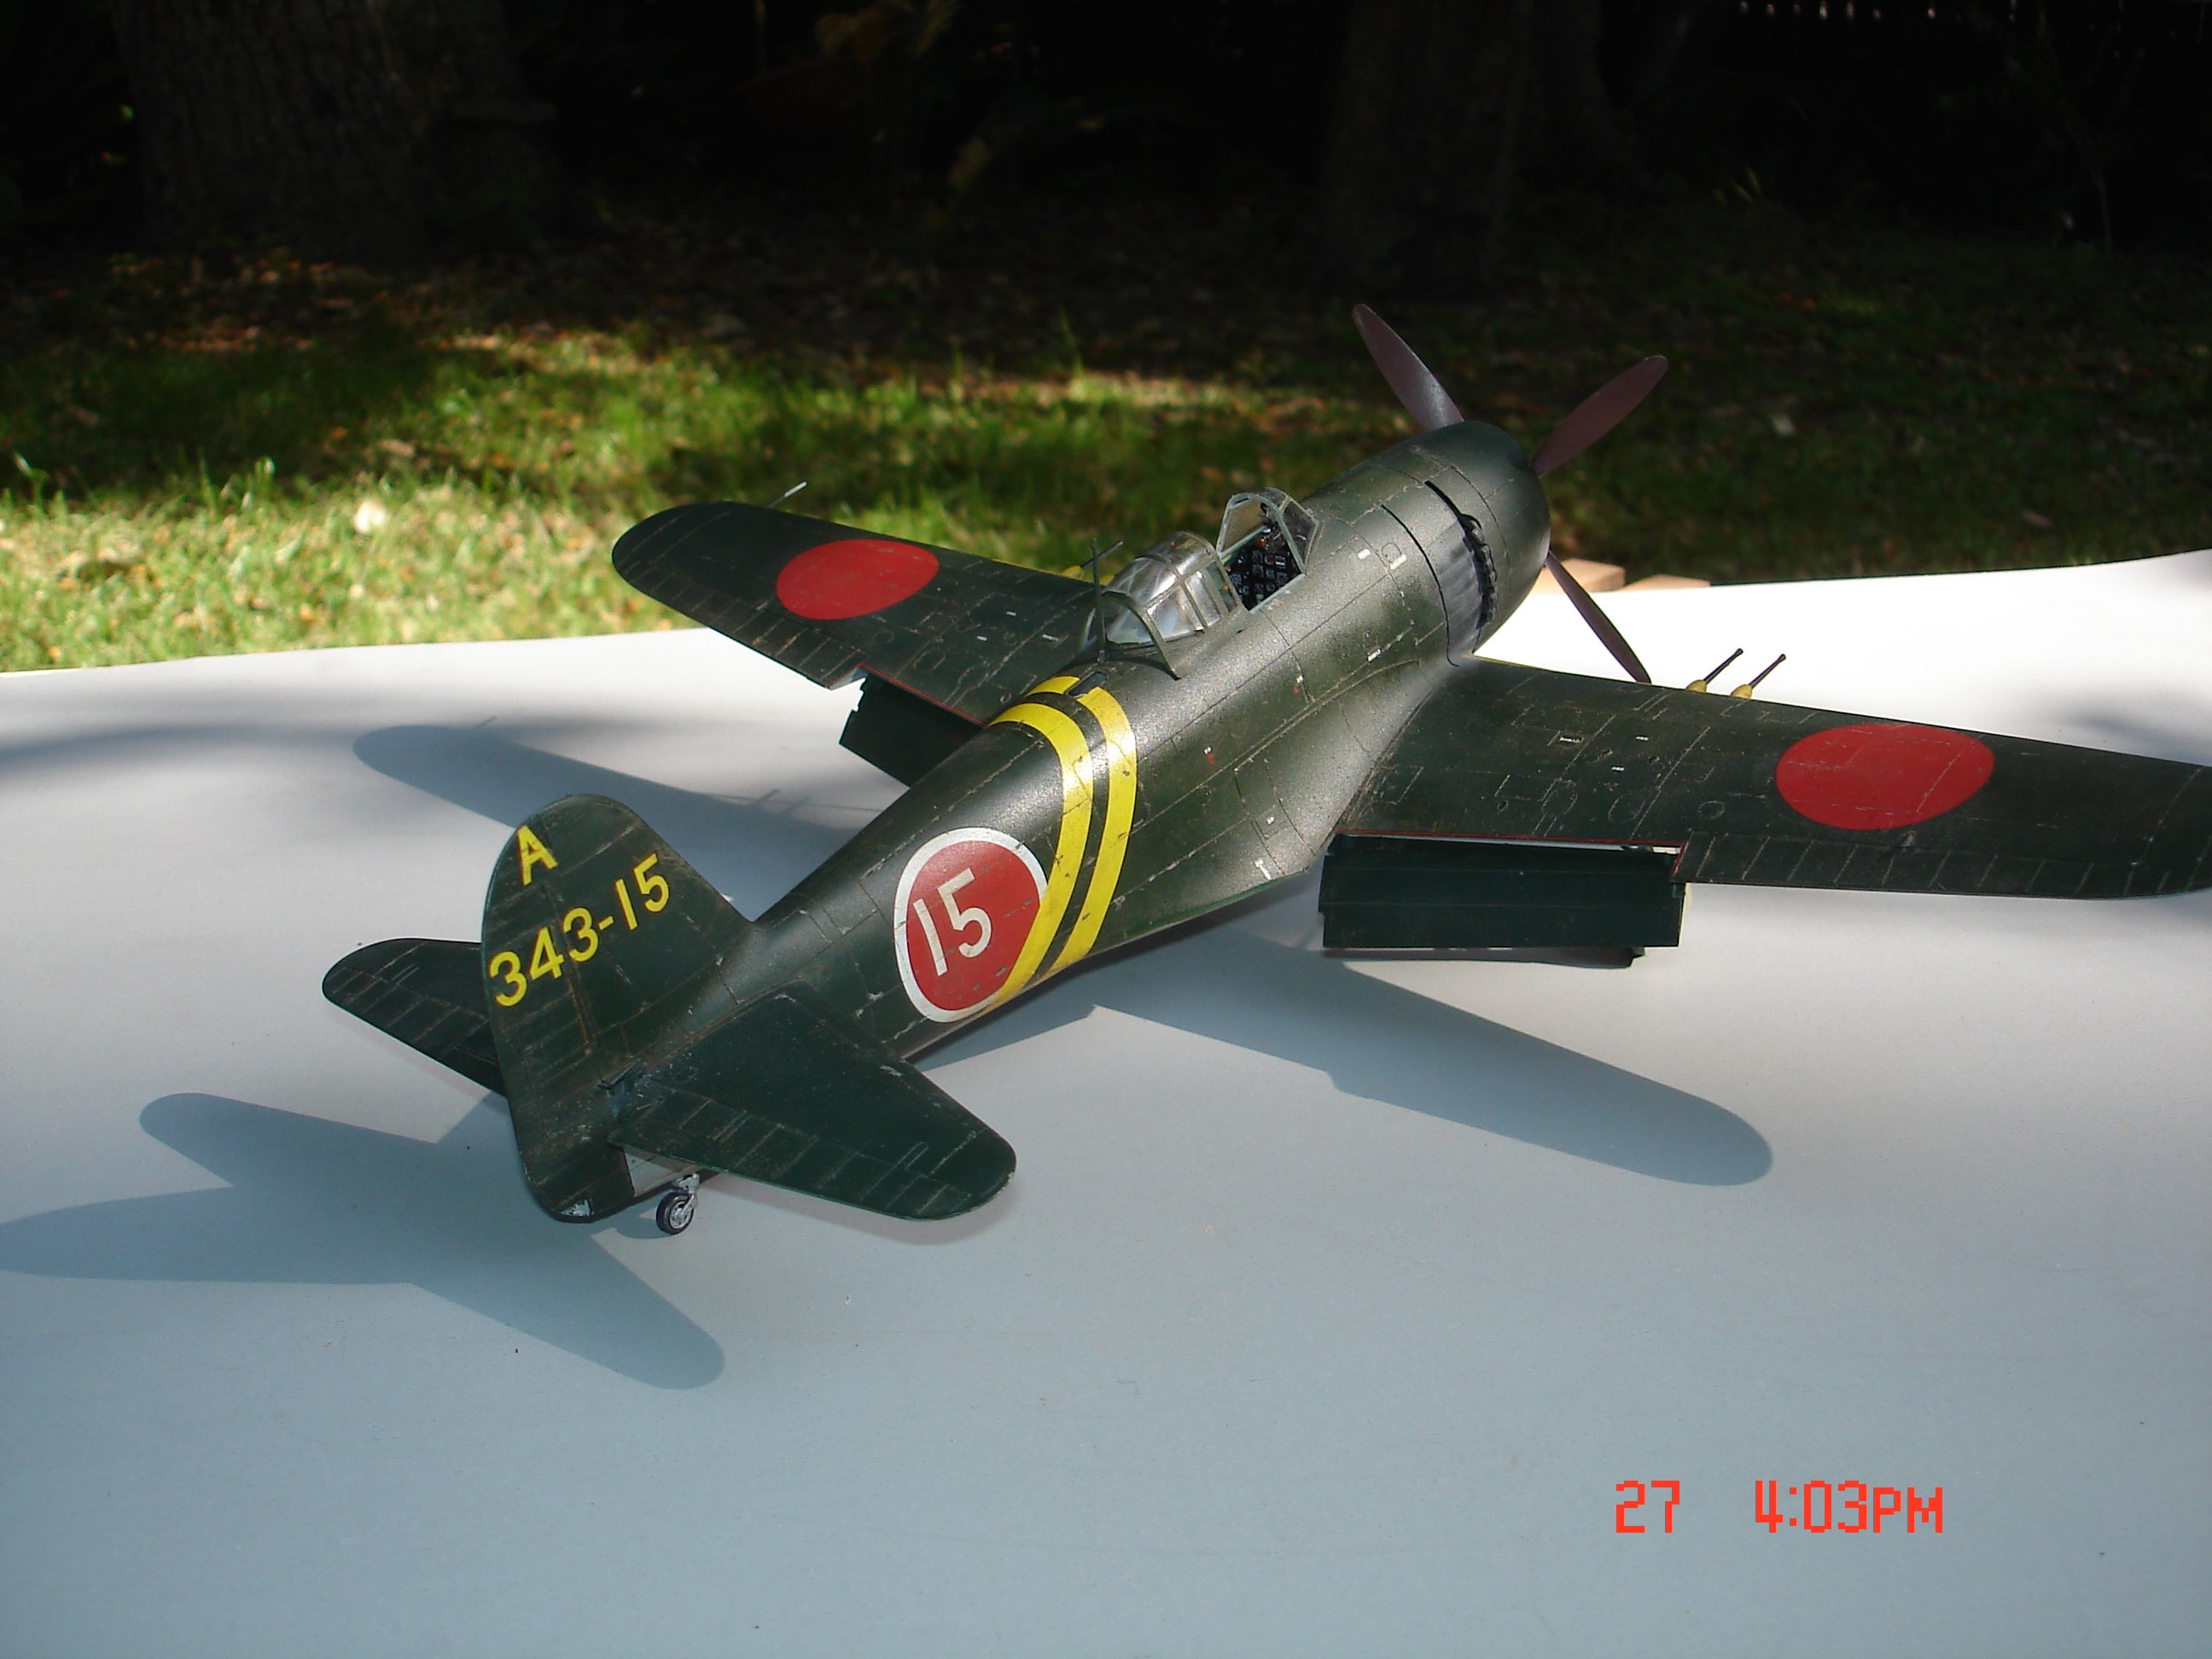
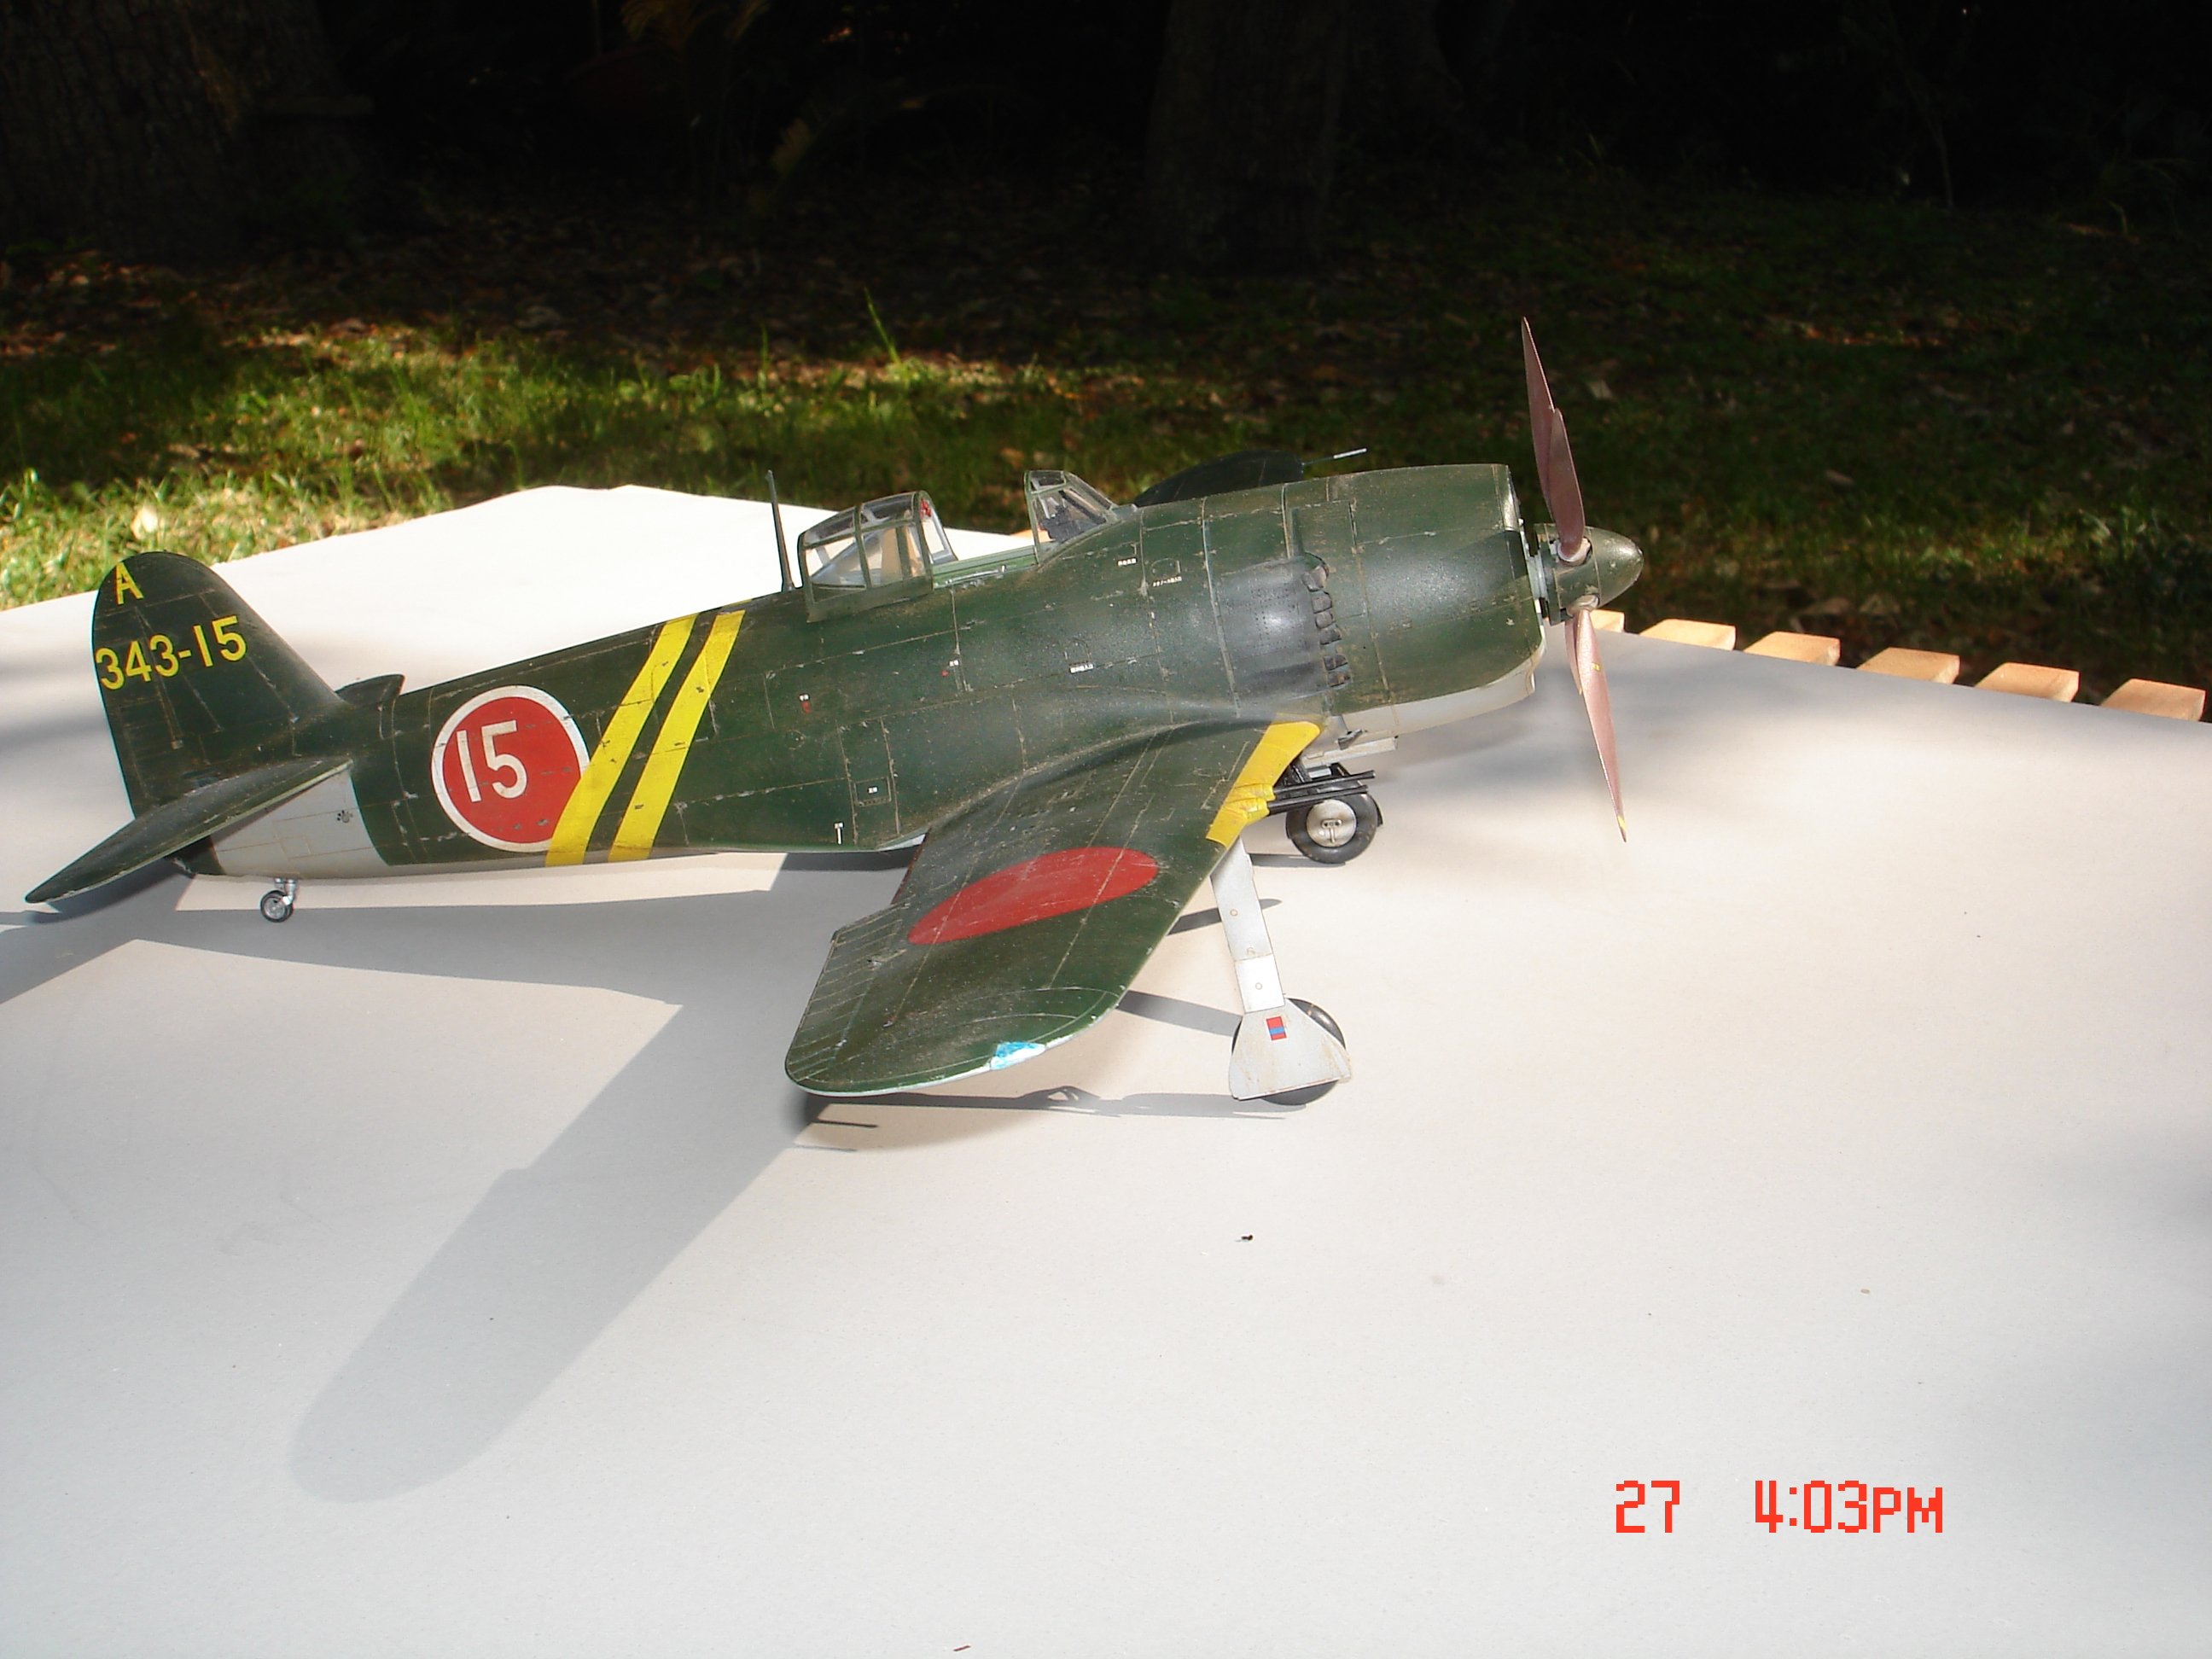
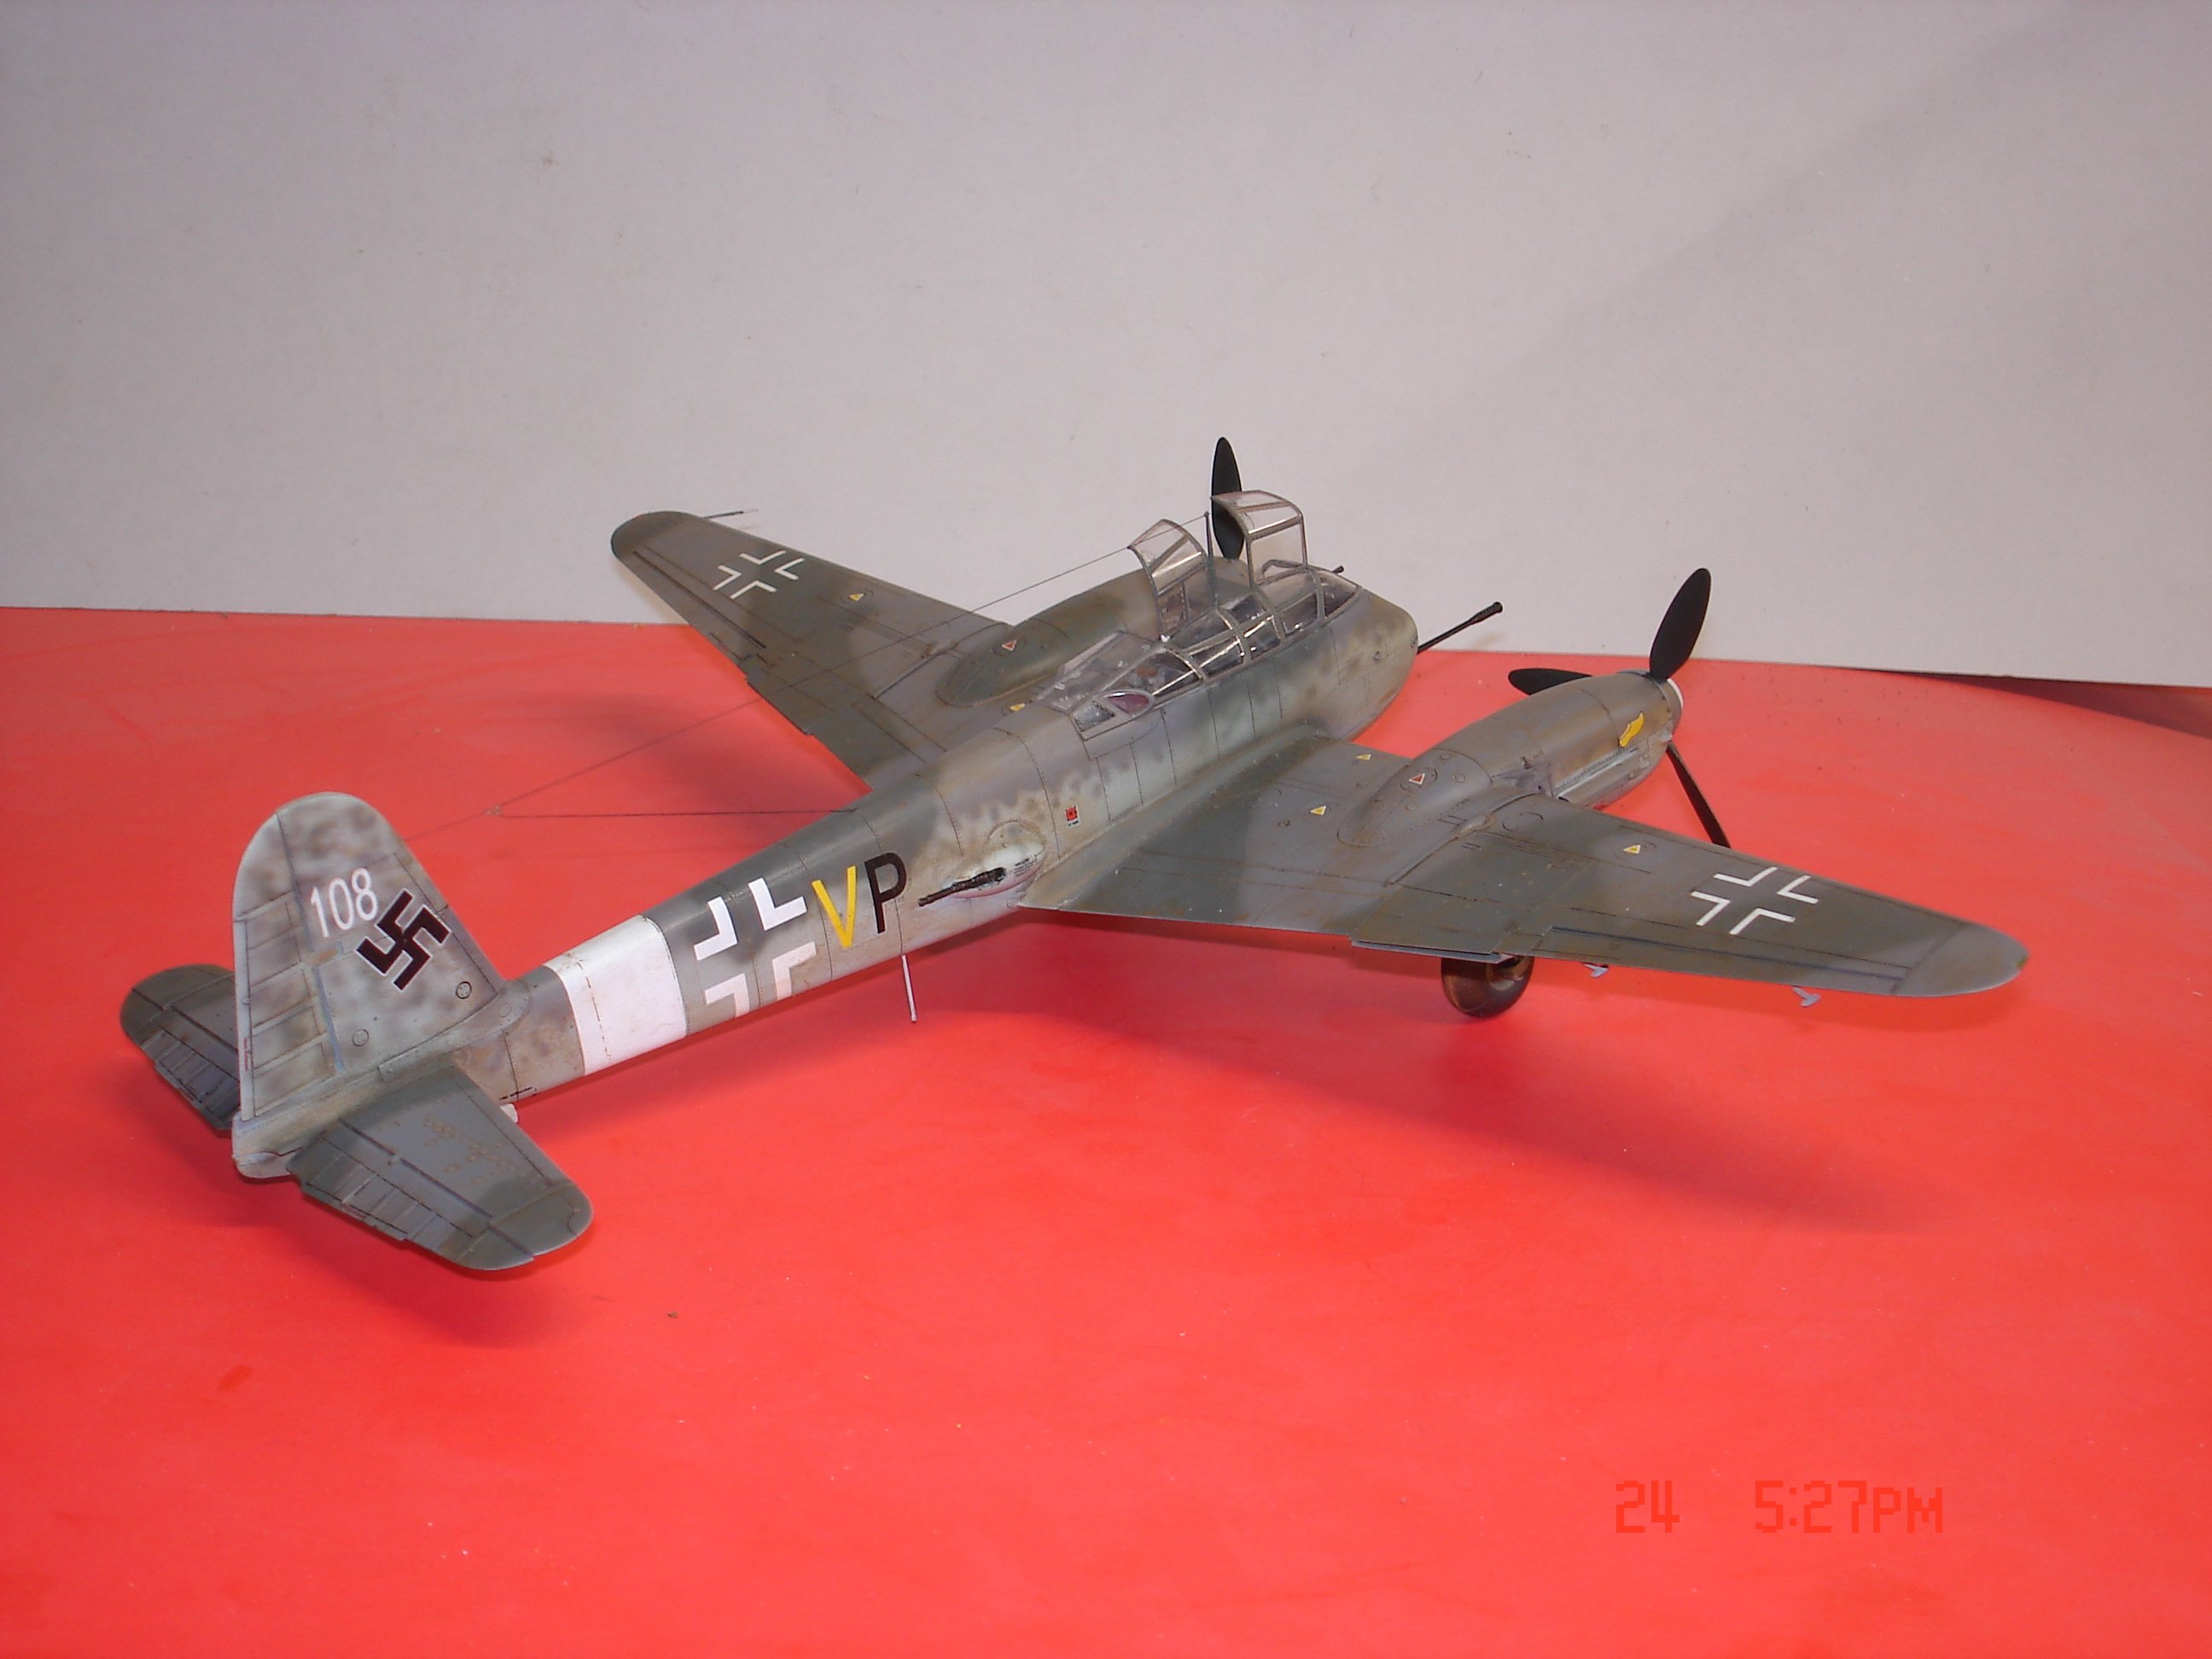
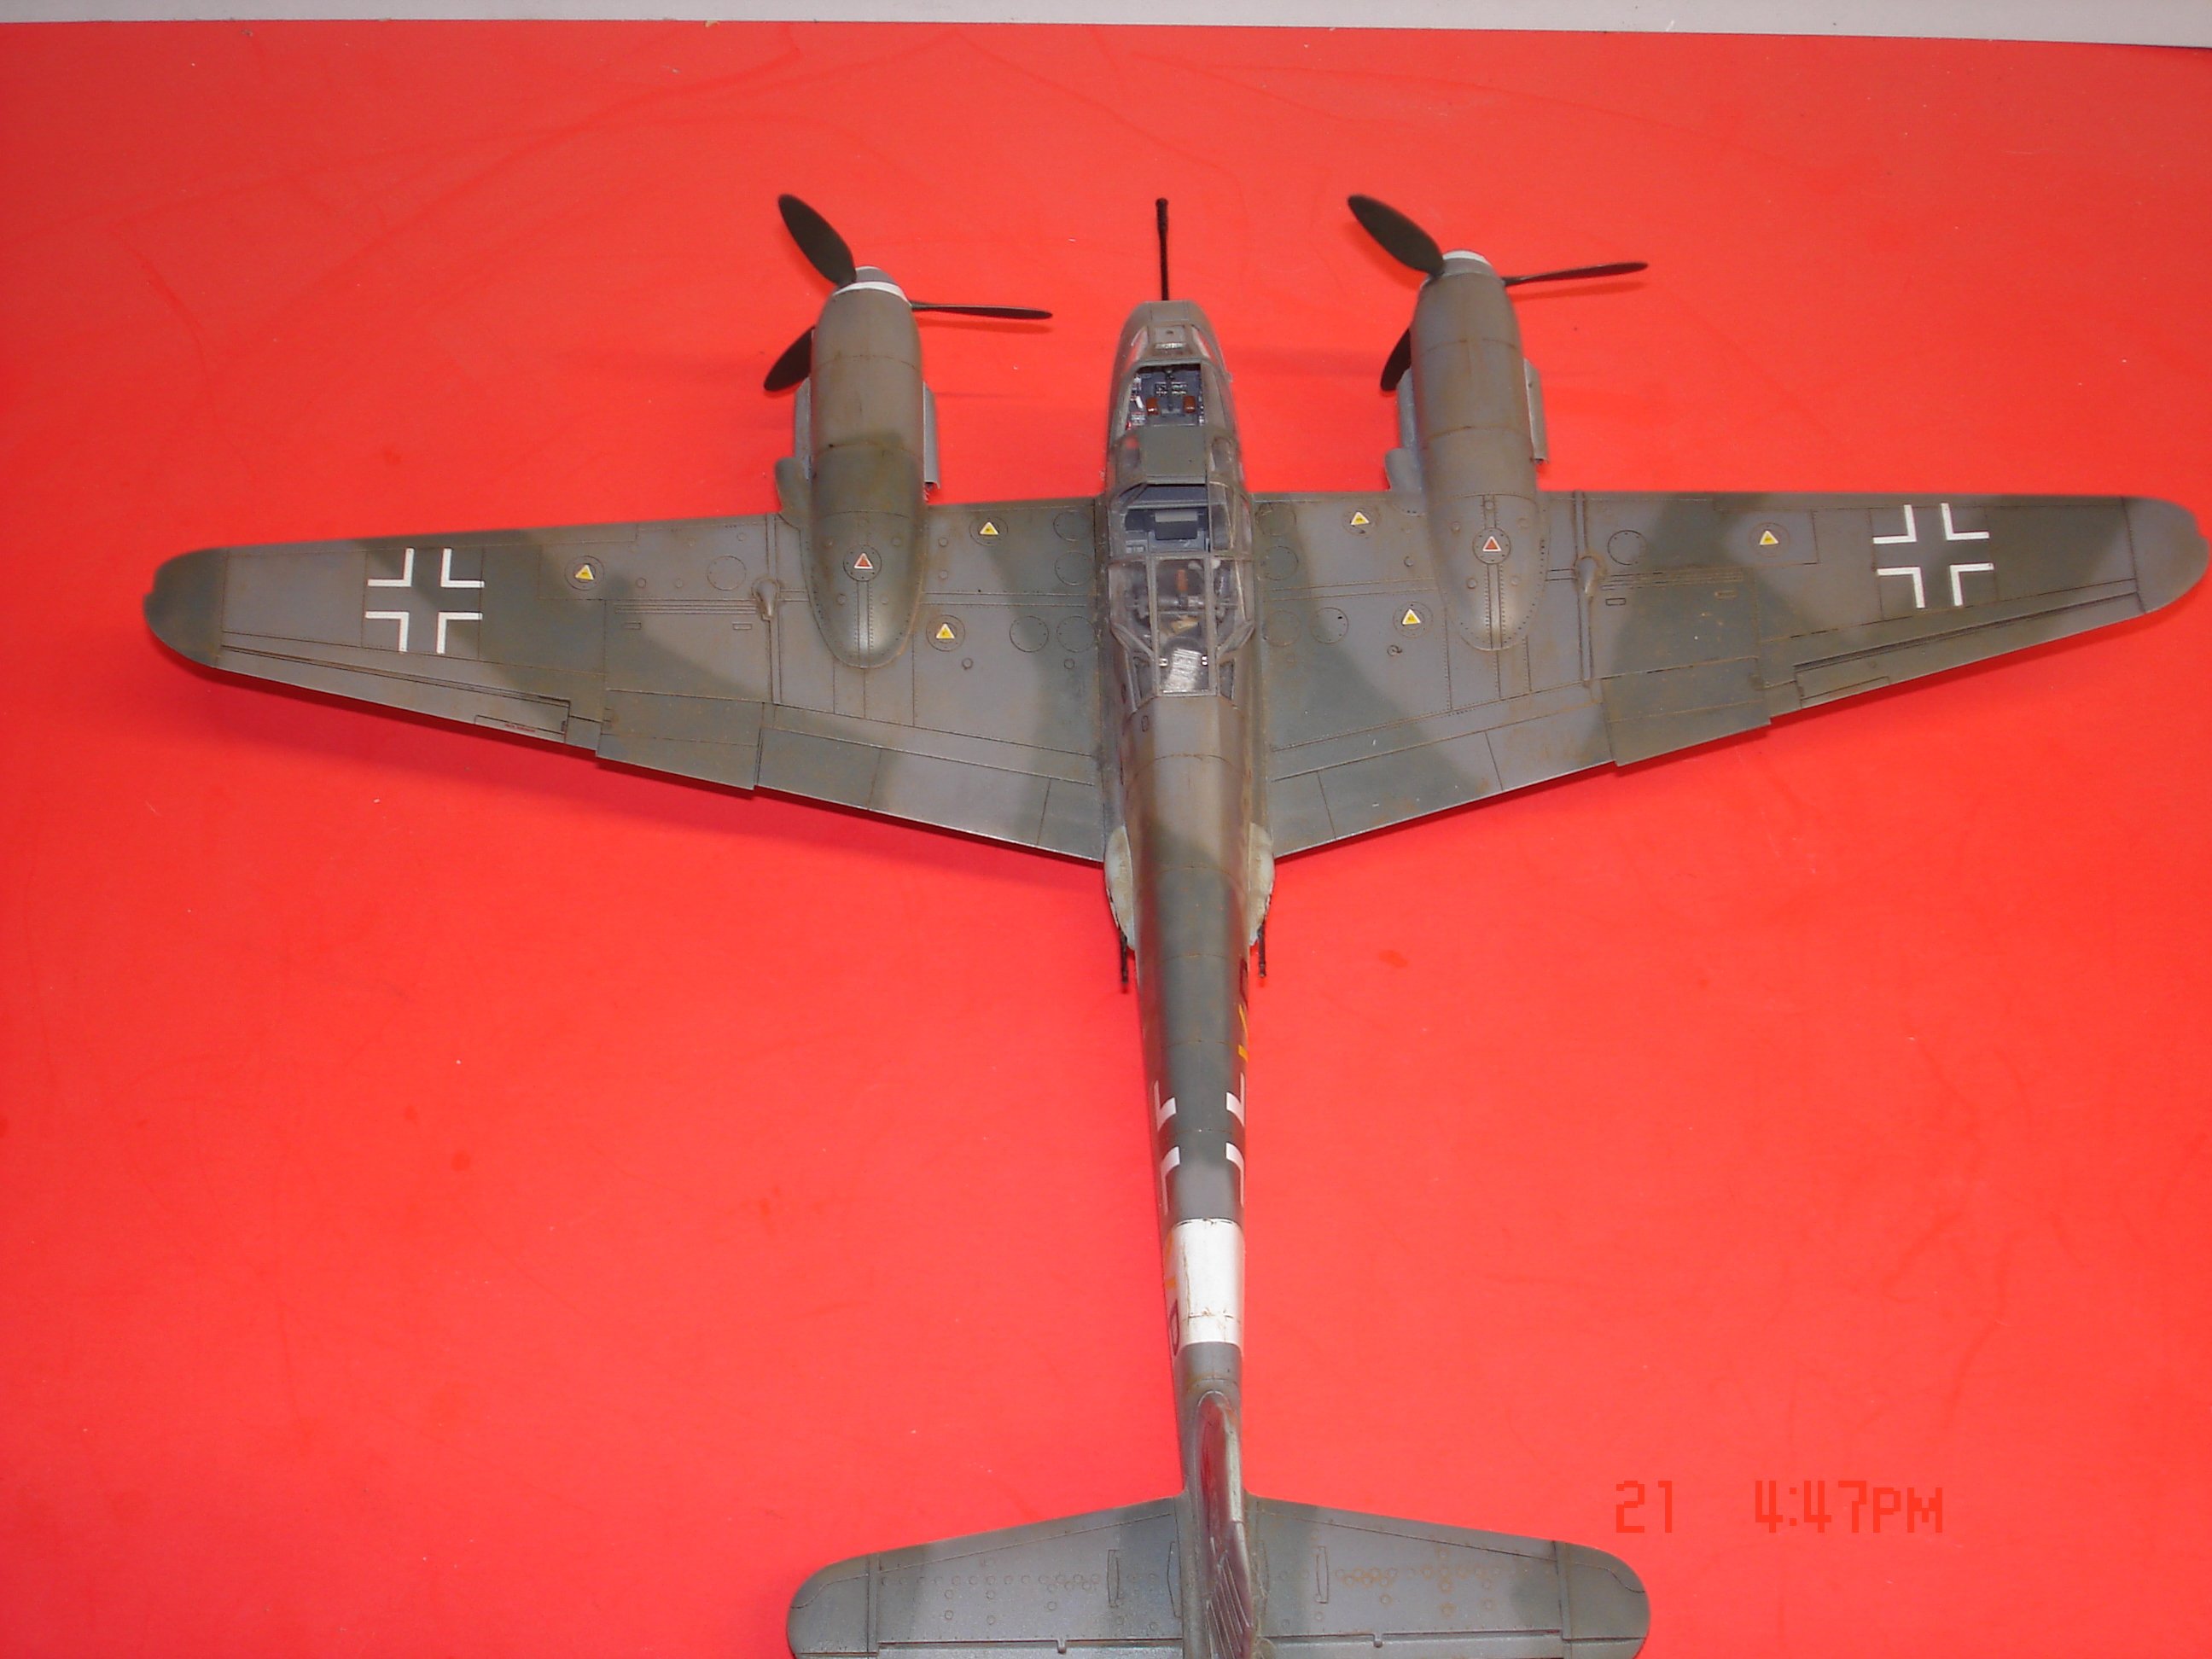
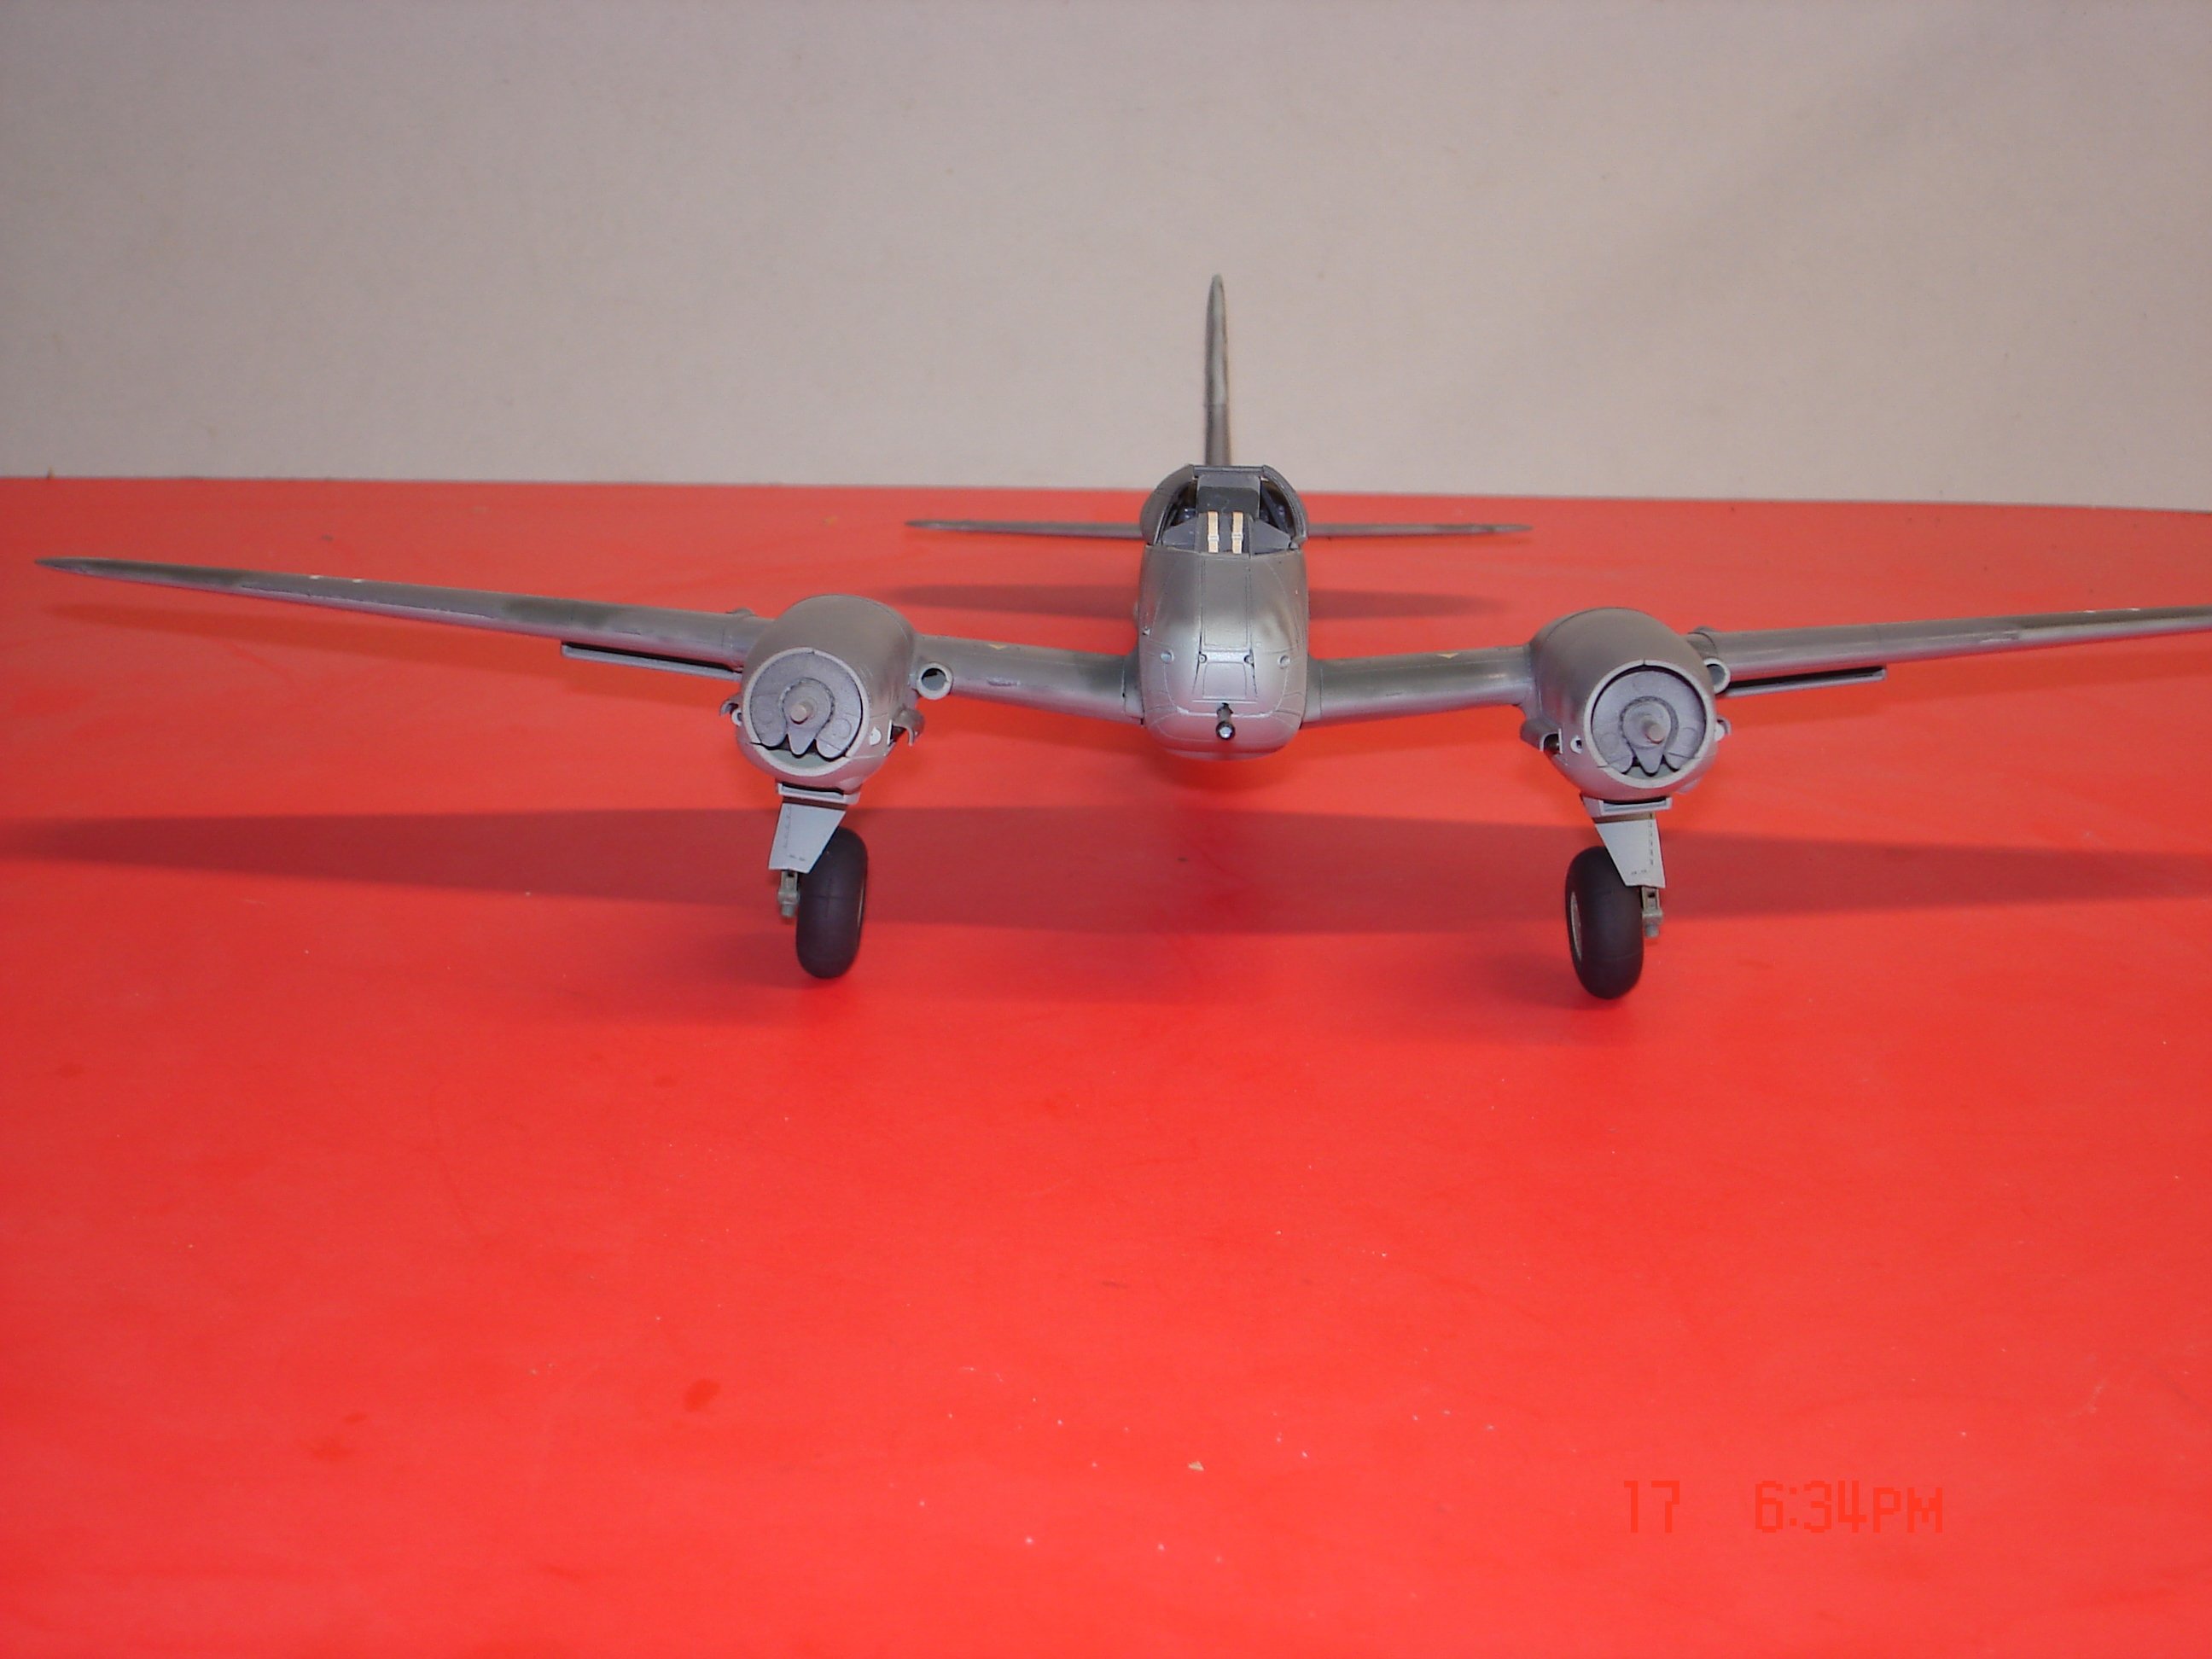
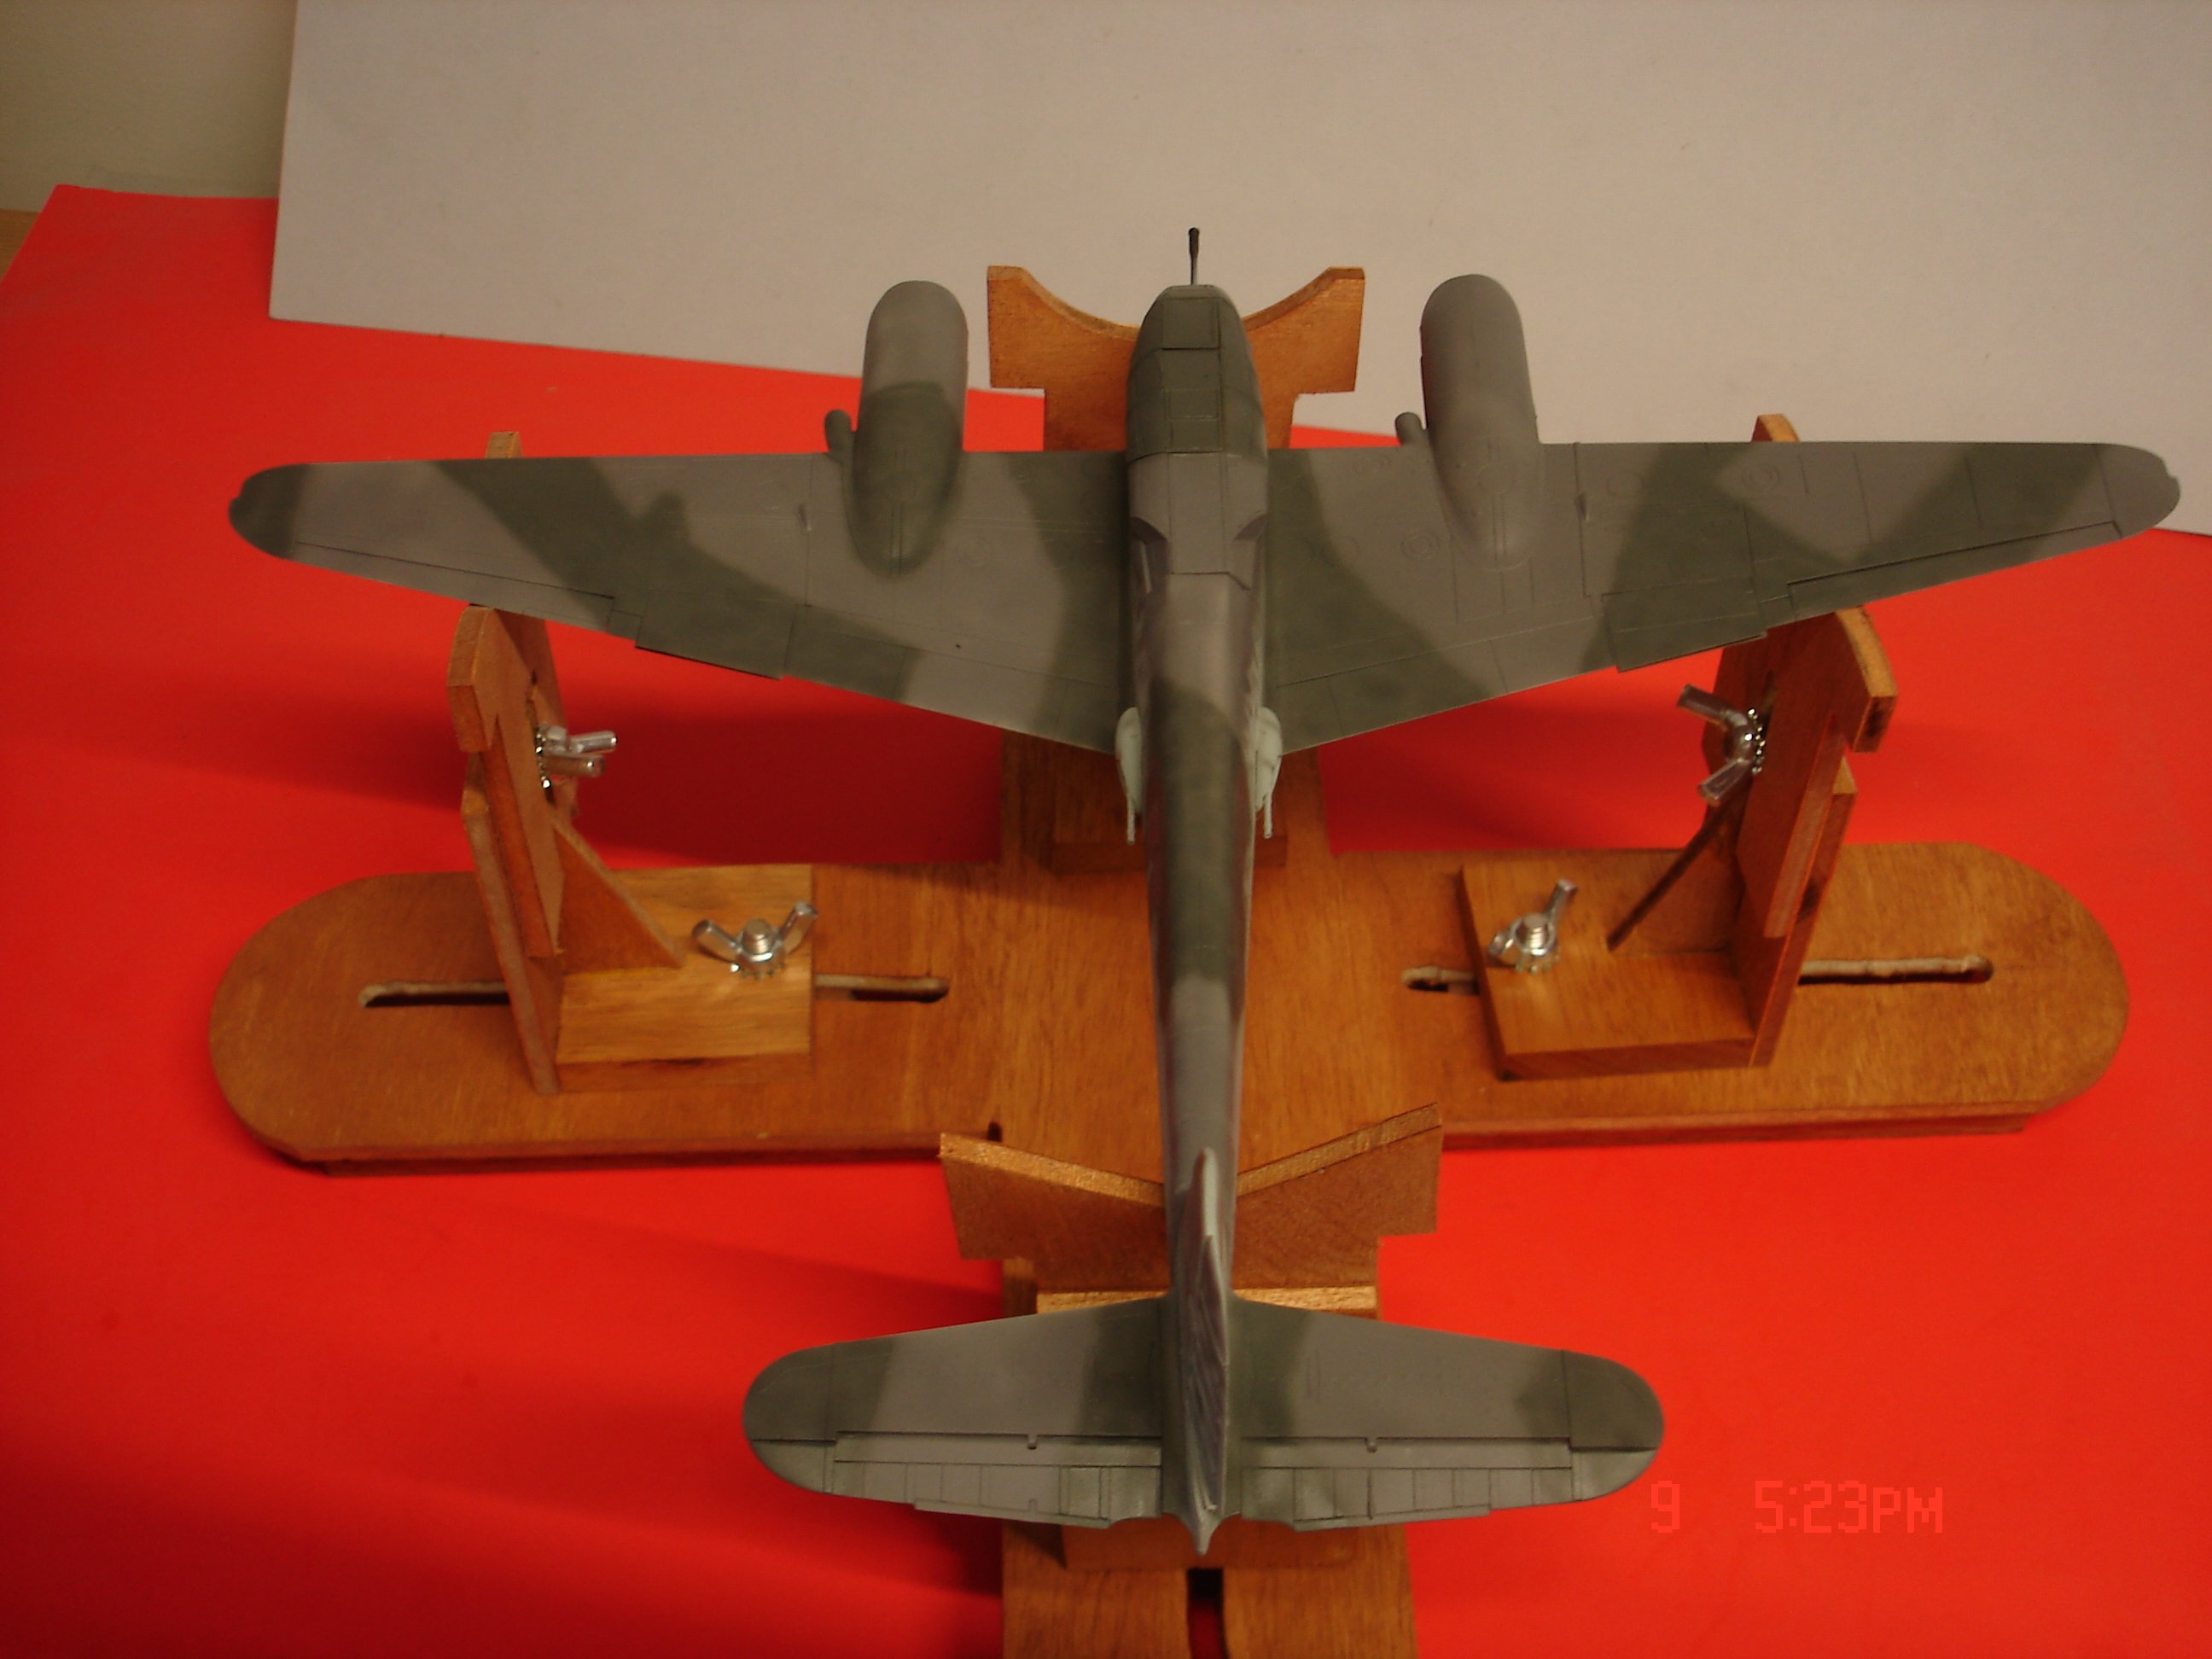
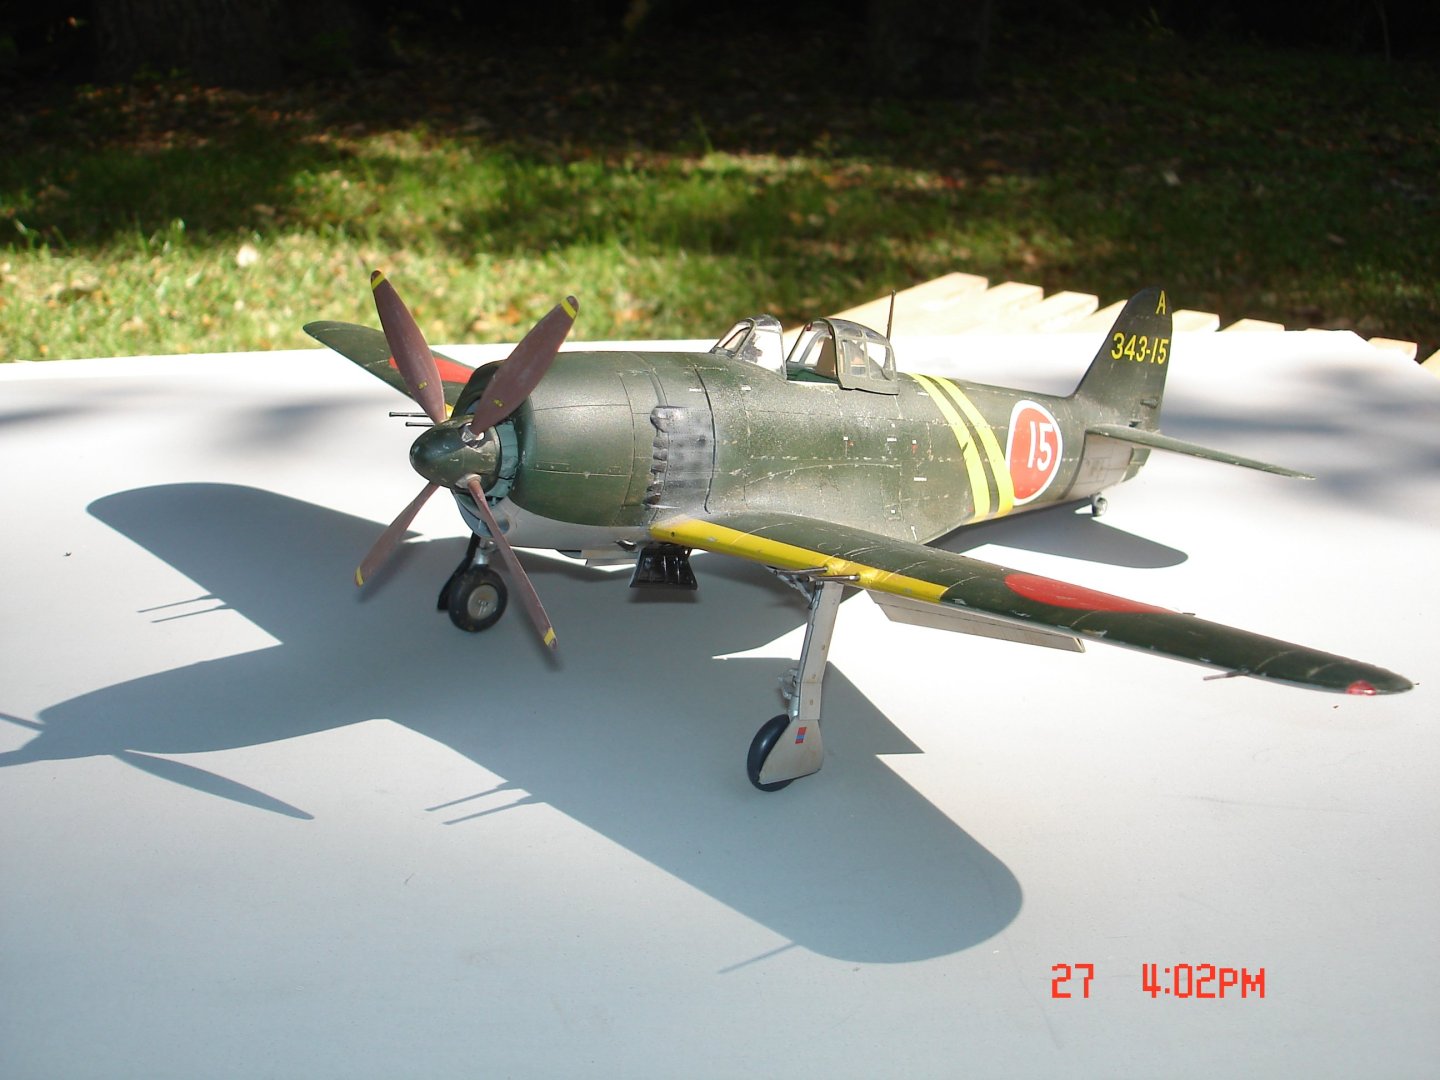
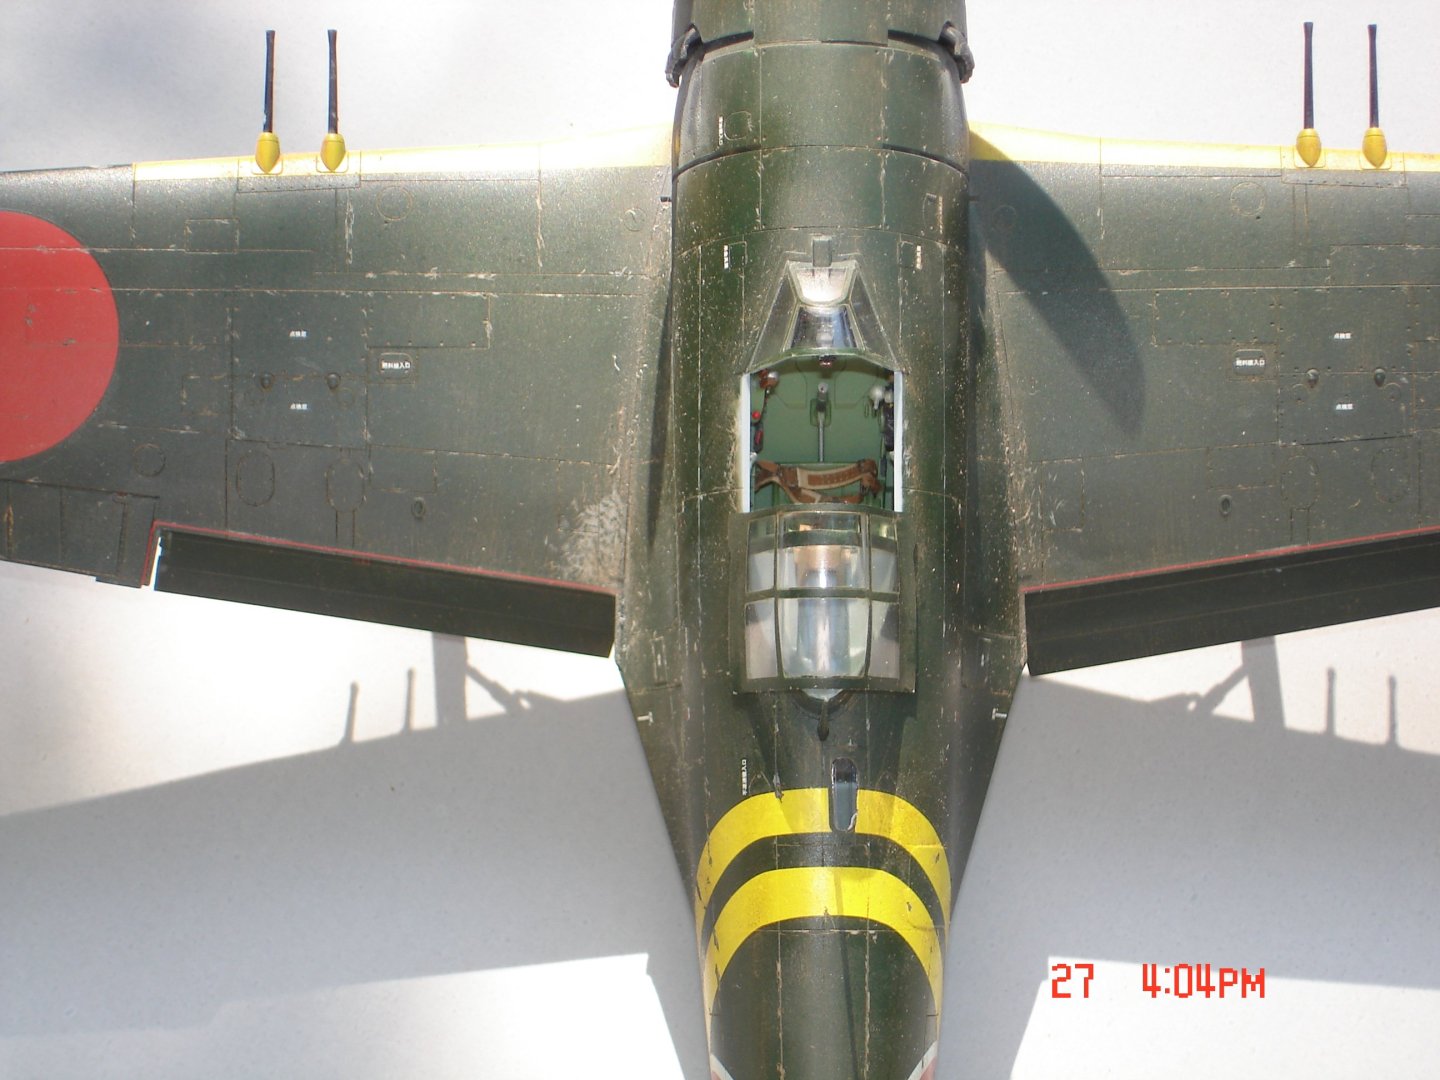
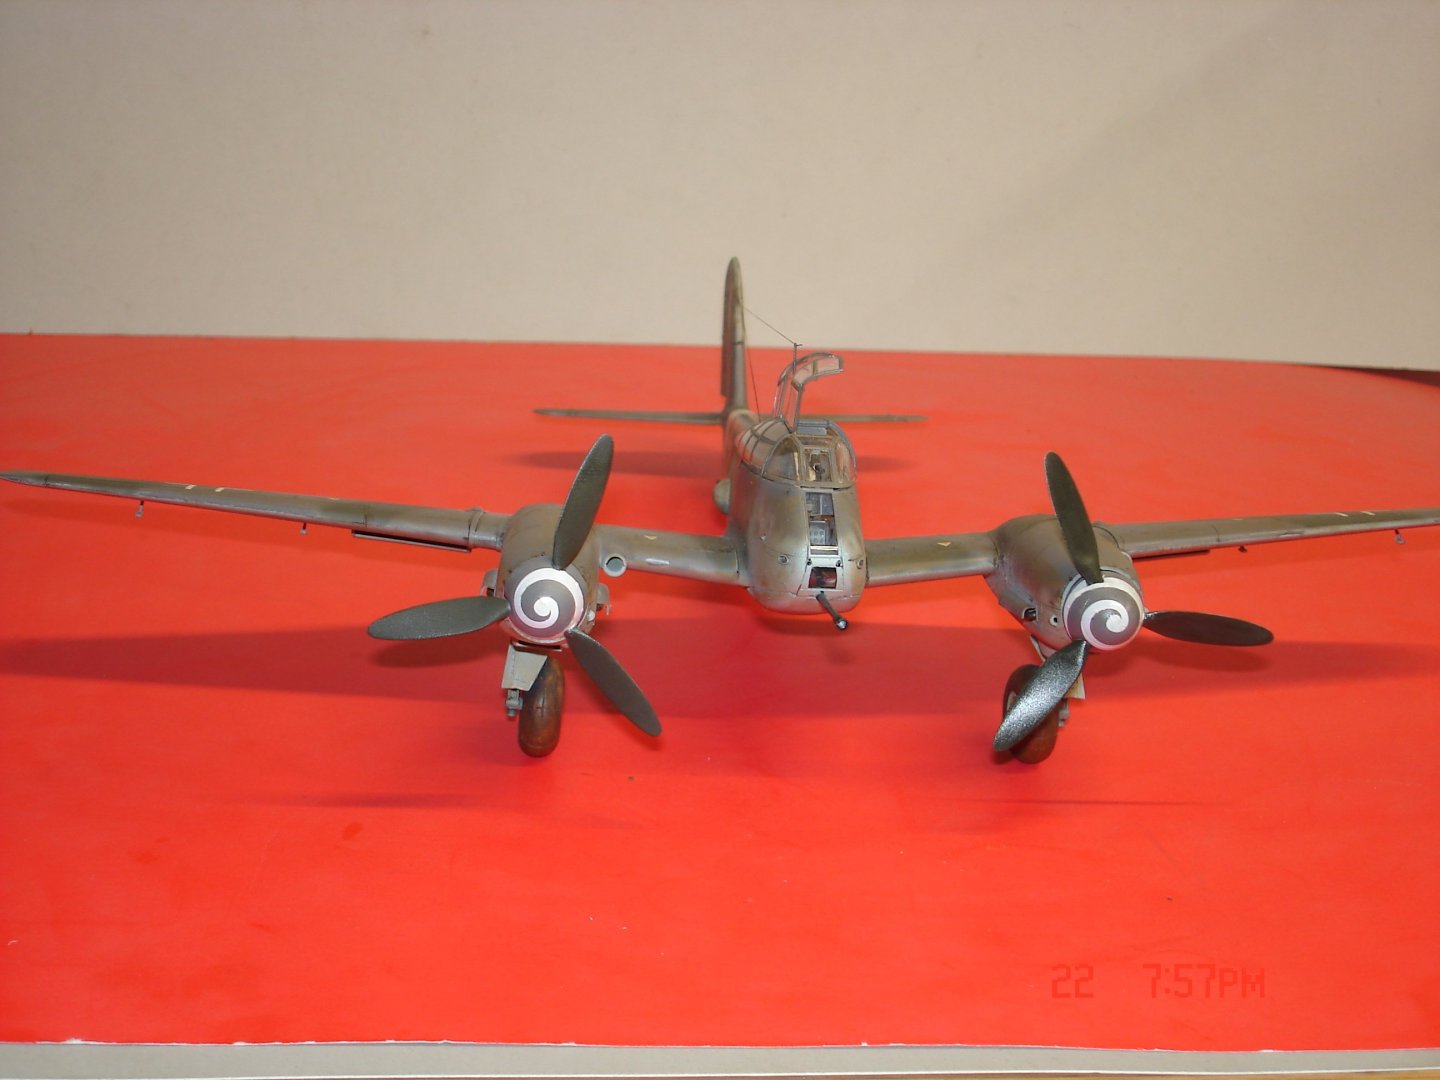
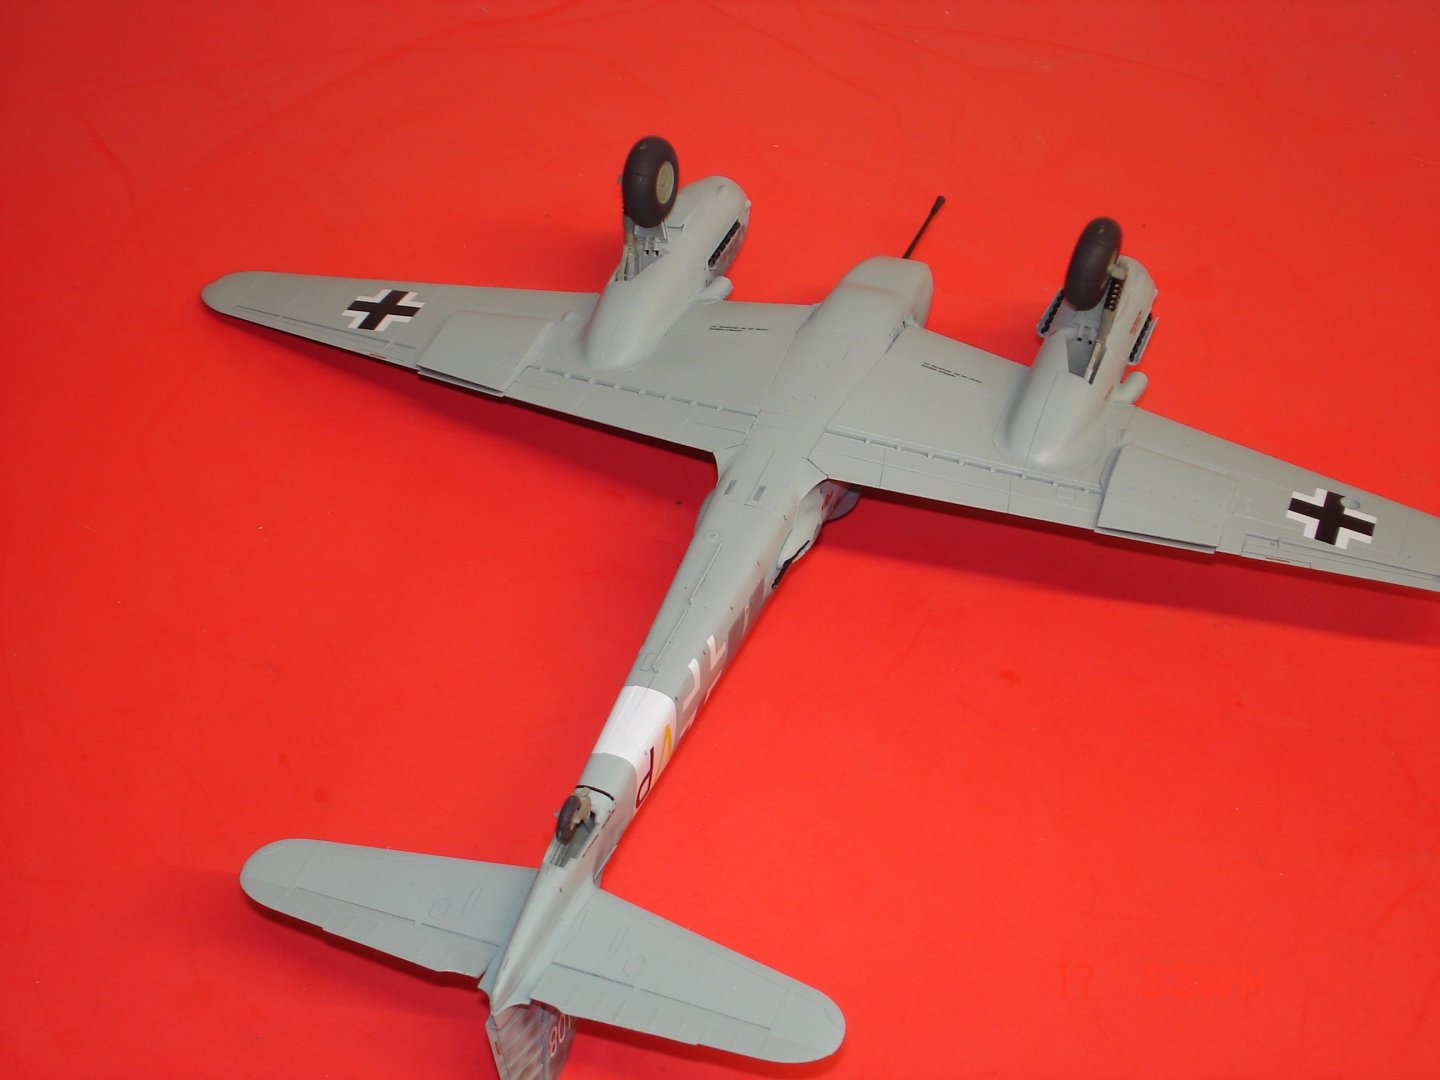
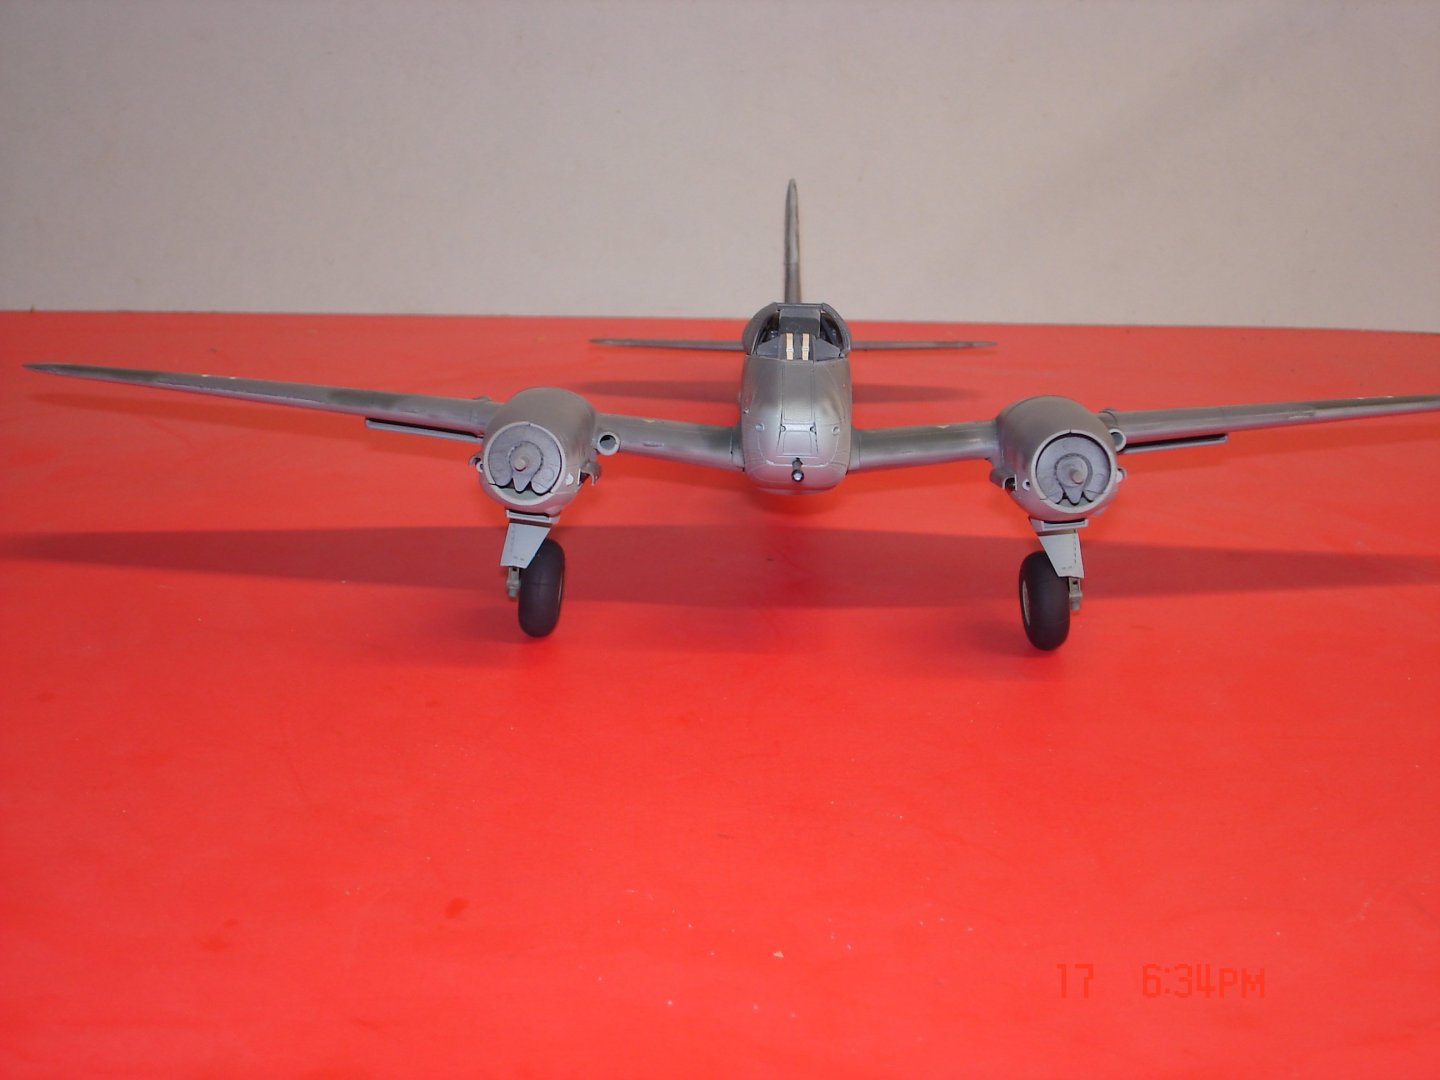
I think it's time to post a few pics she is getting pretty close to the finish line but the further I got into the build the more problematic it became.The canopy is by far the biggest PIA,the white decals (way to thick)and the exact position of the LG?The rear half of the canopy was removed checked for over spray and it BROKE again this time though I hate it got SG it worked and is glued in place.The LG for one the assembly process and angles could be a little clearer the front doors go way way out there mine are to tight( is what it is ) and the LG round stub pretty tight but should be tighter I have pics of the real one's hope I am close enough.The kit is not all bad just has the moments were the Almighty probably is SHH.

- 22 replies
-
- 14
-
-
Thanks I am hoping the wash pulls it all together.🤨
-
Nice Dan I think I have that one myself in the built state(markings) in the cabinet never realized the under camo showing.
-
Thanks Alan at times it feels like one dimensional or lets say plain I am thinking the Florry's with blend it in better.🤨
-
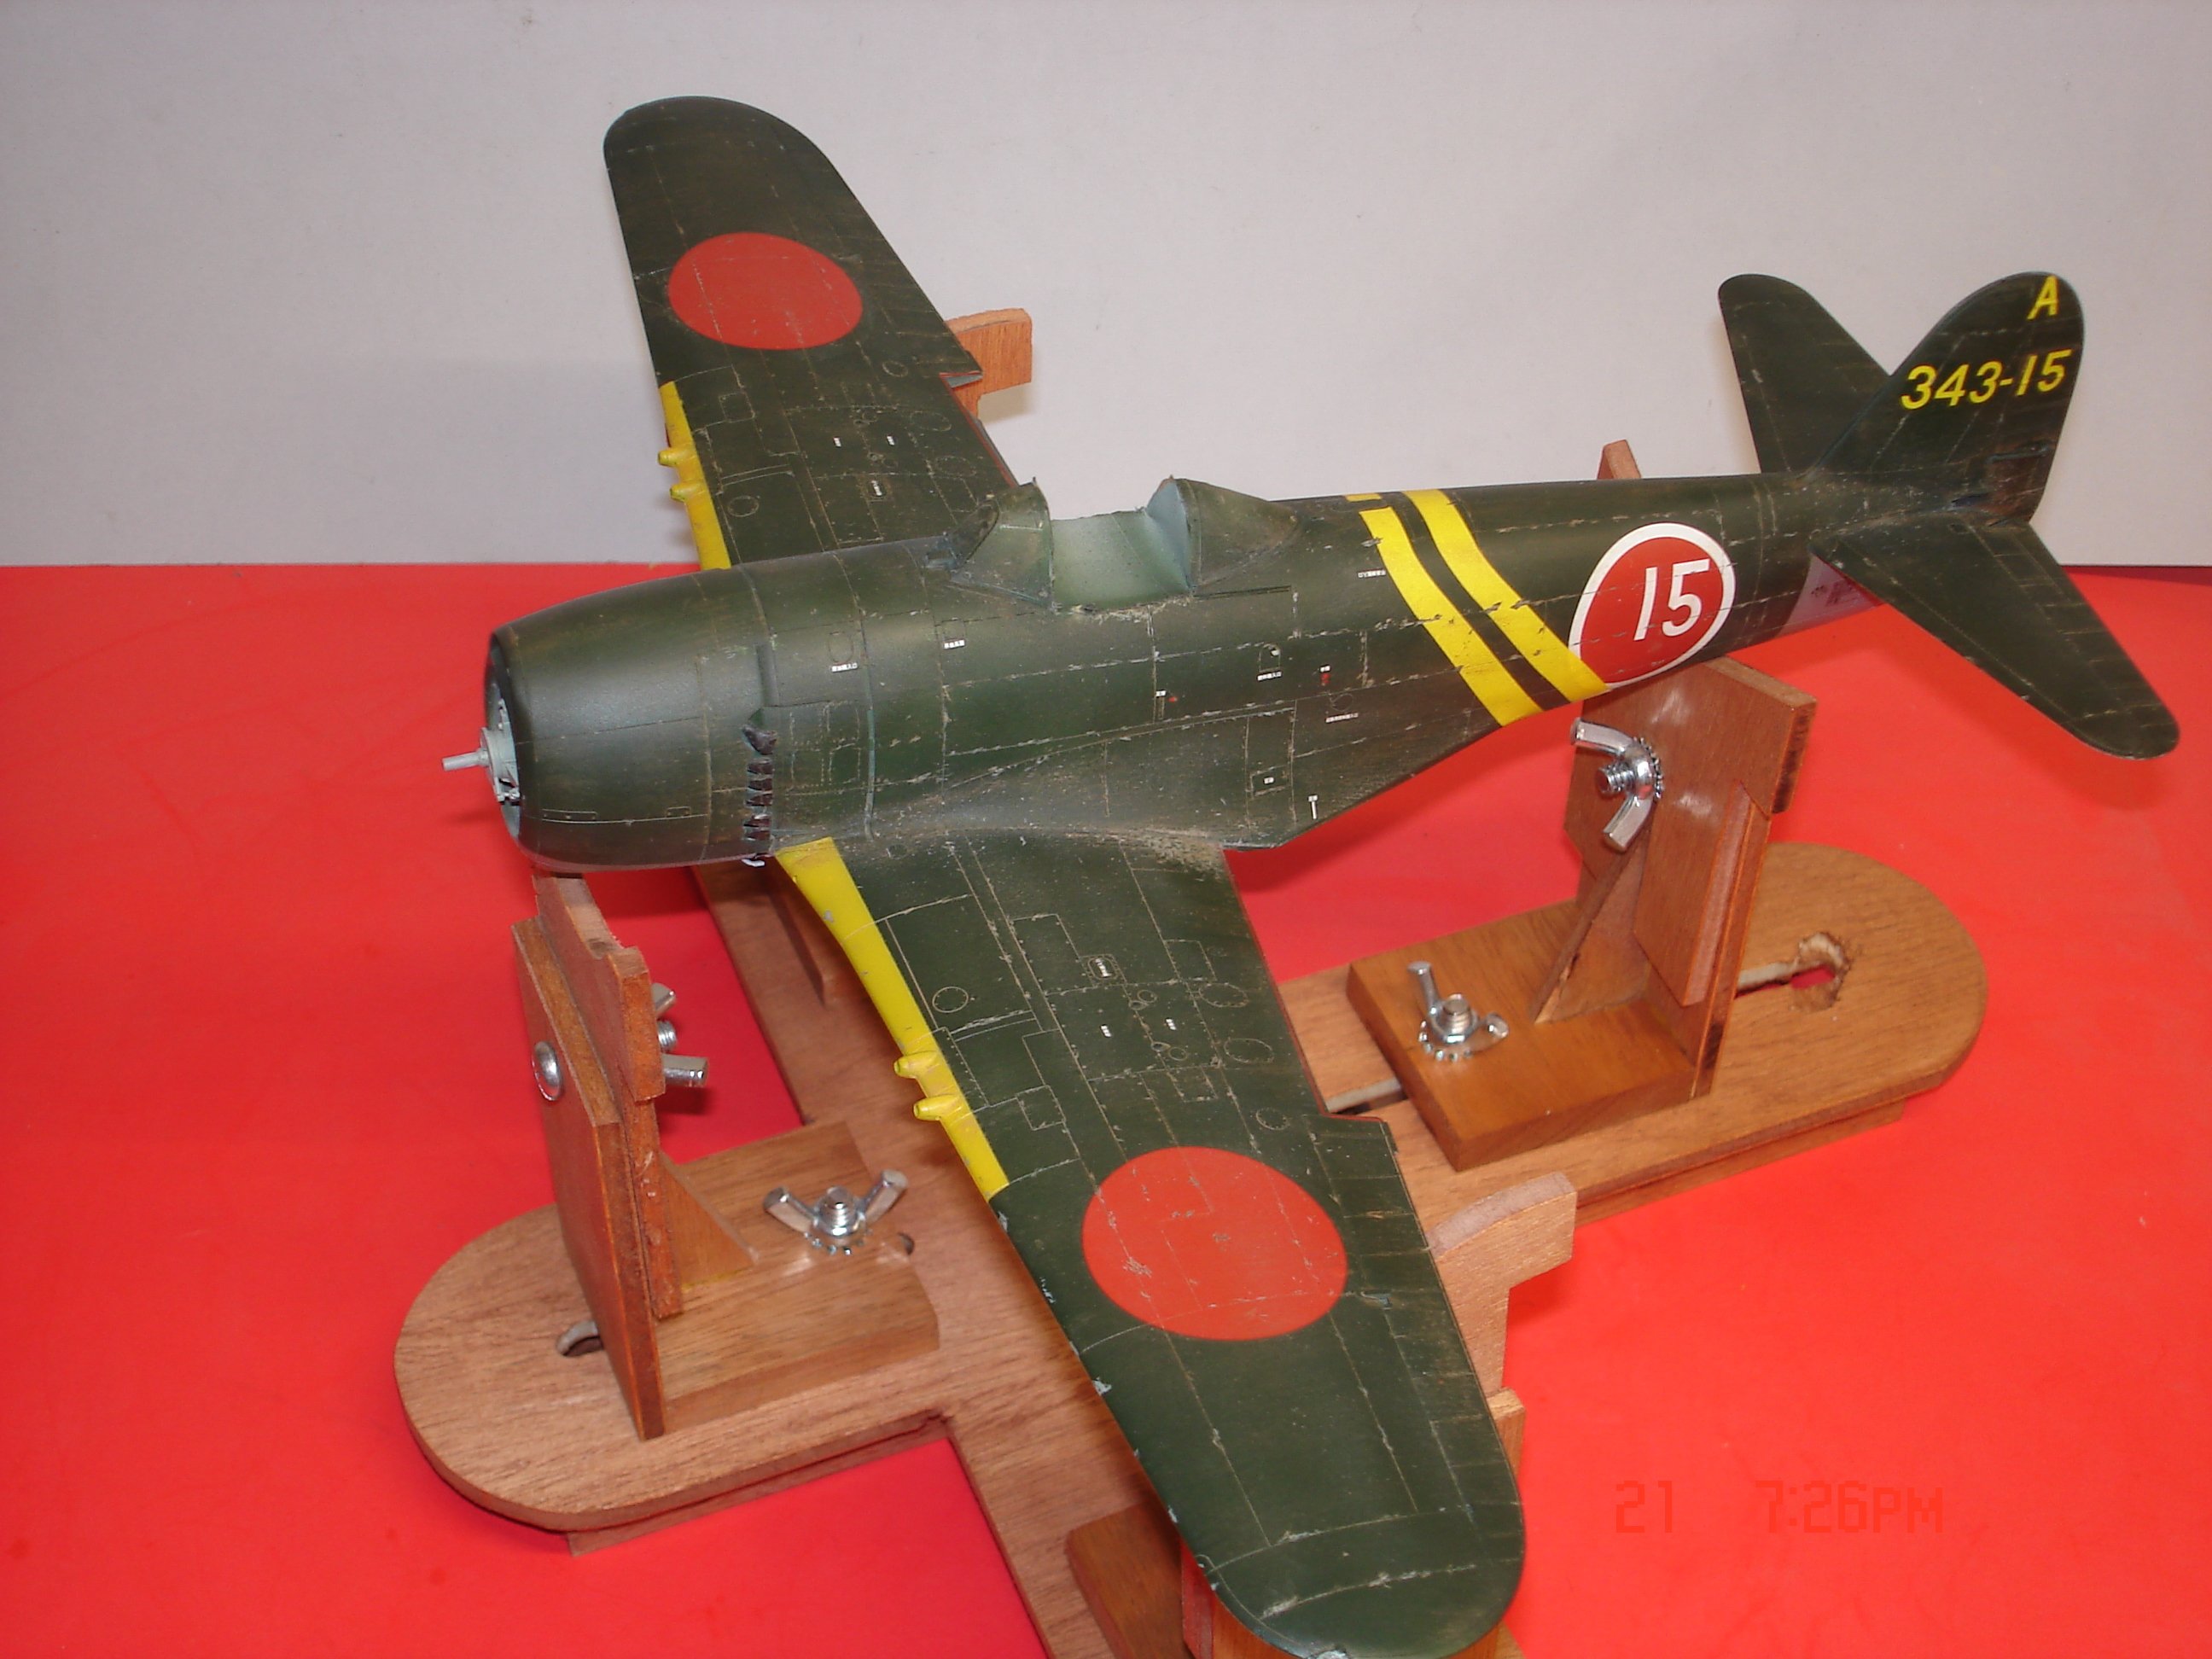
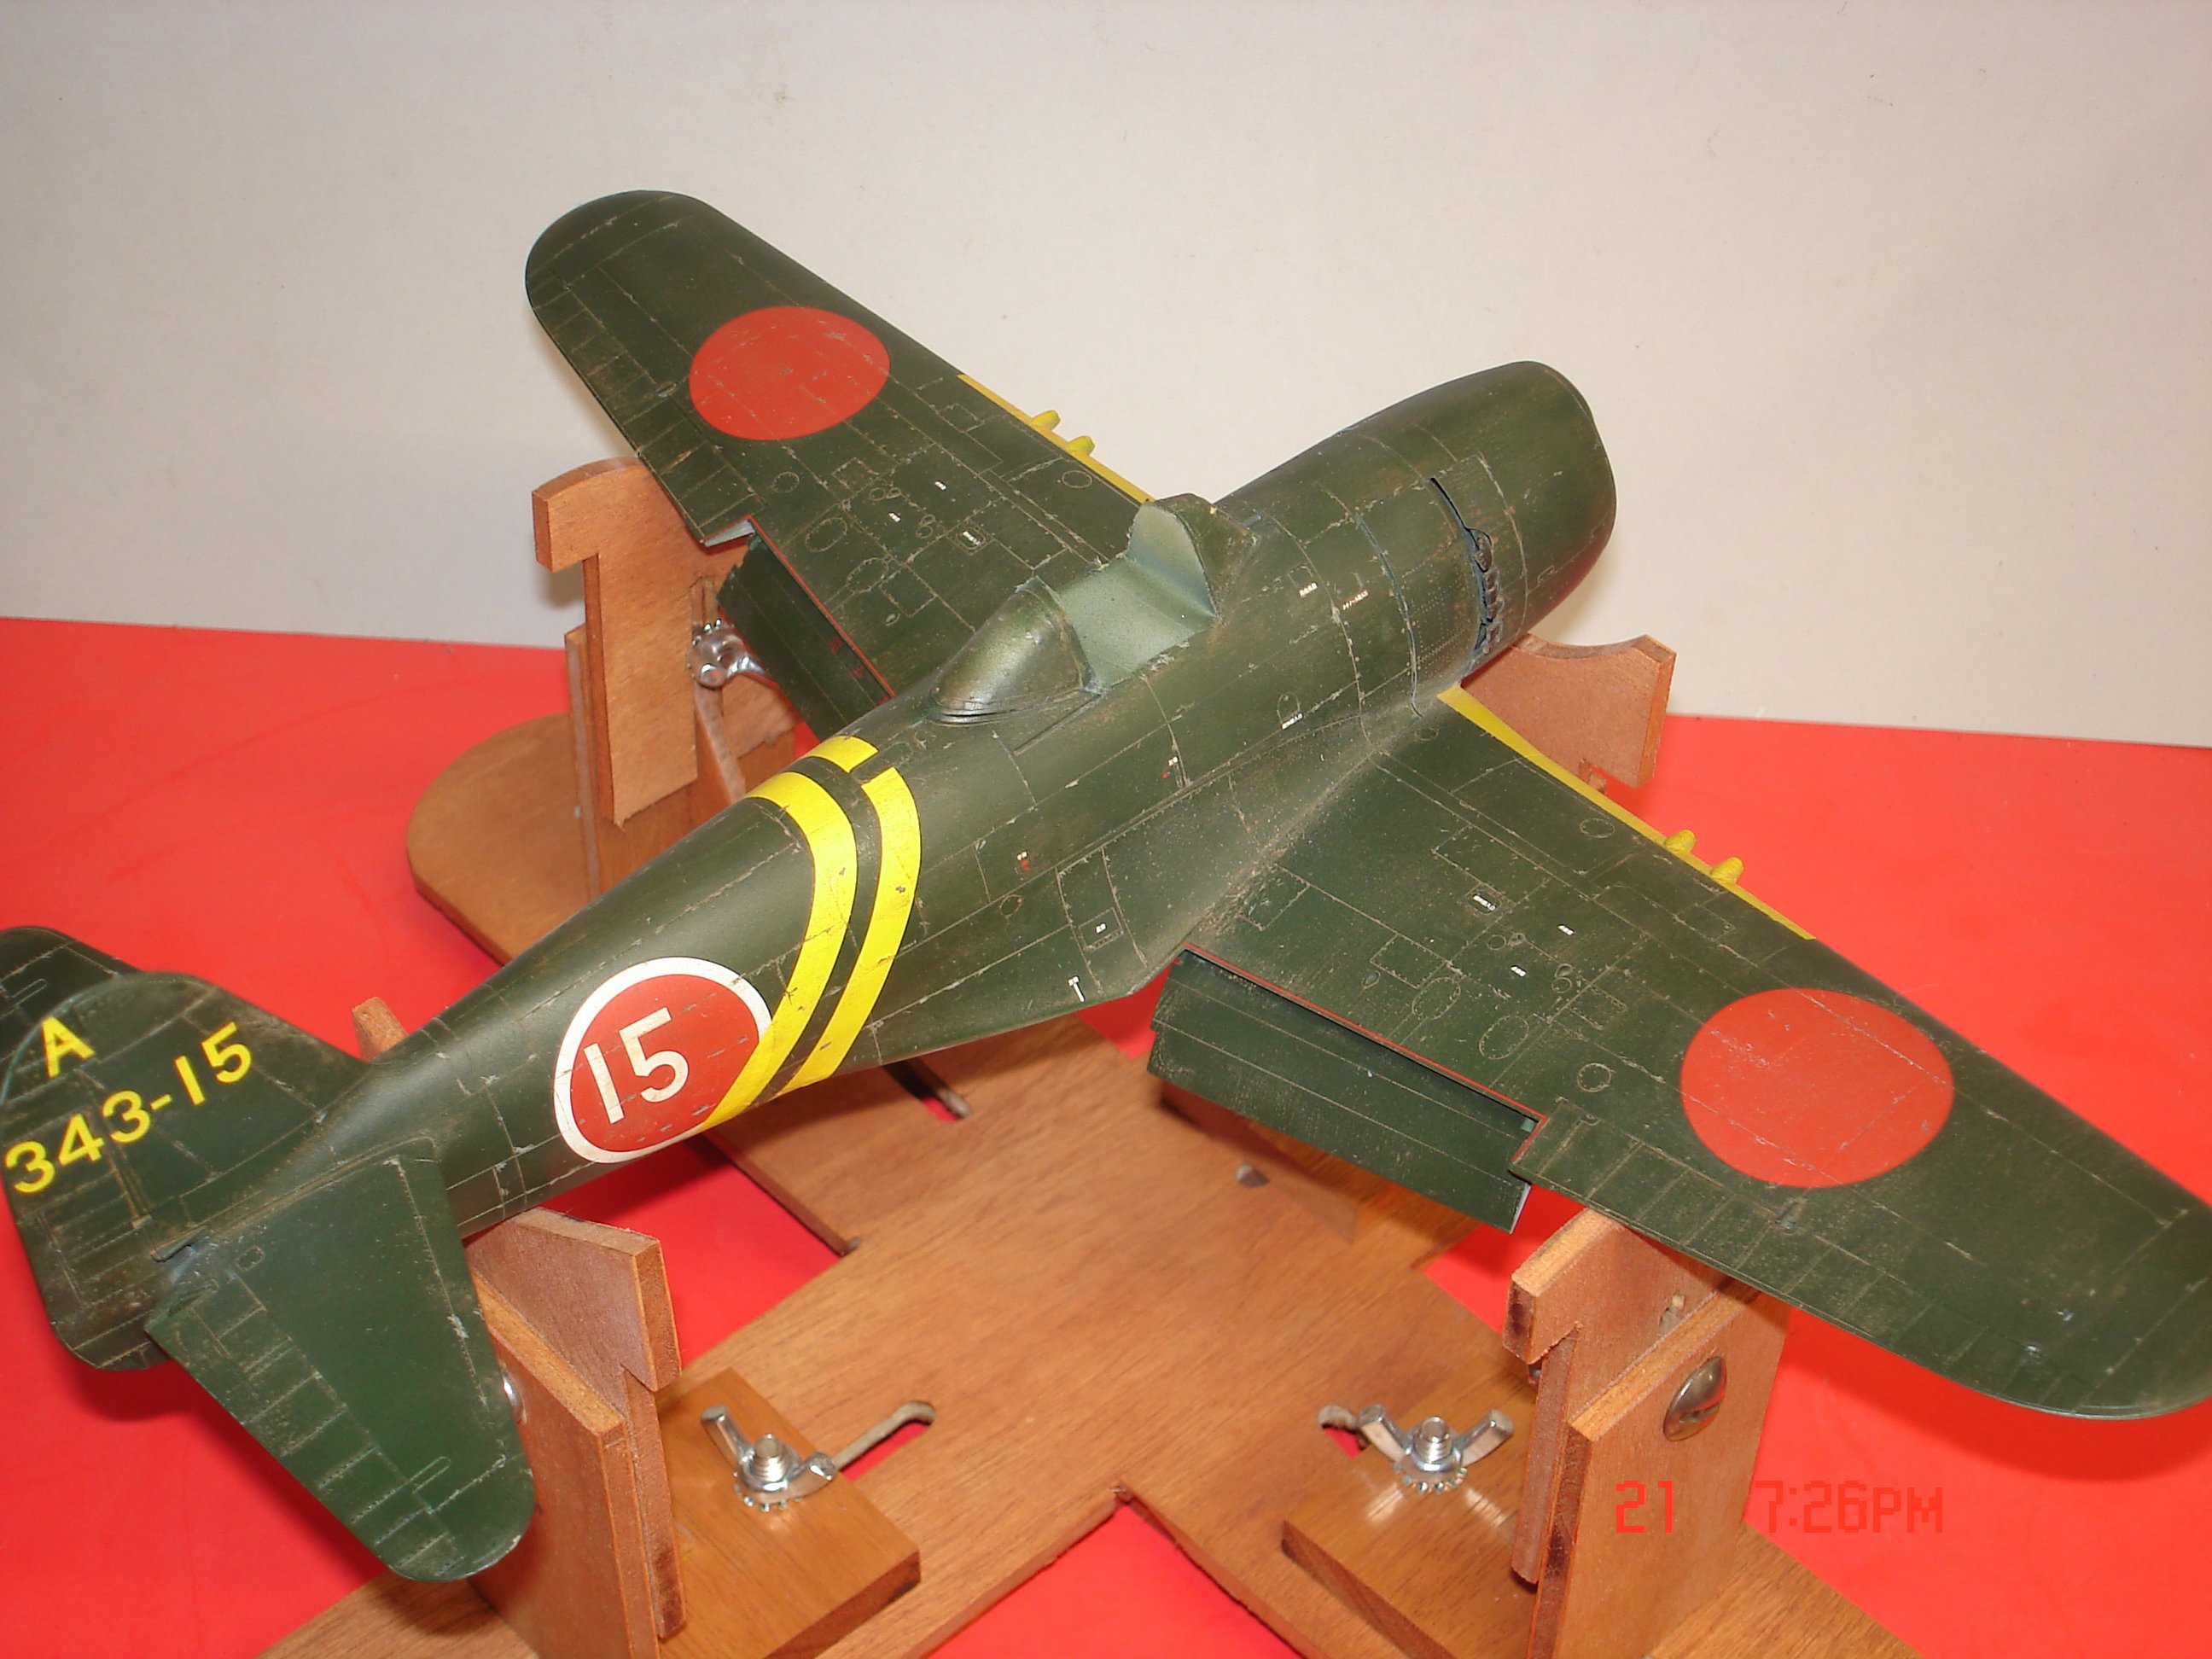
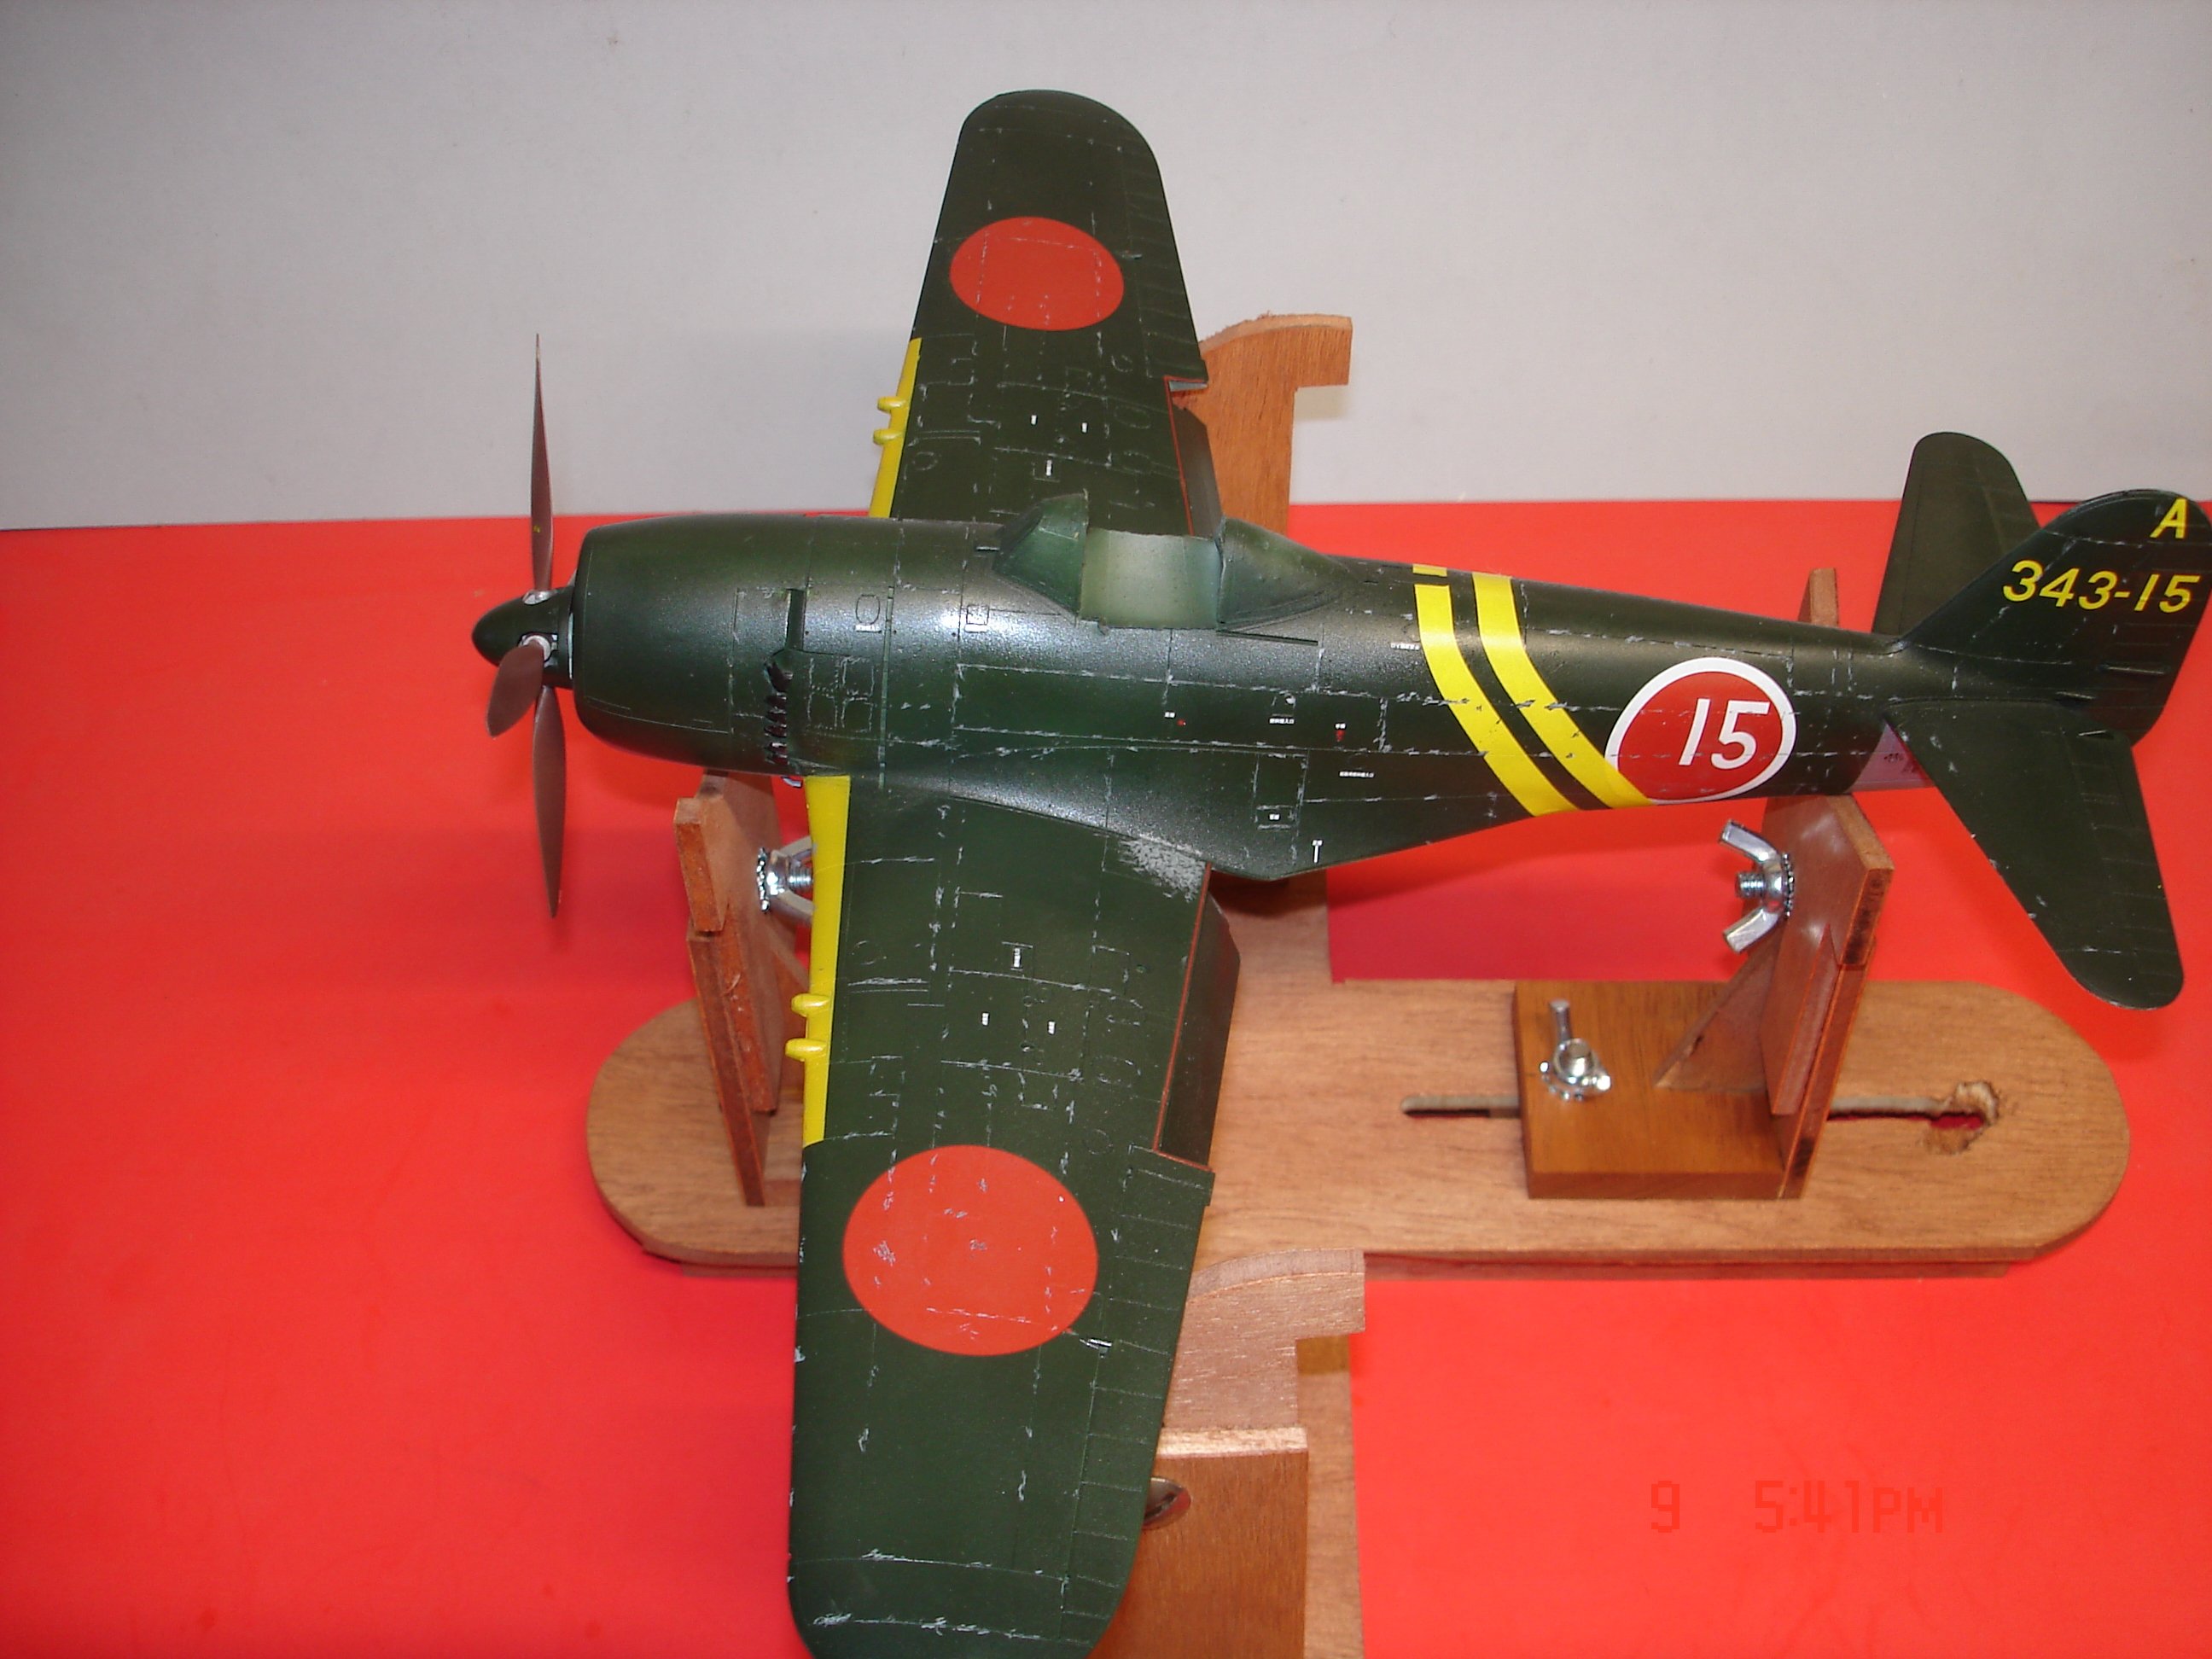
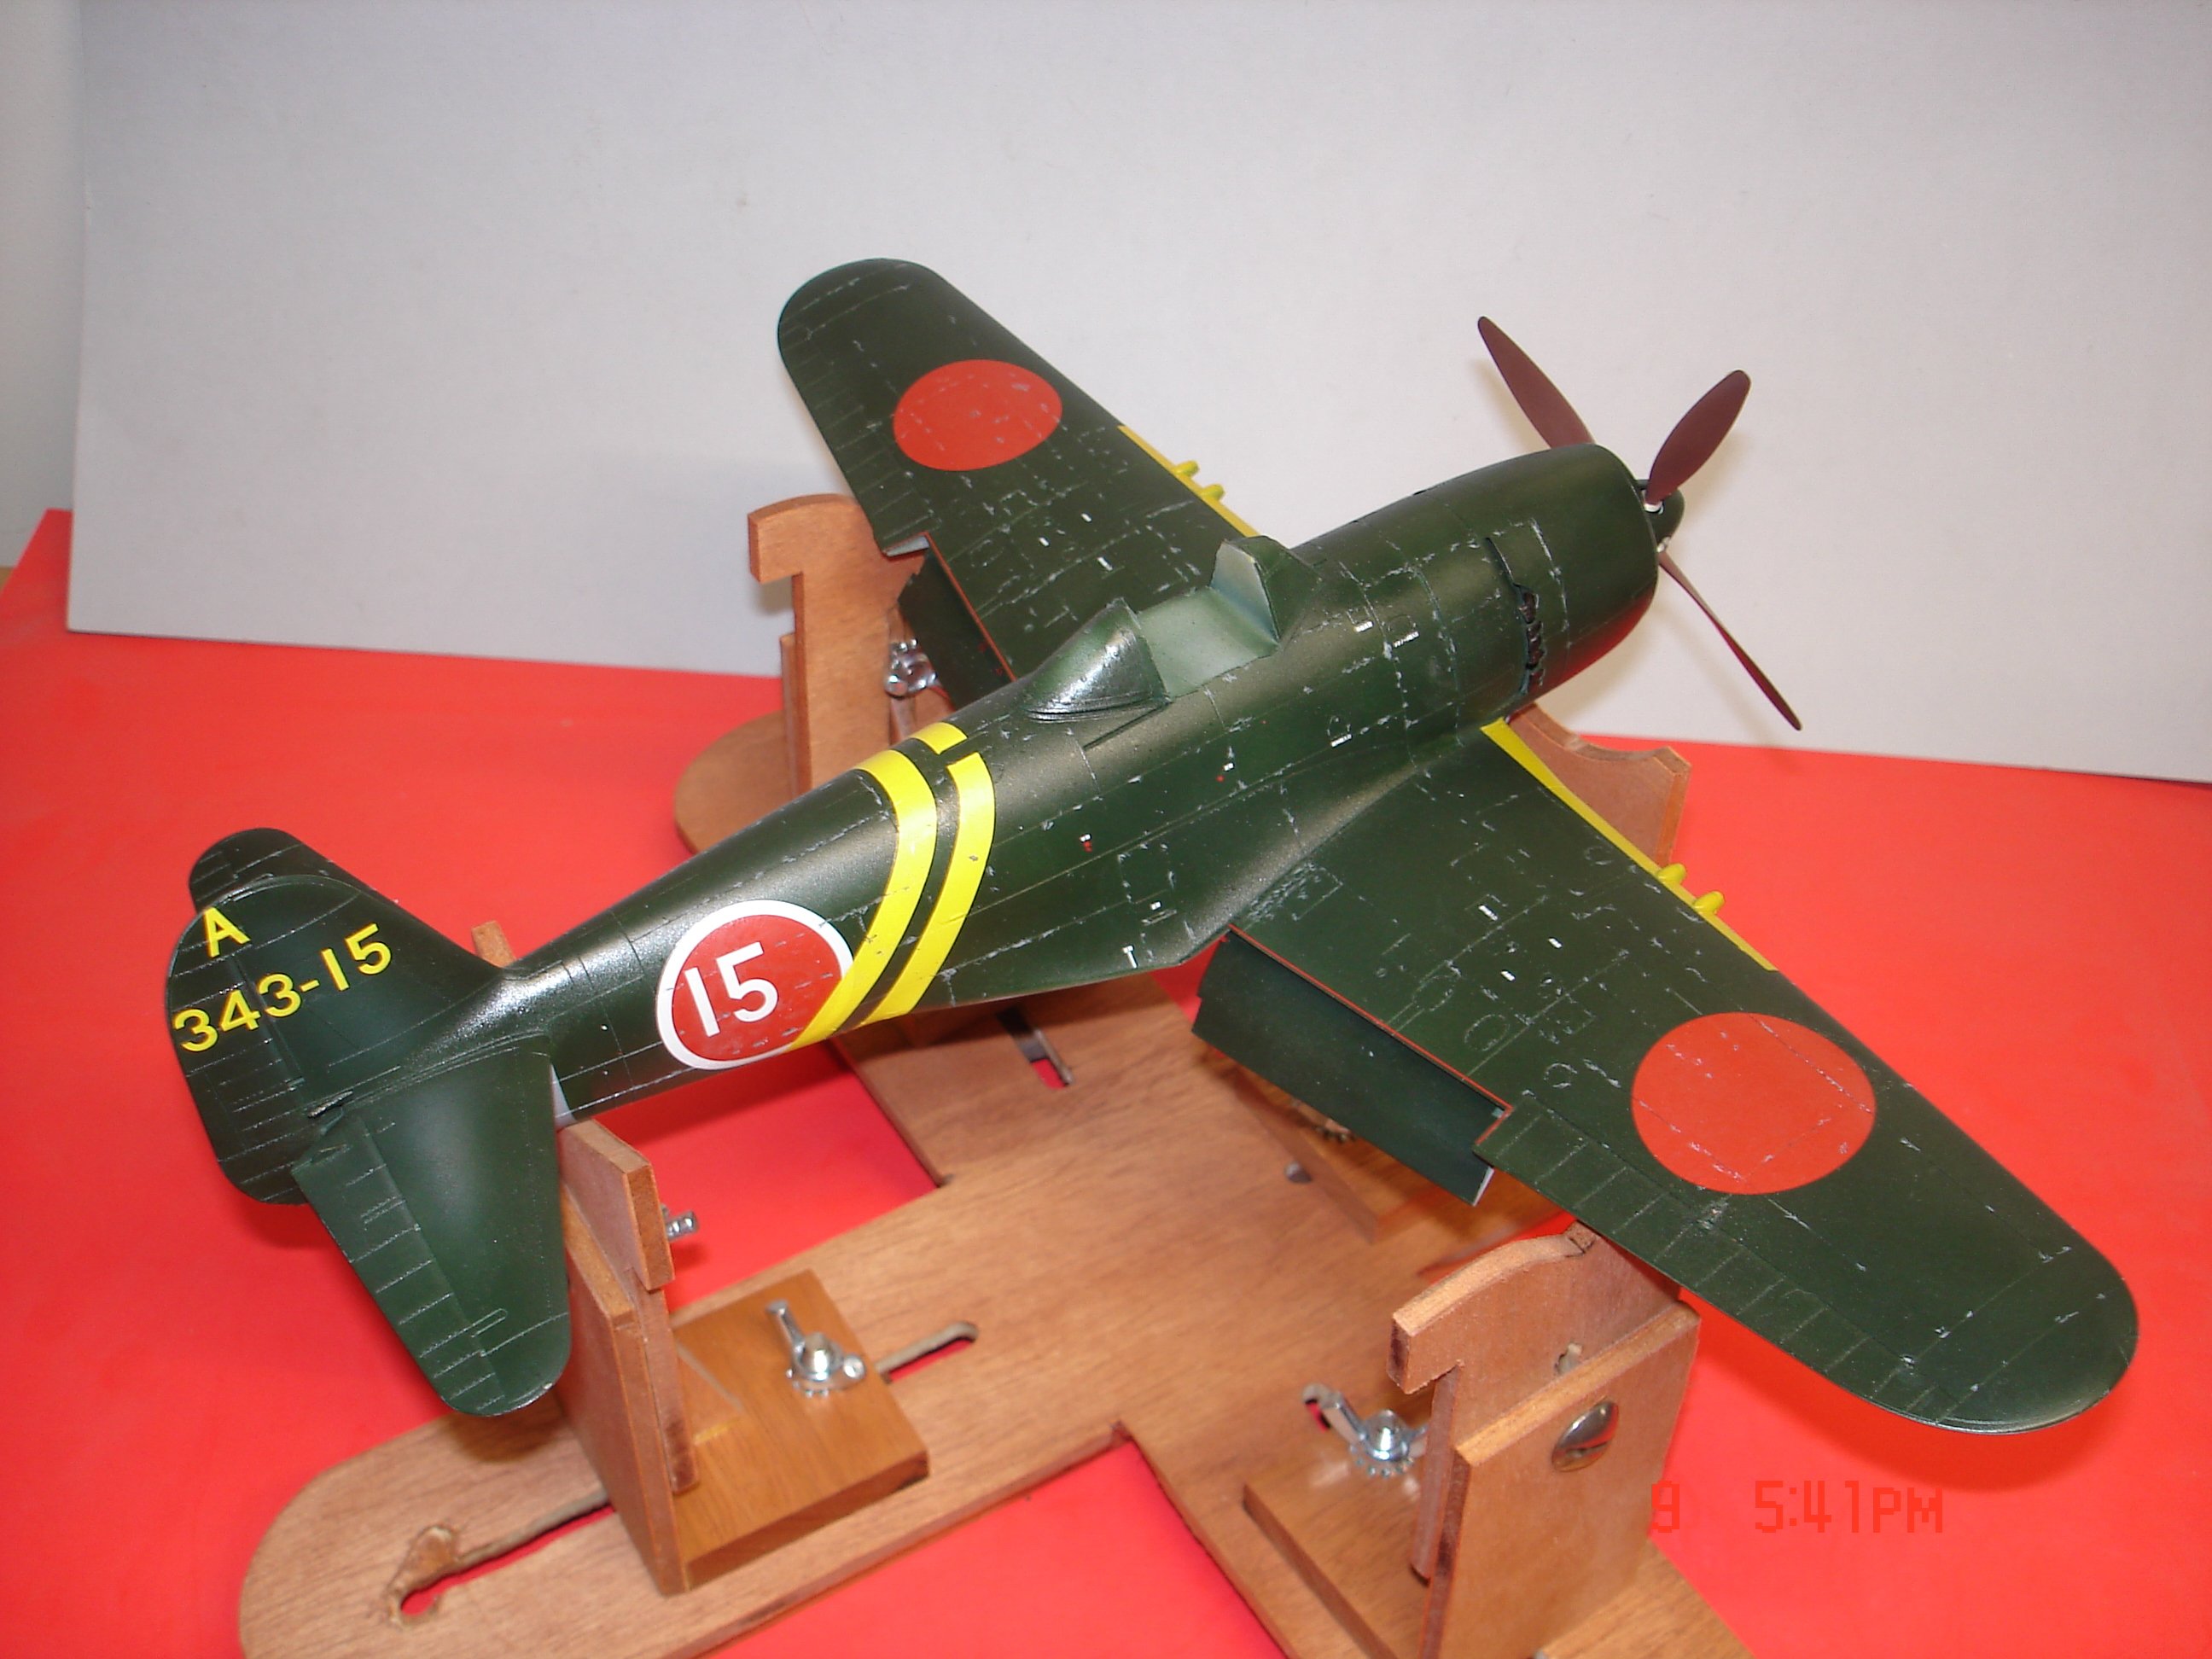
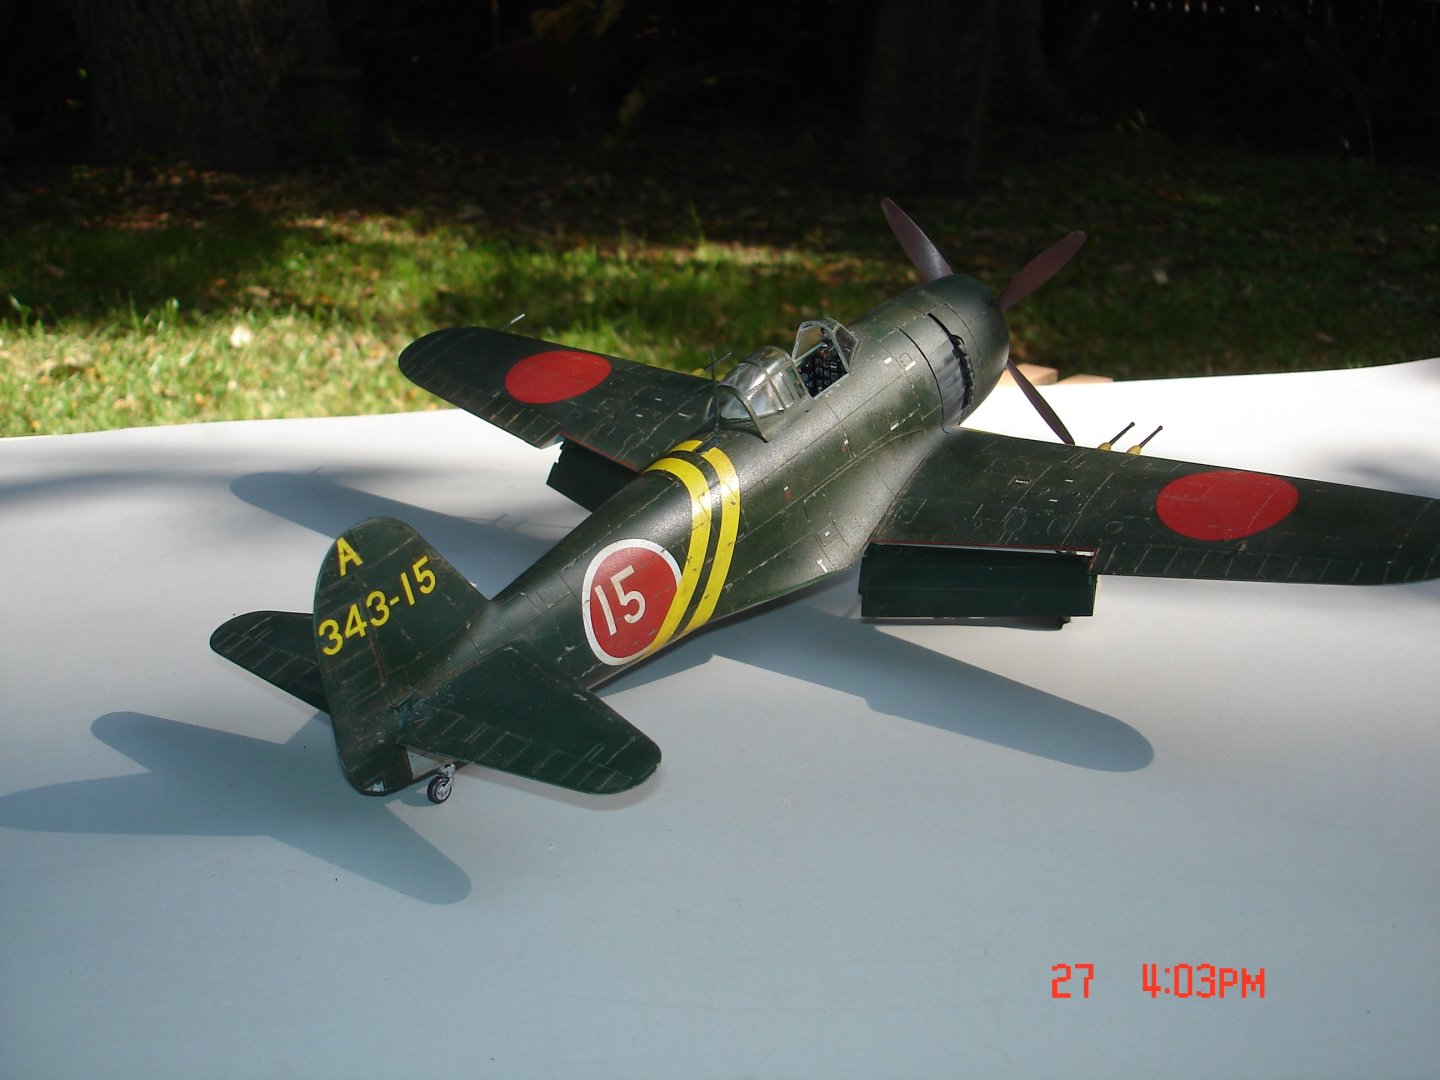
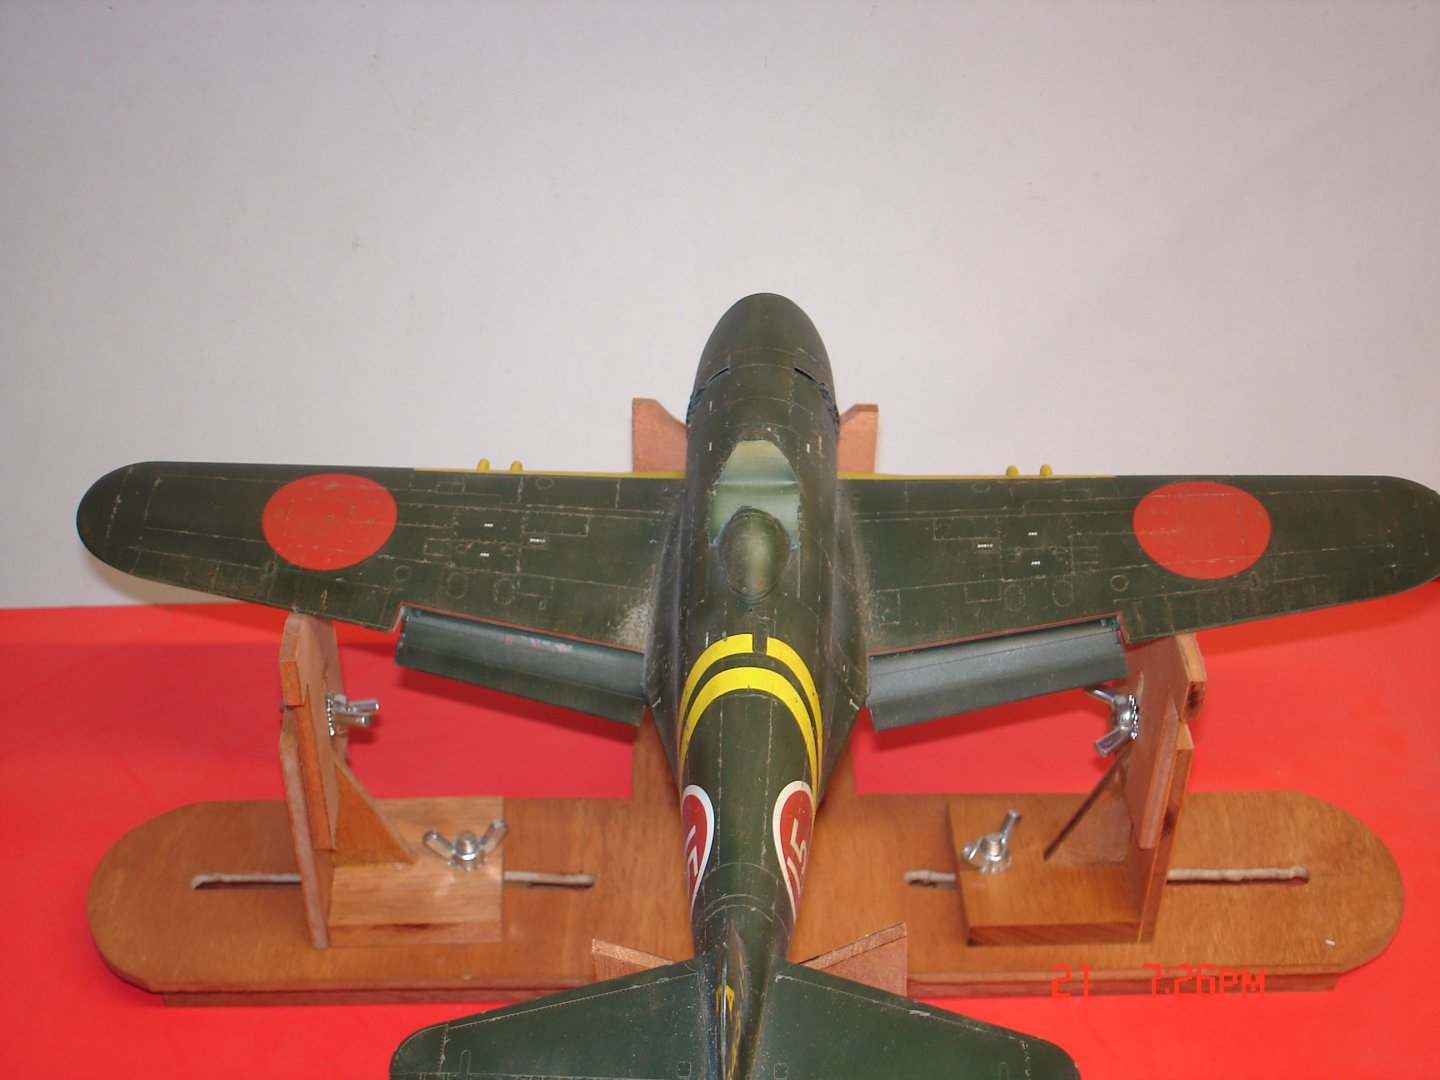
The George is slowly getting to the finish line also when things hold up on another build I p/u the George and Xato w/#11 blade and start chipping.I feel at times mono(r/side looks better to me) but I have looked at quite a few pics of these birds and the chipping was minimum and around panels.


- 25 replies
-
- 12
-
-
-
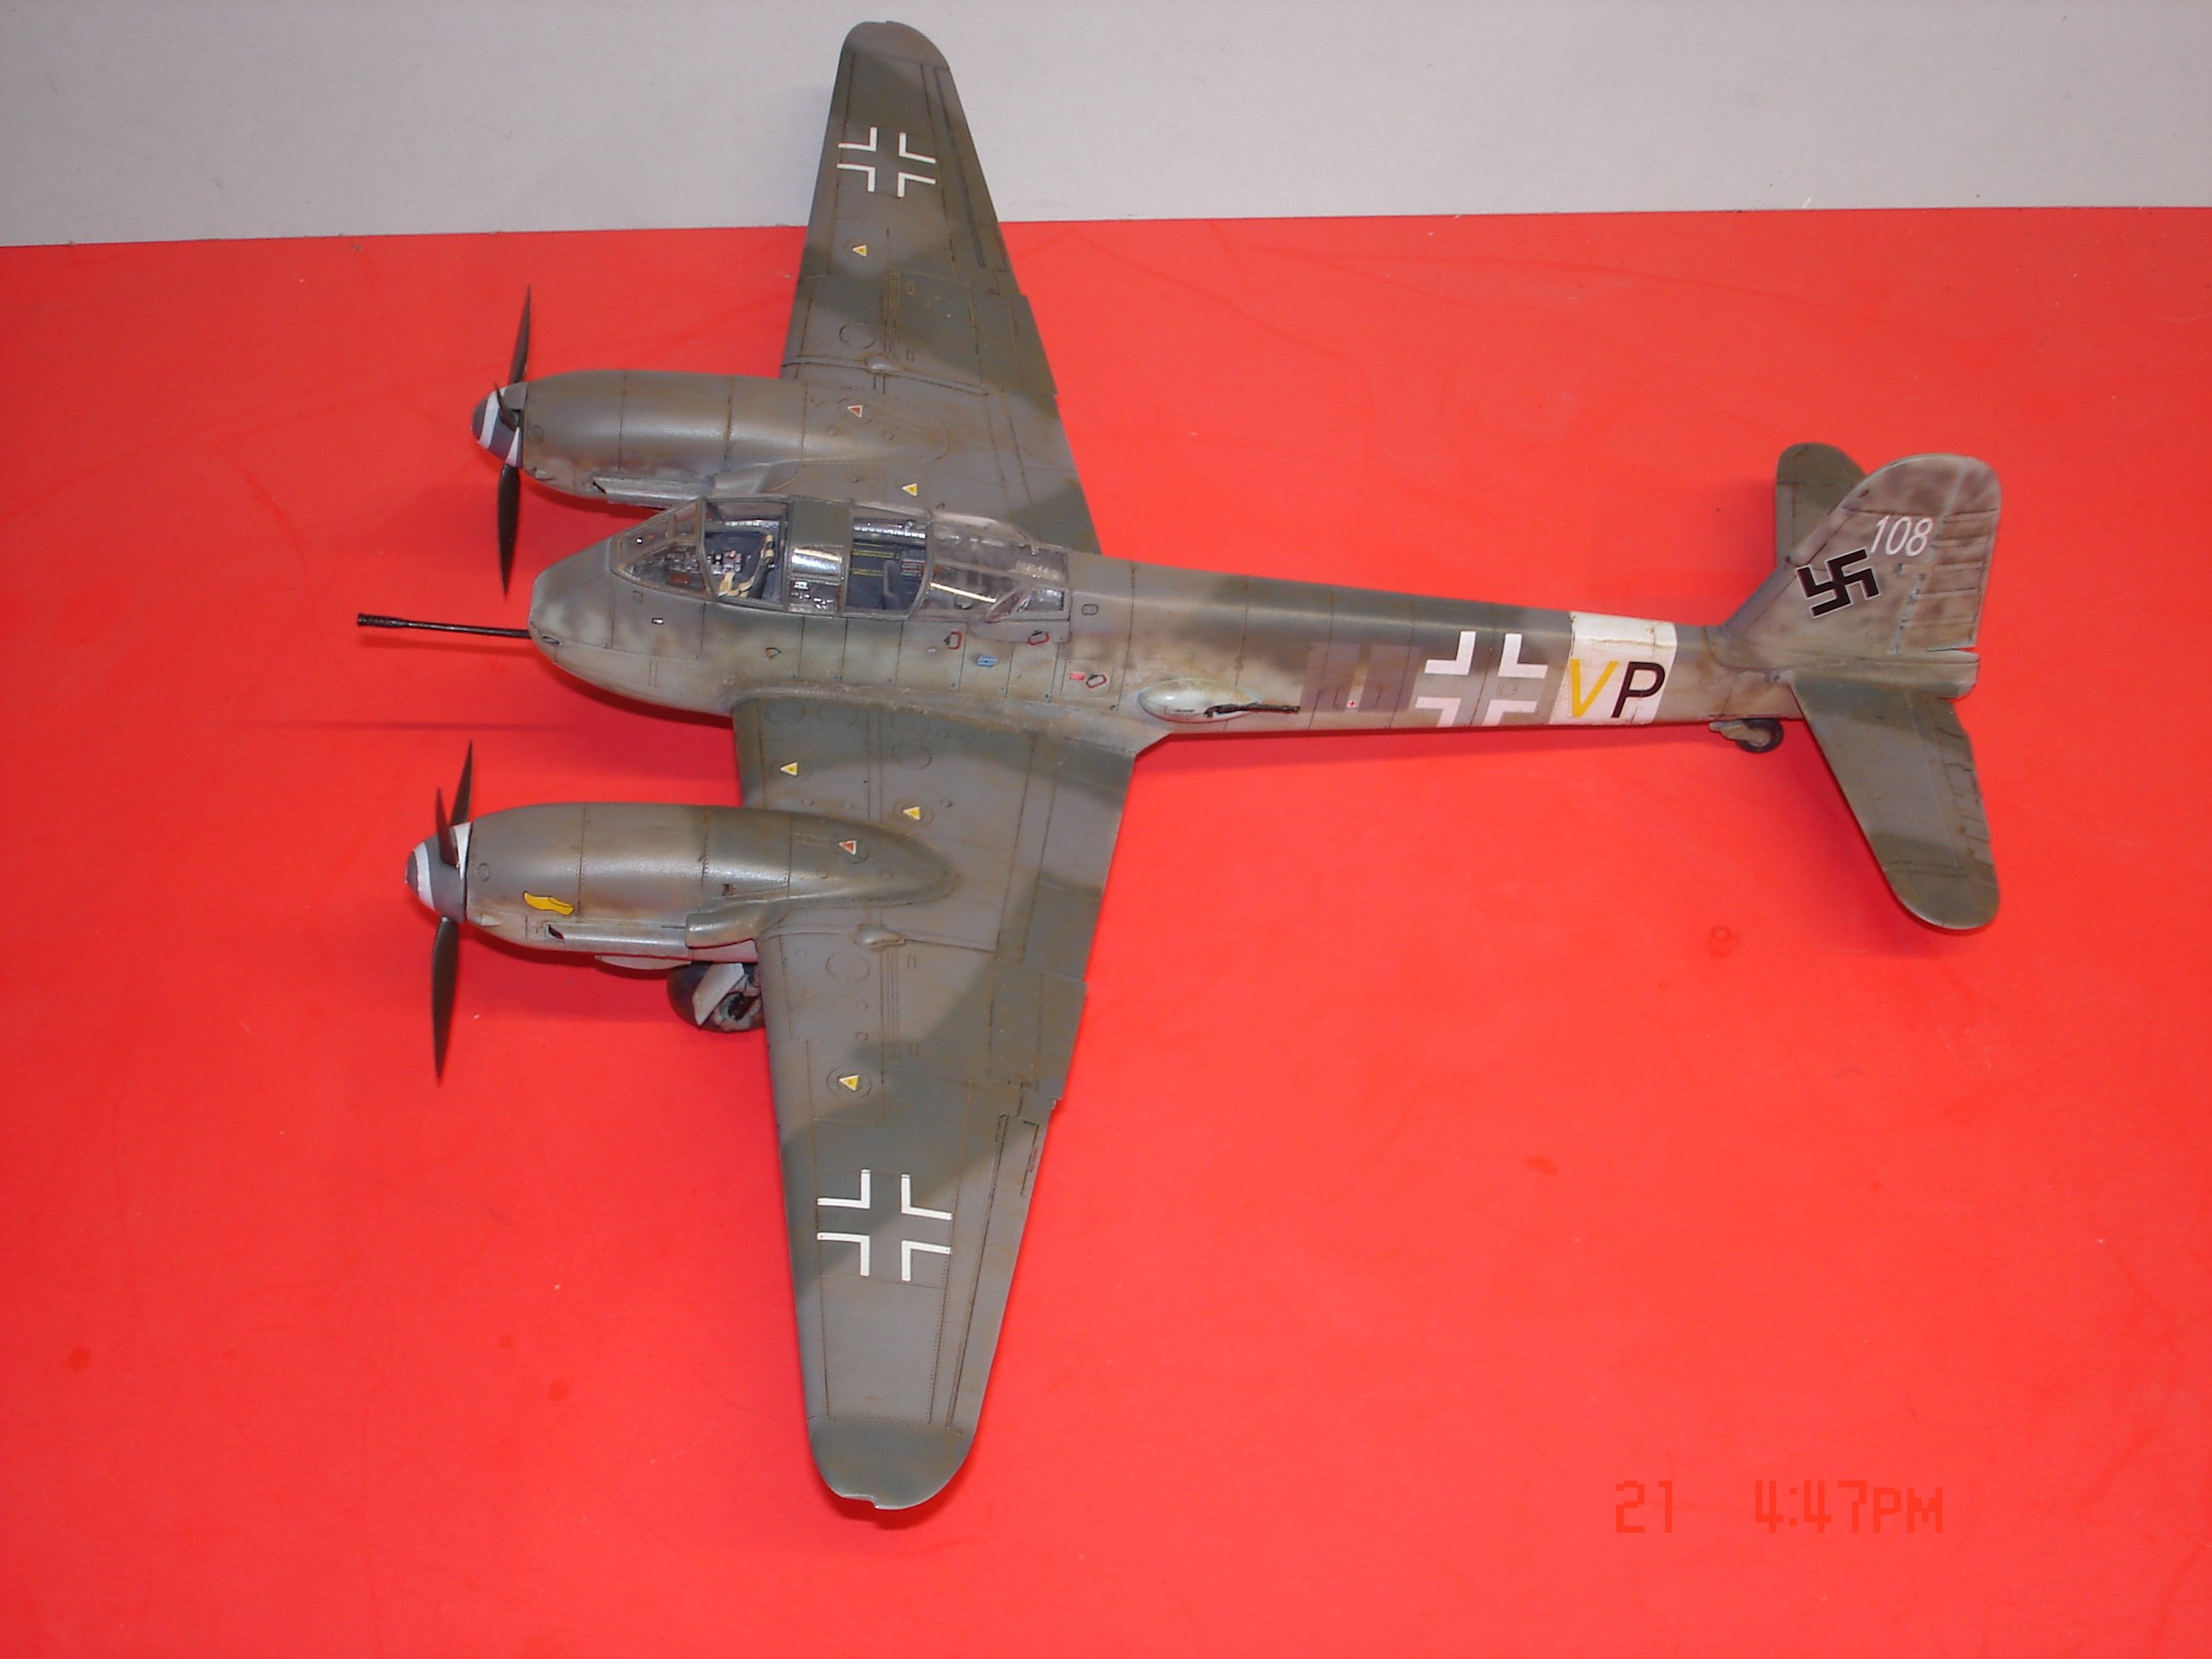
Thanks Dan sometimes letting it sit and mull it for a while does much to solve a problem.I have been working some color today on the plane to which I feel pretty good about.The two boxes on the l/side of the fuse covered up some ole unit markings methinks.I will start to lay down some clear in a bit and start decaling tomorrow night,


- 22 replies
-
- 14
-