HOLIDAY DONATION DRIVE - SUPPORT MSW - DO YOUR PART TO KEEP THIS GREAT FORUM GOING! (Only 20 donations so far - C'mon guys!)
×


Ulises Victoria
-
Posts
1,790 -
Joined
-
Last visited
Content Type
Profiles
Forums
Gallery
Events
Everything posted by Ulises Victoria
-
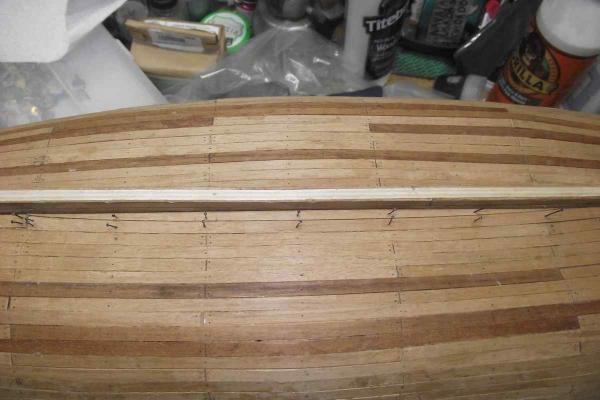
 I reworked the wales. Here they are stained with walnut stain. I am working on smoothing and fairing the hull below the wales, so imperfections are still seen in that area. (Well imperfections will still be seen later, anyway.)
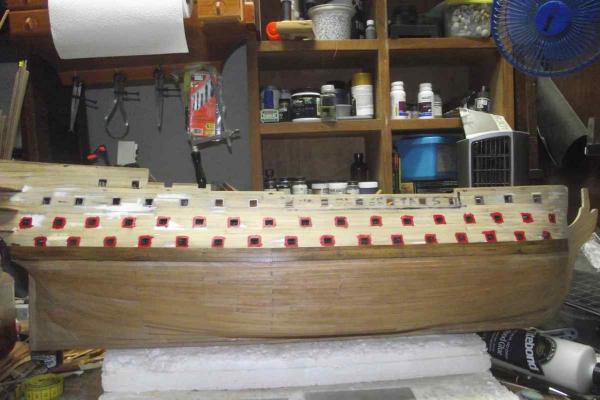
- 786 replies
-
- 15
-

-
- Royal Louis
- Finished
- (and 1 more)
-
Okay, so you spent countless hours placing every little bit of wood on your hull planking. Spent another bunch of hours and pour some centiliters of sweat scraping, sanding and making those little pieces of wood look like an even flat smooth surface. Great!!! What's next? What do you use over the wood once the smoothing work is done? My choices are: Boiled Linseed Oil, this I know enhances the look of the wood; Tung Oil, not completely sure what it does on the wood; Plain flat or satin wood varnish, how many coats? how often? What other choices of products do you use? A combination of all the above and/or others? I think many people will benefit with your answers. Best wishes. Ulises
-
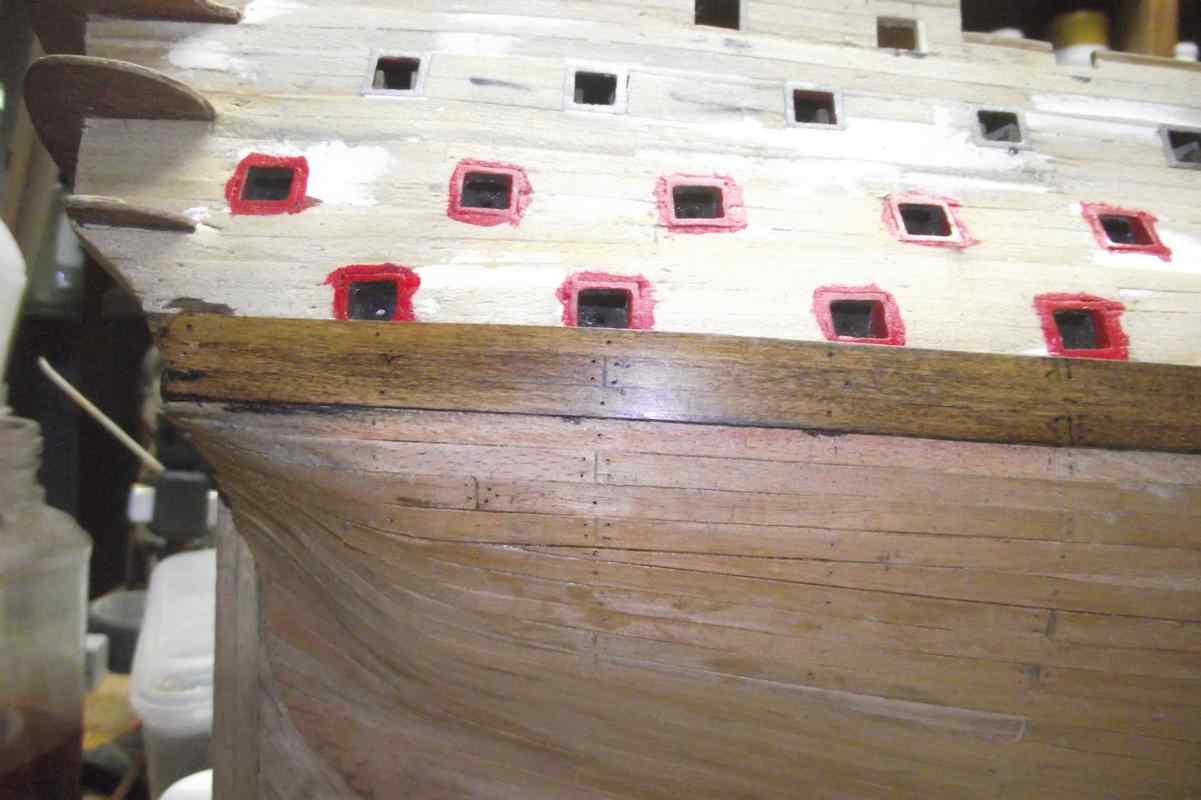
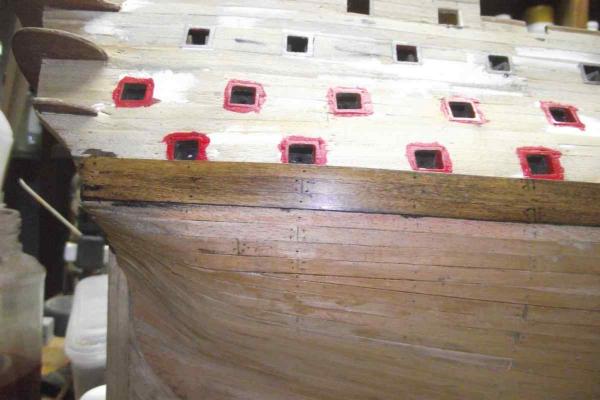
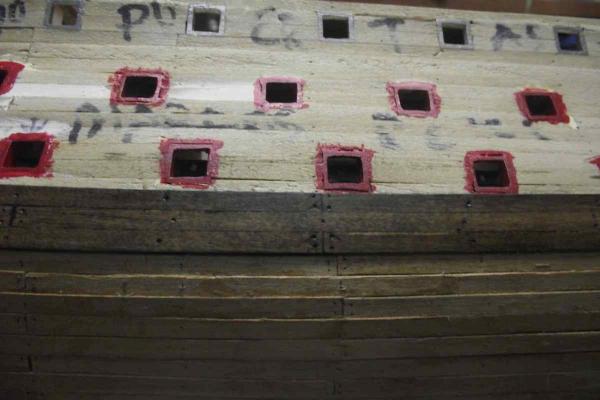
Thank you Arthur. As always, your insight is really appreciated. All nails will be removed and the holes is what will give the appearance of treenails. I removed all the nails in the wales also. Scraped them off the Rub n' Buff stuff that I decided I didn't like. Way too black for my taste. I stained them with walnut stain this morning and they look way better. Will apply a second coat tomorrow to darken it a bit more and will take some photos. I also made a test this morning with my new scrapers on the hull. I decided I am going to use a combination of scraper and sandpaper in the more problematic areas. The trial I did this morning made me a bit more confident on the scraper's use. I like the result I got in a hidden area. I will have to search youtube to learn how to sharpen these scrapers. Thanks for your input, my friend.
- 786 replies
-
- 3
-
-
- Royal Louis
- Finished
- (and 1 more)
-
Thank you for the likes guys, and your comment Pat. I'm going to start scraping tomorrow first thing in the morning. Wish me luck
- 786 replies
-
- 3
-
-
- Royal Louis
- Finished
- (and 1 more)
-
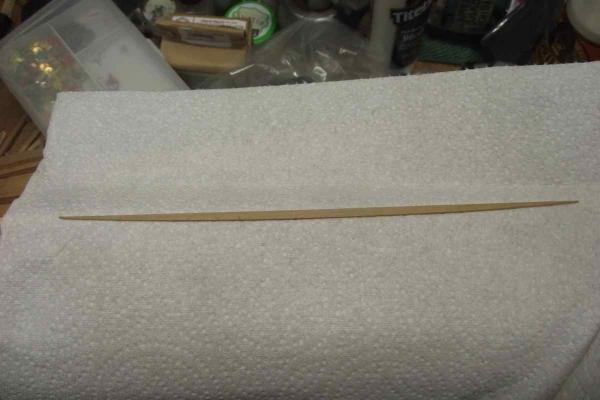
I got my scrapers (see above post) When I received them I try the edge with my finger and my reaction was. "Hey, these are not sharp at all." I thought they had to be Knife or blade sharp. Then I tried one of them on the wood and WoW... it works. I got some nice shavings. So this is a different kind of "sharp" I guess?. First time ever I use this stuff. I hope I won't mess things up.
- 786 replies
-
- 5
-
-
- Royal Louis
- Finished
- (and 1 more)
-
Thank you Banyan. These are the scrapers I ordered. http://www.amazon.com/gp/product/B001C06BLE?psc=1&redirect=true&ref_=oh_aui_detailpage_o00_s00 They should be in my hands any day this week.
- 786 replies
-
- 3
-
-
- Royal Louis
- Finished
- (and 1 more)
-
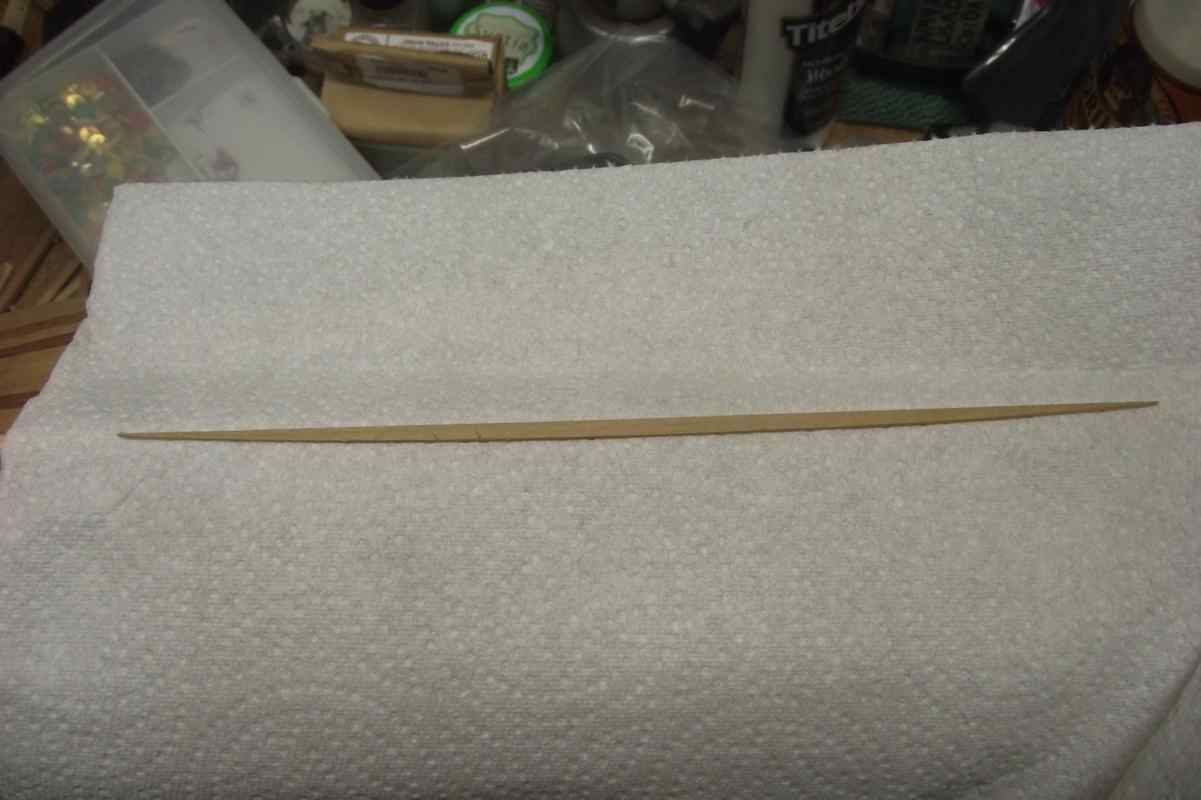
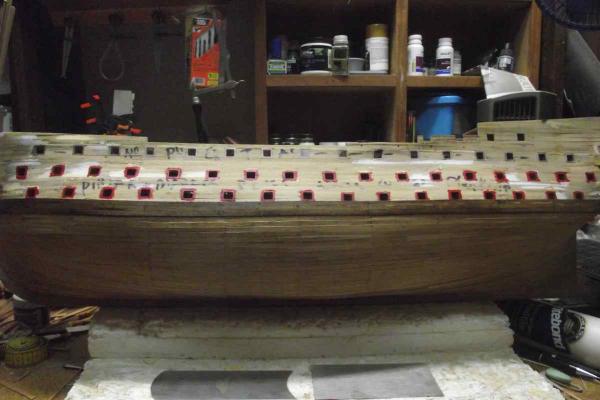
Hello all. Long time no see!!! Today I am placing just 2 photos: one is of the shaped very last piece of wood that goes in the second planking of the lower part of my R.L., and the other of that piece already in place. No sanding, smoothing, fairing of any kind done yet. I will post photos of the finished lower second planking once it is scraped and finished. I am awaiting for a set of scrapers I ordered from amazon. I'm going to experiment (gulp) with scrapingt instead of sanding. For what I've read scraping leaves a better finish than sanding. Any comments and/or tips on this will be more than welcome!!! I am also going to rework the wales. I used a stuff called Rub n' Buff ebony color on them. I don't like the deep black color it left. Since I am planning to put a bit of weathering on this ship, that brand new black black color just doesn't fill my eye. This is one massive hull. It took me 2 months and 10 days to plank just the lower area below the wales. The upper part will present a different set of challenges, when trying to plank around the gunports.
- 786 replies
-
- 10
-
-
- Royal Louis
- Finished
- (and 1 more)
-
Bienvenido Santiago. I do not know either of those kits, but as Jason said, 1/35 may be a little easier to work with, however the Pinta being a less complex ship, may also be easier to build. In any case, start your build, take photos lots of them, and start your build log in this forums. It will be the best way to get help when (note: when, not if) you need it. Buena suerte.
-
The wooden anchor heads were actually two wooden parts with a notch in the middle where the anchor shaft accommodates. So those metal parts (cinches?) were to hold the two parts together. Not sure but probably rope was used for the same purpose at one time or another. So if you are asking how to tie the rope, just make 4 or 5 turns of rope around the anchor head and tie a knot. You may place the know in the inner side of the anchor where it will not be seen, if that bothers you. Hope this helps. Other alternative may be using painted aluminum foil.
-
Hello 1.- If it looks good, it's good. Distance is relative to size of the ship and scale. Remember those were used as steps to climb to the masts. 2.- Horizontal 3.- Yes- Put a tiny drop of FLAT varnish or very diluted white glue. Wait to dry and cut flush.(Emphasis in FLAT. Gloss will stand out like a sore thumb) You mentioned before that the glue tends to show. Use diluted glue, about 50/50 or more. The idea is that the glue is absorbed into the knot, not covering it. A minimum amount of strength is actually needed. Hope this is clear.
-
I usually only glue the first and last knots. Rarely I need to put a drop of glue in some middle stubborn clove hitch. BTW I use FLAT Model Master varnish instead of glue. Dries flat and has just the right amount of strength to do the job. Diluted white glue would be my second choice. I NEVER use CA.
-
The way you do the waxing is pulling a piece of thread over a cake of wax. I don't see how you can do that to an already tied ratline, unless you know something I don't?
-
Beeswax is what is more recommended. I have my doubts that waxing the ropes will make them look thinner. And its nearly impossible to do that in already placed ratlines.
-
Working Comfortably on Upper Rigging
Ulises Victoria replied to capnharv2's topic in Masting, rigging and sails
Well, I shouldn't be responding since I just stand up when doing the upper rigging, and if I get tired, I take a break and sit for 5 minutes sipping my coffee and mentally doing the next step. I know this isn't a solution to your problem. I'm sorry, but it's just what I do. -
Very useful tool. Thank you.
-
Ratlines were significantly thinner than the shrouds, so I think you will be OK
-
I have 2010,11,12,13 and was eagerly expecting 2014. It was really sad knowing there will not be anymore.
-
Actually the ratlines were not straight ropes, but had a minor curve downwards, so don't be over zealous in having them perfectly straight. If you don't over tighten them, they will not pull the shrouds inwards. Hope this is clear.
-
My first attempt at wooden ship modeling back in the 80's, resulted in a so embarrassingly ugly hull planking job that the model was thrown in a closet and never finished. I am glad I persisted and although not perfect by any means, I have 4 finished ships with a more than acceptable hull planking job. Perseverance is the key word here. Best of lucks Ulises
-
I have at least 5 different types of scissors and use them according to the situation. I don't believe there is one tool that can do everything. Also, I have learned two things: 1.- not to spend money on cheap tools, and 2.- there is no such thing as "too many tools".
-
I bought a bottle of this Titebond glue based on the "Fast Inicial Tack" premise. I have used it some, but I can't really tell if there is a difference compared to others glues. I am also under the impression that is not as strong as the regular Titebond wood glue or the new (for me) Elmer's wood "stronger" formula, which I am presently using with very satisfactory results.
-
How interesting. I will be finishing the lower hull planking on my Royal Louis pretty soon. I keep thinking about the next step which will be sanding, and sanding, and sanding... can somebody please put some photos on the usage of a scraper for that job? Wouldn't be overkill to use a scraper on 1 mm thick planks? Thanks in advance.
-
Indeed Jay. My approach is just from a modeler's point of view or perspective. Never intended to copy the "real thing" method. In fact, it is based on a false deck planking job. Best regards. Ulises
-
Hello Jay. The length of the planks can be whatever you choose, as stated in the 2nd paragraph. My article only shows a way to develop a uniform pattern for the butt ends. Thank you Mark for making a reference to my work and Jay for taking the time to read it.
-
Hello all. Not sure if this is new news, but I got an email from Modeler's Central for pre-ordering this new kit. There is a 6 DVD set on how to build it. A modeler's dream come true. http://www.modelerscentral.com/ship-model-kits/modellers-shipyard/hms-sirius-flag-ship-of-the-first-fleet-1787/?mc_cid=eddcd7386e&mc_eid=bbbae52e1e