
HOLIDAY DONATION DRIVE - SUPPORT MSW - DO YOUR PART TO KEEP THIS GREAT FORUM GOING! (Only 44 donations so far out of 49,000 members - C'mon guys!)
×

Chasseur
-
Posts
461 -
Joined
-
Last visited
Content Type
Profiles
Forums
Gallery
Events
Everything posted by Chasseur
-
 Slow right now. Working on the two port and starboard running lights and reflectors on the forecastle. Built the bases for the lights out of 1.5 mm O.D. Brass pipe. Turned the domes for the lights on the mini lathe. I'll post some pictures when the lights and reflectors are done, painted, and mounted on the deck. Had a bunch of chores to do from the Admiral's checklist to knock off so hobby time was limited this weekend. Thanks for asking ... Jeff
 -
Will pray Janet gets better! Good job on freeing the ship from the jig. I was wondering how that was going to turn out? Jeff
-
Awwwwwwwe... the Brass Meister strikes again! Awesome tool Nils. Way to go. There was never a doubt. Jeff
- 2,625 replies
-
- 5
-

-
- kaiser wilhelm der grosse
- passenger steamer
- (and 1 more)
-
Hi Nils. I didn't realize you were going through that thick of a material. You could step/router the circumfernace cut about 3-5mm into the wood and pin with two dowels that way you wouldn't have to bore all the way through.
- 2,625 replies
-
- 4
-
-
- kaiser wilhelm der grosse
- passenger steamer
- (and 1 more)
-
Option is make a template and affix to deck. Then use a dremel tool with router adapter and plunge cut a hole. Then router all along the circumference and you'll have a perfect circle. Jeff
- 2,625 replies
-
- 5
-
-
- kaiser wilhelm der grosse
- passenger steamer
- (and 1 more)
-
Beautiful work Alexander! You are a master carver*
-
Awesome you are truly an artist as well! Look forward to more! Jeff
-
Hey Piet, Just catching up on this marvellous build. Your workmanship is excellent! Lawrence might be early but in my case better to be late than never! Jeff
-
Rob, As I watch this build the more I want to put the GR into a bottle. The Eagle turned out really nice. Nice job on the railing! Once the Preussen is done Lord willing the GR will be next on the blocks. Jeff
- 1,208 replies
-
- 4
-
-
- great republic
- clipper
- (and 1 more)
-
Thanks Mark for the fine comment greatly appreciated! Michael thanks for your comments and as always I learn something from you and... hopefully the article will be of great use to you. Jeff
-
Thanks Patrick. Yes by all means use any ideas here or elsewhere as this is the way here at MSW to share ideas, methodologies and different ways of doing things. Glad you like the little sailor. I hope to improve my technique on making figures at this scale as I am always learning. Have a good day mate! Jeff
-
I like the jig. Smart move Nils!
- 2,625 replies
-
- 5
-
-
- kaiser wilhelm der grosse
- passenger steamer
- (and 1 more)
-
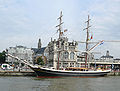
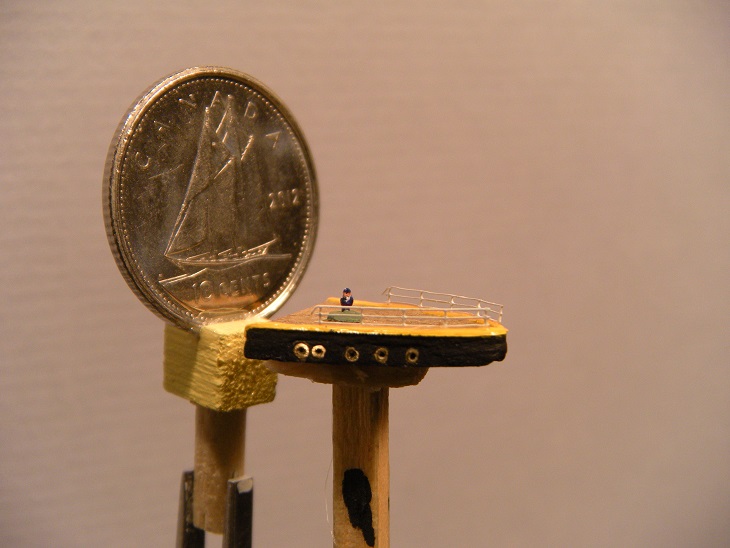
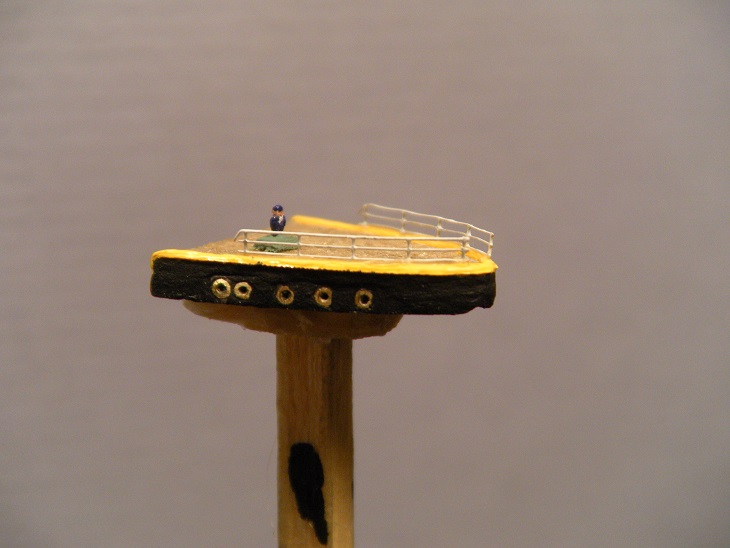
A little work on the Forecastle/deck area. Got some decking on and railings installed. Fiddly work just the same. First shot below is a dime to show scale. I still have to scrap some paint off of the port holes. Amazing what the camera picks up! Next two shots are just for kicks ... Jeff
- 296 replies
-
- 11
-
-
Looking good Nils. Still lots of work however your getting closer! Jeff
- 2,625 replies
-
- 5
-
-
- kaiser wilhelm der grosse
- passenger steamer
- (and 1 more)
-
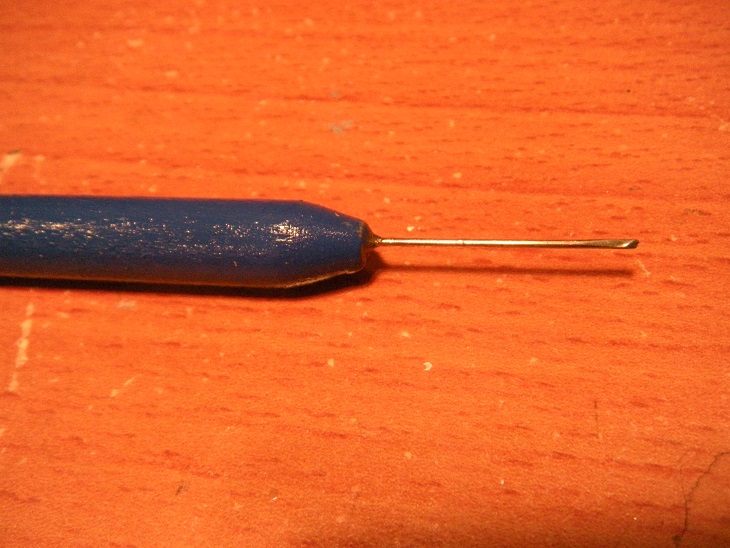
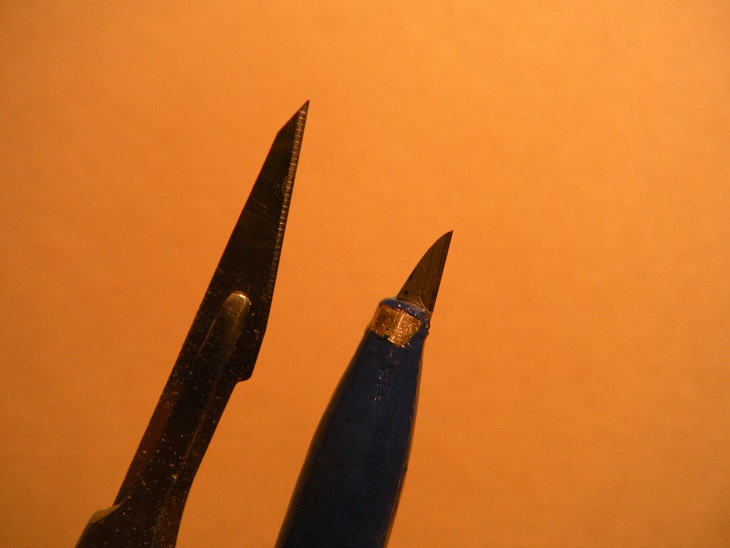
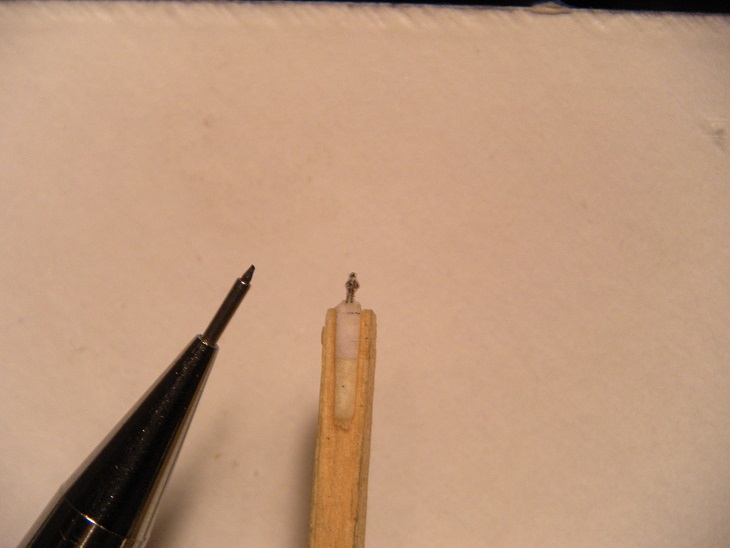
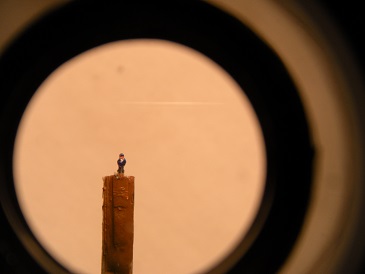
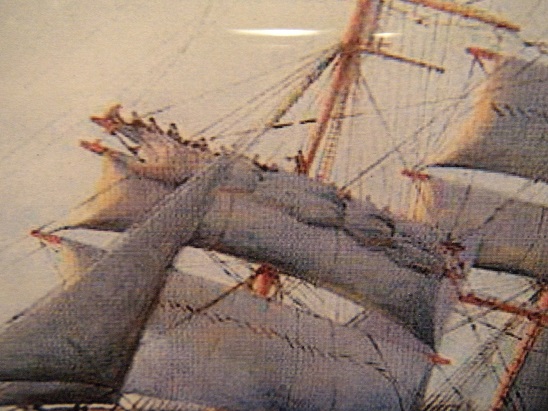
Yesterday and today I thought about building a scale figure for on deck to ensure everything « I model is in scale and within reason. First off I needed to build a micro chisel and a micro carving knife. The chisel I built from a sewing needle and the knife from a broken off piece of razor blade. See below! Number 11 exacto knife for scale comparison. I then mulled around and stewed in the cave trying to figure out what to do. Following ideas came up: Carve a figure from a matchstick Carve a figure from a pencil lead Sculpt a figure from Sculpy III clay Then it dawned on me. I`ll make one from paper and then paint it. I photocopied a figure from a file a Gent in the UK had sent to me free of charge. His scale was 1:250 so I halved it on the photocopier then halved it again to get to my scale. My figure scaled in at a 6` tall German sailor weighing in it at 195 lbs. all muscle when painted up LOL. First shot shows the paper figure glued to another piece of paper for bulk. I reinforced the figure with cyano to make it easier to carve. Once I carved it to spec I painted the body a merchant marine uniform blue, flesh for face, white tee shirt underneath and black boots. See below. Figure is 1.5 mm tall. For my first attempt I`d rate this figure at a 7 out of 10. When you view it with the naked eye it`s pretty convincing at this scale. I know I can do better with some practice. Some quick comments. I tried to paint with acrylics but they dried out way to quickly. Switched to enamels which seemed better but bulked up a bit too much for my liking. I will probably go back to acrylics and add an inhibitor in to slow paint drying time down or I might try artists oils for kicks. I attached a photograph to show how I am going to model some sailors on a yard taking in the sheet before the storm hits as the Preussen will be modeled before the wind rounding the Horn. See below. Also attached is an article if anyone is interested in making their own micro chisels from scratch. Making_Small_Tools_Tutorials.pdf More to come ... Jeff
-
I look forward to seeing your micro torch set up Michael.
- 749 replies
-
- 4
-
-
- albertic
- ocean liner
- (and 2 more)
-
Hi Michael, The Novus brand is synonymous with my eldest Son's car club. They use this stuff all the time for detailing vehicles. I never would of thought about trying to remove the scratches. Talk about a time saver. I would of thought to just mask off the hull and repaint it. Good thinking on your part! Hopefully you can rub it all out and repolish the surface. Also a trick the car guys use is a clay bar. The clay picks out all of the crud in the paint FYI ... Jeff
- 749 replies
-
- 2
-
-
- albertic
- ocean liner
- (and 2 more)
-
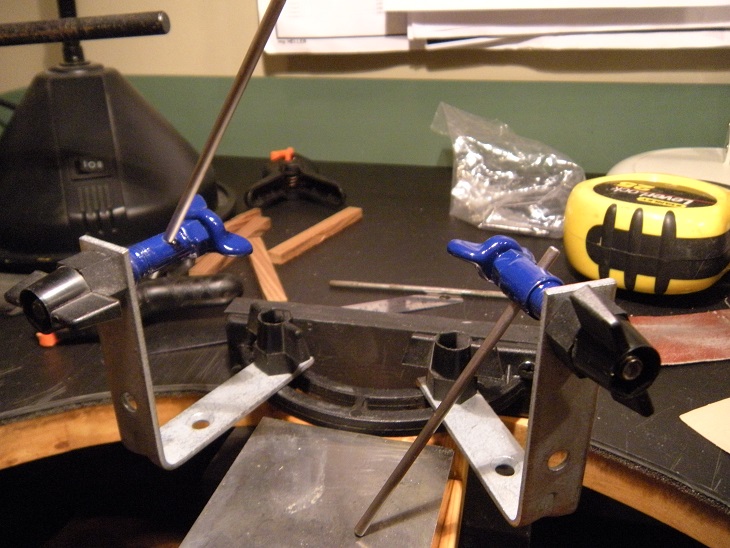
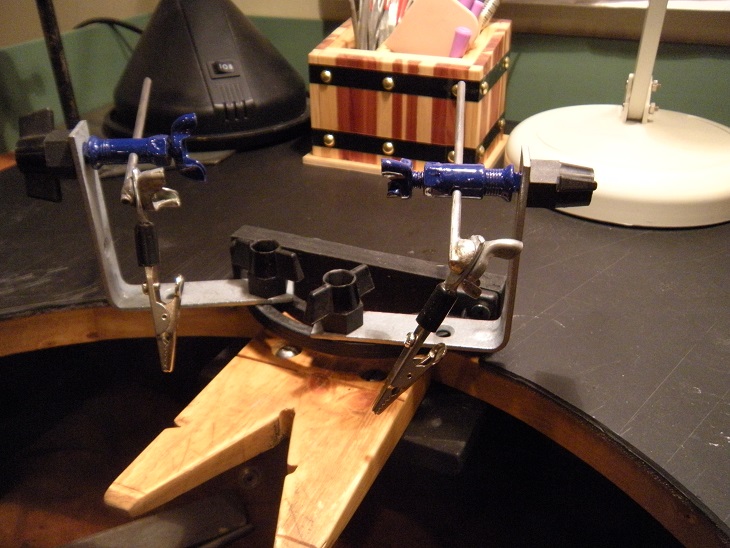
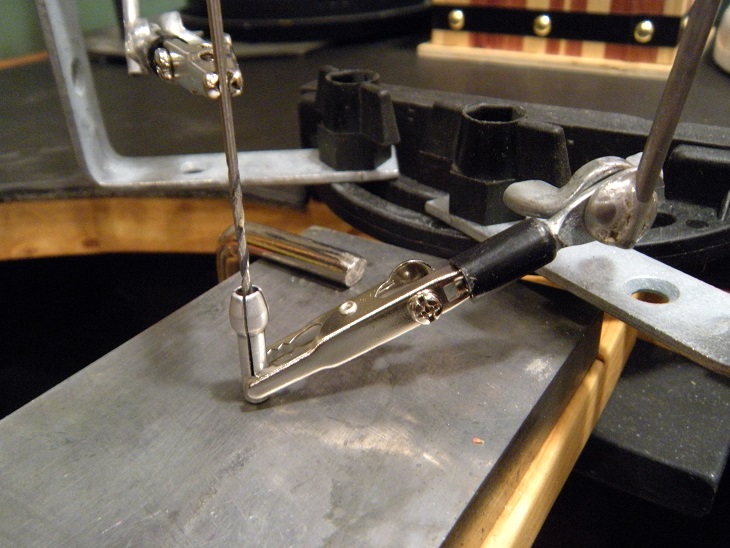
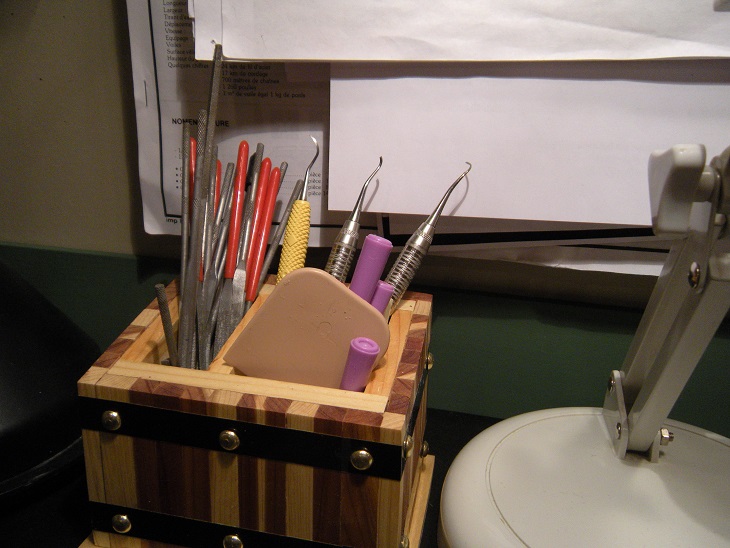
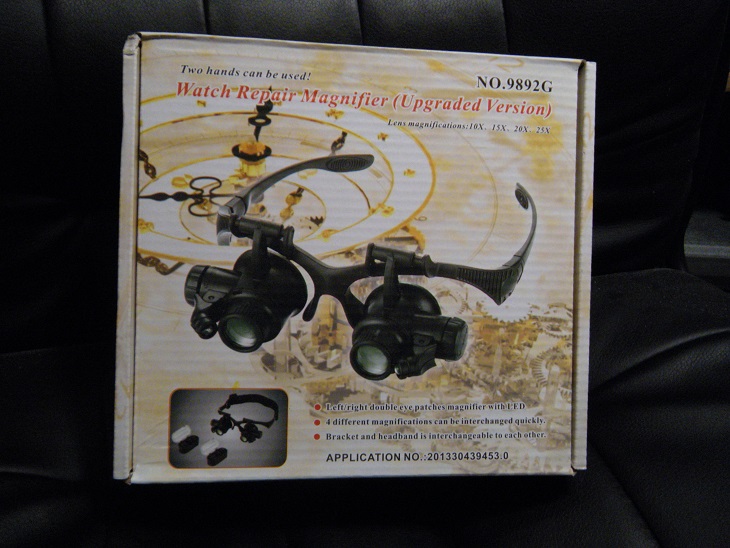
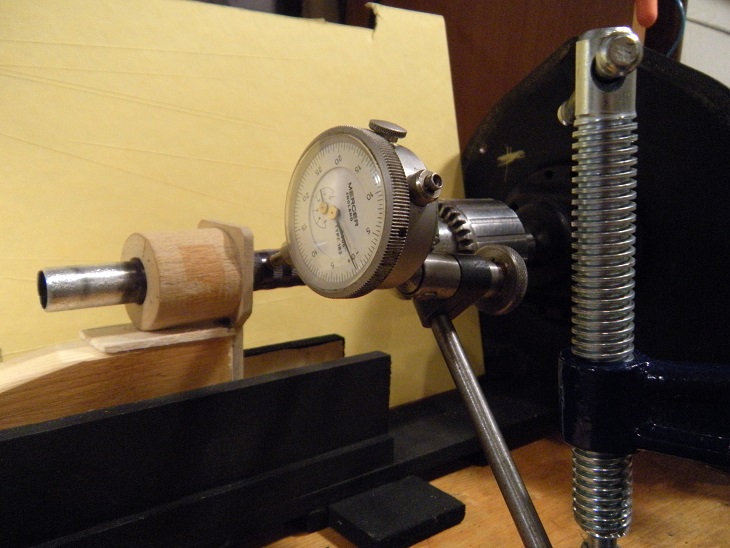
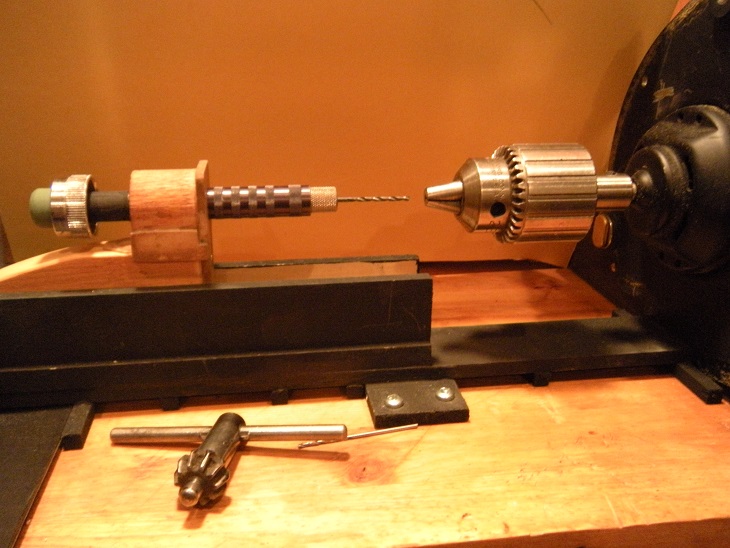
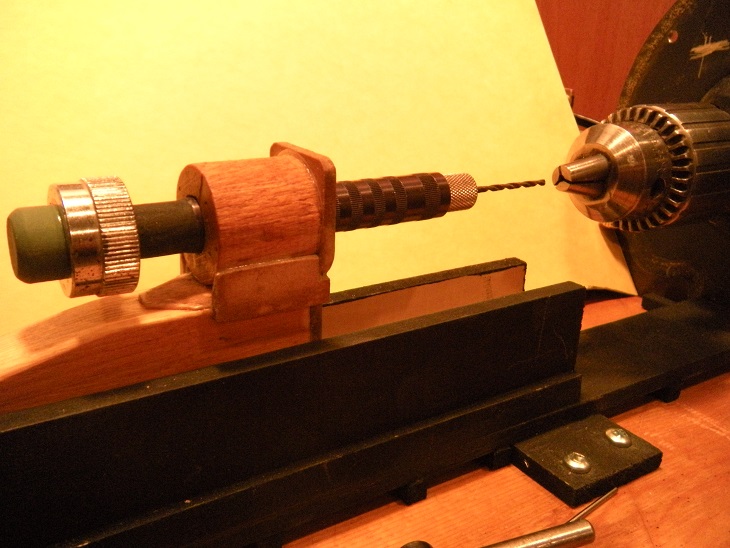
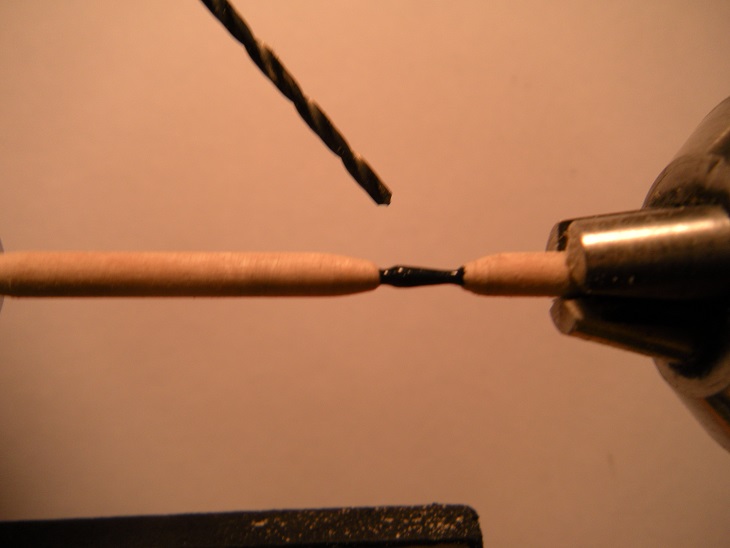
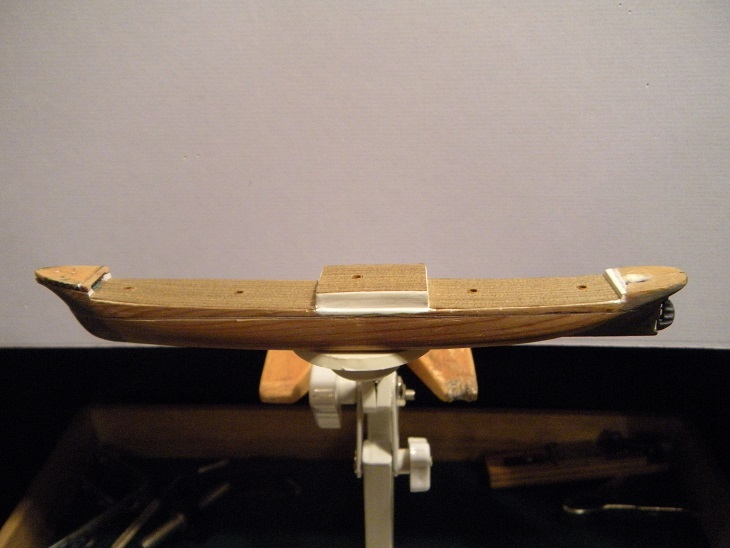
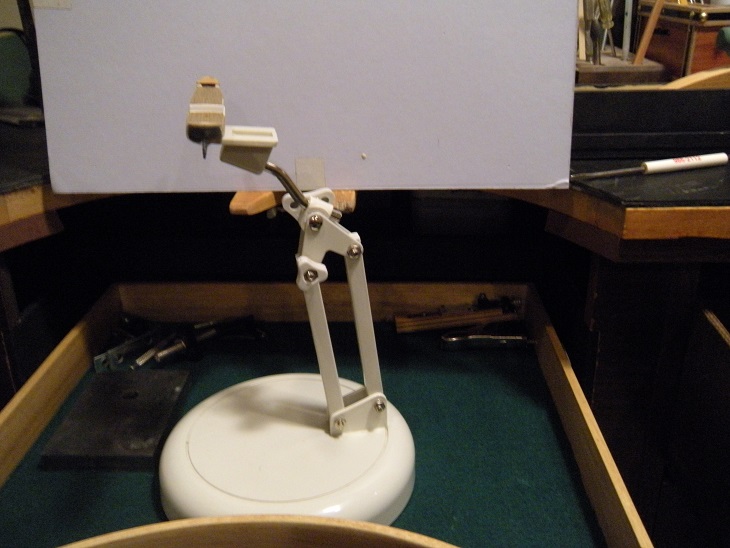
I finally got back into the Man Cave and it felt a bit like Santa's Workshop. First 4 pictures show my bench pin complete with my fabricated helping hands. I have to wonder how I ever did work without a bench pin. I can't say enough about the value of having a pin. I made mine totally removable. Just loosen some wing nuts and everything comes apart in about 60 seconds. First shot shows the pin and helping hands under construction. Note the nice chunk of steel plate for soldering jobs. Next two shots show the versatility of the hands and how I can locate a part to solder, glue or paint with precision. I built a few different sizes of L brackets to have on hand for various scenario`s. I give Mr. Mott credit here as he inspired me with his version. Next shot is overall look of my bench modified. It turned out better than I expected. Notice the leather apron to protect my felt lined shelf, a must have when soldering or working with hot parts. I give God all the glory here! Next two shots are gifts from my Uncle Bob. He built me a container for files and another for pliers, hemostats, saws, scissors etc. Next shot is a gift from my youngest Son. This item will enhance my modelling at the miniature scales I model and the world I live in. Lens come in 10X, 15X, 20X and 25X. Next 4 pictures shows my modification to my miniature lathe. I built a tail stock with sliding mechanism. I can also drill into anything chucked in the Jacob`s chuck. Just push the green button to drill. First picture is me dialing her in. Next two photographs show the set-up. The pencil grinder on the left has a rotating head for turning. When I want to lock it up just insert a pin into the area that locks the chuck and I am in drill mode otherwise she free wheels for turning. Next picture show`s a 1:300 scale Dahlgren cannon turned and painted from 3/16`` doweling purchased from the dollar store. 3/32`` drill bit shows the scale in comparison. So where I am at with the Preussen build.... next two shots show the hull onto my custom holder I modified from an old document holder. I can swivel, turn, tilt, lower or raise the hull to the exact working position I want. So from here on forward all my posts will be about the build. Now I can focus on completing this SIB. First shot shows where I left off at last time. Next shot shows how the stand fits nicely on my sliding tray. So there you have it I am back in business! Jeff


- 296 replies
-
- 11
-
-
Rob you're way too hard on yourself. I think your window/panel technique is a great time saver. Happy New Year to you and yours! Jeff
- 1,208 replies
-
- 4
-
-
- great republic
- clipper
- (and 1 more)
-
Looks good Mark! You have a good sense of humor and love the recent posts. Merry Christmas my friend and ALL THE BEST TO YOU AND YOURS IN 2107! Jeff
-
Michael Actually I used it for the seas for the Preussen and for rudder wake on the Lone Warrior article models at 1:300 scale. This stuff comes in handy for a multitude of uses. However you're right I still have lots left LOL.