Chuck Seiler
-
Posts
1,878 -
Joined
-
Last visited
Content Type
Profiles
Forums
Gallery
Events
Everything posted by Chuck Seiler
-
 One idea I am toying with is using appropriate size phospher broze wire from Tichy Train Group. Insert a small piece after the wood is finished, leaving a small rounded nib exposed. Then, darken using liver of sulpher. I am told it will not affect the wood.
- 76 replies
-
- 2
-

-
- Pinas
- kolderstok
- (and 2 more)
-
Only three? You are slacking off. Good luck with the paper model. I am a bit leary after my experience with Wutender Hund. Yeah, sometimes those kits from Europe to the US can take awhile. I just finished a model from Ukraine (Shallop by Pavel Nikafin) and started one from Netherlands (Pinas Cross Section-Kolderstock). Both took a long time in transit.
- 146 replies
-
- 8
-
-
- Speeljacht
- Seahorse
- (and 2 more)
-
Wonderful work! I have partially built a cog/kogge that appears to be based on the Bremen Cog. You build log gives me inspiration to finish it. I find it interesting that the hulls of the ships depicted on the Rye/Damme seals closely resemble the Bremen cog hull, but the free standing fore and stern castles more closely resemble those of nefs a couple hundred years earlier. I am also intrigued by the shrouds.
-
Bob, I found the gluing process for the first futtocks to be relatively simple, if using wood glue. A little dot of glue. or a little diluted glue, spread over about a half inch of the joint will work fine. Once the futtocks are in, the joint is basically one solid piece of wood, fore and aft. There is no real stress on the joint. I actually put a very little dot at the top of the floor timber, one at the bottom of the futtock and one about the middle of the joint, then thinned it out. The glue dries slow enough that you have plenty of time to position the futtocks into place as you want them.
- 76 replies
-
- 2
-
-
- Pinas
- kolderstok
- (and 2 more)
-
Although, since we only use a portion of our brain, I would like to think those spare neurons step up and replace the dead ones. That's my story and I'm sticking to it. Unfortunately, at my age, the brain cell boot camp isn't cranking out the new recruits like it used to.
-
Once you get above the 2nd futtock, then you have 2 options: long upper timber and short upper timber. I think they are almost the same length. I have not decided whether I will put one on one side and one on the other OR short on both sides. The longs will follow the lines of the short.
- 76 replies
-
- 1
-
-
- Pinas
- kolderstok
- (and 2 more)
-
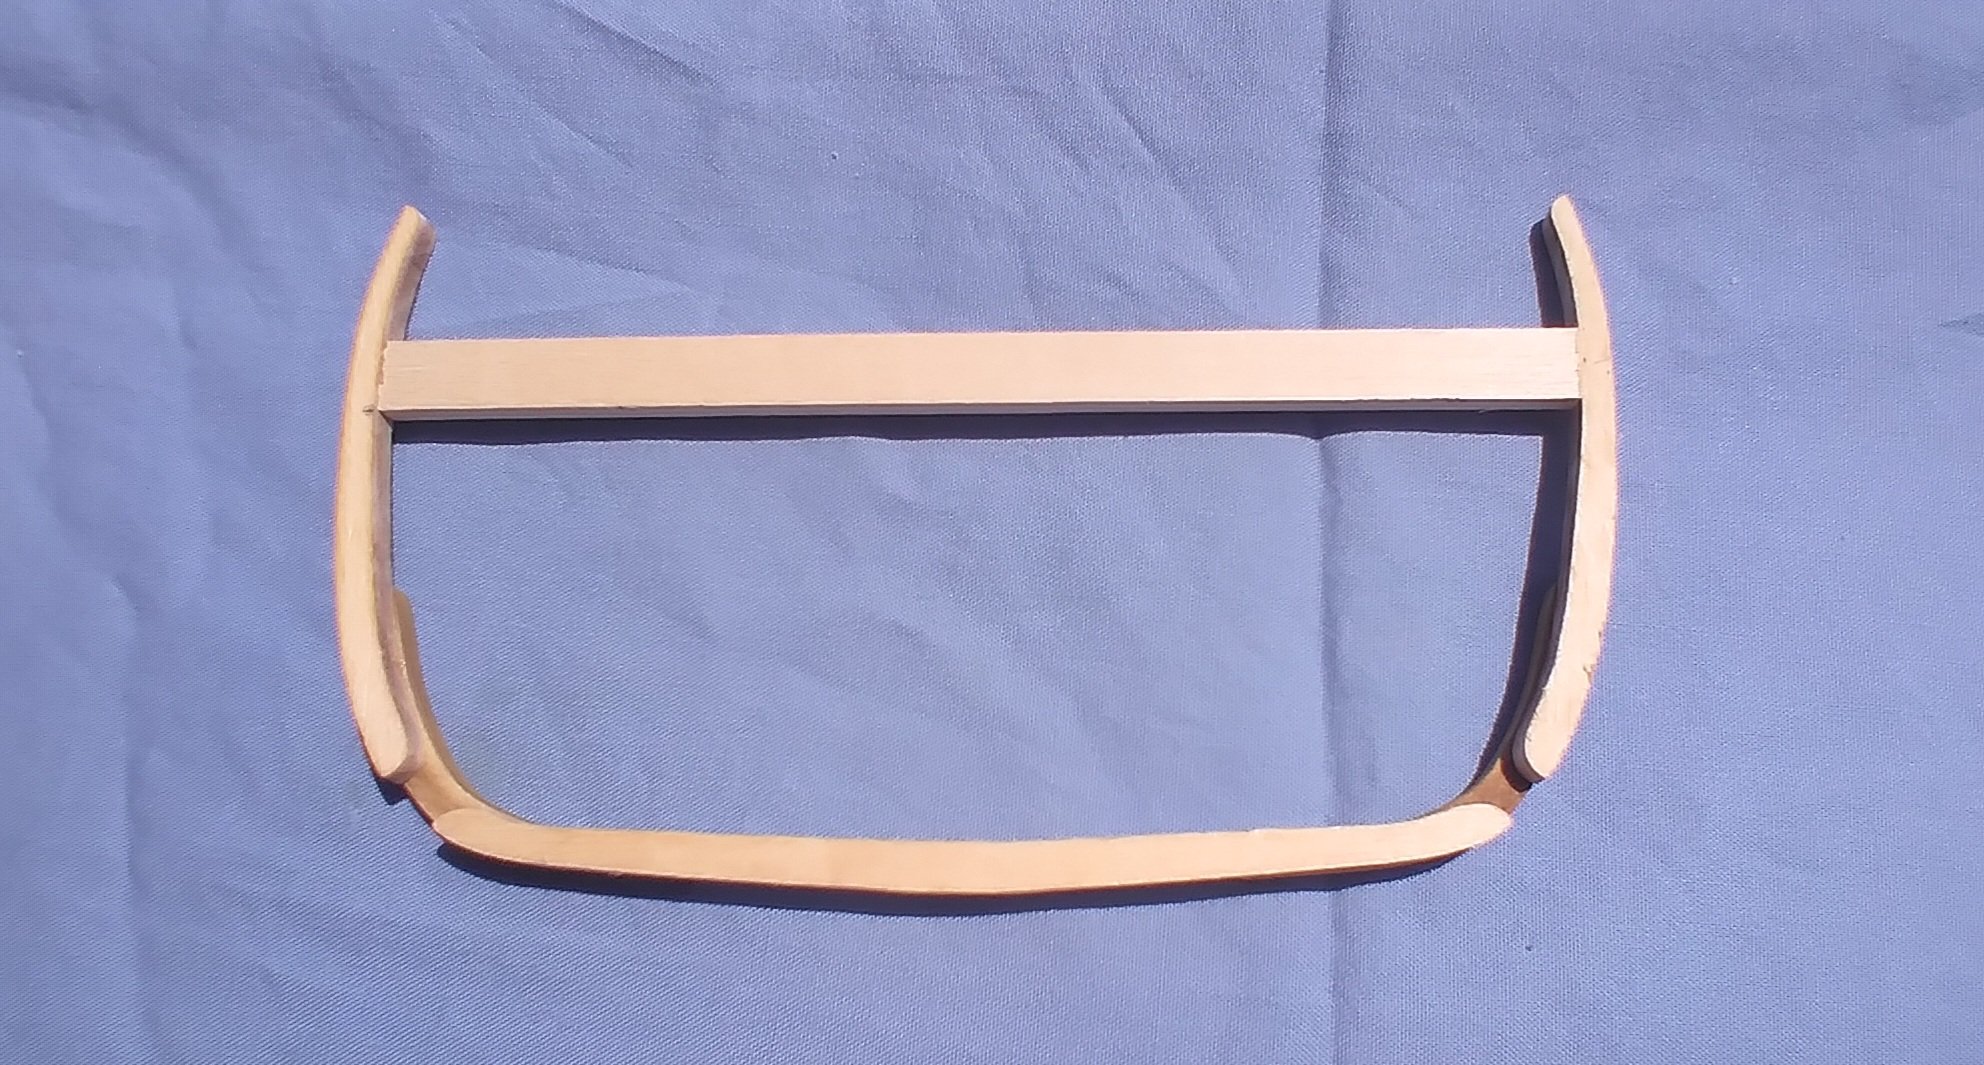
Here is the wooden template, as mentioned. I have built it up to the second futtock and ran a support piece across to prevent from snapping. The bottom of the support piece is even to where the bottom of the orlop deck-beam ledge will be. Here, the template is temporarily attached to the partially complete hull (for demo purposes). When I finally get around to adding second futt, I will use comb and dab of glue to hold template in place, and use micrometer to ensure bottom of ledge is even.


- 76 replies
-
- 6
-
-
- Pinas
- kolderstok
- (and 2 more)
-
Both. On my crappier builds, glue will do. In a model as well made as yours, wedges and rigging.
-
I am working on fist futtock. Will take some pics and IM them to you. I am not great at build logs: I can build a model or I can document the build...but not both. When I try to document, the build gets stalled. Another thing: You need to use the paper template to assemble the first futtock to the floor timber for the end frames. Once that whole assembly is done, you use the paper template to add/align the second futtock WITH THE FRAMES ATTACHED TO THE KEEL. The floor/1st futt is easy because it lays flat on a table. Adding the 2nd futt may be a bit harder. SOLUTION: I am finding there is an extra floor timber, 2 extra 1st futtocks and 2 extra 2nd futtocks. I will assemble THAT flat on the table, then use that as my build template. Pic to follow once I build.
- 76 replies
-
- 1
-
-
- Pinas
- kolderstok
- (and 2 more)
-
I have this kit as well. Recently received. I don't know how far along you are and if my advice will be helpful. I decided to dye the frames and keel with Trans Tint wood dye in alcohol. Used brown and amber mix, giving it a 'golden oak' color. I used the dye because it does not inhibit gluing. Stain looks better but inhibits gluing, in my experience. While most of the wood is quality basswood, the planking in my kit was not. I went to the hobby store and got a sheet of 1/16" Midwest basswood and cut the planks on my Byrnes Saw. Better planks. I will use boxwood above the wales and will stain those.
- 76 replies
-
- 2
-
-
- Pinas
- kolderstok
- (and 2 more)
-
I suspect some of that 40k+ number are those that joined, stayed for awhile and just never returned.
-
I am not that familiar with it. I am sure somebody here has some experience with it. What ship are you working on?
-
For what it's worth, I would never use basswood for anything but filler. When I was working on the NRG planking half hull, I had alot of problems with the basswood planking. I switched to yellow cedar and was much happier. It is relatively inexpensive and soft like basswood, but slightly harder. I find it works better than BW and finishes VERY nicely.
-
'It's yellow and color and comes in a box. Any other questions?'
-
Yo! It's my Philly suburbs upbringing.
-
Use Renaissance (conservators') wax.
-
I am a long time PRIME member already. Price is above and beyond that.
-
Upon checking Prime, I see it is available, but I would either have to rent at $.99 for 4 episodes or buy at $.99 per episode. If you buy full 'season' it is about $20.
-
And now...
-
I wasn't aware that there were paddle wheelers in the middle ages. 😁
- 110 replies
-
- 4
-

-
- Paddlewheeler
- Ballarat
- (and 3 more)
-
Chuck, What did you use as a container?
-
'Tis a common tale. Sometime very small details take alot of time and effort. You wonder if it is worth the time/effort, but later realize it is. A poor detail distracts from a good model.
-
Mini Bench Drill Press
Chuck Seiler replied to Gregory's topic in Modeling tools and Workshop Equipment
Sure, if I had the equipment to do that. But then I probably would not need the press we are discussing. Easier to spend the $10 at Amazon.