


cobra1951
-
Posts
947 -
Joined
-
Last visited
Content Type
Profiles
Forums
Gallery
Events
Posts posted by cobra1951
-
-
Hi Bryan
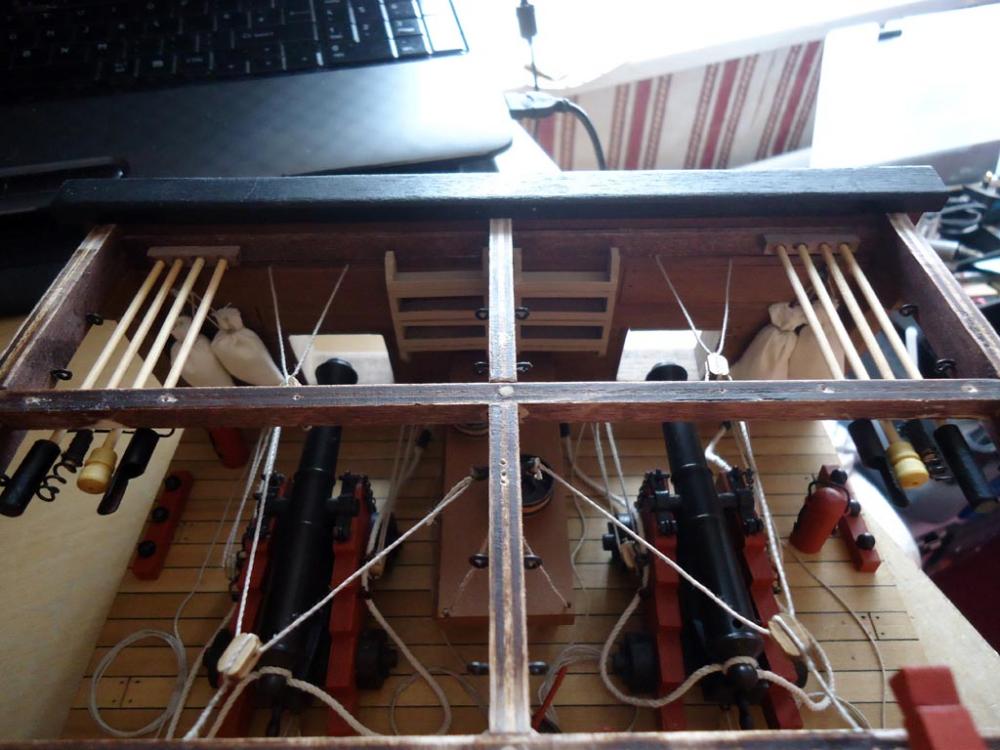
You could also build the rest of the cannons with a smaller wedge or move the wedge back in the rack. This will give you more elevation to the cannon barrel and make it more central in the gun port.
 It's exactly what i had to do with my cannons because if they were made the way the instructions said then they had a downward trajectory only
An inch drill does seem a bit drastic. better off fitting a 25mm mounting ring to the deck and fitting the mast base into it. Should be easily made from some 30mm dowel. If you have a problem getting 30mm it's available here
- mtaylor, WackoWolf, zoly99sask and 1 other
-
 4
4
-
Looking good Bryan
The cannon does look a little low in the port, but no more than a mm or so compared to the pictures, but i wouldn't worry too much as it's only meant to be a representation of the original ship not an accurate one. If it was accurate then as soon as the cannons where fired they would have smashed all those upper deck balustrades to bits.
As you say just have fun with the build and build it the way that makes you happy :)/
BTW how tall is the structure as it is, I know it's 410 when built but that's including the mast
-
Save a seat for me too
-
Thanks Mike
Steal anything you like, just leave my dinner - EJ_L, CaptainSteve, mtaylor and 3 others
-
6
-
-
-
Looks like this will be an enjoyable build, good luck with it
- mtaylor, Mike Dowling and WackoWolf
-
3
-
-
-
-
-
-
Great work! Those tools look fantastic. Bowls look great too. How hard were they to put together?
Thanks EJ
They got harder as the sizes of the tubs, buckets and baskets decreased, until i substituted the Balsa main support in the middle for a more sturdy wood, then it was more repetitive than hard, but that's because i was making 2 sets of everything

- mtaylor, slow2cool, CaptainSteve and 2 others
-
5
-
-
-
-
-
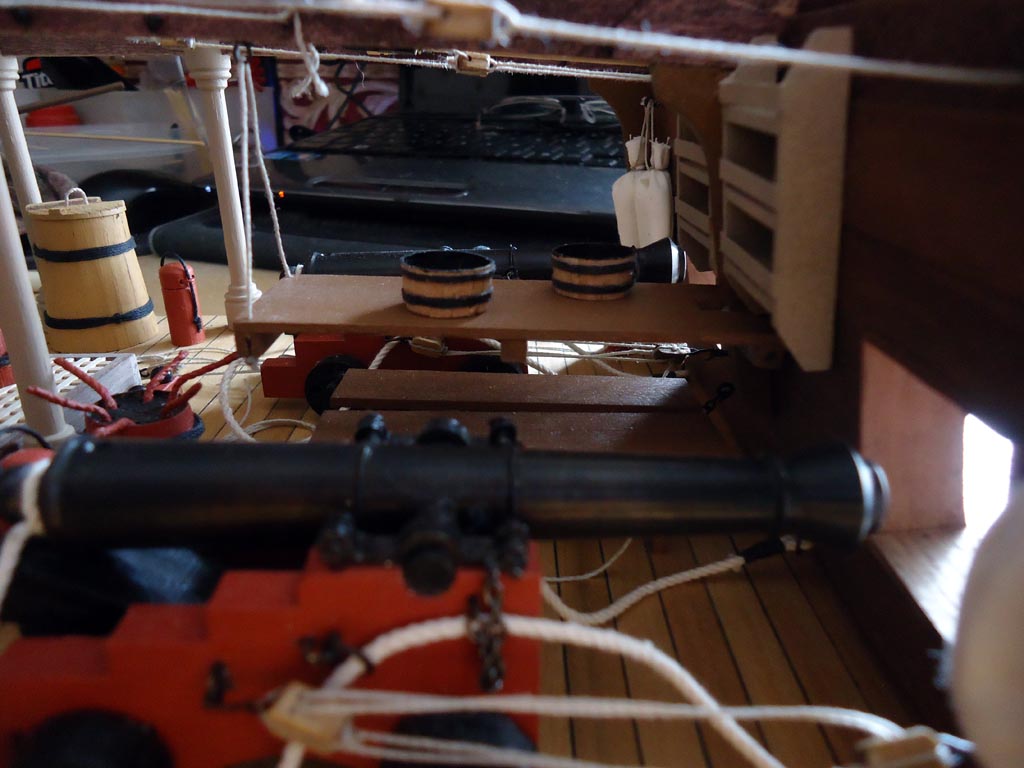
Made up some of the tools and the baskets. The parts in the instructions to make the 4th tool were not in either kit which makes me think the instructions are not correct again substituted some walnut dowel for one tool instead of cloth

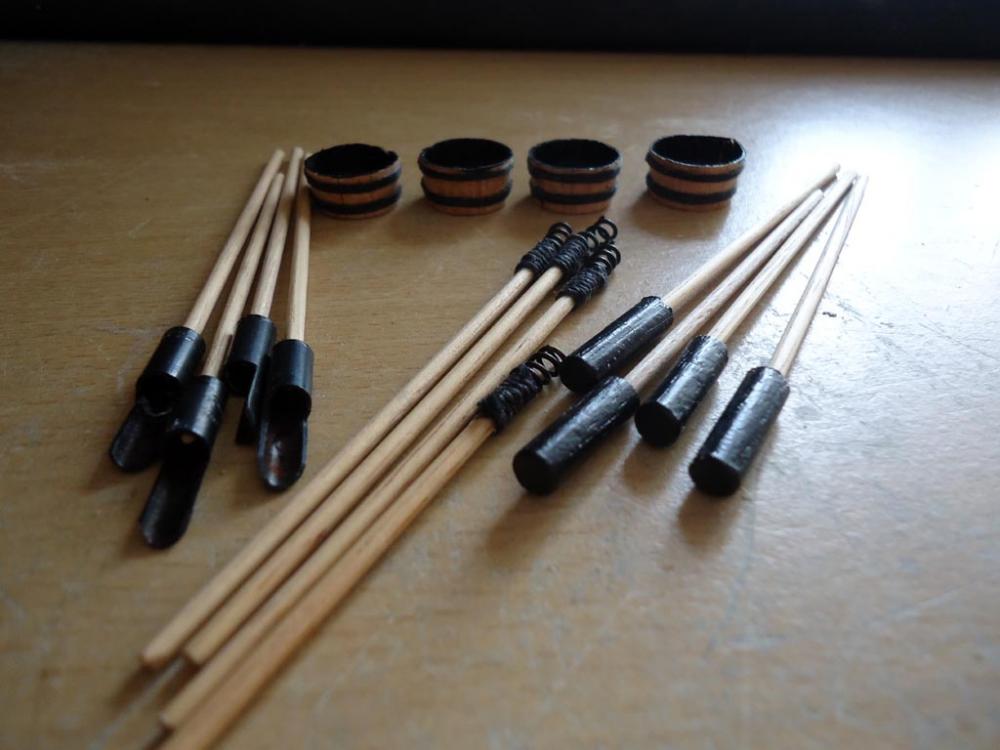
Made the 4th tool from other parts and fitted all tools to the racks, and placed the baskets on the table to fill it a bit.

-
-
Thanks Mr Pucko
I have seen this site but they only sell one of the kits i want. Thank you for being helpful anyway
- Canute, WackoWolf, zoly99sask and 1 other
-
4
-
-
Hi Bryan
Looks great, what paint did you use for the yellow strakes
I think you may be correct it is the extra strakes you added making it look different. Also as your gun ports are still just bare holes and their different sizes to accommodate the different gun sizes may also be adding to the illusion of it being wrong. I would concentrate on thinking that as long as what you are building looks right then it will come good in the end
E-mailed Guinea Hobbies myself yesterday about delivery times to UK. still no answer as yet
Thinking about getting this kit and the Disar Workstation for building my Endeavour on
-
-
however, we are our own worst critics and maybe it won't be as bad as I think. Thanks for stopping by
I have to agree, we spend so much time looking at our builds we see every little fault. Anyone else looking just sees the overall effect of the planking. In my case it looks great and i would not have noticed anything if you had not mentioned it, as i just appreciate it for what it is (a great little model)
- Seventynet, mtaylor, Canute and 5 others
-
8


Cutty Sark by Primey - Arkit - Scale 1:78
in - Kit build logs for subjects built from 1851 - 1900
Posted
Very neat