


cobra1951
-
Posts
947 -
Joined
-
Last visited
Content Type
Profiles
Forums
Gallery
Events
Posts posted by cobra1951
-
-
Interesting and usefull, but ... missed point of this topic. Look at post No #1 - EVERY DAY STUFF...
Depends on your definition of every day stuff. To me if i can buy it easily then it's every day stuff

- mtaylor, Jolley Roger, WackoWolf and 1 other
-
 4
4
-
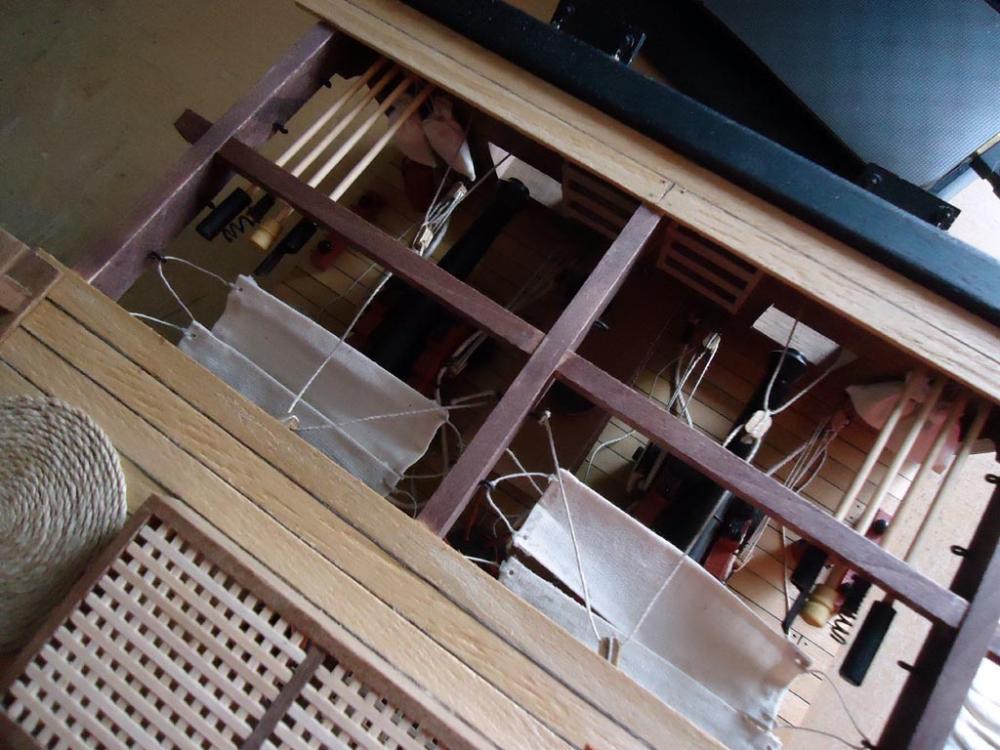
I laid part 5b over the top of the 2nd plank up on the outer hull. Mr Pucko replaced the 2nd plank up with part 5b, neither is wrong it's a matter of personal choice.
My 3rd plank up does have a cut away in it to make the port bigger the reason being the port should be square and the width is already determined by the distance between the 2 inner frames so i recessed the plank to make the height the same as the width. The outer had the bottom of the port recessed and the inner had the top of the port recessed. This kept the angle more even for me .This does make the port bigger than needed but i lined the port with 15mm x 3mm wide planking rather than the 0.5mm x 3mm the instructions say to use. The resulting port size was not critical for the gun port lids for mine as i made my own because IMHO the kit designed ones are way to thick.
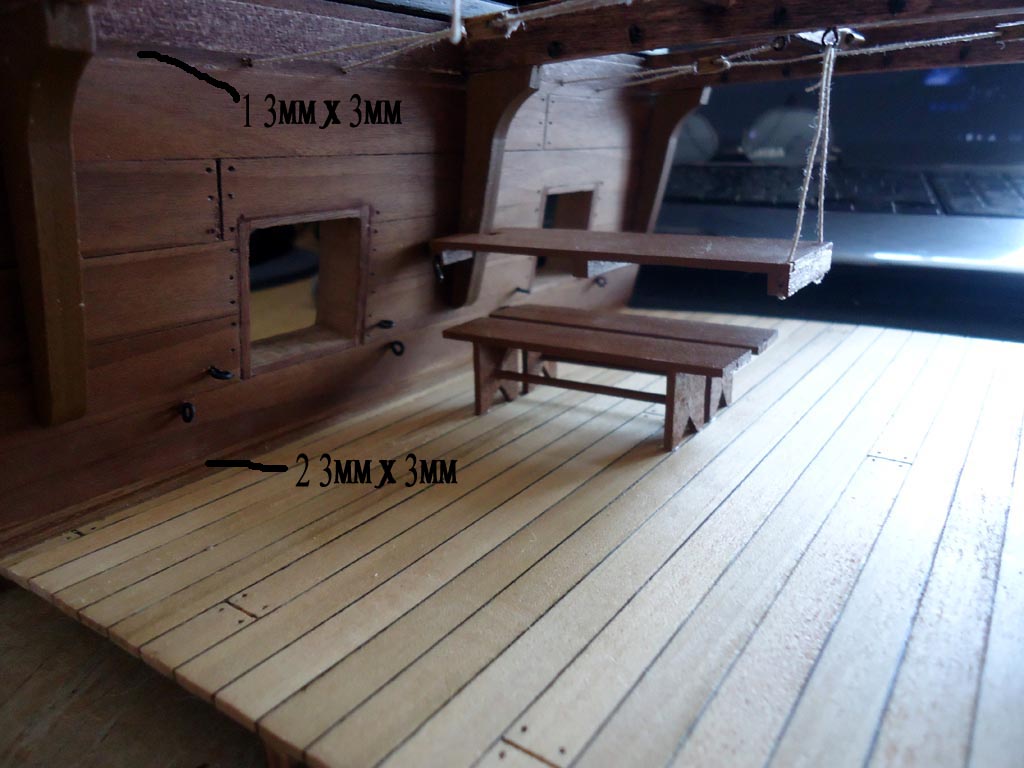
As for the 3mm x 3mm strips i laid two at the bottom and the other at the top of the inner hull lining this made them less obvious (see photo)

-
Try this stuff you can make small windows and also use it as a clear glue that won't blemish clear plastics
Video of how it works here (only downside is the woman's terrible voice on the video

- Blue Pilot, WackoWolf, Captain Slog and 2 others
-
5
-
-
-
-
Having rechecked the instruction booklet i found
1. You have to make the Lid hinges yourself, check the picture of the lid assembly with the hinges fitted and just to the side of it is another picture with measurements of the sizes to make the hinges
2. The large fuse buckets have to be made up from the part numbers on the picture in the booklet
Very easy to miss as the instructions are just pictures and numbers with minimal words
- bryanc, WackoWolf, zoly99sask and 1 other
-
4
-
-
Hi Mike
Yes 3 x 15 bottom plank then i laid part 5b over the top of the 3 x 15 second plank. I don't think it matters if you do the inner or outer hull lining first.
I also made my gun port openings different sizes to the instructions because they say to line the gun ports with little 3mm wide strips laid side by side all the way around the opening. Personally i didn't like this idea so i bought some 2 x 15 Walnut and used that, and i adjusted the opening sizes to allow for the thicker linings. This was a personal choice which way you do it is your choice obviously
-
Hi Bryan
Just checked my parts and there are no gun port lid hinge parts in mine either. If you look at the part number for them in the booklet then check the parts list the numbers are for something different

Not a good start for a new manufacturer starting out is it

-
Yes, there is a lot of unknowns on this one. A lot of what I have been doing is comparing pictures I have found of other models, plans from different manufacturers, what I have read about early 17th century French ships, a lot of "best guess", borrowing from similar ships and what I like. As it's long term goal is to sit in my house and make me happy, I'm okay with that.
That is the best reason you can have for building kits
-
Nice neat planking
and i like the way the planks lay in the bulkheads nice design- Seventynet, Canute and mtaylor
-
3
-
Thanks Antony
I didn't add an extra bits all is oob. unless you count changing the breaching rope for some decent stuff
and making my own gun port lidsbut nothing was added for extra detail. In fact it got so crowded in there that i left out some of the barrels
Next is
Occre: HMB Endeavour
Disarmodel: Navio Rayo section
-
-
I totally agree about burnout. sometimes you will notice more than a week go by before i update, that's because if a am not in the mood i will just leave it and do something else. The worst time to build is when you don't feel like it because we all know what the outcome is

 lol
lol -
-
-
-
Lose the final product if you want, but don't lose that knowledge
 I'm still counting on you guys for help with my version of this kit.
Very well done by the way
 This is a cool build.
I don't have enough builds under my belt to contemplate giving away the fruits of my efforts. That may change when I run into the 'lack of display space' problem
Good luck on your next adventure!
Thanks Mike
I follow your build of this kit, so i will always answer any questions you have as will others i'm sure
-
-
Congrats on completing 2 or em.
Nice to see as almost as per kit.
Have fun on your next build.
Do the Caldercraft its worth the effort...
Thanks Paul
If you mean the Caldercraft Victory i already have partially built that one too, but part way through i found it was going to overhang the place i had in mind to keep it by about 8 inches. which meant it would have got bashed every time someone went near it
Already have the section kit Navio Rayo and the Occre Endeavour waiting
-
Decided i am going to give both of these builds to my grandson. Now they are finished i don't particularly want to keep one, mainly because the fun is in the build for me and once built i lose interest in some builds, and this is one of them
For some reason the grandson doesn't want me to fit the hammock nets on the outer edge, he reckons the builds look better without them, and i don't totally disagree with him so they have been left off as per his instruction
So we will now call these builds finished

- CaptainSteve, ccoyle, zoly99sask and 12 others
-
15
-
Looks like a section of proper working ship now Bryan
I like it.Still need to check all the parts in my kit, just keep forgetting
You would think that as a new kit manufacturer just starting out that they would keep a tighter control over their quality checks for missing parts etc
-


Section Deck Between Gunbays by mikiek - FINISHED - Panart - 1:23
in - Kit build logs for subjects built from 1751 - 1800
Posted
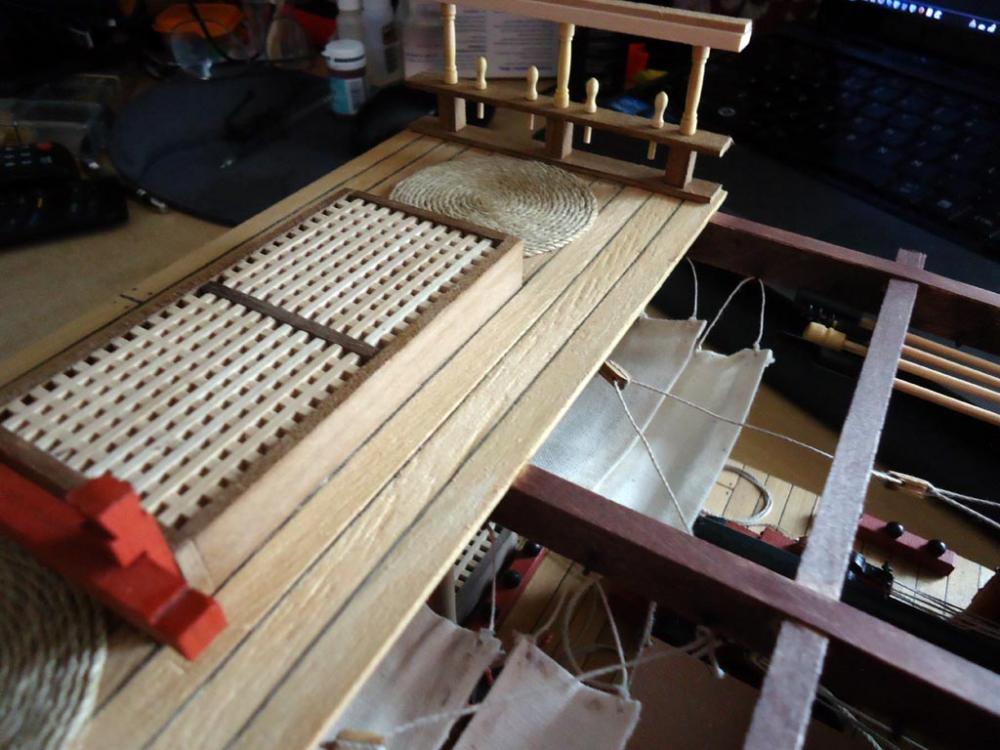
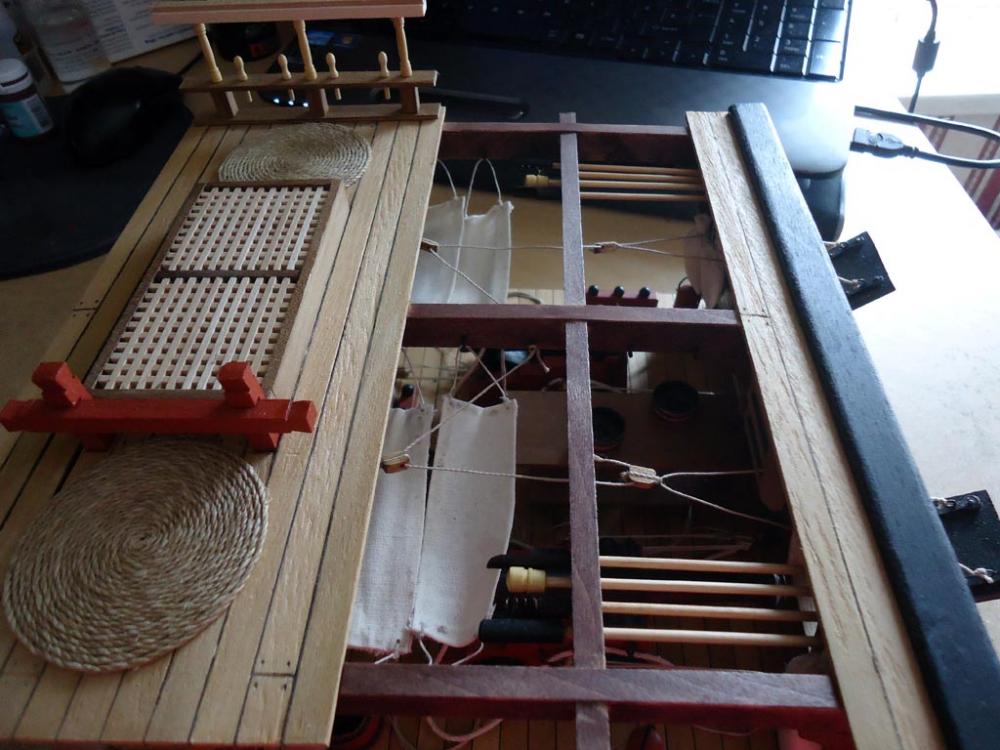
I didn't use any caulking for the hull. I didn't mind the 3mm x 3mm being slightly different in colouring as the cannons hid most of the bottom ones and you don't really see the top one unless you are looking for it