


MD11pilot
-
Posts
110 -
Joined
-
Last visited
Content Type
Profiles
Forums
Gallery
Events
Posts posted by MD11pilot
-
-
39 minutes ago, Robin Lous said:
omg! don't go there...it's a haunted place!

Now that’s funny, 😂
-
I'm depressed. Spent some time wandering around the "Scratch Built" side of the website this morning. I don't have the words to describe my respect for those folks. Awesome, astounding, incomprehensible, magical. I can only dream.
-
-
-
-
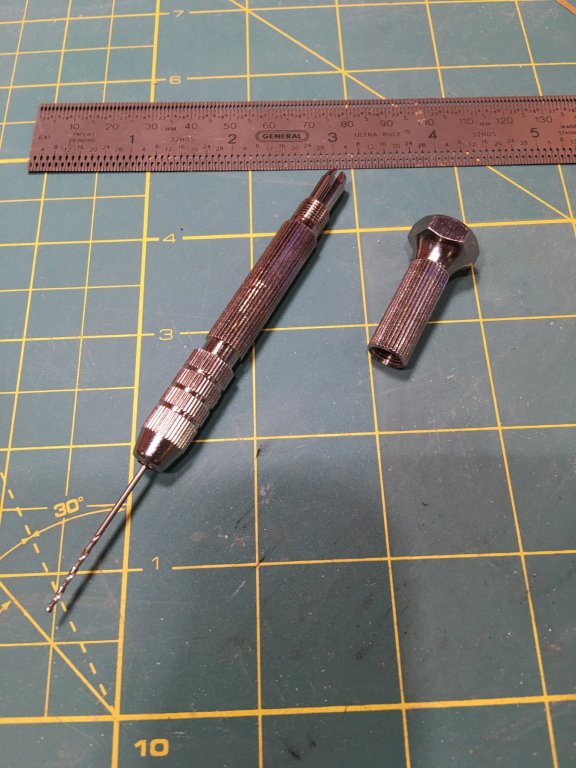
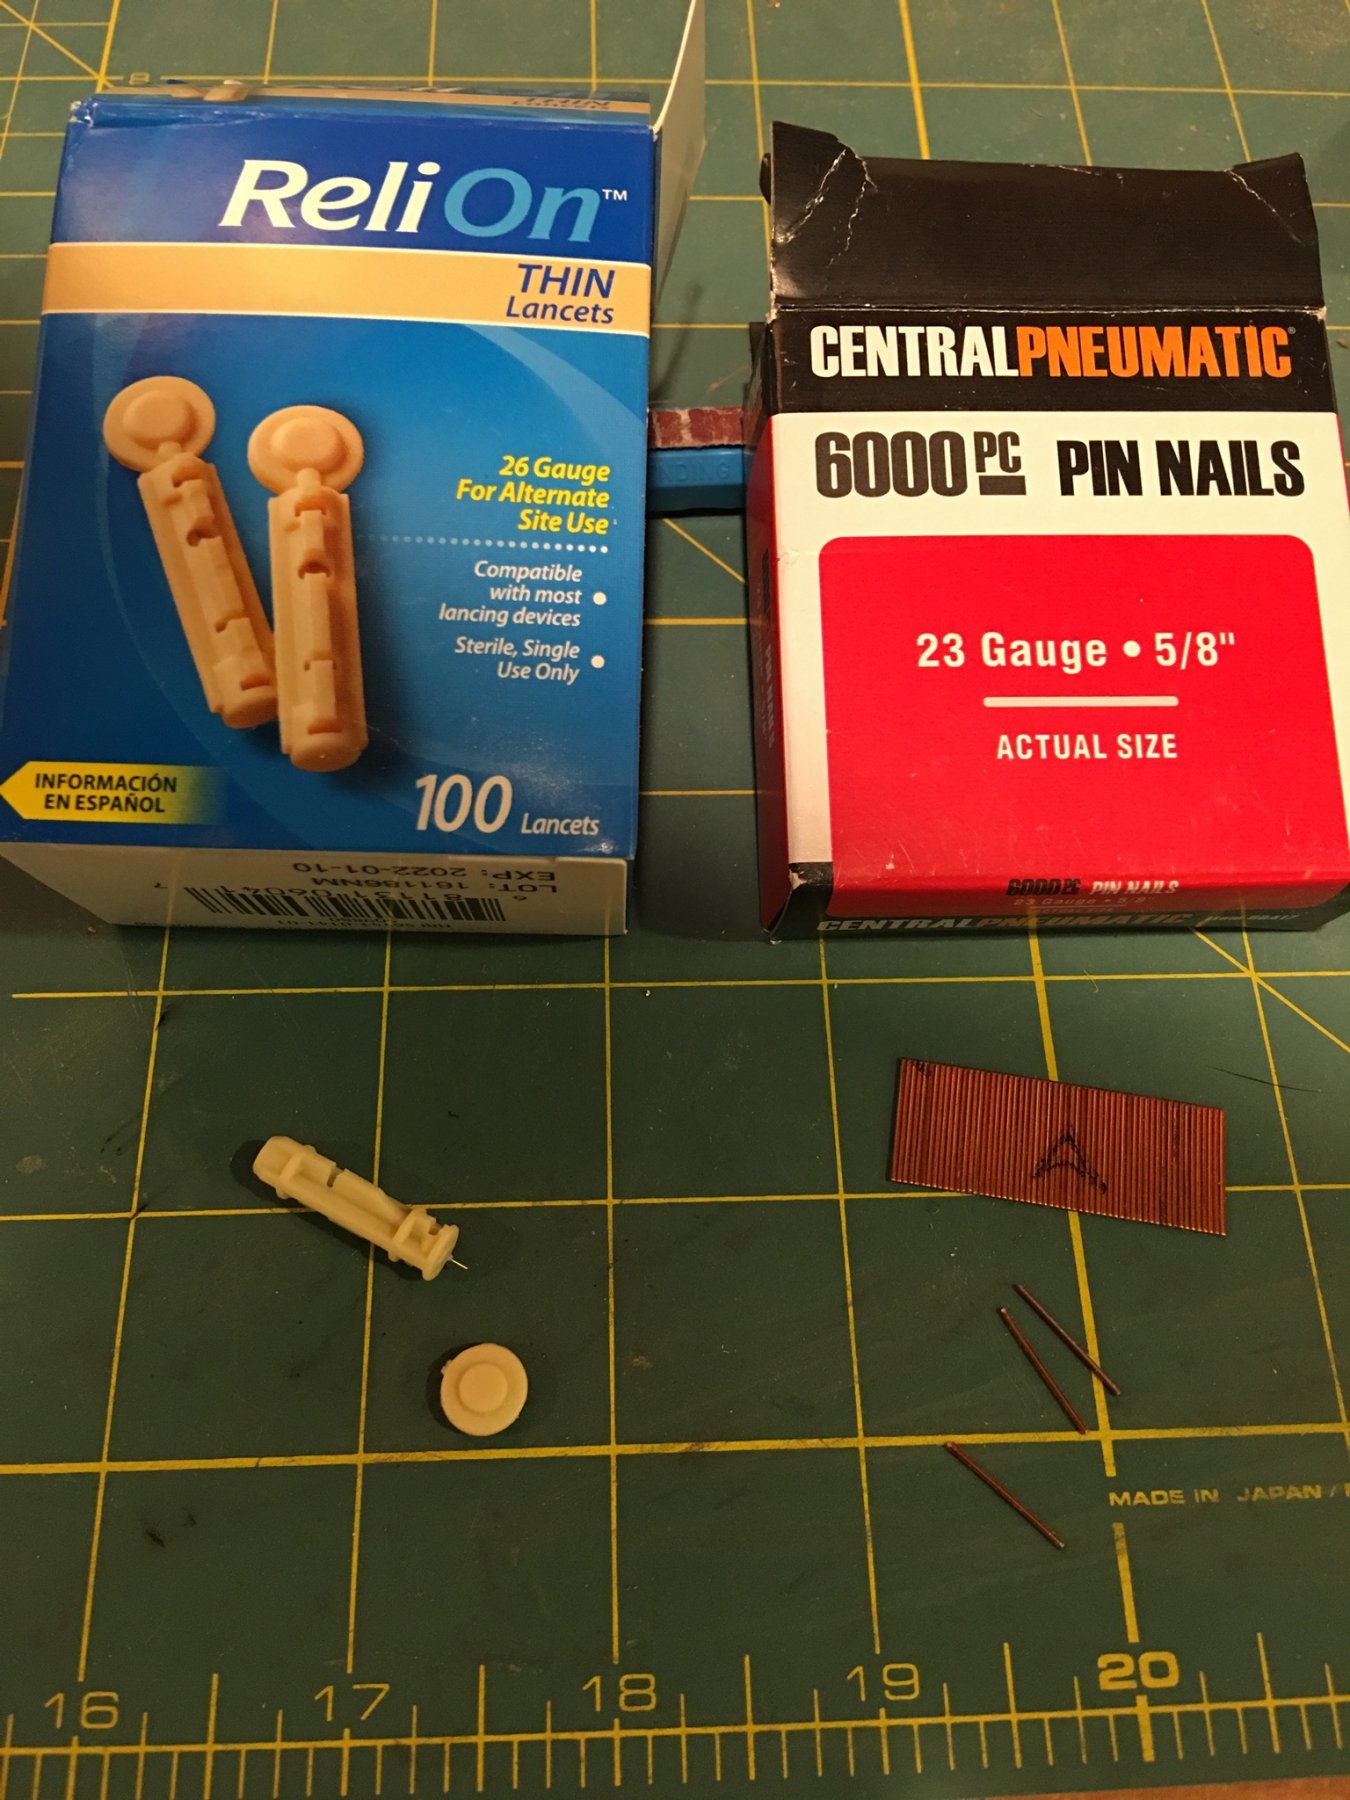
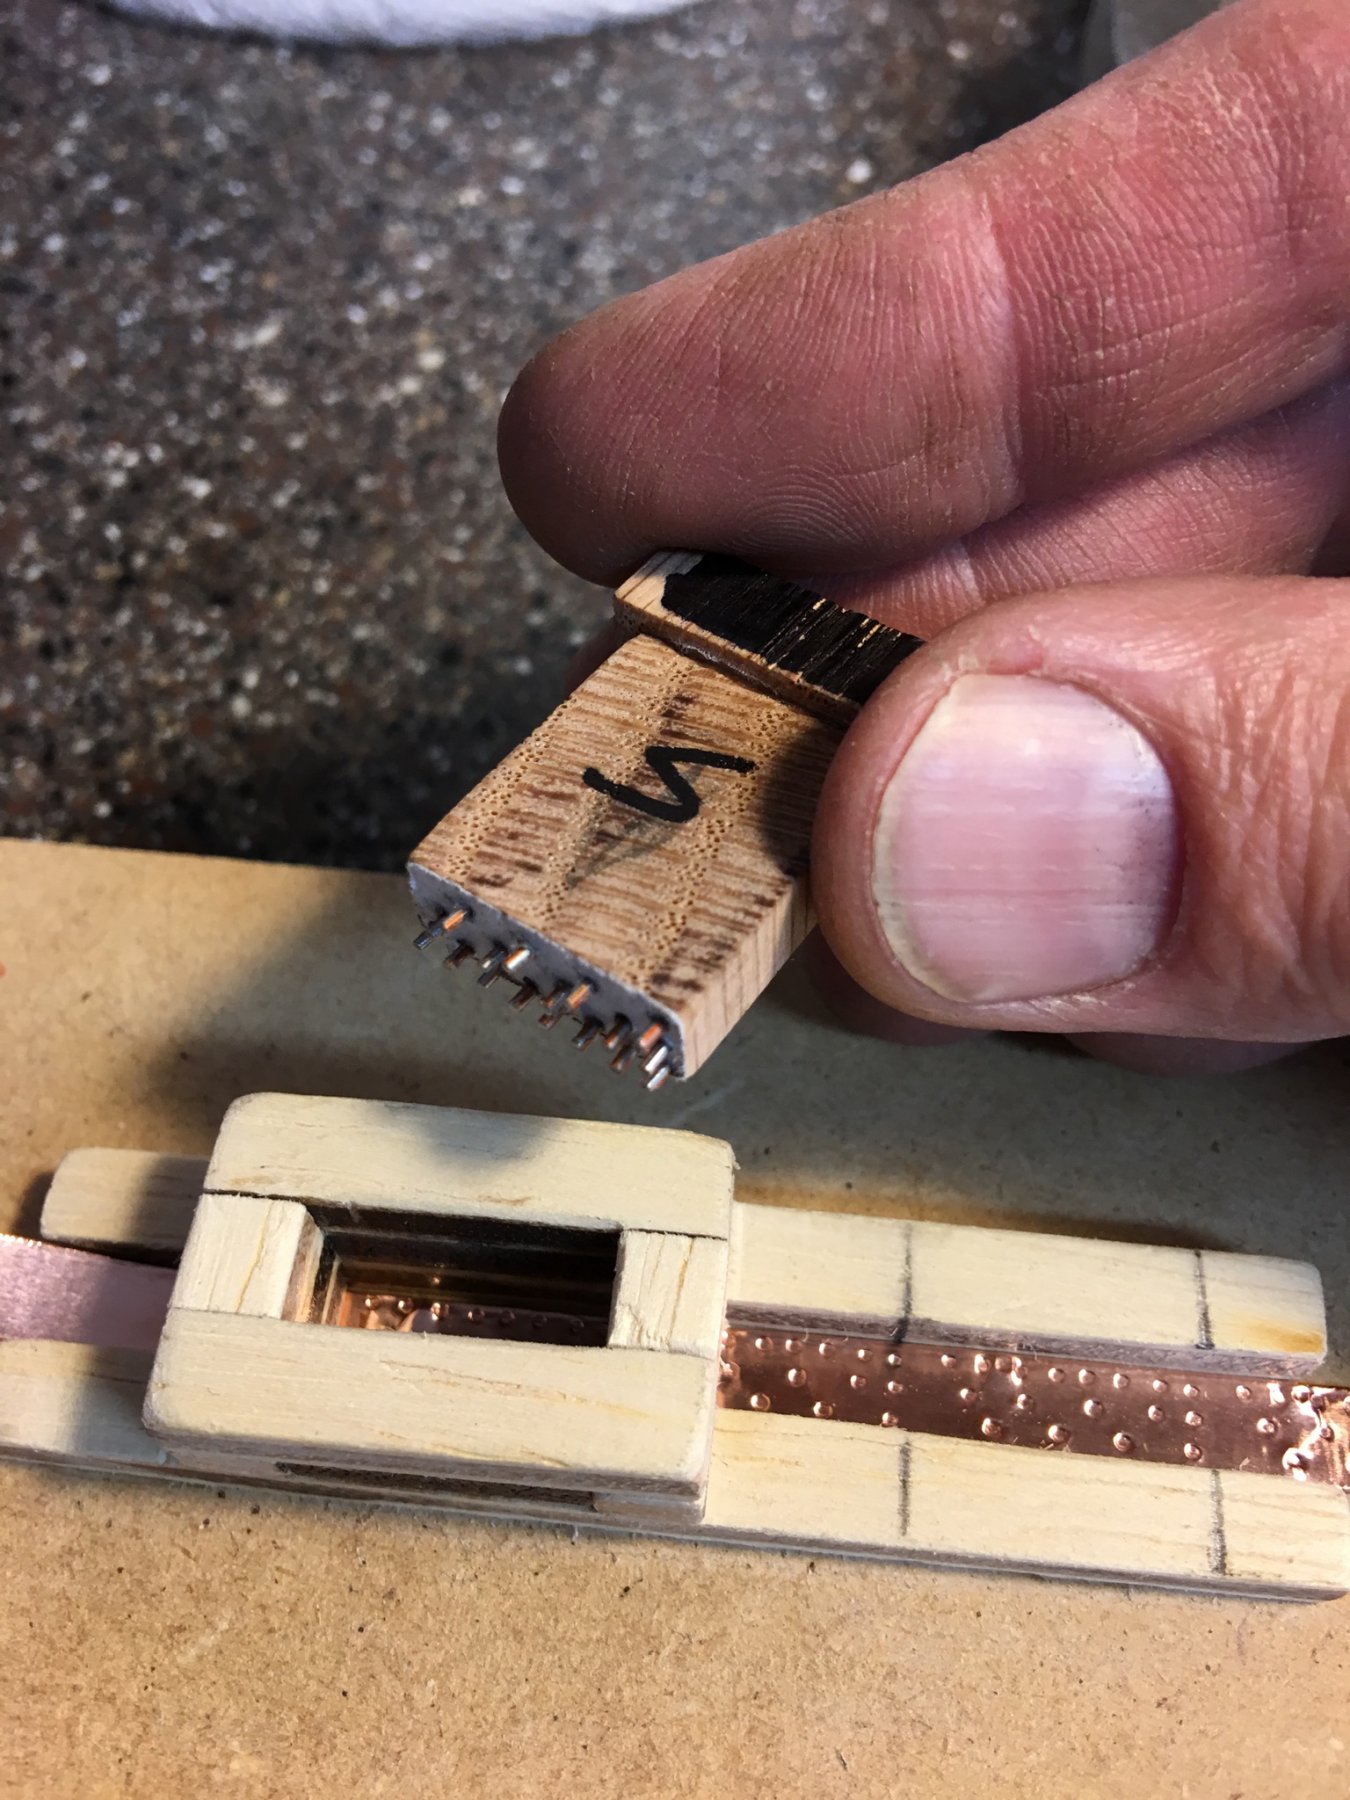
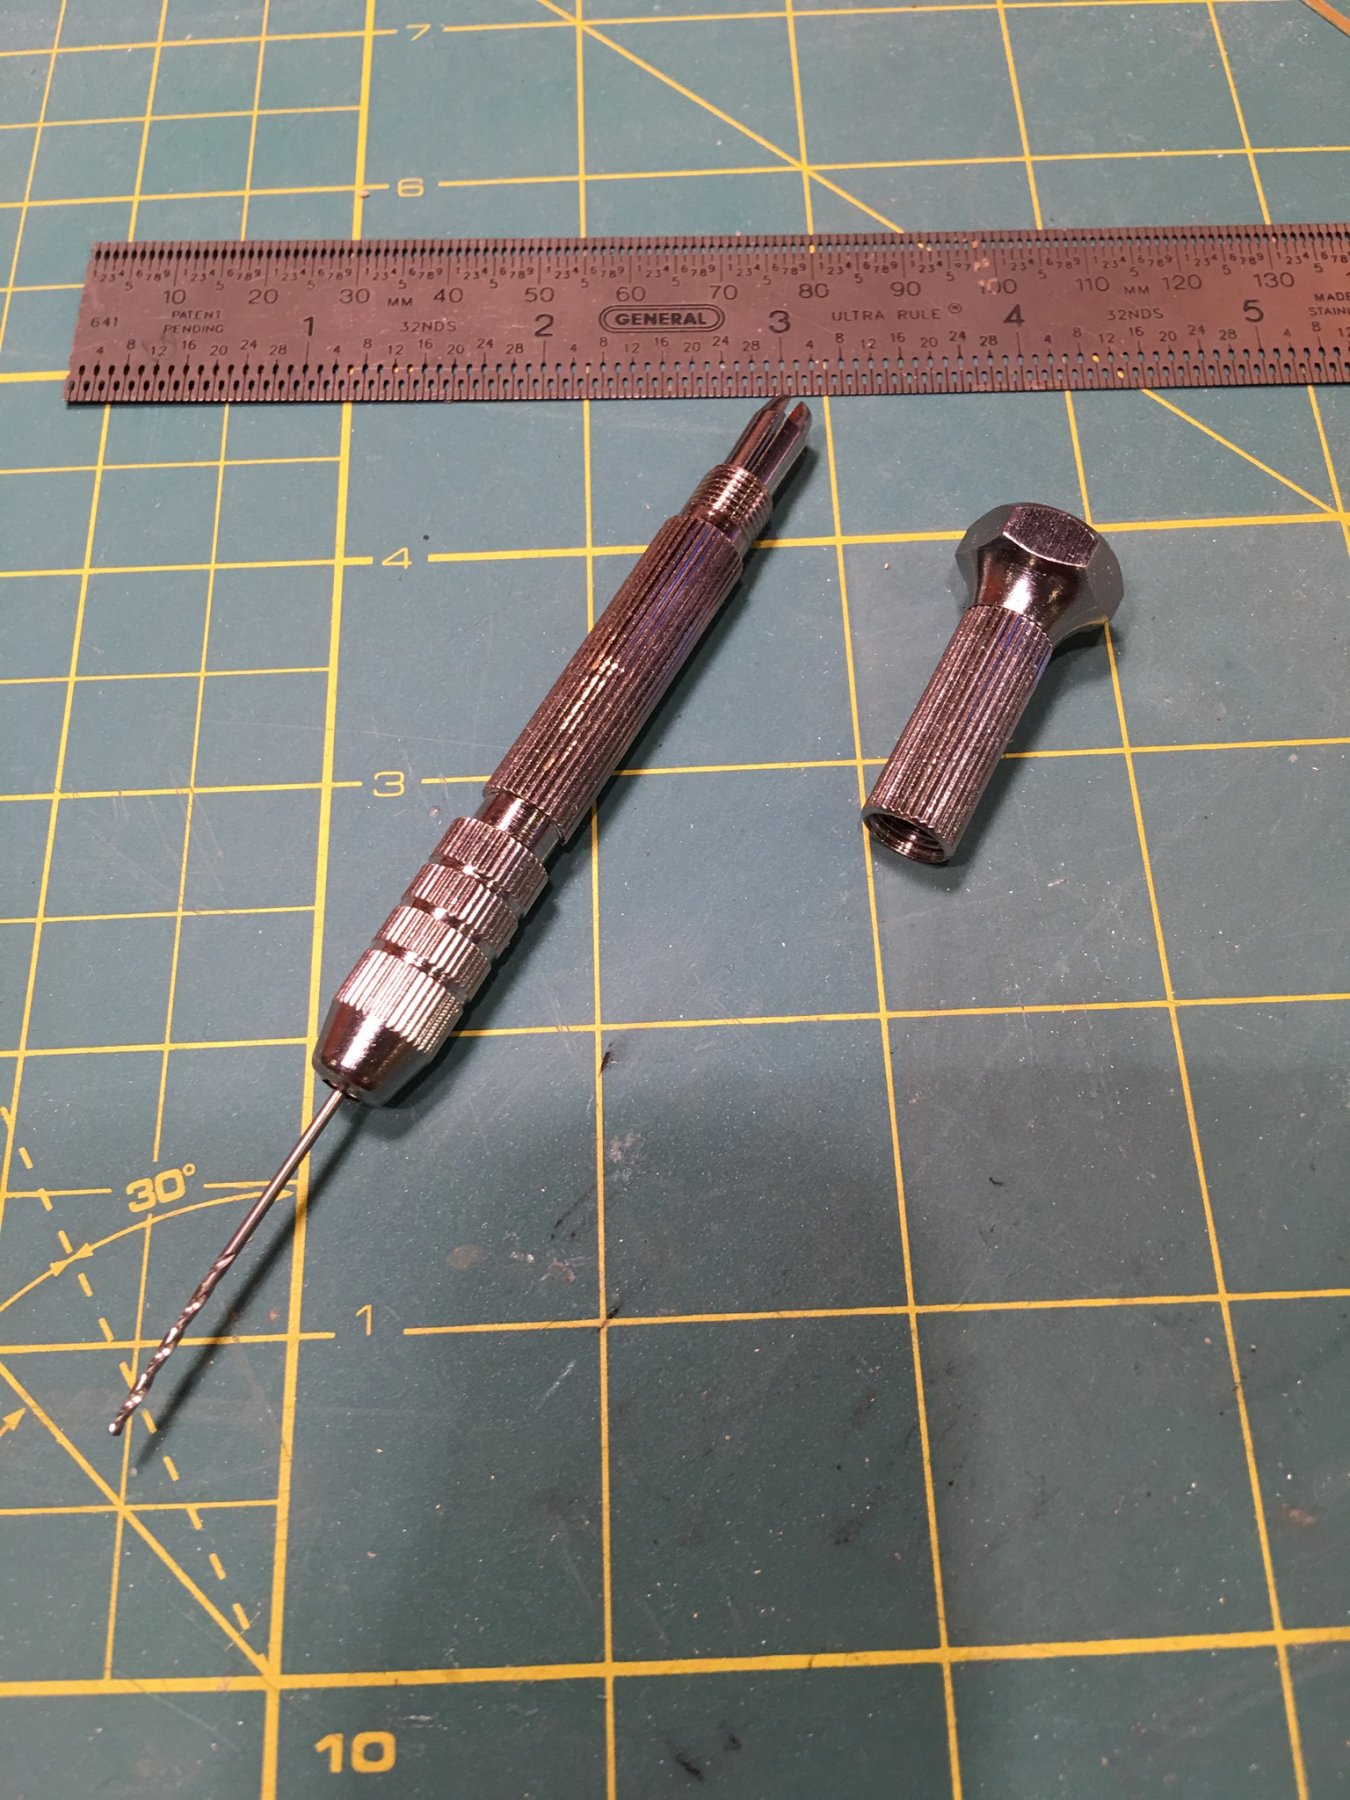
I started with the 26 gauge lancets that are becoming popular for this project. They produce a nice, small nail pattern. However, removing the plastic sleeve is a bit of a pain. You can use nippers to get most of the plastic off. I then set up a candle in a bowl to heat and remove the plastic part that is adhered to the lancet.
When I was remaking the second stamp, I remembered that I had a 23 gauge pin driver out in my shop. These finish nailers are becoming quite popular with finish carpenters for holding moldings (and other stuff) together while the glue dries.
So I switched to the 23 gauge nails. Worked great without the hassle of removing plastic.

-
Good afternoon Floyd. Chuck's copper jig tutorial is imbedded in the instruction manual. Chapter 8. I’d highly recommend using a drill press to pre-drill the pin holes. I tried to do it with a hand held pin vise the first time. One stamp came out okay, but the second stamp was a complete mess. You’re drilling so close to the edge of the wood that it’s easy for the drill bit to come out the side of the block - either by poor control, or because the very fine bit is following the grain of the wood. Had to start all over again. And that’s when I figured out that I could chuck my pin vise in my full size drill press as mentioned earlier.
- Heronguy and Ryland Craze
-
 2
2
-
Just curious. When did you buy the kit? We've seen some kits recently with poor quality plywood. The plywood in your kit looks good.
-
Howdy Peter! Welcome to the Syren club. Even though you're just a few steps into the project, it's easy to see that you do high quality work. I'm looking forward to watching another beautiful Syren take shape.
I like that plank bender. Seems easier than the pin boards.
- Ryland Craze and Nirvana
-
2
-
Thanks Floyd, it’s good to be back in the saddle. I’m going to need my stamping jig for the Surprise that’s sitting on my shelf, but thanks for the offer.
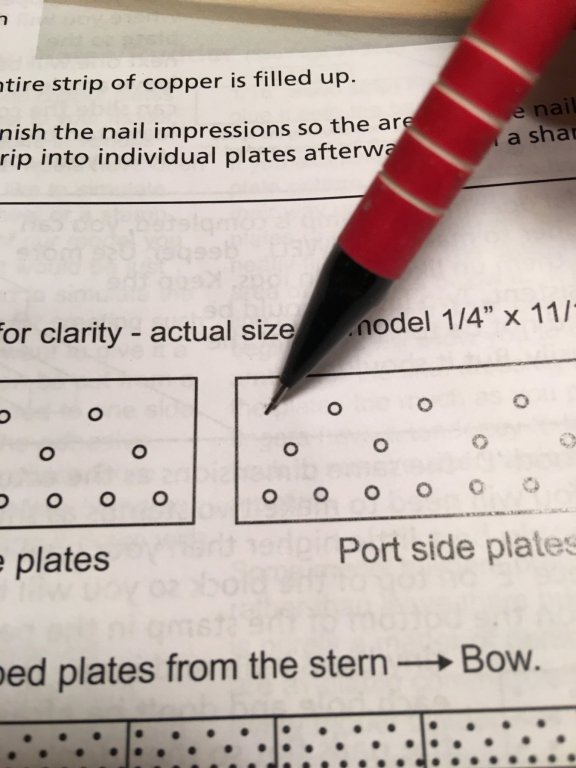
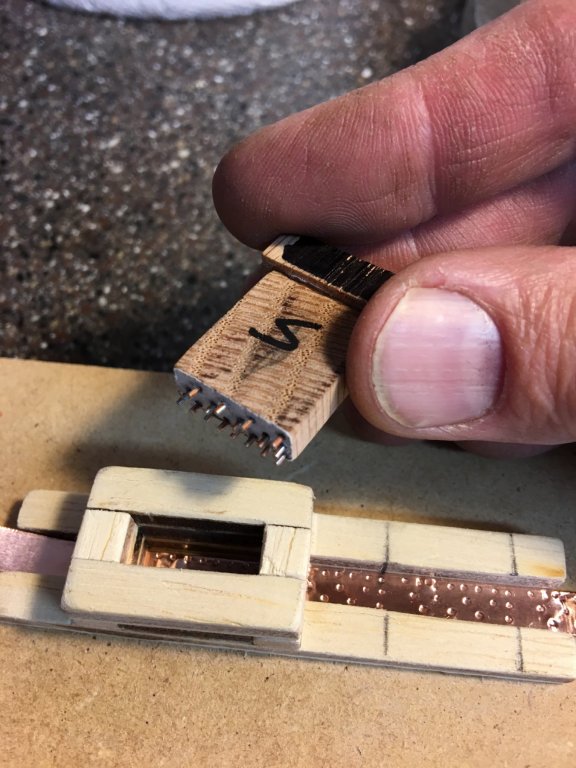
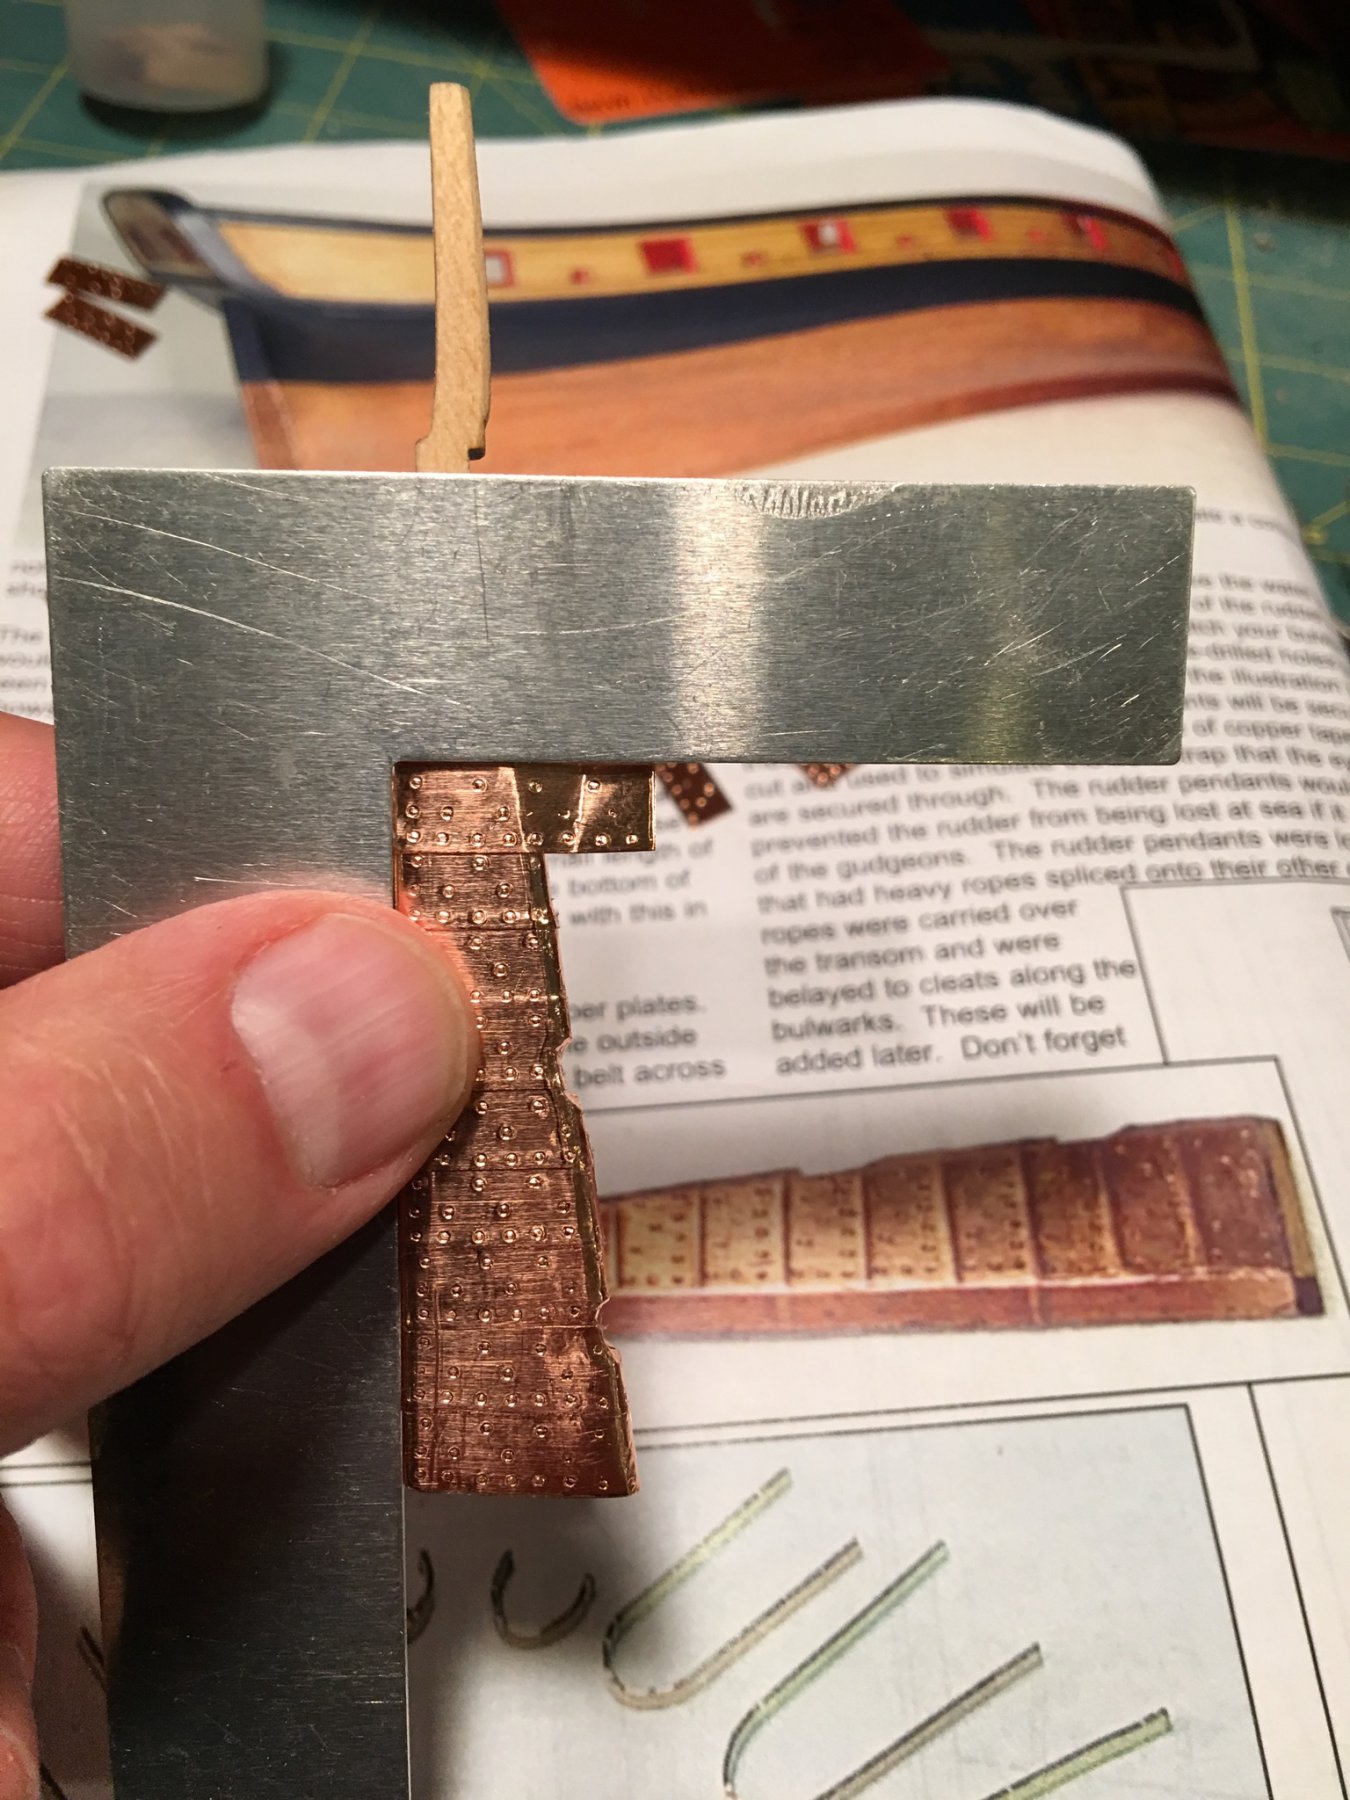
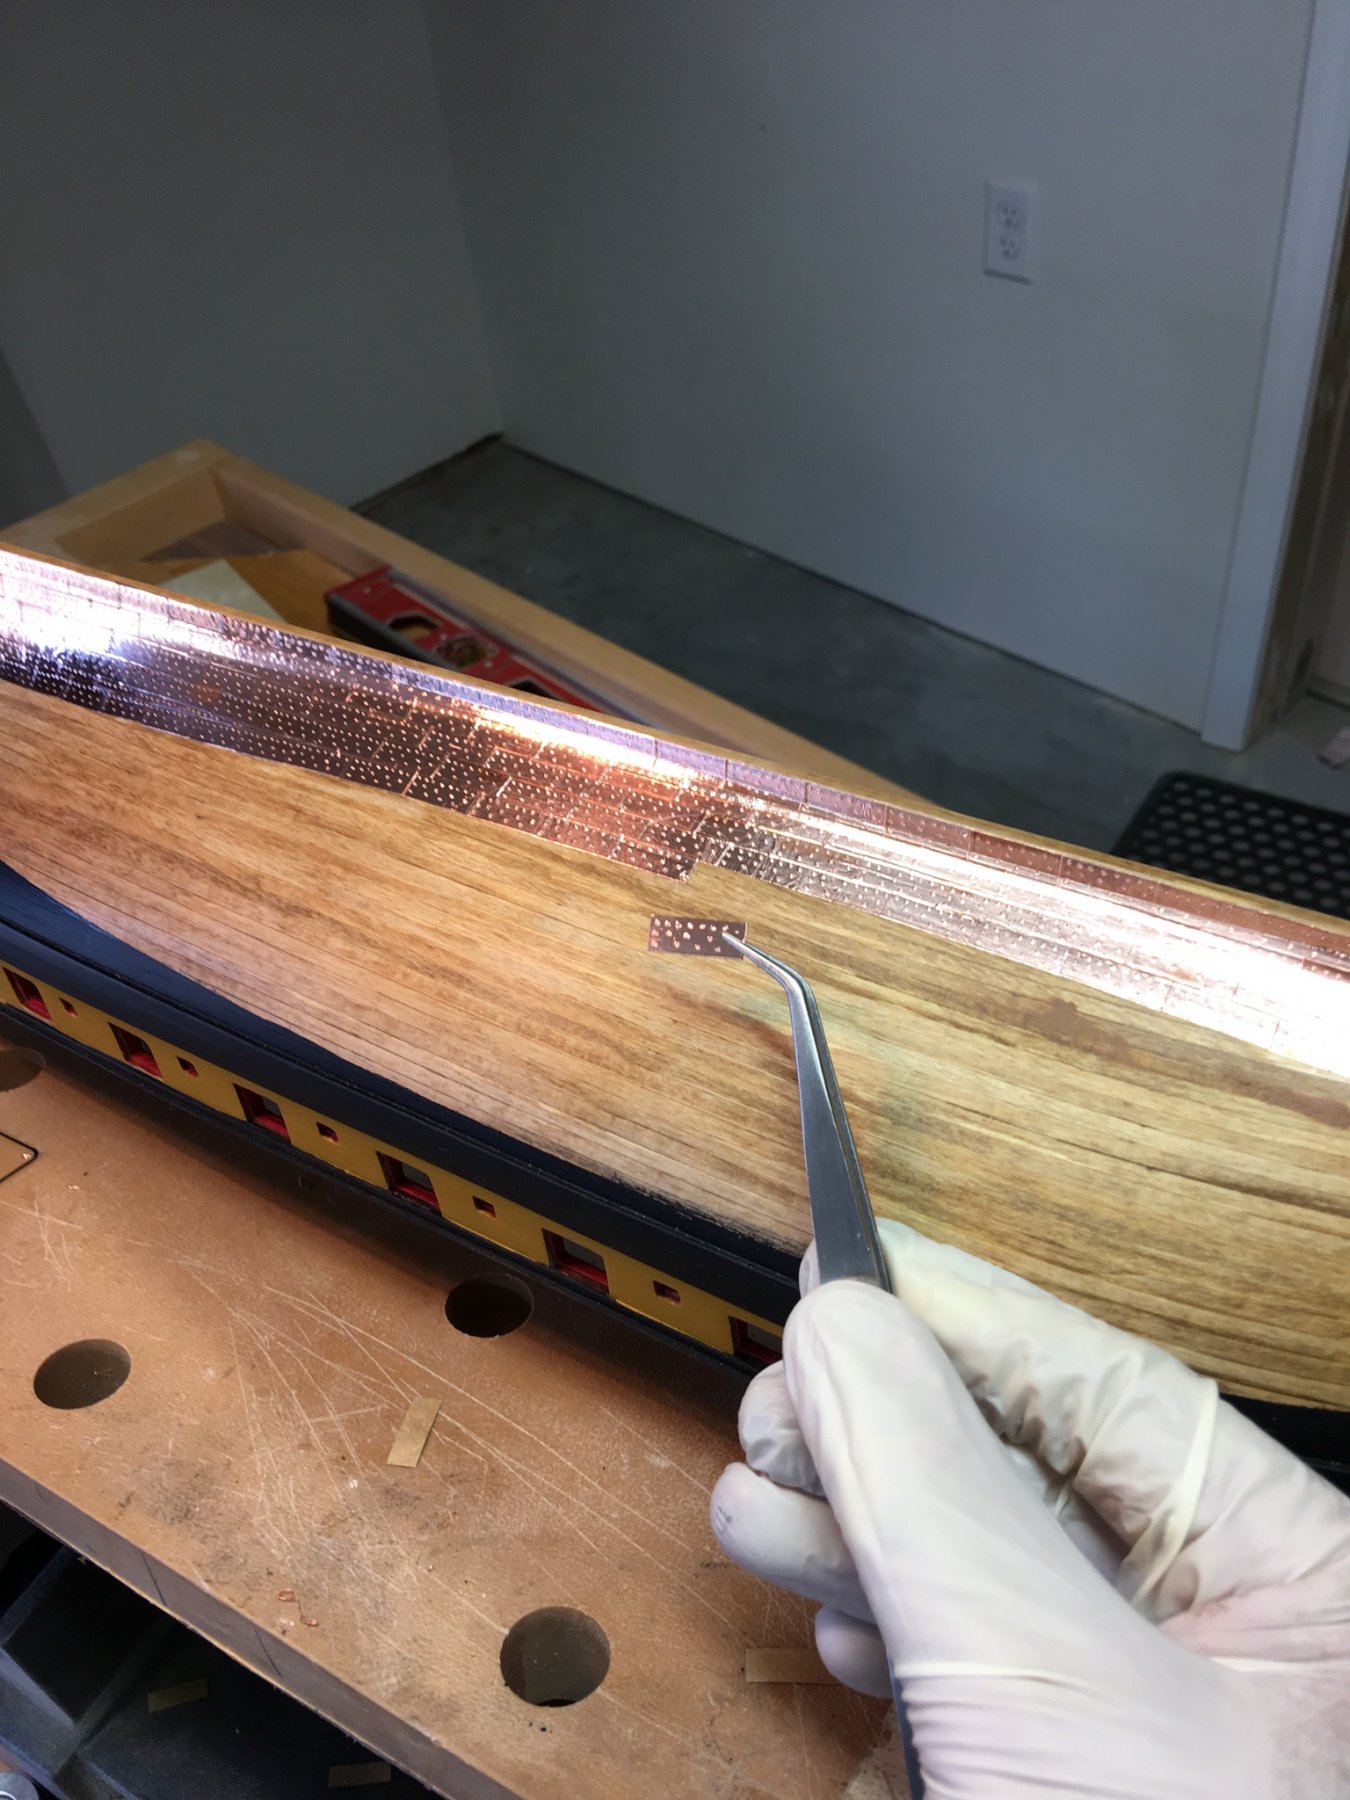
I only made Port and Starboard stamps as per the instructions. I know some of the advanced guys make a third one for the belt line, but I didn’t think it was necessary. I could go back and add one more nail hole to each plate, by hand, at the position shown in this picture....
I’ll give it it some consideration.
- Robin Lous, Tigersteve, fnkershner and 2 others
-
5
-
-
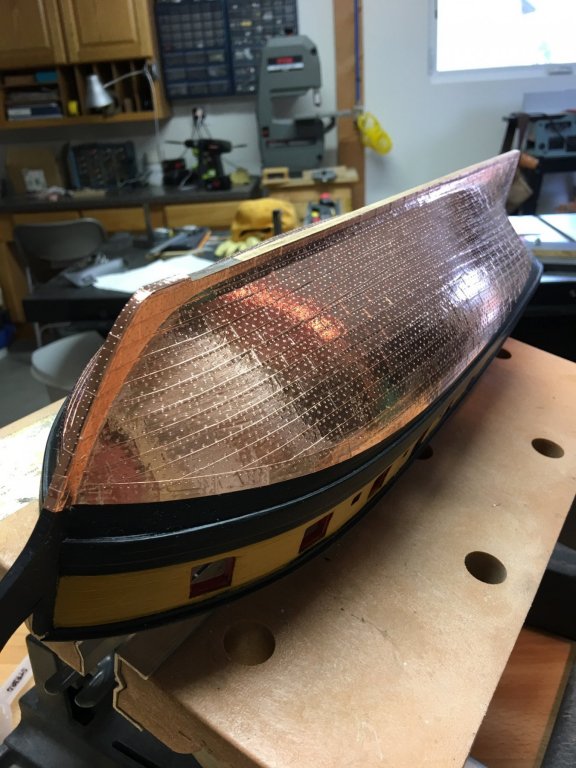
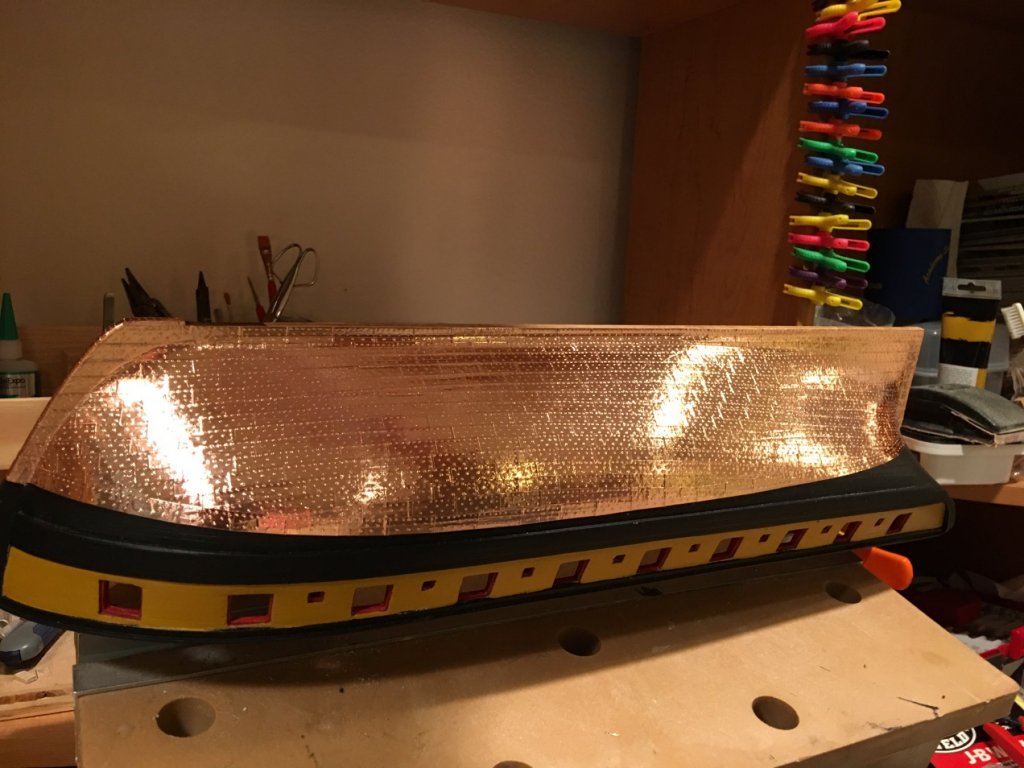
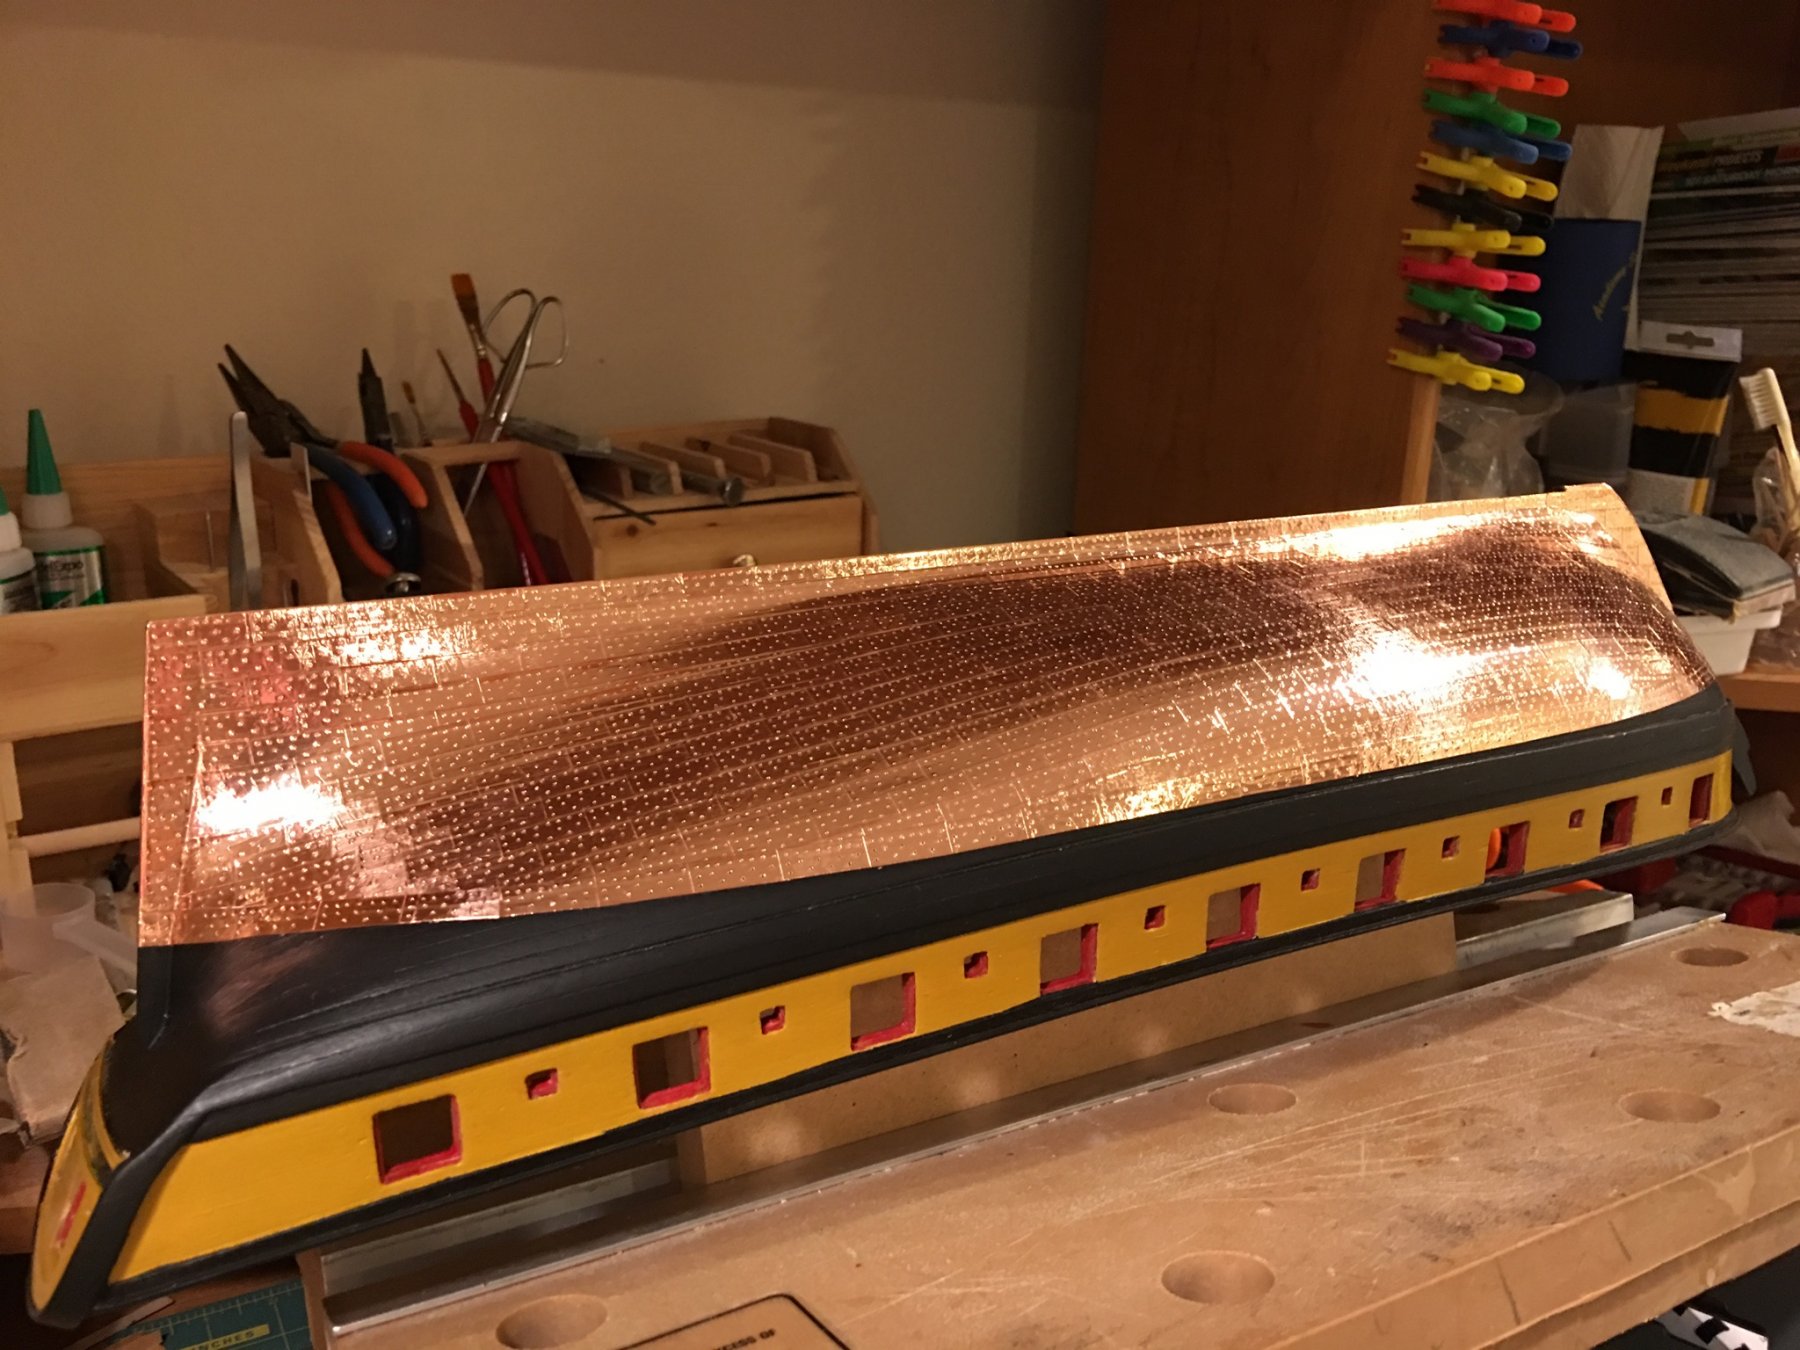
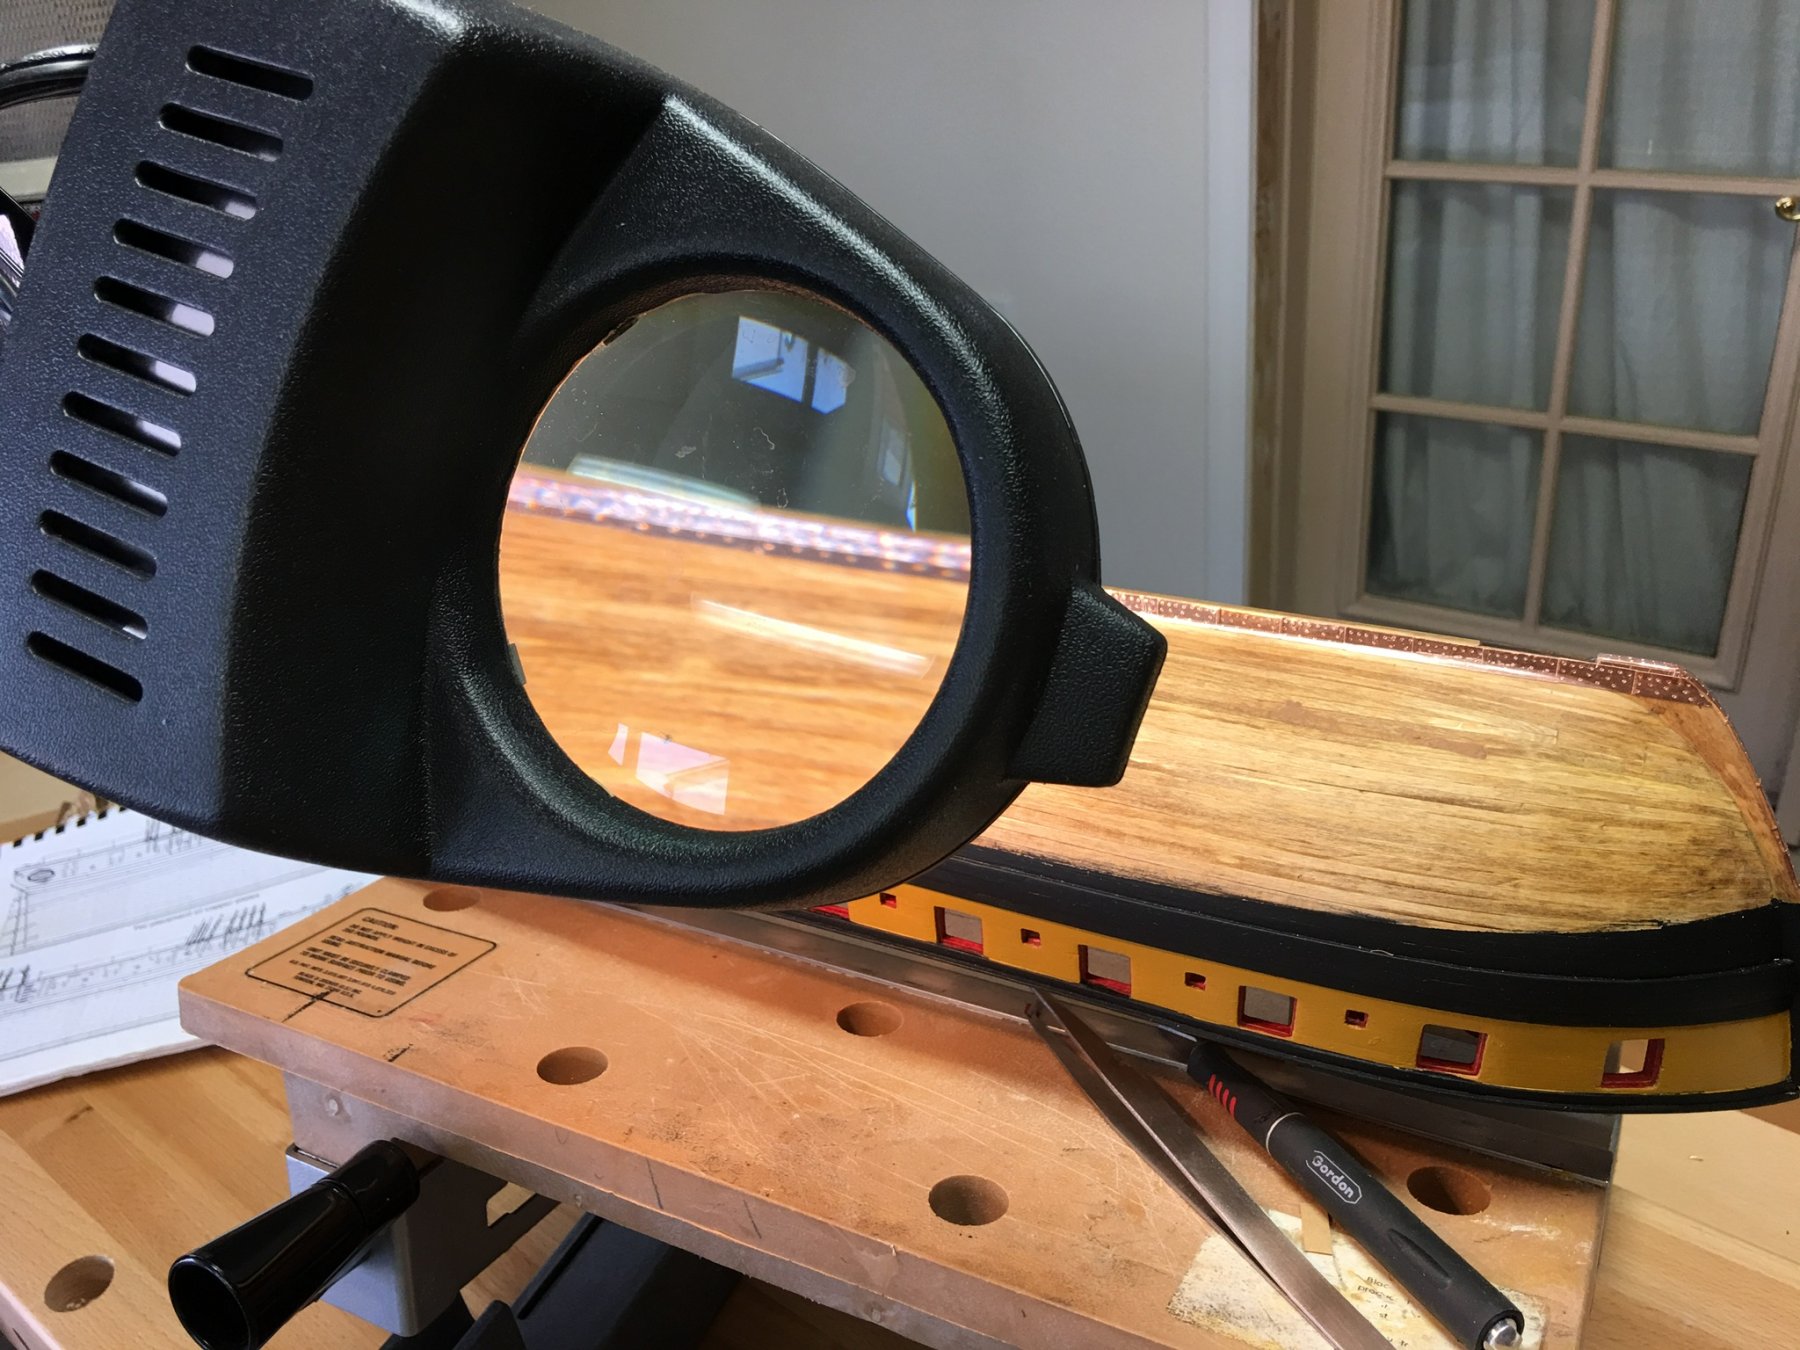
Copper bottom complete.

- Dubz, Ryland Craze, GrandpaPhil and 5 others
-
8
-
-
-
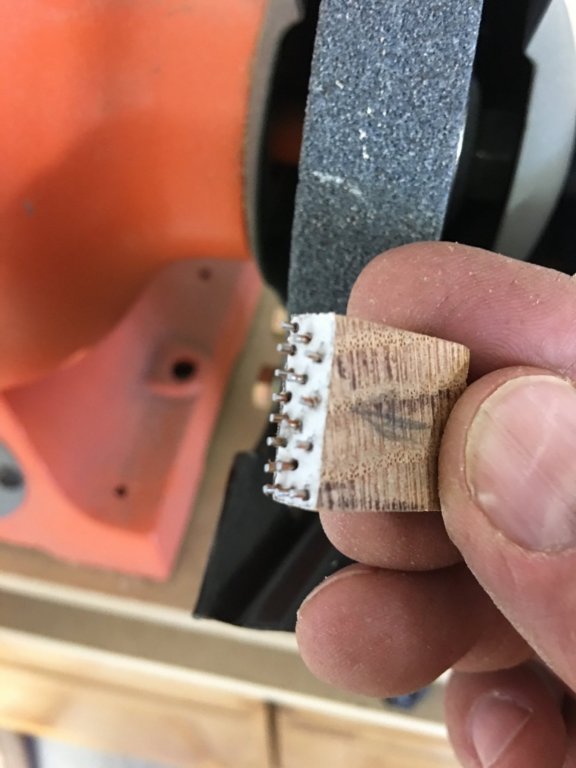
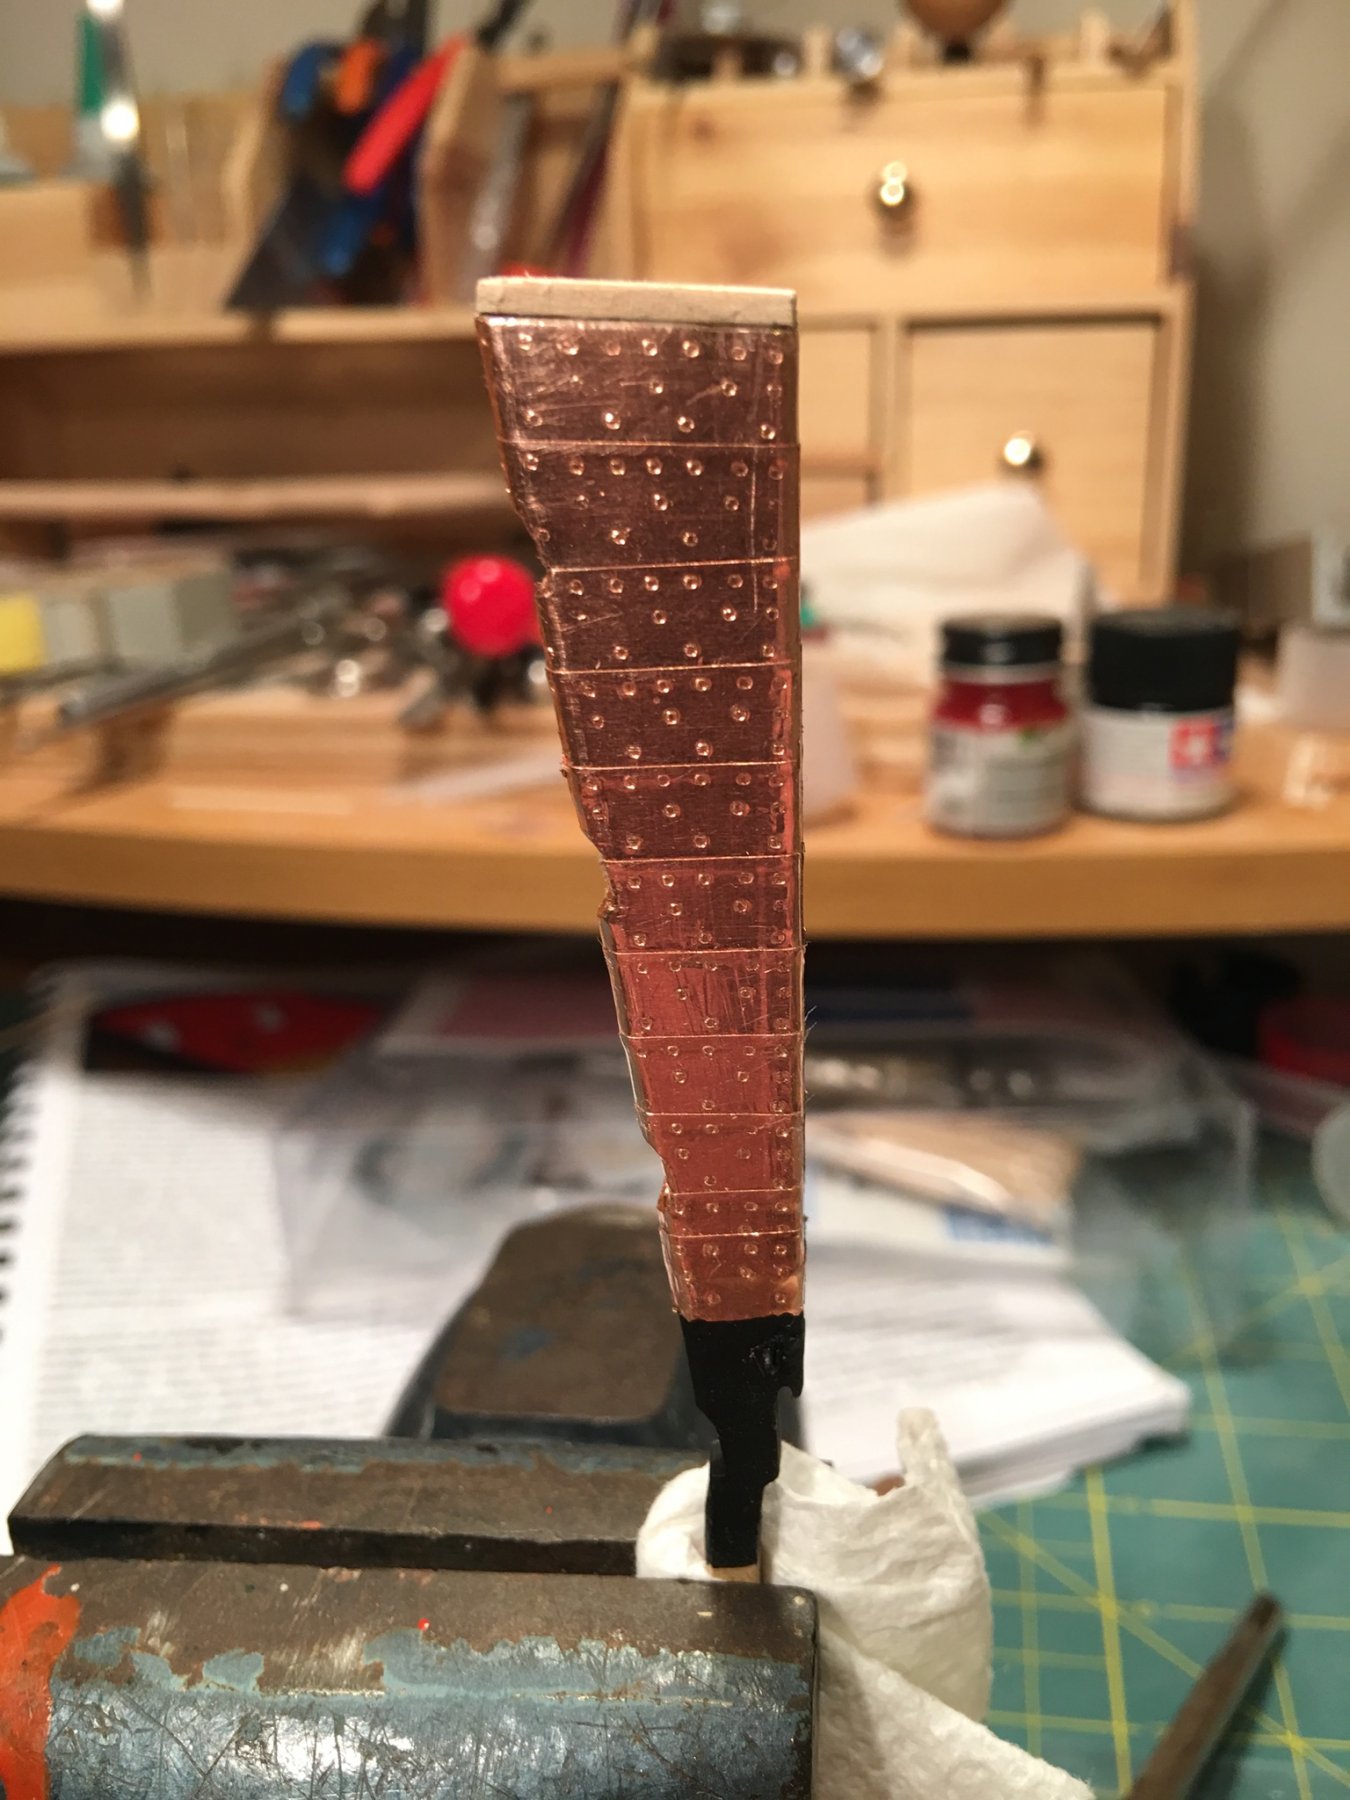
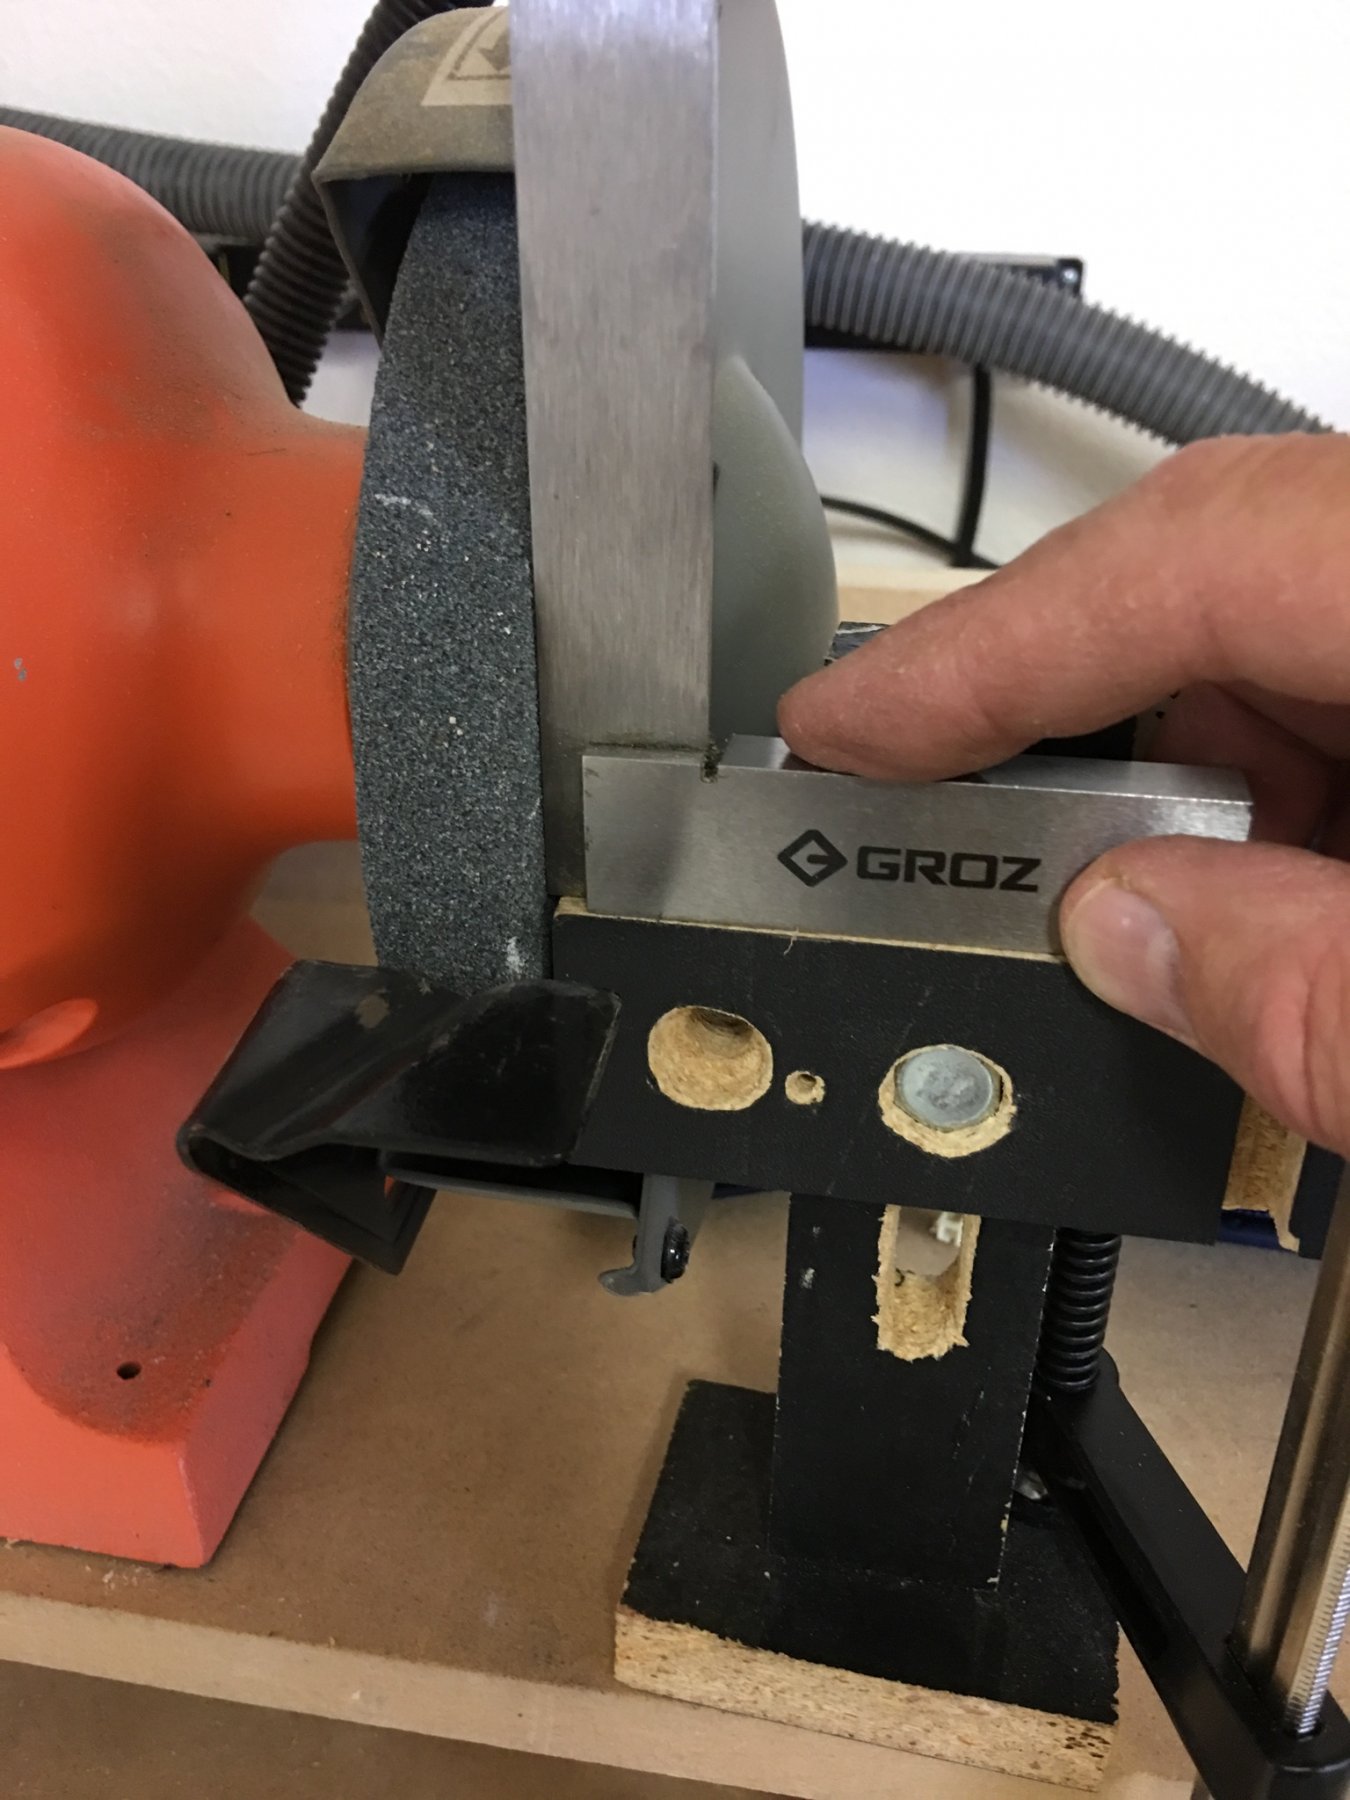
It’s important to get the pins on the stamps perfectly level. I used my water line marking jig to help with this. I squared the jig against the side of my grinding wheel and very gently leveled the pins.


- _SalD_, Tigersteve, Ryland Craze and 2 others
-
5
-
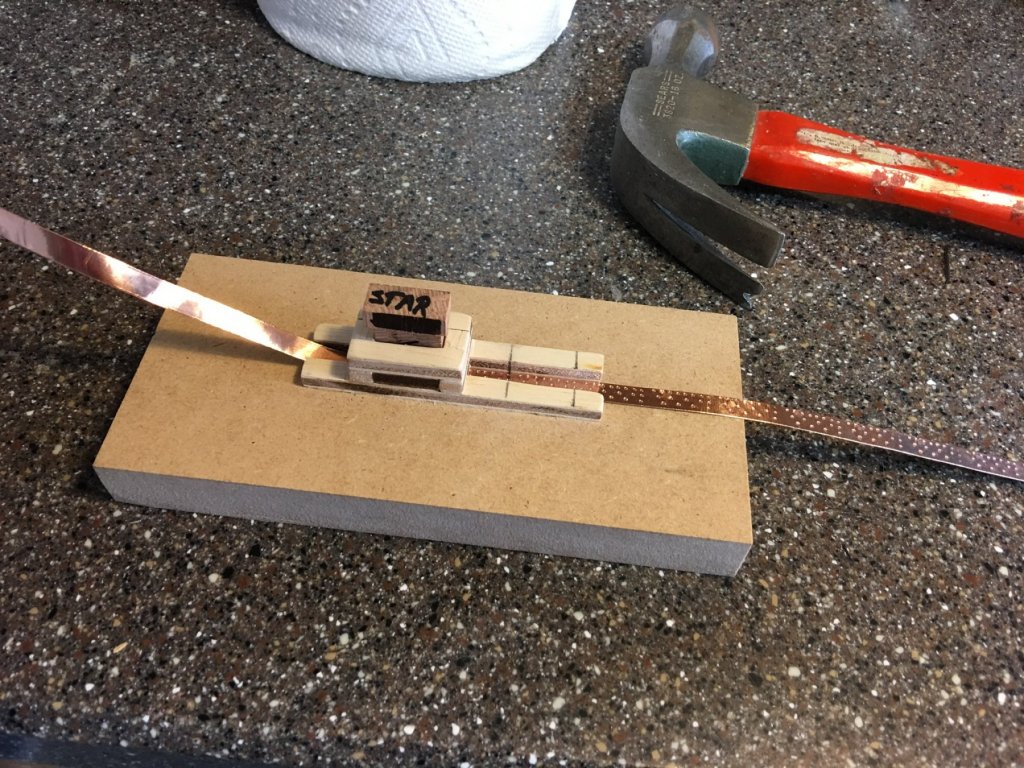
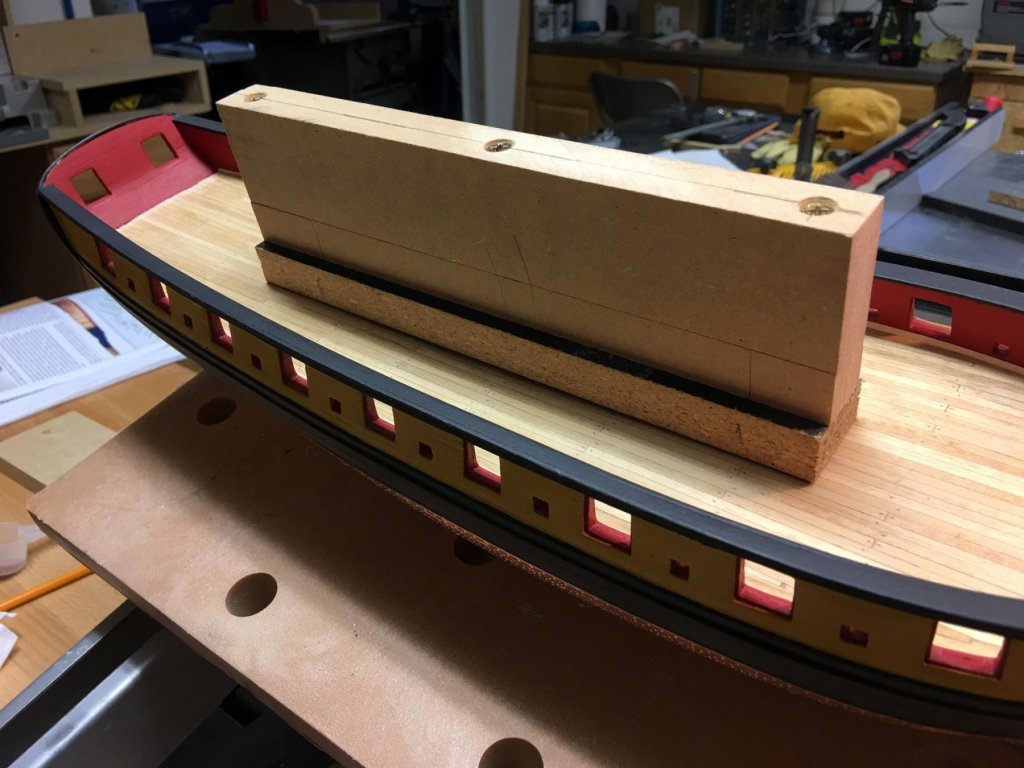
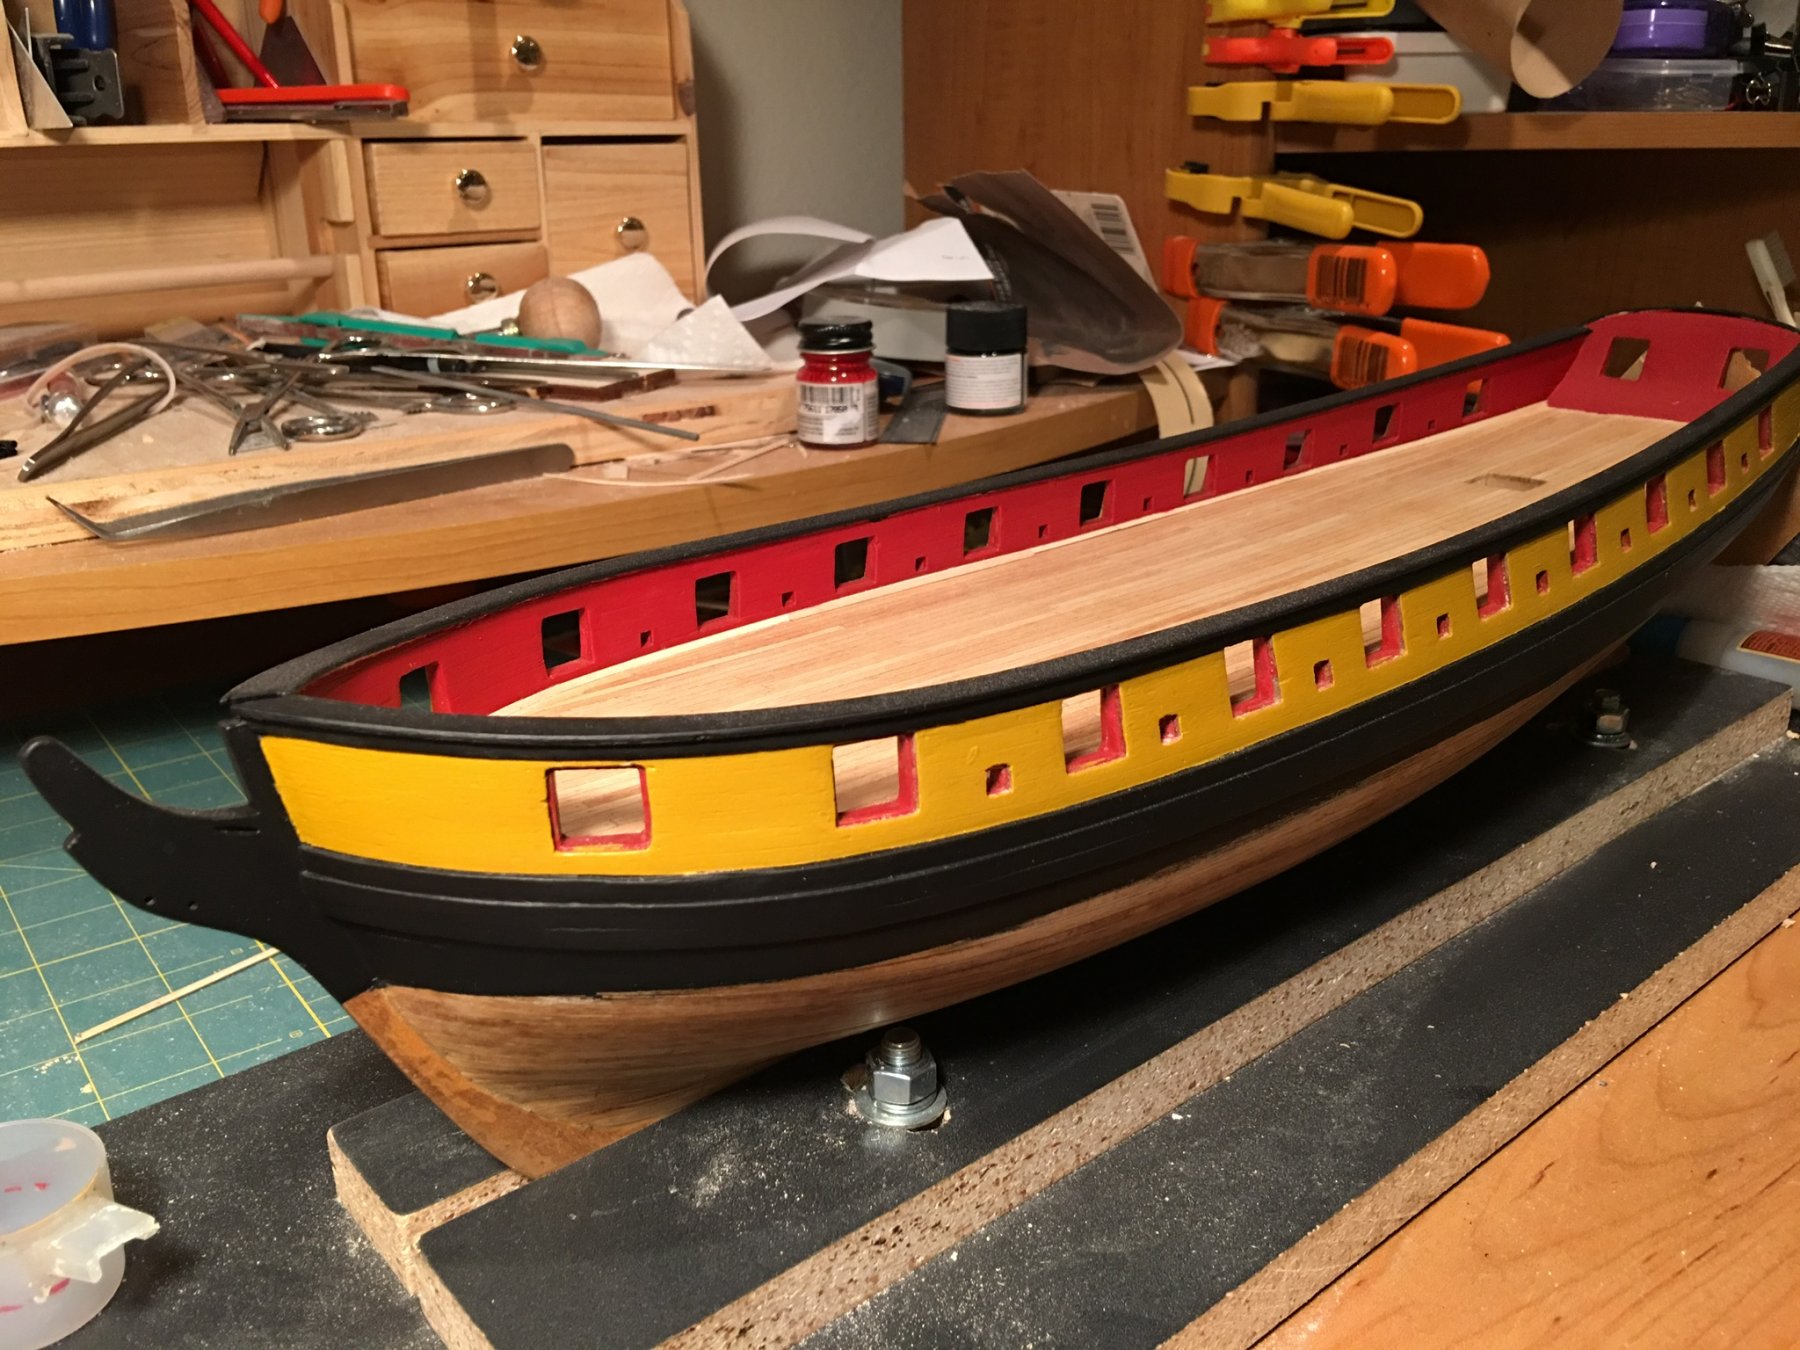
Now for copper bottom. I didn’t do anything creative. Pretty much stuck with instructions.
First, I made a mount so could attach the ship upside down in my deskmate.
Made the stamp jig and and dies. I don’t have a mini drill press but I was able to secure my pin vise in the chuck of my full size drill press. It actually worked pretty well.

- Ryland Craze, scasey88, _SalD_ and 2 others
-
5
-
Hi all. It’s been a very long time. Time to dust off the Syren and get back to work.
With the deck finished, it's time to add the cap rail.

- Tigersteve, scasey88, GuntherMT and 3 others
-
6
-
Hey Floyd! Glad to see you back. Like you, I’ve been on a VERY long break with my Syren. It will be nice to resume with some of the old chums still hanging around.
I think your figure head came out quite well. It will look great in position with all the other rigging around her.
Eric
-
Glad to see that there are still folks building the Syren. I’ve been on such a long break that I feared I might be the only one left.
I shared your fear of this kit being too advanced for a beginner, but with the excellent instructions and the very detailed build logs on this site, you'll do fine. Have fun! Looking great so far.
Eric
- fnkershner, scasey88 and Nirvana
-
3
-
-
I don't often stray into the "scratch build" side of the site, but I just wanted to check out what the "sensei" is up to. Amazing work Chuck.
I swear I'd pay good money just to sit quietly in your shop and watch you create one of those amazingly precise scarf joints.

- Canute, GLakie, Landlocked123 and 3 others
-
6
-
Love the case, Rod. Your finishing technique makes the case look like something you'd find sitting in the library of an English estate. Nice!
-
-
Thanks Brian. Like a lot of steps, this one really had me worried. But you dive in and it just seems to work out.


US Brig Syren by jablackwell - Model Shipways - first POB build
in - Kit build logs for subjects built from 1801 - 1850
Posted
Howdy John, and welcome to the Syren club. I'm looking forward to following along.