Jack12477
-
Posts
5,674 -
Joined
-
Last visited
Content Type
Profiles
Forums
Gallery
Events
Everything posted by Jack12477
-
 Yea, @JDDouglass responded to my post in his build log that he used 9mm as his length. I guess the instruction translator inverted the 9 to a 6. And there are 9 step DADOs cut into the stringers where the plans show only 5 steps. Ah well ! 😌
 -
I'm building the stairs now. On the parts list it indicates the stair treads are cut from a 1x5x100 mm sappeli strip with each tread " 0,6 mm" long. However my completed stair seems to be too narrow and does not match the photo in the instruction manual or the photographs in other Constellation build logs. Looking at the kit blueprints it appears the stair tread are 9 mm long, but there is no scale on the blueprint for reference and they are not drawn to 1:1 scale either. How long/wide are the treads? And how wide is the finished stair ?
-
JD, sorry to hear about your car accident, wishing you a speedy recovery. I do have a question about your build. I'm building the same model. On the parts list it indicates the stair treads are cut from a 1x5x100 mm sappeli strip with each tread " 0,6 mm" long. However the completed stair seems to be too narrow and does not match the photo in the instruction manual or your photographs. Looking at the kit blueprints it appears the stair tread are 9 mm long, but there is no scale on the blueprint for reference. How long did you make the treads in your model? And how wide is the finished stair ? Thanks
-
Nice start Edward, planking looks good 👍
-
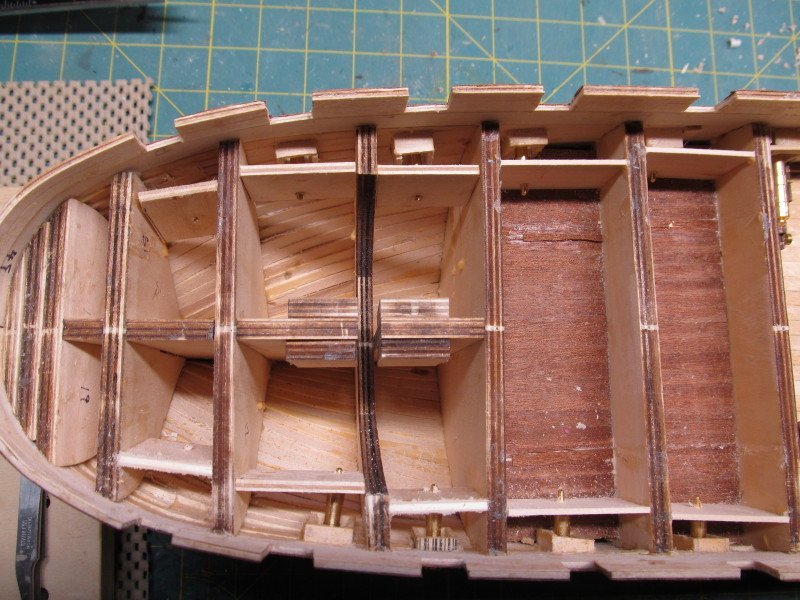
Thanks Edward, Mark. Building this in the order called for in the kit instructions is a recipe for painting oneself into a corner. I have to skip from step 40 to,step 52, then go back to 45 then jump ahead to step 60. If I glue the main decks down now, then I can't get my hands into the lower deck to install/rig the cannons, install the ladders, rope railing, etc. So the lower deck in mid section has to be done before I glue the main decks down, then I can finish the main deck. It gets very confusing at times, especially trying to remember where you left off. I put checkmark next to each completed step but it's still confusing. 😏
-
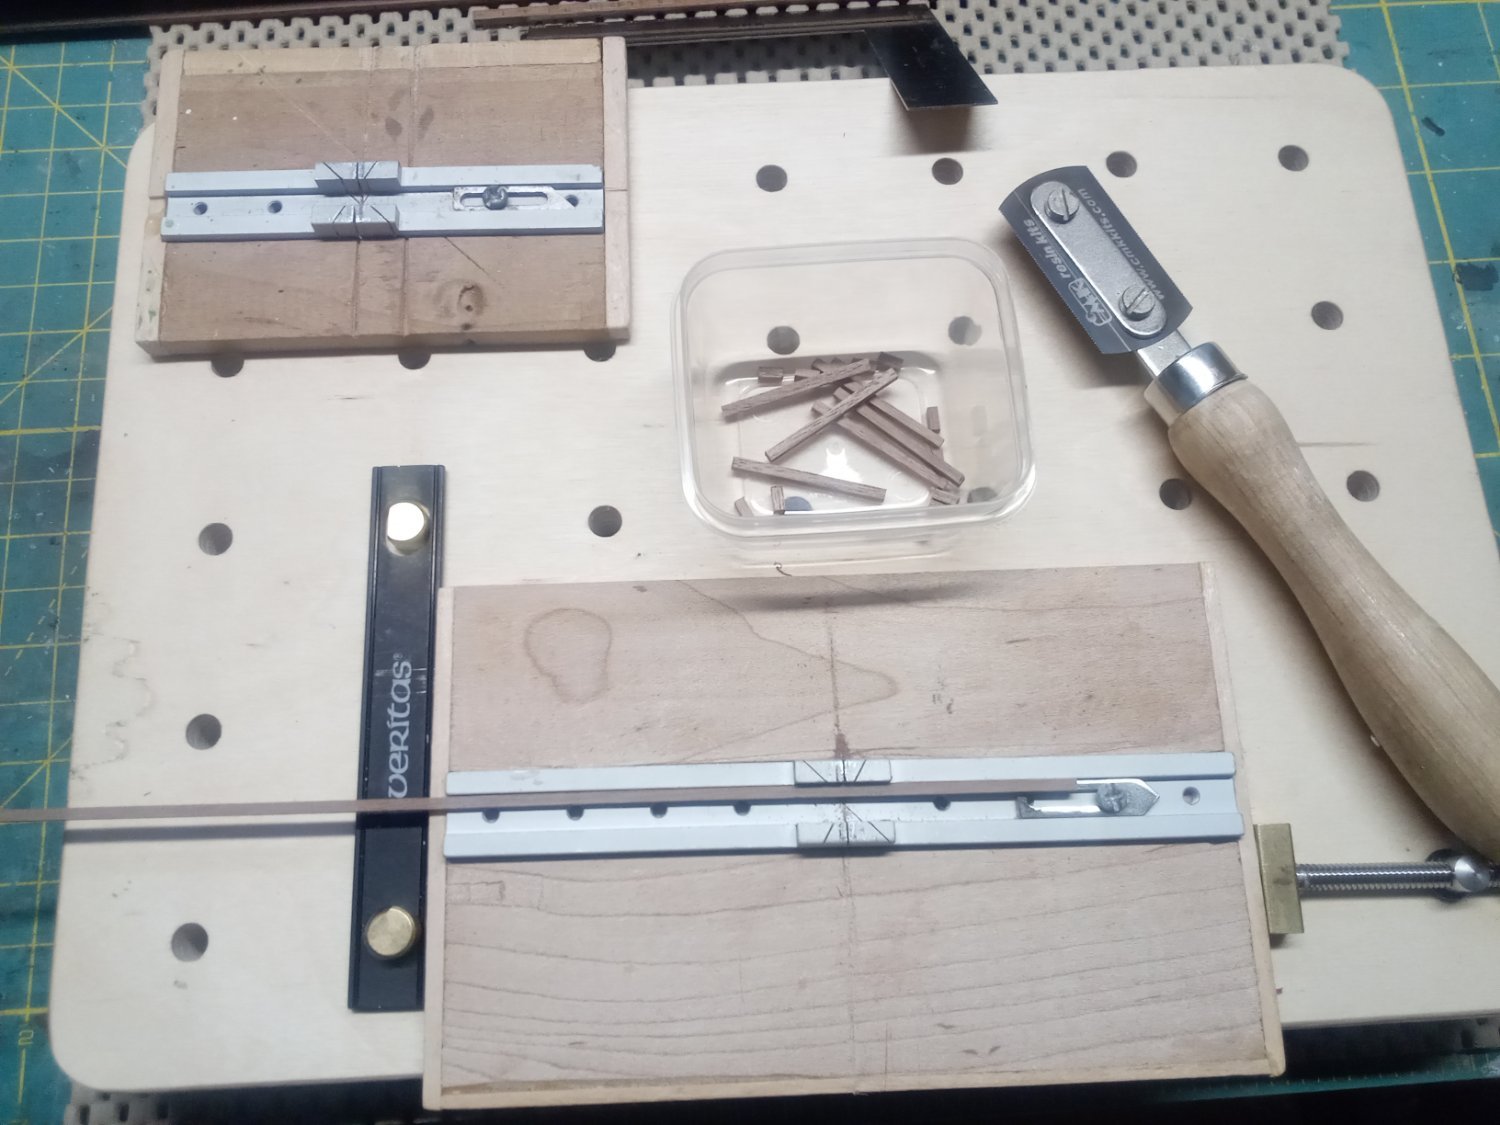
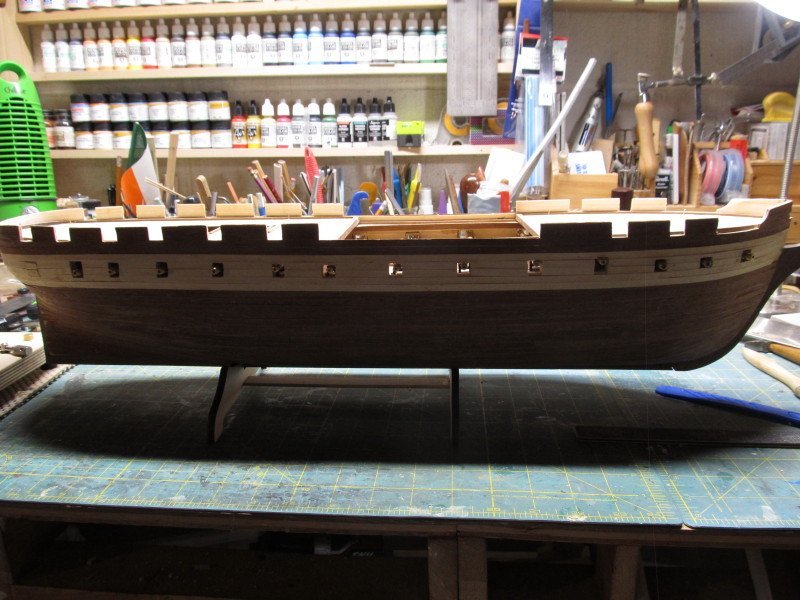
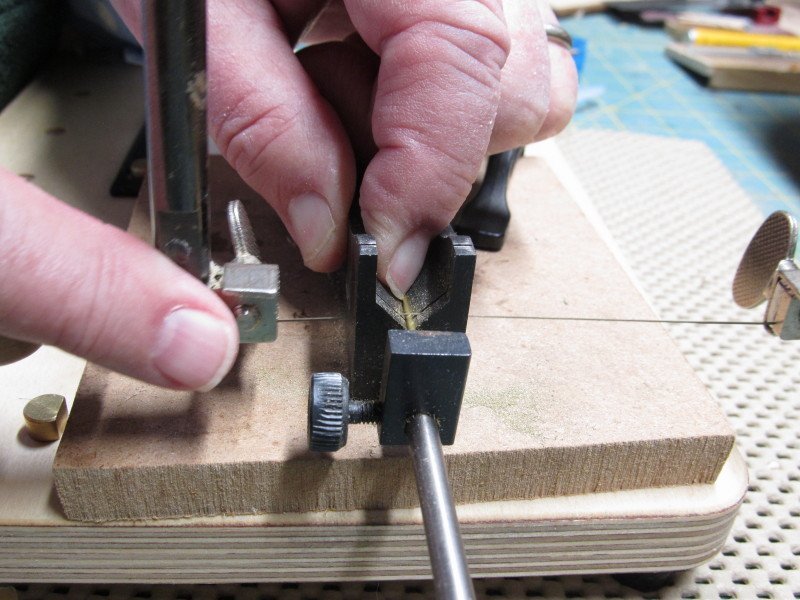
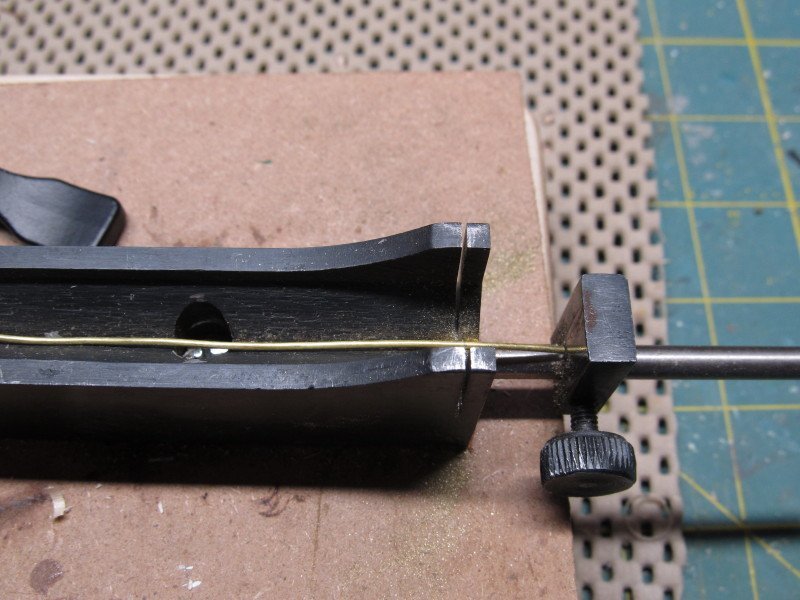
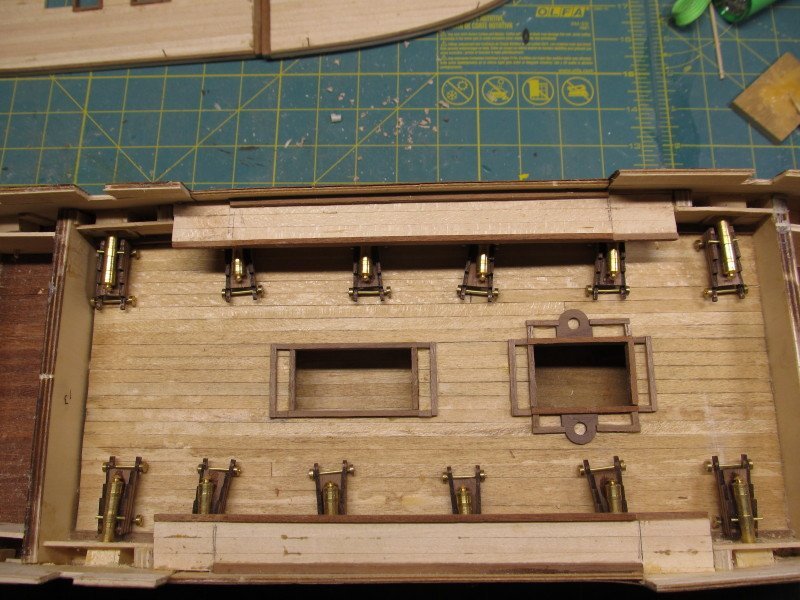
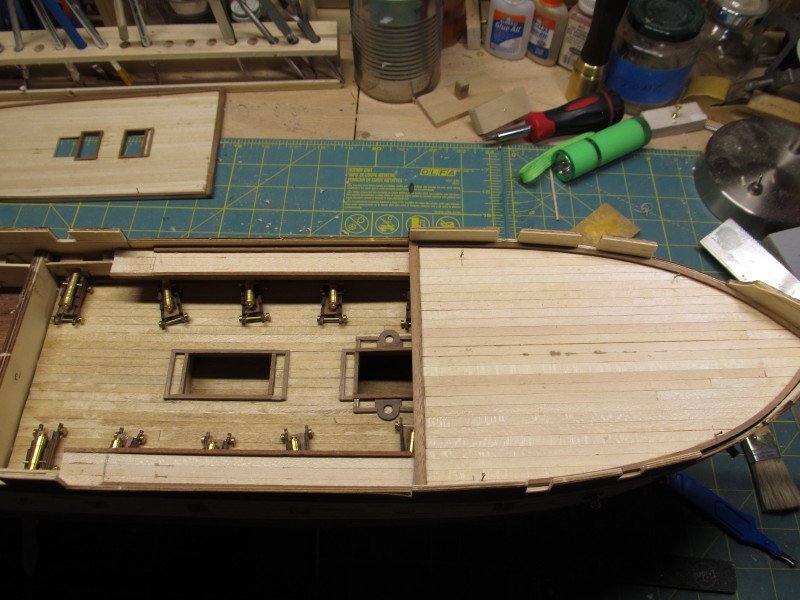
Finally got the half cannons installed inspite of the cryptic instructions. Started assembling the cannon carriages and cannons along with the carronades and their platforms. For now I have just placed the cannons on the deck to check placement and fit. At least 4 of the cannons will not be viewable once the fore and aft main decks are installed. Some progress photos. My jig for cutting the wire for the cannon axles and cannon. Cannons installeddd Test fitting the cannons and decks


-
Interesting history! Thanks Oh the Lady was fixed a while ago, just never updated the photos
-
HO trains and layouts by popeye the sailor
Jack12477 replied to popeye the sailor's topic in Non-ship/categorised builds
That's about how long since I last visited Steamtown in PA. First time I saw the Big Boy Steamtown was in Bellows Falls VT, they ran out of space their and almost moved here until the idiot NIMBYs drove them off and they went to Scraton instead, Had to tow the Big Boy to Scranton. It's now part of the National Park Service. -
HO trains and layouts by popeye the sailor
Jack12477 replied to popeye the sailor's topic in Non-ship/categorised builds
The other two big ones were the SP 2-8-8-2 Chesapeake and the UP 4-6-6-4 Challenger. I think Steamtown USA in Scranton PA still has a "Big Boy" on display at their museum. -
I think she made the kit more difficult than need be by adding all those sculpted filler blocks essentially turning it into a carved solid hull kit.
-
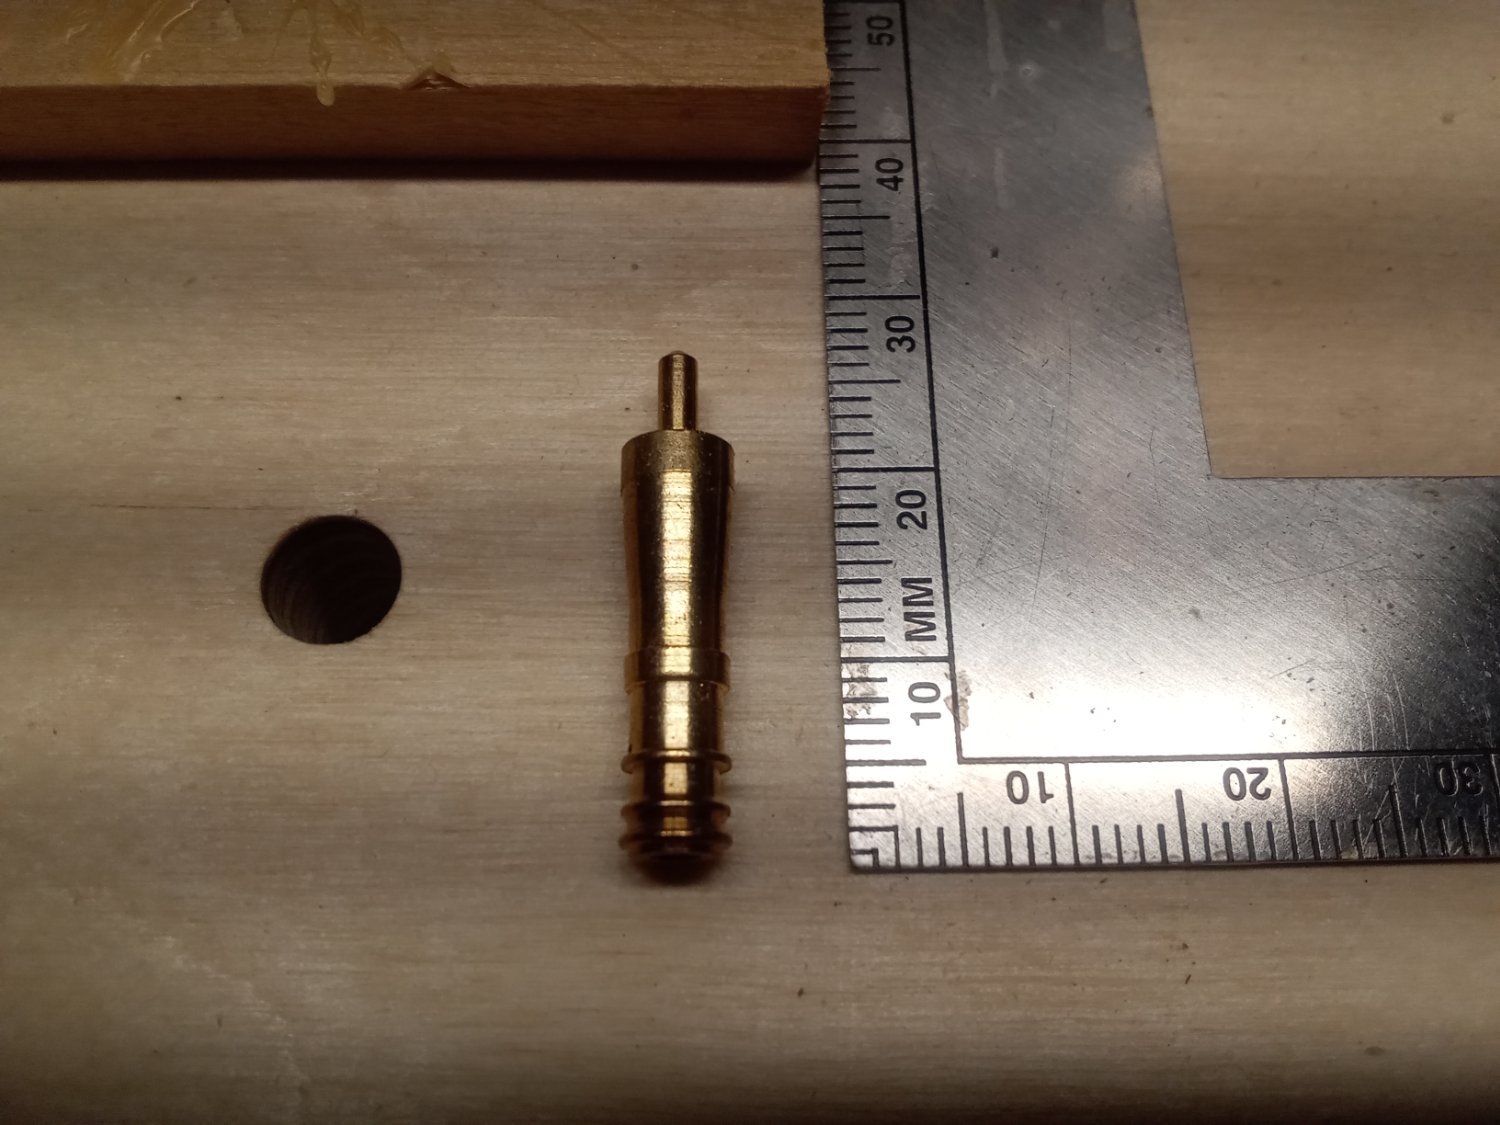
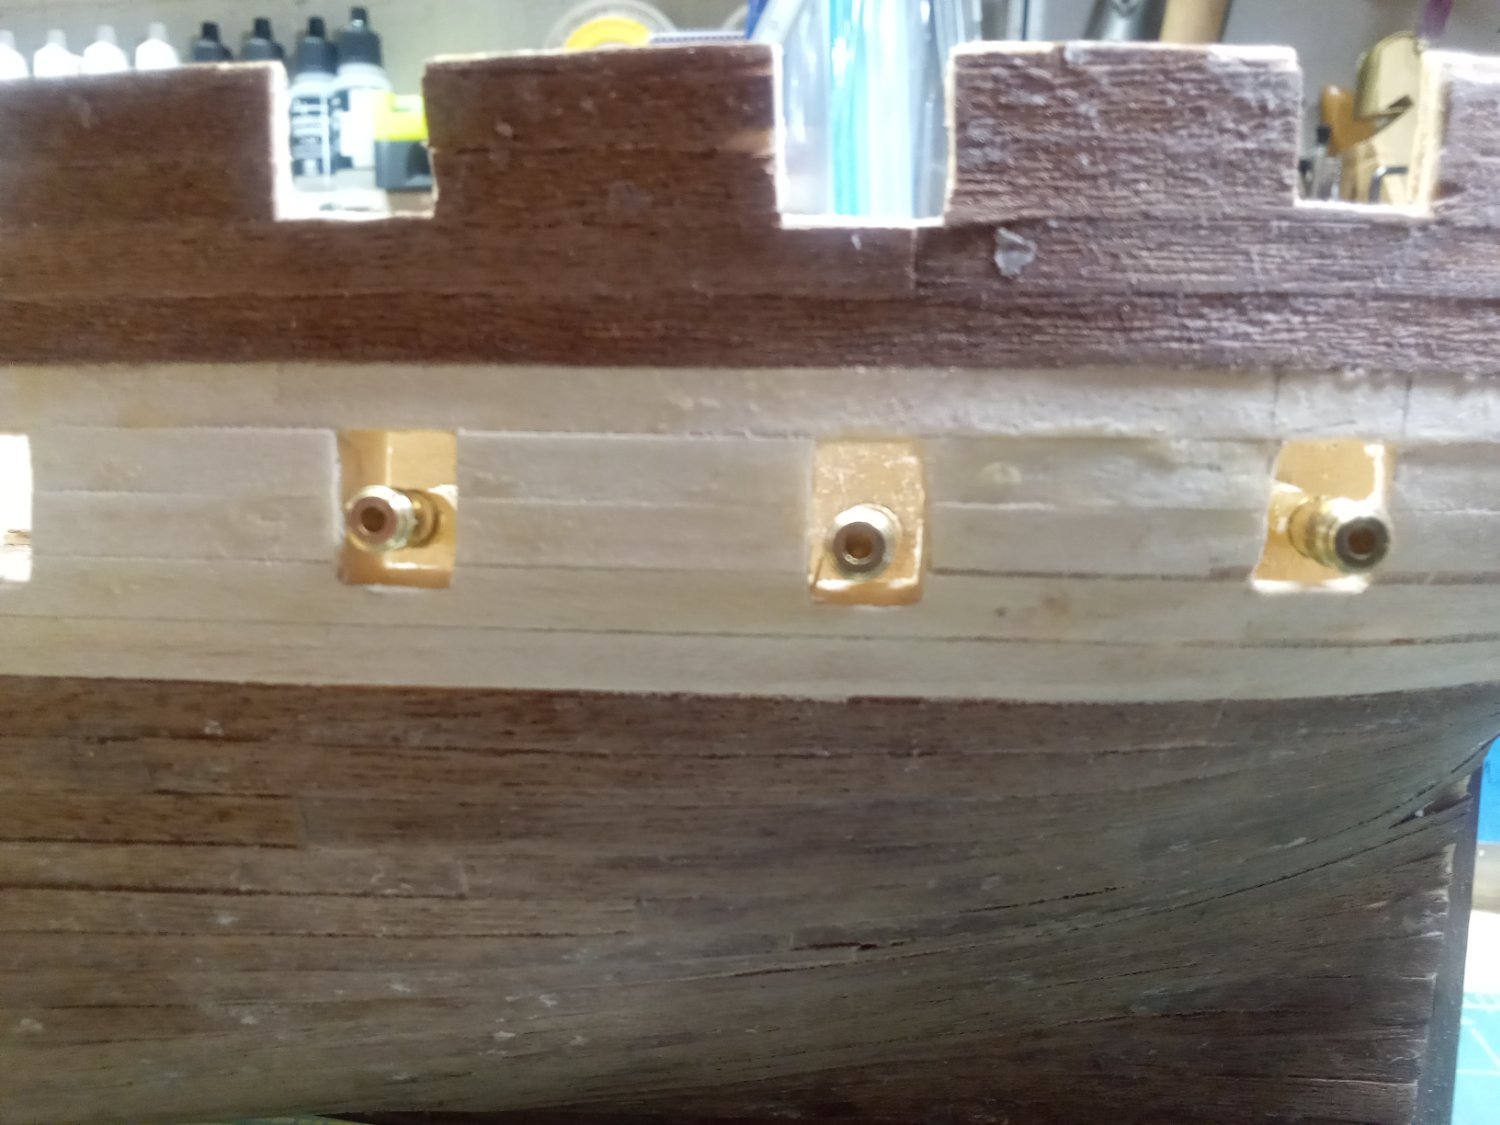
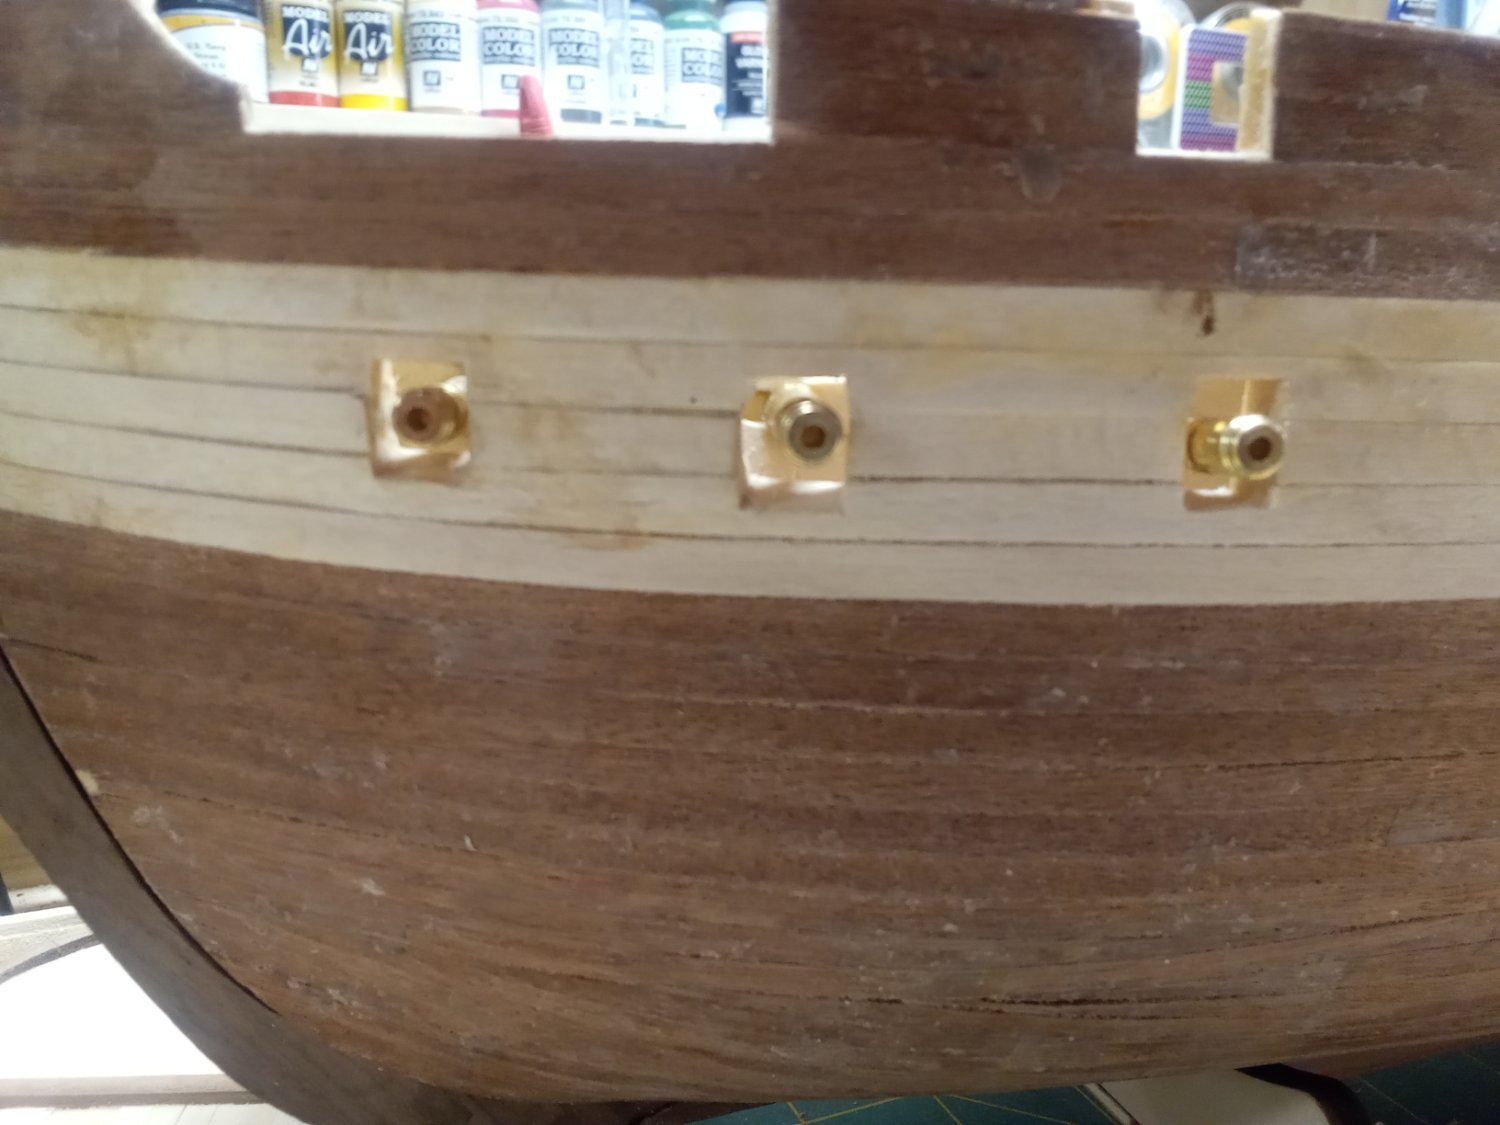
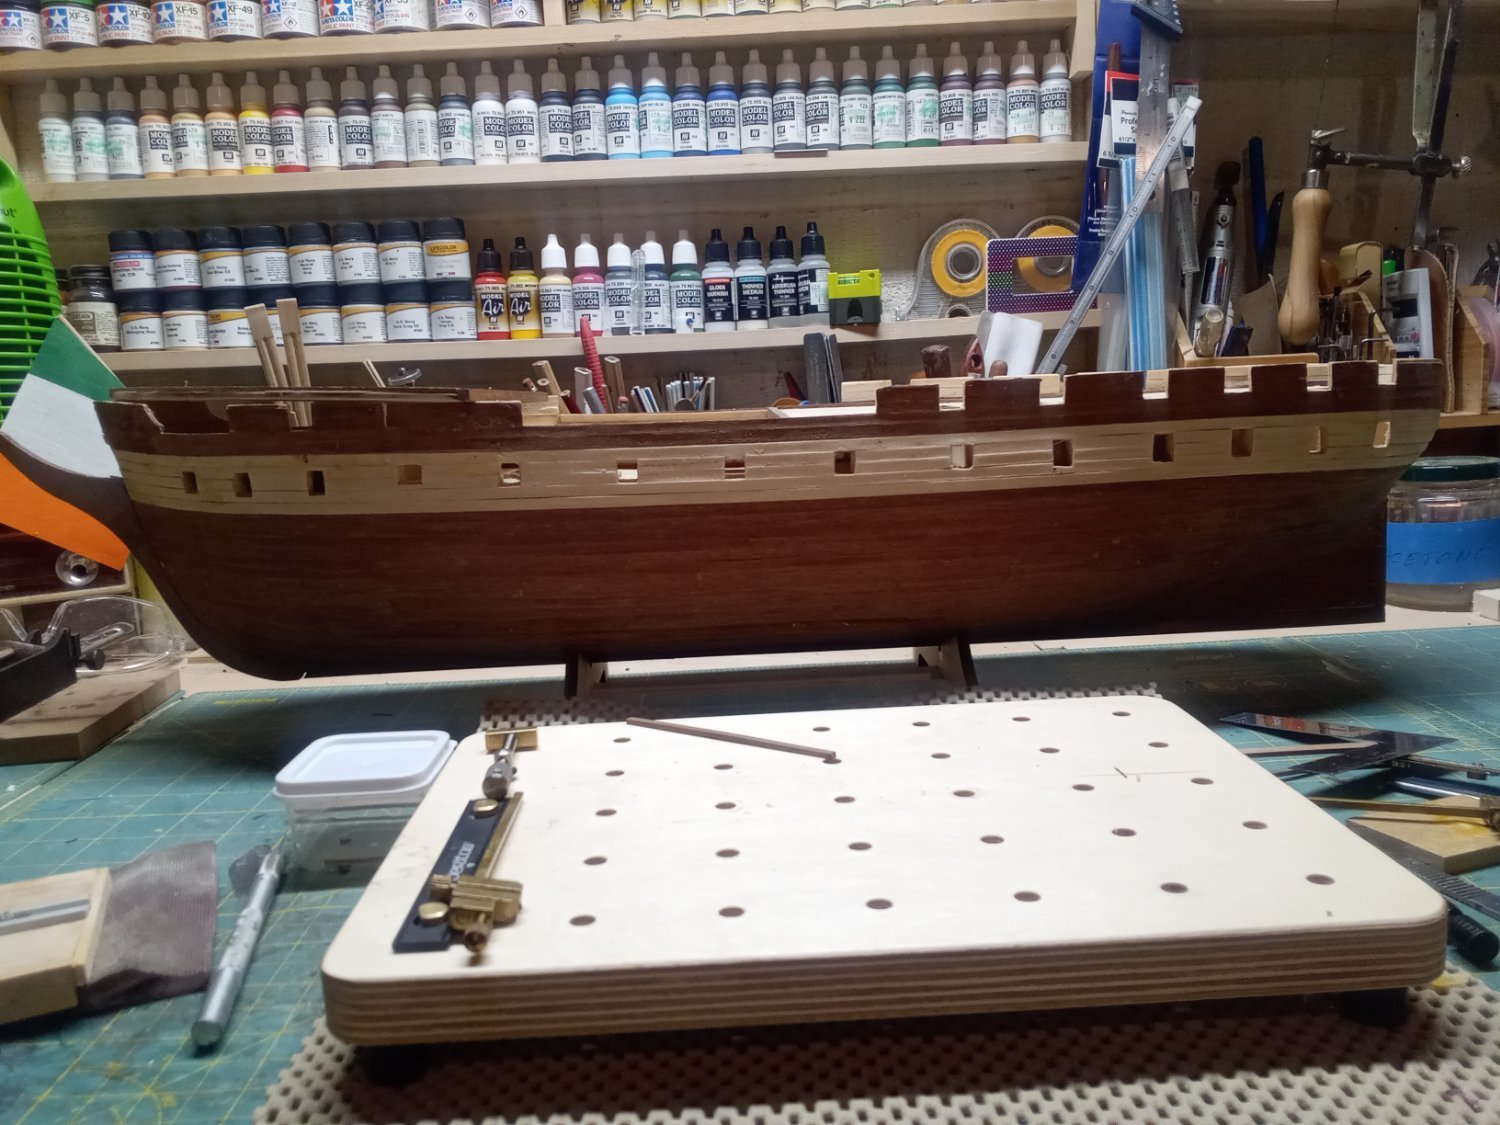
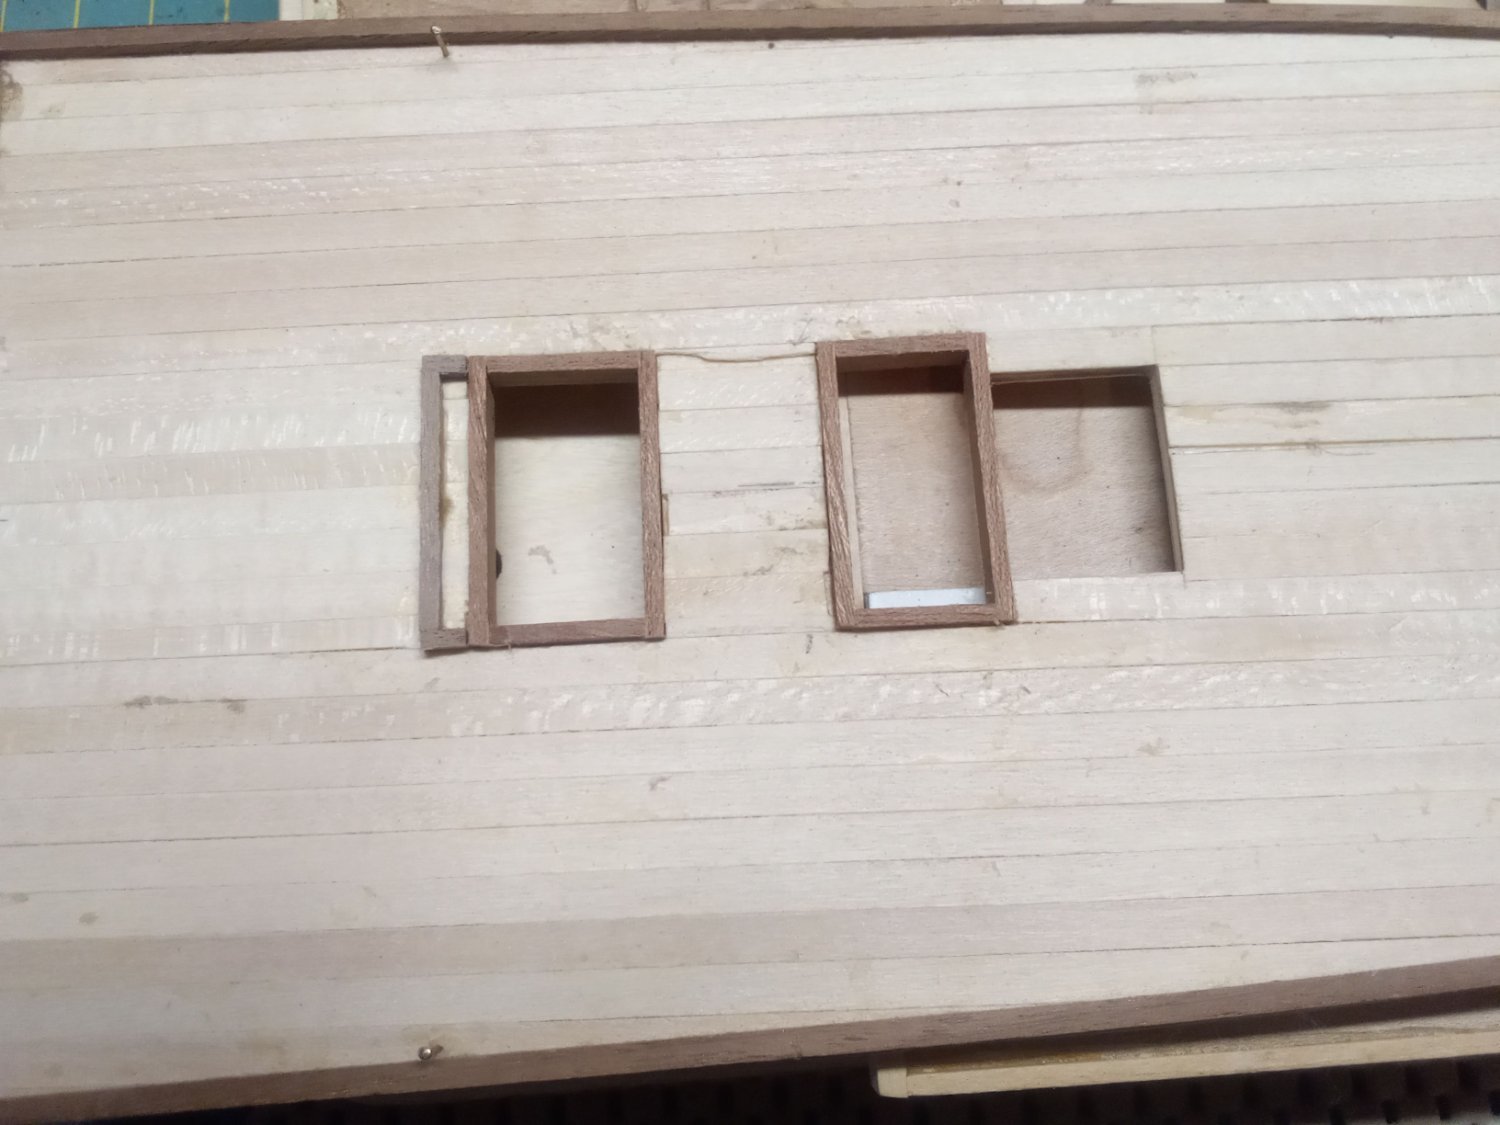
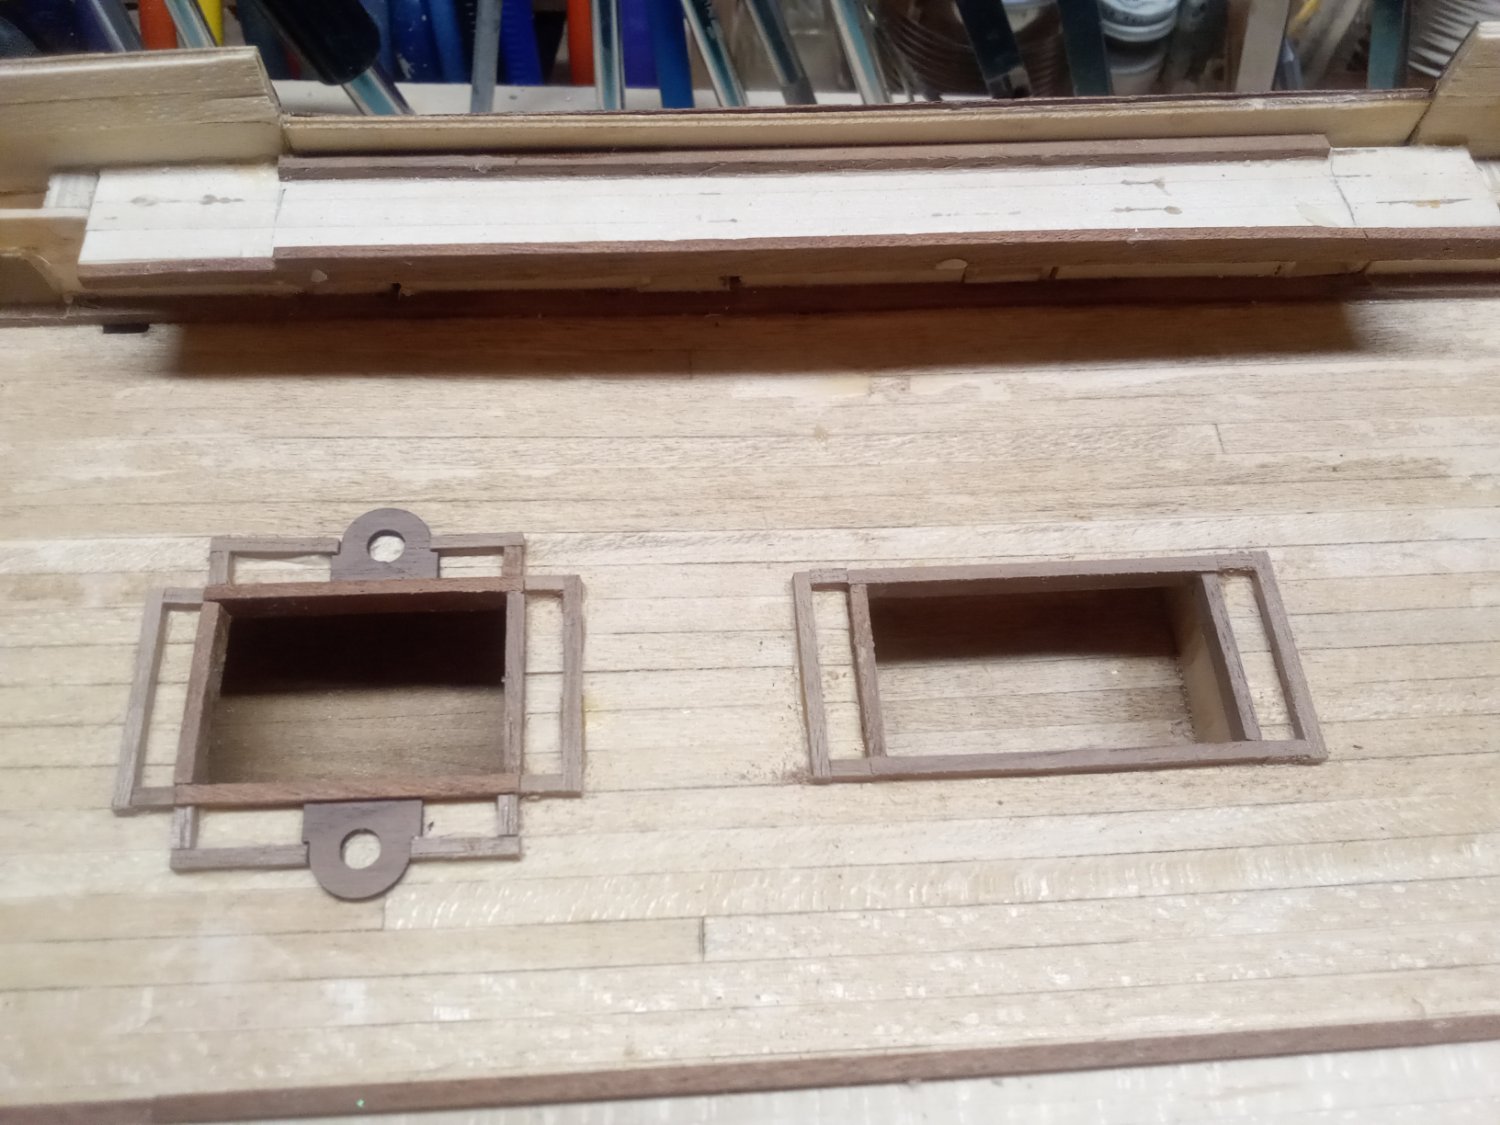
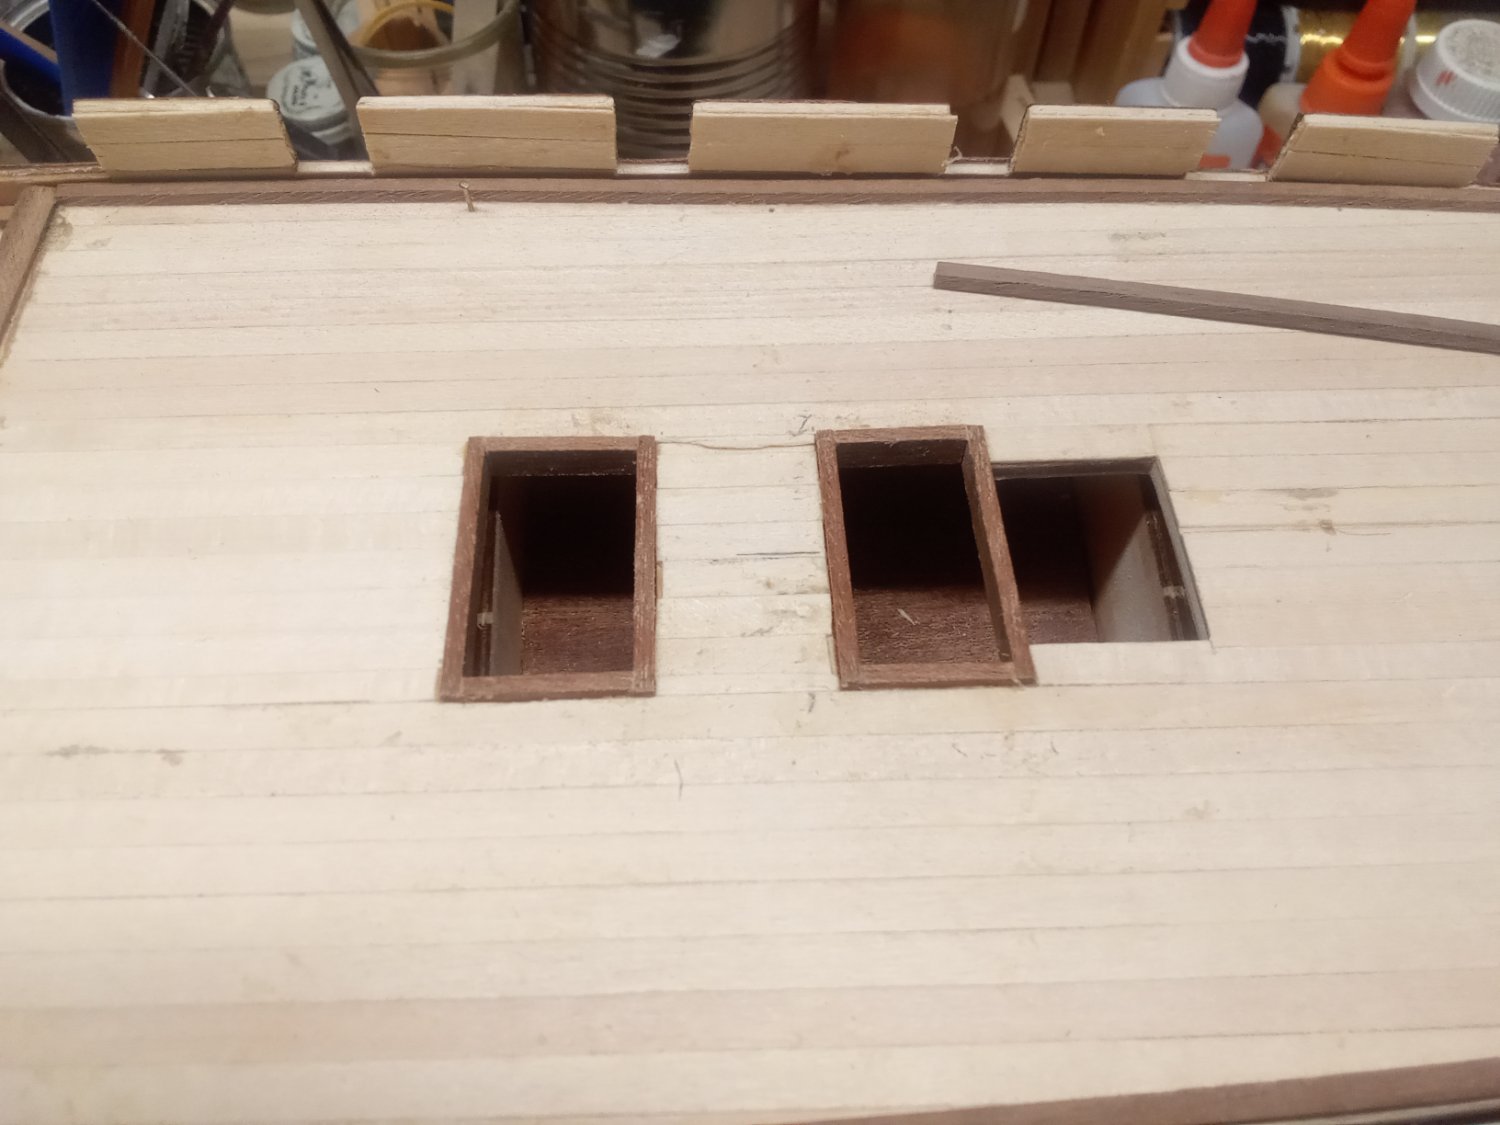
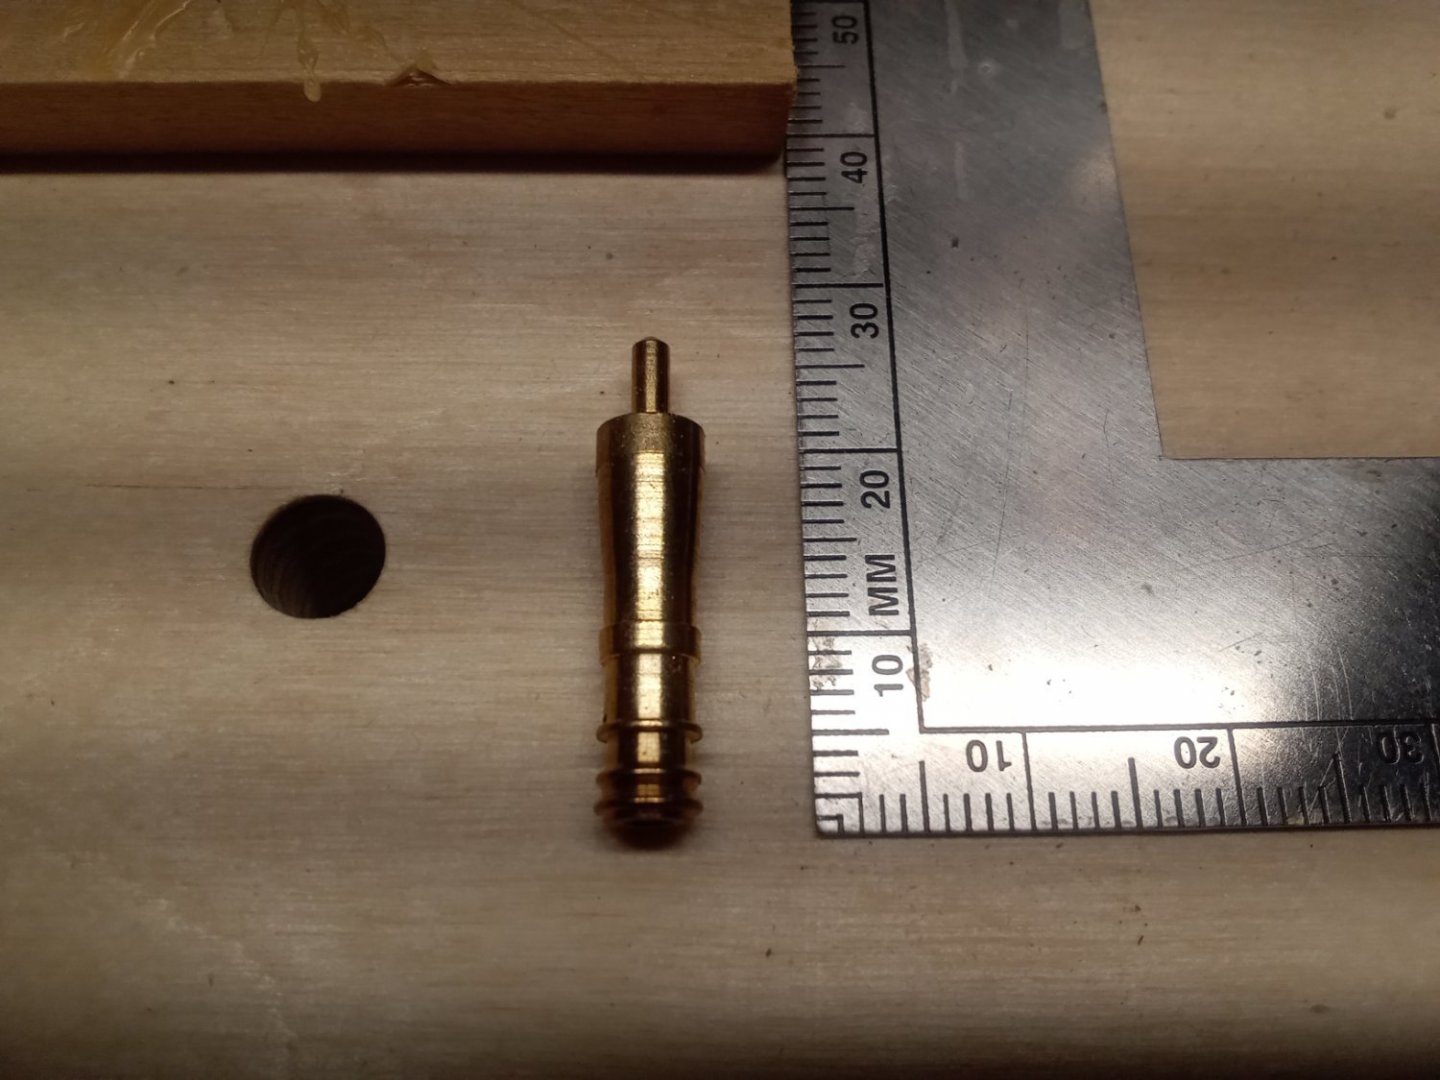
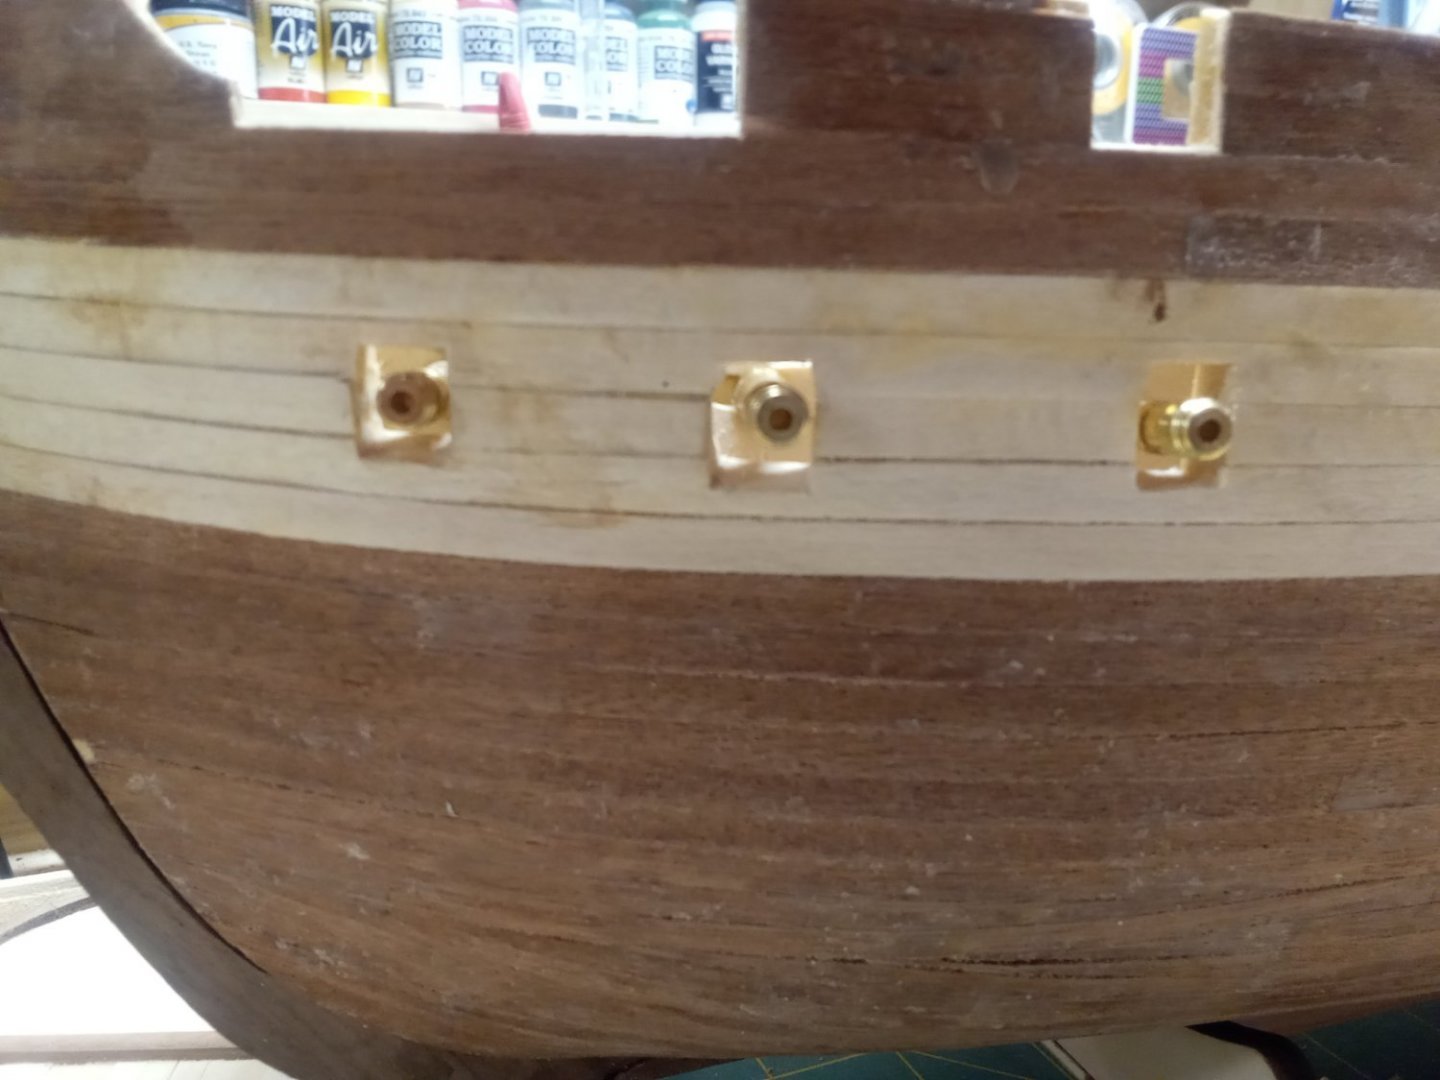
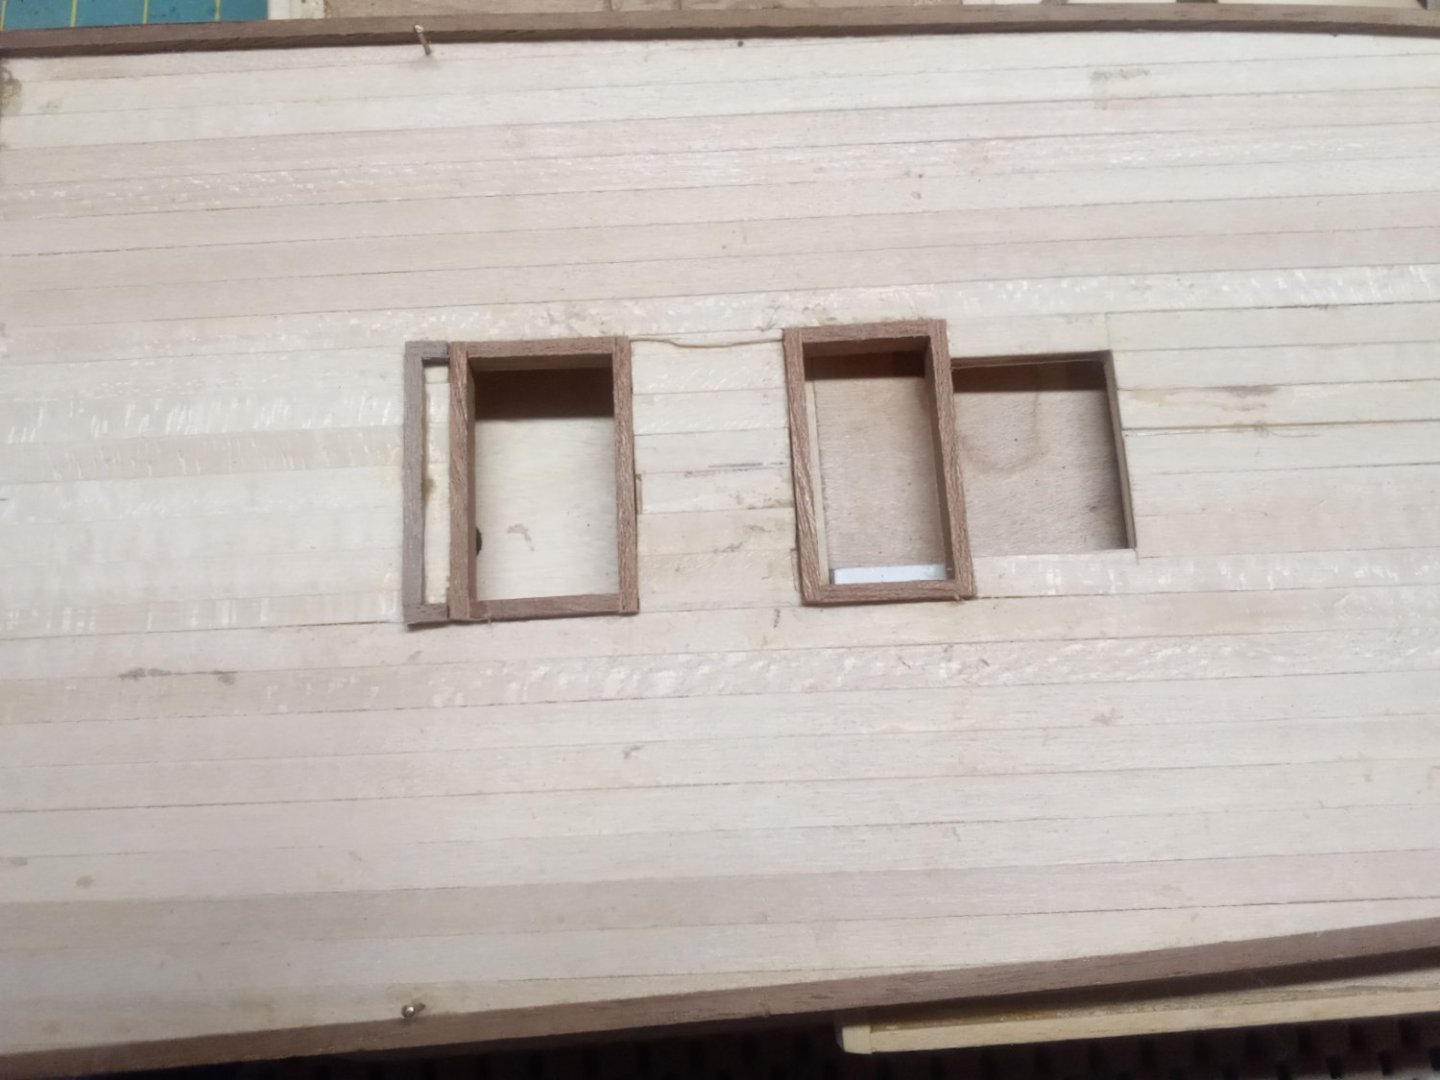
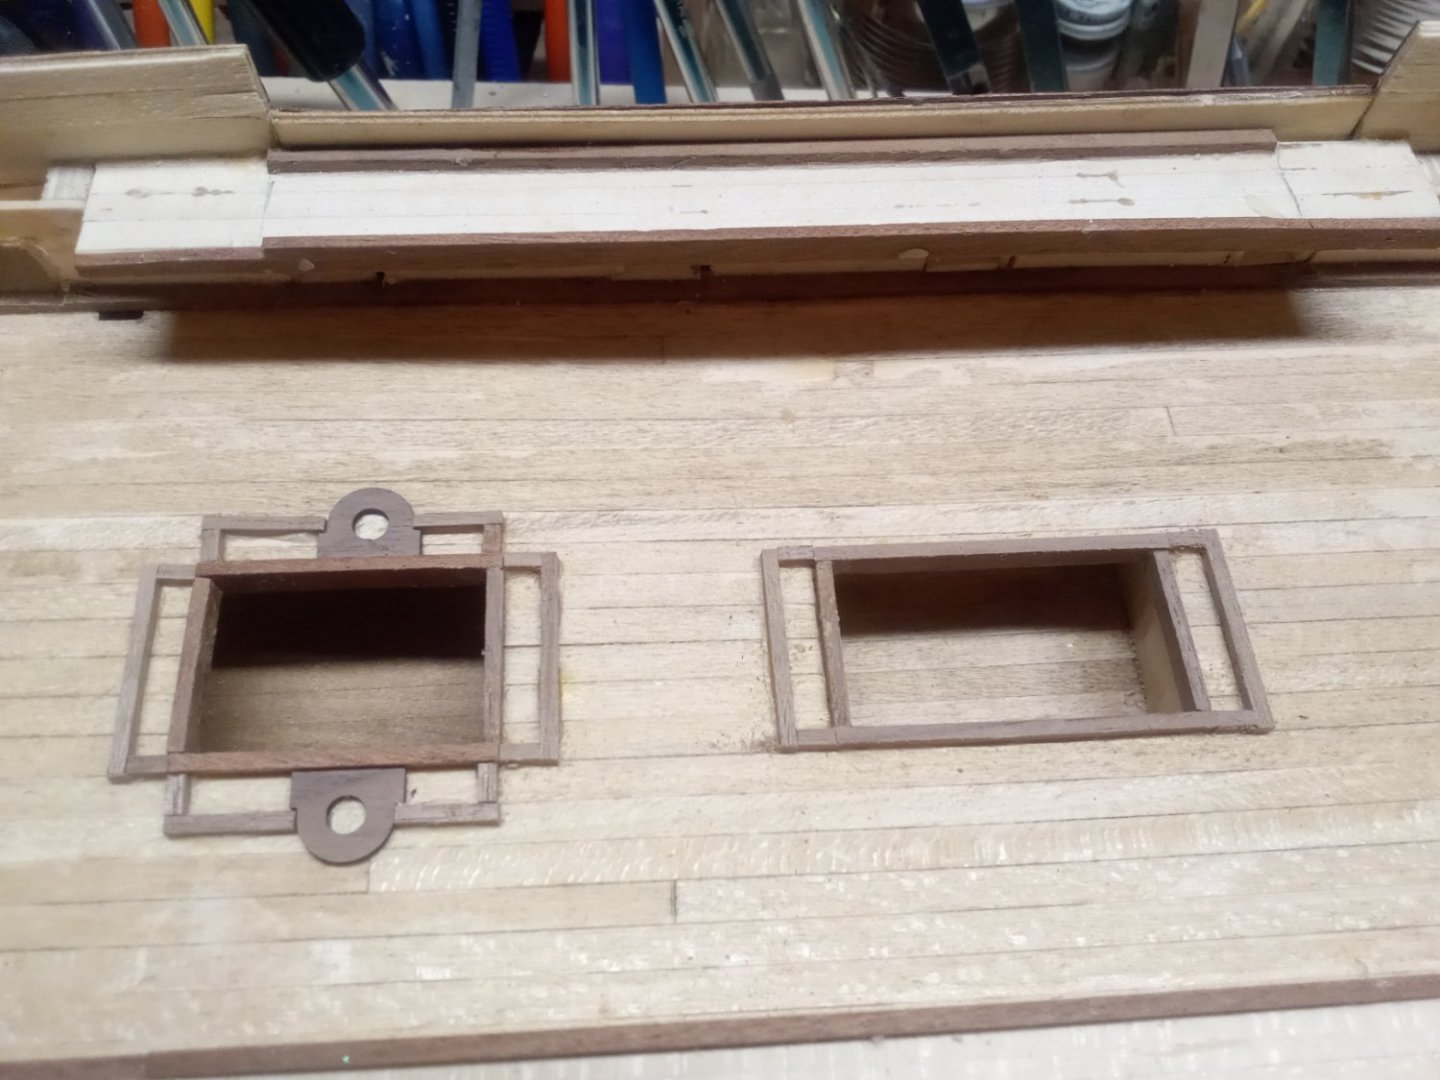
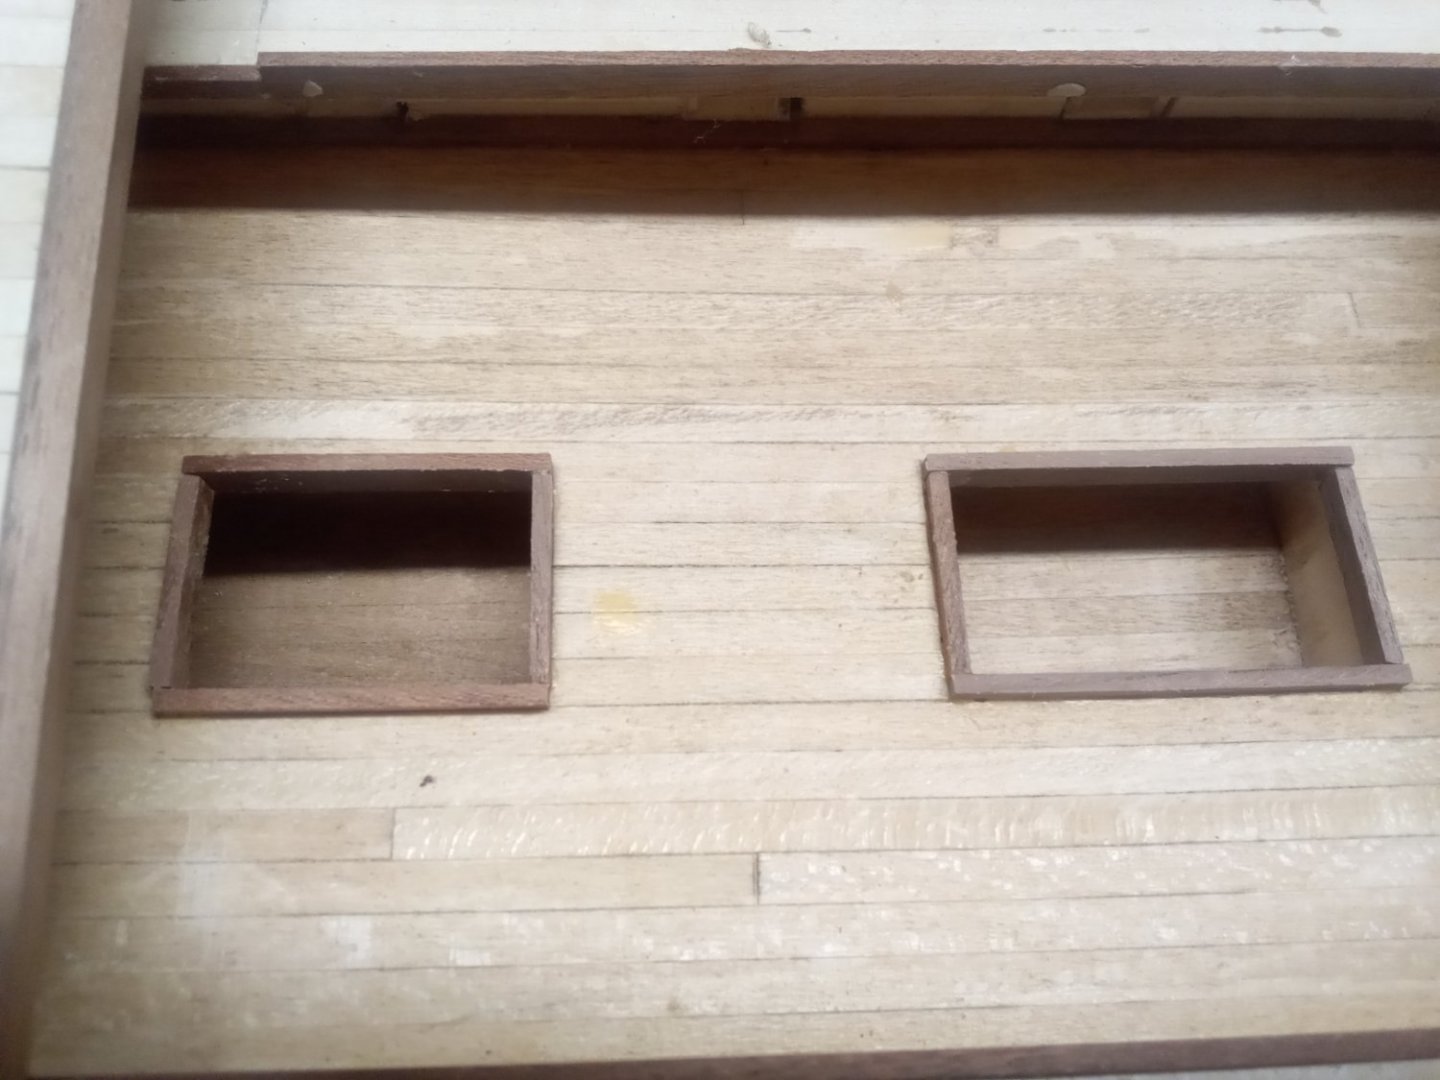
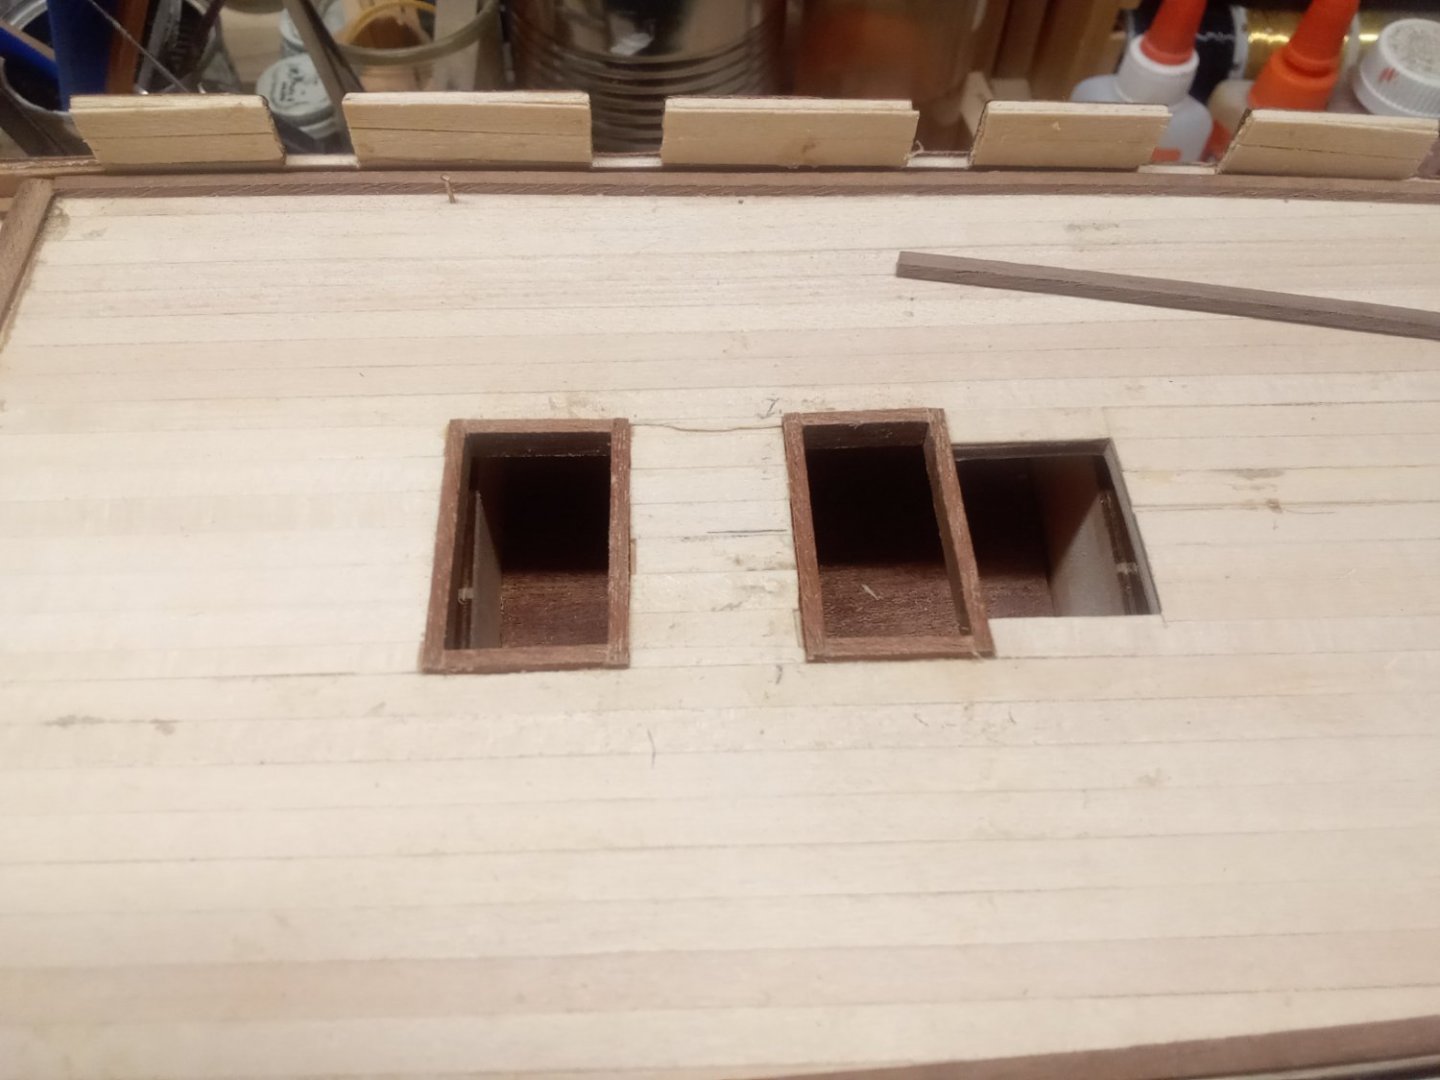
Okay, I guess I'm back now! 🤪 Finally got the hull double planked, gun ports cut in and the keel, bow stem and stern post installed. Been working on getting the "hidden" (below decks) cannon installed. They're just the barrel with a nipple on the back end to insert in a block of wood. The new Veritas mini table has been very handy. Bow stem, keel an stern piece installed One of the hidden cannons pieces Then cut and installed the deck coming pieces Next up is building the carriages for the remaining cannons. Then maybe I can finally install the fore and aft decks.


-
I got credited for a post @ships88 made to his own build log even tho I have never visited his log.
-
Realistic Water
Jack12477 replied to taylormade's topic in Painting, finishing and weathering products and techniques
Do a search on YouTube, there are a number of videos on making water for dioramas. Woodland Scenics has produced some as have a number of modelers. -
Plays on my Android tablet okay, after it downloads. Very nice work, Greg.
- 1,090 replies
-
- 4
-

-

-
- showcase models
- vendetta
- (and 2 more)
-
Didn't think those existed. I thought it was "once a Marine always a Marine" 😇 Semper Fi !
- 505 replies
-
- 5
-

-
-
- vanguard models
- Sphinx
- (and 1 more)
-
Welcome to the build. Pull up a barrel, I think Mark restocked the popcorn machine.
-
You could try this Guy's method using a chisel and electric drill
-
HO trains and layouts by popeye the sailor
Jack12477 replied to popeye the sailor's topic in Non-ship/categorised builds
You can also buy 36 inch lengths of HO flexible track and sections of cork roadbed instead of individual pieces of track. There are also electric power clip you can clip onto the track from under the ties to provide electric power. As Ken says check out your LHS for advice and sources. That engine wants a wide radius curve, flex track may be a better choice that fixed radius sectional track for getting and acceptable curve. Walthers in Milwaukee is a great source for Model Railroad stuff, I think they still print a hardcopy catalog which you can order, or use their online catalog. They've been a major supplier for decades. -
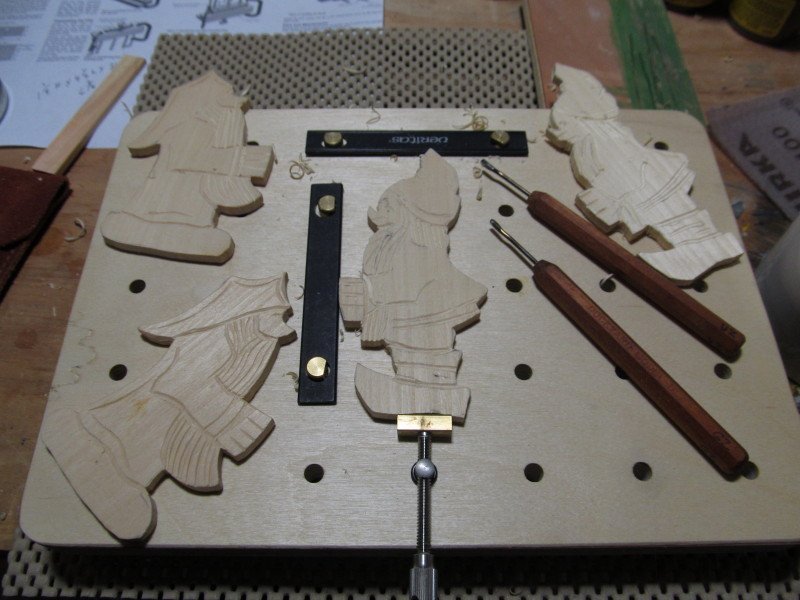
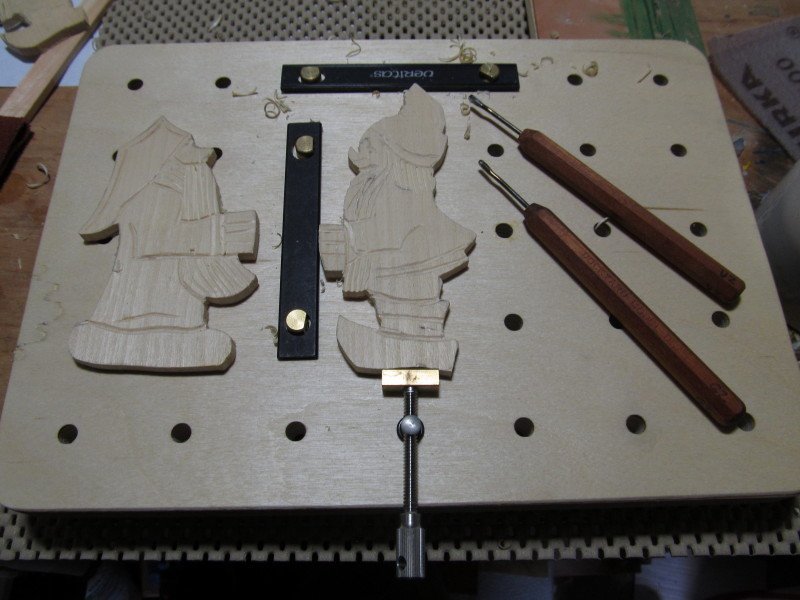
I was doing some Christmas ornament woodcarvings and decided to try out the new Veritas workbench table. Holding these small carvings has always presented a challenge but the workbench provided a nice secure work surface. Those are Dockside 2mm micro gouges in the picture.
- 64 replies
-
- 10
-
-
I agree with what others have said above, especially Egilman's comment. I've really enjoyed following along. Great workmanship !
- 189 replies
-
- 10
-
-
-
Looks a lot smoother and neater than my hulls. Nice job!