-
Posts
5,674 -
Joined
-
Last visited
Content Type
Profiles
Forums
Gallery
Events
Everything posted by Jack12477
-
I have that one also and use it interchangeably with the cordless version.
-
WeCheer makes a very good cordless rechargeable mini which is compatible with the Dremel bits. Got mine thru Woodcraft.
-
OC, you could try the stick method a lot of sign painters use when painting a company name on their glass doors/windows. I would get a 1/4 or 3/8 inch diameter Maple (or other hard wood) dowel, put a rubber tip on one end, start with a 24 or 36 inch length, trim to comfort. It should be long enough to span your diorama and rest the rubber tip on a work table surface. Hold the other end with one hand , rest your painting hand on the stick. I've seen professional sign painters use one and it's amazing how steady they can be.
-

F-86F-30 Sabre by Egilman - Kinetic - 1/32nd scale
Jack12477 replied to Egilman's topic in Non-ship/categorised builds
Yes Indeed ! Hot tongue and Cold shoulder for dinner ! 😉😊😇🤫 -
See Chuck's post
-

Can not register because my e-mail is in use.
Jack12477 replied to gary5555's topic in New member Introductions
Send a PM to @James H he can correct it for you -
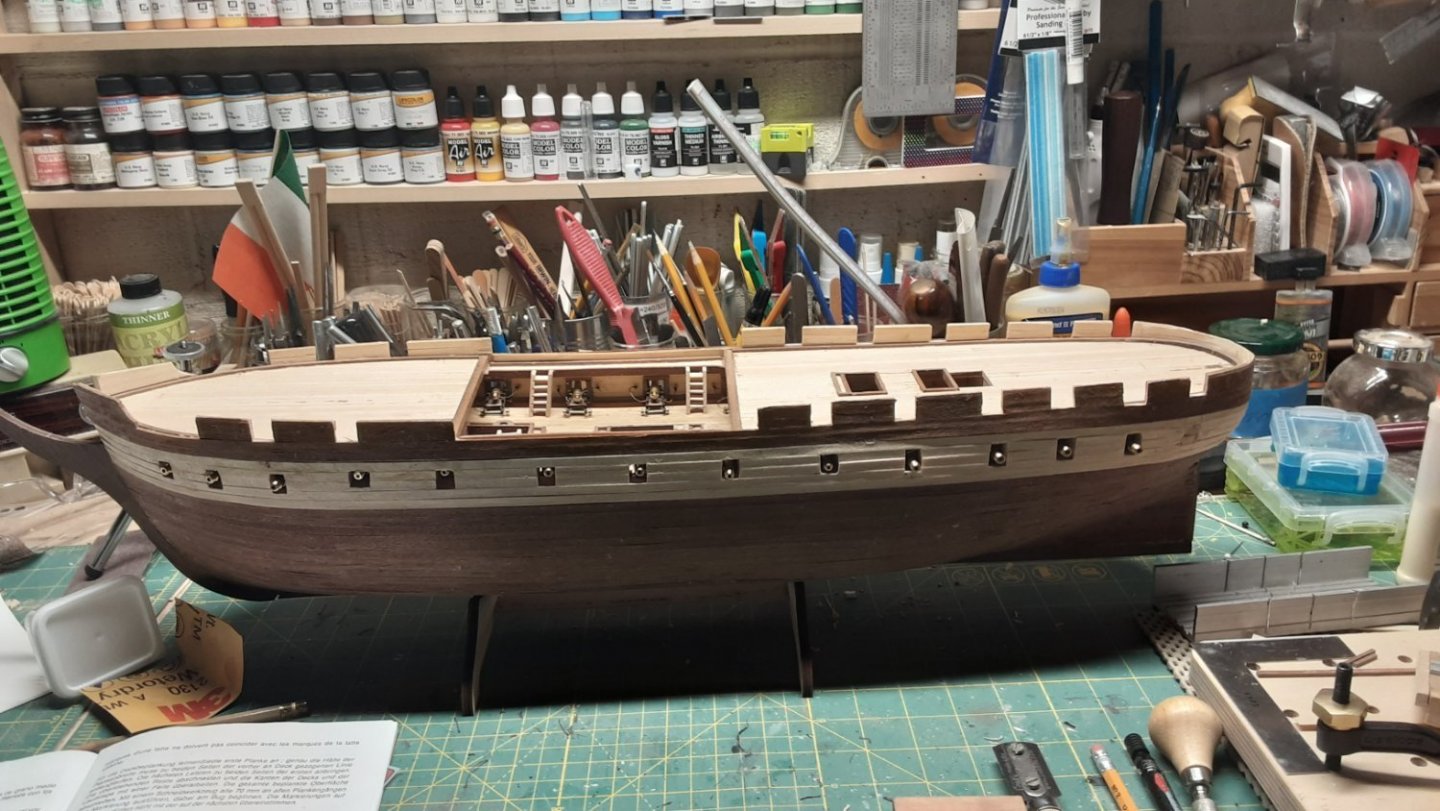
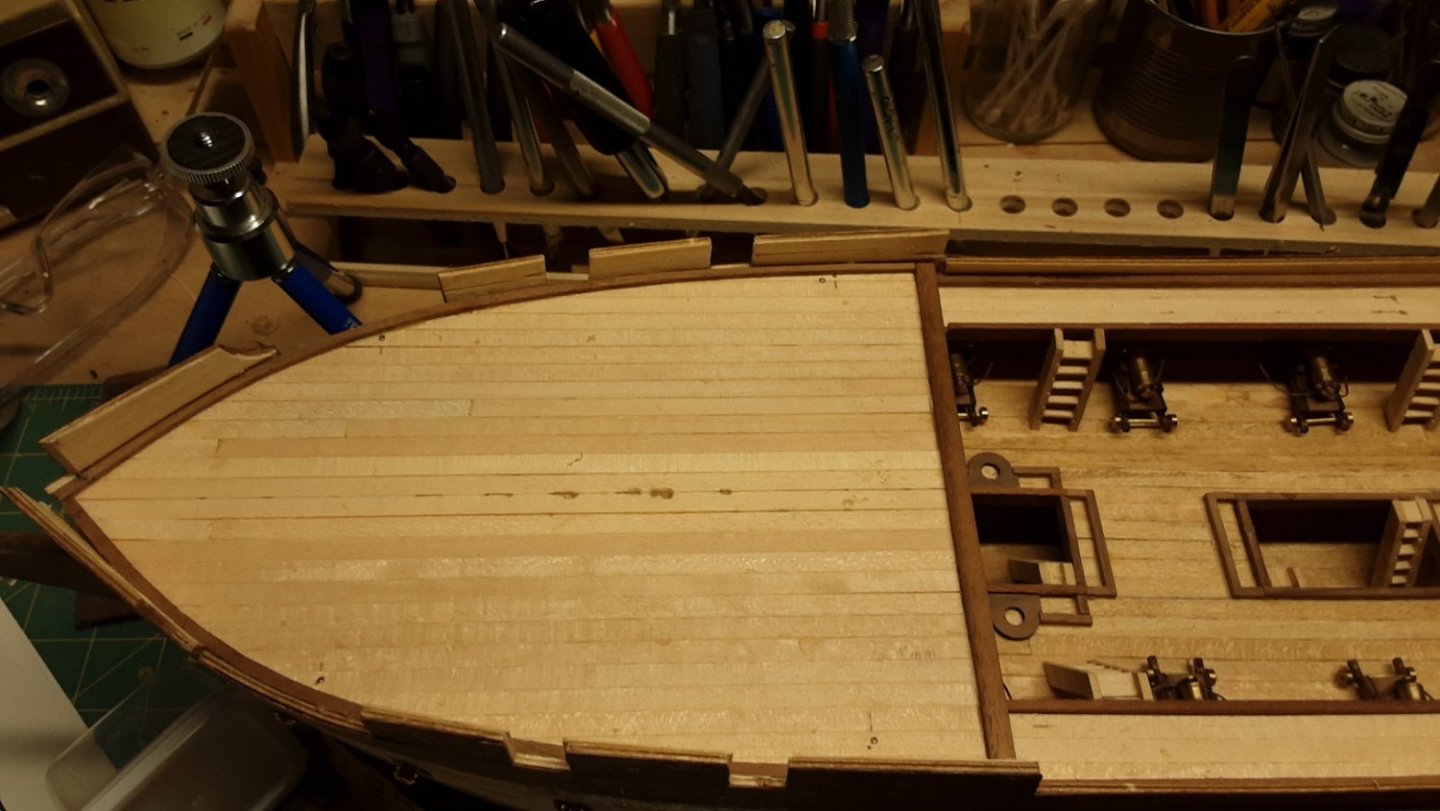
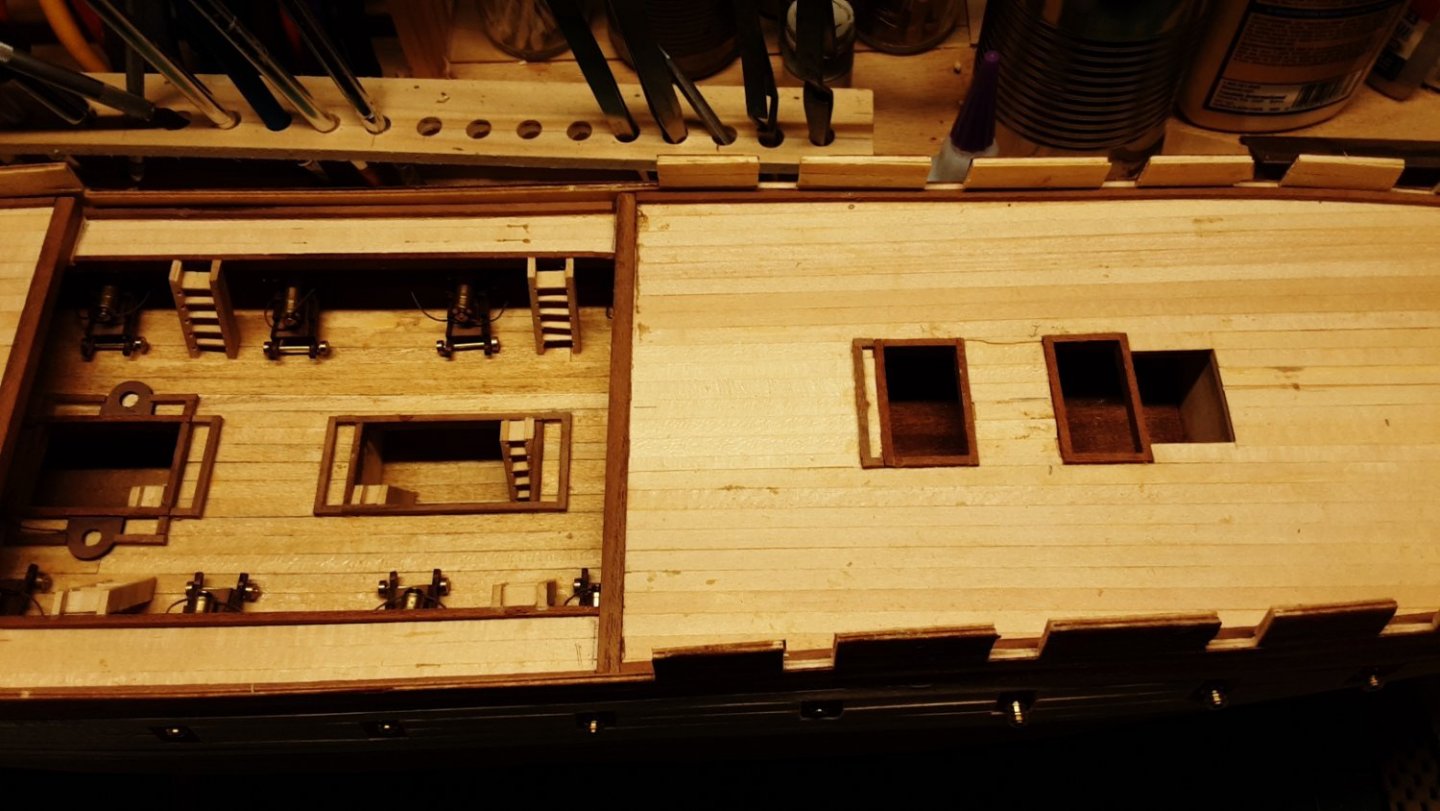
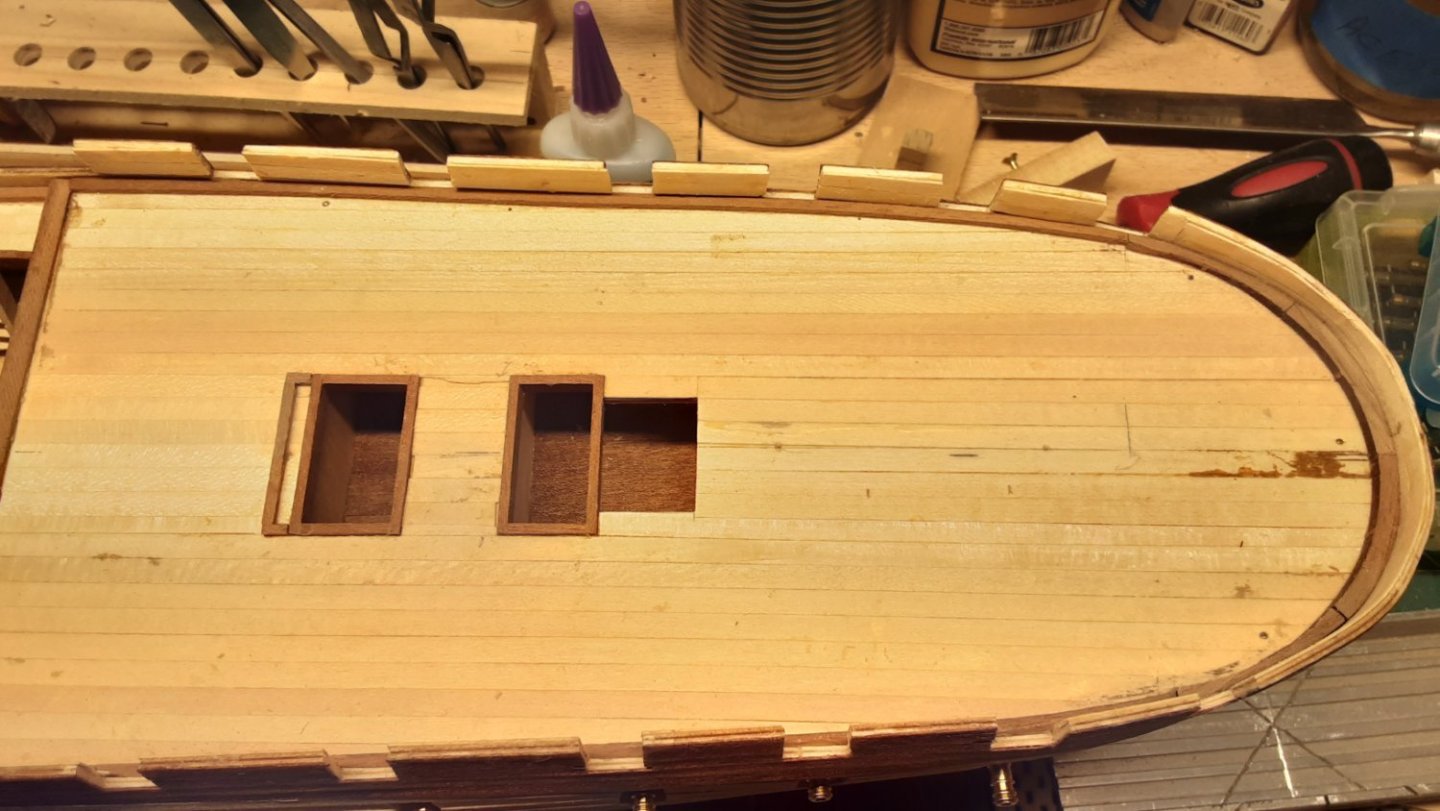
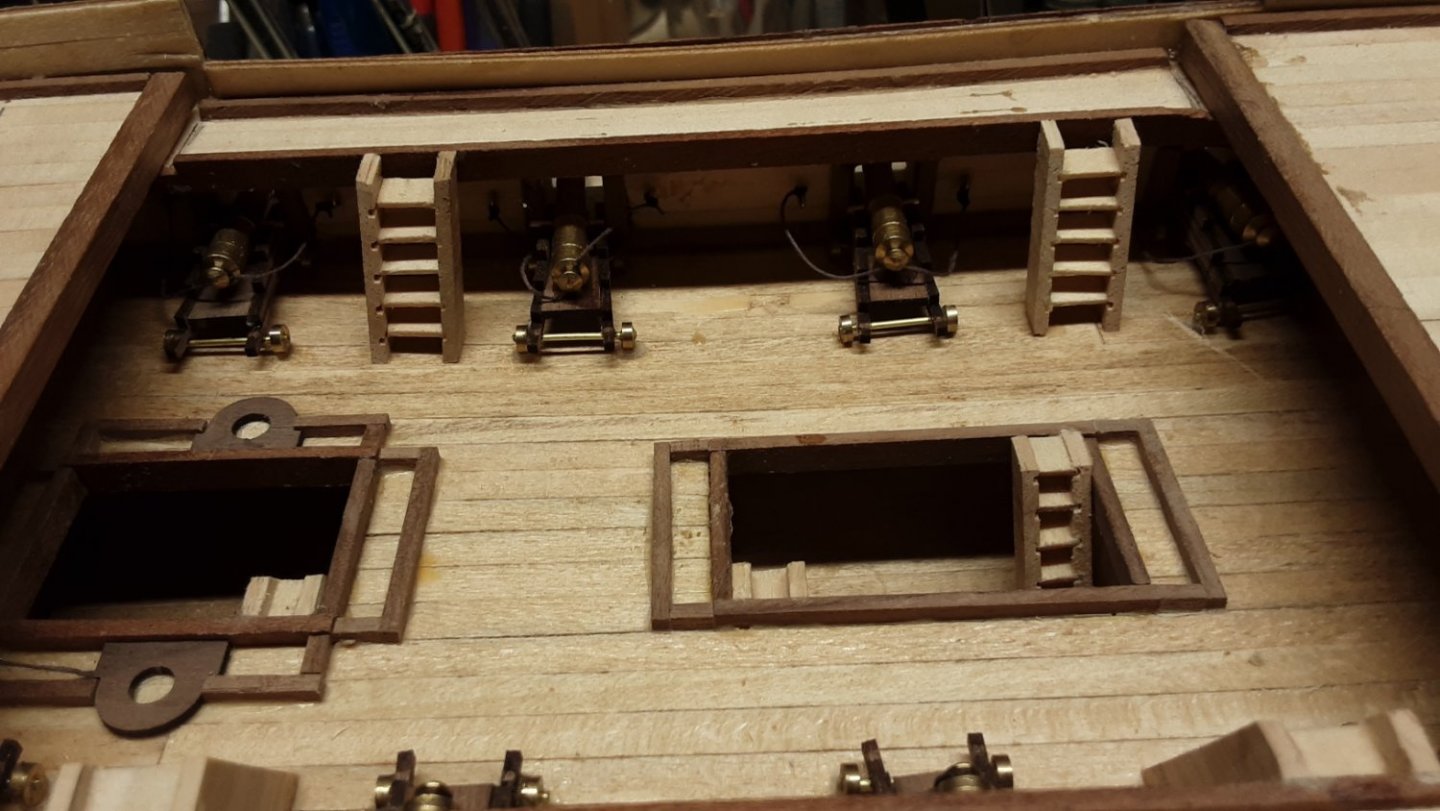
Feb 3rd & 4th we got hit with the "Perfect Storm" of winter ice storms. The system sat directly over northeast Ulster County NY and dumped an icy rain on us for several hours during the night, coating everything in 3/4 inch to 1 inch of ice. Woke us up at 3 AM with tree limbs dropping ice on roof, scraping roof and house siding. At 9 AM Friday (4th) we lost all electric power and our heat, house inside temperature dropped to 48 F, about 7 C, overnight. Outside temperatures dropped to 9 F overnight. Power was off for us until Saturday early afternoon, about 30 hours. 65,000 homes and businesses in a county that covers 1, 161 sq miles were without power, some until Wednesday this week, 1,000 tree and line crews were brought in from several surrounding states to help get power back, clear roads of downed trees and limbs, restring powerlines etc. Fortunately I did not suffer much tree damage, only 2 small limbs on my Birch tree snapped off, but my next door neighbor wasn't as lucky, their front yard was littered with large broken limbs from their 80 ft tall pin Oak. But no house damage to anyone on street. For anyone interested in the science behind this Perfect Storm here's a Link. So there wasn't much incentive to wander into a cold dark cellar to the shipyard. Been here 50 years and never seen a storm this bad, winter or summer.. Not even hurricanes Sandy, Irene and Lee caused this much outage. I did manage to finish installing the cannons before the storm hit. Broke 4 drill bits trying to drill the bulkheads underneath the catwalk for the recoil ropes. So I decided to leave all the tackle off the "hidden" cannons to save my sanity. 😉 I'll install them on the main deck cannons that are visible. After getting the cannons installed and the ladders I permanently installed the fore and aft main decks. Finally! 🙂 Photos follow:
-
Finally got the guns installed under the catwalk, but not before I broke 5 good drill bits trying to drill holes in the sides for the ring bolts to attach the recoil ropes. Now to finish off the ladders, install them and finally get the fore and aft main decks permanently installed. The pieces for the ladder sides all have 9 slots cut in the for the stair treads but it seems only 5 treads are needed per stair, something that is not made obvious in the written instructions. So I may run out of material since I've been cutting and installing 9 treads per stair instead of 5. But this can wait. Mother Nature has finally granted us a release fom Covid Prison by providing us with foot thick ice on the river for sailing and some good sailing weather once winter storm "Landon" 😀 😄 passes by (winter storm "Izzy" was a boring ho-hum over-hyped storm in this area). Eight vintage ice boats from the late 1800s are parked in a Cove near Athens awaiting us. So model building is taking a backseat to more outdoors events for now. Gotta get some good ole fresh air and vitamin D. Stay tuned.
-
Pulling up a chair. Love these pulling boats, reminds me of the boats used by the United States Life Saving Service (USLSS).
- 30 replies
-
- small
- clinker built
-
(and 2 more)
Tagged with:
-
Already been going thru my wood stash looking for suitable wood to substitute. I can use my miniature thicknessing jig with the miniature Jack Plane to reduce the thickness to 1 mm. Looking at the wood in the kit, I doubt it is sapele which is a dark wood, this is more blond like mukali which is also included in the kit. Probably another instructions/parts list error. 🤷♂️
-
Just adjusted my jig to 9 mm and assembled a ladder. Now it looks more like all the pictures in the kit and everyone's build log. Have to decide what to do with the 5 I built with 6 mm wide steps, either use them or rebuild. Not sure if I have enough 1x5x100 mm strips for a do-over. I'll finish the ones in kit and then decide. Thanks for the feedback everyone.
About us
Modelshipworld - Advancing Ship Modeling through Research
SSL Secured
Your security is important for us so this Website is SSL-Secured
NRG Mailing Address
Nautical Research Guild
237 South Lincoln Street
Westmont IL, 60559-1917
Model Ship World ® and the MSW logo are Registered Trademarks, and belong to the Nautical Research Guild (United States Patent and Trademark Office: No. 6,929,264 & No. 6,929,274, registered Dec. 20, 2022)
Helpful Links
About the NRG
If you enjoy building ship models that are historically accurate as well as beautiful, then The Nautical Research Guild (NRG) is just right for you.
The Guild is a non-profit educational organization whose mission is to “Advance Ship Modeling Through Research”. We provide support to our members in their efforts to raise the quality of their model ships.
The Nautical Research Guild has published our world-renowned quarterly magazine, The Nautical Research Journal, since 1955. The pages of the Journal are full of articles by accomplished ship modelers who show you how they create those exquisite details on their models, and by maritime historians who show you the correct details to build. The Journal is available in both print and digital editions. Go to the NRG web site (www.thenrg.org) to download a complimentary digital copy of the Journal. The NRG also publishes plan sets, books and compilations of back issues of the Journal and the former Ships in Scale and Model Ship Builder magazines.


