
HOLIDAY DONATION DRIVE - SUPPORT MSW - DO YOUR PART TO KEEP THIS GREAT FORUM GOING!
×


Jack12477
-
Posts
5,661 -
Joined
-
Last visited
Content Type
Profiles
Forums
Gallery
Events
Everything posted by Jack12477
-
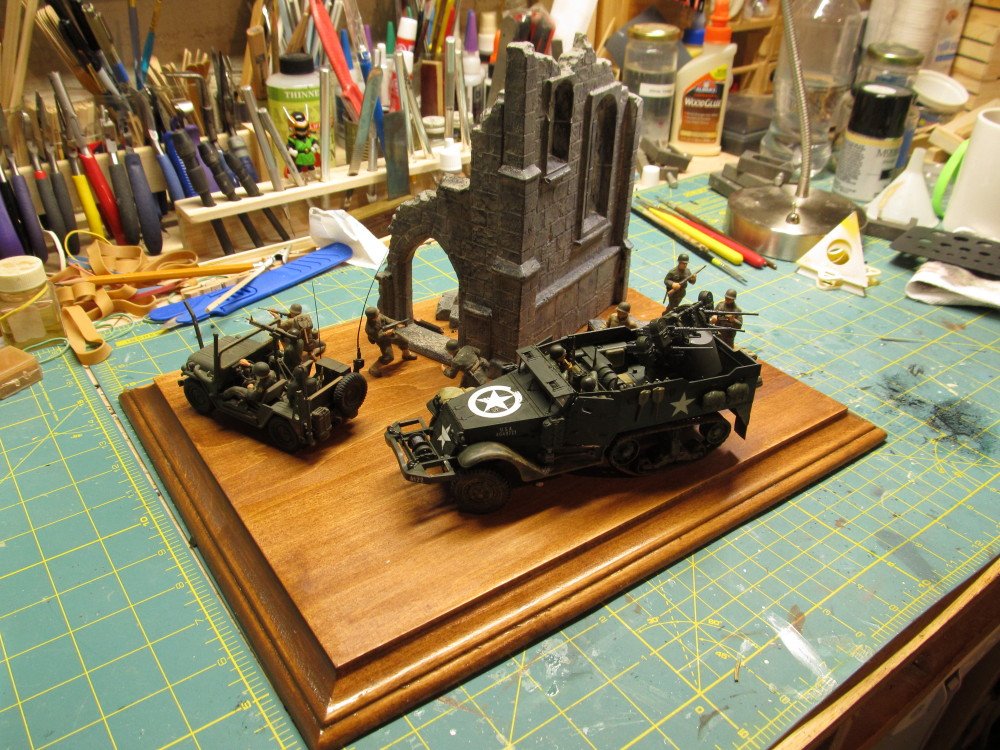
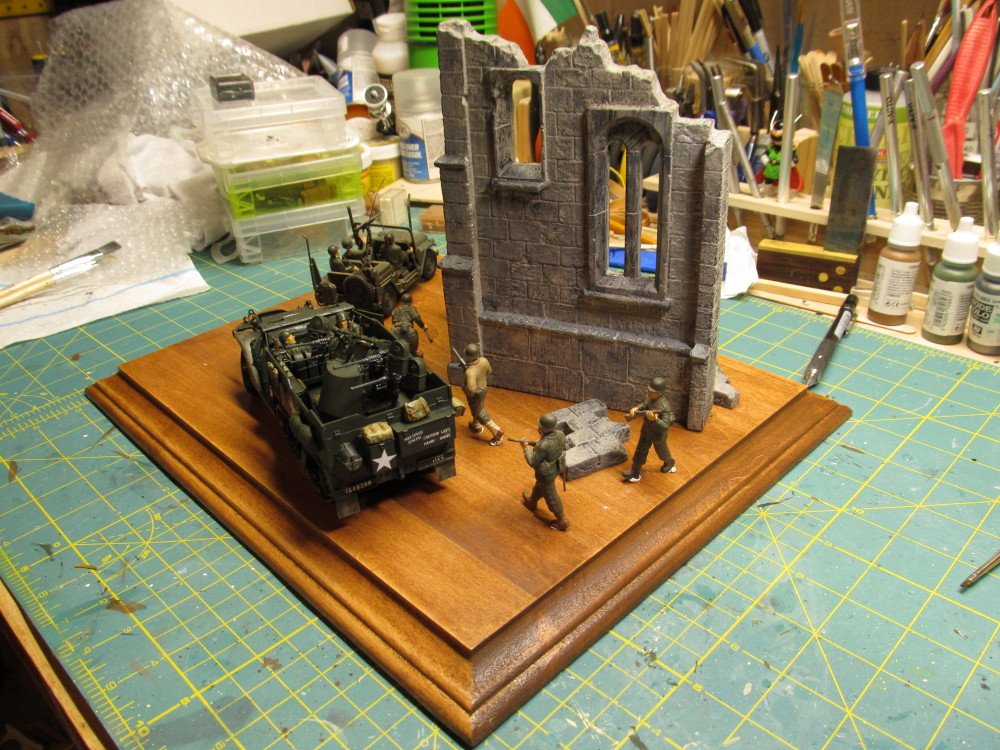
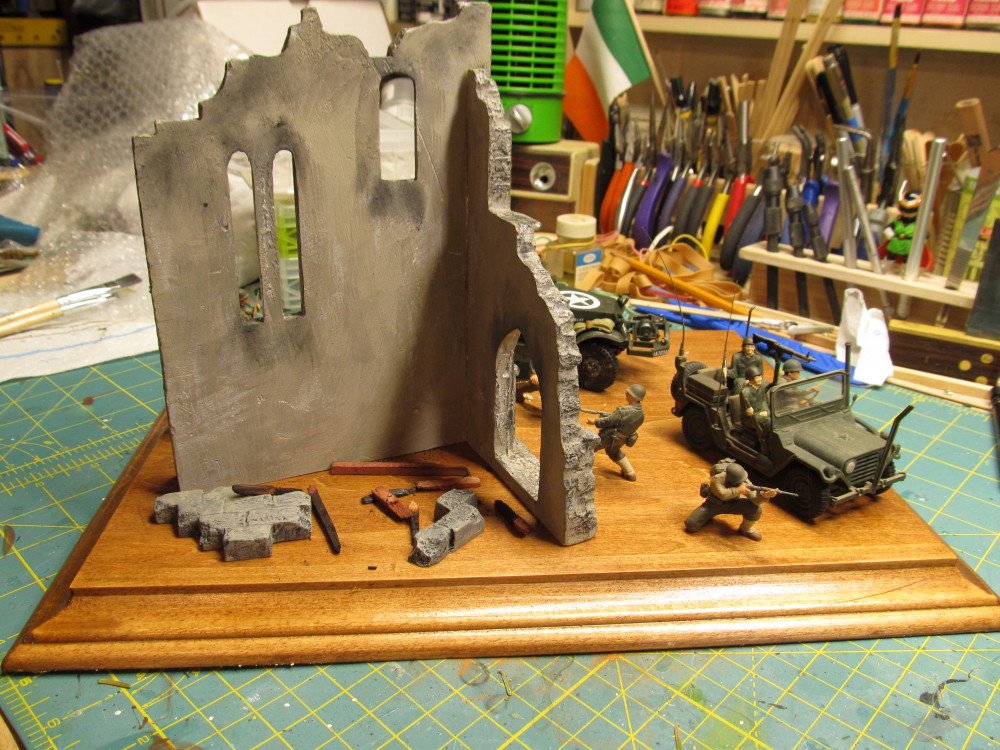
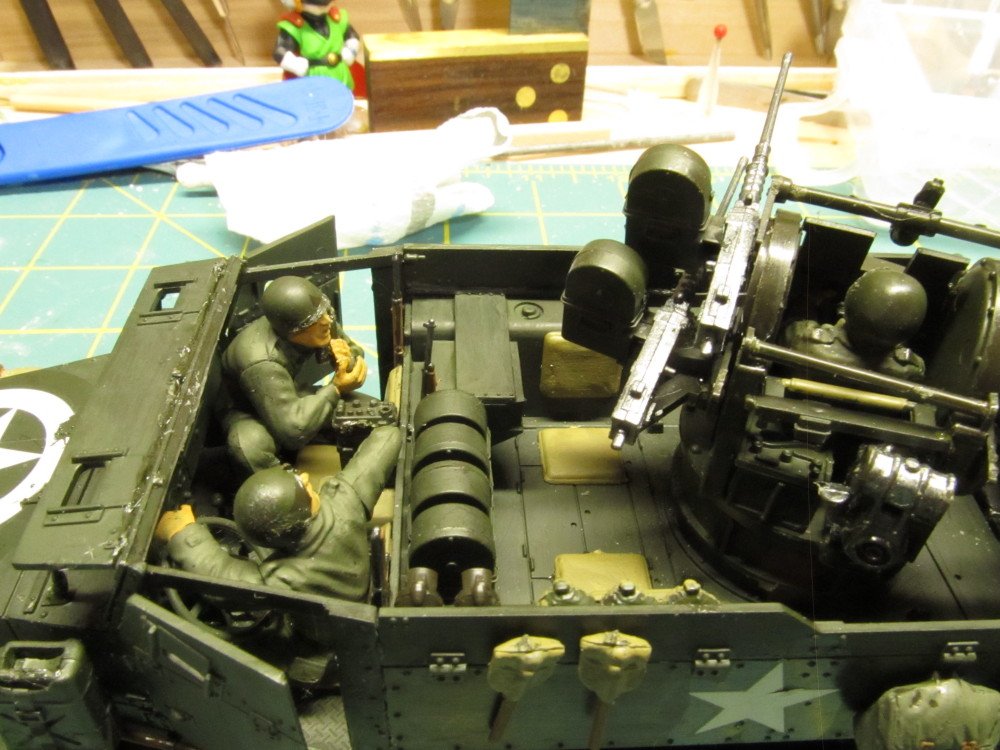
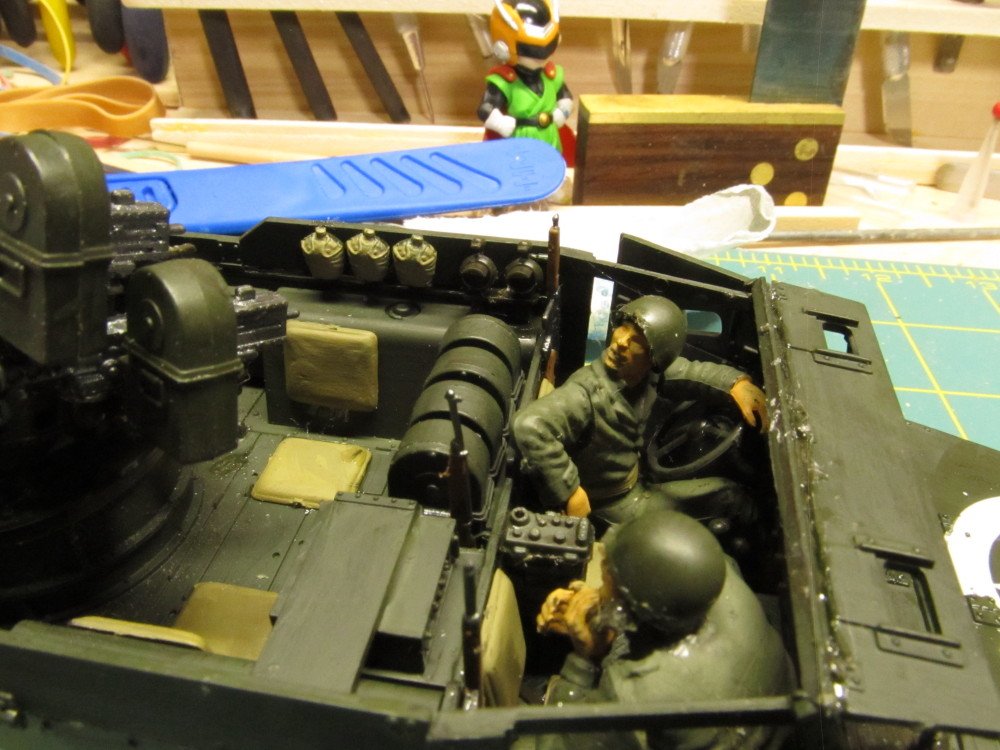
 While the Admiral and I sit in solitary confinement here in the Hermitage I completed the staining of the base (cherry over basswood) and applied 2 coats of satin poly. Did a first pass at weather the half-track and made a pass at the layout. I had to use modeler clay under the Infantry soldiers feet to get the to stop falling over as soon as I placed them. The entire base will be covered in an earthen material and other appropriate accessories including some oil drums, jerry cans and perhaps some discard ammo crates. I am still trying to figure out how I want to represent any collapsed beams inside the church walls. But here's some progress photos First the half-track First pass at diorama layout (could change) I might change out the two "passengers" in the Jeep too. Maybe a guy manning the machine gun, if I can find a figure in my stash.
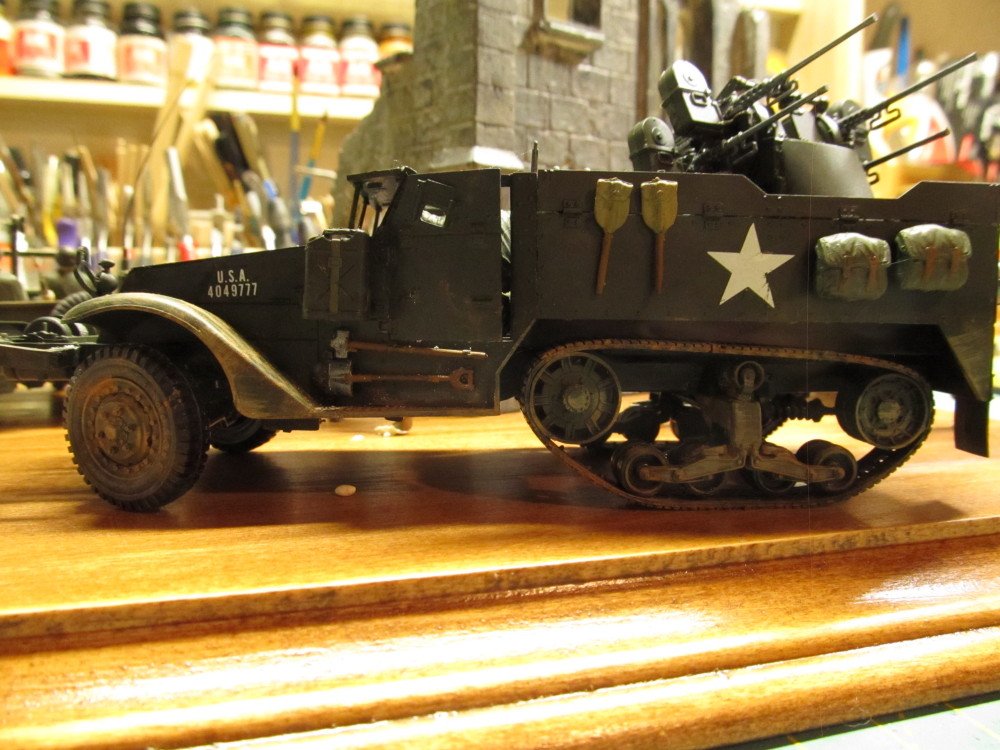
- 149 replies
-
- 12
-

-
Looks nice !
-
Thanks for info. I am not finished weathering it yet. Just set it aside while I work on the diorama base.
-
Thanks Mark 🤔😎
-
Me too ! Was heavy into Tamiya 1:35 Armor mostly WWII. Lost a lot of my reference material especially Shep Paine's books on dioramas. 🤐 Most of my aircraft got busted and had to be thrown out. Still have a few aircraft and all the armor.
-
Well, here at the Hermitage things have slowed down a bit while I try to locate all the landscaping supplies from my N scale model railroad that I stashed away in unlabeled boxes somewhere in the basement. Can't run out to store since most are closed. So far we are not under lock down, but since the Admiral and I are in the at risk age group we are limiting our trips out. So the rest of this build will be slow. But I will continue.
-
Thanks, Edward
-
Thanks, Mark
-
Thanks. But you might want to delete the pdf file you seem to have accidentally uploaded.
-
B-25 Mitchell "Meet Miss Runyon" by Javlin-HK-1/32
Jack12477 replied to Javlin's topic in Non-ship/categorised builds
Sorry to hear this. Hope you recover quickly. Prayers are with you. -
Thanks ! The manual I did find is the TM-9-710
-
Thanks! Could not find that in the manual
-
No clue ! But, I did notice a couple extra levers installed on the floorboards. I didn't see any explanation but will recheck the inventory list for any clues, Roger, do a Google search on wwii m16 half track operation manual look for an entry from biblio there is a pdf of the original operation manual. I can't post manual here or get a link, the entry just pops the entire manual up for you to view. Couldn't find much on manipulating the tracks other braking.
-
I have that tank in my stash of completed models - only not in the camo colors shown on the box - just straight OD.
-
yes, I guess they had too much of that French wine to drink last night
-
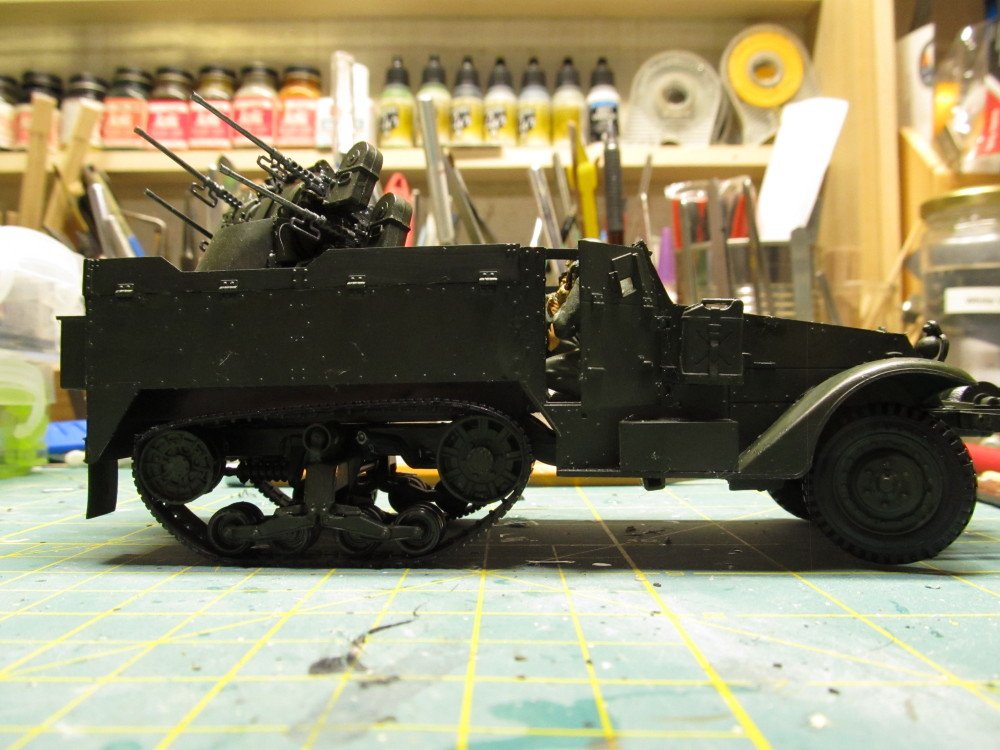
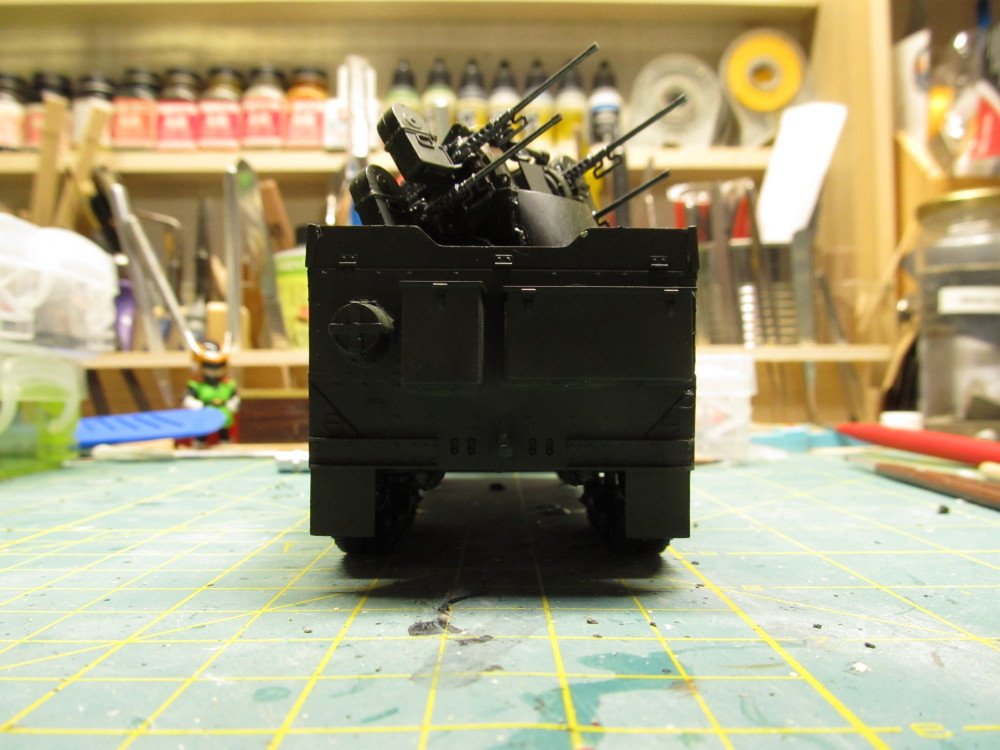
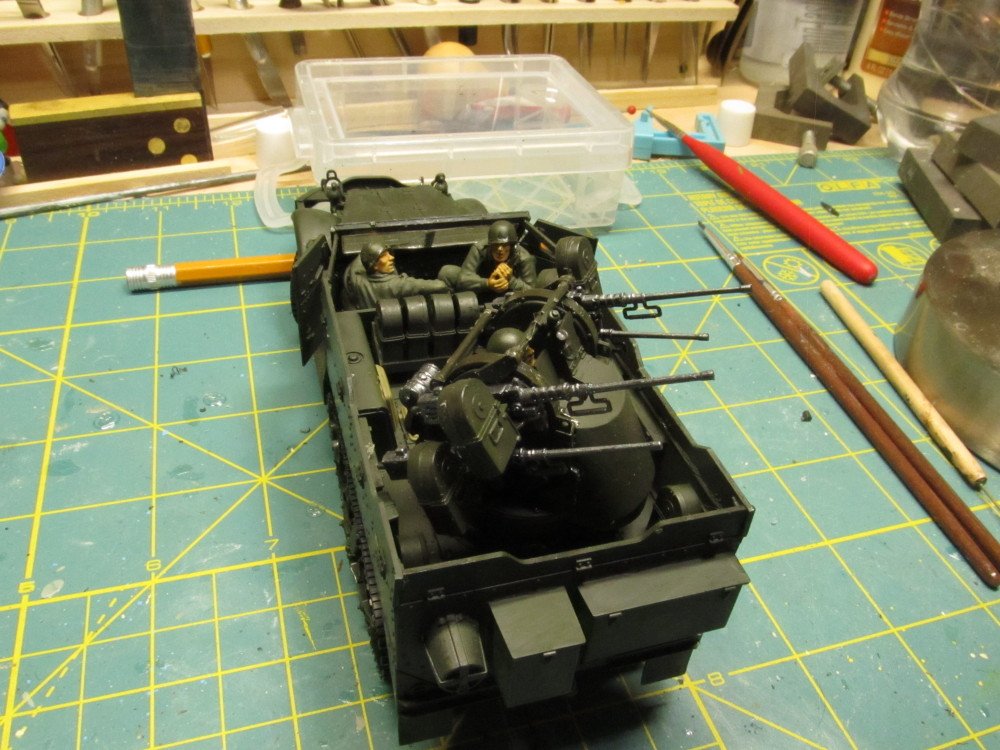
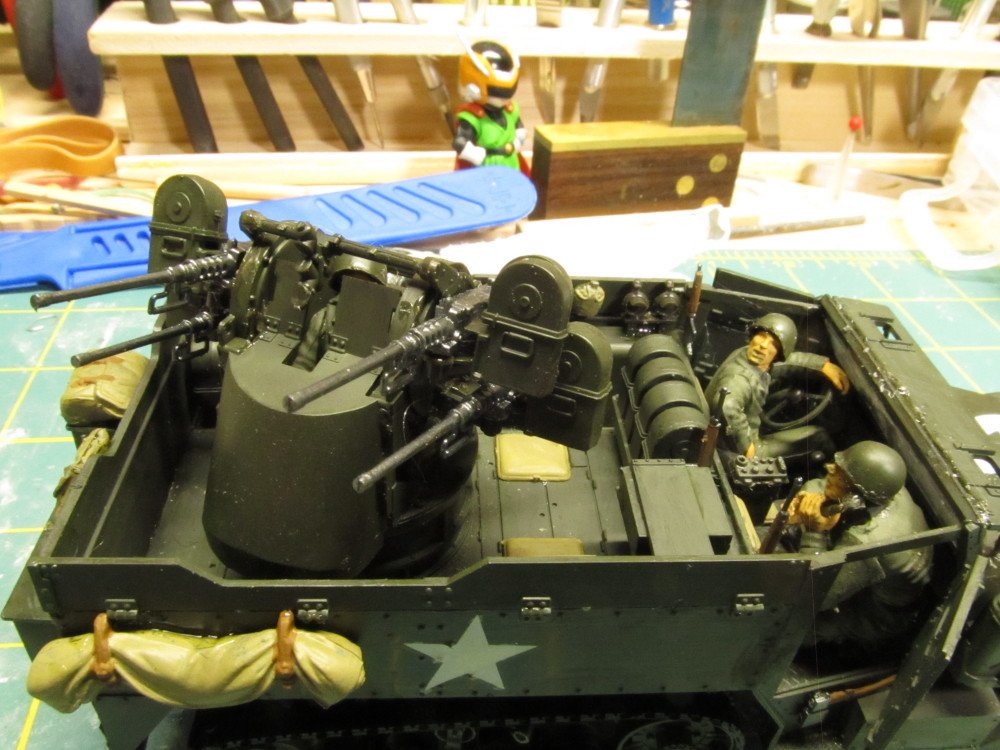
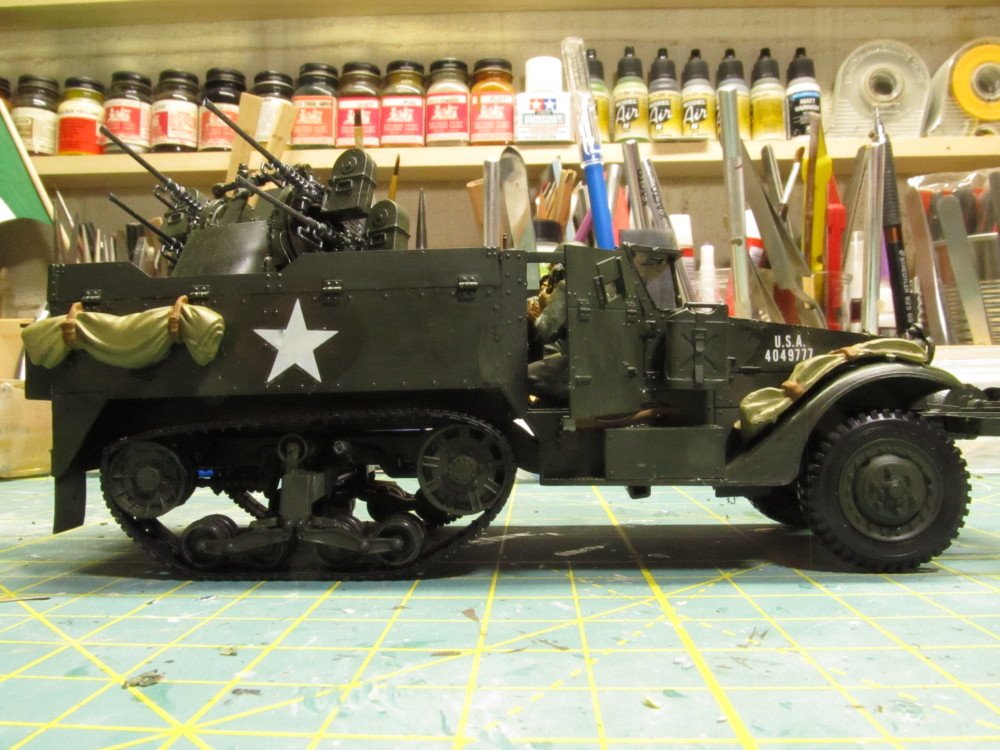
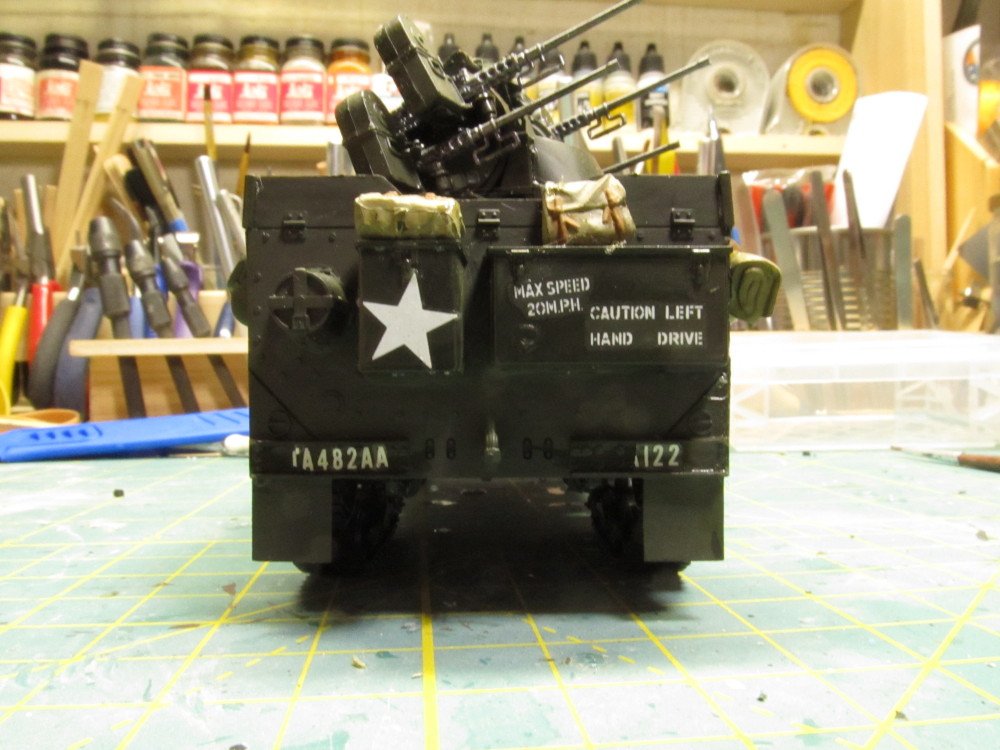
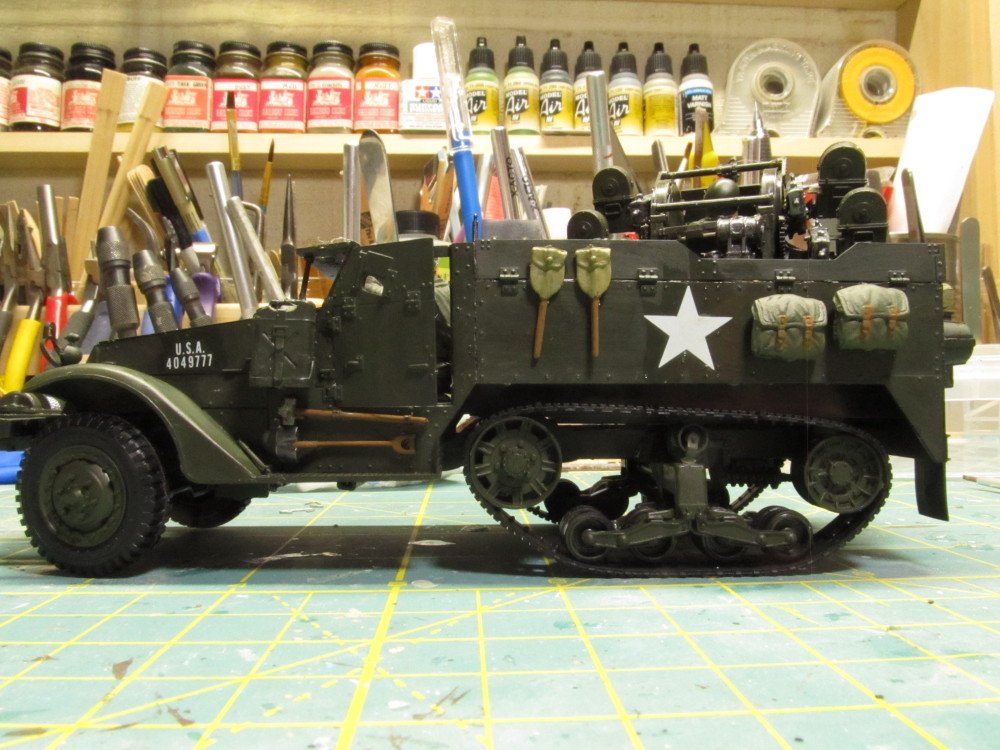
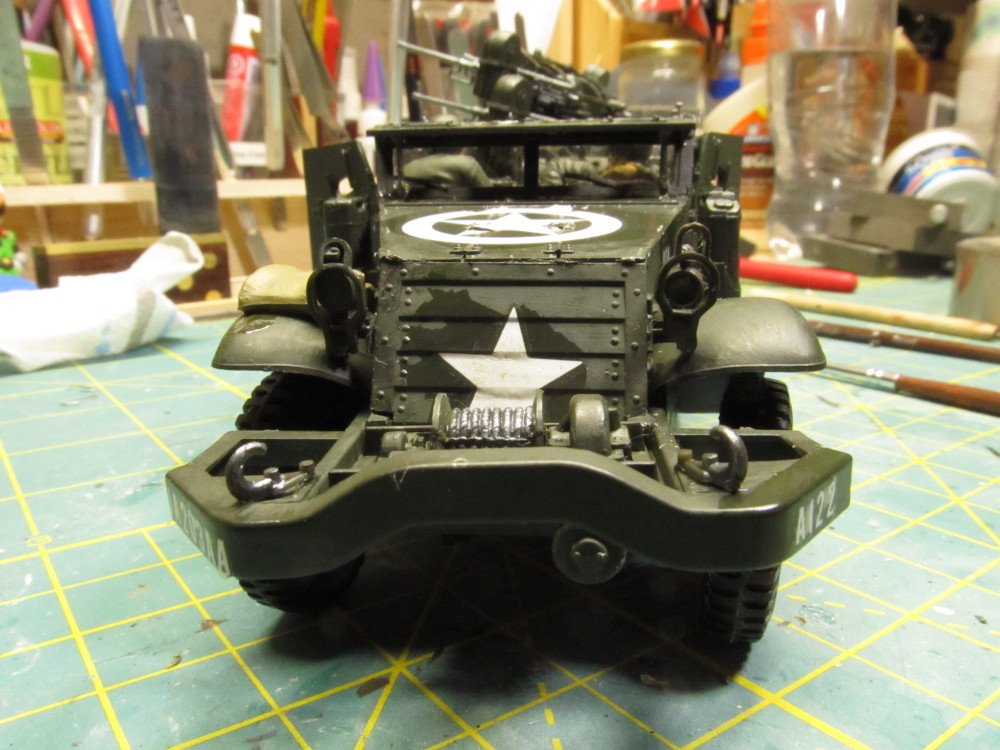
Finished the M16 half track this morning. The decals were a bit of a problem due to their age. Took a long time soaking in water before they were release from the paper and then some were brittle and broke off pieces as soon as I applied them to the model. Guess I will just chalk up the missing stuff as "battle damage". Next up is some touch up of the paint and then some weathering of the model before I address the diorama scene itself. Still trying to visualize how I want it to appear. Some pre-decal photos Post decal application Little OOOOOPS on the speed limit decal - slipped after I applied it and turned to the other side of model. Oh well. Soldier must have been a little drunk when it taped the stencil on the back


- 149 replies
-
- 11
-
-
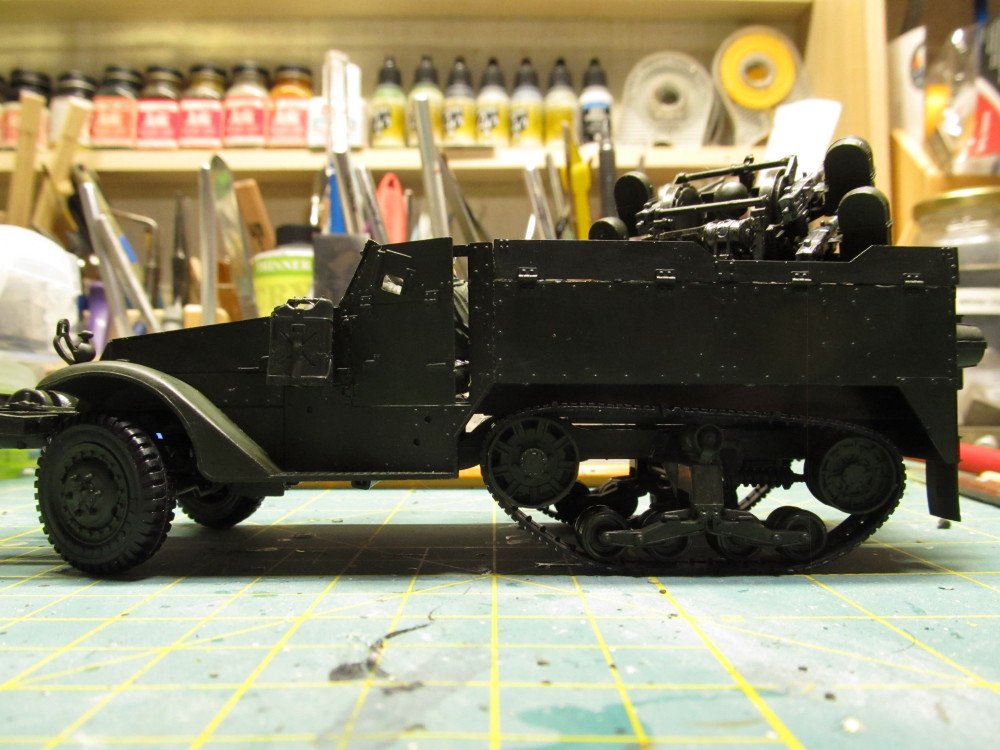
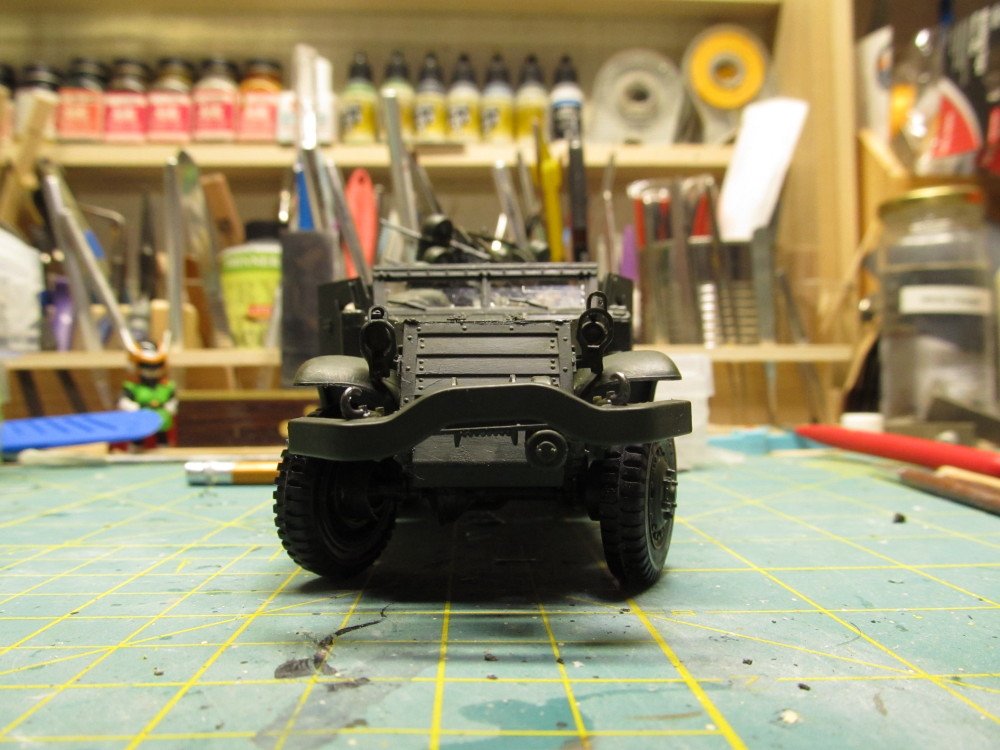
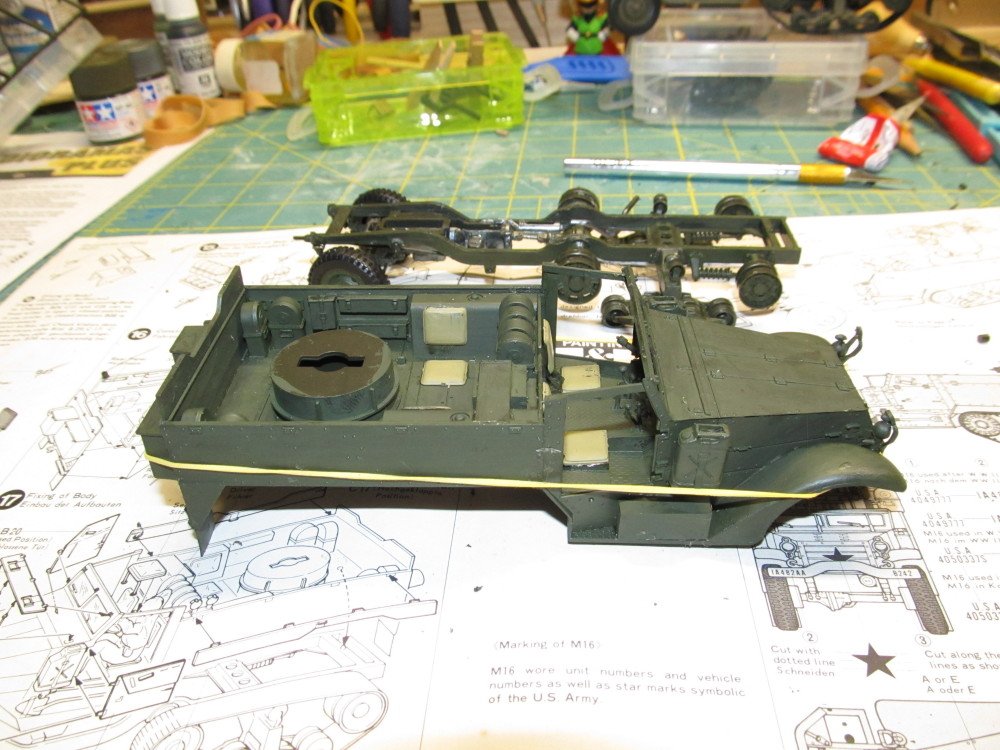
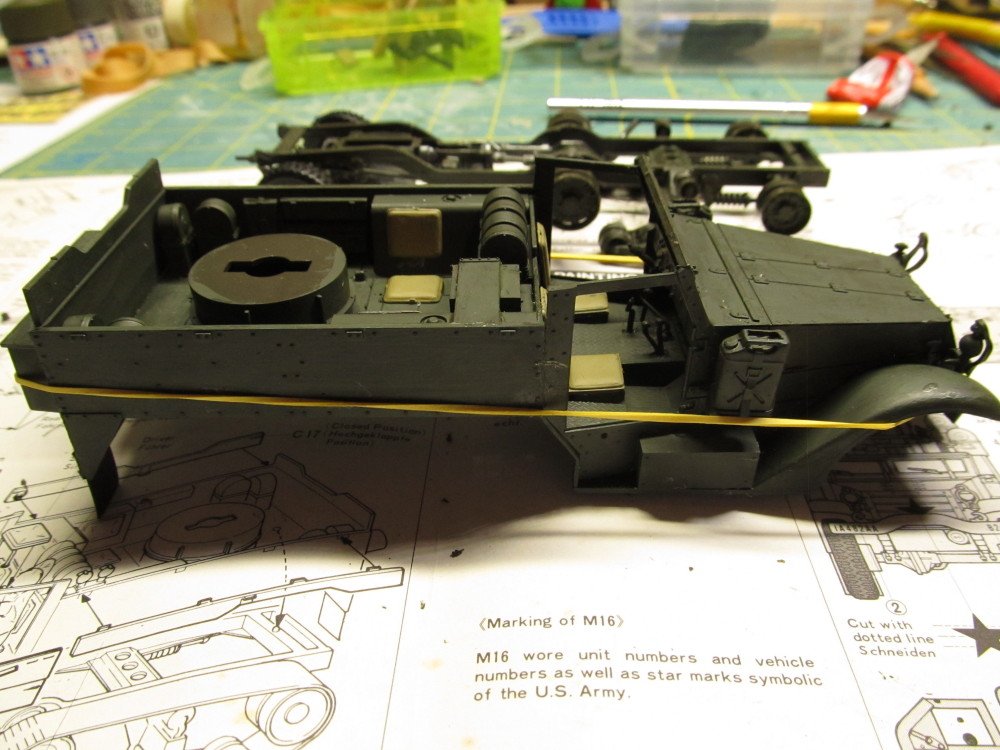
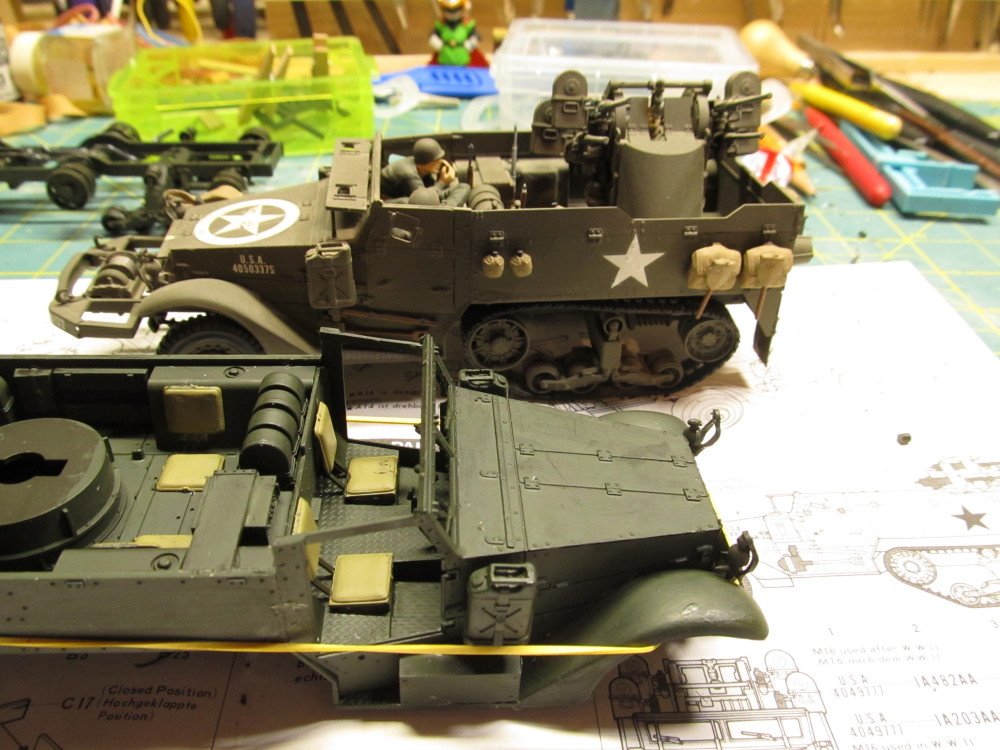
Yea, I've seen the Stryker, Lou, always wondered about those tires tho. A good marksman with a amour piercing round or a .50 cal round could easily take out all 4 tires on one side and disable the thing. Kinda hard to disable a tank tread with anything short of a bazooka or RPG or another artillery round. Small Update: I finished building the front and rear assemblies and getting them attached to each other. I am using Tamiya brand Olive Drab paint for the entire body. In comparing it to another model of this same vehicle I made back in the 1980s using Floquil brand Olive Drab paint I notice that the Tamiya is noticeably darker in color than Floquil was some 40 years ago. And at that time Floquil's paints match the US' Federal Standard (FS-55) color charts. See the comparison below. Model in background is the 1980s Floquil painted version. Notice how much darker the newer model in foreground is with Tamiya brand paint.
-
The "rear wheels" are a tank tread. Hence the name "half-track". You will see shortly
-
Bell UH-1H Huey By lmagna - Dragon - 1/35 - PLASTIC
Jack12477 replied to lmagna's topic in Non-ship/categorised builds
Assuming you have one of those newfangled Smart phones and not a simple flip-phone that just makes/receives phone calls 😁😎 like a lot of us old fossil luddites carry 😊 -
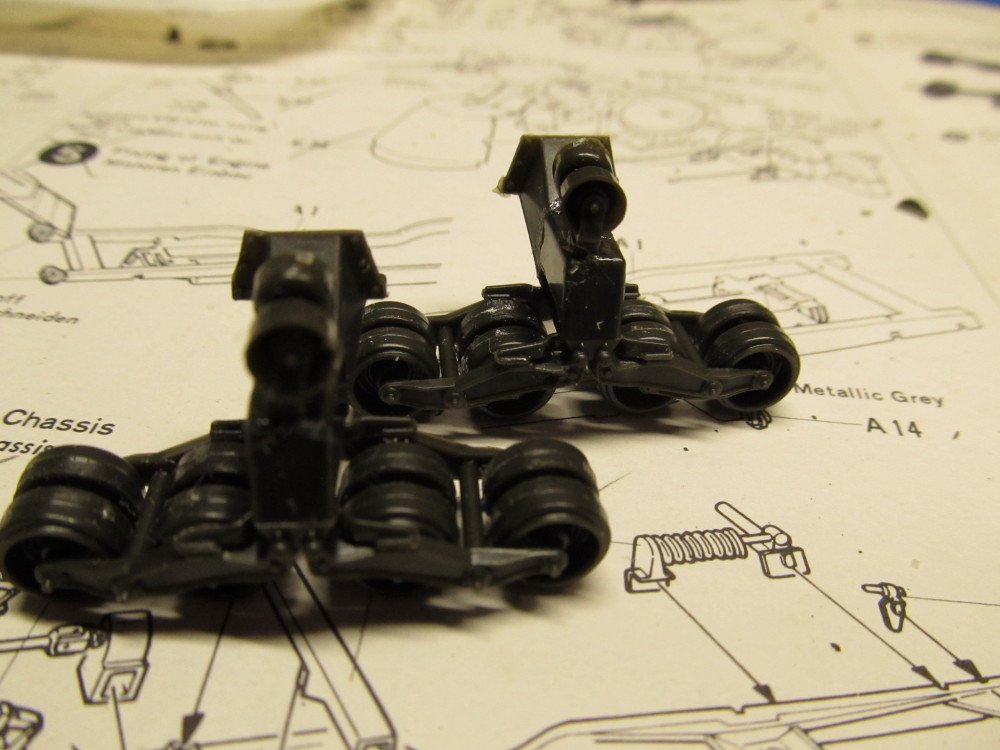
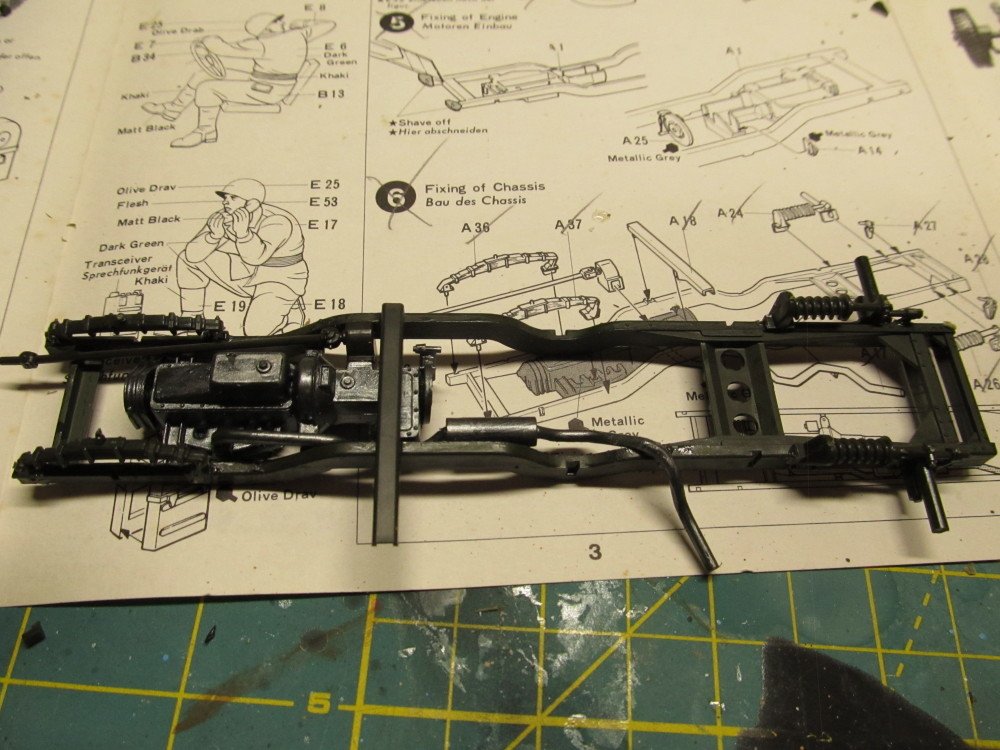
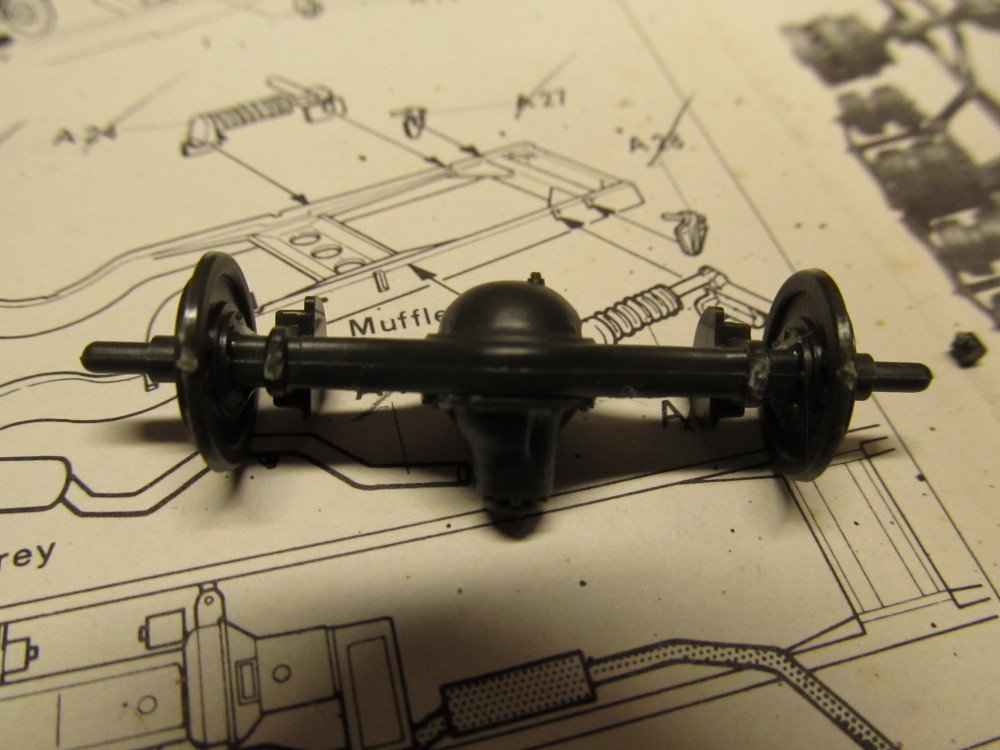
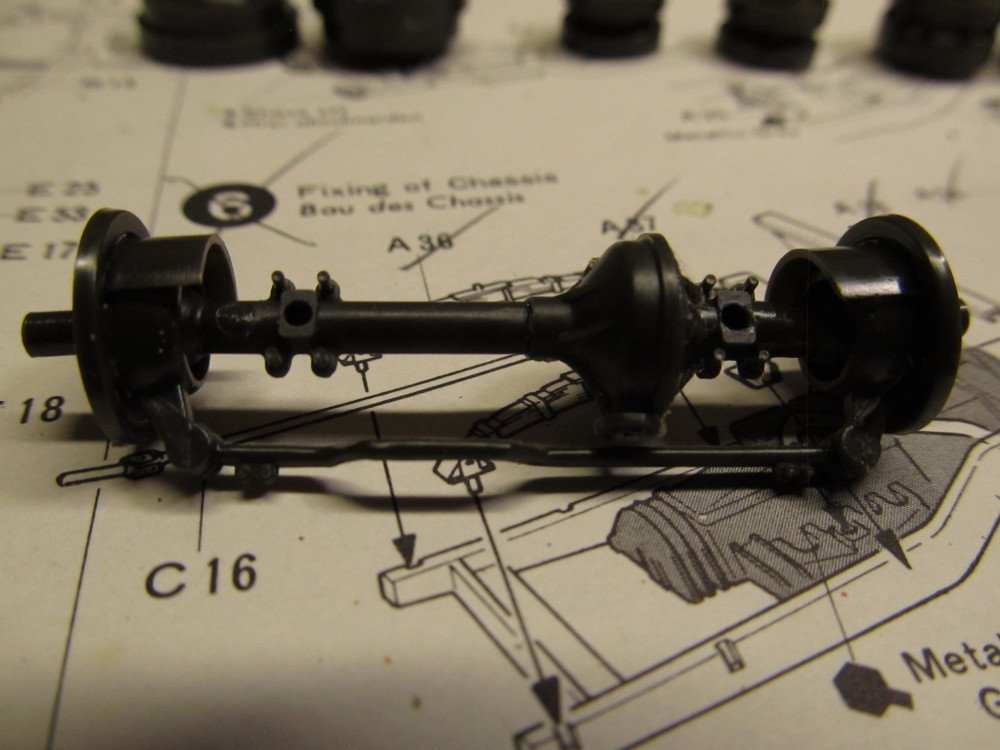
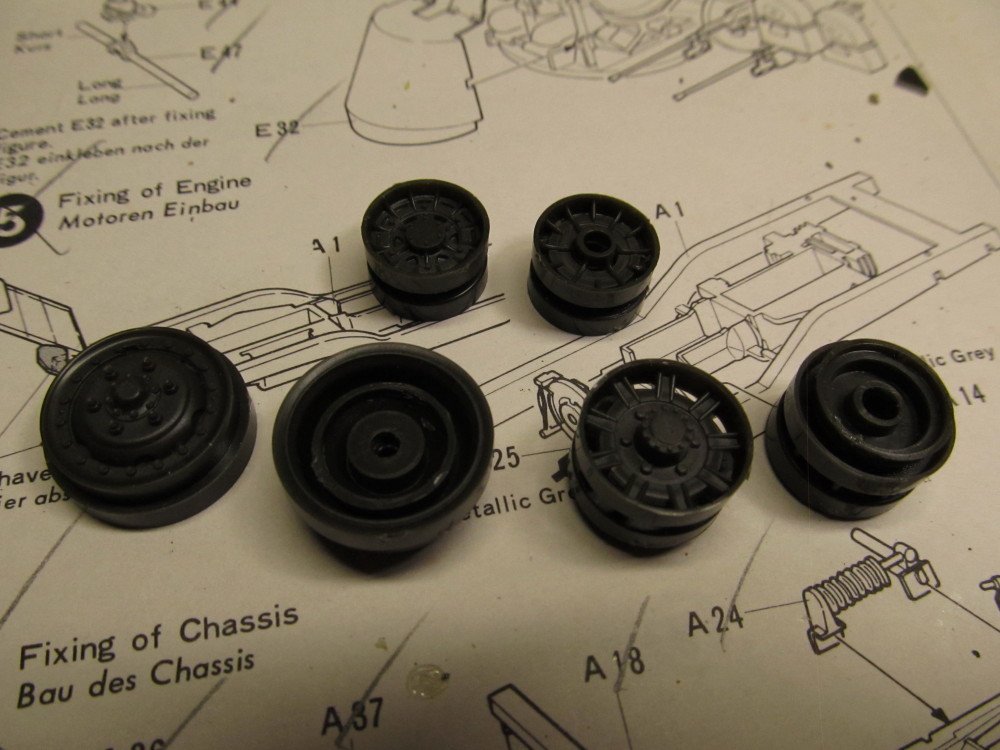
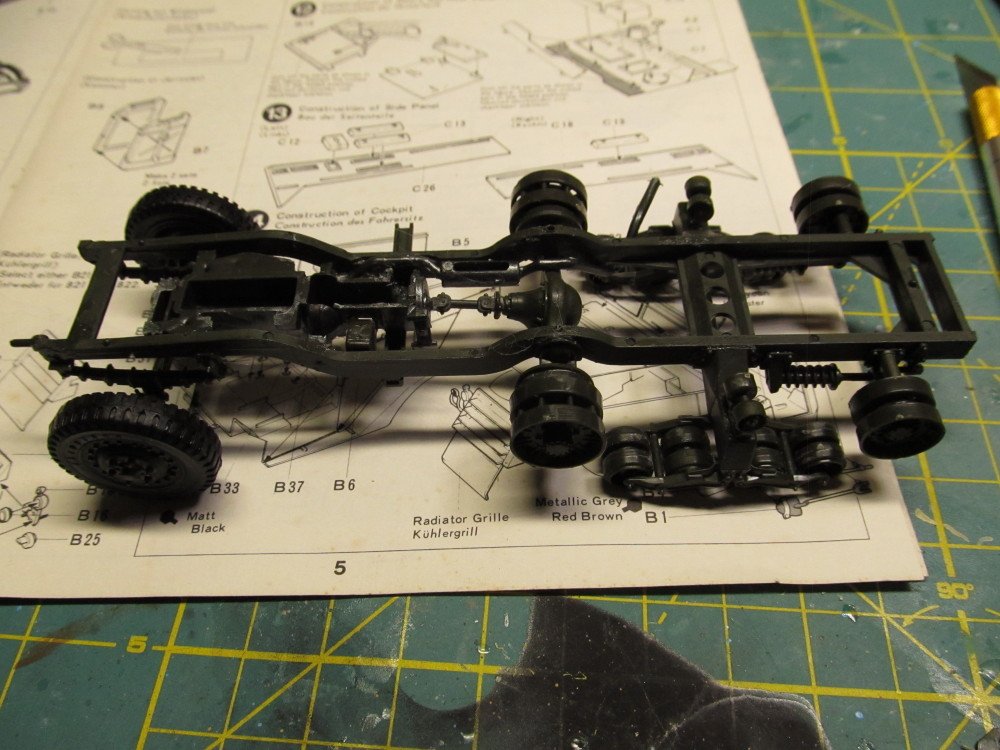
Moving on to the chassis sub-assembly Main chassis Front axle Rear axle Left and Right tank tread assembly Miscellaneous wheels, drivers, idler wheels Chassis assembled

- 149 replies
-
- 14
-
-
Basic but Good kit recommendations for granddaughter and I
Jack12477 replied to glbarlow's topic in Wood ship model kits
I would recommend something in plastic, like a car or truck, in 1:24 or 1:48 scale. Or for wood, a Midwest brand kit if you can find any. They stopped making kits but I have seen some in hobby stores or maybe ebay but if ebay watch out for price gouging, these kits are old. The key is more teaching them how to follow instructions and visualized the piece. -
Great job painting that canopy.
-
I rest my case !
-
Thanks Denis and welcome to the party
-
Mark, now you know they would never let an "ossifer" (Officer) handle a gun like a quad 50 ! Besides wrong war! This WWII, that's Pvt Kilroy ! Remember him ! He left his calling card all over Europe !