
HOLIDAY DONATION DRIVE - SUPPORT MSW - DO YOUR PART TO KEEP THIS GREAT FORUM GOING!
×


Jack12477
-
Posts
5,661 -
Joined
-
Last visited
Content Type
Profiles
Forums
Gallery
Events
Everything posted by Jack12477
-
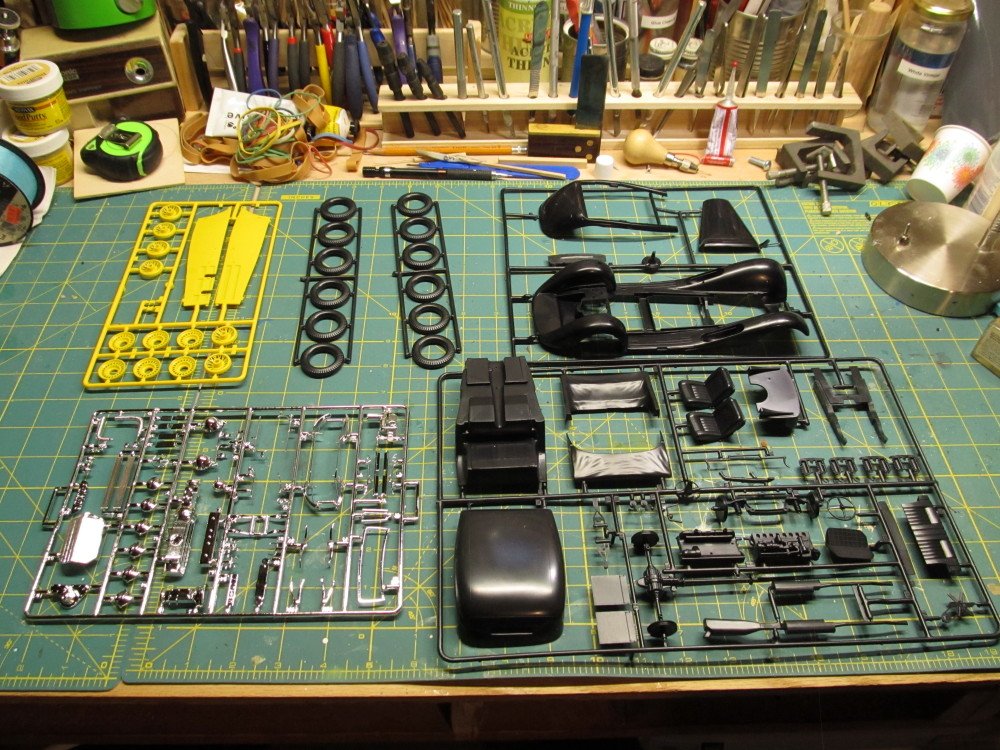
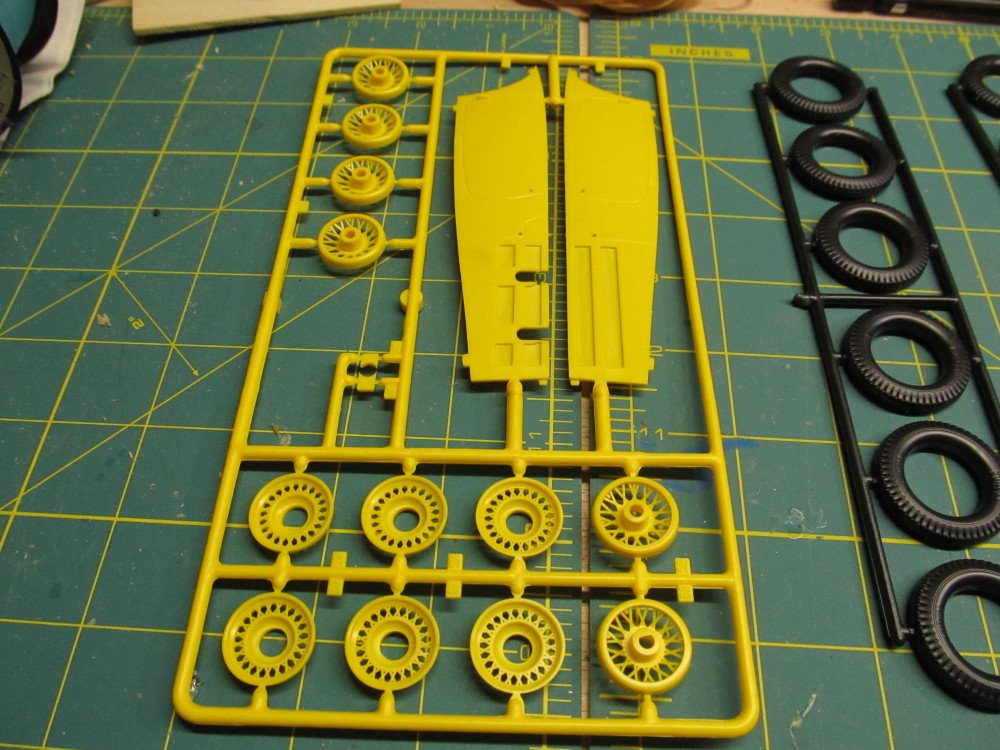
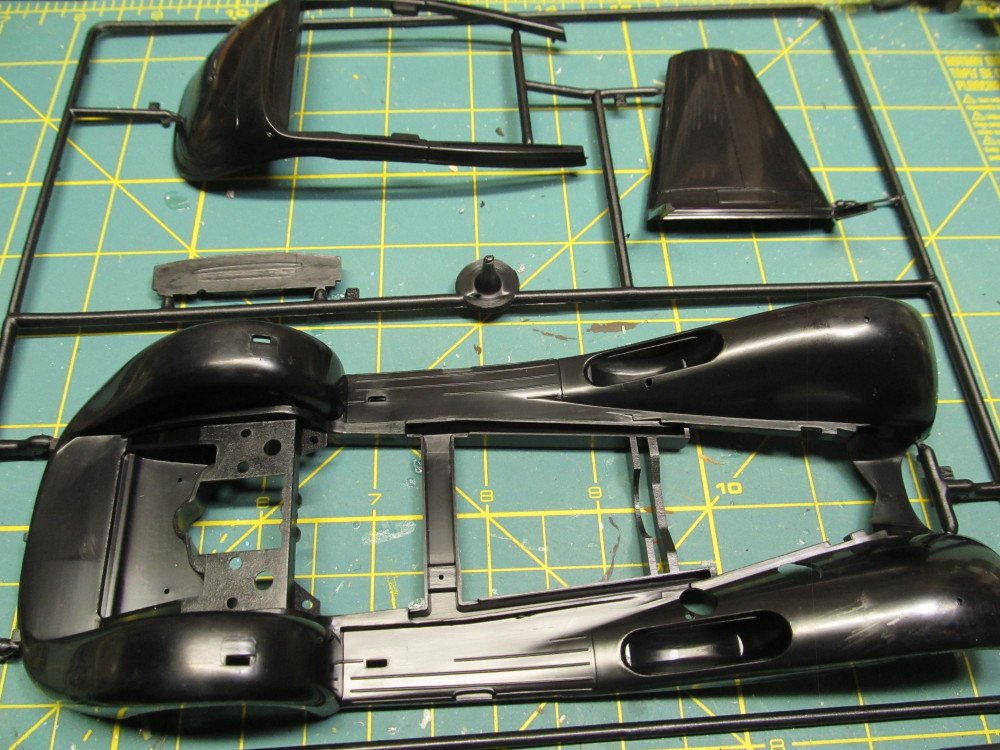
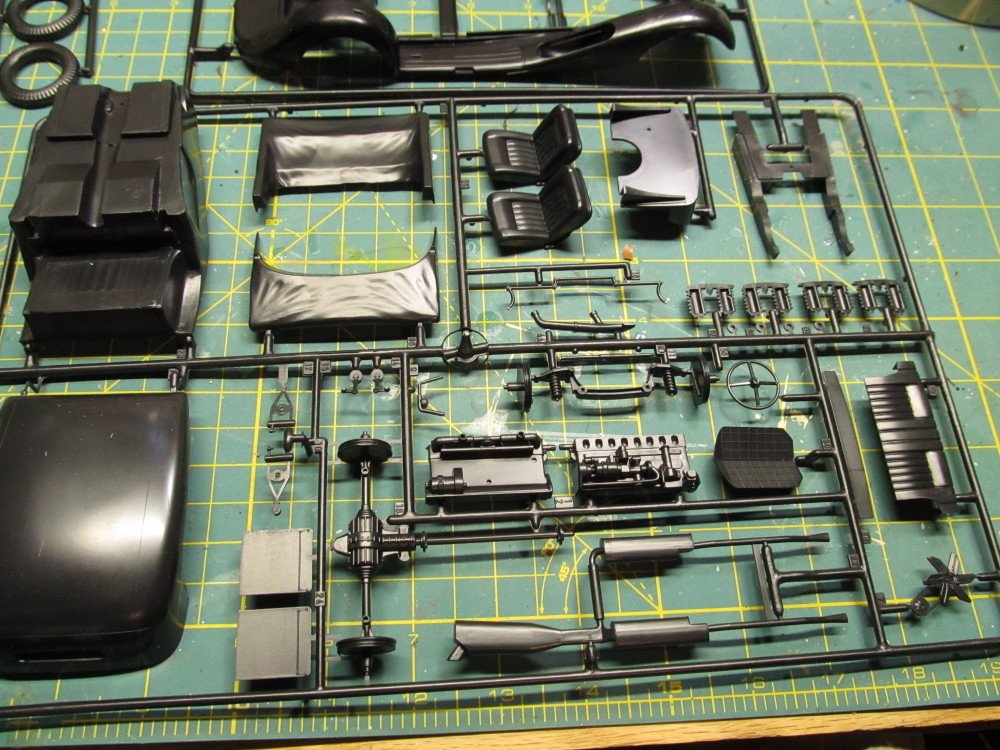
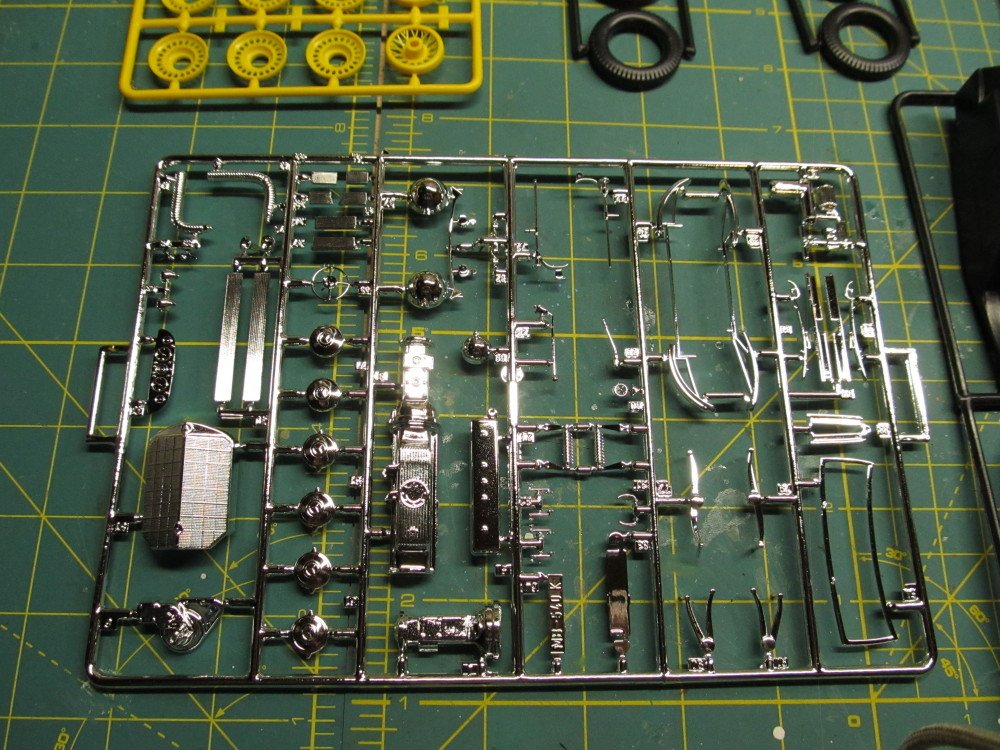
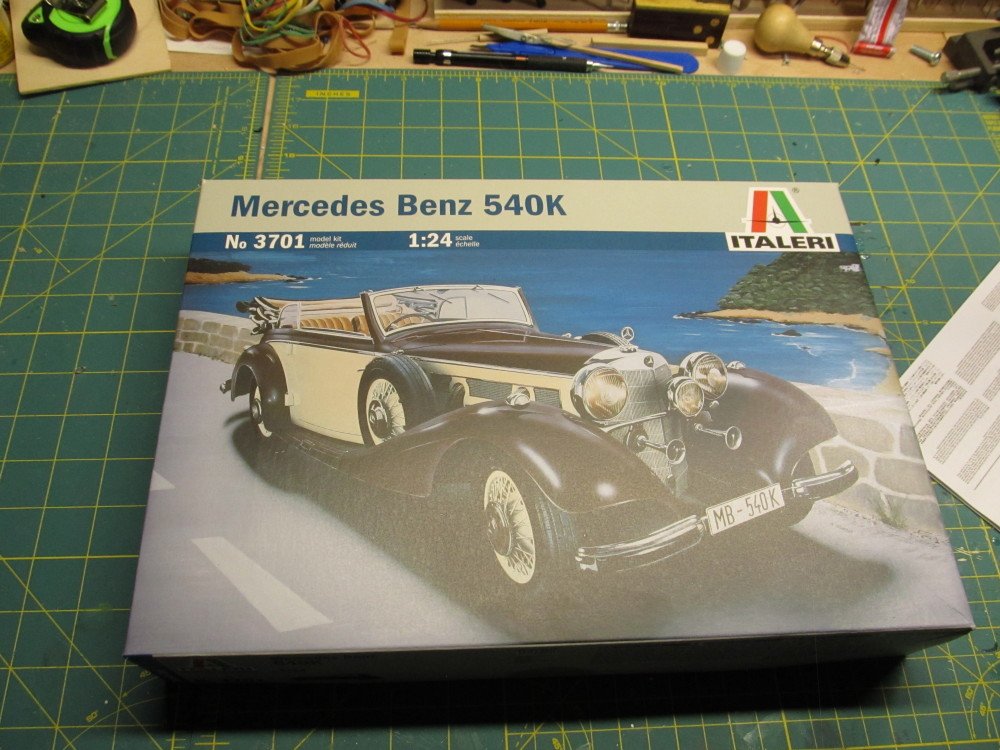
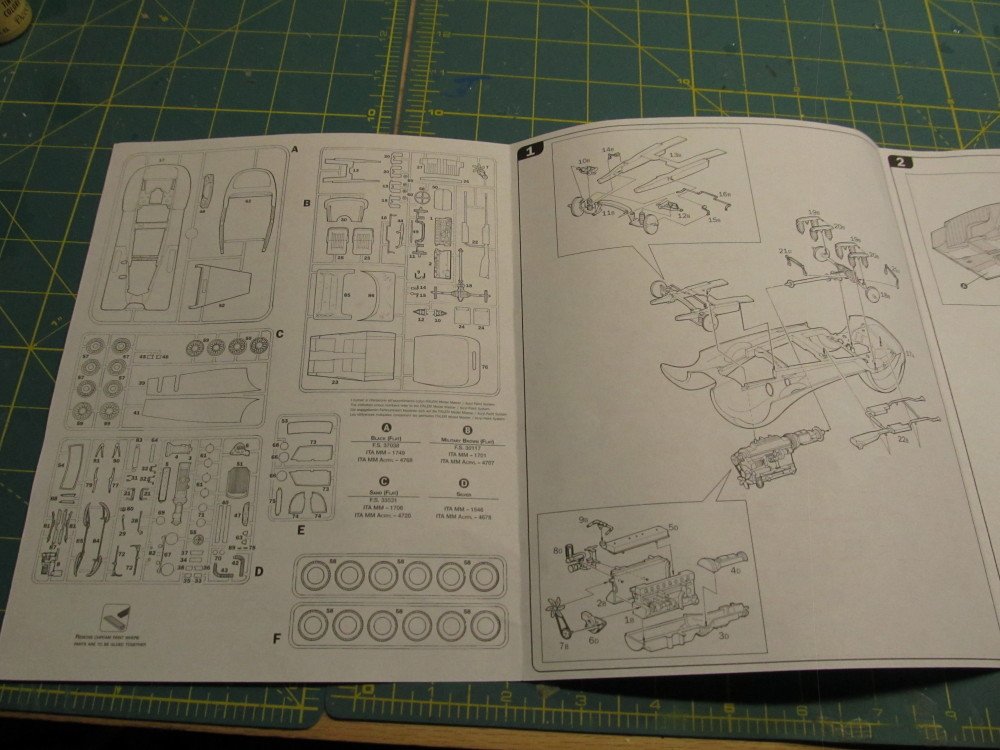
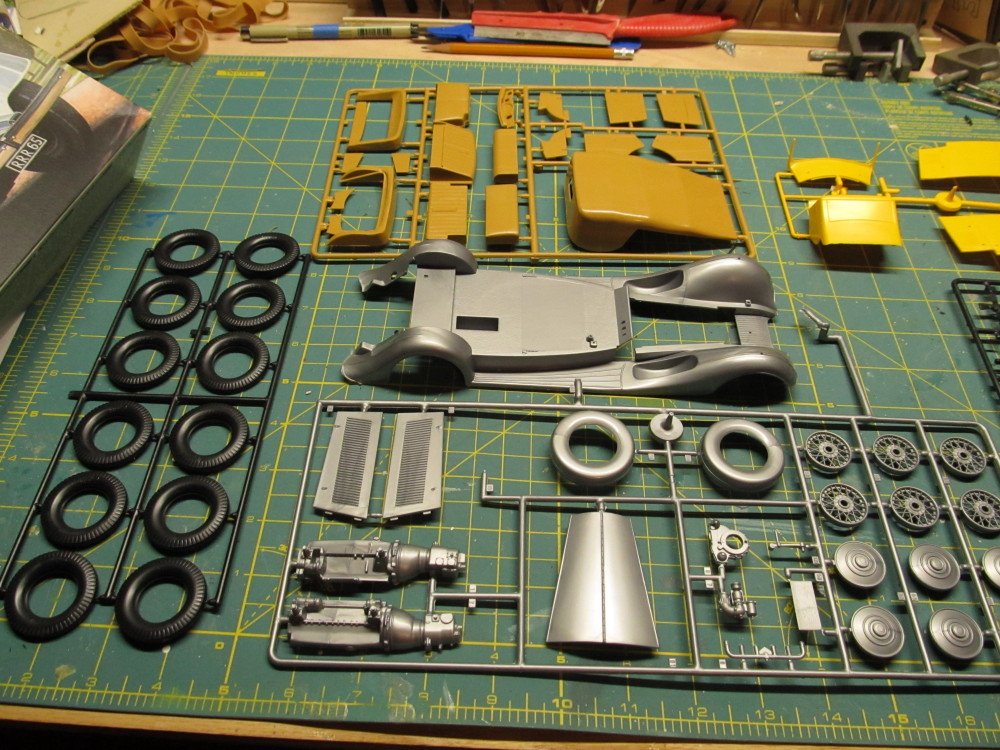
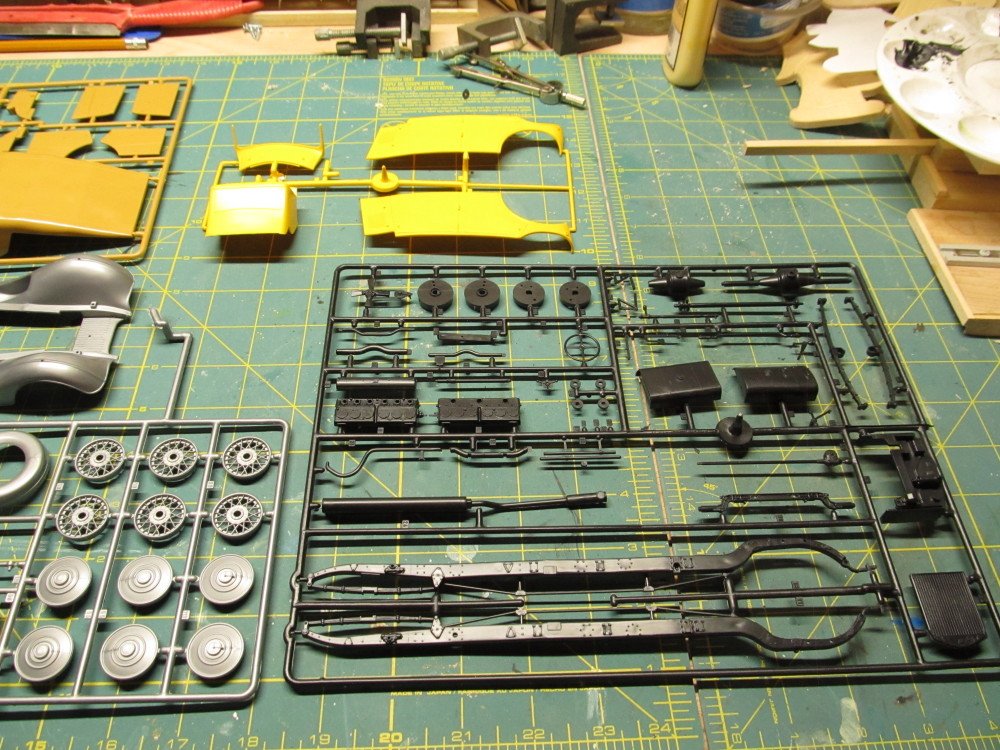
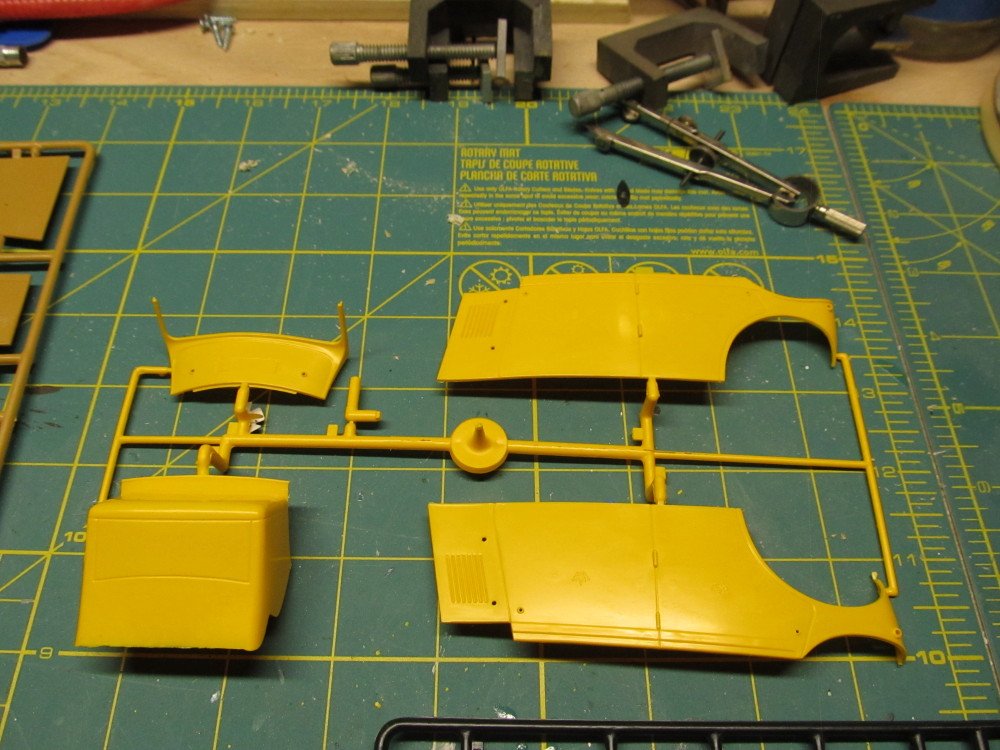
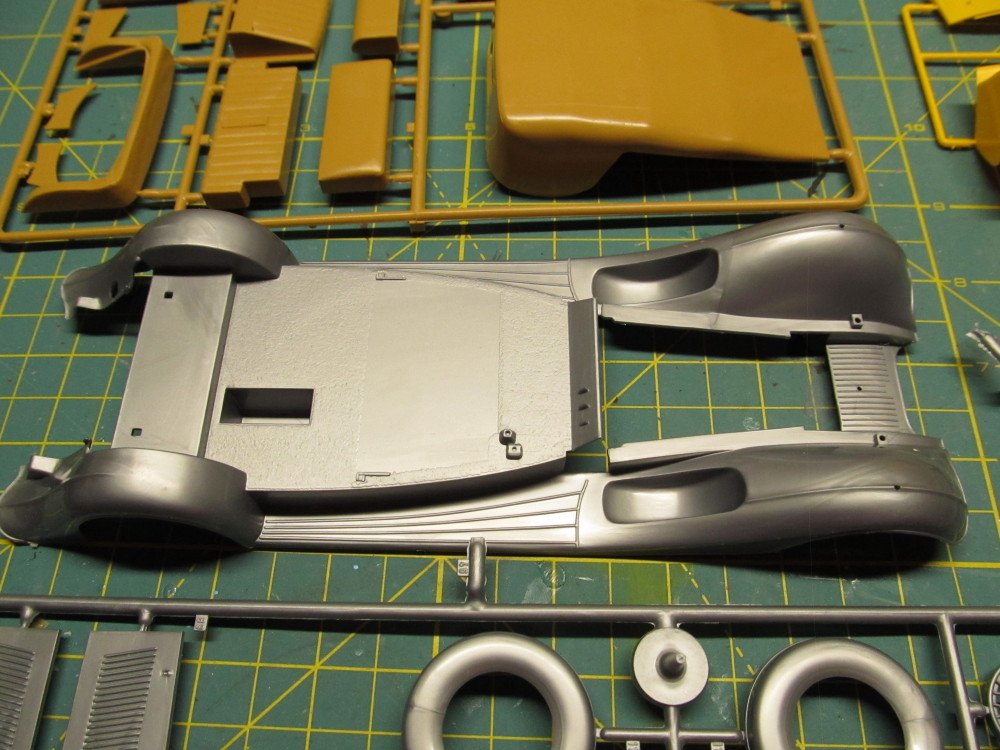
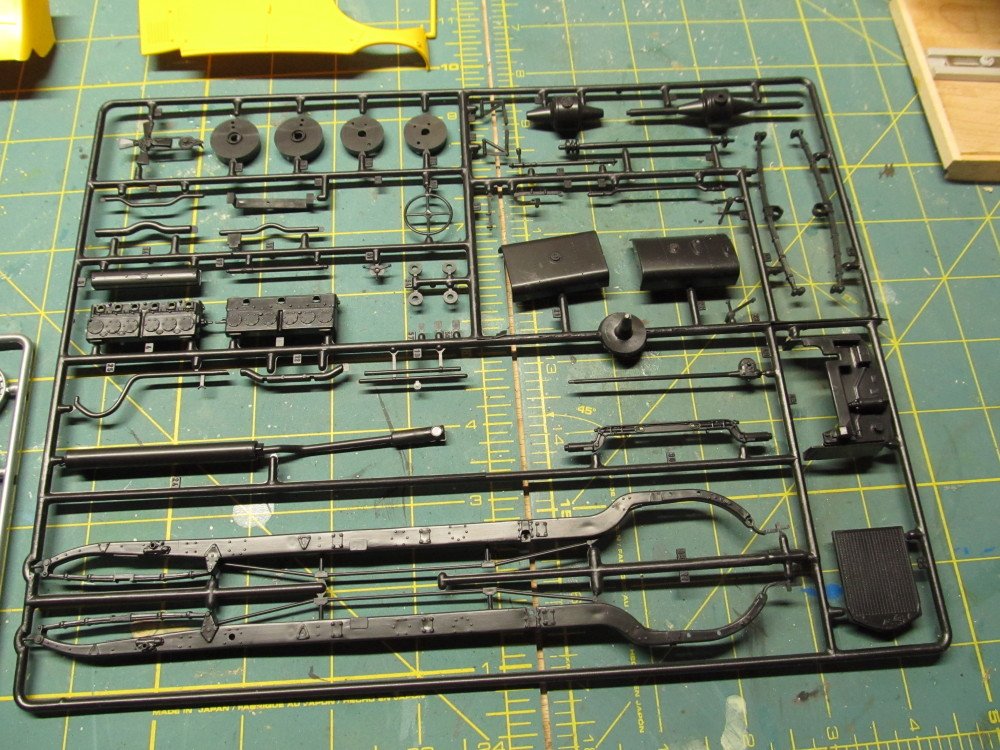
 For my encore performance I am going to build the 2nd Italeri car kit of the 1936-1939 Mercedes Benz 540K in 1:24 scale. The Mercedes Benz 540 was built between 1936 and 1939. It had an 8 cylinder, 5.4 liter engine, vehicle weight was not less than 2300 kg (5070 lbs) , max speed was 170 km/h (105.6 mph) and fuel consumption was 28 to 30 liters per 100 km or 8.4 to 7.8 mpg (US). The box art show a paint scheme of cream with brown fenders but the kit sprues are yellow with black fenders; I will be changing that to something closer to the box art representation. Looked on the Internet forc pictures of this car in different paint schemes and there are not many to be found. Found more photos of the 1934 Rolls Royce Phantom I just completed than of this Mercedes. The obligatory box contents photos follow: And of course the instructions are again in the picture book form: Stay tuned !
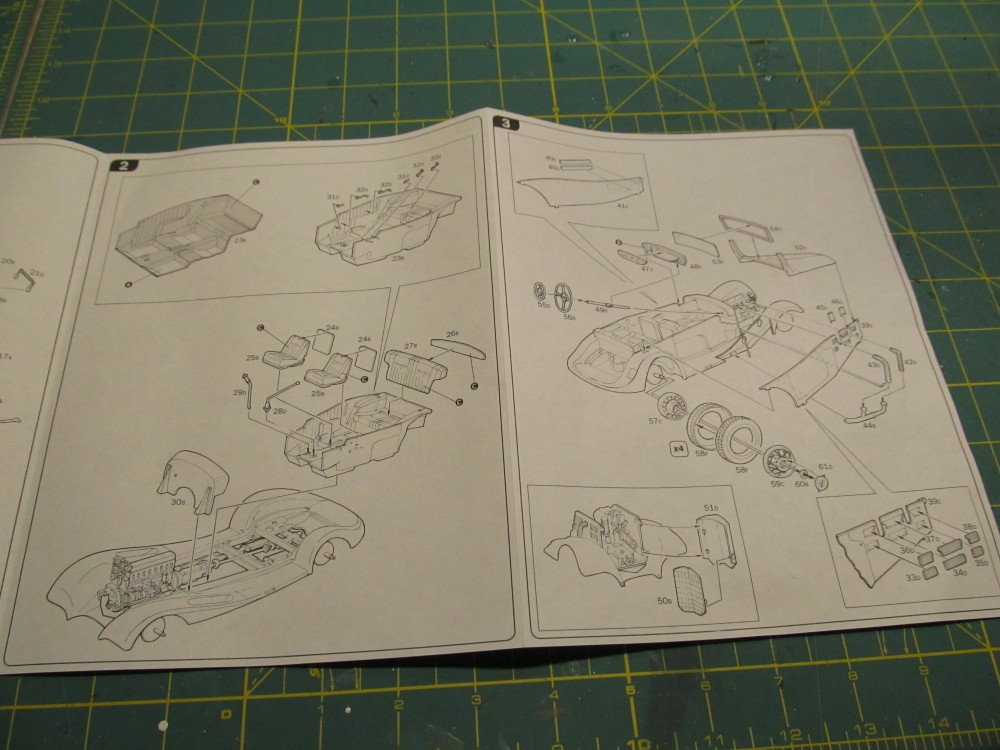
- 85 replies
-
- 14
-

-
Thanks
-
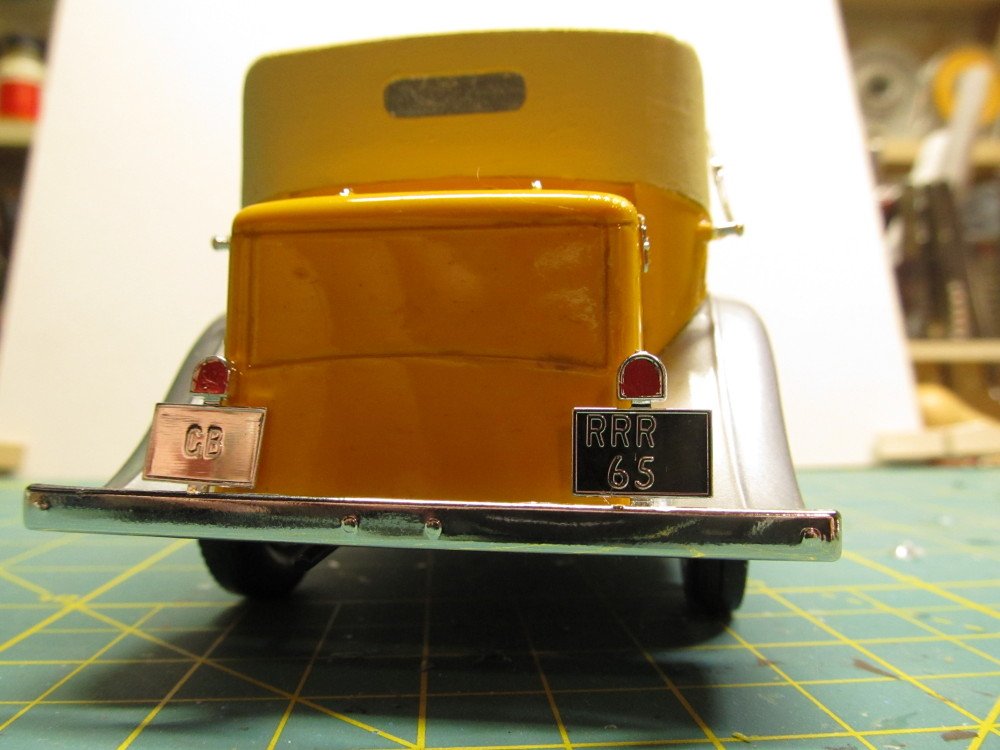
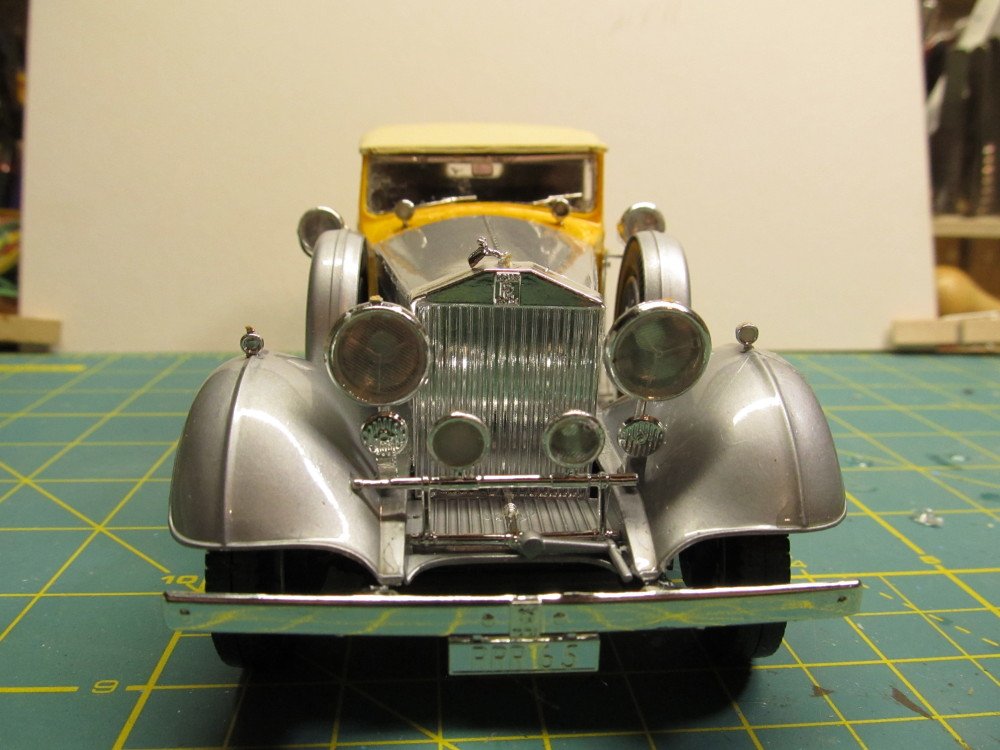
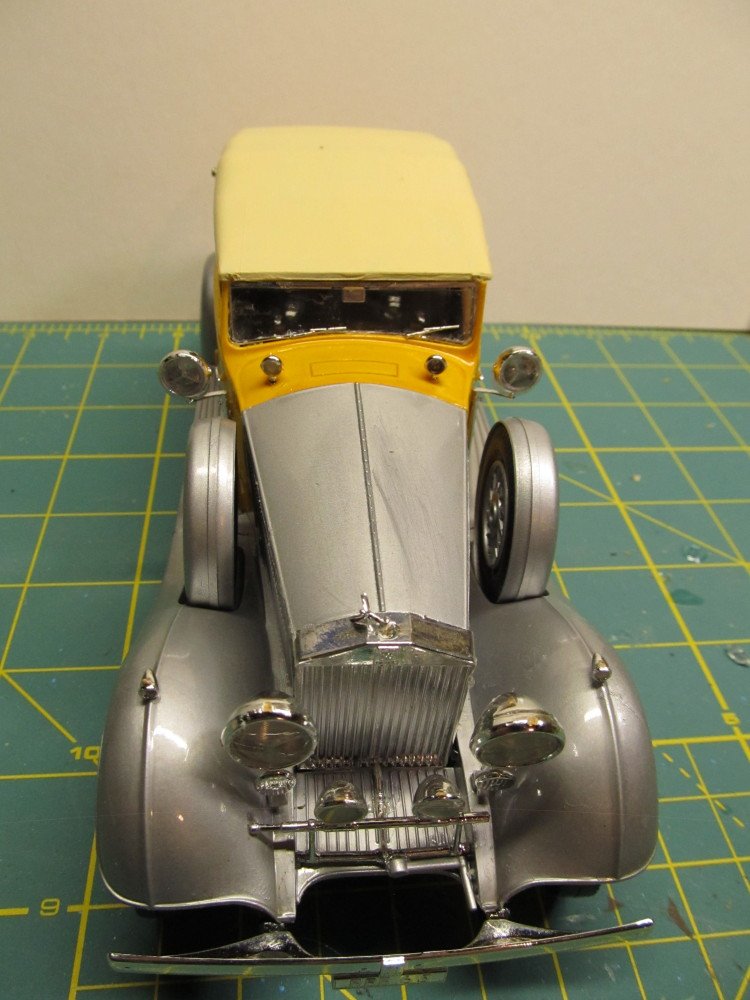
Finally all the remaining fiddly bits have been attached. A final brush coat of Pledge floor wax applied and a matt varnish applied to the rag top. Been a fun kit even if the instructions were a tad vague. Compared to today's car these old cars certainly had enough head lamps. Course the bulbs were not as bright back then but yikes !

- 51 replies
-
- 17
-
-
Bell UH-1H Huey By lmagna - Dragon - 1/35 - PLASTIC
Jack12477 replied to lmagna's topic in Non-ship/categorised builds
Lou, I'm still trying to figure out the super detailing too. -
I read someplace that the original company got sold off to another company then maybe sold again ?????
-
Well, the weather storm turned out to be another ho hum event. For about an hour out in Woostock, it snowed large big flakes heavily for about an hour then turned to a light rain. By the time I drove 6 miles home, the snow had turned to slush............. But my daughter in Buffalo reported they got a foot and a half last night . Oh well !!!! Tomorrow it will be frigid cold but on Friday we will be breaking out the shorts and tank tops
-
Yea, I checked their website, all they list were 1:8`scale Lamborghini race car style cars. Not a big fan of that genre . And at 500+ English pounds plus International shipping costs makes them even less desirable. I have a couple of metal Gabriel / Hubley kits in my stash. But thanks ! Nice model you built.
-
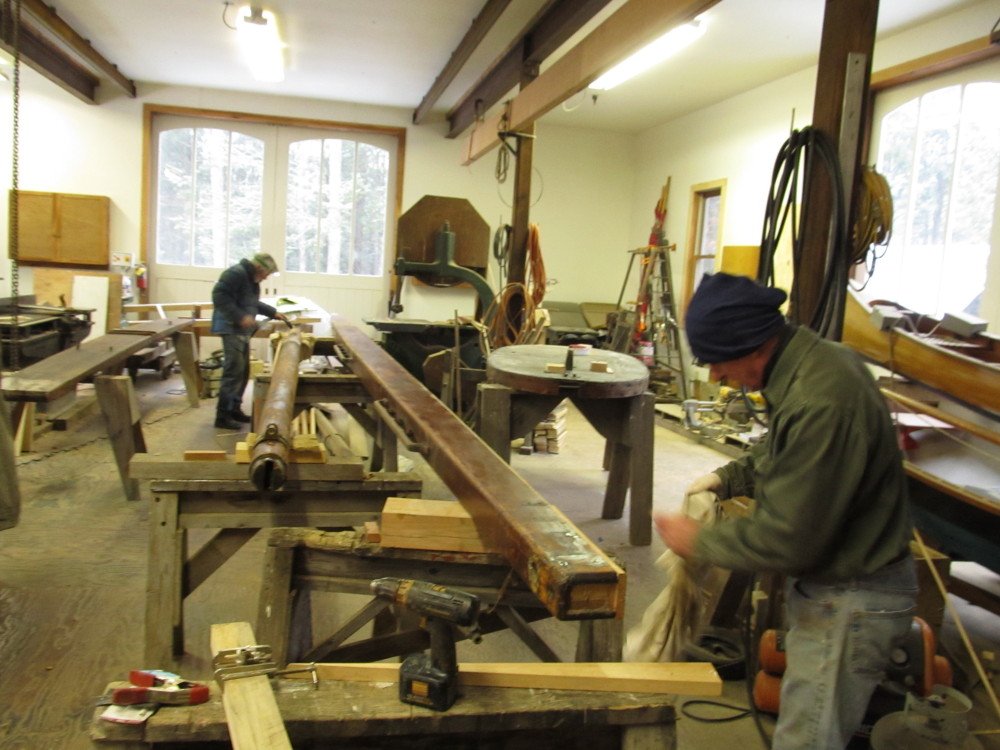
Well, spent some time staining the new wood we applied to the ice yacht's backbone, and some of the plugs covering the recessed screws. Reattached all the tongue and groove slats comprising the stern basket. The main mast was stripped of varnish and sanded. Since it developed some serious checking over the last century we installed splines glued in with epoxy into the worst of the checks, and then planed/sanded flush. Applied some Tung Oil to the runner plank (on the sawhorse behind the guy at the far end of room who is working on mast) Backbone is the large rectangular beam next to guy closest to camera. Here's a photo of the workshop. Note the backbone is 38 feet long.
-
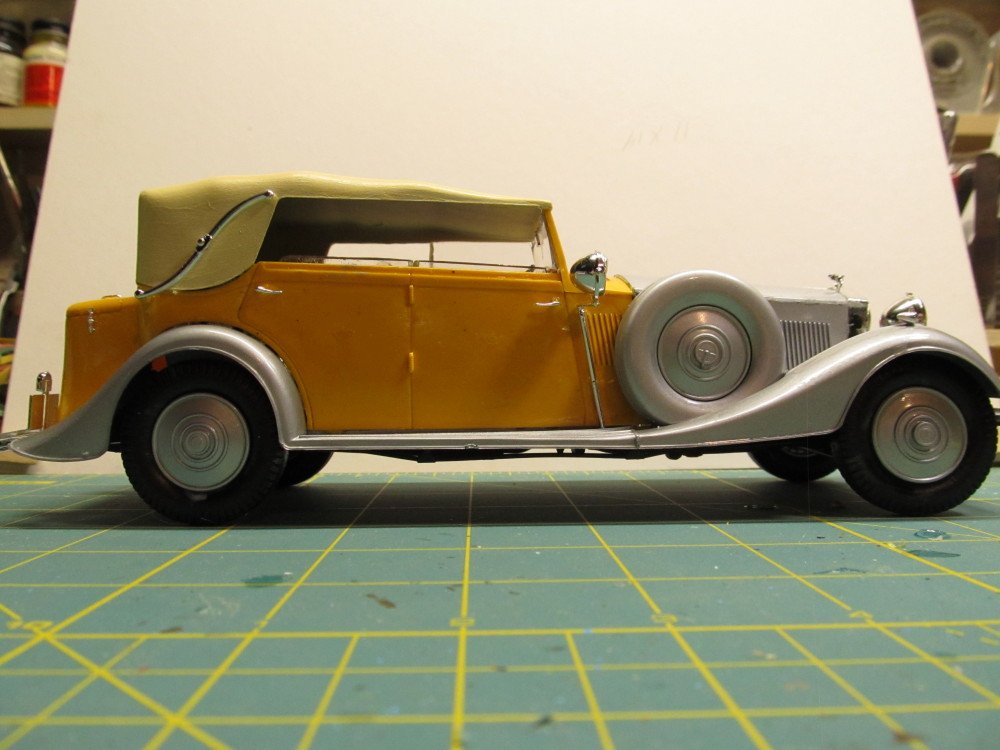
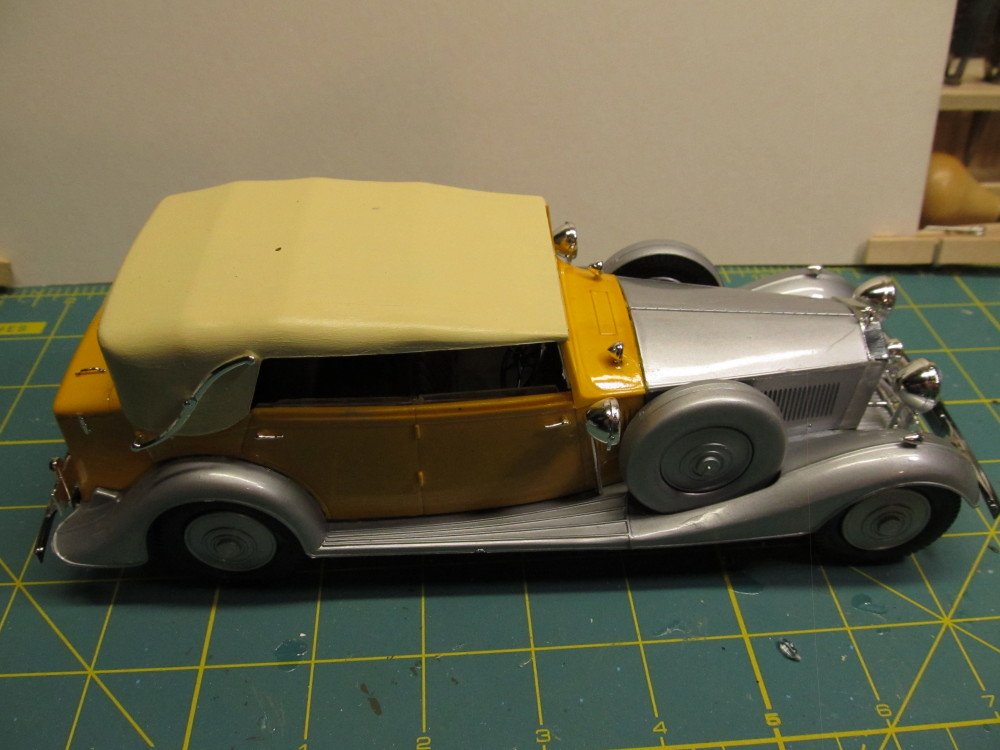
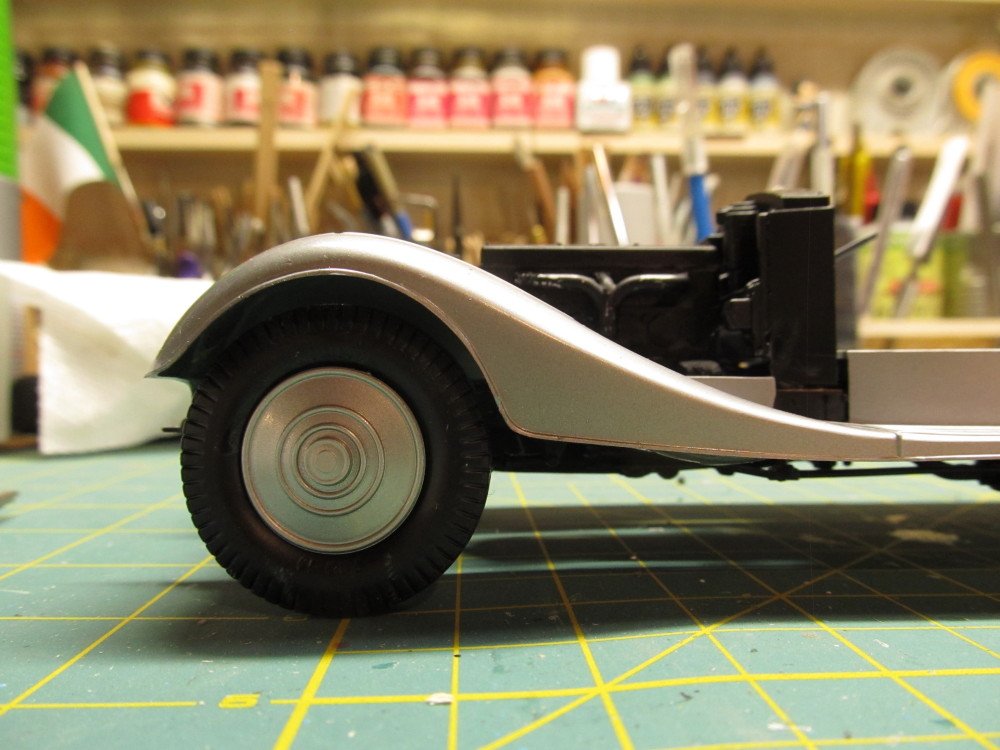
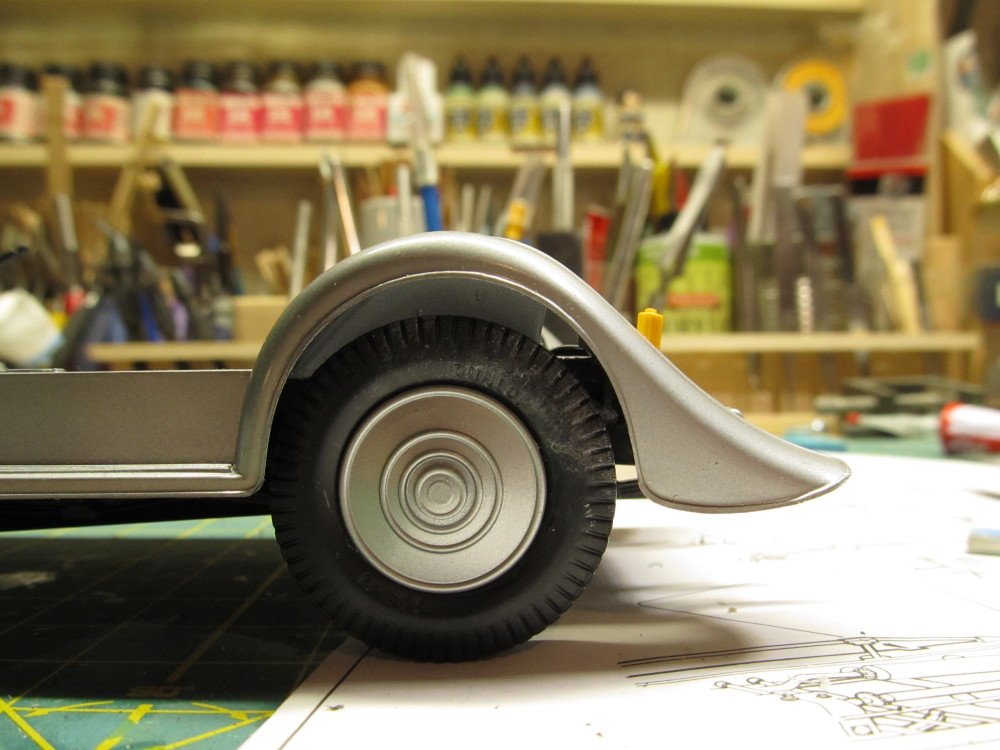
Actually, Lou, the yellow is the way the plastic parts were molded. I could not match it with paint so I coated it in Pledge floor wax. For the frame, running board, wheel rims and fenders I used Tamiya rattle can gloss aluminum. For the rest I used Vallejo flat black and leather, artists acrylic tube type paint for the burnt umber, raw Siena. I also coated the "glass" with Pledge. I have another Italeri kit of a Mercedes Benz 540K which is also pre-molded in color, yellow and black or dark dark brown fenders, cannot tell for sure. I will change this one too when I get to it. Well, I am off to the real shipyard today, working on restoring a 110 year old ice yacht. Been working on it for a couple years now with a group of ice boaters from our Club. We are working in the workshop of another club member. The backbone aka keel is 38 ft in length; we completely disassembled it to reglue it add some additional blocking and replace the screws, it is now reassembled. We are working on the "basket" now. Been removing a lot of rotted wood and scarphing in new wood. The Weather-guessers have been warning us of a "major winter storm" coming cross country, hitting us this morning with snow; radar says it is snowing here right now, but my eyes say no snow or rain or anything. Just gloomy looking skies. So much for technology.
-
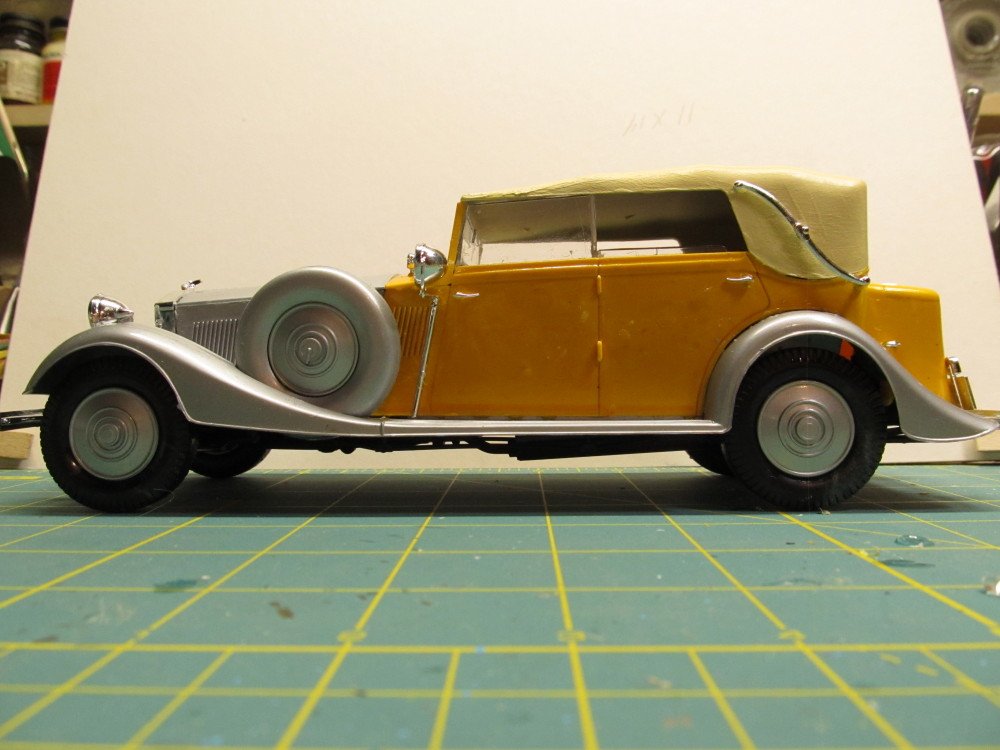
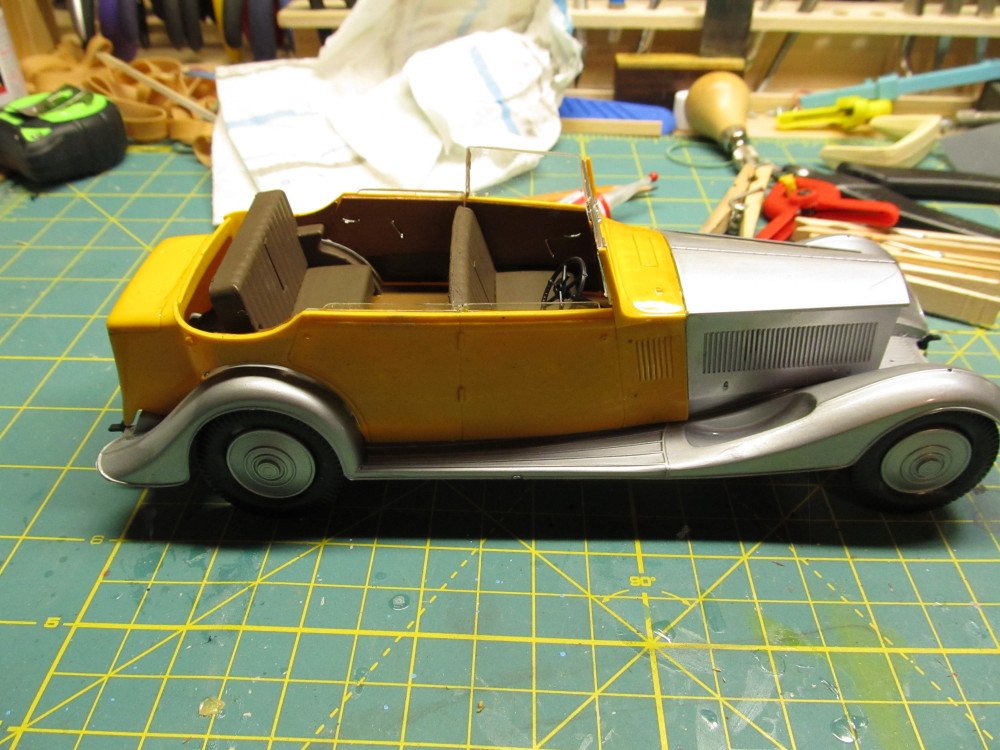
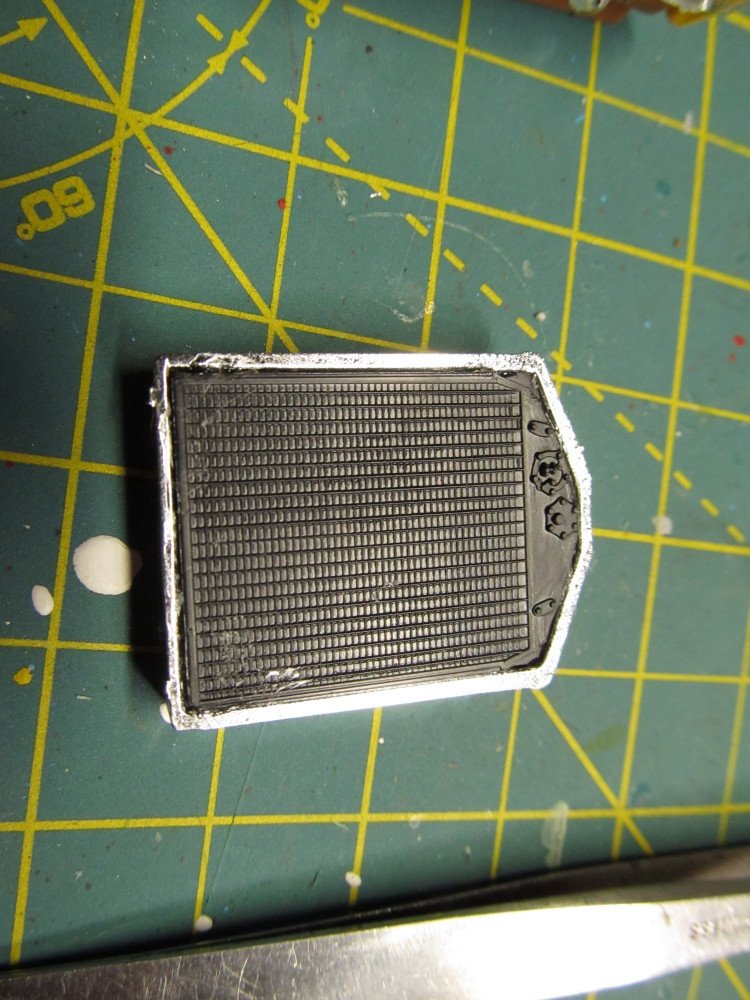
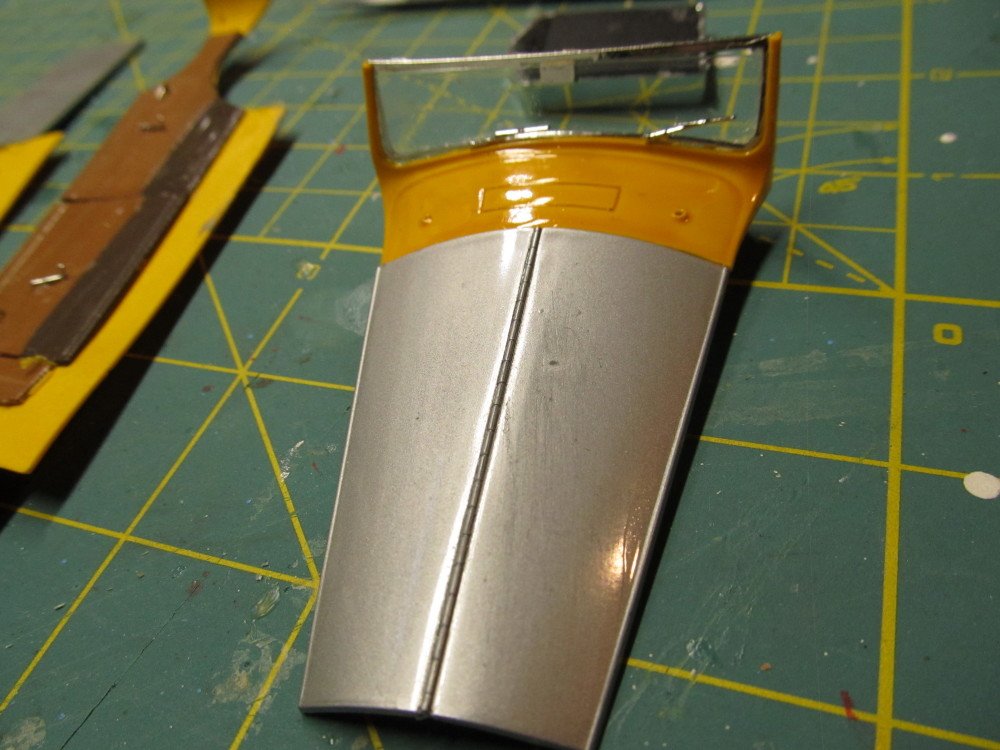
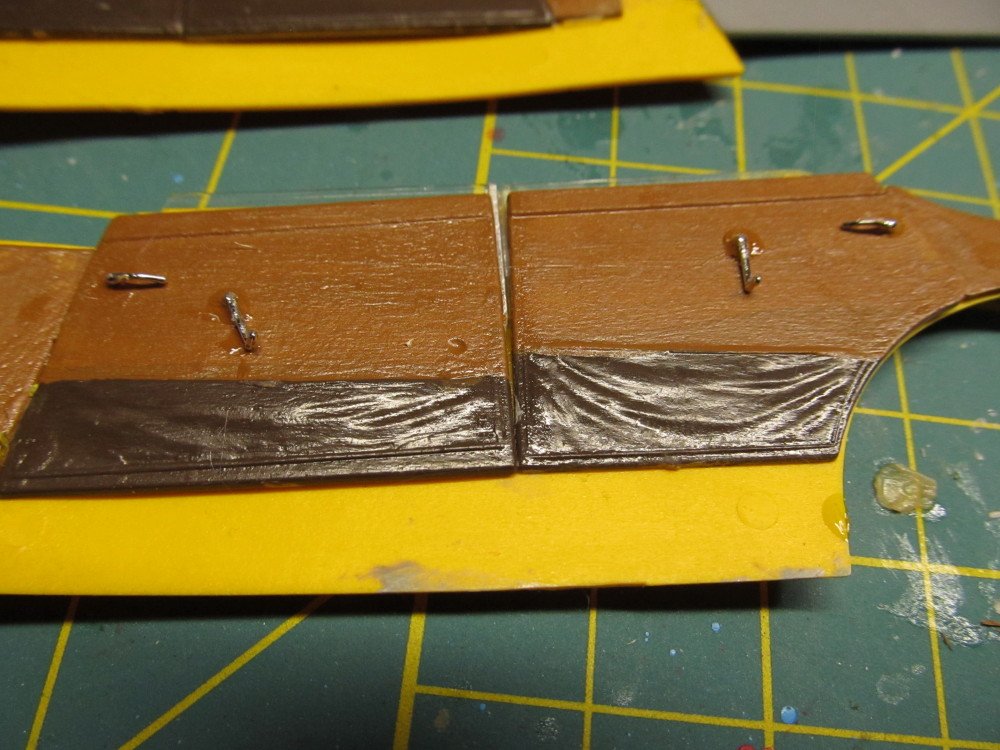
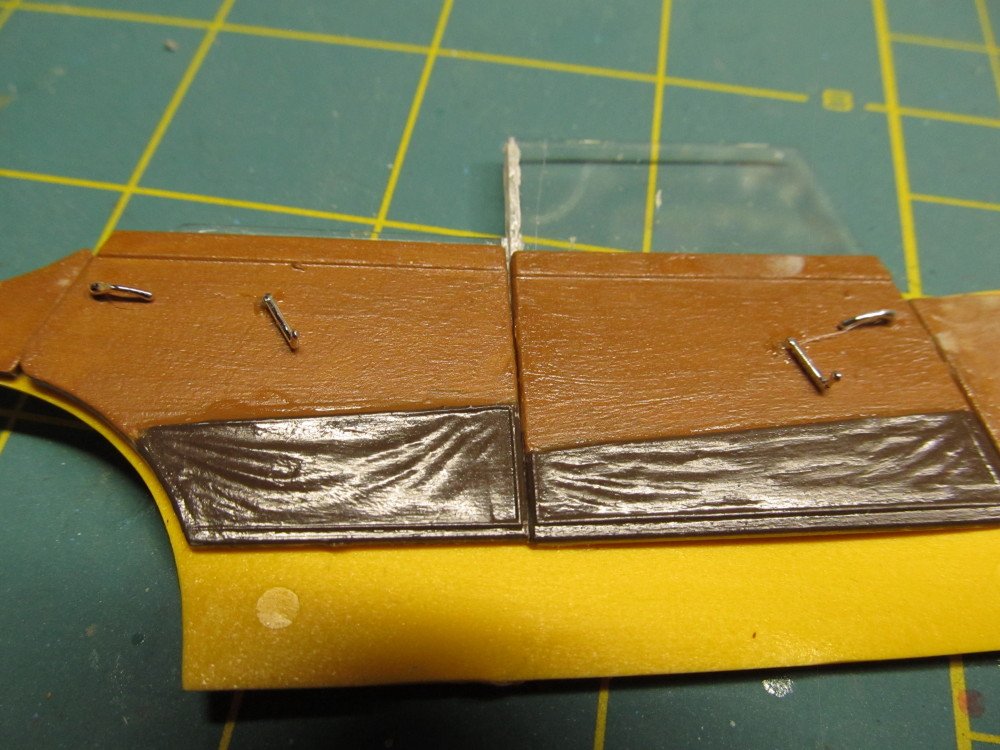
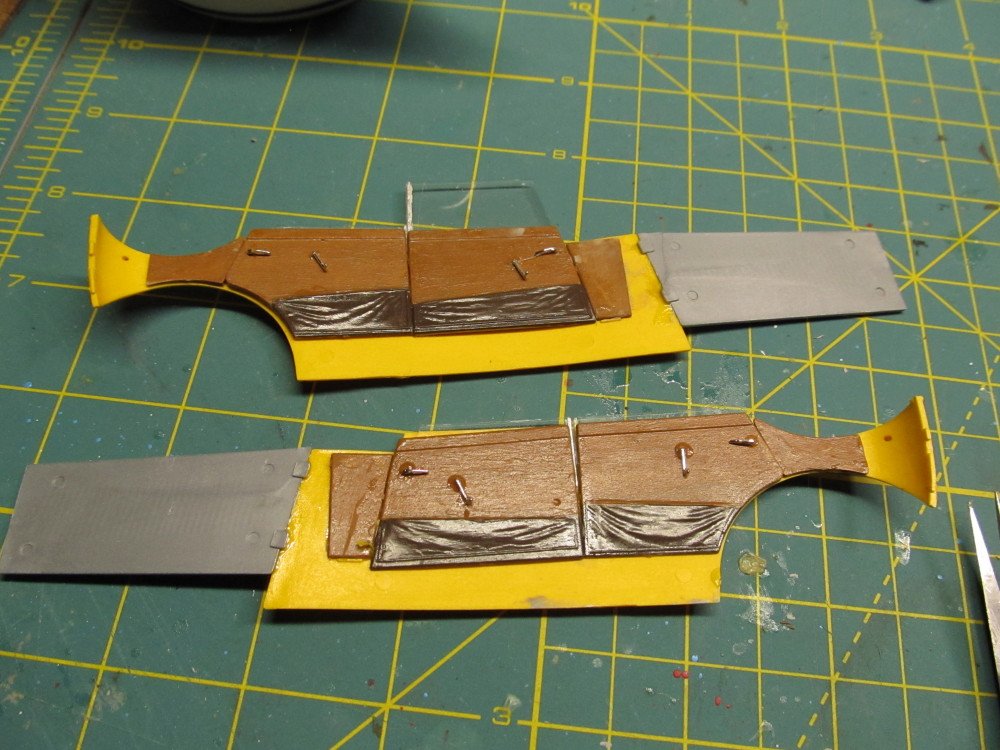
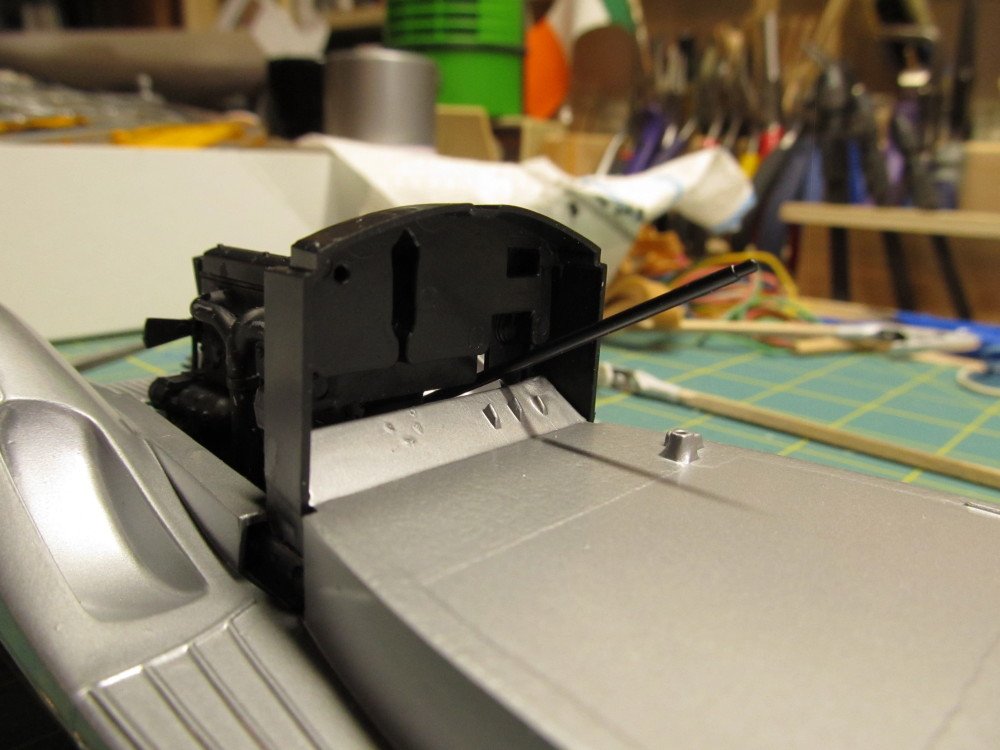
Some updates. I decided not to paint the yellow plastic side panels and boot but instead to brush on some Pledge floor wax to give it a glossy shine. The rest of the parts, excluding the Chrome pieces, were painted. The seats and canvas tops shown in the earlier photos match the color of Raw Siena. I decided to paiint the seats and trim in a more leather and wood scheme. Radiator Windscreen and hood cover Interior door panels. I installed 3 windows in the down position and the front passenger window in the up position - no particular reason. Seats installed Body panels dry fitted for size and position Need to touch up a few shiny spots where the glue overflowed a little.
- 51 replies
-
- 18
-
-
Not equinox, but Physics. "The broom can stand by itself because the center of gravity is directly above the edge on which it balances. And the bristles are soft enough to spread out a bit at the contact point with the floor and provide a stable base to support the handle and allow the broom to balance."
-
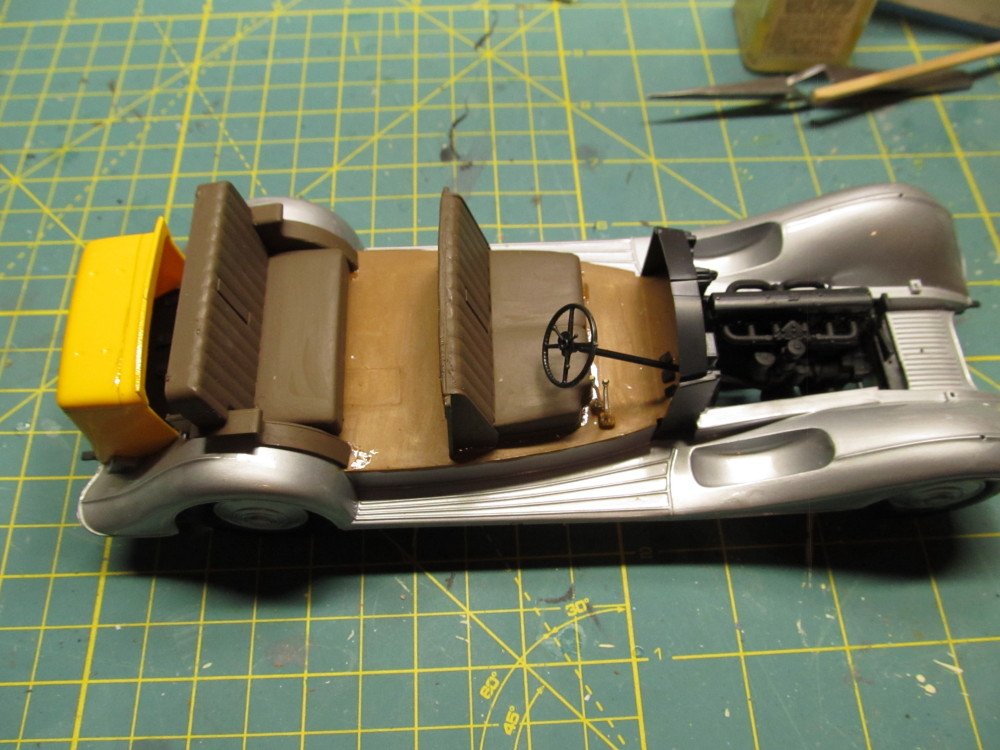
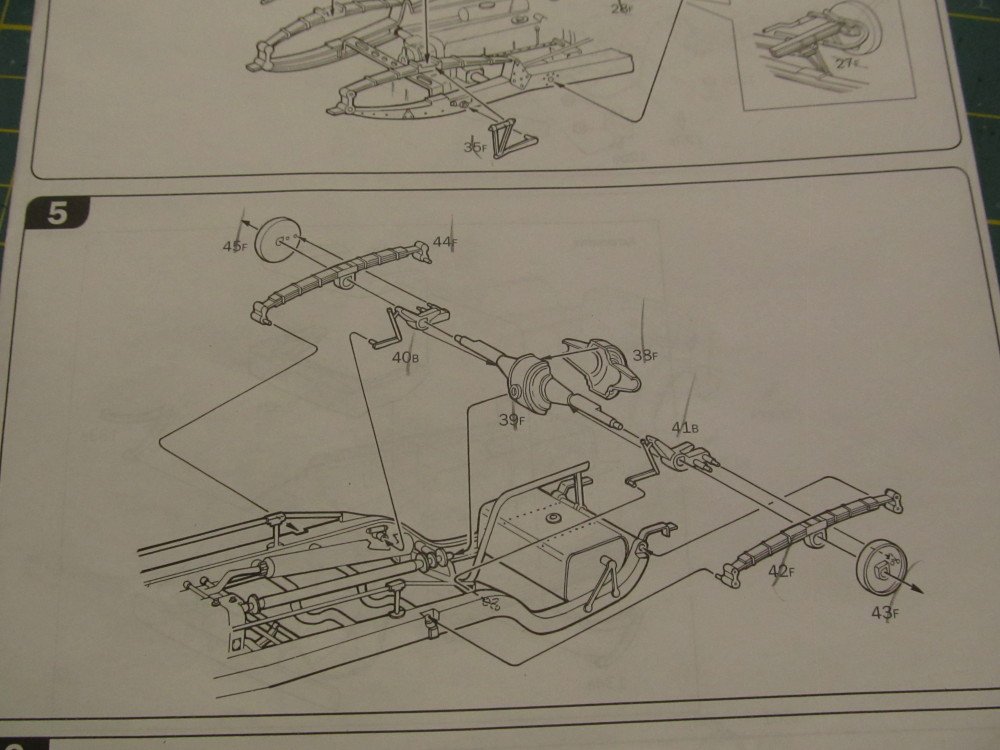
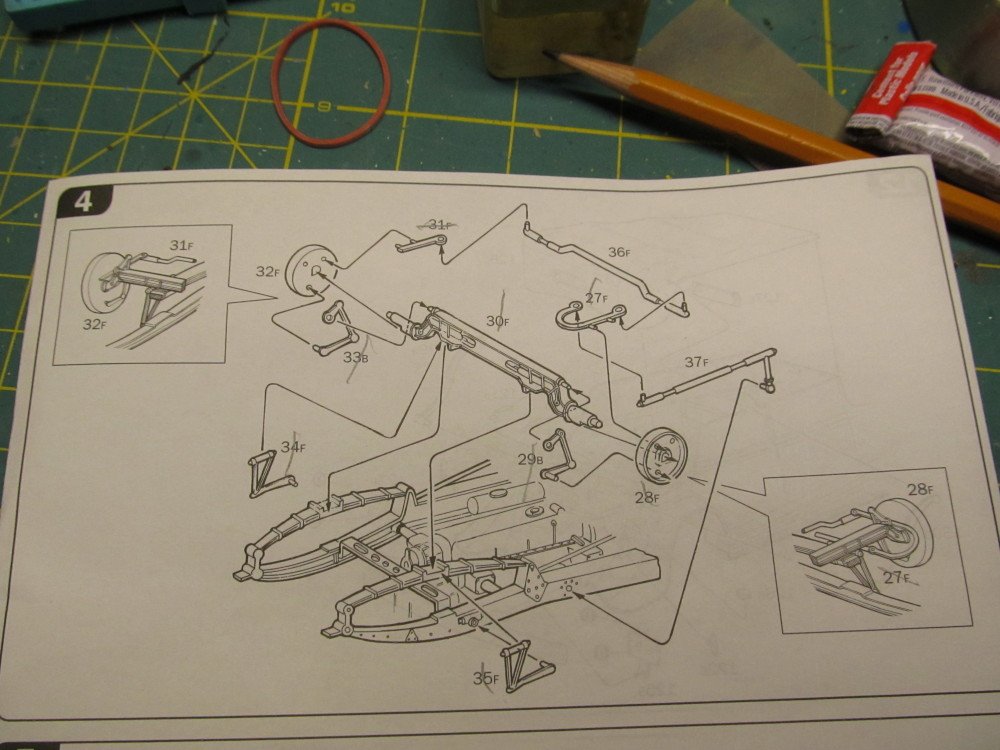
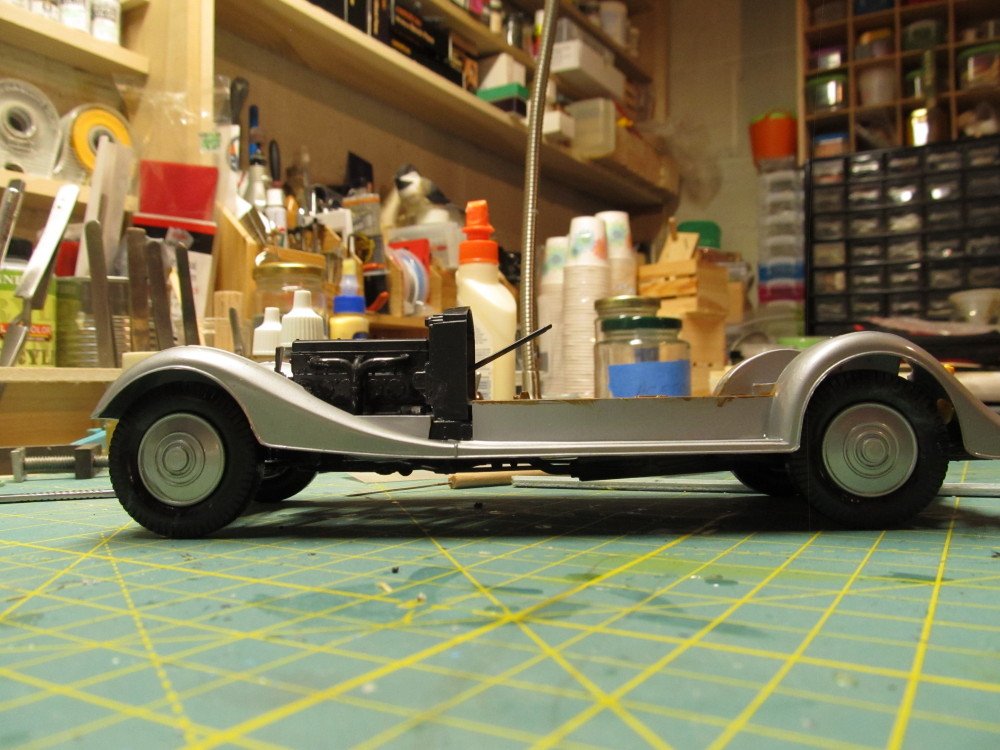
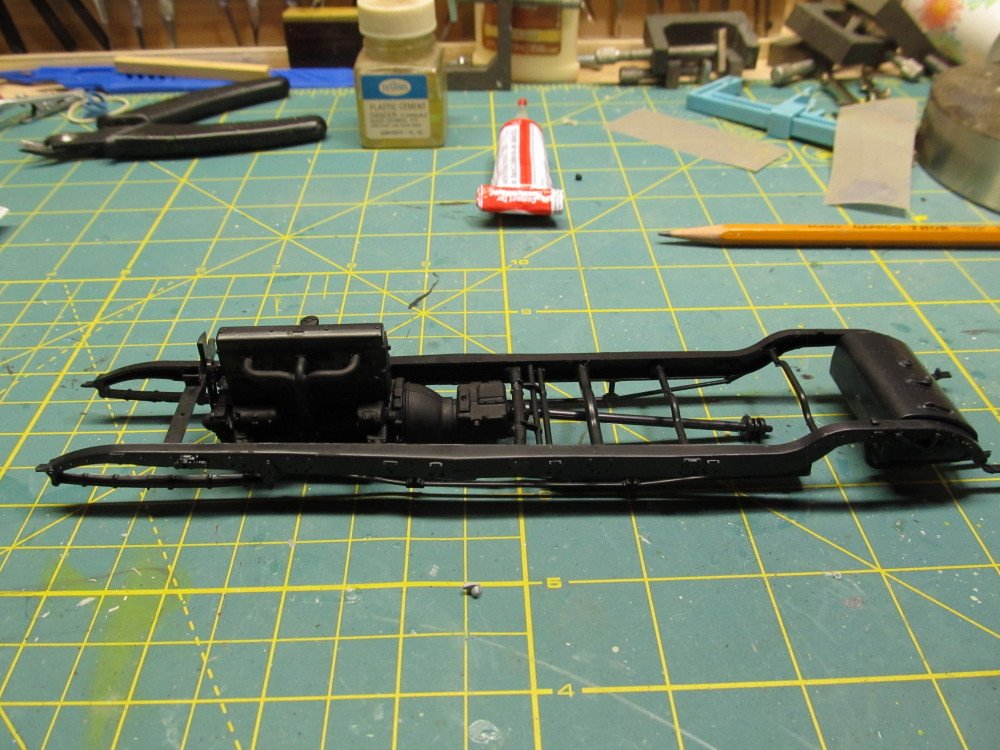
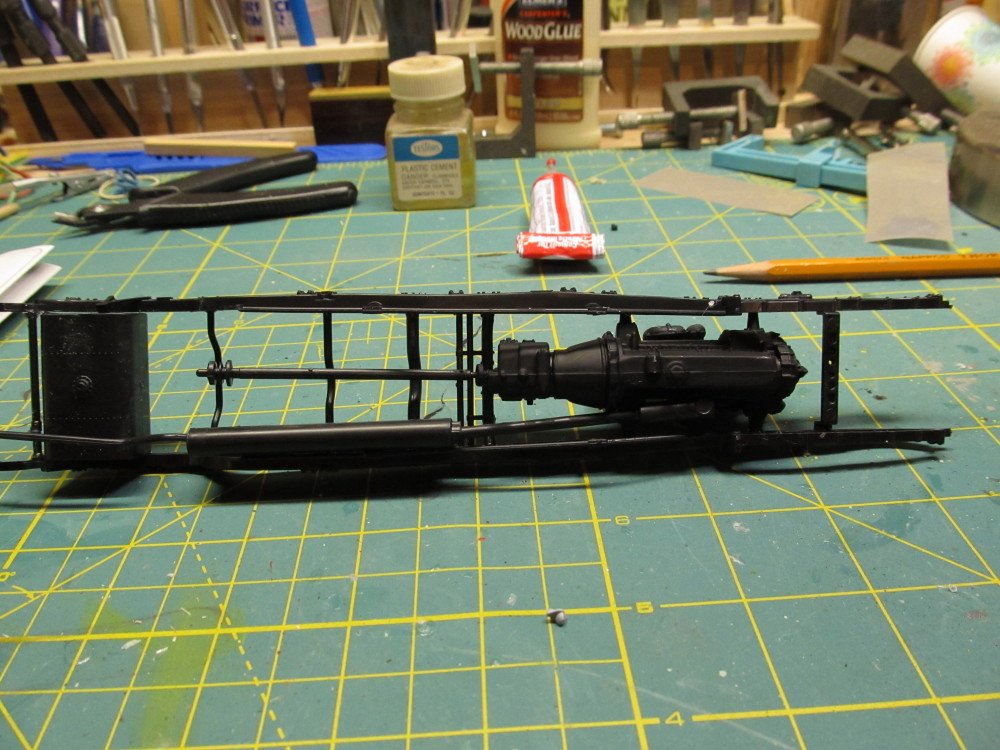
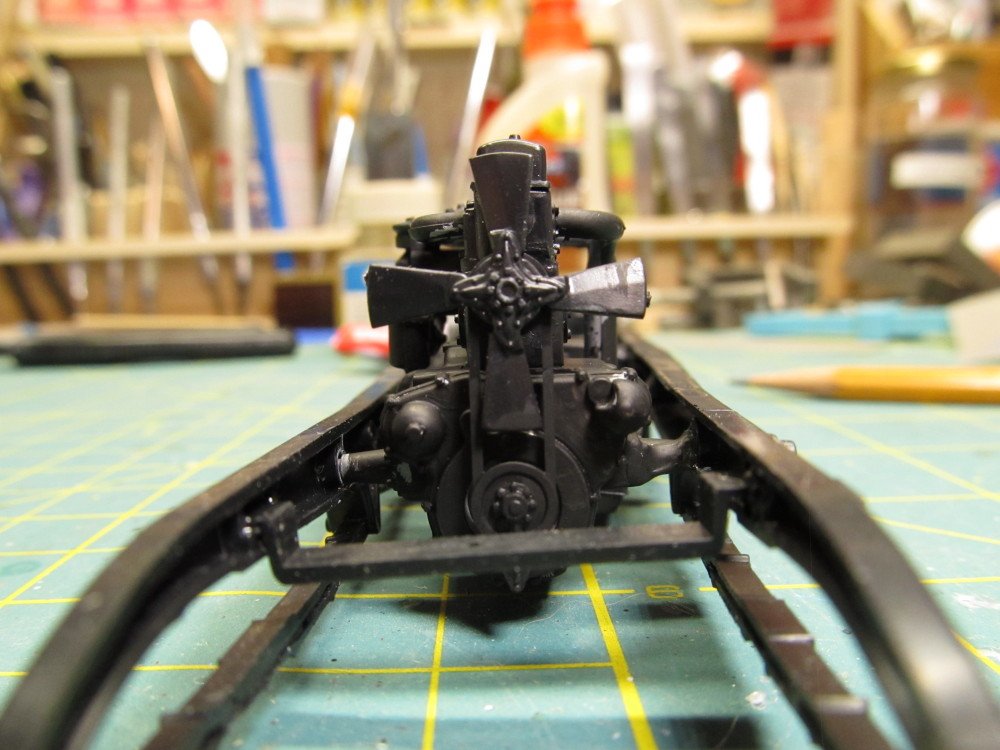
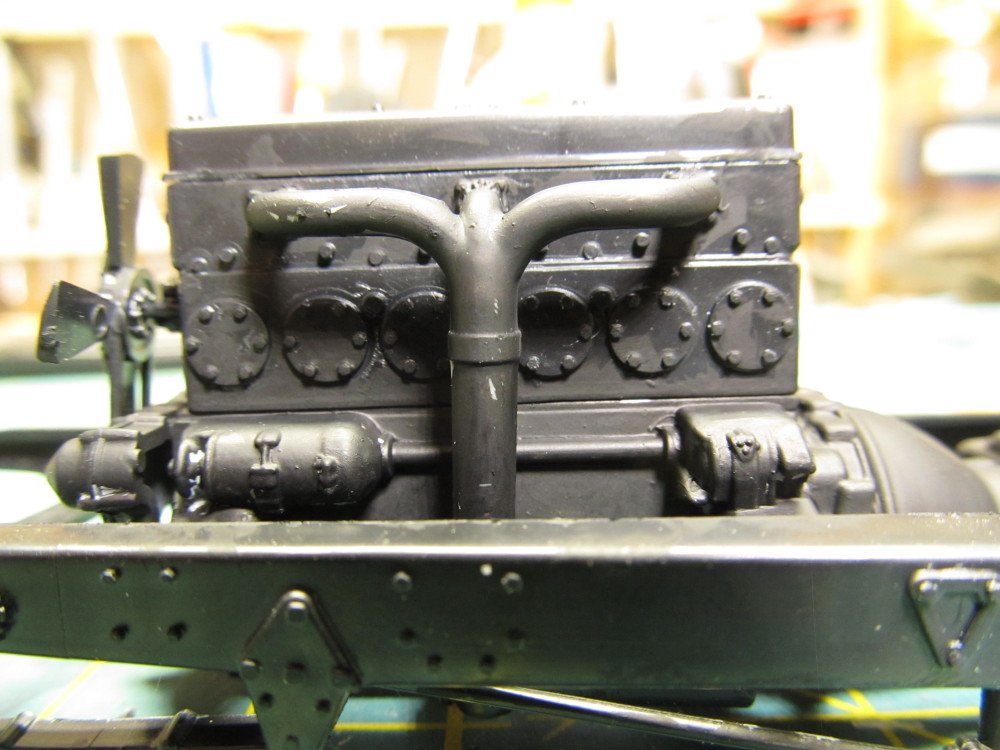
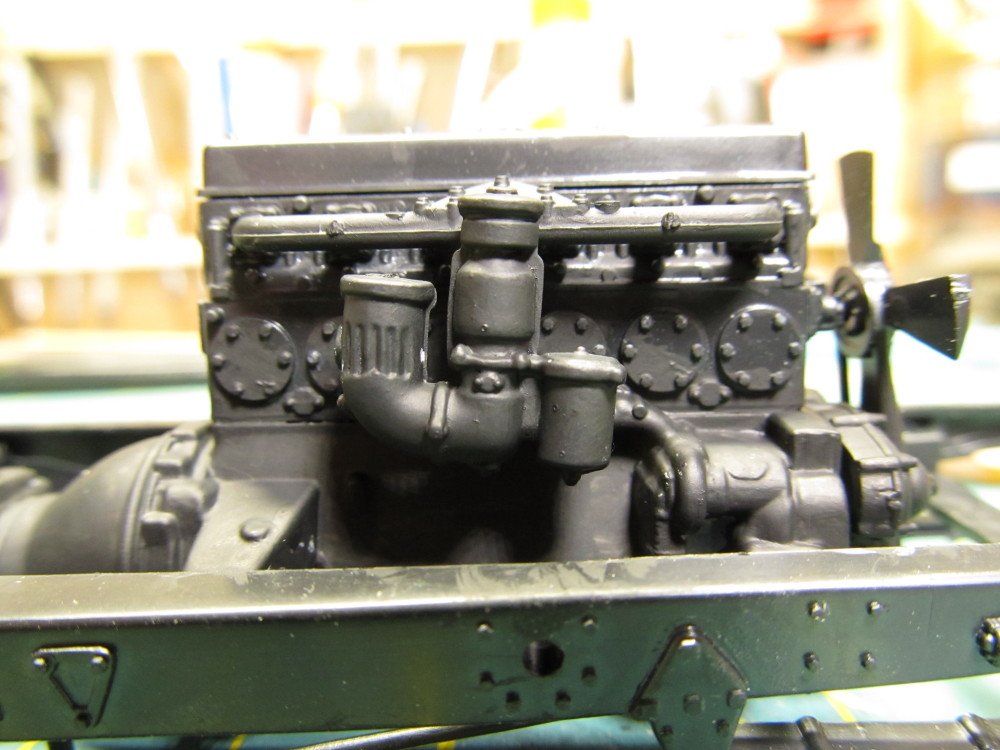
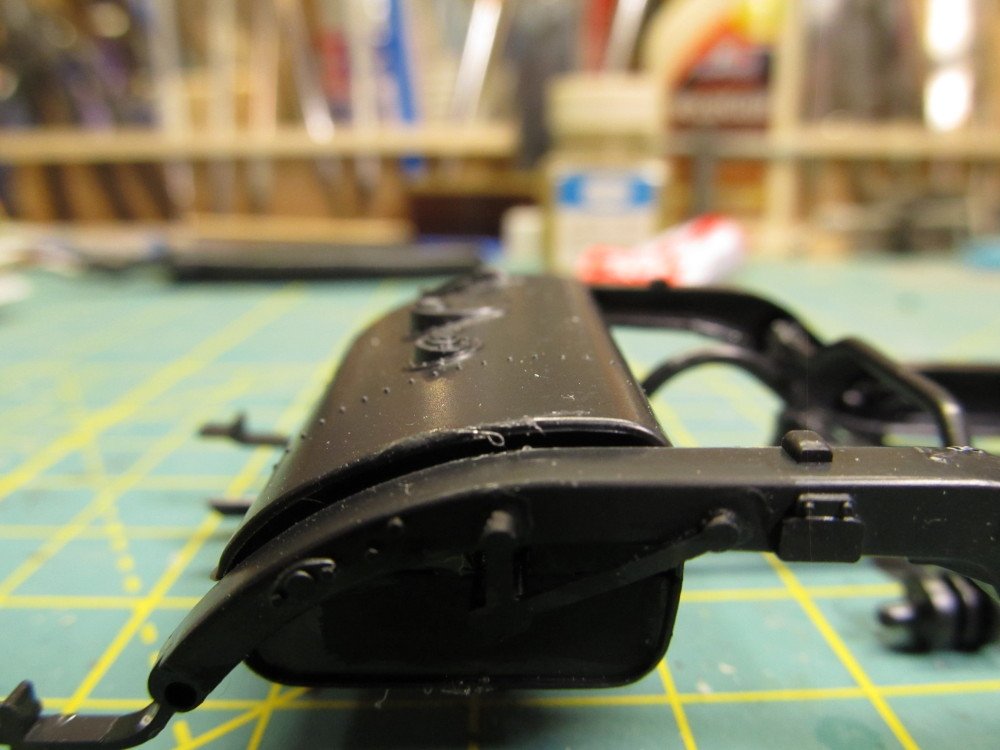
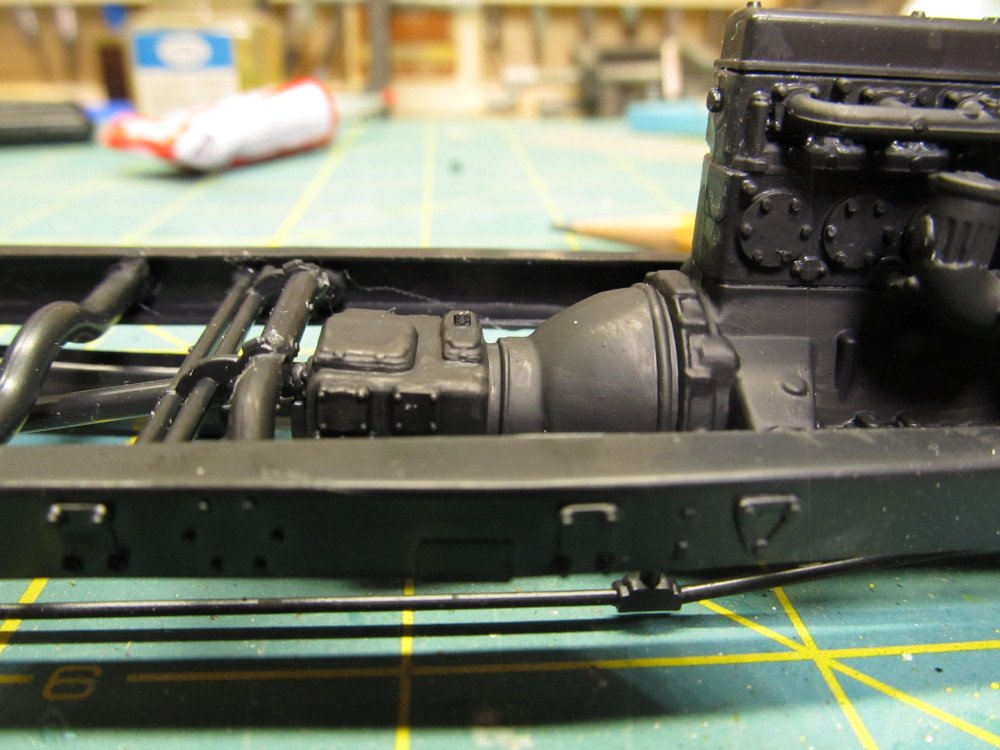
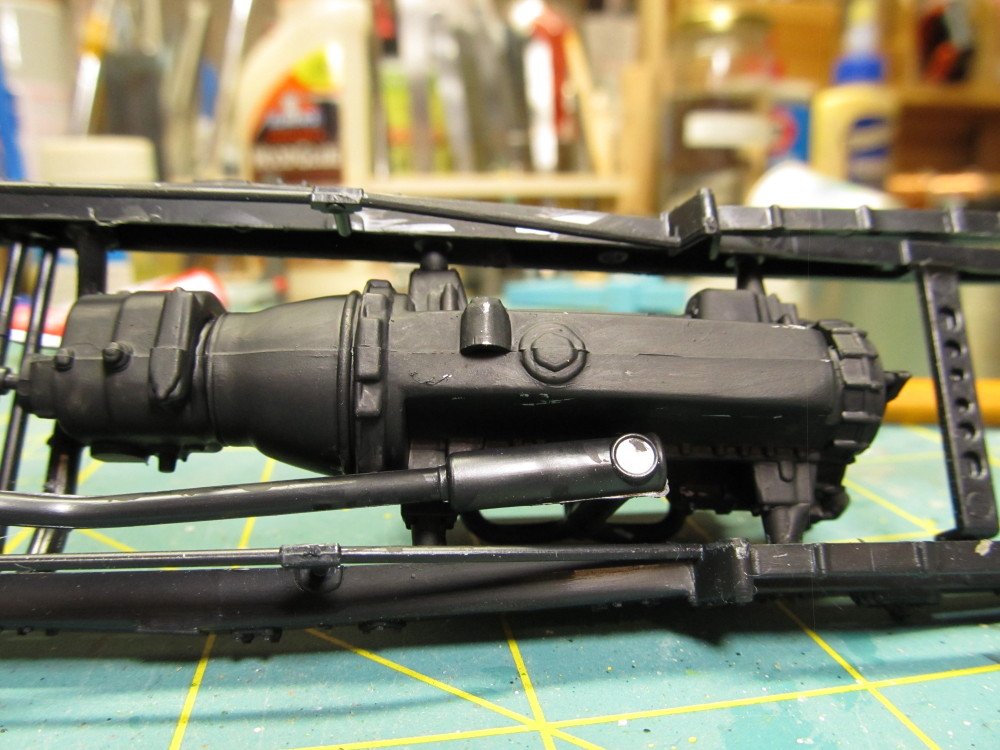
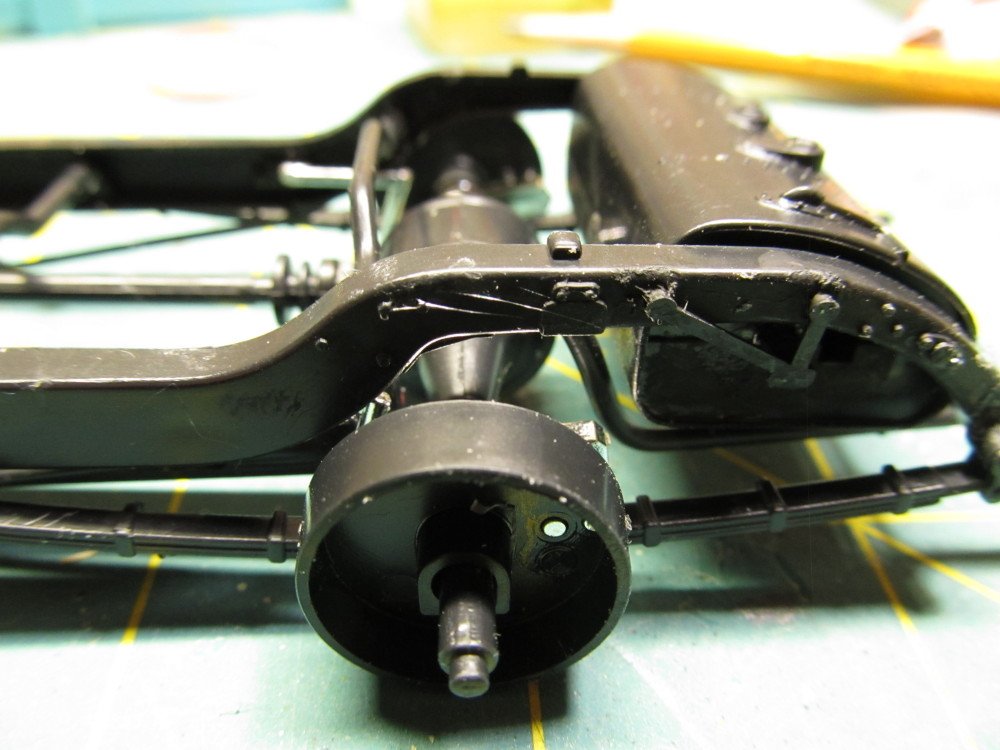
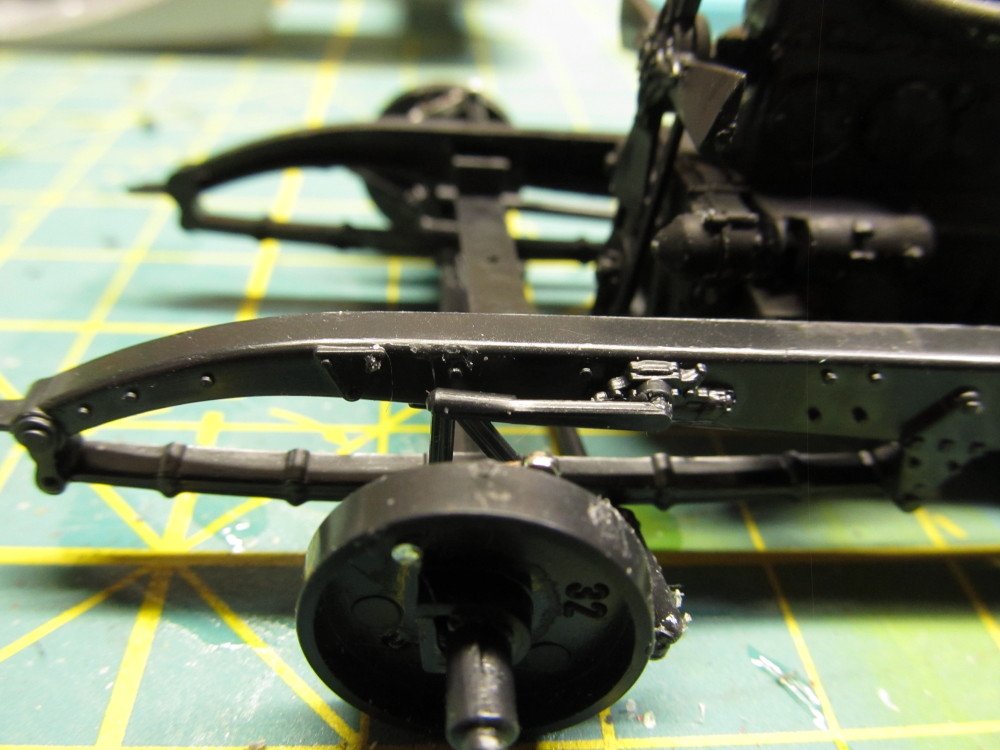
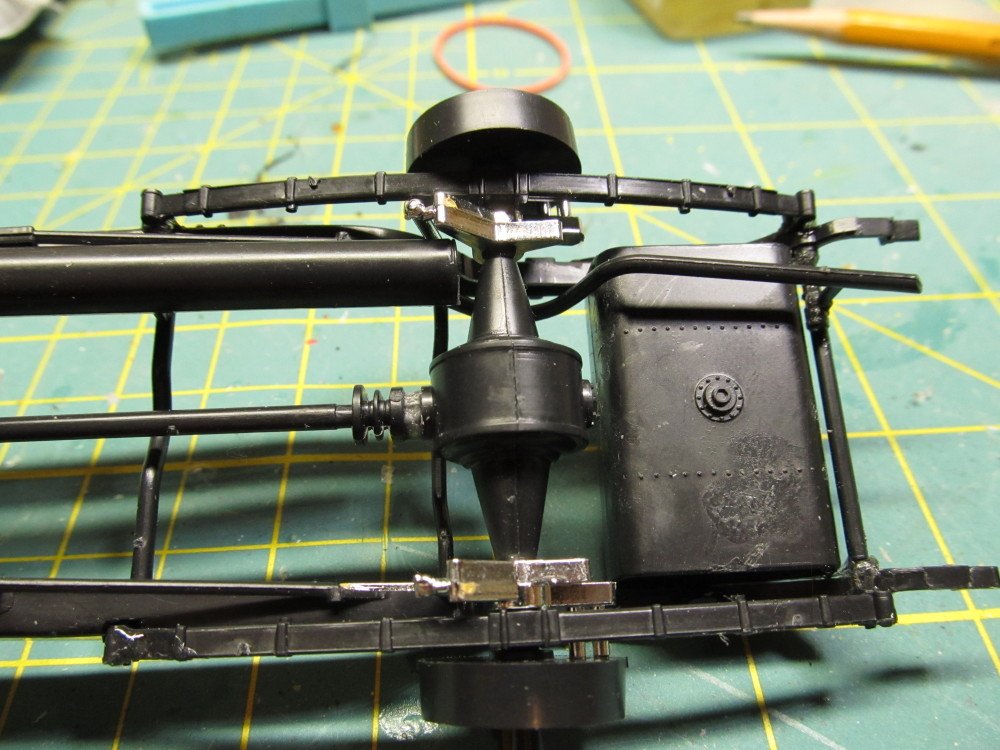
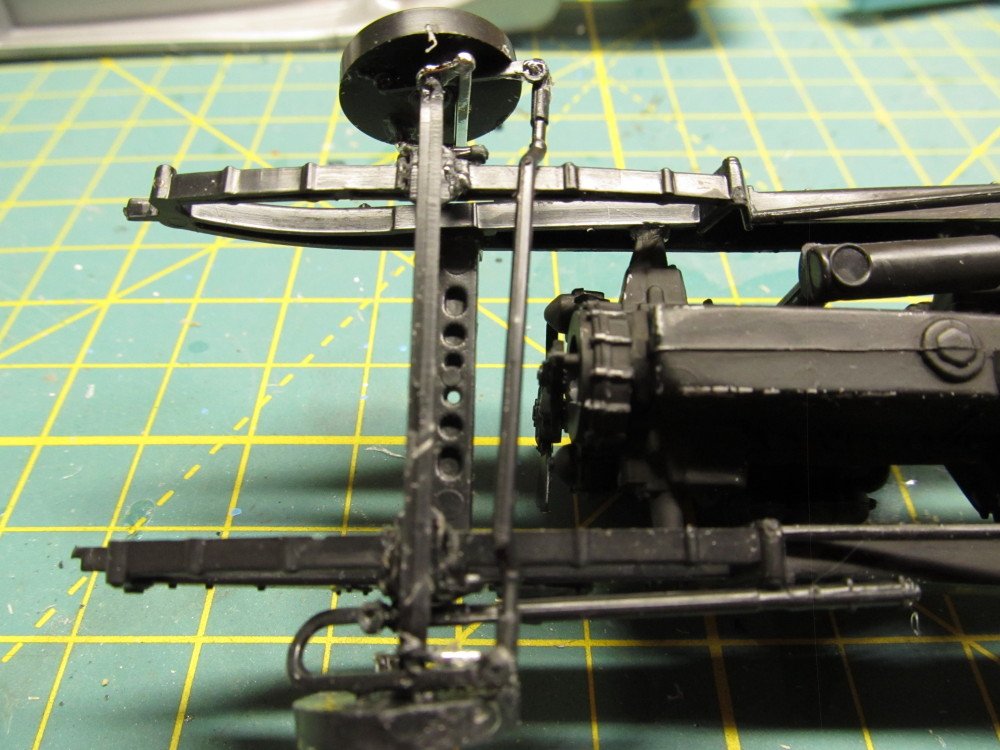
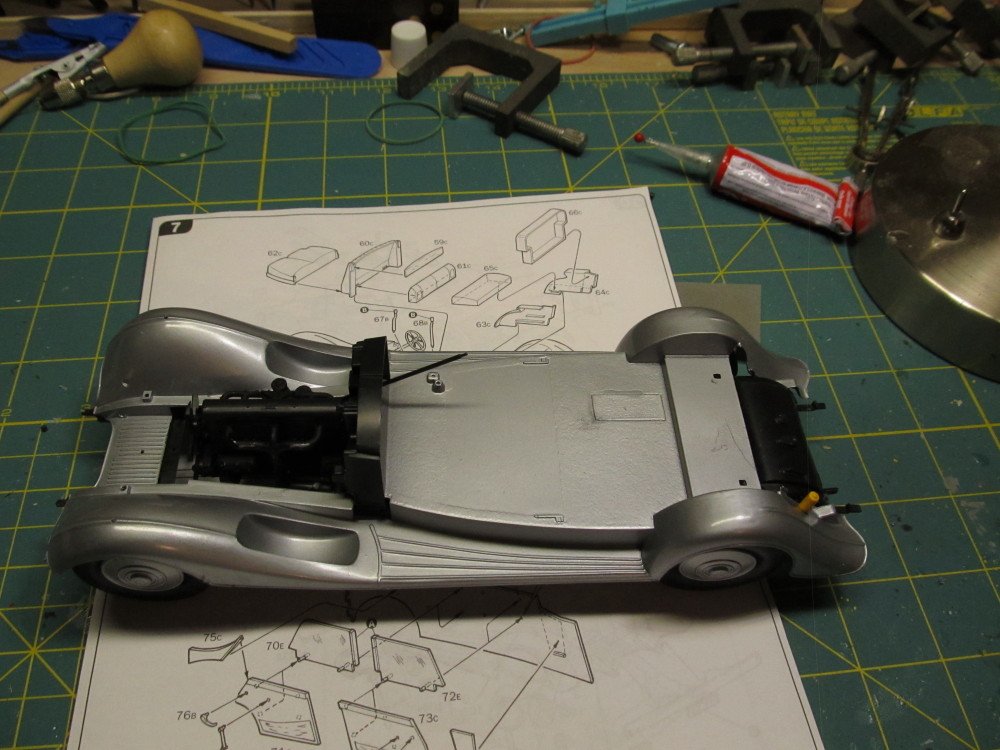
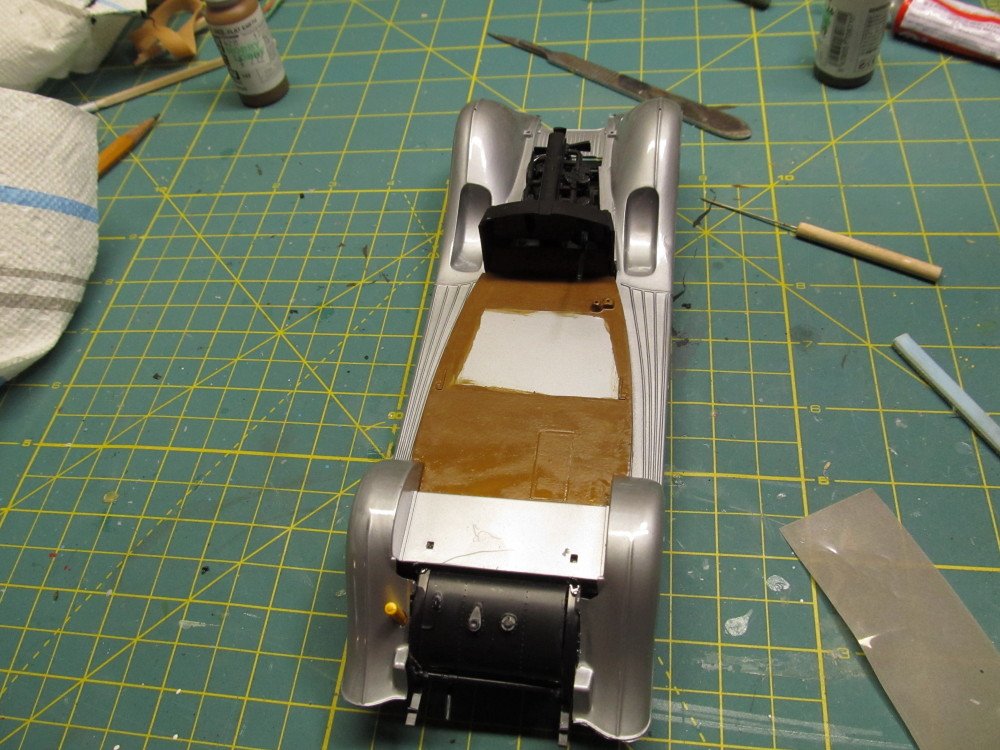
Oh it is definitely not a Tamiya kit. Completed the assembly of the engine and chassis After struggling to interpret the picture instruction on assembling the front steering and rear wheel assembly - more the sequence than what goes where. I got the undercarriage completed. The picture book instructions - be nice if they showed what sequence things are attached Front steering assembly Rear axle assembly Completed assembly Attached the body to chassis Fire wall and steering Painting the floor mat

- 51 replies
-
- 12
-
-
Bell UH-1H Huey By lmagna - Dragon - 1/35 - PLASTIC
Jack12477 replied to lmagna's topic in Non-ship/categorised builds
You don't know how true that is, Mark. -
Nope ! Going to build it pretty much OOB. Not familiar with that book or author .
-
Bell UH-1H Huey By lmagna - Dragon - 1/35 - PLASTIC
Jack12477 replied to lmagna's topic in Non-ship/categorised builds
The Army had a program called "the Science and Egineering Program" which scooped up most draftees who had a degree in Science or Engineering and assigned them to slots at one of the Army's research facilities. That is how I wound up there. Just sheer luck ! -
Nice model ! Years ago there was an automotive junk yard I drove past on my way to work. One day I went by and there was a mint Phantom and Silver Cloud parked in front of his garages. Weeks later I stopped in to purchase a pair of wheel rims so I could permanently mount snow tires, instead of mounting/dismounting them from the rims every winter/spring. Iasked him about the cars and he took me around to the side garage to view them. Mint condition and driveable, impressive cars.
-
I am thinking of leaving to rag top off or folded down.
-
That is my take also, Ken. Thanks for the link.
-
I don't know, Yves. The documentation is rather sparse - again the picture books type. Not much prose. Nicely molded tho, no flash, and sharp details.
-
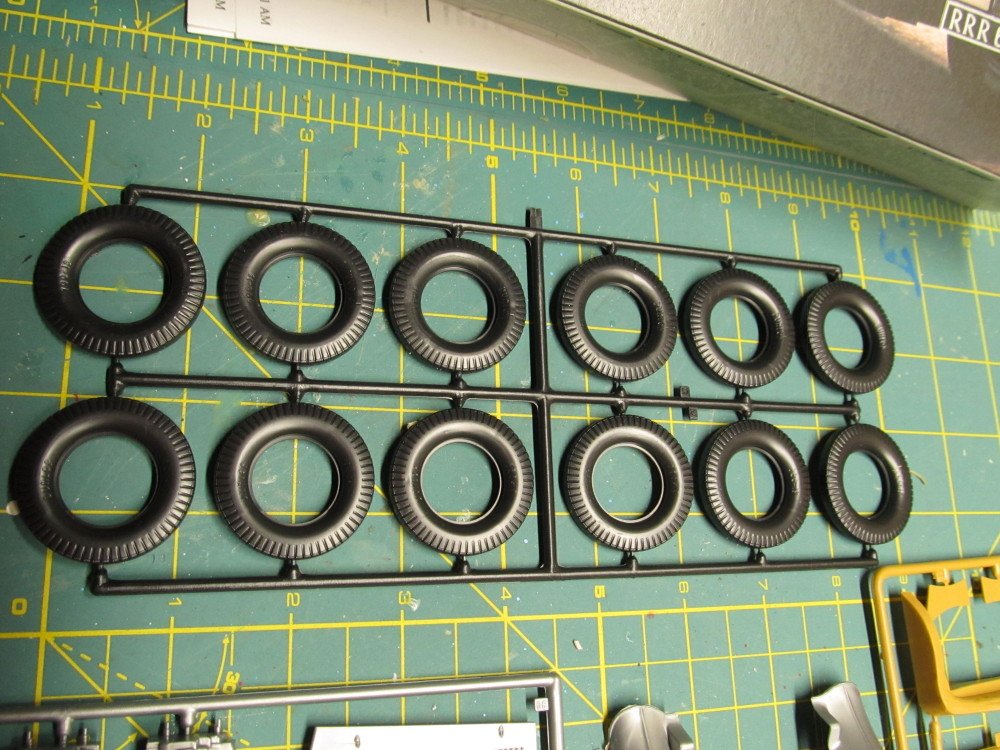
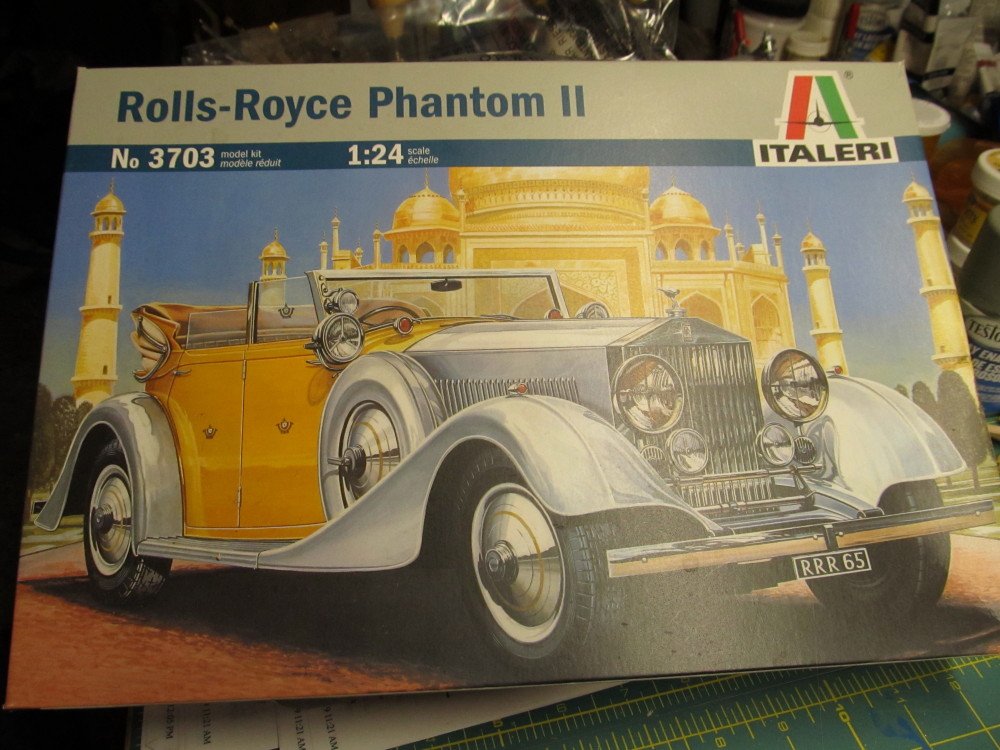
For my next non-ship build I am going to build this 1934 Rolls-Royce Phantom II 1:24 scale kit by Italeri. All the parts came in pre-colored sprues to match the box art. I plan to paint some parts and Clear Gloss coat others rather than try to match the colors. The bright yellow sides I will Clear Coat with a Gloss. The fenders, hood and some other parts will be painted with a Gloss Aluminum (Tamyia). The engine and other parts will be painted black. The roof, boot, seats, and interior door panels are molded in a strange orange/brown color. I will probably re-paint them, haven't decided tho. Here's the box and contents photos.


- 51 replies
-
- 15
-
-
I remember my Dad sitting at the dining room table back in the 1950s building HO scale rolling stock from Athern kits. I remember him putting the tiny springs in the trucks. There weren't a lot of ready to run HO scale cars back then, mostly engines, but no cars. I still have his Athern heavy railroad wrecking crane with all its moving parts, it is all heavy cast metal. His brother had the largest collection of HO scale boxcars and cabooses I ever saw as a kid. He had them on shelves on the walls of one bedroom, filled two walls. Never built a layout tho. Dad built several layouts, Lionel O scale, then American Flyer S scale, then HO scale. He skipped the TT scale tho. I got the modeling bug from him and his brother, my uncle.
-
Bell UH-1H Huey By lmagna - Dragon - 1/35 - PLASTIC
Jack12477 replied to lmagna's topic in Non-ship/categorised builds
No, it was, in our case anyway, more a matter of pay. Remember back in 1965-1967 an E1 in boot camp made about $90 a month, after boot camp they promoted you to E2 and raised your pay to $96 a month. We had a Sergeant Major (SMAJ) who tried to get us promoted as fast as possible for the pay. For an E5 with less than 2 years service the pay was $211 a month, and we did not have a Mess Hall, Commissary, or any of those other amenities of the big bases, just an NCO club for meals or the Arsenal's civilian cafeteria and the cafeteria was only breakfast and lunch at economy prices, dinner was only available at the NCO Club with deeply discounted military prices; otherwise it was off post and economy prices. Because we had no Mess Hall, we did get a "food allowance" of $1.50 per day added to our base pay, except when we went on leave, then we did not get the food allowance while on leave... . Of course that did not cover much. All enlisted ranks were members of the arsenal NCO club with only E4 and above allowed to vote or hold office, because it was only place single enlisted could eat on post. We had less than 250 enlisted in ranks E3 to E5, and most if not all were College grads with a Bachelors degree in Science or Engineering; I know 50 of them held a Masters degree also. The Officers were mostly ROTC, with similar degrees and in the rank of Captain or 1st Louie. Our detachment commander, rank of Captain, held a PhD in Physics, they assigned him to the slot until his Clearance came thru, then he was reassigned to one of the Research depts. The Arsenal commander was a full bird Colonel with 2 Masters degrees in Engineering; the Major General who commanded our higher command, which resided on the Arsenal, held a Masters degree also. The civilian employees outnumbered the military by about 3 or 4 to 1 back then. Of course we could get gasoline on post at the motor pool for about 10 cents a gallon, off post it was somewhere around 25 or 30 cents a gallon. So we tanked up on post. The Arsenal is still in operation today. Altho the mission has changed. BTW - we often referred to ourselves as F Troop after the TV show that was popular back then; used to get the Sergeant Major a tad upset with us tho. -
Bell UH-1H Huey By lmagna - Dragon - 1/35 - PLASTIC
Jack12477 replied to lmagna's topic in Non-ship/categorised builds
Actually I made E5 in 15 months from date of service entry, shortest time allowed. I was E4 for about 4-5 months before being promoted to E5. Entered service as E1. I was only on active duty for 24 months. -
Bell UH-1H Huey By lmagna - Dragon - 1/35 - PLASTIC
Jack12477 replied to lmagna's topic in Non-ship/categorised builds
I guess I would be considered ancient of days then since I was 24 when I got drafted.