


rcmdrvr
-
Posts
420 -
Joined
-
Last visited
Content Type
Profiles
Forums
Gallery
Events
Posts posted by rcmdrvr
-
-
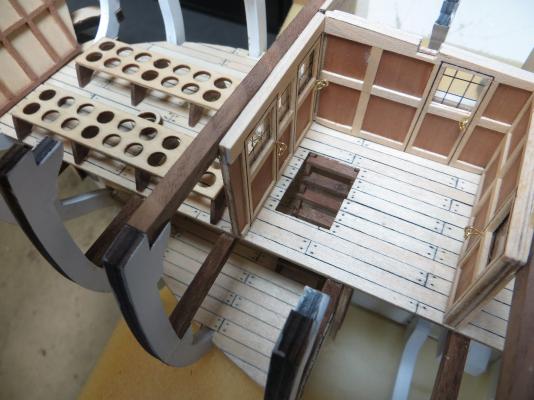
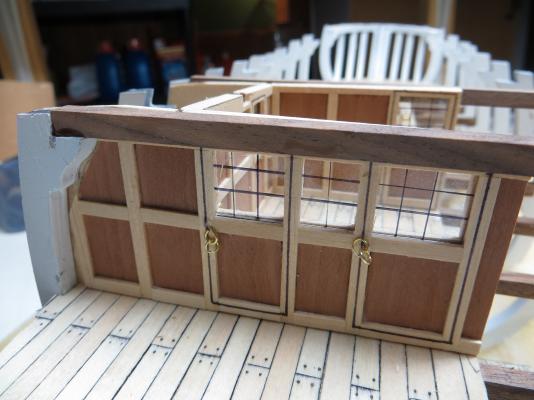
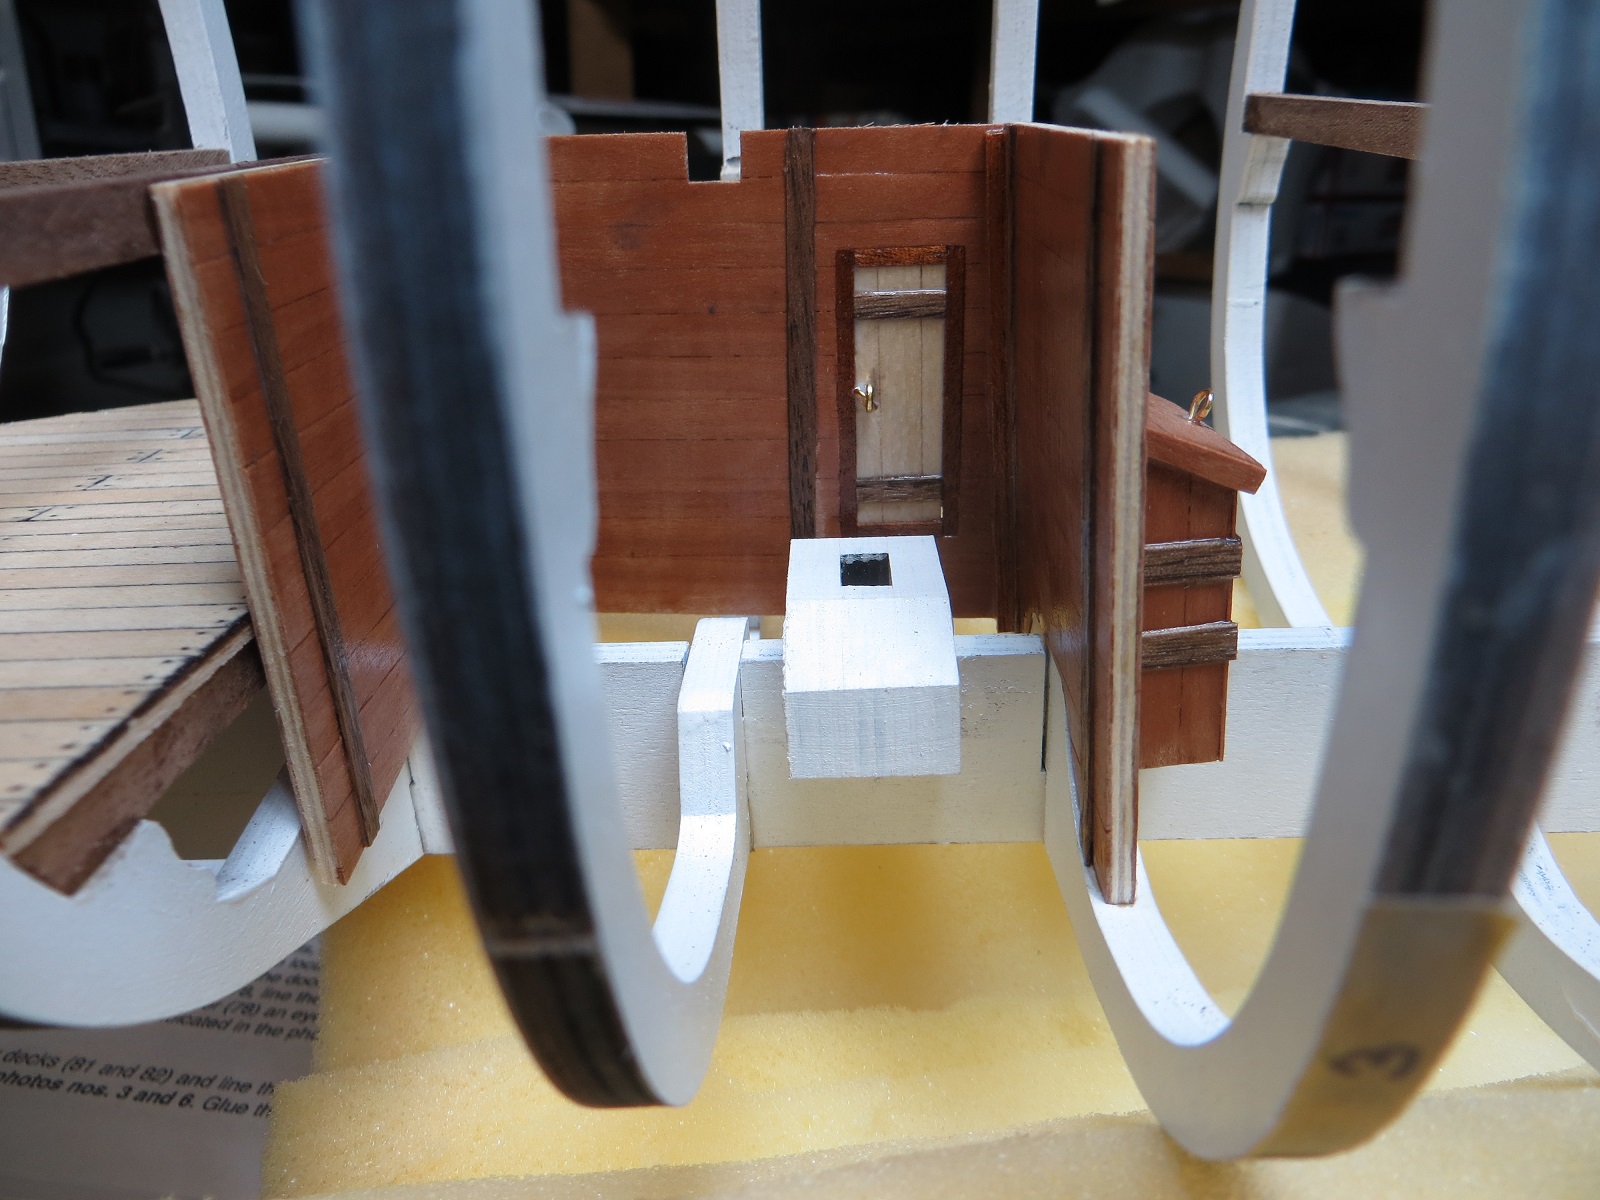
Here is the last photo of the second deck that shows the completed cabin, a ladder and what I believe was some form of shipboard storage. Will have to do some research to determine what it represents.
- Mirabell61 and AntonyUK
-
 2
2
-
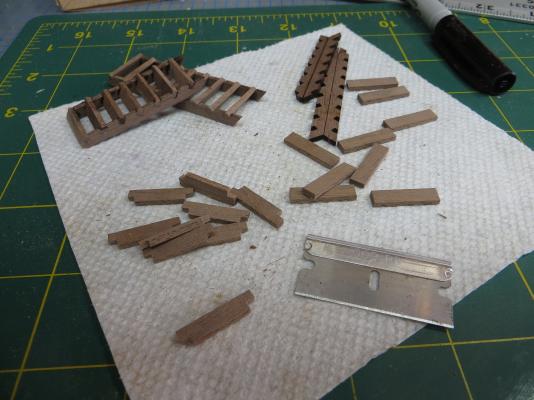
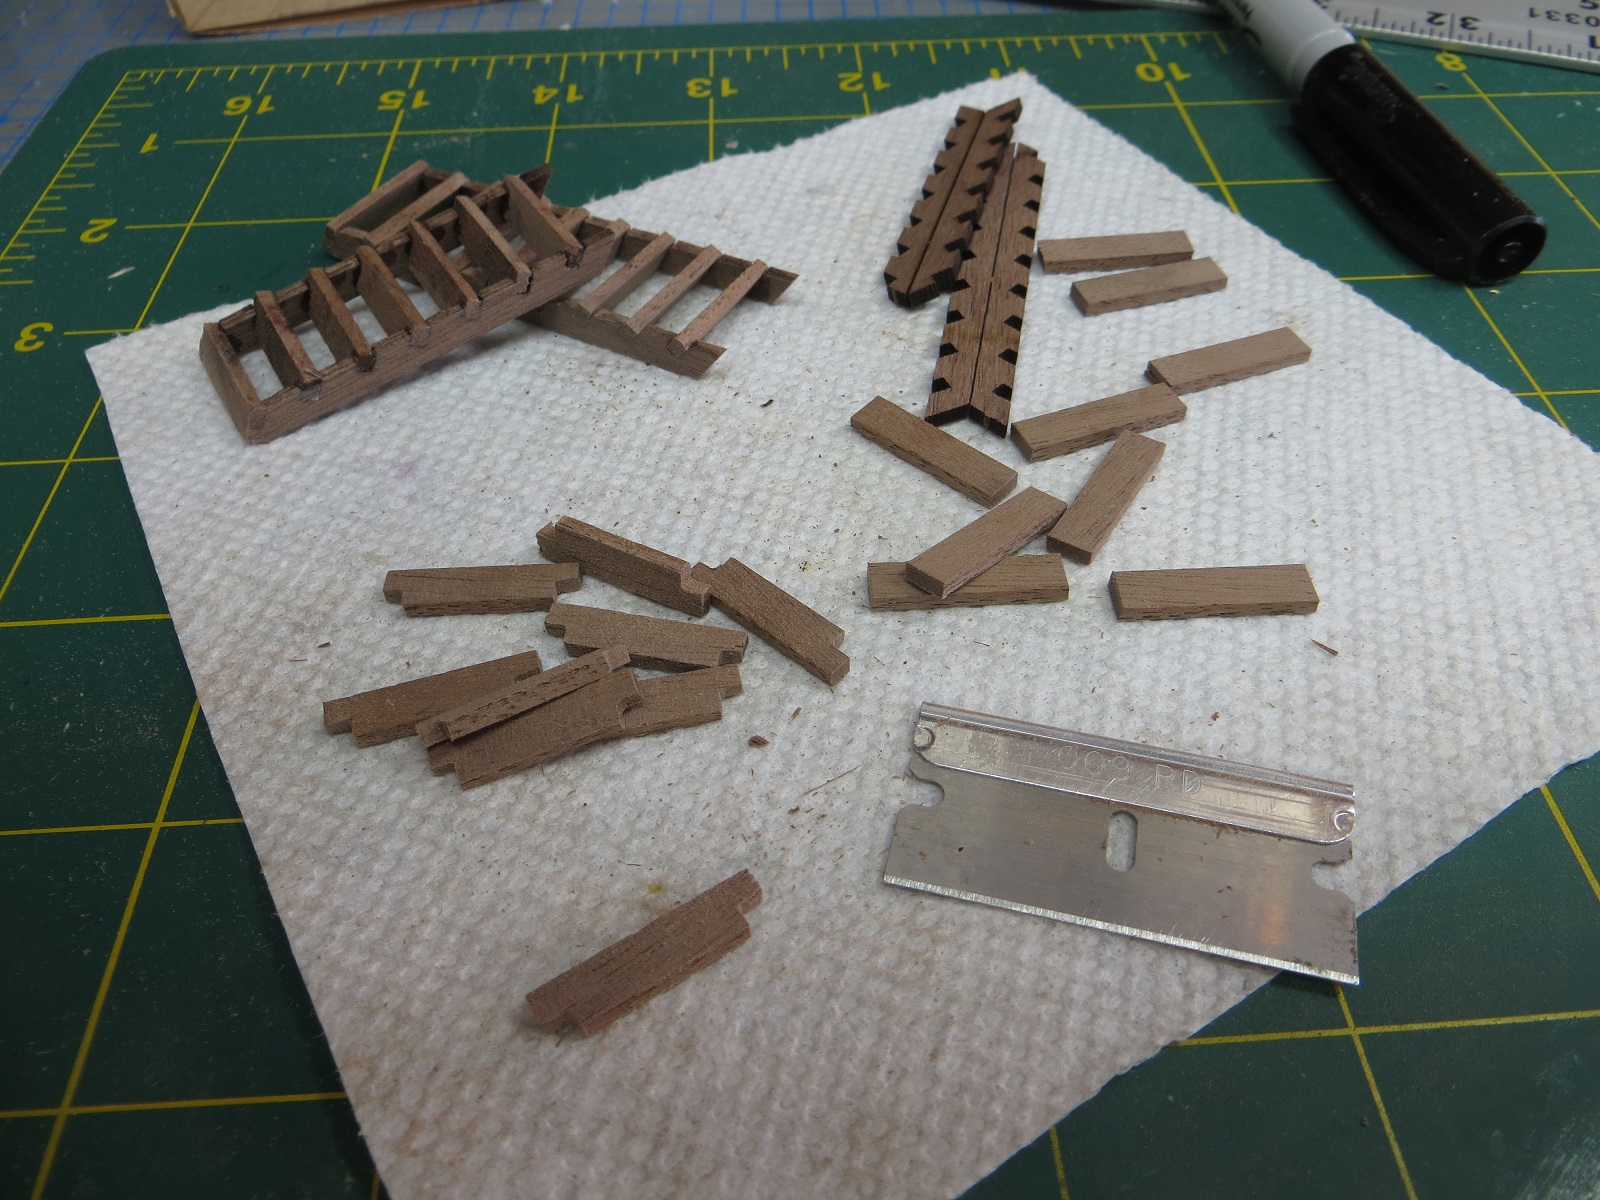
After the second deck cabin was in place, I began constructing the ladders that wil be use on the "tween" deck areas.
-
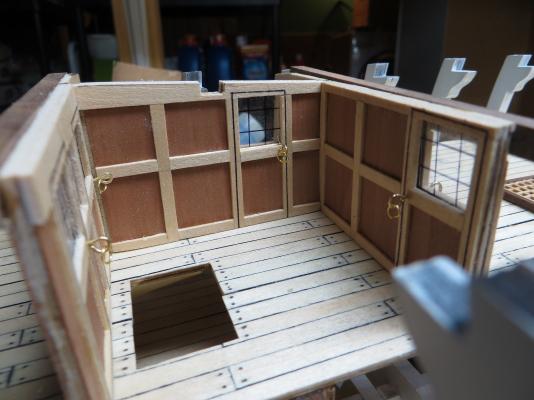
I was able to continue working on the second deck structures. Here you have a photo on the cabin for this deck. Again I used some pear for the sides. I elected to use a permanent marker I sharpened to draw in the bars holding the panes of glass. The door pulls were relatively easy to make. I did not use the provided rings as I found them to be a bit big.
- maturin52 and Mirabell61
-
2
-
-
While I am working on the decks and various deck structures I am looking ahead with a bit of dread...planking. The kit call for single planking with what looks to be walnut and a bit of bass. I am seriously thinking of double planking. I think I will purchase some 3/32" basswood sheet and cut into 1/4" strips for the first plank. Then, I will use veneers of darkwood (I am not sure which wood I will use) for the outer planking. I have double planked once before with some success. I really feel that I will be able to do a better job using this method.
Any ideas on this. Any suggestions or cautions.
Thanks in advance for the input.
-
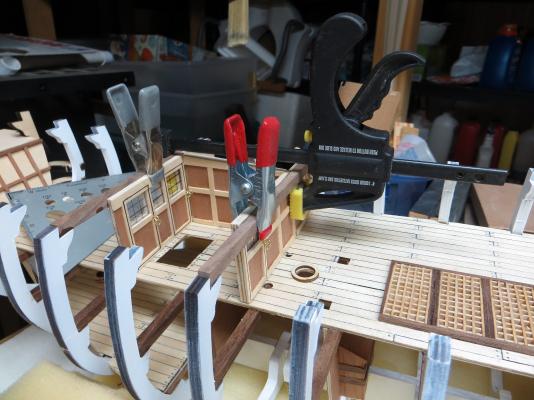
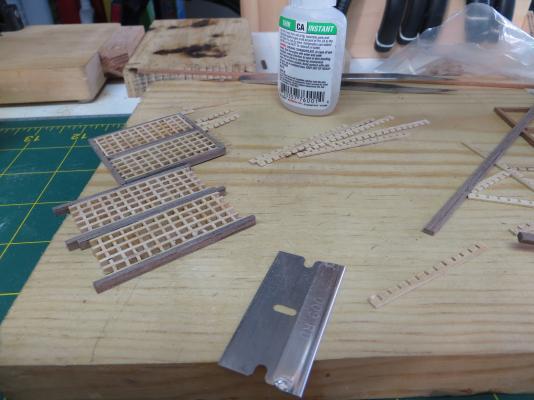
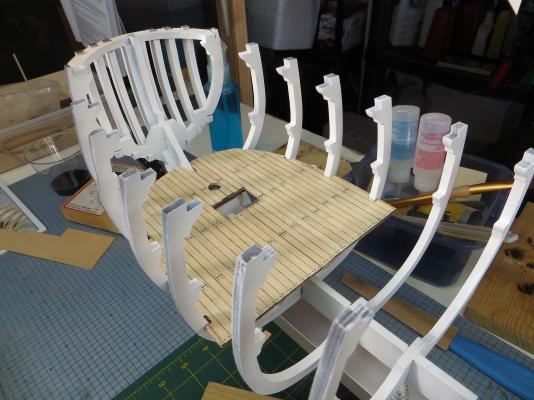
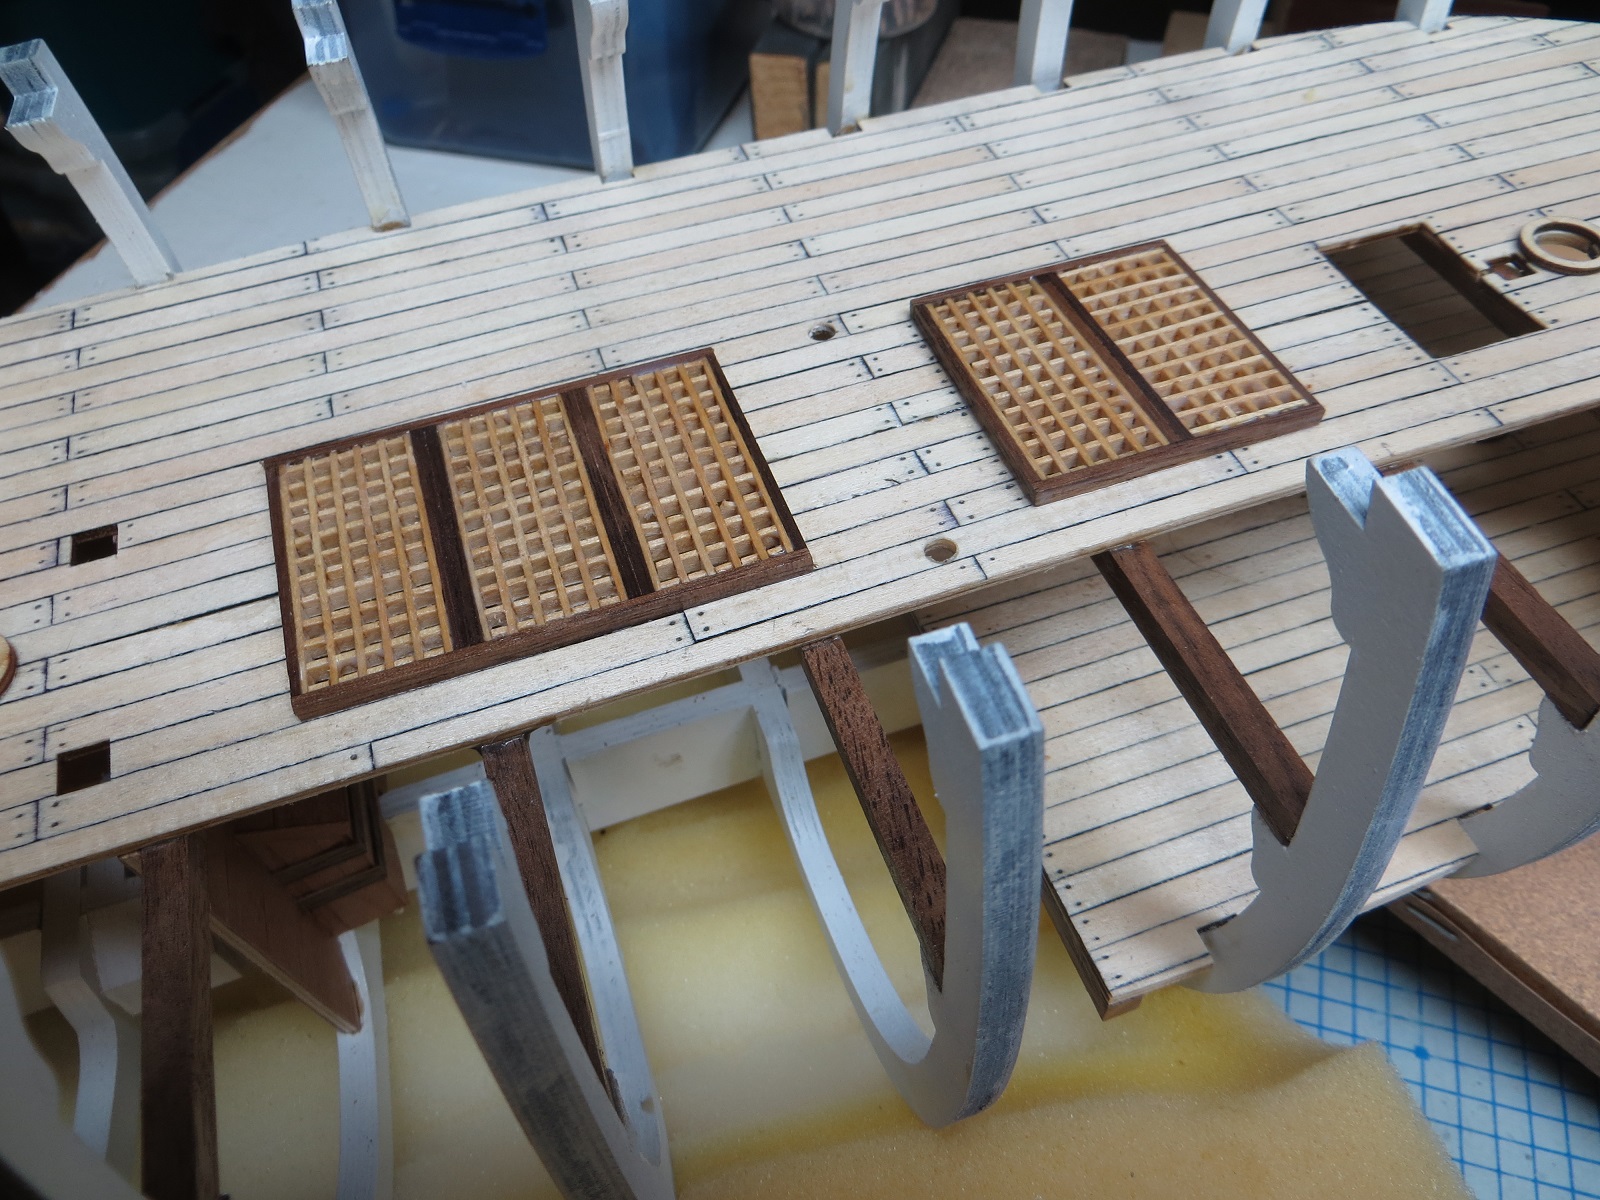
Once the deck was glued to the hull, I worked on the gratings. The kit provided the pre-cut "slats" which worked out pretty well. The frame for the gratings is walnut sticks. Once these were installed I gave the entire deck a clear coat.

-
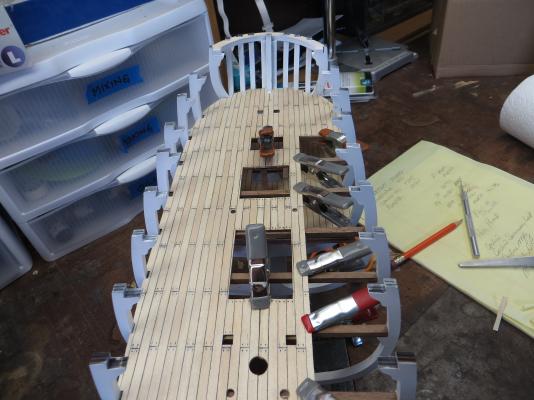
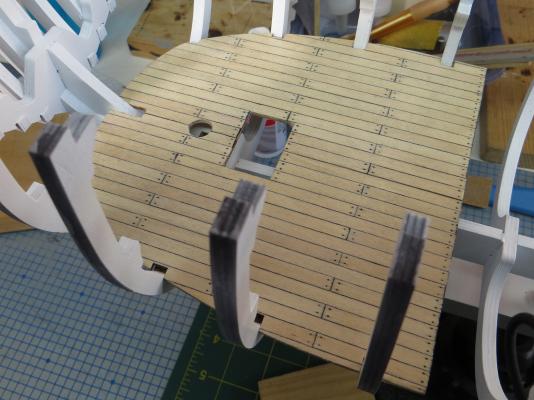
Next came the installation of the second deck. I first "trial" fitted the deck to the hull and then began the planking. The plans called for using bass strips the full length of the deck and then lines of nails. Again I didn't like this look. I decided to cut the bass strips into smaller planks and glue them to the ply offset. I used a very sharp pencil to simulate the nails or pegging. I used a permanent marker along the edges to simulate caulking.


-
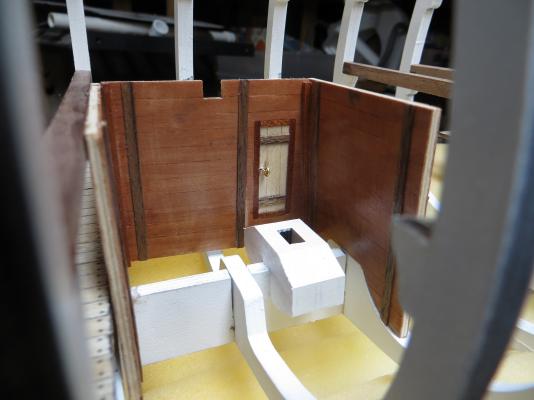
Been away from this site for awhile. Still have been able to get a little work done on the Bounty. After installing the bottom partial decks, the instructions called from building and installing a small room or cabin. The basic construction was 1/16 inch ply which I covered in strips of pear wood for color. I also added some very narrow strips of walnut. I think the walls and door turned out OK. The plans called for rows of nails which I did not like the look of, so I left them out.

-
Thanks for the comments, especially the approval of white. Every time I pick up the model I wonder if I have done the right thing. I am now working on some of the internal structures and hope to post pictures this weekend.
-
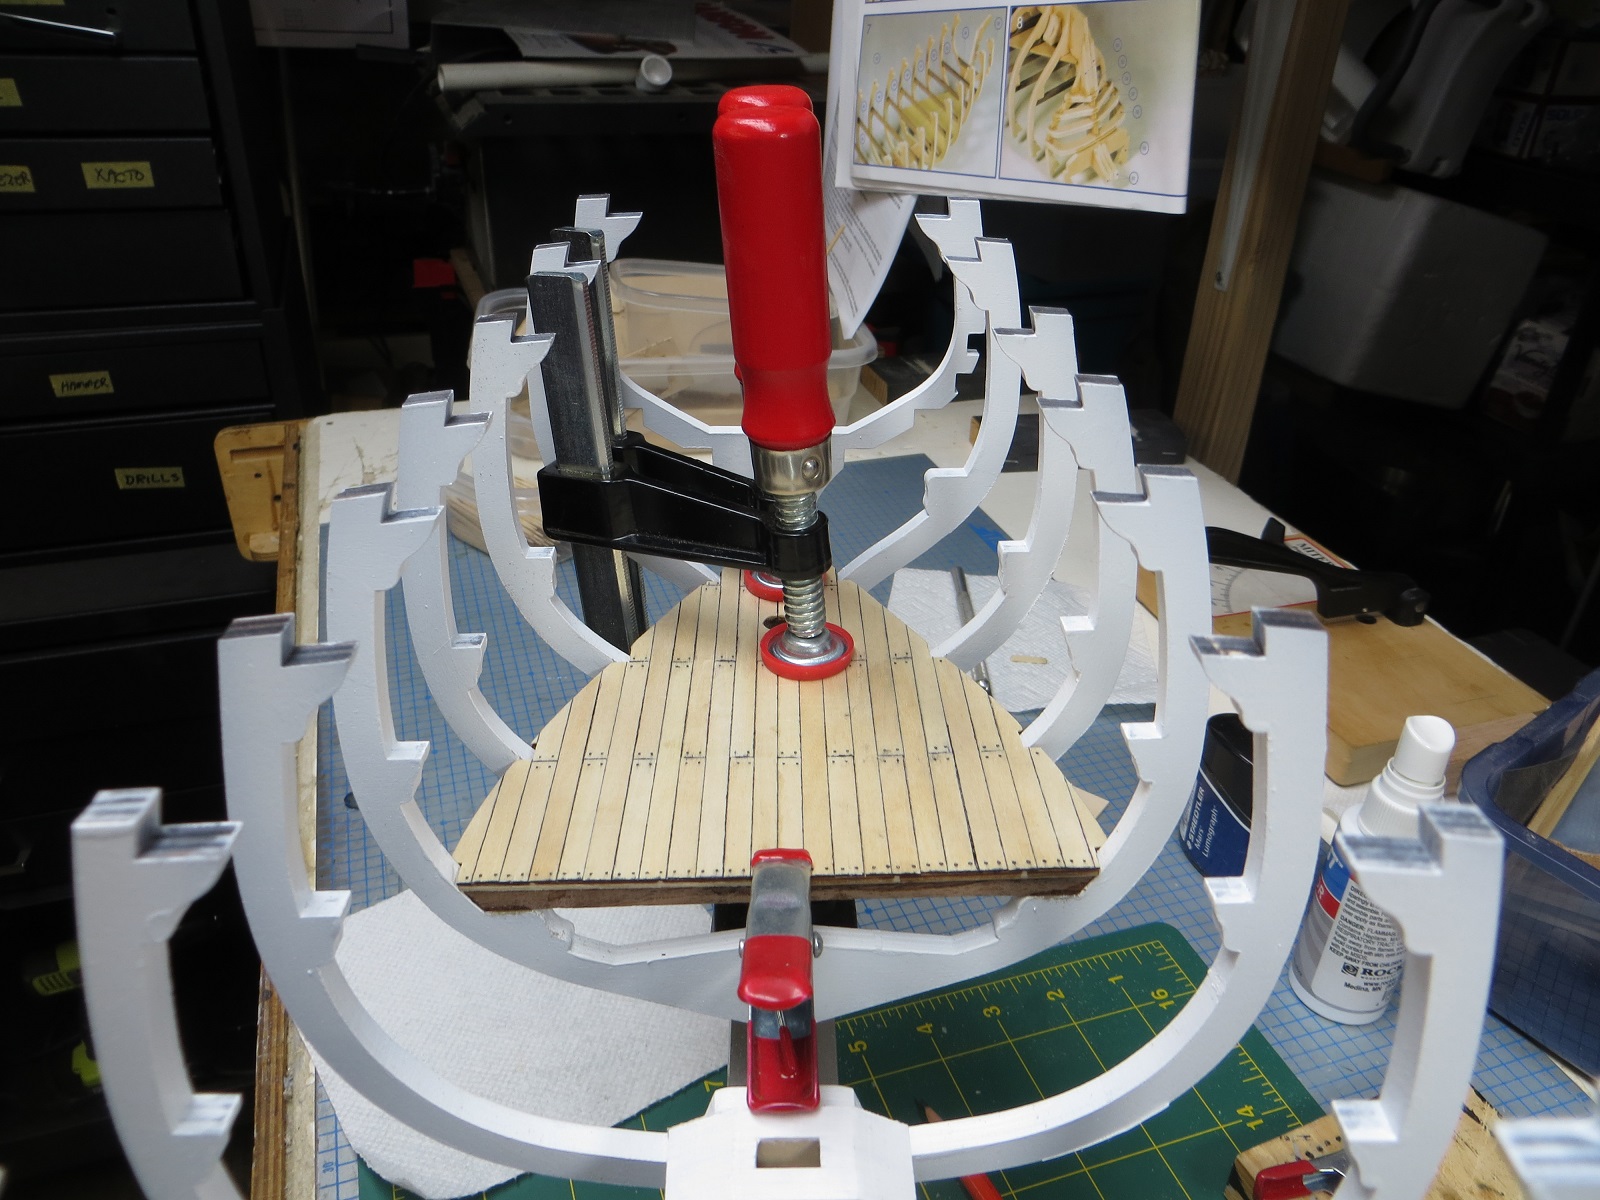
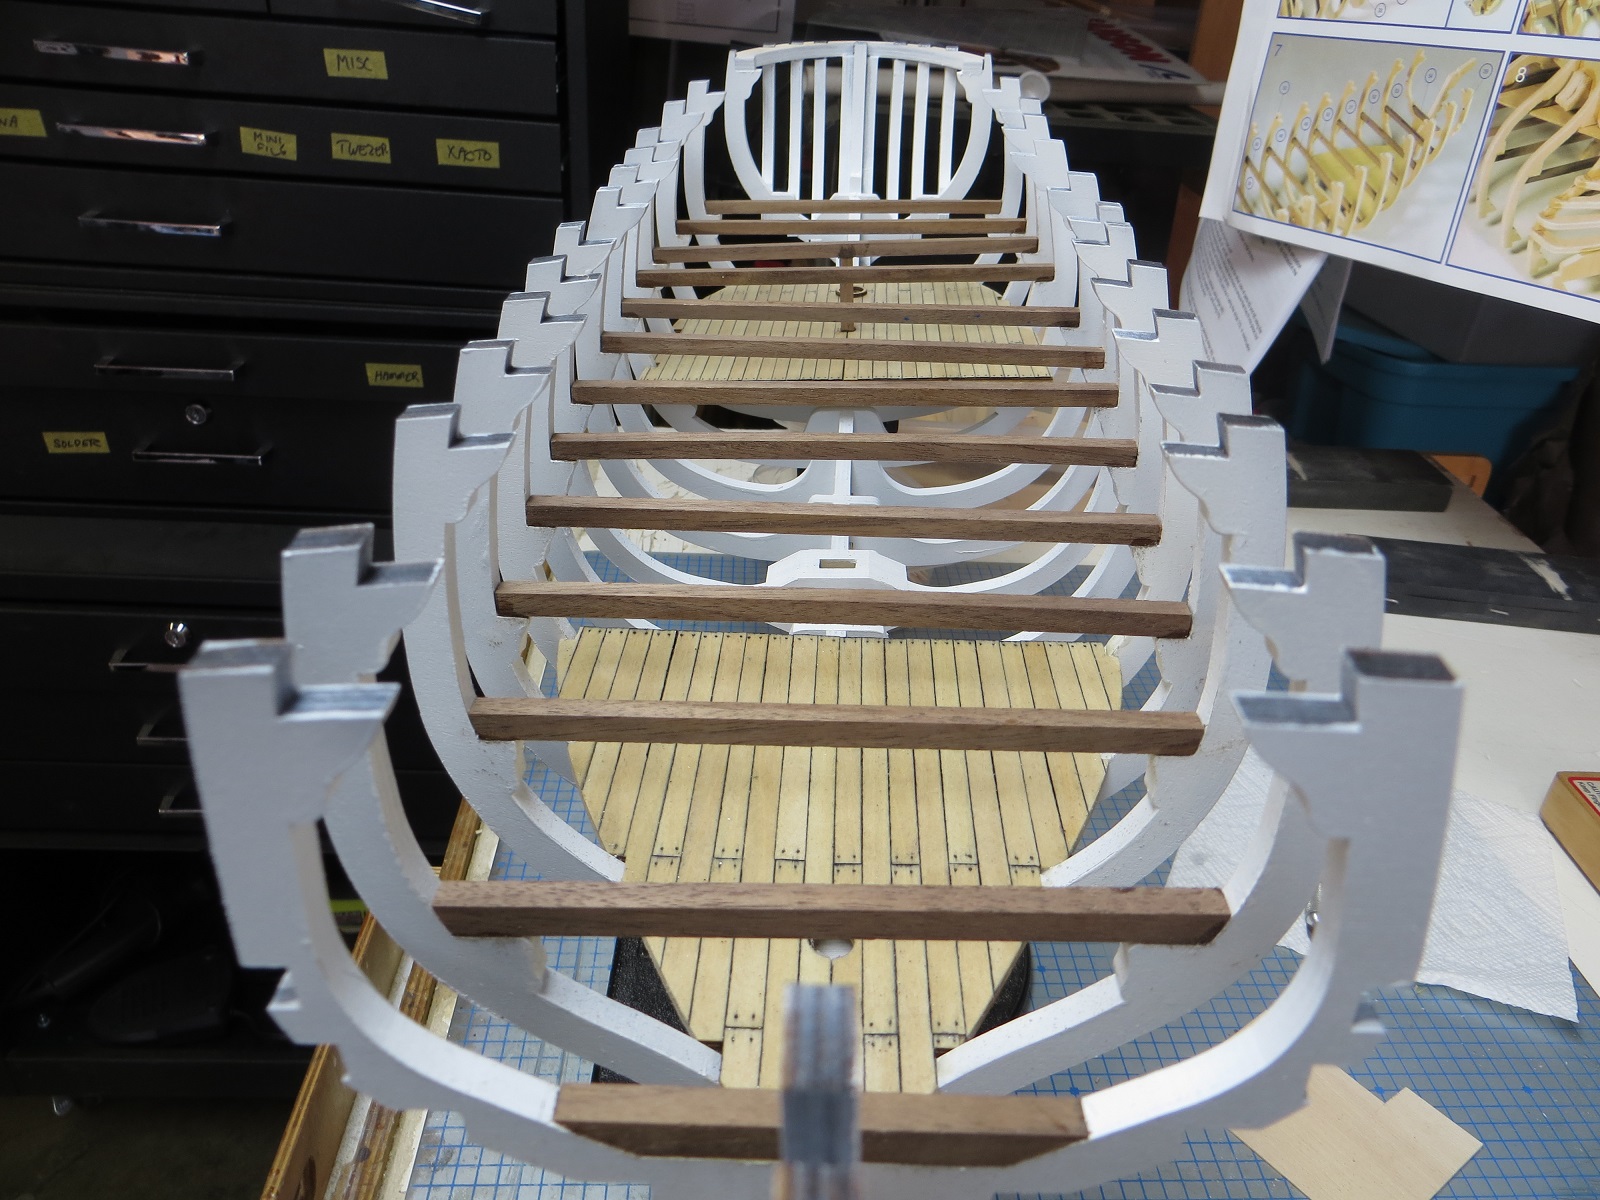
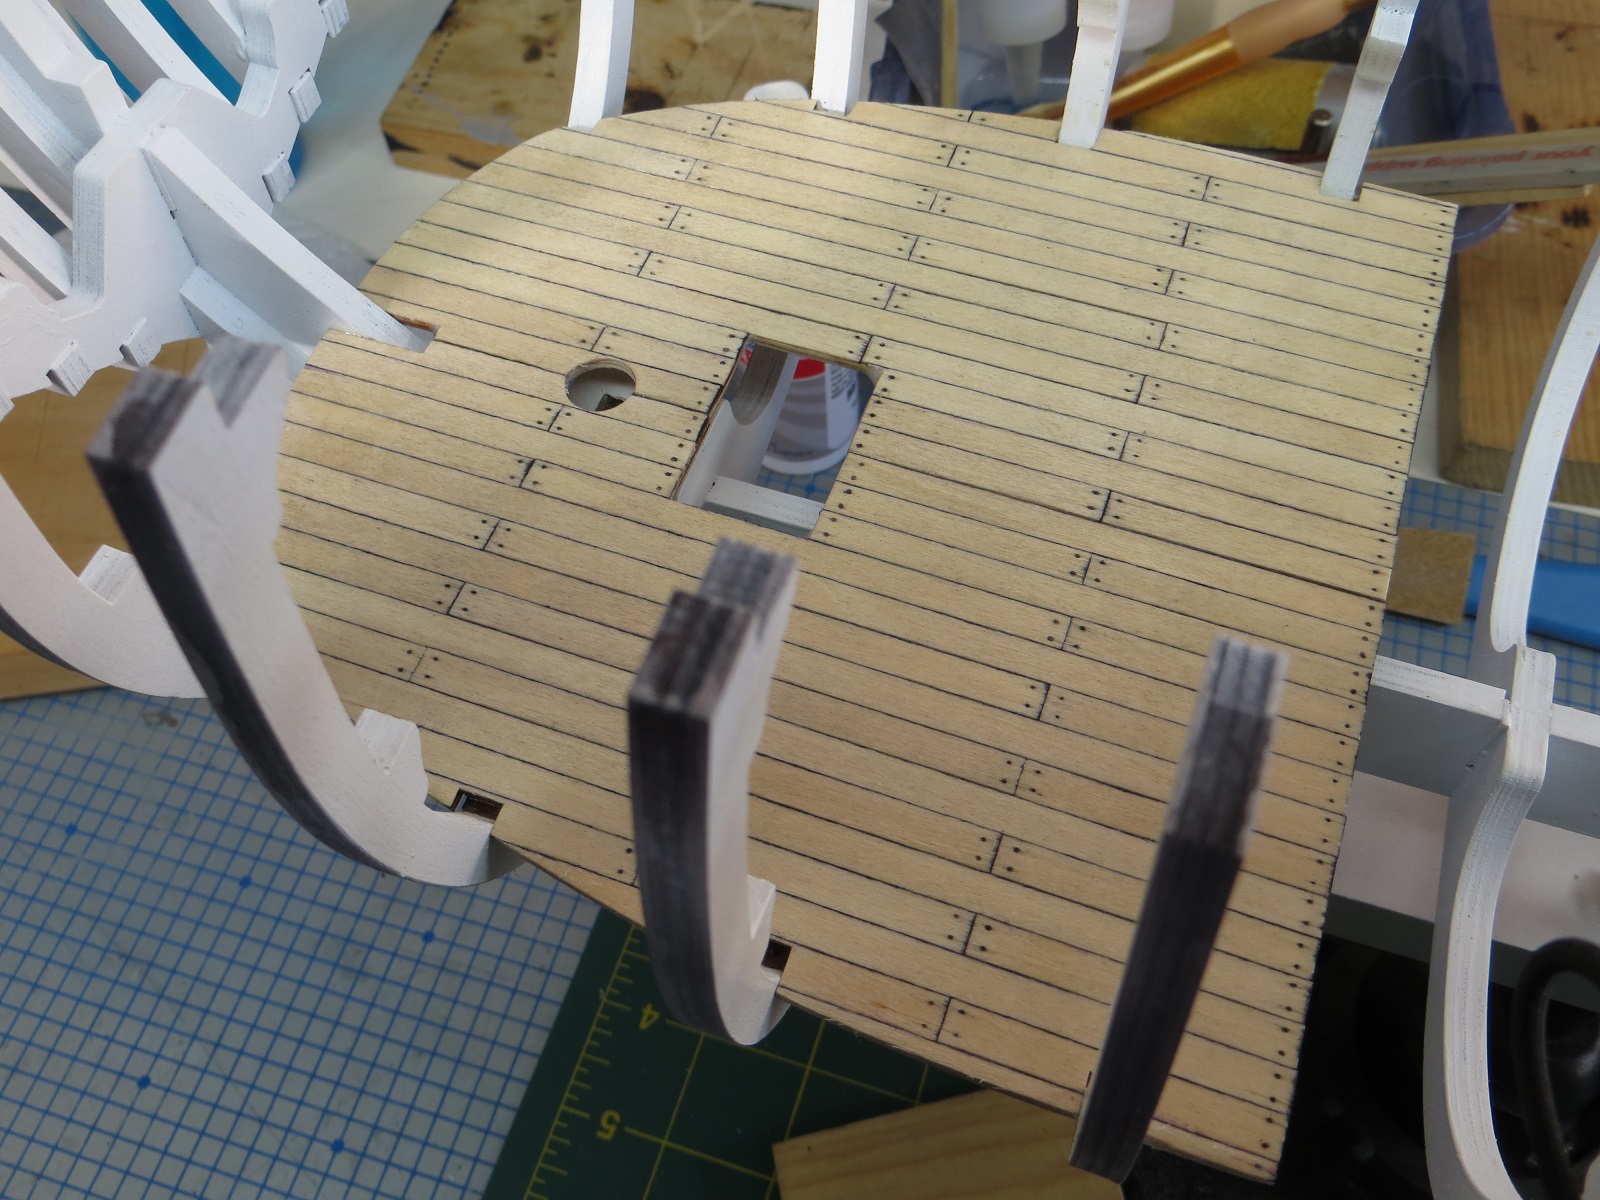
The following photos are of the installation of the aft lower decking. Like the forward decking it is constructed by planking 1/16" ply with 1/64" basswood strips. I am reasonably satisfied with the look of the decking with its caulking and nail holes. The deck is epoxied to the cross beams. The final photo is of the cross beams being laid for the next deck.


-
I completed the forward lower decking. The decking is made from two pieces of thin plywood planked with .06 thick basswood. The model shows long strips but I prefer shorter strips offset between rows. I use black permanent marketer to simulate the caulking between the individual planks. I made a little jig for the nail holes. I first punch small holes in the planks with a pin (using the jig for alignment). I then use a sharpened #2 pencil to color the pin holes. A thin coat of polyutherane was used to seal everything. I didn't use any stain because I am trying to keep the interior bright.
-
-
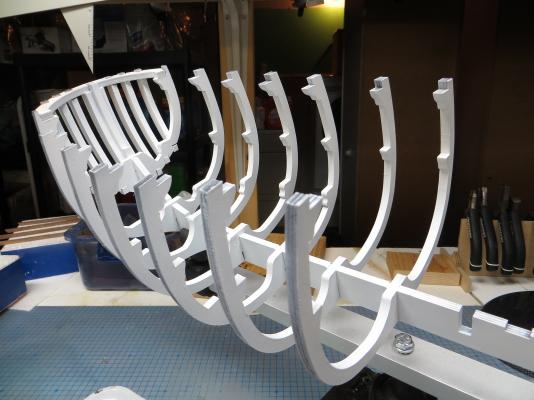
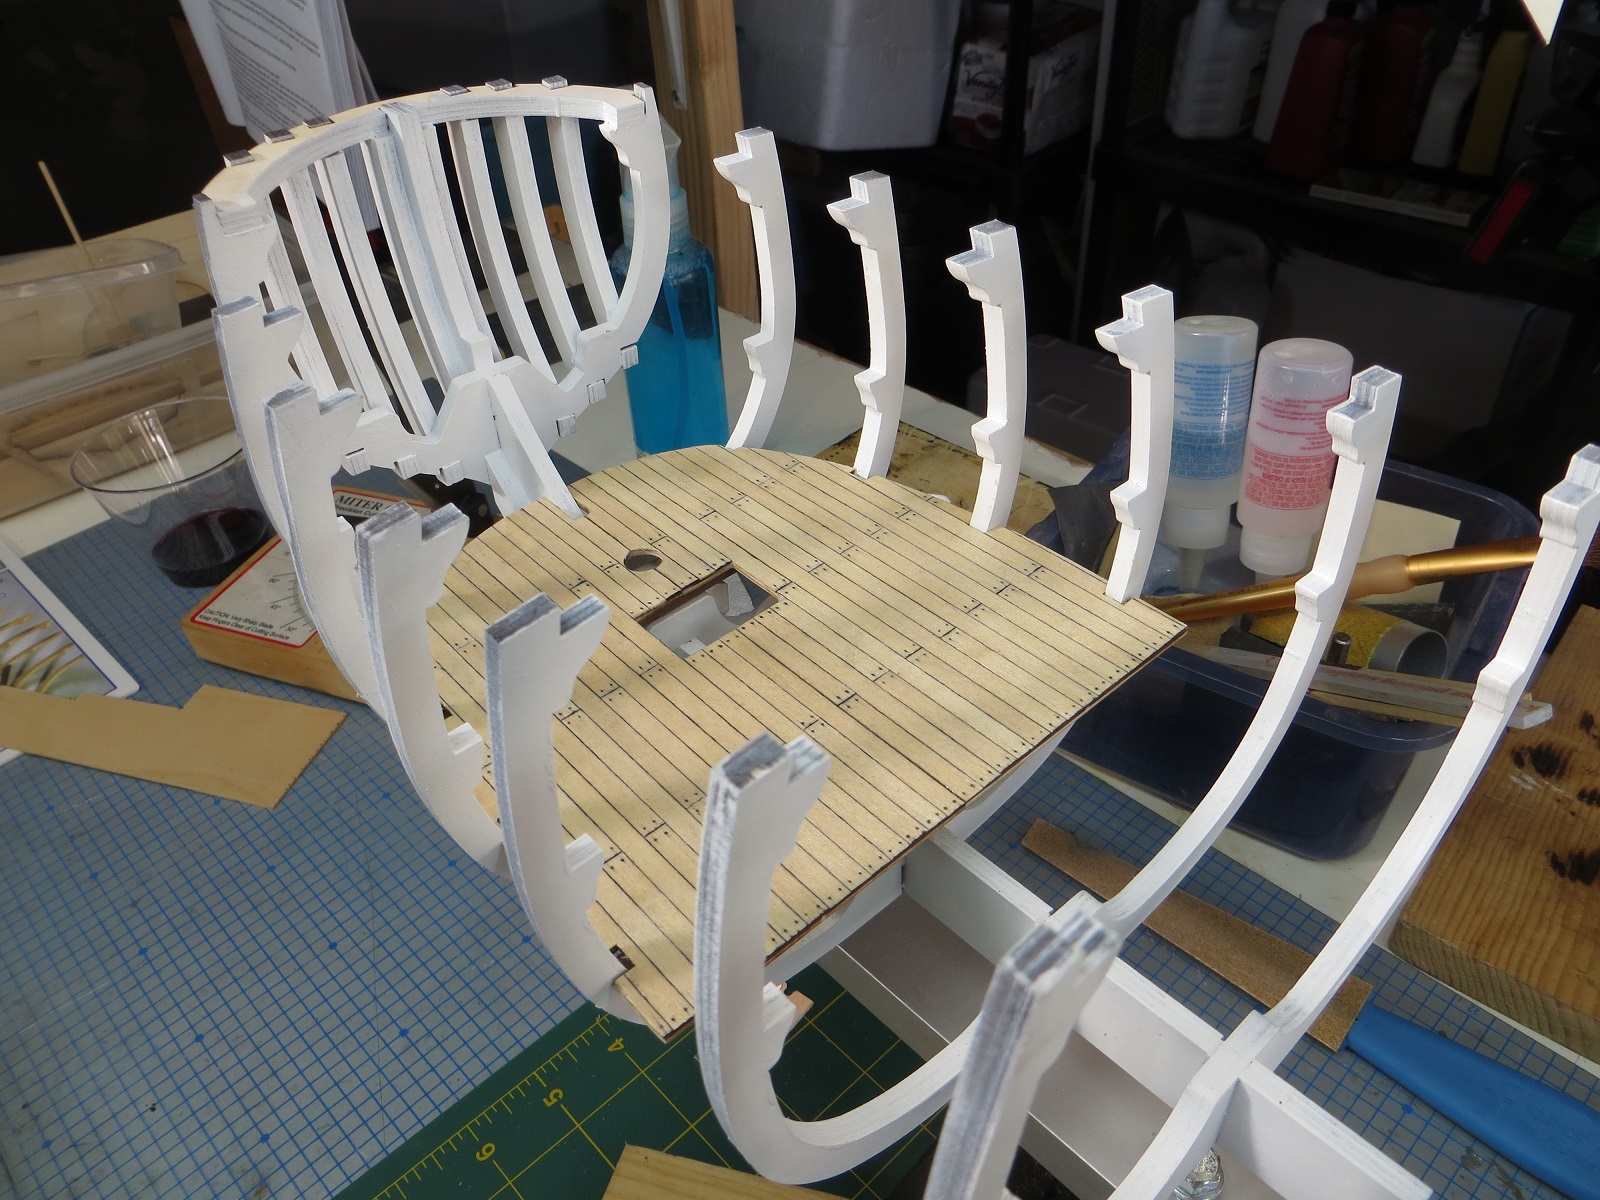
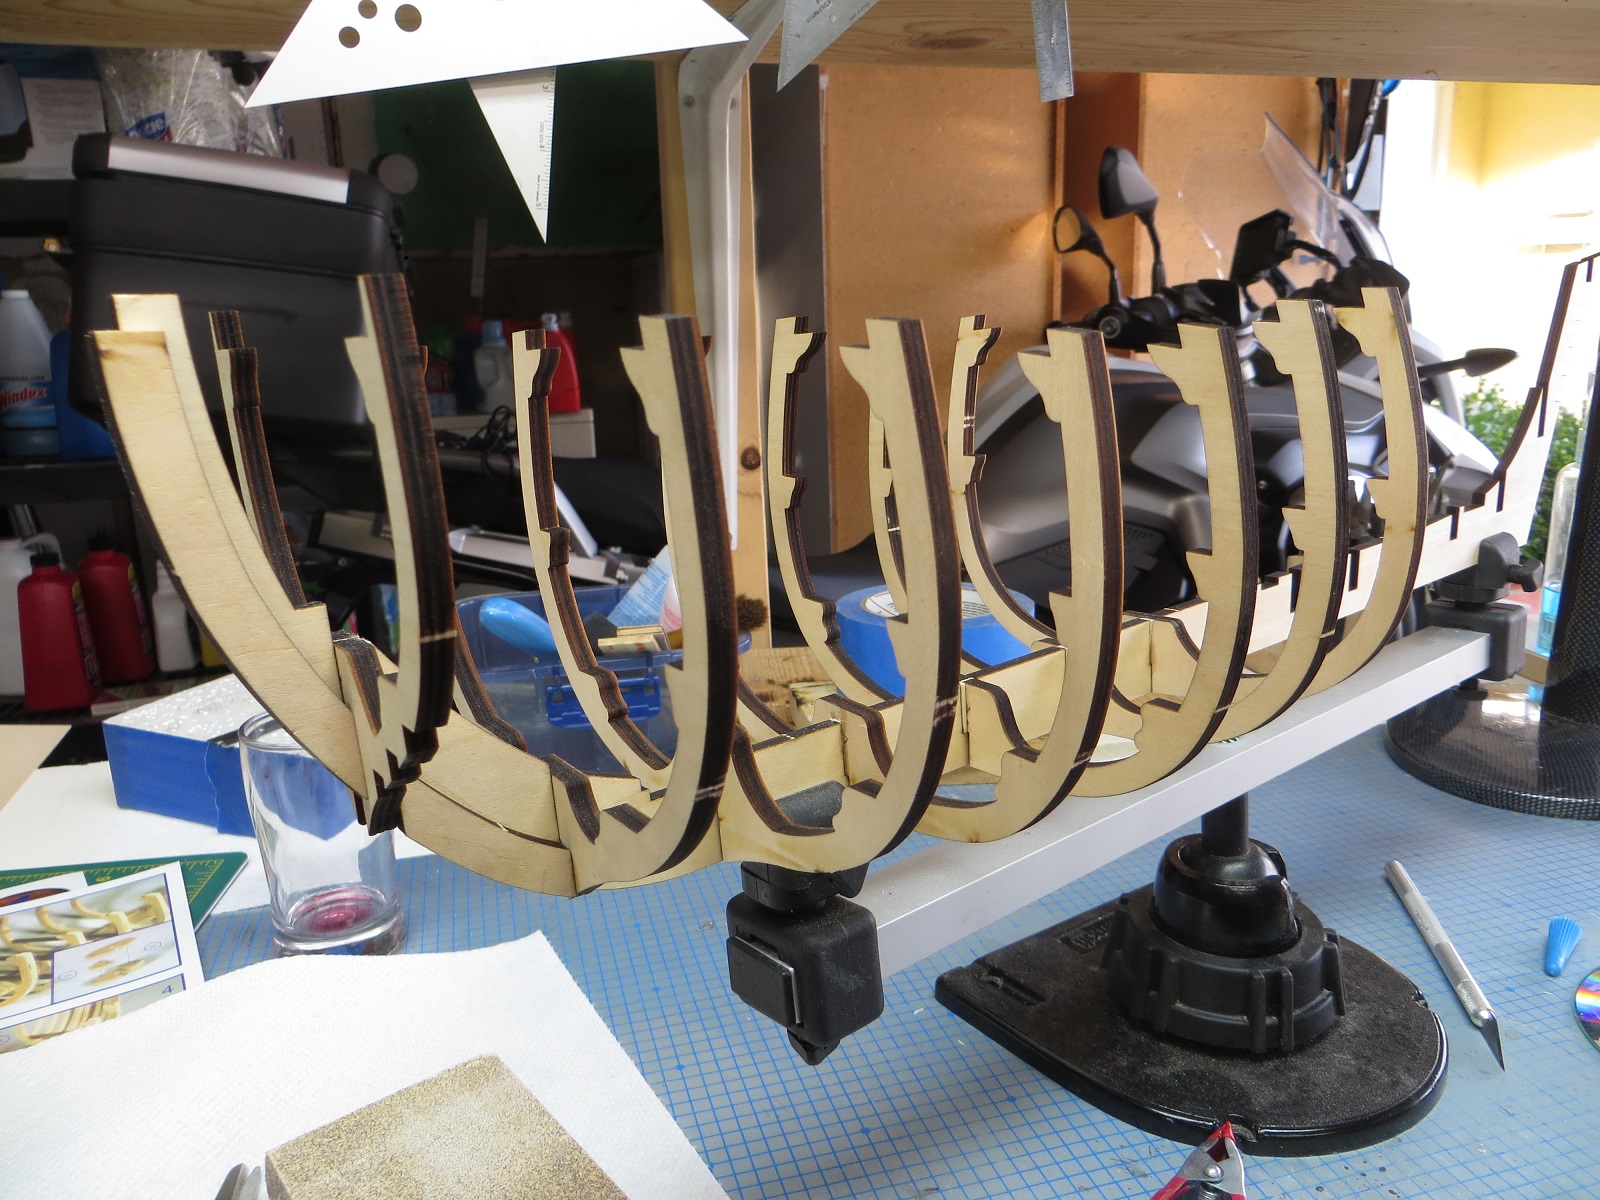
I didn't take any photos, but the contents of the box were neatly packaged and none of the ply sheets were warped. The laser cutting of the parts is excellent. A few small tags hold the parts and once these are cut the parts drop free. I have begun the assembly of the keel and frames. At this point I noticed that the slots in the keel and the frames were a bit oversized. I cut some shims from 1/64 inch ply I had lying around and these worked. In a few hours I had the beginnings of the model.
The keel and frames are built in stages; fore and aft. The first stage involves the forward frames. Once these are installed, some decking will be build and installed before proceeding with the aft frames.
I have now found that there are at least two builds of this model in process. I am the third. The other builds are ahead of me which is always nice as they will find the problems I have to deal with. I am following both builds.
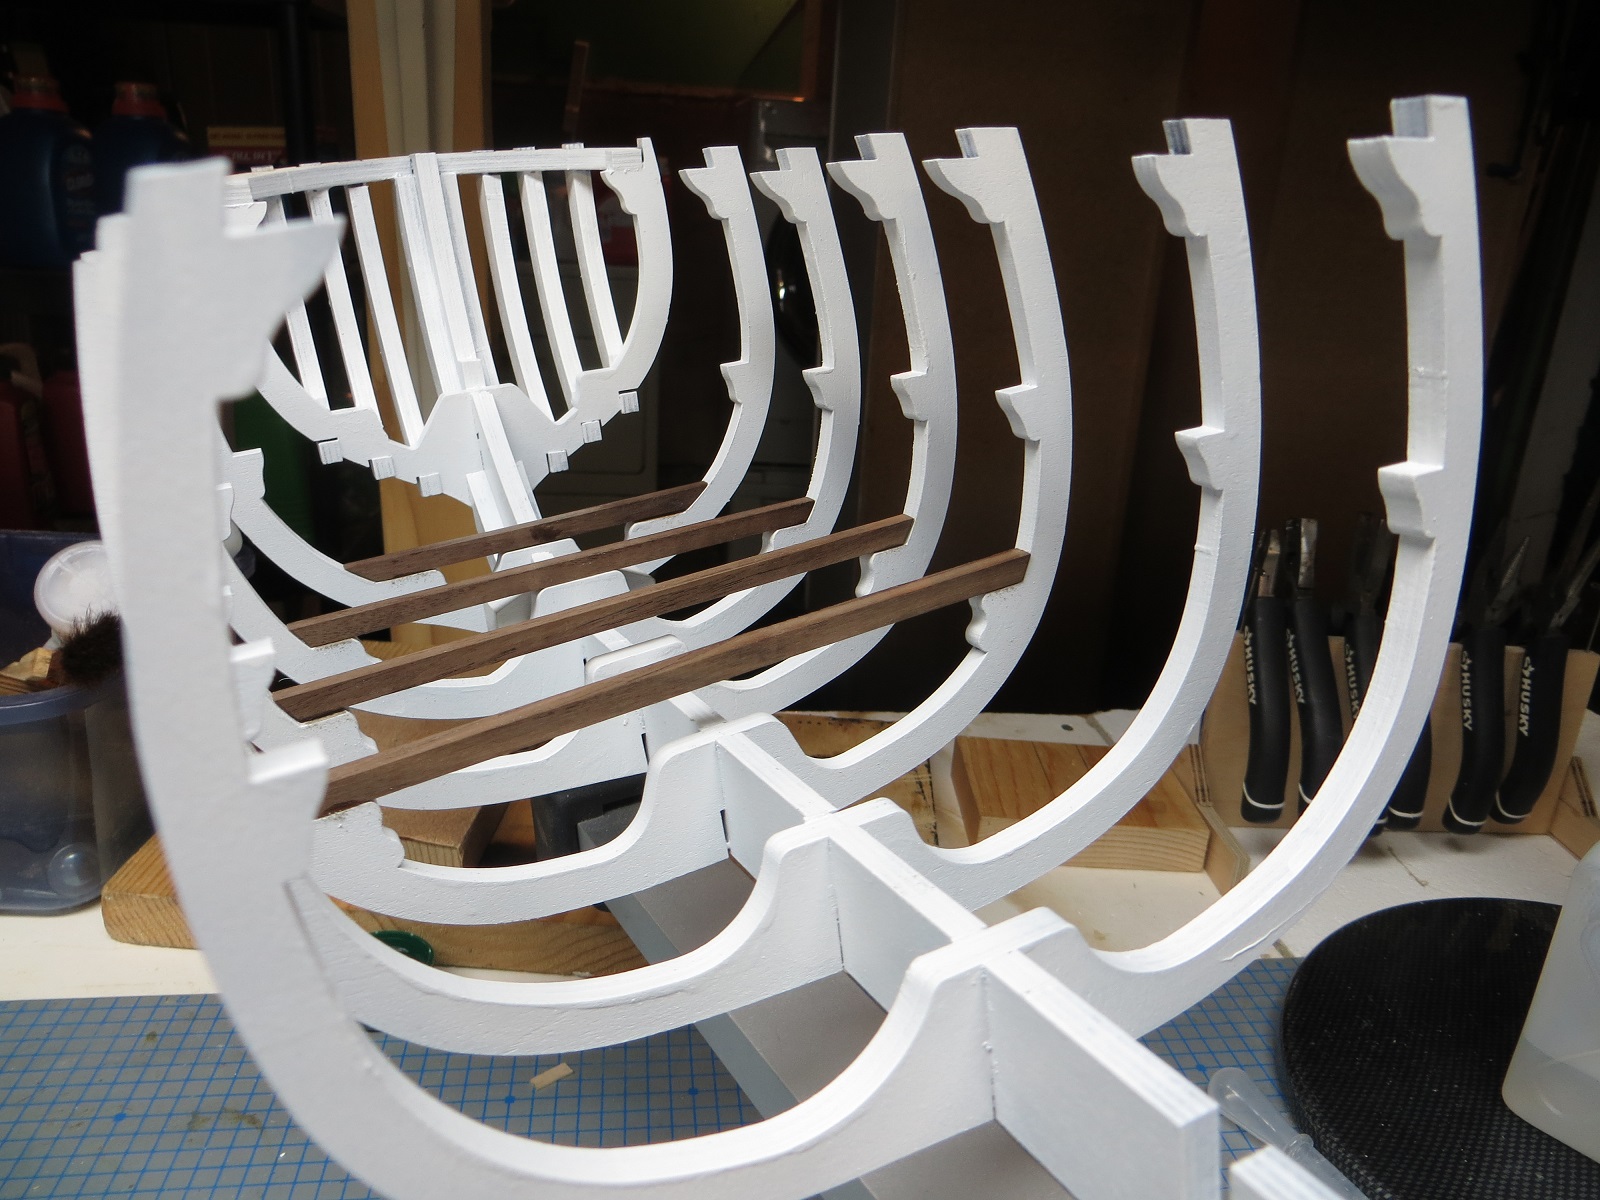
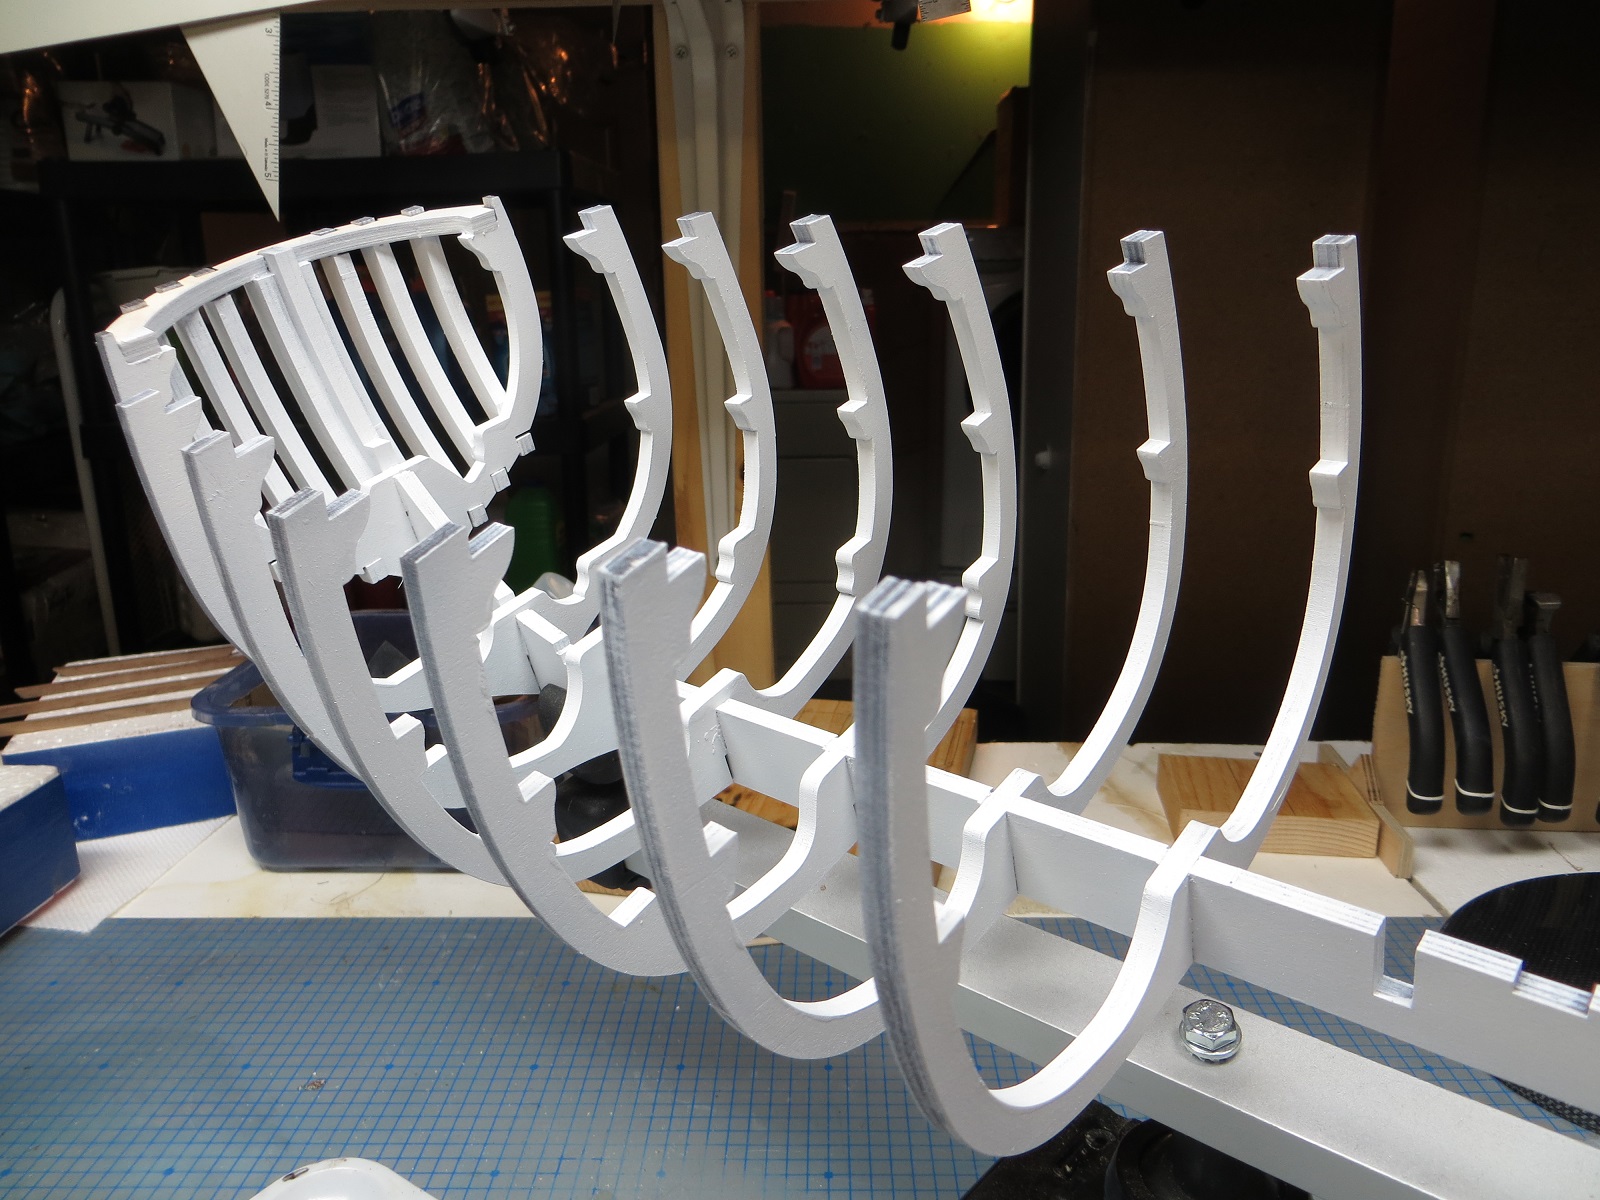
I noticed that in both builds and the model photographed on the box the frames and keel were either kept natural or in one case stained and sealed. I have toured several full size ships of the Bounty's period and I have visited several web sites with photos of the replica Bounty that sank several years back. It appears that much of the interior hull (i.e. frames and interior planking) were painted while. I decided, what the heck, and painted my frames and keel white. Time will tell whether I have made a mistake or not. I think it will brighten the interior when the model is completed. Let's hope.

-
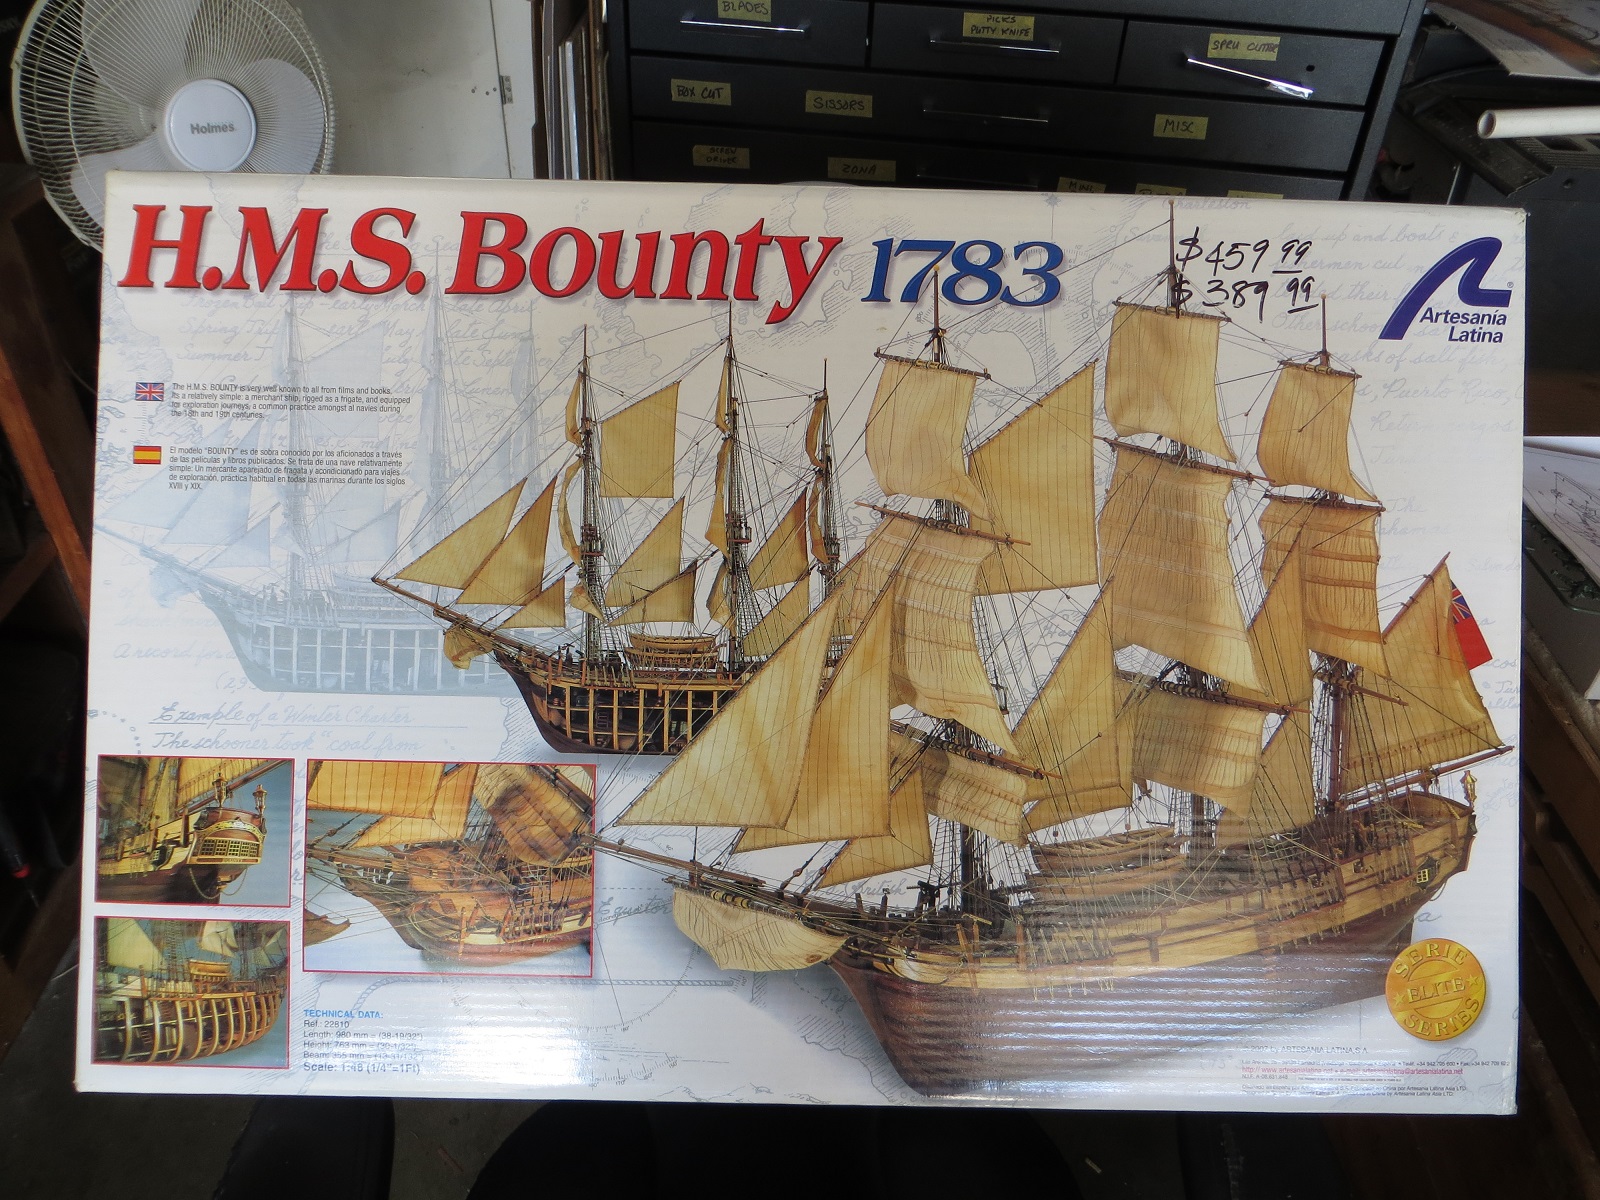
I am nervous to start this model and this build log.
First, I am worried that I may have stepped over my "skill line" in choosing this kit as my next build. This is my third build but will be my first fully rigged ship. Planking and rigging should be the big challenge. I hope to get some help along the way.
Second, the kit. Before I purchased the kit, I researched and did not find a lot of info on this model. I could not find a build log for this particular kit version of the Bounty. I did find a discussion about the relative merits of the manufacturer and did not find it full of glowing comments. But, since I have build one AL kit before (the Sansun), I decided to go ahead.
What grabbed me about this kit is the opportunity to build an interior. I have toured a few 1:1 sailing ships such as the Victory and what I find truly interesting is touring the interior decks of the ship. This is where I feel you can really begin to appreciate the life of a sailor in the 17 and 18 hundreds. I hope my model will convey some of that feeling to whoever gets to view the completed model.
So here it goes......my build log of the HMS Bounty (inside and out).

- Foultide, Vtwoods1027 and msberkman
-
3
-
Well, now I have to chose a new project.
-
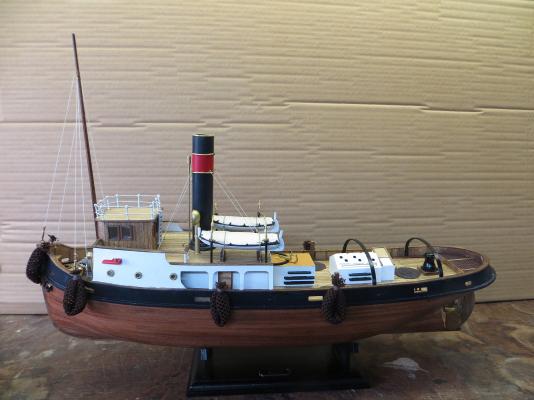
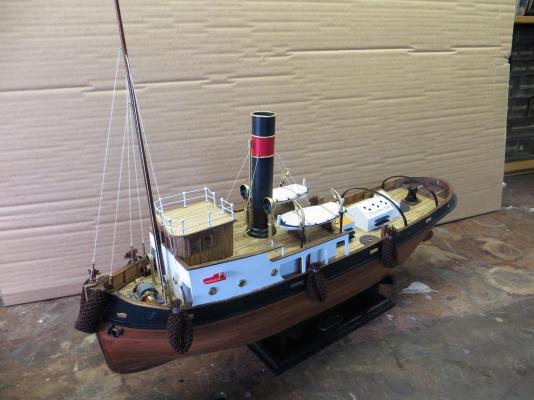
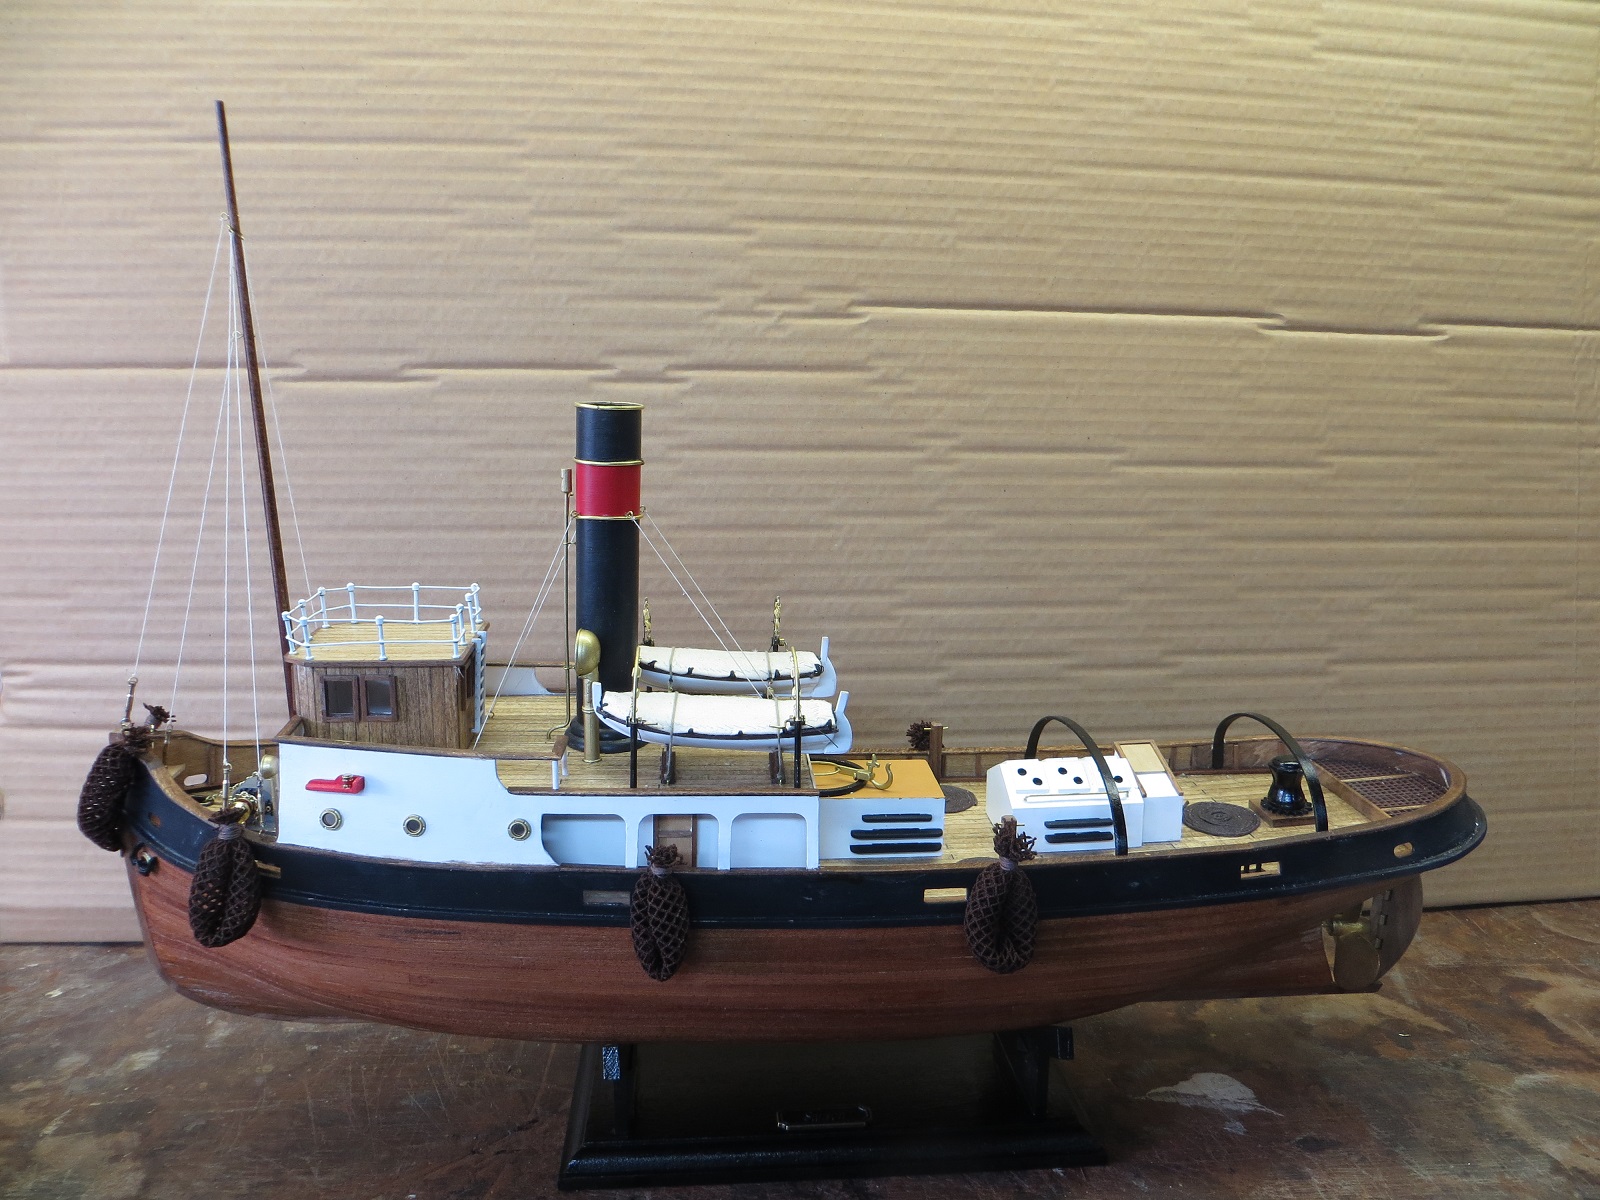
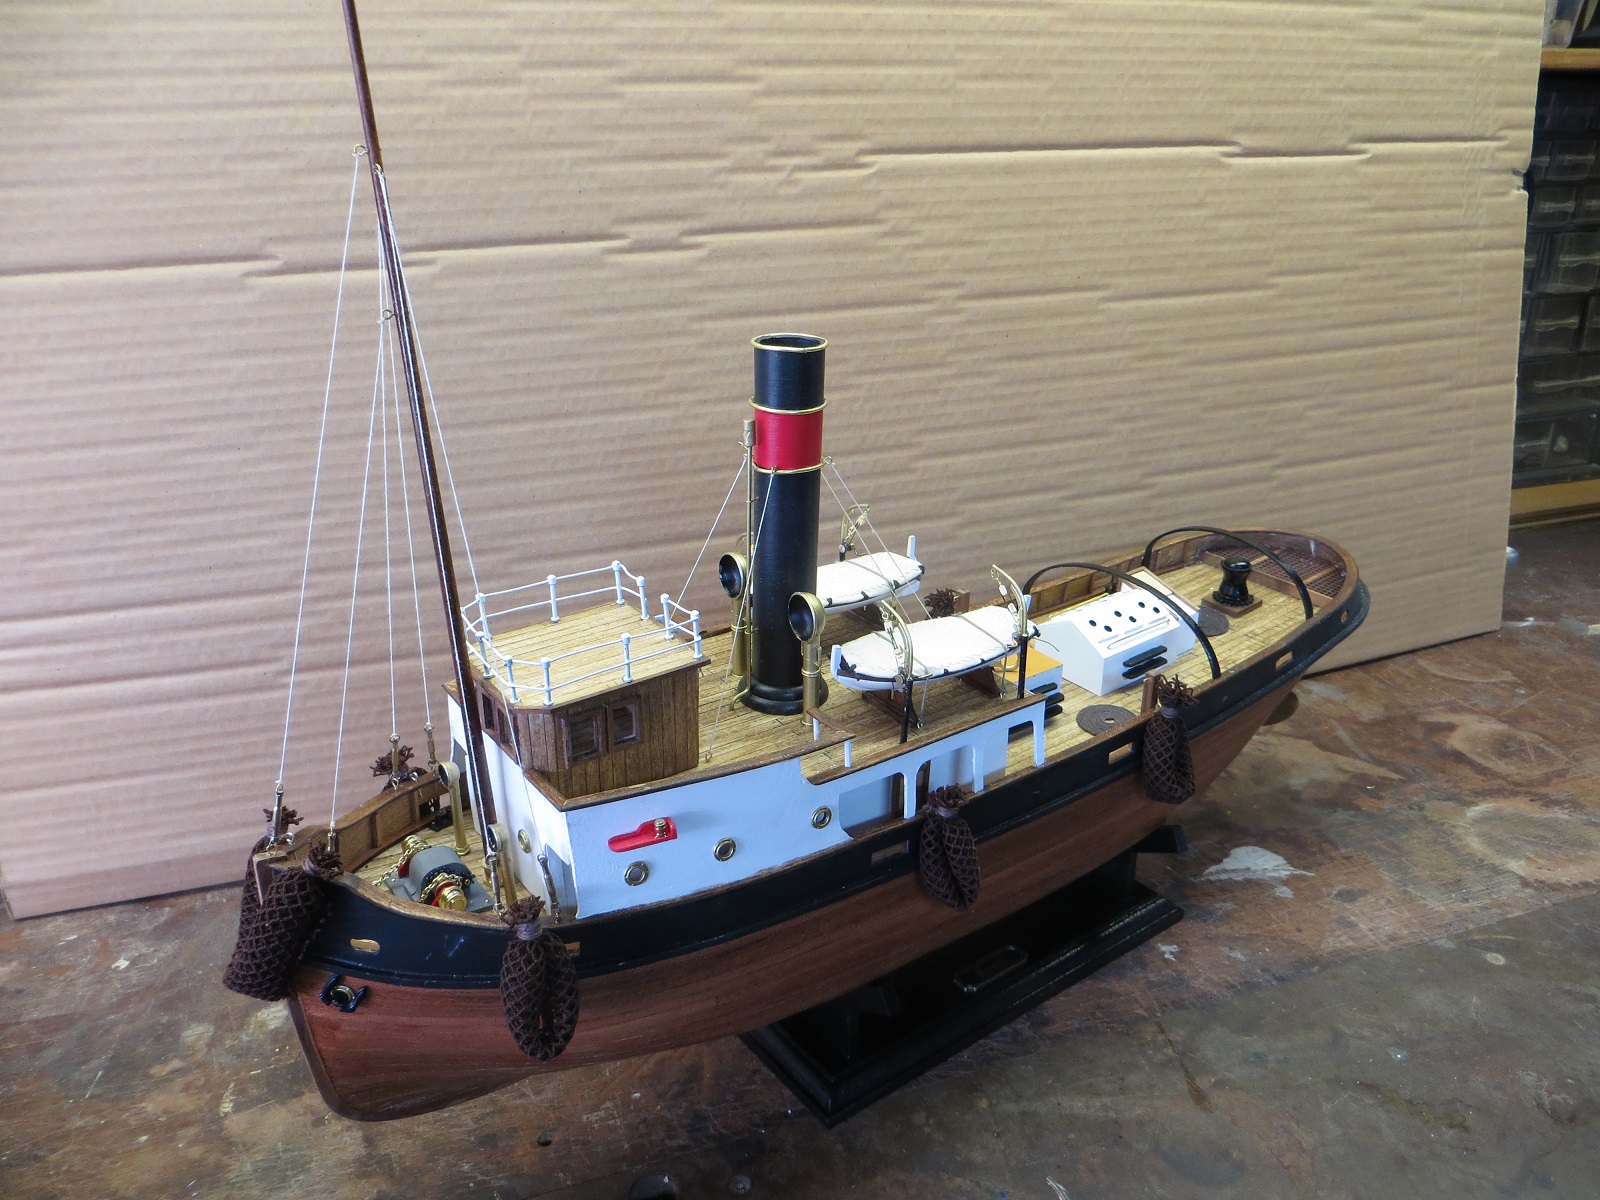
There were a lot of small details that I failed to photograph; but I have declared the Sanson completed. I built a stand out of some scrap lumber. My photography is not very good but here is a few photos of the completed model.
- mrshanks, juansystem05, hexnut and 4 others
-
7
-
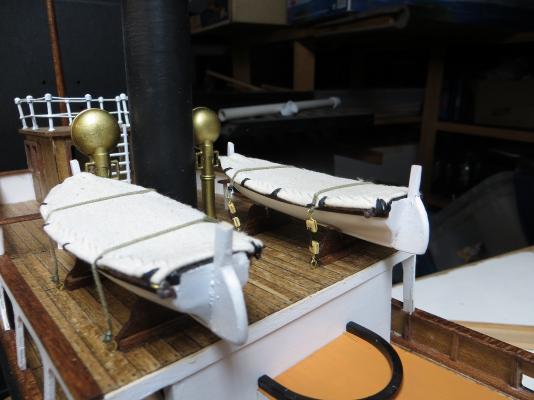
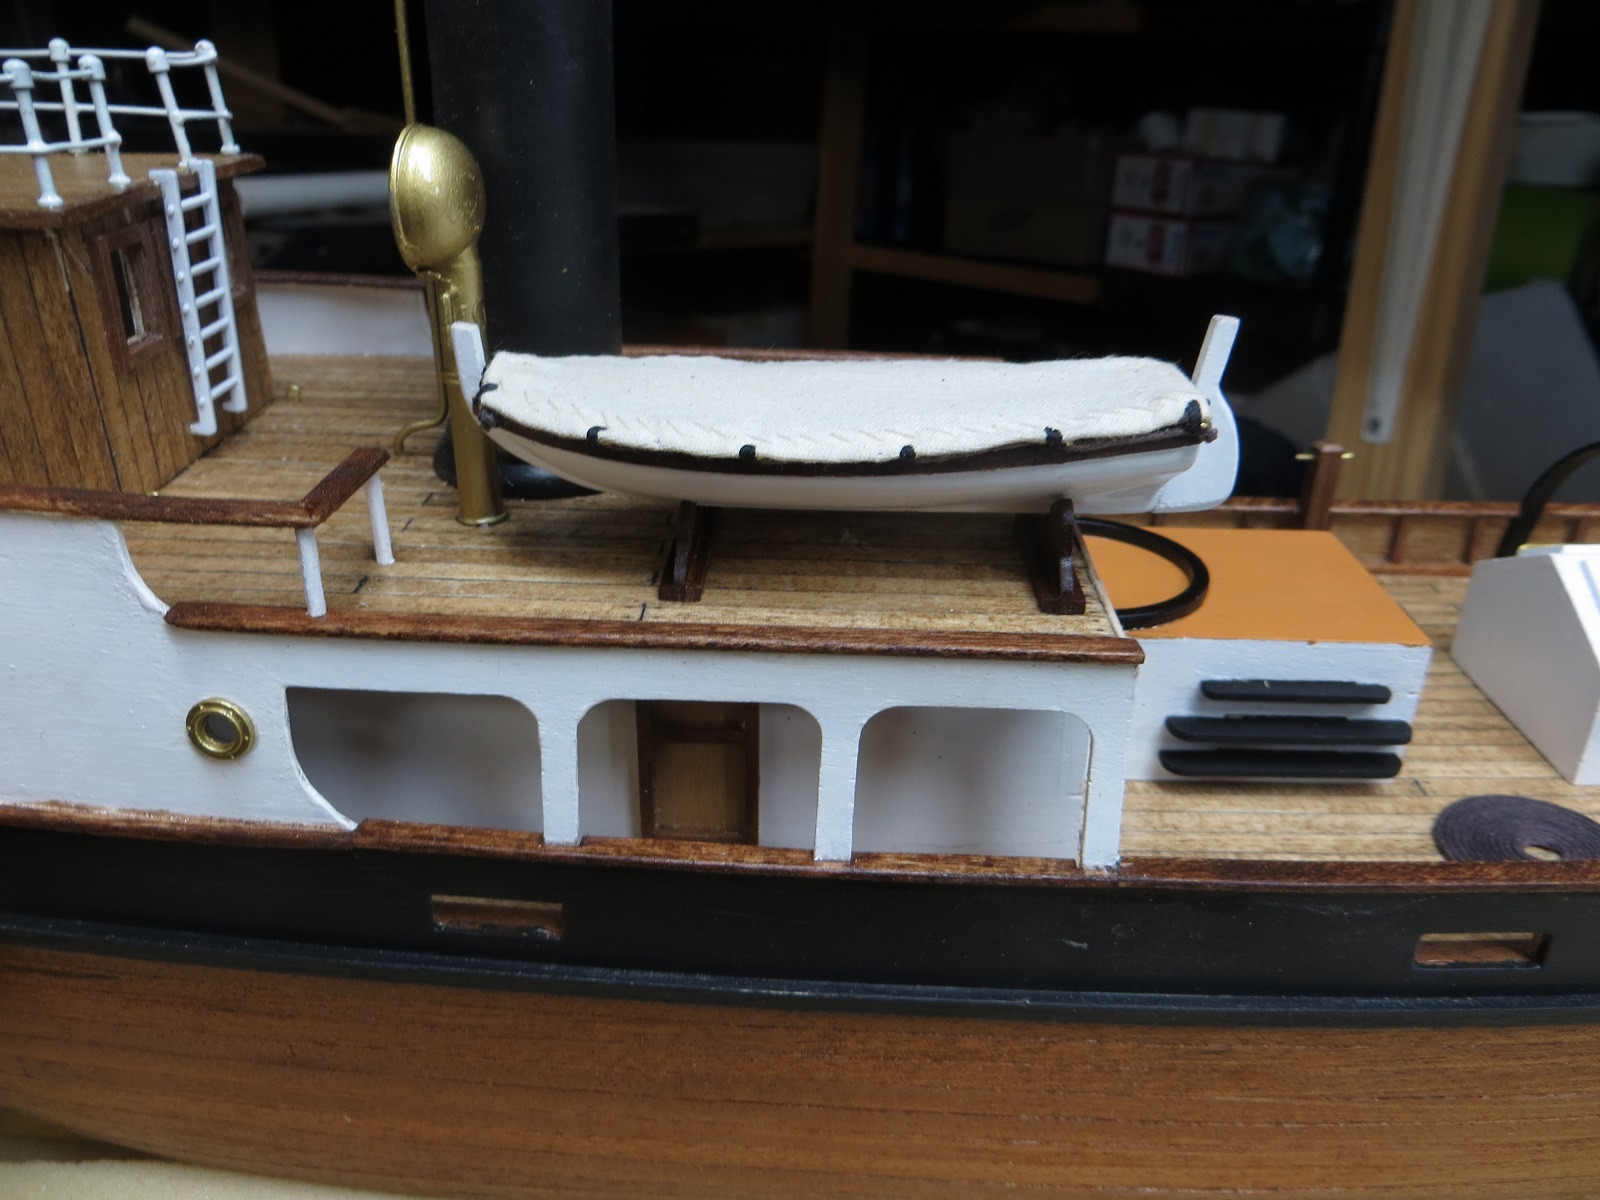
The model has two life boats on its upper deck with deck gear used to maneuver the small boats overboard. The small boats included in the kit were made of "pot" metal and required quite a bit of work to make them look like real small boats. First I covered the upper "deck" with 1/8" wood so later I could attach rings for the covers. Next I added the rudder and tiller. A bit of roughing up the metal with 400 grit sandpaper, priming and painting got them to where they looked OK. I hand sewed the canvas covers and roped the completed boats in place. I think they turned out OK.

-
-
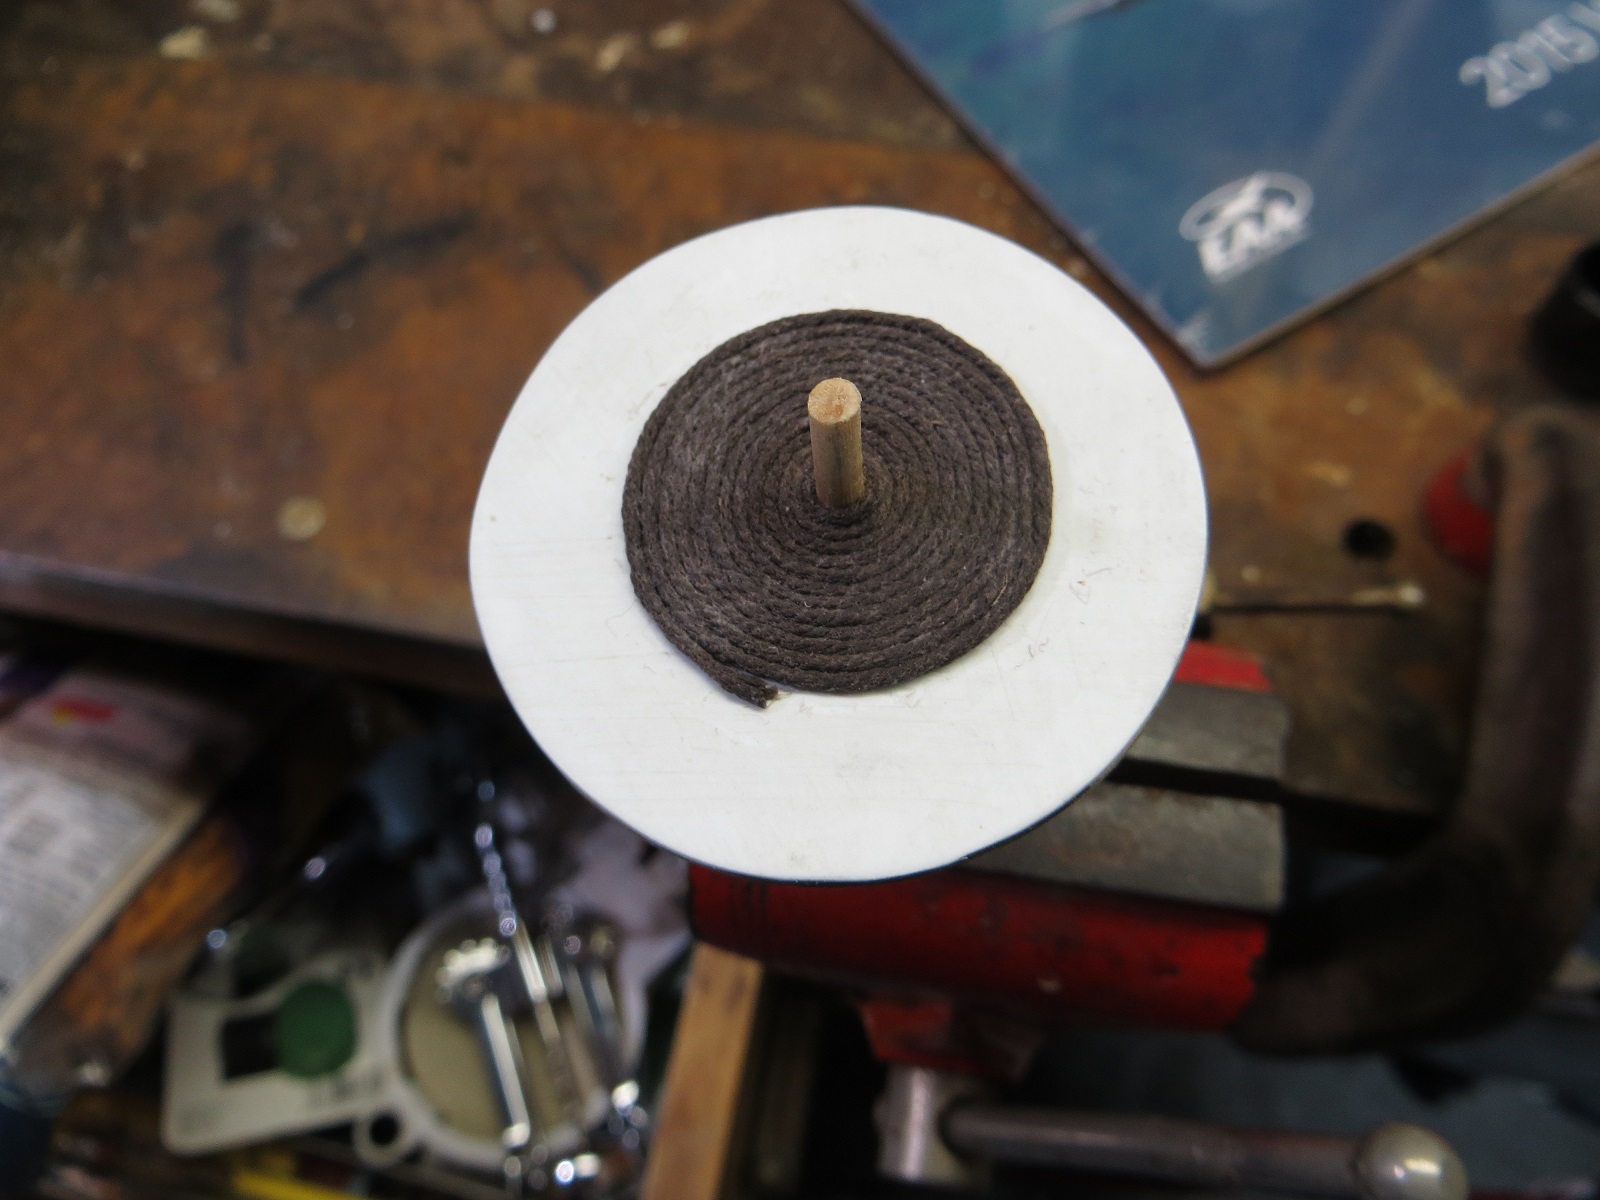
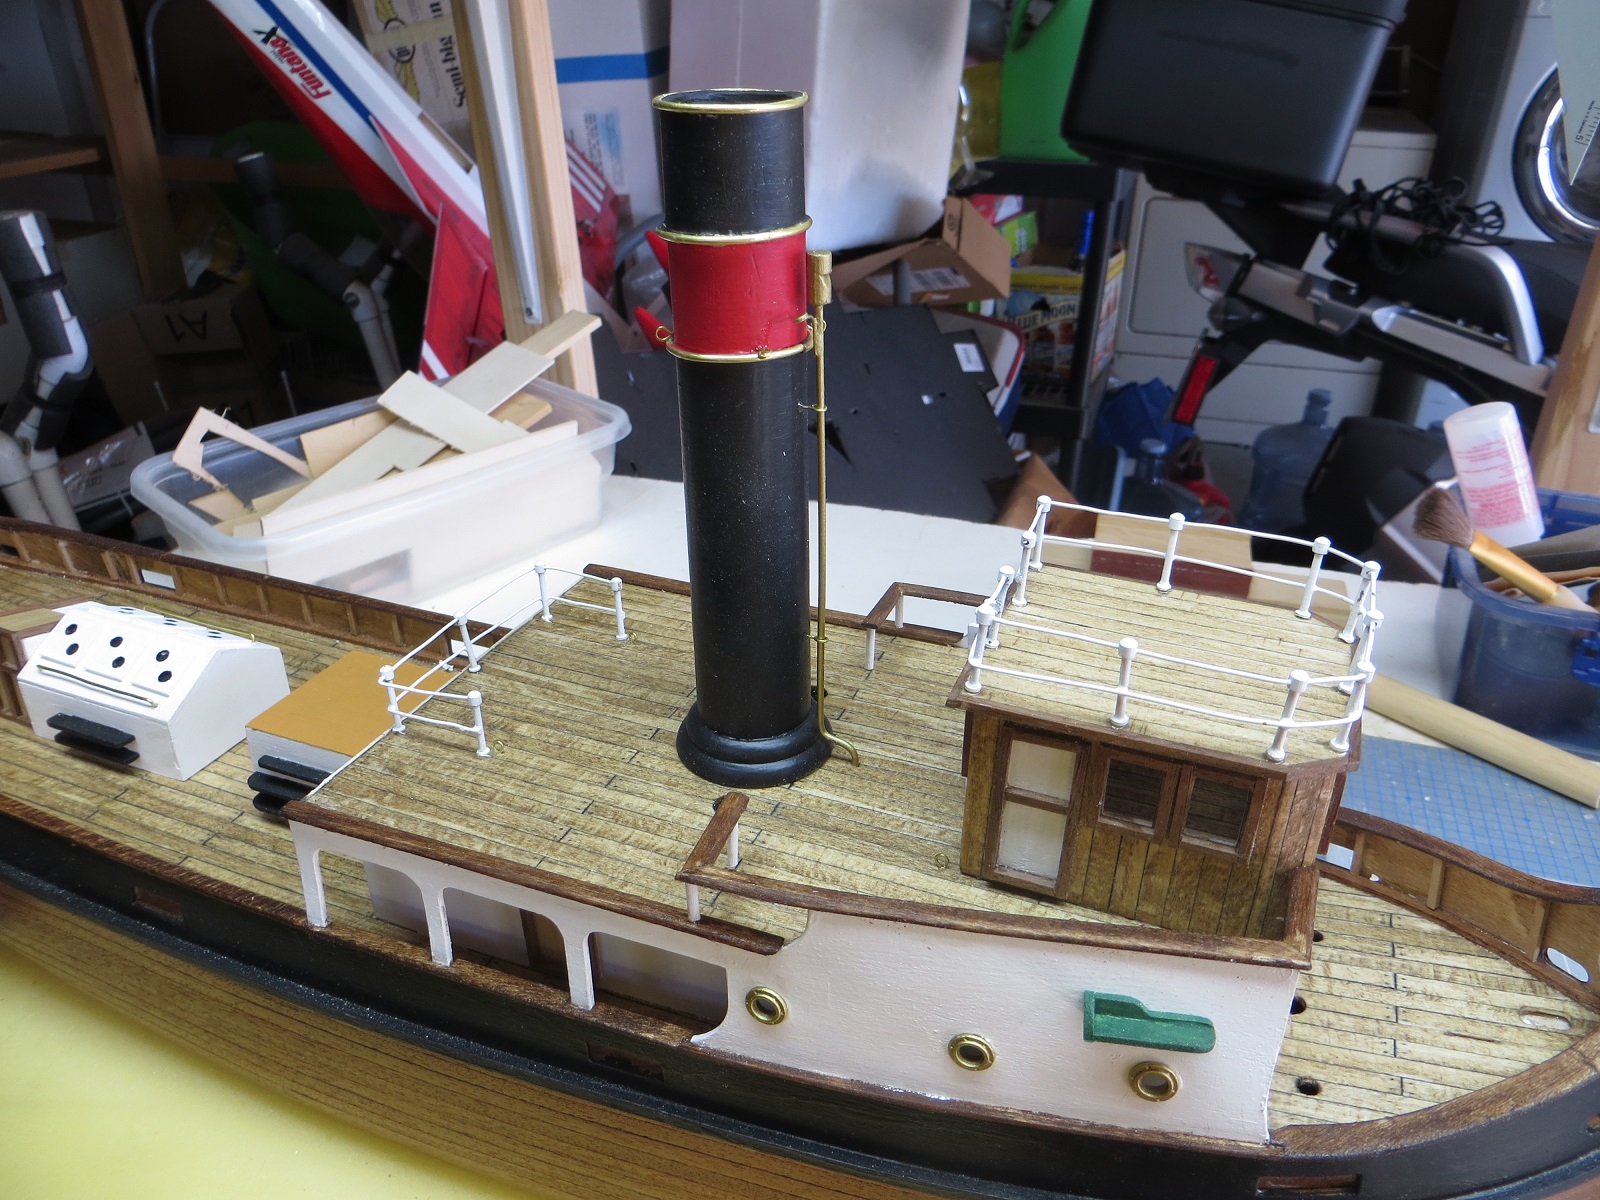
Brass rings made from brass wire. I used a torch to heat up (anneal?) the wire to get it pliable. Next I bent the brass wire around a slightly small diameter dowel to form rings. I cut a small grove around the smokestack at the location of the rings and slipped the brass wire rings over the stack and into the groves. Carefully marked the length of the rings, took them off the stack and cut and filed the ends square. Final step was to epoxy the rings in place in the precut groves.
-
Well that brings you up to date. Still a lot of detail work to complete. I also need to begin think about display. I think I am going to put this model on a credenza in my office.
-
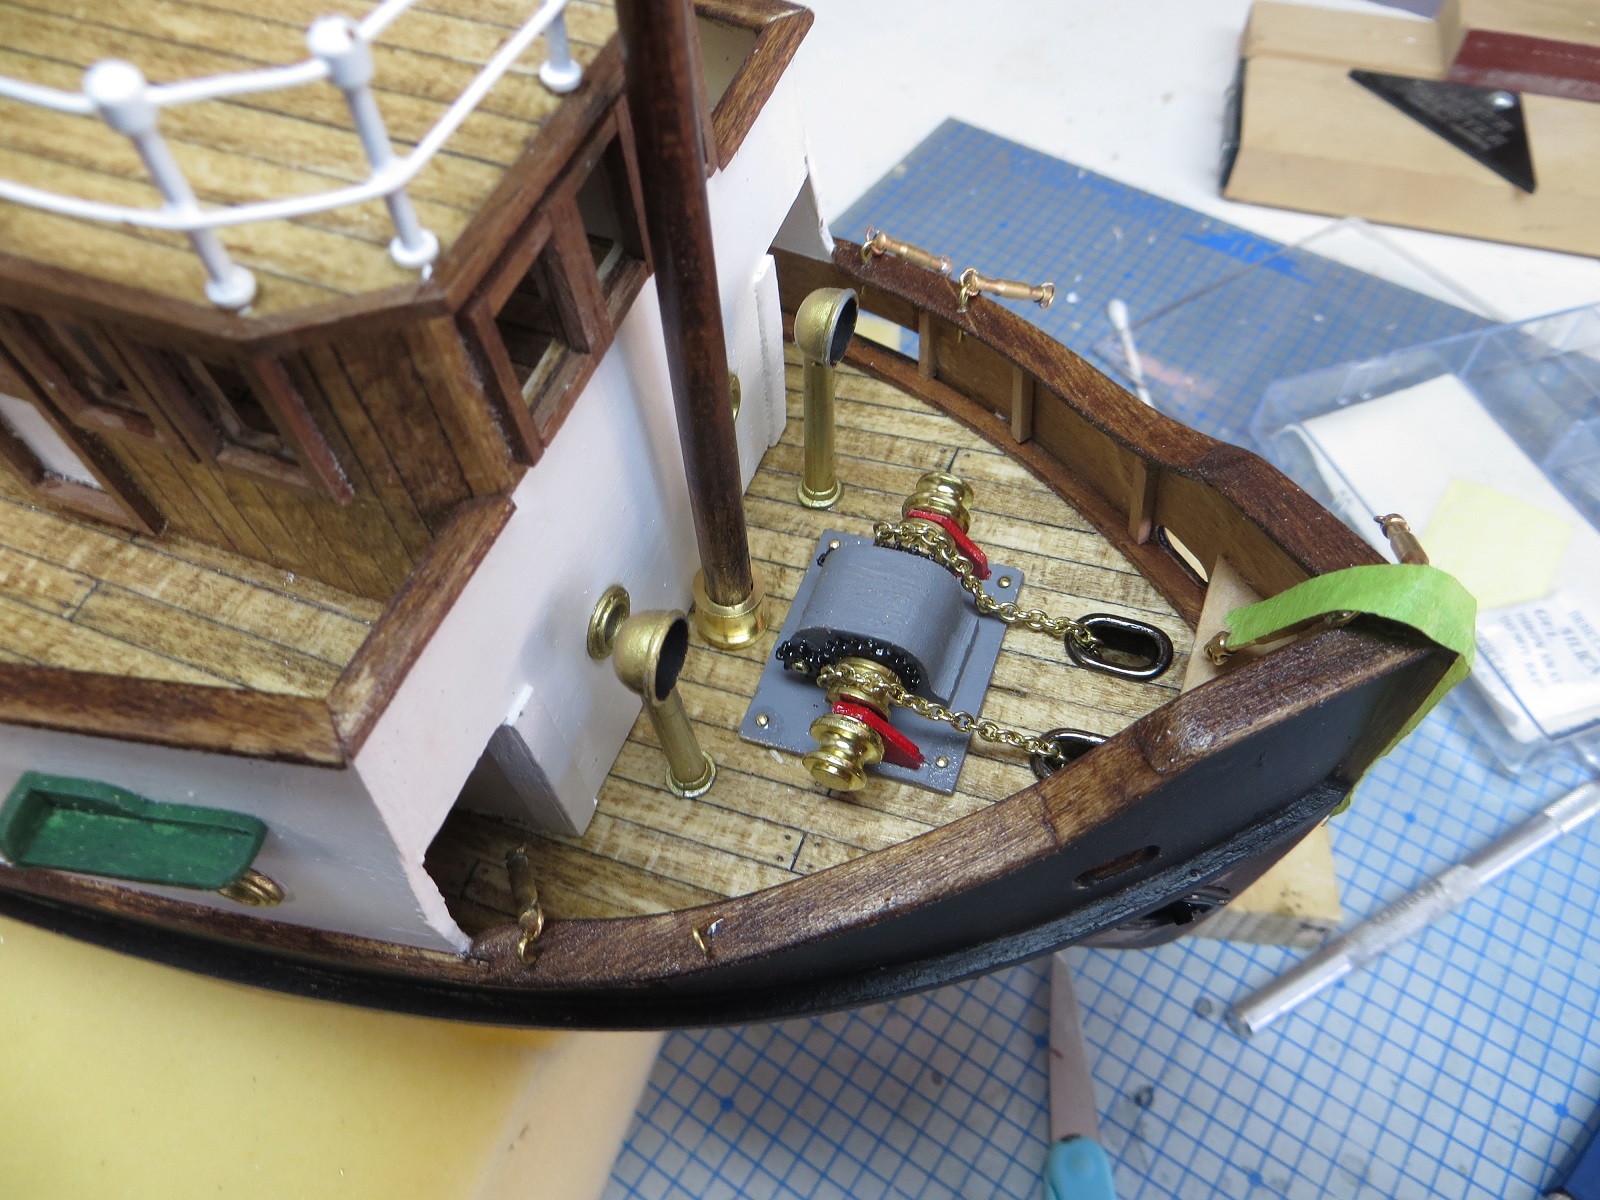
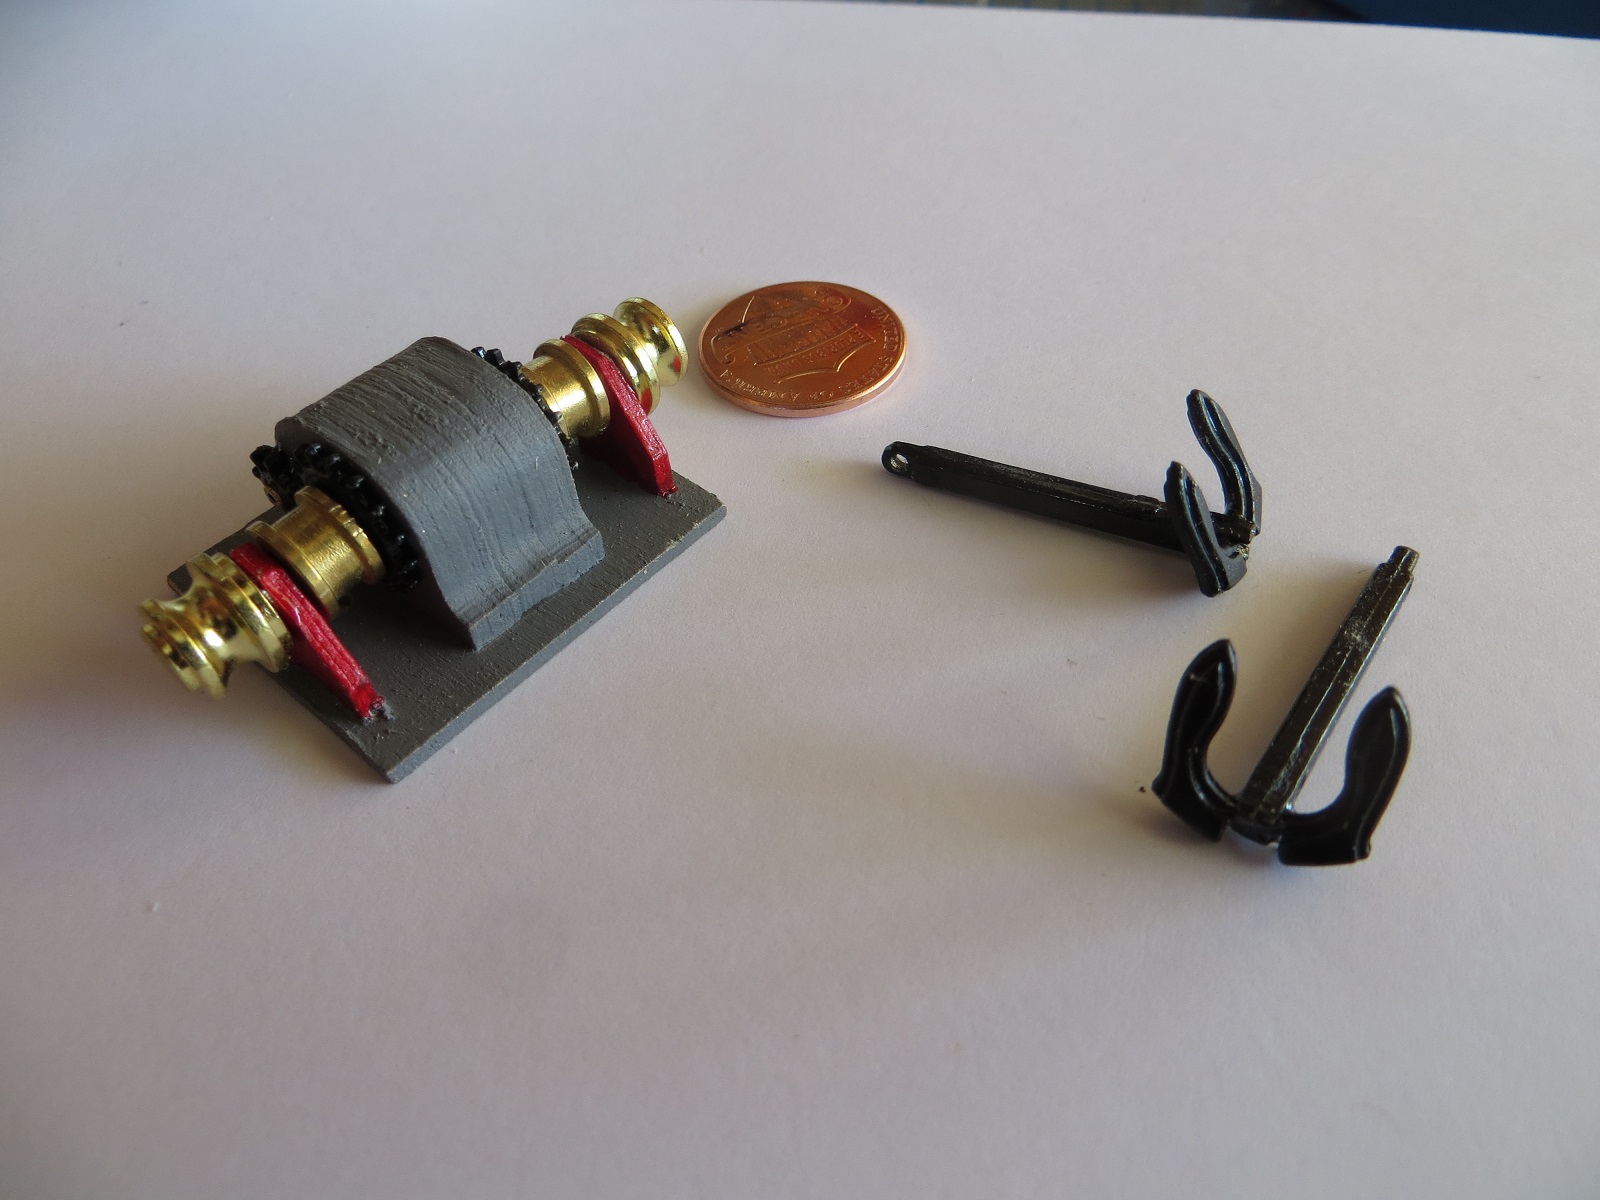
Anchor motor and anchors installed.

- tarbrush and argoscelik
-
2
-
-
I painted the dowel for the smokestack. Adding the brass rings was a bit of a challenge. I still have a lot to learn about working in metals. I think they will look OK once I touch up and get the rigging installed.

- argoscelik and tarbrush
-
2
-


HMS Bounty 1783 by rcmdvr - Artesania Latina - Scale 1:48
in - Kit build logs for subjects built from 1751 - 1800
Posted
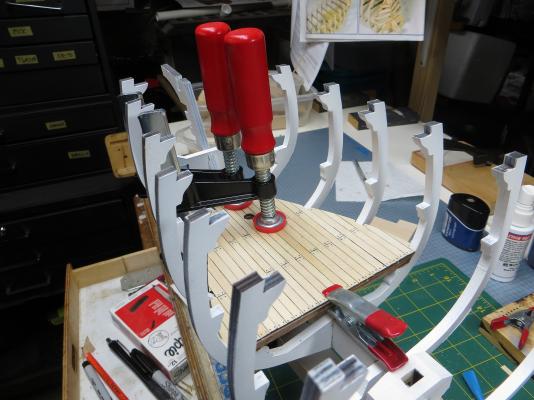
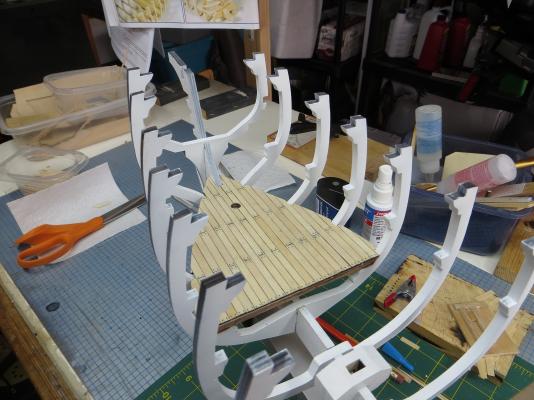
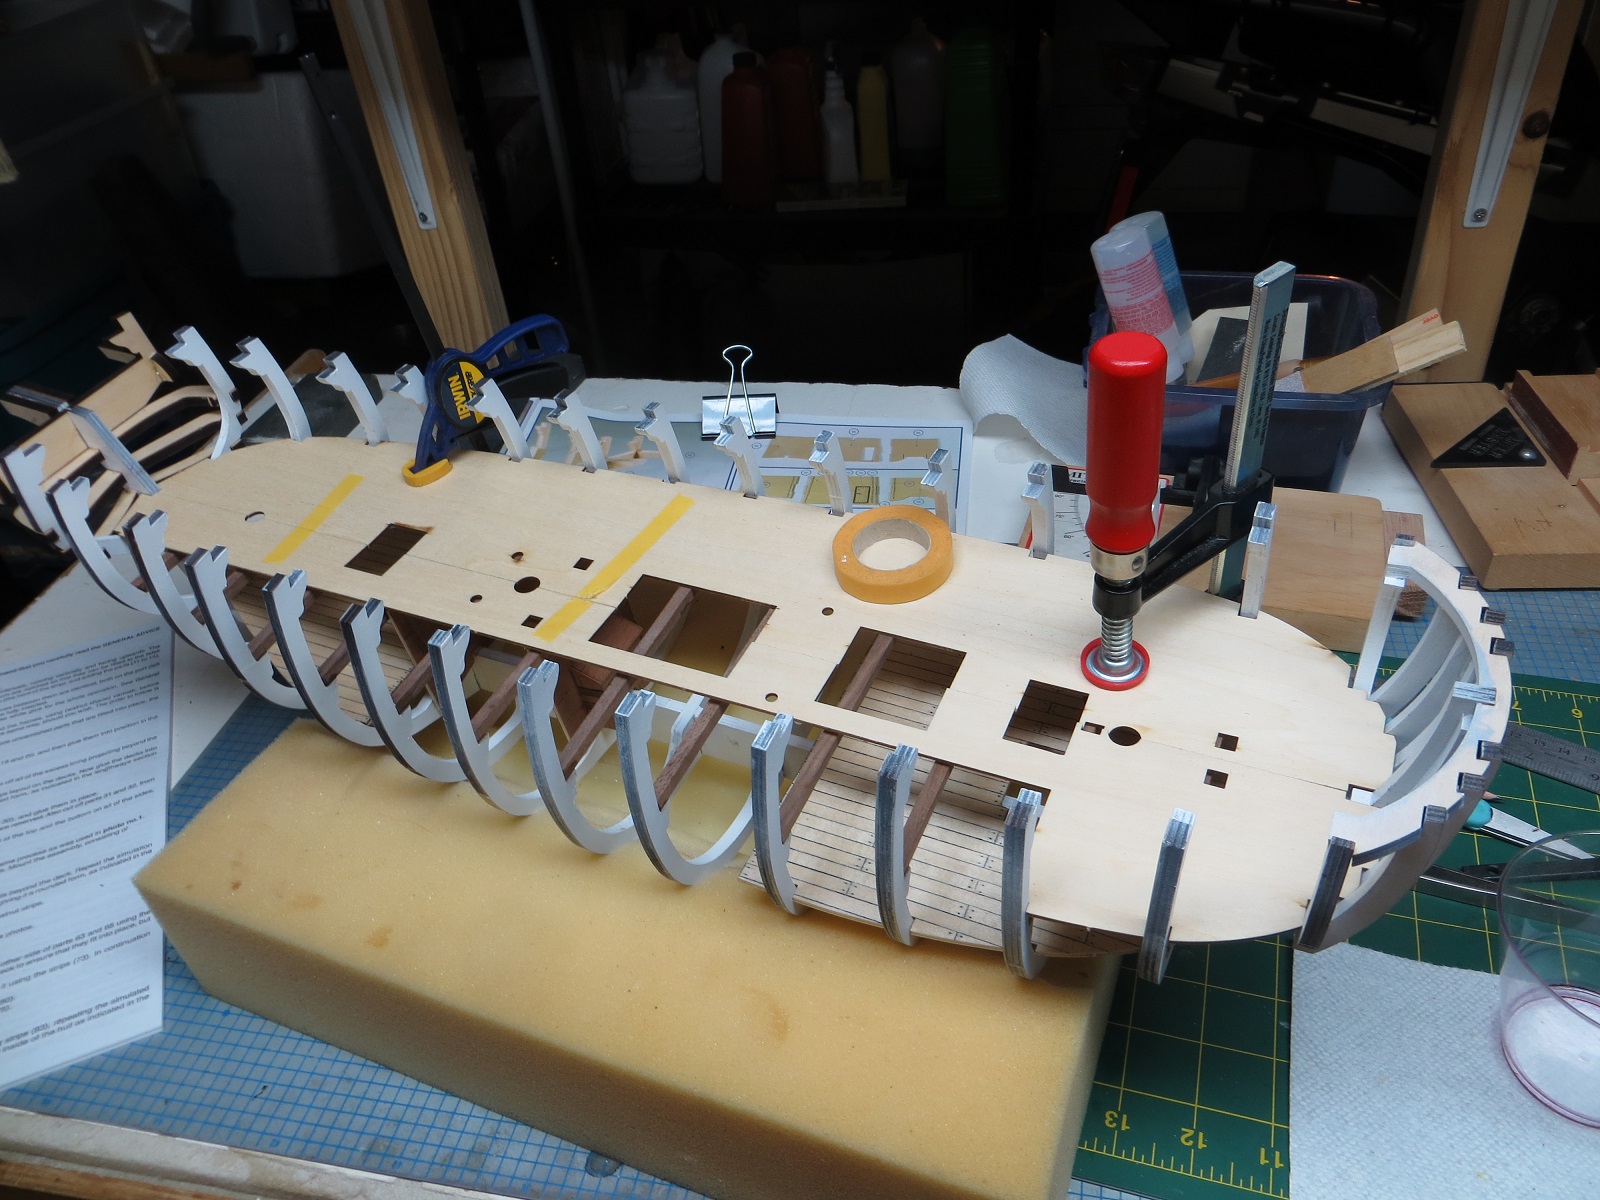
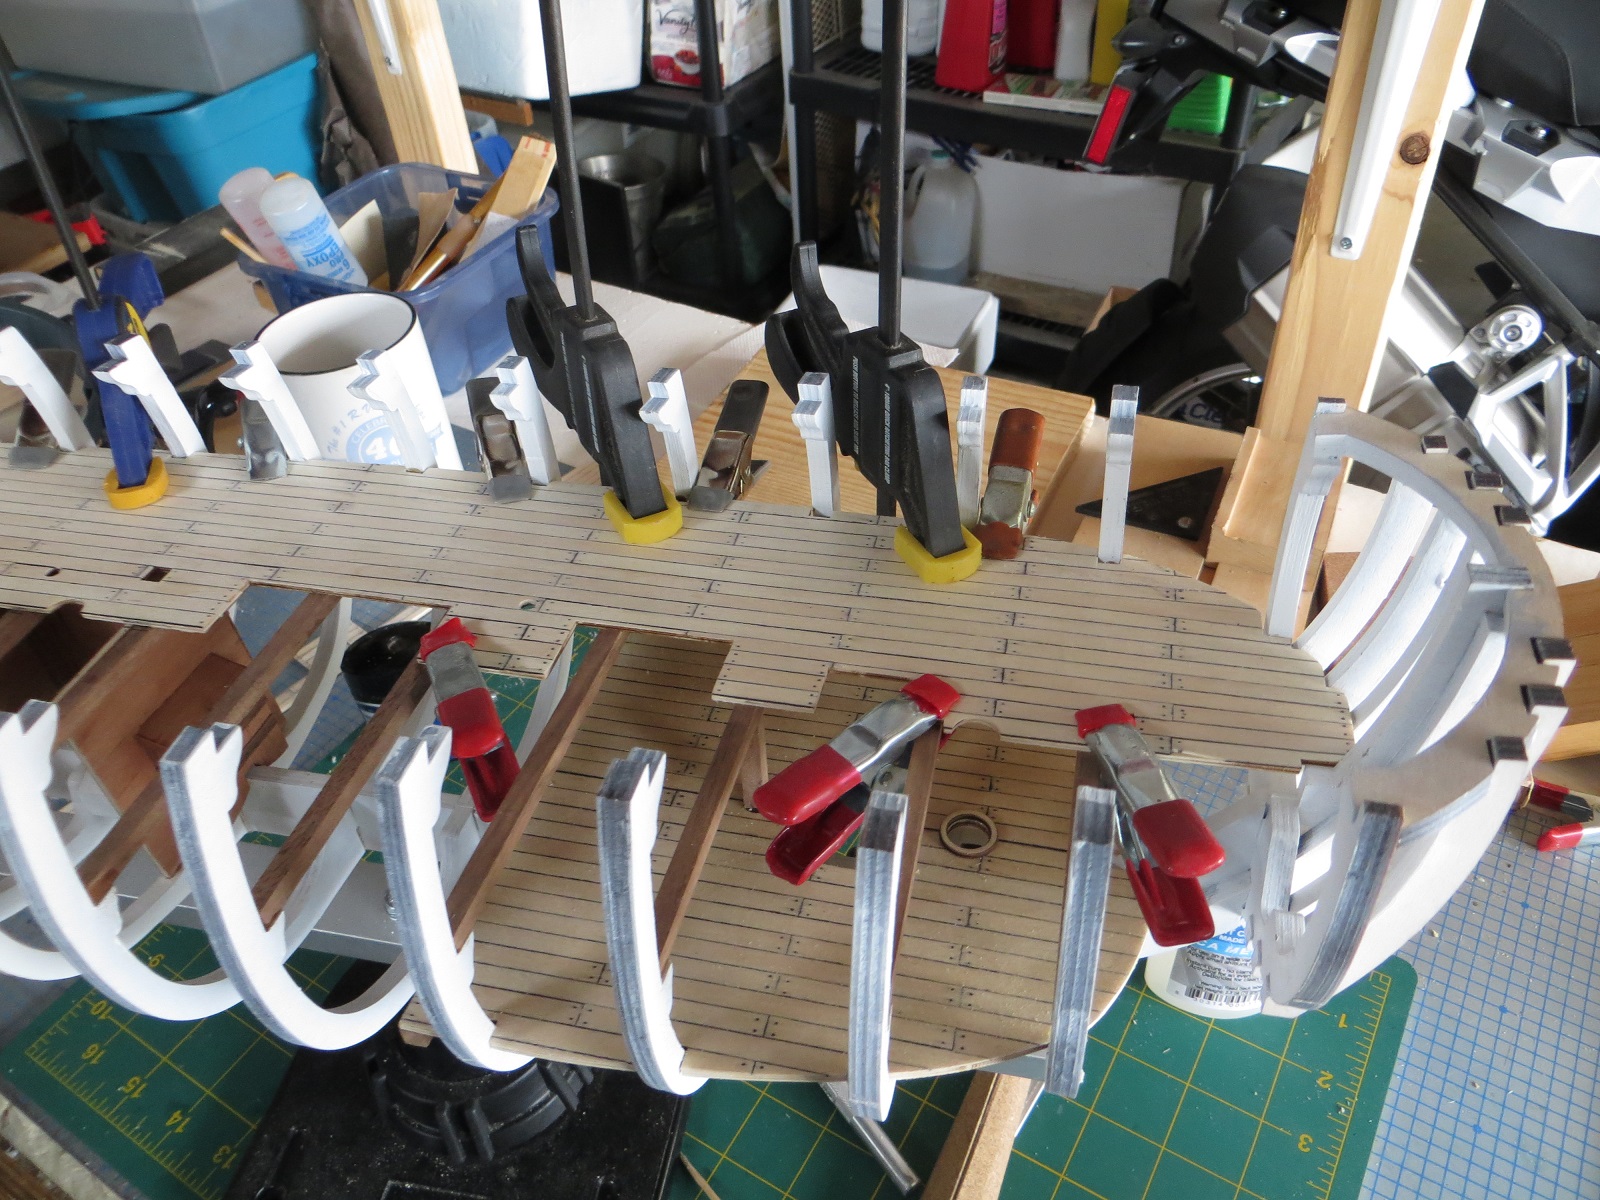
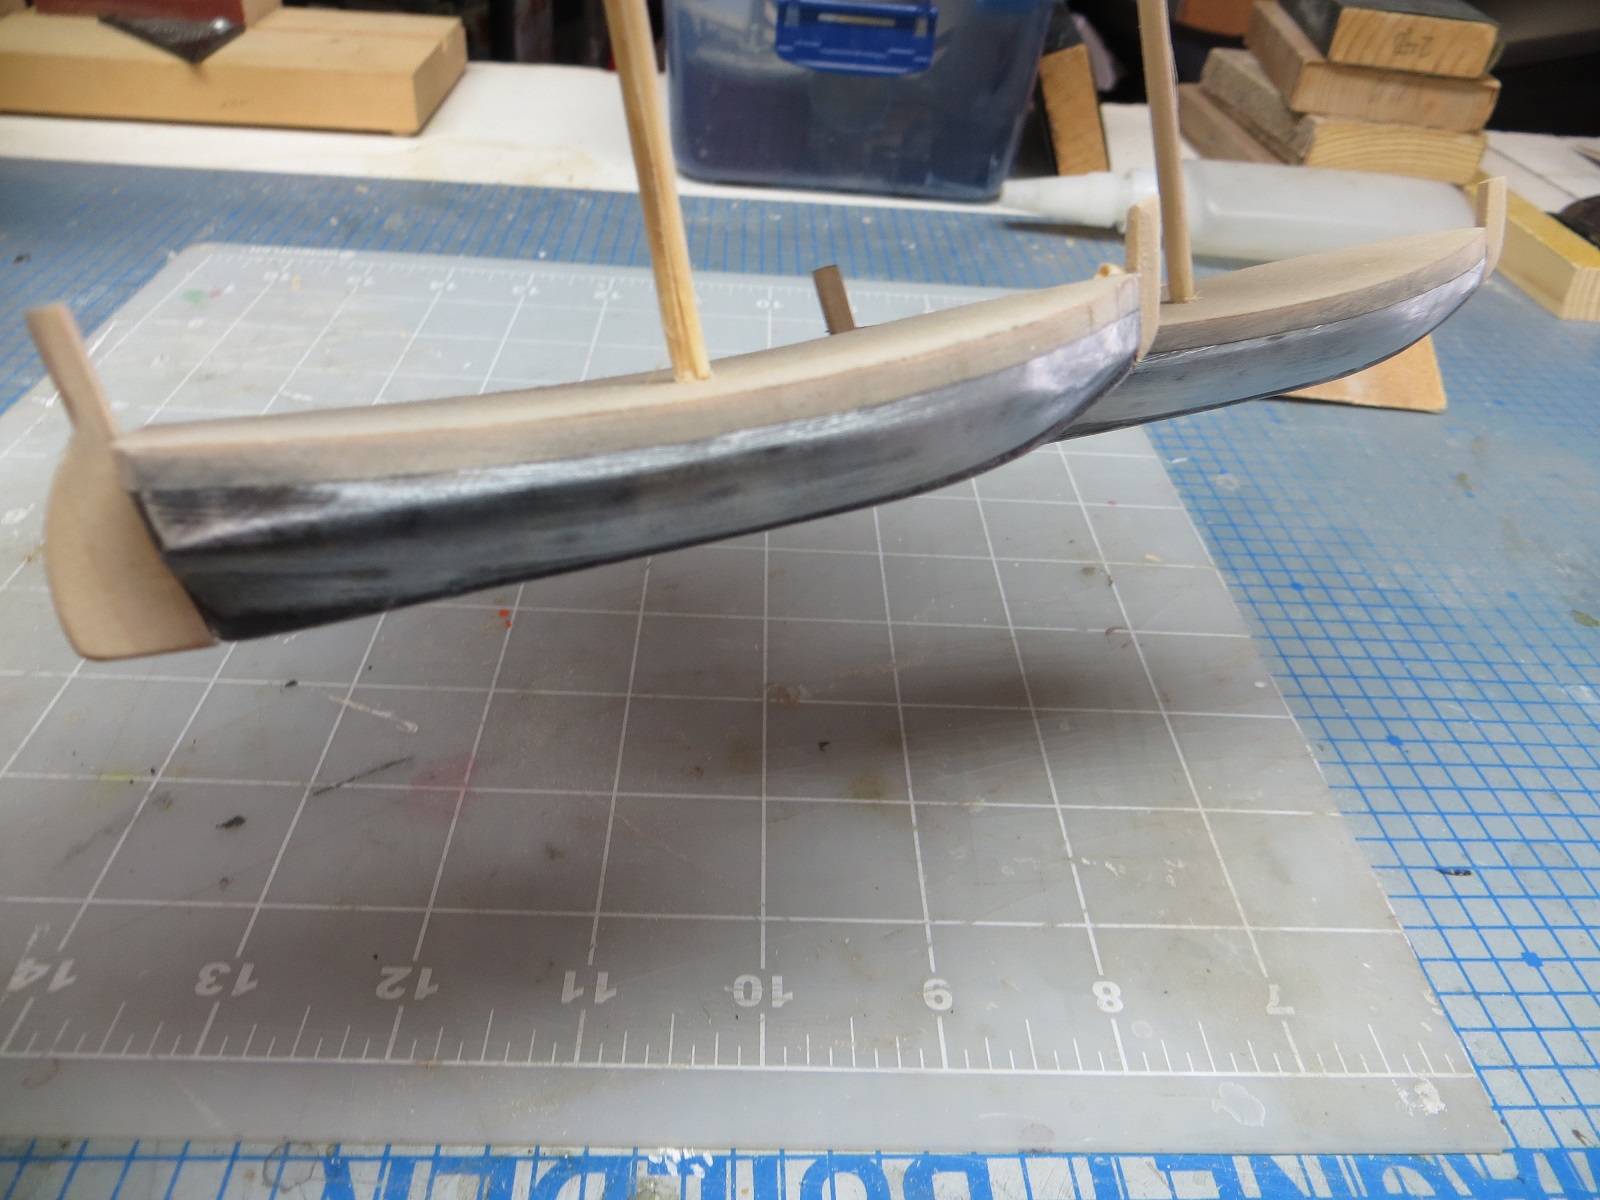
Next I decided to prefit the main deck. This turned out to be bigger project that I had thought. I first made sure that the mast holes lined up but this left some of the ribbing unto properly lined. I had to create some filler blocks to get everything to look OK. Glad I prefit.
Next I glued the decking into place.