


palmerit
-
Posts
893 -
Joined
-
Last visited
Content Type
Profiles
Forums
Gallery
Events
Posts posted by palmerit
-
-
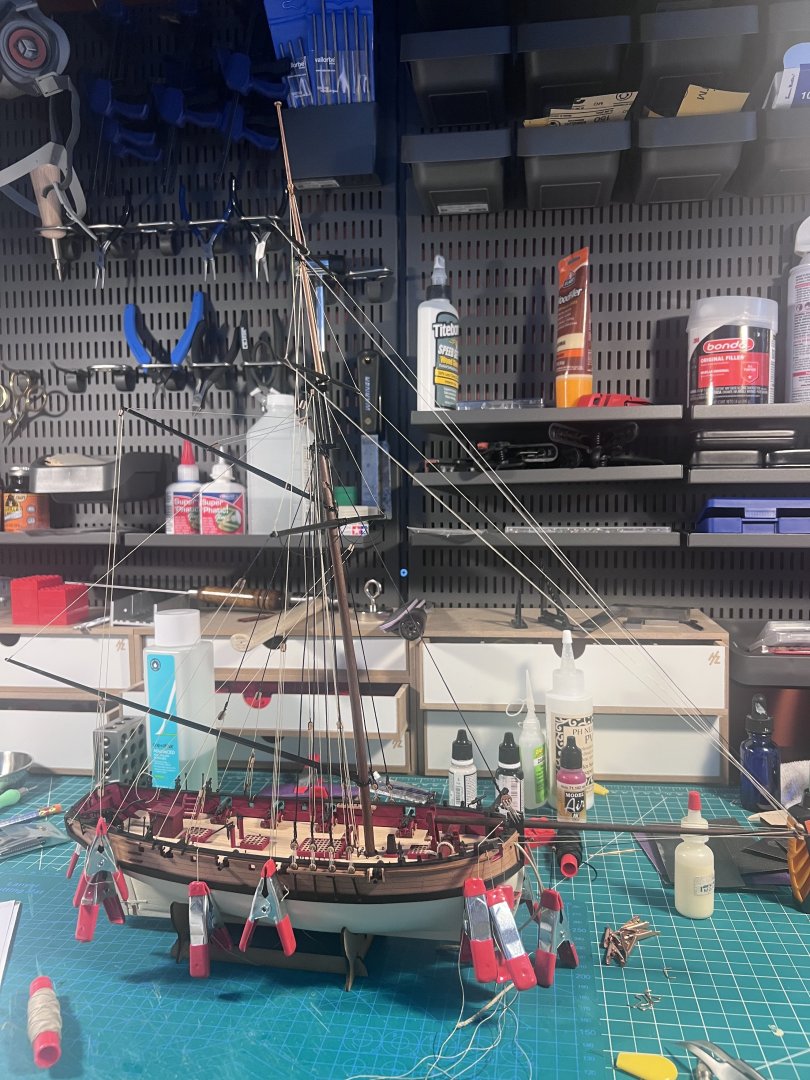
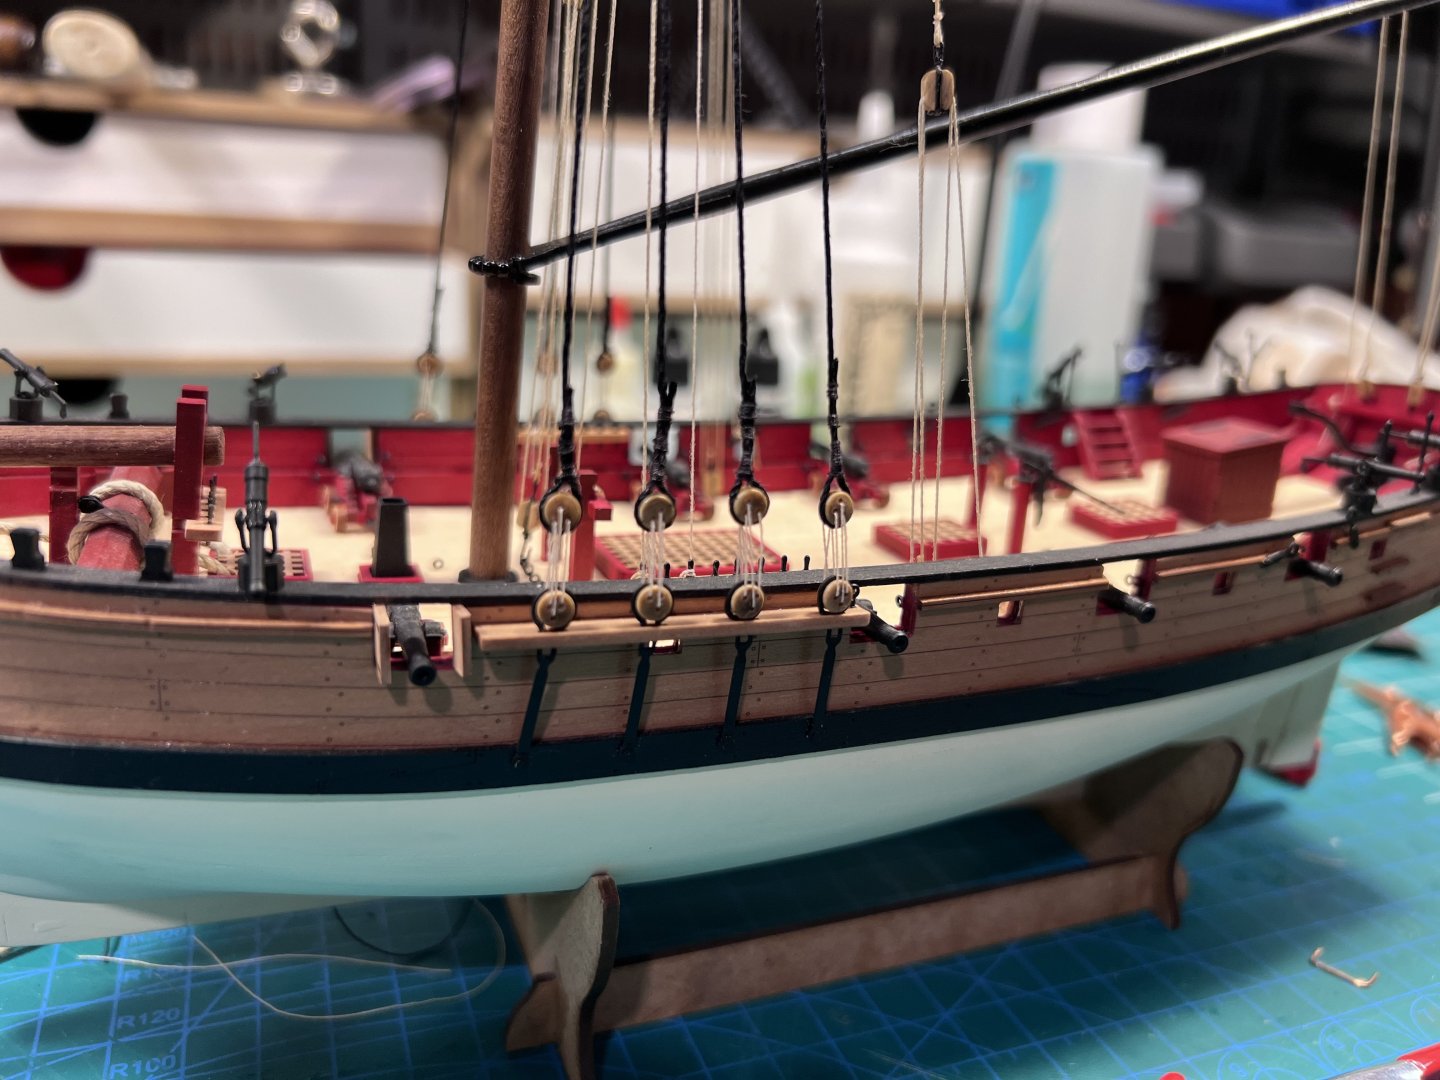
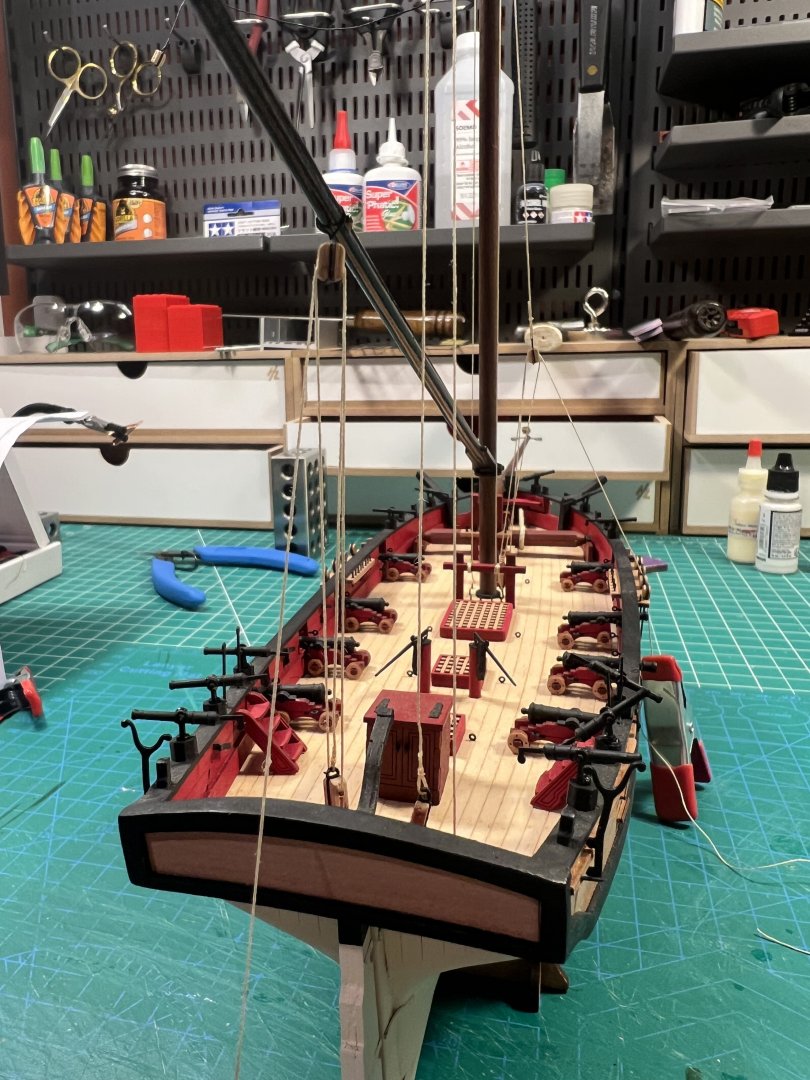
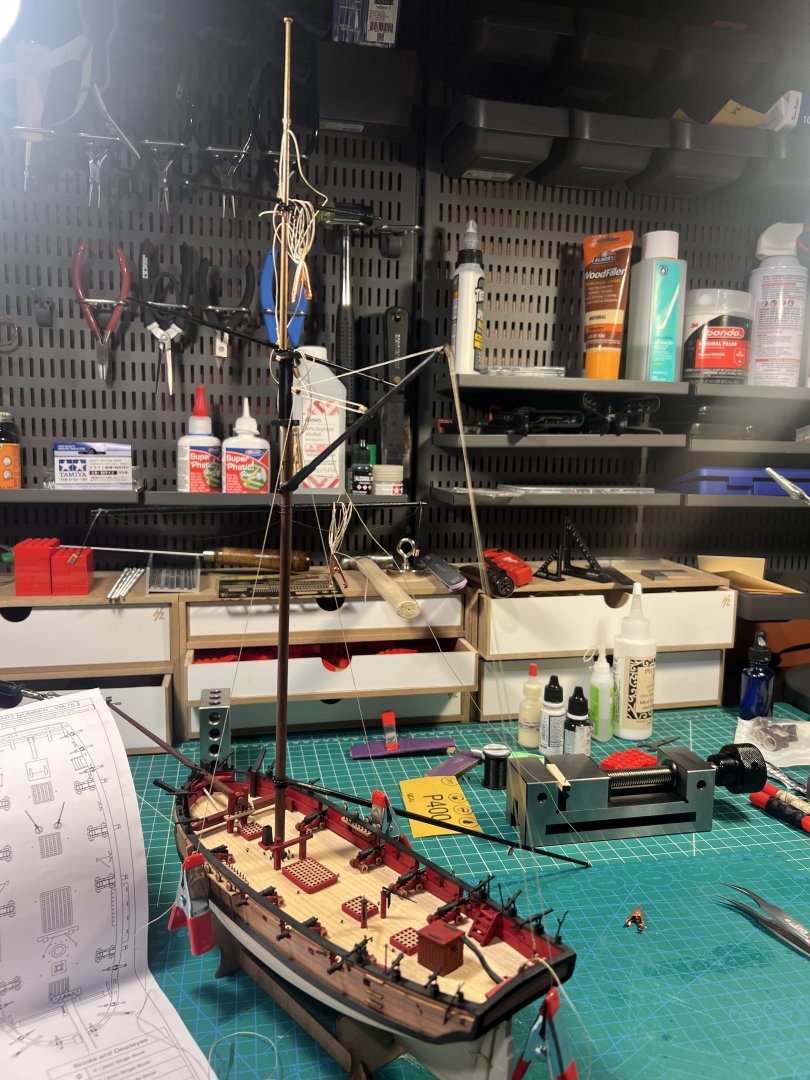
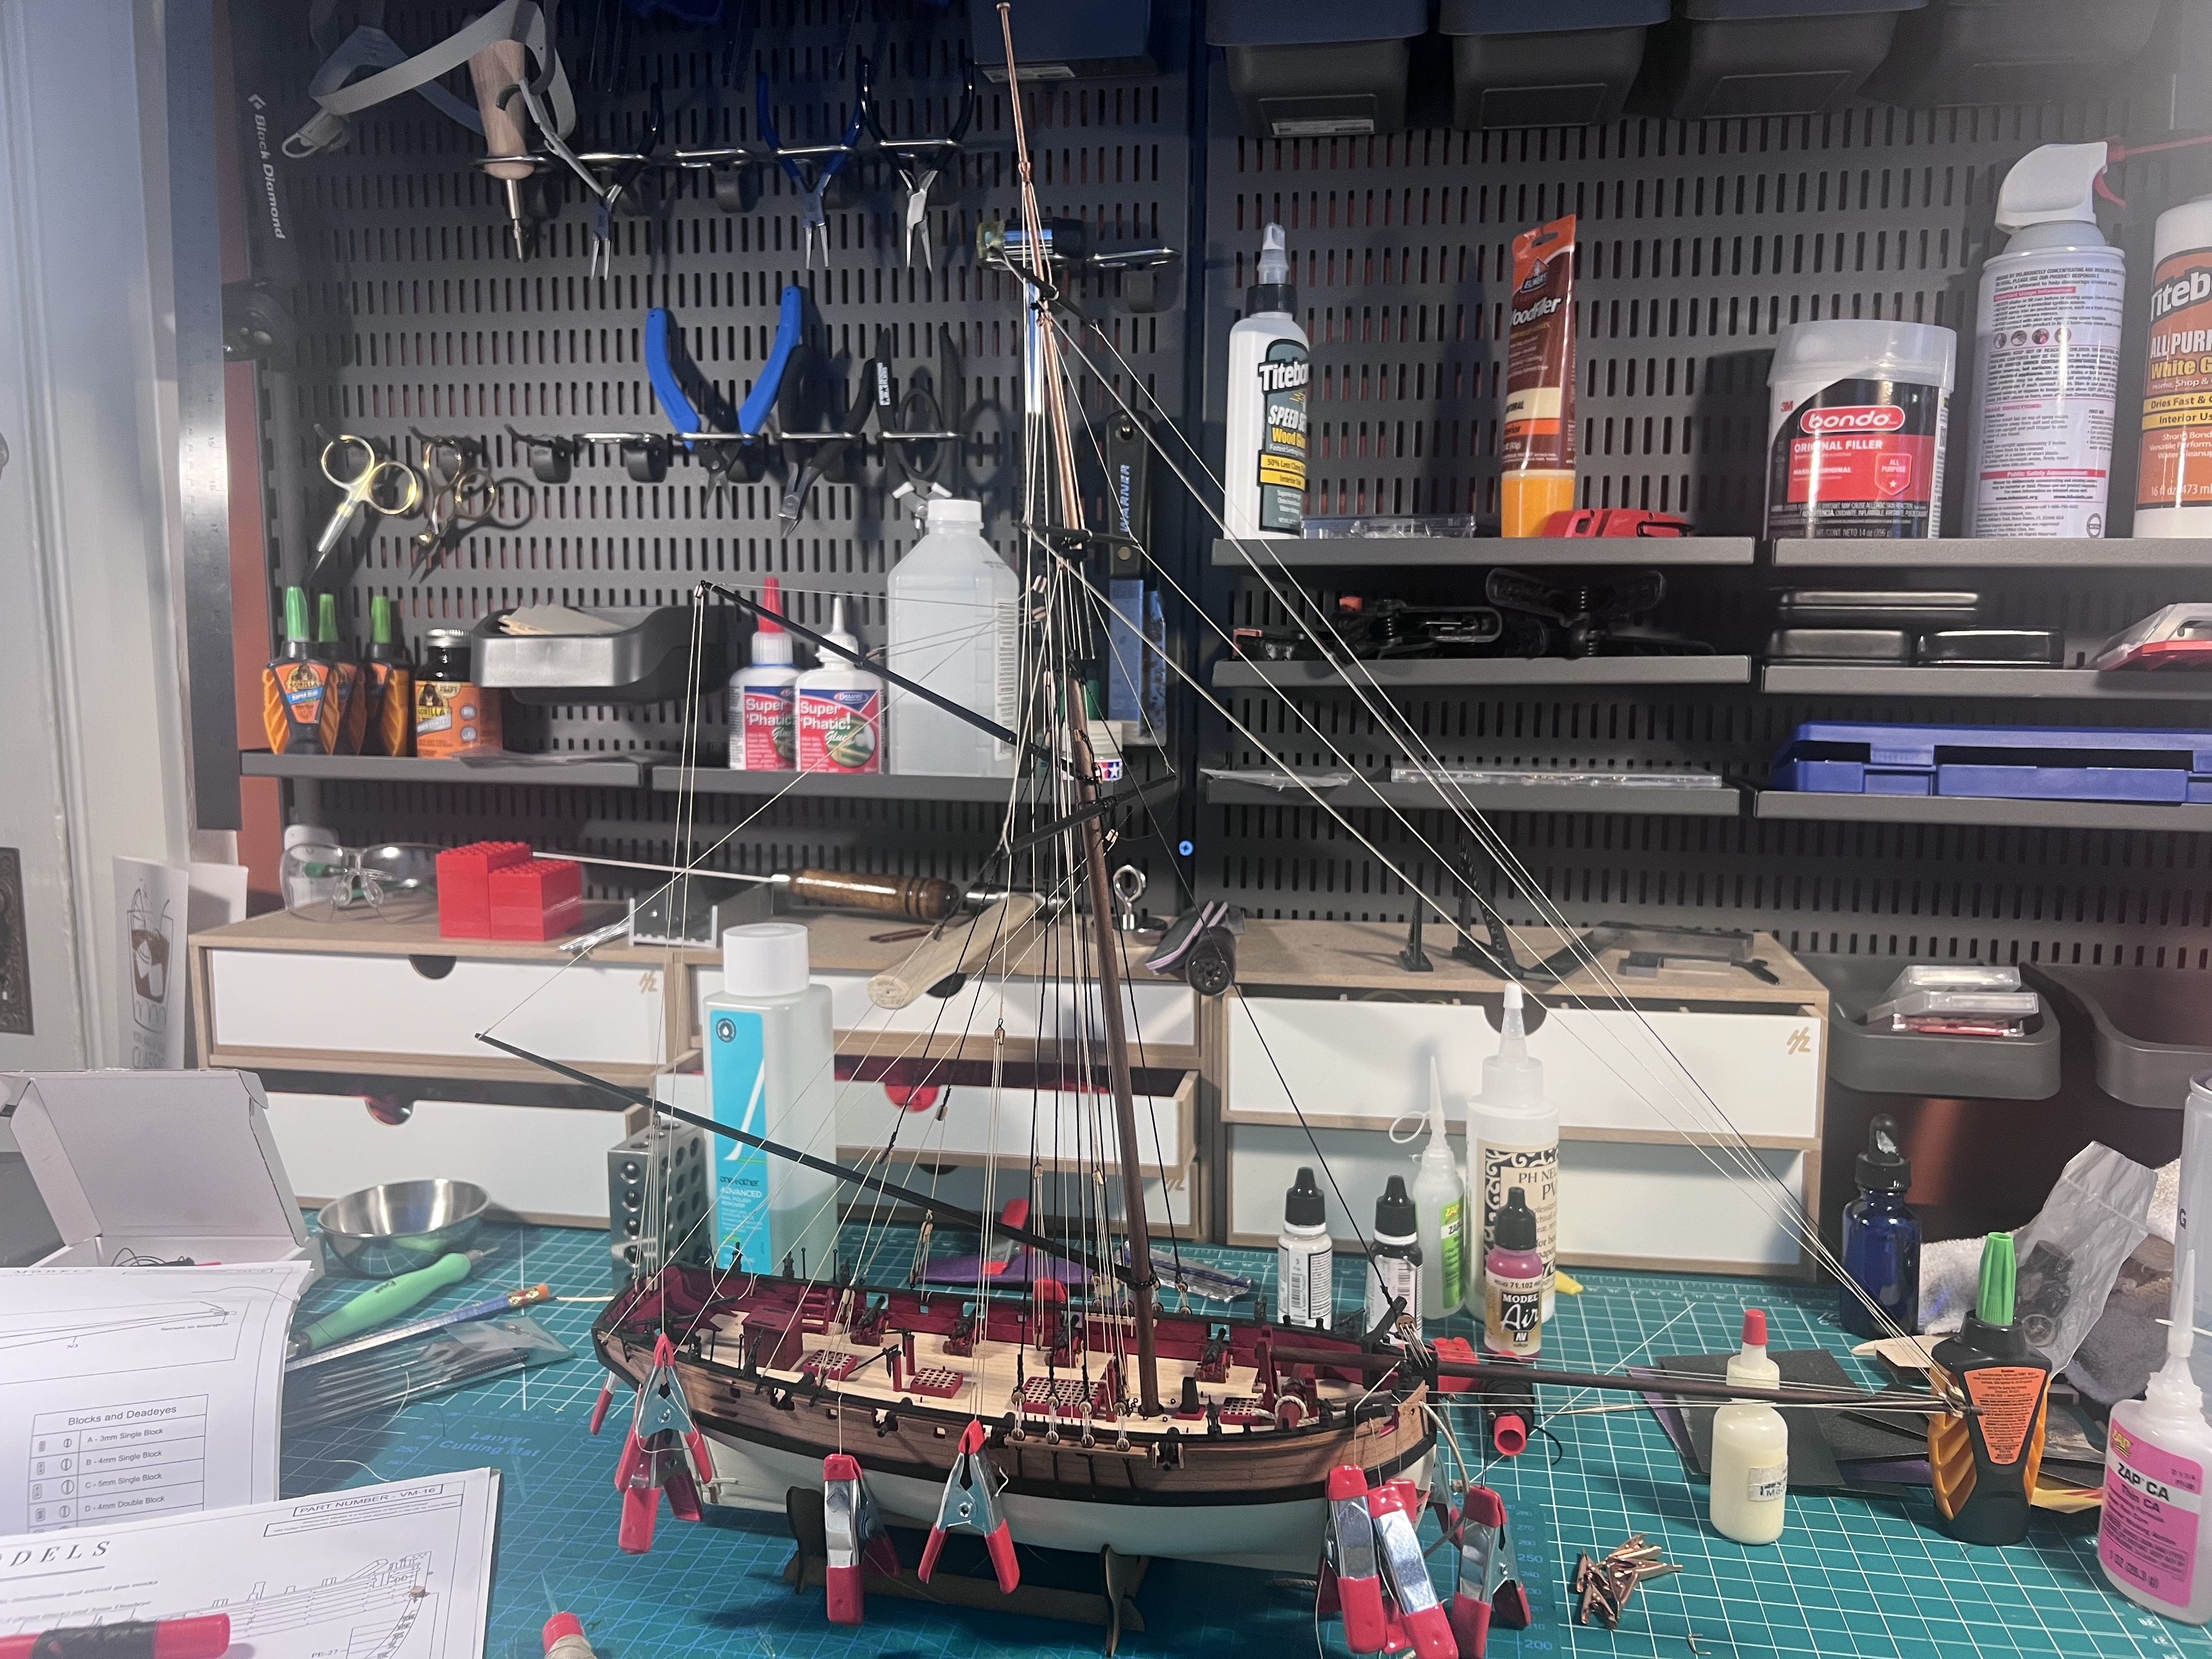
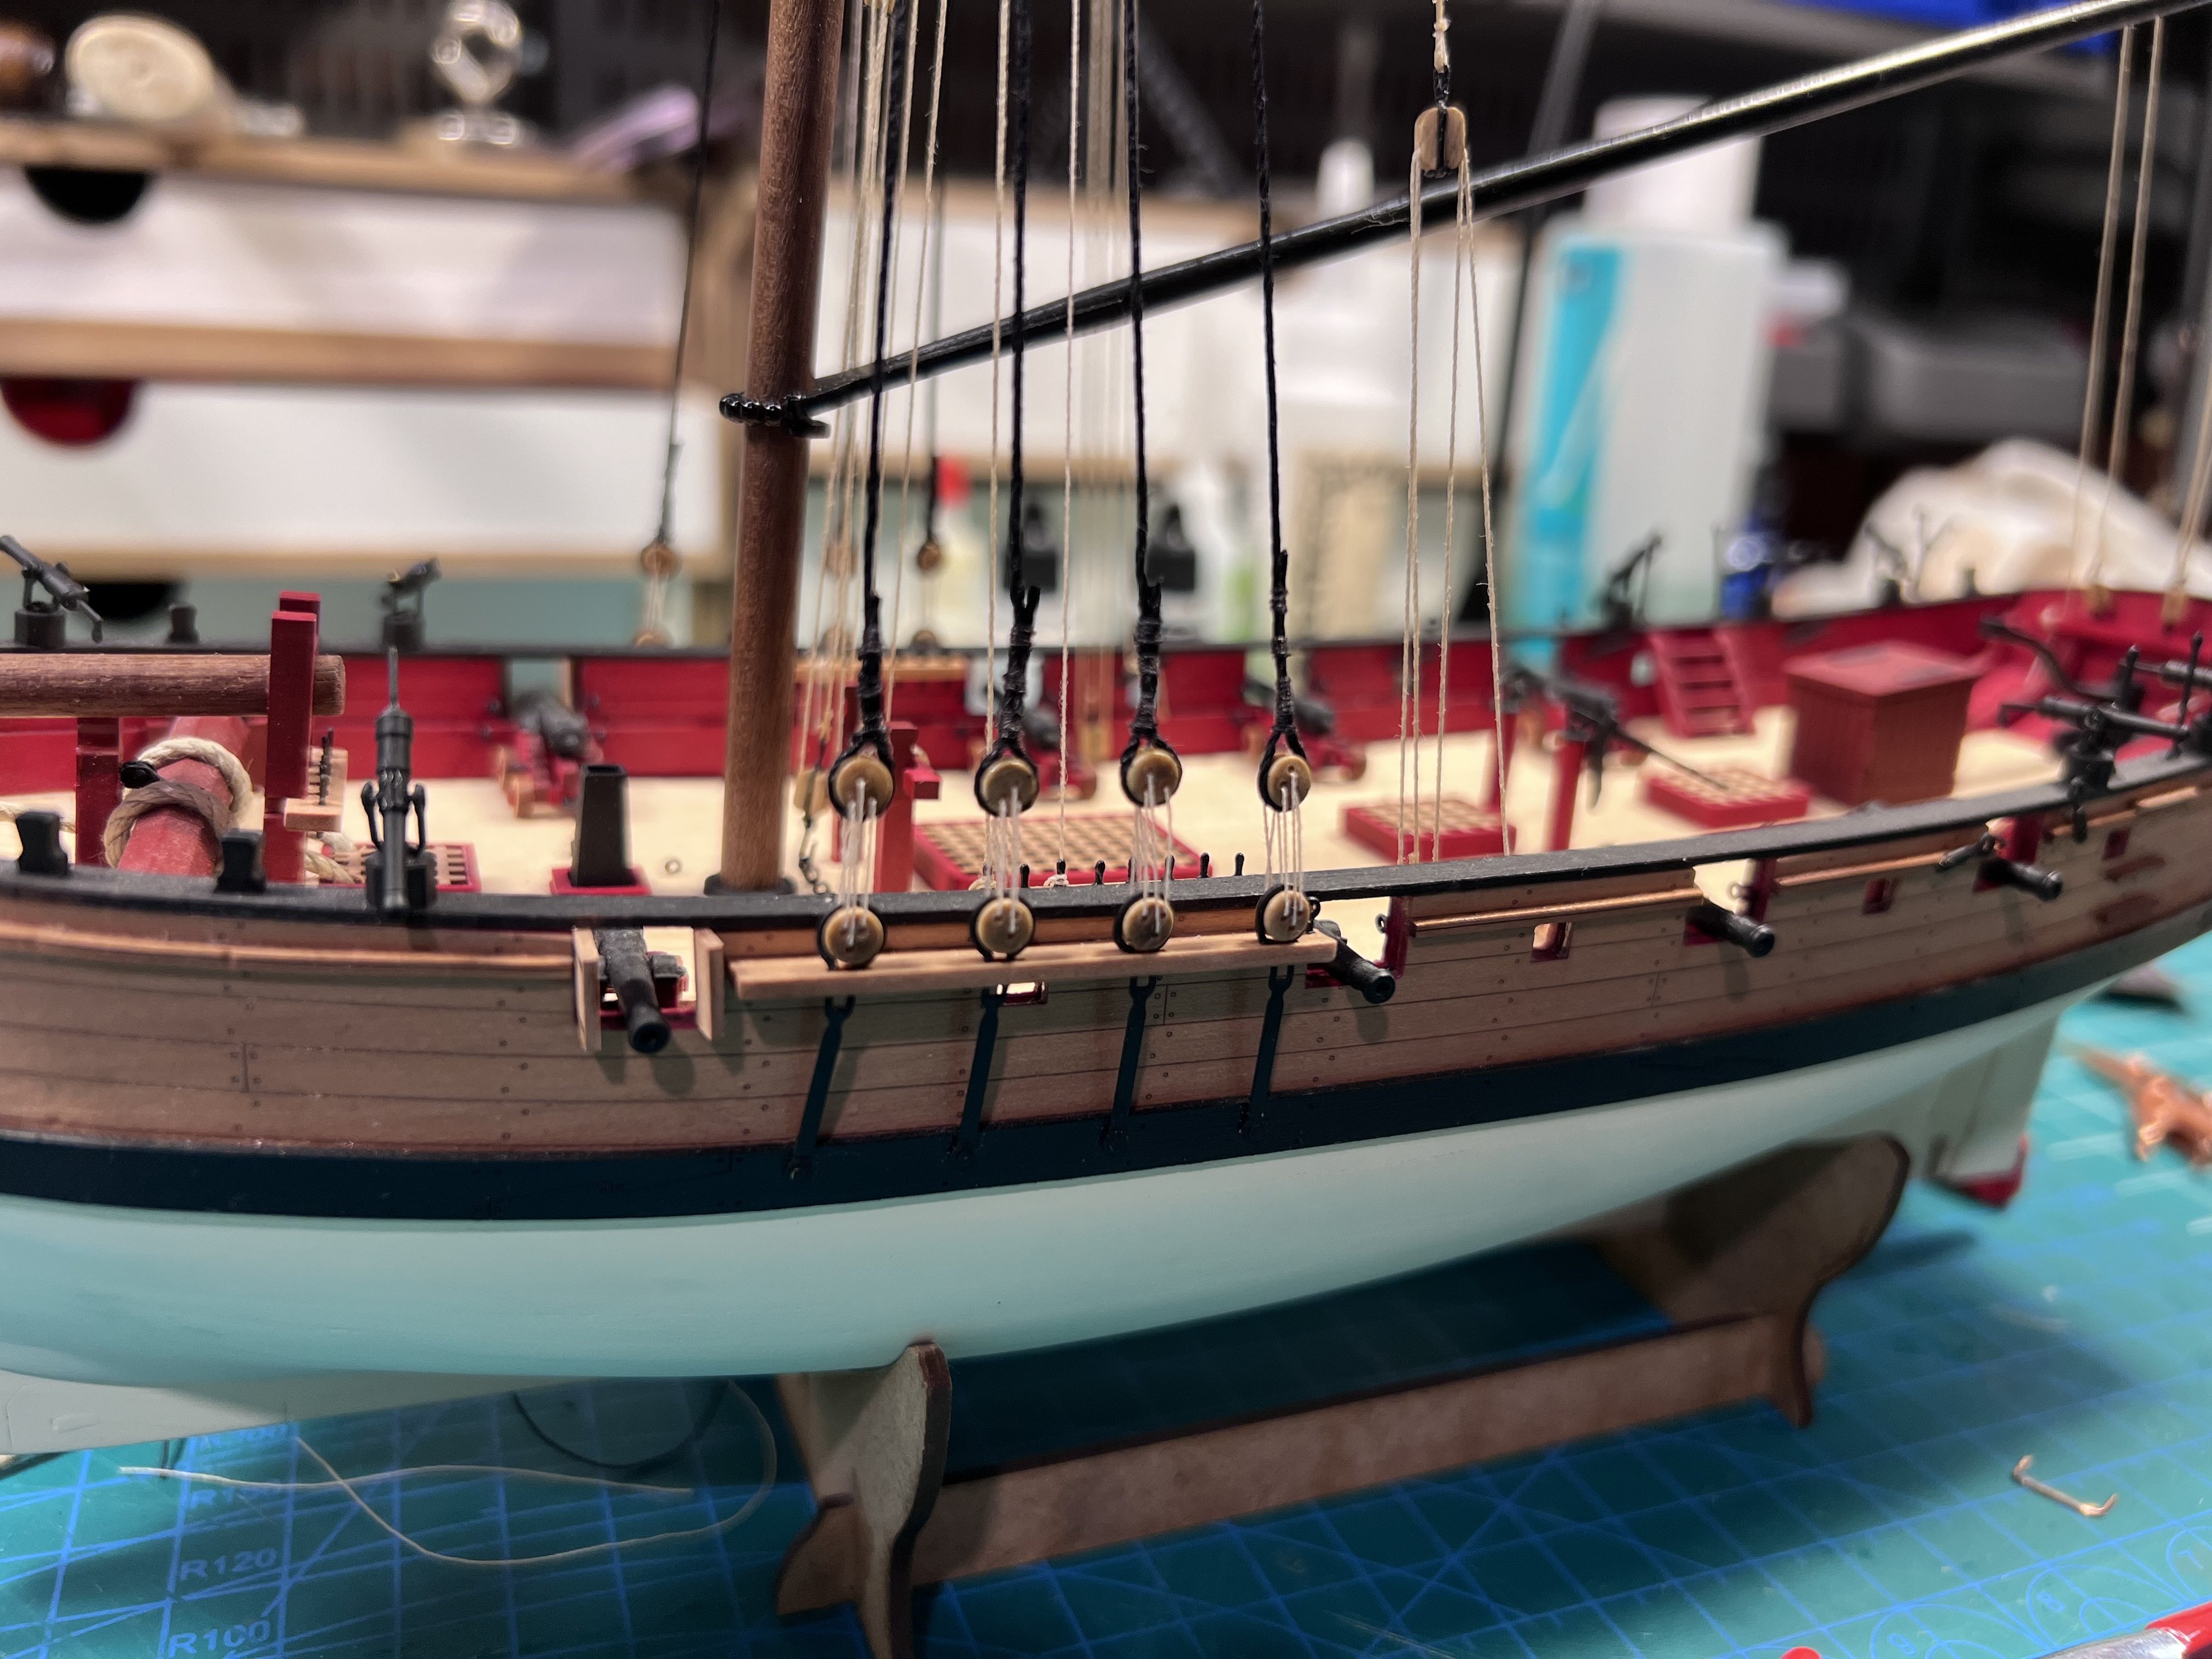
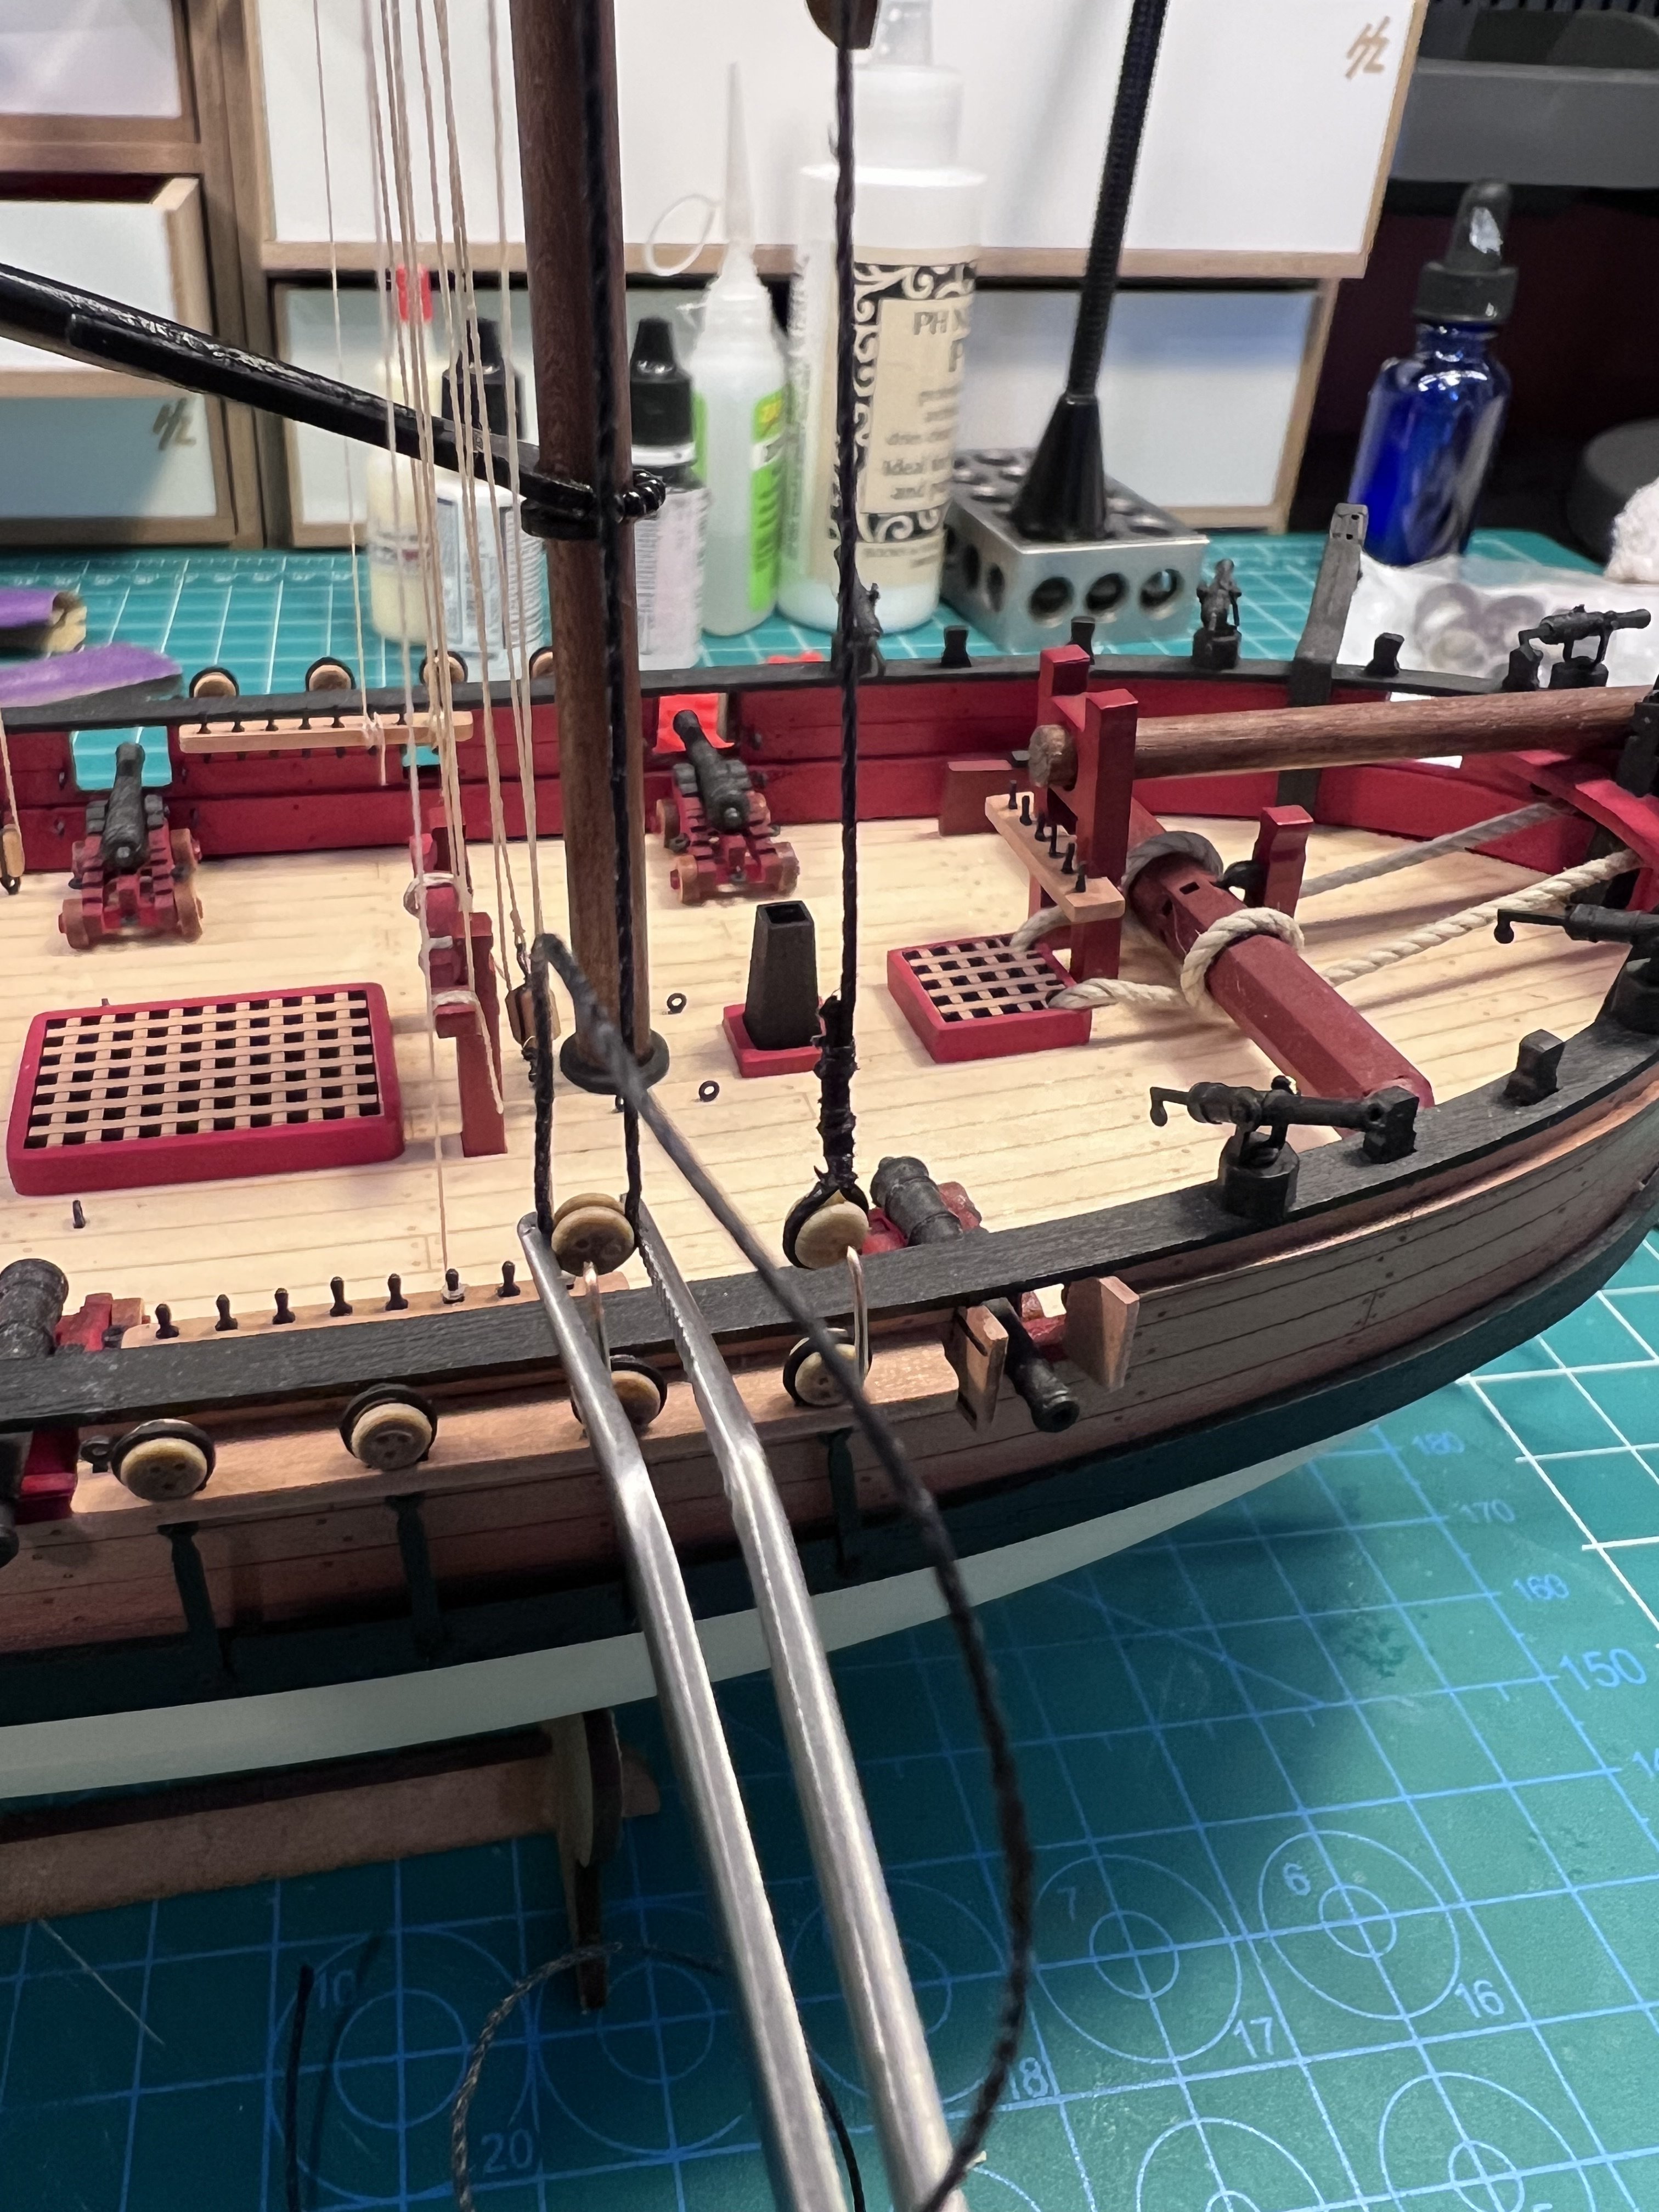
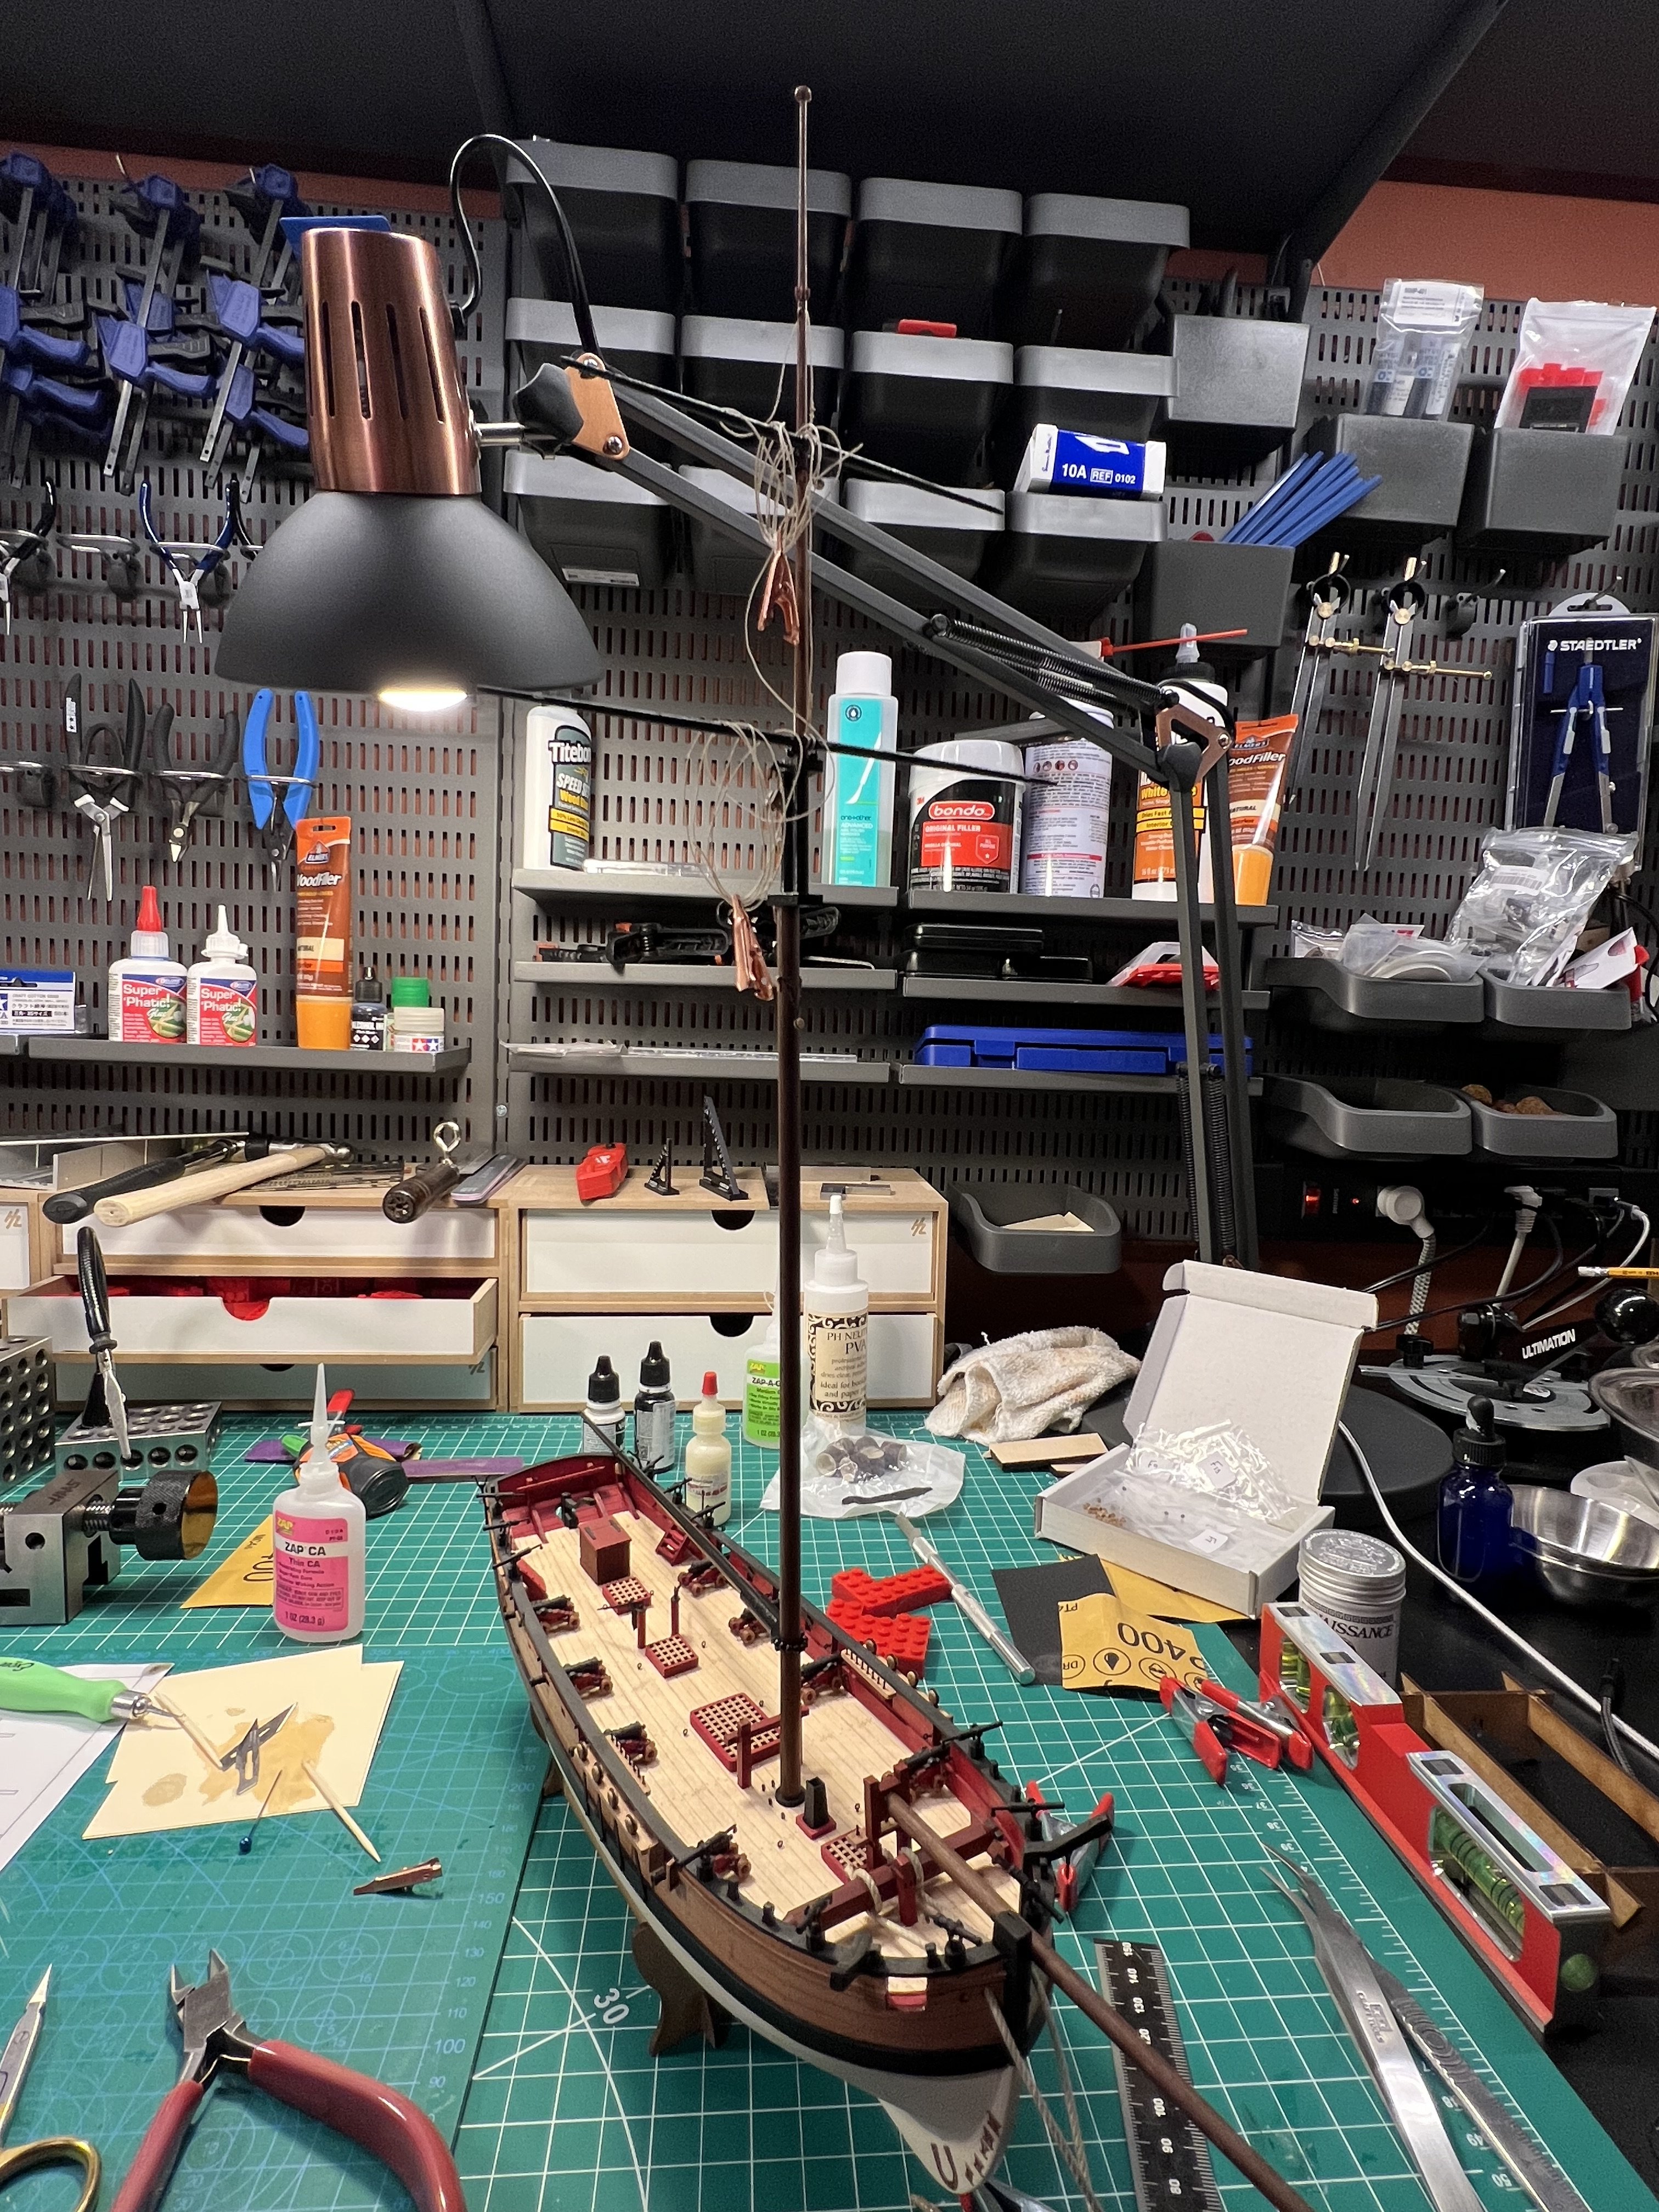
Getting close to completion. All the rigging is done except one more line to the bowsprit, the ratlines, and adding and tying off the anchors.
Oh, and I’ll need to tighten all the rigging down. Going to wait to do that after the ratlines are in.

- Thukydides, SiriusVoyager, DB789 and 7 others
-
 10
10
-
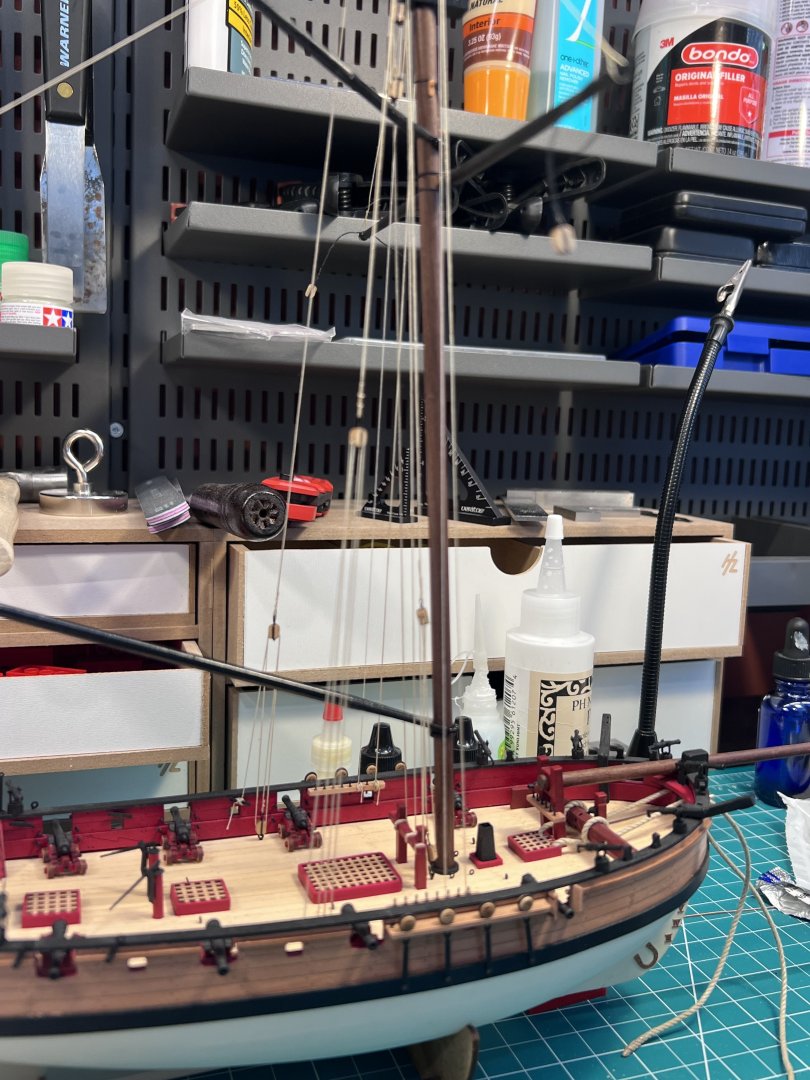
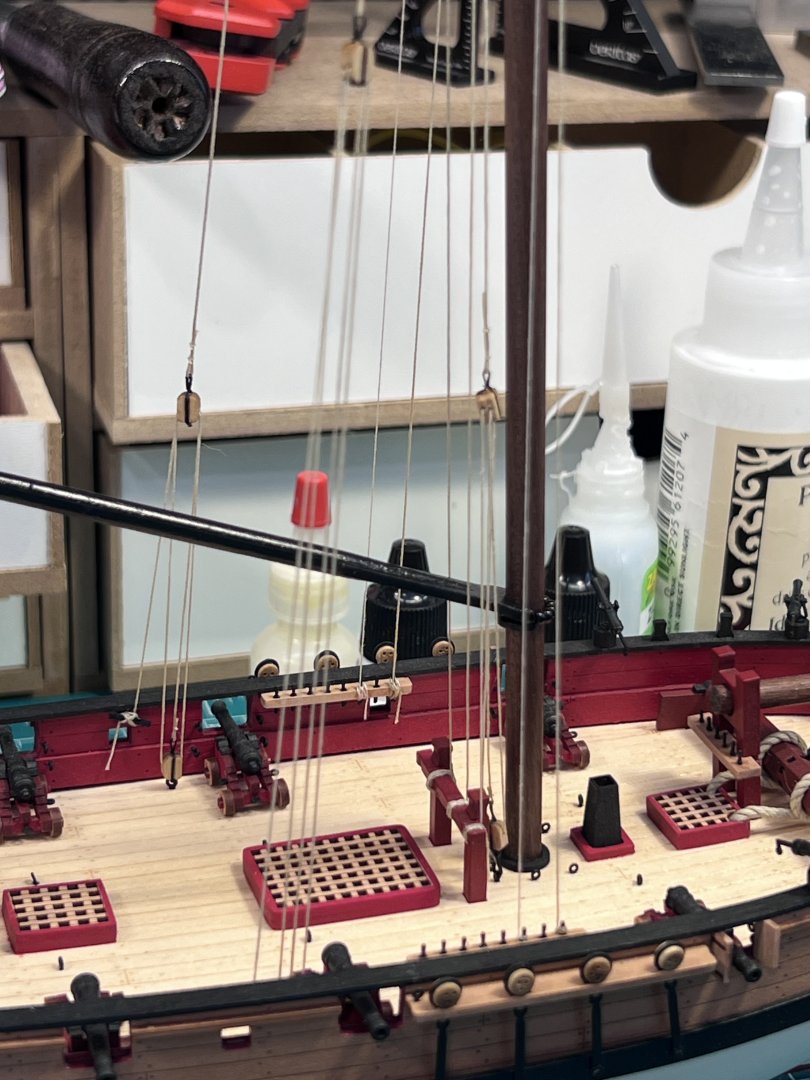
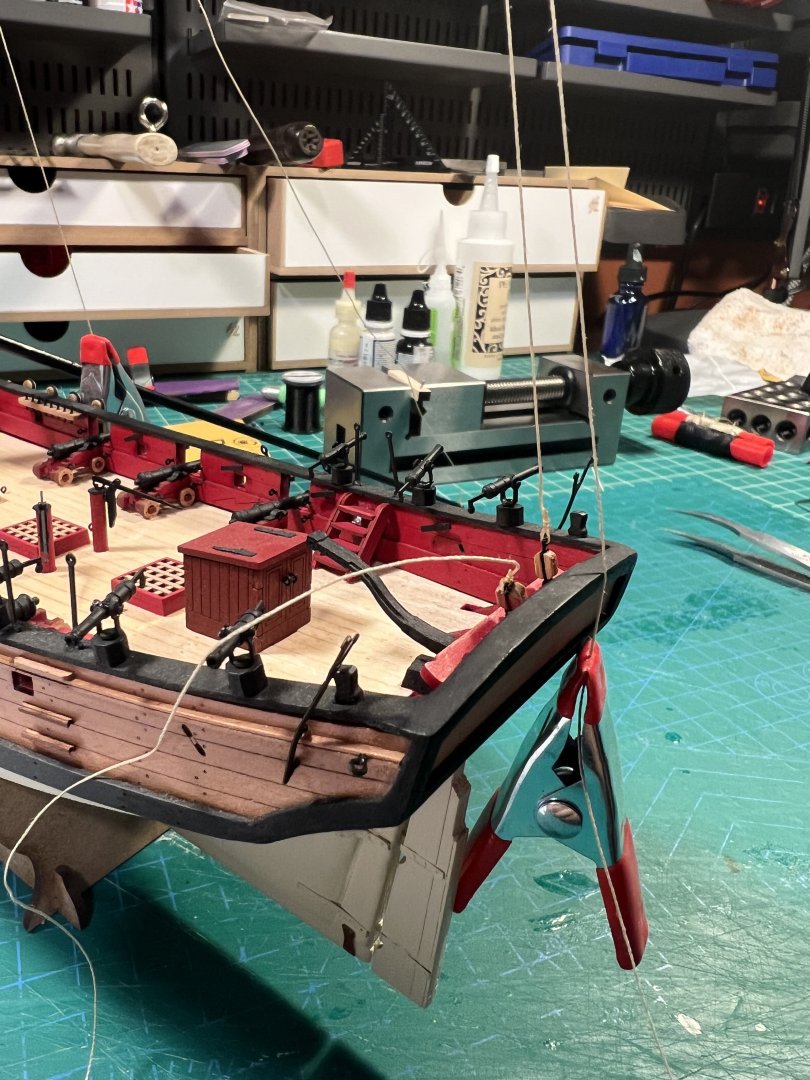
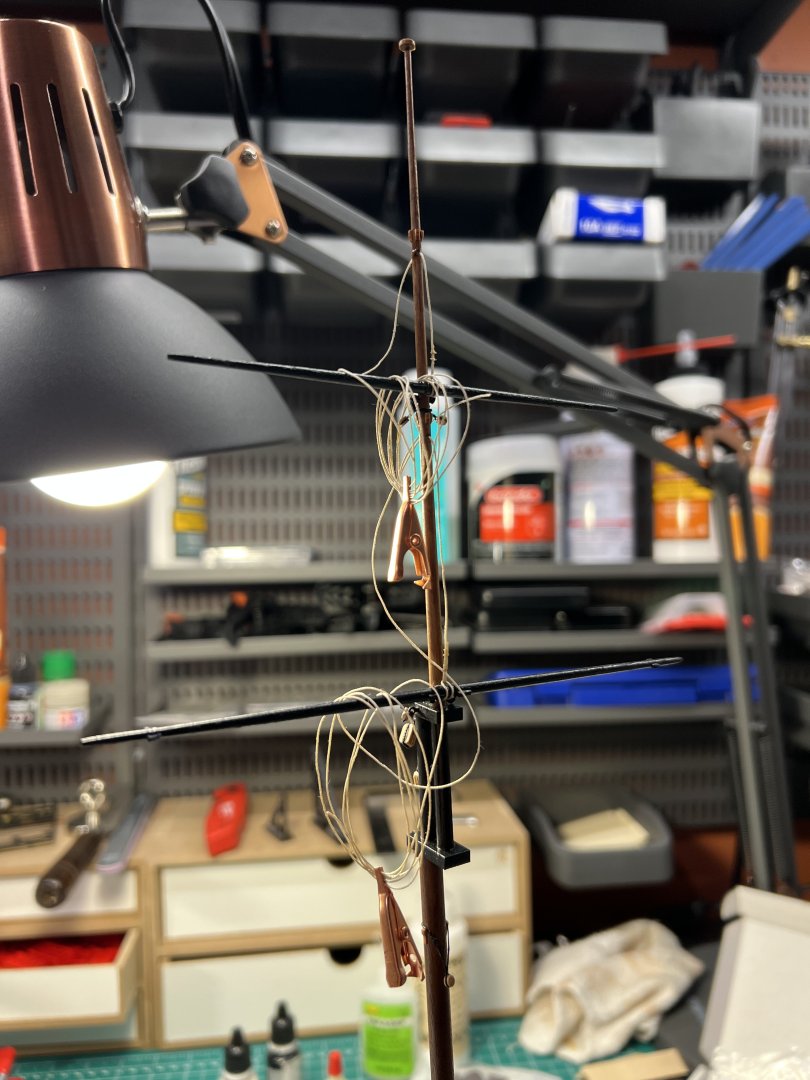
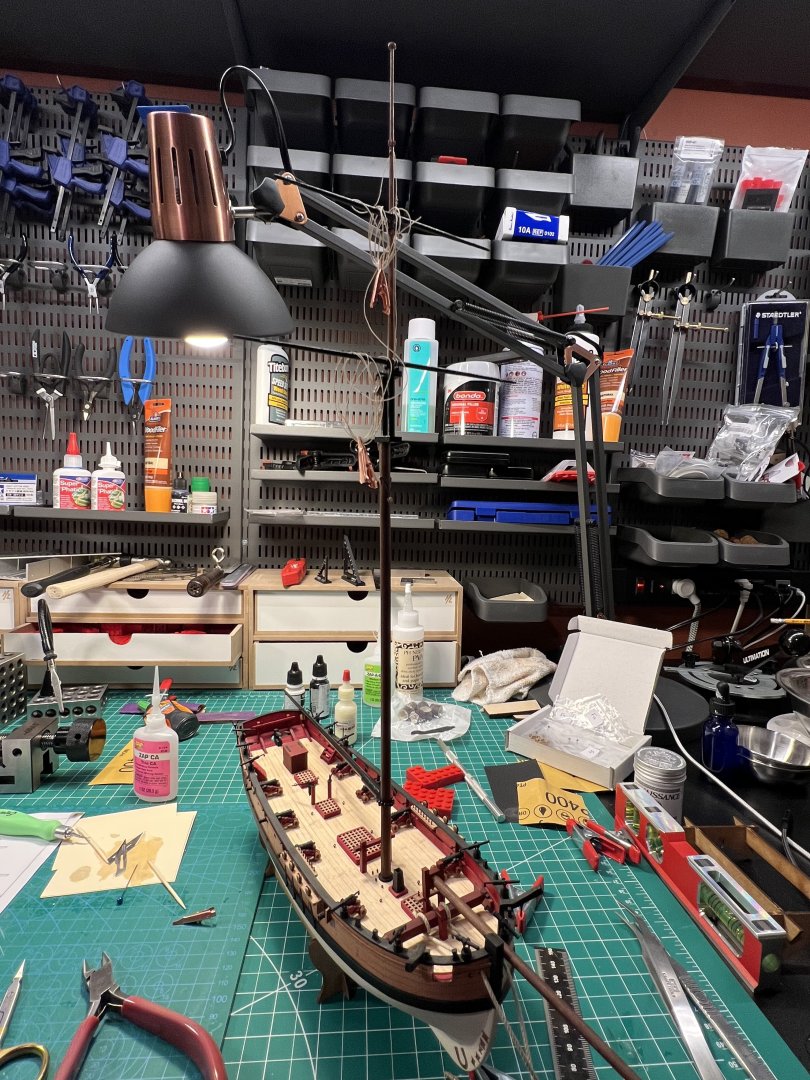
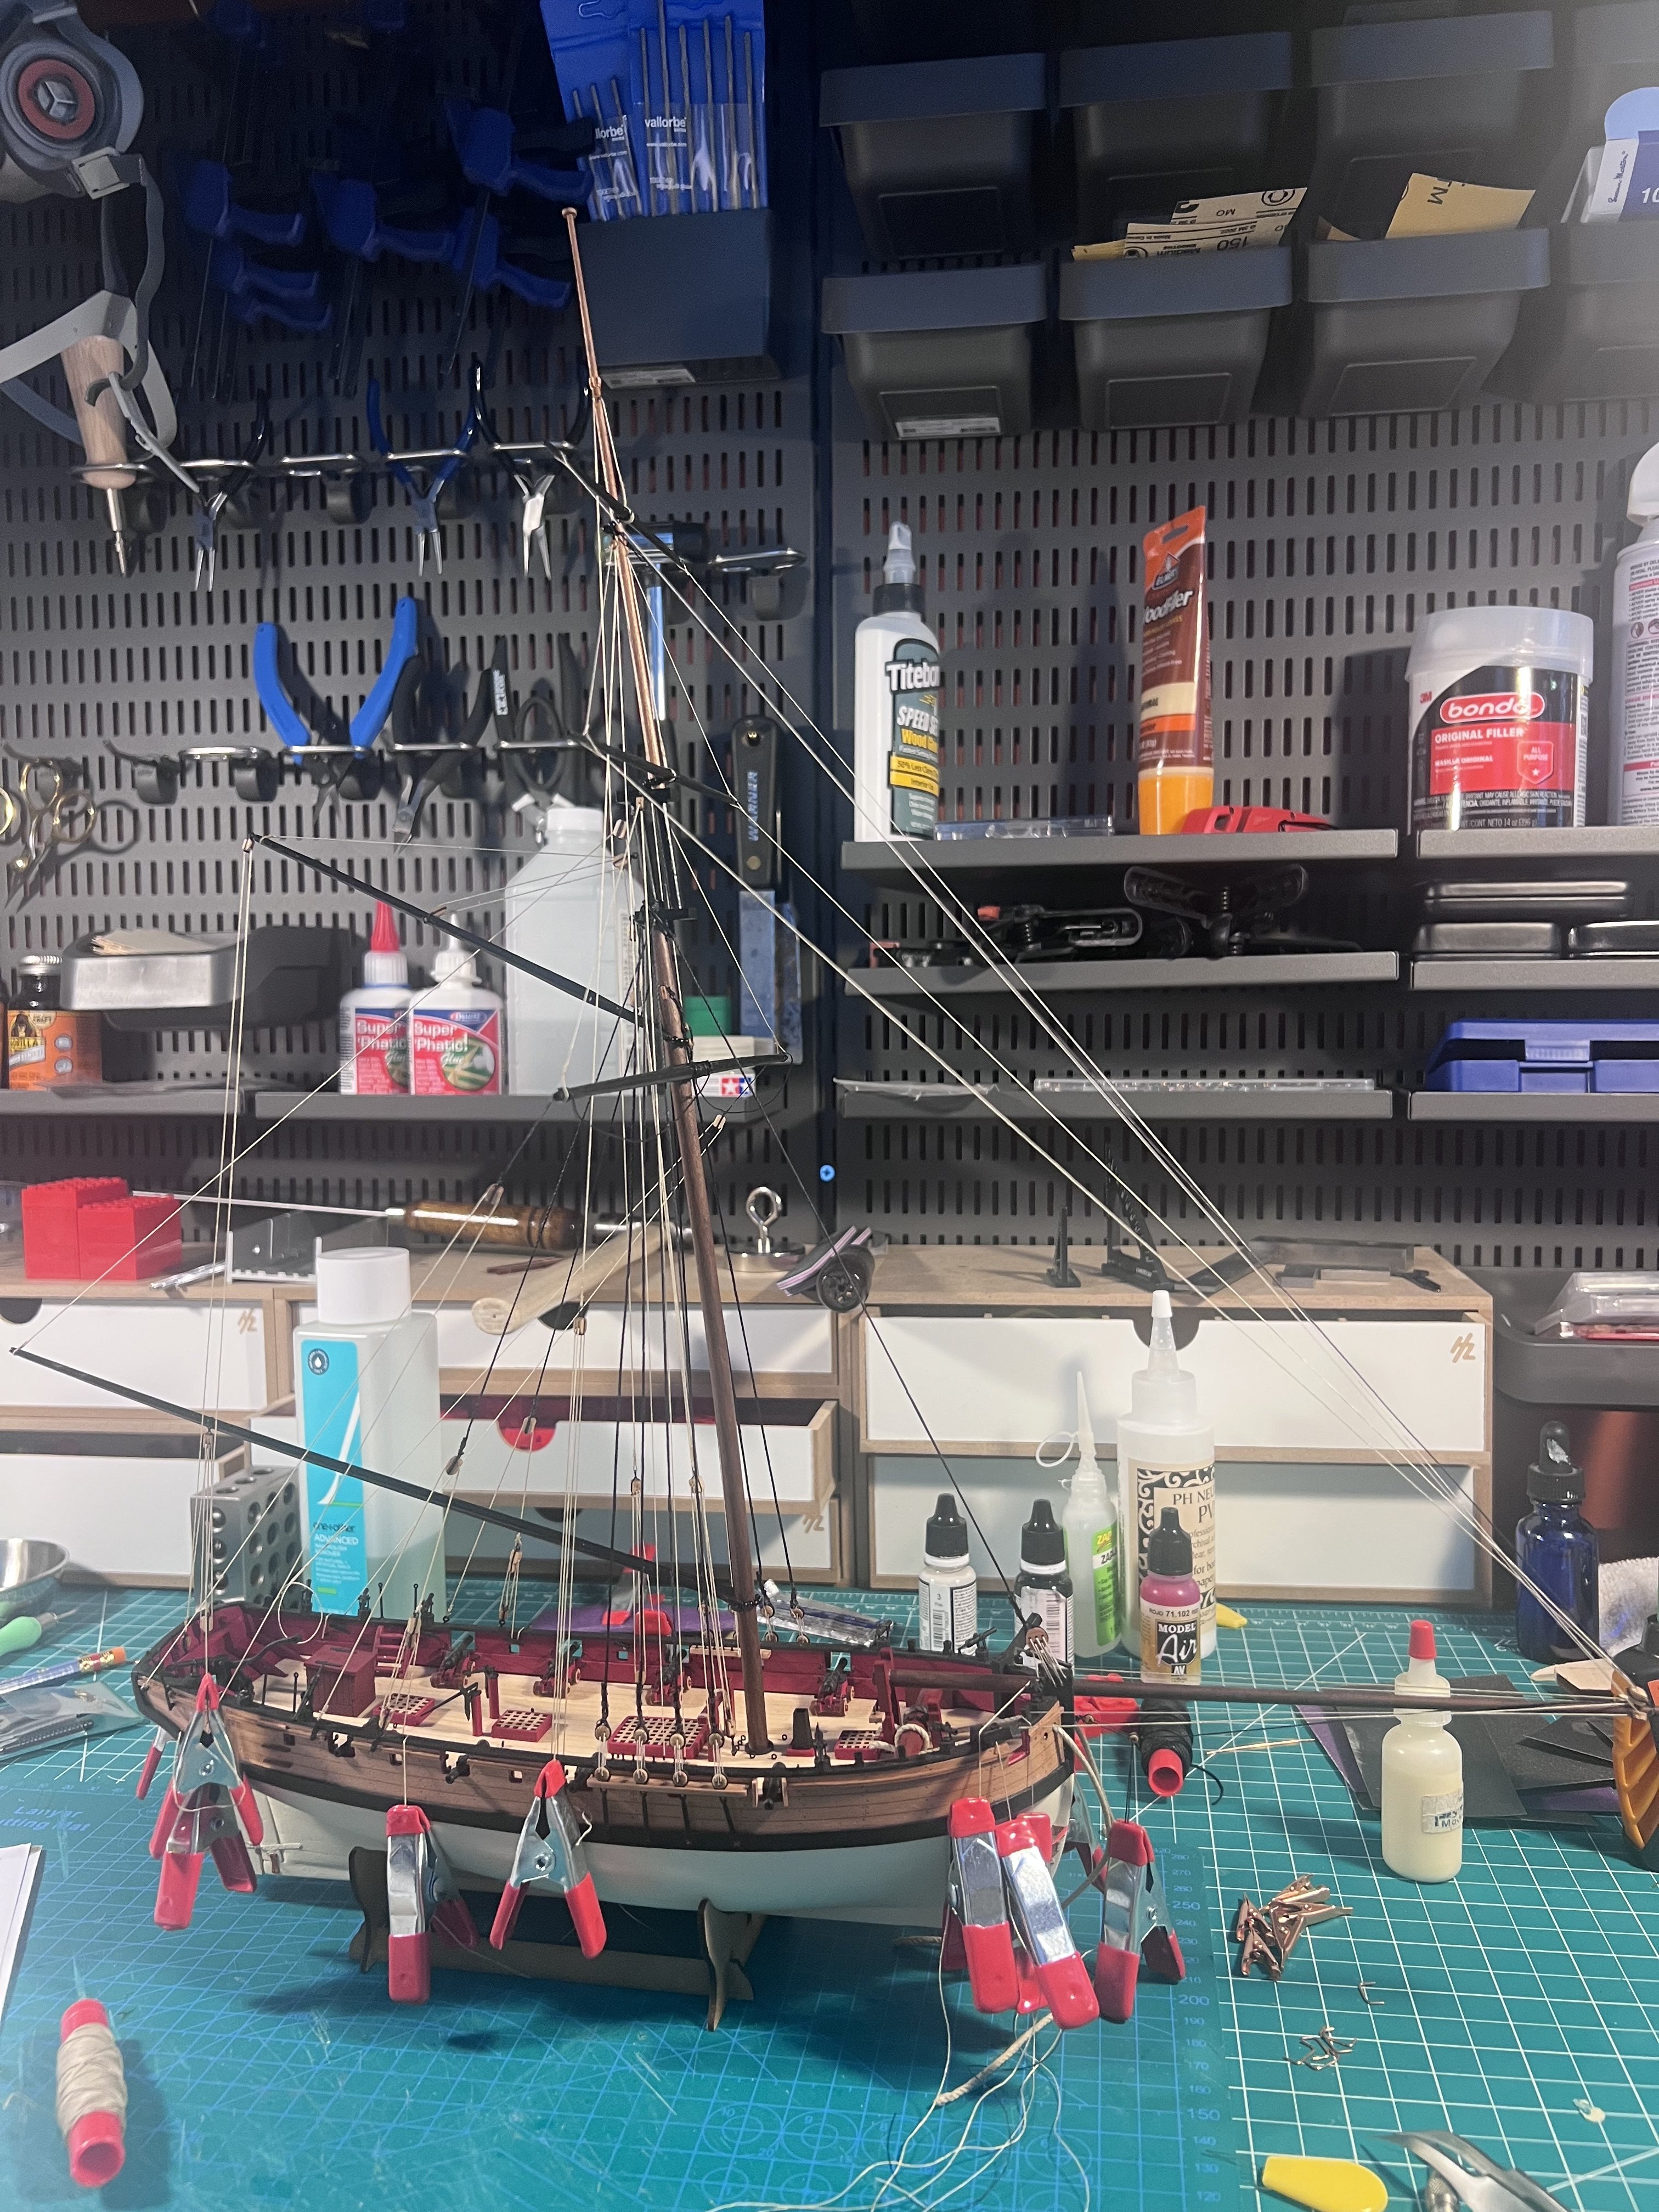
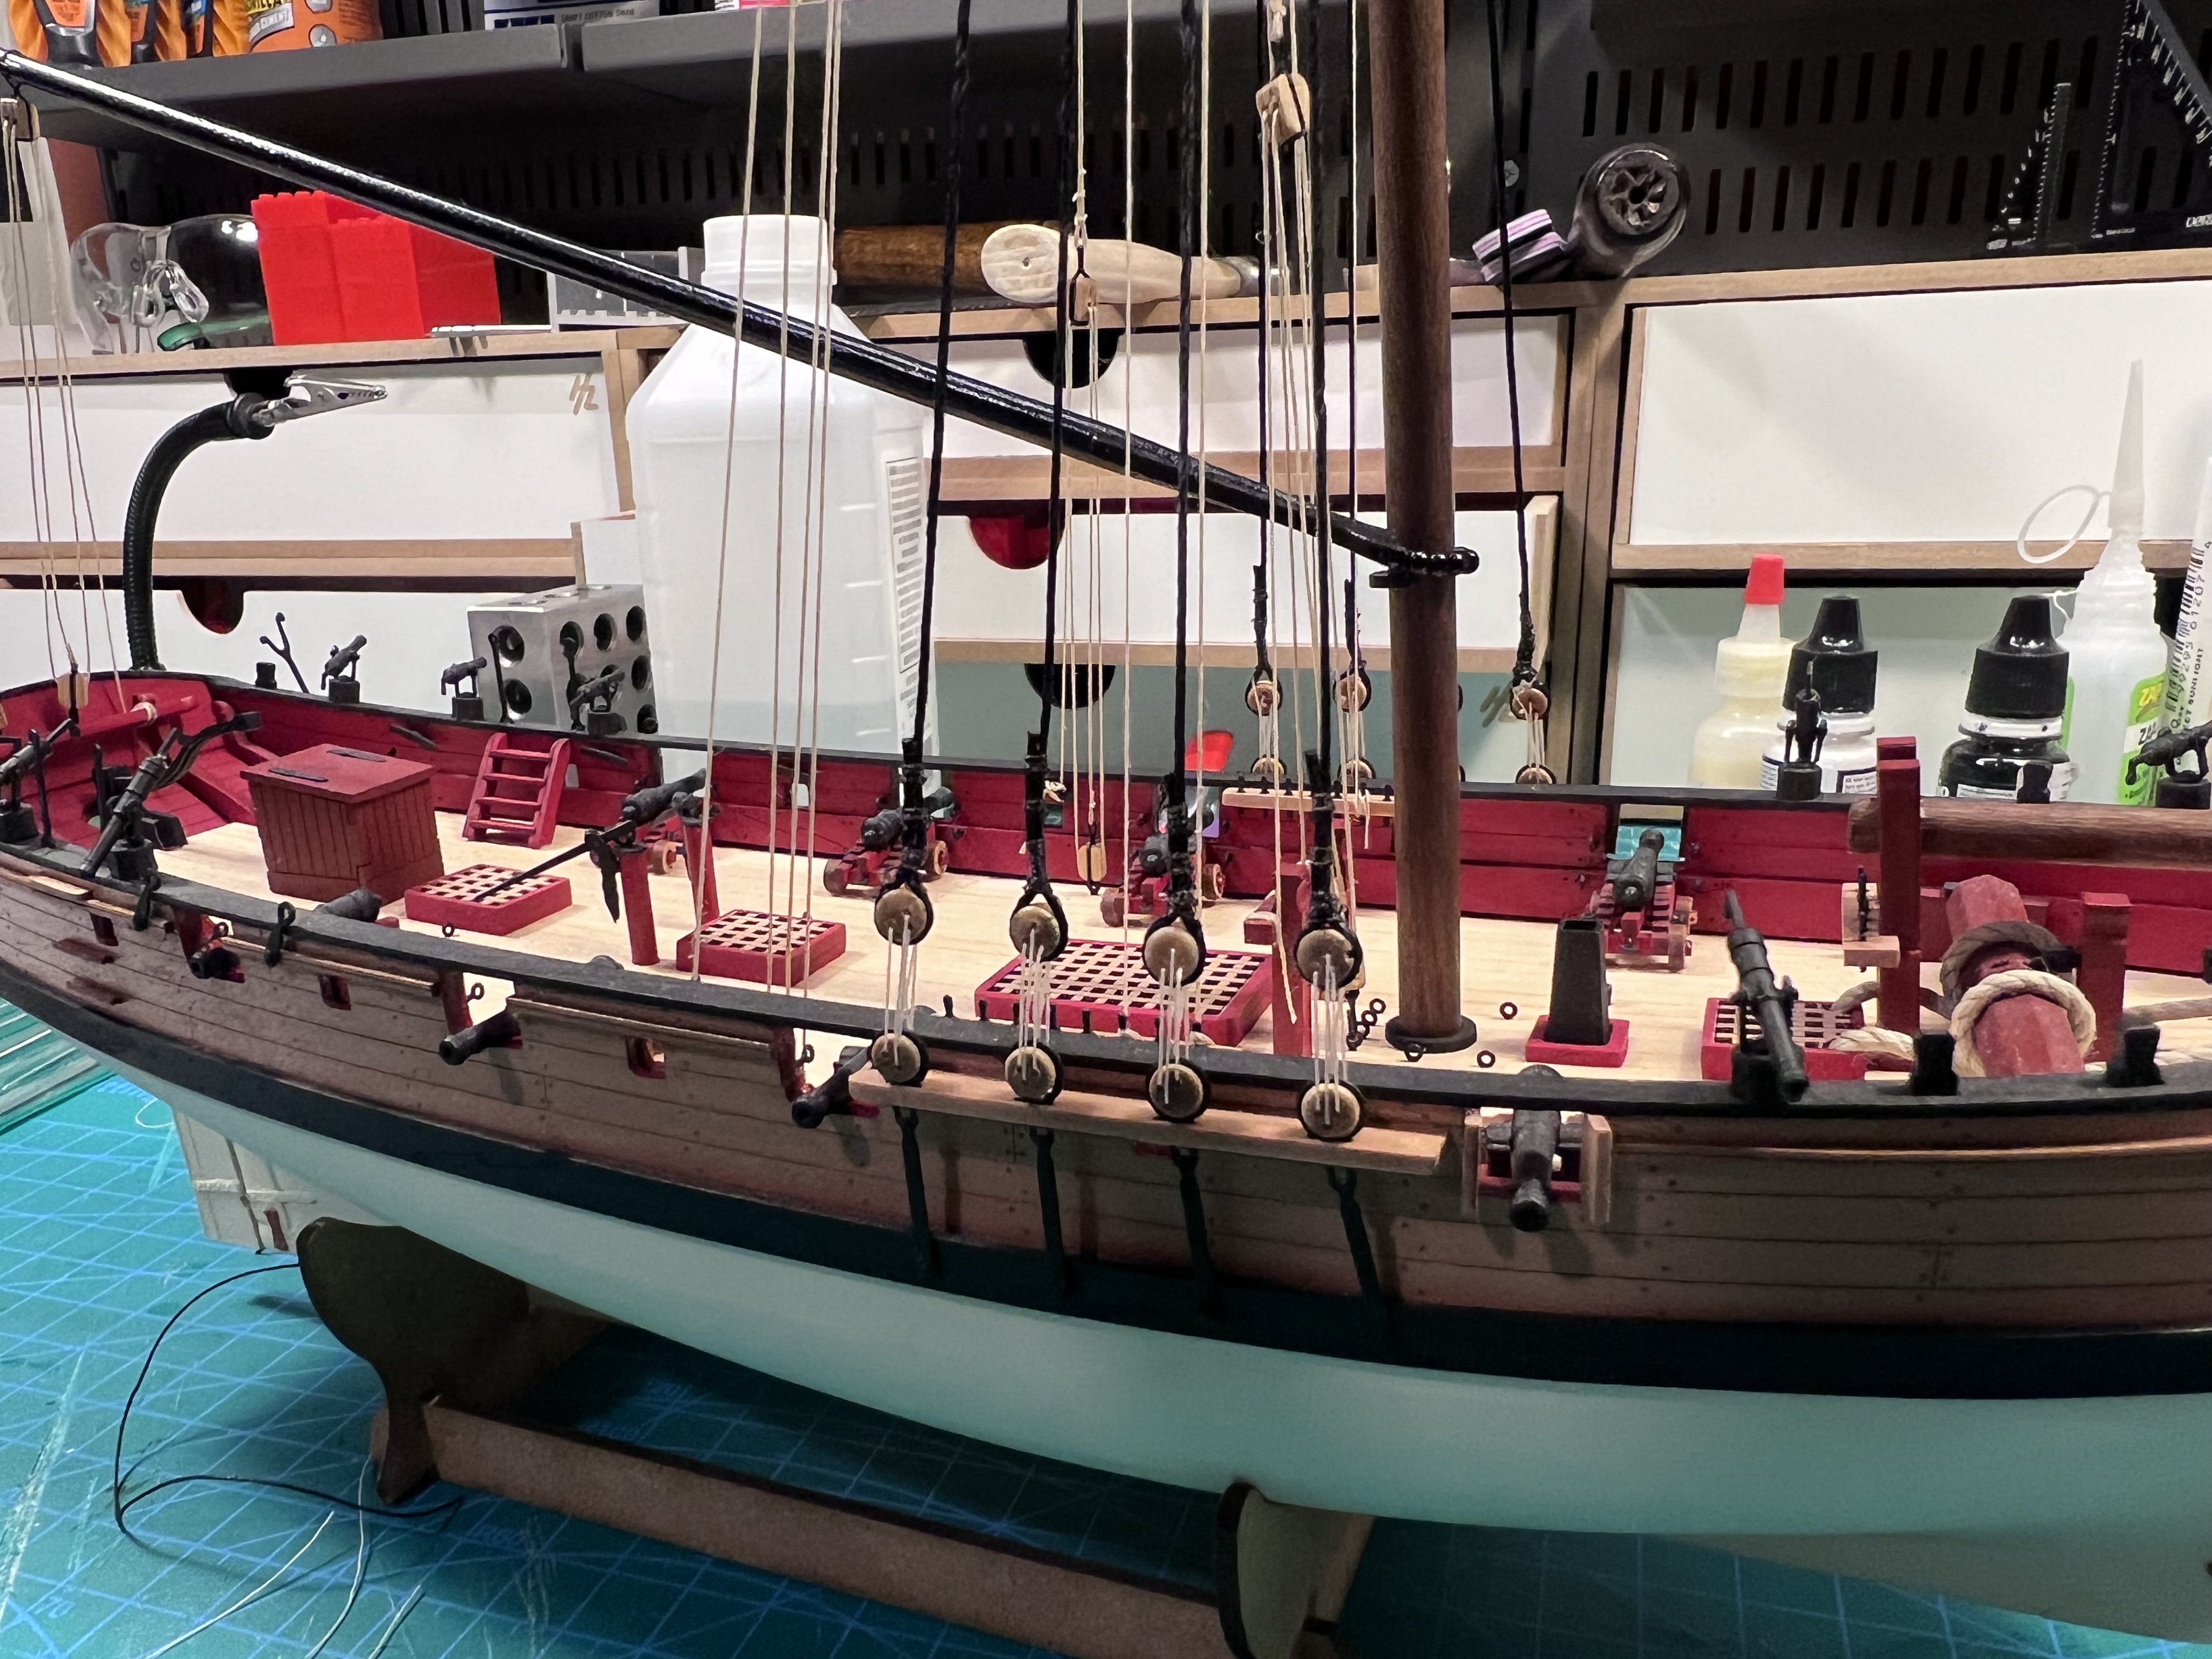
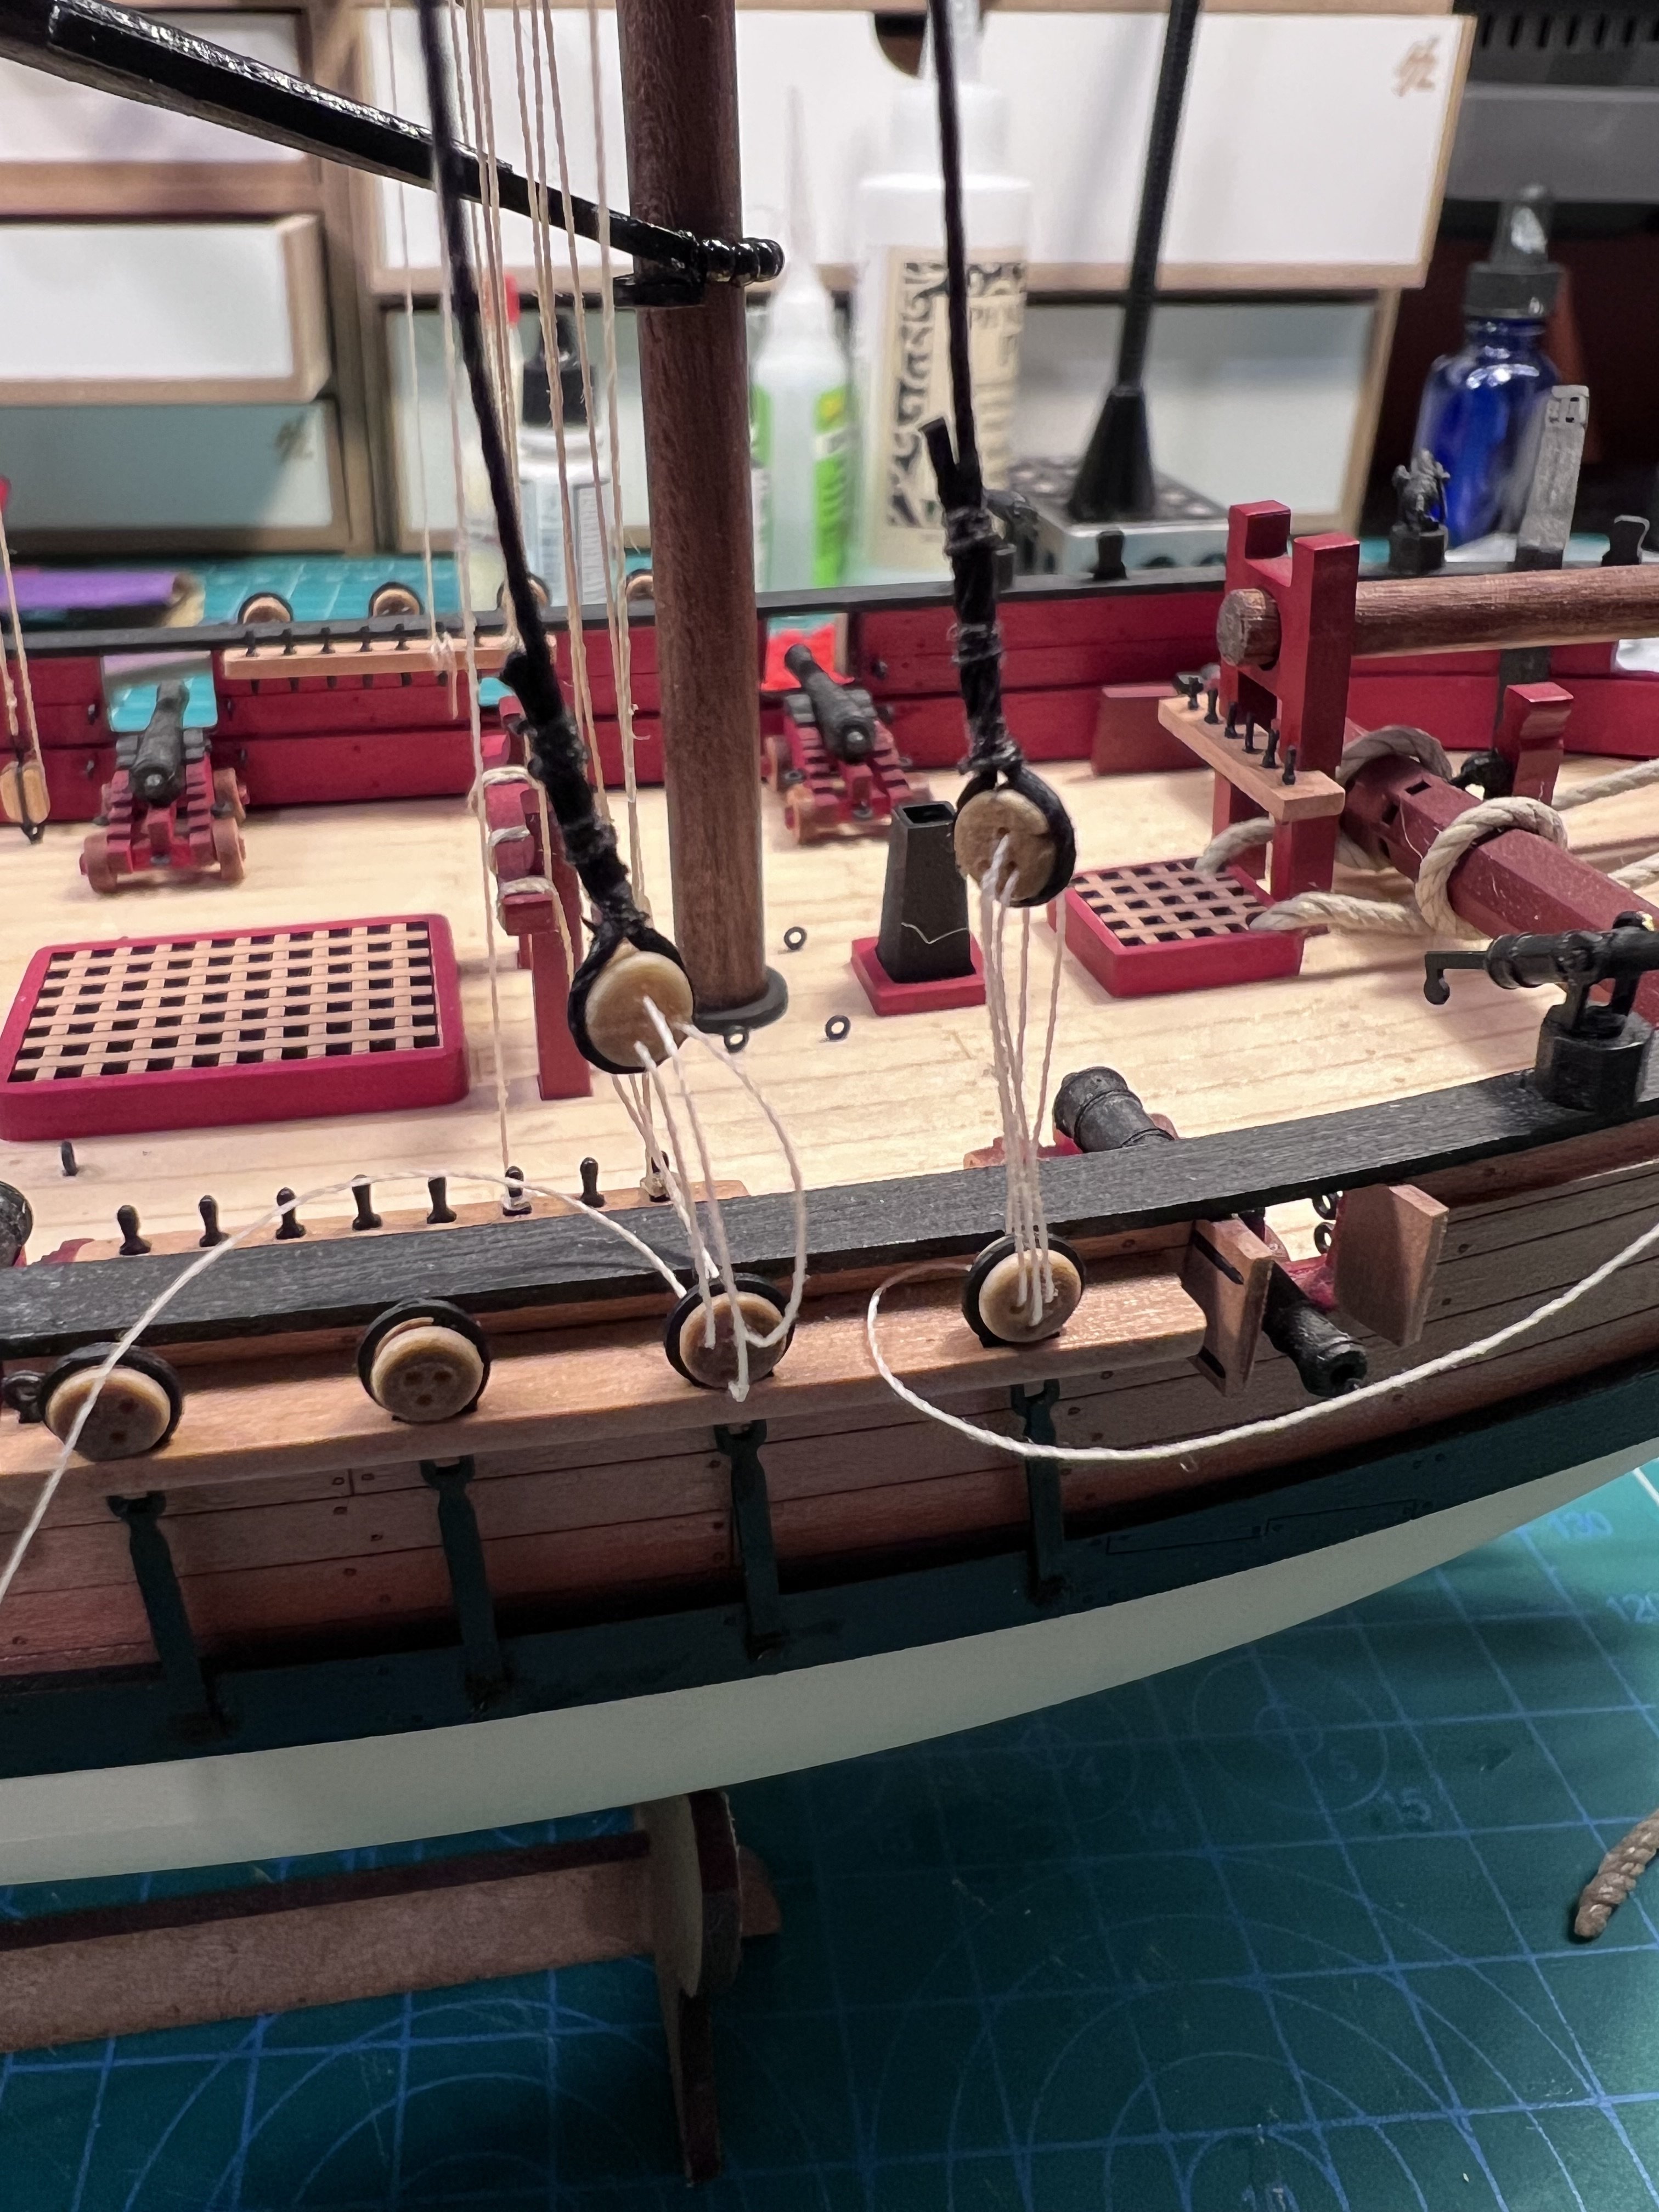
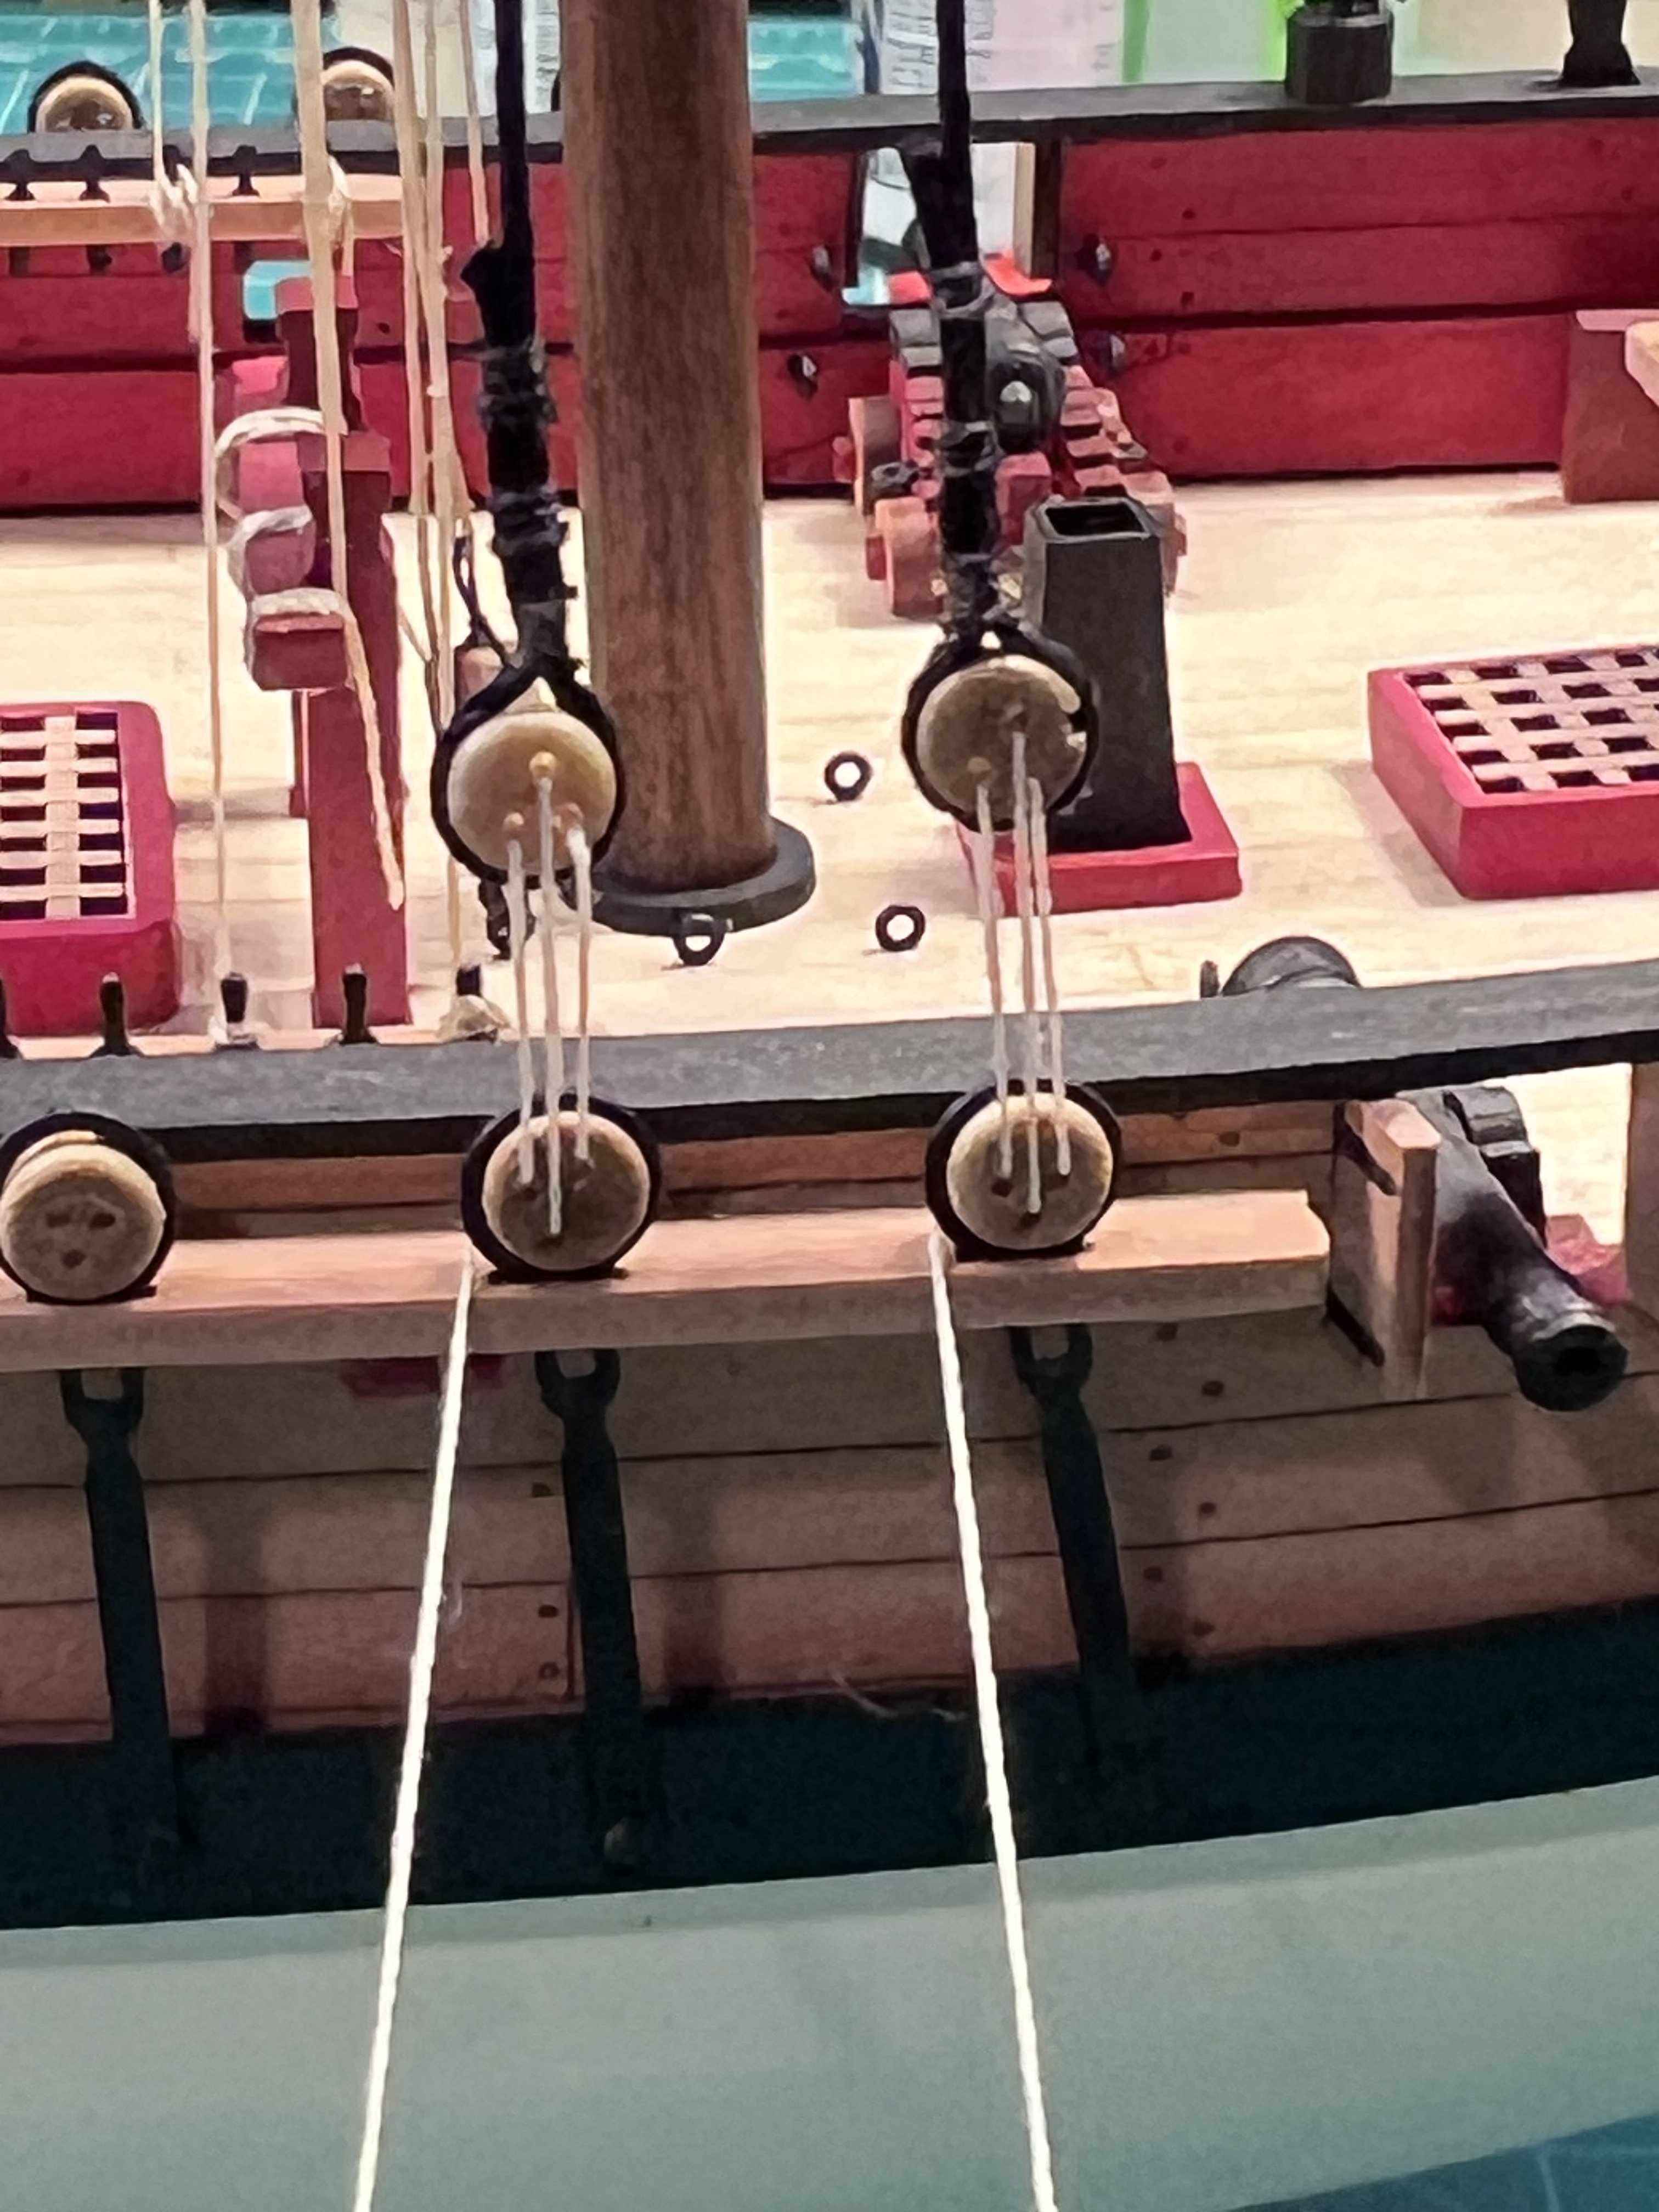
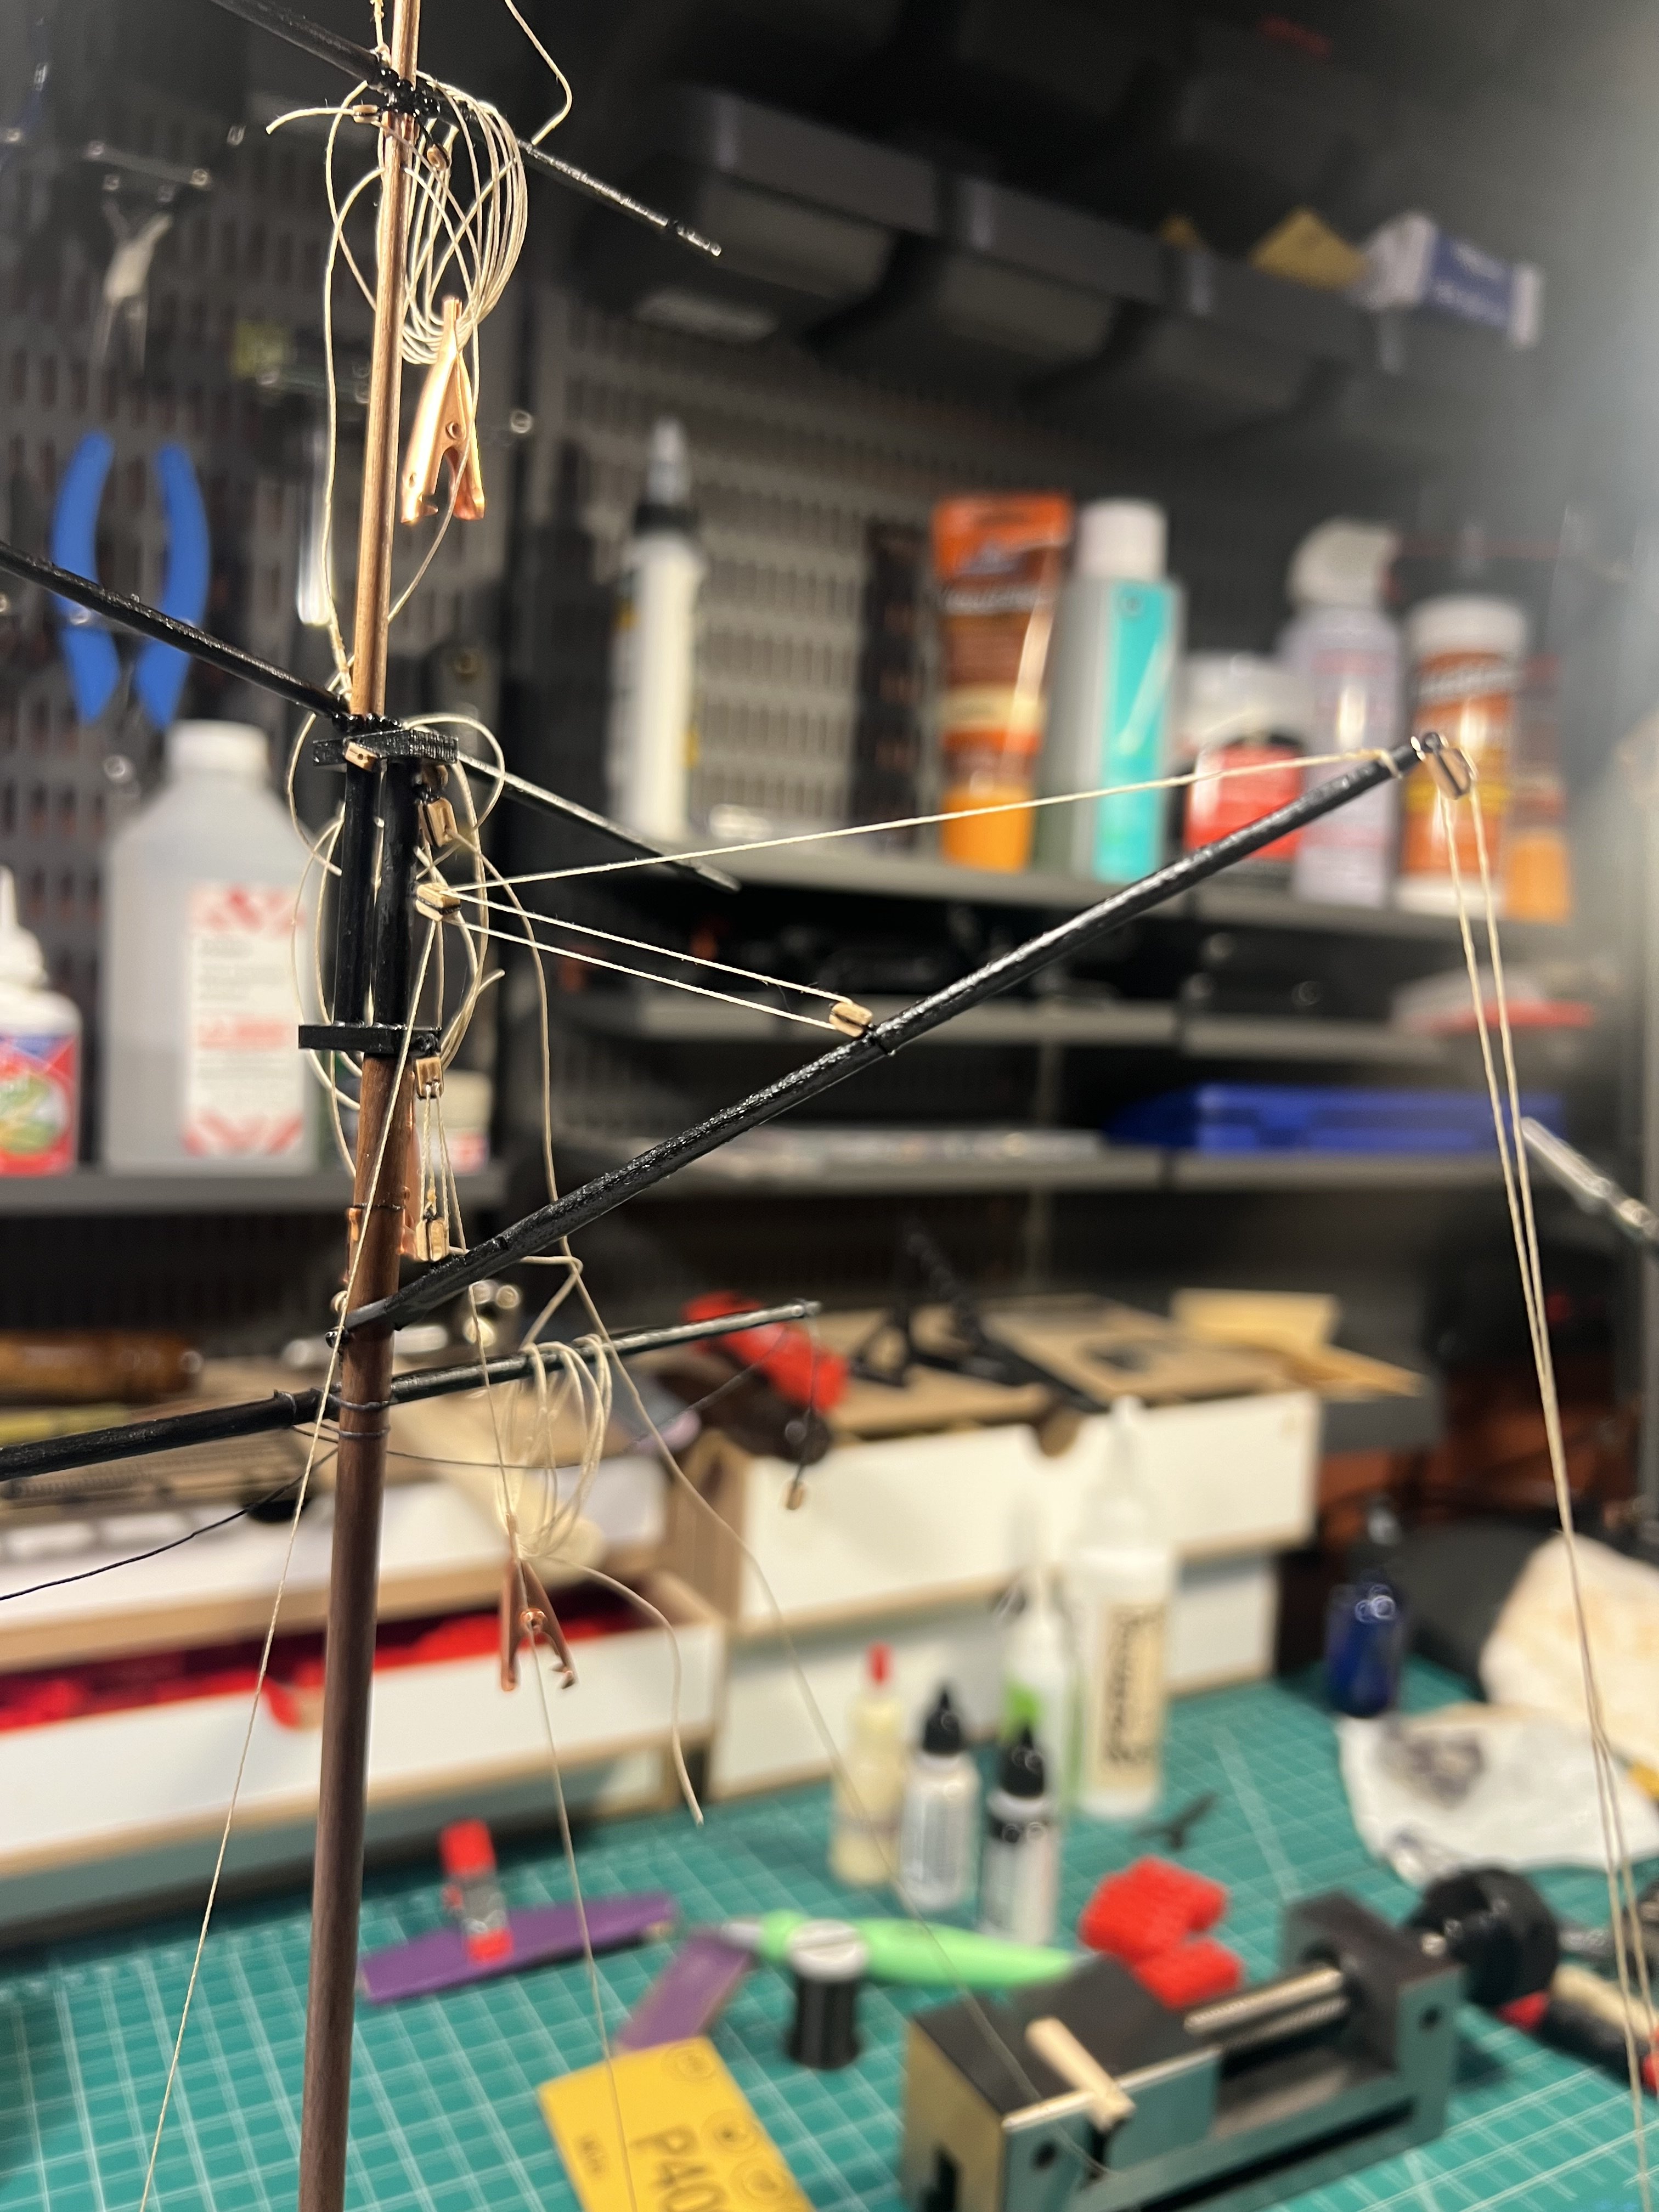
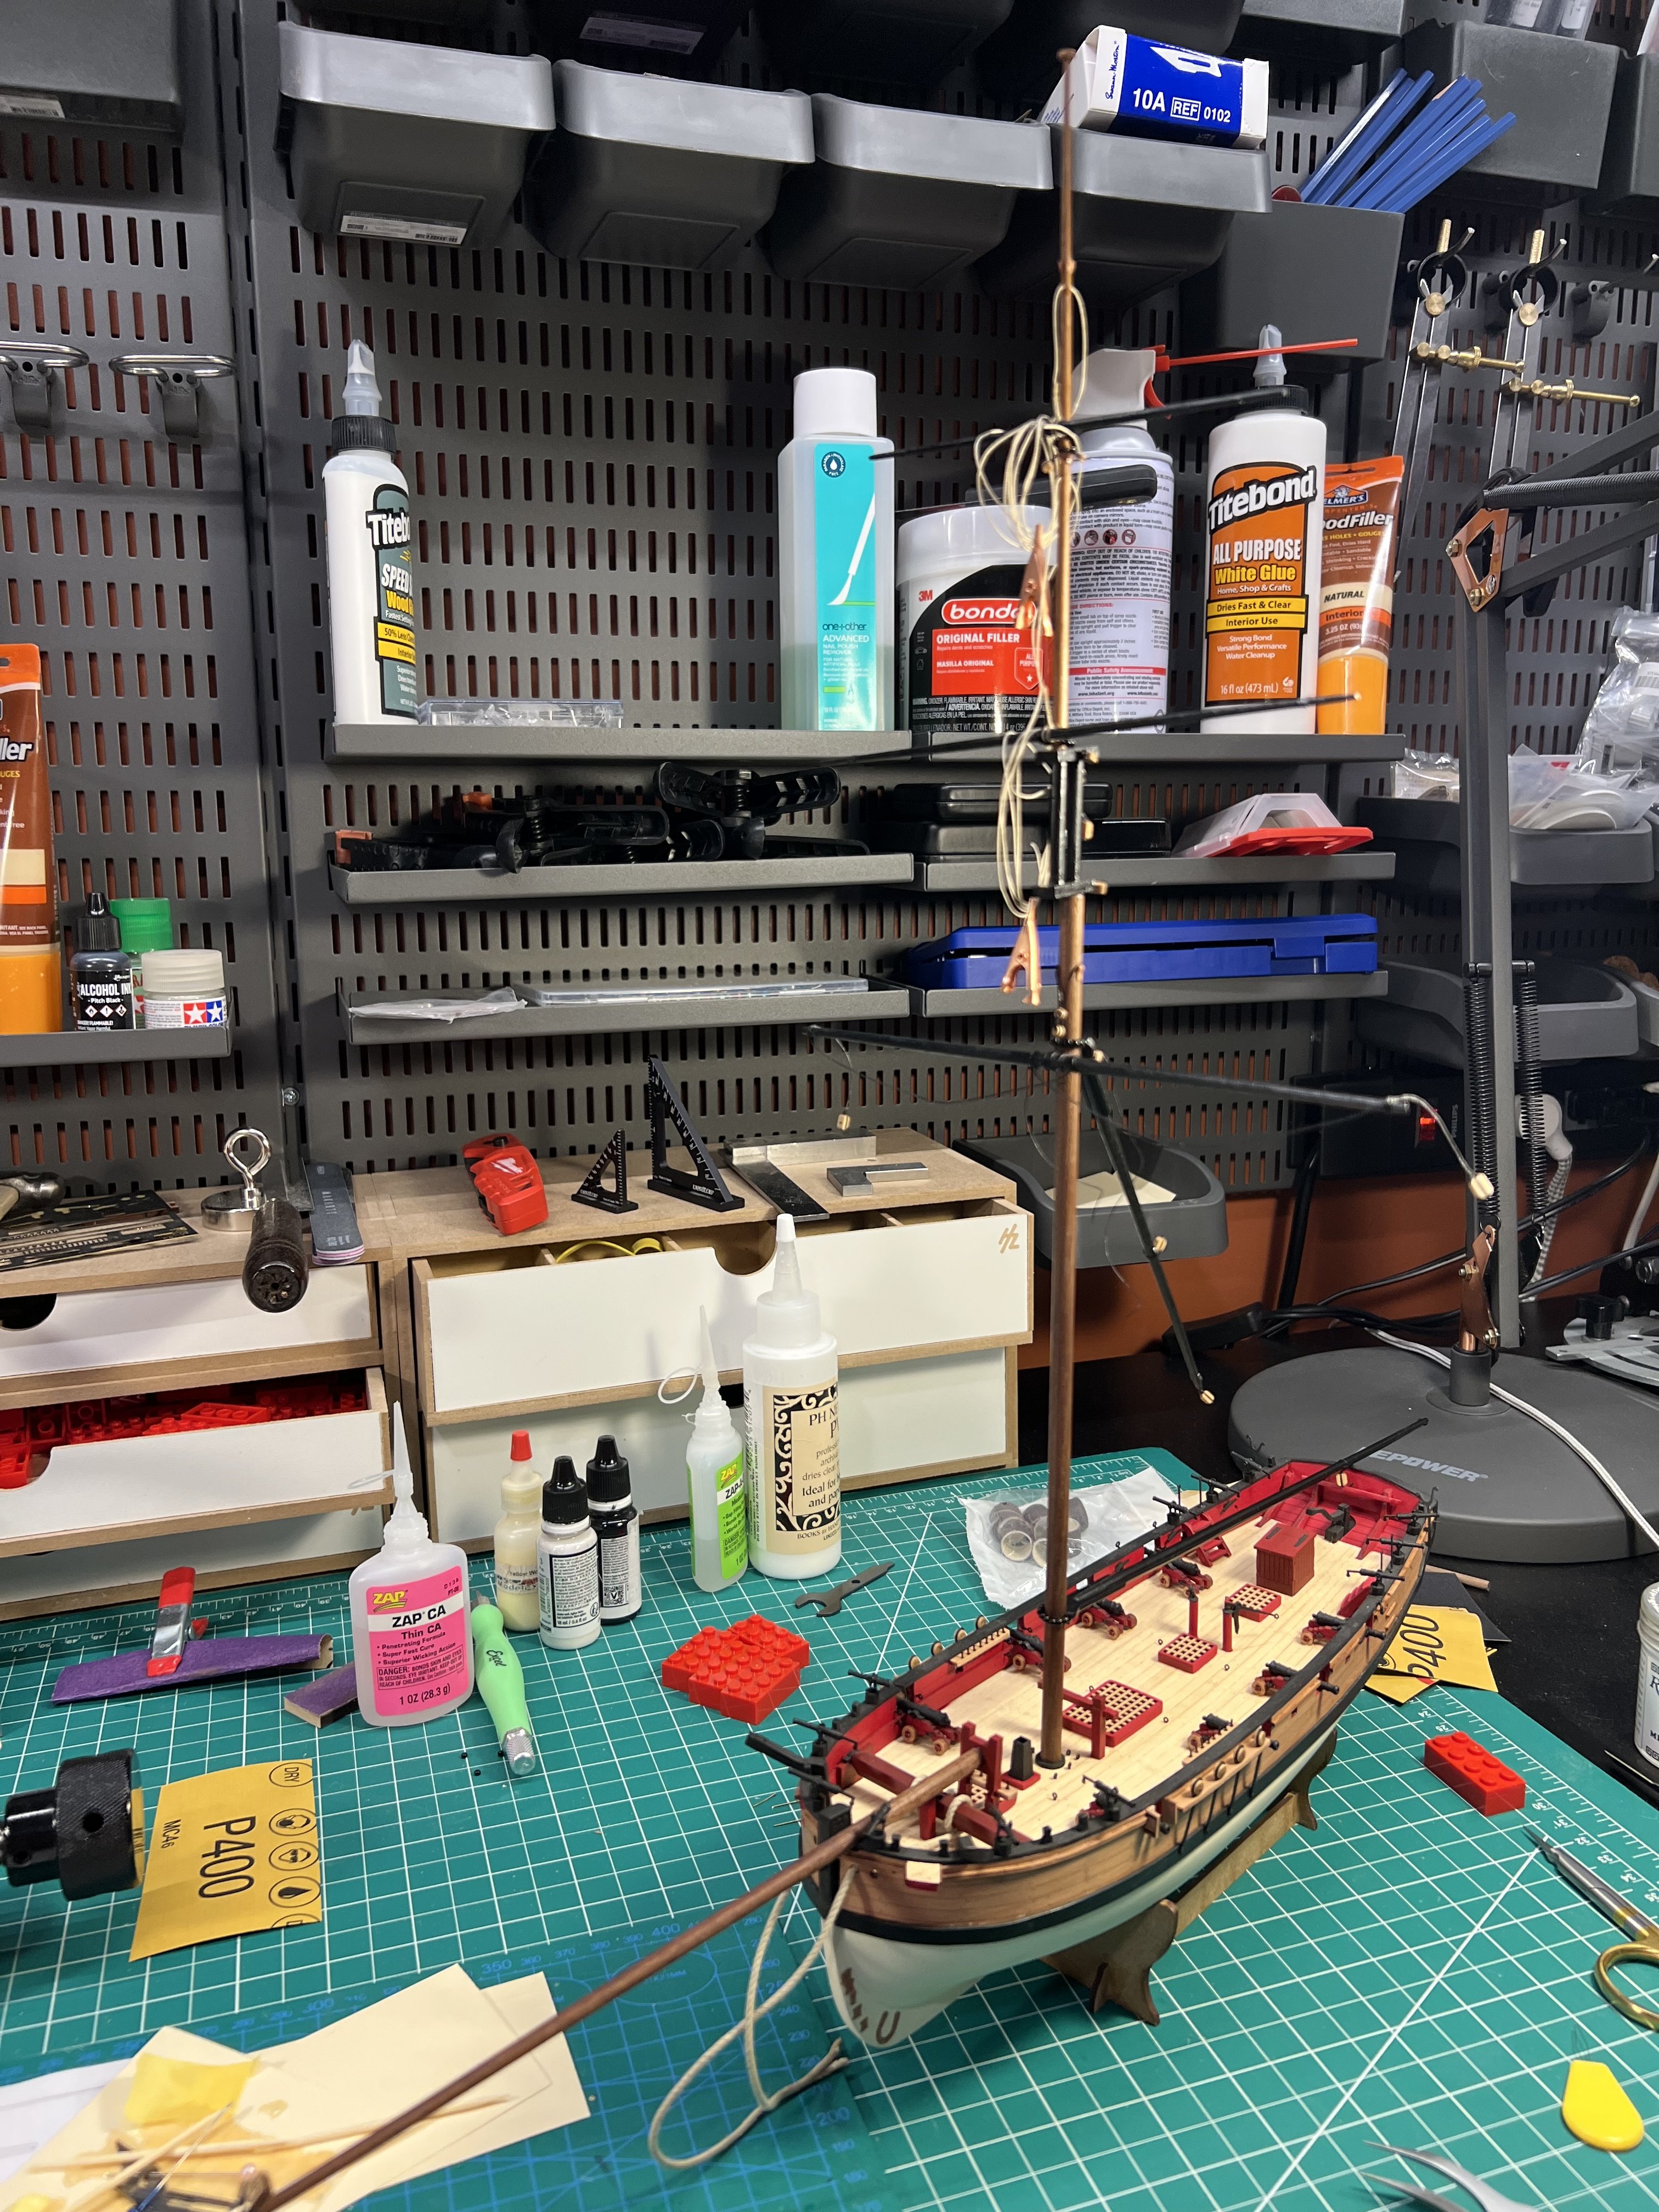
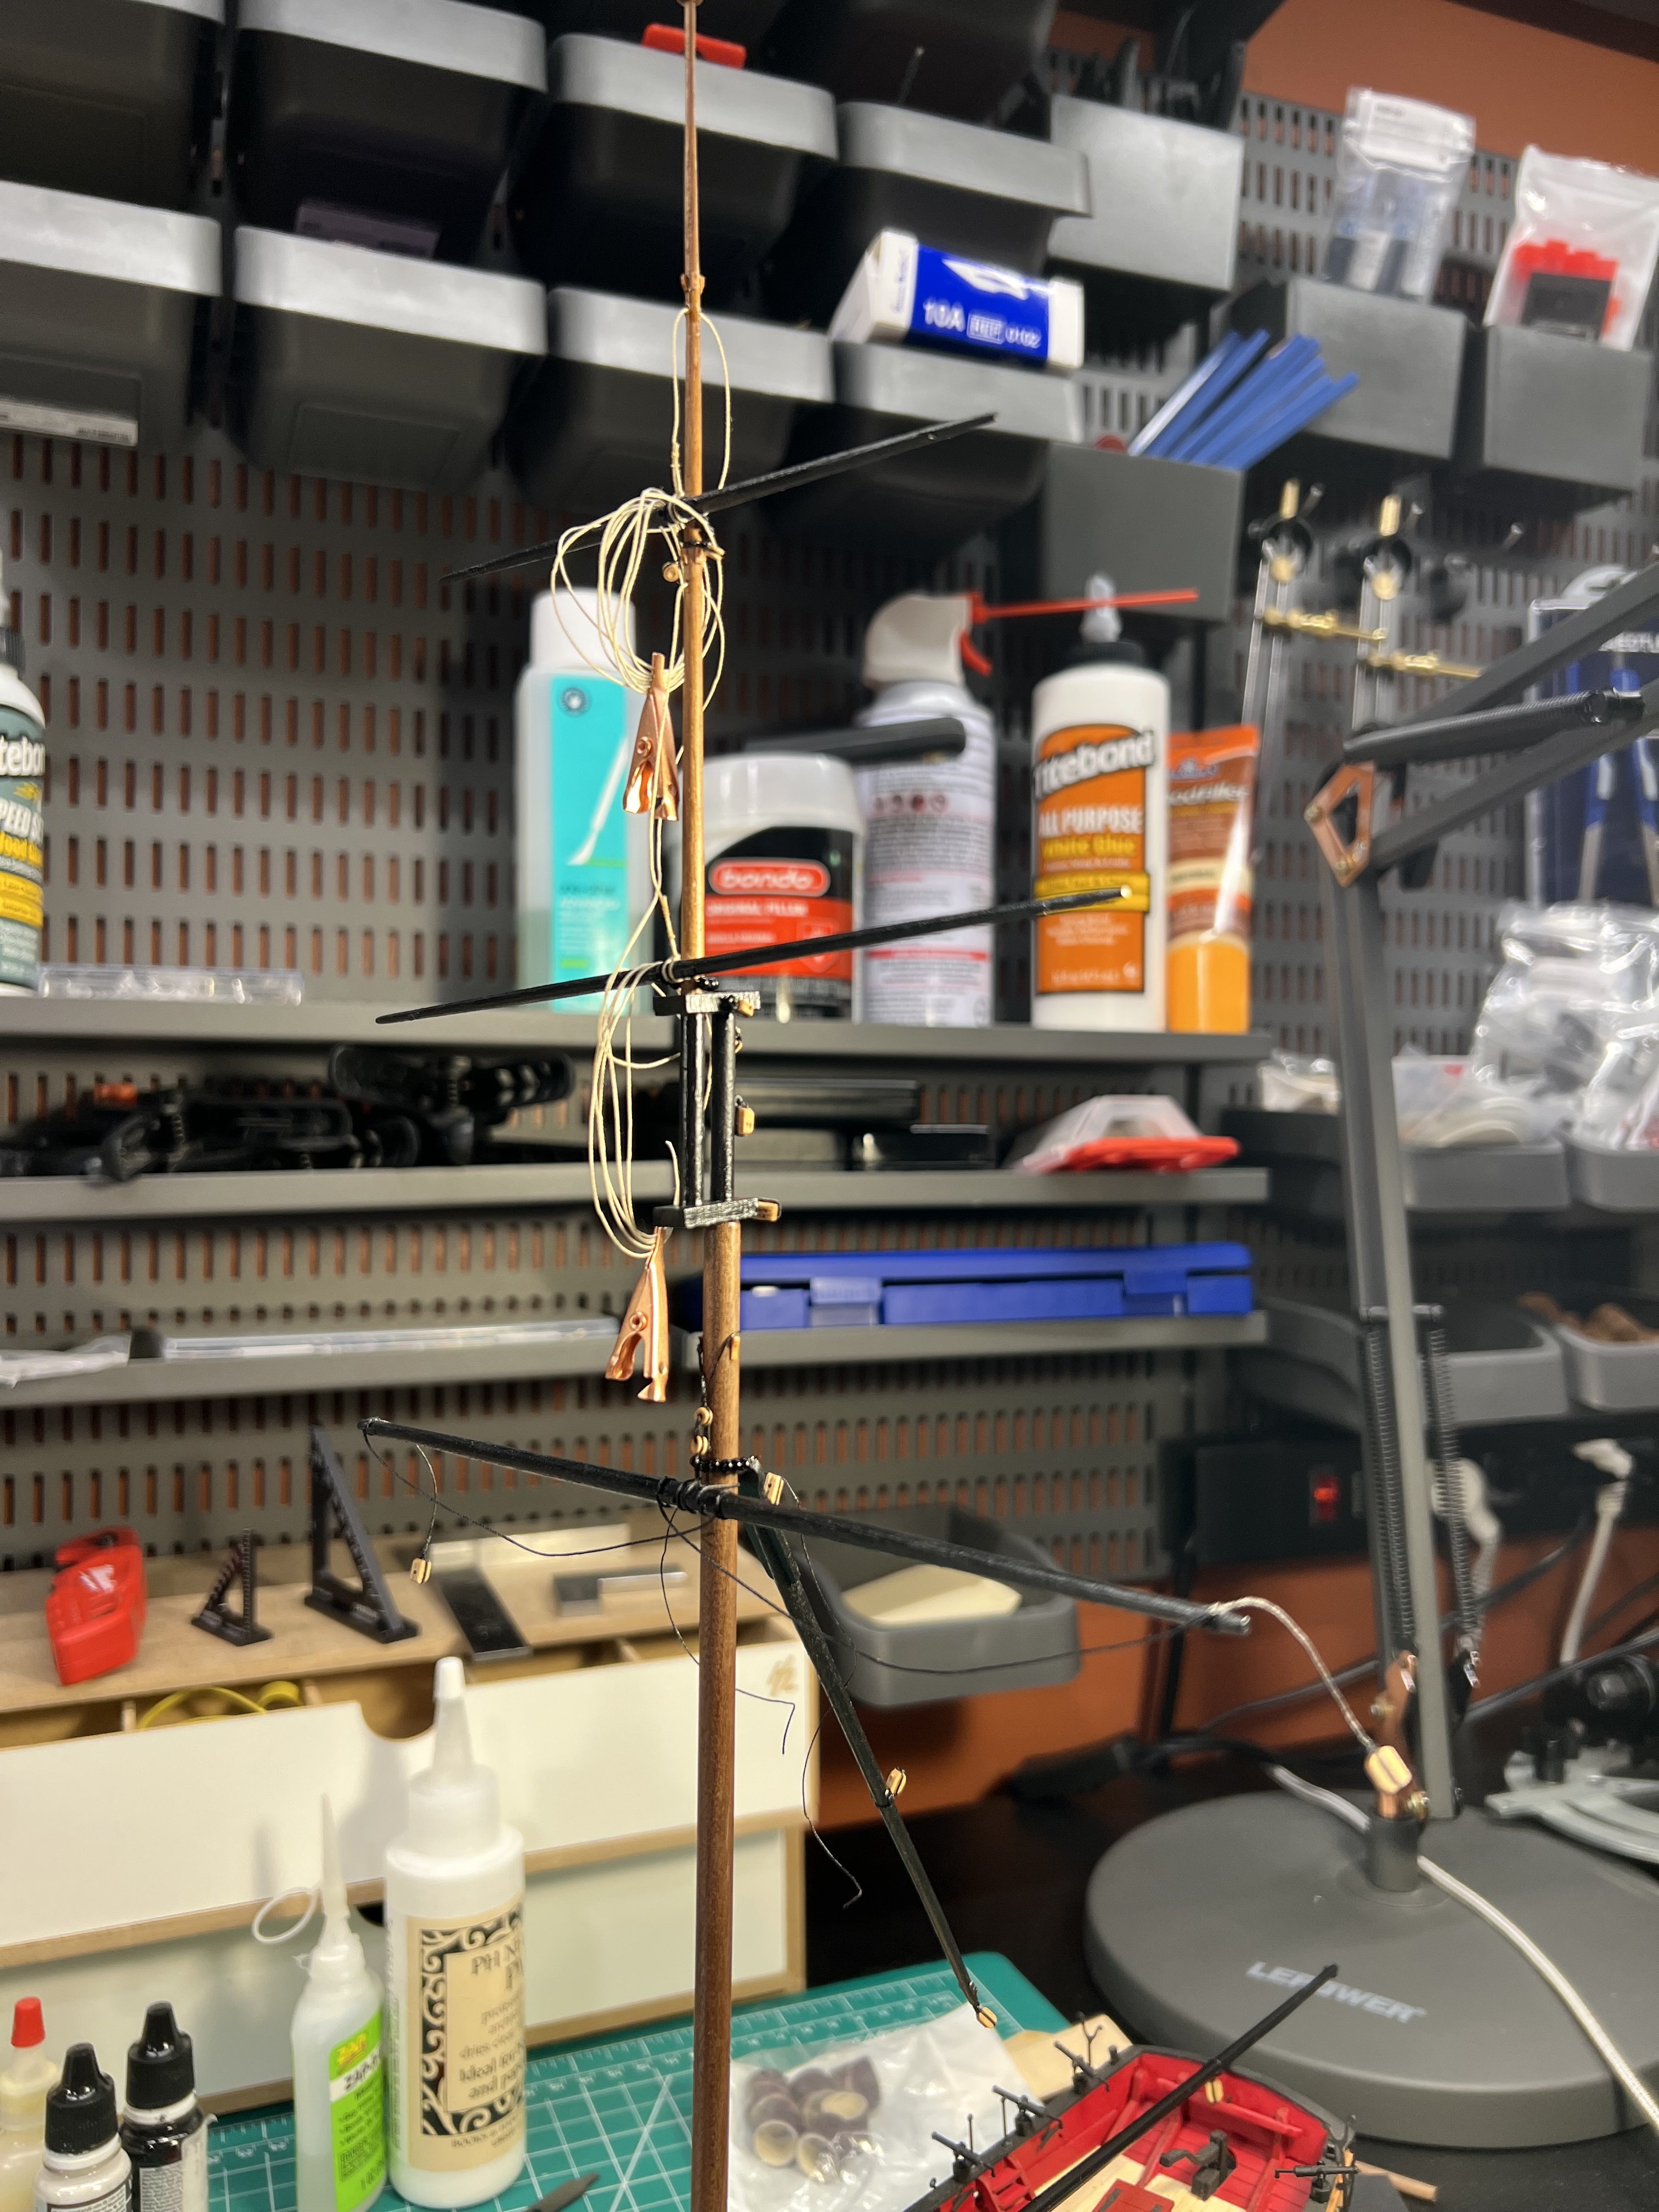
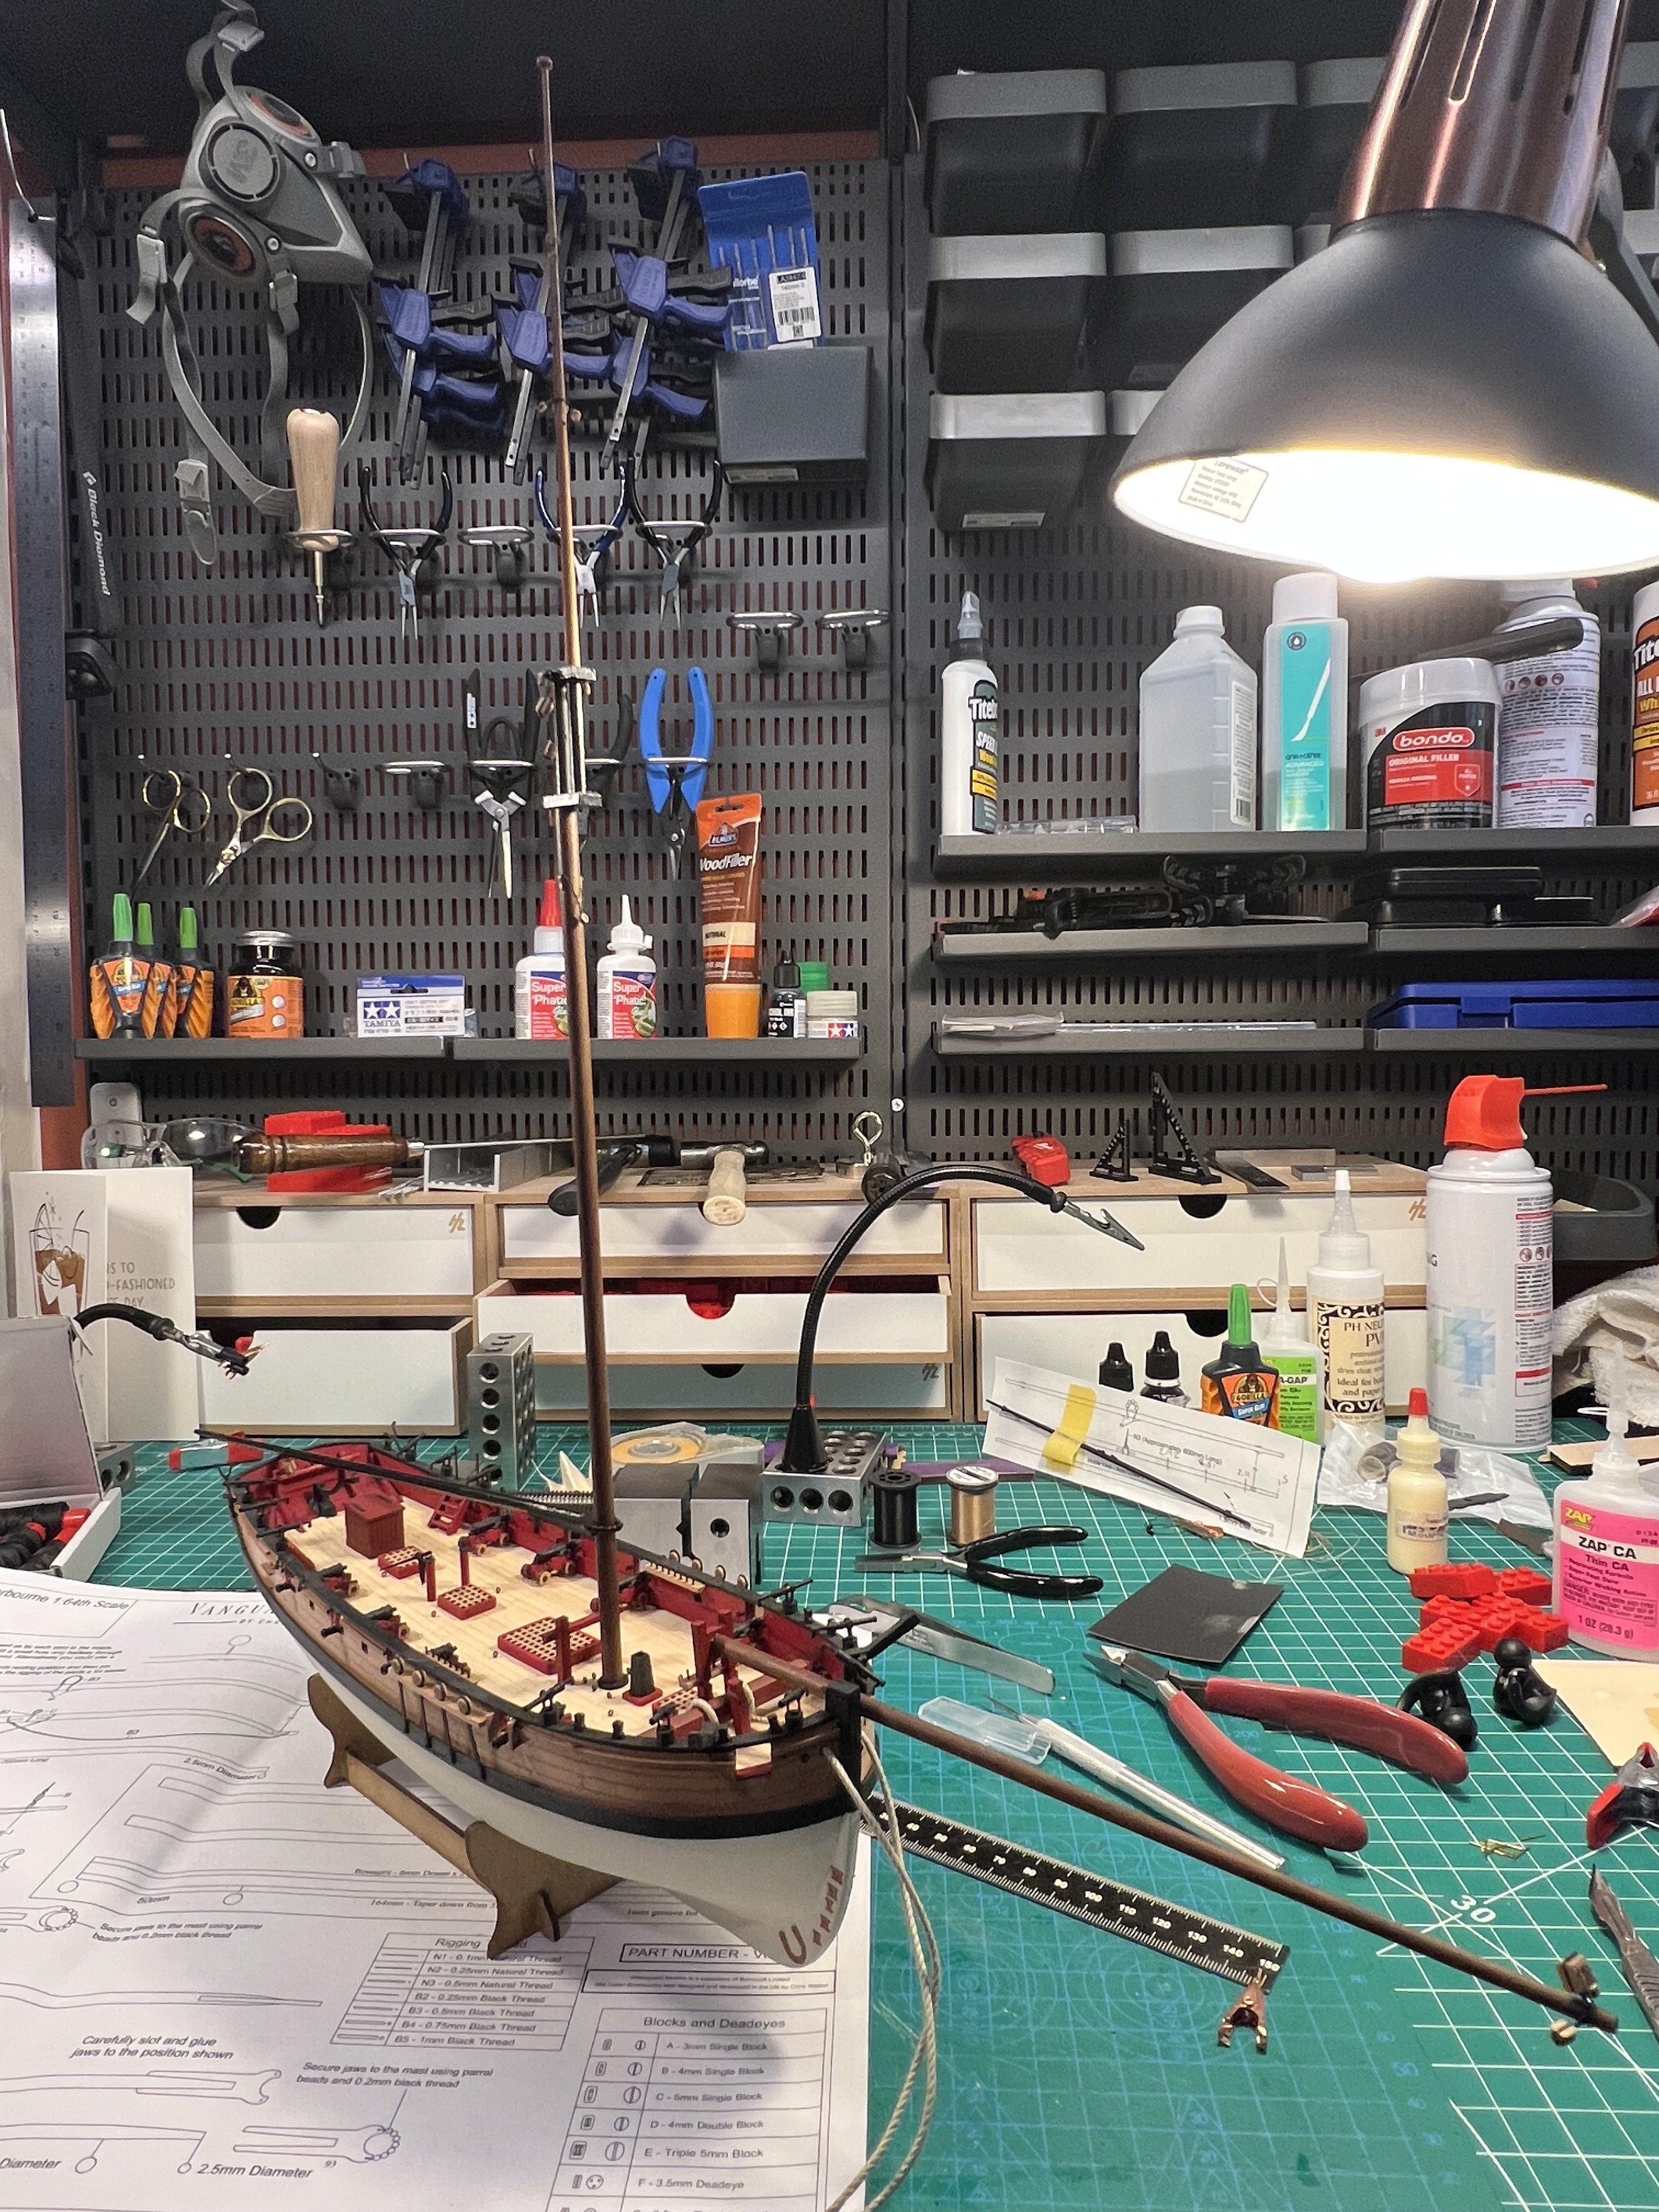
So I think I learned a well-learned lesson learned by others in the past. I had only tightened and glued rigging once all the pieces of rigging associated with the same boom or yard seemed to be in place. I had read that you can get one line of rigging seemingly taught but then when adding the next piece it can make the first piece loose. I don’t know if it was from accidentally knocking some of the rigging from time to time that made some of the rigging loosen a bit or if it was later rigging that caused previous (seemingly taught) rigging to become loose. I had to retighten that rigging. Thankfully the CA glue I previously used to secure the rigging loosened with nail polish remover applied a few times. I now have a lot of the rigging I had previously secured now temporarily lightened with small clamps. I’ll wait to secure again in their final position later in the rigging. Lesson learned. I don’t know if keeping lots of rigging “loose” works on a model with 5-10x the amount of rigging.


- DB789, brunnels, chris watton and 7 others
-
10
-
I recently bought one of these for the room inside where I do my work : Coway Airmega AP-1512HH Mighty:
It's been 25% off for a couple weeks now. It's new so I can't speak to its longevity. And I haven't tried it while doing any faring.
I tend to use Wirecutter for recommendations:
https://www.nytimes.com/wirecutter/reviews/best-air-purifier/
I'm sure it's not as powerful as a Dewalt - I have a bunch of Dewalt hand tools for work around the house. But it is whisper quiet. I think it would be enough to get fine particulate matter out of the air, probably not as fast as the Dewalt.
The Coway is always on. It has a detector that adjusts its speed. I was doing some tile cutting in a nearby bathroom, throwing out a bunch of dust, and moments later and heard it kick on to high.
I wanted it running 24/7 just to remove dust from the room where I model (even when I'm not sanding).
I'm assuming - hoping - that Wirecutter would recommend a brand that will continue to have replacement filters. I would avoid random brands on amazon (I generally avoid random brands anyway) when you need replacement parts (like you do for a filter)
- rcweir, Ryland Craze and sfotinos
-
3
-
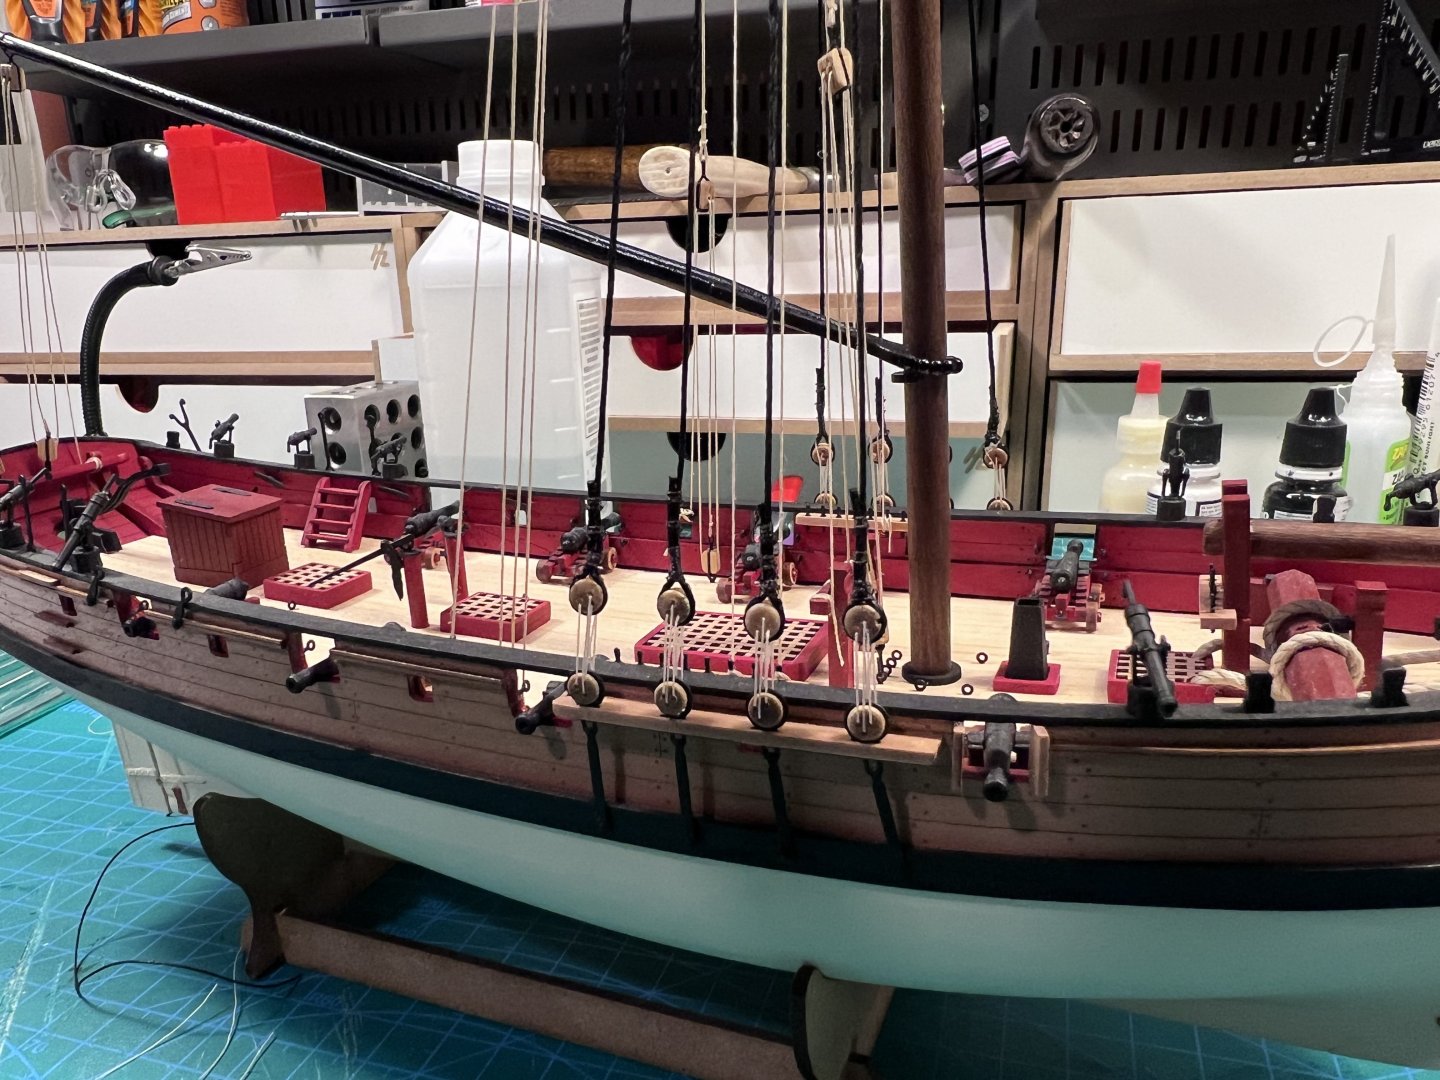
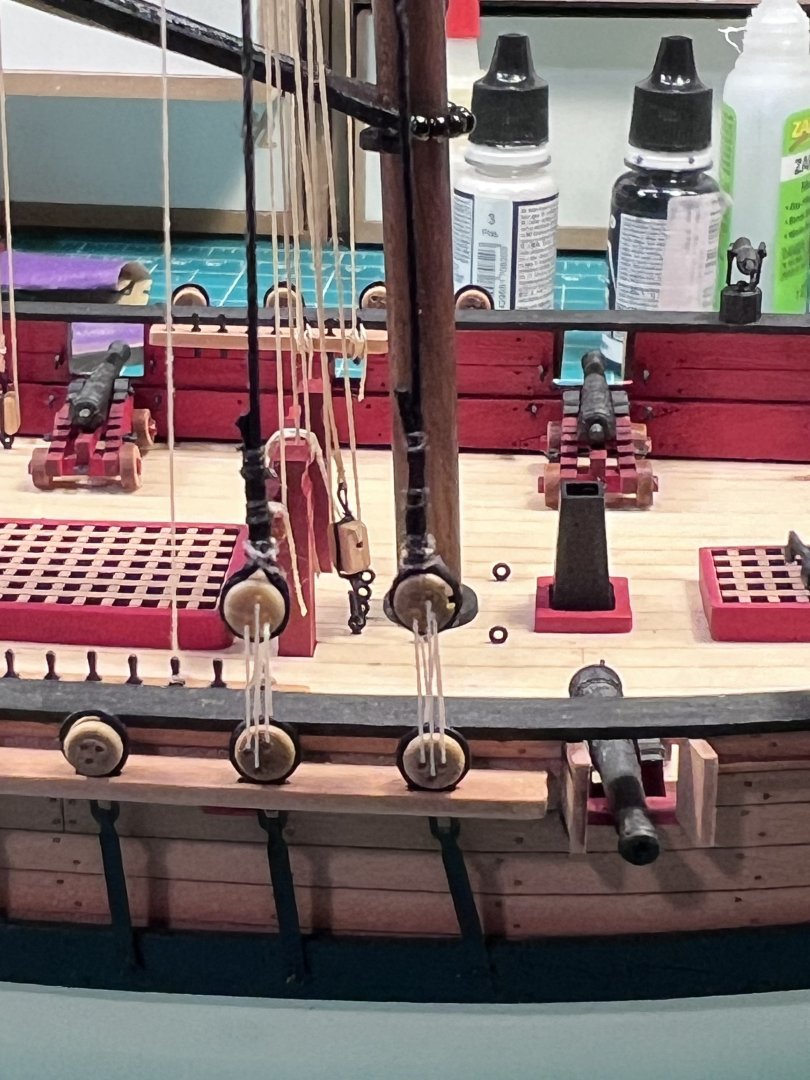
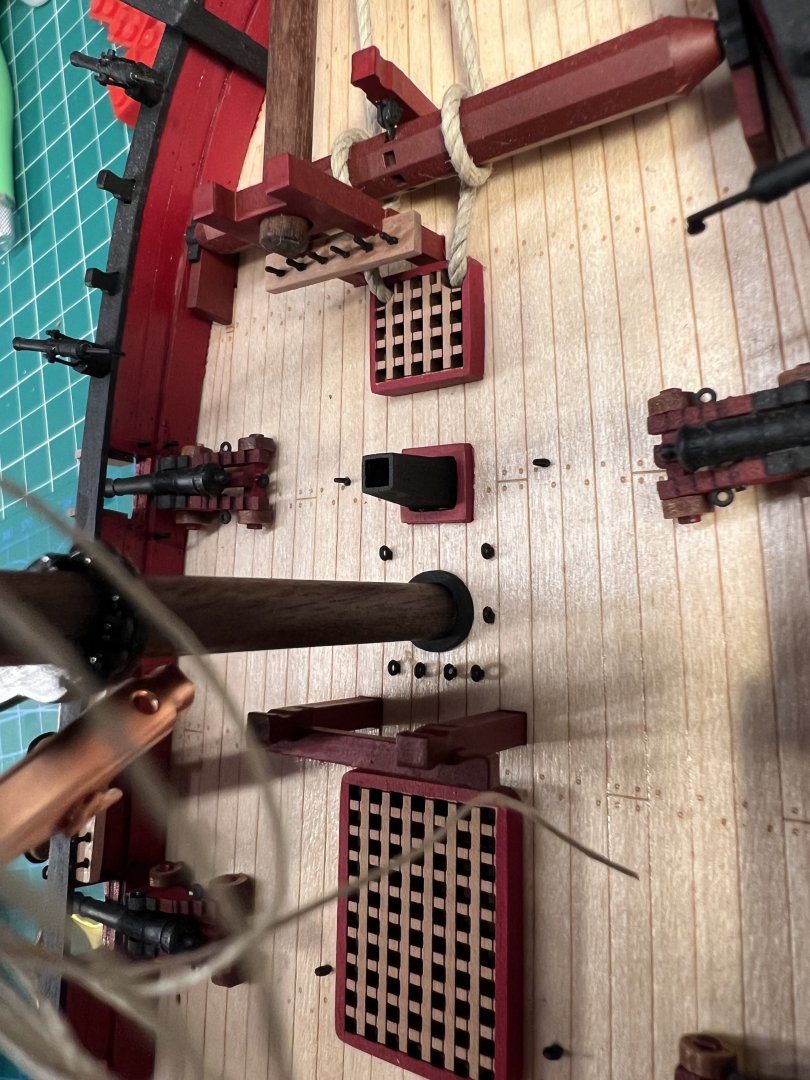
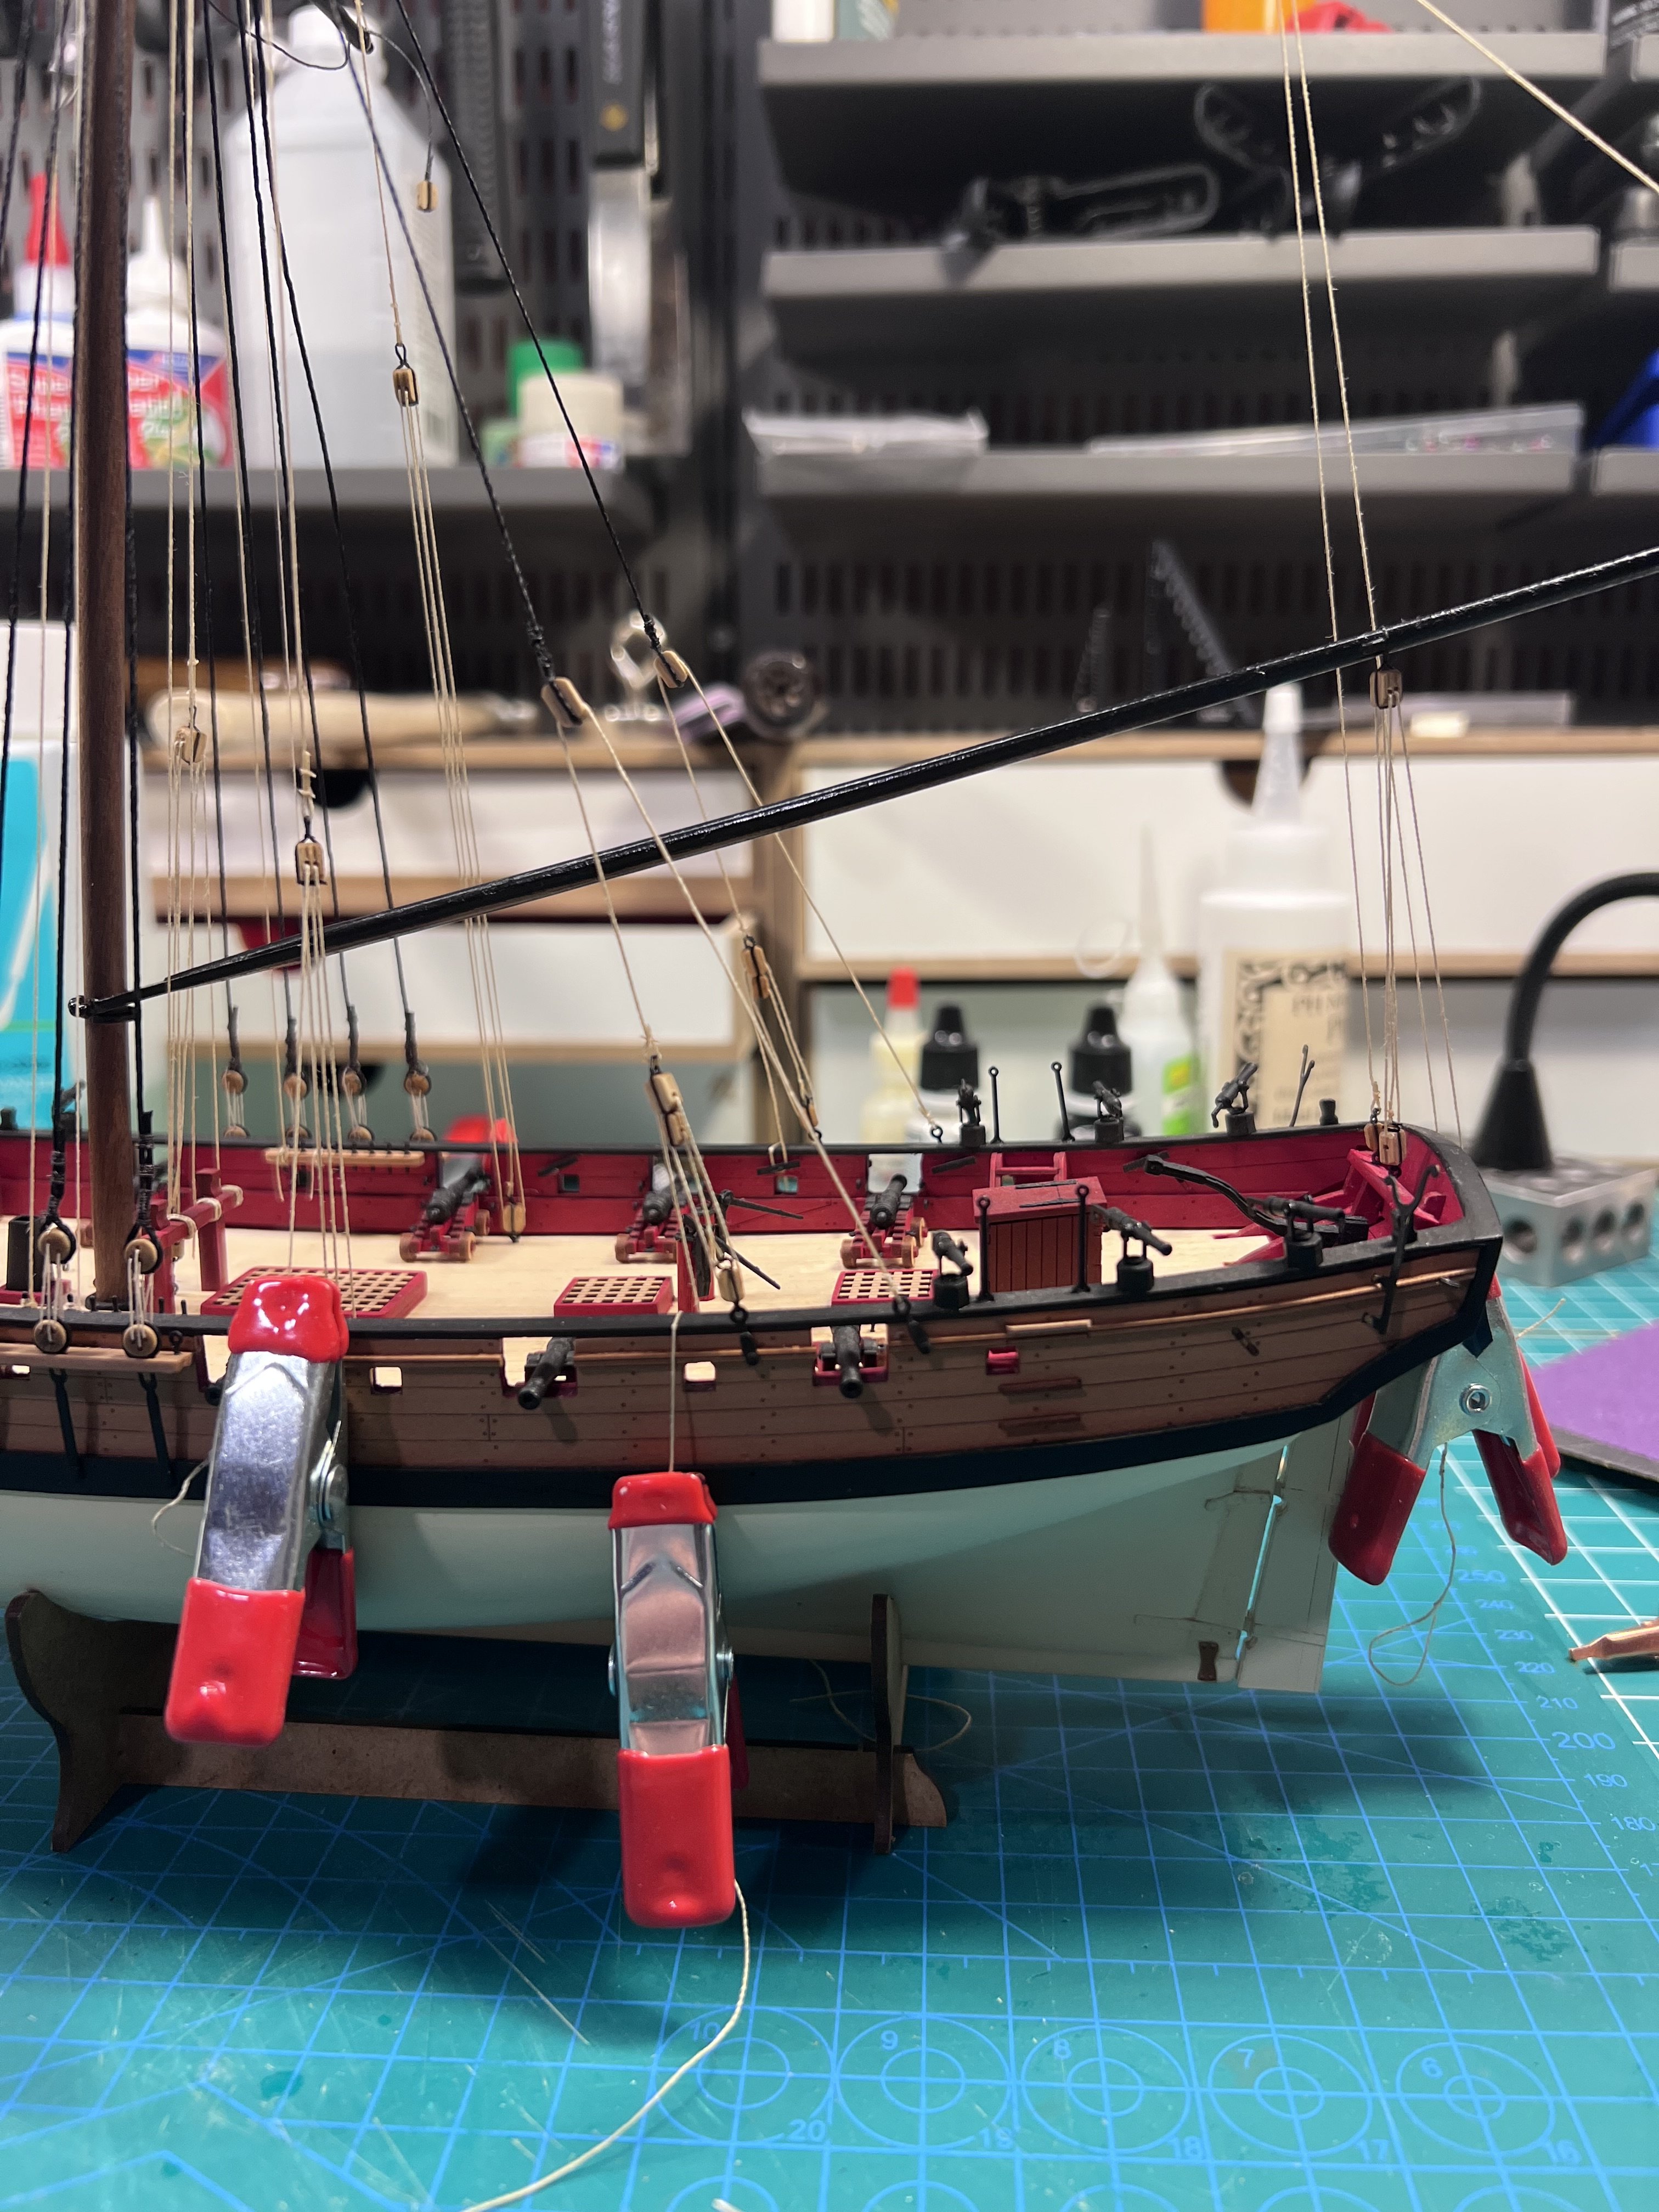
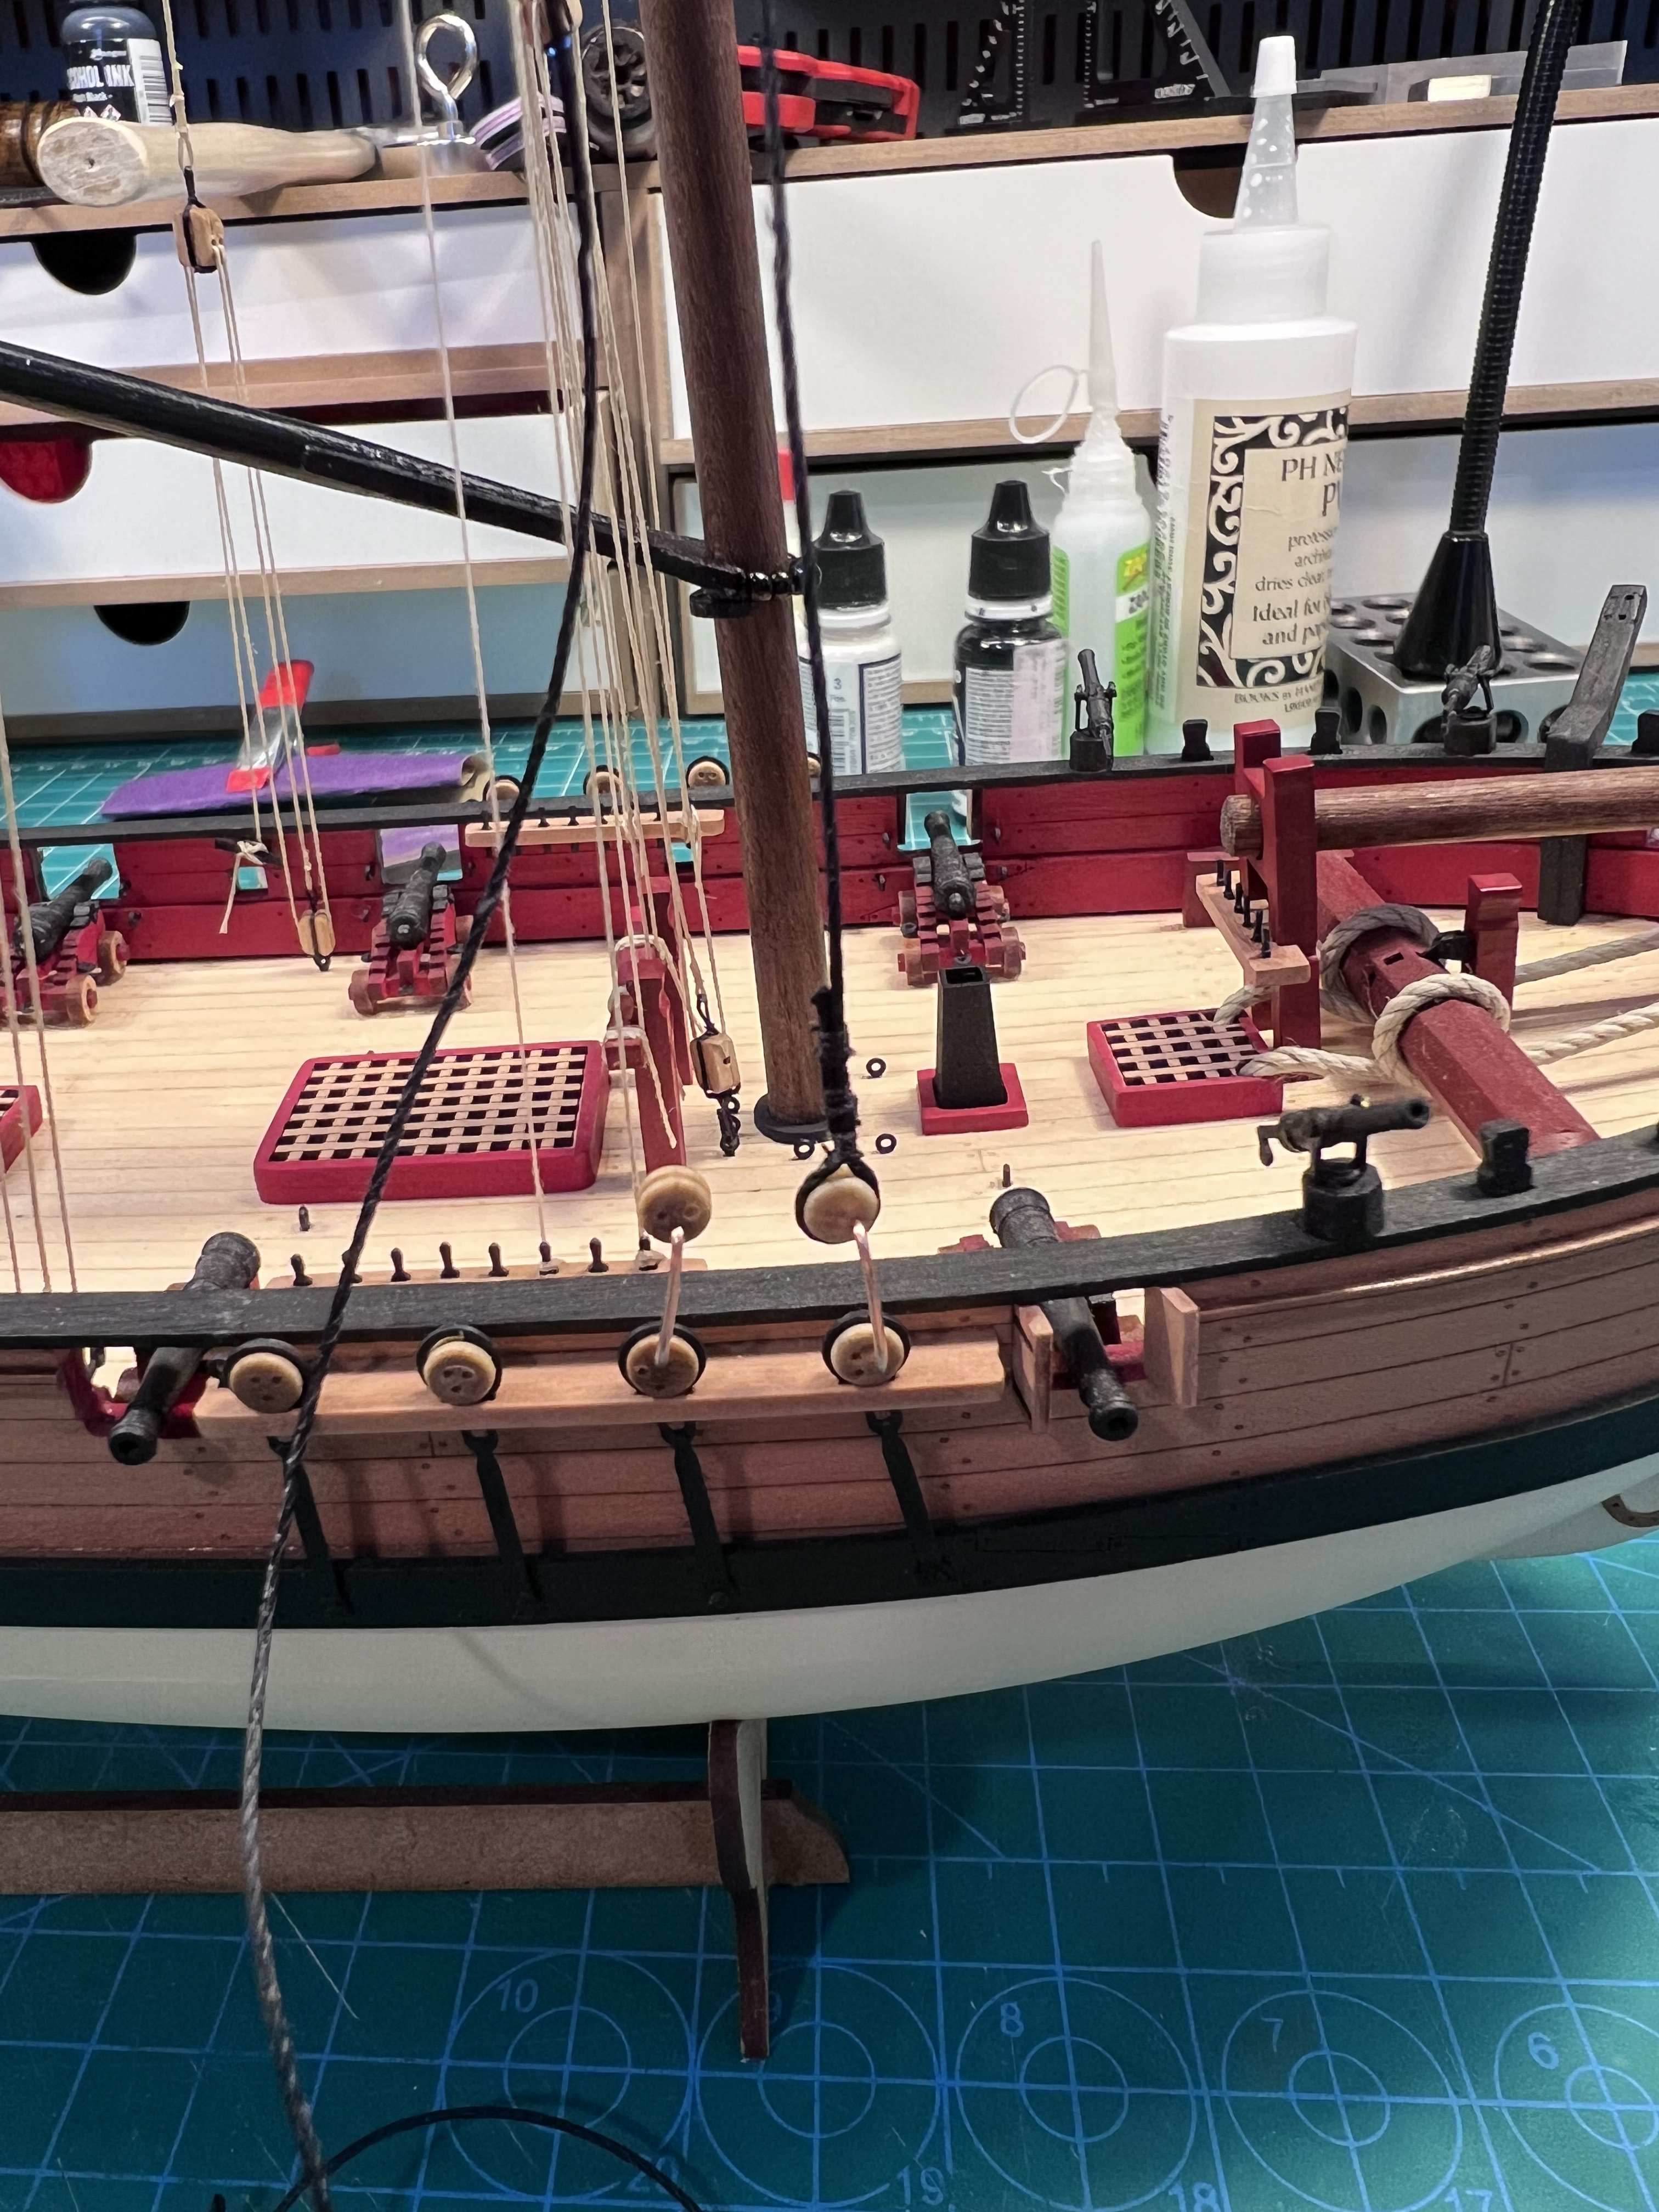
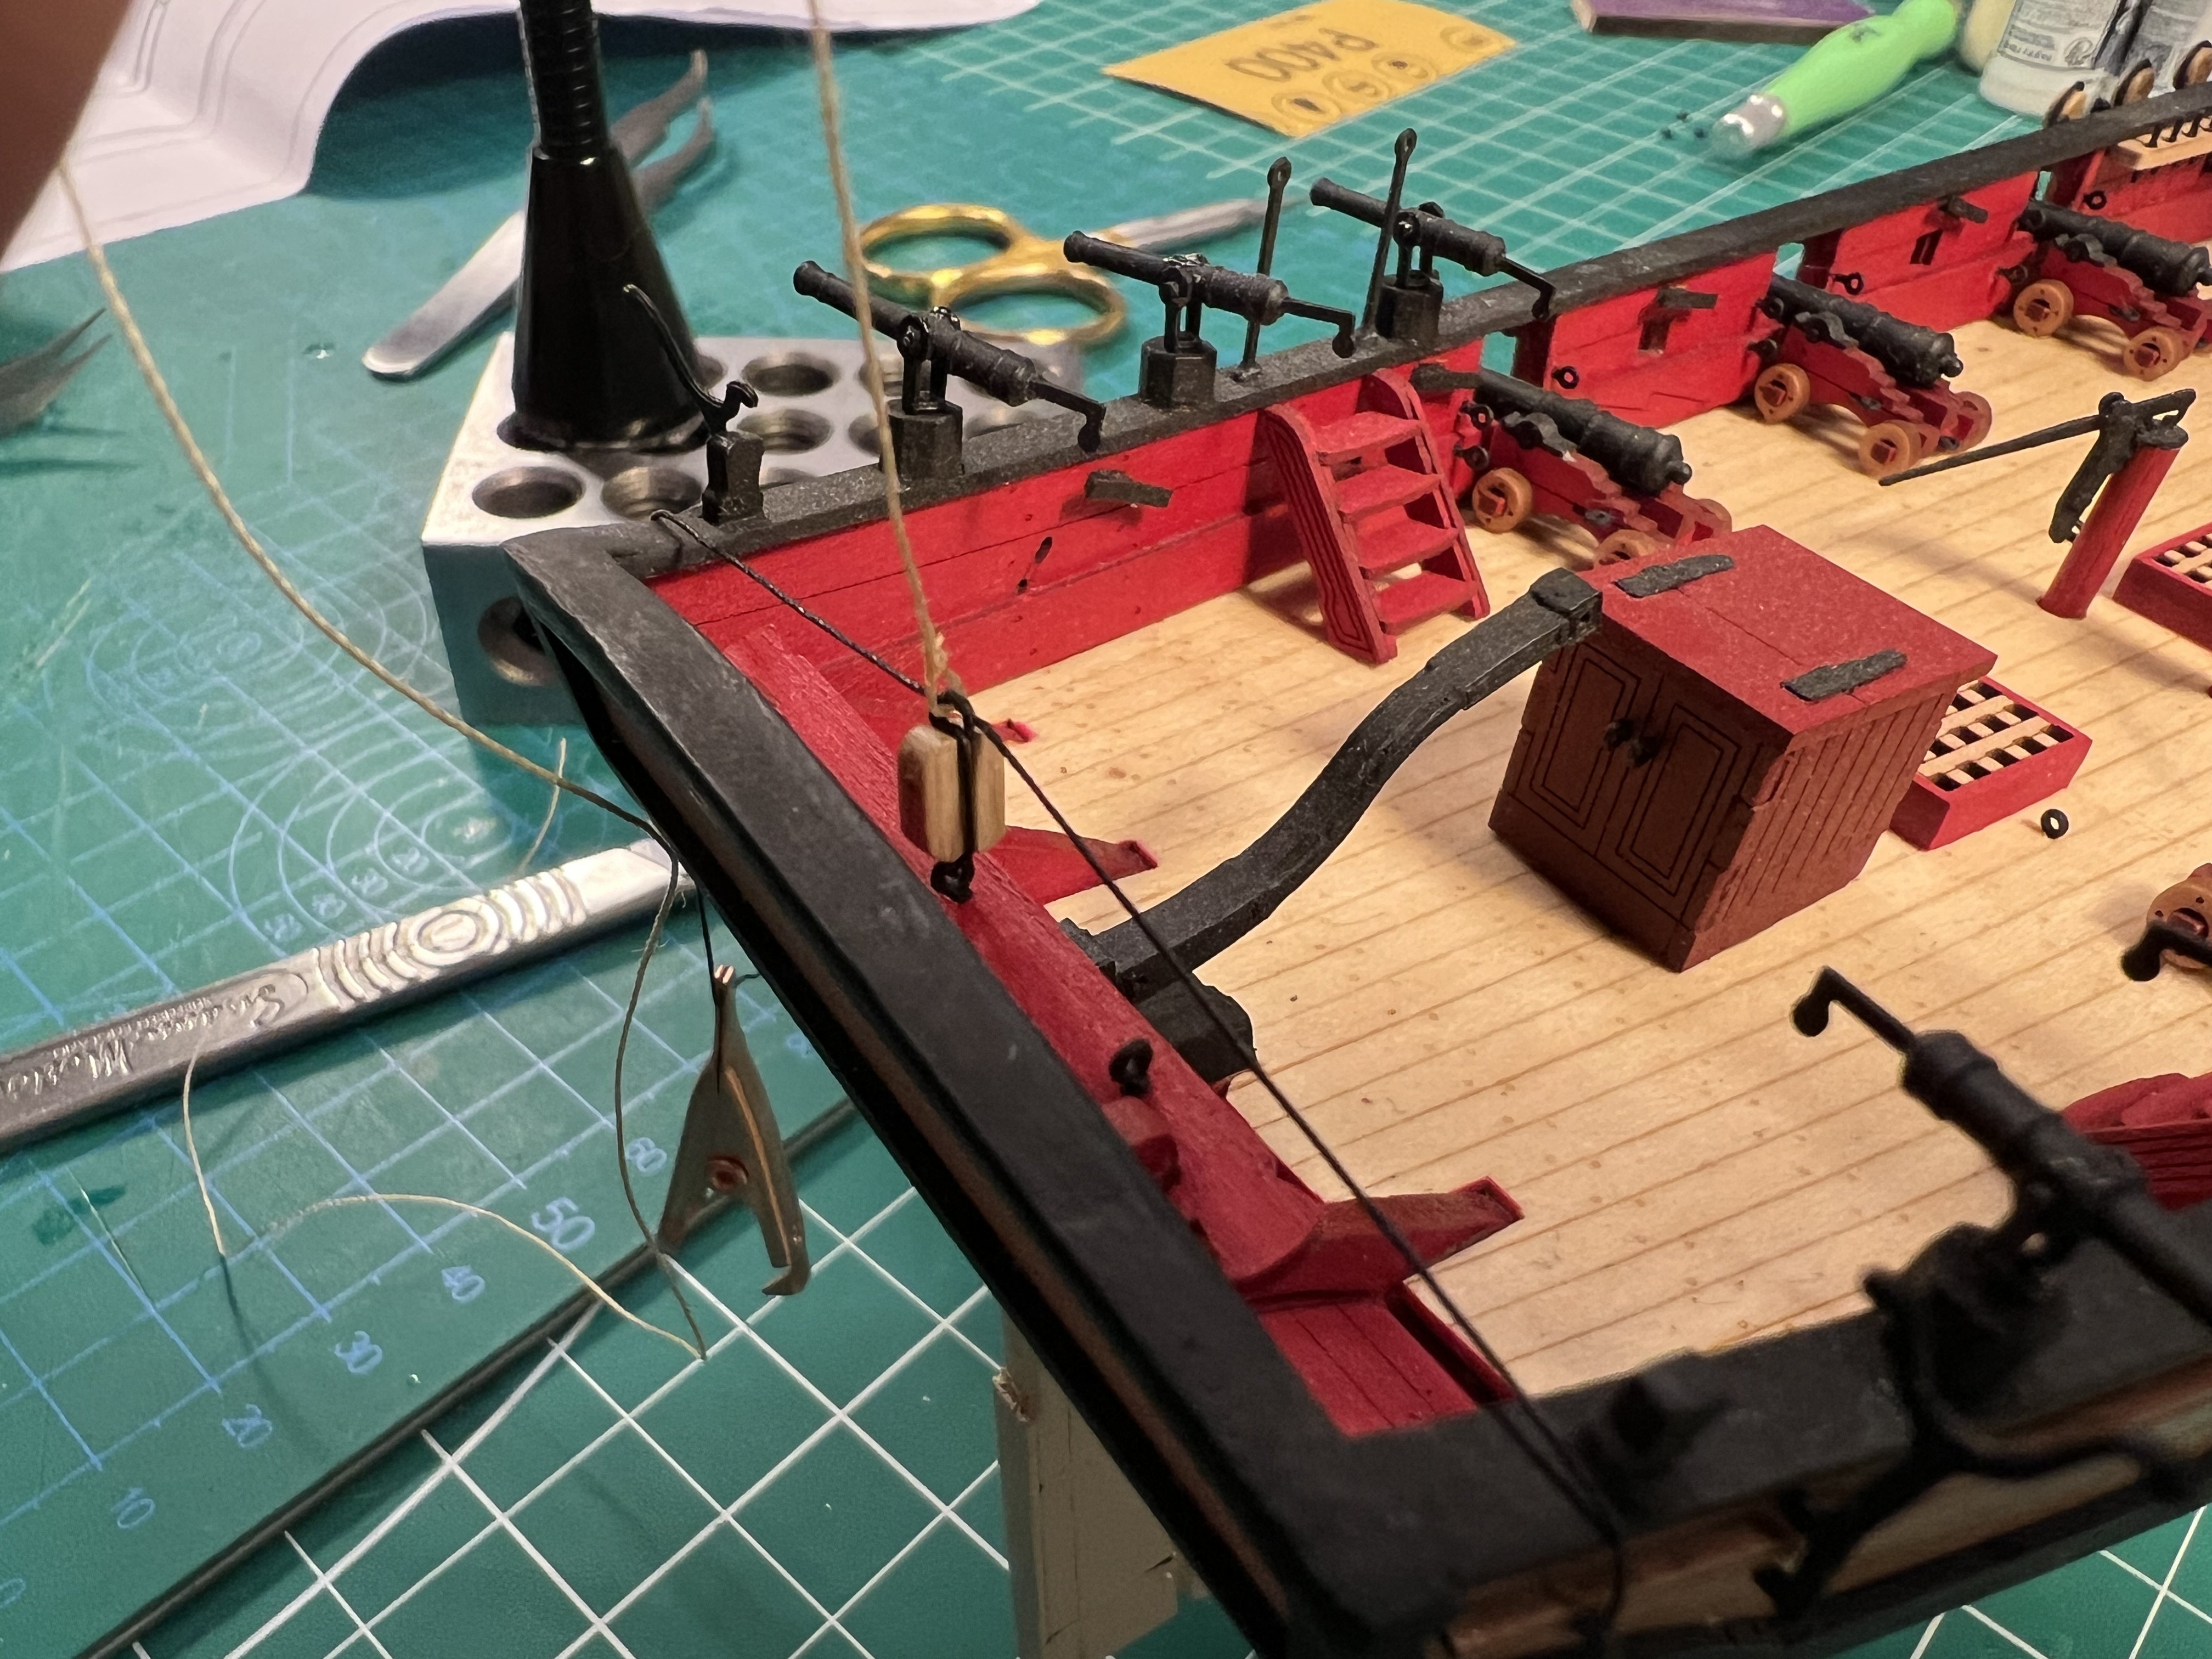
One recommendation I’d make to others building the Sherbourne is to wait to add the swivel guns until after you do the rigging. It’s just so easy to catch them on a line or hit them with your hand. I thankfully haven’t lost any.
There are also small decorative (functional in some way) pieces by the stairs that are rigging line magnets. Those could also be added at the very end of the build.
Adding these parts when directed would be like adding the anchors right before starting the rigging (you're directed to add them at the end). There's no need and the anchors would just get in the way. These other pieces just getting the way.
- SiriusVoyager and Mr Whippy
-
2
-
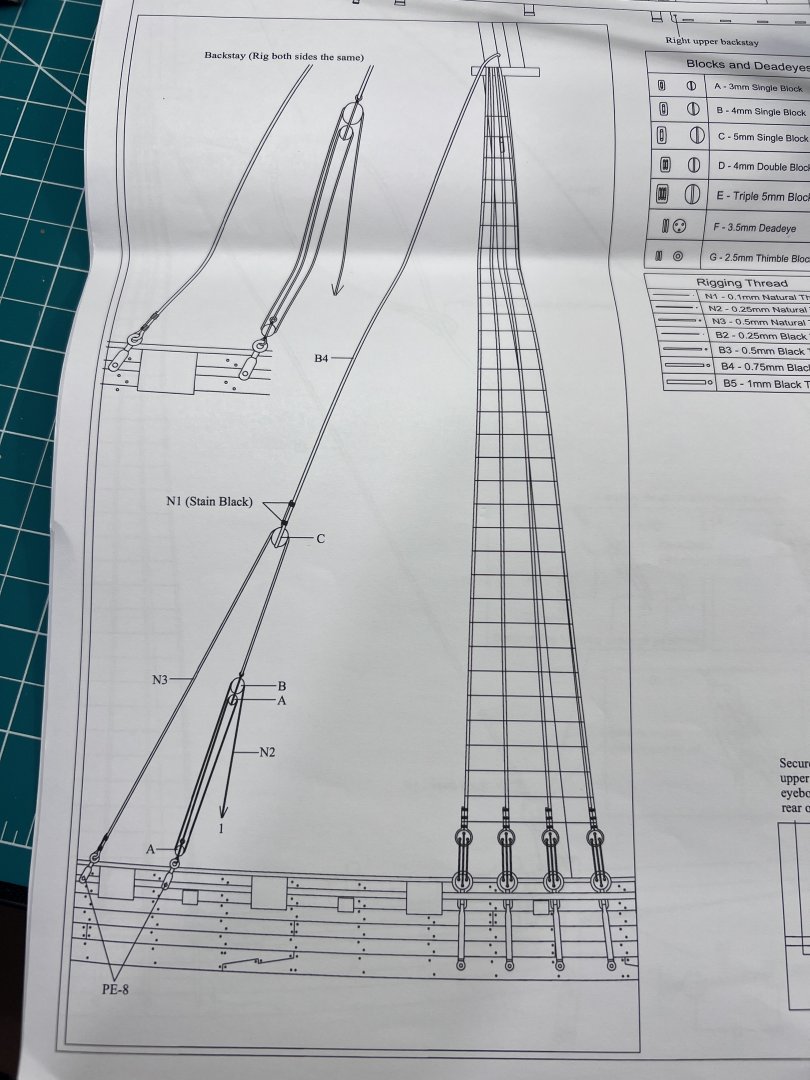
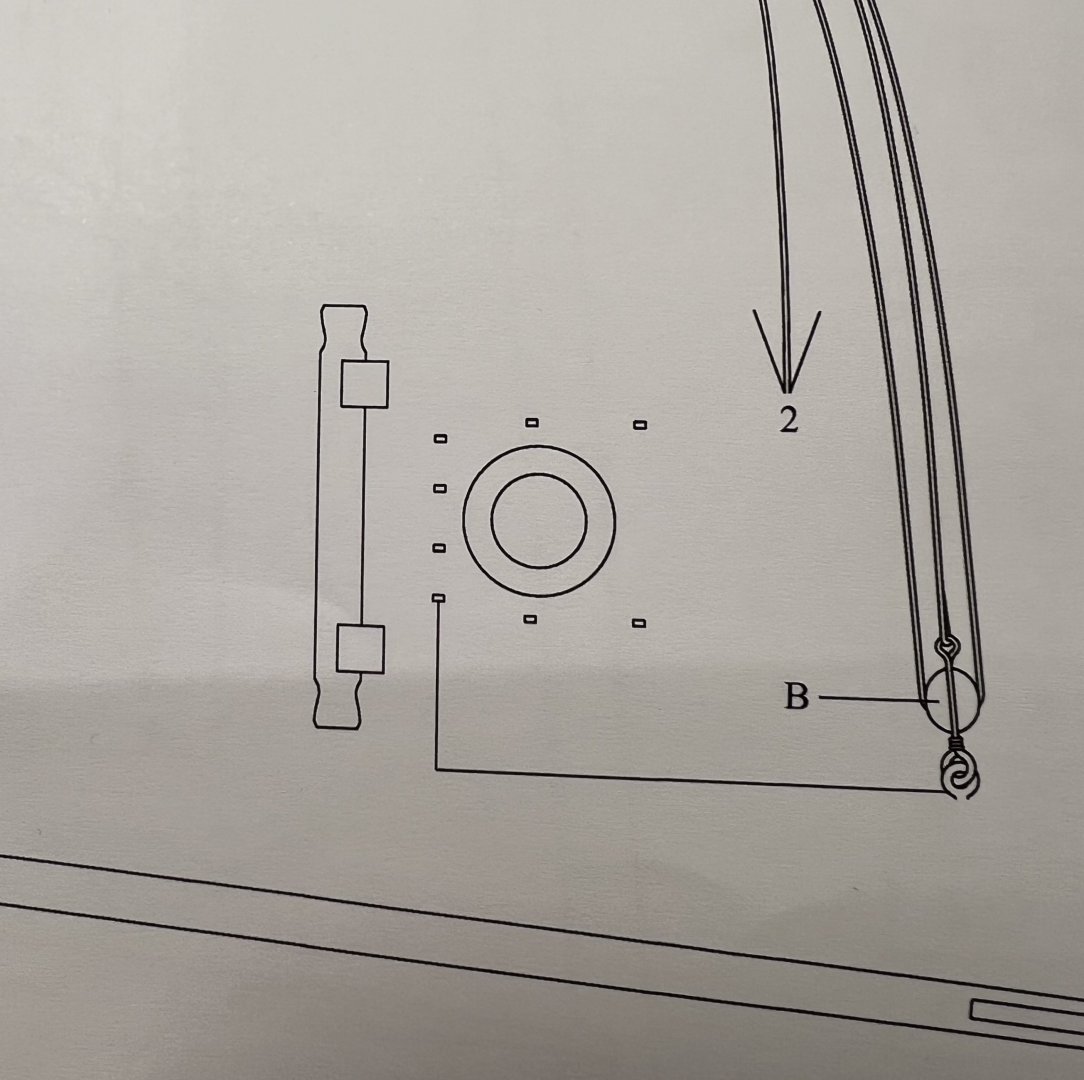
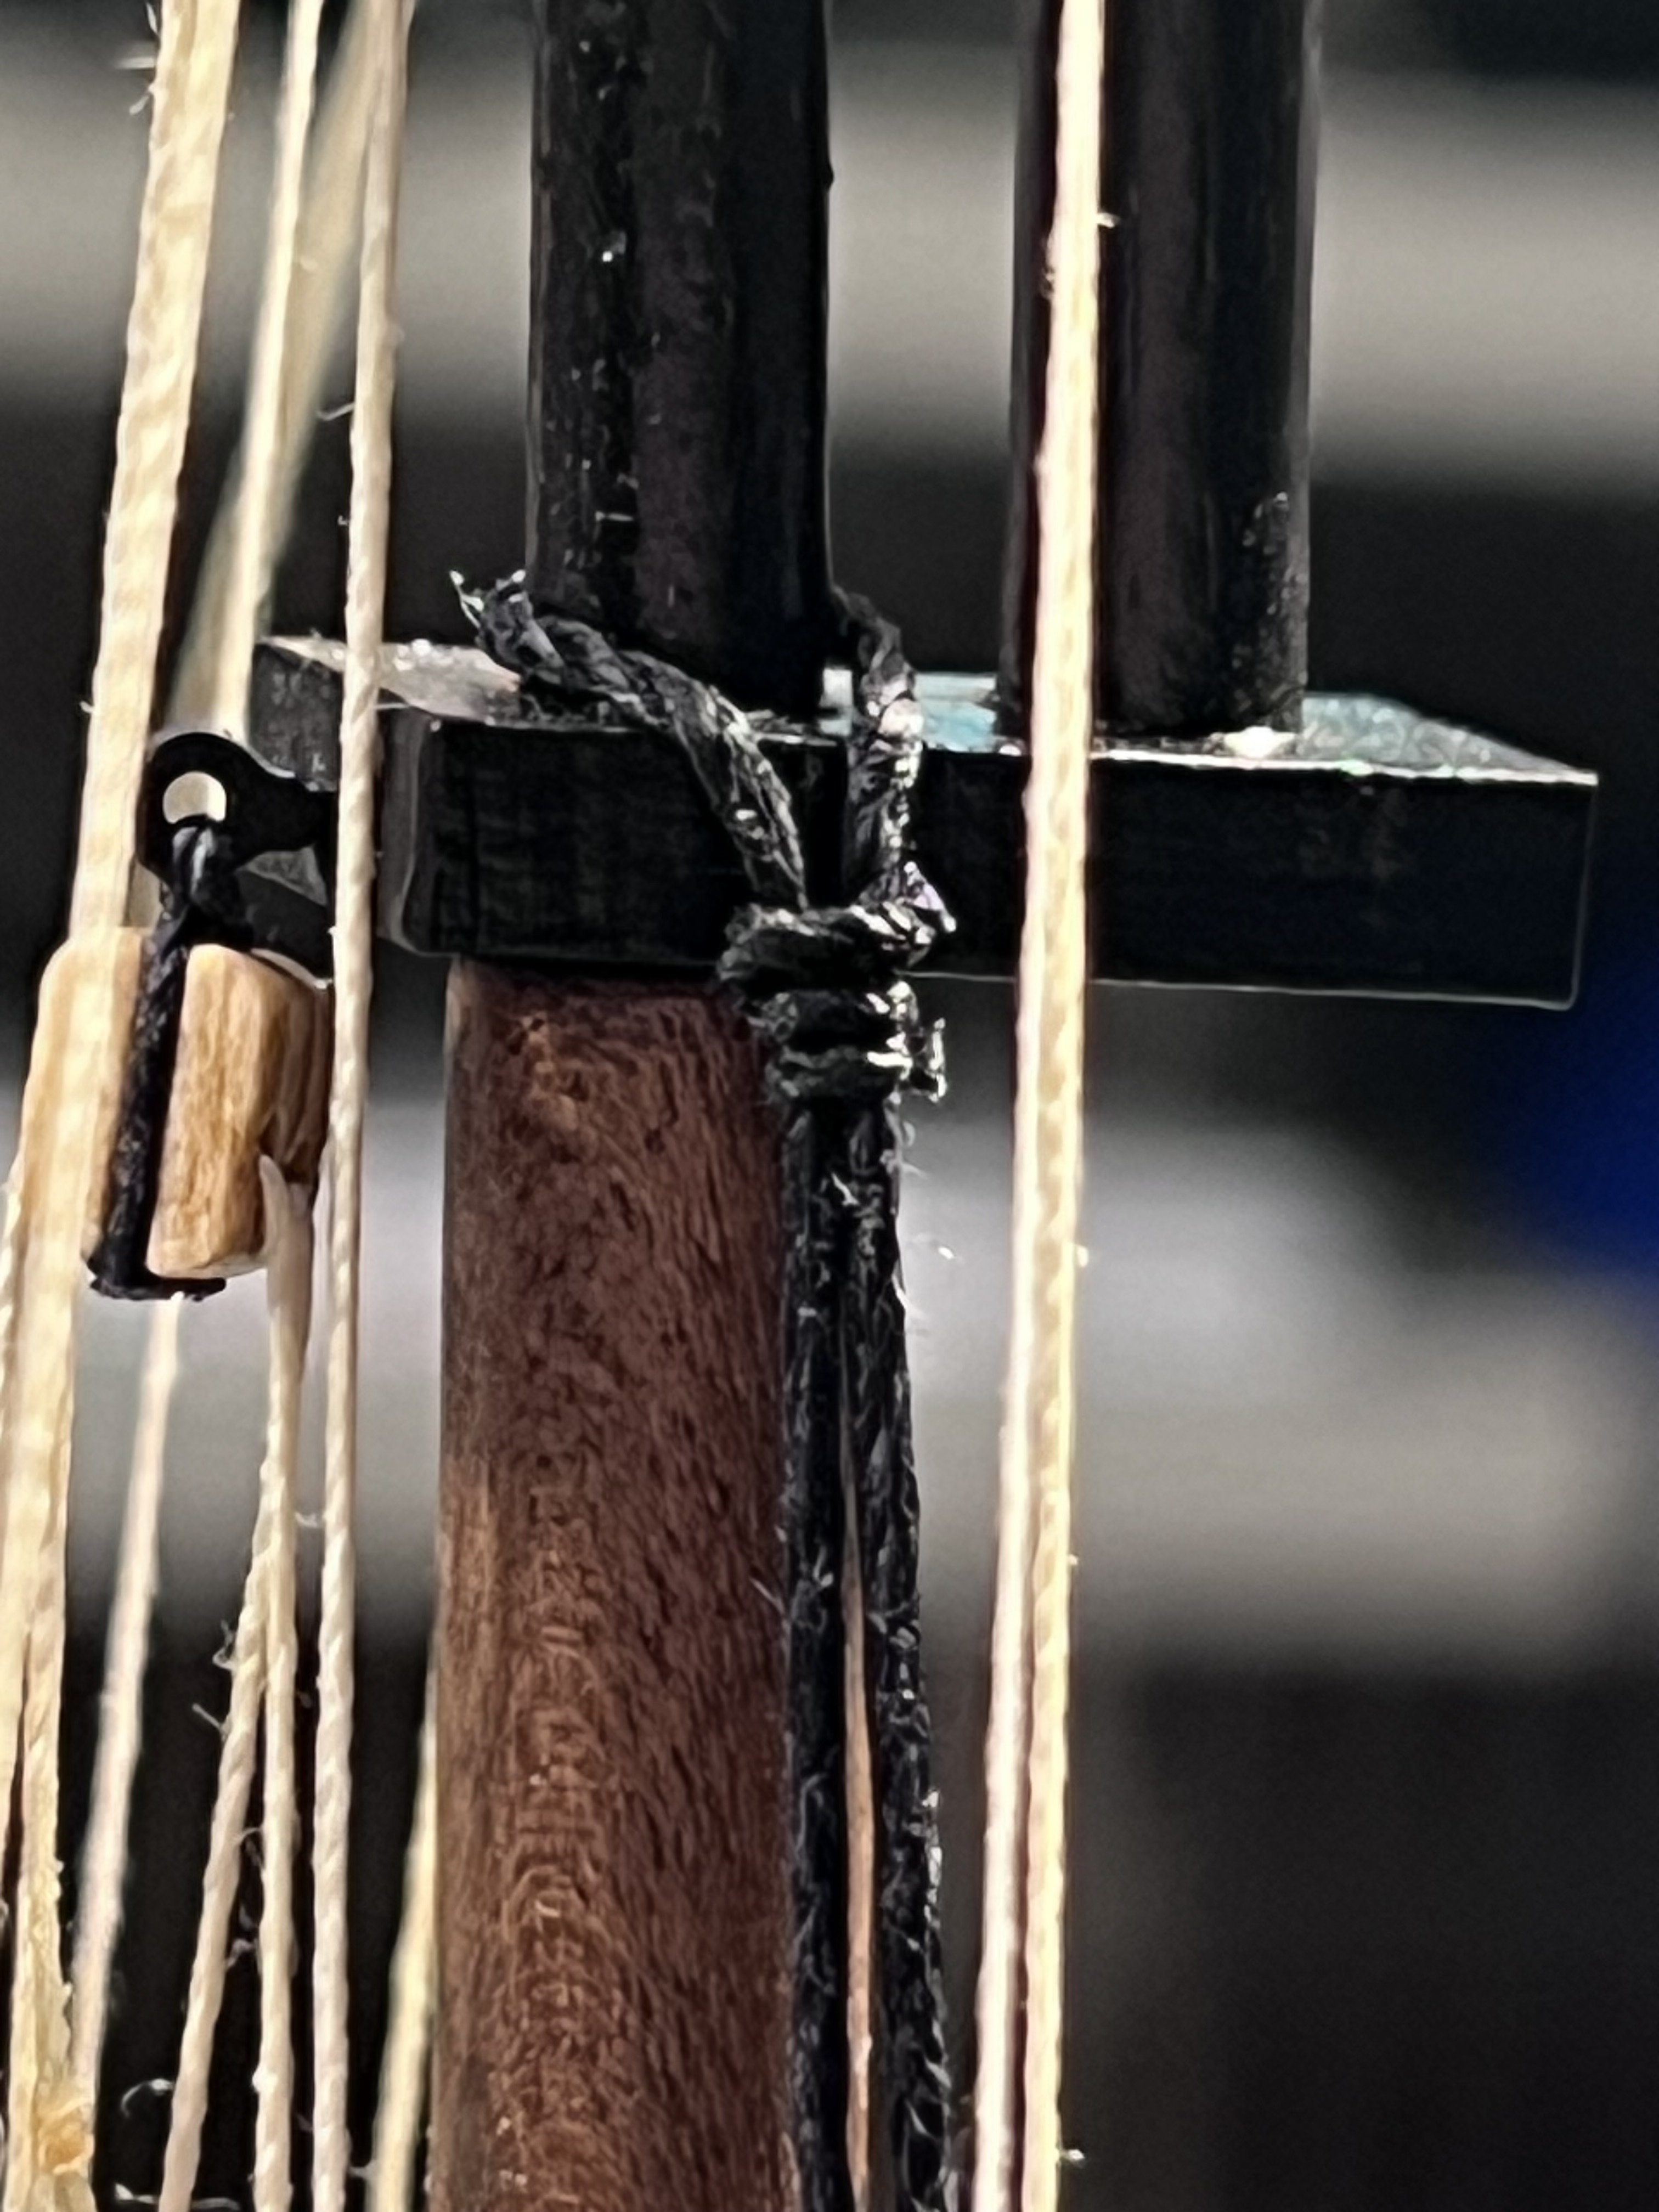
I’m a bit puzzled how to rig the backstays.
There is a backstay running to both sides (going to the rear, both port and starboard).
Anyone know if there is ONE standing rigging line (labeled B4) with one end going to port and the other and going to starboard (with a block on both ends? If so, it doesn’t look like there’s any seizing at the mast (like there is for the two ends of a shroud).
Maybe the fact that it says “Backstay” (singular) with “(Rig both sides the same)” by itself suggests one line with blocks at both ends.
-
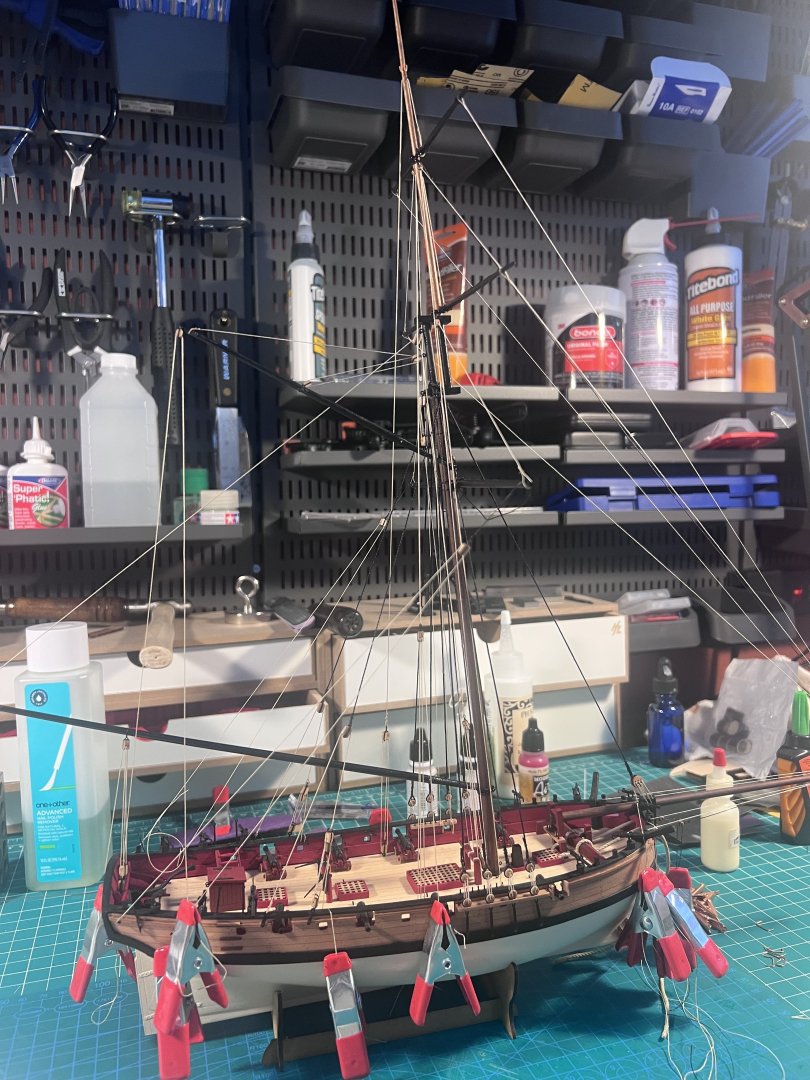
Finished the shrouds and deadeyes. Definitely a challenge. It’ll take several models before I’m happy with the result. I guess as a small victory, the deadeyes are reasonably in line with one another.
One thing I hadn’t thought about until it was too late was keeping the “residual” length of shroud the same length after it passes around the deadeye. They're also too long. A lesson for the next model.

-
If you add water to the surface (your finger or a paintbrush) that can help keep the temp down to help avoid scorching - while at the same time creating more steam that transfers the heat a bit more effectively.
- Chaos Butterfly, Knocklouder, CPDDET and 1 other
-
4
-
There are lots of build logs for the Sherbourne. Definitely learn a lot by seeing what others have done and learned from. I'm still learning from mine.
- Keith Black and CPDDET
-
2
-
First time trying to add shrouds and deadeyes. I can see why next to planking, many characterize this as one of the hardest parts of making models ships. Definitely a slow process to try to get them close to being right.
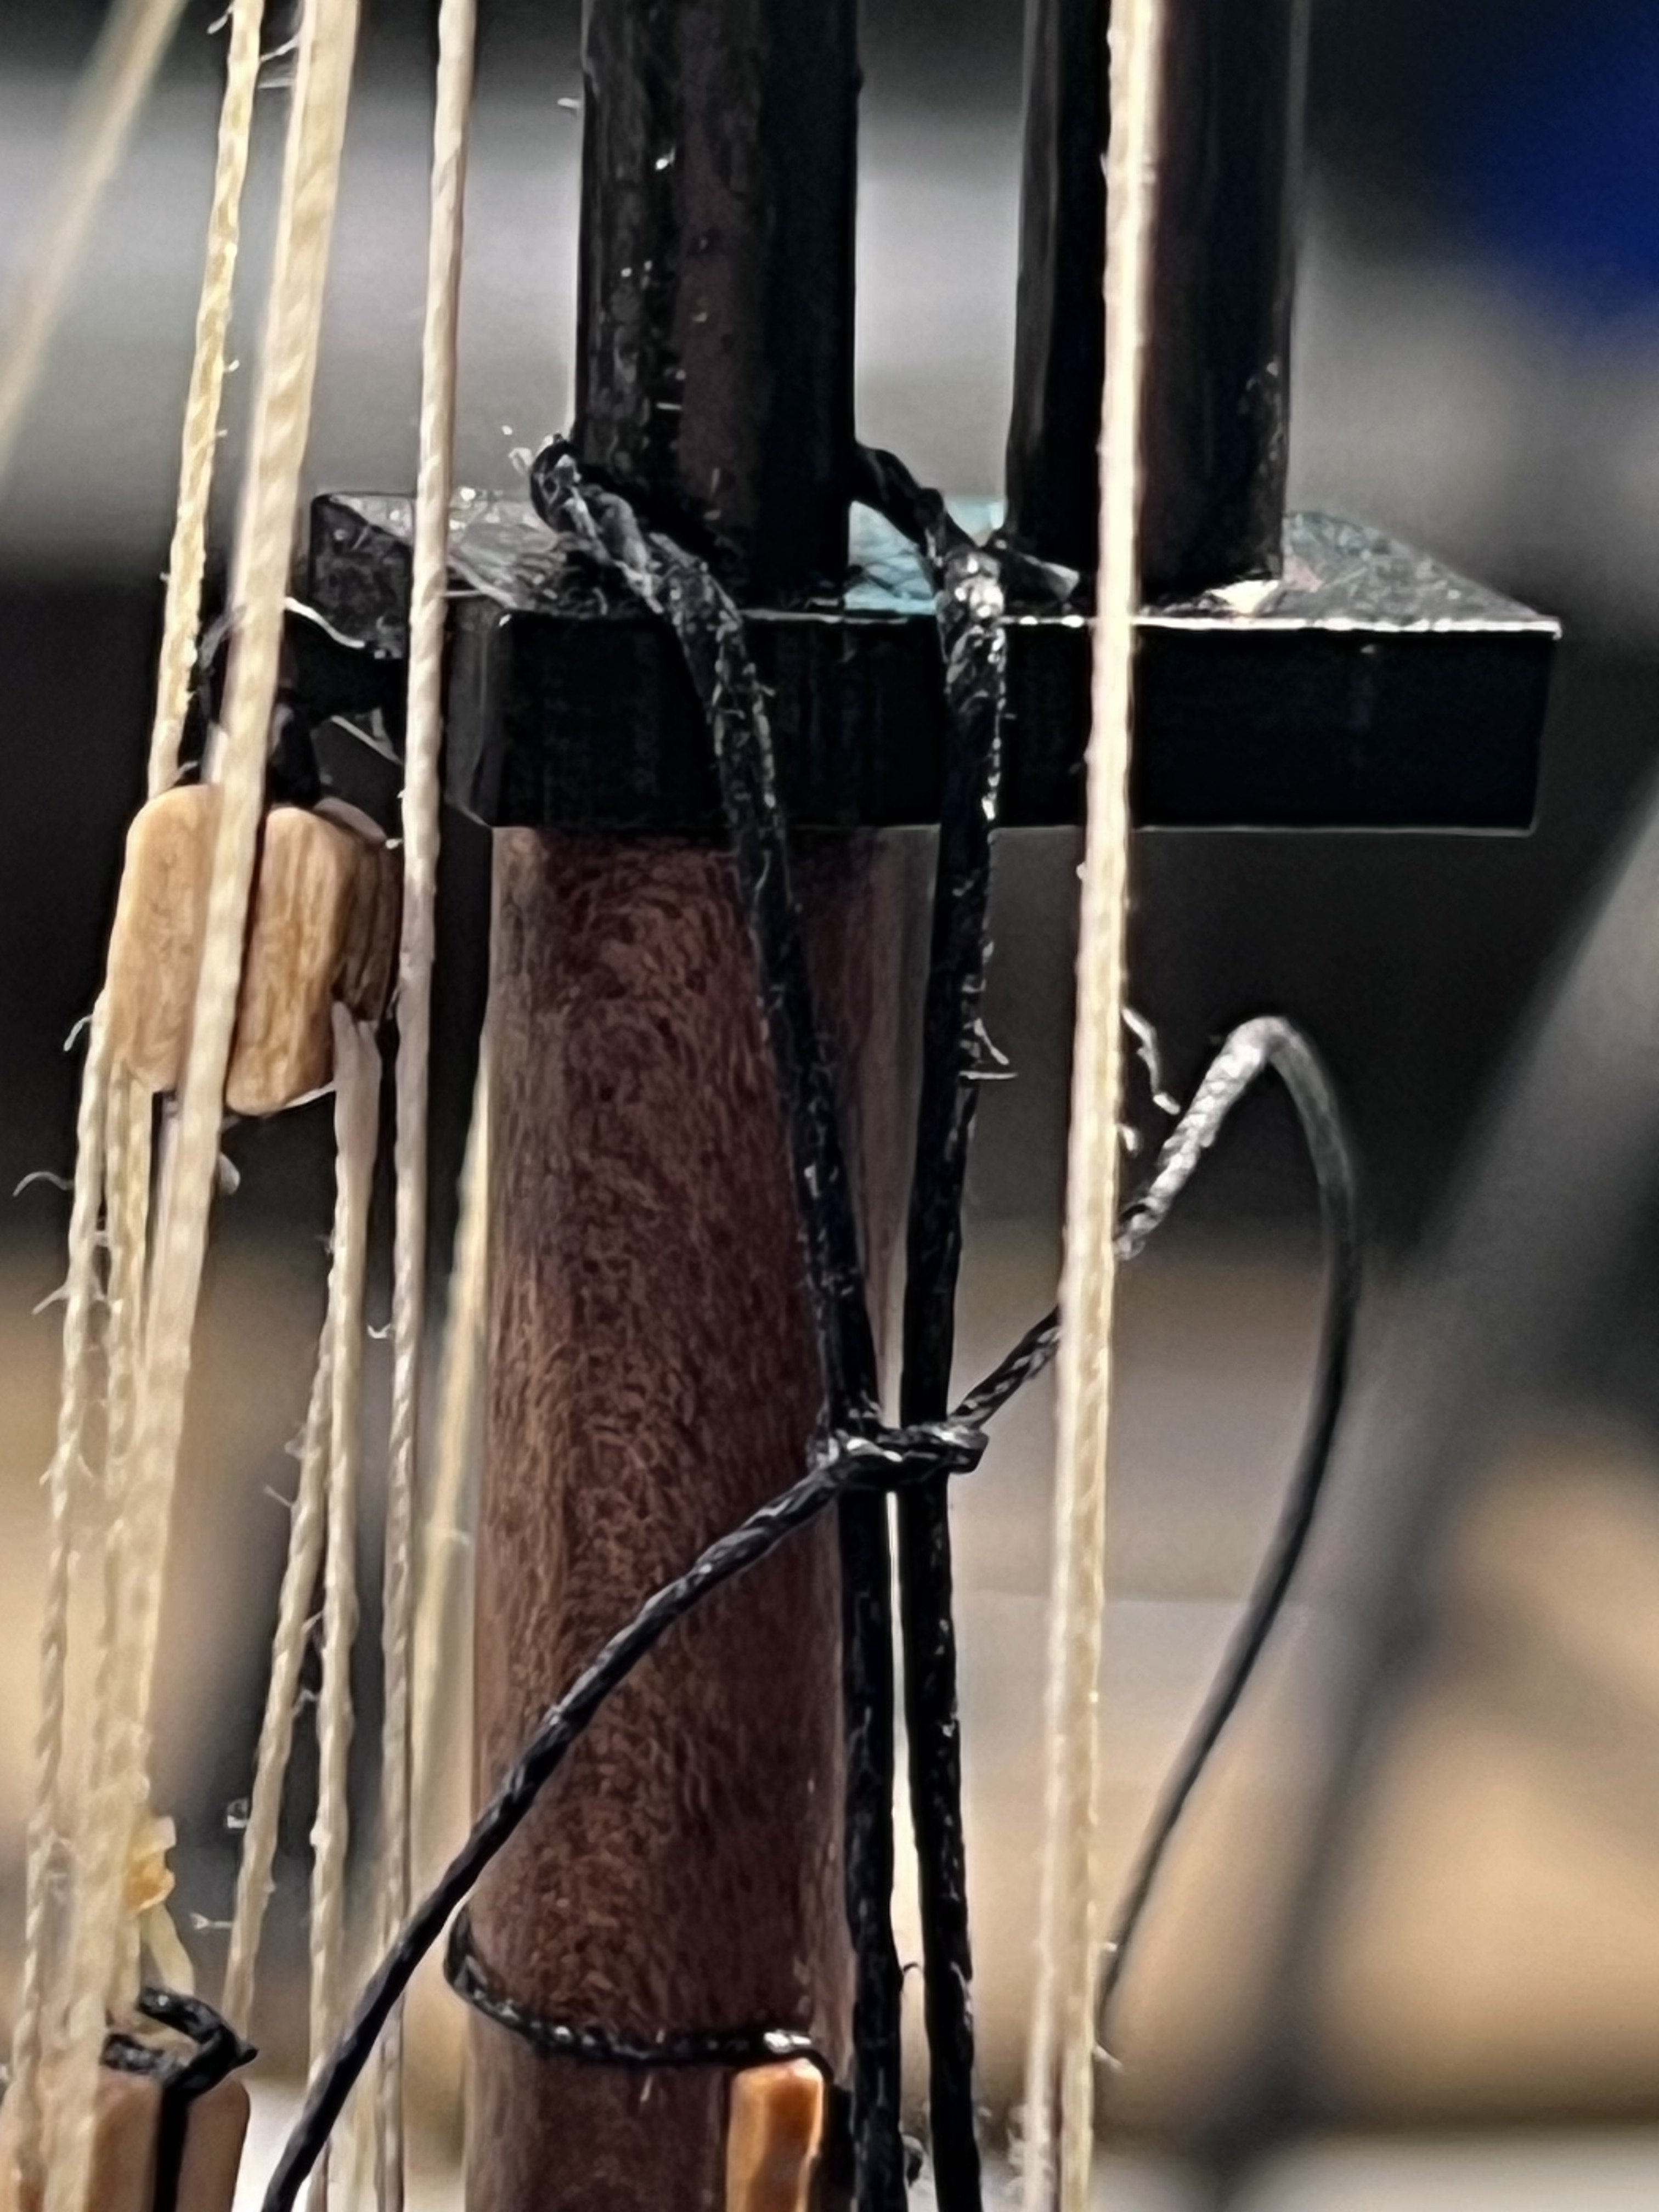
There needs to be a seizing at the top between the two halves of the line after it loops around the mast. I did it kind of loose to make sure I could adjust the relative lengths of the two ends to try to make them even horizontally. No magic tricks to doing this, just fiddling and patience.


- Mr Whippy, Craigie65, chris watton and 8 others
-
11
-
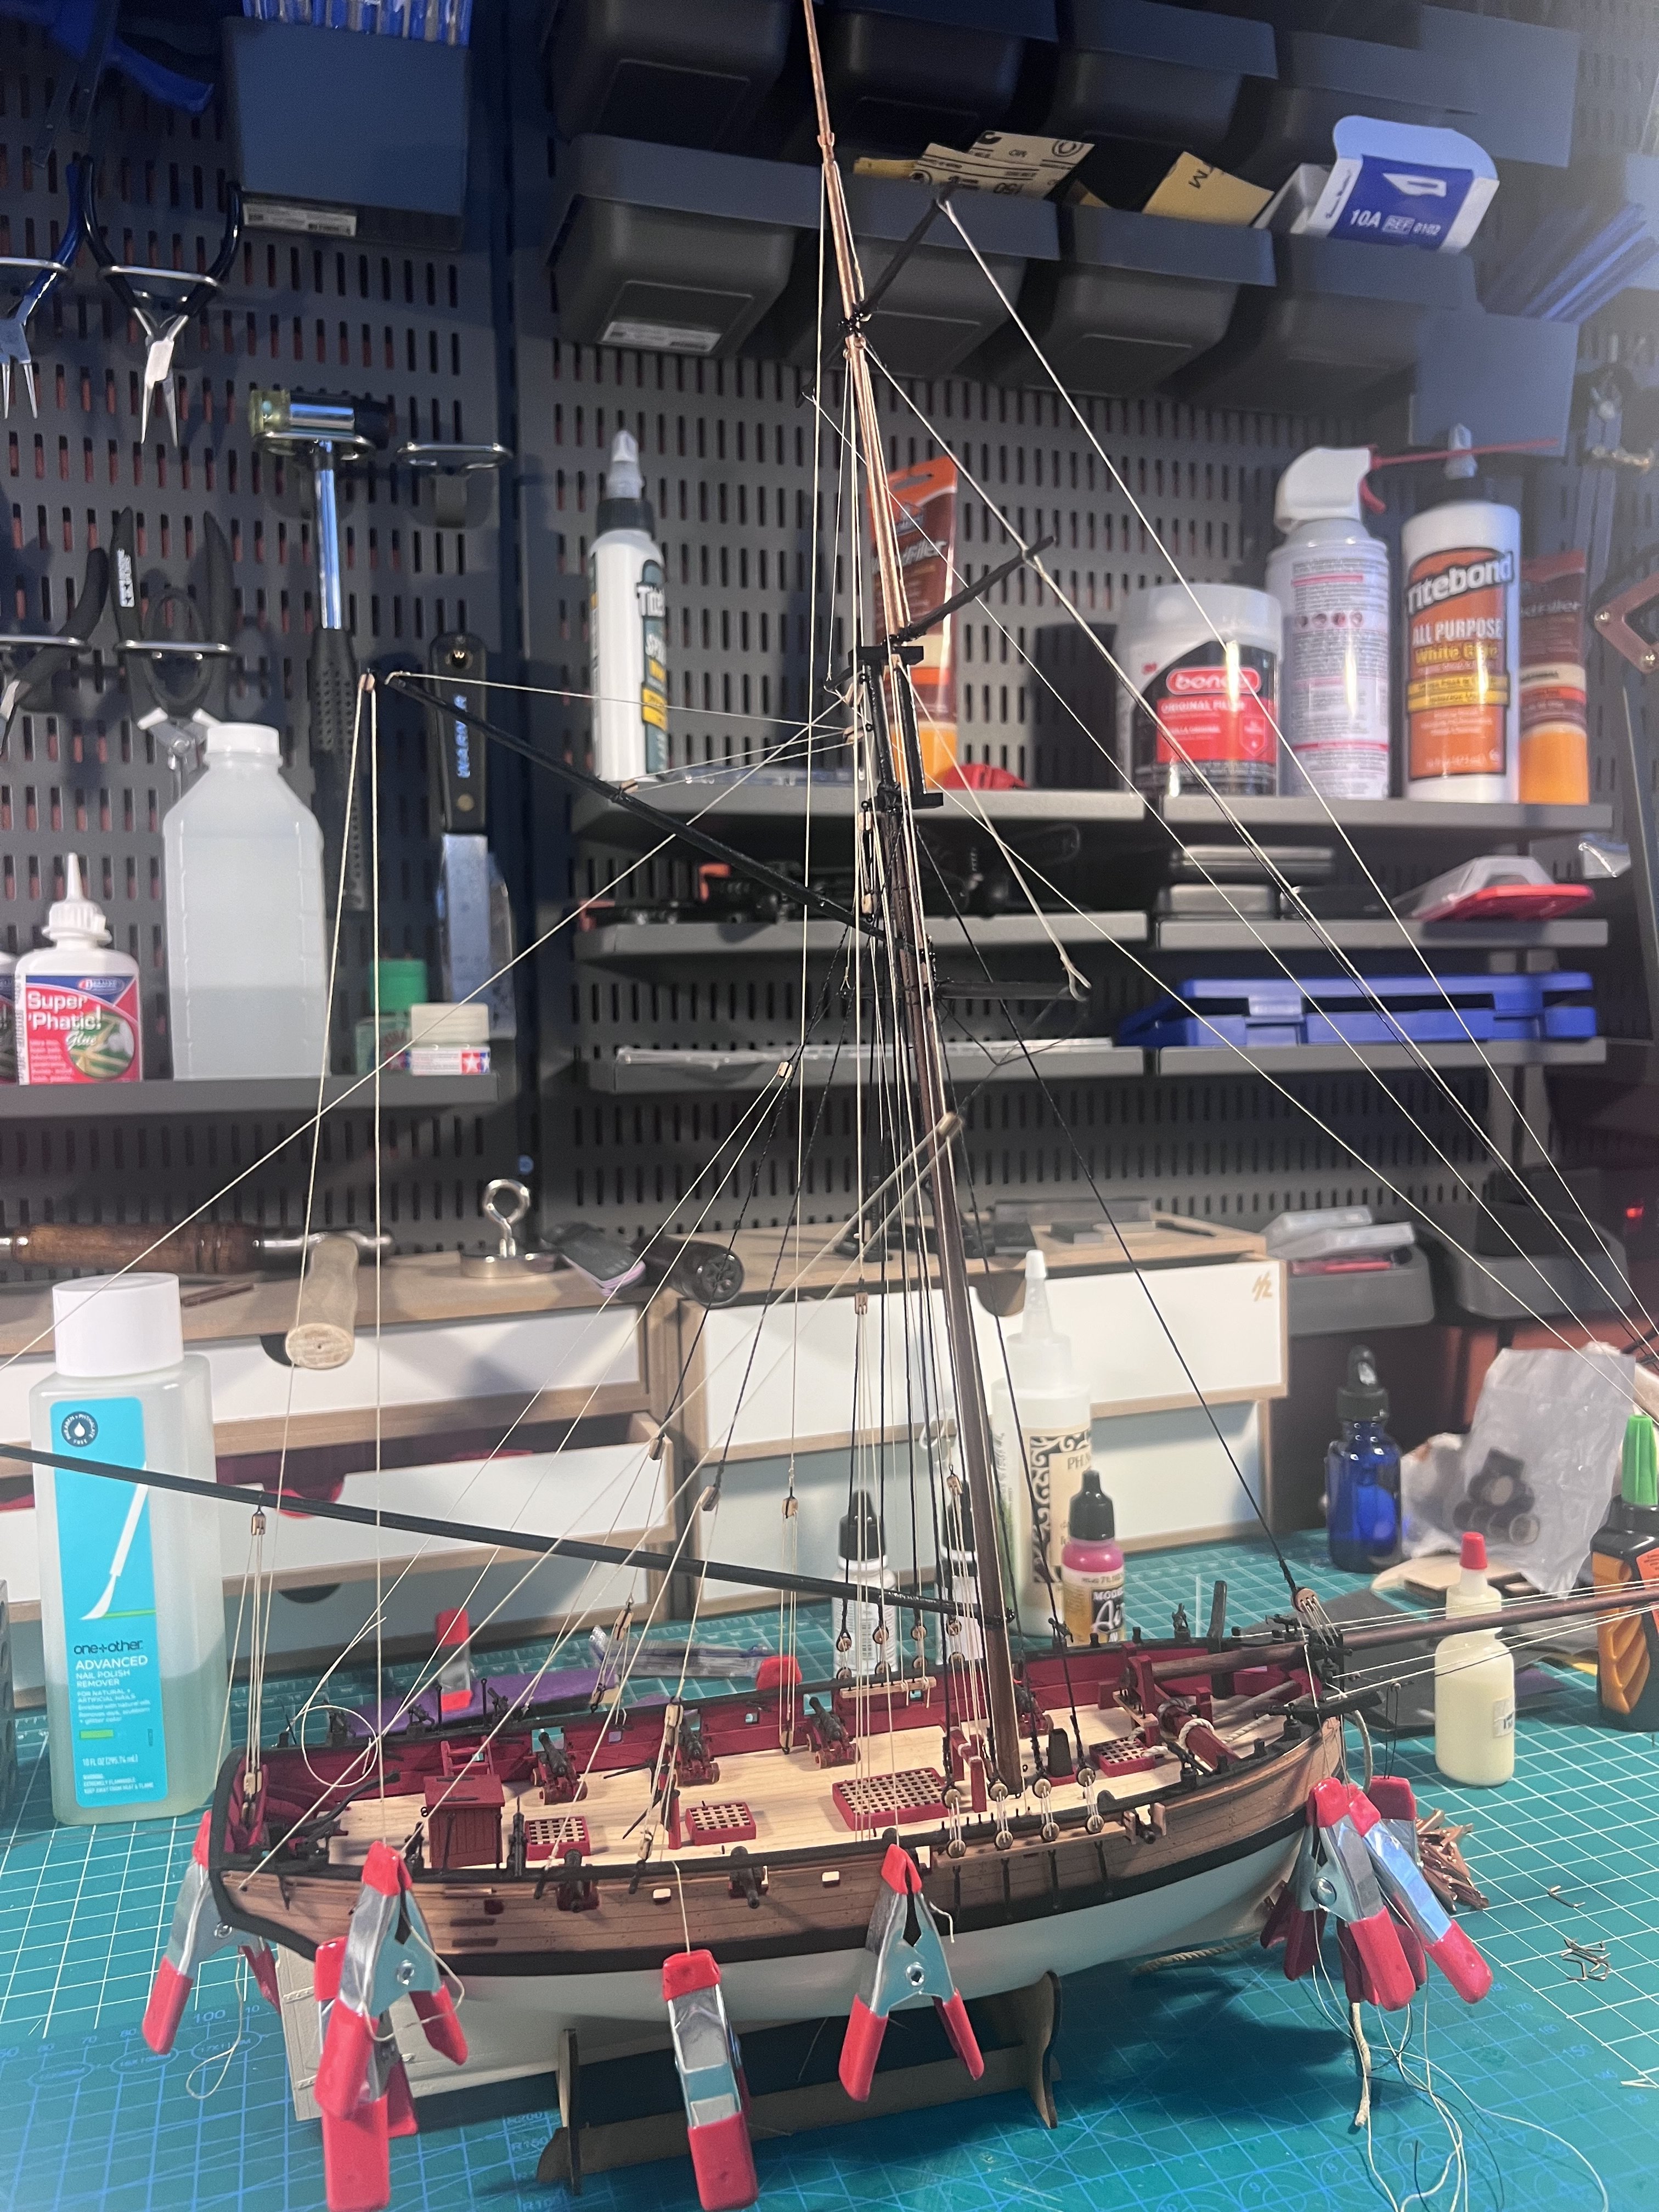
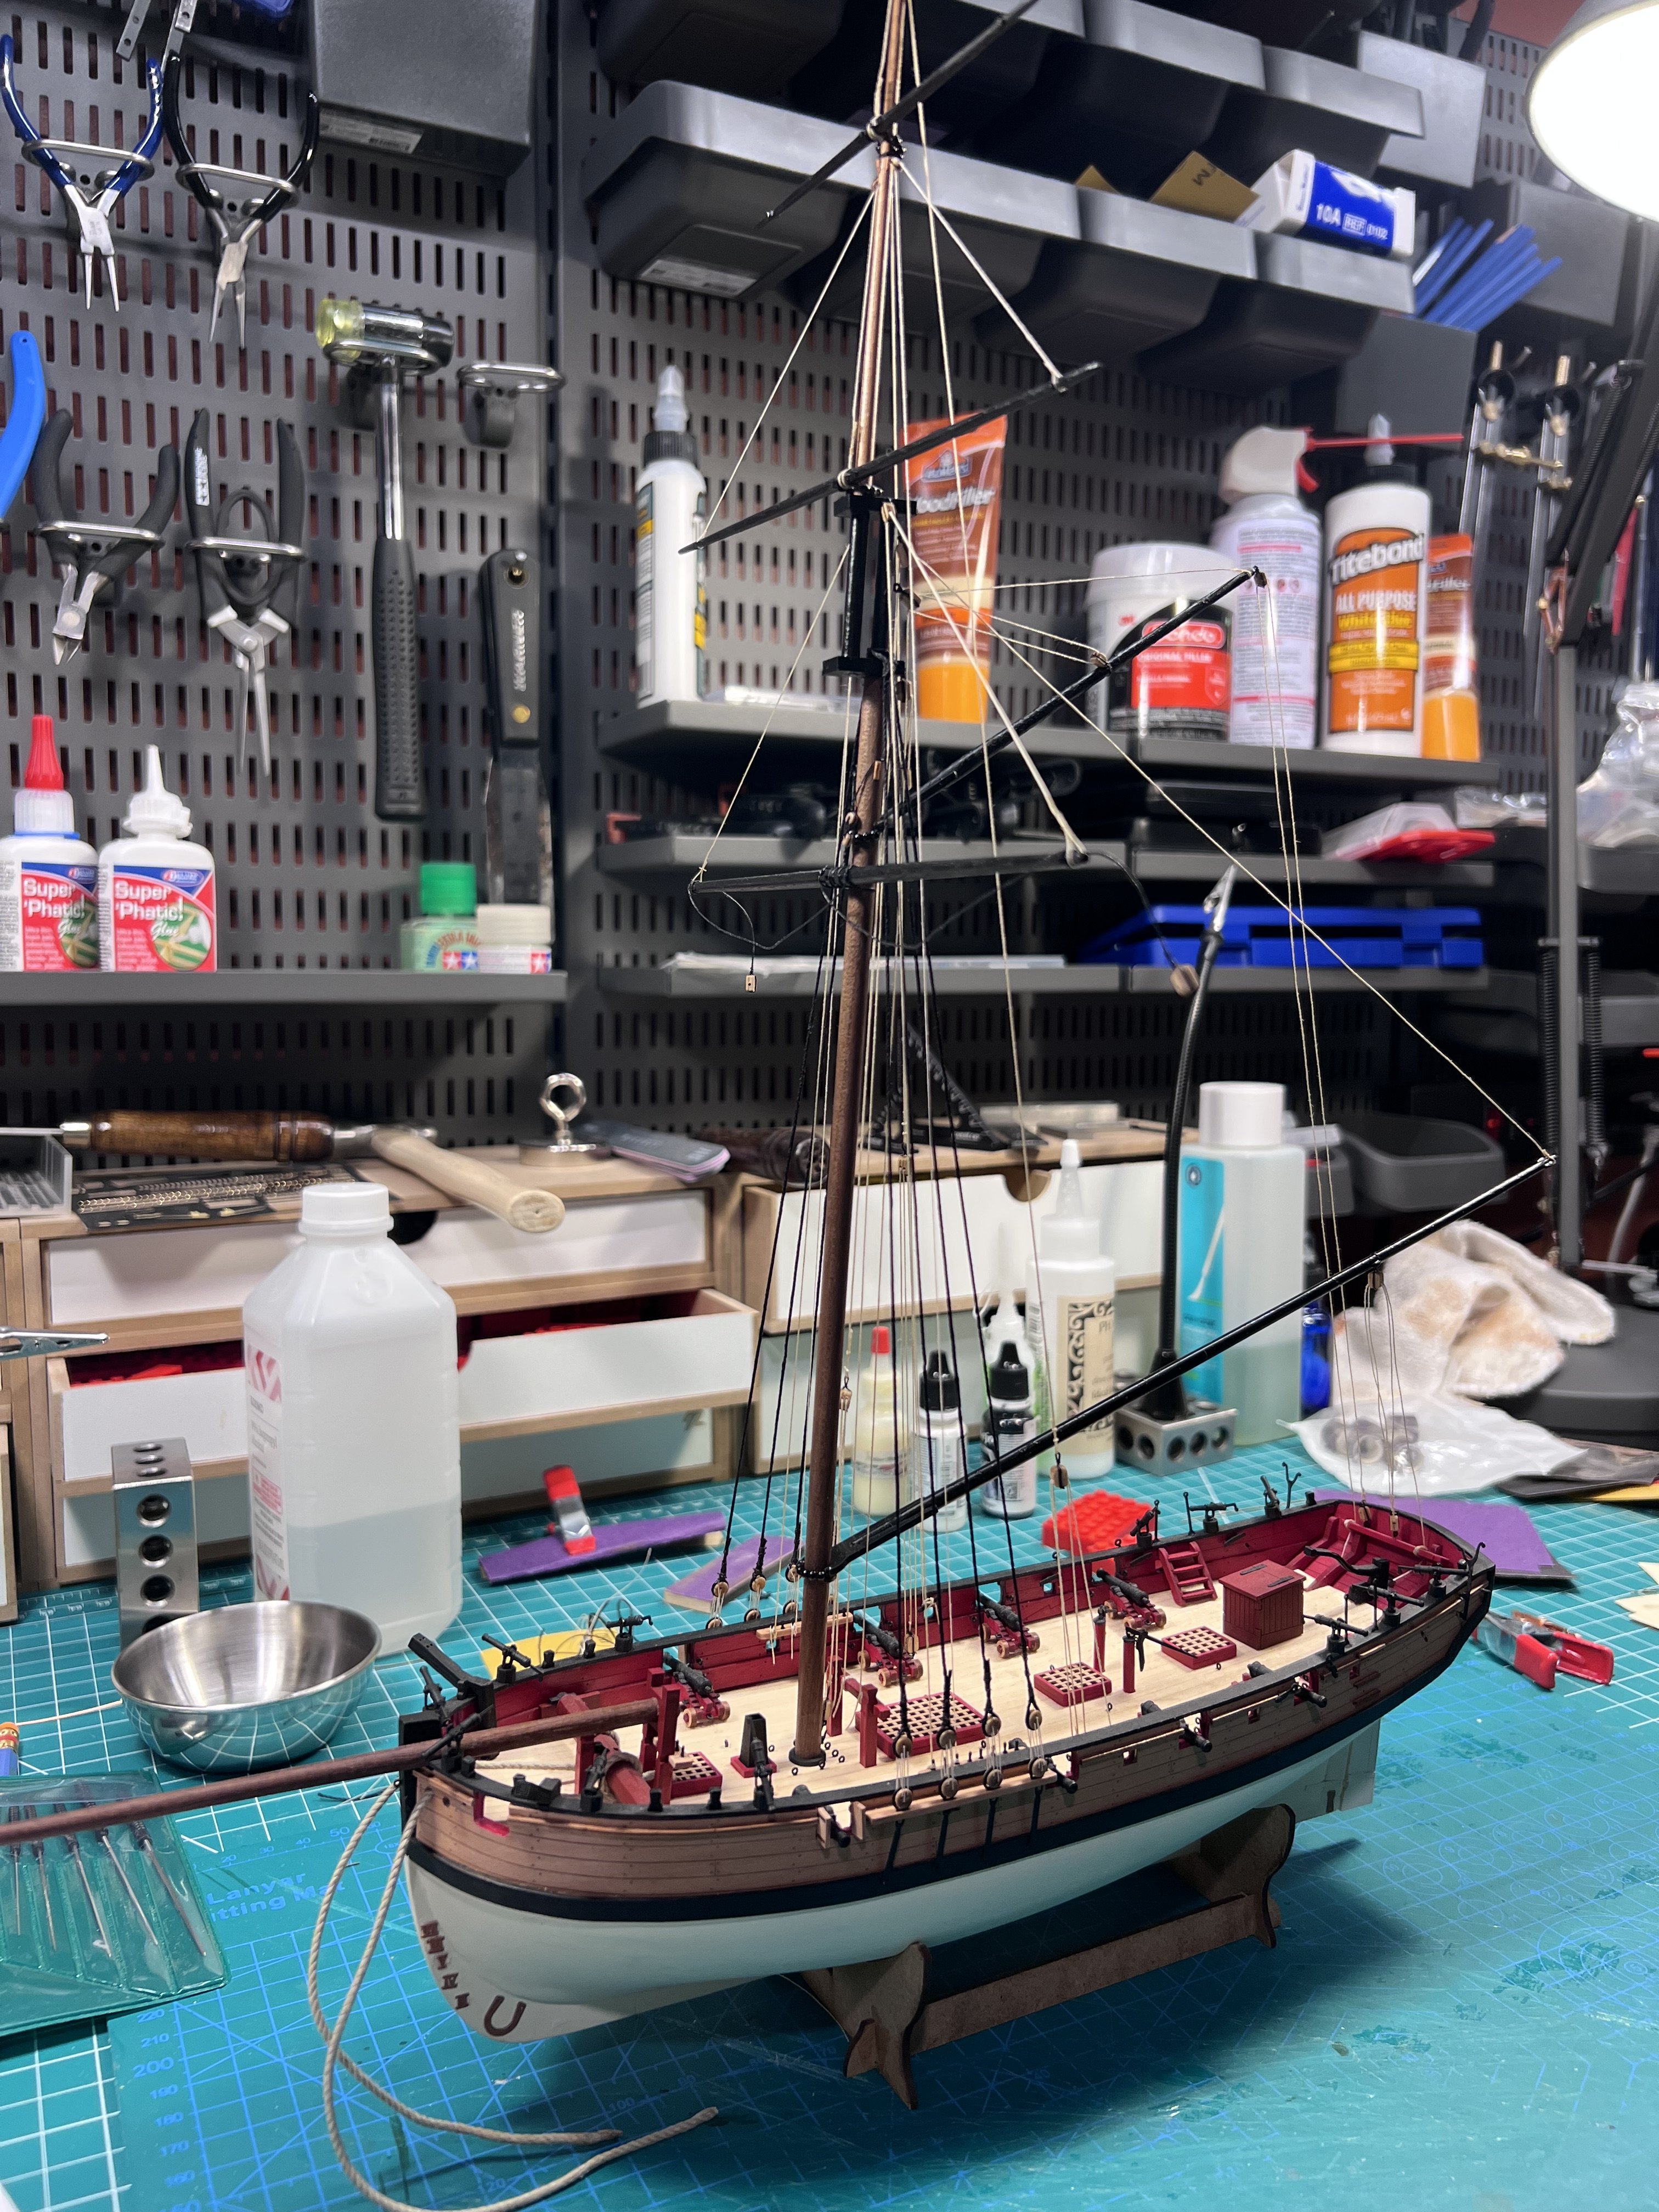
Continuing to make progress on my rigging. Takes patience and researching at every step, learning along the way, plenty of mistakes and do-overs. While I did a bit of simple rigging on the Pram and Smack, this is my first real rigging (on what is technically my first model - first started).
- ccoyle, JacquesCousteau, Thukydides and 2 others
-
5
-
14 hours ago, danwind said:
Now all I have to do is figure out how to get photos from my old Android phone into my computer.
I use iPhone, not Android, so maybe my response won't be helpful. While I often browse from my computer, I always post directly from my iPhone. When I go to "Add Files" on my phone, I select "Photo Library" and add from there (it opens the default folder where my photos are stored), but I don't know if the interface on an Android looks different. You can send from your phone to your computer and post from there, but I have to think there's also some way to post directly from your phone so long as you're logged into modelshipworld on a browser on your phone.
-
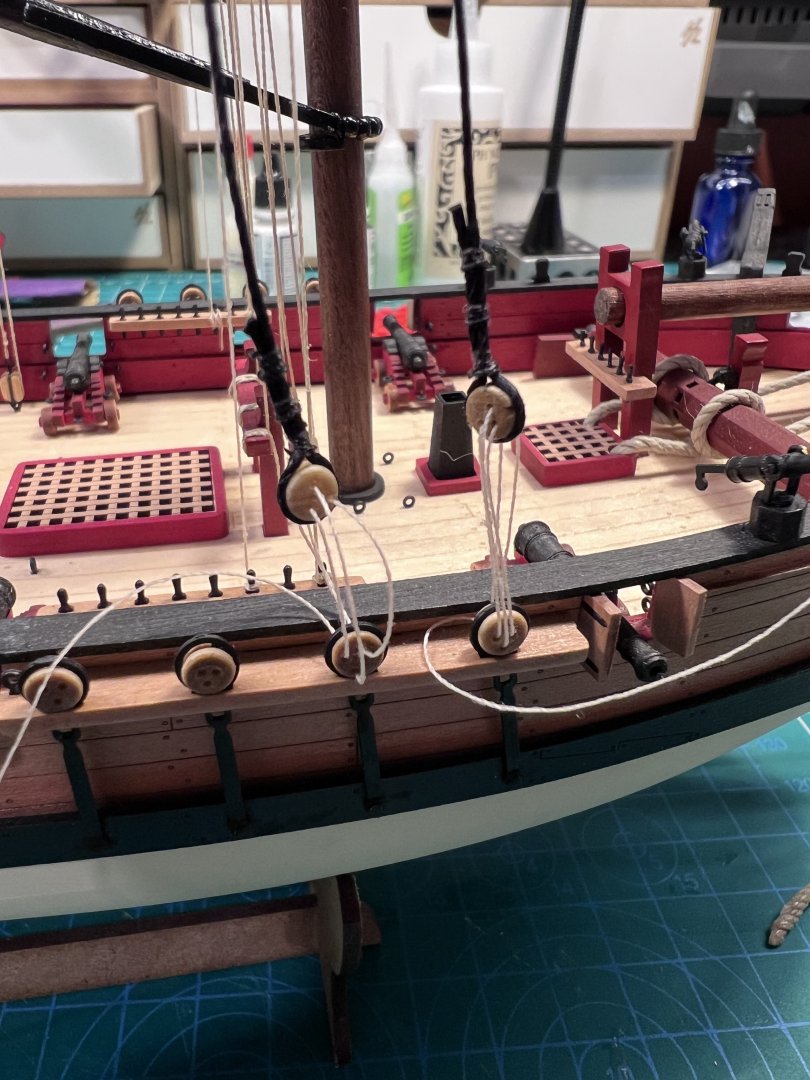
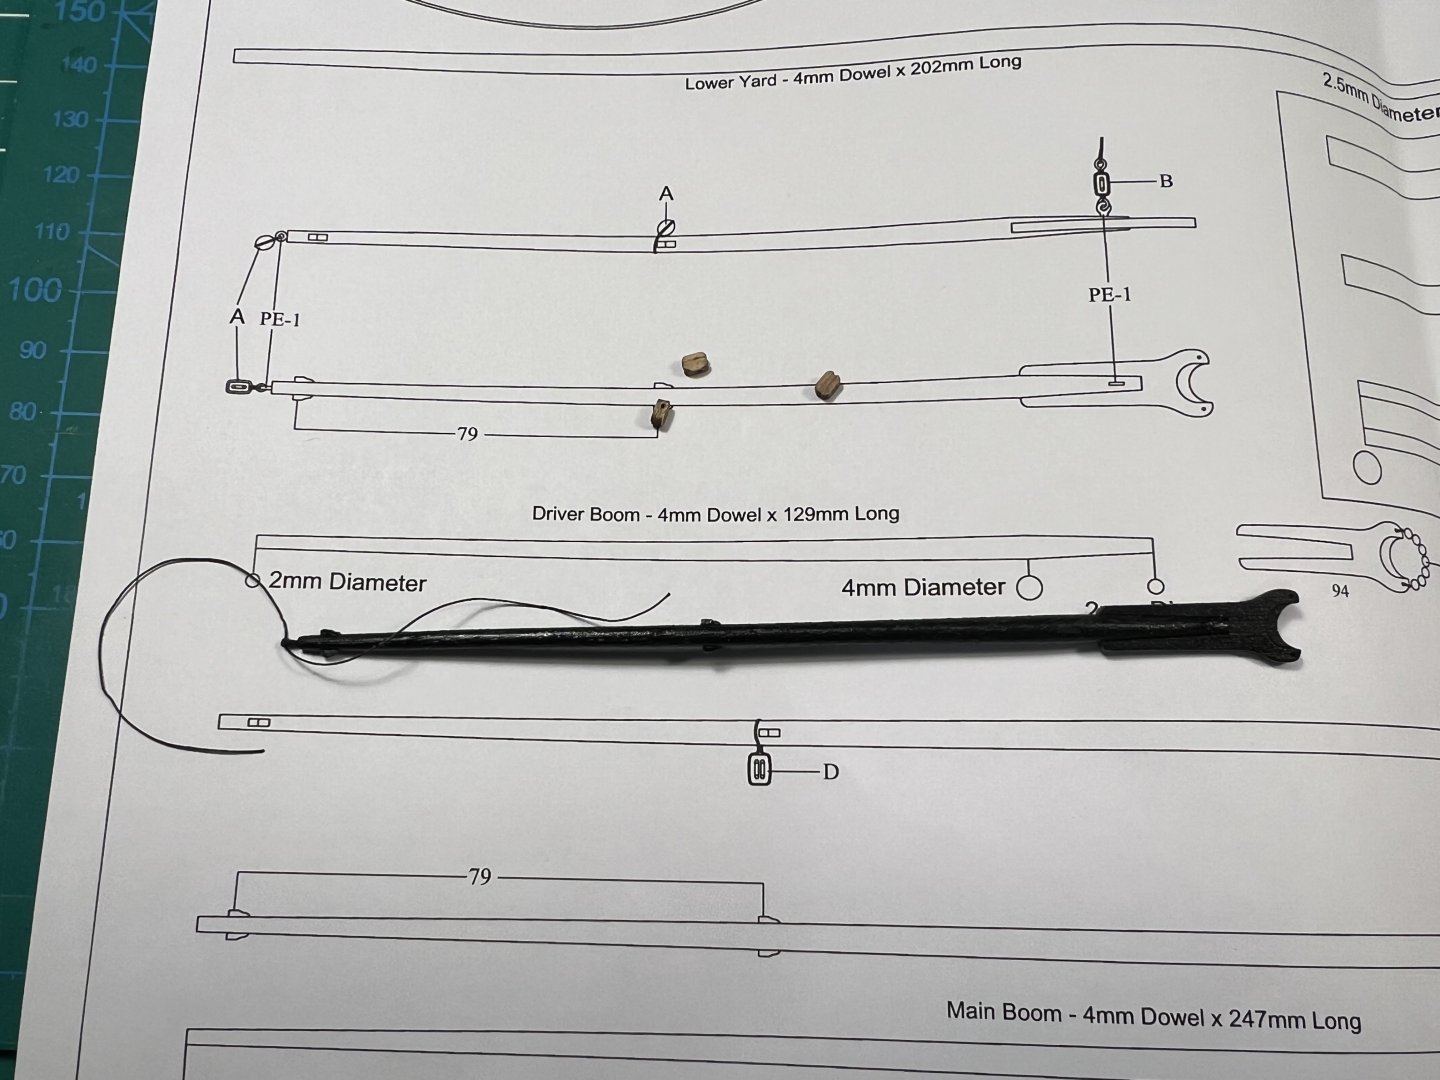
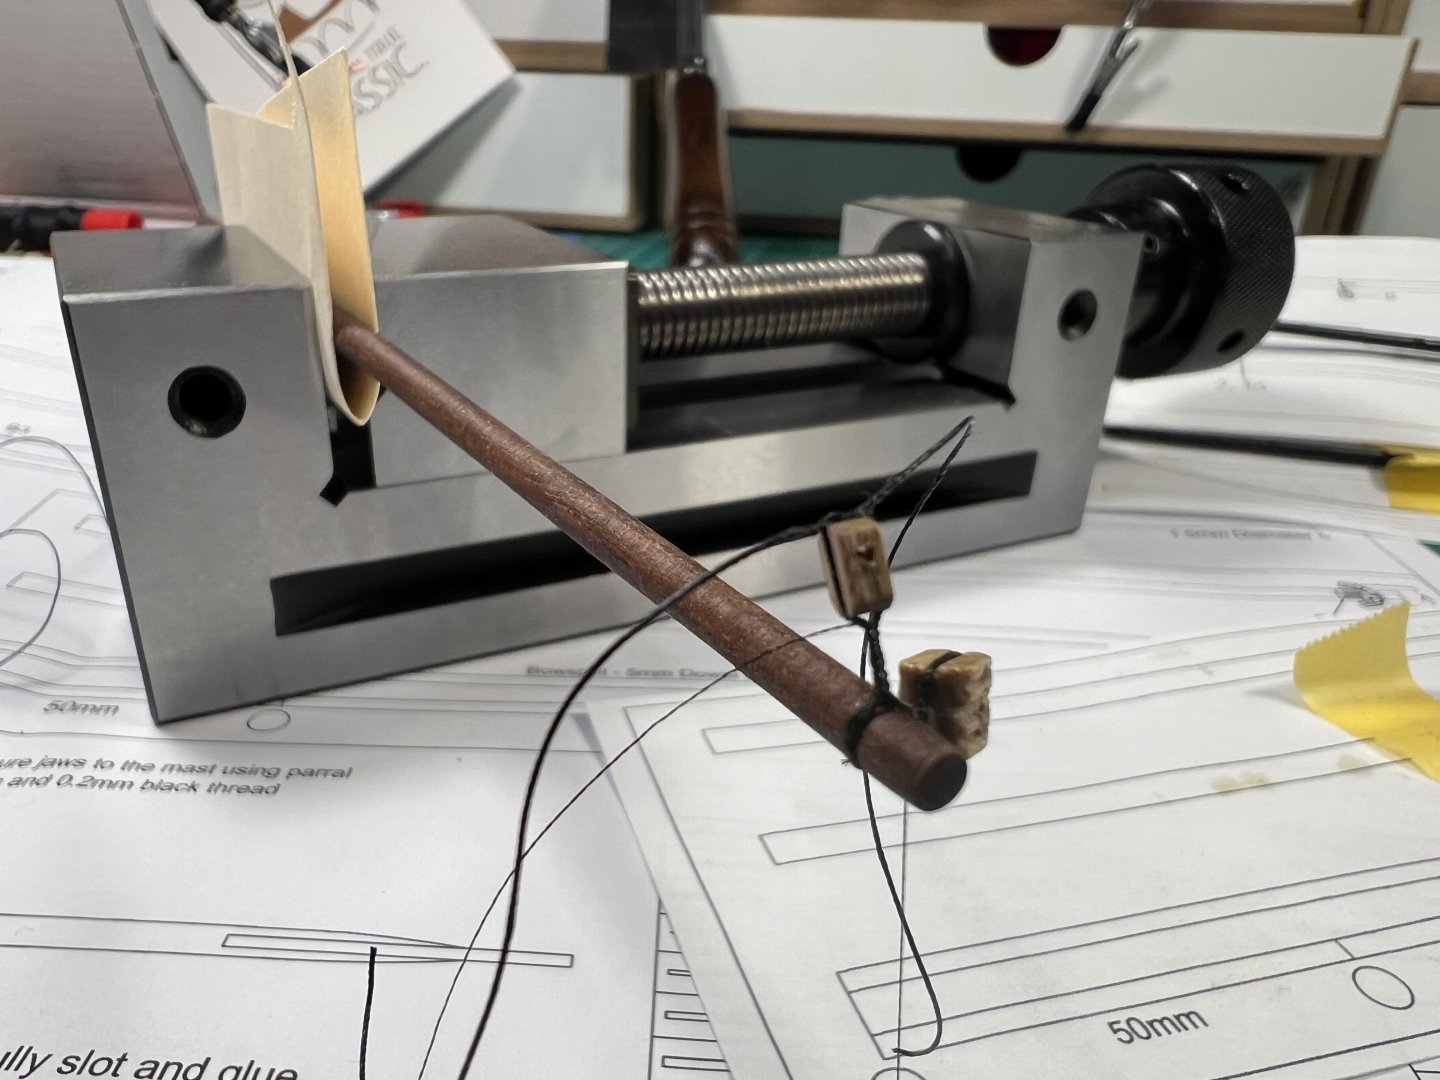
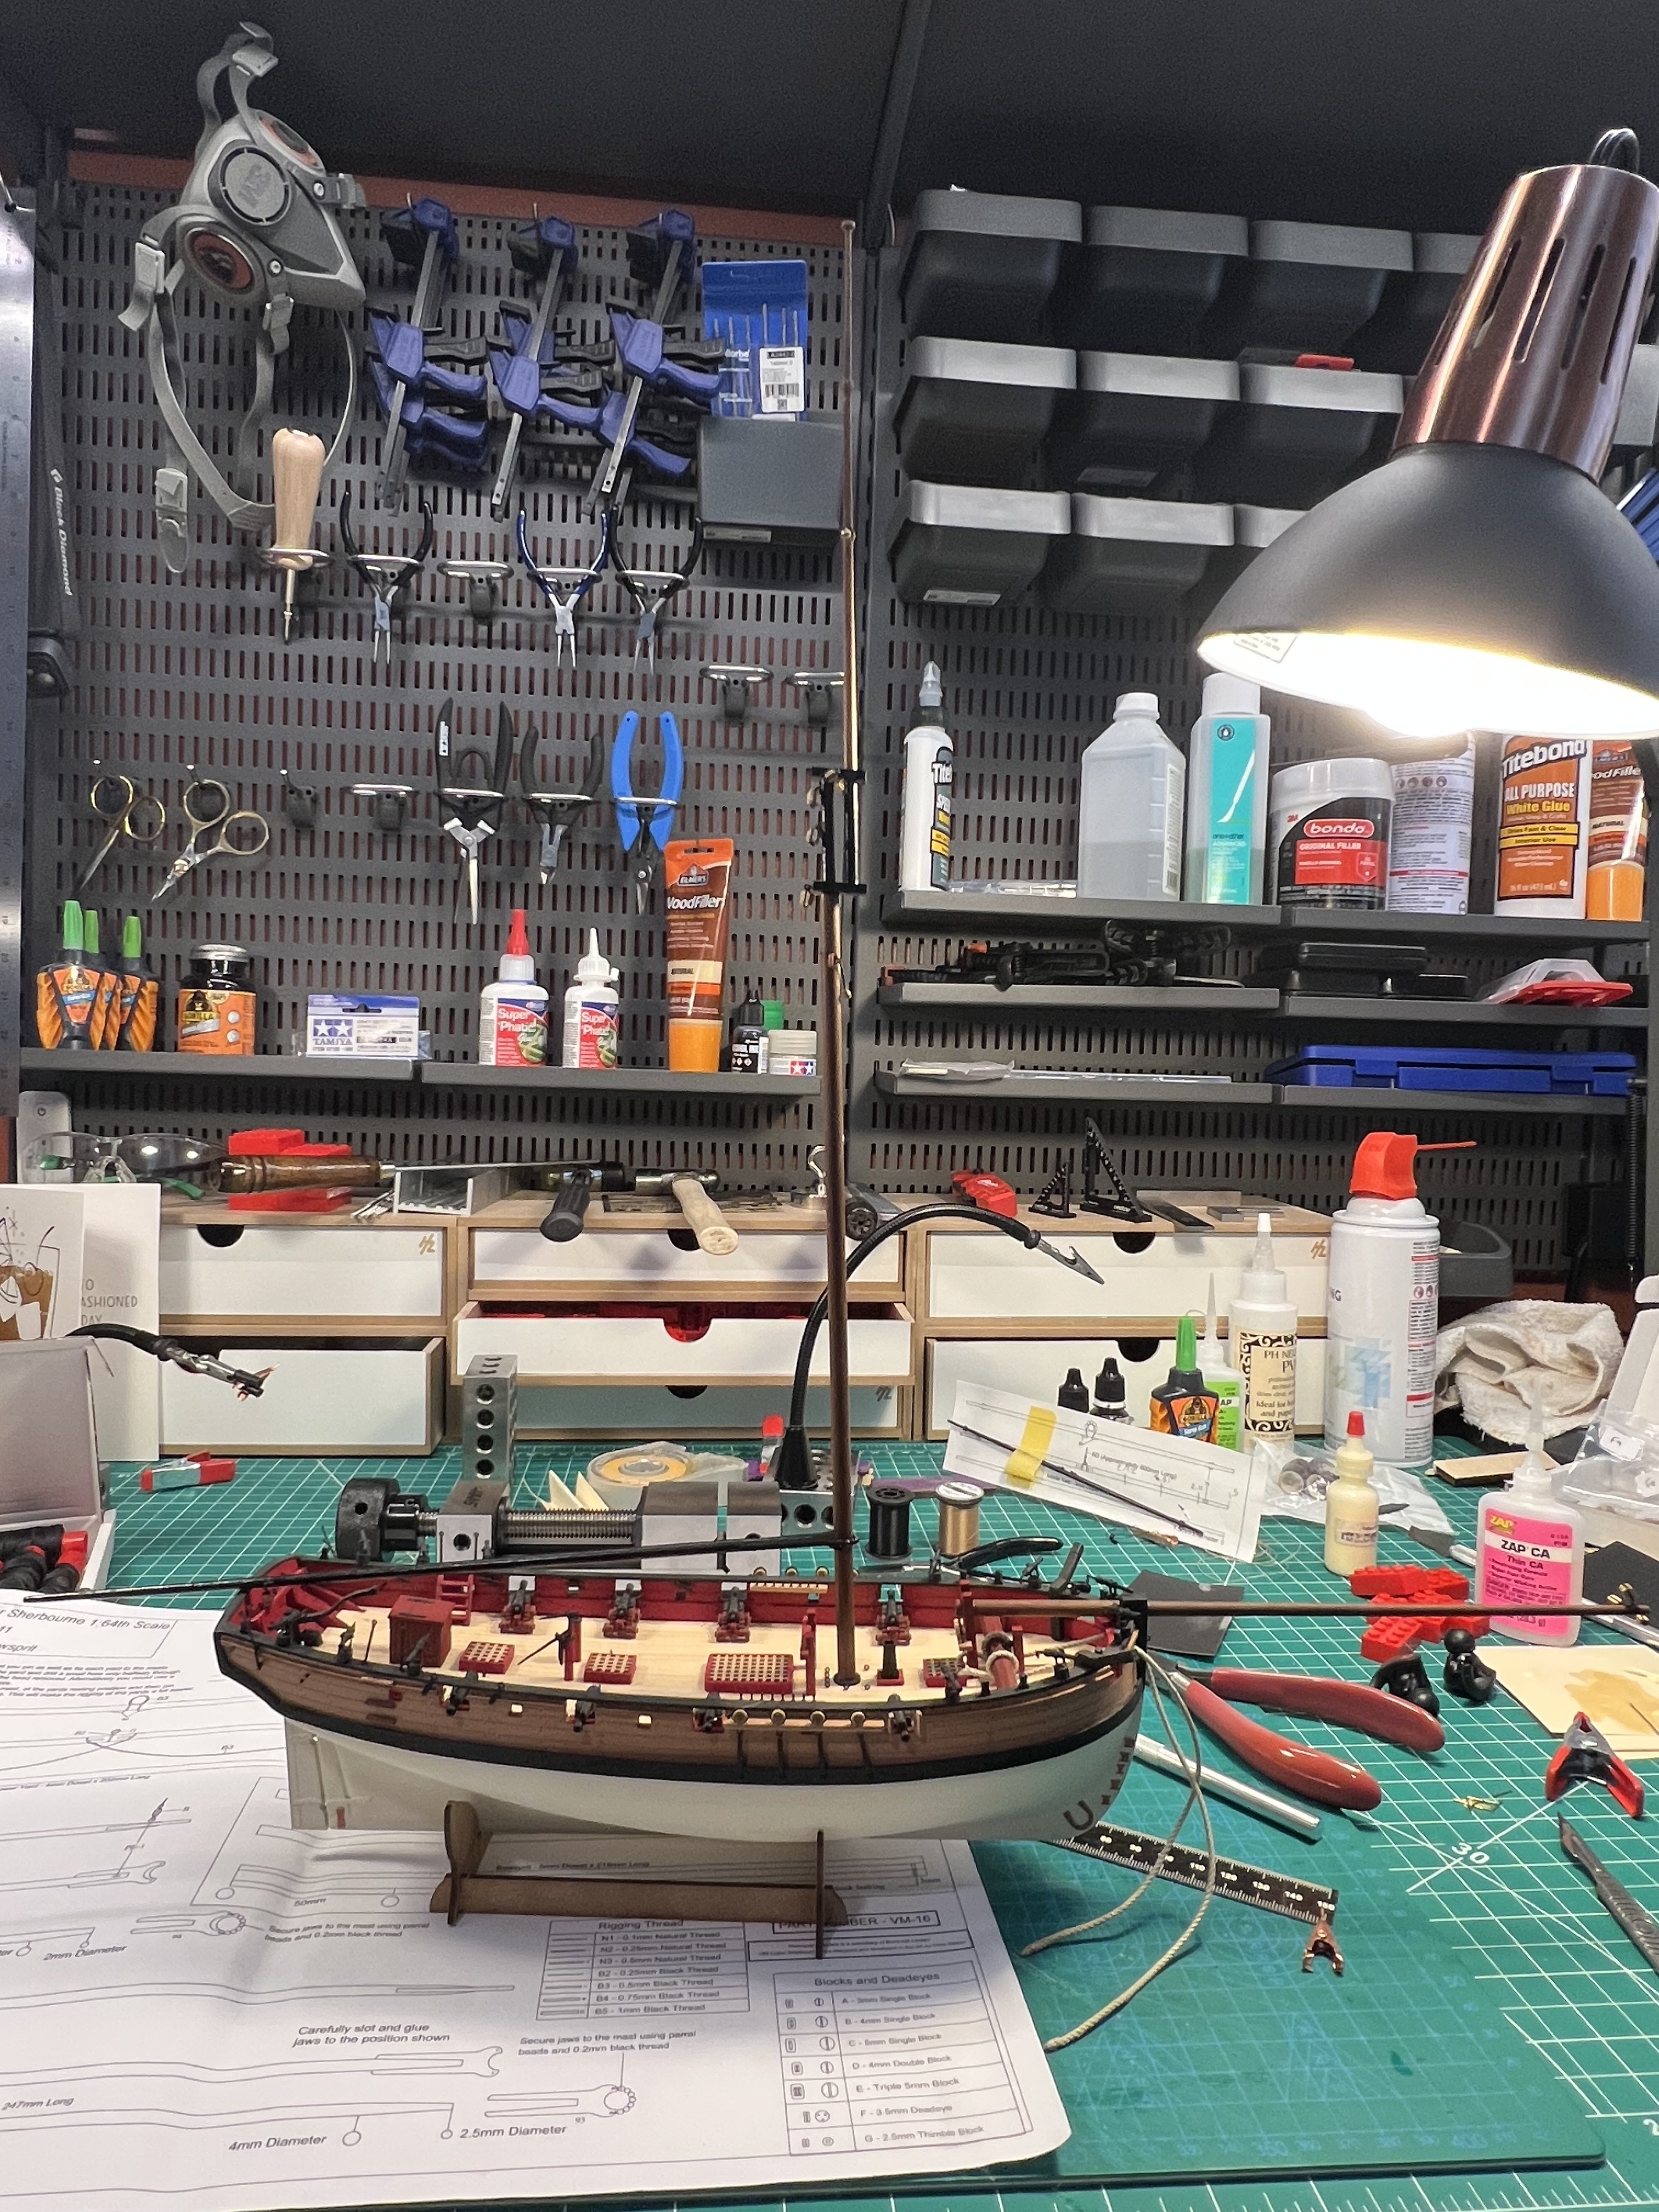
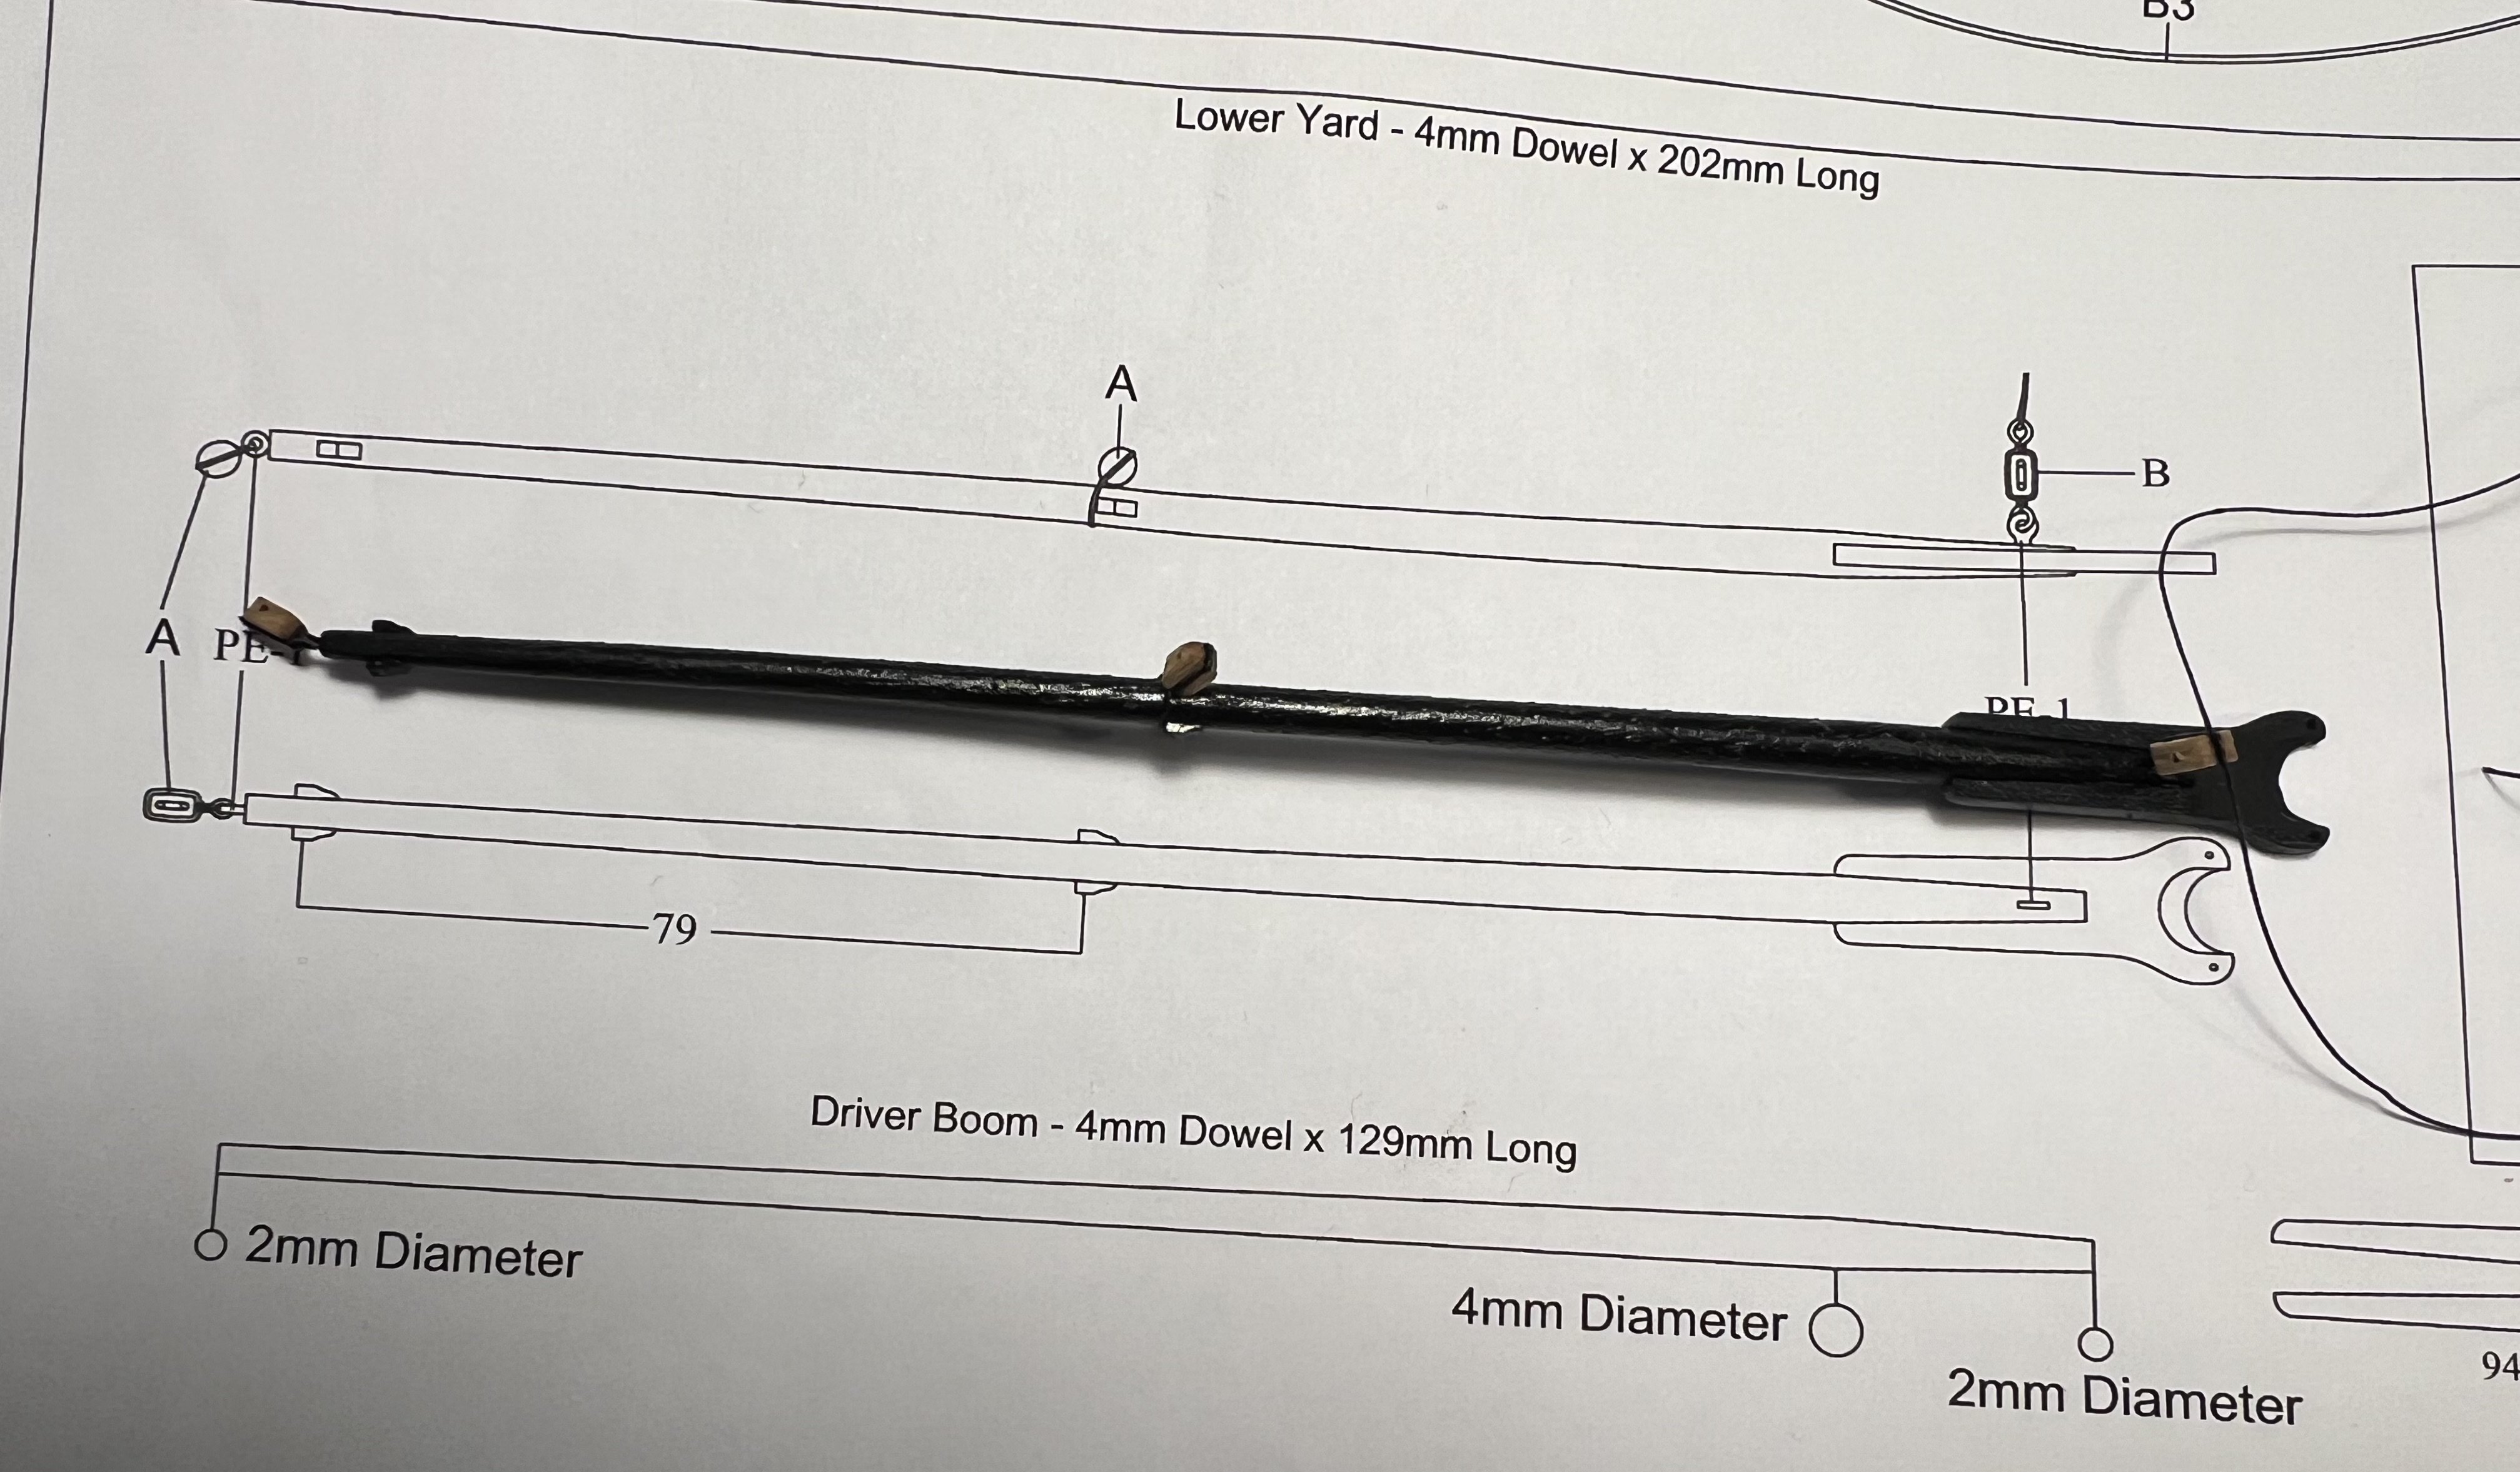
Slowly making more progress on the rigging. Working on the upper boom. Then I’ll do the lower boom.

-
It also depends on the type and thickness of wood. You wouldn't want to soak thin strips of basswood for a long time. In fact, just some surface water before using the plank bender would likely be more than enough for a regular bend with basswood. Edge bends of thick strips of basswood would benefit from a longer soak.
-
-
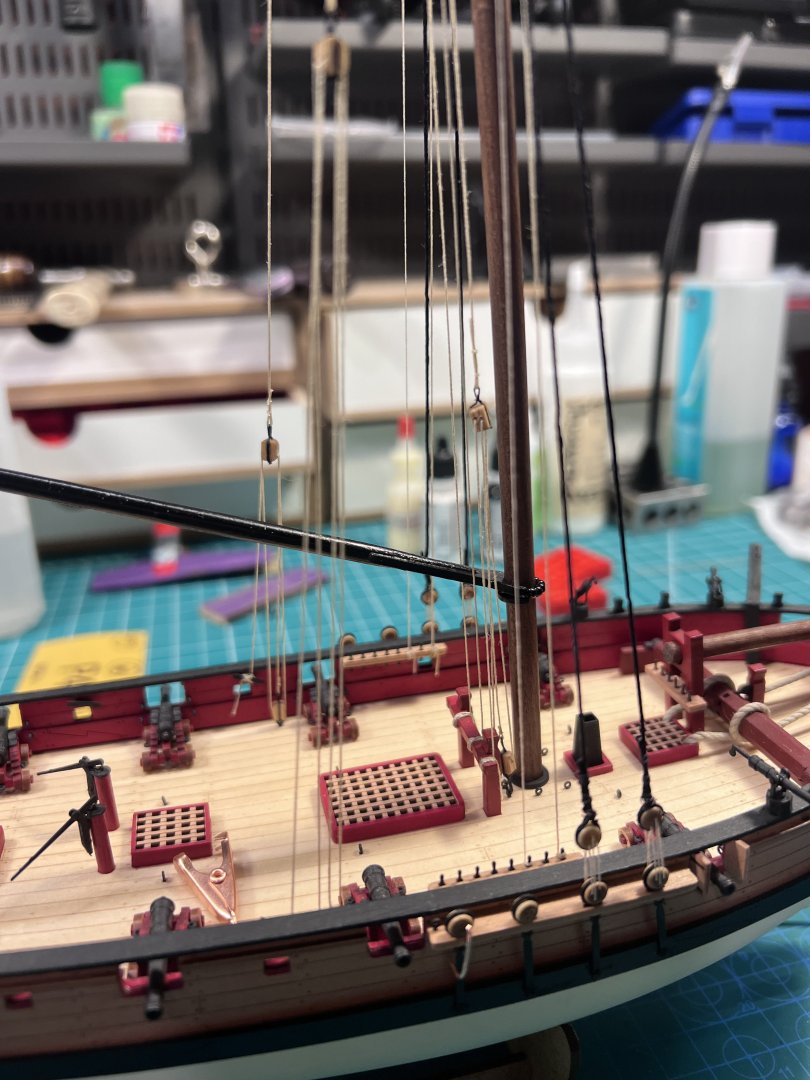
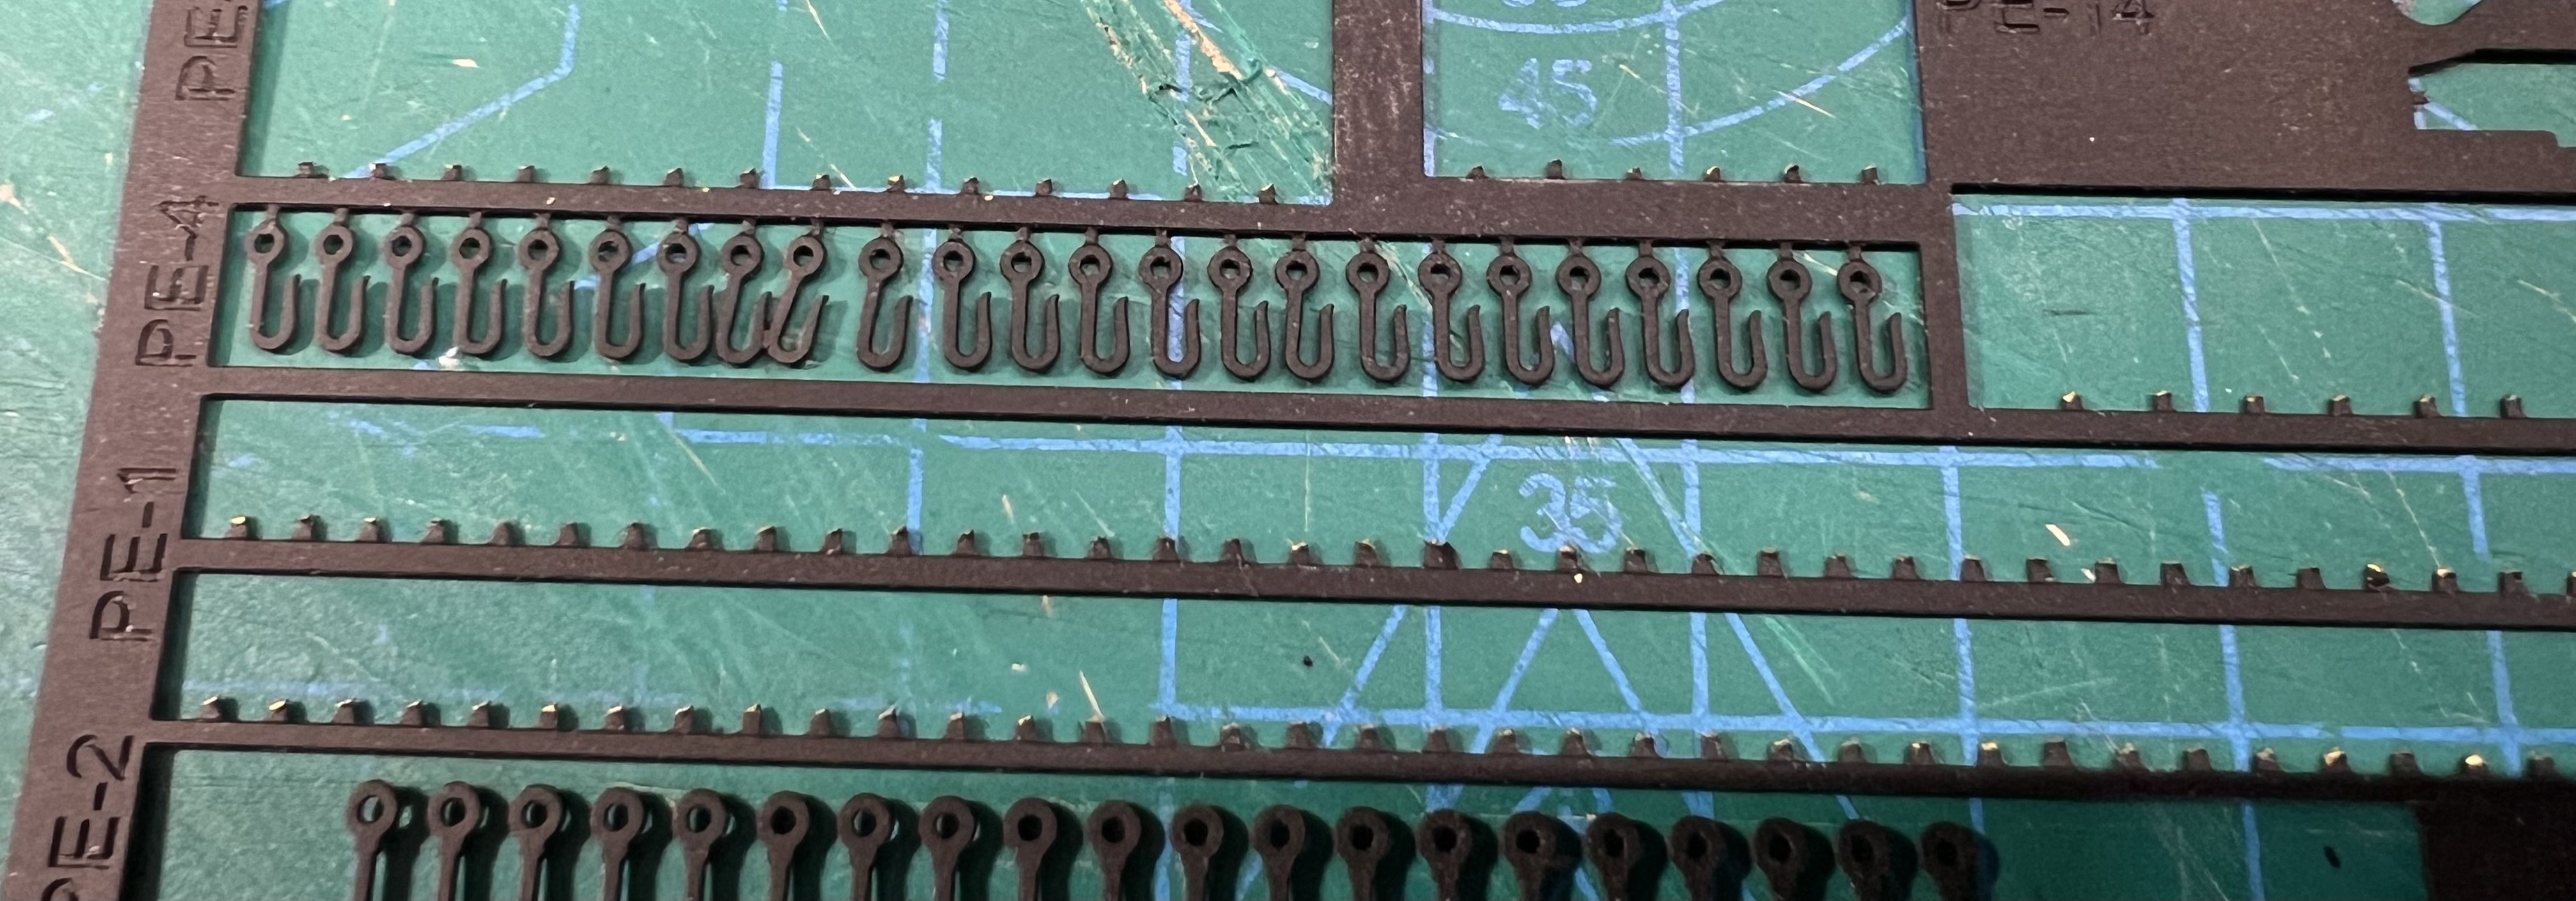
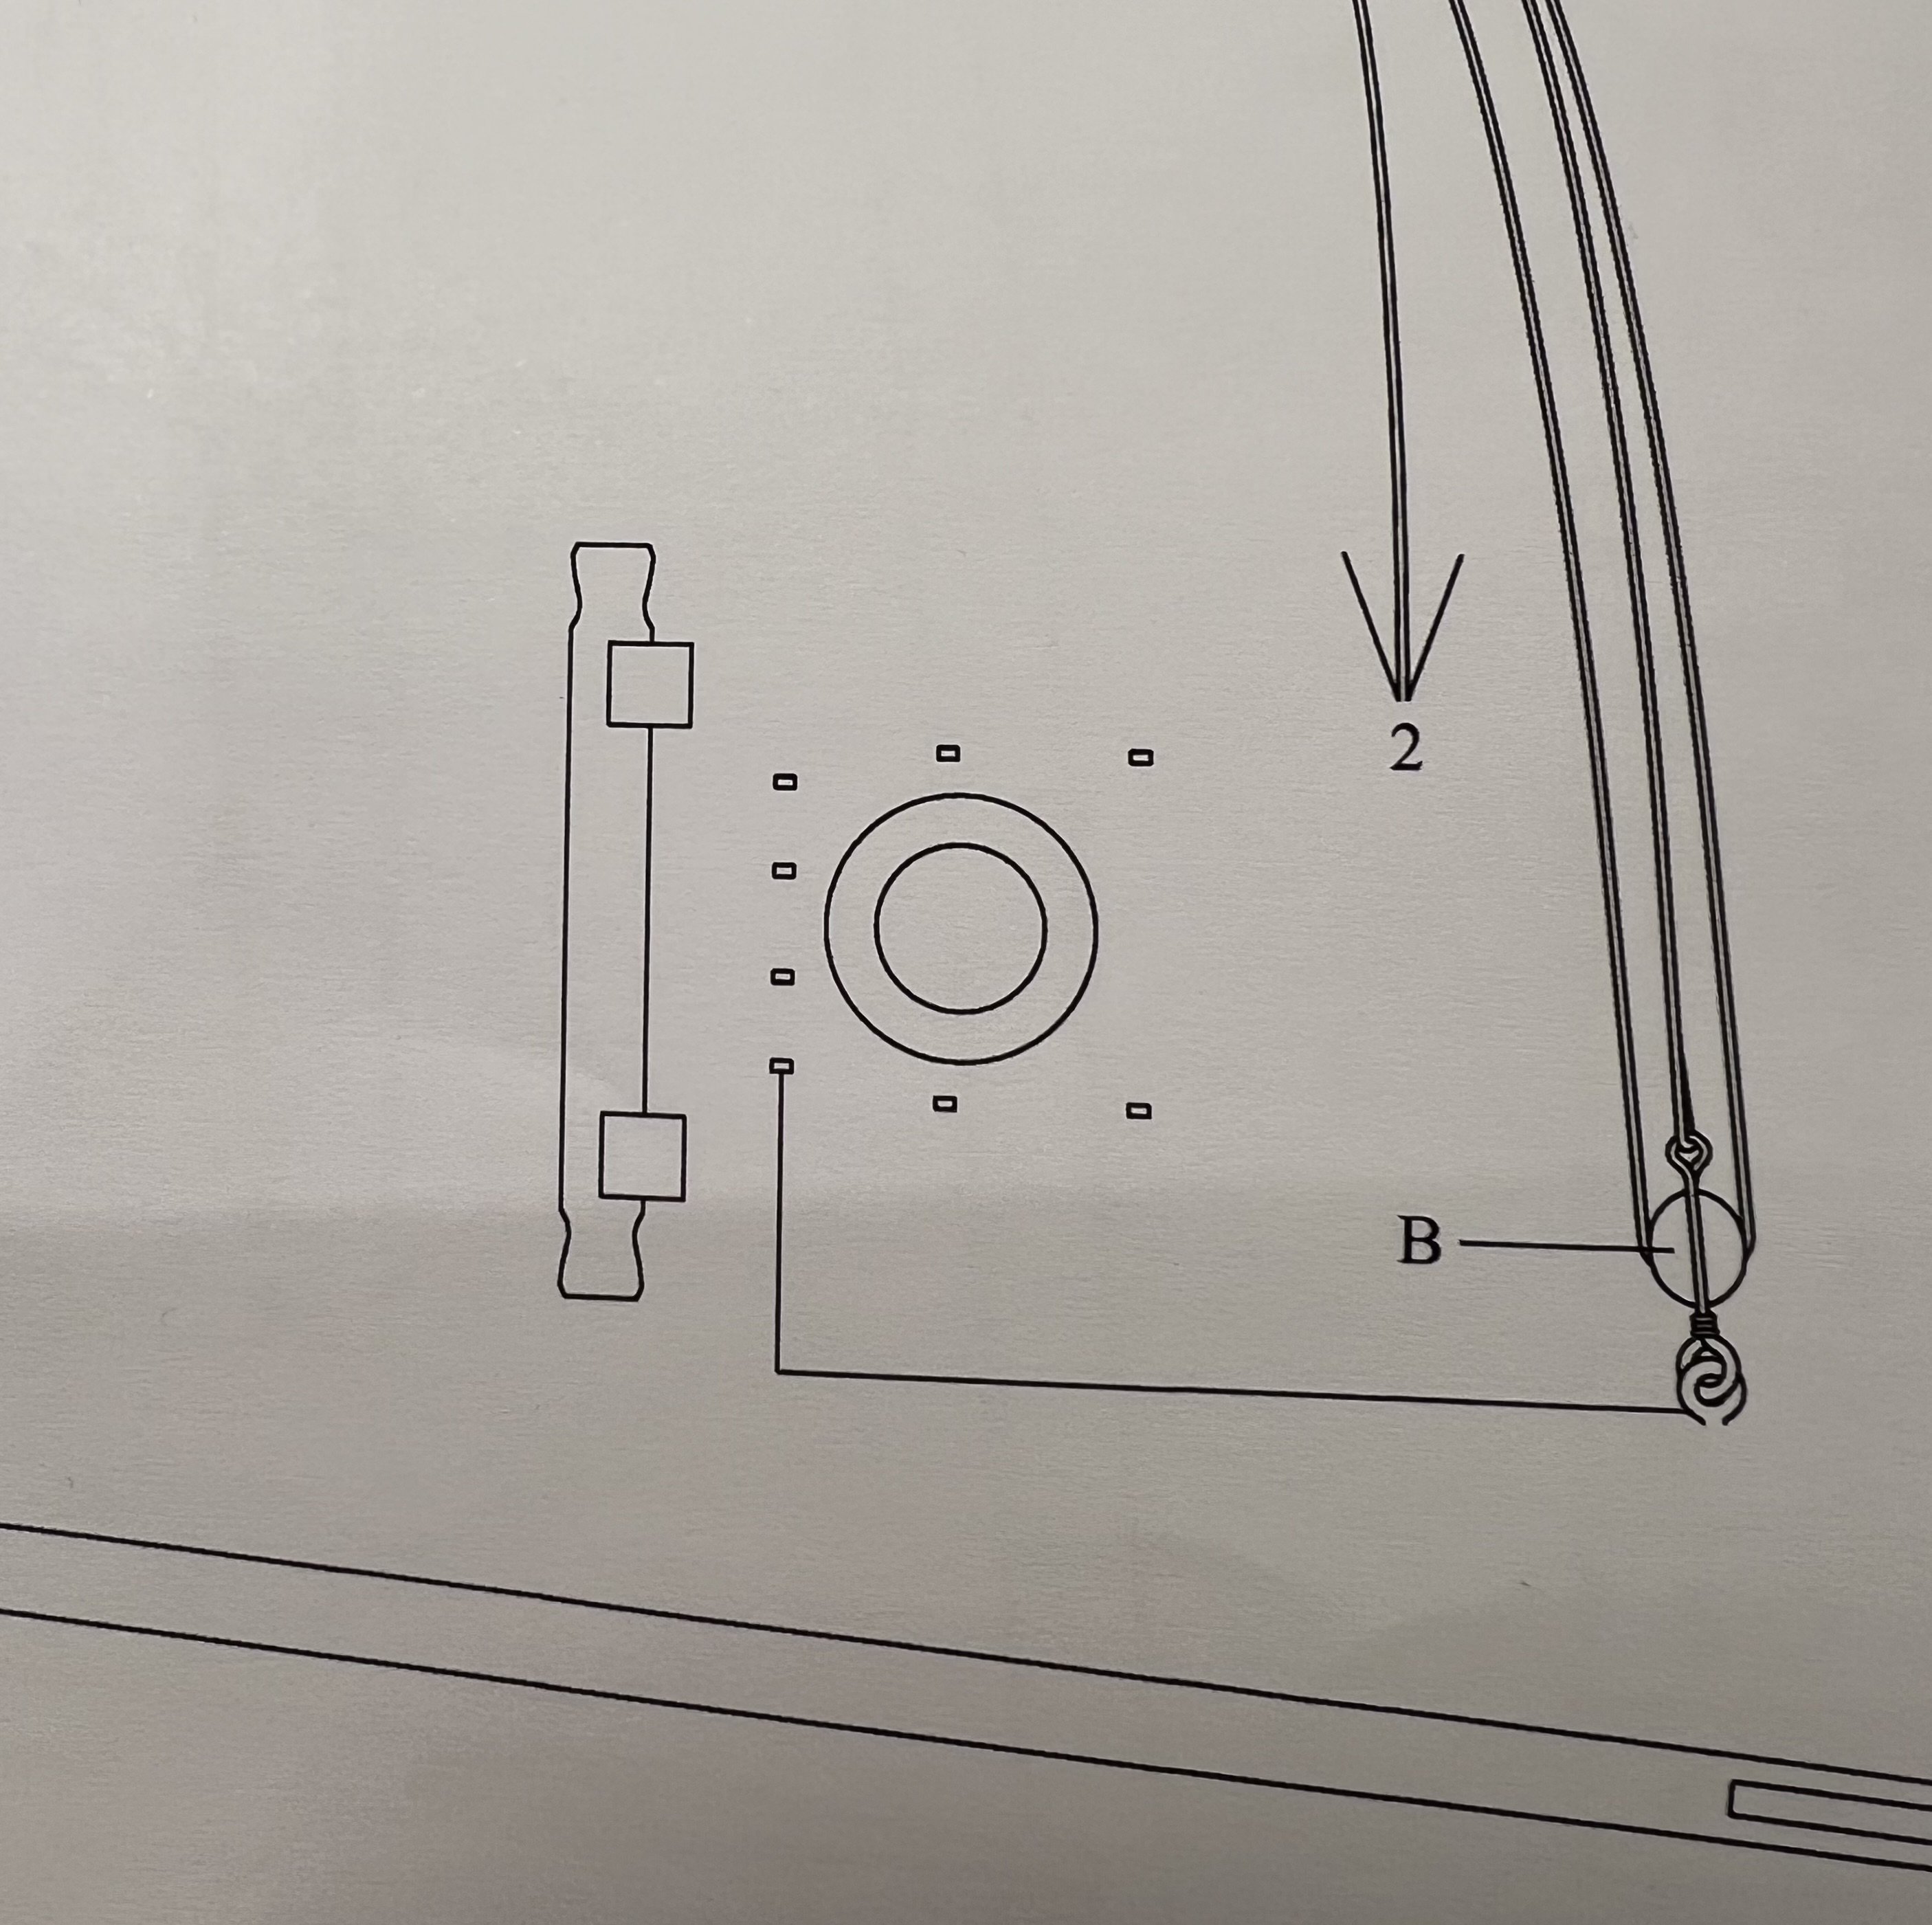
@chris watton @James H I noticed small hooks PE-4 in the kit but I didn’t see where they are used in the model or on the plans. I scanned them but could have missed where they might be used. I’m still new to rigging. Are they just not used (or did I miss where)? Or could they be used in some places where a block is tied to an eyebolt? If so, is there a principle for when one of these hooks might be used or not?
There’s a place where a block needs to be tied to an eyebolt in a pretty tight spot. I’ve pasted the spot in the plans and where it would go on my model. Would this be a good place to use one of those hooks?
I've seen that hooks are used when rigging cannon, but cannons are not rigged on this model (I know they could be).
I know I can do whatever I want. It’s my model. But I’m trying to get an idea of what might be realistic.

-
I've pasted below a useful set of posts on this site that have links to videos on planking (in English). One challenge of plank bending is that you sometimes (often) need to bend in two directions, as illustrated in the Passaro videos. It takes a good bit of practice and experience to understand plank bending. It's probably the most challenge aspect of this hobby.
It's good practice to try to get the plank bending right. Sometimes you just need to rip off a plank and redo it. A lot of people recommend treating each plank as its own "project". If you're painting the model, you can certainly use a lot of filler (wood filler or bondo) and do lots of sanding. My first planking was really stepped (clinker) and a mess. But with a ton of filler, sanding, filler, sanding I was able to get a descent hull that looked fairly good after painting. The masters at this art can just leave the planks bare, just finished with some shellac. Maybe someday I'll be able to do that myself.
The Modelkit Stuff channel has a Vanguard Model Sherbourne build going on that has some videos on plank bending.
https://www.youtube.com/@ModelkitStuff
Another great resource is the YouTube video channel by Olha Batchvarov. She's now working on the Model Shipways Philadelphia and that has some fairly simple plank bending.
https://www.youtube.com/c/OlhaBatchvarov
An useful aspect of Olha's Philadelphia videos, where she is building in real time live, is that even though she is an expert model building, she is still spending hours and hours on the planking of a fairly simple hull. There really are no shortcuts to doing this right.
- robert952 and Ryland Craze
-
2
-
Got the yards and booms all installed. Moving on to the rest of the rigging.


- ccoyle, SiriusVoyager, Thukydides and 1 other
-
4
-
Adding the upper and middle yard.
-
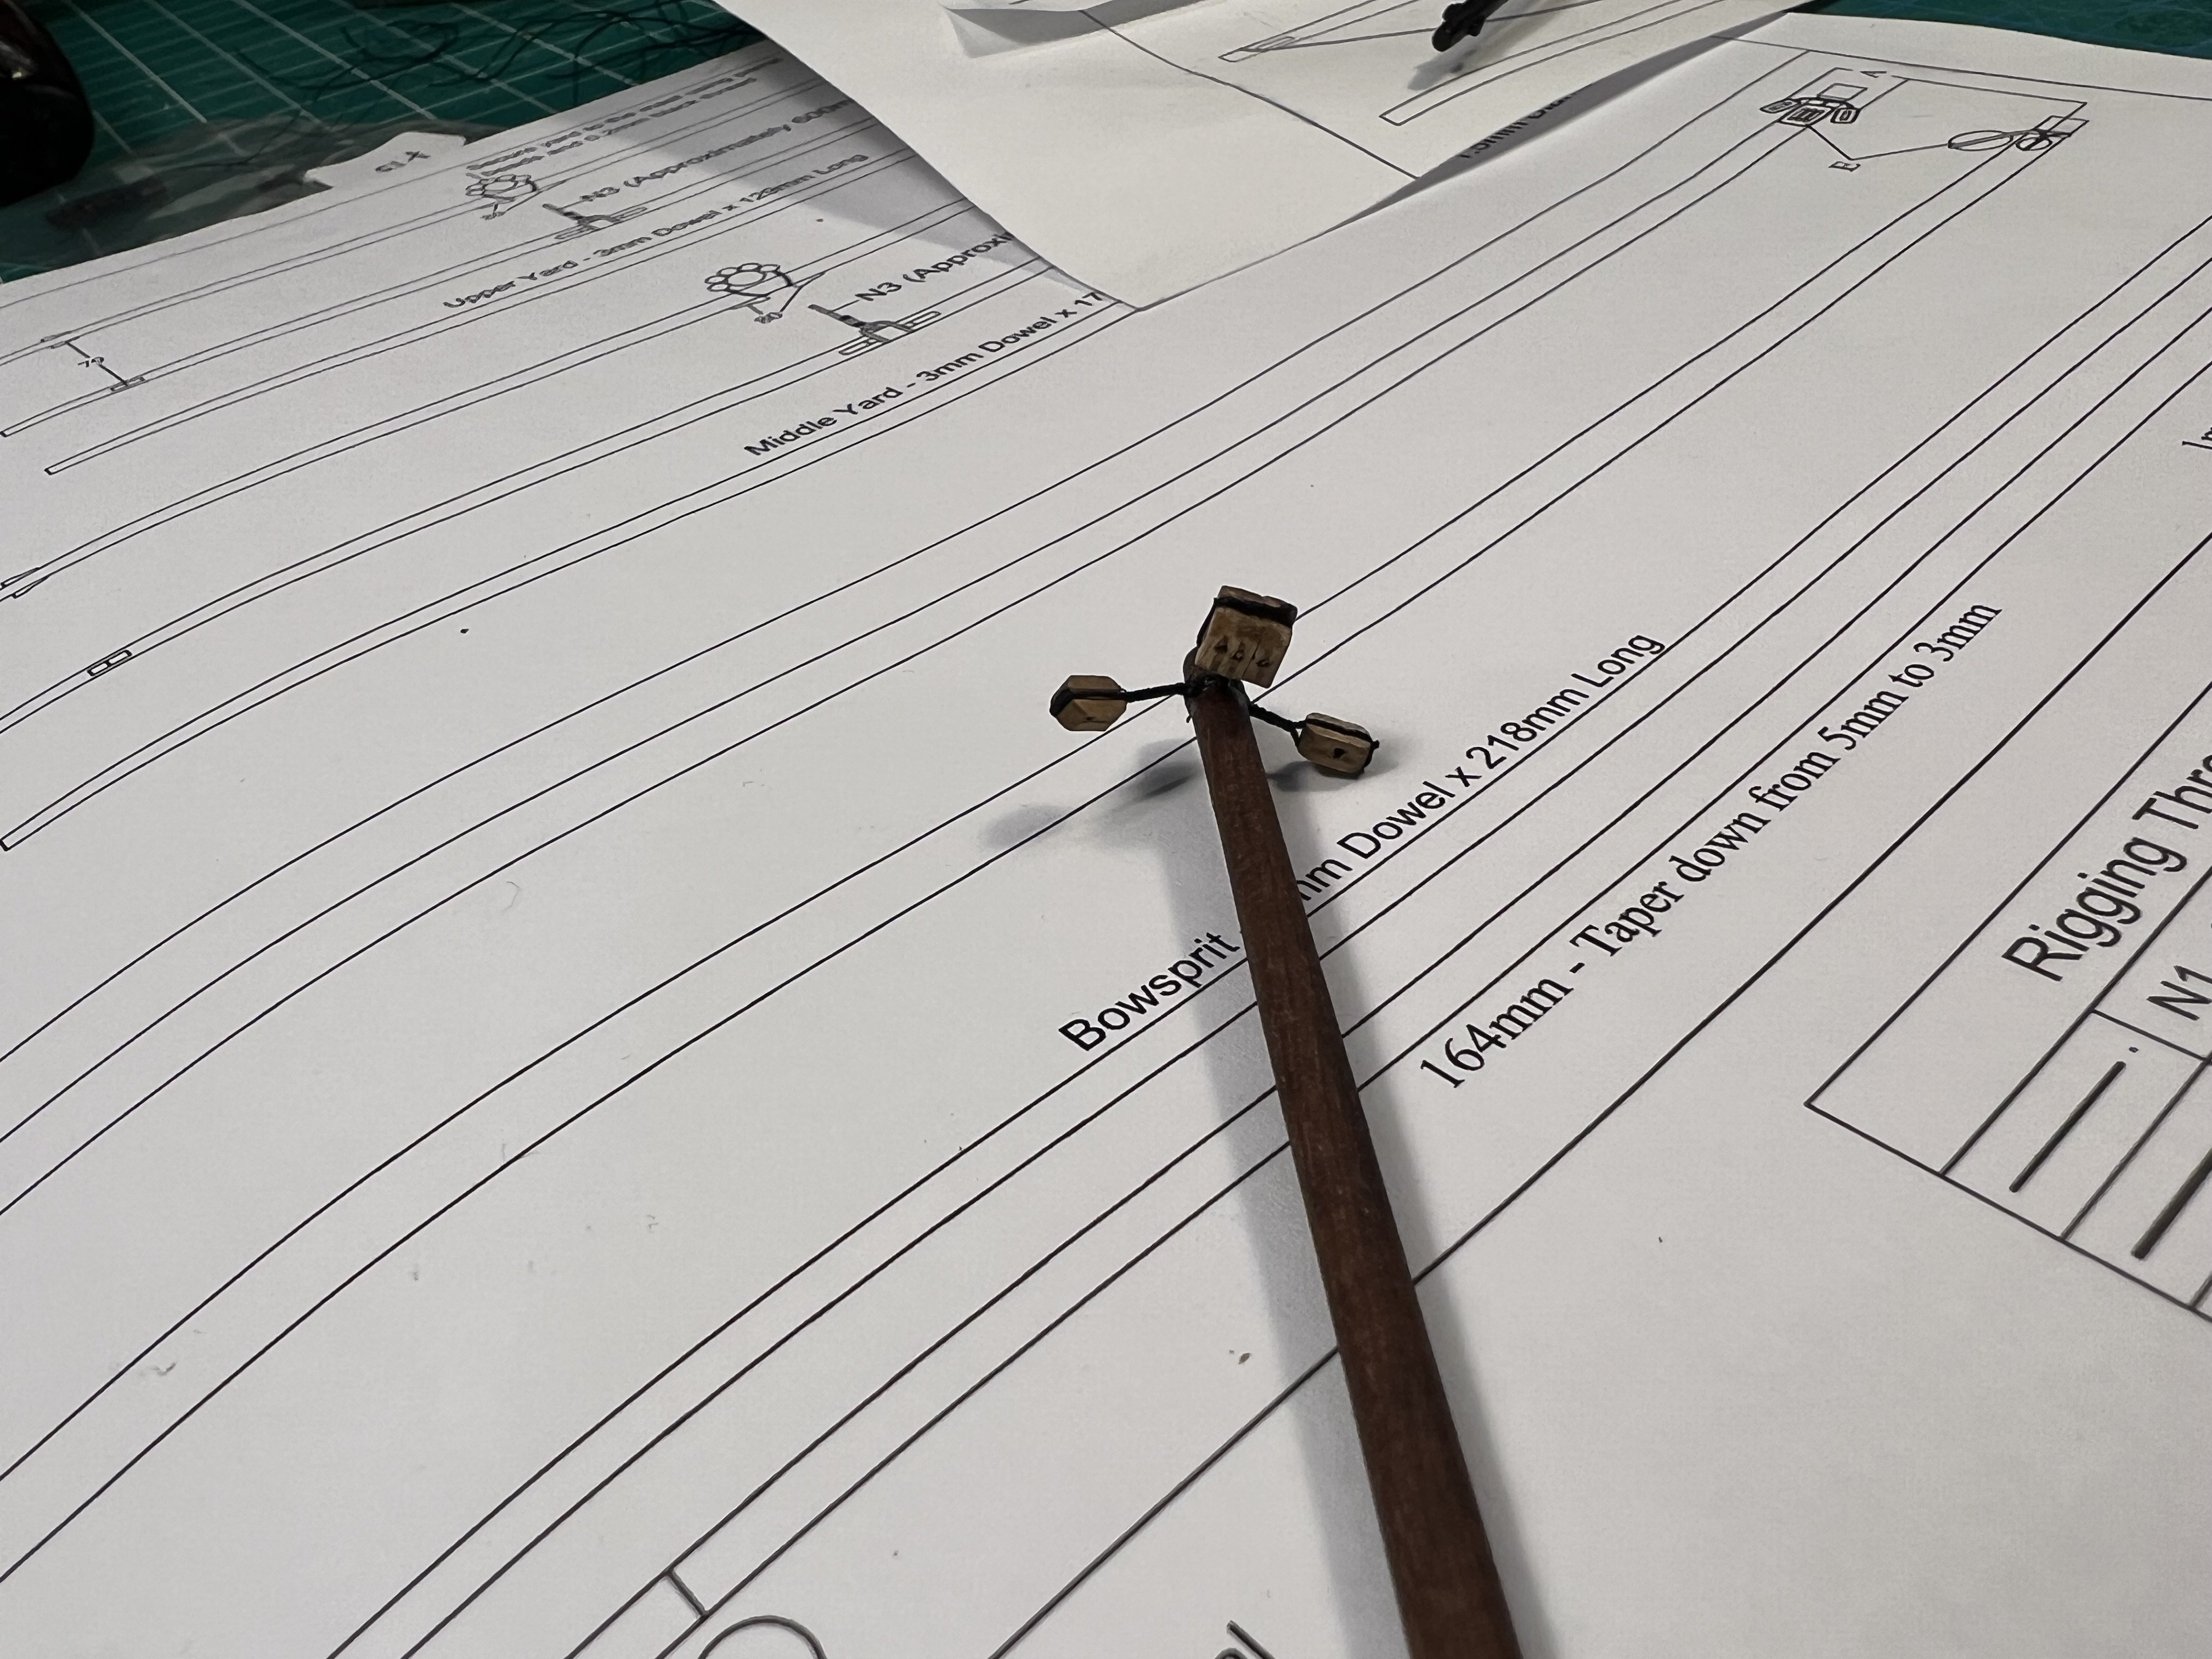
Have the mast, main boom, and bowsprit installed.


-
-
32 minutes ago, Cathead said:
If you're considering a trip to see the Arabia, don't wait too long, as its future is uncertain at the moment.
Yeah, we visited the Arabia last year. Worth a visit. (And if you're an opera fan, the Lyric Opera of KC is great. Their performance center is beautiful. That's what brought us to KC. And they have a great art museum.) Given the tiny amount for a tourist to do in KC (I live in Nashville so I'd love more tourists to find another city to visit), I'm surprised the city is not more interested in keeping the Arabia and expanding. But maybe the family who runs the museum wants too much.
One of the guys who found the Arabia was there talking with visitors. He's now in his 90s. I got a chance to have a pretty long conversation with one of the sons of the guys who found it, talking about the possible relocation sites. He was a kid when they found the boat and was telling me about being on the site. He's now in his 40s. I think their lease runs out in fall 2026, but given how much stuff they have they will probably need to close down months before then, assuming KC does not come to an agreement to stay.
The collection of artifacts is amazing. They couldn't recover, let along document, more of the structure because they were digging in a farmer's field and the farmer gave them until the start of planting season to be gone. They said that they're looking to start an archaeological dig of a steamboat of a different era, like from the fur trapping years.
-
-
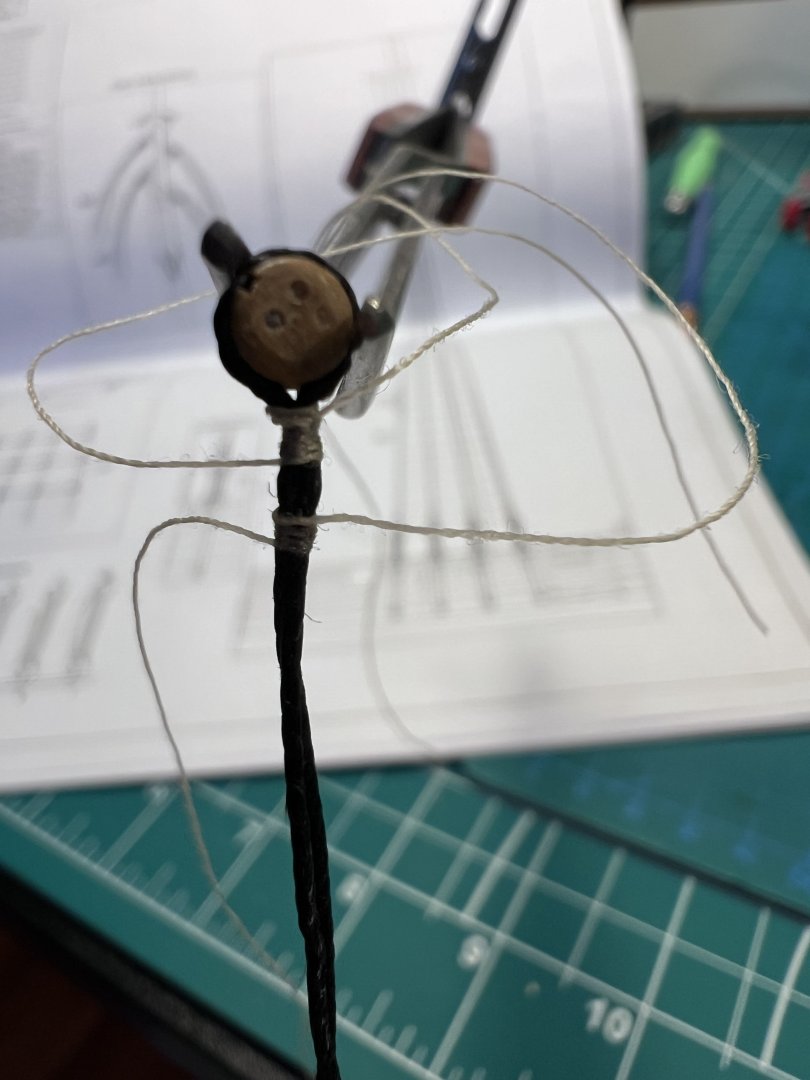
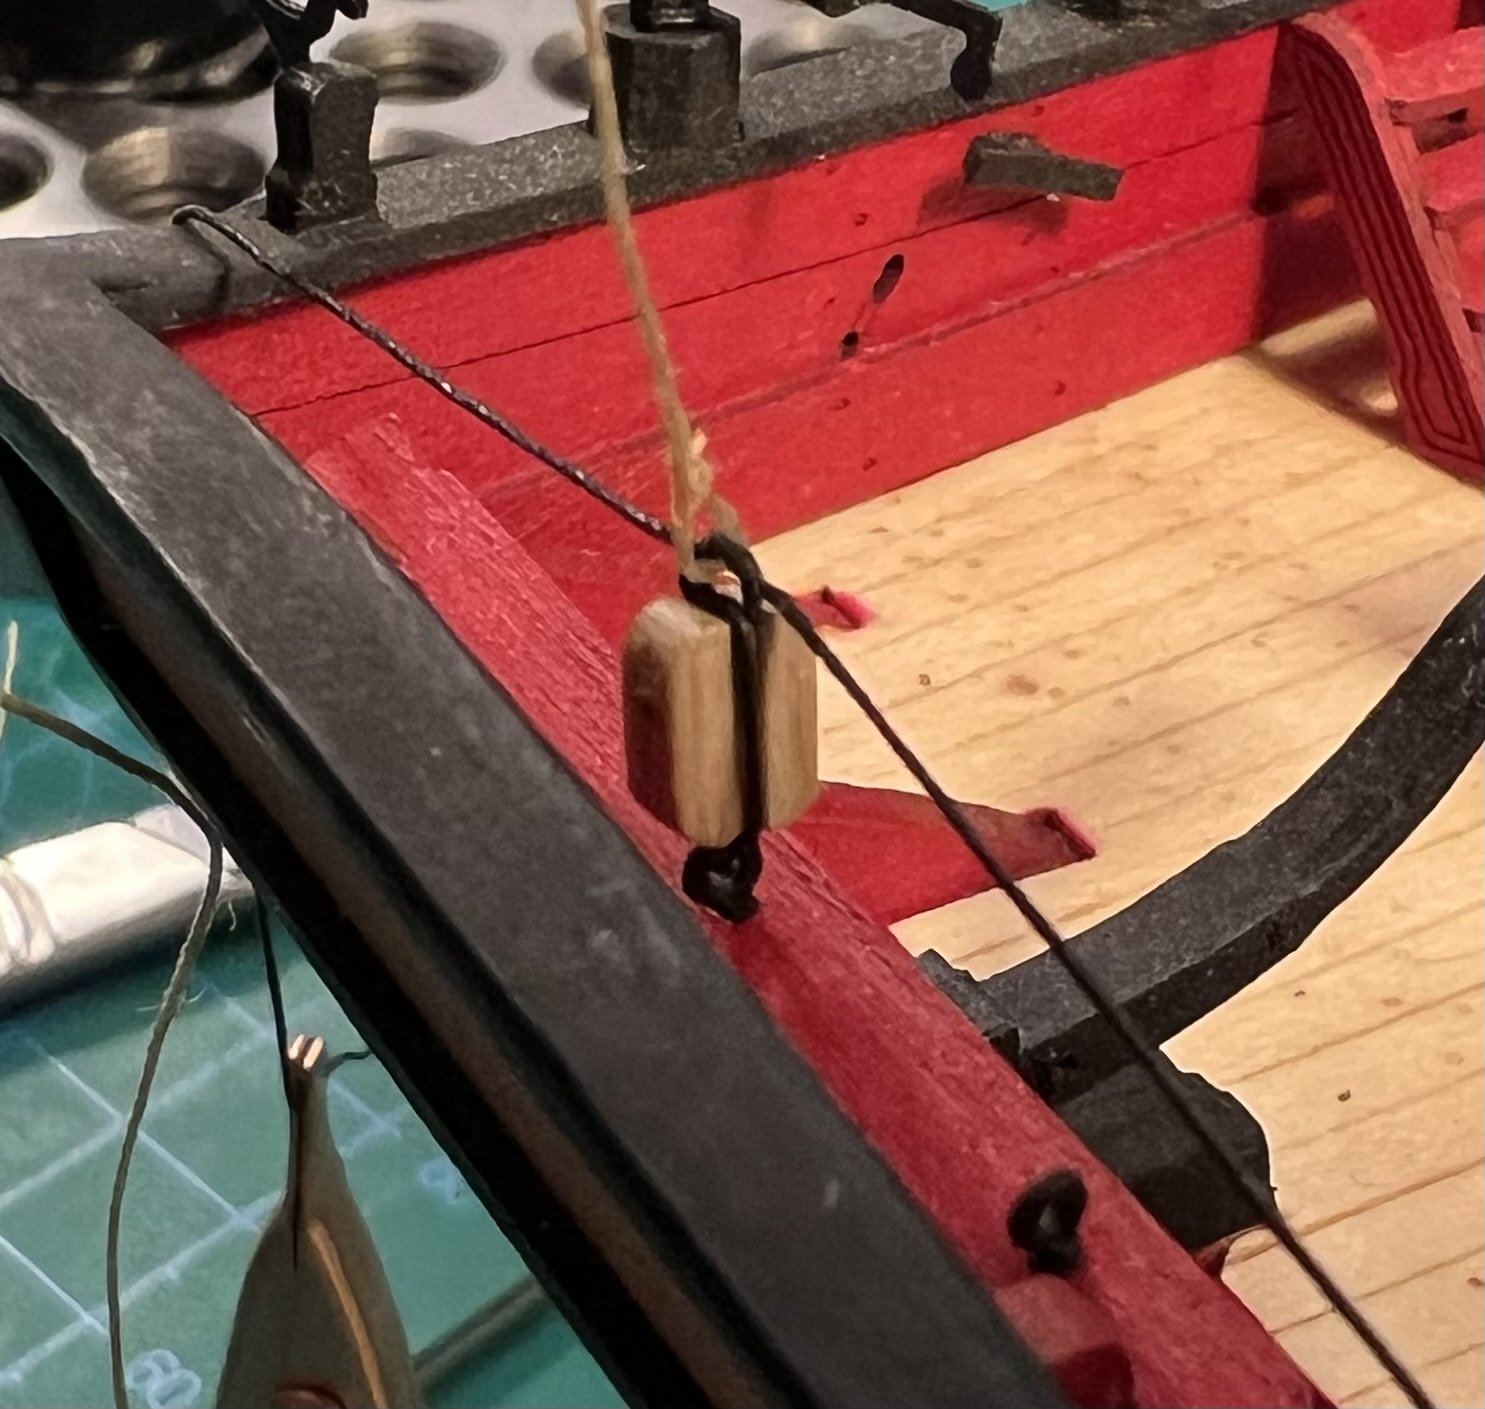
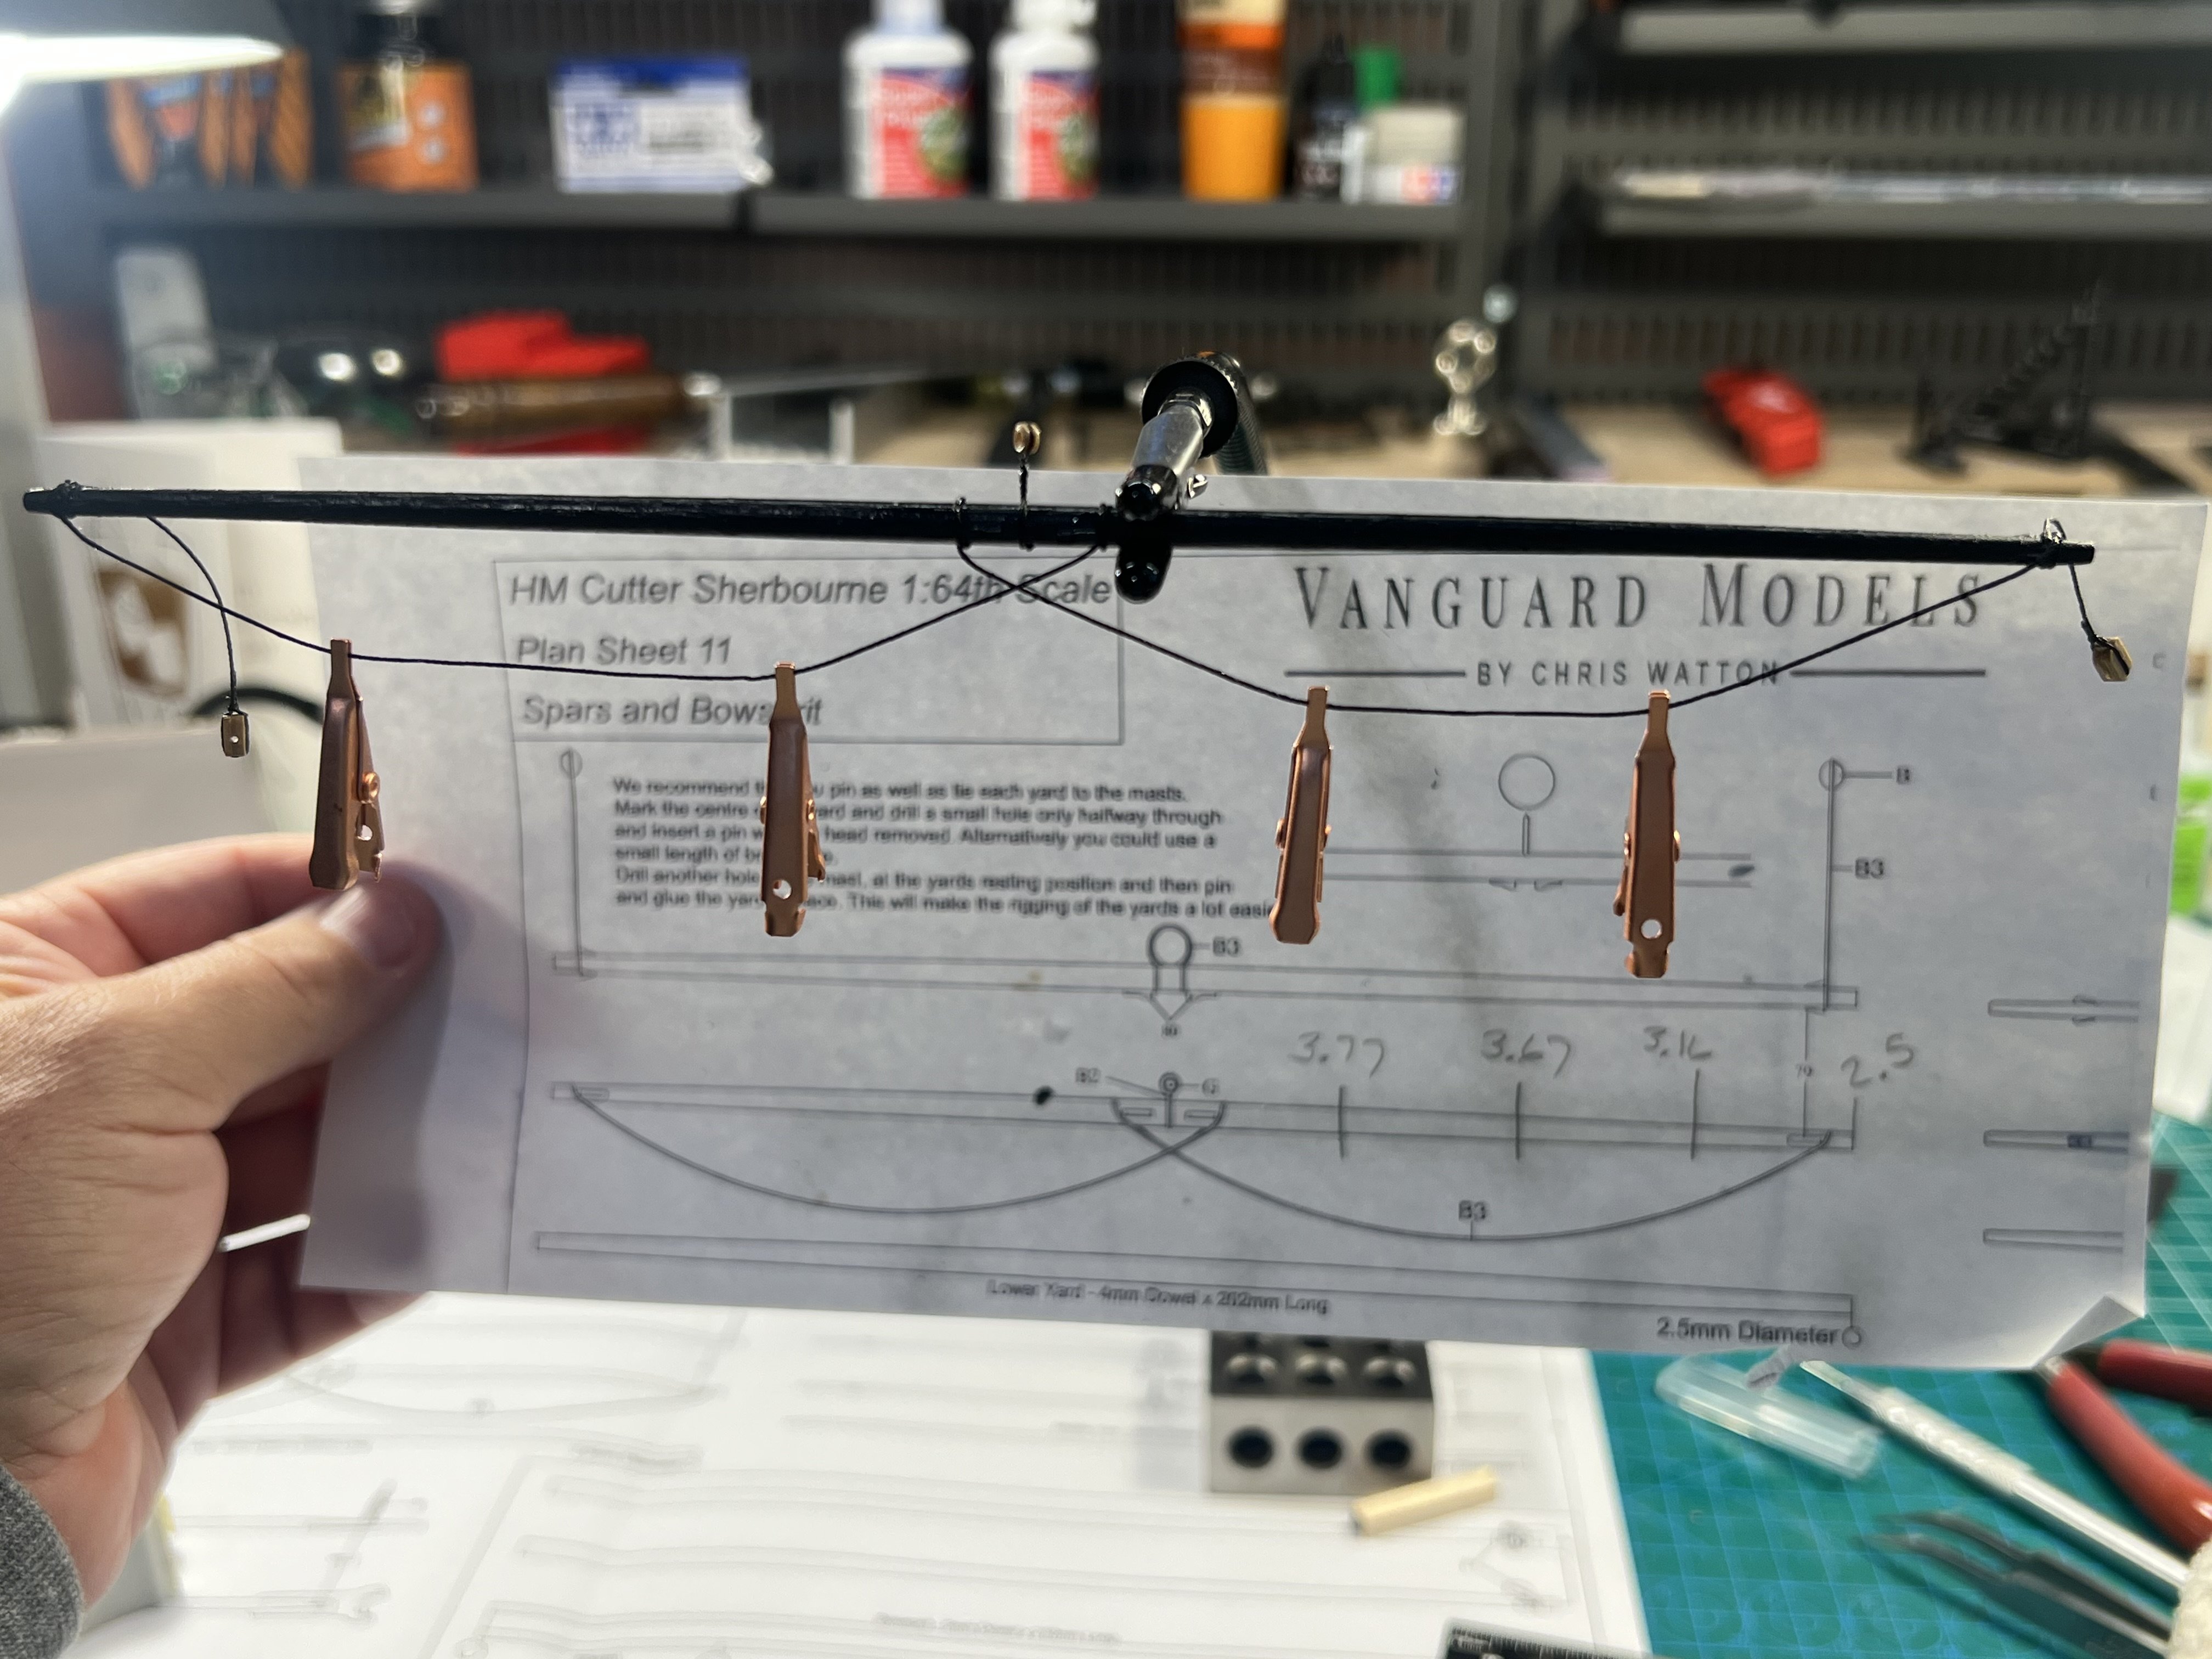
Added blocks to one of the spars and to the bowsprit.
One of then blocks attached to the spar will have a becket (loop) at the top but I’ll wait to add that loop until I attach the running rigging it attaches to.


-
In the Modelkit Stuff build of the Sherbourne, I saw that he does a block-with-becket that is tied on an eyebolt (loop-block-loop). It turned out to be a way I was trying to do it (not entirely successfully). The main difference is that he first created the loop that the outside becket was being attached to.
It’s Part 23 of the build, right at the beginning, after the intro.
- robert952 and Keith Black
-
2


HM Cutter Sherbourne 1763 by Pinenuts - Vanguard Models - 1/64
in - Kit build logs for subjects built from 1751 - 1800
Posted
I like the Modelkit Stuff series on the Sherbourne but he is intentionally keeping things basic and not doing anything different from the manual. He’s not doing edge bending by choice. Without edge bending you’ll get some clinkering of the planks. Thankfully the planks are thick enough that sanding and filler can fix it. The pear for the second planking is thinner. My planking of Sherbourne was absolute garbage. Check out my log to see what it should not look like. Thankfully it’s painted since most of what’s directly under the paint is wood filler.
Try to do some edge bending and things will lay nicely (at least nicer), it’ll make things easier later, and be good practice for a later model that demands edge bending.